russ
-
Posts
3,086 -
Joined
-
Last visited
Content Type
Profiles
Forums
Gallery
Events
Everything posted by russ
-
The masts look good. In that first photo, I almost thought you had the shrouds on the model instead of the drawing. Russ
-
Stelios: Thanks for dropping by. It is good to see you back at MSW. Russ
-
From what I can see in the photos, your planking is coming along very well. Nice attention to the details. That is what makes the difference. Good work. Russ
-
Your estimate on the drying time sounds good. Let it dry good and hard. I would definitely leave about 1/32" or so extra on the frames, inside and out, to allow for fairing after they are installed. Russ
-
I understand what you meant, however, the title of the thread might mislead those who are expecting to see an actual jig saw rather than a table saw. Russ
-
The stand looks good. I think the brass pedestals are the right call. The oak finished very well. Good work. Russ
-
I agree with Pete. Let the frame dry in the jig thoroughly. Make sure it is flat to the table underneath. Consider putting some weights on it while it dries, but be careful that the weights do not shift the pieces in the jig. Once it is dry, then you can drill and treenail it. Russ
-
Gerald: That works out to 12 x 48 inches and it looks good. Very nice work on the edges of the plates. Very neat overlaps. Russ
-
Eric: The timberheads and stern windows look very good. The shape of the timberheads is coming along well. Russ
-
Michael: That looks great. Very nice assembly. Russ
-
I see your issue with the clamps. This is a typical issue in making jigs. If you made the jig once, then modifying it to work better will be no problem if you need to do it. Russ
-
If I understand correctly, you are not sure why scale is an issue? In a scale model, everything on the model, all the parts of the model, are as close as possible to the model's scale. If the model is 1.96 scale, that means that the entire model, parts and all, is 1/96 the size of the real ship. It would spoil the appearance of the model to have the hull be 1/96 scale, but the deck planks be wide enough for a 1/48 scale model. Or to have the windlass or the belaying pins at twice their size. The idea is that the deck planks, windlass belaying pins etc all should be at that same 1/96 scale as the rest of the model That is the short version of the importance of scale. I hope that helps. Russ
-
Yes, the owner of Model Expo is a member here. Check the Traders and Dealers forum and you will see him there as he posts about the latest sales all the time. Russ
-
Actually, this is a table saw. A jig saw is a hand held motorized saw to cut shapes. Russ
-
Your sanding idea is interesting. Here all this time I have been using dowels, blocks, and the like with sandpaper wrapped around them. Russ
-
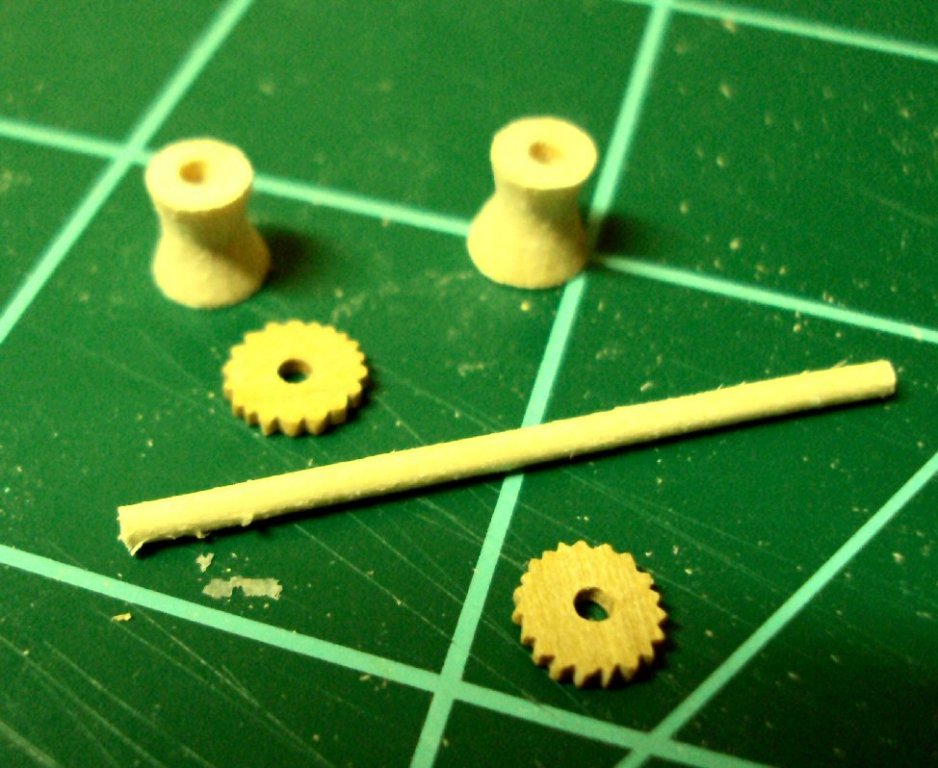
John: That is more like what was used on larger ships. But it is the same principle. The gear type teeth is what I was going for in my windlass. That seems to be what I see in photographs like the one I posted earlier. Russ
-
Pawl posts were very common. I agree with John that a post set in front of the windlass might be a better solution. Russ
-
Harvey: Down here, what you describe would be a skeg with a shaft log. A skeg is the same as the regular deadwood, with the exception that the frames are mounted on the top of the skeg rather than fastened to its outer faces. See my current build. The skeg is a series of pieces built up just as deadwood would be built up. The difference is that it is outside of the hull rather than inside. Russ
-
Pete: The ceiling is the interior planking. Is that what you are after? I think you could use wire or even small nails with the heads trimmed down to show the bolts. This is an issue where some more research would be a good idea to see exactly how the bolt heads would look. Russ
-
Sarah: I think there is a terminology issue to clear up. The Swift does not have a skeg. It has the traditional backbone that includes deadwood that is to be planked over. The skeg is used in hull forms that have no planked over deadwood. It is a simpler form of construction. Russ
-
Mort: He linked to that article in his last post. It appears very well researched. Russ
-
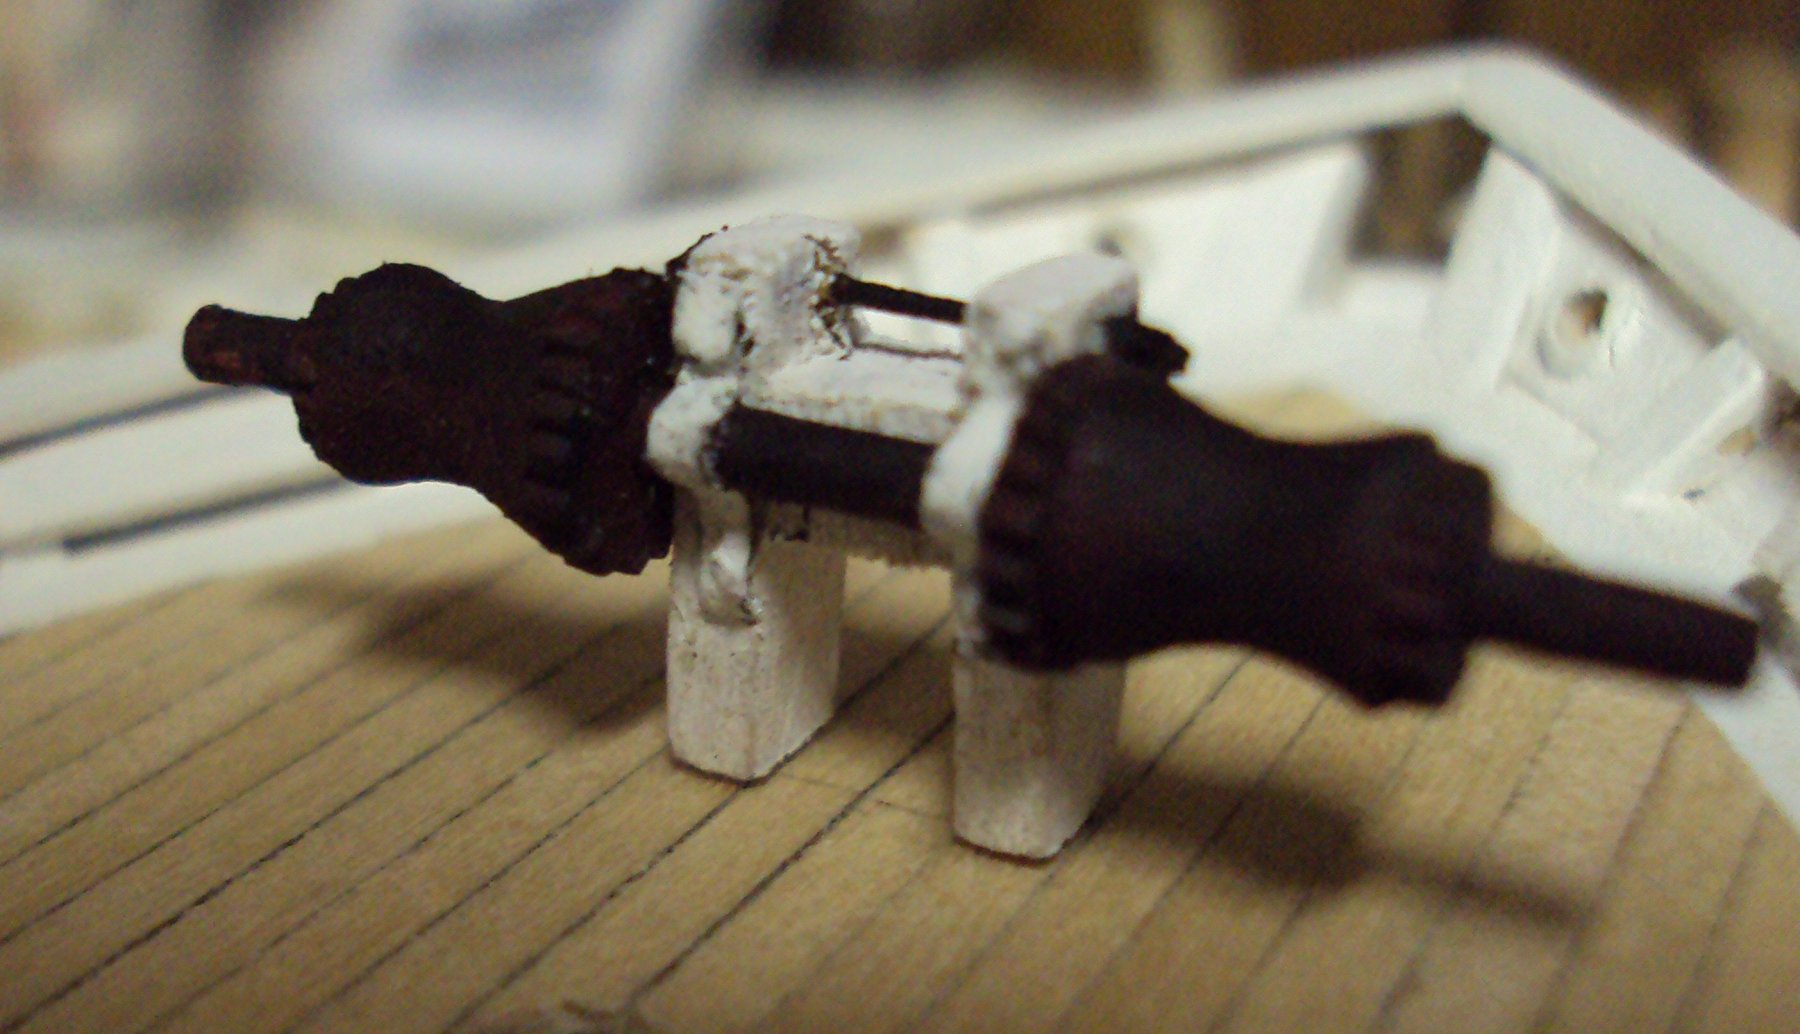
Druxey: Interesting question. I have two sources for what this should look like. One group of sources are contemporary photos of local schooners. There are very few that show enough of this sort of detail to even begin to guess what it looks like. The other source is Chapelle's field notes that are included in the second half of his American Fishing Schooners, 1825-1935. His detail drawings for the windlasses used by Grand Banks fishermen show a more complicated version of what was used down here. It has a purchase rim with teeth along its outer edge that engages the purchase arm that is operated from a lever attached to a single bitt. This is very much like what you would find on a mid 19th century merchant vessel. In this case, we have a set of teeth that are engaged by a simple iron pawl on either side of the bitts. What the rim with the teeth looks like I am not sure, but this will be hidden in between the warping head and the bitts. All you will see is the warping head and the teeth up against the bitts with the pawl engaging the teeth. That is all my sources show me so far. It may well be that the rim with the teeth for my schooner is much like that shown in Chapelle's drawings, but I have no way to know. If you have a drawing of the type of arrangement you are thinking of, I would be glad to see it. Russ
-
Jerry: This is beautiful work. The stem assembly is really great. That is a lot of very intricate work. Well done. Russ
-
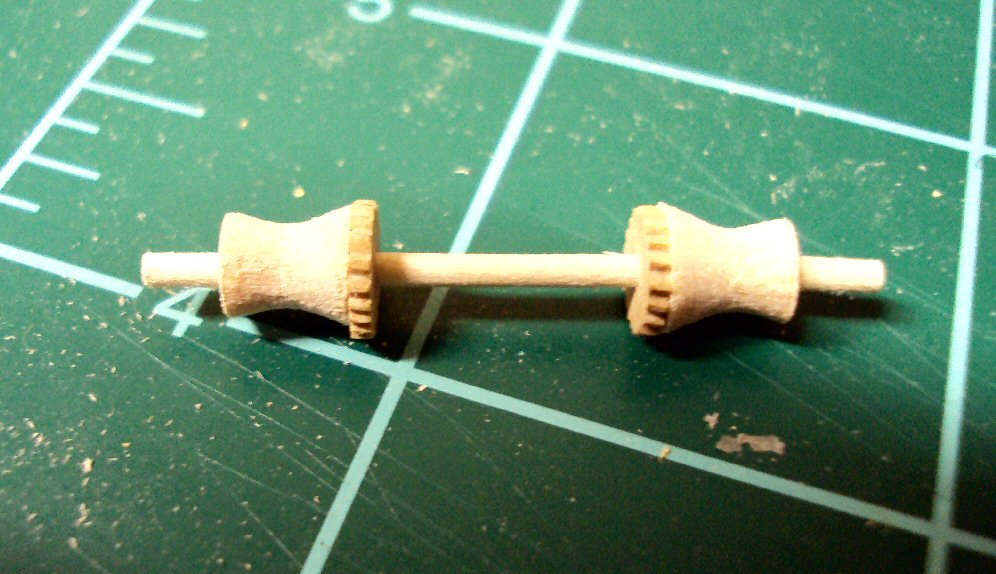
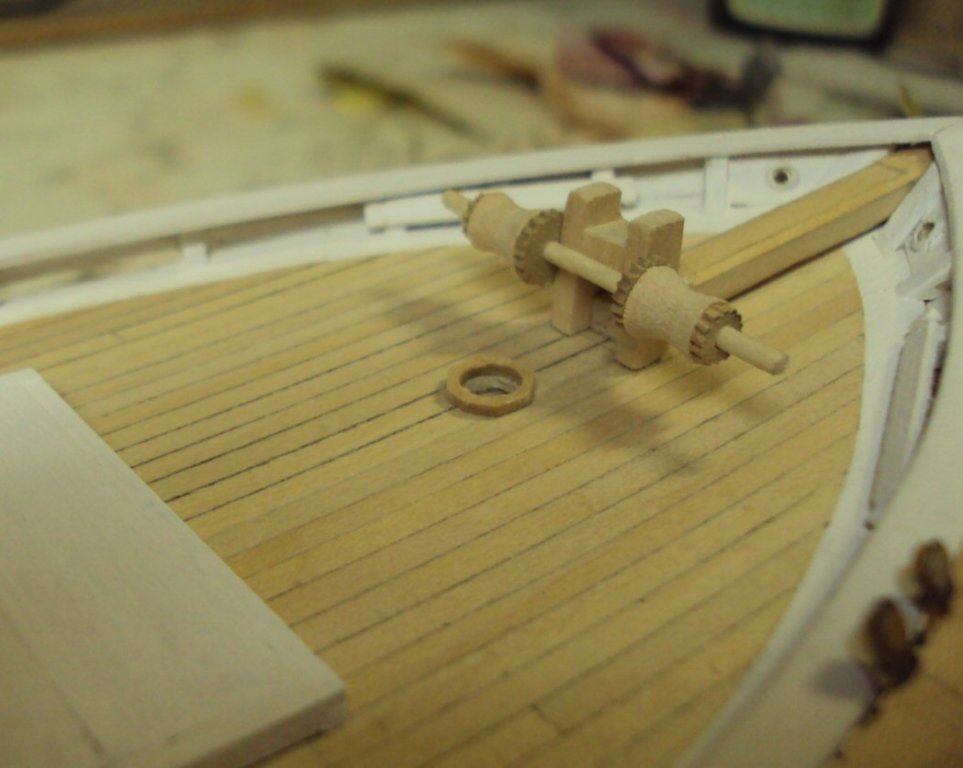
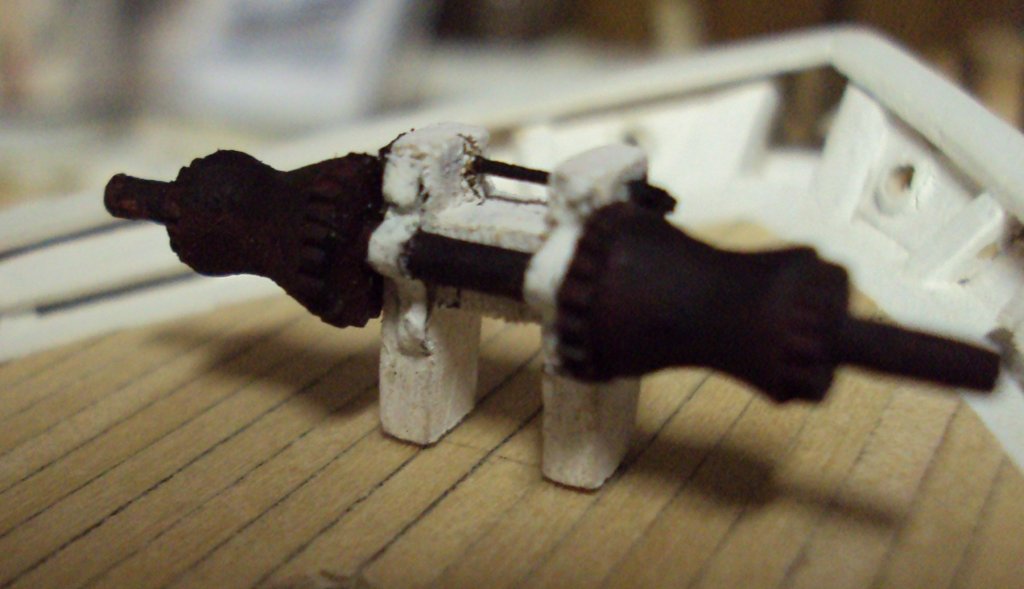
Here is a little more progress. I decided to break up the pace a bit and work on some deck furniture. Here is the windlass so far. It is a relatively simple assembly, compared with Grand Banks fishing schooners. Here is a photo of an actual windlass from the schooner Marie Foster circa 1920s. Questions and comments welcomed Russ
-
It would have been bolted through the keel. Russ