amateur
-
Posts
3,535 -
Joined
-
Last visited
Content Type
Profiles
Forums
Gallery
Events
Everything posted by amateur
-
Are you going for stunning models with lots of details, or for interesting models? There are also some relatively old, not so stunning, but nonetheless interesting models around. For instance the so-called Mataro-model in the Rotterdam Maritime Museum, a model dating back to the time of Columbus, but not a large, or very well build model. Jan
-
Looking for a card model of the Arizona
amateur replied to Dion Dunn's topic in Card and Paper Models
I thought GPM has a 1:200 model of USS Arizona? https://www.papermodel.com/260585-battleship-uss-arizona.html Jan -
Is the interior of the bridge supplied by Billings, or did you make one yourself? 40 years ago the interior was a bit more 'basic' Jan
-
Thanks . Wouldn’t have found out without the hint ingenious system. https://en.m.wikipedia.org/wiki/Prairie-Masker Jan
-
nice..... Just a technical question on the ship: there are two tubes/lines/cables (?) around the hull, what are those? Jan
-
Now you're almost finished the SD14, you could also try a paper-titanic the 1:400 card version of JSC: has far fewer parts than your current build Or the 1:1200 paper version downloadable here: Free Card Models - Currell.net . Even less parts (but slightly more fiddly) Jan
- 201 replies
-
- 3
-

-
- SD 14
- Marcle Models
- (and 1 more)
-
I don’t know how it is in orher countries but here (netherlands) you have to pay import duties and VAT from ‘outside EU’ countries, and the value they use for the duries is the total value of the order (including shipping costs) (unless the seller pays them directly to the Dutch tax office) Books are relatively ‘cheap’, only 9% VAT on the total of price and the shipping costs, but buying kits outside EU is even worse: around 3% import duty, and a whopping 21% on the total of price, Shipping and import duties. (Sometimes things pass the border unnoticed, but sometimes you pay it all….) Jan
-
And still not sure to buy (import duties and postage are quite high...), but will the book by Camerata (waterline models) be back in store? Jan
-
Painted waterline too thick
amateur replied to Dave_E's topic in Painting, finishing and weathering products and techniques
It also helps , but perhaps that is what you alteady did, removing the tape quite soon when the paint is no longer runny, but not dry. And two layers of thinned down gives a better result than one layer of non-thinned down paint. Jan -
Line drawing and art - Willem van de Velde son
amateur replied to Aa-schipper's topic in Nautical/Naval History
The exhibition will be open till May 8th. And I think a model can be done from this sketch. Jan -
Seems to me we have a clear winner
-
Exposire during childhood? The shop I went to when I was around 10 years of age had a wall full of revell and airfix (mostly planes, and a Vasa, a hms victory and a santa Maria). They also had some card (Leon Schuyt: frisian farmhouse, limburg farmhouse, city tower from Amsterdam). I’m pretty sure that mid-seventies that was the situation in all shops over here. And also: on meetings it is the platic guys that are very impressivevwith their weathering- and upgrading techniques. Card is something for children that need something to do on a rainy sundayvafternoon Jan
-
The flattening out is the same as with the decks: the same curve is used at every point., measured ftom the centerline. For decks increasong the curve doesn’t look good. I guess the same applies to sterns (but I’m not sure). I think it is the arc you see, not the distance in ‘height/depth’ between the .centerline vertical’ and the sides. But again: it comes down to ‘what is pleasing to the eye’. I’m affraid the proof is in the eating of the pudding Jan
- 2,699 replies
-
- 4
-
-
- heller
- soleil royal
- (and 9 more)
-
Hi Marc, It is difficult to assess from your pics: it looks as if it is heavily out of square in all directions. But at the same time, your fingers looks like the legs of an elephant (size-wise, that is) In other words: I find it difficult to see which is the better solution: ignoring it, or trying to correct. I had some problems (long ago) with the stern of my Prins Willem, and discovered that a twisted (as in: upper arc not more or less parallel to the lower one) stern drew quite a lot of attention. Can you tweek the startboard-hull to get the angle more or less the same to the port-side? a non-twisted stern that is out of square is perhaps less distracting than a stern that is curved in various ways along its height. (typing I realize that what I am really asking for is a kind of a mock up to compare both solutions.....) jan
- 2,699 replies
-
- 4
-
-
- heller
- soleil royal
- (and 9 more)
-
Hi Phil, do you know whether this 'raised position' of the carronade has any historic background? It looks a rather tricky construction to me. Jan
-
I googled the kit, the ship is a balimore clipper, and the gun looks a bit weird to me (as: never saw a gun mounted like this). It looks not like a mortar, those are far heavier, and positioned very low in the hull, and pointed upwards. this one looks like a relatively small calibre carronade, mounted on some kind of 'raised turning table' to get above the railings. Jan
-
It still looks as if it can cope with higher resolution pics I like the colour of this one. Has so much more depth in it than that bleak grey of some other ships from that period. Jan
-
Clamping perhaps becomes slightly easier as the hull has a rigid core. At least the risk of pushing the structure down into the hold is smaller. And as we all are very distracted by the vast amount of little details added to the ship, no one will notice that your railing is not to your own standards (it still is way above mine ) Jan
-
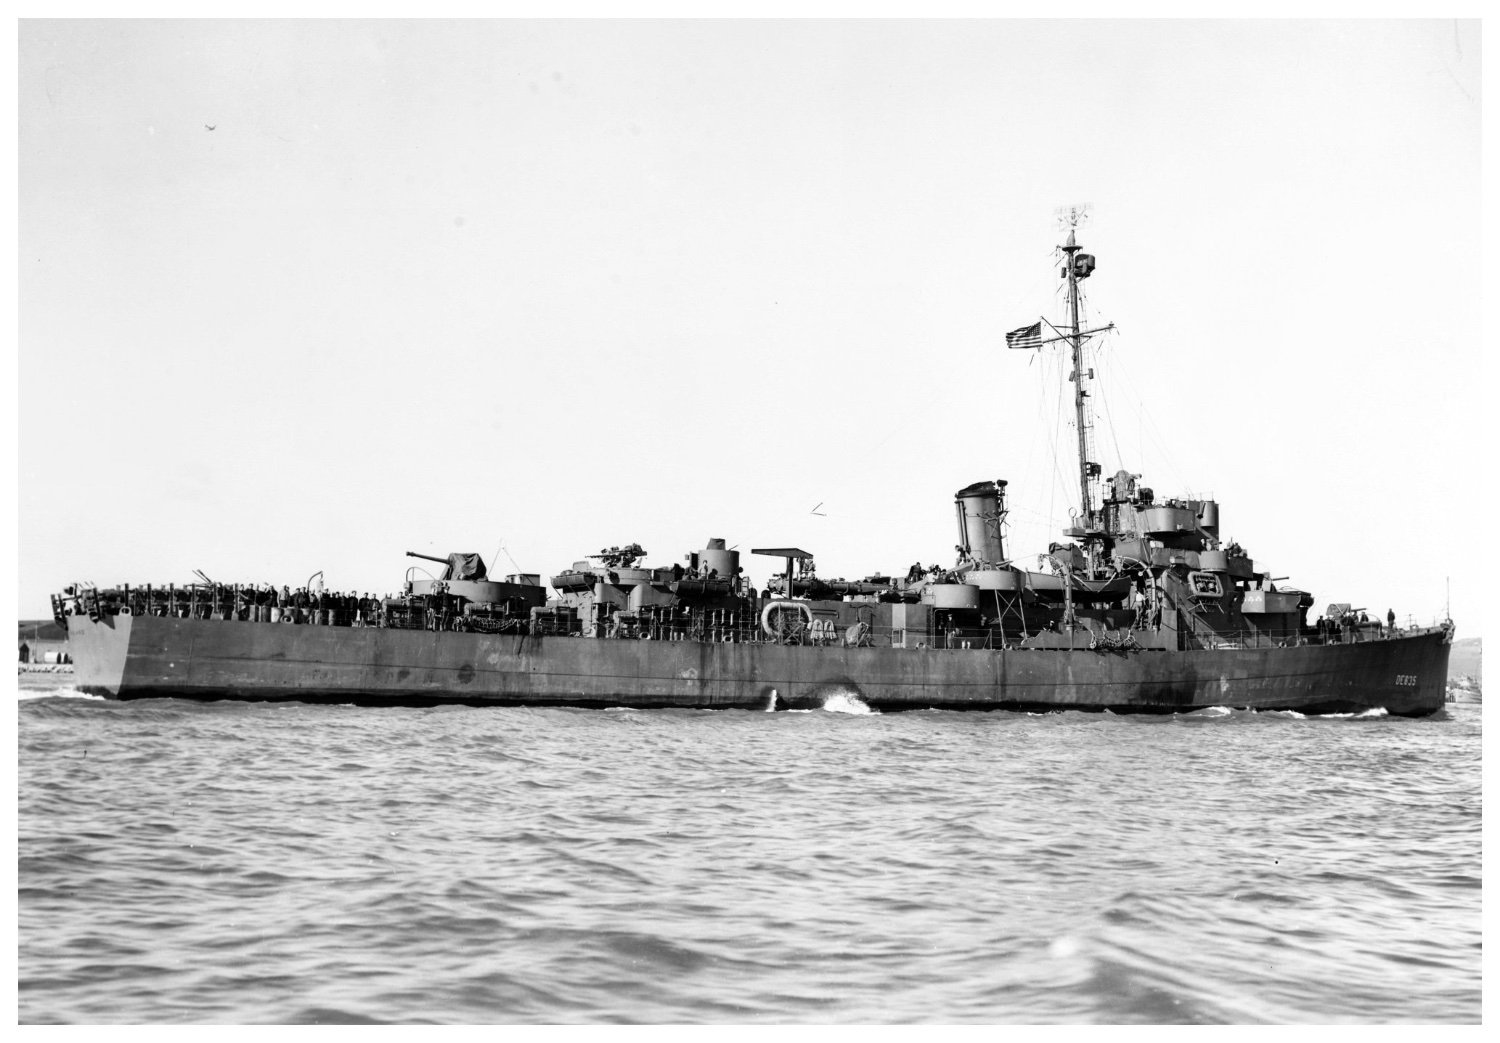
And reality seems to be somewhere in between: those hoses seem to be painted in the same colour as the bulkhead, those two things below are definitely in a more bright colour. (phote dated february 1944)

-
But there are still those two orange coloured hockey-sticks shouting for attention Nice progress. Will be another show-piece! Jan
-
Wait, aren't rhein/mosel, and cerberus the free downloads of papershipwright? The other two cost 6.50 (pounds) each. Total package ending up slightly below 15 pounds when bought at papershipwright. https://www.papershipwright.co.uk/category/free-downloads/ Pretty good deal for the ebay-guy. The Panther looks 'a bit' like the HMV-card model. But I can't see whether it is the HMV-version of it. And perhaps someone likes to buy a rather small diorama, the pics don't look too bad. Or do I miss something else in that last one? Jan
- 27 replies
-
- 4
-
-
- eBay
- kit piracy
- (and 1 more)
-
This will be a show-piece! (Btw: is the shapeways-piece 'reasonably priced', or does it really cost the price it looks?) Jan
-
What's inside? Don't keep us guessing and waiting
-
Hi Daniel, Are you going to remove the plastic parts on the inside, or is it just outside accuracy you are concerned with? Jan
-
and now the camera is inside the wing, and you didn't show us? Or did you just skip the camera, knowing that nobody could ever figure out whether it is there or not? Jan