kurtvd19
-
Posts
3,048 -
Joined
-
Last visited
Content Type
Profiles
Forums
Gallery
Events
Everything posted by kurtvd19
-
 No problem Al but I need time to get it done up - I am a bit late in delivering a museum commission so it's got priority right now. Kurt
- 504 replies
-
- 3
-

-
- washington
- galley
- (and 1 more)
-
The plans have been corrected. Chuck Passaro was able to make the changes and future sets will have the corrections. A sheet mentioning the omission of the notches will be included with the sets already printed - adequate as the detail is identical on the other side (P/S) of the frame. Kurt
- 504 replies
-
- 3
-
-
- washington
- galley
- (and 1 more)
-
Vince: It looks like you spotted an error of omission. I am sure Mick will speak up here if I am wrong, but it sure looks like they are in fact missing as there are matching steps on the aft face of frame 5. I will take the necessary steps to get this corrected for future plan sets when we do them up. Kurt
- 504 replies
-
- 2
-
-
- washington
- galley
- (and 1 more)
-
Can I get some knot advise?
kurtvd19 replied to Antonio Vasquez's topic in Masting, rigging and sails
Practice will cure the tightening too soon. Kurt -
Generic Sharpie by DocBlake
kurtvd19 replied to DocBlake's topic in - Build logs for subjects built 1851 - 1900
Congratulations to Dave on being the first to qualify for one of the prizes we offered to the first 3 who start and continue a build log of the Generic Sharpie. Dave has selected a free day at the 2018 NRG Conference in Las Vegas as his prize and we look forward to seeing Dave in Las Vegas. I have been following this build with great interest. Congratulations again Dave. Kurt -
In early April we announced the following incentive to motivate builders to start a build log of this new plan set. To date there has been one build log that qualified for a prize - Generic Sharpie by DocBlake - I notified Dave of his winning a prize and today he claimed his choice and will be attending one day of the 2018 NRG Conference for free (see prizes listed below). Congratulations Dave. An Incentive for Starting a Build Log The NRG’s Generic East Coast Oyster Sharpie plan sets have been selling out – we had to reorder prints 2X already BUT nobody has started a build log yet. As an incentive we have decided to reward the first three (3) MSW / NRG members who purchase the plans and start and continue* actual build logs** from the plans. The build logs should be started in the scratch built forum and labeled with Generic Sharpie – by “your ID”. When we have six or more build logs up and running we will set up a group build area for the Generic Sharpie build logs. The winners will be able to pick any one of the prizes listed below: Free registration for one day at 2018 or 2019 NRG Conference ($145 value) Shop Notes 1 and 2 set ($60 value) Nautical Research Journal – all content set 4 – CDs or 1 Flash Drive ($150 value) Continental Galley Washington Plan set ($65 value) 1 year NRG membership or extension ($50 - $62 value) THE RULES *“Continue” means that multiple posts containing build log content must be made for a minimum of 30 days after the initial post. Logs will be tracked by starting date and the first 3 that have continued for 30 days following their initial post will be declared the winners. **Note the words “actual build logs” – no fair showing a few pieces of wood and going no further just to win.
-
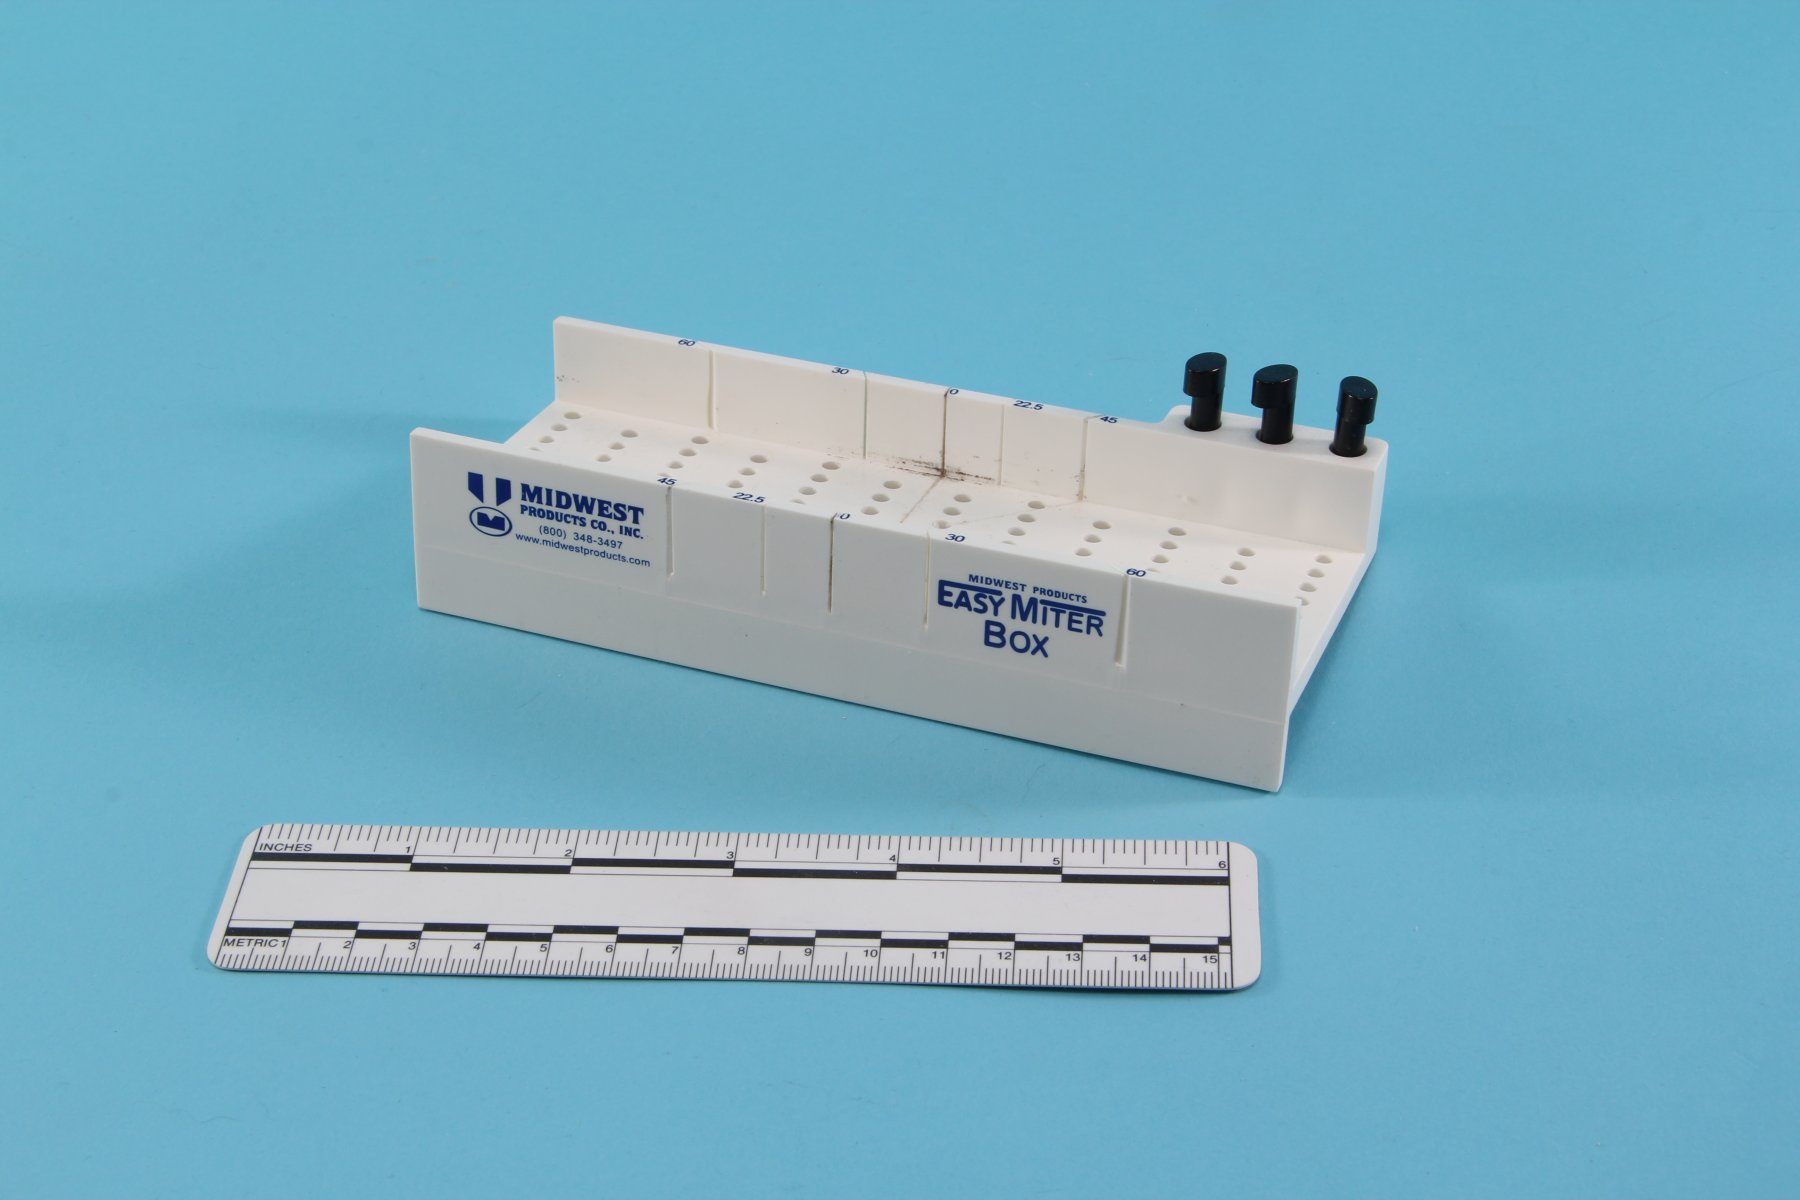
Miter boxes----What is the best one.
kurtvd19 replied to roach101761's topic in Modeling tools and Workshop Equipment
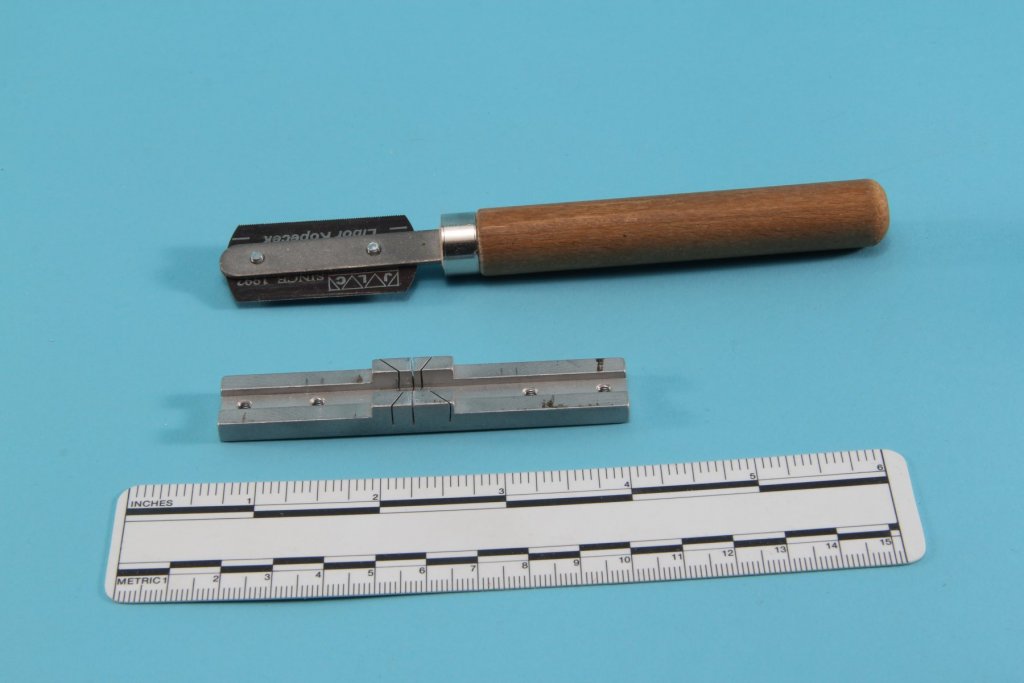
Phil: I like the one from Midwest Products for a large miter box. It's plastic but it holds up well. For smaller work I like the mini miter box from UMM. It can only be used with the saw shown in the photo - from UMM also. Kurt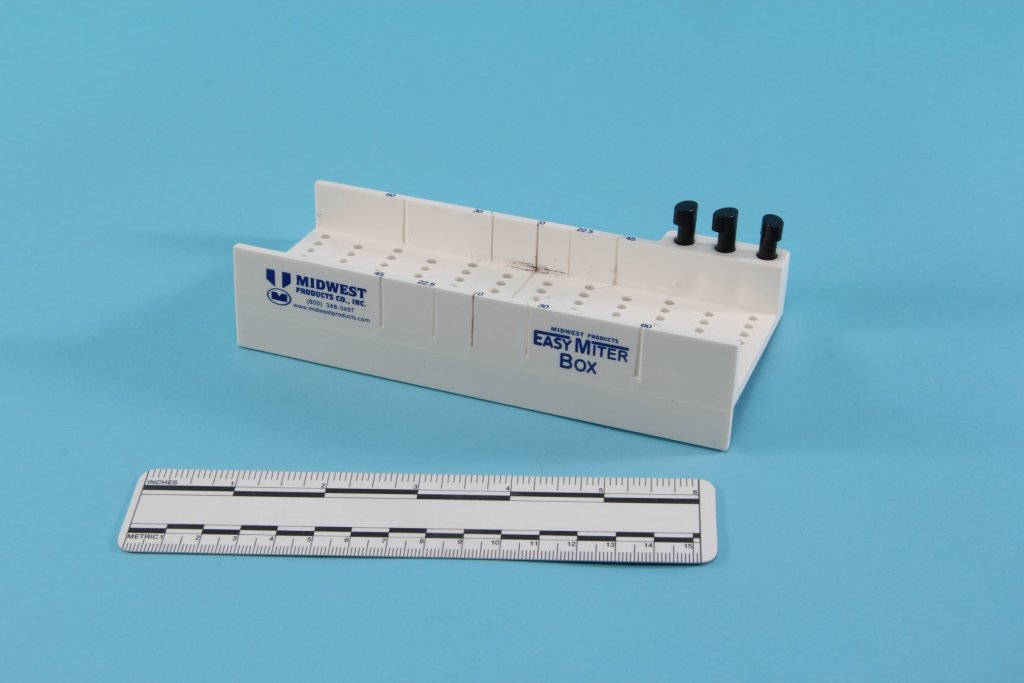
-
2018 NRG CONFERENCE - REGISTRATION OPEN
kurtvd19 replied to kurtvd19's topic in NAUTICAL RESEARCH GUILD - News & Information
Thanks for the input Richard. Mike mentioned something about accessibility - I will contact him and get an answer and get it posted on the web site as well as letting you and Chuck know. Kurt- 19 replies
-
- 2
-
-
- nrg
- conference
- (and 2 more)
-
2018 NRG CONFERENCE - REGISTRATION OPEN
kurtvd19 replied to kurtvd19's topic in NAUTICAL RESEARCH GUILD - News & Information
Chuck: The bus picks us up at the hotel and takes us to the dam and after the tour is done we go to the boat. It's all part of the same package. I would imagine that if you don't want to actually tour the dam you could keep the bus driver company or just stay near the pick up spot and rejoin the group as they go to the boat. After the cruise and lunch the bus heads back to LV. The cost is essentially for the bus to and from along with the cruise and lunch. There might be others who are not going inside as I don't know just how accessible the dam tour is and some of out older members sure aren't going to keep up. The only thing other than what I have said her would be for you to check with Mike Lonnecker at one of the meetings as he's handling this for us. Take care, Kurt- 19 replies
-
- 1
-
-
- nrg
- conference
- (and 2 more)
-
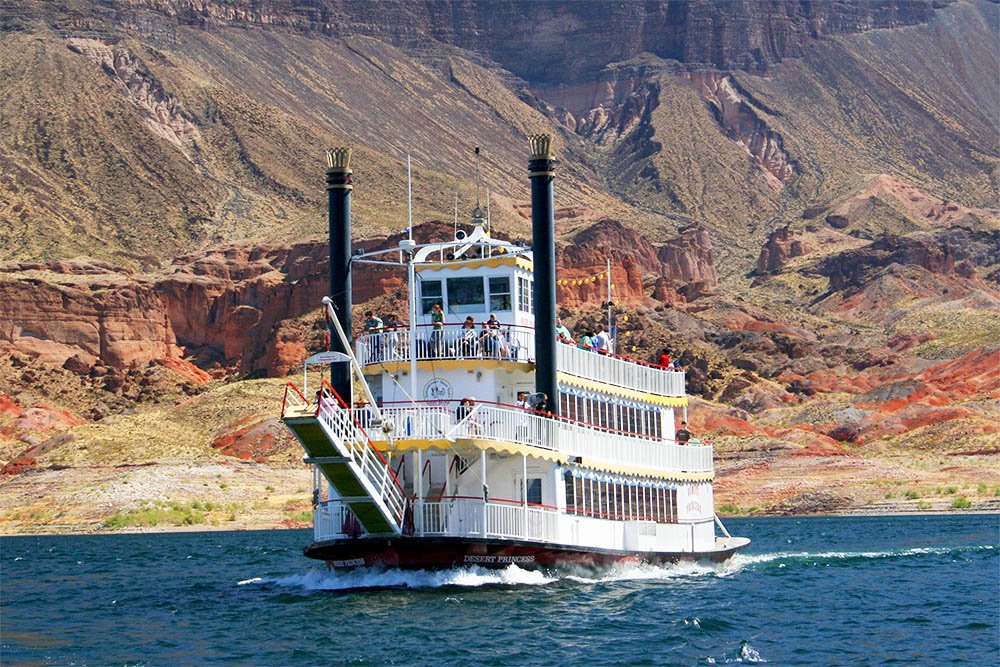
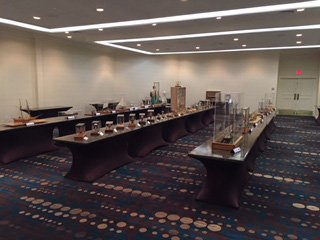
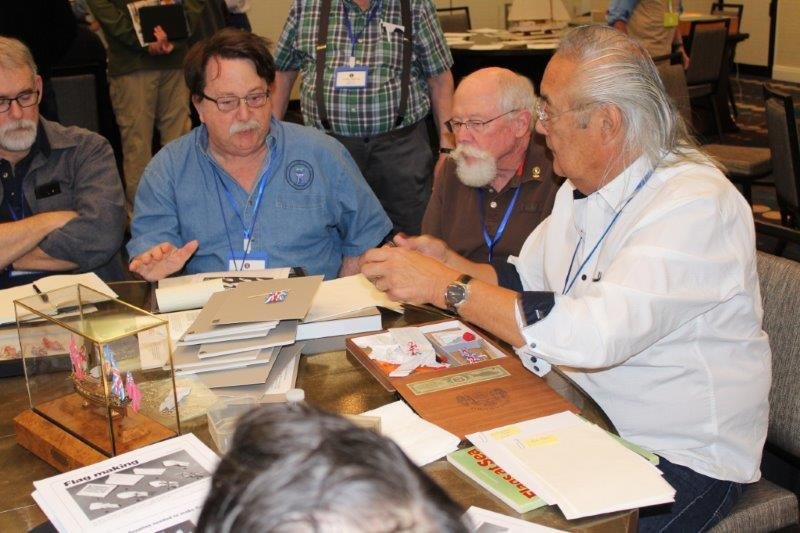
2018 NRG CONFERENCE UPDATE October 25 – 27, 2018 Registration Forms - https://www.thenrg.org/nrg-2018-conference.php The 2018 Conference dates are October 25 – 27, 2018 and the Conference Hotel is the Palace Station Hotel and Casino in Las Vegas, NV. The hotel is just off the “strip” and has free airport shuttle service on a set schedule and free shuttle service to and from the “strip”. HOTEL INFORMATION Room rates (with $15.86 LV Resort fee) are $65.85 (+ tax) for Tuesday through Thursday nights and $125.85 (+ tax) for Friday and Saturday nights. All rooms are equipped with high speed internet access with a daily newspaper and admission to the exercise facility. Last date to get the special conference room rates is September 25, 2018. Reservation Link = https://palacestation.sclv.com/ You must use this offer code for the discounted room rate when making hotel reservations - PCINRG1 If making reservation by phone you must tell them you are attending the NRG Conference The hotel has five restaurants and a Starbucks. The Feast Buffet is one of the best buffets in LV with breakfast, lunch and dinner – open from 7:00 AM to 9:00 PM with $9.99 breakfast, $11.99 lunch and $16.99 dinner prices ($3 to $7 less for Boarding Pass members). The Grand Café is open 24 round the clock and has very reasonable prices with breakfast available at any time or how about a cheeseburger for breakfast? Breakfast prices from $6.99 to $13.99, lunch from $6.99 to $10.99 and dinner from $8.99 to $17.99. For the seafood lovers the Oyster Bar is open 24/7 with any seafood you can think of on the menu. Fine dining is available at the Charcoal Room, open from 5:00 PM until 10:00 PM Sun –Thur. and 11:00 PM on Friday and Saturday. Little Tony's offers a variety of Italian and American pizza styles, including classic Italian, classic American, Sicilian, New York, traditional Chicago, cracker-thin, and gluten-free. Additionally, a selection of pastas, calzones, stromboli, antipasti, and salads are offered, all with a focus on authentic Italian ingredients and organically-grown produce. Open from 4:00 PM to 10:00 PM – M-Th, 4:00 PM to 11:00PM F, 11:00 AM to11:00 PM Sat. CONFERENCE EVENTS The Thursday Tour is a trip to the Hoover Dam and a lunch cruise on Lake Mead on a sternwheel boat. The guided tour of the Hoover Dam includes the entire inner workings of the Dam, not just the exterior. The cruise, with lunch and beverage provided, provides a water side close up view of the Dam. There is also a cash bar on the boat for those wishing to have an adult beverage. DESERT PRINCESS - Lunch Cruise Informal gatherings on Thursday and Friday evenings with a cash bar will be an opportunity to gather and see old friends, make new friends and can serve as a meeting place for those going to dinner together. The speaker line-up for our 2018 conference is almost finalized with an interesting group committed. As of press time almost all speakers are on board. Some names you will certainly recognize as being outstanding and respected members of the Guild or very well known in their areas of expertise. * Ken Foran will talk about Soldering Brass. * Tony Devroude will talk about carving figureheads. * Dr. Al Ross of BlueJacket will speak about kit development. * Kurt Van Dahm will speak about model size table saw use and safety. * Steve Wheeler will talk about some unique Colorado River boats and their construction. * Doug Tolbert will talk about researching the 74 gun class Buckingham. * Chris Dostal, Asst Prof at Texas A&M Nautical Archaeology Program, will speak about nautical archaeological excavations and the use of 3D rendering of the artifacts. * Justin Parkoff, Texas A&M graduate will speak about conservation work on the Union Civil War Gunboat Westfield (aka Texas City wreck). DAILY SCHEDULES (Tentative) – We will have a 90 minute lunch period on Friday and Saturday during which we encourage attendees to visit the vendors and check out the model display. FRIDAY – TECHNICAL SESSIONS * Ken Foran – Soldering Brass * Steve Wheeler – Lapstrake Hull Construction * Kurt Van Dahm – Table Saw Use and Safety Afternoon will feature several round tables – topics and speakers to be confirmed. The Annual Membership Meeting will follow the round tables. Gus Agustin's 2017 Round Table - Making Flags David Antscherl's 2017 Round Table - Frieze Painting SATURDAY – GENERAL SESSIONS * Tony Devroude – Carving Figureheads * Al Ross – Kit Development * Chris Dostal – Nautical Archaeological Excavations – 3D Imaging * Justin Parkoff - Union Civil War Gunboat Westfield – Texas City wreck * Doug Tolbert – Researching 74 Gun Class Buckingham The after dinner speaker will be NRG member and artist Peter Rindlisbacher whose talk will cover his use of ship models to help create his paintings. MEALS Lunch on both Friday and Saturday will be sandwich and salad buffets where you can select your own sandwich and salads. This has been a very popular type of lunch for our members at past conferences. Banquet meal choices are: * Sautéed Chicken Breast – Herb Roasted Marinade * Orange Roughy with Fresh Tropical Salsa * Traditional 6 oz. Filet of Beef All dinners include rolls and butter, salad, vegetable, potato, coffee, hot and iced teas and desert. If you have special dietary restrictions please let us know when you register so your needs can be accommodated. Special dietary needs can’t be accommodated if we are not notified at least a week before the event – due to the hotel’s requirements. VENDORS At press time there are two vendors confirmed. BlueJacket Shipcrafters and Train Troll will be attending and displaying their materials. The NRG will also have a sales table. MODEL DISPLAY Please bring a model; we will have a lot of space for model display. The model registration form is also on the web site. 2017 Model Display Downloadable registration forms are now on the website. The hotel registration information and link is also posted on the website.

- 19 replies
-
- 9
-
-
- nrg
- conference
- (and 2 more)
-
Generic Sharpie by DocBlake
kurtvd19 replied to DocBlake's topic in - Build logs for subjects built 1851 - 1900
Dave: I have been the contest chairman at Manitowoc for 18 or 19 years and I will be quite busy BUT we will find time to talk. Are you planning to go to the Friday evening get together with dinner at a neighboring restaurant and then back to the museum for ice cream and cookies? I did up the participation certificates and the model display cards the other day and noted your entry I can guarantee you will enjoy the weekend. See you soon. Kurt -
Generic Sharpie by DocBlake
kurtvd19 replied to DocBlake's topic in - Build logs for subjects built 1851 - 1900
Joe: Not to take anything away from Dave's fine work but the reason I like this project so much is that the plans provide the templates for the jigs - and they are on duplicate sheets so there is no need to cut up or copy plan sheets. I was able to inspect the 3 models Bill Strachan built during the development of this project at the Joint Clubs meeting in New London, CT on April 28 and they are proof that this is a neat project. I expect Dave's build will be fun for him - once the jigs are done - and I look forward to talking with Dave this coming weekend at the WI Maritime Museum's 42nd Annual Midwestern Model Ships and Boats Contest and Display. http://www.wisconsinmaritime.org/special-events/midwestern-model-ships-boats-contest-and-display/ Kurt -
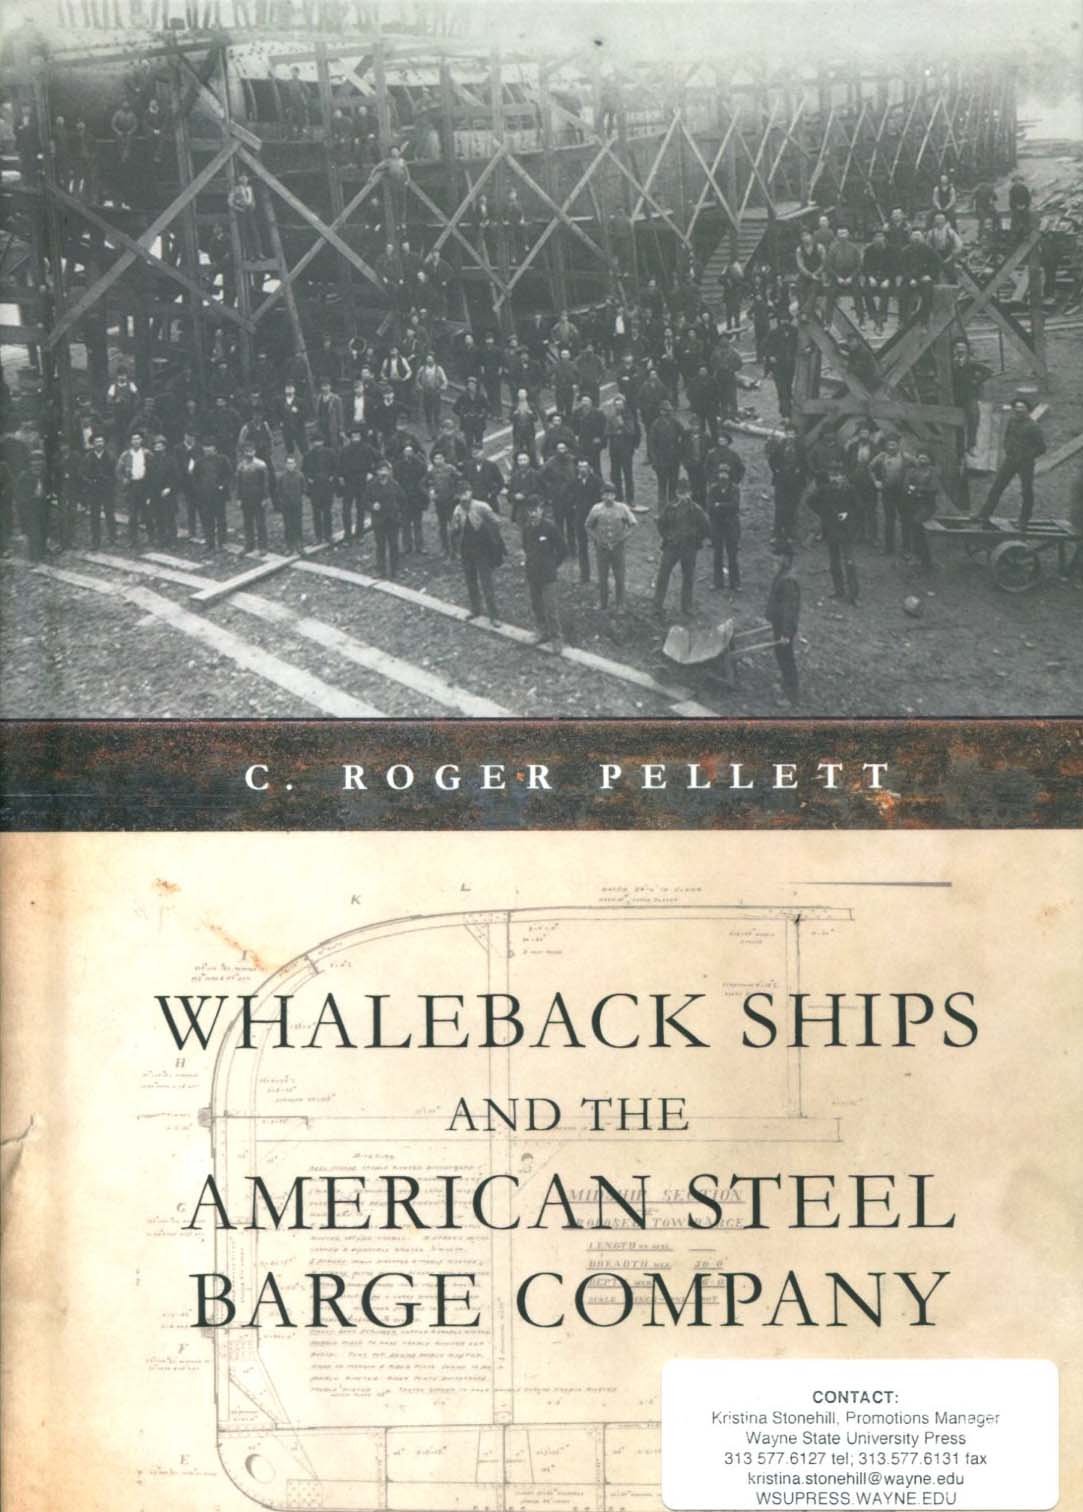
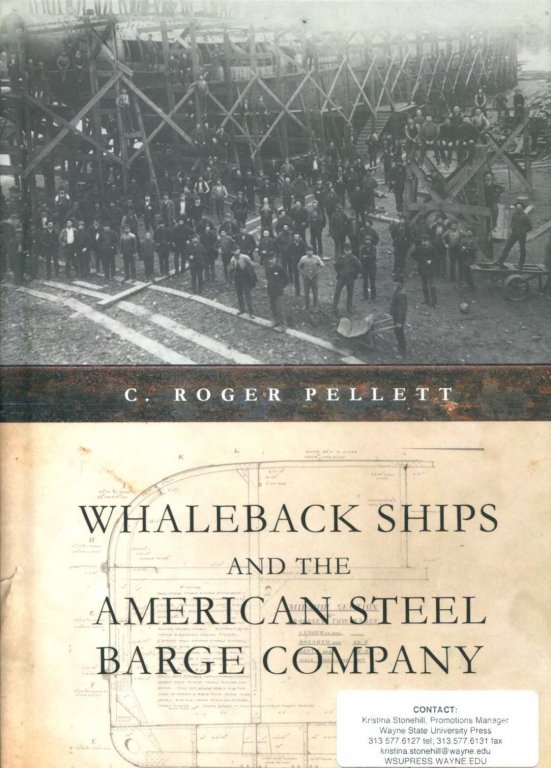
I have a review copy from the publisher and the book will be reviewed in the Nautical research Journal soon. I have only skimmed the book as I am getting ready for the show/contest at the WI Maritime Museum being held on the 18-20 of May but it reads well and is nicely put together. iI have read enough to highly recommend the book if you have any interest in this type of craft or Great Lakes vessels and history. As soon as I am back reading this book is a priority. Congratulations Roger on being published. Kurt
-
Laying out plans in a smaller workshop
kurtvd19 replied to alde's topic in Modeling tools and Workshop Equipment
Do a search here on MSW - this topic had an extensive discussion some time ago - may different ways to do this. Kurt -
We have some Canadian members who report that their Journals take up to 90 days to arrive. They start to look for their Journal when the see the next issue posted to the NRG web site. The Journals are sent to a consolidator in NY who ships them across the boarder and they are then put in the Canadian mail system. This is the way all non USA periodic Journal mailings are done. Some members in Australia routinely report less than 30 days from our shipping to NY until they get them down under. I get a confirmation (and the bill) from the NY consolidator when they are shipped out so the delay isn't at that end. Canada is by far the worst when it comes to delivery times. About 1/2 of our Canadian members pay for first class mailing to avoid the delay. Kurt
-
Machining copper stock.
kurtvd19 replied to mtaylor's topic in Modeling tools and Workshop Equipment
I read someplace that Bacon fat could be used as a lubricant for working on non-ferrous metals. As I had just cooked a pound of Bacon I had a jar of fat cooling off. Took a very small bottle lid of it to the shop and it worked quite well when I was drilling with a #74 bit pretty deep. I was concerned about the depth w/o lubricant and the Bacon fat worked quite well - didn't break a drill bit and got 6 holes done. A toothpick dipped into the fat transferred the fat to the drill bit. Kurt -
Very small chain is available in spools from jewelry supply stores. It's relatively cheap. HO scale is easily fit with readily available chains. Even places like Hobby Lobby stock small chain. I have all sorts of the stuff picked up at garage sales. Kurt
-
Those are extra parts in case you goof on the first set. Kurt
-
Ken beat me to mentioning UMM-USA. John was a vendor at the NRG's St. Louis Conference and his tables were always crowded and doing a brisk business. I have a whole bunch of his tweezers - g\very good quality at a good price. His tools are all of good quality and he has a bunch related to photo etch bending and handling. Kurt
-
Generic Sharpie by DocBlake
kurtvd19 replied to DocBlake's topic in - Build logs for subjects built 1851 - 1900
Dave: You didn't waste any time in getting started - I only mailed you the plans 8 days ago! It sure looks like it will be a nice project and I will be following with great interest. Kurt -
The NRG has archived our back issues of the Nautical Research Journal on CD discs available for purchase. We have done this since about 2002 when we did a 2 CD set for the NRG years 1-40. We have followed up with 2 additional CD's covering the next 10 years 41-50 and the years 51-60. Due to changing technology we now have had to make this information available on USB flash drives because so many computers do not have CD/DVD drives anymore. When the next digital revolution makes flash drives obsolete we must be sure to transfer the back issue data to the "new" media in a timely manner - but as long as it's done in a timely manner after the "new" system is introduced there should be no problem.. It's when the organization says "there's plenty of time to do this" and puts it off until it is too late that there are issues. I got stuck trying to archive old 1" reel to reel video tapes onto VHS - it never happened and when I retired there were still reels of old fire investigation recordings sitting on a shelf. Open cases require the evidence to be kept virtually forever - but it's a catch 22 when there is no way to retrieve it. Kurt
-
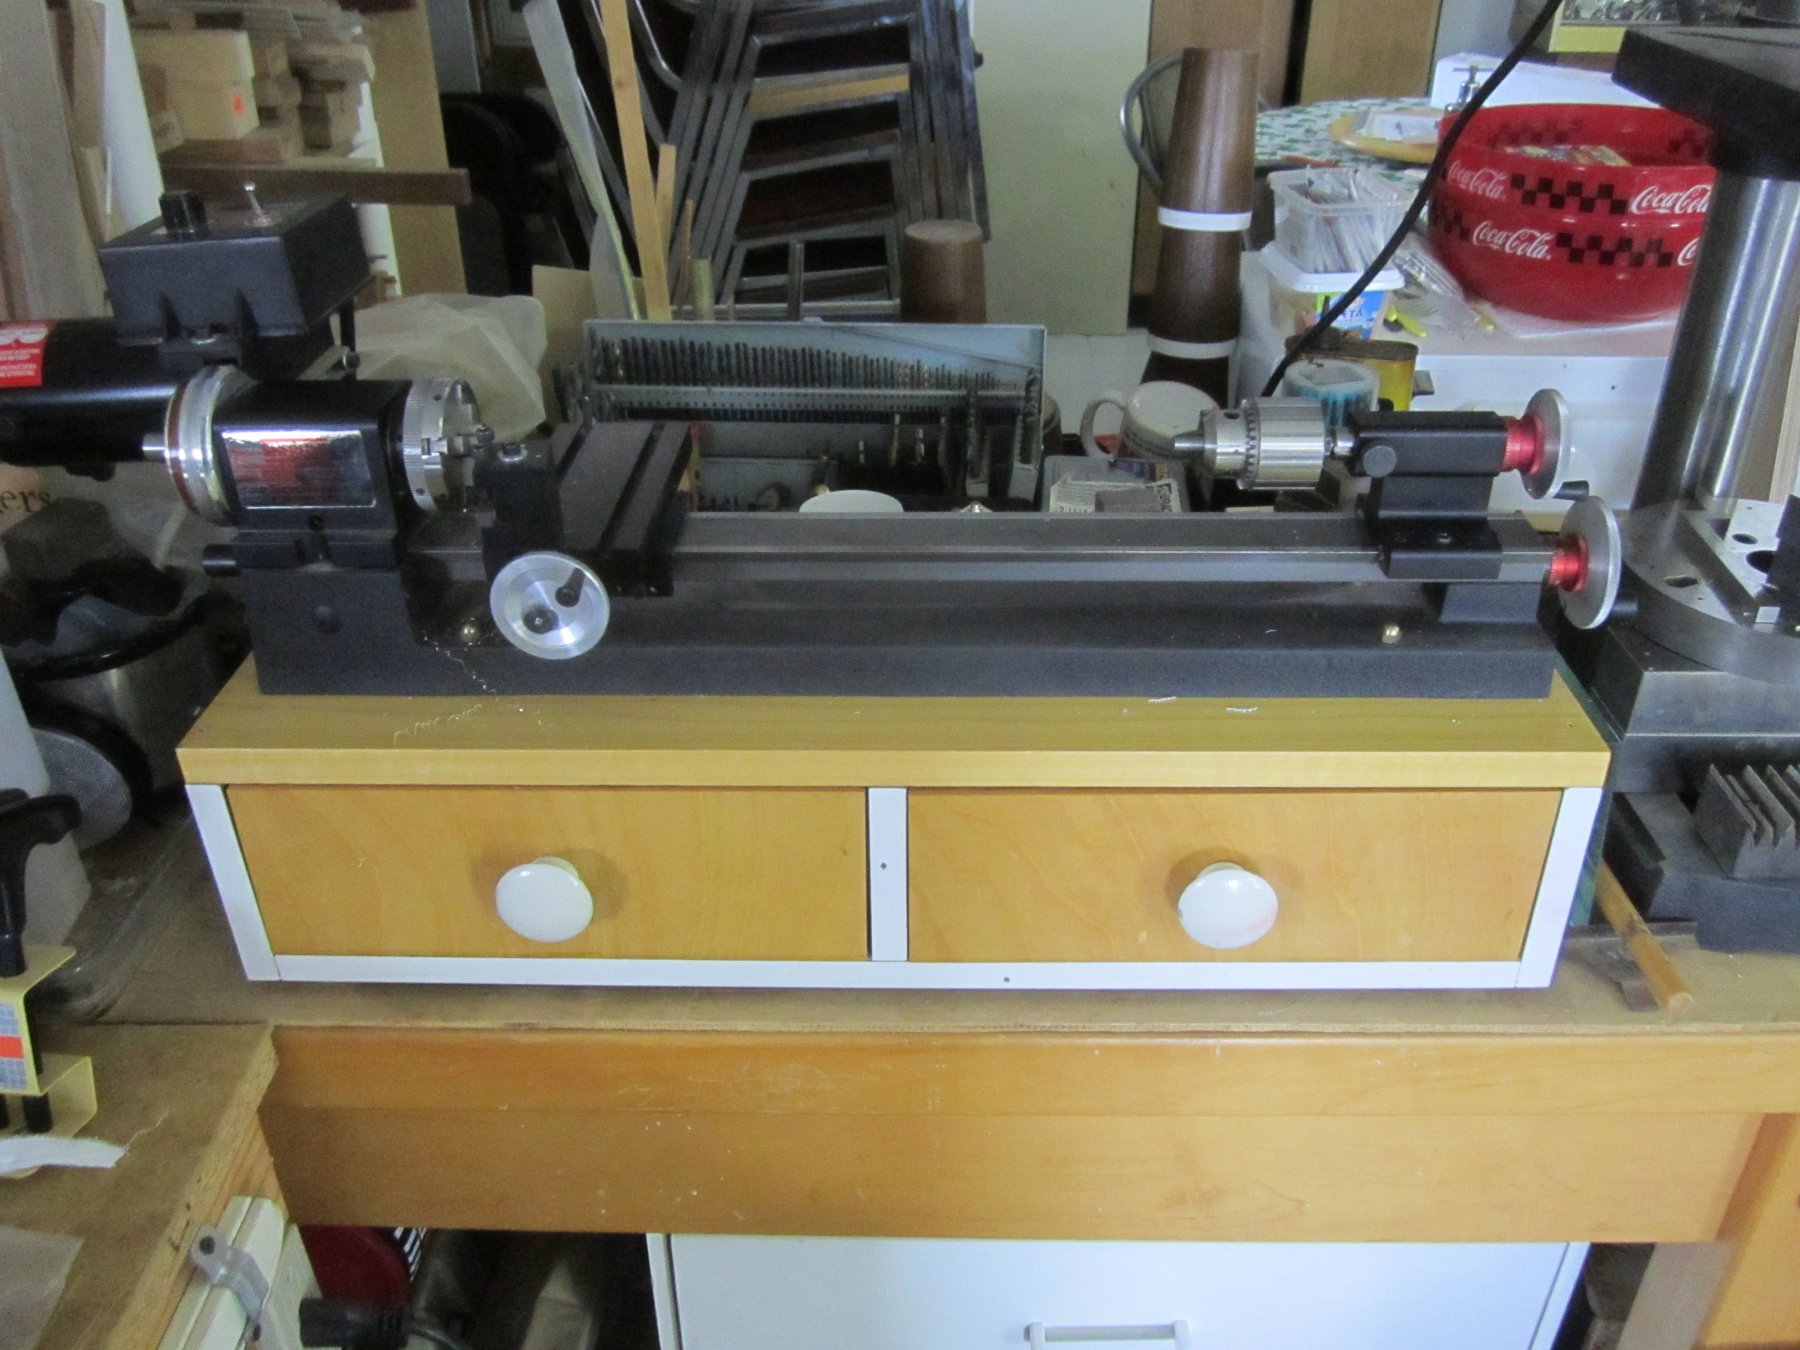
Sherline mill and lathe questions
kurtvd19 replied to Landlubber Mike's topic in Modeling tools and Workshop Equipment
Mike" I made a base with drawers to keep the various tools for the lathe real close. It's heavy enough that I didn't want to move it for an uncluttered shot but you can get the idea. Kurt
-
Thanks Bruce. It's fixed now. Kurt
-
Sherline mill and lathe questions
kurtvd19 replied to Landlubber Mike's topic in Modeling tools and Workshop Equipment
Sherline makes conversion kits for the mills and lathes to change them between inches and millimeters - a lot cheaper than buying a new machine. Kurt