HOLIDAY DONATION DRIVE - SUPPORT MSW - DO YOUR PART TO KEEP THIS GREAT FORUM GOING! (Only 20 donations so far - C'mon guys!)
×


Tallshiptragic
-
Posts
551 -
Joined
-
Last visited
Content Type
Profiles
Forums
Gallery
Events
Everything posted by Tallshiptragic
-
 If you have an angle grinder but with variable speed (can change the motor speed) that will be an easy way of cutting through the hardened putty. Take your time though, sand a little at a time. Like I mentioned I use car bog putty which is waterproof before a resin coating. With the other side, thin smooth coats. It's all a learning process and you won't need to be concerned with your hull, as you said once you've pained through the sanding it'll be nice a smooth in the end. I'd also recommend finishing and shaping the bow bulwarks and bulbous bow so you can resin that at the same time.
 -
I'd suggest to sand the decks with thin files and re scribe the plank lines or... use thin veneer ash planks and plank it in wood.
-
Looks a little heavy on the coats my friend but will a lot of sanding it will be fine. Did you sand the hull down before adding the putty?
-
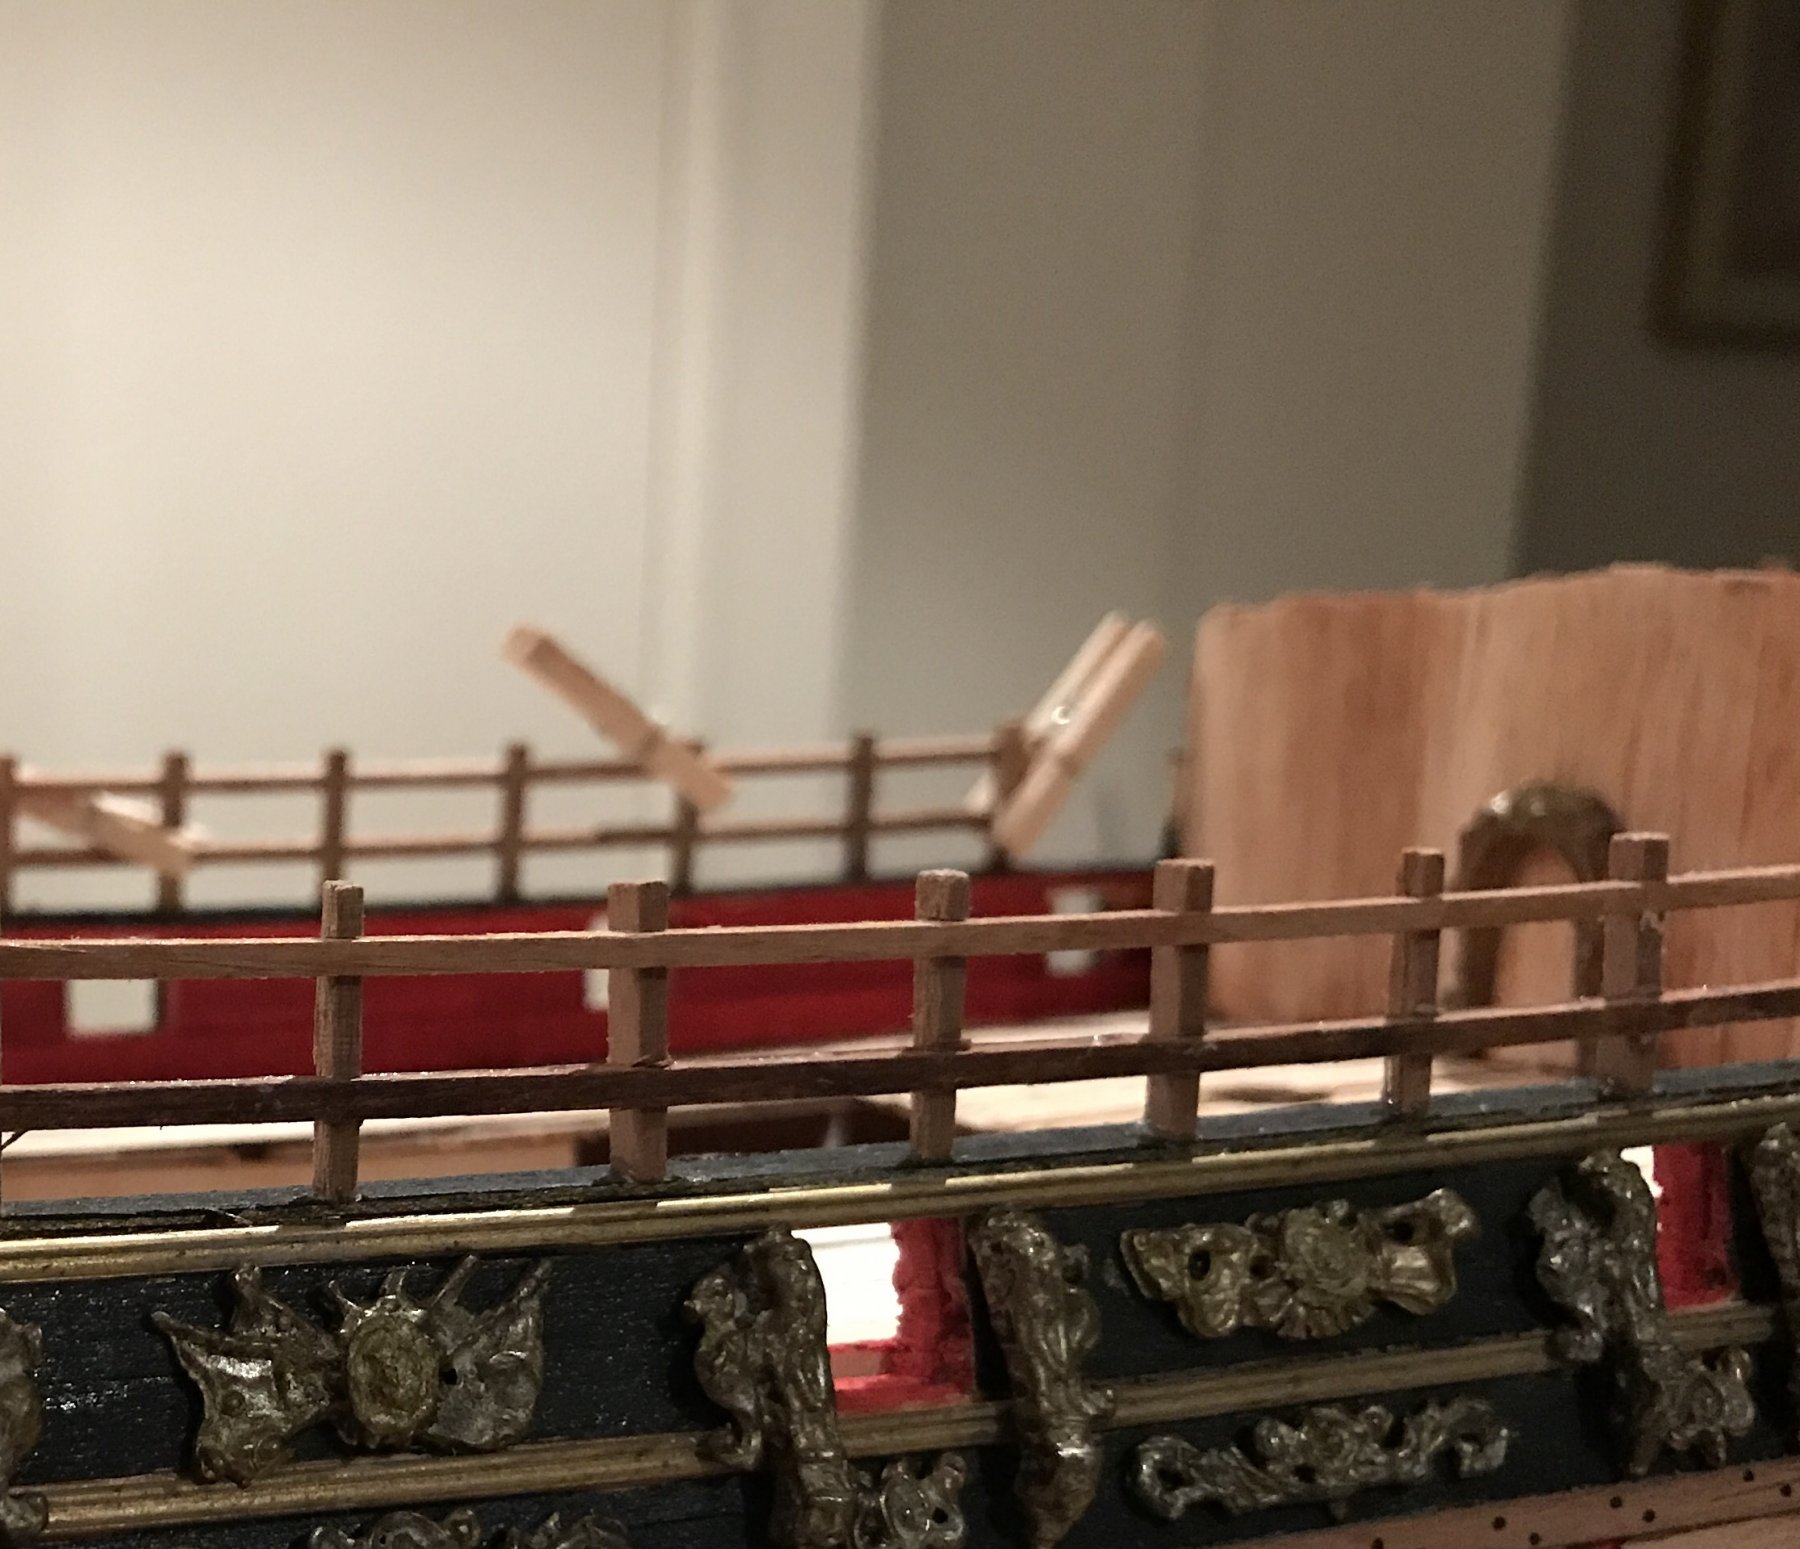
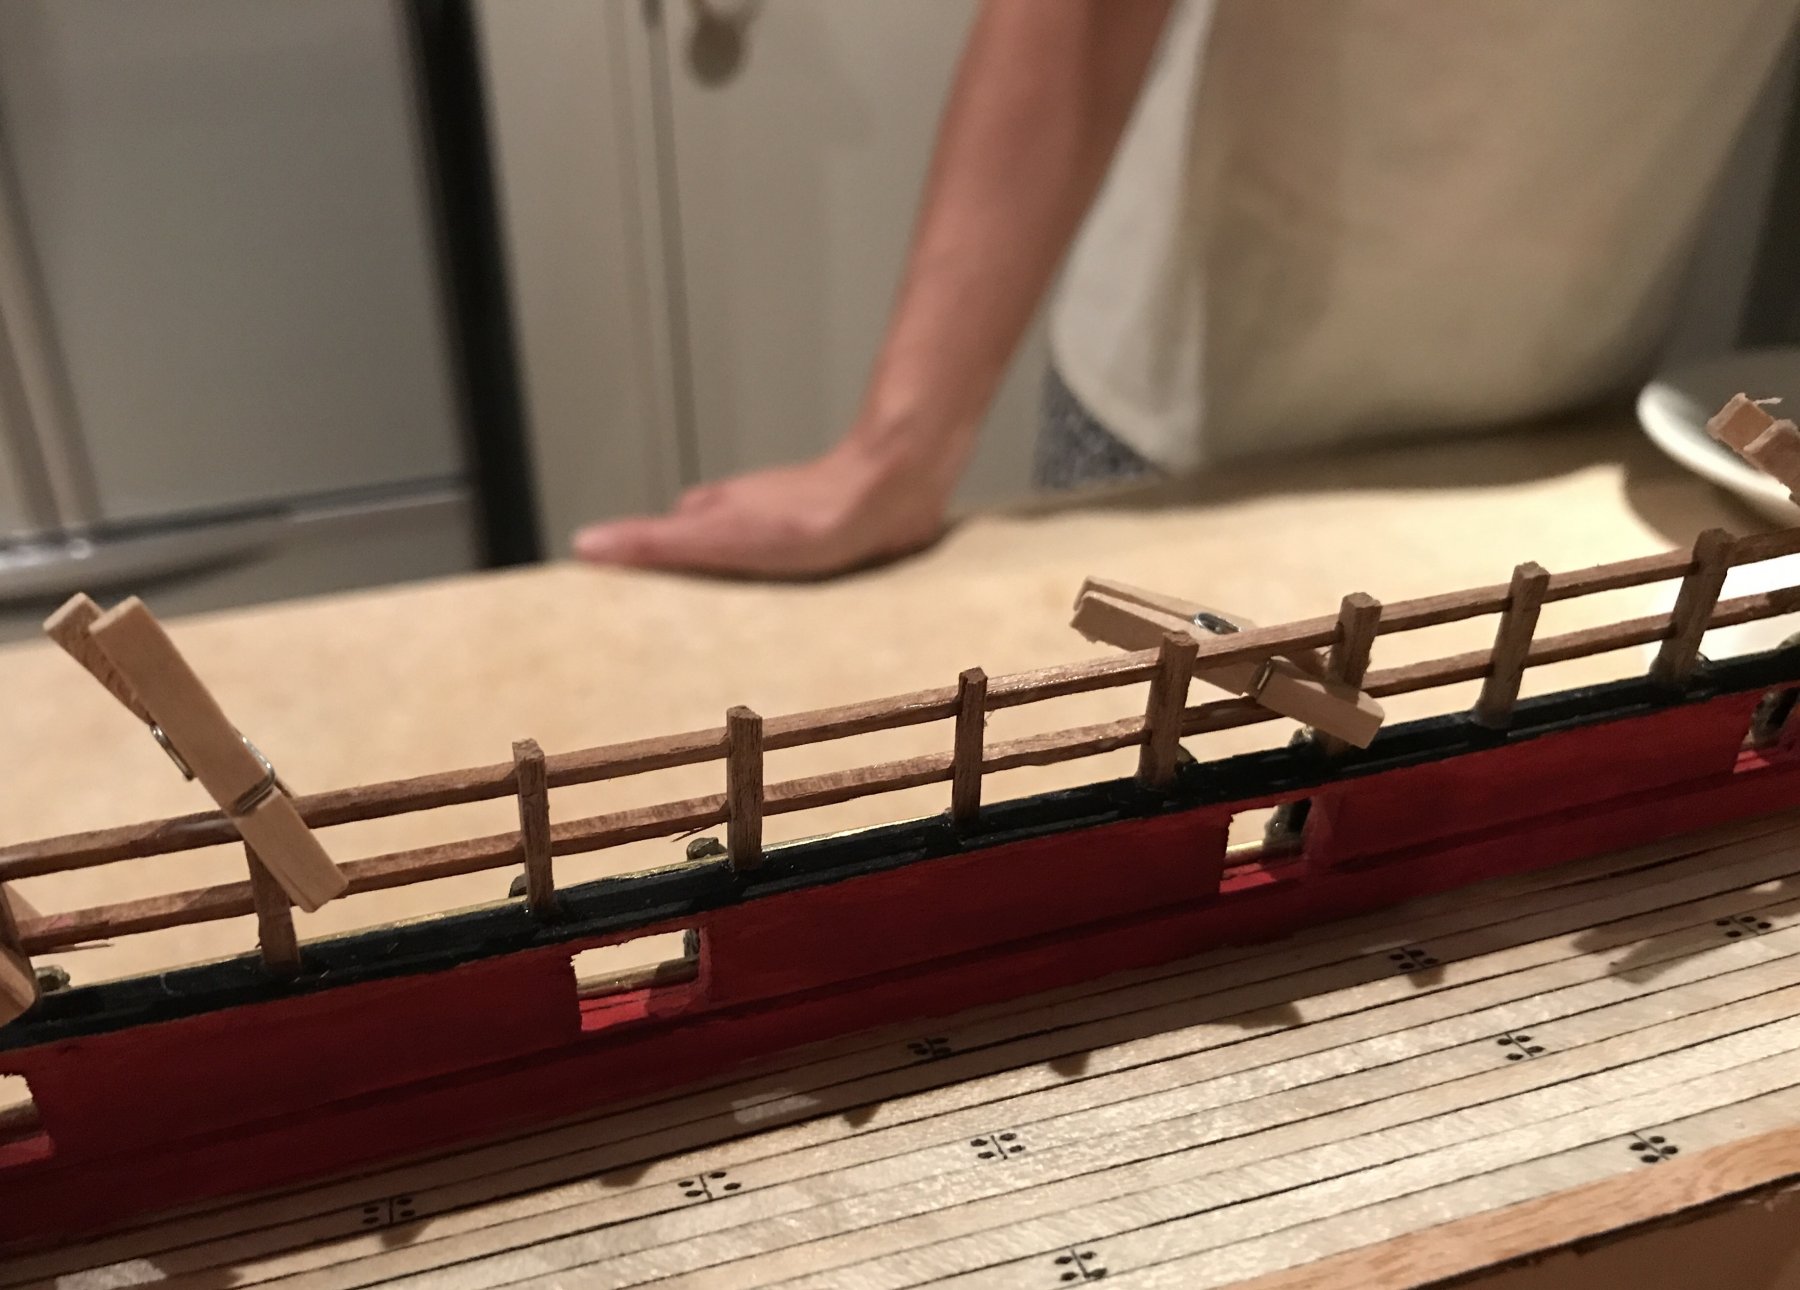
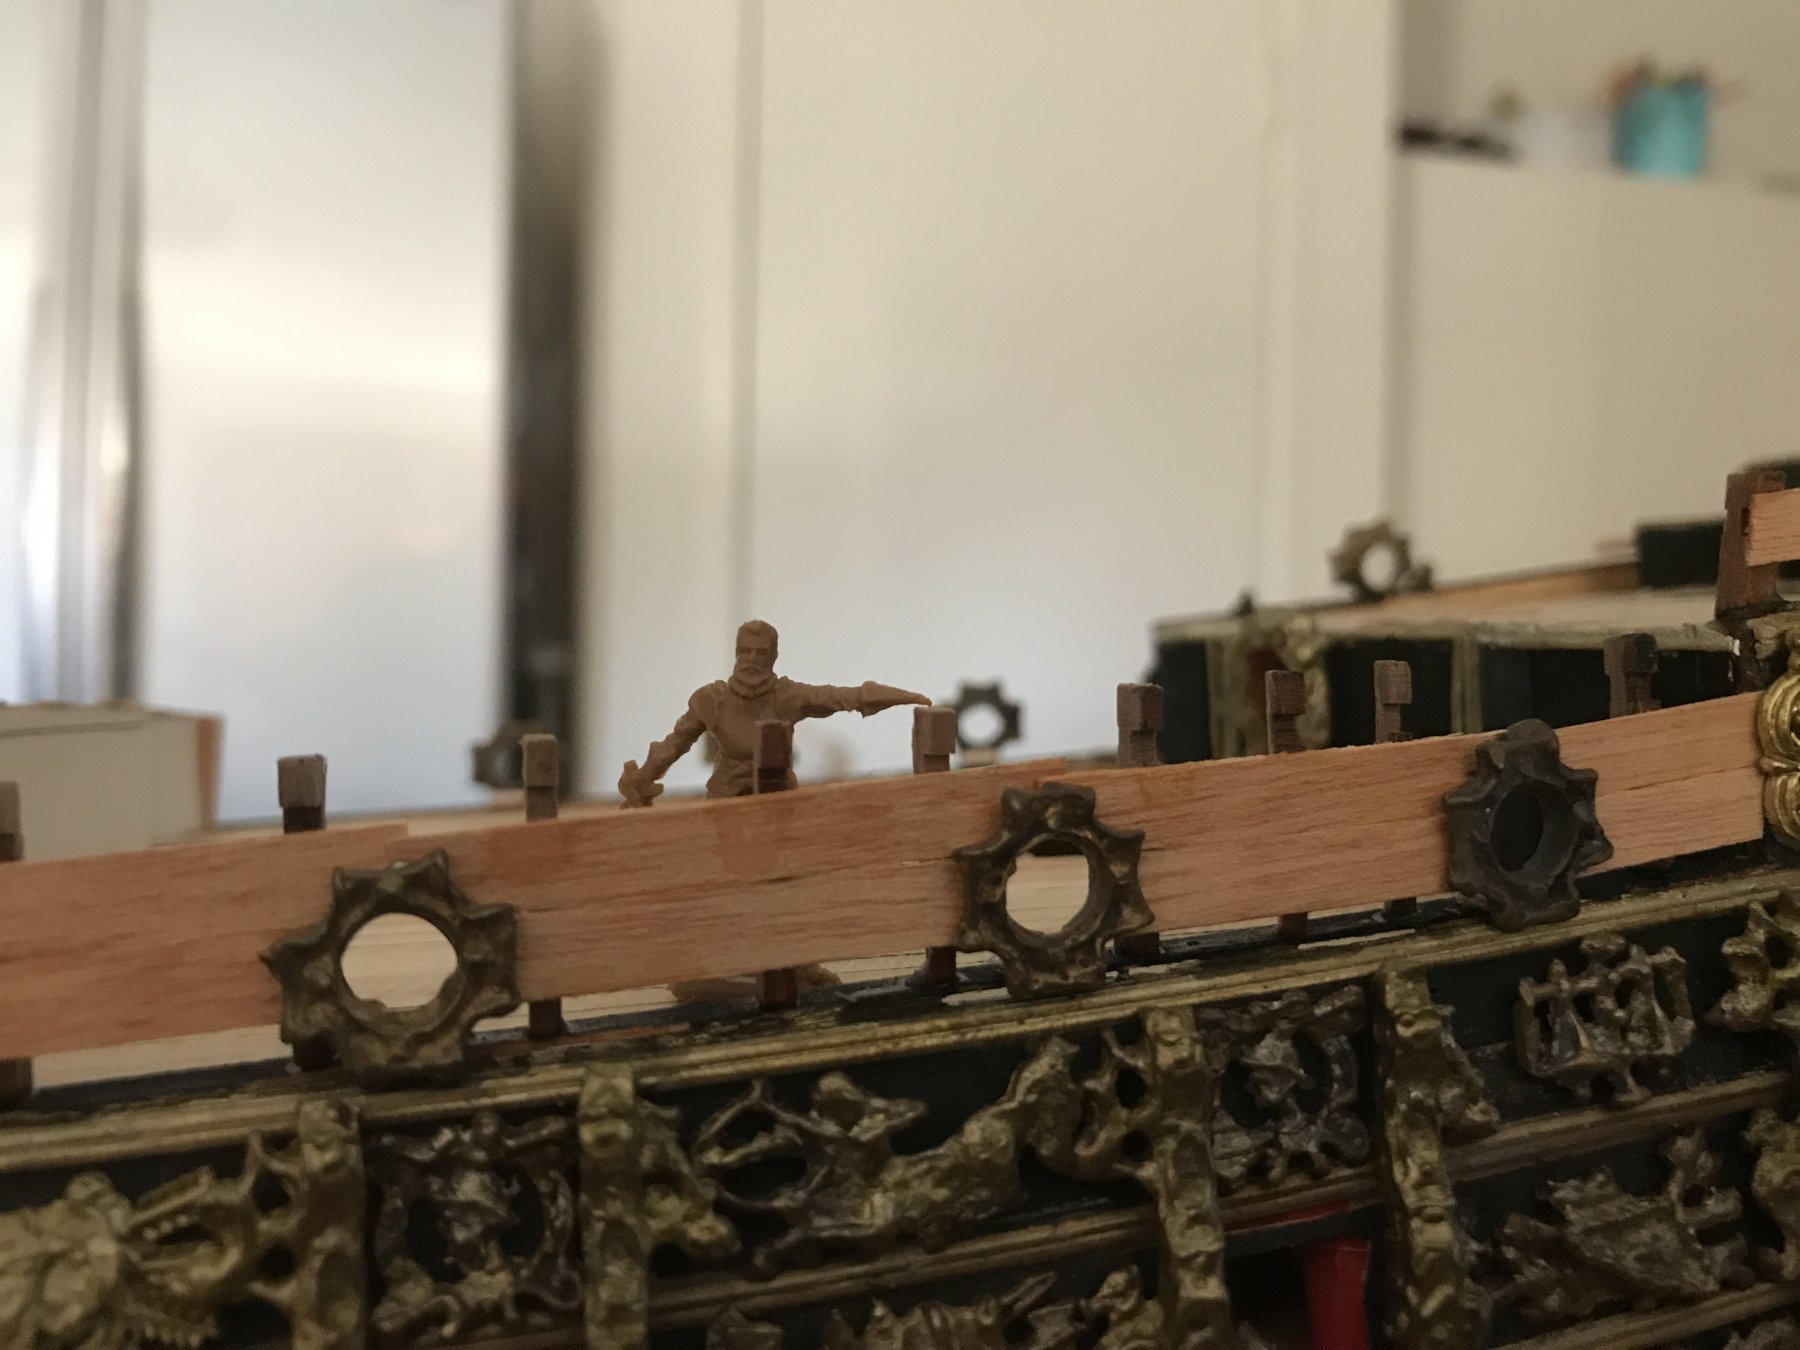
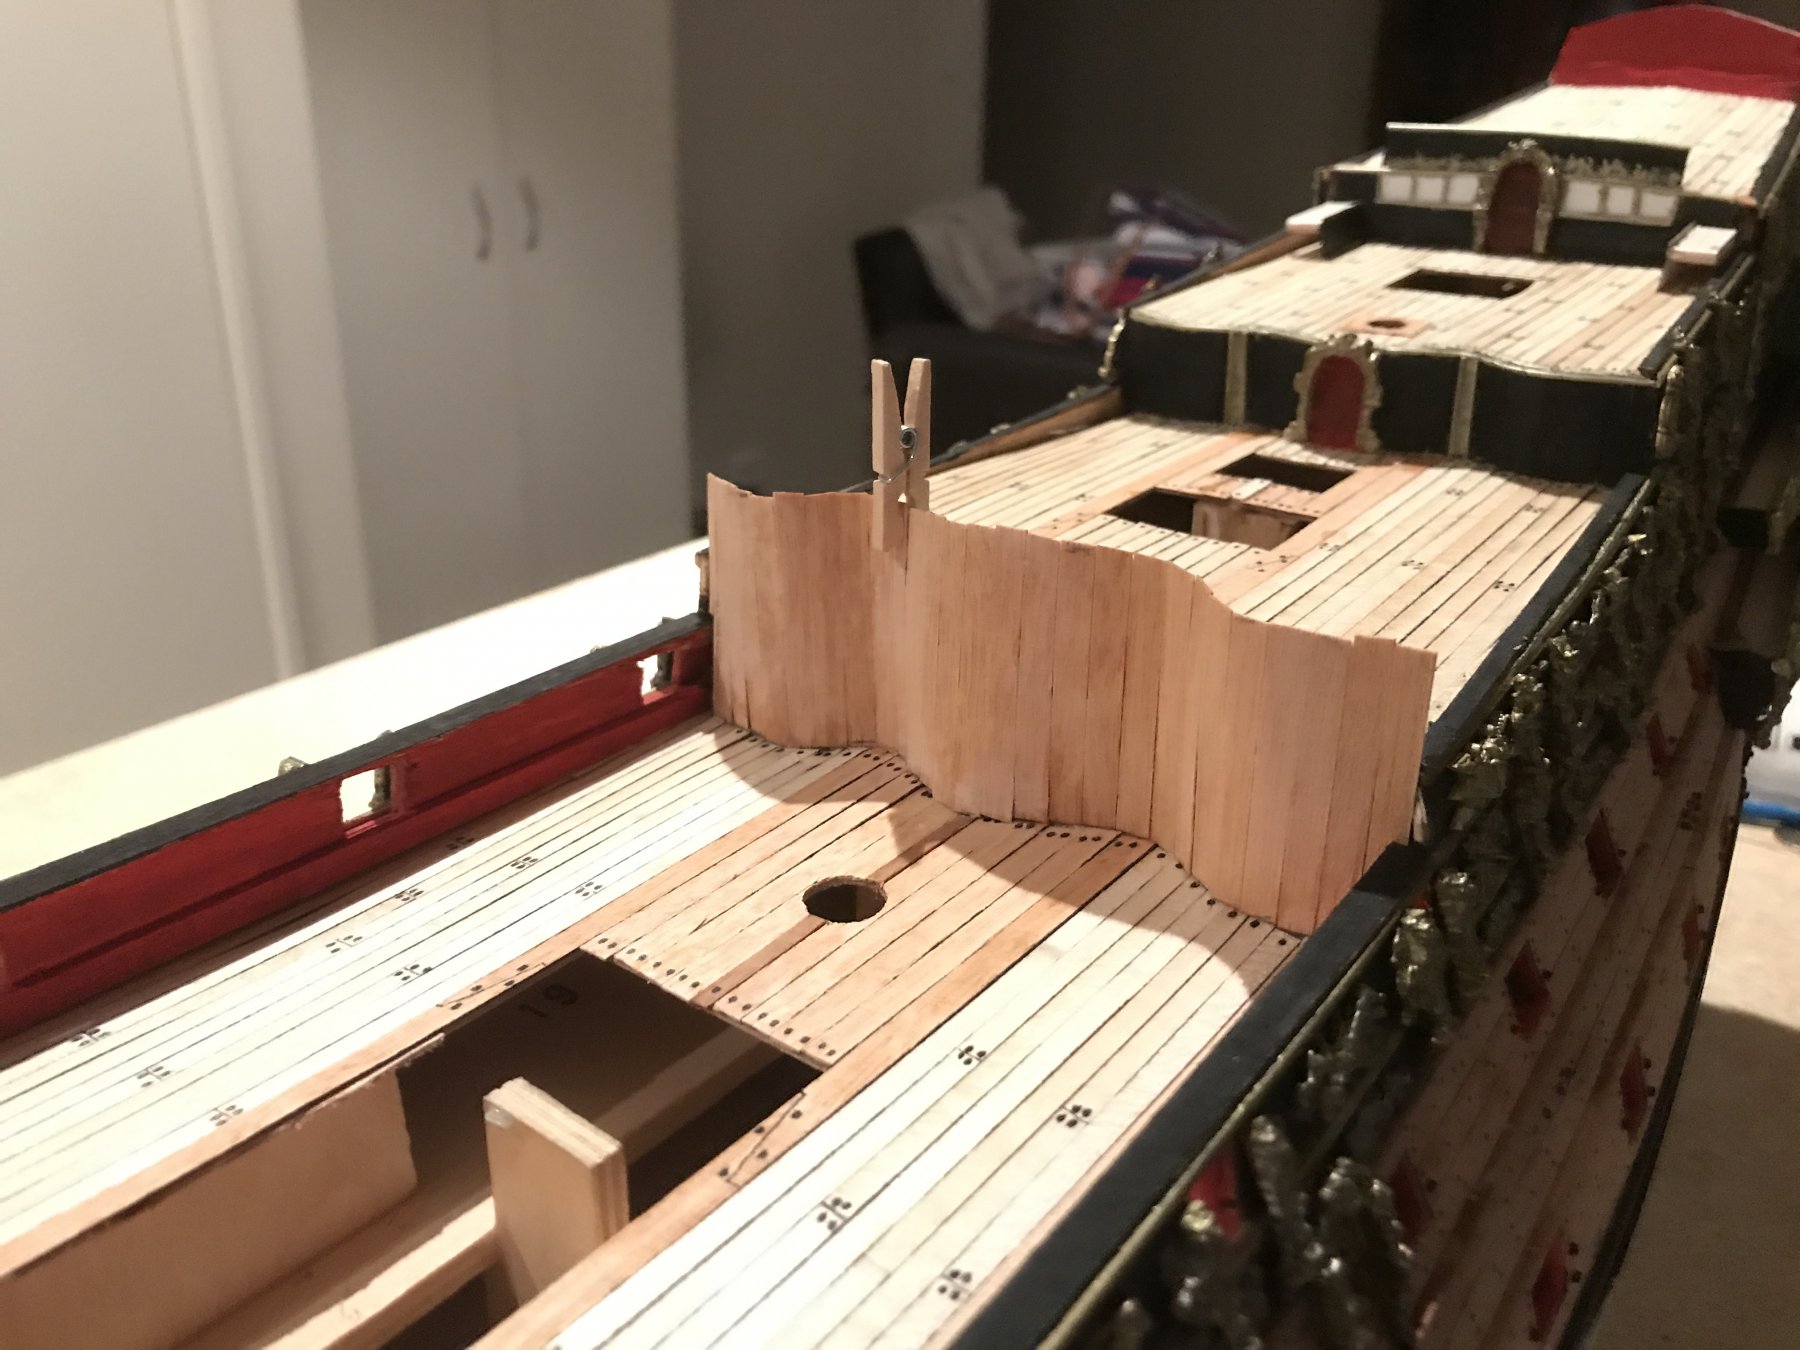
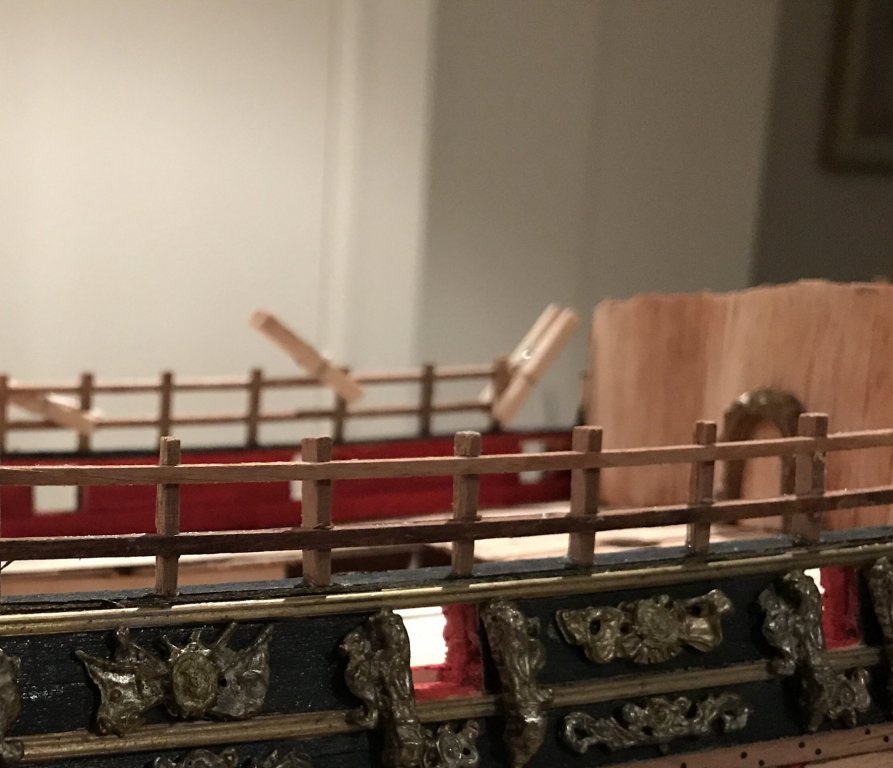
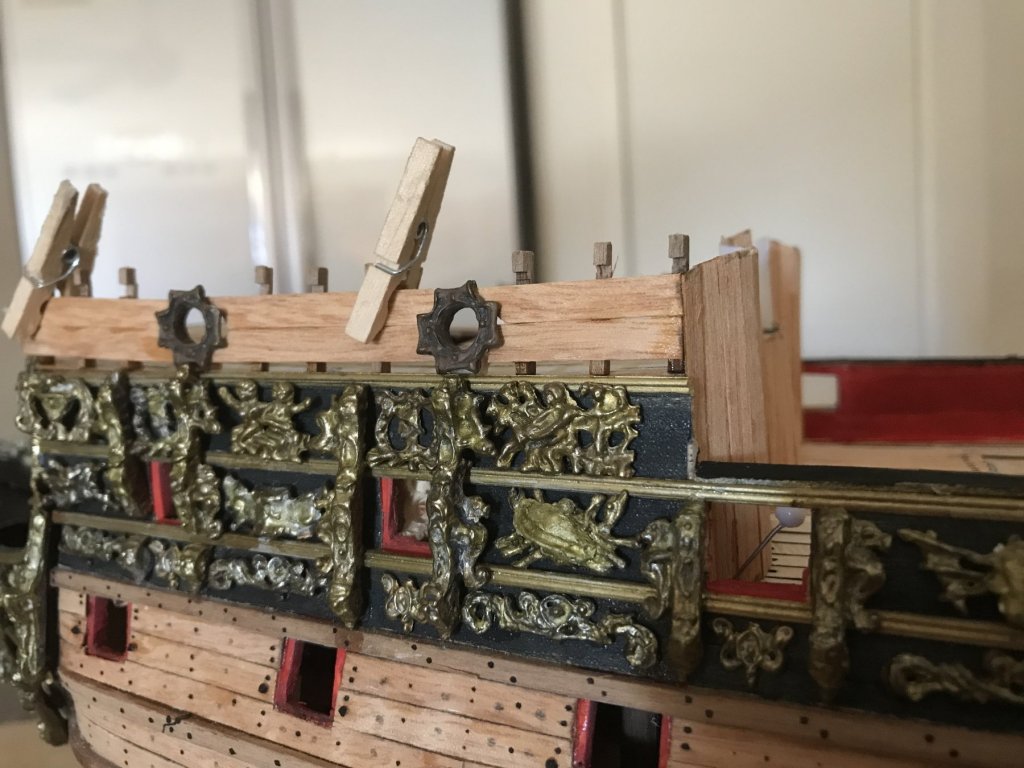
Not much today, just continued working on the rails above the waist. Love these pegs as they provide good pressure without too much weight on the thin wood.

- 322 replies
-
- 5
-

-
- sergal
- sovereign of the seas
- (and 5 more)
-
To throw another pic in the mix showing the spar decks is this one which is based on a model in Greenwich which is styled just like the model built sometime in the 1930's from memory showing two strips of gratings over the halfdeck and waist.
- 322 replies
-
- 4
-
-
- sergal
- sovereign of the seas
- (and 5 more)
-
Damn cats haha it does concern me when my dog and cat decide to use the house as an obstacle course, luckily they both seem to know to stay away from my models haha
-
Thanks mate, waiting for my new contract to start so making the most of my time off for building. The girls are also keen to see progress haha nice to have the support at home
- 322 replies
-
- 3
-
-
- sergal
- sovereign of the seas
- (and 5 more)
-
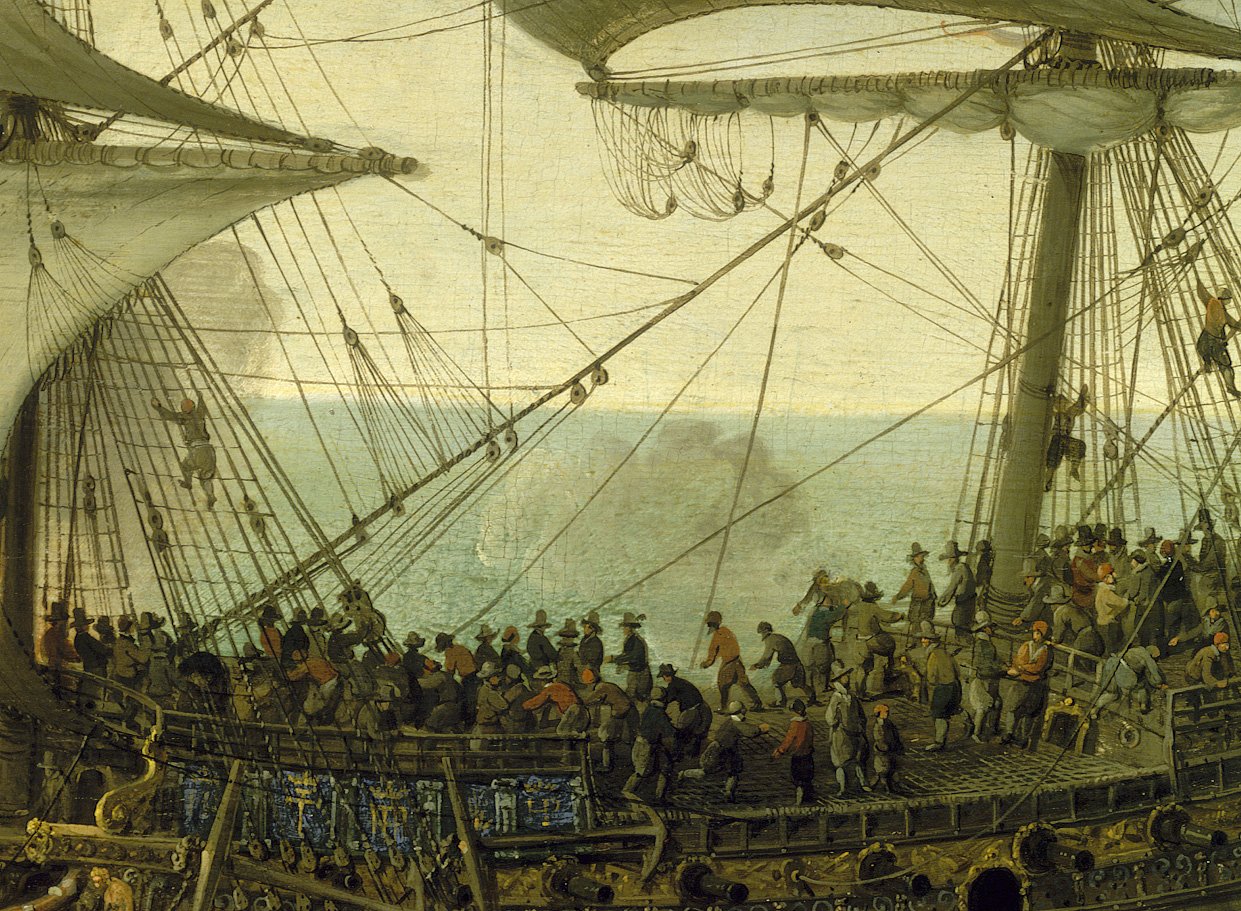
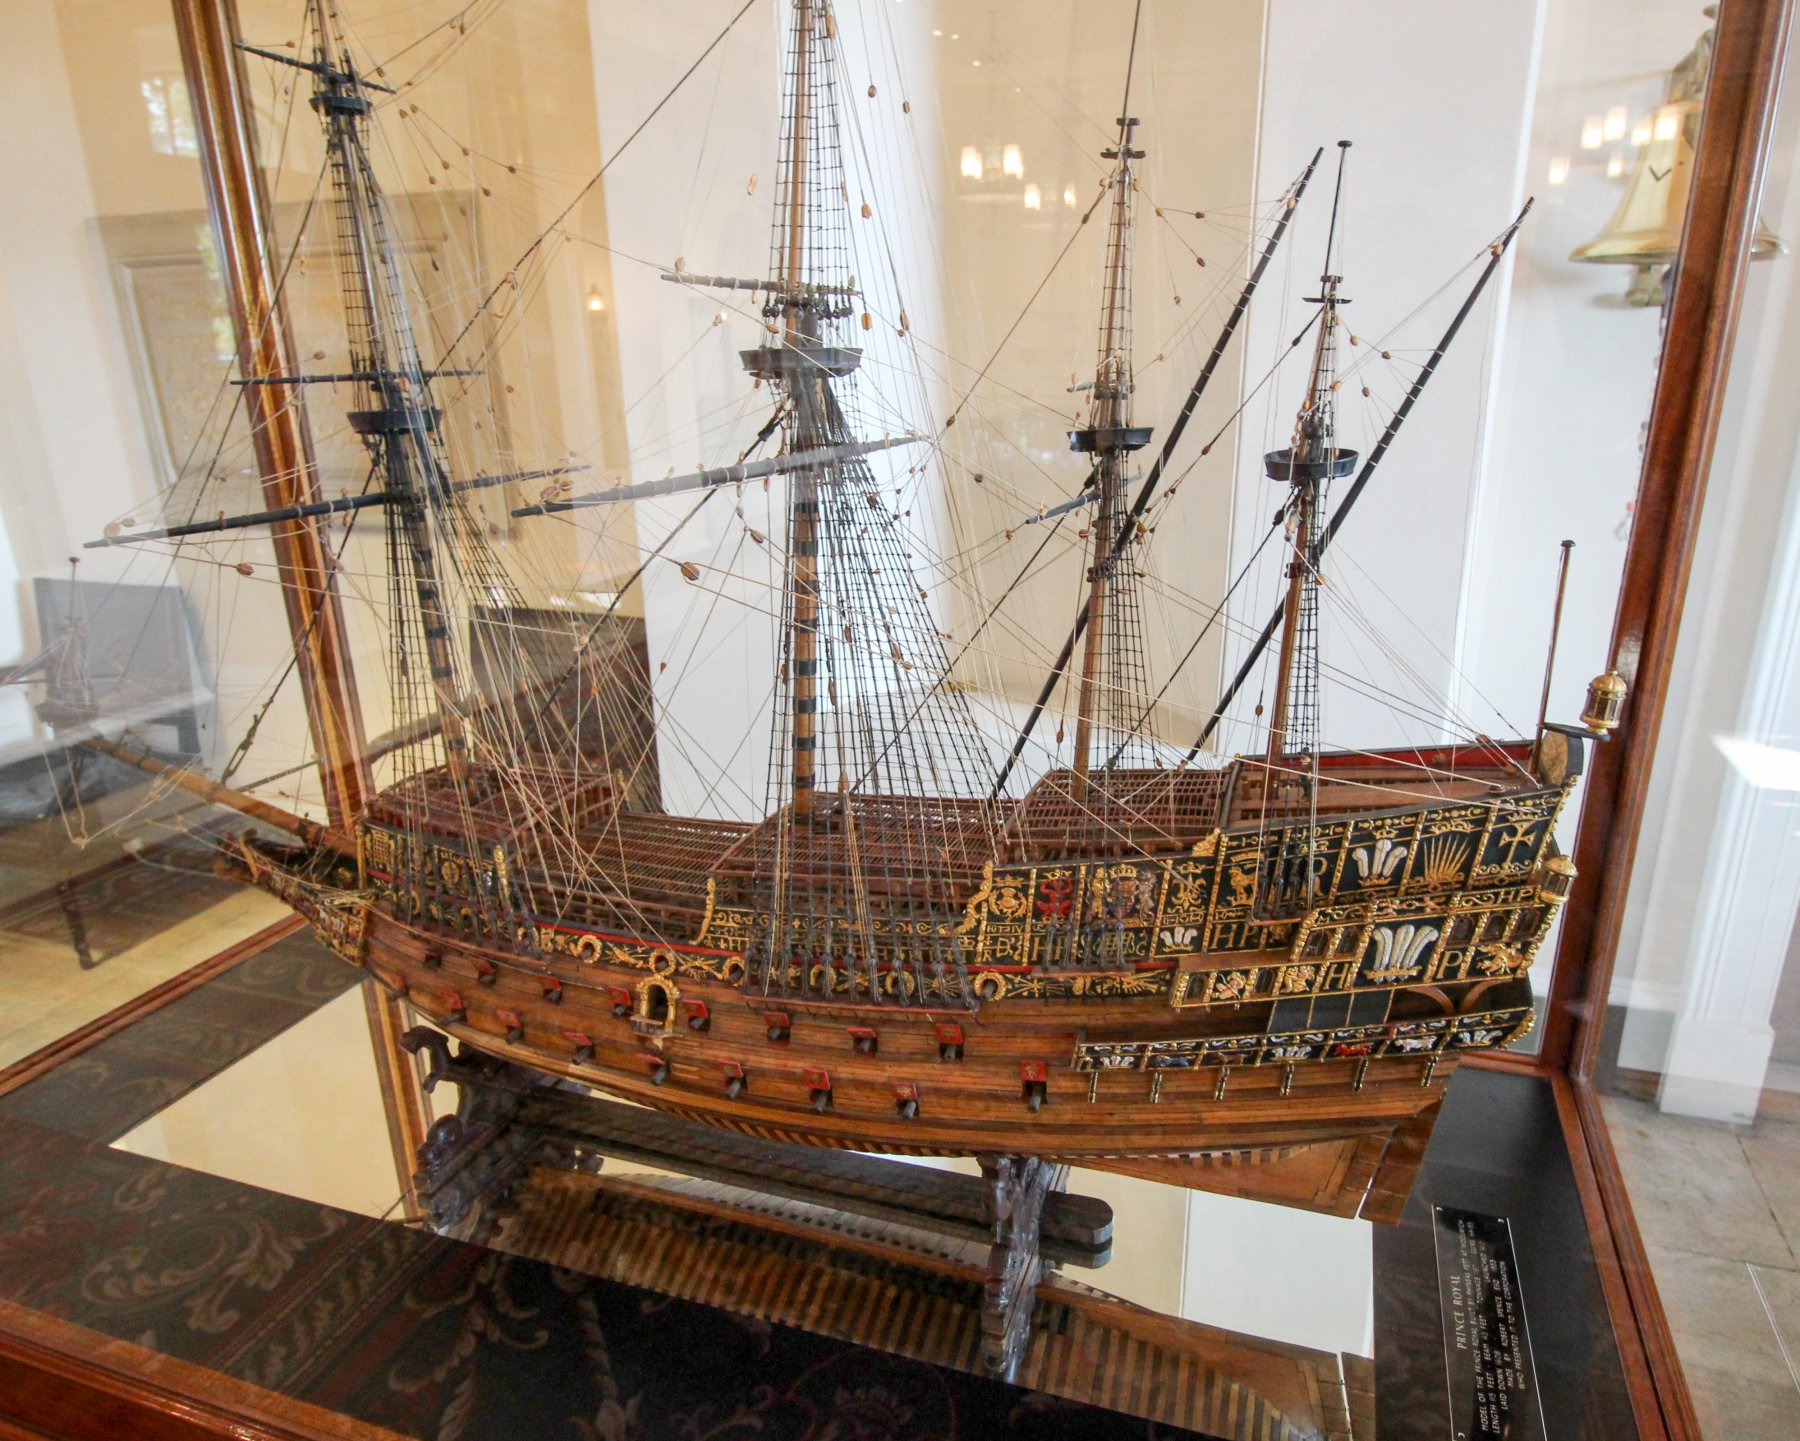
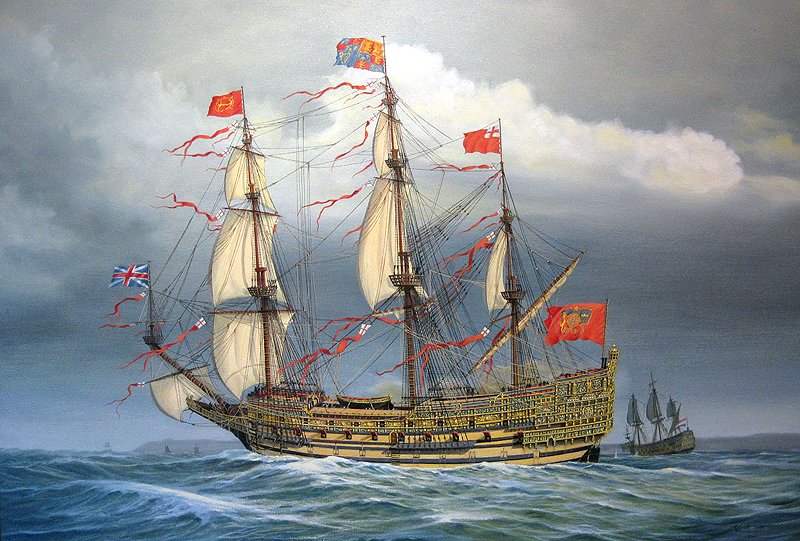
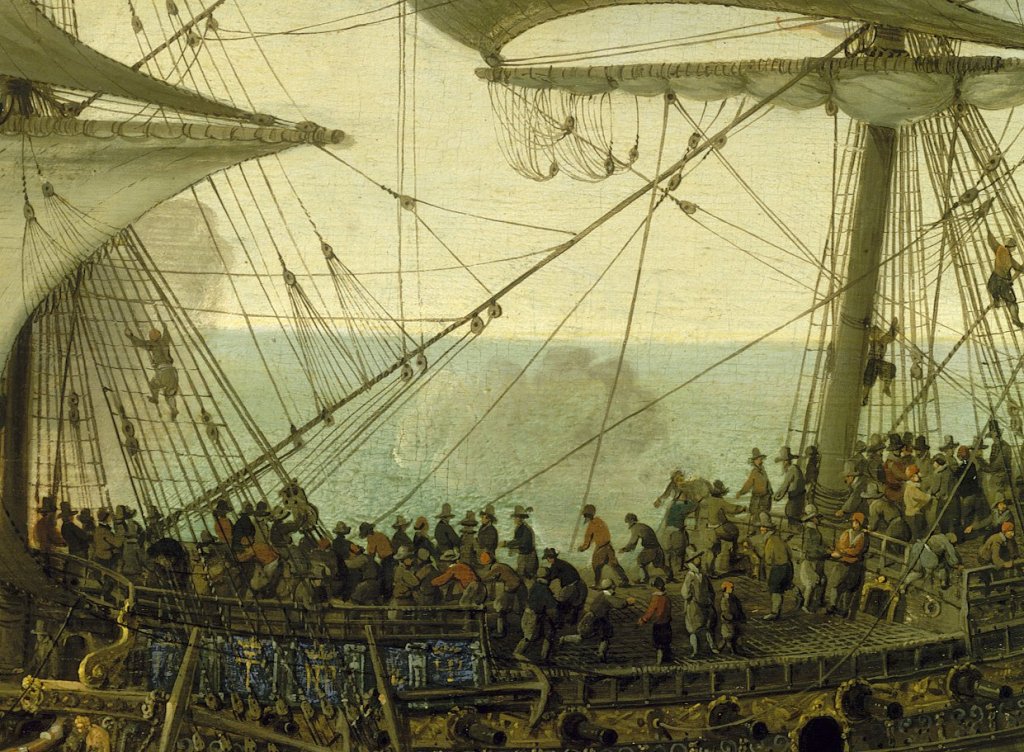
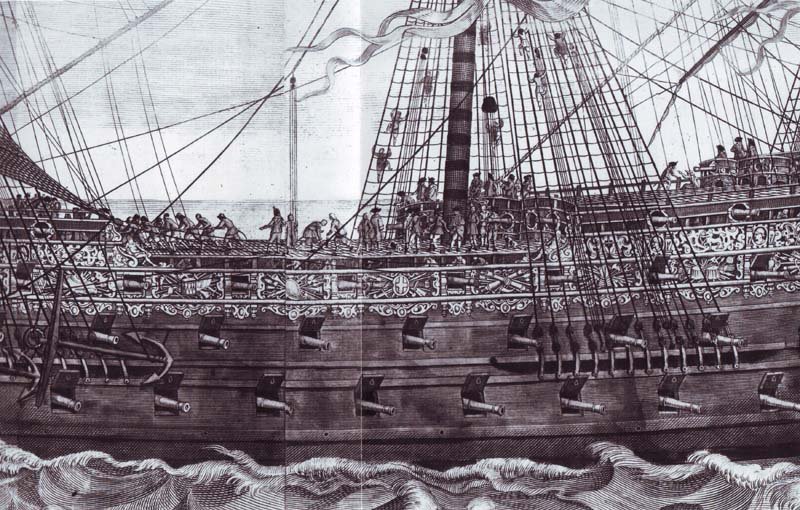
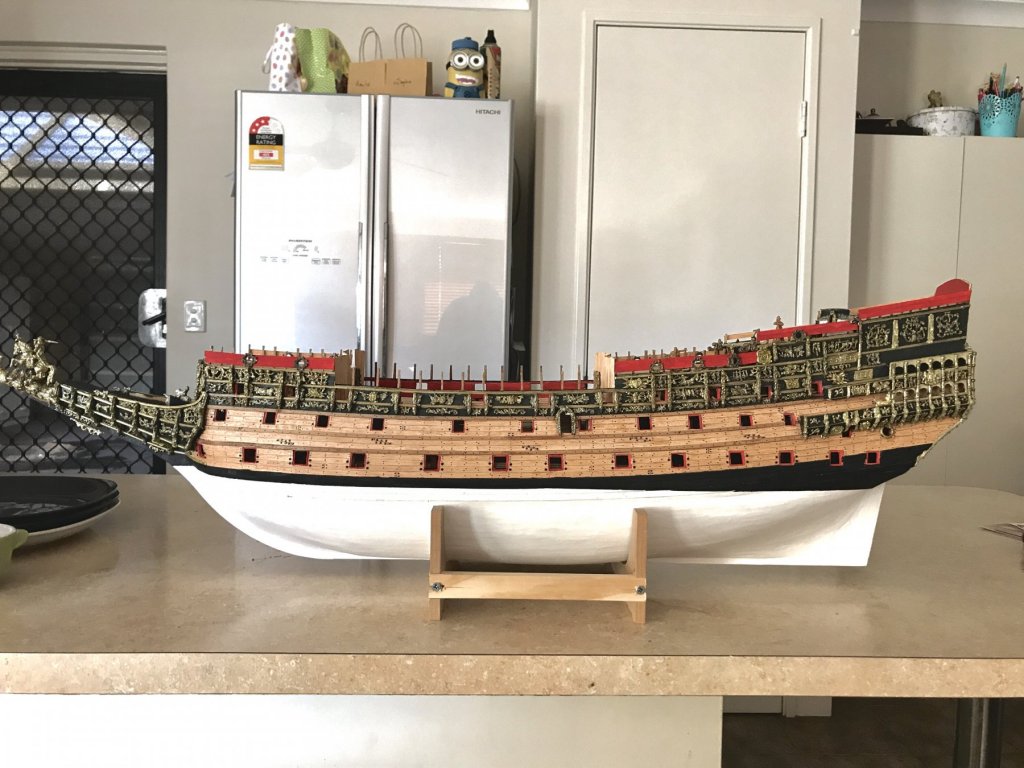
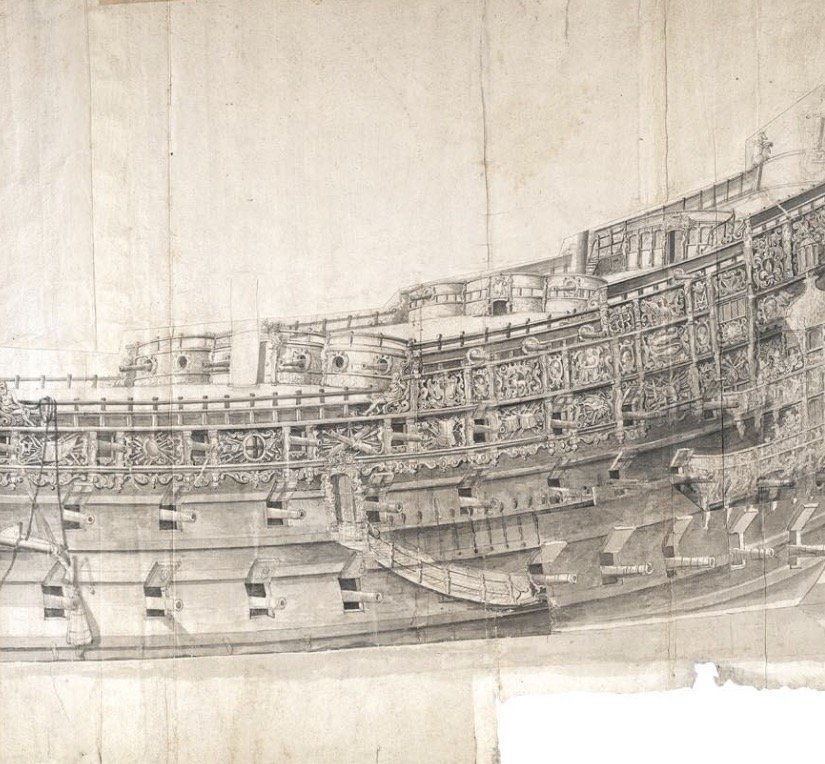
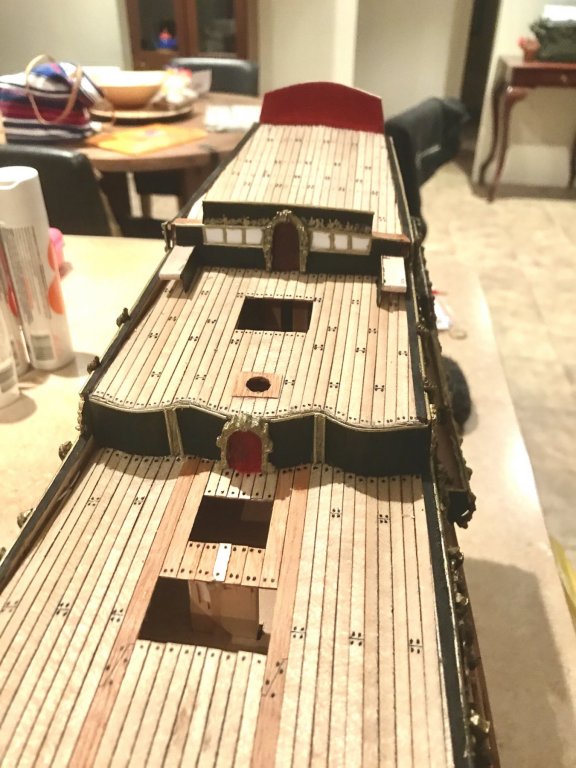
Just a sideon view as she is now. I think the red is a nice contrast with all the black and gold so far. Also figured I'll paint it red first as I can always paint over it black if I wasn't happy, so critiques are most welcome Also planning on making the spar decks above the waist and half deck... now it's described from the early 17th century as either gratings over beams or light fir planks. The few models I've seen with these have a mixture of either idea but I'd like to go with what was most probable. From the Payne's engraving it shows a full deck of what appears to be grating over the entire waist. On Van der Velde's there is a deck... but it's not detailed as to whether it's planks or gratings. Opinions please So the pics below; detail from a painting of the Prince Royal which actually looks to be netting?!? Or very large gratings... the next is a detail from Paynes engraving of the Sovereign showing a similar deck which is most likely gratings also.. A model of the Prince Royal from the Tower of London showing beams and light spars over the f'cstle, waist and half deck. This is neither gratings or planks but more like frames for a covered awning?!? Though could still have enough strength for crew to walk over. Finally my Sovereign now with the red uppermost panels.

- 322 replies
-
- 8
-
-
- sergal
- sovereign of the seas
- (and 5 more)
-
Looking good Hennie! I highly recommend the use of fillers at the stern to get the correct shape of the rounded transom. It's a real pain without any, though it is quite a sharp curve nonetheless especially compared to your aggy.
- 192 replies
-
- 2
-
-
- sovereign of the seas
- sergal
- (and 1 more)
-
So is the planking above the waterline veneer strips while the lower planking thicker walnut?
-
Finally an accurate kit of a Dutch 17th century warship to come though! Luckily I have plenty to keep me busy, including the Batavia.
- 322 replies
-
- 3
-
-
- sergal
- sovereign of the seas
- (and 5 more)
-
Ah she looks good! How long till production??
- 322 replies
-
- 2
-
-
- sergal
- sovereign of the seas
- (and 5 more)
-
Feel free to post a pic of De Provinciën though
- 322 replies
-
- 3
-
-
- sergal
- sovereign of the seas
- (and 5 more)
-
De Provinciën would make a perfect companion with my Sovereign what scale and do you have a build log of the prototype?
- 322 replies
-
- 2
-
-
- sergal
- sovereign of the seas
- (and 5 more)
-
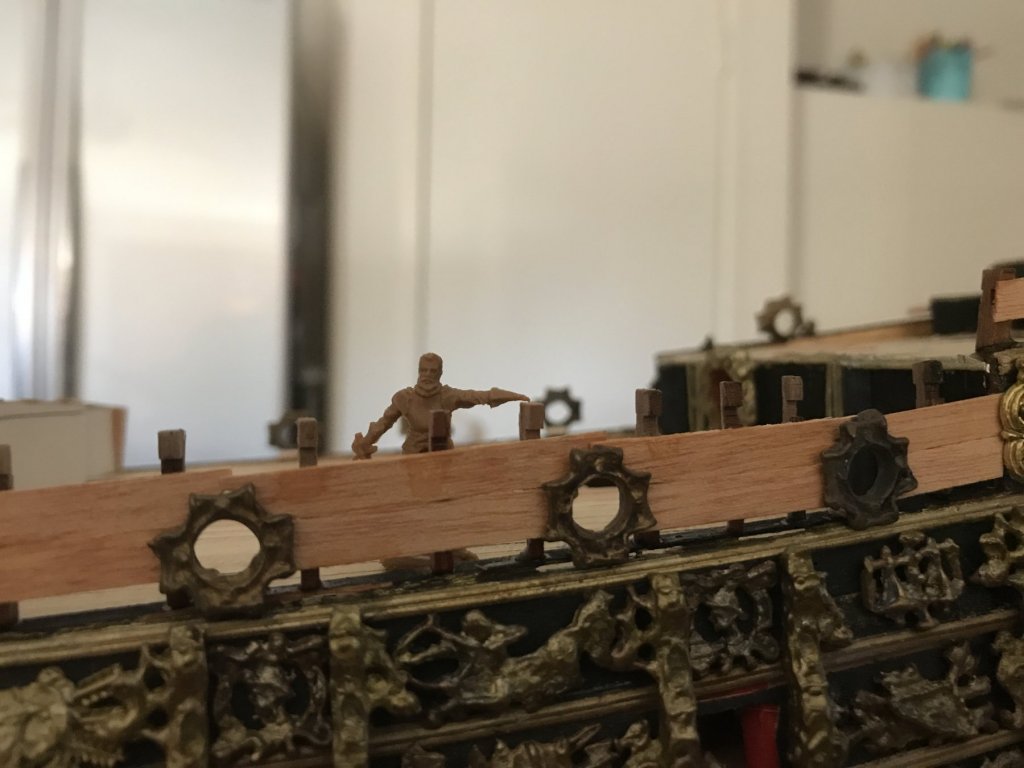
The crew seem a little more comfortable now the bulwarks are installed, well even only on the port side

- 322 replies
-
- 7
-
-
- sergal
- sovereign of the seas
- (and 5 more)
-
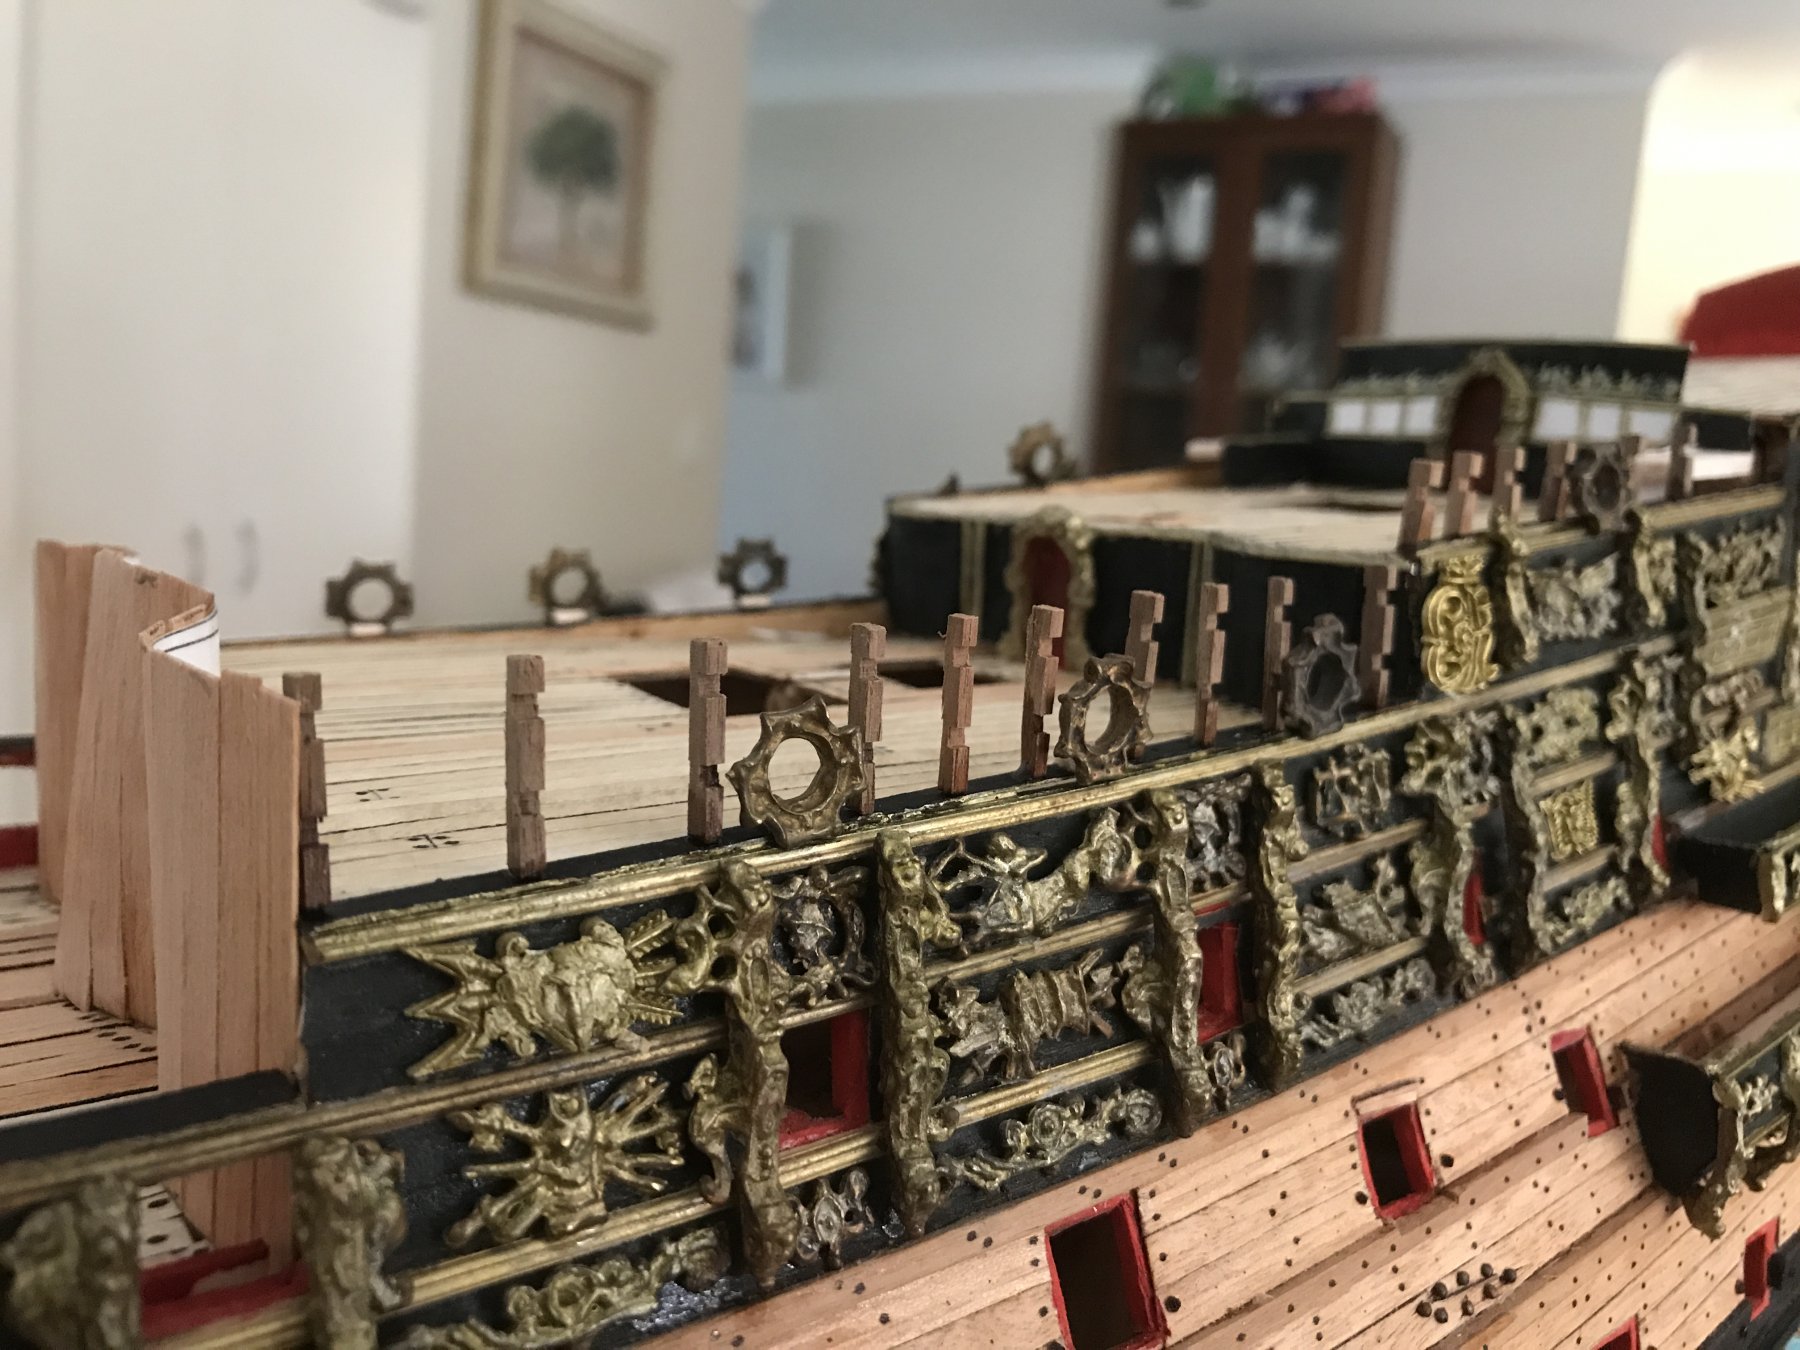
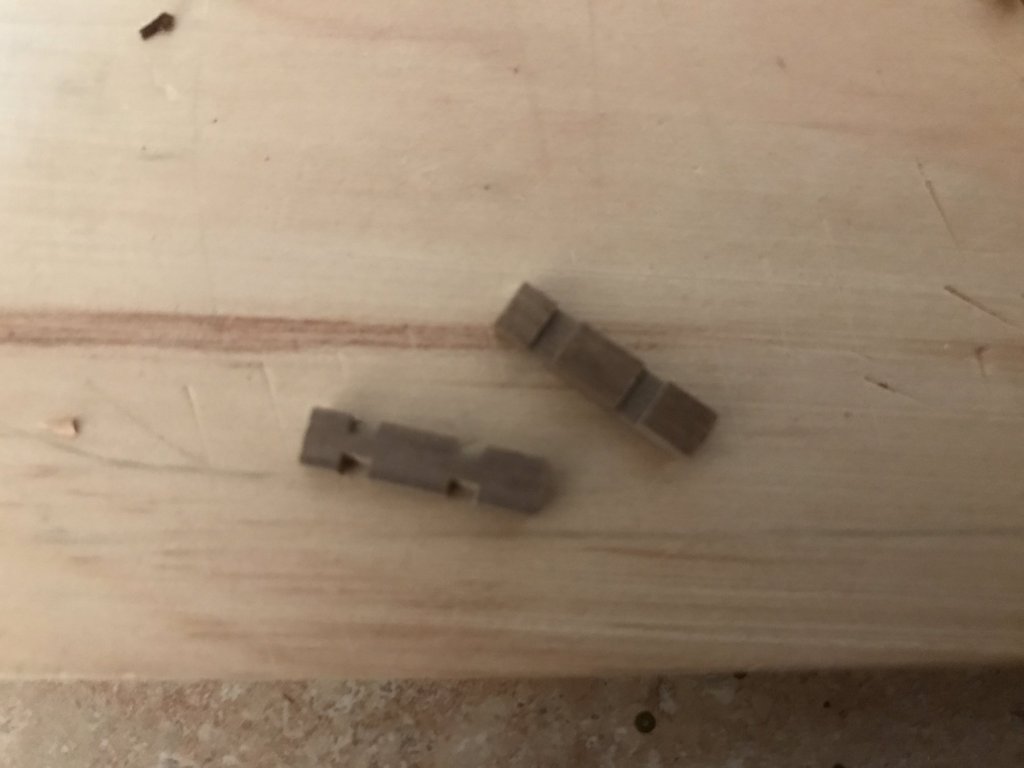
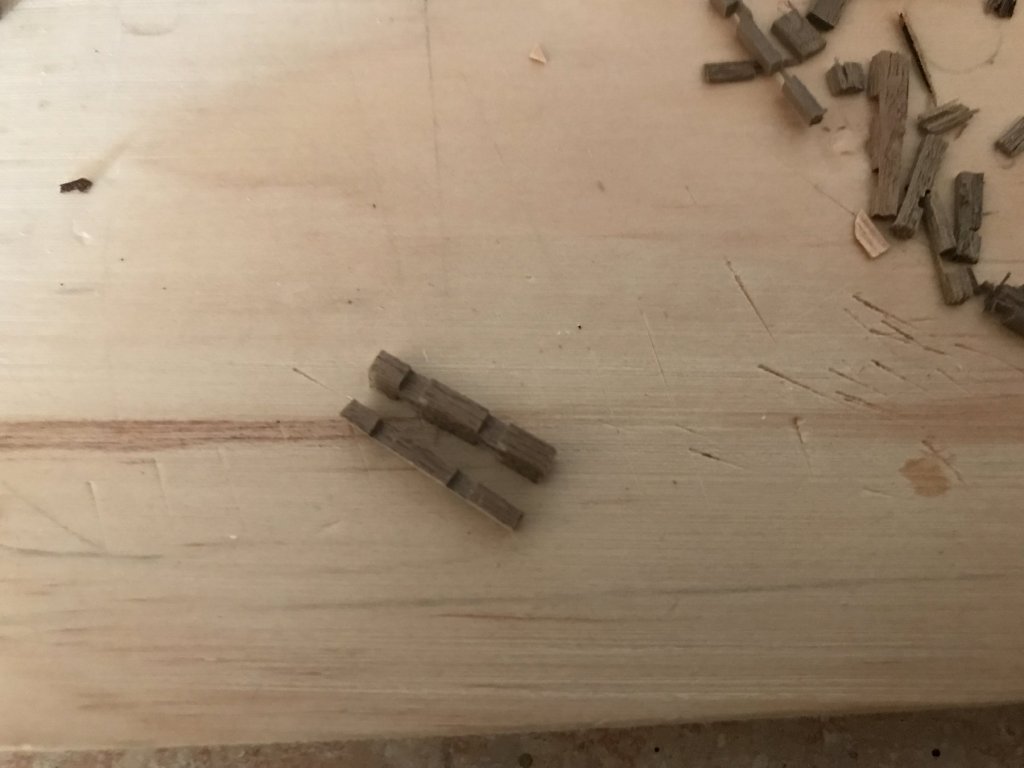
Continued work on the upper decks, this time the upper bulwarks. I've used the provided walnut posts though modified. These are nice walnut pieces though too think and deep for my interpretation so the pieces have been trimmed down quite a bit. Sergal again to me have over engineered these pieces by suggesting they are planked on both sides replicating the hull inner and outer planking. I don't think this was to be the case as the norm on other vessels was just the planking son the outer side of these supports. So I've built up mine with the inner sides exposed showing the supports. Of course I could be incorrect but I prefer it. So with the supports trimmed for use on the upper decks they were pinned with brass rod into the capping rails and the outer side planked. Still to be sanded and then coaming to the tops and bottom will be added. I'm also considering painting these bulwarks red with gold trim rather than black which matches that of British ships of the middle to late 17th century. Though I've yet to settle on that idea. Also interesting note, these upper bulwarks were the only panels on the upper hull not covered in carvings.


- 322 replies
-
- 6
-
-
- sergal
- sovereign of the seas
- (and 5 more)
-
Hi Hans when I get in my zone.... haha oh and I'm still planning on building the Batavia! I haven't forgotten you!
- 322 replies
-
- 3
-
-
- sergal
- sovereign of the seas
- (and 5 more)
-
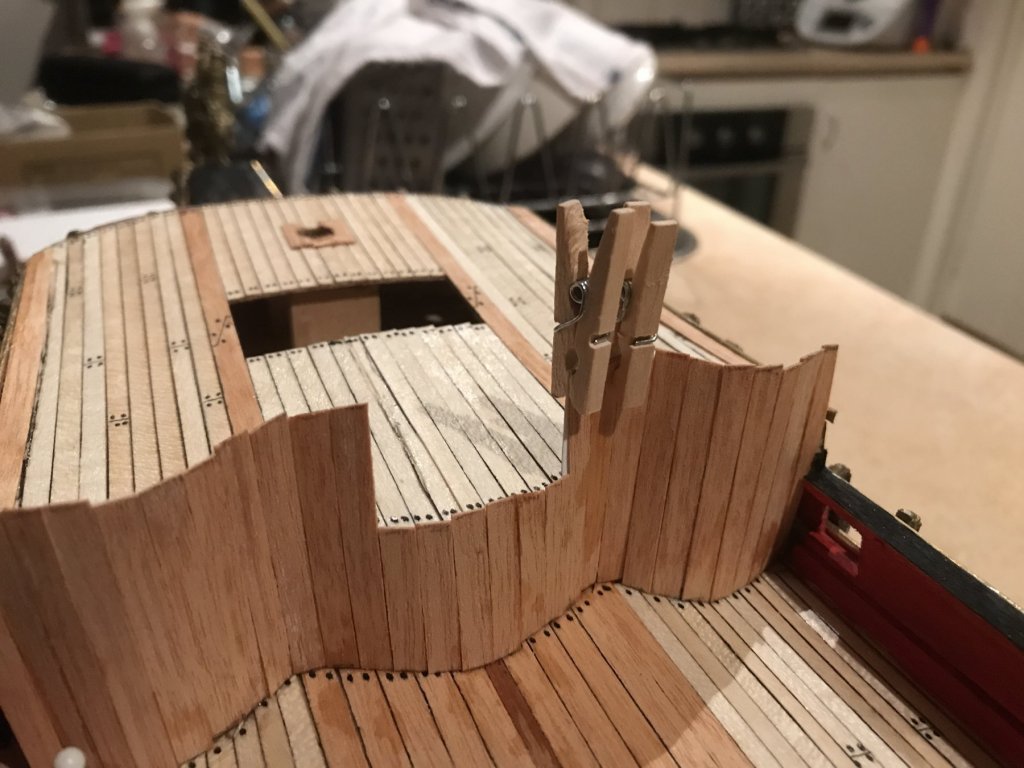
Forward waist bulkhead which goes to the f'cstle. This is in the same fashion as the after one behind the mainmast. The most notable difference is the central cutout as the belfry and bell fits in this position. This part is total guess work, as in all prints, paintings etc this is always hidden... it's quite likely it copied the style of the bulkhead aft of the mainmast which is probable considering the Prince of 1670, while having square edges to the three curves are nonetheless the same forward and aft of the waist. I still find it odd that unlike the Prince, neither one has ladders leading down to the waist direct. This is of course due to the spar deck also above the waist as is above the half deck. Originally there was also a spar deck above the f'cstle copying the sea layout of the Royal Prince of 1610. That spar deck however was removed early on to assist in her sea handing. Final note, both of the bulkheads on the waist I've made intentionally too high and will be cut down to size once I've fitted the gunports. Originally these would have been quite high but all topsides were cut down to just above the heights of the upper gunports when the f'cstle spar deck was removed.
- 322 replies
-
- 8
-
-
- sergal
- sovereign of the seas
- (and 5 more)
-
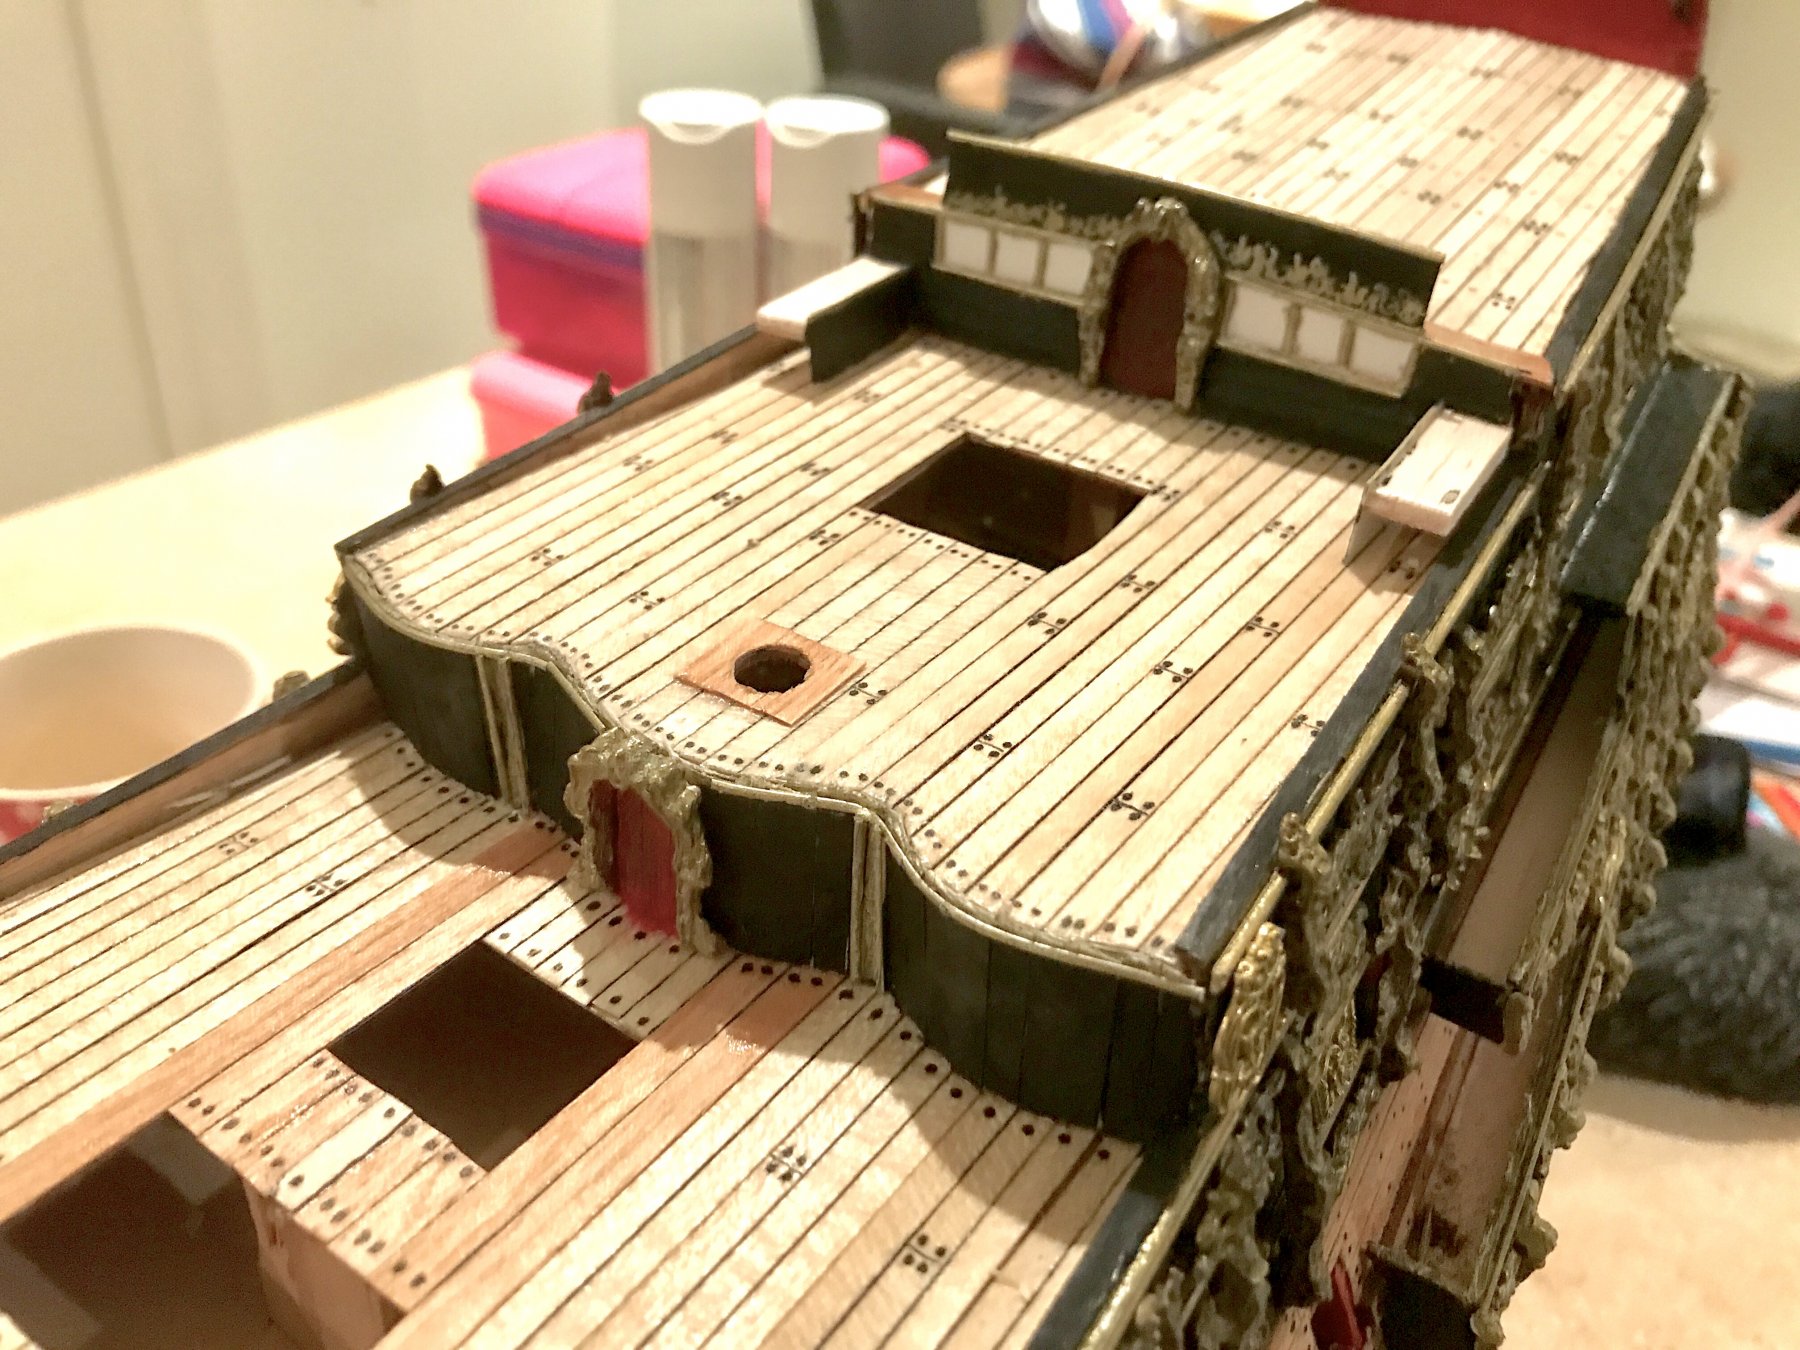
Further work on the bulkheads. This is the halfdeck bulkhead which runs from the upper deck waist after up to the half deck and continues above above the gun mounts. On the Van der Velde sketch there are 6 ports shown with four in use. This makes sense as there wouldn't be the room on that deck to have three guns so close to each other, and effectively ineffective to just face forward. I assume that the guns where mounted in a way to have the guns directed at an angle to fire diagonally across an enemy vessels deck and the center port of the three each side for use with movement of the guns or to protect musketeers. Well... either all that or simply to show strength in extra number of guns on the vessel haha

- 322 replies
-
- 5
-
-
- sergal
- sovereign of the seas
- (and 5 more)
-
Thank you very much John I enjoy the research as much as the modeling itself.
- 322 replies
-
- 2
-
-
- sergal
- sovereign of the seas
- (and 5 more)
-
Nice looking plates. For your previous question, I didn't overlap my plates due to the scale the overlapping would have been less than a millimeter even at 1/64.
-
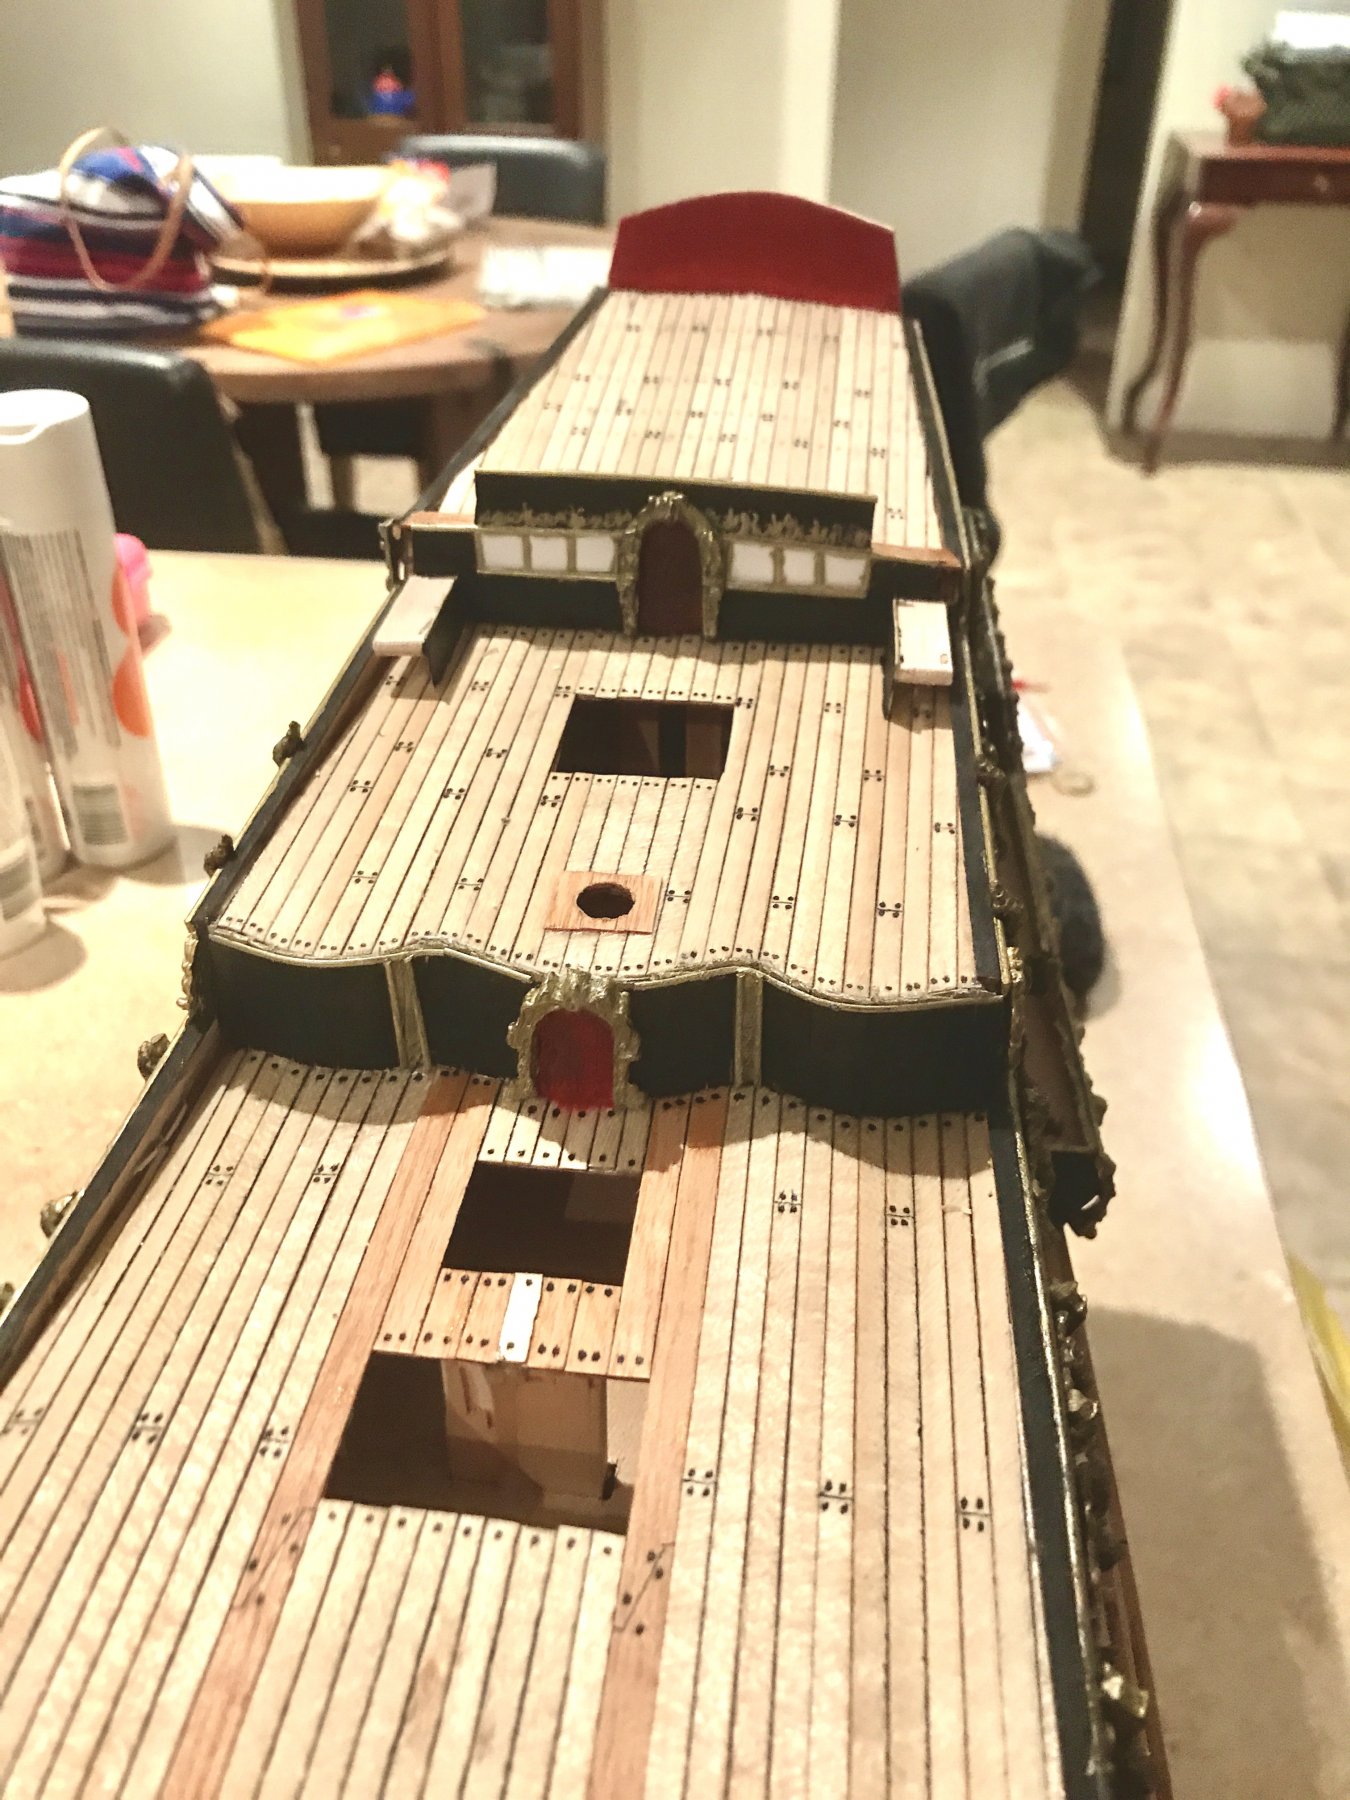
Your right about a small area! Haha For a change of pace I finally planked the the upper deck on the waist and built up the forward bulkheads for the quarter deck and poop deck. The kit shows the quarter deck builkhead connects with the solid balustrade but on the Van der Velde sketch this again is different and is a separate piece. The uppermost one is completely different again to the kit with a central door and six windows which lead to the roundhouse under the poop deck. There are also two steps either side leading to a smaller raised platform again with two steps which step down to the quarter deck typical of the period. What's strange is there is no representation of steps from the other decks. Even though you can clearly see the spar decks on the sketches which cover the half deck and waist, both those bulkheads have gun ports in those locations. Interestingly the spar deck shows what looks like an opening leading from the half deck spar deck (that's a mouthful) to the door on the quarterdeck bulkhead. The other interesting thing to note is the placement of the door on the halfdeck bulkhead behind the main mast which is the obvious entry point to the spar deck above the waist.

- 322 replies
-
- 6
-
-
- sergal
- sovereign of the seas
- (and 5 more)
-
Wow that is drastic! Haha In reality weren't they only about 10m length or there abouts difference?
-
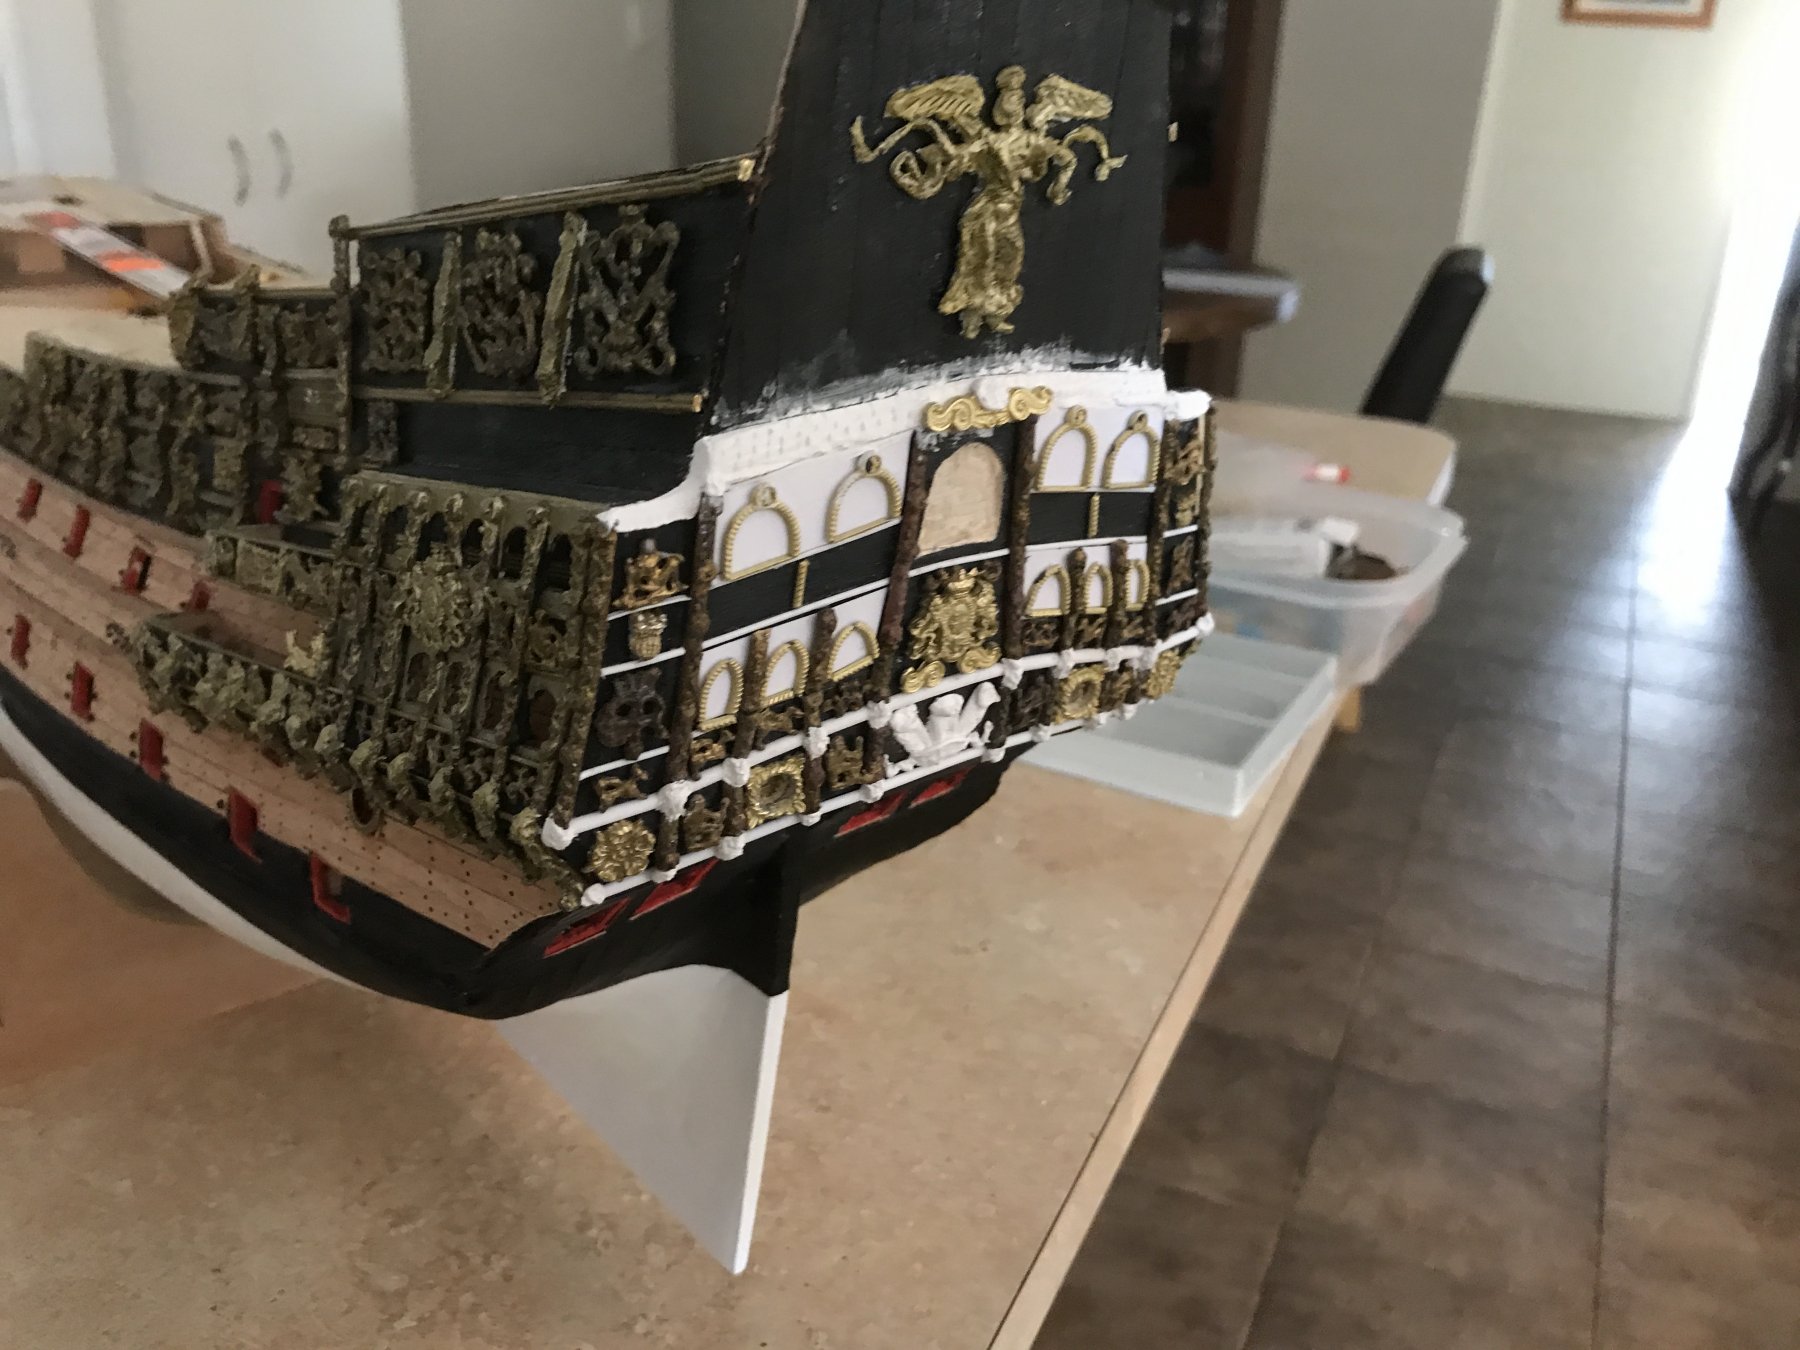
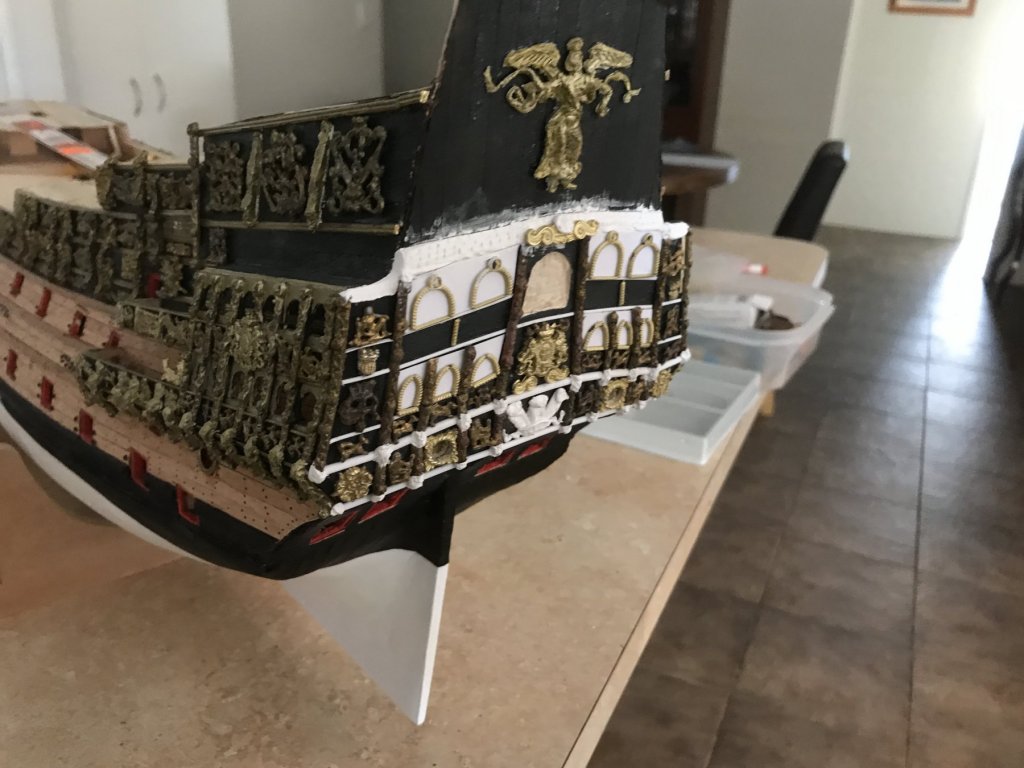
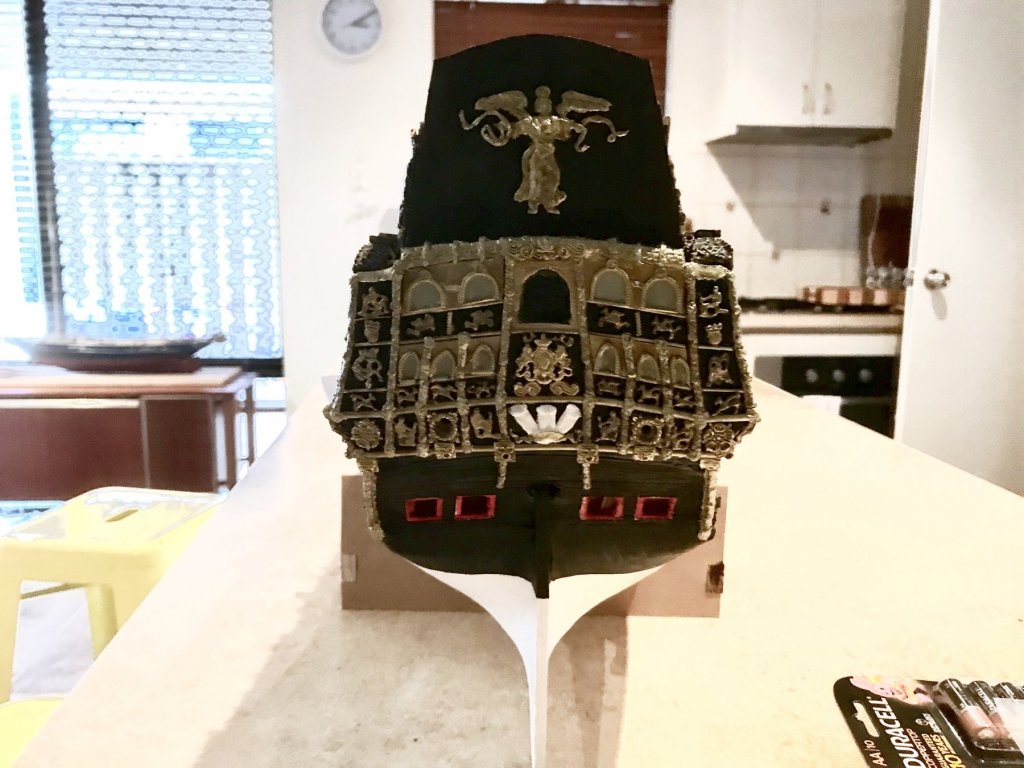
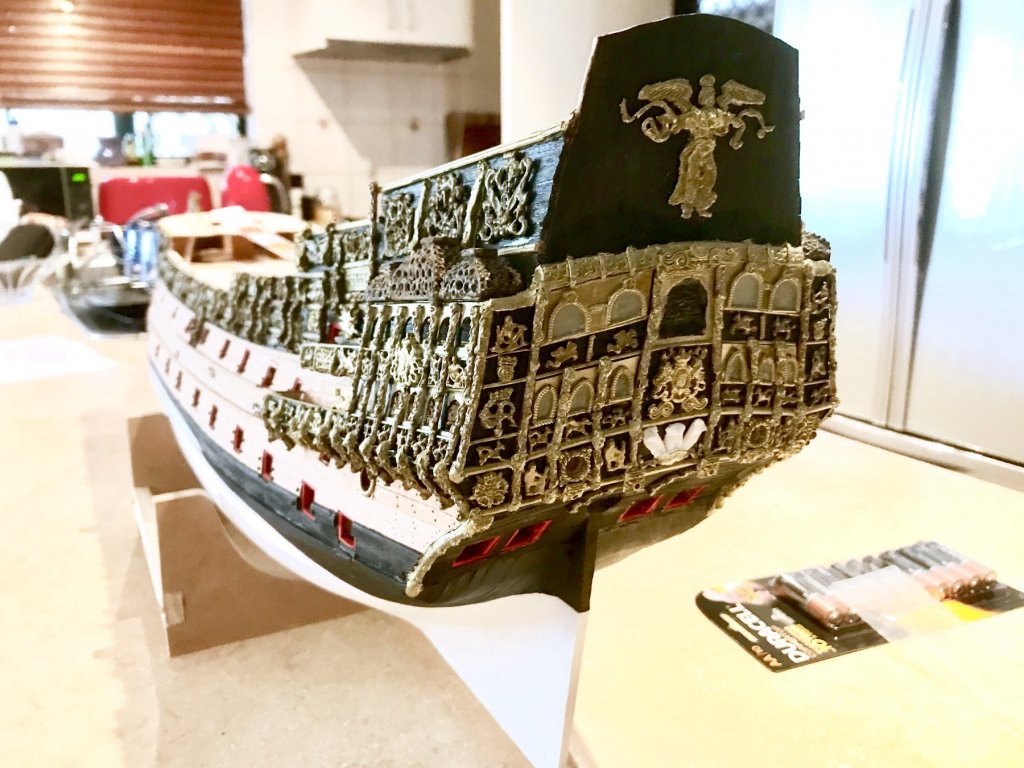
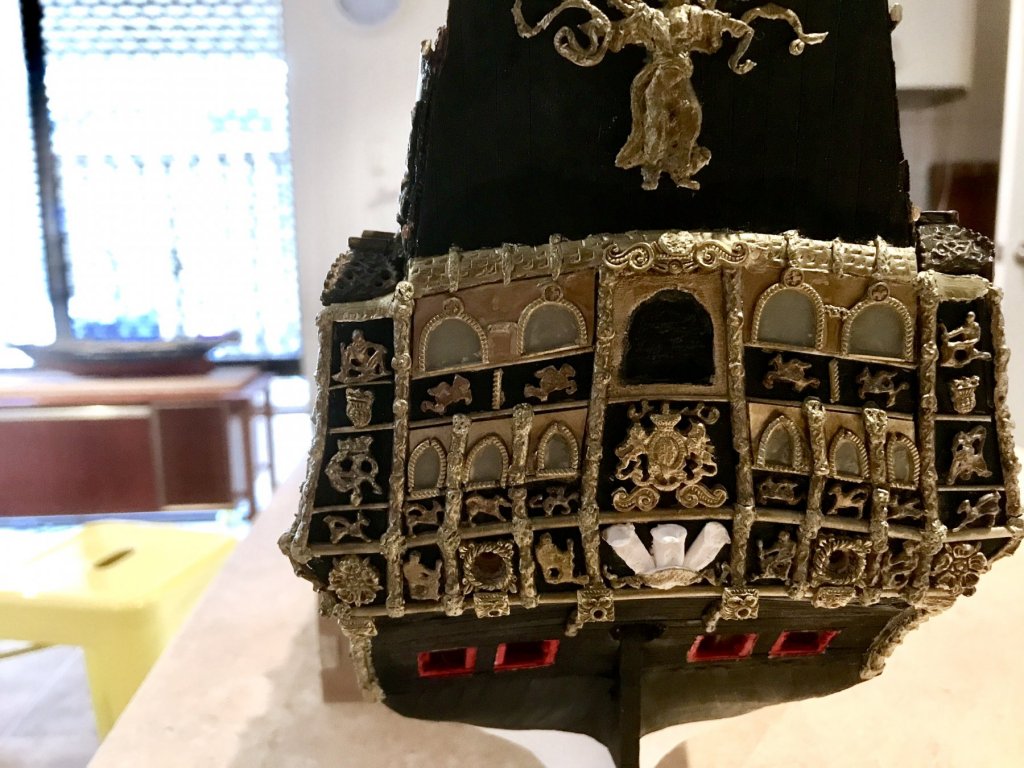
More work on the stern and transom. This is a multimedia build in sure some puritans will be aghast by haha but I I like to use materials I feel are right for the job. So on the stern is a mixture of brass, wood, plastic formed strips, modeling clay and wire. For the deadlight glass I used a fogged acetate sheet with a light sky blue painted on the back piece. Glass especially at this time wasn't the clear crystal we look through today so I think the acetate sheet works well. This is the same stuff I will use for the quarter galleries. From paintings and the contemporary models of 17th century British ships the framing looks more to be lead strips as in the lead glass windows so will use thin strip in a cross thatched pattern for these. I've also left the Prince of Wales feathers white and will paint the three British coat of arms - the one on the stern and both quarter galleries - in the correct colours. Again going by the contemporary models from the time which while covered in gilding the coat of arms and feathers seem to always be highlighted with paint.
- 322 replies
-
- 10
-
-
- sergal
- sovereign of the seas
- (and 5 more)