-
Posts
9,637 -
Joined
-
Last visited
Content Type
Profiles
Forums
Gallery
Events
Everything posted by Chuck
-
Yupp ....but it is still correct. This has been discussed to death. It is the way it was done however....
- 421 replies
-
- medway longboat
- Syren Ship Model Company
-
(and 1 more)
Tagged with:
-
Thank you very much....and welcome back.
- 1,784 replies
-
- winchelsea
- Syren Ship Model Company
-
(and 1 more)
Tagged with:
-
Its very timely and good to see your config. I am slowly drafting the next project which is a fully framed Winnie cross section. Its going to be a very nice subject. It will have 20 frames.
- 399 replies
-
- winchelsea
- Syren Ship Model Company
-
(and 1 more)
Tagged with:
-
That really looks good Ben. I cant wait to see it defined with the window in your planking. chuck
- 399 replies
-
- winchelsea
- Syren Ship Model Company
-
(and 1 more)
Tagged with:
-
Mike ....all that time was so well spent. Your hull looks great. Taking your time always pays off in the end. Can you post a photo of the entire hull as well? Chuck
- 607 replies
-
- winchelsea
- Syren Ship Model Company
-
(and 1 more)
Tagged with:
-
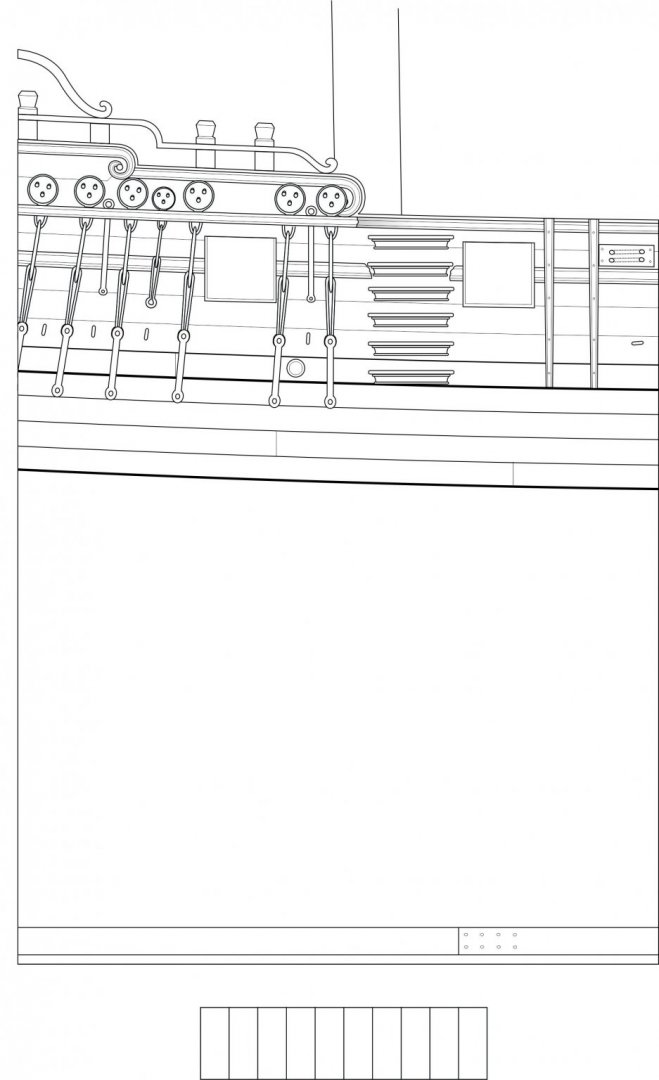
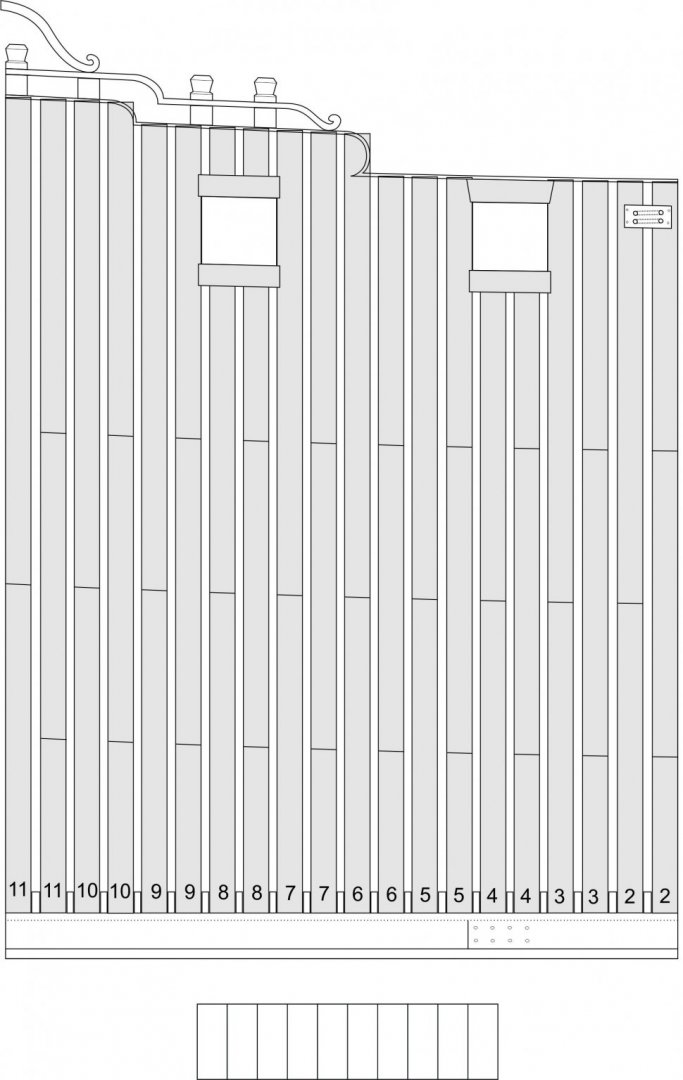
Materials list chapter three..... I am starting to put these together this weekend and should have them available next week sometime. Lots of laser cut parts and even though some are small parts the laser is set on a very slow speed and low power to etch and cut these details. These are some sophisticated little parts like the molding and scrolls.... There will be a mixture of Boxwood and Cedar parts. All Strip wood is included. Hopefully I didnt forget any or the numbers I kept track of were correct. The Cherry version will follow shortly after. Materials List for Winnie third.pdf
-
That looks fantastic. Glad to see you moving right along.
- 150 replies
-
- agamemnon
- caldercraft
-
(and 1 more)
Tagged with:
-
That looks really good. Well done. Those are tricky planks. Chuck
- 99 replies
-
- winchelsea
- Syren Ship Model Company
-
(and 1 more)
Tagged with:
-
I just use gutteman polyester thread. I get 100 weight thread the same color at any craft store. For thinner ropes you can use fly tying thread.
- 421 replies
-
- medway longboat
- Syren Ship Model Company
-
(and 1 more)
Tagged with:
-
No unfortunately in the USA there are no longer sources for milled strips of Boxwood, holly or Swiss Pear. There are only a few businesses left and they are all outside of the USA. I am afraid that the only way folks are going to get stripwood like this moving forward is to invest in a good hobby saw like the Byrnes and buy sheets to mill your own strips. Not only is it cheaper but after a short time you will get really good at it. you can find domestic stuff like basswood or cherry but the sizes are limited. Taking your models to the next level means learning how to use a saw like the Byrnes saw to rip your own strips. Its not a good business to be in and it is unlikely that anyone will jump into this space to replace hobbymill.
-
Dont forget to check out the many photos of the contemporary model posted in out gallery. They are located in the contemporary model section of the gallery.
-
That looks really good. Nicely done. That type of planking with all of those tabs is not the easiest thing to accomplish. Yours looks neat and tidy. Chuck
- 99 replies
-
- winchelsea
- Syren Ship Model Company
-
(and 1 more)
Tagged with:
-
I made it curve up just a little because I would avoid a completely straight horse. Just for aesthetics. There is no curve towards the transom. It is always equal distance from the transom.
- 421 replies
-
- medway longboat
- Syren Ship Model Company
-
(and 1 more)
Tagged with:
-
Very nice progress. That is some neat and tidy craftsmanship. Those parts can get tricky to make and install.
- 77 replies
-
- model shipways
- pinnace
-
(and 1 more)
Tagged with:
-
She is a beauty. Beautifully executed.
- 170 replies
-
- medway longboat
- Syren Ship Model Company
-
(and 1 more)
Tagged with:
-
Really looking good. Dont be afraid to sand the heck out of that planking. Get it nice and smooth.
- 99 replies
-
- winchelsea
- Syren Ship Model Company
-
(and 1 more)
Tagged with:
-
Thank you all for the kind words!!!! and Likes!!! I think its time to move inboard and get some work done.
- 1,784 replies
-
- winchelsea
- Syren Ship Model Company
-
(and 1 more)
Tagged with:
-

Straightening aftermarket rigging line
Chuck replied to DonInAZ's topic in Masting, rigging and sails
Its nylon or plastic so All of the traditional methods wont work. You need to heat it up and hang a wright on the end. -
It will be opened. But that will be done later.
- 1,784 replies
-
- winchelsea
- Syren Ship Model Company
-
(and 1 more)
Tagged with:
-
Try not to over think it. Never got any bubbles. Not even a little bit. I just use a glue stick. Works perfectly. Make sure no lumpy glue. Stick it on. Its really that simple. For a finish I spray them with matte fixative and let them dry before cutting them out. if you are curious....print one out and glue it to some scrap as a test. It should answer all your questions. Spray mount would also work but less open time. With the glue stick you can move it around and slide it before it sets.
- 1,784 replies
-
- winchelsea
- Syren Ship Model Company
-
(and 1 more)
Tagged with:
About us
Modelshipworld - Advancing Ship Modeling through Research
SSL Secured
Your security is important for us so this Website is SSL-Secured
NRG Mailing Address
Nautical Research Guild
237 South Lincoln Street
Westmont IL, 60559-1917
Model Ship World ® and the MSW logo are Registered Trademarks, and belong to the Nautical Research Guild (United States Patent and Trademark Office: No. 6,929,264 & No. 6,929,274, registered Dec. 20, 2022)
Helpful Links
About the NRG
If you enjoy building ship models that are historically accurate as well as beautiful, then The Nautical Research Guild (NRG) is just right for you.
The Guild is a non-profit educational organization whose mission is to “Advance Ship Modeling Through Research”. We provide support to our members in their efforts to raise the quality of their model ships.
The Nautical Research Guild has published our world-renowned quarterly magazine, The Nautical Research Journal, since 1955. The pages of the Journal are full of articles by accomplished ship modelers who show you how they create those exquisite details on their models, and by maritime historians who show you the correct details to build. The Journal is available in both print and digital editions. Go to the NRG web site (www.thenrg.org) to download a complimentary digital copy of the Journal. The NRG also publishes plan sets, books and compilations of back issues of the Journal and the former Ships in Scale and Model Ship Builder magazines.


