-
Posts
5,198 -
Joined
-
Last visited
Content Type
Profiles
Forums
Gallery
Events
Everything posted by michael mott
-

What is your favorite hand tool(s)??
michael mott replied to Modeler12's topic in Modeling tools and Workshop Equipment
Ron it is very important to ensure that you sharpen from the bevel side only. Michael -

What is your favorite hand tool(s)??
michael mott replied to Modeler12's topic in Modeling tools and Workshop Equipment
Ron once you have sharpened the chisel on the stone, then if you strop it (remember the scenes in movies of the barber stopping the single edged razor) use an old leather belt and pull the blade towards you first one side then the other holding it from the handle so that the chisel is in line with the belt. If you do not have any polishing compound put a little toothpaste on the belt and it will bring up a razor sharp edge that you can literally shave with. If I cannot shave with a cutting tool knife or chisel then it is not sharp enough for me. A dull tool is a dangerous tool. I like to use the Japanese water stones for the stone work. Michael -
Nice design Garward. Michael
-

Another Rope Walk
michael mott replied to michael mott's topic in Rope Making/Ropewalks's Rope Materials and parts resources
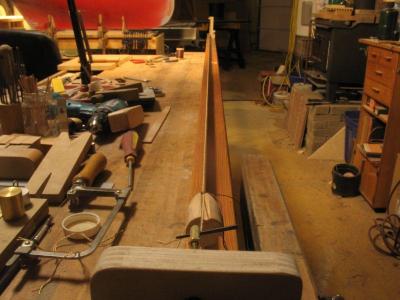
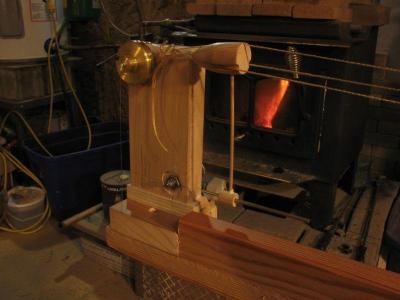
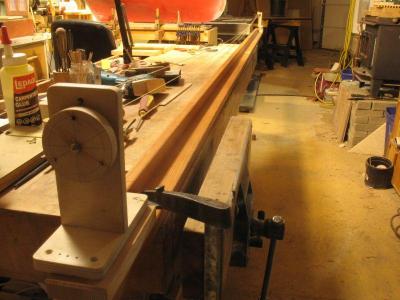
I spent the afternoon transferring the headstock and tailstock to the 10 foot piece of fir and eliminated one piece that had the winder for the steel wire. The full length of the strands to start were 110 inches I was able to make a full 7 feet of 3/8 scale rope that scales out to 56 scale feet. Next I will try with a lighter weight and see what that does with the same threads. I will sort out a swivel for the passive end. This will do for now. Michael -

Another Rope Walk
michael mott replied to michael mott's topic in Rope Making/Ropewalks's Rope Materials and parts resources
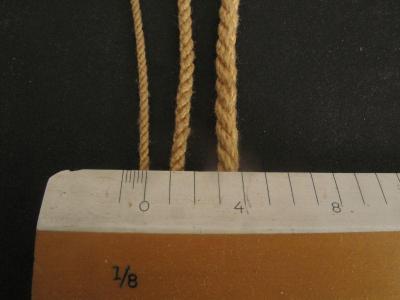
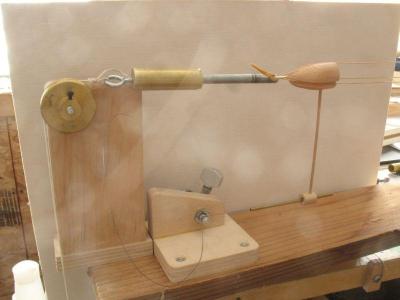
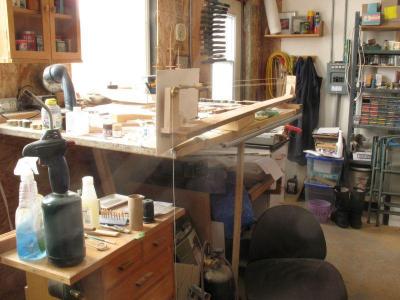
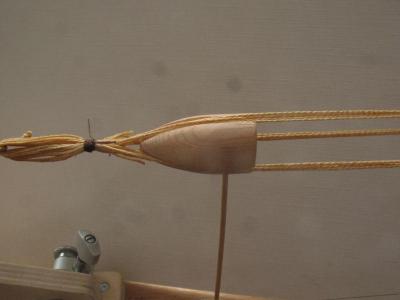
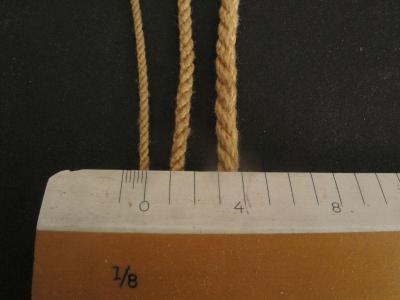
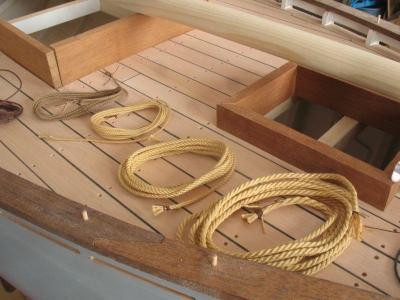
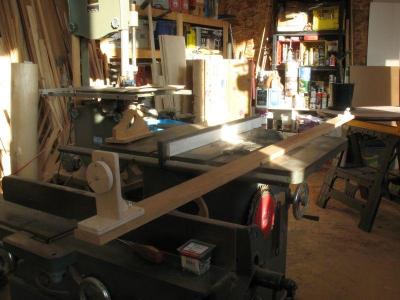
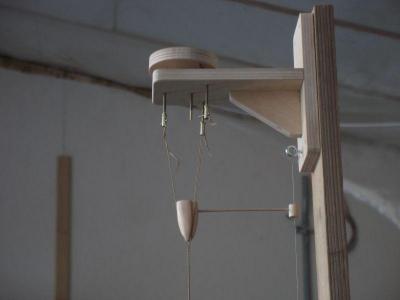
Carl, thanks for the link, I think that if I can make lengths of say ten feet I will be satified with that for hand cranking. Garward, thanks for looking in. Sinan, this seems to work pretty well. now all I have to do is learn the ropes today I set up some modifications to use the rope walk horizontally. first I made a swivel that was too big and too heavy I used a ball race inside the tube but it did not work the way I wanted, I will see if there is a lightweight one available commercially. I took it off and just used a hook with some 50lb fishing line over the pulley which I gleaned from the scrap box. here is the set up perched on the drafting board (temporarily a large shelf) The top with 12 strands ready for making rope. and the whirl end after 5 minutes. 3/8" = 3 strands 1/2" = 6 strands 1" = 12 strands so now to try a longer base I have a 10 foot length of fir so will try that first. Michael -
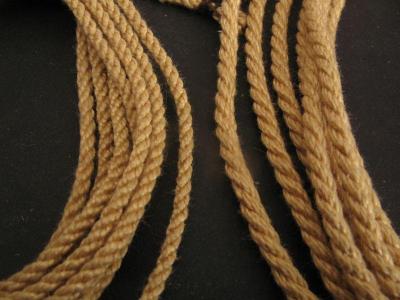
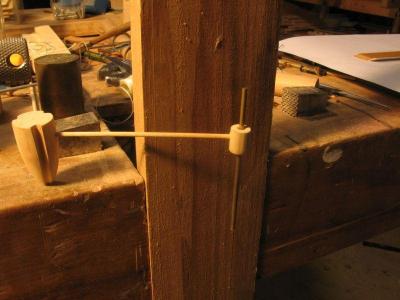
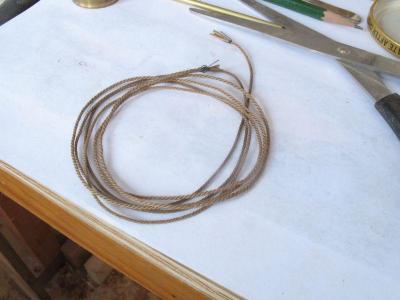
Carl thanks for the link, neat stuff. Sinan, thanks Elia Glad you like the rope I have been practicing today. I made some more rope today with the machine horizontal, both RH and LH . All made from embroidery thread The 3/8 rope is 3 strands The 1/2 inch is 6 strands The 1 inch is 12 strands more pics of the rope walk mod on the tools thread. Michael
- 2,215 replies
-

Another Rope Walk
michael mott replied to michael mott's topic in Rope Making/Ropewalks's Rope Materials and parts resources
Carl thanks, today I am going to see if I can make this walk work horizontally, then I will be able to make longer rope. Michael -
Yes Walter is keeping an eye on things. Michael
- 2,215 replies
-

Another Rope Walk
michael mott replied to michael mott's topic in Rope Making/Ropewalks's Rope Materials and parts resources
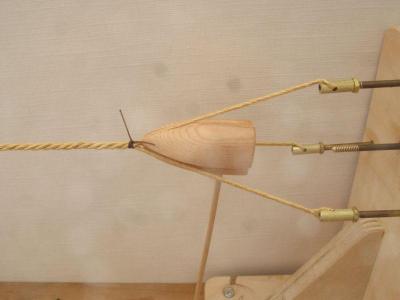
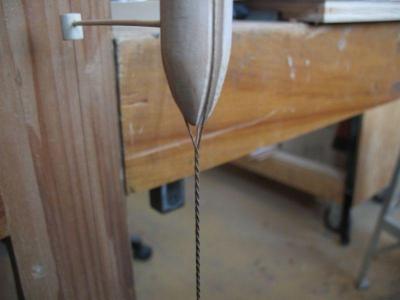
Carl thanks I did make a change to the top travel guide, I slipped a tube through it to give better support like this. then I made this new 3/4 rope in 1/8th scale. Michael -
Elia a graceful hull and fine execution of the planking. I will be following along. Michael
-
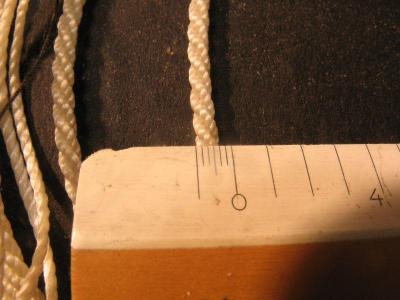
Ron glad you are enjoying this. Daniel thanks. Sherry, yes that was a fun movie. Mark, well we needed some bigger rope, so this evening I fixed the bug in the rope walk and made this new 3/4 inch rope for such tasks. as rappelling. Michael
- 2,215 replies
-
It is interesting that you used Corel Draw, I also like to use it, I find it easier to use for lofting frames than Autocad. what type of paper did you print on? Michael
- 49 replies
-
- pinnace
- Syren Ship Model Company
-
(and 1 more)
Tagged with:
-
Chuck thanks for re-posting this build It is one of those very inspirational ones the planking is superb. Michael
- 49 replies
-
- pinnace
- Syren Ship Model Company
-
(and 1 more)
Tagged with:
-
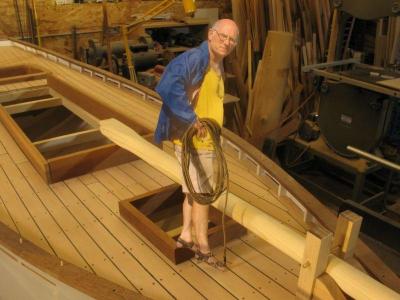
Daniel, now my secret is out. Carl don’t tell everyone! Druxley thank you, Your comment gave me an Idea. Russ thanks for looking in. Dafi I am glad that you like it. Well because I spent all day building a rope walk, mini me wanted to get in on the action so I gave him the rope. At least he has a way of getting down now Mark I heard him muttering all day. Michael
- 2,215 replies
-

Another Rope Walk
michael mott replied to michael mott's topic in Rope Making/Ropewalks's Rope Materials and parts resources
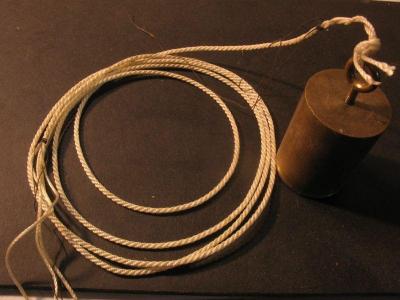
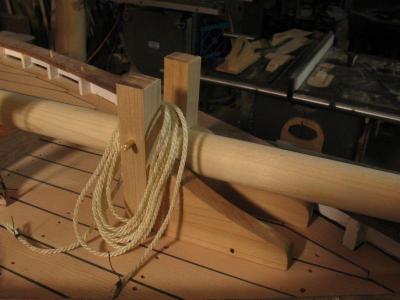
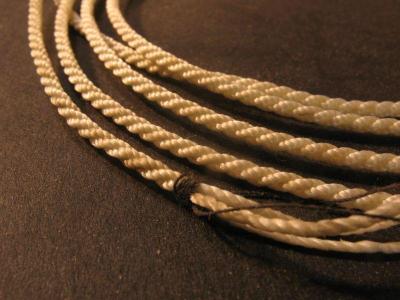
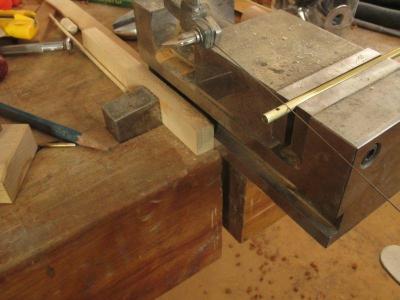
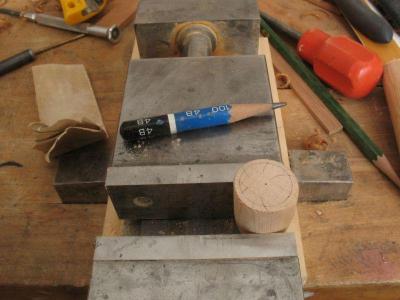
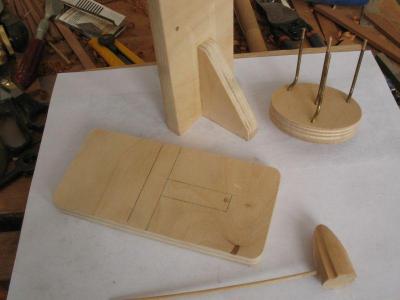
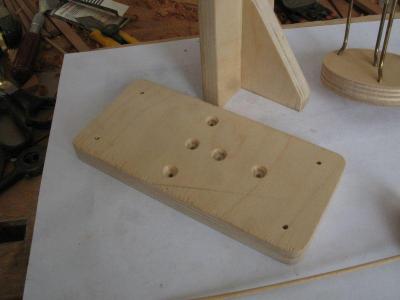
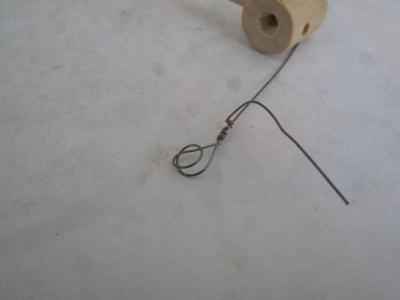
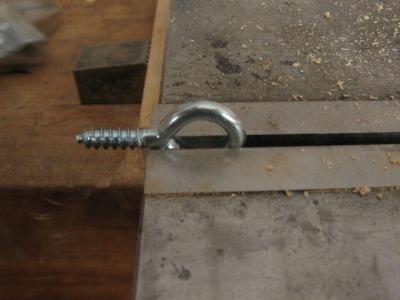
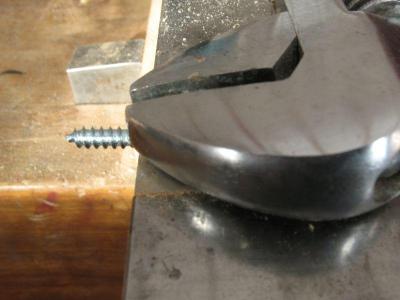
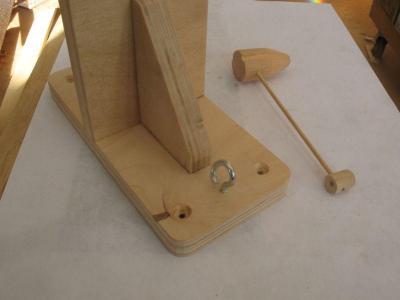
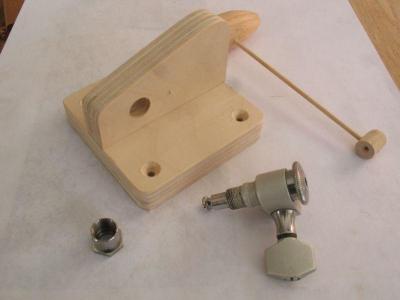
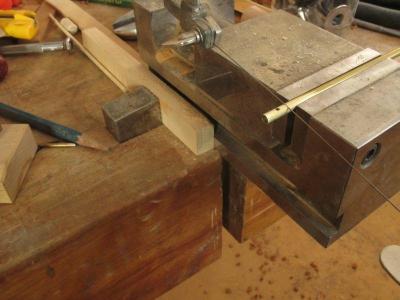
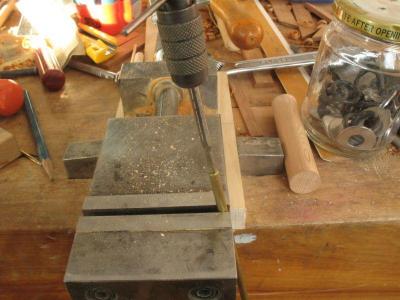
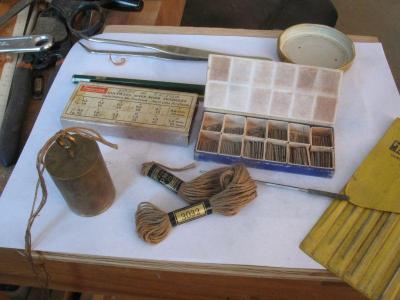
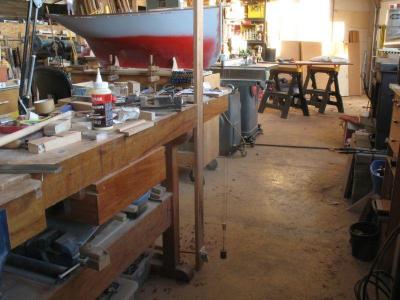
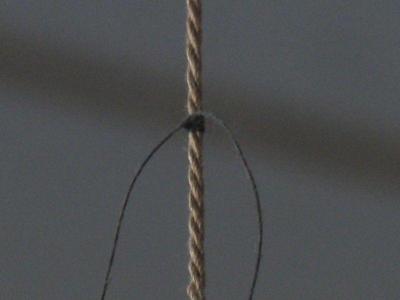
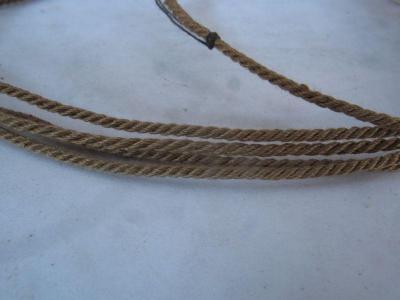
Part 2 14) The top was made from the cutoff from the top of the mast 15) the base of the whirls was made next and pre-drilled for the screws 16) next came the wire for the top guide, the wire is .011” music wire. 17) to secure the music wire to the whirl frame I opened up a small eyebolt with a crescent wrench 18) mounted it to the base. 19)The bottom end was formed with a guitar winder I had in the scrap box An over view of the entire contraption. 20) next the whirl hooks, because this is a prototype and I want to be able to take it apart(too many years fixing other people exhibits that did not account for maintenance) I threaded the end of some thick walled brass tube with 4x40 to match the rods 21) the tube was then cross drilled with a 1/16th drill for the taper pins. And cut off with a jewelers saw. They were locked onto the shafts with a lock nut threaded on first. 22)The only thread that I had handy was some cotton and the embroidery thread, so I opted for the embroidery thread. This was tied to the small brass weight that I made years ago for a weight drived clock. 23) the rope walk was clamped in the bench vise vertically 24) I started to wind the whirls 25) the weight just hangs , the one thing I had to do was help the top up because it jammed the same way an adjustable clamp works so a modification is in order I will add a length of brass tube through the middle of the guide dowel 26)The top end after about 5 minutes of turning. 27) tied off with a little black cotton 28) removed from the walk with the ends trimmed. There we go the rope is 57 inches long I started with three strand that were 72 inches long. With practice I think that I can improve the length . this machine would work really well in a stair well unfortunately I don’t have one so I had to stand on a step ladder to make the whirls turn. The rope looks a bit like the old hemp rope. Michael -
Hi Gaetan the merged picture although it shows all the pictures it does not show them as larger when I click on any of the smaller images is this how the picture works. it seem to be a simple composite. Michael
- 728 replies
-
- le fleuron
- 64 gun
-
(and 1 more)
Tagged with:
-

Micro Power Sanders
michael mott replied to mtaylor's topic in Modeling tools and Workshop Equipment
Clever I like the way things are used for additional purposes than they were designed for. Michael -

Homemade tools collection
michael mott replied to greg-kam's topic in Modeling tools and Workshop Equipment
Gregory I like the way you have developed your tools using simple hand tools to become stationary ones. very clean designs. Michael
About us
Modelshipworld - Advancing Ship Modeling through Research
SSL Secured
Your security is important for us so this Website is SSL-Secured
NRG Mailing Address
Nautical Research Guild
237 South Lincoln Street
Westmont IL, 60559-1917
Model Ship World ® and the MSW logo are Registered Trademarks, and belong to the Nautical Research Guild (United States Patent and Trademark Office: No. 6,929,264 & No. 6,929,274, registered Dec. 20, 2022)
Helpful Links
About the NRG
If you enjoy building ship models that are historically accurate as well as beautiful, then The Nautical Research Guild (NRG) is just right for you.
The Guild is a non-profit educational organization whose mission is to “Advance Ship Modeling Through Research”. We provide support to our members in their efforts to raise the quality of their model ships.
The Nautical Research Guild has published our world-renowned quarterly magazine, The Nautical Research Journal, since 1955. The pages of the Journal are full of articles by accomplished ship modelers who show you how they create those exquisite details on their models, and by maritime historians who show you the correct details to build. The Journal is available in both print and digital editions. Go to the NRG web site (www.thenrg.org) to download a complimentary digital copy of the Journal. The NRG also publishes plan sets, books and compilations of back issues of the Journal and the former Ships in Scale and Model Ship Builder magazines.


