
HOLIDAY DONATION DRIVE - SUPPORT MSW - DO YOUR PART TO KEEP THIS GREAT FORUM GOING! (Only 20 donations so far - C'mon guys!)
×


michael mott
-
Posts
5,198 -
Joined
-
Last visited
Content Type
Profiles
Forums
Gallery
Events
Everything posted by michael mott
-
 The oars look good, I did notice however that the tenth one from the left side......... is a bit fatter than the rest. Great stuff sir. michael
 -
Looks like you have done a good job of rebuilding Rusty. The model looks great. Michael
-
Very nice work Michiel. Michael
-
I like the pile of strip wood stock a great inexpensive way to get even planks. Michael
-
Buck, A nice little build, now that you have your feet wet you are probably thinking about your next one as well. Michael
-
Paul I had not realized how much of this ship you had made out of card. But now I see that it is really a multimedia model incorporating all sorts of materials. Nice job on the range finder. Michael
-
Mark, Shooting boards are great I have been using them for years, but the one you have just made is a beauty. The plane looks nice too.Up here in the remote boonies of Canada we have a Lee Valley Shop and I am rather partial to the Veritas brand of planes. I will be waiting to hear what you think of the sliding nature of the cut on the ends. A well though out design for sure. Scott's workbench book is a gem. When you get a chance check out page 13 in Fine Woodworking's Design Book Two. Michael
-
Ah John it's all smoke and mirrors Thanks for stopping by. It made a great change working on the fine wood this evening because for the last two weeks I have been helping out a farmer friend, doing rough framing of a 36 foot long 10 foot wide farm maternity shed for his calves. Michael
-
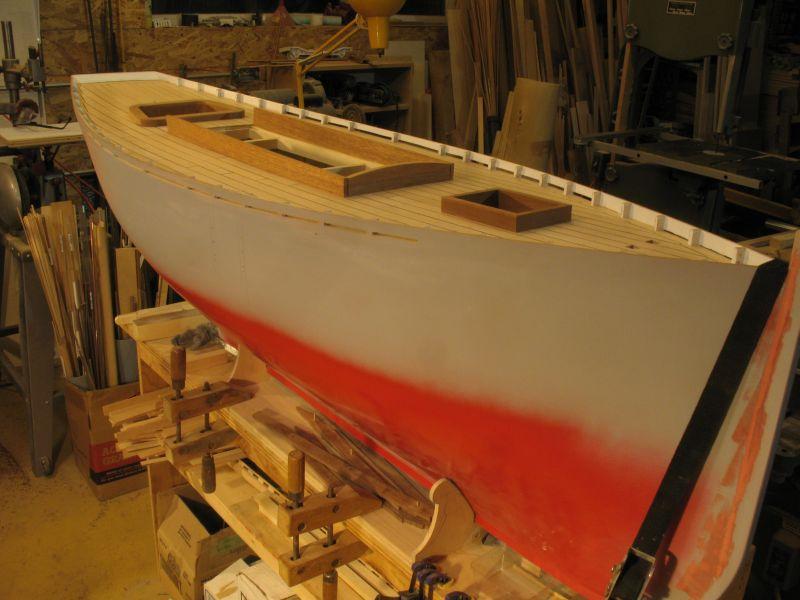
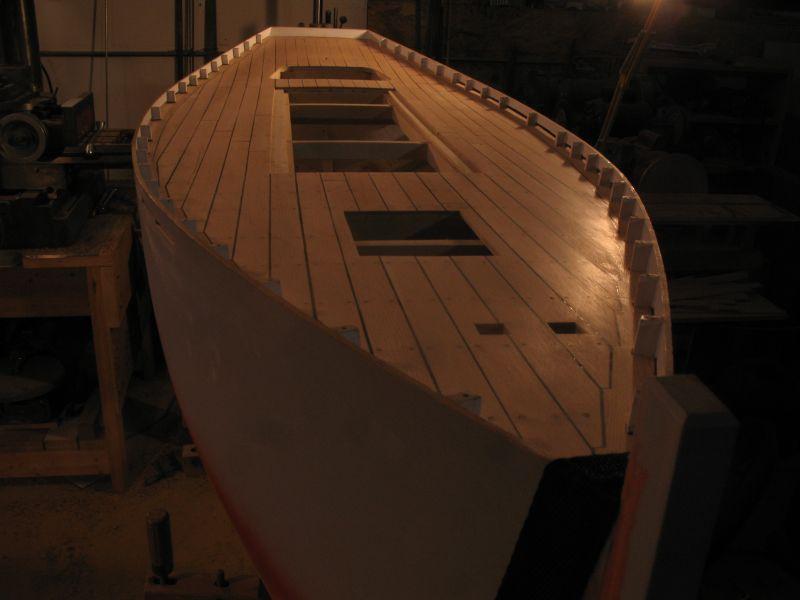
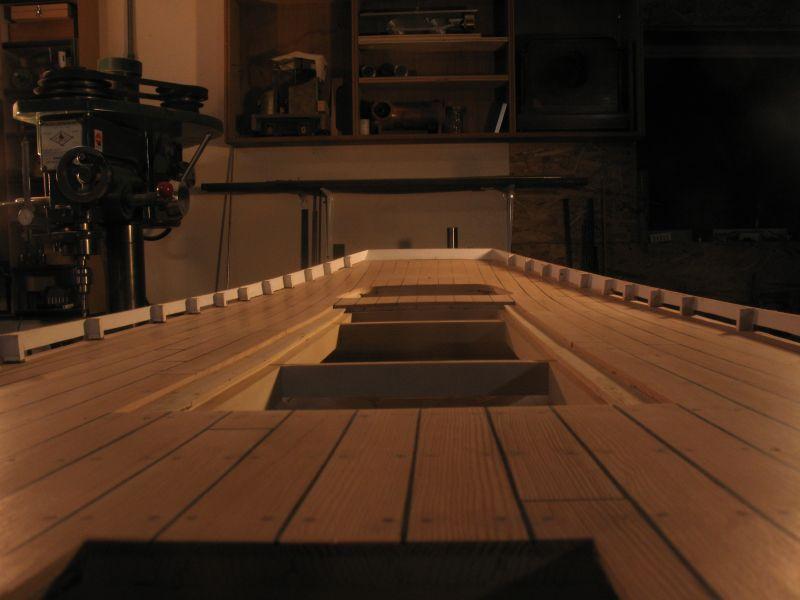
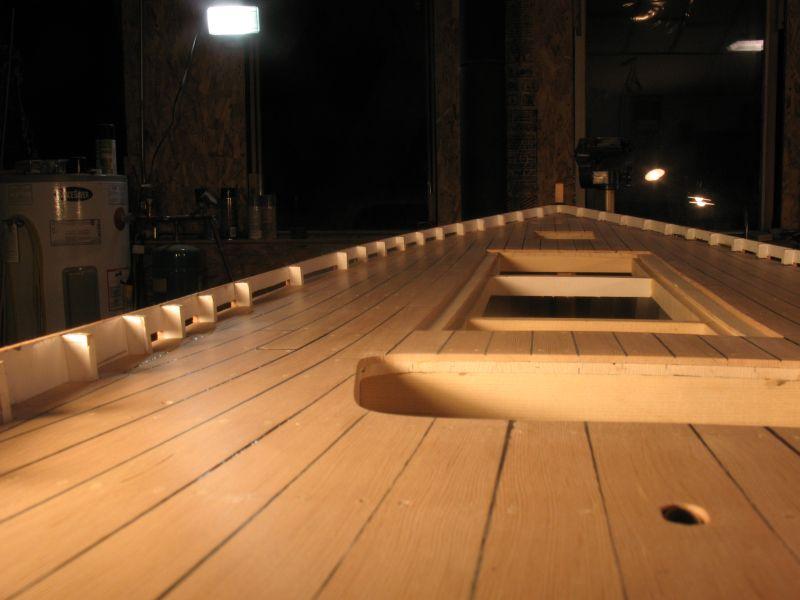
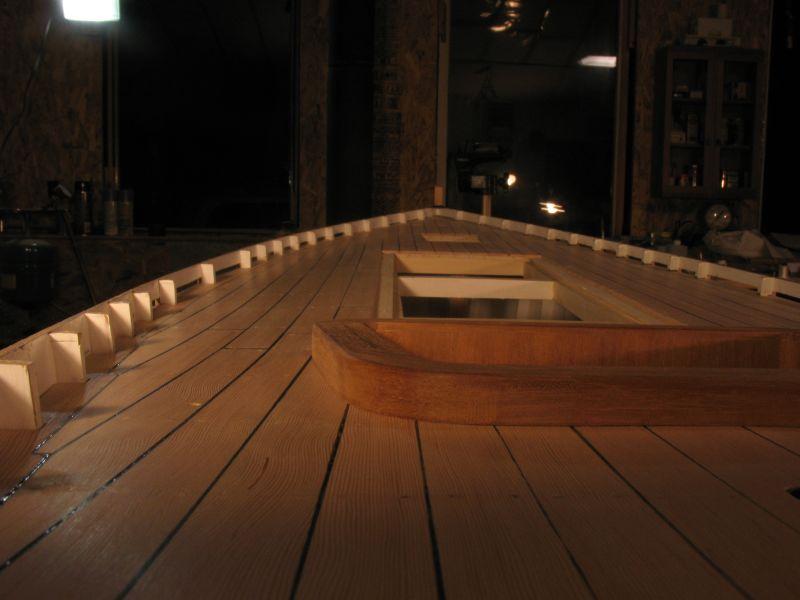
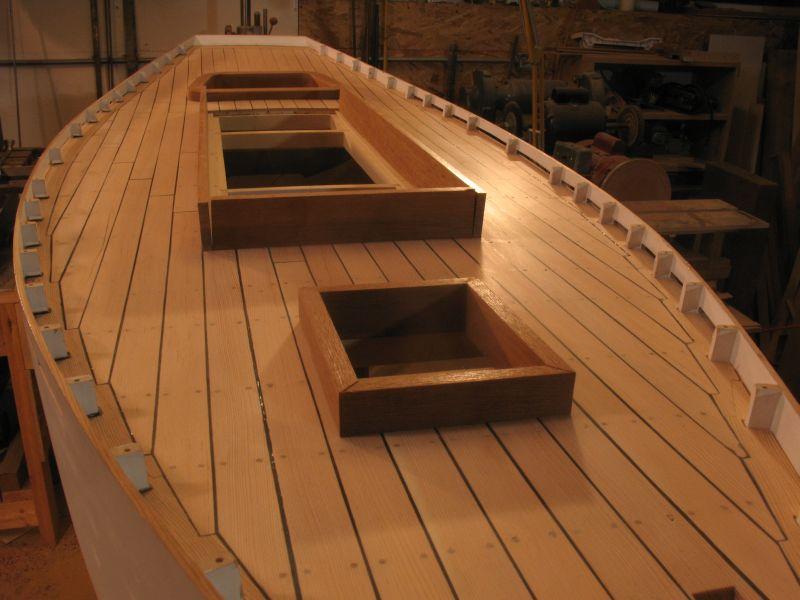
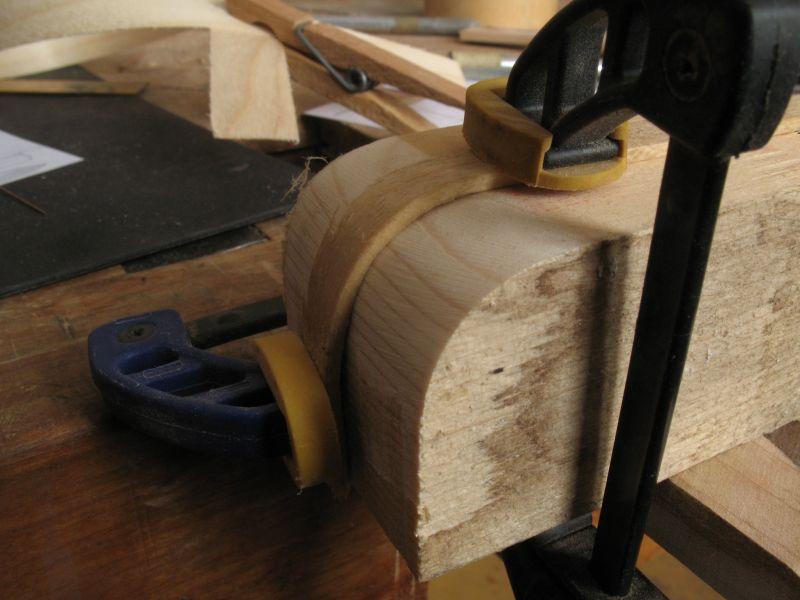
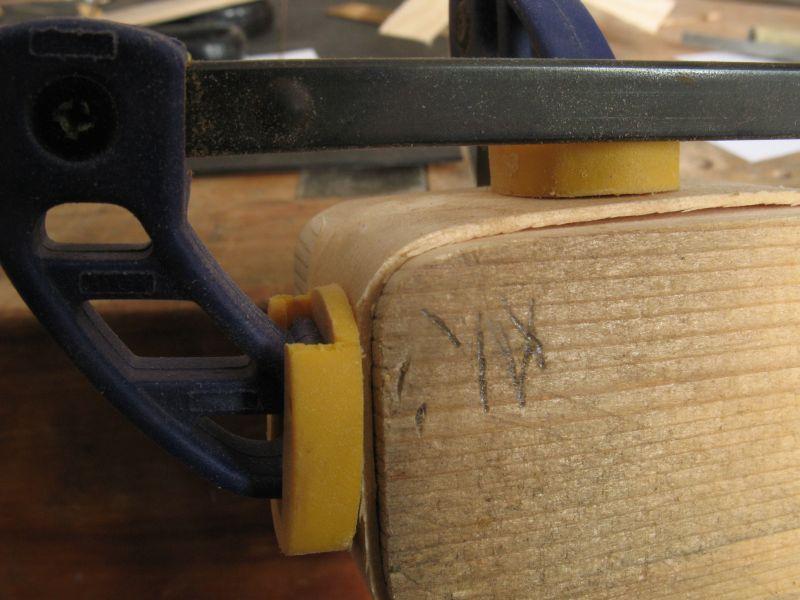
Alfons thank you for your kind remark. A little milestone today i finished the scraping of the deck and then a polish with some Medium Steel Wool The deck is smooth enough now that it shines in the right light. I can see the stanchions reflected in the deck, so I am pleased with the overall finish of it, I won't put any oil on it until the structures that need gluing have been glued down. Now I am able to work on the cockpit and cabin structures. The main cabin sides are beginning to come together I set the curve of the cabin roof and tapered the length from 12 to 8 scale inches from stern to bow. It just feels better somehow. an overall shot I had to use a strap at the bow to stop the hull from sliding around in the cradle while I was scraping Michael

-
Nice looking boat ...but its got a hole in her side Michael
-
Alfons, Nice to catch up on your build again. Michael
-
Hi Jay this is the sort of blade that I am talking about http://www.wayfairsupply.com/Vermont-American-8-Plywood-Krome-King%AE-Circular-Saw-Blades-25273-25273-IEY1576.html A regular saw sharpener who has the ability to sharpen a wide variety of saw blades should be able to hollow grind the blade, it does not need much. Take the pictures at the top of this thread to the sharpener and explain to him what you are going to do with it. If you take the pictures that I posted he or she will not think you are strange because you want to use the saw differently. The reason that I originally had the blades resharpened this way was because I did a lot of commercial architectural models in Plexiglass and Styrene and this type of grind gave me a good clean cut on both types of plastic. The added advantage with the wood is that you can use a blade like this to make a square rabbet on the edge of a plank.like this The last picture shows some rebates on a salvaged wooden venetian blind which is basswood So the blade has other uses. I hope this helps
-
Yes Mike you are absolutely right I also use that method sometimes one not only needs a shaving sharp blade but also an adjustable throat opening. I have a box of Mahogany planks The one thing to keep in mind though with this method is that it puts a fair bit of stress into the wood, not so apparent in this photo but more so in the Aspen The mahogany is .011" A shaving off the same billet of Aspen that the sawn slice is from this one is .007" You can notice the stress marks on the Aspen, and the thicker one goes the greater the stress micro fractures. If you know of a way to do this without the stress I would be interested to see how you do it. Michael
-
Mark yes this is what I have to do I am going to set up a simple way to achieve that so that it is able to be positively incremental, I am working on the design. John yes it is fortunately there are not too many instances where I need the wood quite this thin. Michael
-
today I finished gluing in the deck treenails. it was a rather long task. A little more work to finish it and on with the deck cabin and cockpit. Michael
-
For cutting wood here are a few shots of how I cut it This is one of the plywood blades that I use on my 10 inch tablesaw. The blade has no set to the teeth. A test cut to set the thickness. This slice is .027" Use a push stick to feed the wood through the saw. This is the thinnest cut I was able to make with this wood and blade combination. You can see that this wood has been darkened by the blade because it is dull and needs to be sharpened. Using a scraper to clean up the wood in this case the wood is Maple. The scaper is pulled towards me in single smooth strokes. When the scraper is sharp the wood shaves off in fine curls. Here you can see the transition from the burned surface to the scraped one and the small clamp holding the wood to a smooth surface. Make sure that the support surface stays clear of dust and shavings this is because the wood this thin has a tendency to curl up allowing dust to stick to the underside of the slice being scraped and the support because of static. This would create problems getting an even thickness. The amount of wood removed with the scraper is about .002" The finished slice that is .75" wide and .012" thick. The slice easily bends cold and dry around a 1/2 inch radius former. Michael
- 35 replies
-
- 18
-

-
Kats, what a tremendous difference from the mess you inherited. Your diligence and patience are showing in the superb job that you are doing. Michael
- 237 replies
-
- 1
-
-
- cutty sark
- revell
- (and 2 more)
-
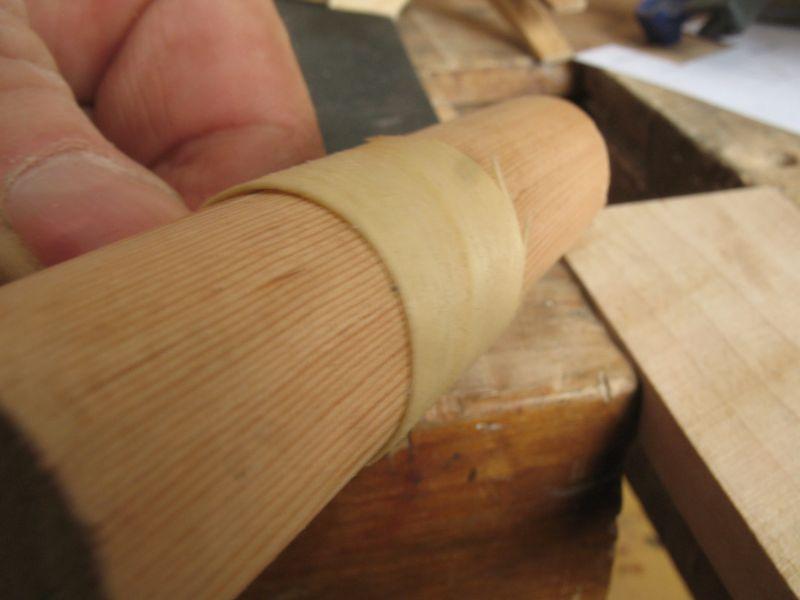
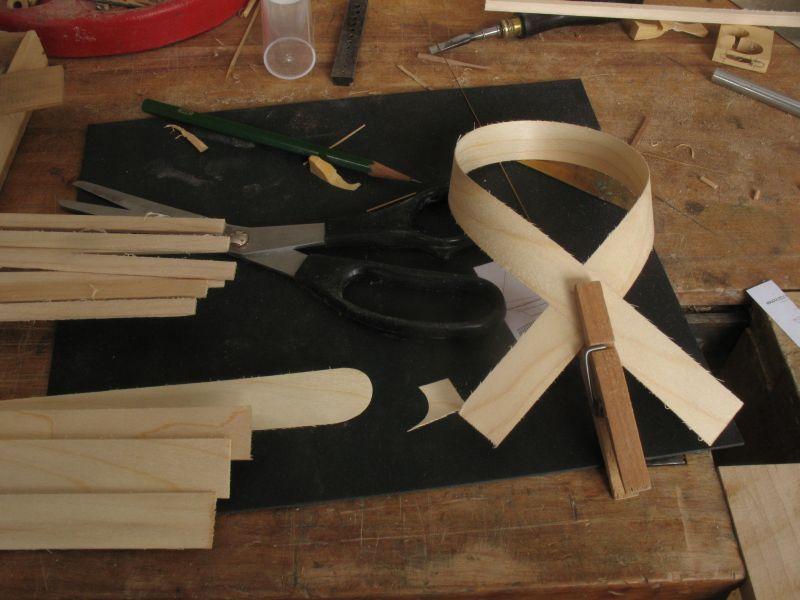
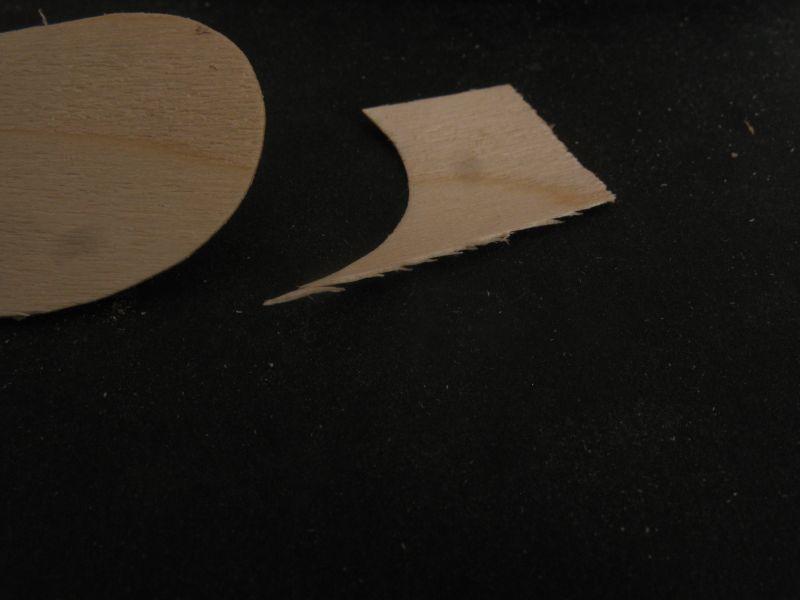
Today I re-sawed some of the Trembling Aspen that I cut down in 2006.I originally cut it into some planks in 2008. the sizes that I cut today were .30" x .075" and .75" x .015", .75" x .020", .75" x .035" I did not try to cut specific thicknesses but just arbitrarily cut thick and thin slices of the boards and then measured them. this picture shows the dry wood the curved piece is the .75" x .020" bent dry it is about a 1.5" radius This picture shows the .75 x .015" cut with a pair of scissors This picture shows the .30" x .075" bent to about a .75" radius after soaking in cold water for 15 minutes. This picture shows .75" x .035" bent round a .25" radius after 15 minutes in cold water This picture shows .75" x .015" bent round a .125" dowel after 15 minutes in cold water This picture shows .75" x .015" bent round some .75" dowel after 15 minutes in cold water Michael
-
Thanks for the link Ed. Michael
-
Pete In "Know Your Woods" by Albert Constantine Jr. The entry for Quaking Aspen is Populus tremuloides "This aspen shrinks very little and in bending qualities ranks with the best hardwoods." The entry for Cottonwood,Eastern is Populous deltoides "This tree is known by several other names including ASPEN, COTTONWOOD, CAROLINA POPLAR, WATER POPLAR, YELLOW COTTONWOOD." We have three of the species native to Canada on our 20 acres of property. Quaking Aspen, Black Polar, and Balsam Poplar, they are generally short lived and grow fast. I have some 6 inch diameter logs that are free of checks and are at least 7 years old and dry. I have cut some that is re-sawn and stacked as potential future model building wood. It tends to get fluffy when sanded but smooth as silk when planed by hand. The model that I showed in the other thread on polar was in fact Quaking Aspen, we have a tendency to lump them all in together under the same name. The only way to tell the difference between the different species of polar is by looking at the pore structure in the end grain under a microscope, I am led to believe that the poplar sold commercially is often of mixed species under the common names. This is certainly true of the 50 plus species of White Oak that are sold in North America. White Oak is White Oak right? Michael
-
Sinan, the Poplar here grows like a weed, in ten years a poplar will grow 15 to to twenty feet, My 20 acres are a mix of Poplar, Birch and Spruce. We are on the edge of the Boreal Forest. I always leave some of the fallen trees for the birds insects and the rest of the natural world for their use. Michael
-
Beautiful work Ed, very informative. Where did you purchase the fine file and broaches that you show in the picture? they almost remind me of dental broaches. Michael
-
ships longboat by iaincwil - FINISHED
michael mott replied to iaincwil's topic in - Build logs for subjects built 1751 - 1800
Ian? I like the model and am looking forward to seeing the one in Boxwood. Michael -
Wow that is pretty sharp. Michael