HOLIDAY DONATION DRIVE - SUPPORT MSW - DO YOUR PART TO KEEP THIS GREAT FORUM GOING! (Only 20 donations so far - C'mon guys!)
×


michael mott
-
Posts
5,198 -
Joined
-
Last visited
Content Type
Profiles
Forums
Gallery
Events
Everything posted by michael mott
-
 Molasses, I am in awe of the scale of the work you are doing. working at large scales is a much more easy task. Working at your scale shows great skill. Donald McNarry's work is large by comparison and he would be smiling with his hat off looking at your work. Glad to see that you are pushing the limits, and that your build log is back. I am learning a great deal. Michael
 -
Hello Pasi, welcome back your model look really fine. Michael
-
Russ, thanks. Mark, I take that as quite a compliment. John, I'm workin' on it give me some time Michael
-
Another Rope Walk
michael mott replied to michael mott's topic in Rope Making/Ropewalks's Rope Materials and parts resources
Thanks Mark, I am getting the hang of it and making a couple of simple additions to the walk so that threading it up becomes more simple.. Some 18 strand rope 3 sets of 6. of the T41 COATS & CLARK 40 wt thread the rope is .408 in diameter or 13/32 in 1:8 scale. I cut up some Christmas wrapping tube to store the ropes on this way I can write on the edge what it is. the tube is 1 1/2 inches in diameter, toilet roll tubes would work too. the little notch allows the rope to stay put. Michael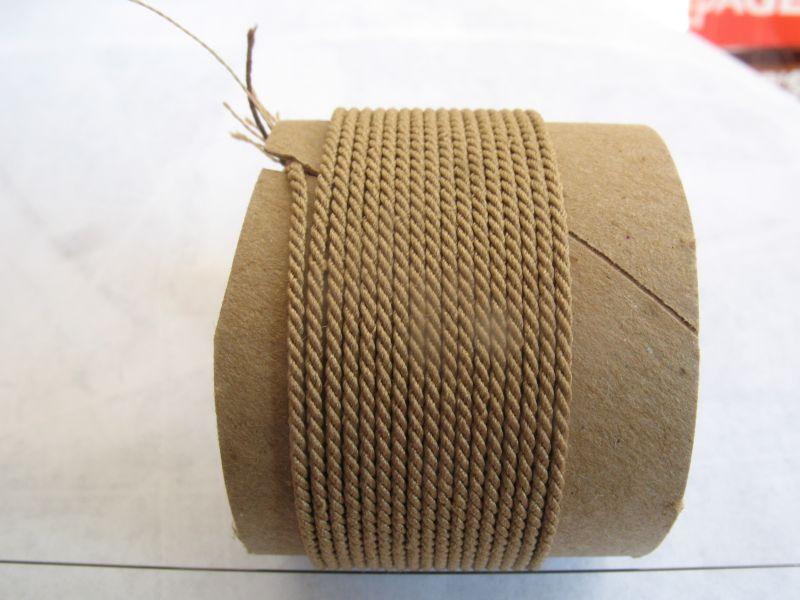
-
Hello Gigantesco, the model is looking good , My question relates to the scale of the model, Longridges' Model is to 1:48 which is 1/4 inch to the foot 1:64 would be 3/16ths to the foot. Is your model 1:66 a metric equivalent? Michael
-
Dida, Carl thanks for your compliments. Germanus, thank you for your comments regarding the history of the block making. eventually I will get the different methods sorted out. When it comes to making an accurate model of a boat in a set time period, say 1600 or 1800 or 1900 then I hope to have the different methods and types clearly understood form my own building point of view. The reason for trying out the bearing sheave was twofold to see if I could do it. also because this will be a working model I want to reduce the friction. The next type of block will be one that has the metal strop on the outside. then I will try the type with the strop on the inside. I do have a billet of Lignum Vitea so I will also be experimenting with it. As regards the groove that you mention the sheave is larger in diameter than the wood at the bottom so there is no contact with the wood by the running rope. As the model will be representing a Classic Bristol Cutter that has been converted to be a pleasure craft and upgraded with the modern looking classic hardware, I can have some fun and play. besides Mini Me is not as strong as I am and he wanted the blocks to be easy on his hands Just made some 1/8th inch scale rope diameter is .0148" inch which is close enough to .015" Michael

-
Another Rope Walk
michael mott replied to michael mott's topic in Rope Making/Ropewalks's Rope Materials and parts resources
thinking about the smaller diameter ropes and whether I could make them without too much trouble on my crude walk. I used some COATS & CLARK T41 40wt 100% polyester made in the USA Which I noticed was laid the opposite to the first embroidery thread that I used and I noticed this as I was winding and that the thread was unraveling so the first 15 minutes of winding needed to be reversed, I know I could have put in more thread, but I considered it my morning meditation. The results are promising. the rope is .015" and 7 feet long in 1/8th scale works out to s 1/8th inch in diameter in 1/16th scale works out to 1/4 inch in diameter in 1/32nd scale works out to 1/2 inch in diameter in 1/64th scale works out to 1 inch in diameter Michael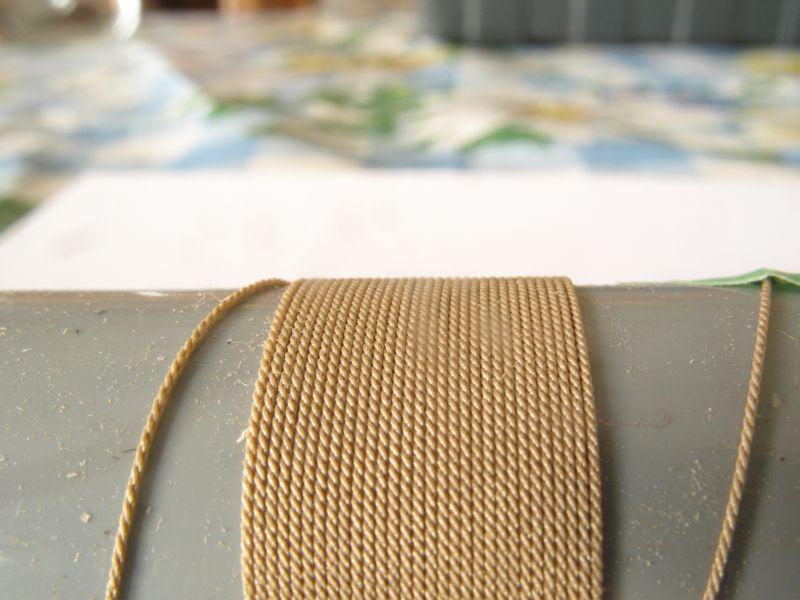
-
Nice work on the carving Russ. Michael
-
I like the way that you only copper-ed a section, when I saw the first picture of the copper going on I thought Oh No all that beautiful planking getting covered with copper. Michael
-
Garward Beautiful rope work. could you explain how your rope walk works?. Michael
-
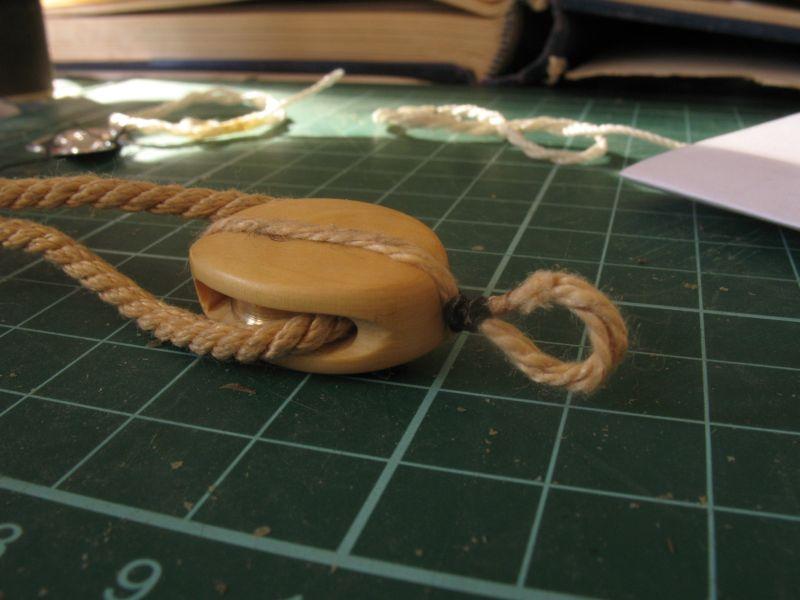
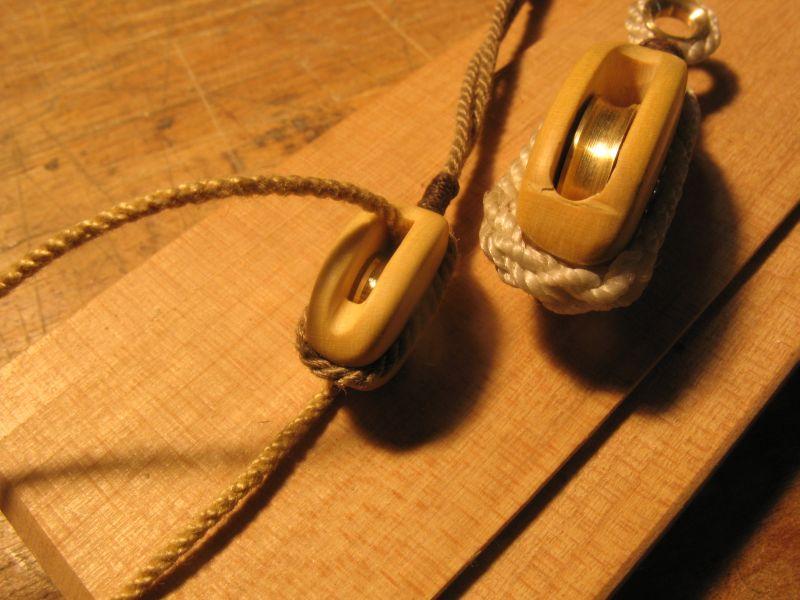
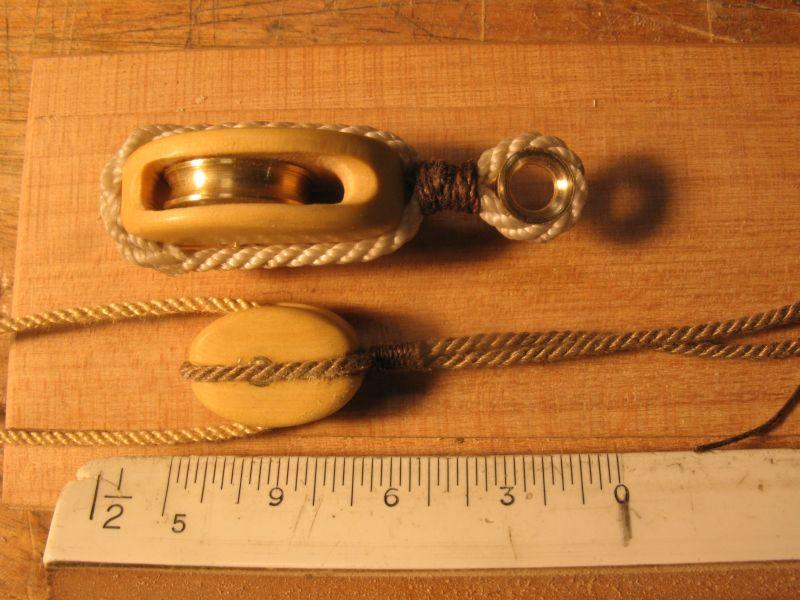
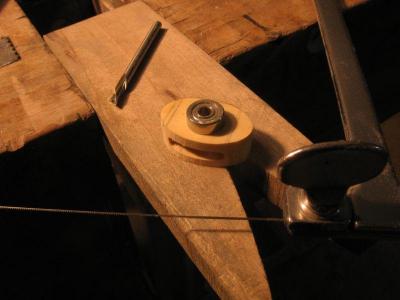
John you mean like this. I also did a better job on the splicing after revisiting the eye slice that Remco did. Longridge talks about passing the rope through a flame of a spirit lamp to get rid of the fluff, it is amazing what the camera sees that i can't. I had fun with the 4 inch block it has a working sheave but I couldn't find my jar of miniature bearings so opted for a simple shaft through the brass. I will do a little more experimenting with the strops, once i get it all figured out I will be able to set up some jigs. Michael
-
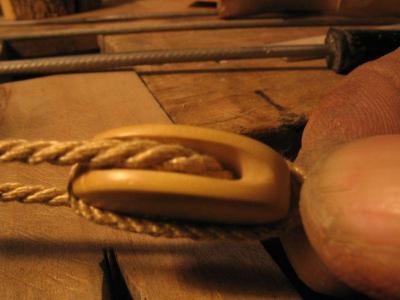
Karl, Bob, Druxey, Remco, John, and Mark, thanks for your kind words. the next step is much more difficult that I thought it would be. Making the loop of rope and then fitting it to the block. This is the second attempt not any where near that way I would like it to look. Any suggestions ? Michael

-
Karl your build is amazing, I would have trouble being as organized I would be going back to square one all the time. Michael
- 662 replies
-
- 1
-

-
- bonhomme richard
- frigate
- (and 1 more)
-
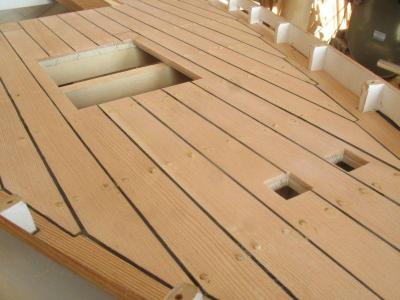
Ed, The mortising and rabbeting of the beams and the way you made the knees is such clean accurate work, very inspirational. Michael
-
I think that this would be a great contribution to the ship modelling community. Wonderful craftsmanship Mark. Michael
-
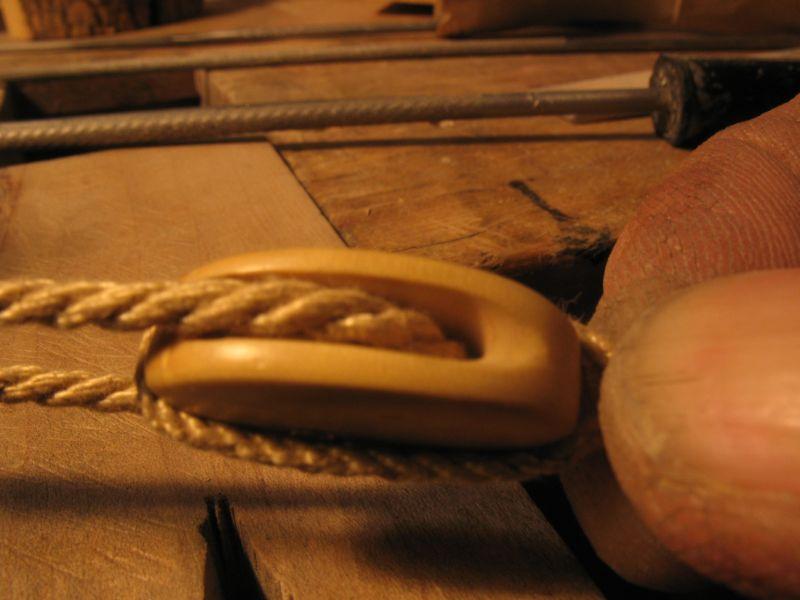
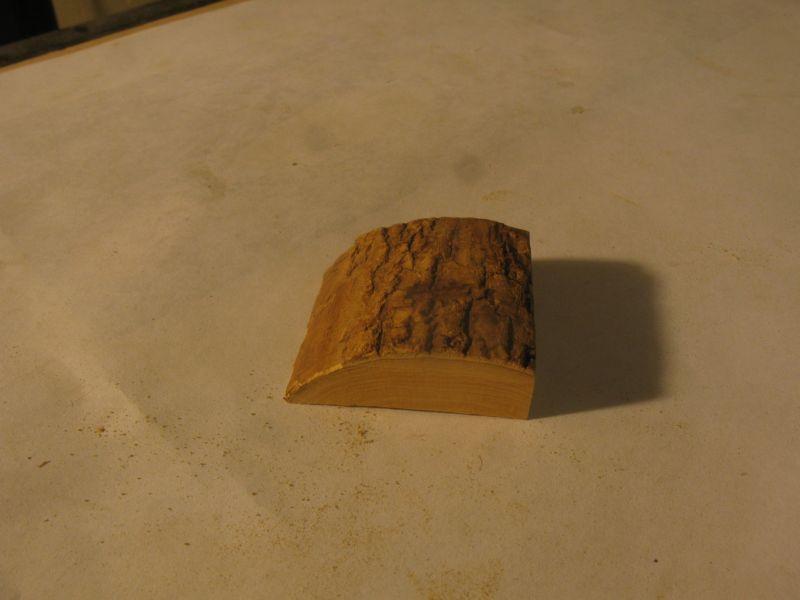
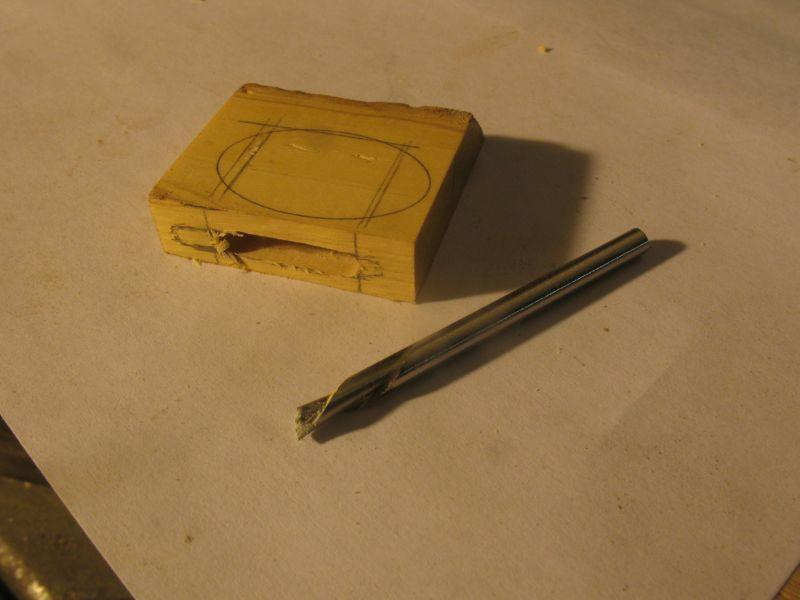
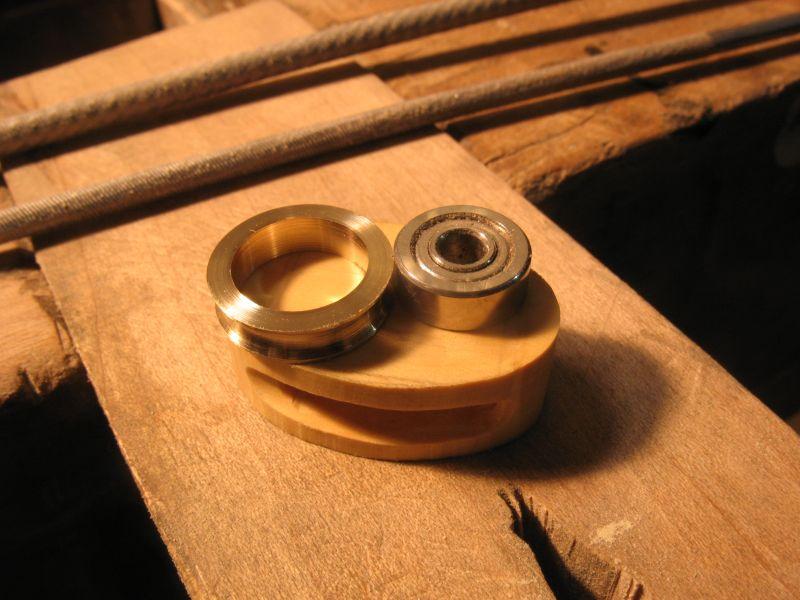
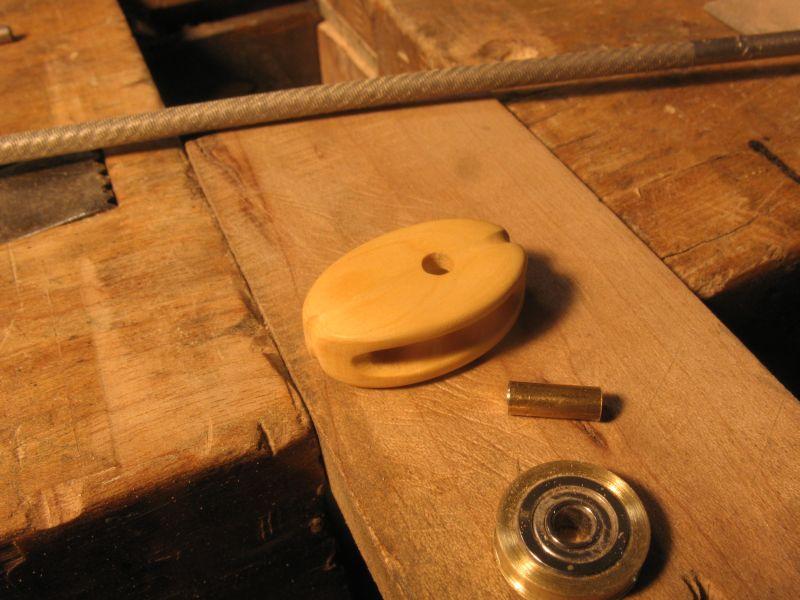
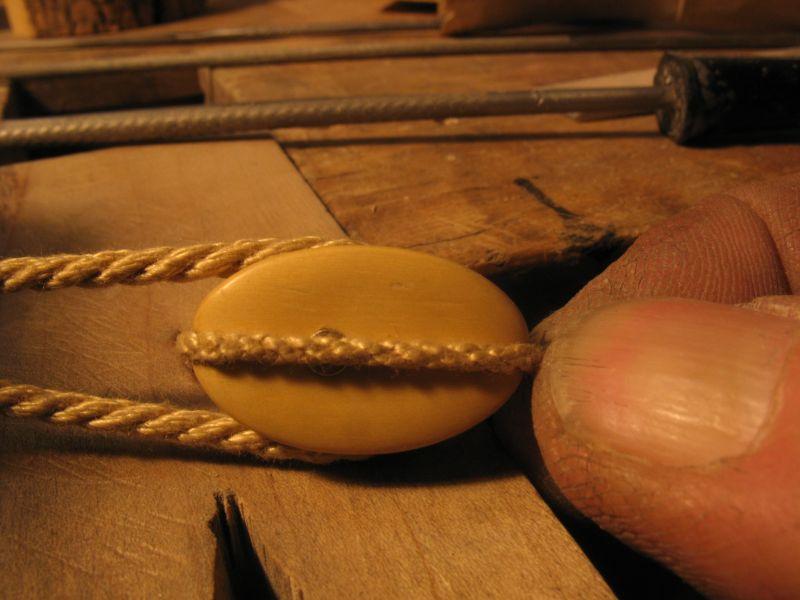
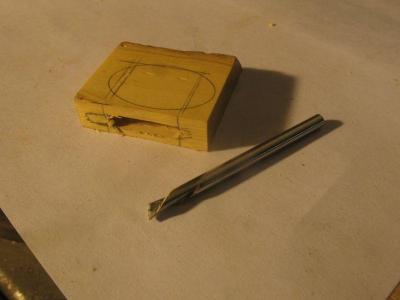
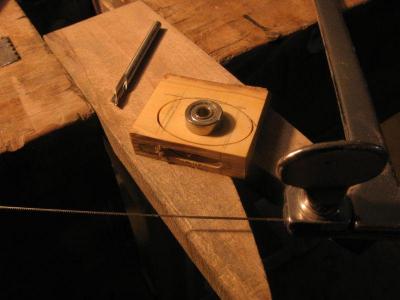
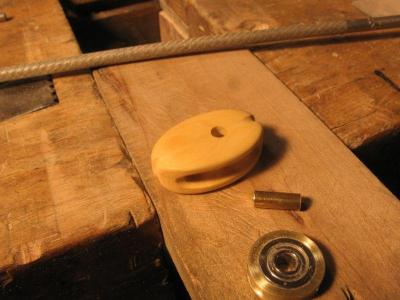
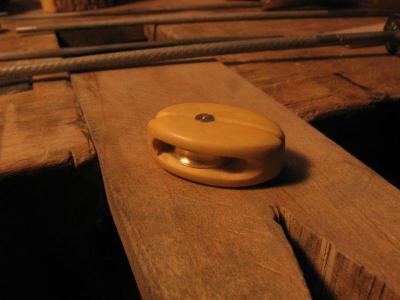
John, Thanks for the info. Sherry, that you for your kind words. Today I took a break from the treenailing and had a bit of fun with some English Boxwood that I purchased in 1972 it was a small log billet about 24 inches long by about 3 inches in diameter. Now I know why people use boxwood for model shipbuilding. What a lovely wood to work with. 1) a small piece cut off the billet 2) made a slot with a shortened zip bit that I ground the tip to cut like a fly cutter. 3) fretted out an oval with the jewelers saw 4) machined up a sheave out of brass and pressure fitted it to the ball race and did some final shaping of the boxwood 5)assembled the sheave with a piece of 1/8th brass rod that is a press fit 6) added some 1 inch diameter rope which is 1/8thinch in 1 1/2 inch scale 7) tomorrow I will figure out how to attach the blocks rope for attaching to the boom. This was a lot of fun, all the blocks will be made this way. luckily it is not a fully rigged 3 master or I will be 100 before this "tub" gets finished. Michael


-
Hi Popeye, just went through the entire picture show, looks like it will be a neat build. Michael
-
Ilhan, What a beautiful model, the planking looks super. michael
-
Klaus the model look beautiful. I will follow along. Michael
-
John I think you are underestimating the value that your log contributes to the sum of knowledge on this forum!! Could you not add a shorter set so that some context is provided and that the members don't think that you stole Harry Potter's Wand and just materialized the wonderful model out of thin salty air? Michael
-
Frank thanks for you kind comment. John, I have no Idea what I am going to use it for I just tried it out. What would left hand rope normally be used for? Today I put the rope machine away so that I can concentrate on the boat. I drilled out the holes for the treenails and started to glue them in I decided to use the ordinary carpenters glue without colour. A slow task but somebody has to do it , It is good to be building again. Michael

-
Surprise Discovery of AL Charles Morgan
michael mott replied to Shazmira's topic in Wood ship model kits
Great story Robbyn, go for it and finish it off. Michael -
Another Rope Walk
michael mott replied to michael mott's topic in Rope Making/Ropewalks's Rope Materials and parts resources
Jay thanks for the link, I enjoyed the other videos that are also about rope making that are listed at the end, I checked a few out. Michael -
Thanks for the pictures of you wonderful model. I like your jigs and metalwork as well. Michael
-
What is your favorite hand tool(s)??
michael mott replied to Modeler12's topic in Modeling tools and Workshop Equipment
Now that you mention I was wondering what was so familiar about Ron's Avatar picture. Michael