-
Posts
5,195 -
Joined
-
Last visited
Content Type
Profiles
Forums
Gallery
Events
Everything posted by michael mott
-
Doris thank you for taking all the time needed to bring us all up to date.Now we can follow along as you continue to weave your magic with paper and card. Michael
- 883 replies
-
- royal caroline
- ship of the line
-
(and 1 more)
Tagged with:
-
Very nicely done Remco.... now you know how to do it...... Michael
- 1,214 replies
-
- sloop
- kingfisher
-
(and 1 more)
Tagged with:
-
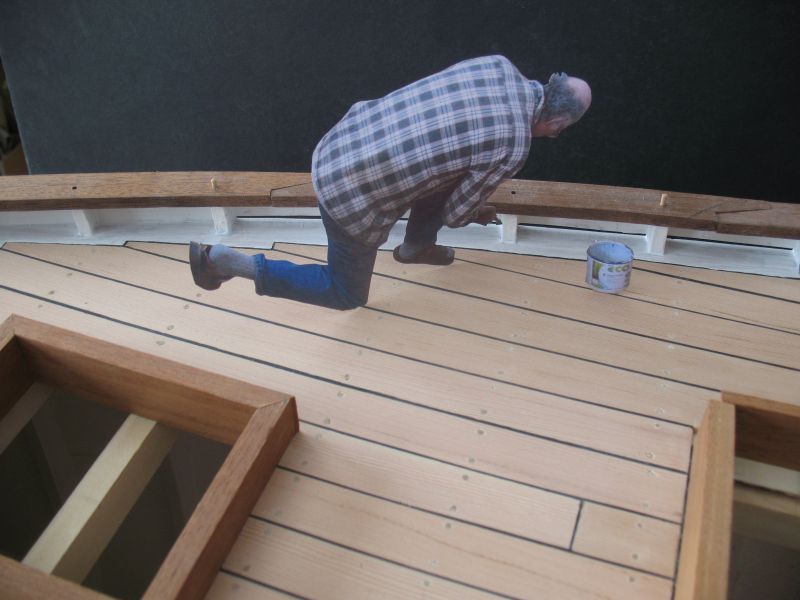
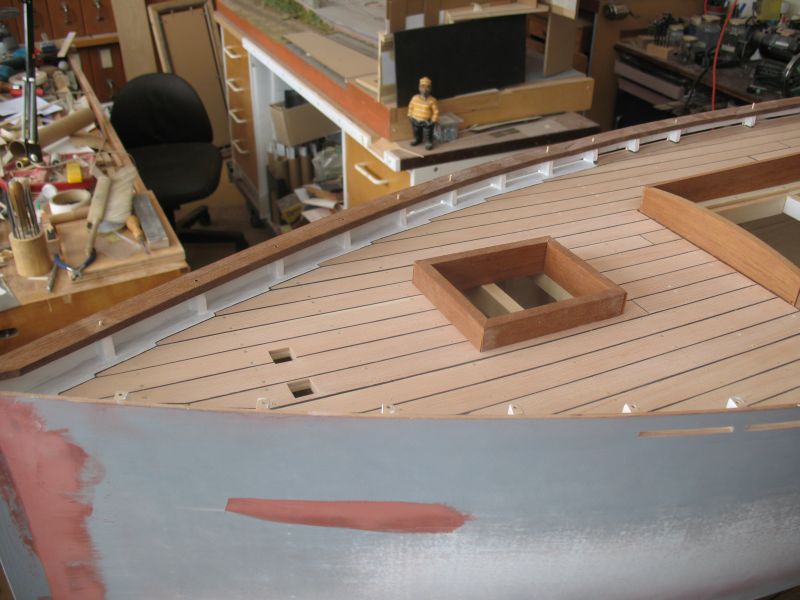
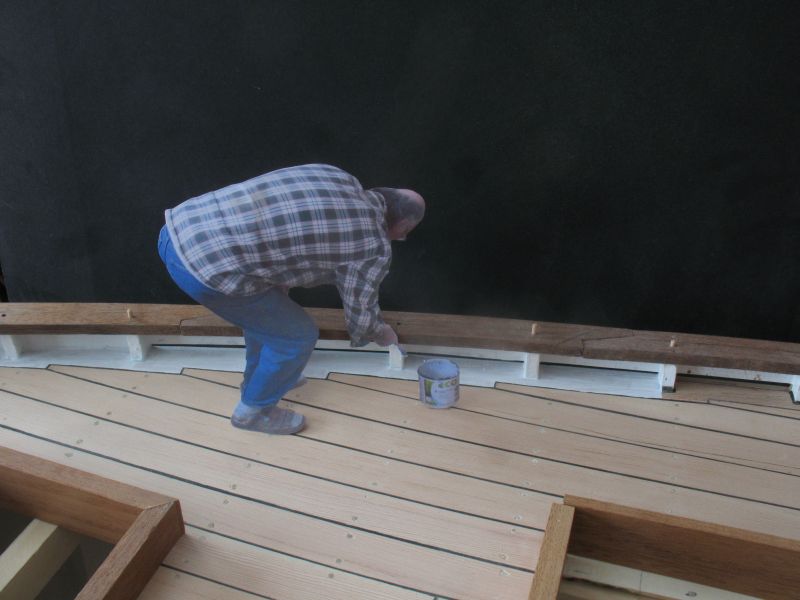
John, thanks I thought about whether to paint then for a long time, I am glad that I did choose to do it. Russ thanks , it is a bit nerve wracking because I don't really want to get into masking on the deck. Now the thing that amazed me is the paint is from a tin of Humbrol enamel that I last used in 1980( I don't throw away much) The paint was a bit stiff in the tin partly because it was only 7 degrees in the shop when I opened it and it had been sitting all that time in a drawer, I used a 3d nail, head end down to mix up the paint it was still soft but thick, no skin on the surface just oil. After stiring it up and adding a few drops of thinner it was as if I had just opened a tin of new paint, I am impressed with the quality of that old Humbrol paint. Daniel, will do, on the chocolate. Popeye, I didn't want him to feel that he could be sloppy so by not giving him the drop cloth he needed to be cautious, which is good thing for apprentices. Mark, .....darn it I asked you not to say anything about that.... I don't want to get banned for not using a model. Thanks everyone for all your kind remarks and for looking in. Michael
- 2,207 replies
-
Nico every time I look at the finish on you boat I'm dazzled ..... literally, it really is looking fantastic with each new piece. Michael
- 65 replies
-
Russ it is great to revist work that was done many years ago, not only does it mark time but also one's progress and development. The model looks great. Michael
- 69 replies
-
- frigate
- cross-section
-
(and 1 more)
Tagged with:
-
- 2,207 replies
-
Harvey Russ, Bob, Elia, Salty, Mark, Overdale, Popeye. Thank you all for your kindness Well because it is snowing pretty hard right now Cricket was definitely out..... so I opted for a test paint of the cover boards and a re-coat on the bulwarks. It turned out looking quite reasonable we thought, so after it dries we will give it a second coat and see how it looks. Michael
- 2,207 replies
-
It is such a joy to watch your model develop Doris. Michael
- 883 replies
-
- royal caroline
- ship of the line
-
(and 1 more)
Tagged with:
-
Hi Carl, I am not having any problems converting JPEGS to DXF the issue is that my version of Autocad seems to freeze up with DXF's from a JPEGs for tracing, but it does recognize the PDF. so that works for me. I am working on a set of plans for a Colchester Fishing Smack. Using this boat as the reference http://www.betty-ck145.com/docueng/betty_ck145/betty_ck145.html Michael
-
Doris, Thank you for the information about the gold. michael
- 883 replies
-
- royal caroline
- ship of the line
-
(and 1 more)
Tagged with:
-
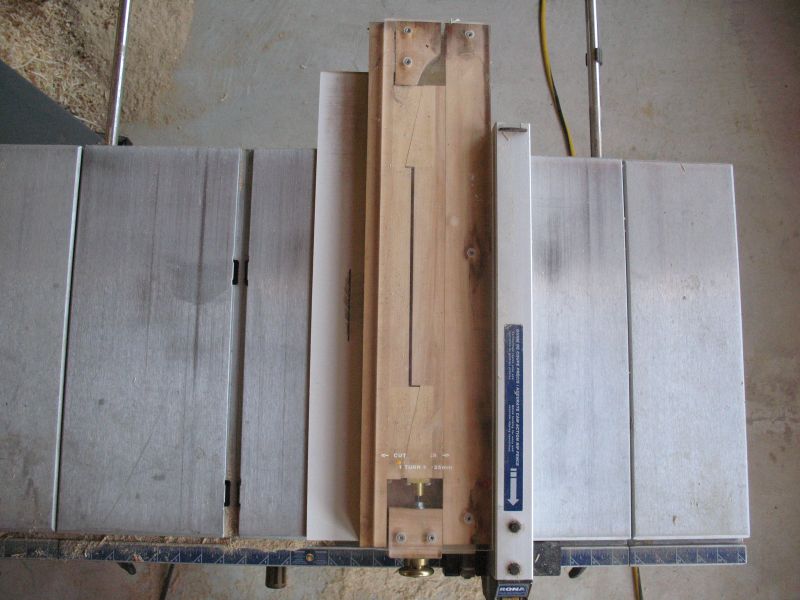
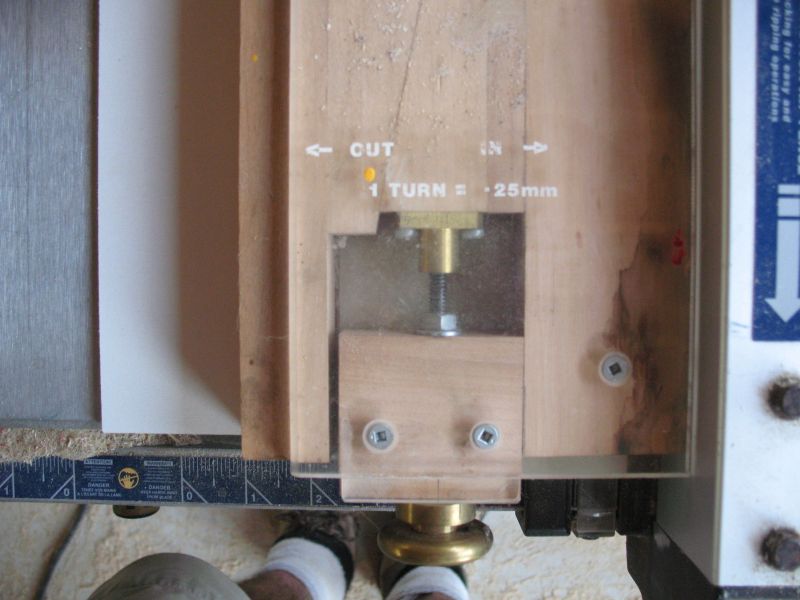
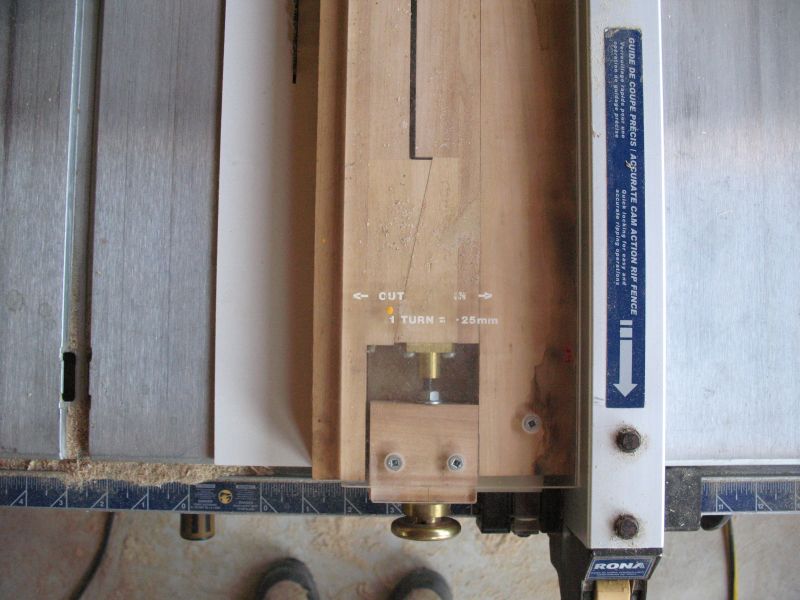
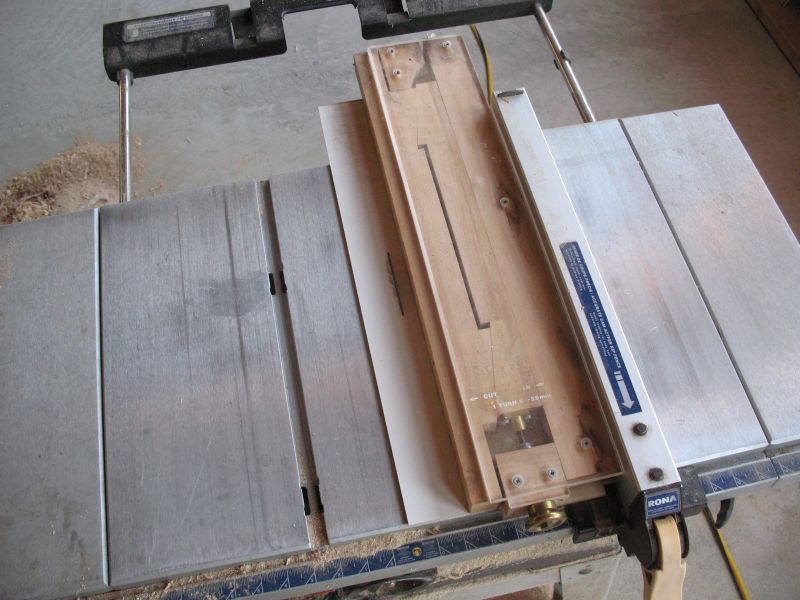
Buck: what a beautiful set up, a nicely crafted tool you have there and I like the design. I will have to make myself one of those, thanks for sharing. I also have this little tool that I use sometimes It also uses a 1/4 x 20 thread and as the handle turns it indexes over the fence by a .25 mm I used this to make micro adjustments to the width of sheets of styrene and acrylic when I was doing Architectural Models. It just sits on top of the table and there is a stop to prevent it from moving forward I rough set the main fence then use some carpet tape to hold down a piece if 1/8th white faced MDF bring the blade up for zero tolerance then make the micro adjustments to get the right width. These pics are using my cheap $100 table saw that I use out and about the house for doing rough building work, this was while I was building the house and my Unisaw was in pieces in storage (it was in pieces because it was too heavy to lift up the stairs out of the basement of my old house). Michael
-
I too had not seen this before, what a wonderful whimsical story and so beautifully executed. thanks for sharing it. Michael
- 33 replies
-
- trinkstein
- frigate
-
(and 2 more)
Tagged with:
-
Doris I have run out of ways to say incredible, fantastic, etc. I am learning so much from your tutorials on the sculpting. I do have a question regarding your gilding. Is the gilding using gold leaf or a high quality gold paint? or something else? It look like the paper that you are building the scupltures on is the backing paper for the foils am i correct?, if so then the backing paper of something like carpet tape would also work. Michael
- 883 replies
-
- royal caroline
- ship of the line
-
(and 1 more)
Tagged with:
-
Very sharp looking bit of Kit as they say. Michael
- 62 replies
-
- santa maria
- finished
-
(and 1 more)
Tagged with:
-
Thank you for the sculpting Videos Doris, I learned a great deal watching how you developed the horse. You certainly are a talented artist, and thank you for taking the time to set up the videos. Michael
- 883 replies
-
- royal caroline
- ship of the line
-
(and 1 more)
Tagged with:
-
Russ these cross sections seem to be very popular and also a great way to get your feet wet, (they obviously wouldn't float;~) ) but great to see what one is going to encounter when building a full ship. What woods did you use?. Michael
- 69 replies
-
- frigate
- cross-section
-
(and 1 more)
Tagged with:
-

Coloring Basswood
michael mott replied to JPett's topic in Painting, finishing and weathering products and techniques
Daniel a very nice build. I enjoyed the photo show. Michael -
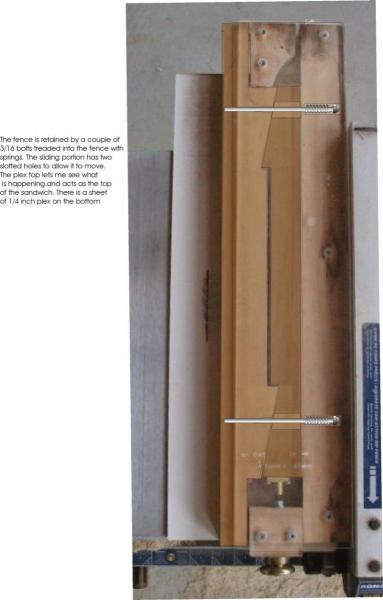
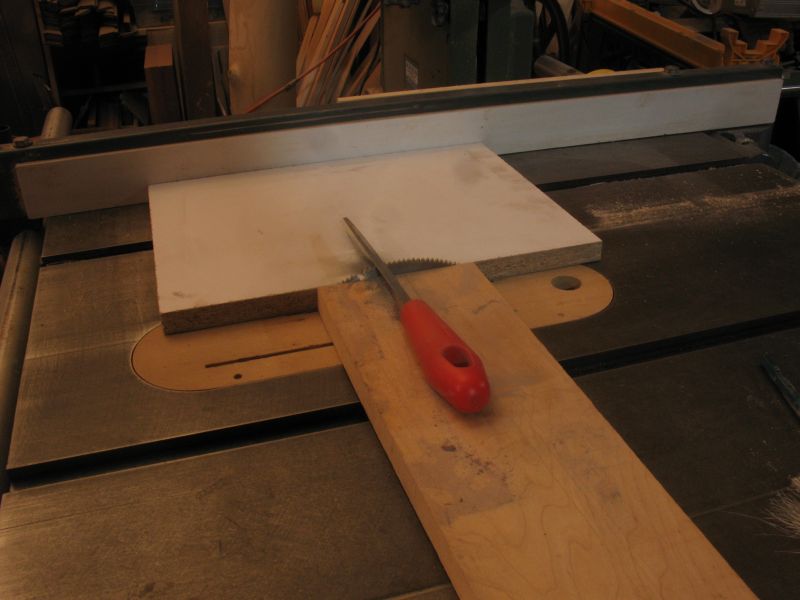
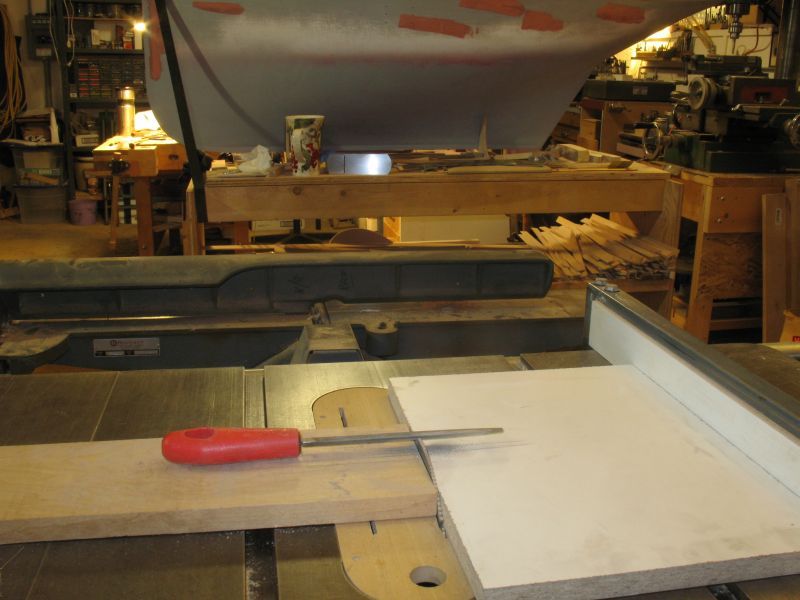
yesterday I needed to sharpen the hollow ground blade to ensure the my cuts were smooth. I use a simple method First I unplug the saw. Safety first!!! It is so easy to forget to unplug power tools when changing blades and cutters. I sandwich the blade between a sheet next to the fence and a board clamped to the table. then raise the blade so that the file in horizontal. next I offset the file to the position to give the correct angle with the file sitting flat on the handle you can see that the file is off to one side. I then draw a line on the wood to keep the file straight while I sharpen, it is low tech but works fine. Michael
About us
Modelshipworld - Advancing Ship Modeling through Research
SSL Secured
Your security is important for us so this Website is SSL-Secured
NRG Mailing Address
Nautical Research Guild
237 South Lincoln Street
Westmont IL, 60559-1917
Model Ship World ® and the MSW logo are Registered Trademarks, and belong to the Nautical Research Guild (United States Patent and Trademark Office: No. 6,929,264 & No. 6,929,274, registered Dec. 20, 2022)
Helpful Links
About the NRG
If you enjoy building ship models that are historically accurate as well as beautiful, then The Nautical Research Guild (NRG) is just right for you.
The Guild is a non-profit educational organization whose mission is to “Advance Ship Modeling Through Research”. We provide support to our members in their efforts to raise the quality of their model ships.
The Nautical Research Guild has published our world-renowned quarterly magazine, The Nautical Research Journal, since 1955. The pages of the Journal are full of articles by accomplished ship modelers who show you how they create those exquisite details on their models, and by maritime historians who show you the correct details to build. The Journal is available in both print and digital editions. Go to the NRG web site (www.thenrg.org) to download a complimentary digital copy of the Journal. The NRG also publishes plan sets, books and compilations of back issues of the Journal and the former Ships in Scale and Model Ship Builder magazines.


