michael mott
-
Posts
5,200 -
Joined
-
Last visited
Content Type
Profiles
Forums
Gallery
Events
Everything posted by michael mott
-
 Siggi, outstanding work on those chairs. I did not expect you to really go that far, but am glad that you did. The final results speak volumes of you dedication to a wonderful overall model, and your skills. Michael
 -
Thanks for the information regarding the tape Ed that is good to know. Michael
- 3,618 replies
-
- 3
-

-
- young america
- clipper
- (and 1 more)
-
Nicely done Dan. great tip for twisting the wire in the knife collet. Michael
- 108 replies
-
- 5
-
-
- andrea doria
- ocean liner
- (and 1 more)
-
Ed seeing the blue masking tape at first was a surprise, but then realized the relief from the anxiety of dropping a part makes the work more relaxed. Did you have to wash the surface afterwards to remove any residue that always seems to accompany the use of masking tape or is the blue tape special in this regard? A second question, do you use this method often because it was the first time I recall seeing you use it? I have been quietly following along and am always impressed by how clean everything always looks, and your commitment to being as accurate in your interpretation even when a large amount of the work gets mostly hidden. Michael
- 3,618 replies
-
- 4
-
-
- young america
- clipper
- (and 1 more)
-
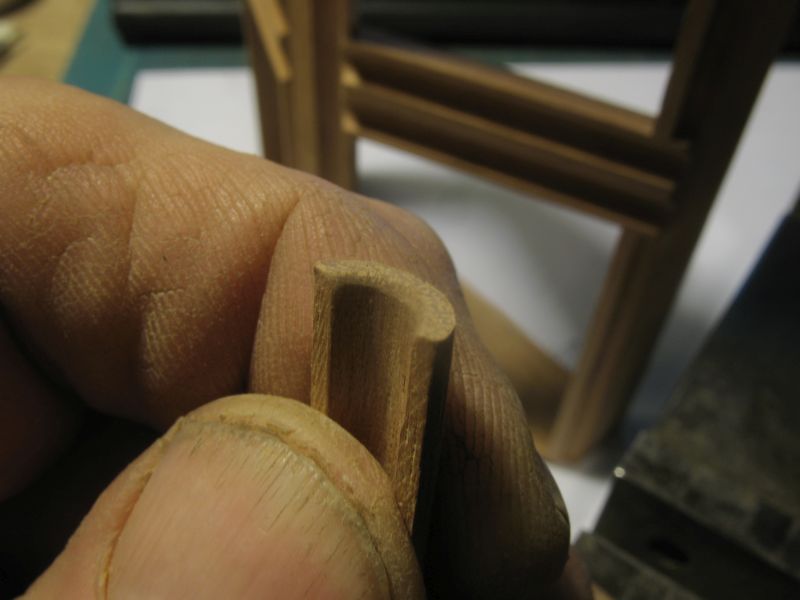
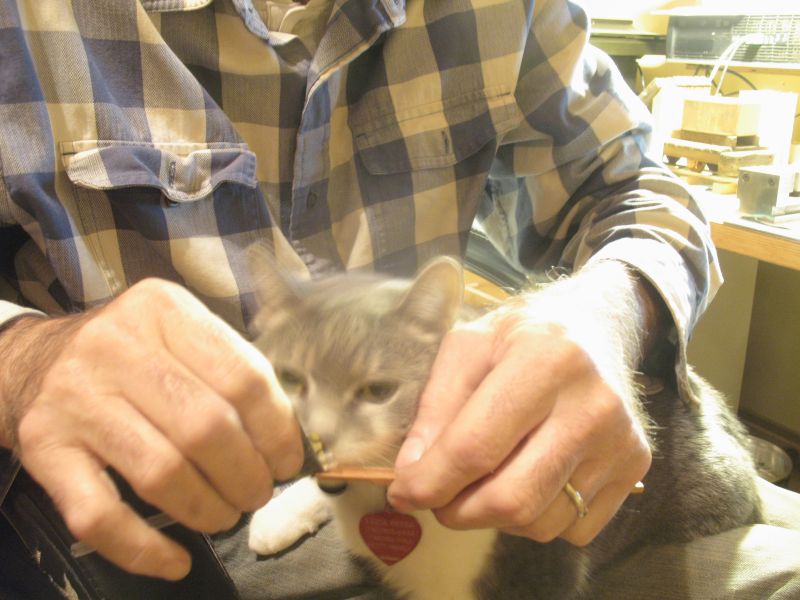
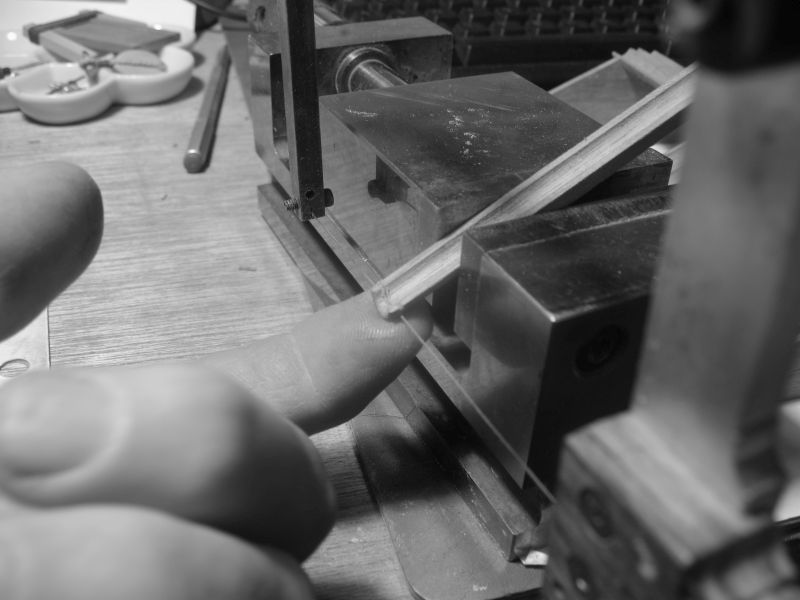
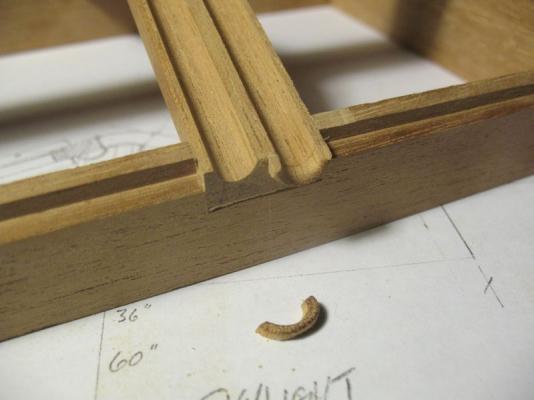
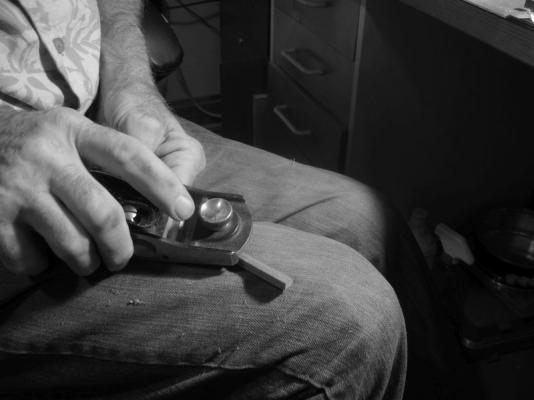
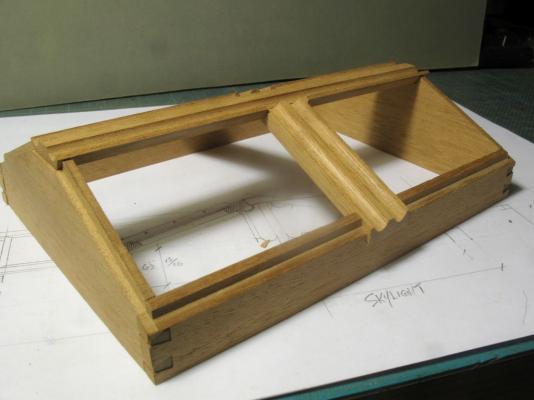
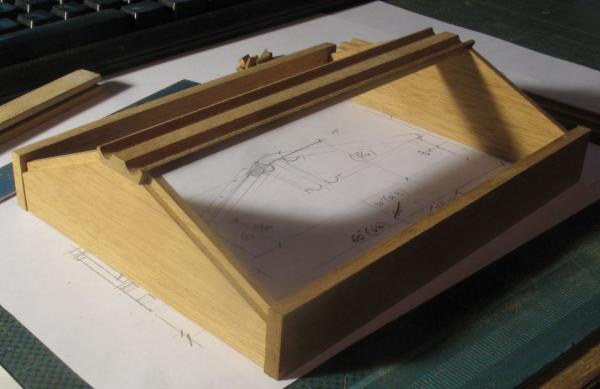
Thanks for all the positive feedback. After gluing the case together the ends of the channels needed a little more work in the way of small extensions so that the water doesn't just trickle down the side and ends. This was accomplished by taking a small strip of mahogany, and milling a groove the same as the channels then shaping the outside curve to create a cup like extrusion. This end was then rounded with files and sandpaper Oh and i had some help these were then cut off with a jewelers saw and glued to the appropriate locations. The side channels were a little more tricky to cut, and had first to be sanded to the same angle. I did this by placing the cup shaped piece on the side of the case and finishing the end with the sanding block. Cutting these off was done slowly with the jewelers saw with my finger underneath the end to act as a support, As the blade neared the bottom of the curve I used a micro back and forth motion until the cut parted off the pieces. these were then glued to the sides After all the extensions were glued and set they were cleaned up with some 400 grit sandpaper. The top bar was then shaped with a block plane and files and connected to the case with a couple of brass woodscrews from below. Next the hinged lights need to be made and fitted. Michael


-
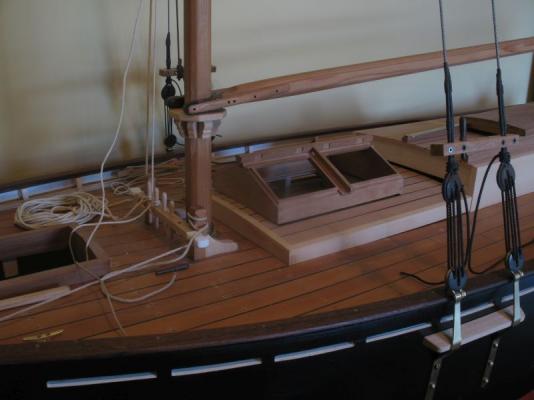
Hi Altalena The final results of your hard work are evident in that last picture. A sleek looking sailboat indeed she looks fast and graceful, a credit to the builder. I agree that a case would help to keep those dust devils at bay. Congratulations on finishing the model. Michael
- 103 replies
-
- 2
-
-
- annie
- sandbagger
- (and 1 more)
-
Siggi I just spent a few hours going through your entire build, I think I will go sit in the corner and take up knitting. Beautiful workmanship and wonderful attention to detail, I also admire your strive and search for accuracy and intent. Michael
-
Looks like a good start. Michael
-
Thanks David and for the likes that other posted. Last pic for today of the centre beam roughed in. Tomorrow I will glue it together and finish the top edges. Michael
-
I just caught this build Jesse, I applaud your patience with the globes, I think I would have given up, and just hung the boat. Very nice job. Michael
- 56 replies
-
- 4
-
-
- rouse simmons
- bottle
- (and 1 more)
-
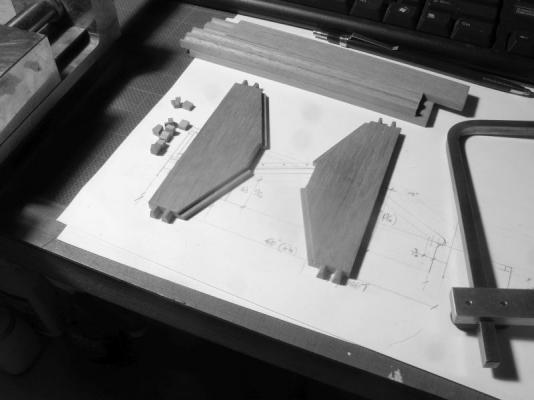
Greg, thanks, regarding the Black and white, I saw some really fantastic black and white photographs of some early farm equipment on another model forum and thought about how rich many of the old black and white reference photographs were. The thing that I like most about them is the great depth of focus they had, even when blown up on the screen the details seem to remain really sharp. I wonder if that has anything to do with the difference between the old silver nitrate verses the modern digital processing. or possibly smaller F stop and longer exposures. The one thing that I do like about our new cameras is the ability to shoot in color or black and white, and the capability to delete and shoot again without having to send the film away and then be disappointed that 6 of the pictures were either too dark or too light or blurry. Michael
-
Thanks Pete. Patrick yest the great thing about building in this scale is being able to pretty much follow the full size practices. I think that in many ways it is much easier especially with regard to material selection. One can get away with the out of scale grain in some places because of this. Michael
-
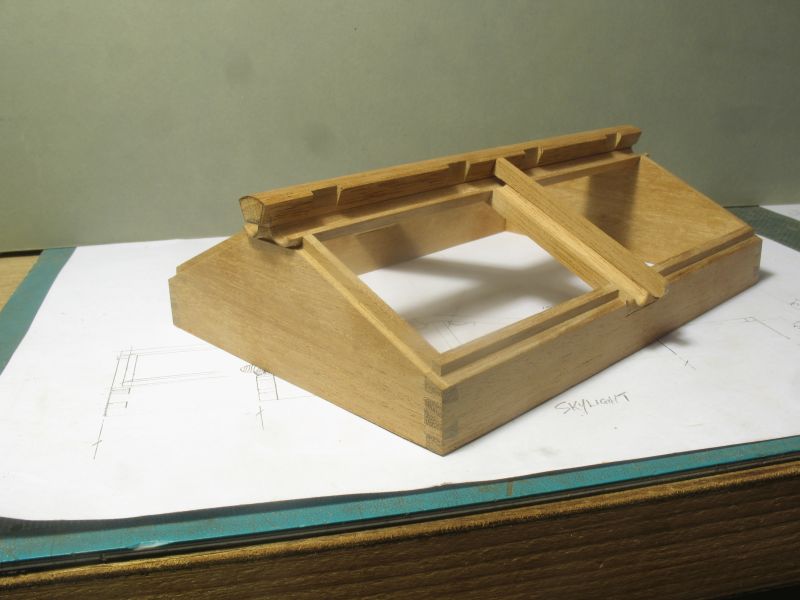
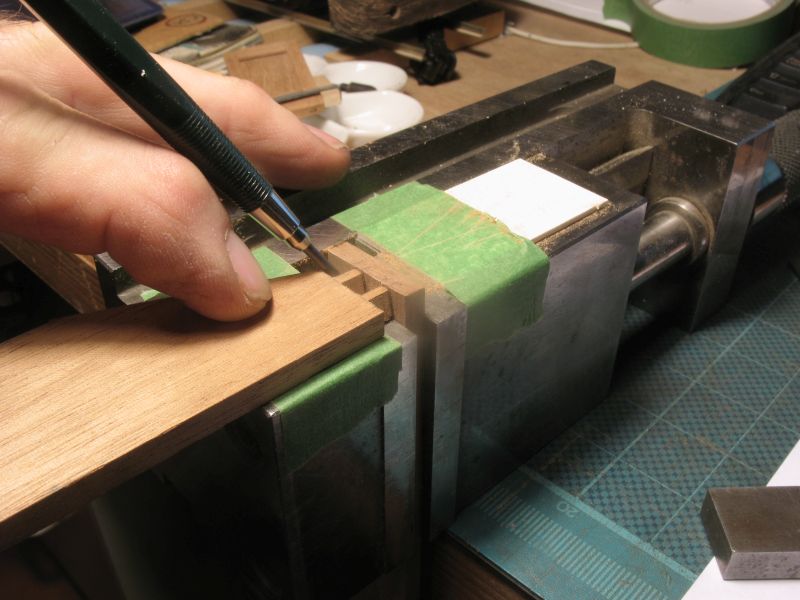
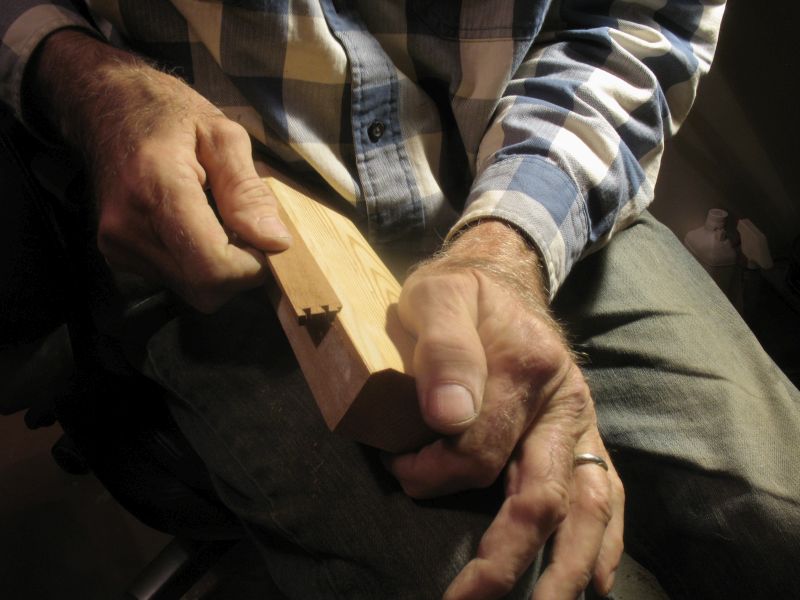
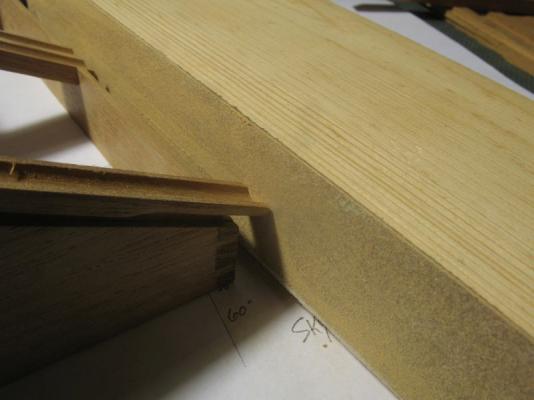
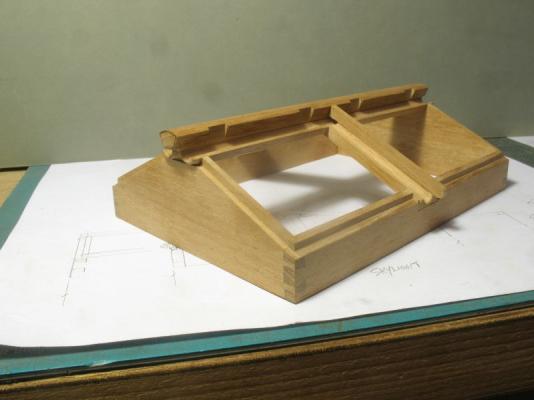
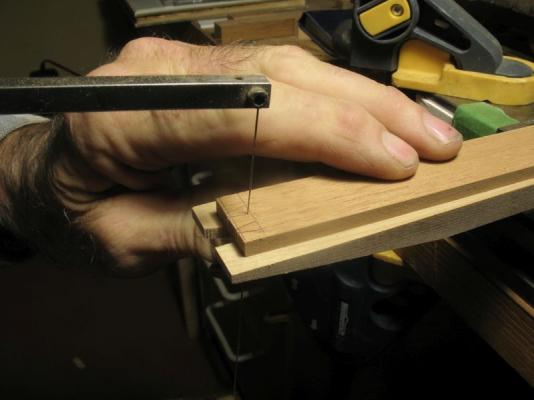
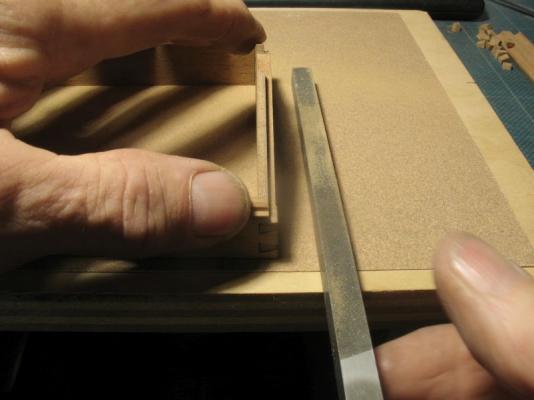
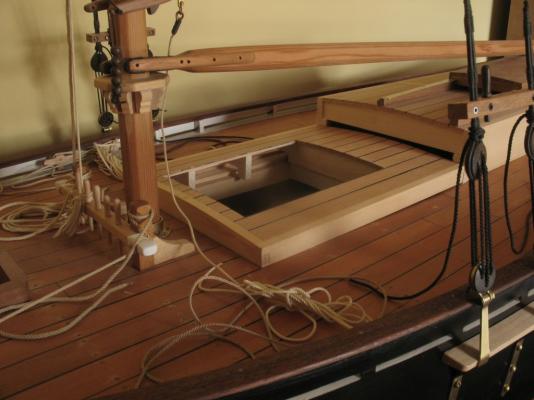
Thanks everyone for the very kind comments and for all the likes. Yes I'm happy that the boys have great families and that they are both happy with their work. Back to the skylight now. Today I cut the dovetails for the corners, not as clean as I would have liked but acceptable for this one. First the backsaw for cutting the pins followed by the jewelers saw to remove the waste all the pins cut next the side boards were marked to receive the pins these were cut out with the jewelers saw and cleaned up with some needle files After the main frame carcass was dry assembled the ends were filed down with a safe edged square file, I like to sit the assembly on a sheet of sandpaper which grips the whole thing from sliding around without resorting to a vice or clamps. next the sawn rebate needed to be slanted so I sloped the side of a heavy sanding block (1 1/2 inch stock) and carefully sanded down the edge to the angle. Next will come the middle divider channel. Michael


-
Watching with great interest of another beauty in the making. Michael
- 258 replies
-
- 4
-
-
- buzzards bay
- herreshoff
- (and 1 more)
-
Remco I for one am interested in how you accomplish this. Michael
- 1,215 replies
-
- 3
-
-
- sloop
- kingfisher
- (and 1 more)
-
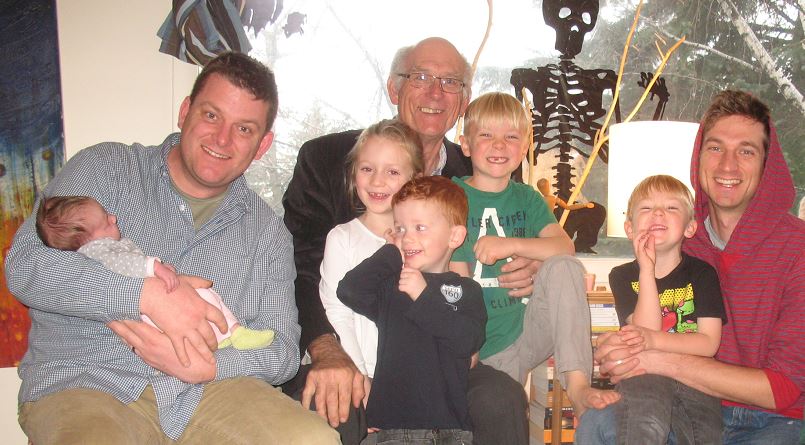
Thanks one and all for all the kind comments and congratulations Here is the gang in the style of who's on first My eldest son is holding my new granddaughter who was born to my youngest son and wife, right in front of me is my eldest granddaughter, born to my eldest son and his wife next to my eldest grandson who is a brother to the youngest granddaughter behind his cousin who is who is the nephew of my youngest son who is behind my third oldest grandchild. Oh I have no idea who the thin guy in the back is. Michael

-
Bob Looks very interesting, that is a lot of detail at 1:200 basically the engineering scale for 1/16th. the website that you linked to is a great wealth of information for your model, if only every boat and ship we wanted to build had such great detailed first pages. michael
- 348 replies
-
- 2
-
-
- pequot
- cable ship
- (and 1 more)
-
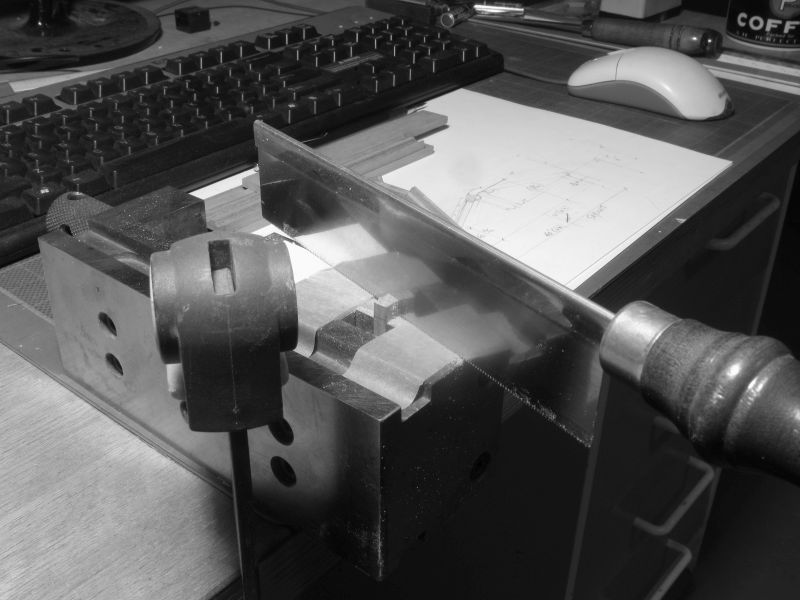
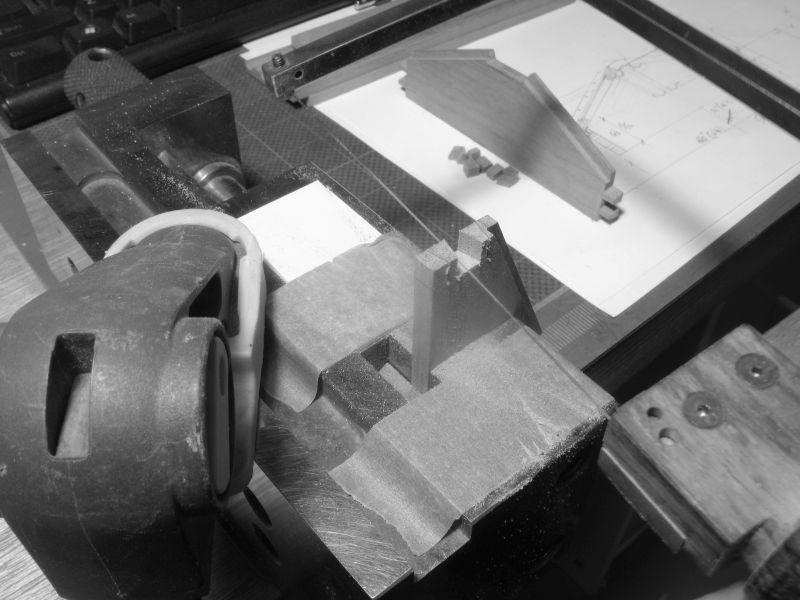
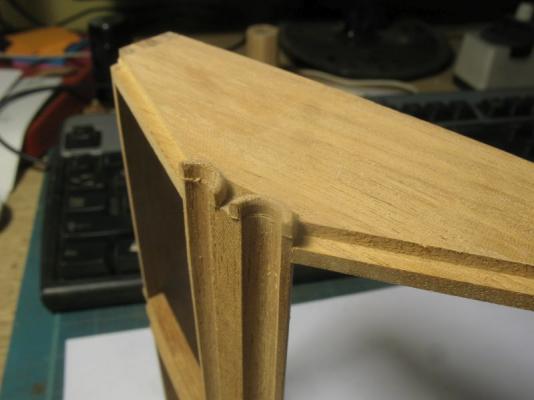
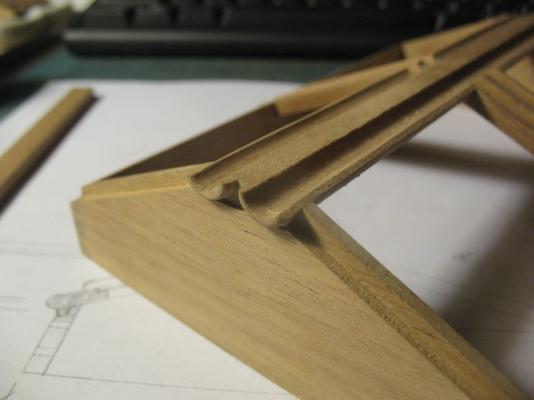
A little more work this evening, I milled the half round water channels into the bottom half of the top beam composition, this beam appears to be made of the lower channels and a curved top part that accepts the hinges and forms the top radius. the middle channel on each side will get tennoned in when the sides are dovetailed to the ends. Off to Calgary tomorrow morning to see my new granddaughter who was born on the 16th of October. Michael
-
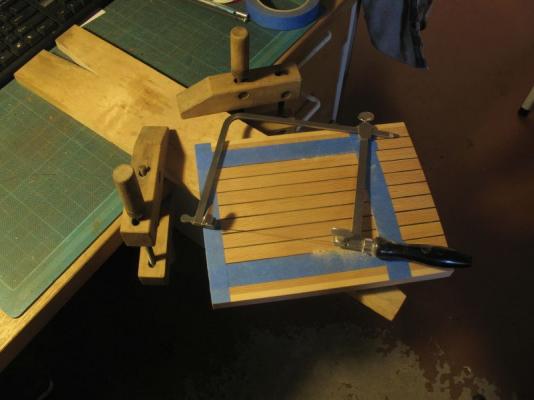
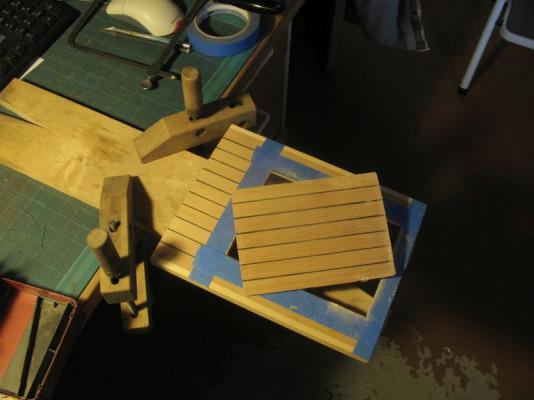
Grant thanks for the vote of confidence. All those who added likes thanks for following along. I laid out the skylights on the forward part of the cabin roof and realized that I needed to change the length a little to take advantage of the beams underneath. I first marked out the hole with some blue masking tape and used a sharp #11 to knife along the ends to cut through the very top fibres the fir tends to be a little brittle and I did not want to upset any fibres during the cutting with the saw. I cut from the ends to the middle because of the size, this made it a bit easier to handle I did break one blade cutting the piece out. I used a 3 inch wide piece of aircraft ply with some sandpaper glued on with some double sided carpet tape as a large file to clean up the cut edges, making sure to only put pressure on the stroke towards the inside or bottom. the opening is now 36" wide by 50" long. Time to add the inside framing. Michael
-
First time visiting Mike, beautiful job on the planking, I would be more than happy with those results. The other parts look very nice as well. Michael
- 452 replies
-
- 3
-
-
- cheerful
- Syren Ship Model Company
- (and 1 more)
-
Chuck I always enjoy seeing your updates, always something new to learn, and yes your workmanship is inspiring. Michael
- 1,051 replies
-
- 5
-
-
- cheerful
- Syren Ship Model Company
- (and 1 more)
-
Glad to see you back working on this next model. What material did you use as a base over the wooden mold before the application of the putty? Michael