Supplies of the Ship Modeler's Handbook are running out. Get your copy NOW before they are gone! Click on photo to order.
×


Siegfried
-
Posts
153 -
Joined
-
Last visited
Content Type
Profiles
Forums
Gallery
Events
Everything posted by Siegfried
-
 Hello Umner, The paint work on my Sherbourne is hand crafted. As I have used as you the dark walnut stripes for the lower clinker planking I finally had to do 4 coatings. I avoid air brush because it would probably looks too clean and unrealistic. To get fine brush mark I used a very thin 1-2mm brush with hair from marten. That means it took me a couple of days to finnish the paint work. With the Alert I definitely plan to paint the hull just below the waterline and will there fore carefully mark the waterline. This would be another reason to use next time even pear for the lower hull! The doppel-build Cruizer project as ship-rigged and as brig-rigged sloop is on research yet. Fortunately NMM offers a lot of frame and deck fitting plans. Also Petrejius book about the Irene ex HMS Grasshopper provides great information. As I was at NMM two years ago it brought a lot of ne information. Last year I did a visit in the Royal Maritime Museum in Madrid and, what a surprise, there was an unidentified Cruizer class with brig rigging and an interesting colour scheme. The model was labeled just as a british brig. Wouldn't be surprised if no one there exactly know what they have. Indeed the museum is close to the Spanish naval history, as the NMM is focussed to the British one. I can highly recommend the museum. It is much smaller than its counterpart in Greenwich. But the Spanish three-deck man-o-wars in, if I do remember correctly, in scale 1:16 or 1:24 are very impressive!!! But for the moment I am bounded to grow my new company and with the rest of ma lazy time I try to bring the Schooner for Port Jackson afloat. Cheers, Daniel
 -
Hello Gregor, The point with the missing catheads is tricky. A possible answer is a movable cathead as on the Granado. Instead of fitting it (in case of using) into a hinge that is bolted onto the deck and fixed with ropes between to timber heads too, it might be laid down across the taffrail from the port side and the starboard and fixed on both sides with ropes on timber heads. That's what is logical to me. For other solutions seems to be not enough space on the small foredeck. Or does anyone have an other idea? By the way Gregor, if we follow the NMM plans in all details, all sailing vessels would be actually no sailing vessels because all plans have no masts, rigging, and sails...and anchors Cheers, Daniel
-
Hello Gregor, just have seen your log today. Very nice!. Your windlass is looking great. You are living in Lucerne? I actually are living in Brunnen. A stone's throw on the opposite of the lake. Cheers, Daniel
-
Hey Sumner, It is not so easy to bend the planks and hold them in a proper run, if you have no edge to lean the planks as you have with carvel planking, isn't it? The 4mm strips are looking much more authentic as the 3mm ones. the walnut strips are a bit splintering. Next I i would use pear. It even has a finer structure and the edges turn out more clean. I have in mind to prepare a small diorama with HMC Alert and Le Coureur, both clinker planked. During their action as Alert took Le Coureur and the Frigate HMS Arethusa was engaged in a fight with the famous French Frigate La Belle Poule. Jay, Your are right with your advice regarding the missing port lids on other 1763 cutters of the Royal Navy. I know the plans for instance from HMC Mecklenburgh and HMC Pitt. It is just a guess, but the marked lids on Sherborn's plan are not a final evidence that she was fitted with them. If yes, it is not so far away from the reality that those where later removed because of unpracticality. So it could be an experiment and may be it makes sense to fit the unusable chase holes with wing-lids to save the deck better for overspilling waters . In general offers the kit some anomalies to the plans. The plan shows 2 hawse holes instead of 1. Also there are some steps aft of the last port hole. A major difference are the missing catheads on the plan comparing to the kit. That makes sense. Because of the fitted knee at the stem above the haws holes is simply not enough space to fit a fix cathead. But this is really what the forum offers. We all together doing more than less some (historic) research and put details together to a puzzle. Cheers, Daniel
- 57 replies
-
- 1
-

-
- caldercraft
- cutter
- (and 4 more)
-
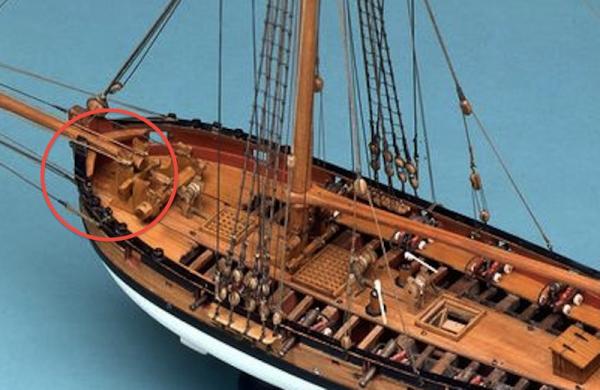
Hello Tony, you are right. The lids are just on one port. May be an option, may be just to not overdraw other details. However. the lids on NMM drawings are directly at the channels. It is just enough space to open of of the wings in a 90° angel. But this is still enough to have free space for a shot. A major difference to Caldercrafts design is, that the ports ends on their upper side directly at the taff rail. Unfortunately I received my NMM plans after the second planking. here is a picture from NMM of a cutter of approx 1785 (not so far away to Sherborn) that served me as inspiration for proper deck fittings. It has no port lids. What should I say. I have patience and would like to try it, even with the knowledge that there are probably not so many Sherborns afloat with lids ;-) Cheers, Daniel

- 57 replies
-
- 3
-
-
- caldercraft
- cutter
- (and 4 more)
-
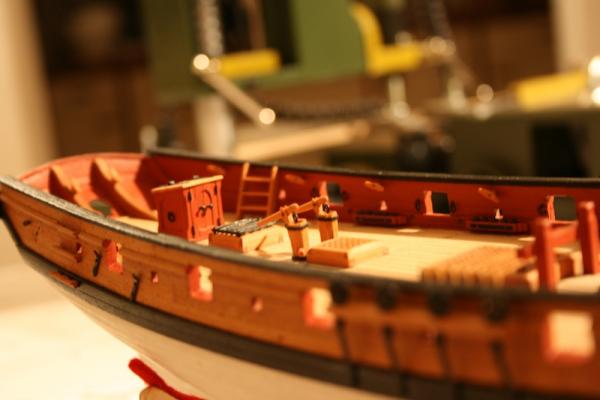
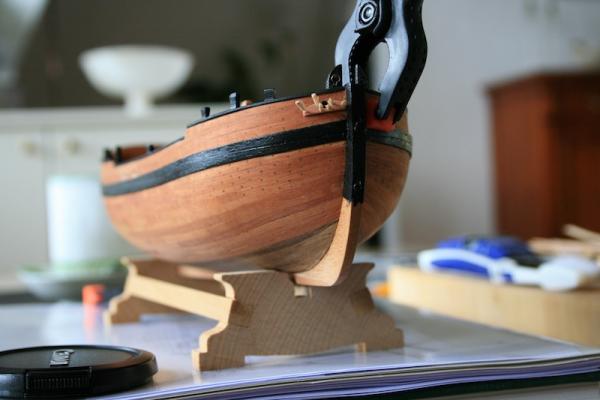
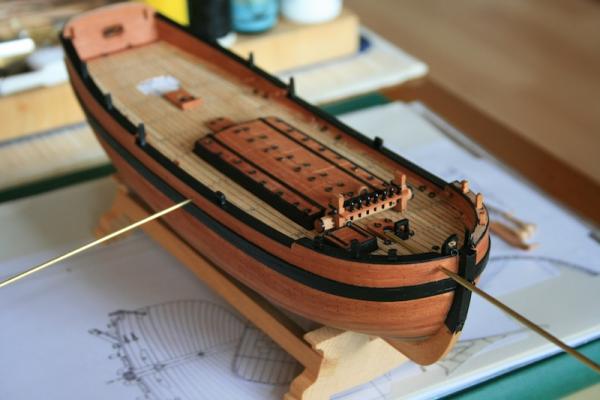
Hello Sumner, nice to see you back on 2.0. May I give you a tip before you starting your clinker build? Try to use 4mm x 1 mm planks. I still used 3mm x 1mm stripes that turns out too small. I forgot the overlapping. I stopped working on her last year as I started with my scratch build Schooner for Port Jackson. However, next progress will be the build of the port lids. Right, for out there those do not have a copy of NMM plans. She was fitted with port lids in a two-wings design. By the way. Do not forget that the supplied guns in the kit are oversized (4-pounders). The Sherborne was fitted with 3-Pounders. Therefore I also going to build new carriers. Most of my pictures are gone but here I have some views on her on a later building stage. Cheers, Daniel


- 57 replies
-
- 3
-
-
- caldercraft
- cutter
- (and 4 more)
-
Congratulations John, One fine model! Lovely. Daniel
-
Hello John, Thank you for the input. You probably are right. Especially if we consider that the Mercury was a small vessel. I am thinking about a 14/11'" yawl yet. As it is known that she did some journeys acoss the South Sea I strongly believe that a reliable captain and merchant would not start such a trip without any spare masts & yards and a small boat. So now I think twice to fit her with some spare yards (topmasts) on the main hatch that probably offers a possibility for a temporary storing of a boat. Cheers, Daniel
-
Hello Alex, your door is looking outstanding. Does she look on both sides similar? Cheers, Daniel
-
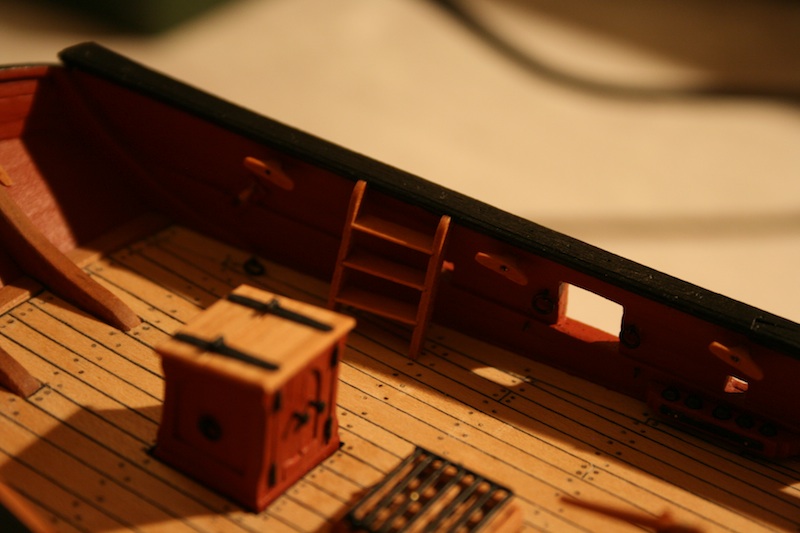
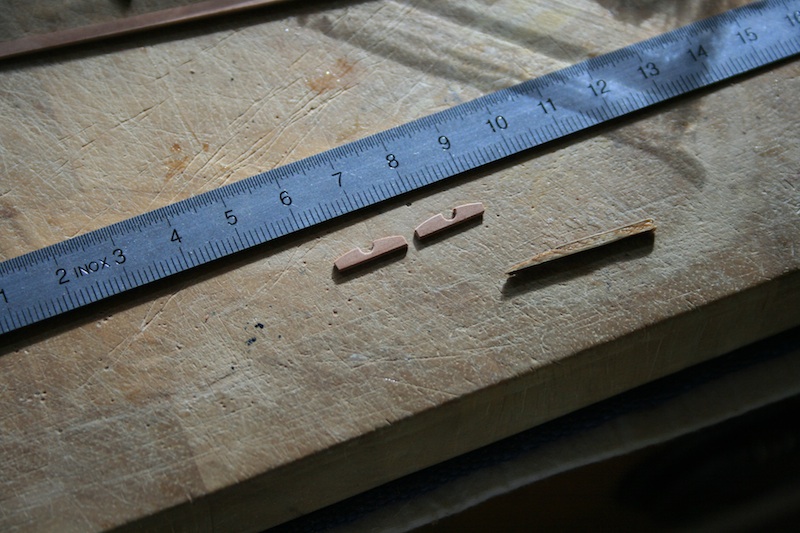
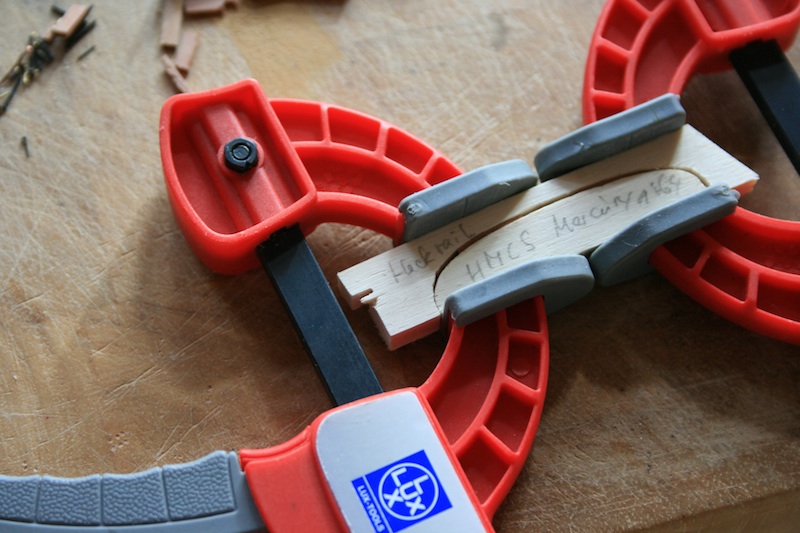
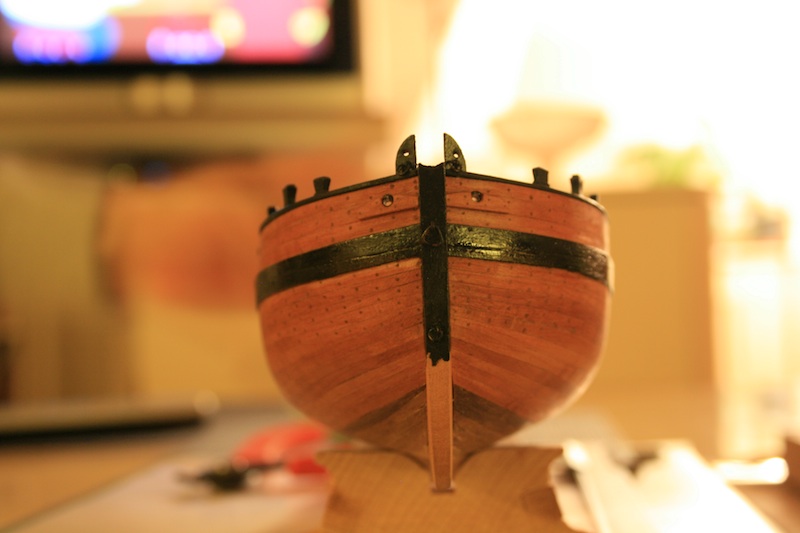
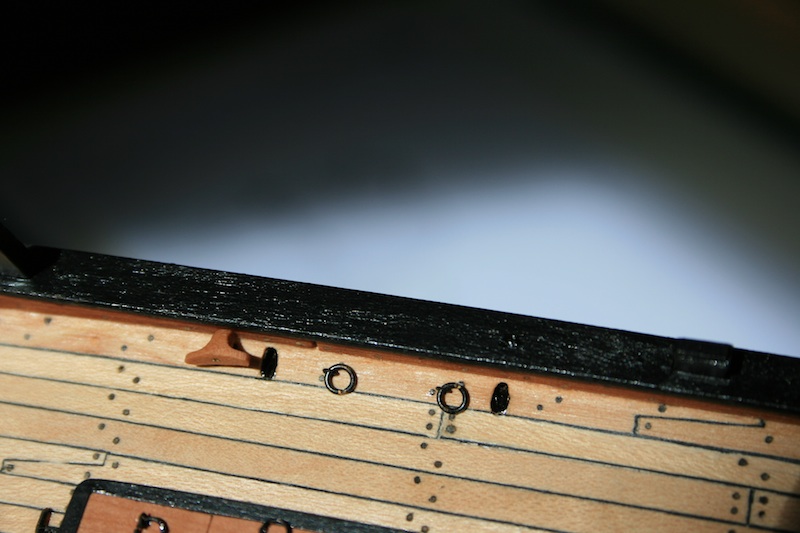
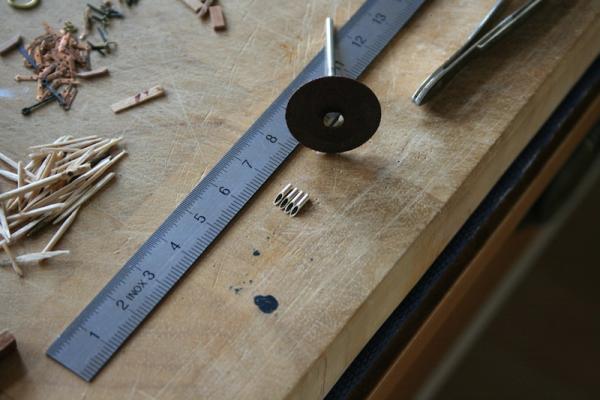
Hello out there, Thanks Rob, I am also impressed by your Clipper. She is turning out magnificient! Over the weekend the Mercury has got her remarkable eyes / hawse hole plates. I hope latest from now on she is recognisable as the Schooner for Port Jackson. After carving the plates I watered both pieces. After bending and drying in my little stamp jig I finally fixed the plates with 0,3mm tree nails. Hope this is correct. Otherwise I have to fix the plates with bolts. Cheers, Daniel


-
She is looking perfect. I espescially like the carvings and details on the stern. Cheers, Daniel
-
Hello Jack, Excellent work you did! It would be great if you could post the link for the Dutch Forum. Cheers, Daniel
-
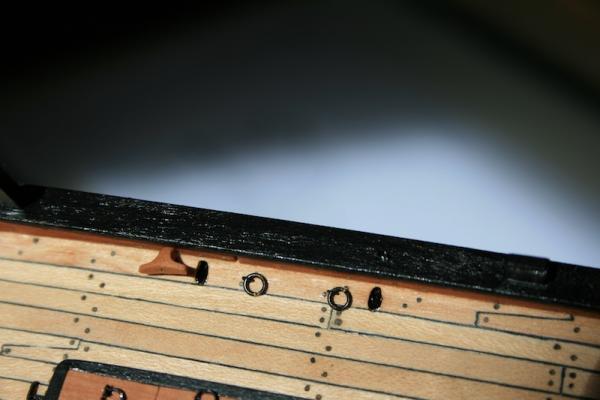
Hello Guys, today I did a little brass work on the hawse holes. Following the plans of Marquardt I used in 3/16 scale for the hawse hole a brass tube of 2mm. For the side holes I used a brass tube of 1.5mm. hopefully the hawse hohle is large enough. Marqqardt wrote in his book a rule for calculating anchors on small vessels in the early 19th century. For vessels of approx 60 tons you need to divide it with factor 17. That means the main anchor for the Mercury had a wight of approx 3.5 cwt. The length of the shaft can be calculated by dividing the breadth of 17ft 6in by 4/10th. For the Mercury it would be 210in (533.4cm) /10*4= 213.36 cm (84in). In 3/16 scale it is equal to 3.34 cm (1.31in). An anchor cable for vessels smaller than 300 tons Steel provided a figure of 90 fathoms (1ftm = 6ft=1,83m). That means the length of the anchor cable of the mercury was approx 165m. Marquardt also explains how to calculate the thickness of anchor cables in circumstances that shall be 1/2in for every foot on the breadth of the vessel. That means 17.5ft*1/2.in = 8.75in=222.25mm. In 3/16 scale it has to be 3.47mm/3.14 (pie) = 1.1mm diameter. This is exactly the size that is measurable on Marquardts drawings. Cheers, Daniel
-
Hello John, My pleasure. Thank you for your explanation about the Mercury. Hope you can support me about some further details that are not clear yet, even with Marquardt's book. E.g. in both the NMM plans as well as his re-design is missing an information about outer steps at the hull. Indeed it is a small vessel but the hight of the board offers enough space for two steps on each side. Furthermore there is an open question about a yawl. There is enough space onto the main hatch for a 14 ft or 11 ft boat. Could it be possible to fit the schooner with boat aboard or would it be better to let the boat aft the stern in her backwash? Cheers, Daniel
-
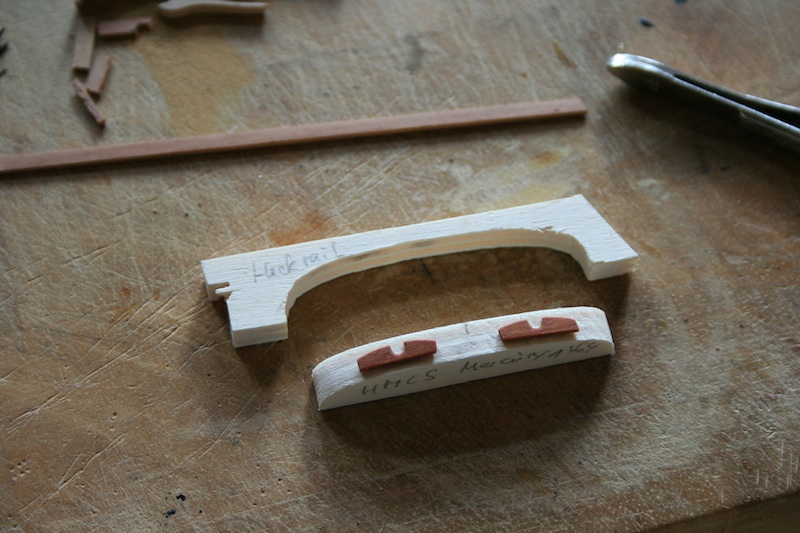
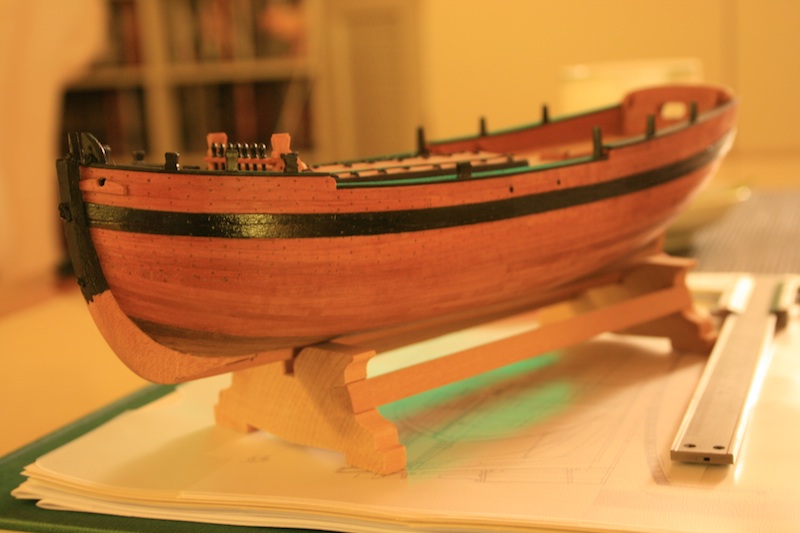
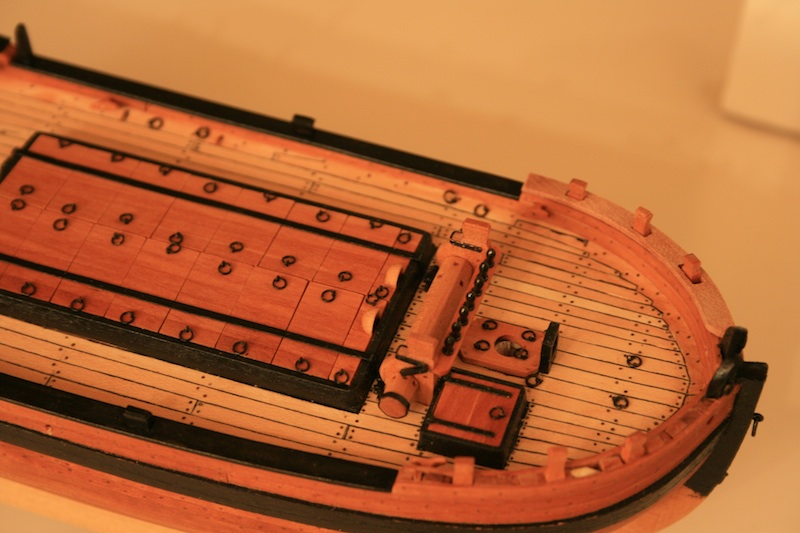
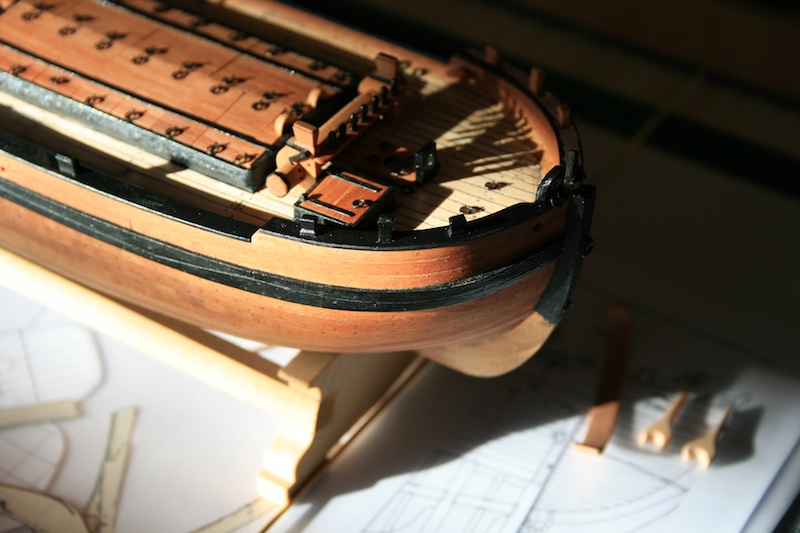
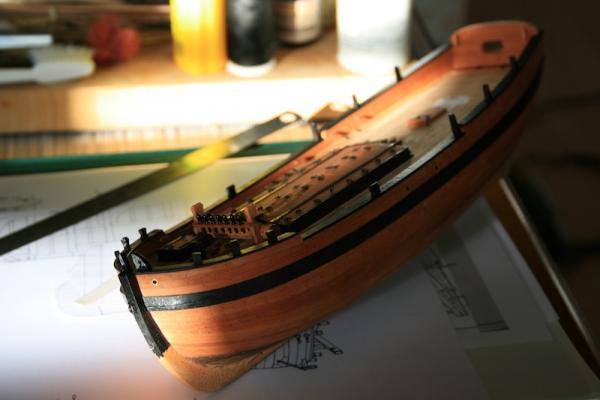
Hello, meanwhile I proceeded with the hand rail and the stern hand rail. Because of the hugh bend of the hand rail at the outer sites I did first a jig made by cartoon. Than I have transferred the shape to 1,5mm Swiss peer sheet. Next I did a mould made by ply wood with the origin curve of the stern's top. Fourthly I carefully pressed the watered rail-piece into the mould and have fixed it with the counterpart as a die. Over the night it got dry and very strong. E volla, after sanding the stern rail is in a proper shape. Cheers, Daniel


-
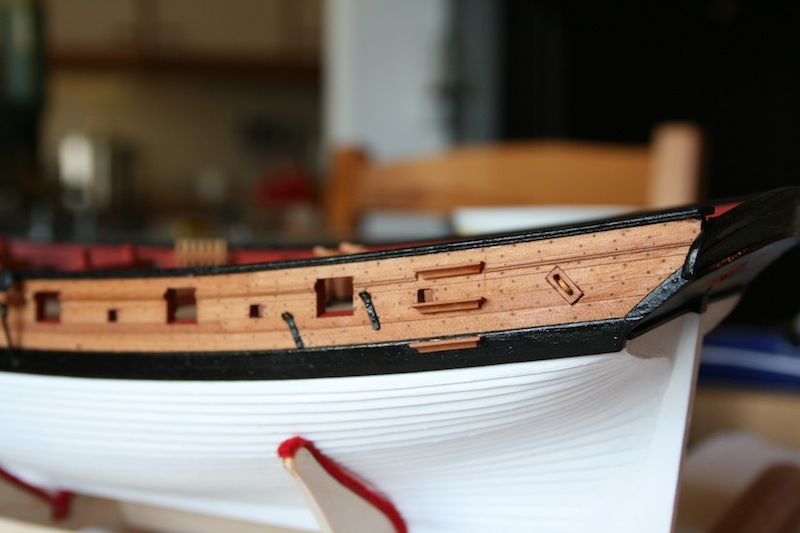
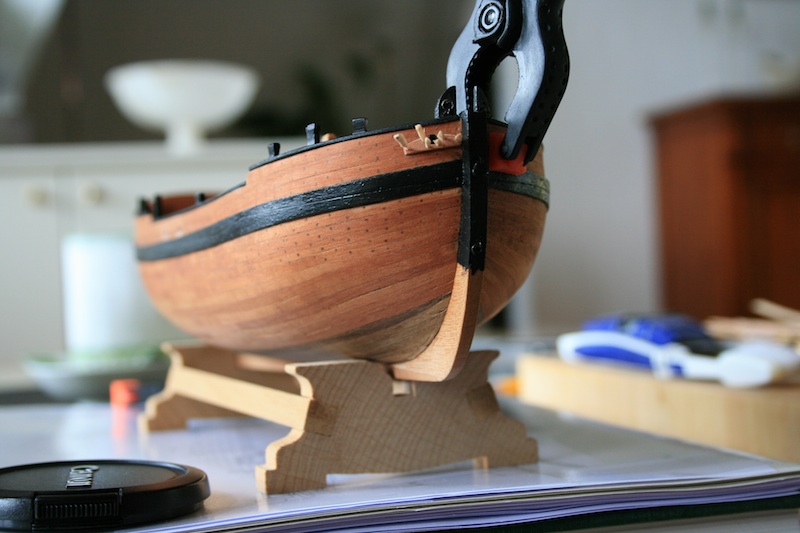
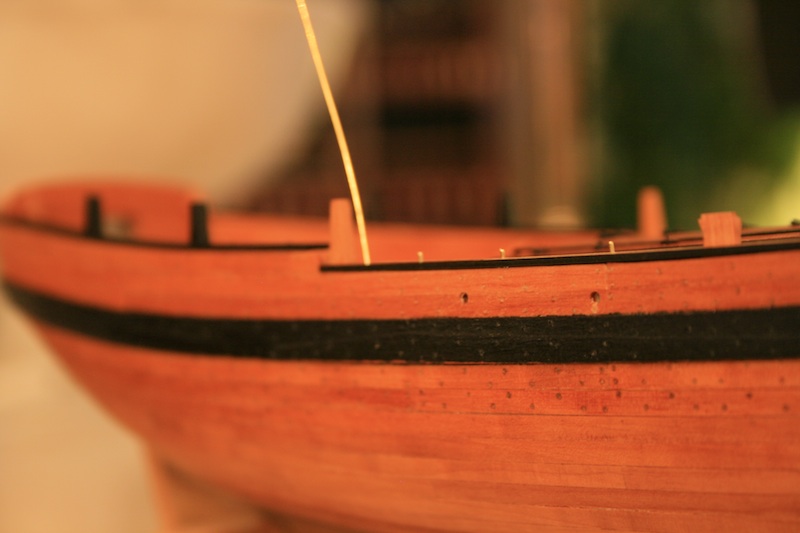
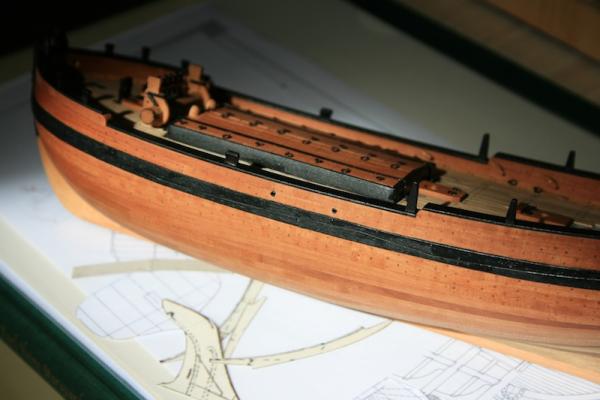
Hello all together, after more than one year absence of model ship building and this forum I still have realised a couple of weeks ago that the older forum disappeared including all blogs. So now we are on version 2.0. I did launched a new business and it was important to spend all my energy in this project, especially during the first months that are the most critical ones. However, after a view on Dirk's fabulous Siren log I have got ispired to follow up with my Mercury project and did the outer tree-nailing as well as the first steps to do the hand rails. Unfortunately I have no copy of the blog on the older MSW. But here some reminders about the model. The ship is based on K.H. Marquardt's draughts in the late 80's. As I was a young boy I have got from my dad, he was a fisherman, a book from the so called Blue Series from Hinstorff Publishing in East Germany. Both the country and the publishing house doesn't exist anymore. But since these days I had in mind to build one of his three described ships as the gunboat Axel Thorsen from the Royal Norwegian Navy, the skiffboat Elgen from the Royal Danish-Norwegian Navy and last but not least the schooner HM Colonial Schooner for Port Jackson. In 2011 I have heard about an English version of this book with an additional plan for the Enterprize and did an order. What a positive surprise. It is not just added by one additional plan. I guess it the original masterpiece from what the older German book was printed as an abstract, missing all passages related to the navies of the so called imperialistic class enemy - what a nonsense. The book is really a masterpiece about schooners and belongs into any bookshelf of a serious collection. And, it shows the plans for sail, masts and yards that are still missing in the German version. Perfect. That's what I was waiting for and did a start with the Mercury, what was, following Mr Marquardt, the name for the so called Schooner for Port Jackson. I guess the name was given locally in Australia after assembling all parts on-site. That's why probably the draughts at NMM are also just titled as Schooner for Port Jackson. Hope, my time allows my to frequently continuous with my little tiny schooner. Cheers, Daniel


-
Hello Tony, No, unfortunately I have no copies of the older blog. All what I have are the pictures, indeed. A lot of good information disapeared in the mist of time. Like all of those proud ships we are going to keep alive by building their models. Friendly spoken, I did no work on my Sherbourne since two years. Next step should be the creation of the carriages for the 3 pounders. Last year I have started a scratch build model of the HM Colonial Schooner for Port Jackson and have written a blog too. But how the story goes, even this model has never seen any rigging yet as I have started my own consultancy company last year and in the same time I spend much more time in my music studio. Also my planned trip to Hartlepool this I had to cancel. Clients first. Time seems to be the most precious thing we have. I am sure all of us are planning to build a little armada but it will be never afloat because of missing time. Too bad. All this beautiful models we could have in our bookshelf. After watching Dirk's blog about his magnificient Syren and your posts about your jawl, inspiration comes over to finish on my Sherbourne the port hole lids and the gun carriages untill end of this month. If it works, I will reopen my blog and hope for further encourage discussions. Cheers, Daniel
-
Helle Tony, Still have seen your progress on your Sherbourne during the last months. I espescially like your job you did on the small cutter! In my former blog on the older MSW I had an in-depth discussion about a small cutter or a 16"/14" jawl on it. I also have planned to scratch Building 14" jawl for the Sherbourne as it would be enough space for it on the deck. However, the blog disapeared MSW did the switch to 2.0. Your cutter is a real inspiration and I do really like your way for going on with adding some scratch builded details. Am keen to see your further progress, Daniel
-
Absolutely awesome and beautiful. One of the best work I have seen ever. It's art. I have that plans too and like the ship as well. Since a couple of years I am planning to start that build in 1:64 scale in consideration to my other builds that all are made in the same scale. But if I see your tiny brass work in 1:48 I doubt if it would be possible to make it with a similar quality in a smaller scale. That is finally my barrier to start. Are you going to fully rig the ship? Cheers, Daniel