


donrobinson
-
Posts
1,909 -
Joined
-
Last visited
Content Type
Profiles
Forums
Gallery
Events
Posts posted by donrobinson
-
-
-
I agree, the blue looks real fine. Not near as bright as I first thought it was going to be, good stuff.
- EJ_L, Elijah, Old Collingwood and 2 others
-
 5
5
-
-
This should look after your spare time
") . Could be lots of fun.
. Could be lots of fun.
- Elijah, mtaylor, thibaultron and 1 other
-
4
-
From what I have read spray on varnish/urethane is what most use. I've never had the pleasure to do copper plates yet so have no experience and am not so sure if I am looking forward to that part of the Stefano or not!!
") Did you get your backlash problem fixed? I had to re-do mine when I got the DRO and found it was not too hard of a job.
Did you get your backlash problem fixed? I had to re-do mine when I got the DRO and found it was not too hard of a job.
-
The hull looks great EJ, good idea with the planks
- Elijah, Old Collingwood and EJ_L
-
3
-
-
Thanks Mike, OC and Robert your comments are all very encouraging to me
- Canute, EJ_L, popeye the sailor and 2 others
-
5
-
I agree with Derek, the coppering looks super. Are you planning on sealing it or leaving it to age?
-
the details on these plastic models are incredible. Great work!
- Canute, popeye the sailor, Piet and 2 others
-
5
-
You are doing very well, nice work
-
-
-
Thanks so much Doug. A couple of good days work on the Trabakul and she will be finished at that point I will be spending most of my time on Stefano hoping to make up for lost time. You will really enjoy the planking and seeing the lines of this ship appear, it truly is a beauty
- zappto, Heronguy and Tim Curtis
-
3
-
Thanks Robin, the finish I use is satin wipe on poly. MarisStella has a few "under the radar" kits big and small, they are real fine quality kits.
- Elijah, EJ_L, Robin Lous and 2 others
-
5
-
-
Beautiful work, love that stern sticker. Where do you find that inkjet film?
- Martin W and Blue Ensign
-
2
-
Hi Bob, she is all looking great. I was wondering about your deadeye strap technique, and how it is done. Do you wrap the deadeye with wire, give it a twist, push both ends through the channel, cut one end off then make a loop? How is the loop fixed, solder, glue or is it just left? Thanks
- Elijah, mtaylor, popeye the sailor and 2 others
-
5
-
Good Morning All, A big Thanks for all the compliments, for stopping in and for all the likes much appreciated.
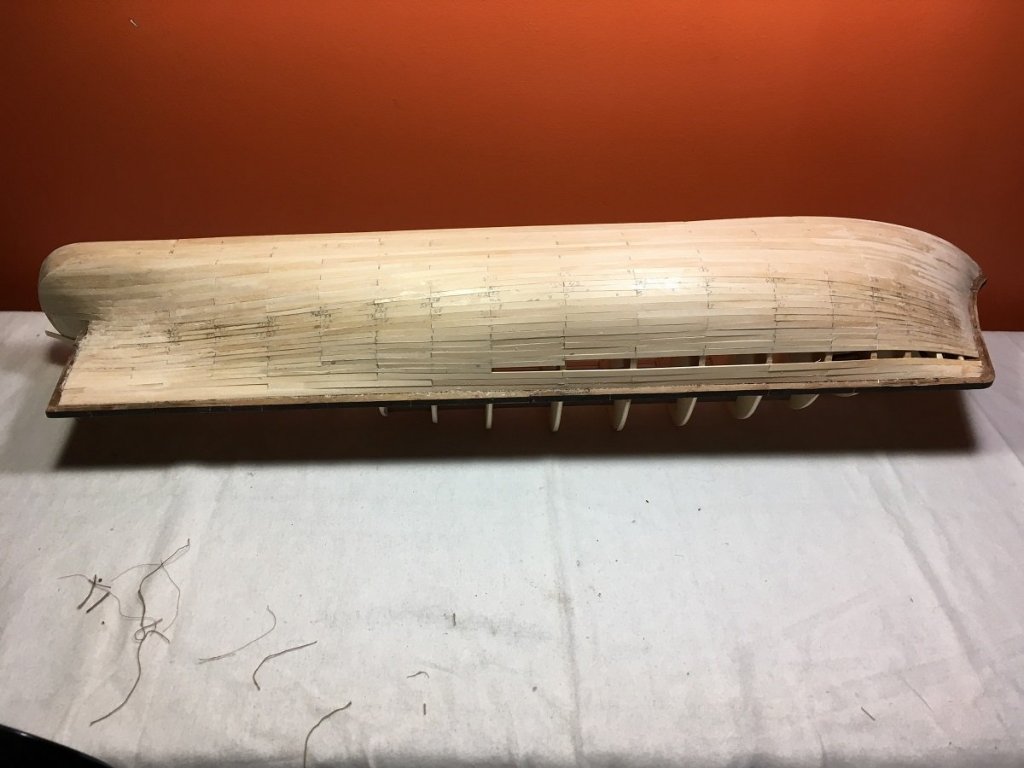
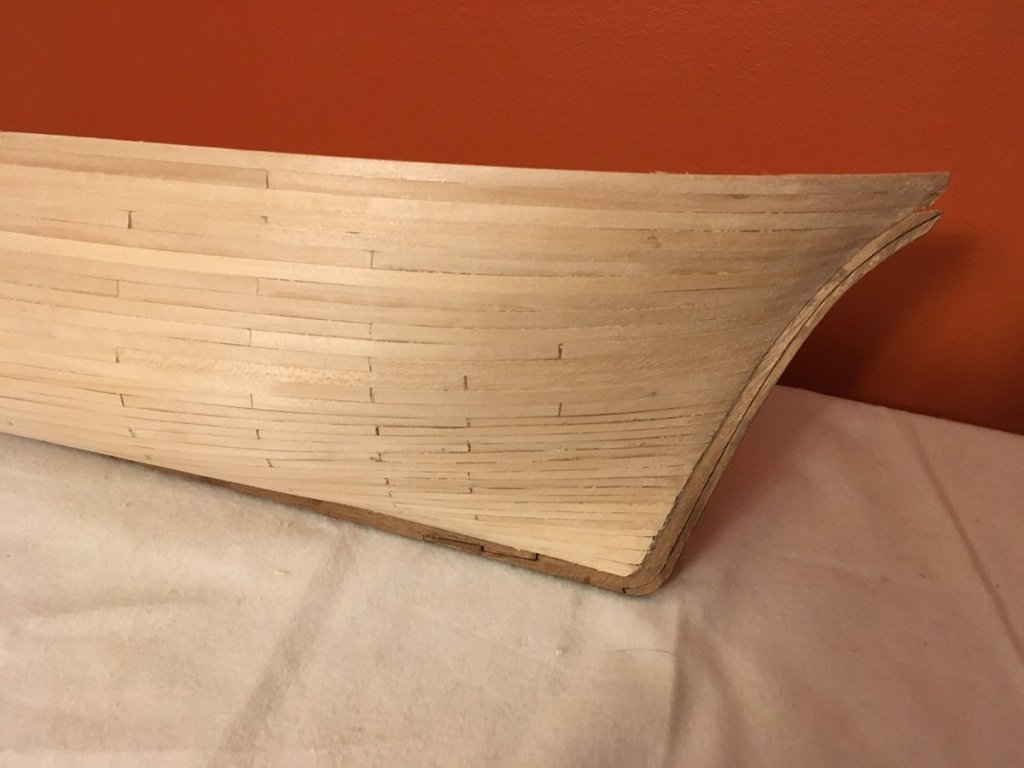
After 32 strakes and over 160 planks the starboard side is completed
. I completed this with all strakes going from stem to stern with no drop planks or stealers . The use of short planks made the job much easier to complete. Other than the sheer size of this hull it has so far been the easiest one to plank for me to date. This could have been completed much faster by not tapering the planks and just slapping on planks. But then what would you learn from that. My process was to measure each bulkhead calculate how many strakes required and the widths of the planks at each bulkhead, After three or four strakes I would measure again then adjust as required then just repeated this until finished.
Enough of all this here are some pictures and a few explanations:
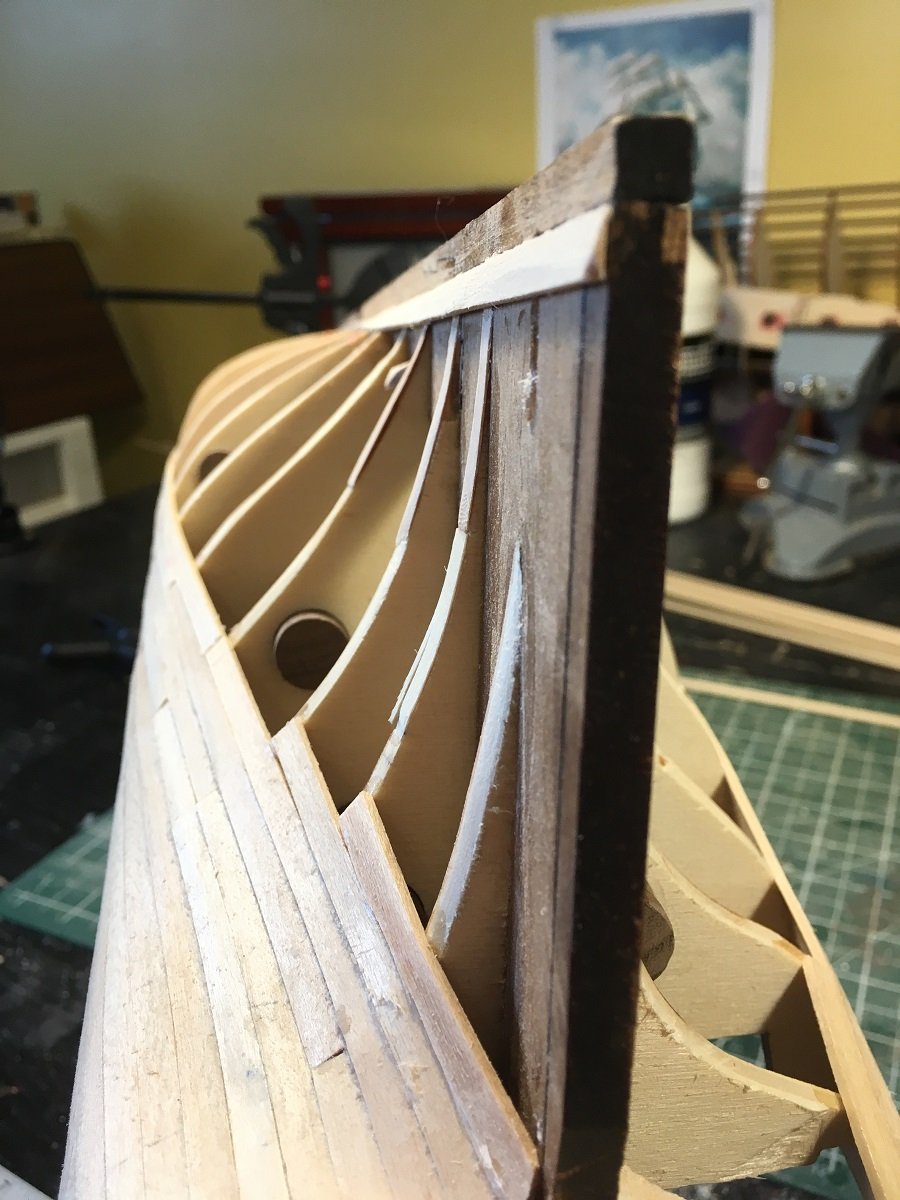
In this picture I'm showing the jig I used to keep the garboard strake straight
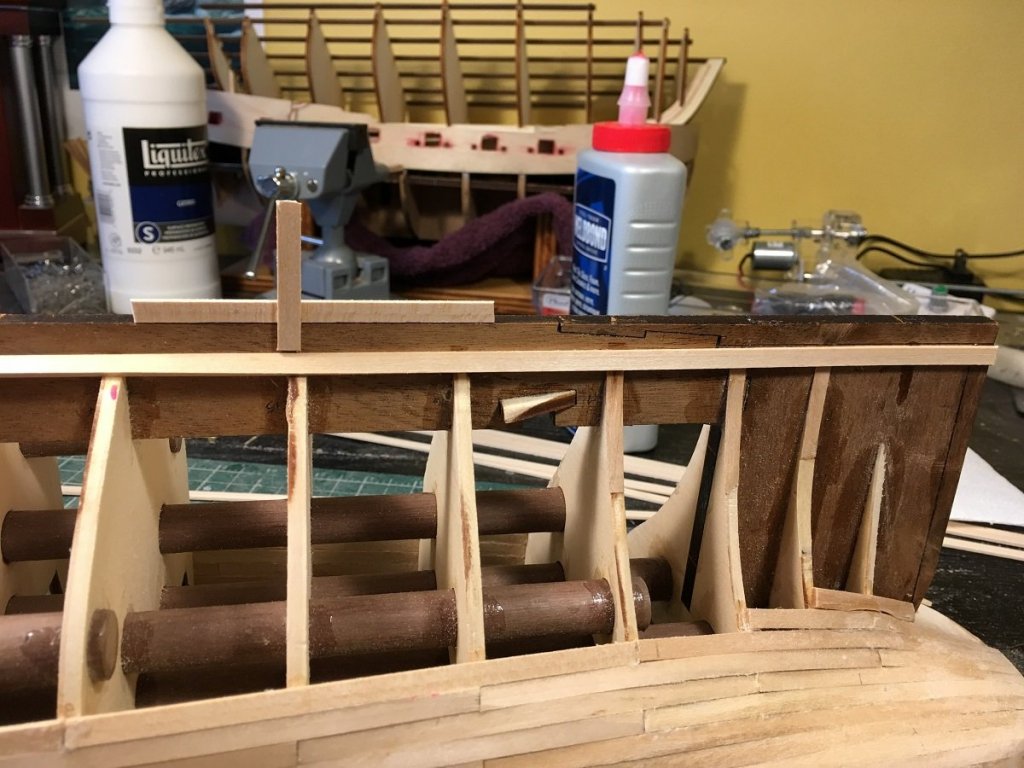
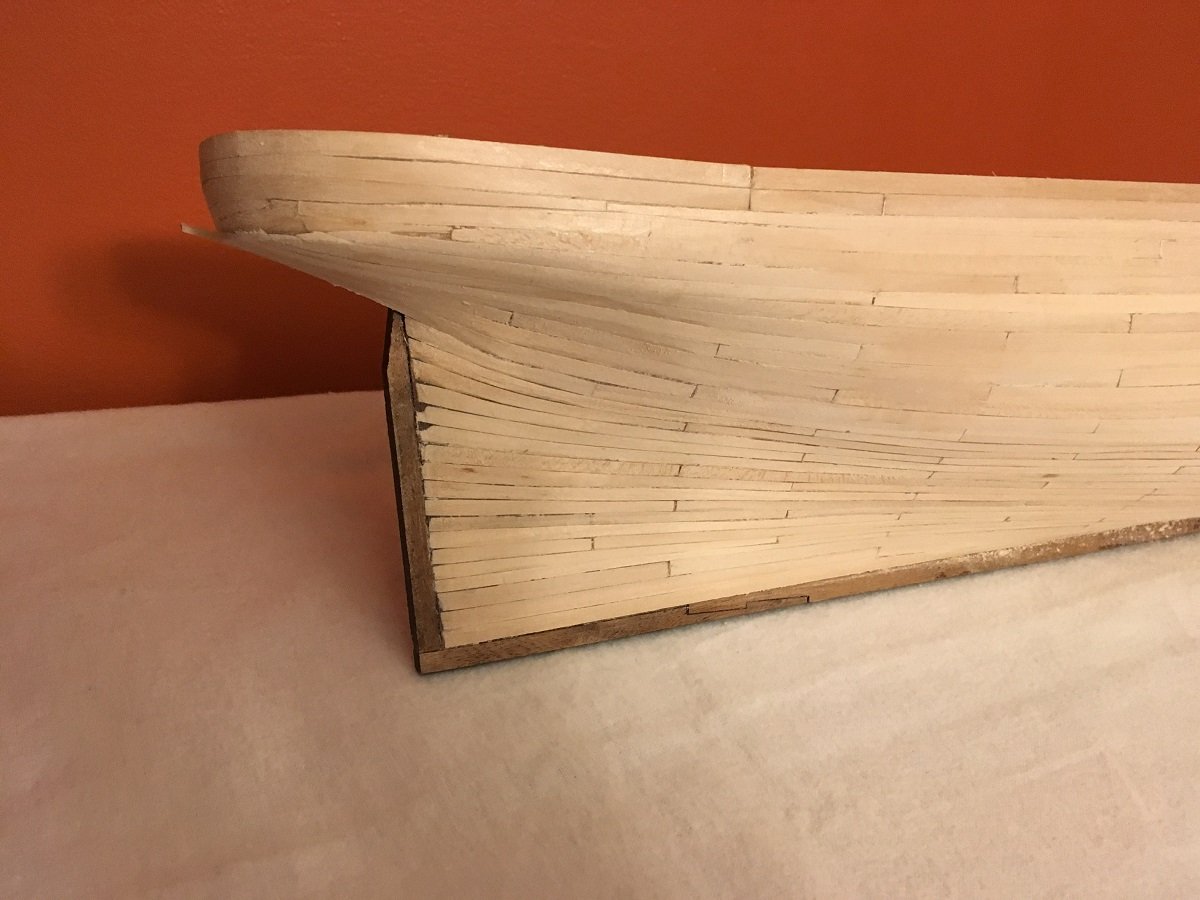
This picture is showing the taper required on the garboard strake as there is no rabbit line
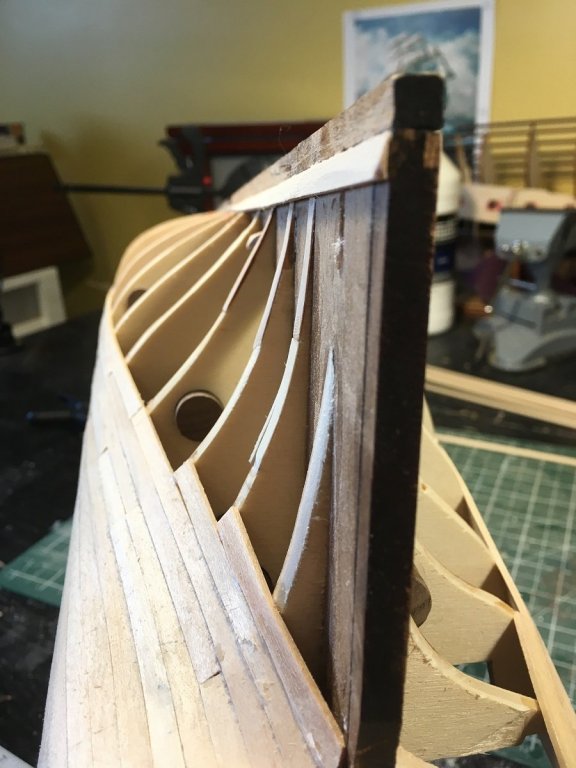
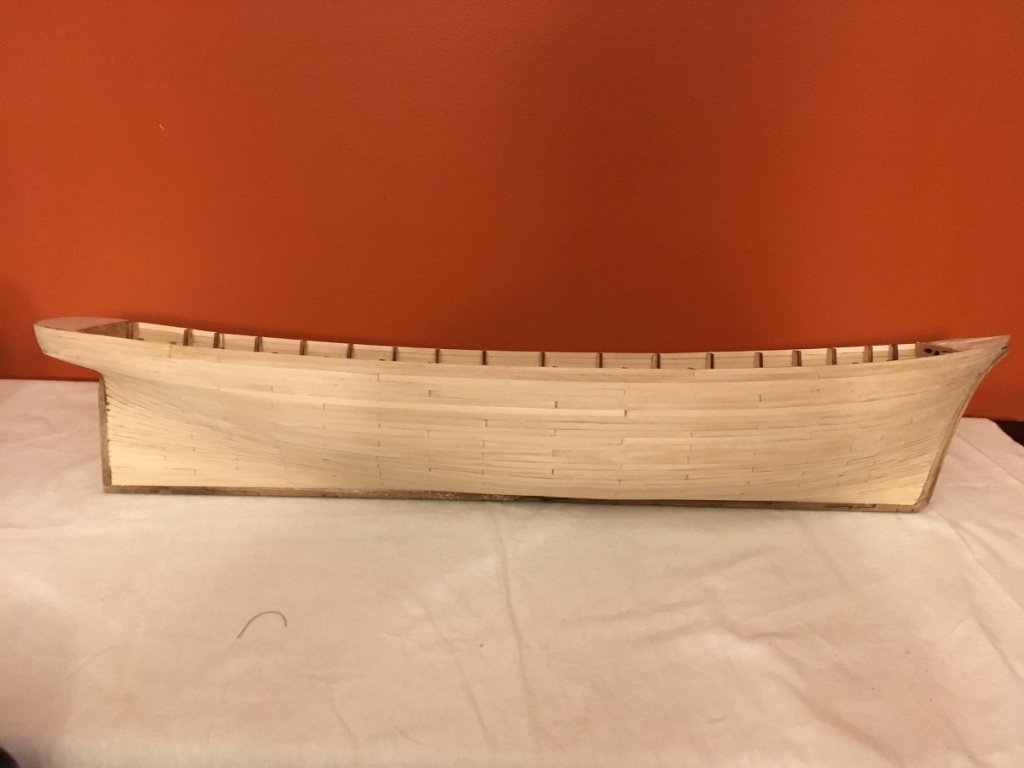
Showing the last few planks, although it does not look like it in the picture the space left is quite even
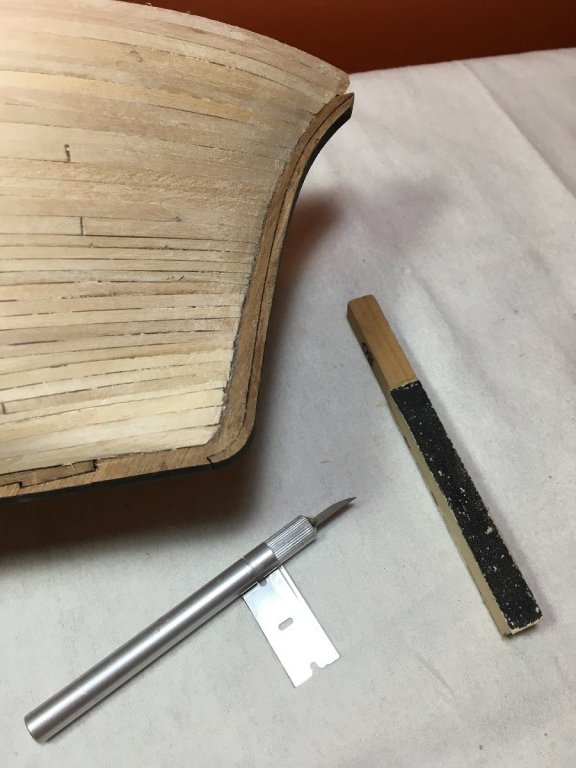
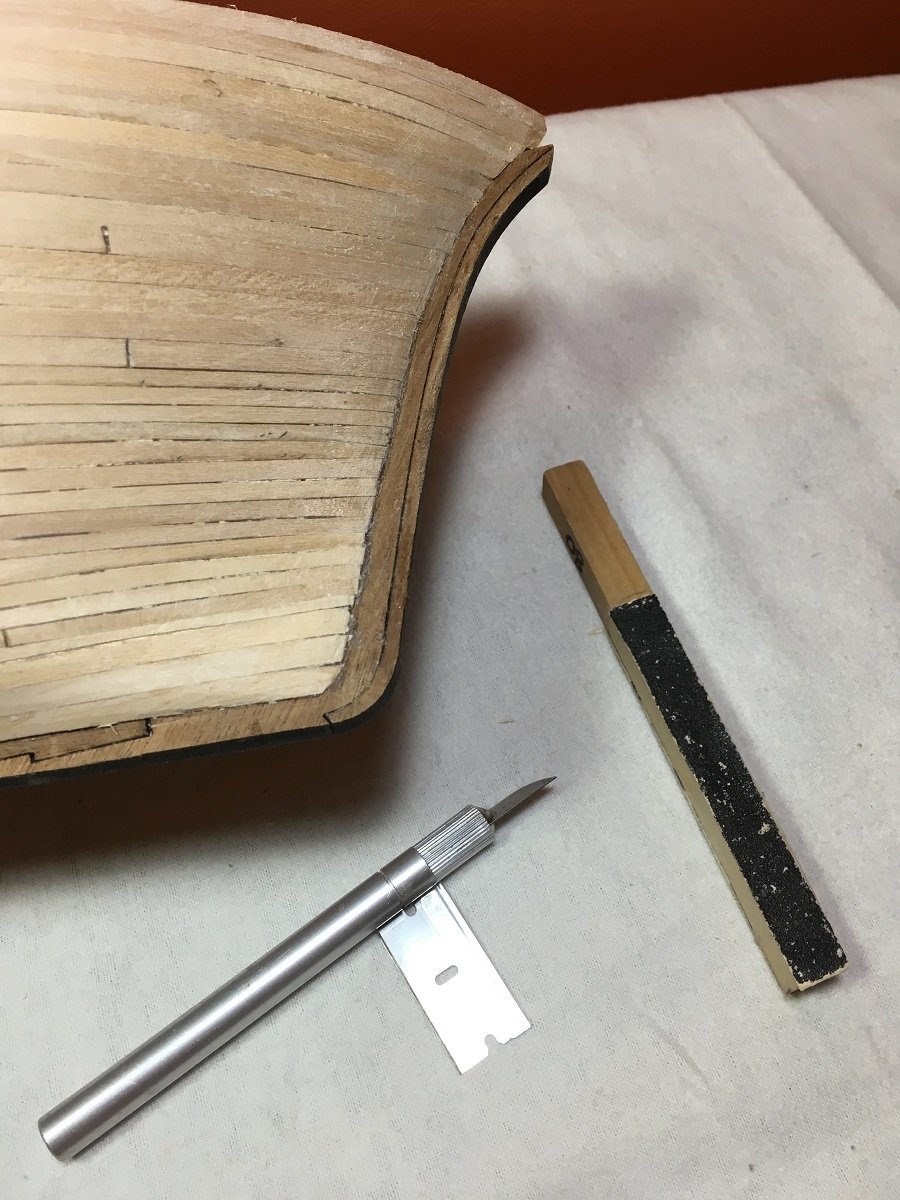
The tools I use for sanding and scraping, nothing fancy but it works for me
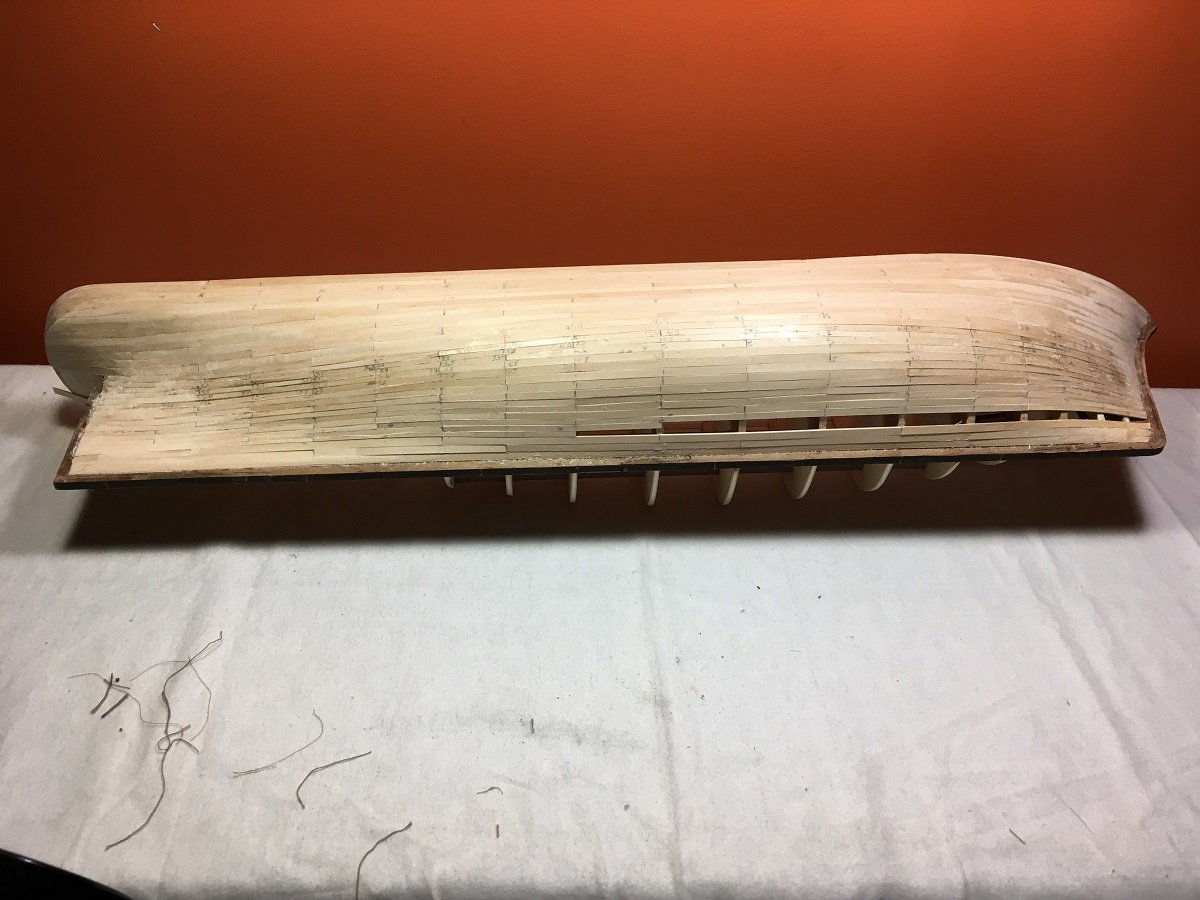
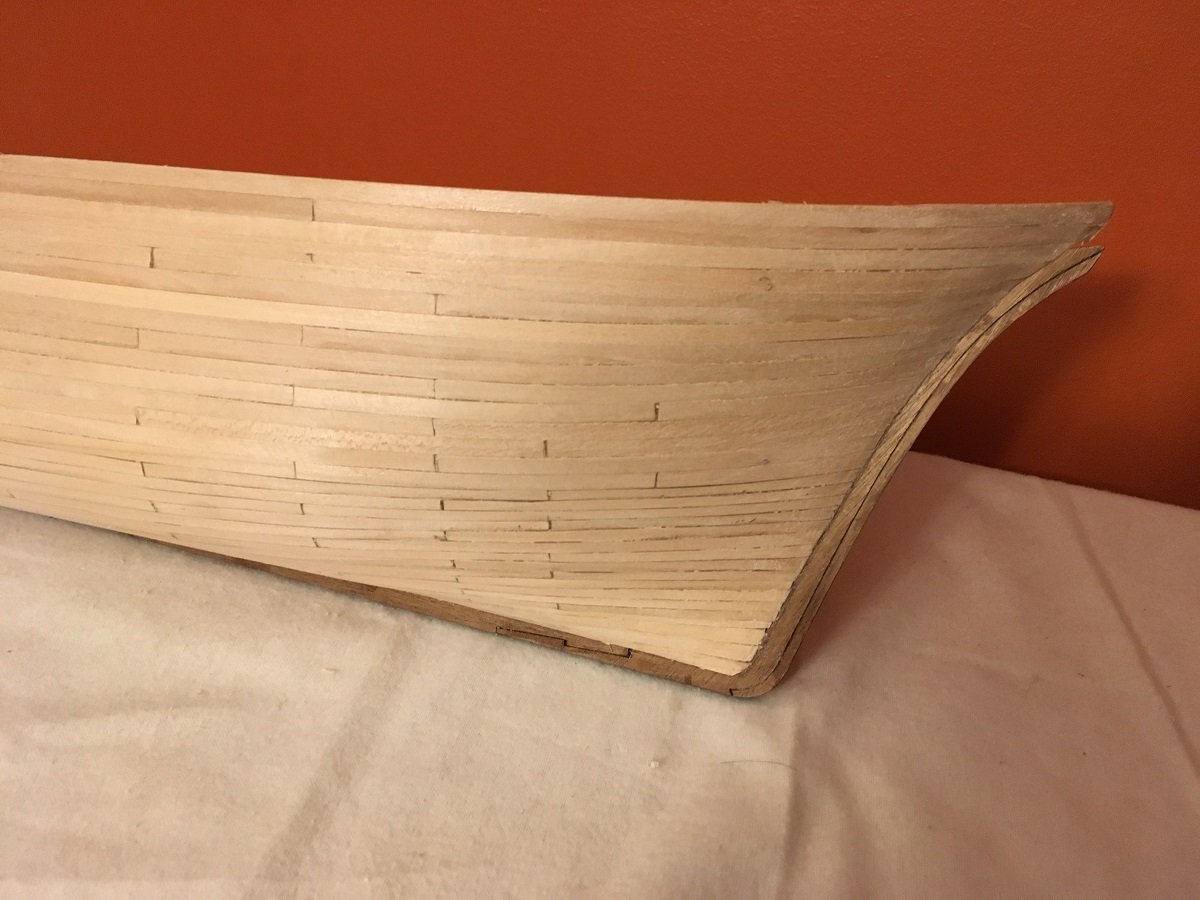
And how she looks now before any filling

A little more fine tuning and it will be ready for some filler, but now it is on to the port side which has been already started
Have a good day, and Thanks for stopping in
-
Hi Ian, Thanks for stopping in. Yes this one has sat idle too long and it's time to make some progress on him.
-
Hi Robert. with mine I'll be using "Dap DryDex" spackling. I've never ran into a problem with any filler not adhering to ca glue, that is very interesting. When I do mine I will be covering the whole hull with the spackling compound then sand off. I find this easier than just trying to "spot" fill. So for this method the spackling works better as it spreads so much easier.
-
Thanks Ken and B.E. I certainly do appreciate you fellows stopping in
- Canute, Robin Lous, Elijah and 1 other
-
4
-
If you were to cut out that template and attach it to the side of the actual hull you would find things would line up. The drawing is in 2D allowing for the 3D shape of the hull and the natural curve of the bow, it probably looks very similar at the stern also. The waterline is not parallel to the top rail on any ship, try to think of your boat sitting water and visualise the line of the water against the hull. Hope this helps and does not confuse any further.
-
I have the Domanoff planetary ropewalk and after some practice I'm finally making some decent rope. It works very well, although,it does take some time to make rope especially when making larger ropes requiring multiple threads. The rope is not as good as Chuck's but that maybe due to the fact he uses a cotton/linen blend where as I have only used cotton which results in a much "softer" rope. Even though I went through literally thousands of meters of rope getting a decent product(could be mainly that I am a slow learner
) I would recommend this product to those that are not inclined to build their own and Alexey does offer great customer service.


Trabakul by donrobinson - FINISHED - MarisStella - 1:32 scale
in - Kit build logs for subjects built from 1851 - 1900
Posted
Elijah, Jean-Philippe and David, Thanks so much guys. I currently have the fore sail on and am just finishing belaying the remaining lines. The end is close, very close")