


donrobinson
-
Posts
1,909 -
Joined
-
Last visited
Content Type
Profiles
Forums
Gallery
Events
Posts posted by donrobinson
-
-
Thanks guys I appreciate this.
- Elijah, Old Collingwood and EJ_L
-
 3
3
-
I use broken drill or end mill bits as a punch, they work great
- fnkershner, Canute and thibaultron
-
3
-
-
EJ, on a scale of 1-10 10 being the worst, how tedious is this? I have never done nails, bolts or tree nails on any of my builds but I am contemplating doing in on my Stefano and was just wondering before I start something I wish I hadn't.
- popeye the sailor, zappto, Elijah and 2 others
-
5
-
I agree Mike, I would need to re-mortgage my house. lol
- marktiedens, Heronguy, Elijah and 1 other
-
4
-
Hello OC, Thanks for checking things out, with the length being over a meter it has been lots of work, but I am sure it will all pay off sometime in the future.
-
That's a great lesson, Thanks for sharing
- EJ_L, popeye the sailor, Baker and 1 other
-
4
-
-
-
Great to hear from you Rick, It has been a long time. Happy to hear you are keeping busy, as usual. Thanks so much for stopping in and I hope you keep watching.
-
Thanks for dropping in Mike, it does have some beautiful lines and should prove to be a very interesting build
-
Yes he is, he is one of the admins
-
I've failed those more than once too. You could always send him a pm and explain what is going on
-
I was just there and didn't have that happen to me. Did you go to the home page here and click on the link?
-
Chuck at Syren carries cannons and carriages, he may have something to help you with.
-
Very nice start, looking forward to seeing more. What kind of glue are you using that cures with heat?
-
I agree Bob, that deck looks awesome, great detailing
-
Great piece of work Mike! Where is it going to?
- Canute and mtdoramike
-
2
-
Mike: Thanks so much. yes that is the Pegasus, it has been lacking attention lately but I do plan on doing a little more on her now. They are almost the same scale, Pegasus at 1;64 and Stefano at 1:63, the Stefano dwarfs Pegasus!
Bob: Thanks, great of you to stop by, grab a chair there will be lots more
David: Thank You. The gluing works great, I should have mentioned that I use medium viscosity ca, Super "T" from Lee Valley
-
Thanks Michael and Mike and to all those for the likes and comments.
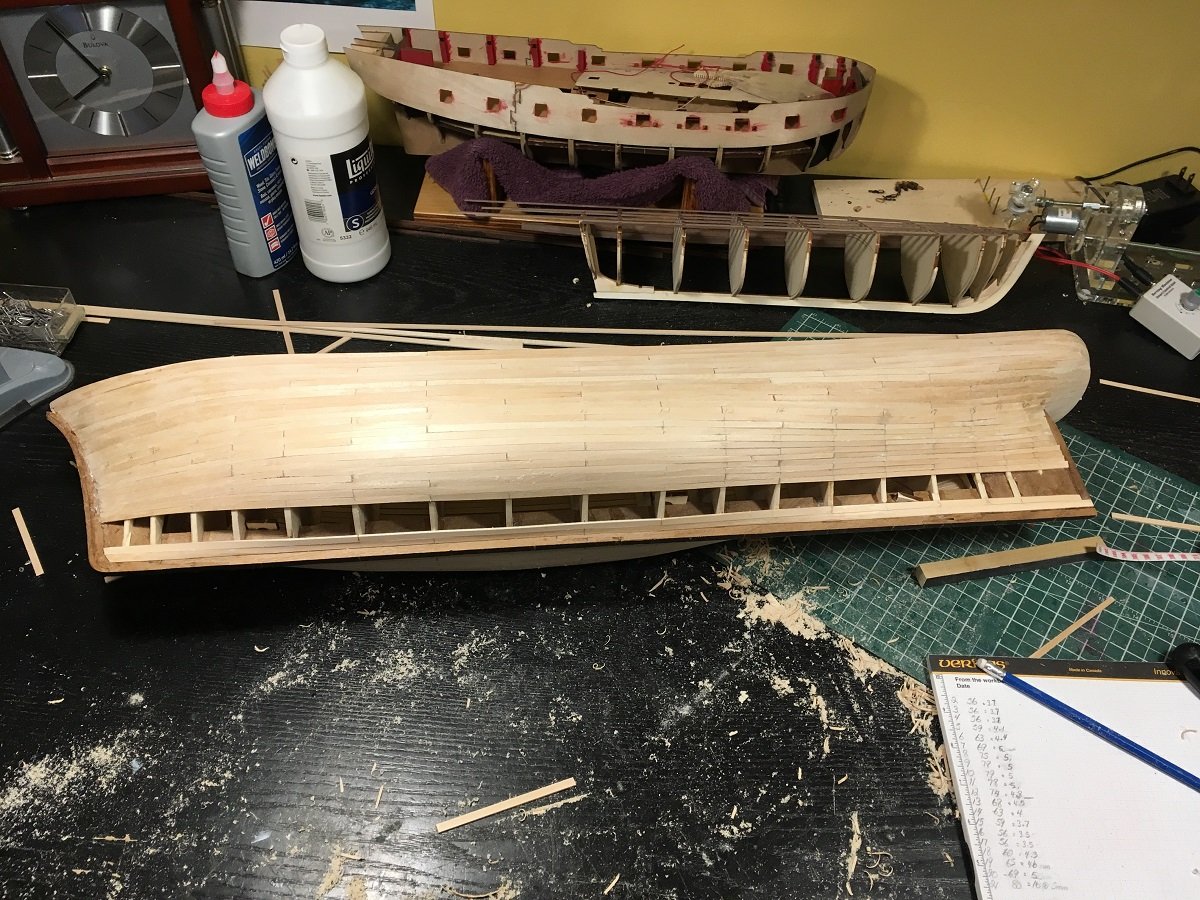
The first planking is completed now, filled, sanded and sealed. The second planking has begun, this is done using .5 x 4 mm strips cut to a length of 120 mm. I am using a 4 plank shift. I am not sure what type of wood it is, I am thinking maybe cherry. Whatever it is I am going to have a hard time painting it as it is starting to look real nice.

Six strakes left of first planking
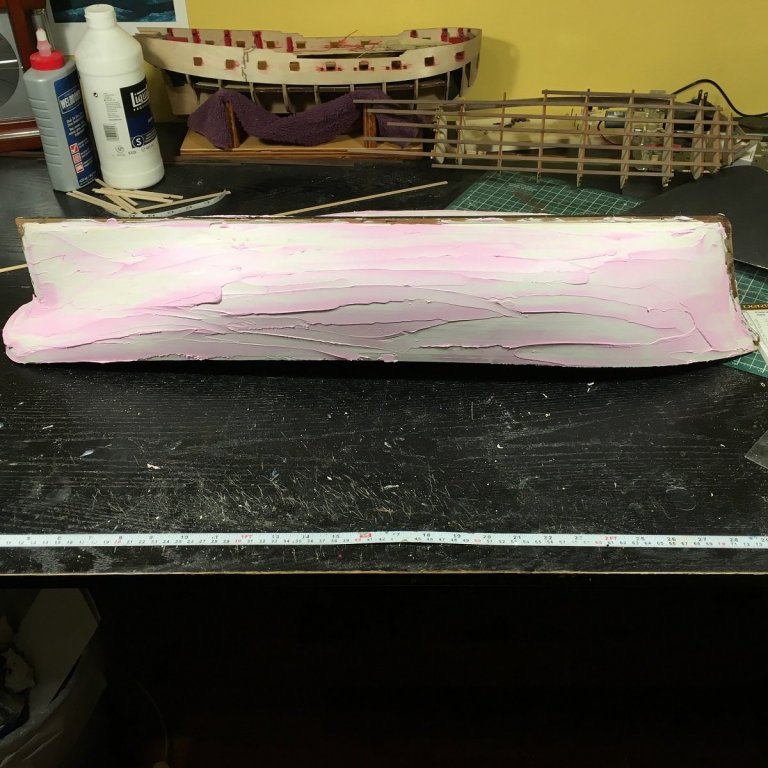
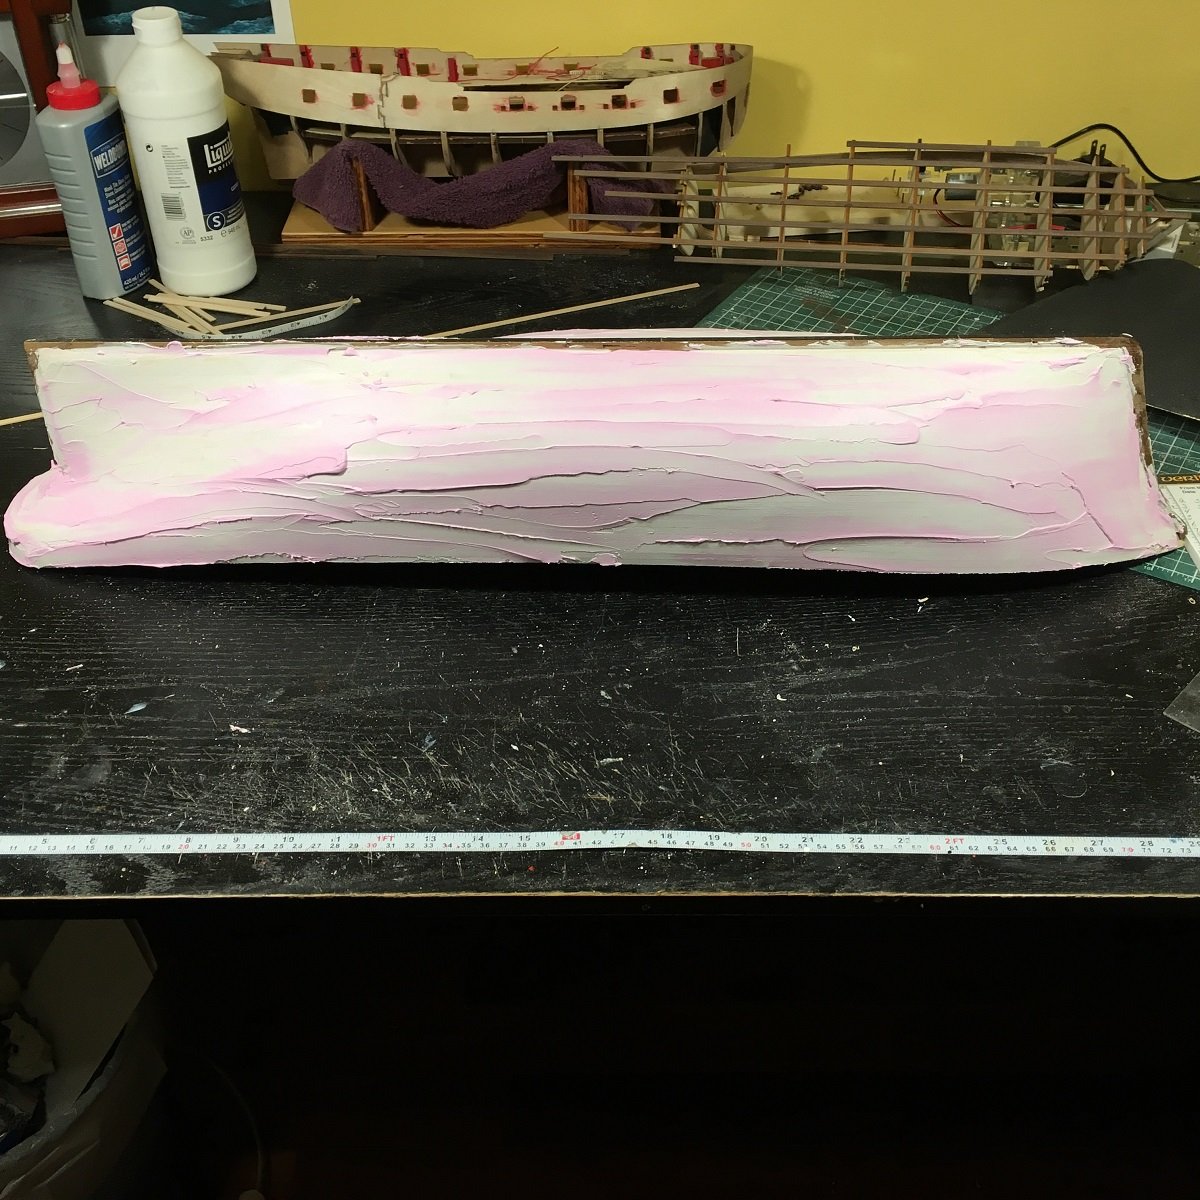
I was trying to get a picture while the filler was still wet, it looked real tasty when it was all pink!!

Here it is after the first initial sanding

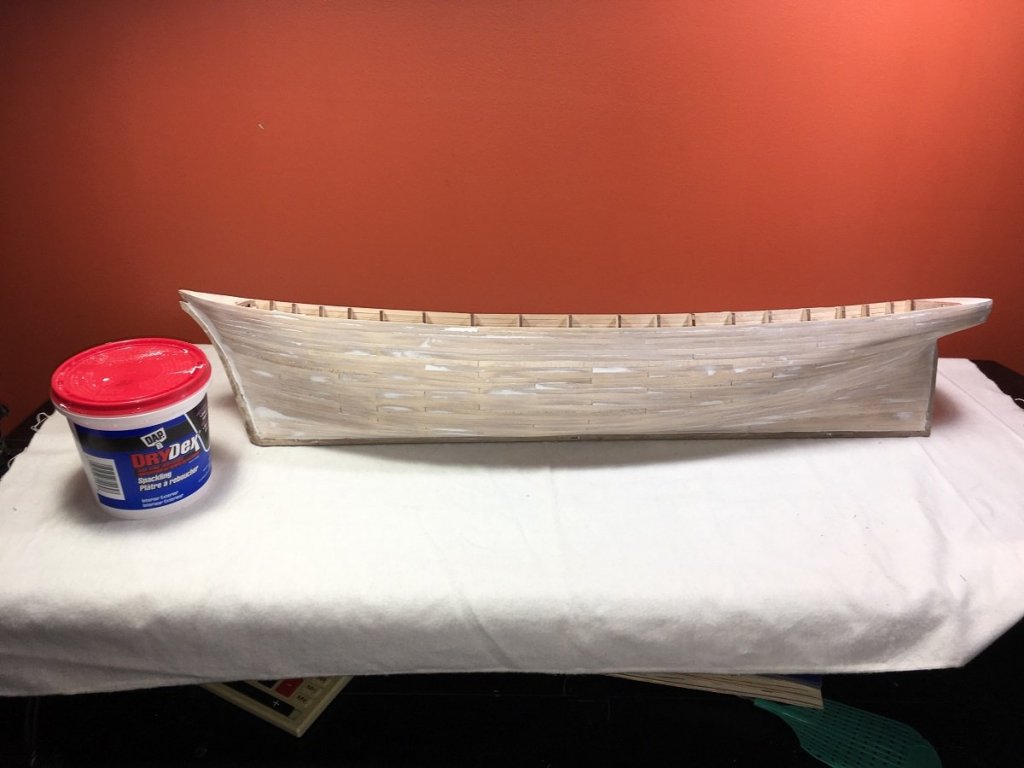
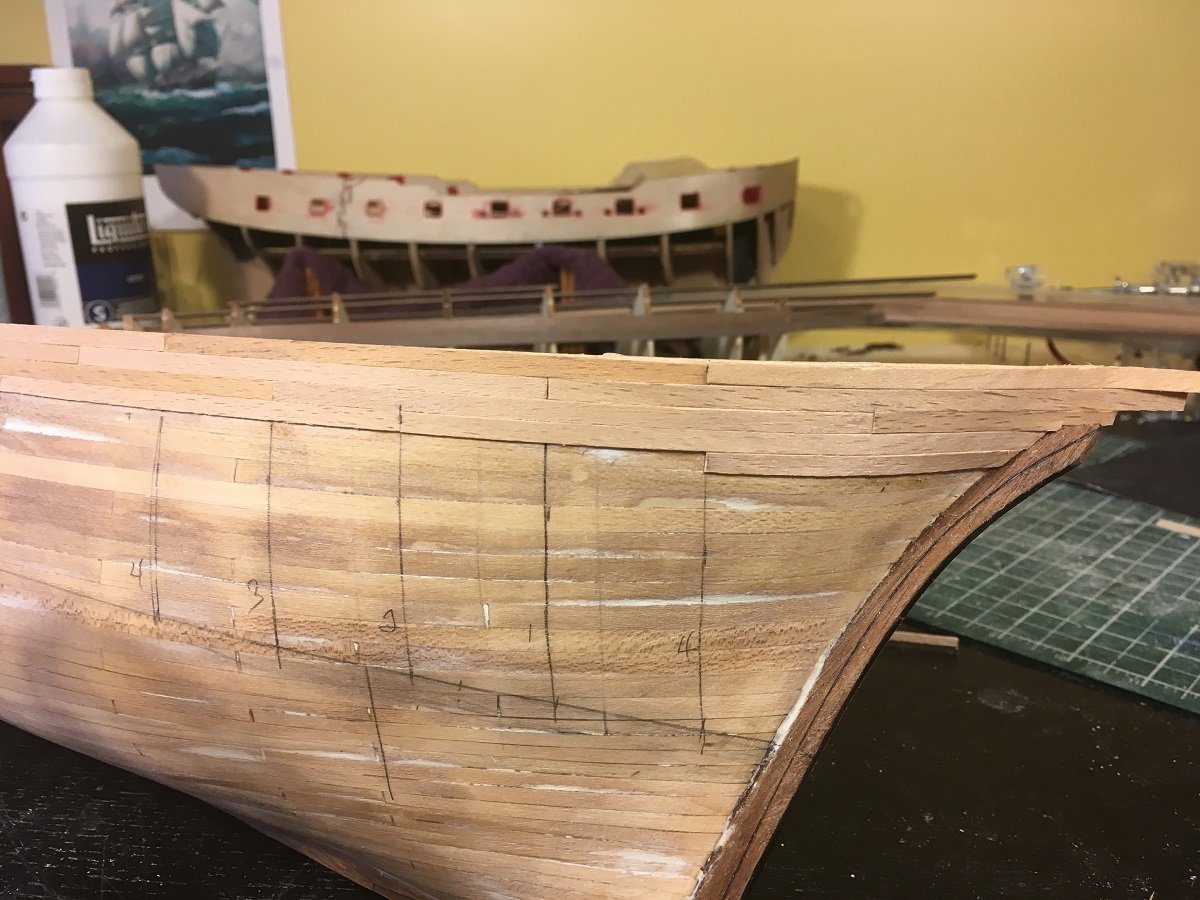
Sanded and sealed, I use a thin coat of wipe on poly then sand when dry. For some reason I cannot find sanding sealer around here, maybe on the next dog sled that comes through. Lol
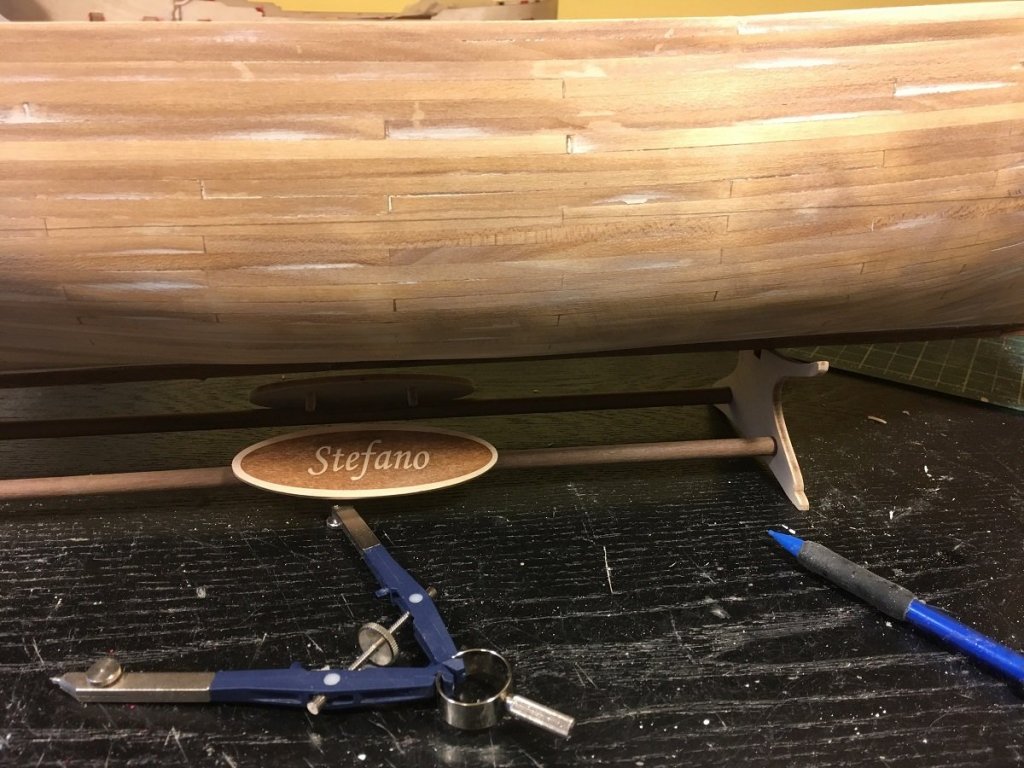
Marking of the waterline, temporary marking as below this is copper plated so the planks will not be seen and will not need to be exact lengths or properly staggered
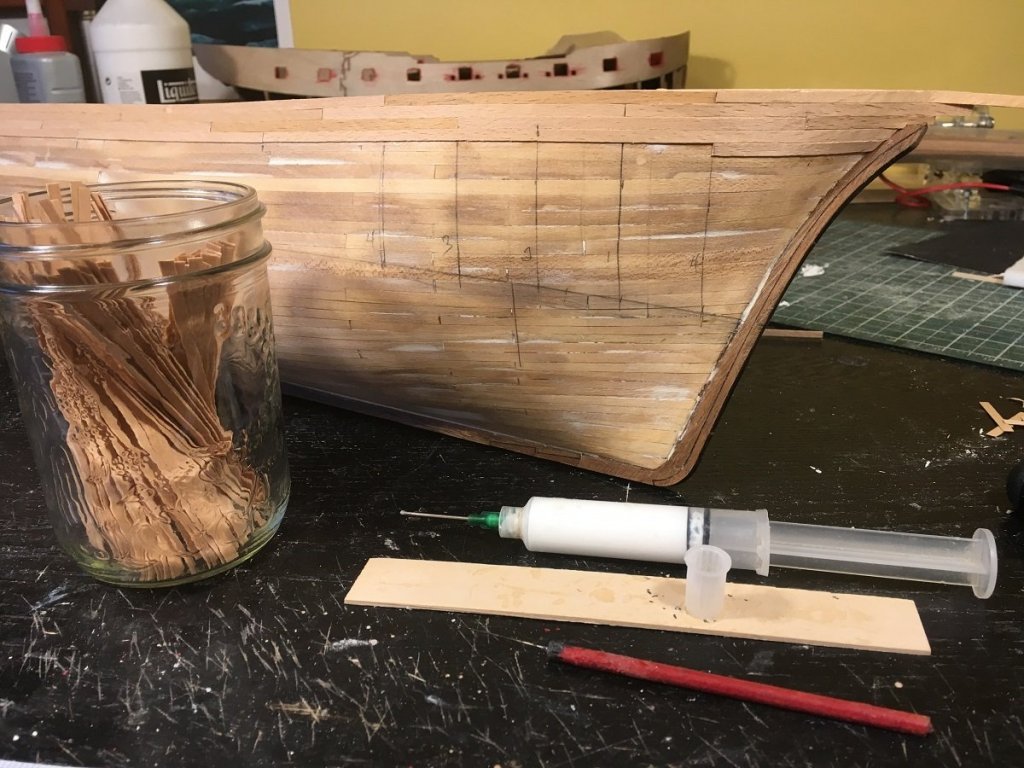
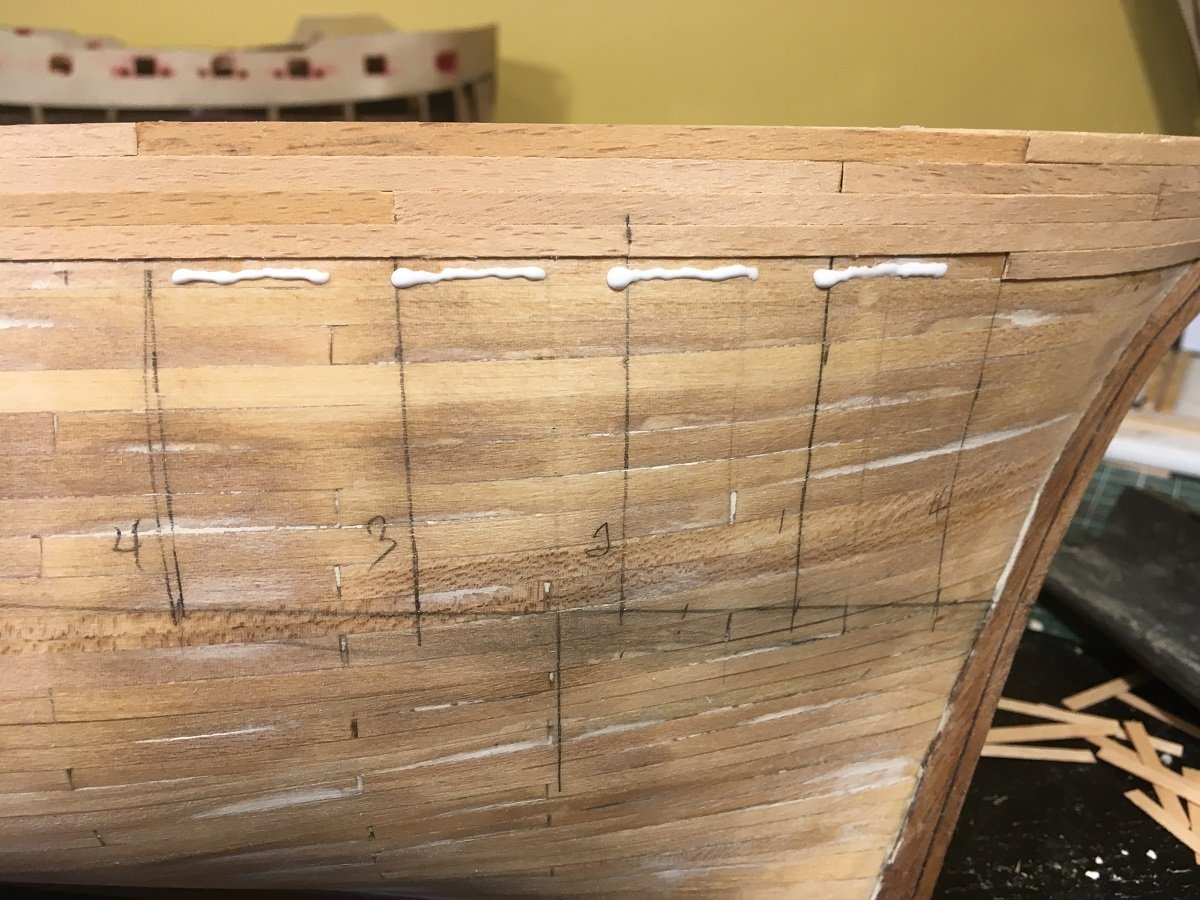
Showing pre-cut(120 mm) planks, space between vertical lines is 30 mm (120/4 = 30). Syringe is full of Weldbond the little plastic container has ca in it the red handled tool with a needle in the end is used for applying the ca


Here I am showing how I glue my planks on. First apply the Weldbond then with the needle tool I'll spread ca between the lines of Weldbond. With this method no clamps are required and with careful application of the ca there is no staining of the wood.
That's it for now, a week or so of doing this and I'll be back.
Take Care and Thanks for dropping in
-
I`m thinking it`s time to put your mill skills to use and build new carriages
") . If you still need more adjustment after the axles have been adjusted deepening the trunion grooves will also lower them a bit. You could also flatten the upper side of the axles.
. If you still need more adjustment after the axles have been adjusted deepening the trunion grooves will also lower them a bit. You could also flatten the upper side of the axles.
- mikiek and popeye the sailor
-
2
-
Hi David, nice progress. I have been staring at your pictures for awhile now debating whether to say anything or not. Please do not take offence or feel the need to go changing things, but what caught my eye are the pendants or braces at the end of your spar. I was told some time ago to distinguish standing rigging from running a good rule of thumb is to think of standing as any rope that does not move or pass through blocks, dead eyes etc. Running rigging is all ropes that do move and run through blocks, dead eyes etc. In saying this any rope used to attach a block, for instance, to a mast, spar etc. would be considered standing rigging and should be black or dark. Again this is just for information purposes only, forgive my ignorance if this is something you already knew.
-
Hi Mike , the stand, case and ship look wonderful. I have followed your build from the beginning always looking forward to seeing the next update and Joel's comments. He was an amazing man, always there willing to share his skills and experiences with you and others. His guidance and constant prodding resulted in you now having a masterpiece in your home. I am sure he is now looking down with one huge smile on his face. Beautiful dedication, Mike
-


HMS Greyhound by Old Collingwood - Corel
in - Kit build logs for subjects built from 1501 - 1750
Posted
Your planking will serve as a very good base for the second layer