


donrobinson
-
Posts
1,909 -
Joined
-
Last visited
Content Type
Profiles
Forums
Gallery
Events
Posts posted by donrobinson
-
-
Good start to a great kit, looking forward to seeing more
-
Looking very good, David. Keep up the good work
-
Mike: That's where I heard of the idea too but forgot to mention it, thanks for reminding me. If I remember right I ordered mine the very day B.E. mentioned it!!
Nils: Thank You for taking the time to stop in and for your gracious comment
- Old Collingwood, Mirabell61, EJ_L and 1 other
-
 4
4
-
-
Excellent looking build Michael, your detailing is amazing.
-
Mike: The veneer saw is especially good in this application as it only cuts on the one side so it does not damage the bulkhead. I found this one on Amazon for around $30 Cdn. I think the beech is defiantly worth having in the workshop if anything for it's bending capabilities. This is maybe what you need for your Trajta
- Old Collingwood and EJ_L
-
2
-
Mike: The filler block acts as a form for the planking then needs to be removed in order to plank the deck, Thanks for stopping by
David: You have it dead on David, it was balsa and I was very happy it was. It actually went fairly easy, had it been something like oak the whole ship may have ended in the trash
")
") or on the shelf for a very long time.
or on the shelf for a very long time.
OC: Thanks. I bought this set of chisels from Lee Valley some 30-35 years ago and up until now have rarely used them as I never took the time to sharpen them properly. I now know how to sharpen them, somewhat, and am enjoying using them now.
Mike: Thanks Mike. These kits are really full of surprises and innovations that makes them fun to build.
Bob: Sorry to hear that Bob, health is very important so look after that first. That is a great idea for the stern filler block and would have worked perfectly! A perfect example why, even if you are not going to build the Stefano, I still need you to keep watching and sharing your vast knowledge. Thanks and take care my friend.
-
-
Doug: You will do just fine, it is not as hard as it looks a sharp chisel does help though. I'm looking forward to you catching up to me.
Ian: good to hear from you, I'm finally making a little progress and thanks for the kudos
Bob: Just a little nasty Bob, I do know when you get your kit you will make it look a lot easier and nicer!!!
H.H.: I 100% agree with you. The beech looked fine, I thought, before staining but with the stain it is not appealing what so ever. I will keep using it, if for anything, it"s bending capabilities. I am still very happy and surprised how it is so easily manipulated to shape, well worth keeping on the list of woods to use.
-
Good morning all, thanks for the comments, likes and visits.
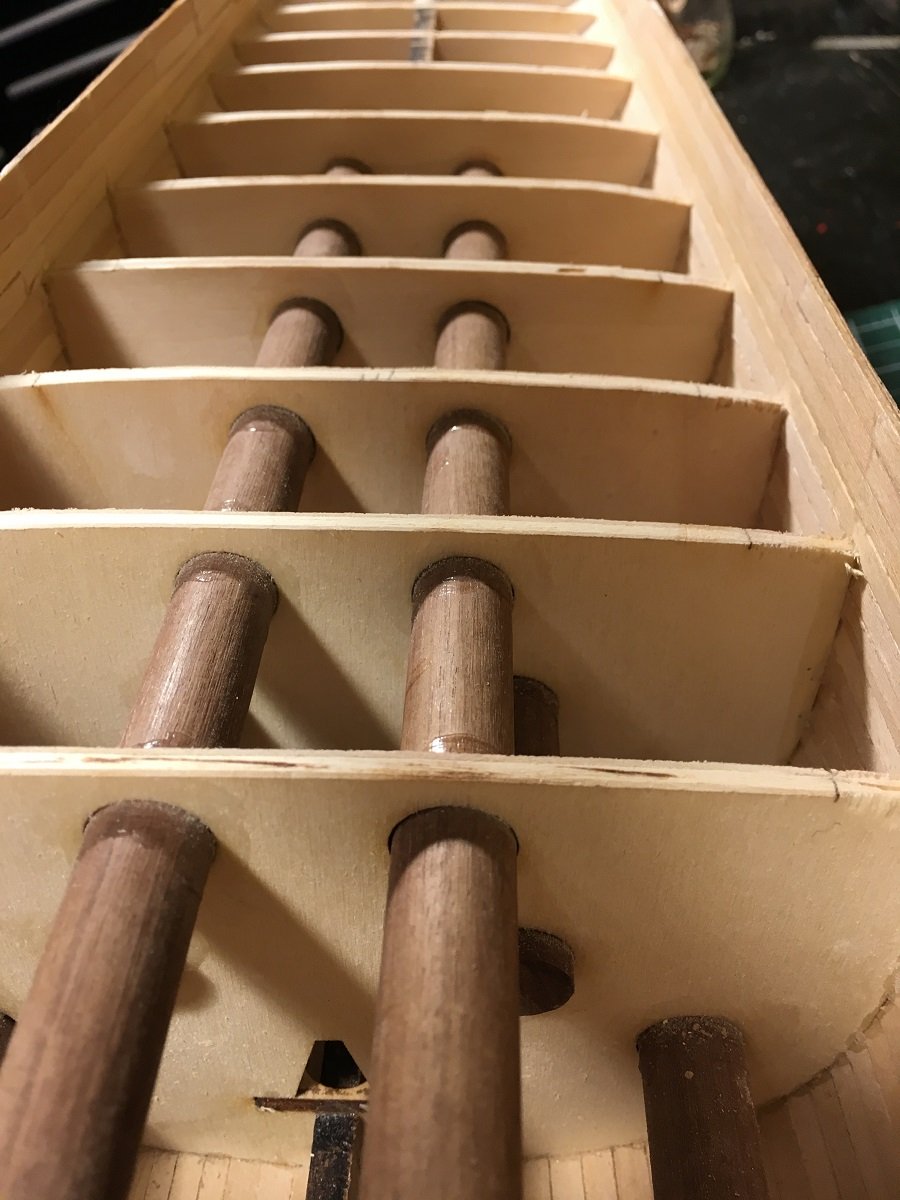
Since my last post the hull planking has been completed. I stained and put a coat of wipe on poly on the starboard side to see how the beech would look, I'll let you be the judges. Next was removing the bulkhead extensions, cleaning up the freeboard(bulwarks), then carving out the stern area down to deck level.
Here are the pictures:
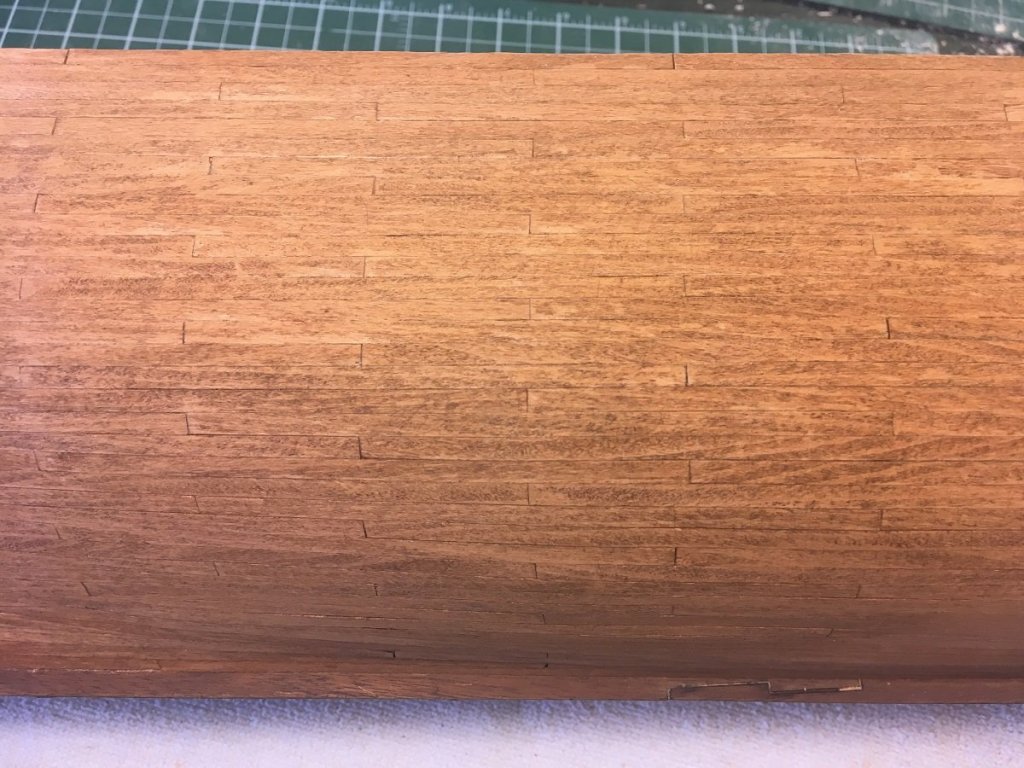
Here is the beech stained and a coat of wipe on poly. I used a water based stain and only one coat of it. another coat may have improved the look or possibly a coat of sanding sealer. Overlooking the obvious glue stains you can see it does not take stain very evenly. My conclusion is that beech looks better without a stain, should be left clear or painted, which is coming up soon
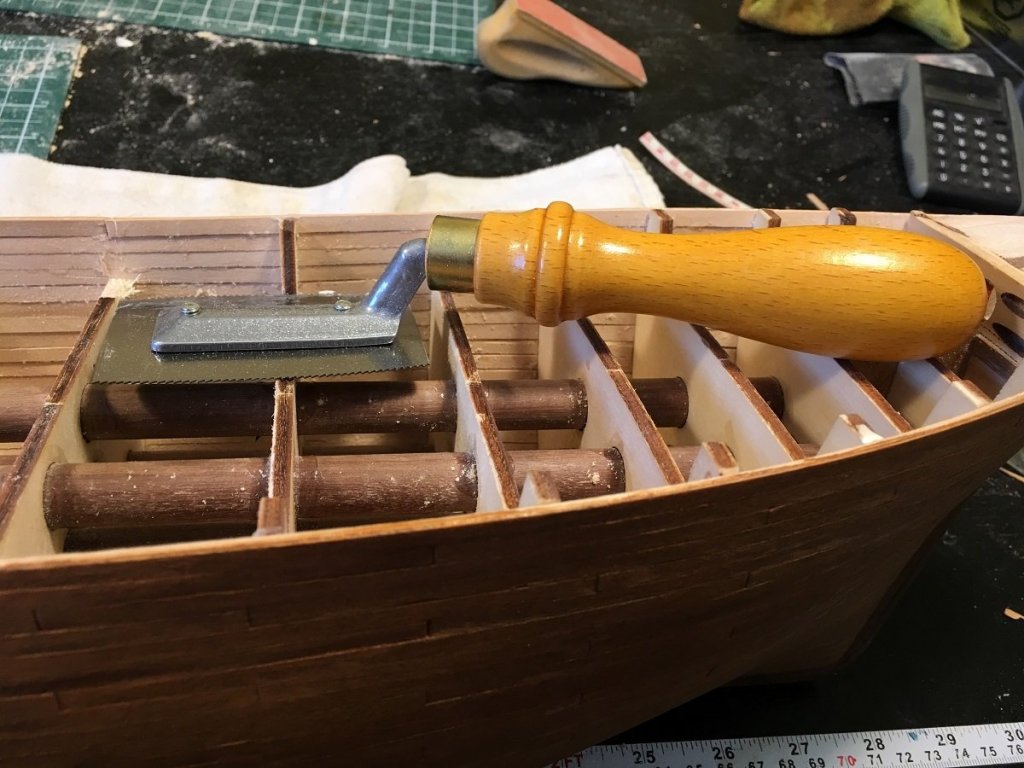
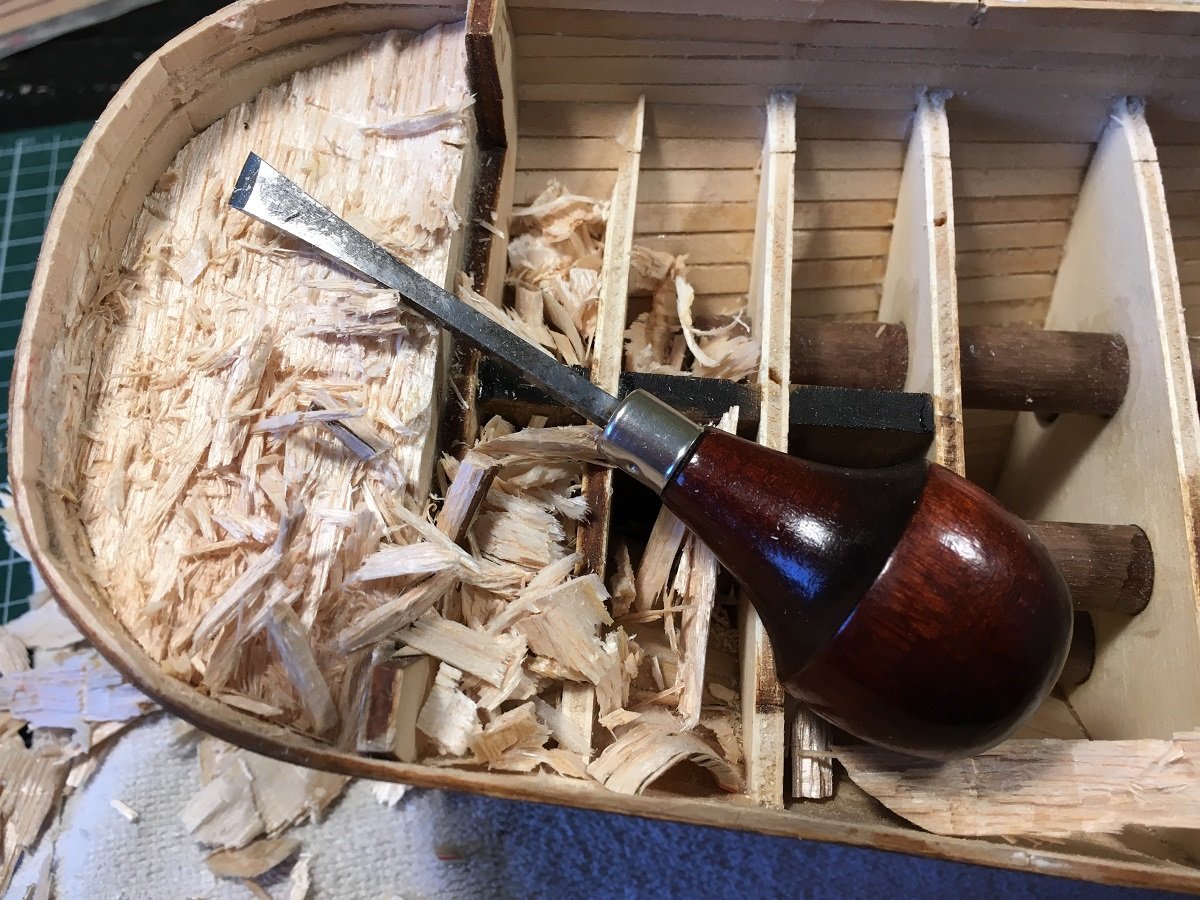
Removing the bulkhead extensions using a veneer saw. These came off quite easily and posed no problems, the veneer saw is defiantly the tool for this job.
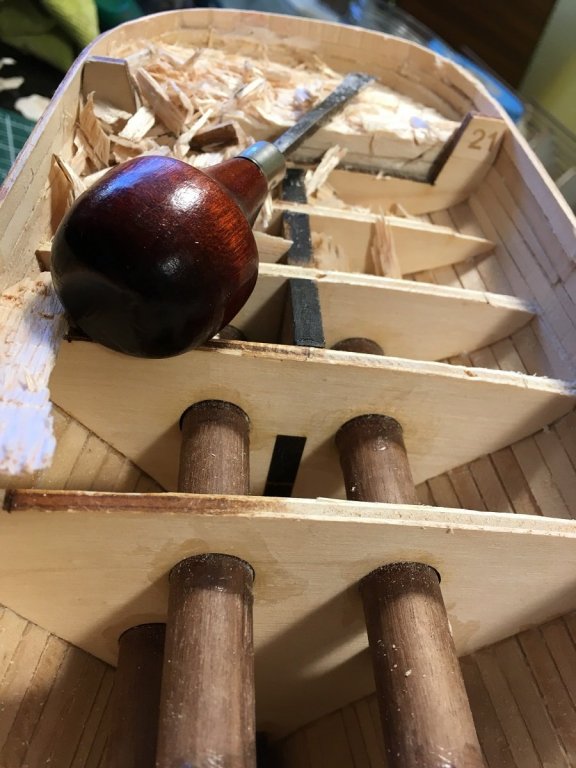
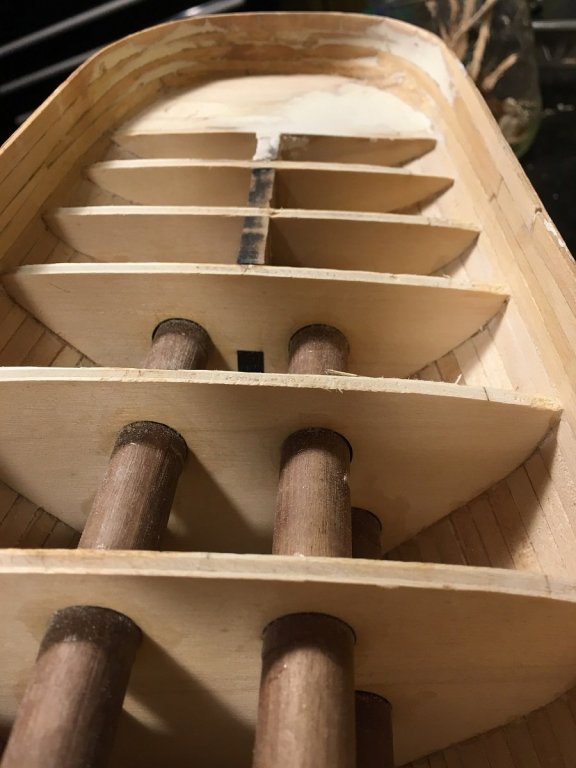
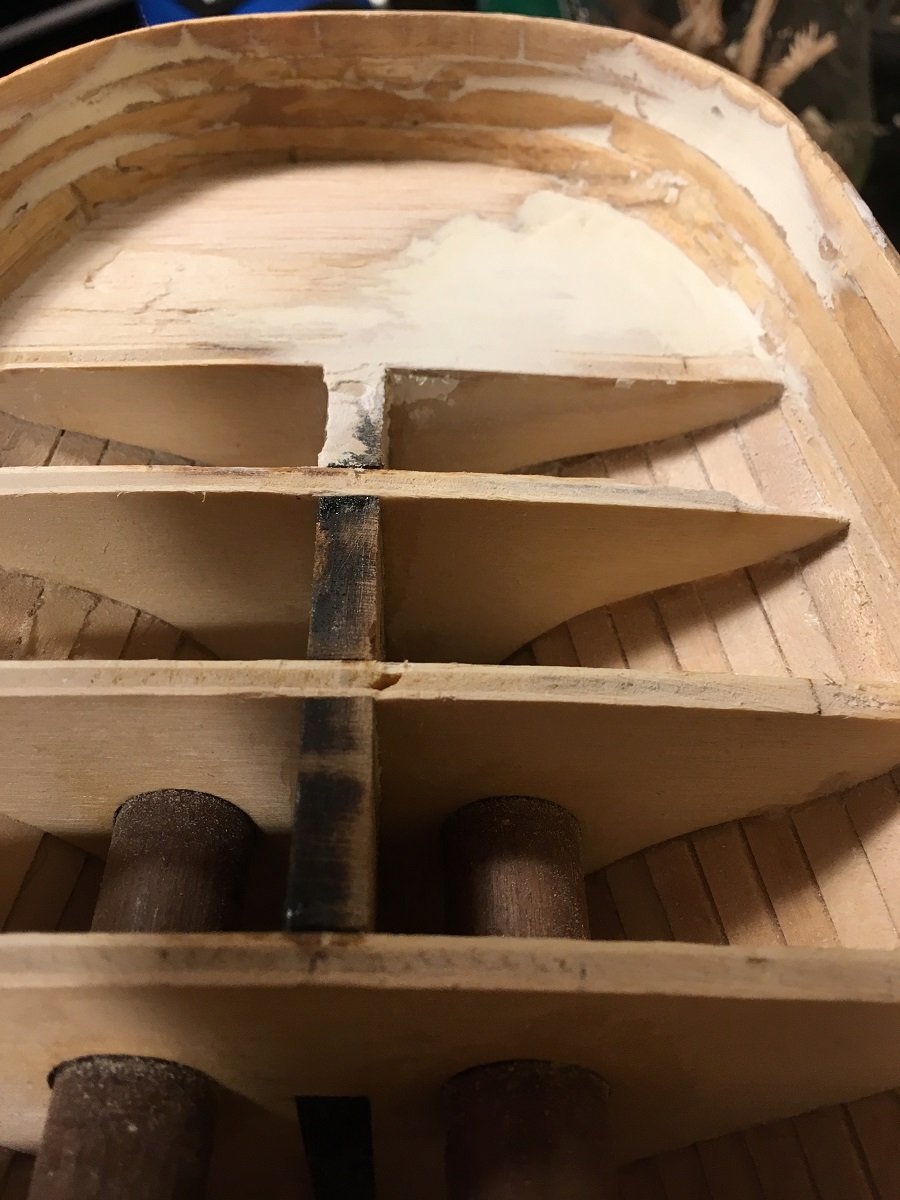
 About to start the removal of the stern filler block


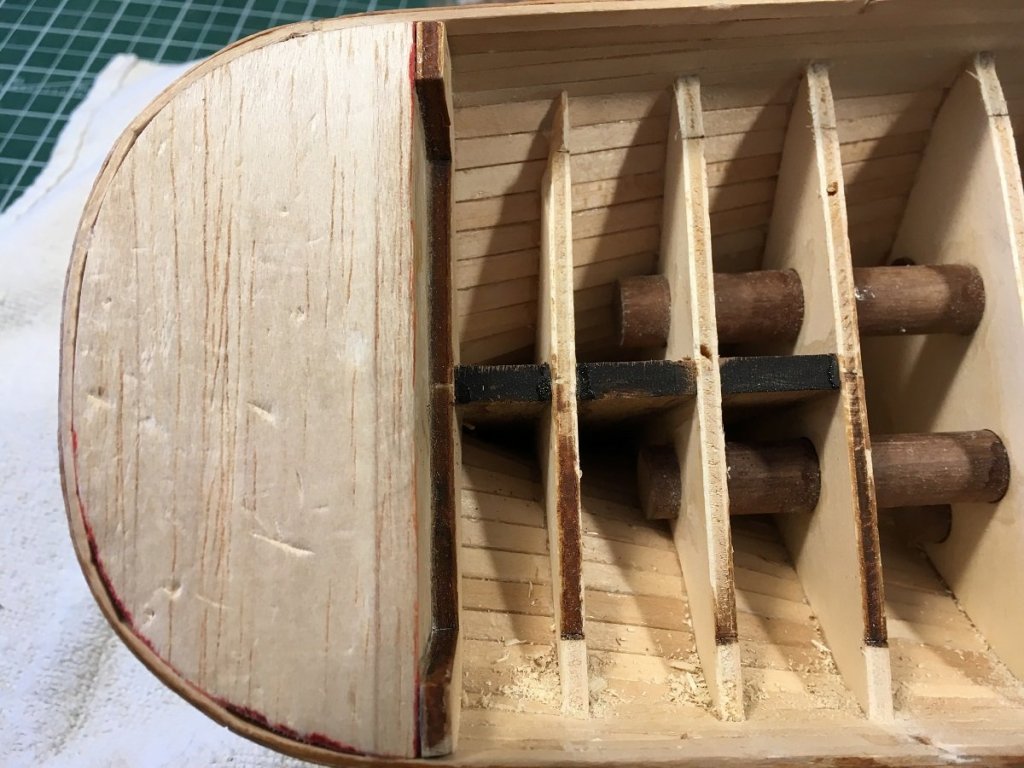
Filler block removed, filler was later applied to floor and sides. The important part here is to maintain the curvature and rise of the deck, this simply done by laying a plank along the bulkhead tops and watching how it is lays. Much the same as you would do when fairing a hull.
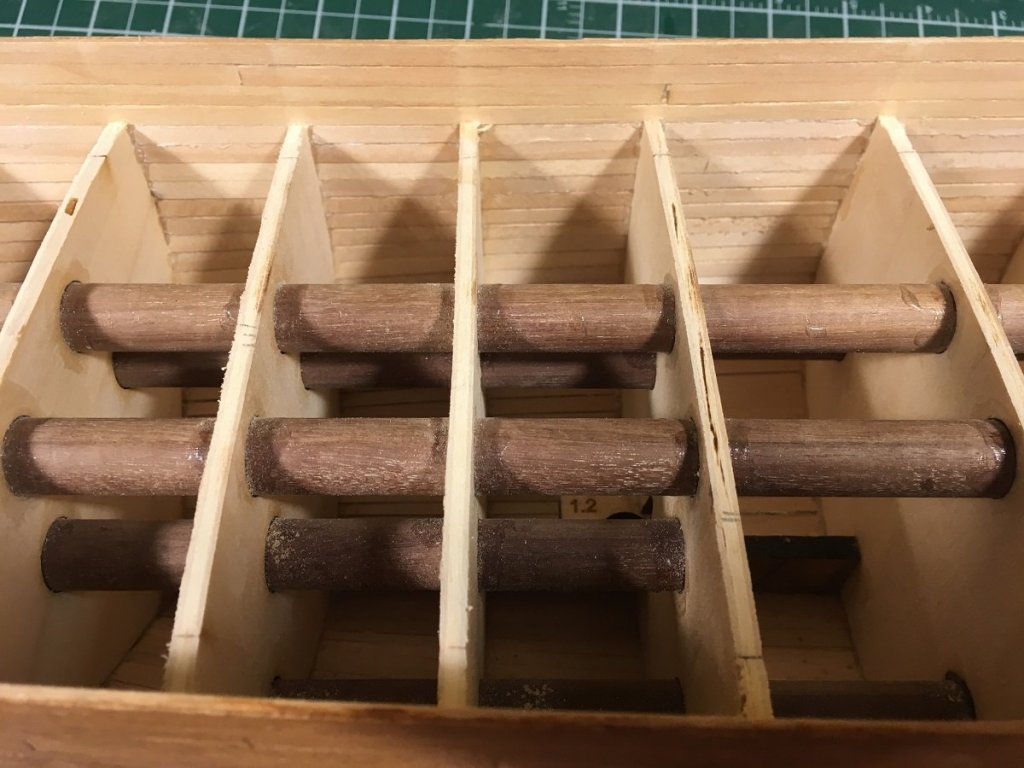


These last pictures are showing the cleaning of the freeboard, they will be eventually painted, and the fairing of the bulkhead tops. When fairing the bulkhead tops it is again important to maintain the curve and also to have a consistent height from the top of the bulkhead to the to of the freeboard.
That's all for now, next is the first layer of planking on the deck.
See You soon
-
Thanks John, his eyes did light up when he first seen it

- Canute and John Allen
-
2
-
-
Fine work Bob, those trucks really shine(look good)
-
-
-
Looks good Derek, congrats.
- thibaultron, Canute and Osmosis
-
3
-
-
-
-
-
Wonderful work, your attention to detail is blowing me away!!
- EJ_L and Hubac's Historian
-
2
-
Never noticed the number missing until now, sorry I can't help but I'll be watching for the answer
-
Hi Mike, thanks for your comment it's much appreciated. Below is a picture of Amati plates(left) and the MarisStella plates(right). As you can see the MarisStella ones are slightly larger but do have the rivets also. I'm thinking both plates should be much easier in the long run to install versus having to punch the rivets.
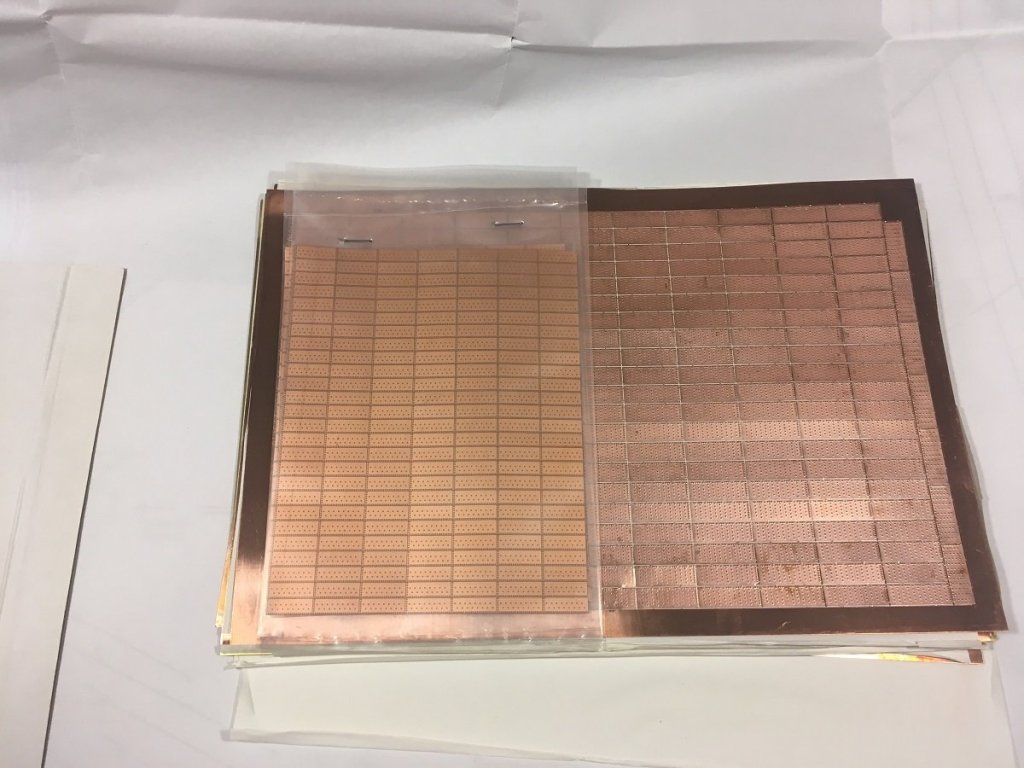
As you can see they are not quite as bright as the Amati ones, they have a little more weathered look which is fine with me
- marktiedens, Seventynet, robdurant and 5 others
-
8
-
Well done Dave, your choice of woods is great
- EJ_L, Canute and thibaultron
-
3


Greek Warship Bireme by moreplovac - FINISHED - Amati - Scale 1/35
in - Kit subjects built Up to and including 1500 AD
Posted
Very nice looking build. Looking forward to seeing the eyes completed