


donrobinson
-
Posts
1,909 -
Joined
-
Last visited
Content Type
Profiles
Forums
Gallery
Events
Posts posted by donrobinson
-
-
David, Rick and Dimitris.....Thanks so much for all of your kind words. It always helps to get such nice comments
You all have a Good Day
- mtaylor, Dimitris71 and Canute
-
 3
3
-
Hey Dimitris, I just went through you whole log and I am very impressed with your wonderful work and how much you have done in this time period, but there is one question I'd like to ask..........whatever happened to the lifeboats?


- Dimitris71 and Omega1234
-
2
-
She looks so good Dimitris, those overhead pictures really help show off some of the magic you have done. Great Work.
Have a Good Day
- Omega1234 and Dimitris71
-
2
-
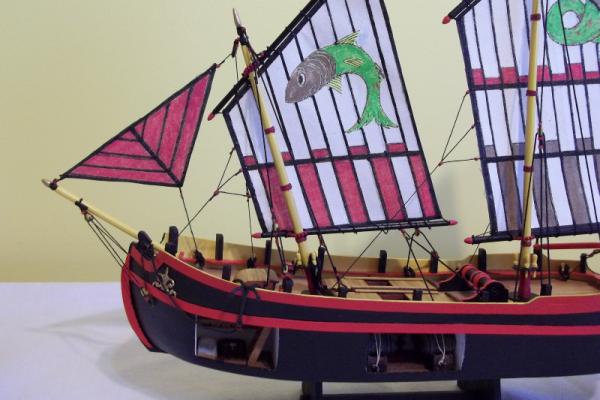
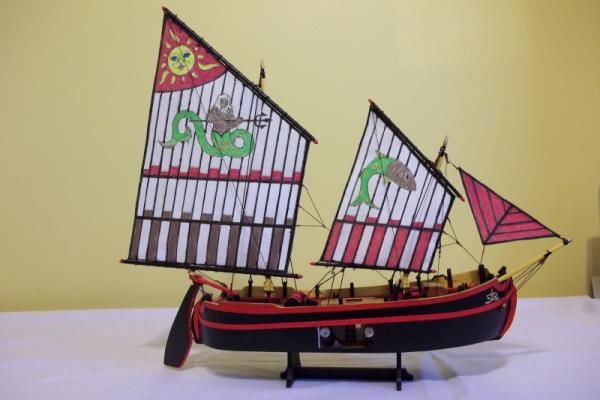
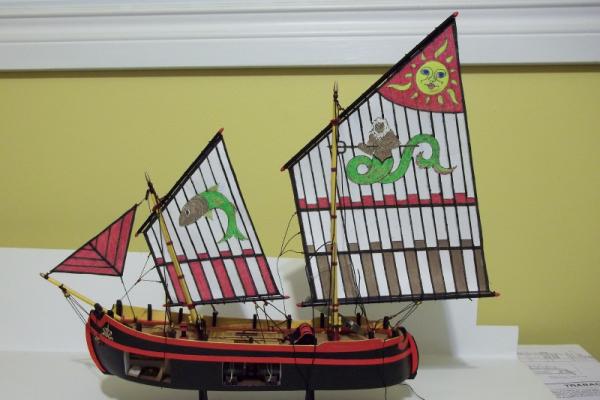
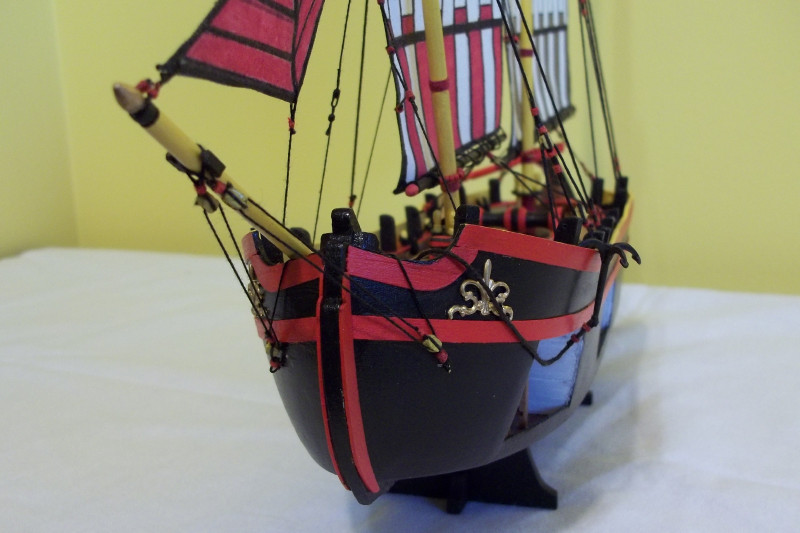
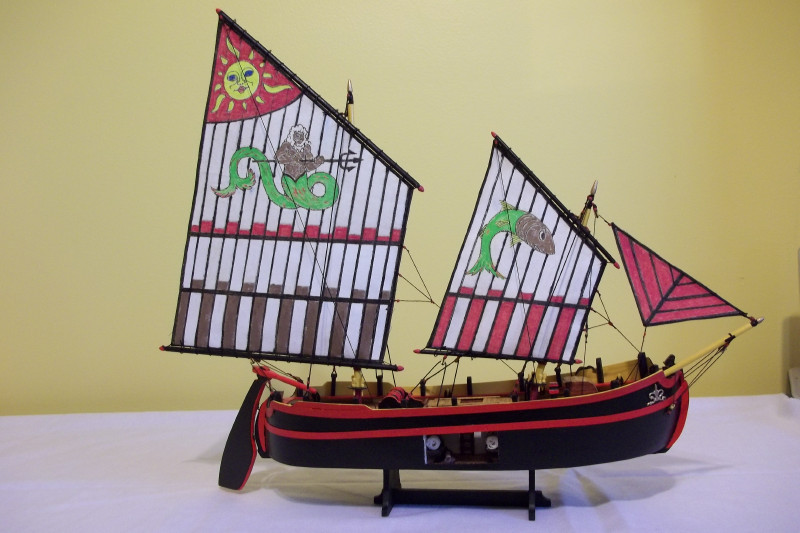
Well here she is all done, this was a fun little kit to build and I hope the grandson enjoys it even though it isn't much of a toy to play with. I am thinking I am going to put it on a base, for added security.
One down and one more to go for Santa, now to finish the carriage.


- mrshanks, GuntherMT, Dimitris71 and 16 others
-
19
-
-
-
Hi Nils, I just finished going through your log and it is simply amazing. Your craftsmanship is outstanding, I especially admire you for your talent of taking everyday items and incorporating them into your build. This is the kind of log that not only shows a true craftsman at work but also teaches the rest of us how to overcome so many of the hurdles in this hobby.
Thanks
- Mirabell61, mtaylor, Dimitris71 and 2 others
-
5
-
Looking good Dave, not sure what you mean by "re-order the pictures"
-
Hi Jason, good luck with your build. None of your pictures worked, hopefully someone with more knowledge of the forum will jump in and help you out with this
-
-
-
Thanks so much Dimitris, but I didn't make myself very clear(not unusual for me) but it is the coils for on the deck(like for cannons) I am trying to make. These I have never made.
I just came inside from clearing snow to have a coffee and to check in, Thanks again for your super fast response
- Dimitris71 and Canute
-
2
-
Very nice Mike, Where does one find Chuck's tutorial? My next build is single planking and I am very interested in anything that may help. I have tried your way once before but it was my first time planking and it was not explained as well you have done therefore did not turn out so well. I may just copy your directions and try again, if you don't mind.
- mtaylor and Landlubber Mike
-
2
-
Hey Rick, things are looking good. If it was me I would put the garboard plank on now so as to avoid trying to make stealers and joggle planks there. You are at the bottom of the hull now, or very close, it is a lot harder to put small pieces in at the keel versus in the "middle". I believe you are painting the hull but it is always good try and do it as right as possible(look who is talking, LOL). It is hard to tell but looks like tapering at the bow should have started sooner, probably third or fourth plank, but that is just for future reference. The famous saying of "letting planks lie naturally" is really hard to grasp sometimes, I know I had a hard time with that and still do. You have to remember, and it's hard, that anything more than the slightest twist is too much and it is then time for a stealer or joggle plank which is more work(this is why I always forget
).Then, if you are like me, this will be all forgotten by the time the next hull is started

Have a Good Day
-
Dimitris, the masts look great. I feel for you in having to re-build them. This sort of thing maybe a little bit of a set back it in turn, however, gives you the satisfaction of knowing it is done right and puts that smile back on your face.
I notice your little tray of goodies on the bench is still quite full of fittings so I am guessing that this fantastic journey has a long way to go yet. This makes me happy as I am really enjoying this adventure.
Have a Good Day
- Omega1234 and Dimitris71
-
2
-
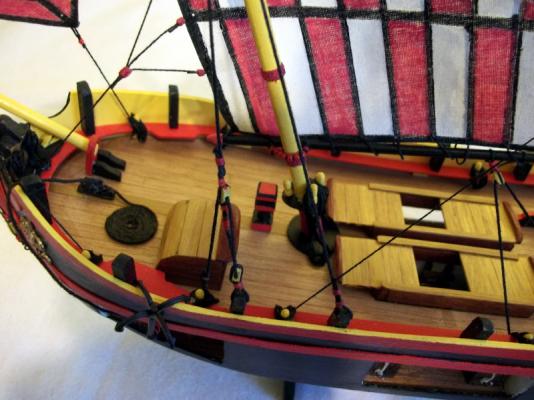
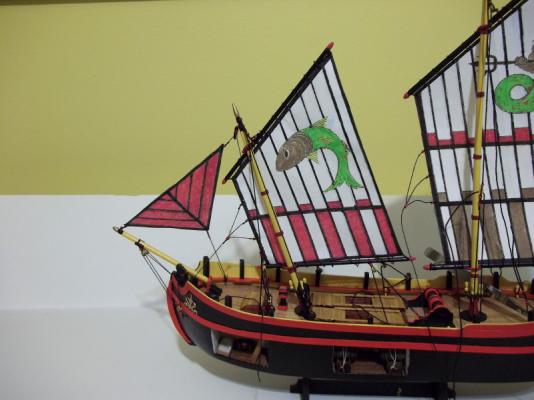
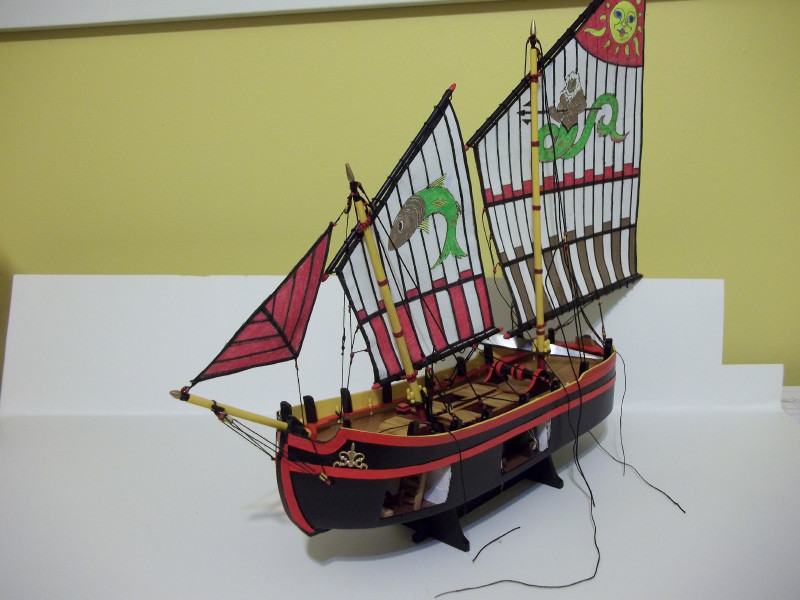
Thanks so much to all of you: Rick, Dimitris, Frank, Zoran and Crackers also to those of you for your likes. It is very close now to being done, the rigging is now complete, I am doing the rudder and anchor. I am having problems making a rope coil for anchor rope, this is something I haven't done before so I am trying to find a way of doing it. If anyone has a good way of doing it I would be glad to hear of it
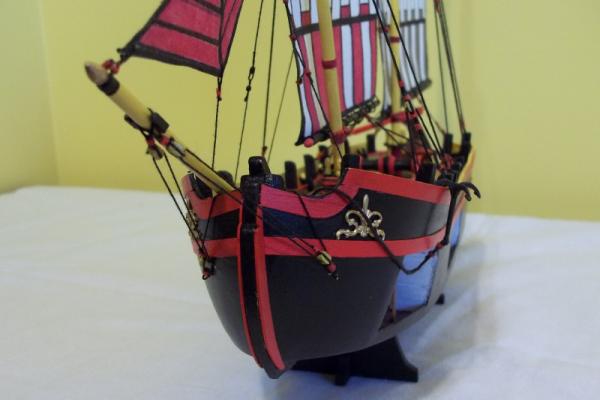
That makes so much sense with the sails Zoran, I tossed a coin as to which way to mount them as I wasn't sure and have seen it done both ways. Next time it will be done right!!
Have a Good Day
-
Amazing, looks real nice and at such scale. The video would not work, for me. -
-
Thanks Zoran and Cabbie for stopping by
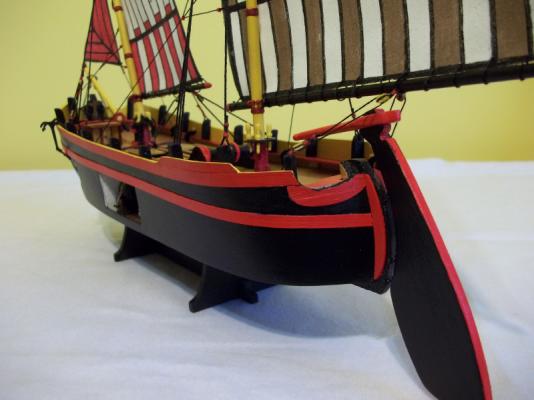
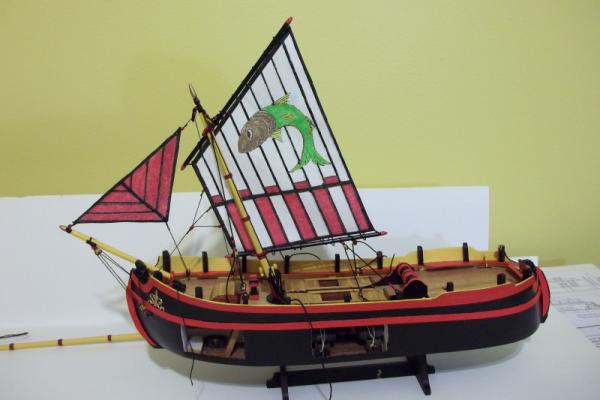
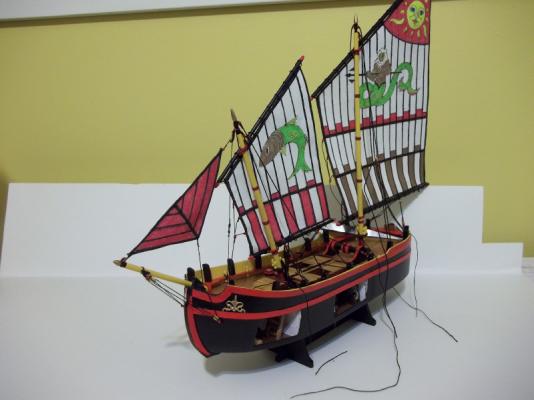
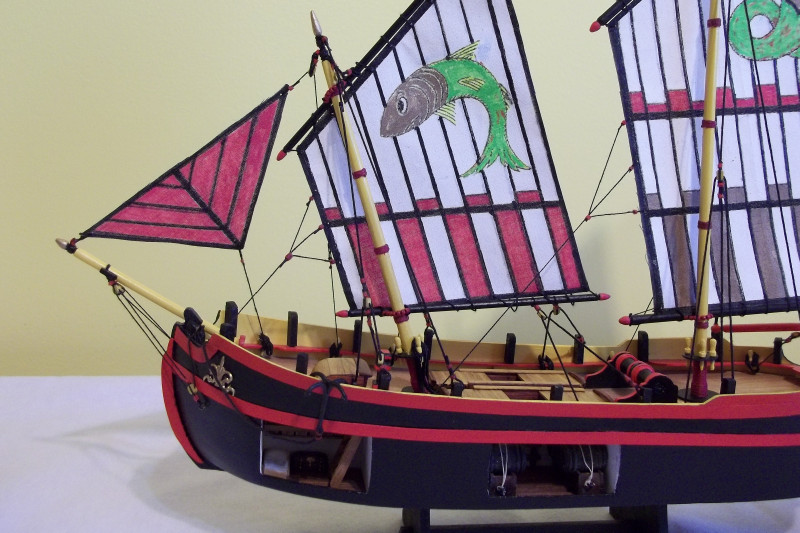
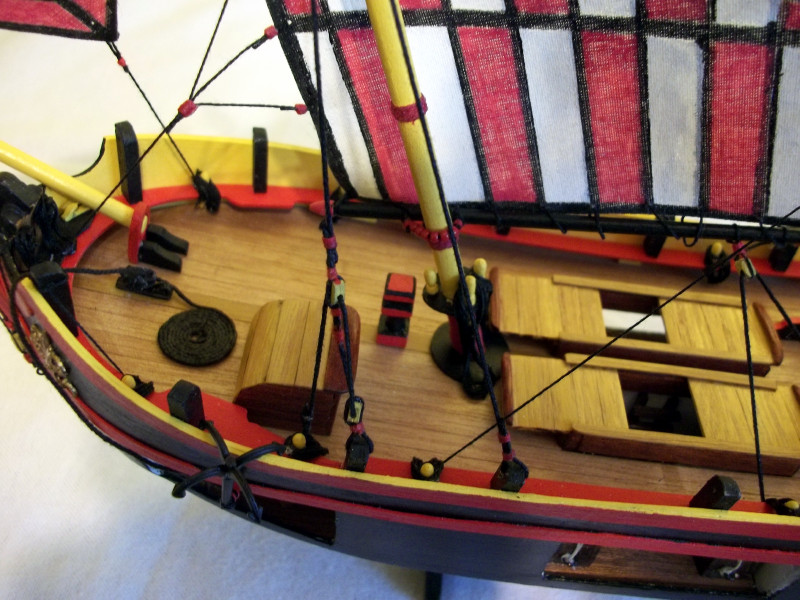
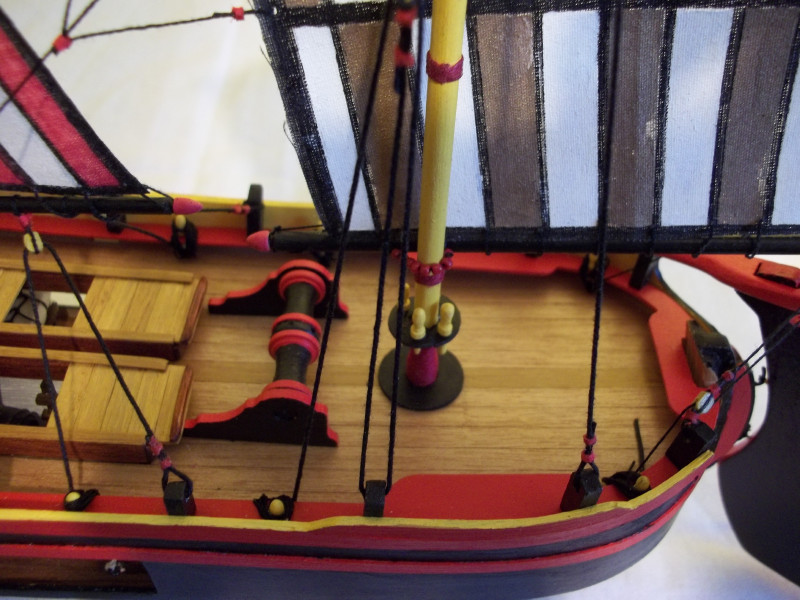
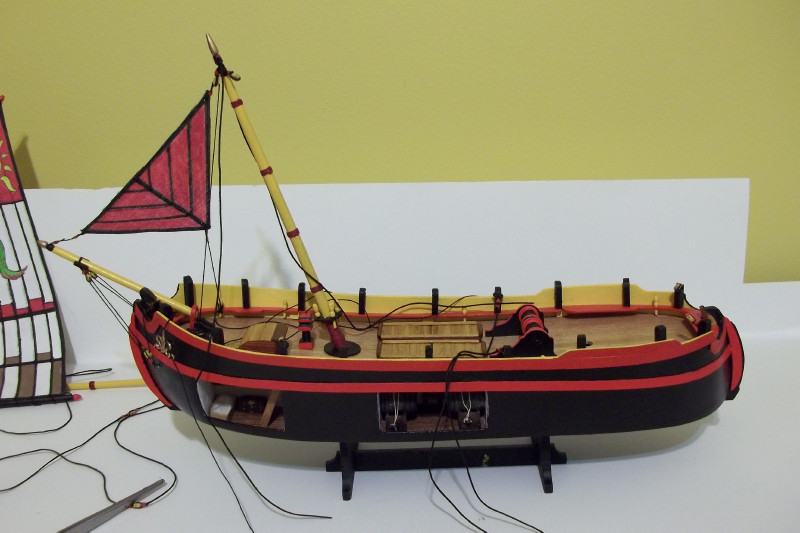
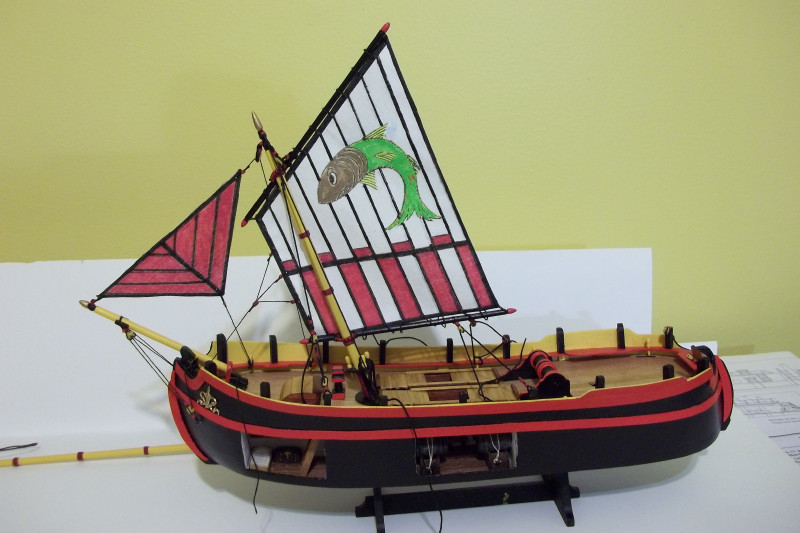
Last weeks progress was good as you can see the sails are up, some of the rigging still needs to be adjusted and belayed. All went as planned other than placement of sails, picture of boat shows fore sail on starboard side of mast and mainsail on port side of mast while the plans show both sails on starboard side of masts. The rigging has been relatively easy I have used a combination of hand tied seizing and zip seizing, anything that could be done off boat was done by hand and the rest using zip seizing.
Next is to finish up rigging and install rudder(almost forgot about this). Then if time permits I may add some fishing nets if I can find some sort of netting to use.
Take Care and Thanks for looking in

- riverboat, Seventynet, GuntherMT and 11 others
-
14
-
Very nice Ian, looks great. Are there still thoughts of coppering?? I think that is one planking job that should be shown off!!!
- Mike Dowling, Dimitris71 and Canute
-
3
-
looks to me like you have the wrong side of your garboard strake tapered. I believe you want the other side tapered, the way you have yours tapered you are going to create a downward sweep, which you don't want. Looking at your picture, you should taper the top edge of the plank, in your case you have tapered the bottom edge. I hope this explains it clear enough.
Your decking looks great.
-
Good choice on the colours Dimitris, very nice
-
It really looks nice and crisp, really coming together
- Elijah, GLakie, mattsayers148 and 1 other
-
4
-
She looks good mounted there Rob, nice work
- robdurant and Dimitris71
-
2


HM Schooner Pickle by rshousha - Caldercraft - My First Caldercraft Kit!
in - Kit build logs for subjects built from 1751 - 1800
Posted
Look's as though you have the planking all figured out. Nice work