CDW
-
Posts
7,760 -
Joined
-
Last visited
Content Type
Profiles
Forums
Gallery
Events
Everything posted by CDW
-
 I'm making a trip to Manchester NH in another week or so. My daughter and son-in-law are going to take me for some tours. Wow, there is so much to see up in this part of the country. Can't wait to visit some of these places.
 -
What an interesting question and series of answers. It's something I've never even thought about before now. Glad to have read this thread.
-
Outstanding! Love it...this is what scale modeling is all about. You done good Denis.
-
That is coming along SO nice. It's the best I've ever seen anyone do the old Revell Arizona.
-
Thanks for the comments, Denis. Simulating the carpet is real easy to do. You need the correct color flocking, some watered down white glue, and a strainer to sift the flocking. Get your flooring painted the color you want and after it's dry, brush on a good coat of watered-down white glue where you want carpet. While the white glue mixture is still wet, sift the flocking on top of the white glue, then shake away the excess (flocking). That's it. As easy as that. Just make sure to sift the flocking and not just drop a lump of it down. The results will not be the same and would create a big mess. You can get all colors of flocking on Ebay for a couple of dollars per bag. A bag of it will do a LOT of models. You'll probably never use it all unless you build dozens of models.
-
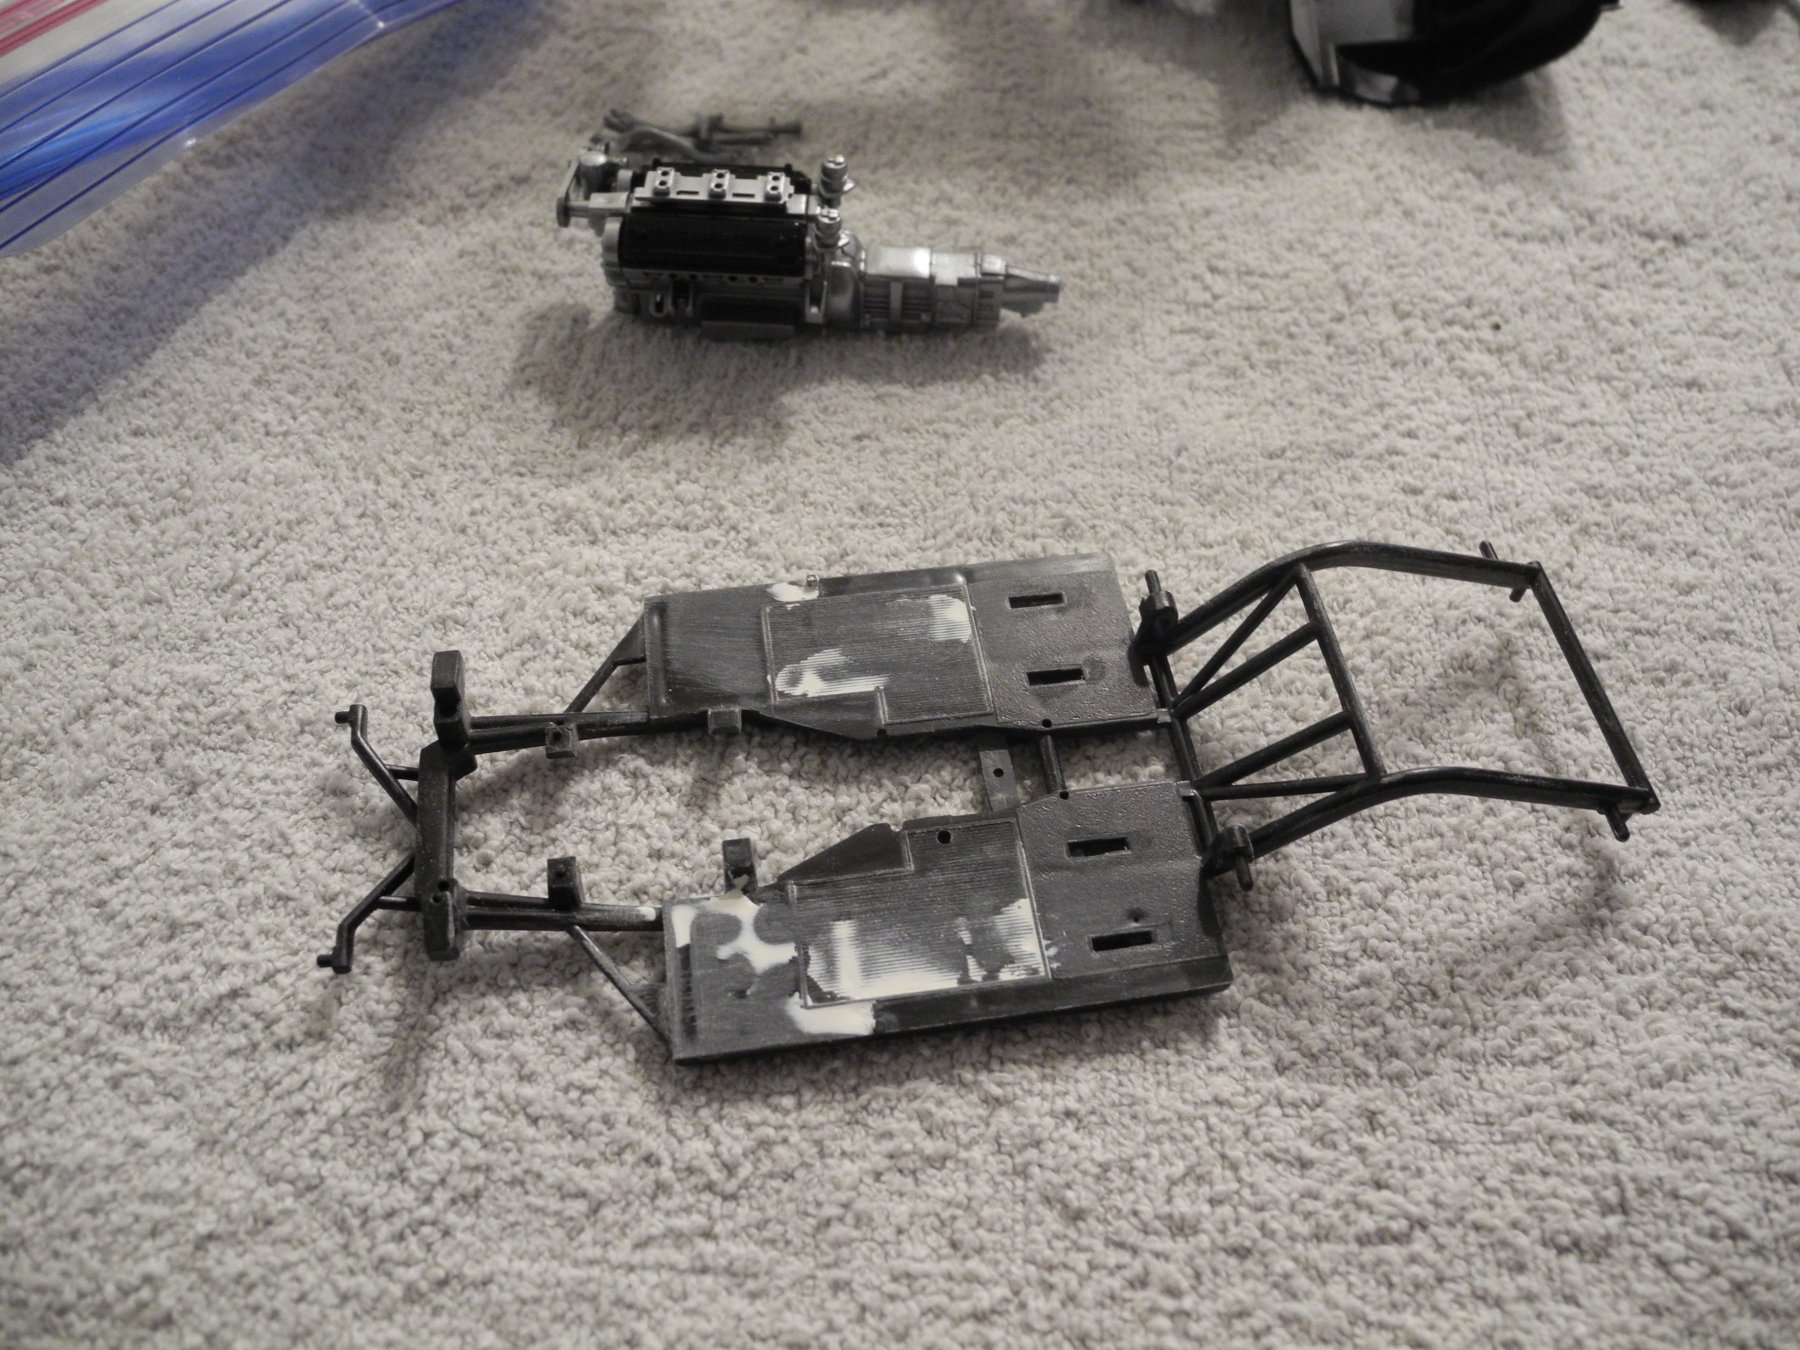
Thanks OC. I have a lot more work to do on the engine before it's finished. Just have the basics together to dry fit everything.
-
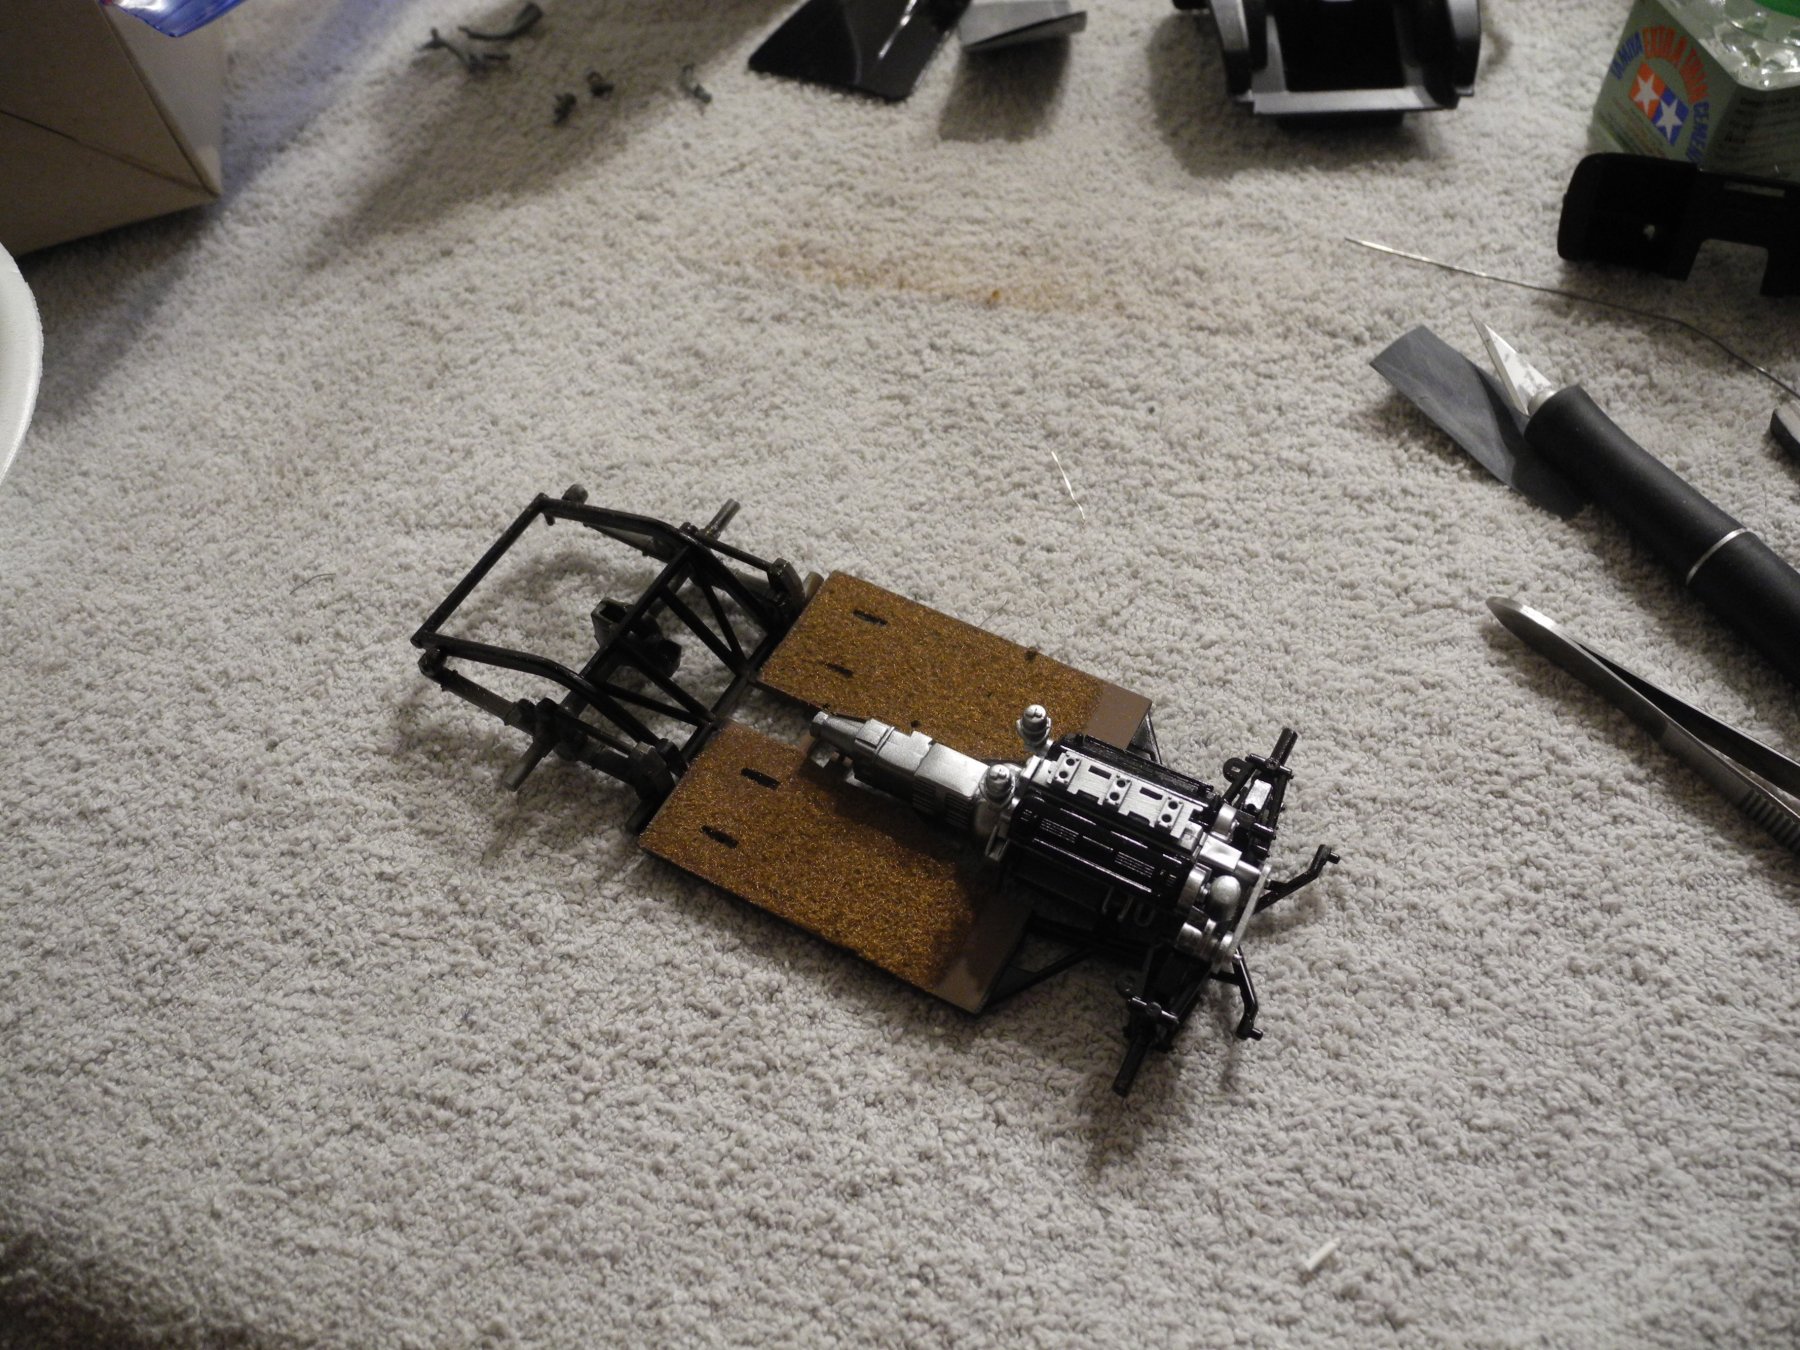
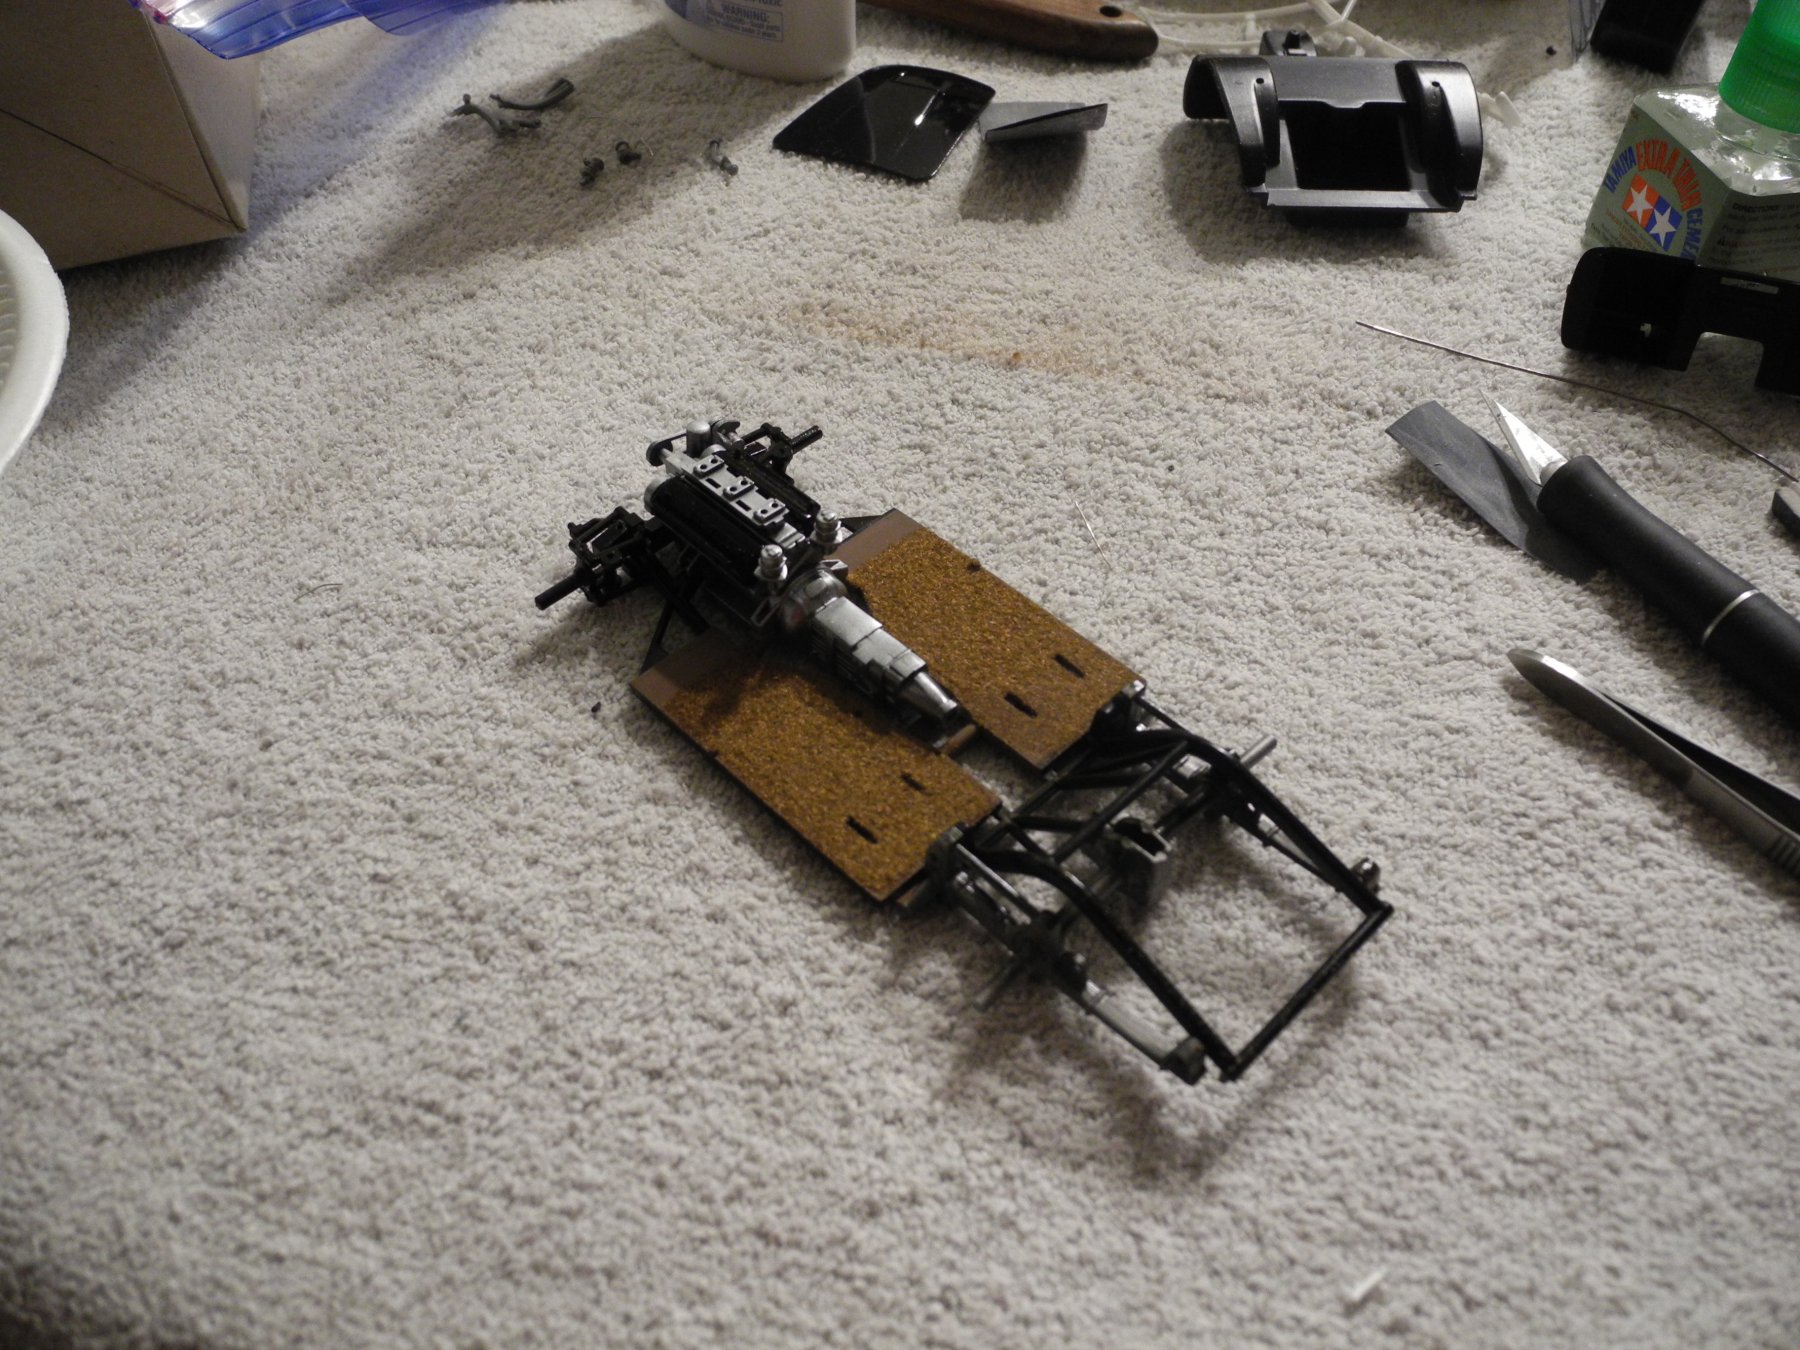
Here we have the partially assembled chassis with the engine dry-fitted. Brown flocking has been applied to the floorboards to simulate carpet. The seats and door panels will be a light leather color. The door panels will require some custom work to obtain a higher level of accuracy. What Italeri did was to share the same interior (and other) components between the 250 GTO and the 250 California Spyder. What's accurate for the 250 GTO door panels are not accurate for the California Spyder. While at it, will add some aftermarket photo etch inner door handles, window cranks, and rear view mirror for better accuracy. She's coming along slowly but surely. I've got several irons in the fire right now and less time to devote to model building. Got a big trip coming up in the next 10 days and really looking forward to it.


- 140 replies
-
- 11
-

-
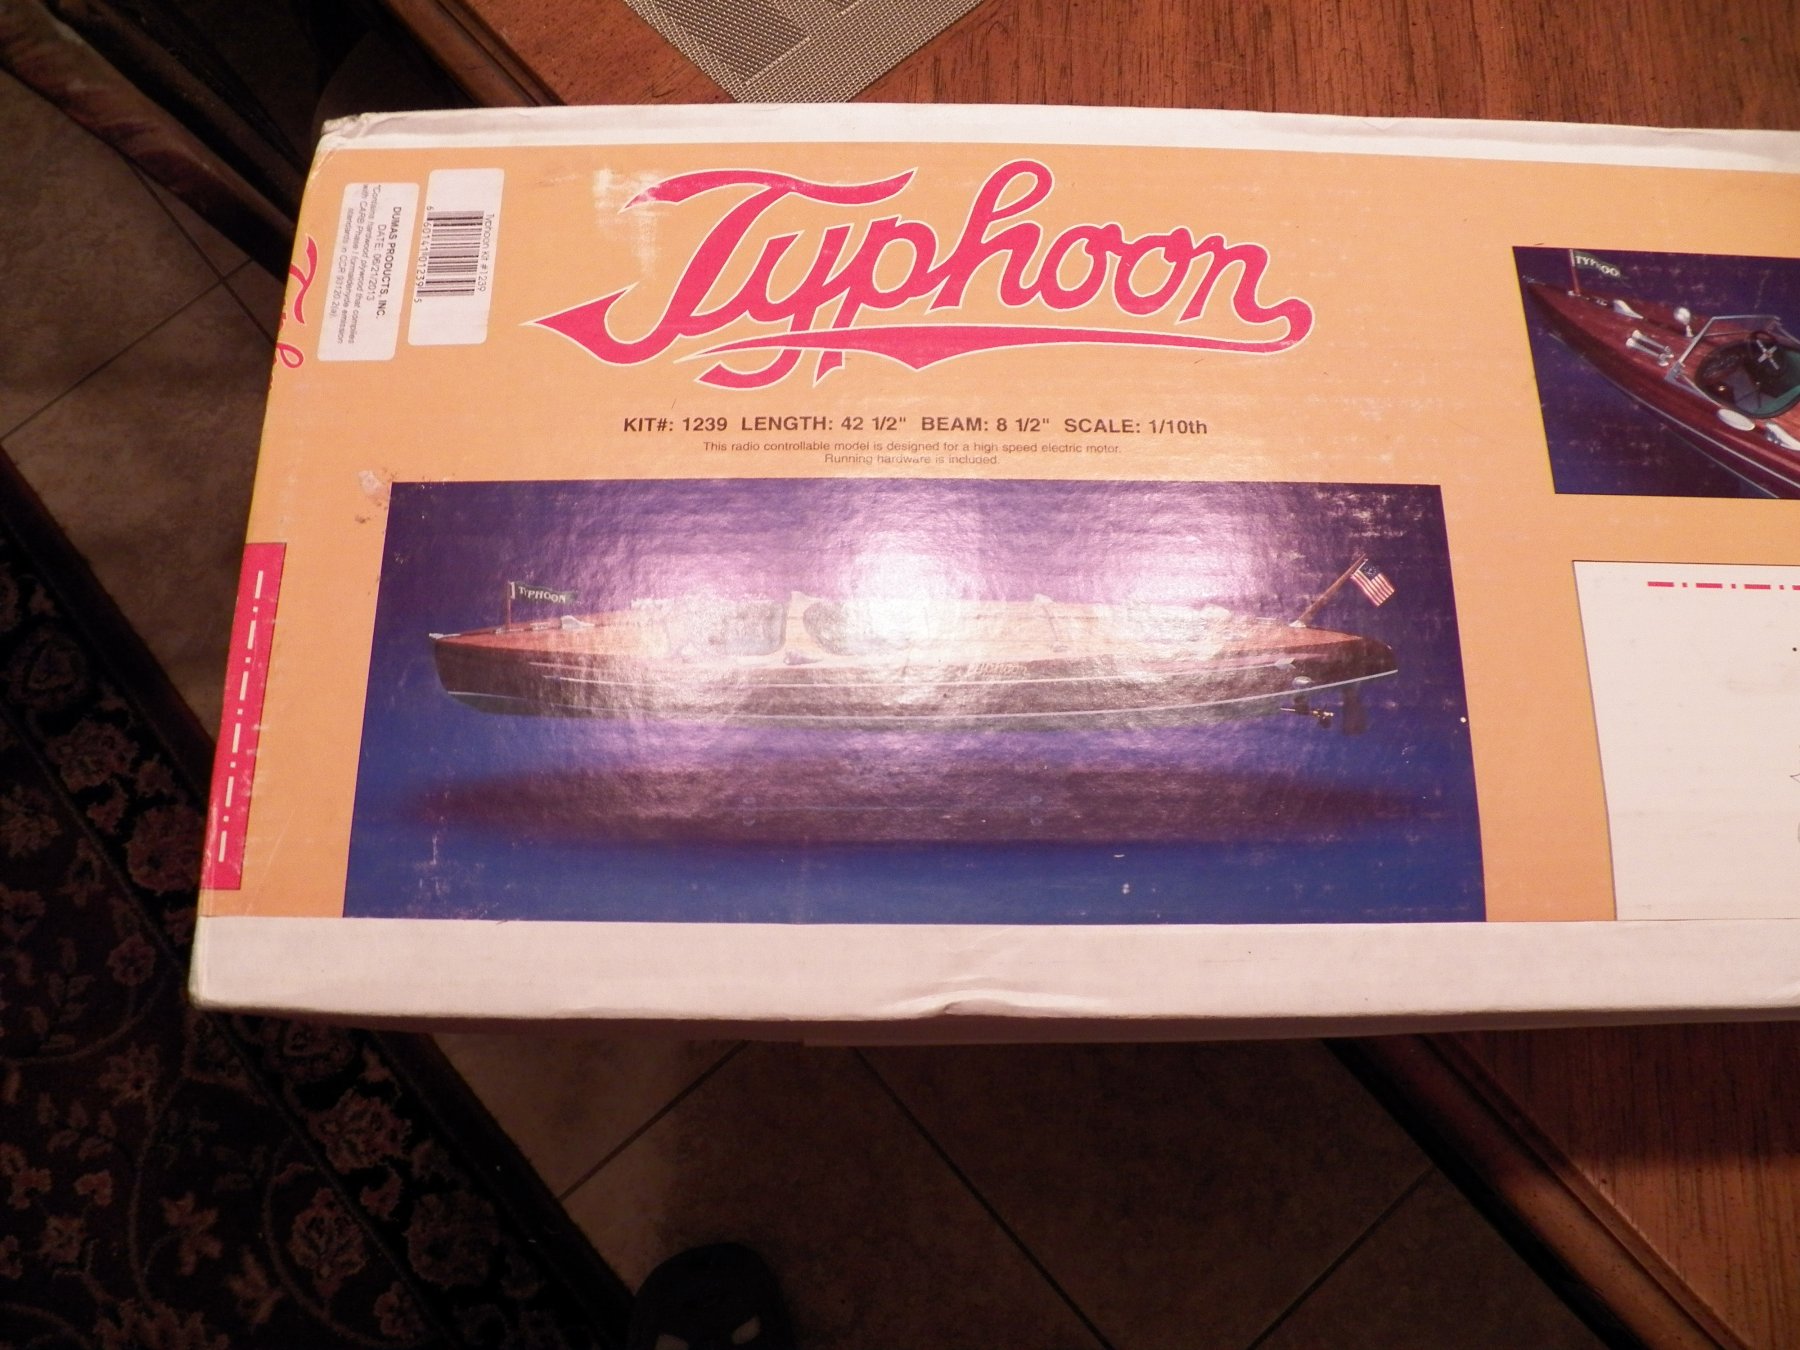
At one time, Tower Hobbies sold the Dumas kits at a nice wholesale price. Sometimes, they would put them on sale at an even deeper discount. That's when I bought this one. Glad I did, because they have really gone up in price and Tower Hobbies is long gone. 🤥
- 52 replies
-
- 2
-
-
- dumas
- Chris-Craft
- (and 1 more)
-
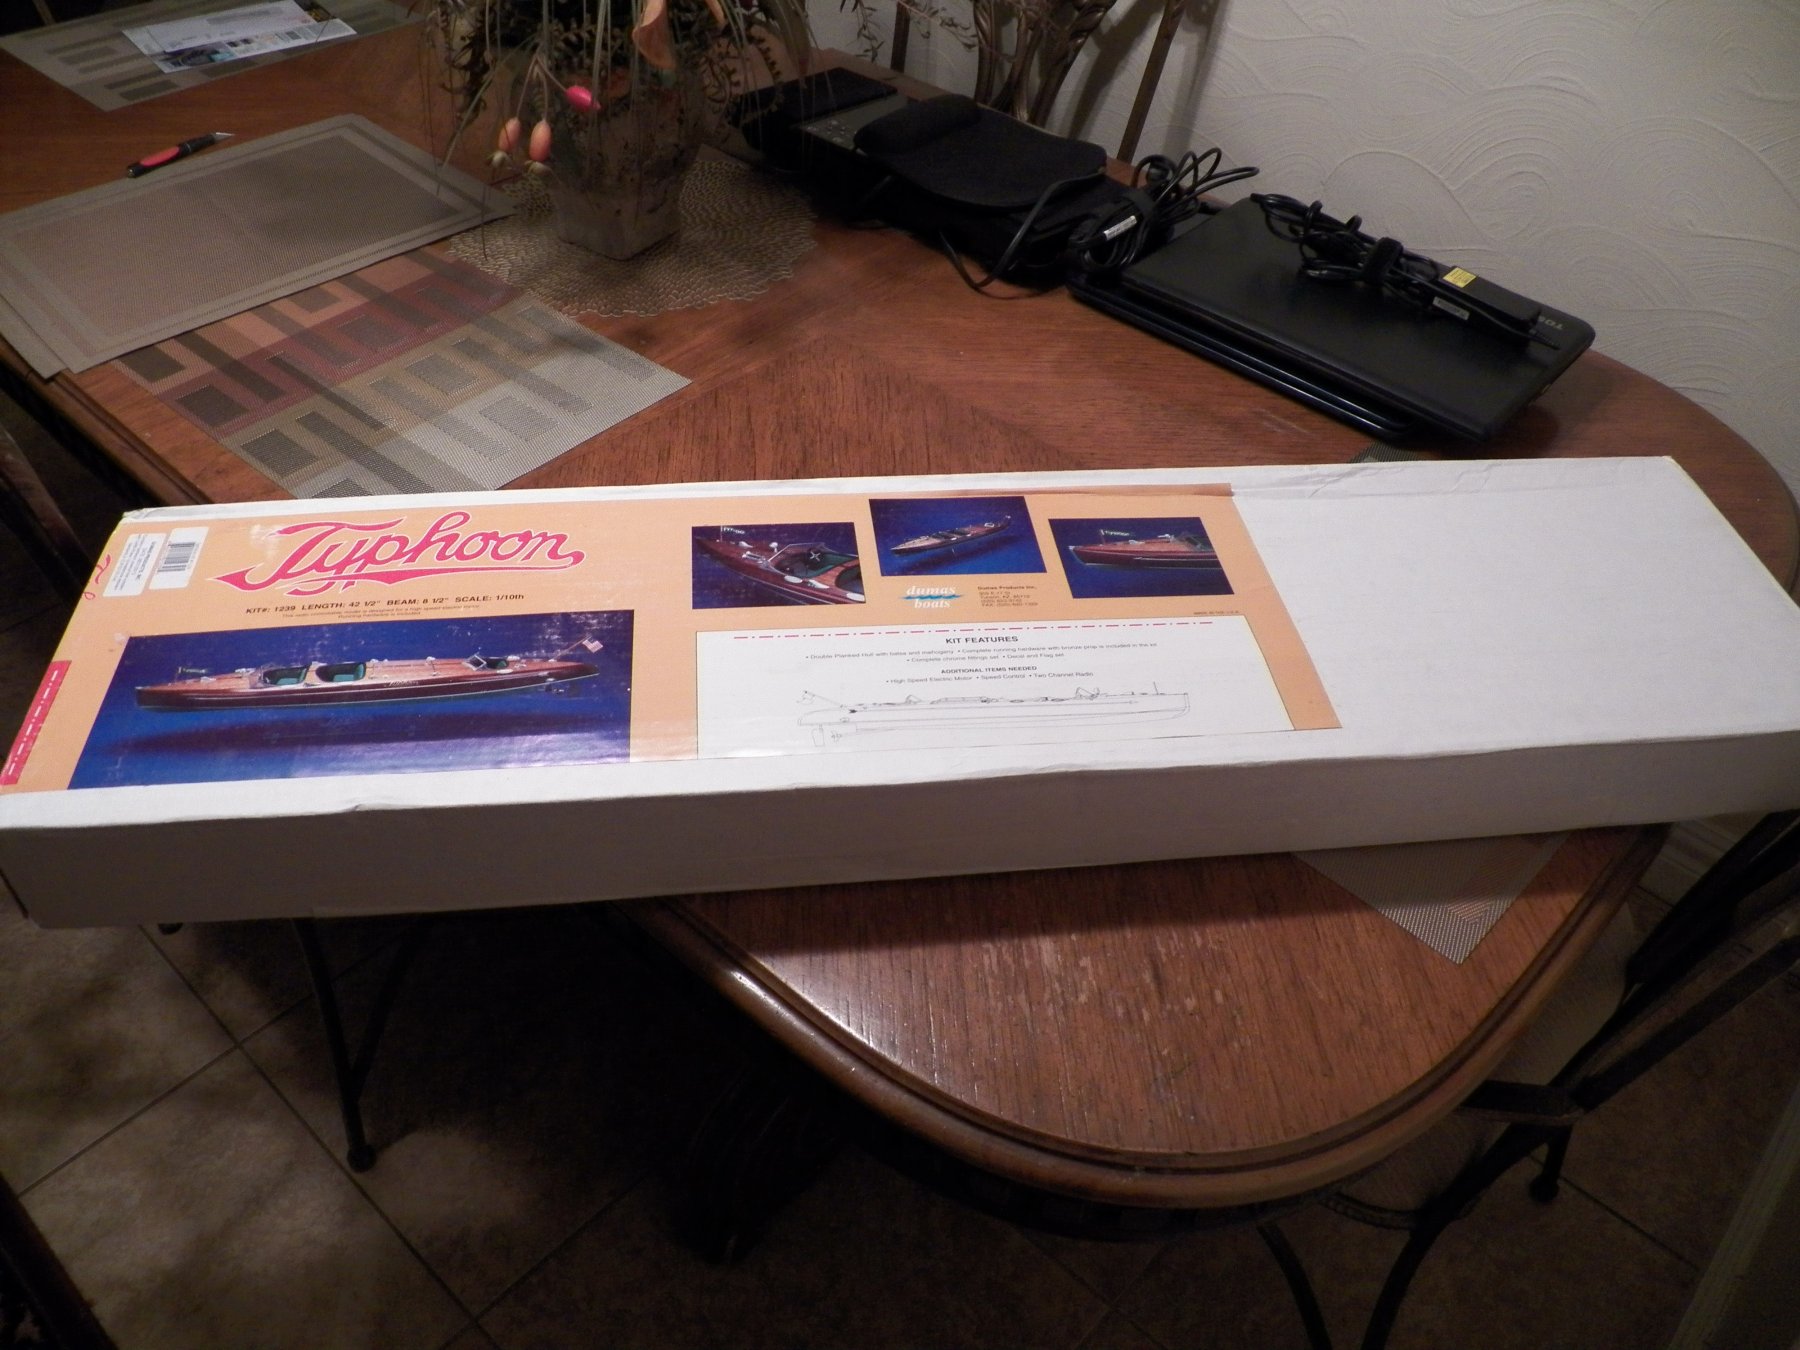
Mike, Is there another layer of mahogany planking that goes on top of the existing hull? I've got this Dumas Typhoon kit at home. It's over 40" long when done. It was my favorite of all the Chris Craft boats with the exception of the big cabin cruiser. I have always intended on building this kit, just never got around to it.


- 52 replies
-
- 3
-
-
- dumas
- Chris-Craft
- (and 1 more)
-
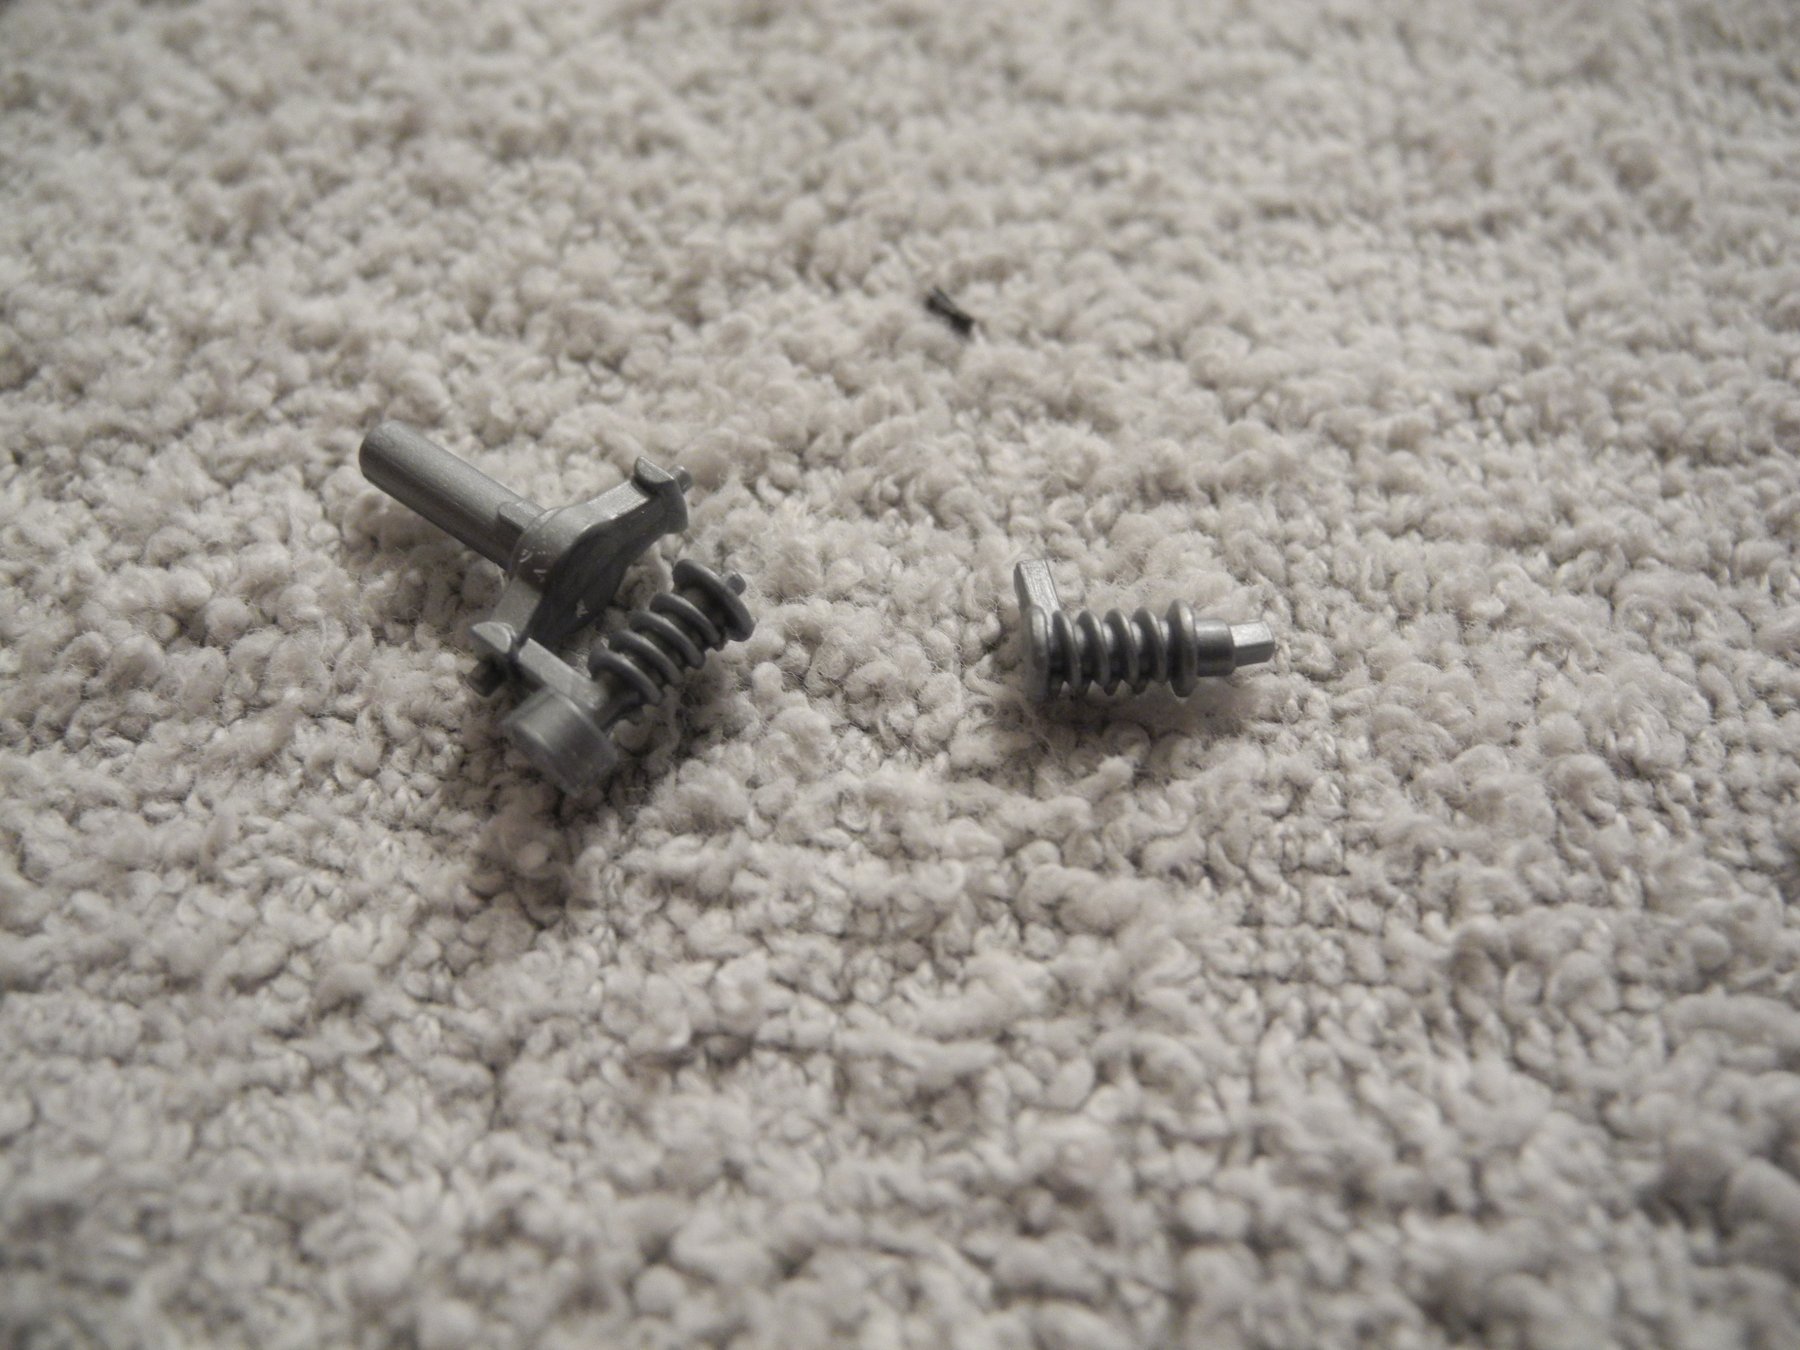
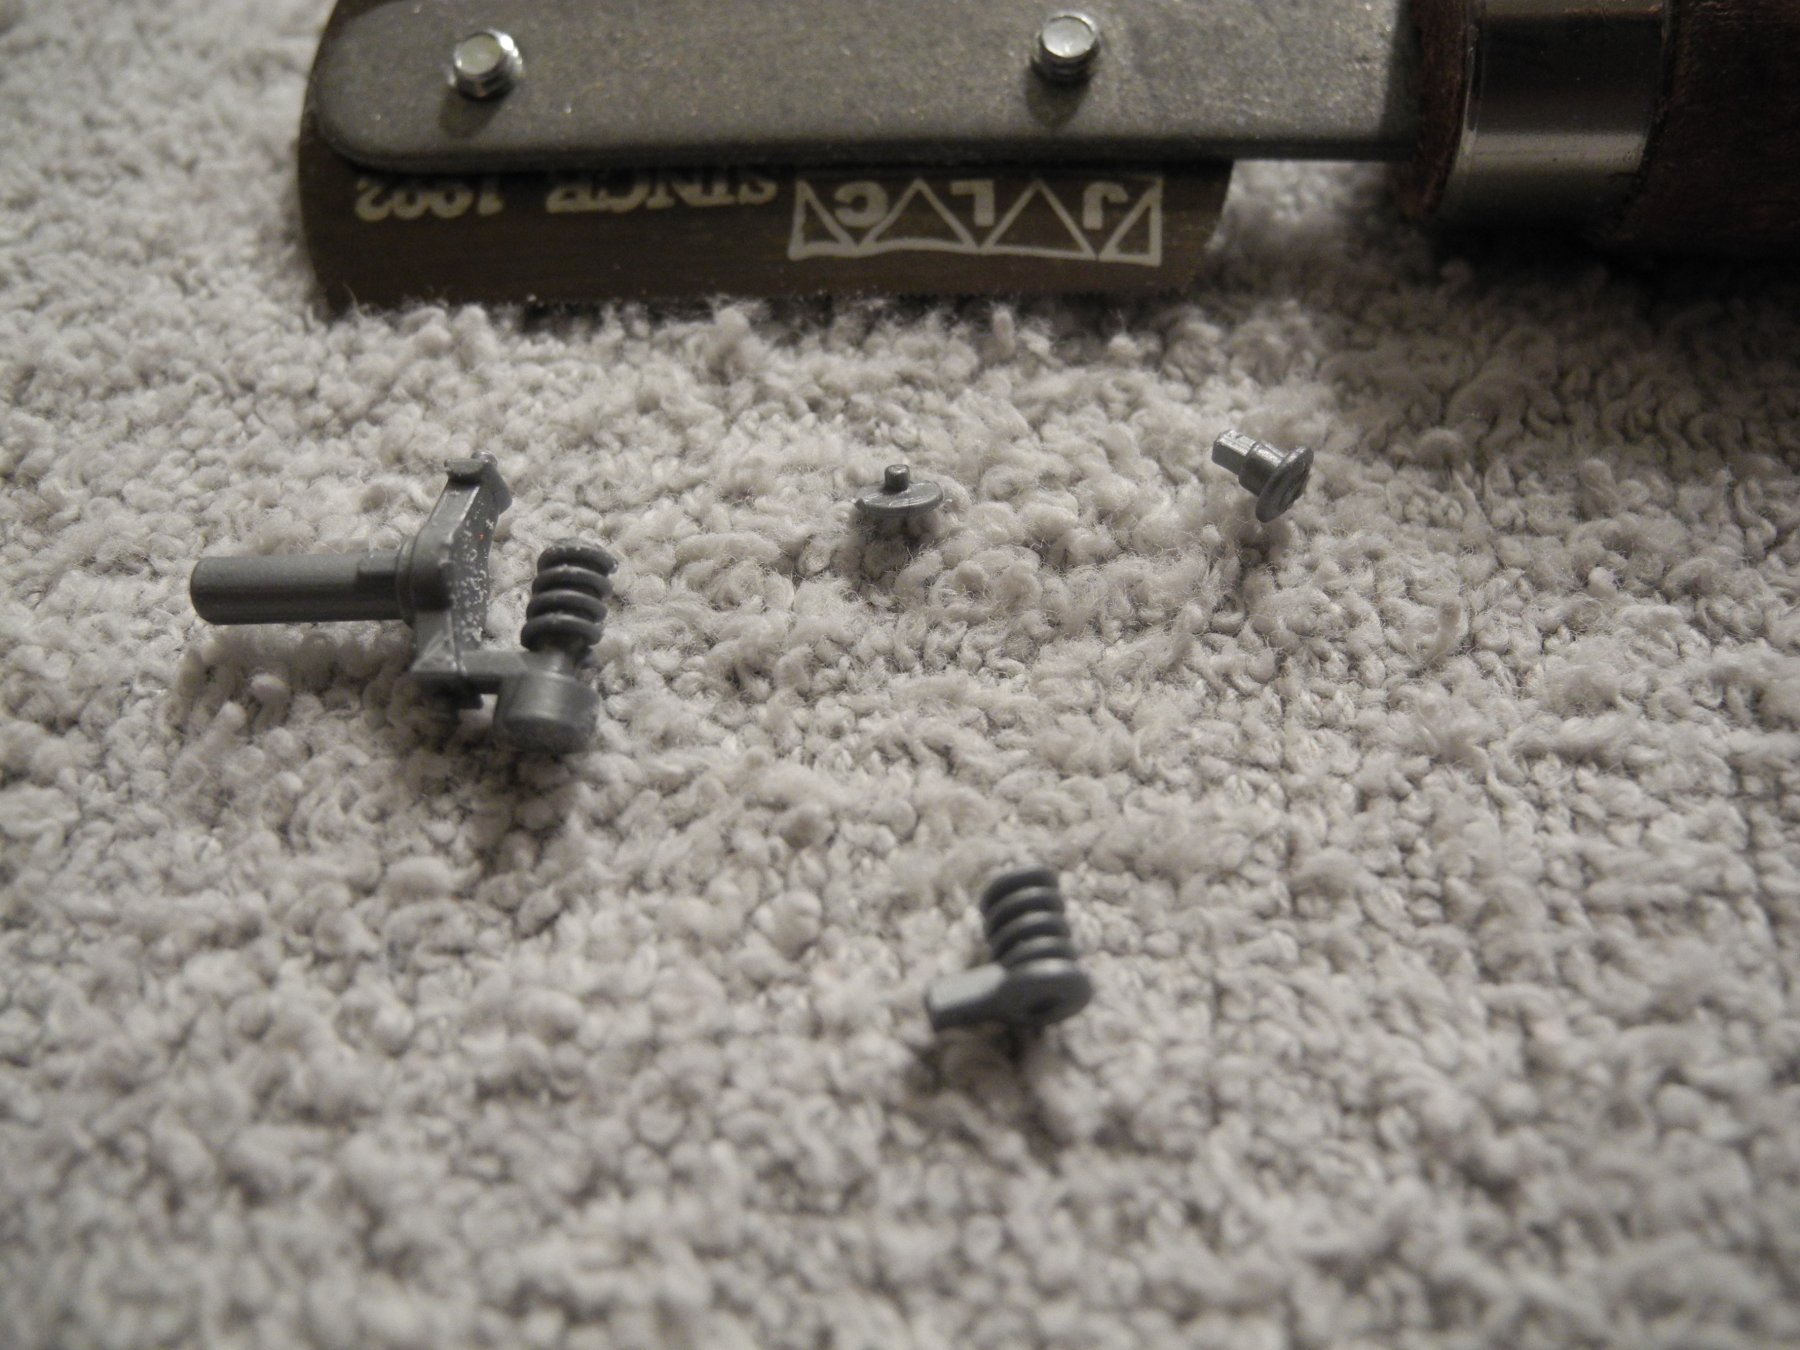
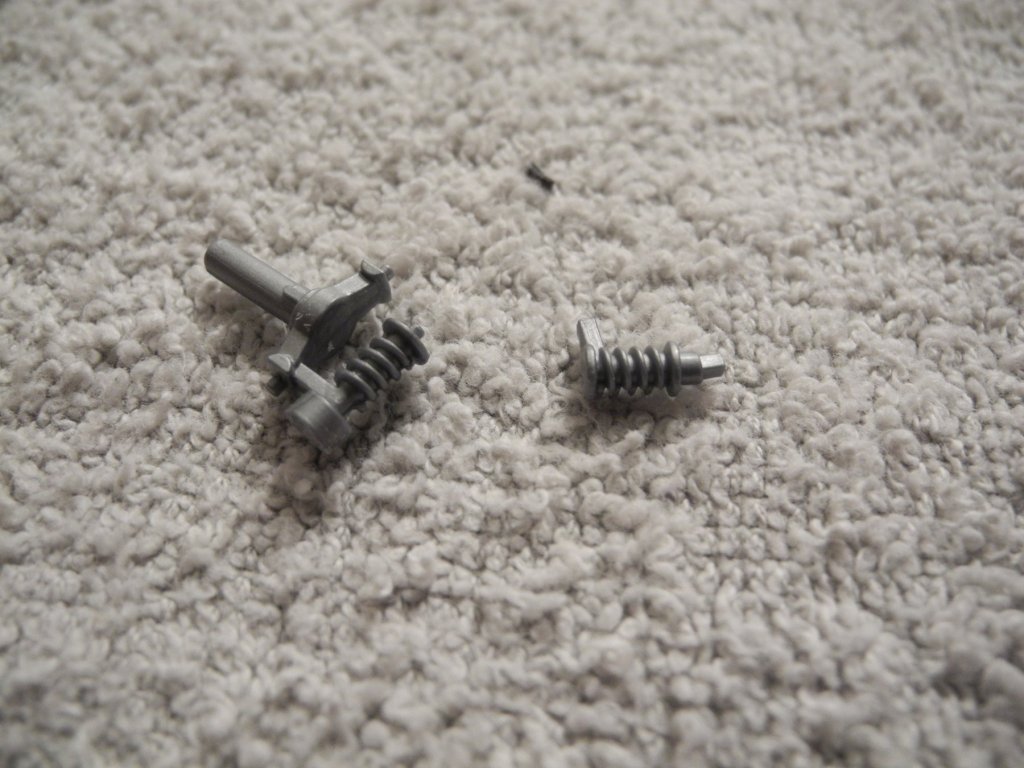
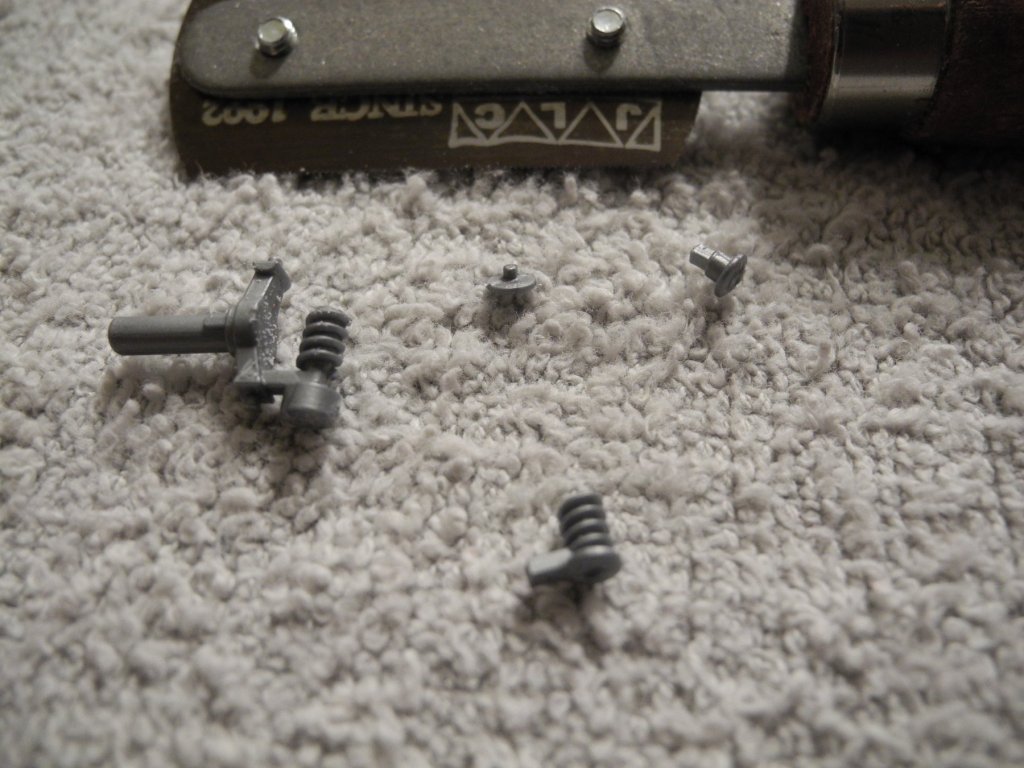
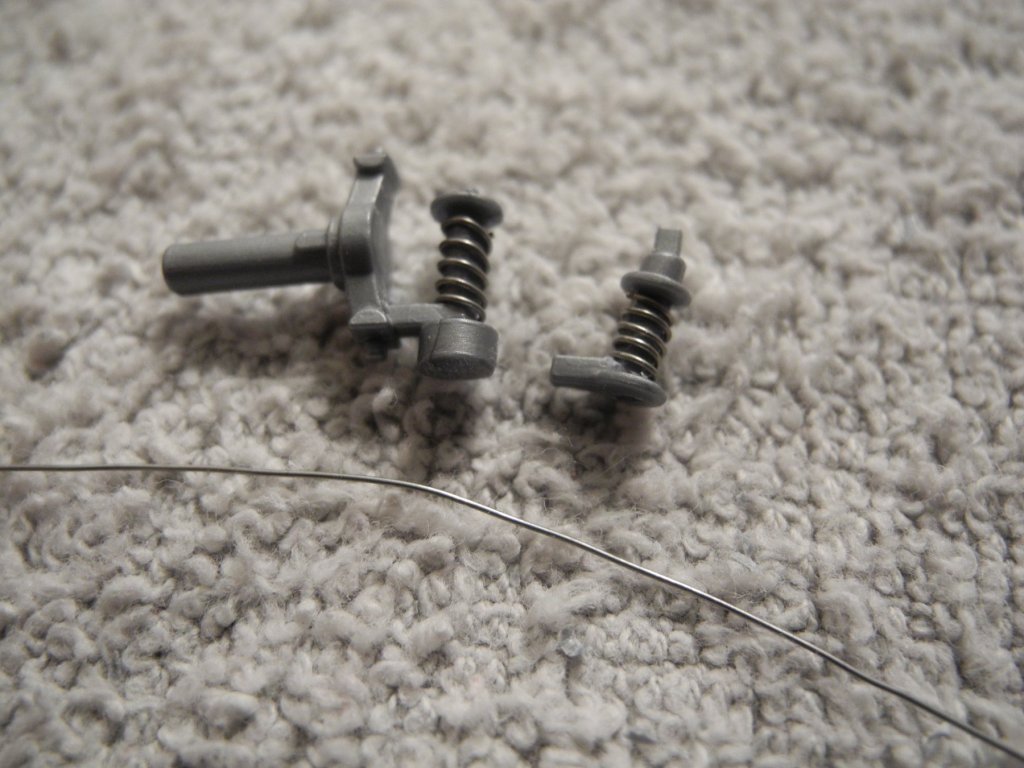
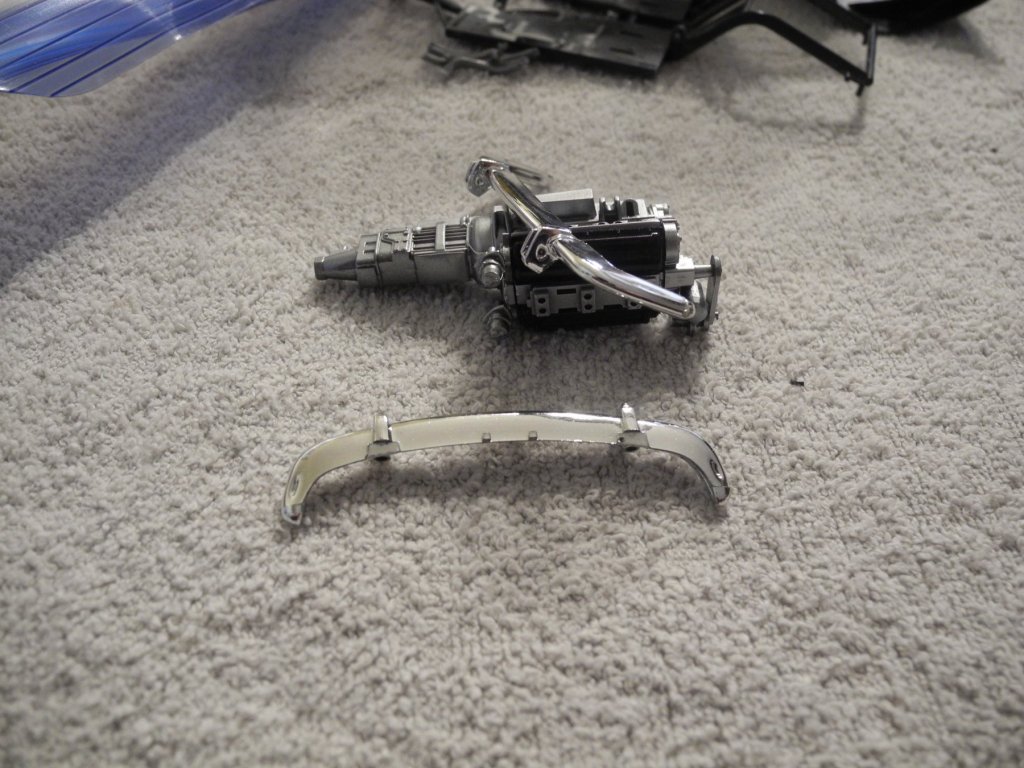
With a model like this, I like to modify the kit parts just a bit to give it a personal twist. Here, I've taken the molded front and rear struts and cut off the top retainers with my razor saw; next I file and sand away the molded on coil spring details; last I wrap soft wire around the strut to make my own coil springs before gluing the retainers back on top. I like the look after everything is painted more than the molded on look.
-
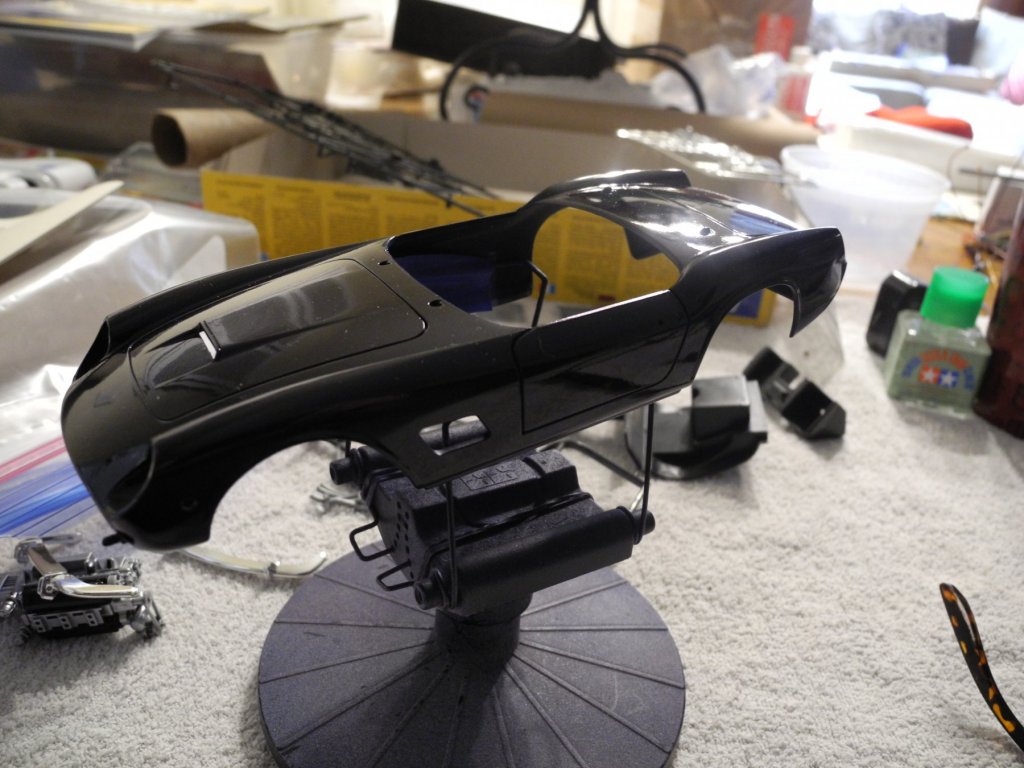
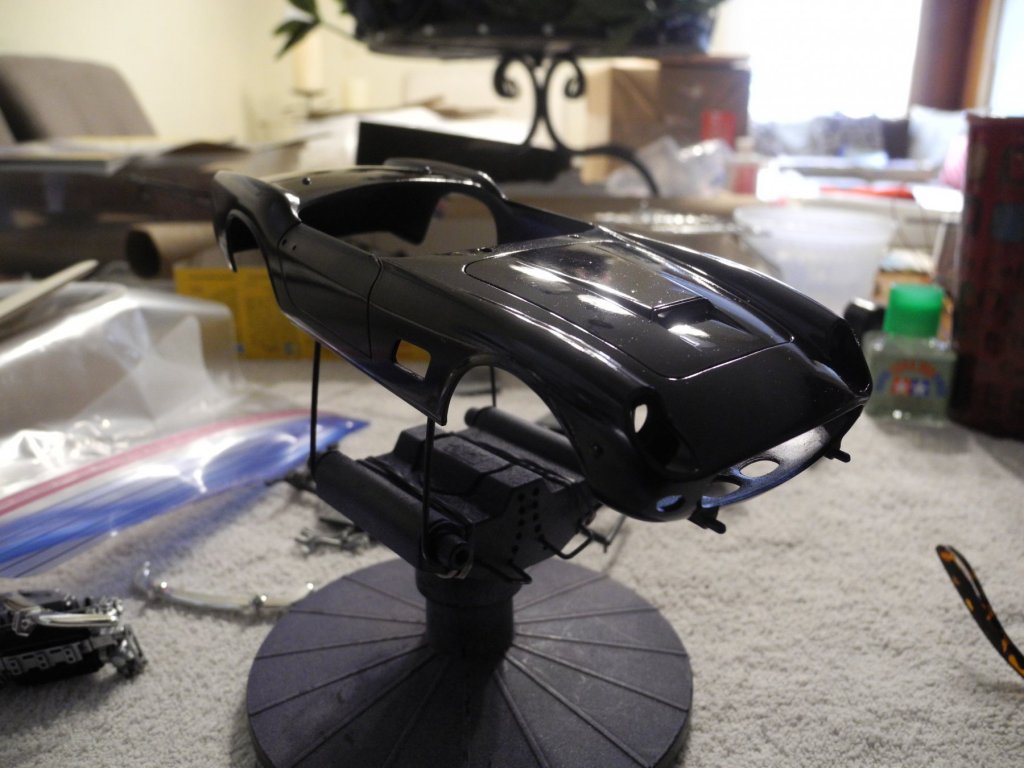
I turned on the camera flash. Now you can see the blue. You can see every speck of dust, too. 😮

-
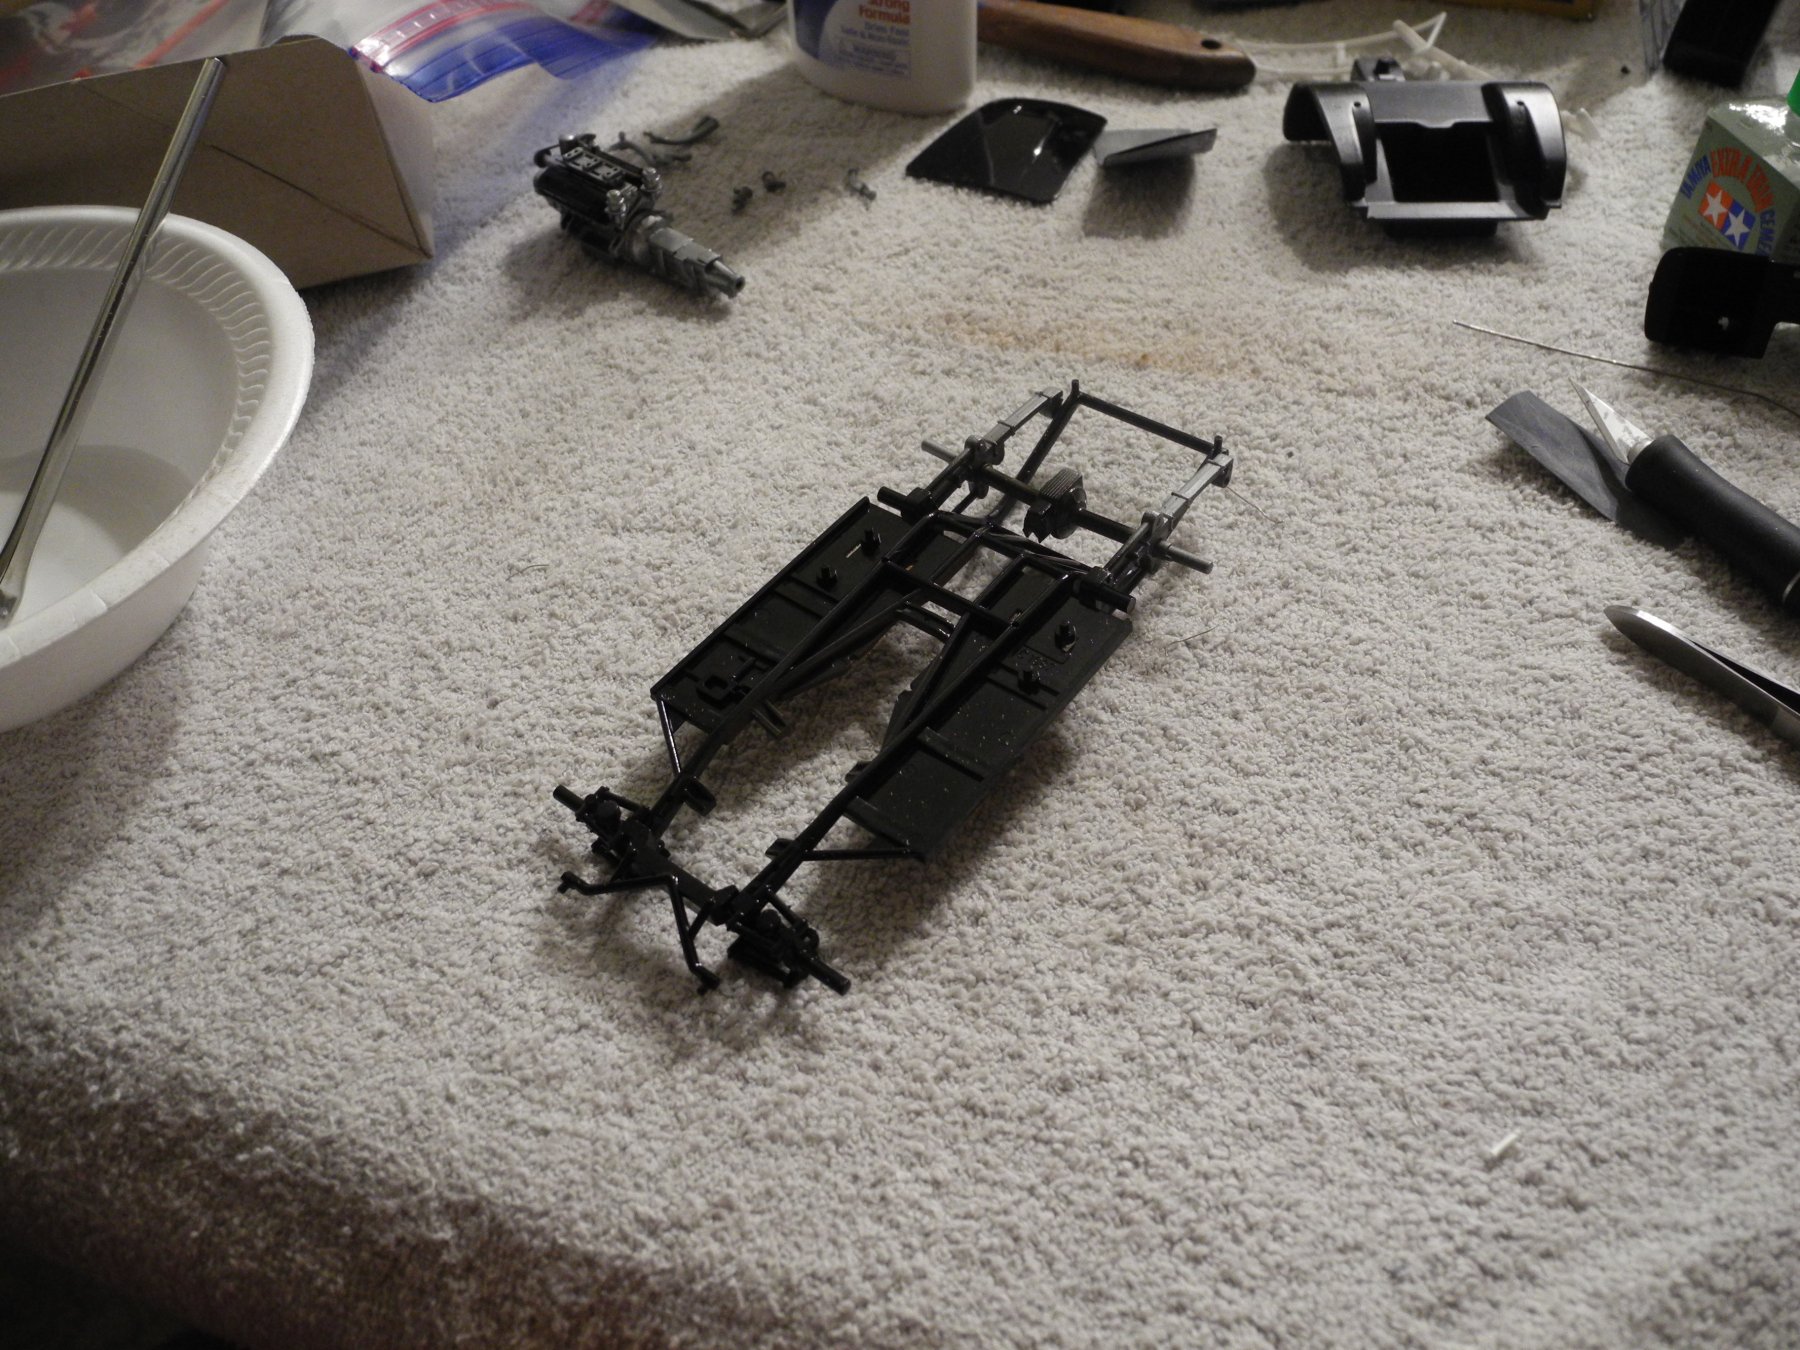
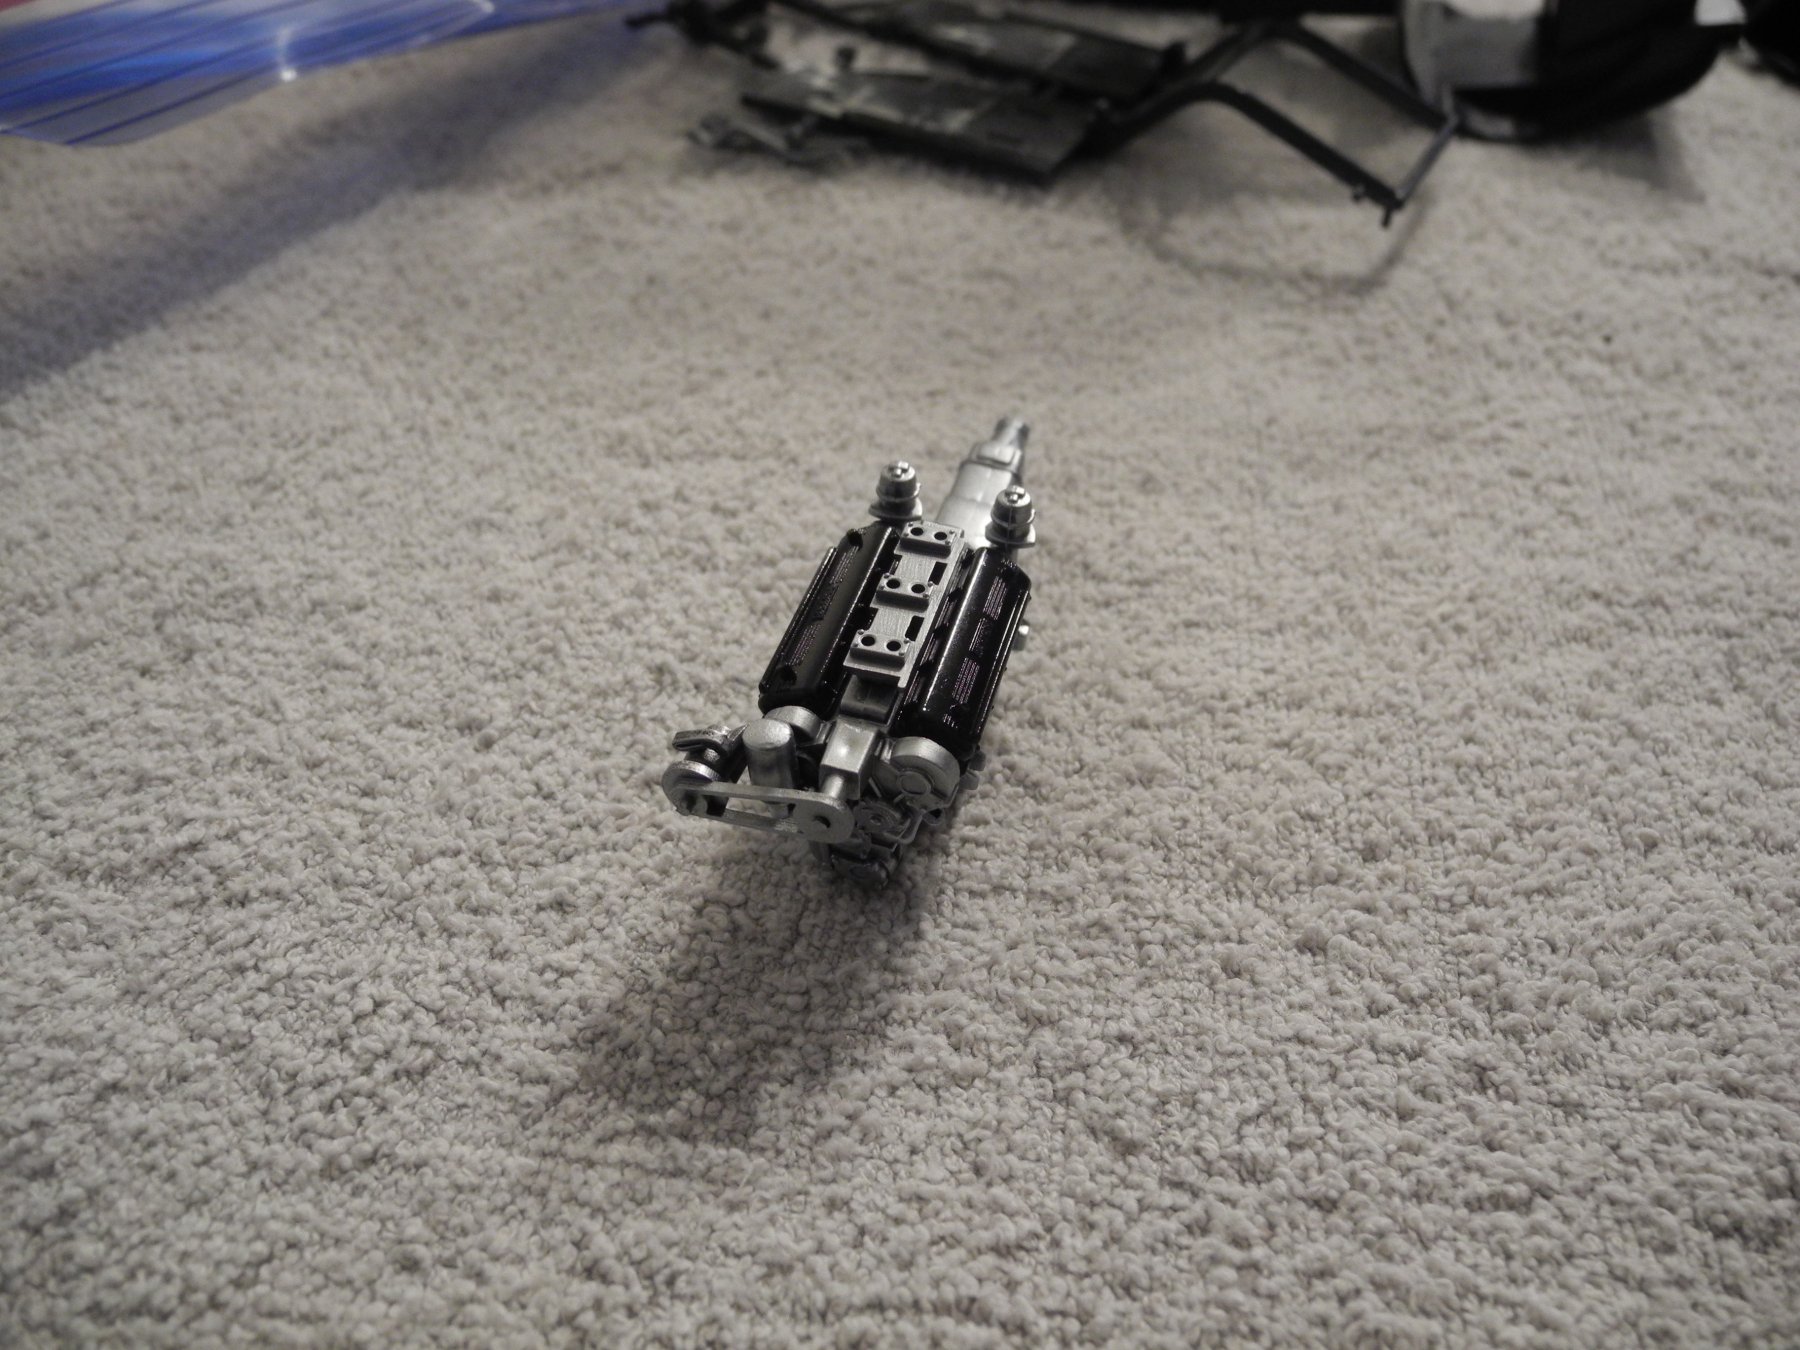
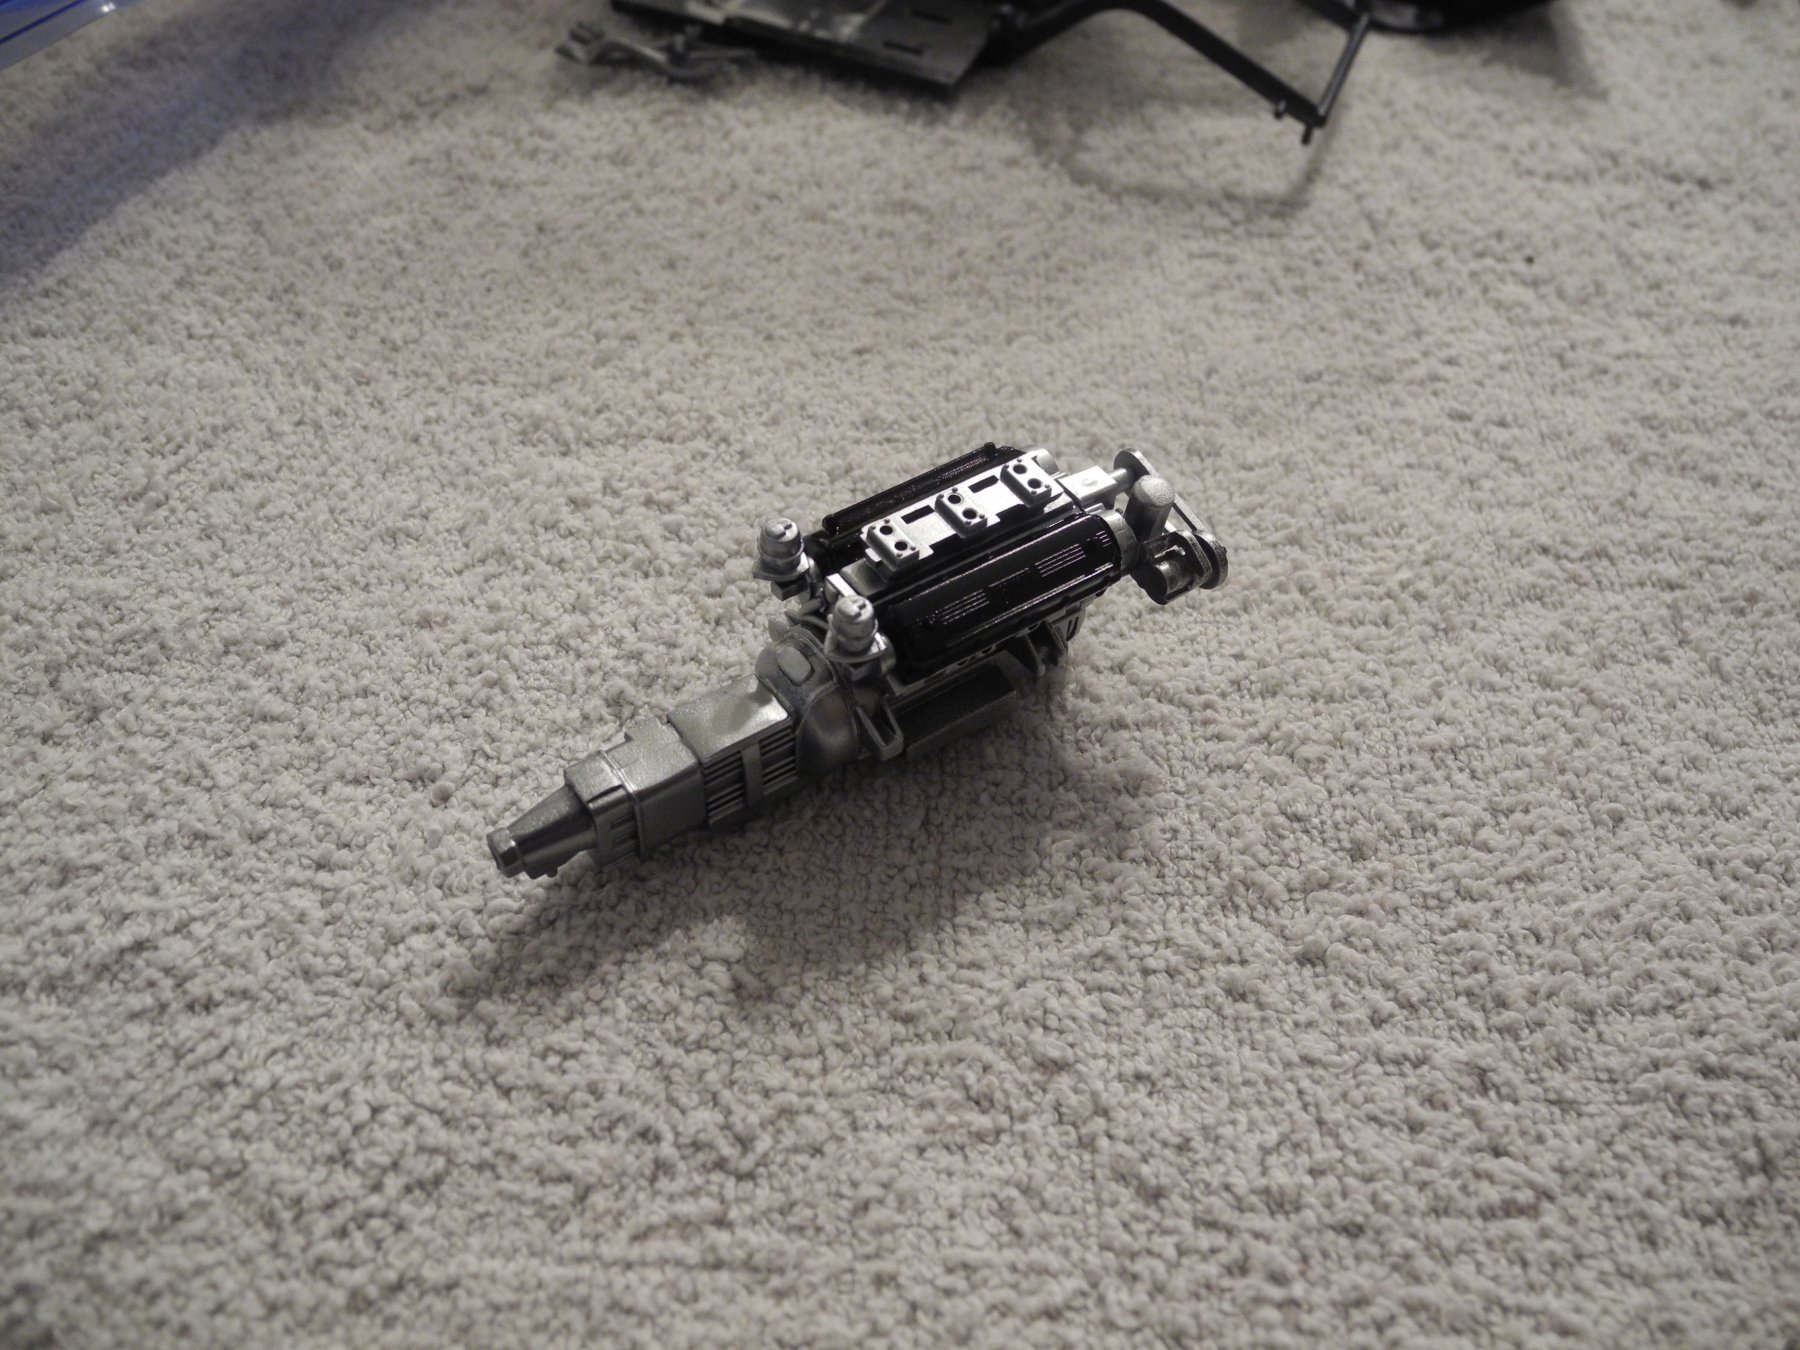
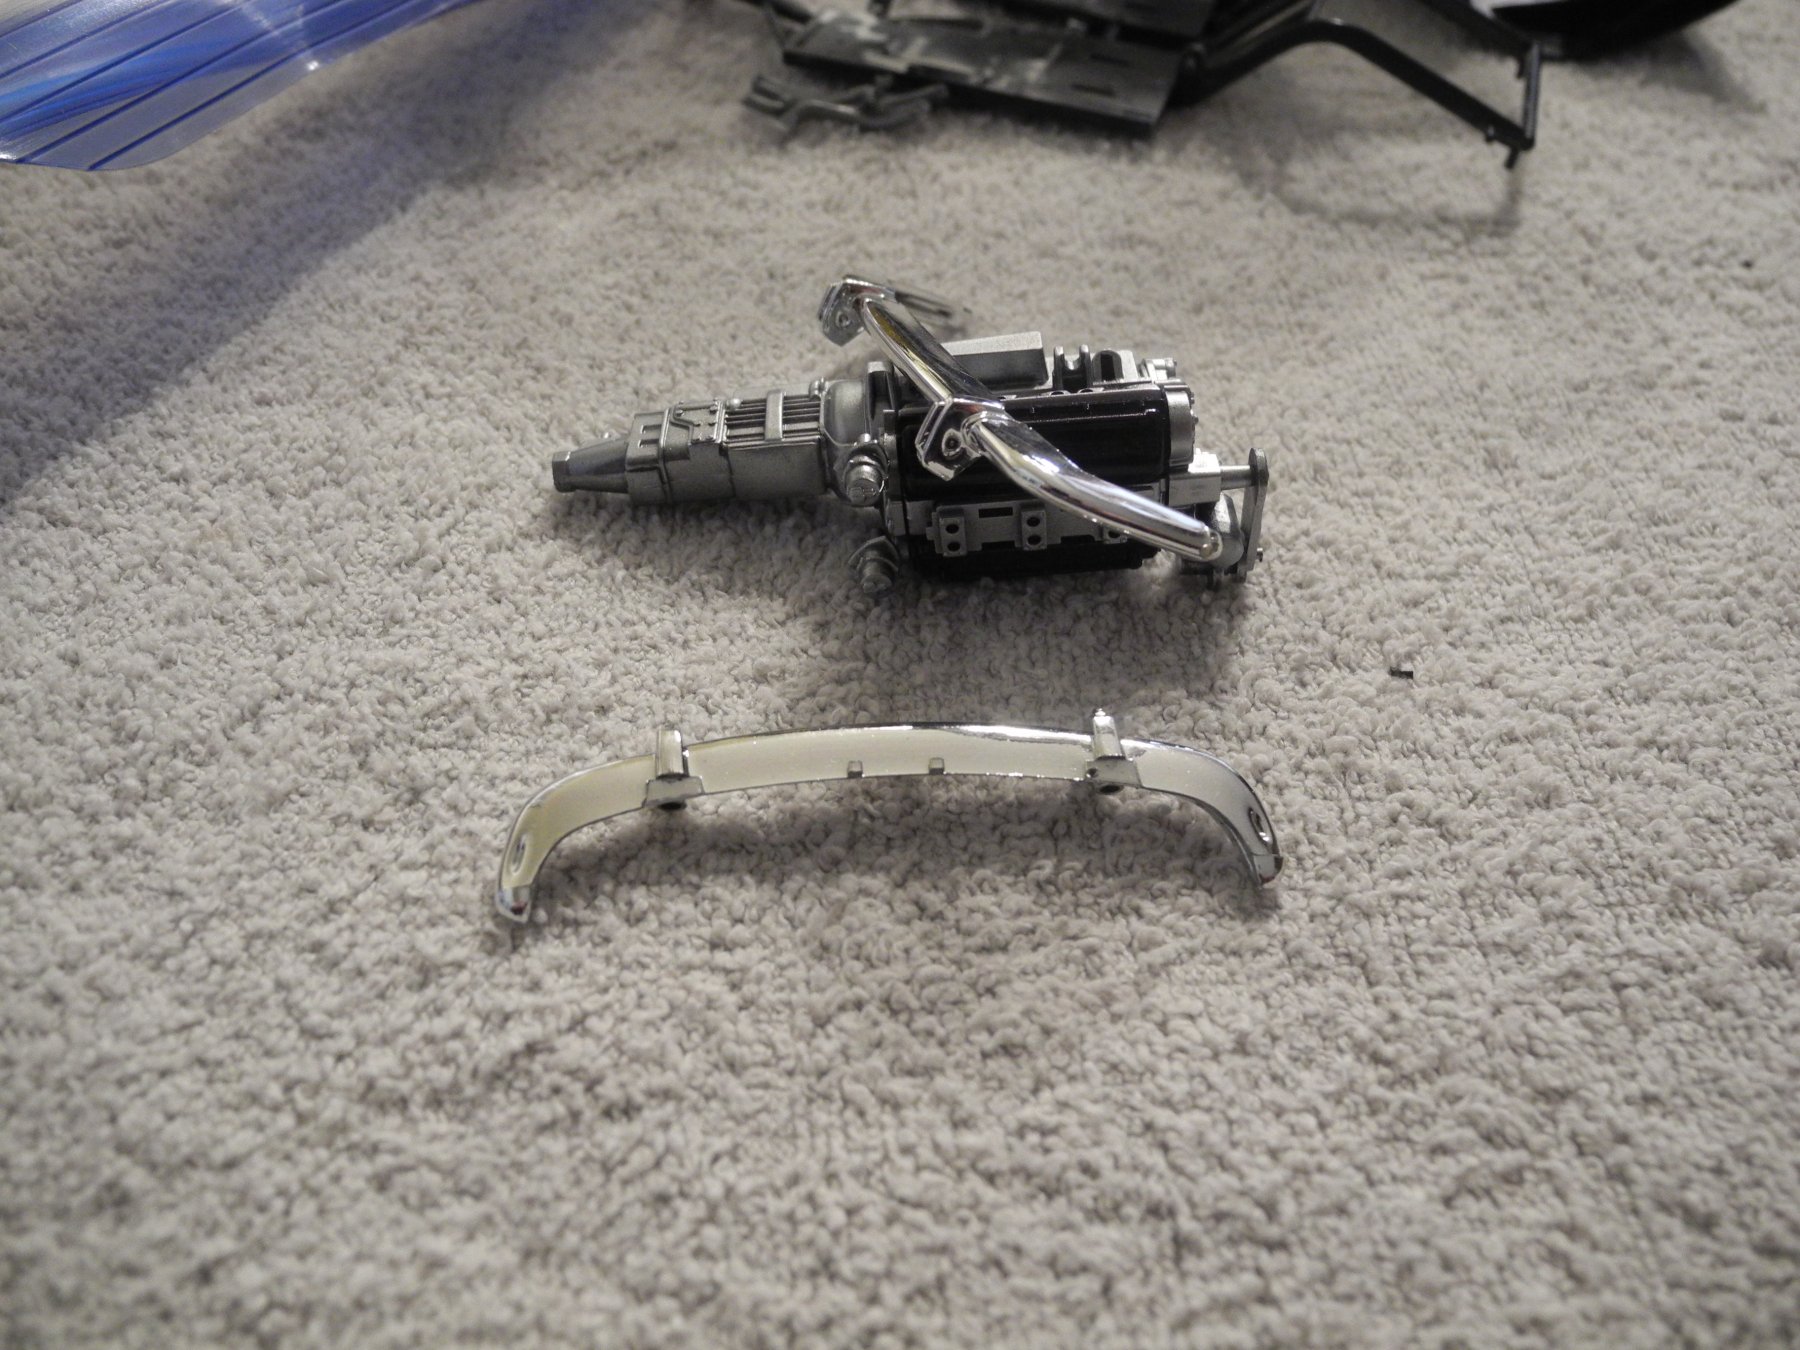
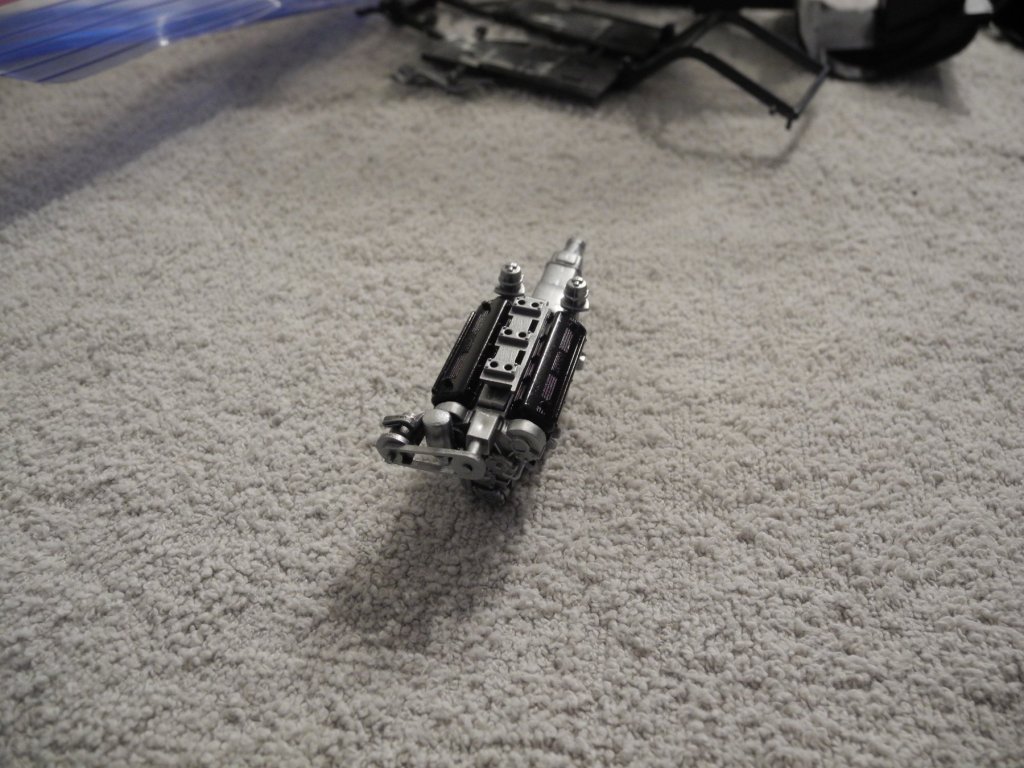
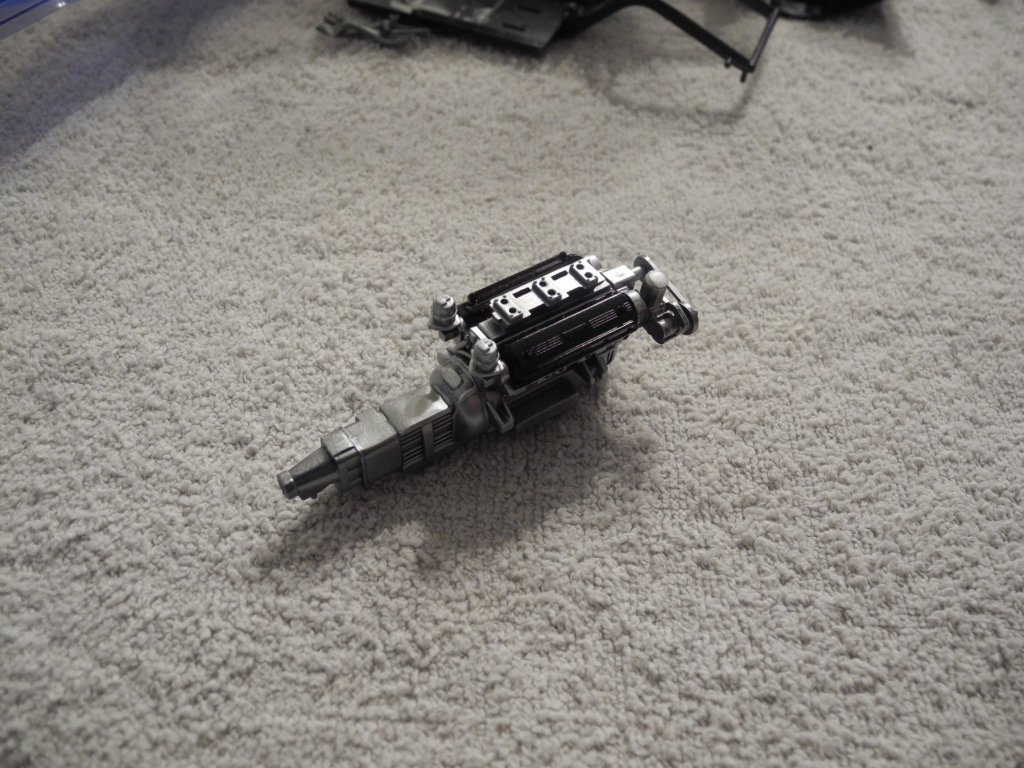
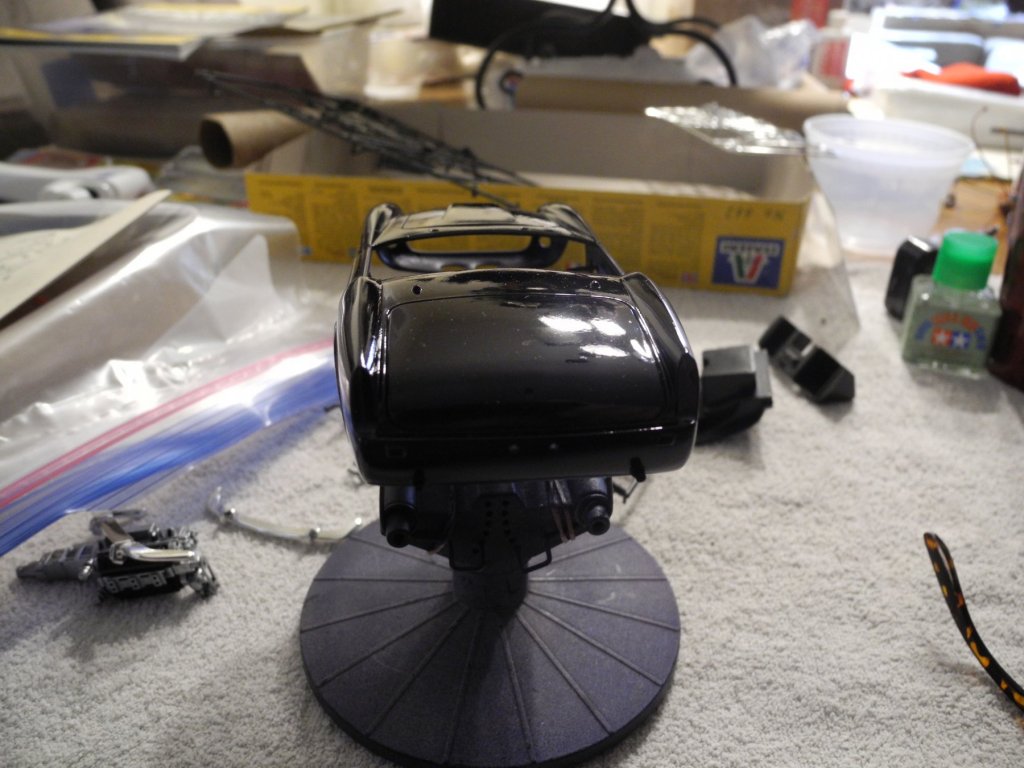
I looked around and realized, it's almost been a month since I last updated this thread, so now it's time to get with it. I started putting the V-12 together, giving the whole thing a coat of gloss black acrylic primer (Tamiya), then a coat or two of AK White Aluminum Metal paint. The valve covers got a coat of Tamiya satin black. I'll be adding ignition wiring, fuel lines, custom made velocity stacks, and some detail painting to round out the engine. I didn't like the finish on the body, so I wet sanded it with 2,000 grit paper, then decanted the Tamiya rattle can Dark Blue lacquer, then repainted the body using my airbrush. Much more satisfied with it now. Before it's all done, will give it a good polish with Tamiya compound and some Carnuba wax. The chassis/floorboards was full of really bad sink marks on the floorboards and nasty parting lines on all the tube portions of the chassis. I've dealt with those issues and now the chassis is ready for paint. Still need to address those bumpers with the big sink marks. Will strip off the chrome, fill in the sink marks, sand it all down and prime then paint with Alclad Chrome.


-
The firewood looks like the real deal. Nice addition that ups the level of realism.
-
Looks real nice from where I'm watching.
-
An Optivisor is an indispensable aid unless you're 18 years old with eagle-like vision. I once had vision like that, but now I am an Optivisor proponent. 😎
-
Just "wing it", it's going to look very similar as far as the leads are concerned. I doubt you're going to receive a "grade" score at the end it of all, so just go for it...it will look great.
-
Outstanding model aircraft, Jorgen. I really enjoyed seeing your work and hope you will share more of it here.
-
For the life of me, I could not remember the name of the tobacco I used to buy so frequently many years ago, but you just jogged my memory. It was Captain Black! I don't remember the "Black Sea" part of the name, but Captain Black was my favorite pipe tobacco. Every now and then, I would try some various blends from the tobacco shops. They were often good as well, but Captain Black was my favorite.
-
What kind of tobacco will you use to break it in?
-
Hey, that's coming along real nice. Good job!
-
The length is over 40 inches, as the box measures 43 inches in length and the one-piece hull takes up practically the entire length of the box, maybe a half inch cushion on each end. I'm not sure how well some of the delicate photo etch work would hold up in day-to-day use down at the local pond, but you are right, this thing will build into a stunning model of the Yamato. By the way, the model is for sale on Ebay now (as of yesterday, Sunday).
-
She's a beautiful ship. Those 12" guns would have been devastating against enemy cruisers.