HOLIDAY DONATION DRIVE - SUPPORT MSW - DO YOUR PART TO KEEP THIS GREAT FORUM GOING!
×


Salty Sea Dog
-
Posts
666 -
Joined
-
Last visited
Content Type
Profiles
Forums
Gallery
Events
Everything posted by Salty Sea Dog
-
 I really like the idea of the floor lamps and am looking forward to see how that will be done. This is a great kit. Even the stand has a simple elegance. If I remember the Japanese word correctly, there's a Shibumi quality to this.
- 106 replies
-
- 3
-

-
- Japanese boat
- Wasen
- (and 2 more)
-
Thank you Ferit! You explained the recessed bottom perfectly. All the buckets and lantern keg were also done that way too. Thanks for noticing. Do you think you may get back to your workshop soon? I don't mean to rush you if you aren't ready. I just miss seeing the amazing work you do.
- 515 replies
-
- 4
-
-
- artesania latina
- whaleboat
- (and 1 more)
-
Just catching up again. I love those top down views of the crow's nest with the deck below. Terrific work!
-
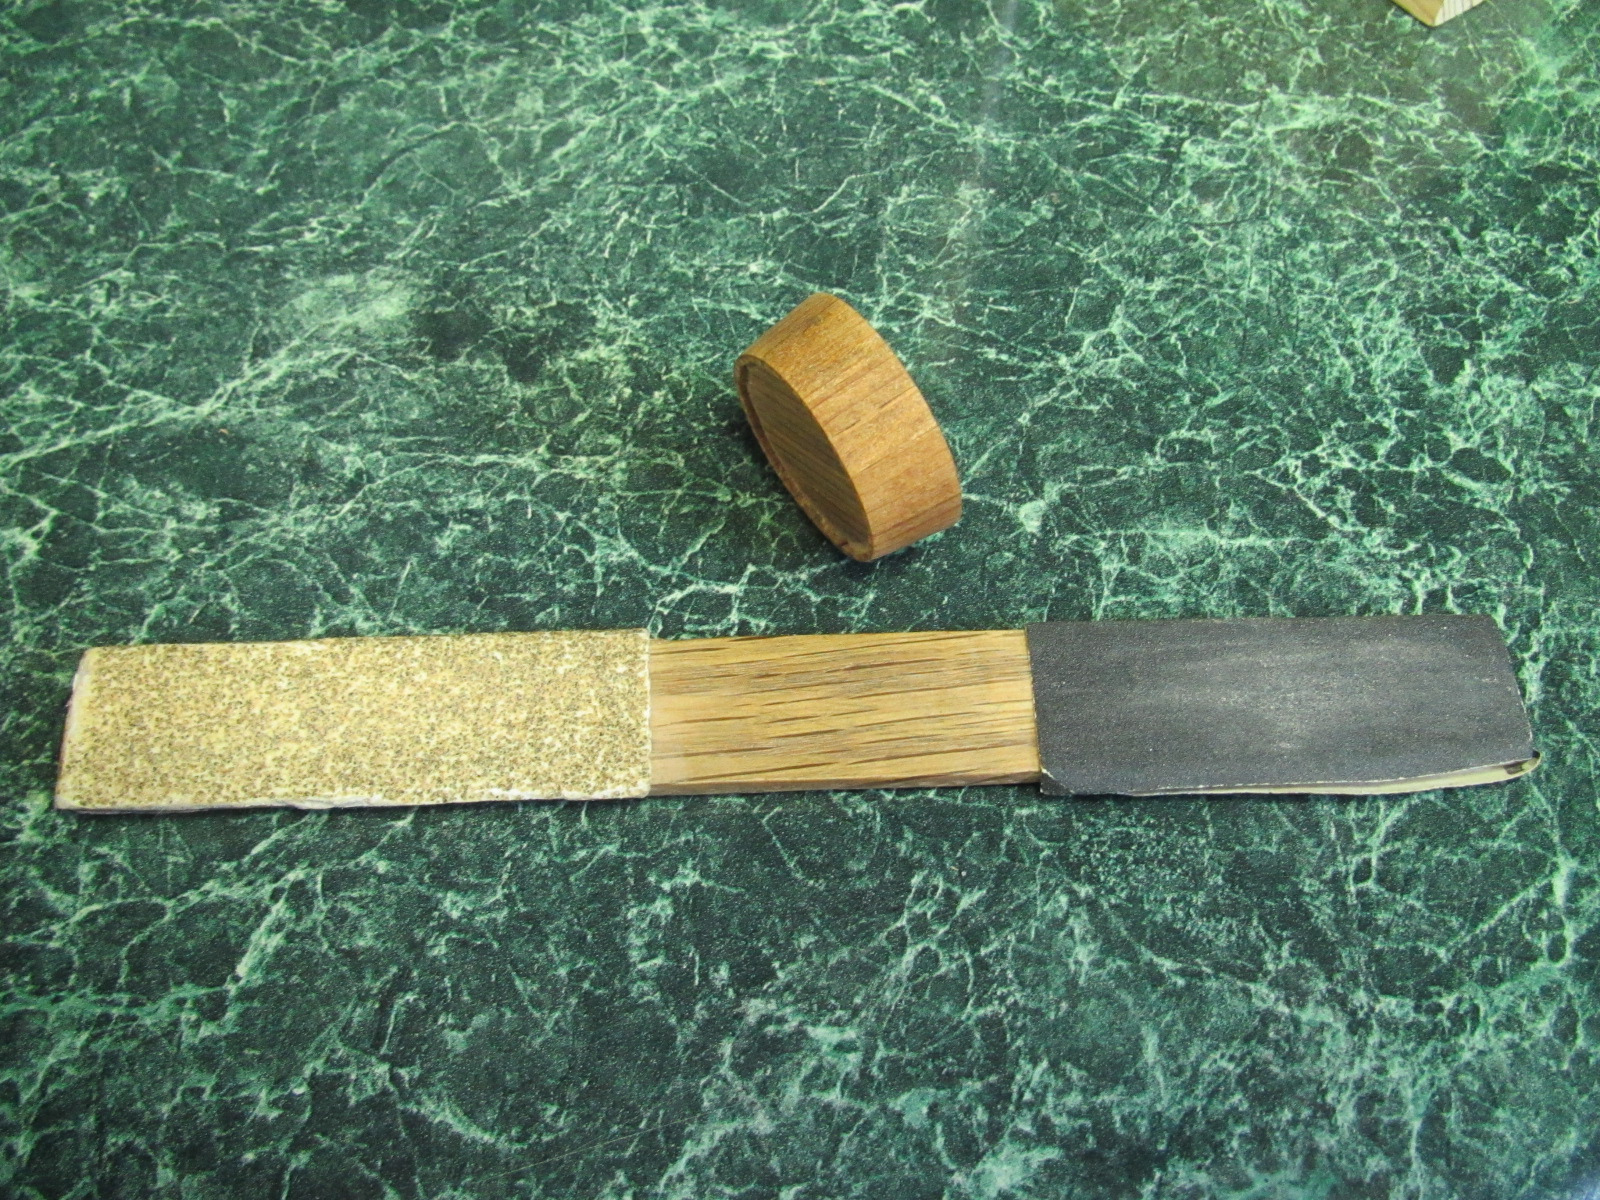
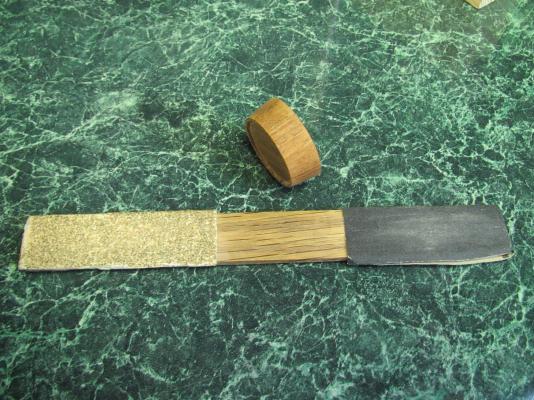
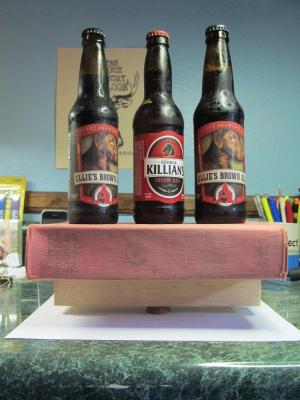
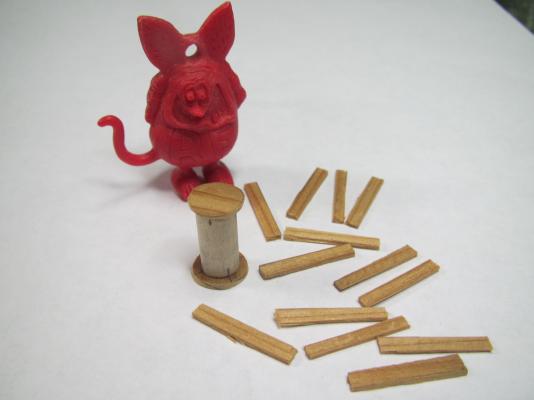
Hi Jon, Once all the staves were in place, the tall ones were carefully sanded down using a homemade sanding paddle. It has 100 grit on one end and 220 grit on the other. Being a hard flat surface, it is easier to sand down the end grain without mishaps. I used the 220 grit end for this. Once the staves were fairly level with each other, I lapped it on a sheet of 220 grit on a flat surface using circular and figure 8 motions. I did not bear down too hard and checked every so often to make sure it was staying even in height all around. The line tub is a cross section of a cone in shape, and with the staves all glued to each other, it is extremely strong for such thin material. That's a wood 2x2 on top of the line tub with a Webster's dictionary and 3 full beers on top, one of which I plan to open in a bit!

- 515 replies
-
- 7
-
-
- artesania latina
- whaleboat
- (and 1 more)
-
You are right Augie. A metal band would almost need to be crescent shaped to wrap around the taper sided tub and look straight and lay flat. Sounds like a job for the jar labels. They did well on the tapered lantern keg.
- 515 replies
-
- 2
-
-
- artesania latina
- whaleboat
- (and 1 more)
-
Oops! Good catch Ferit! I do need to add metal bands around it. I wonder if I should try to find some super thin brass (maybe .005"), or if I should just continue with the .004 blacked out plastic label material?
- 515 replies
-
- 3
-
-
- artesania latina
- whaleboat
- (and 1 more)
-
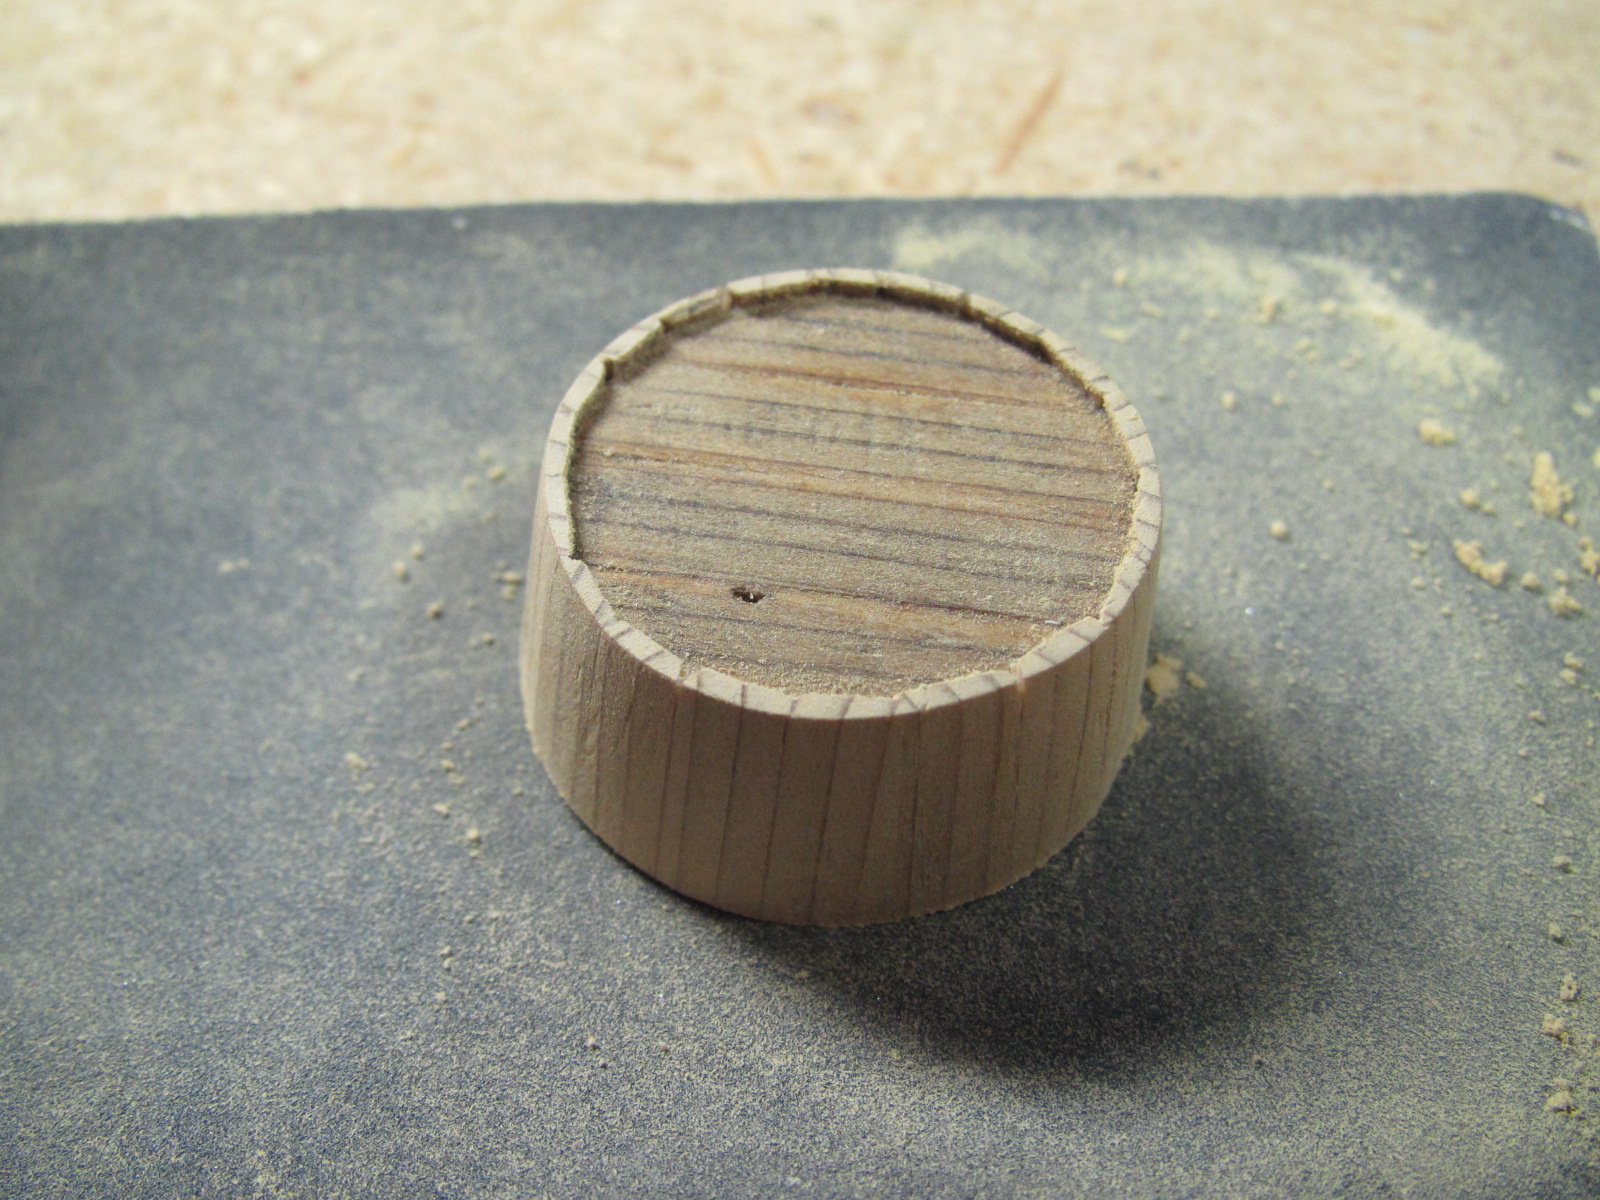
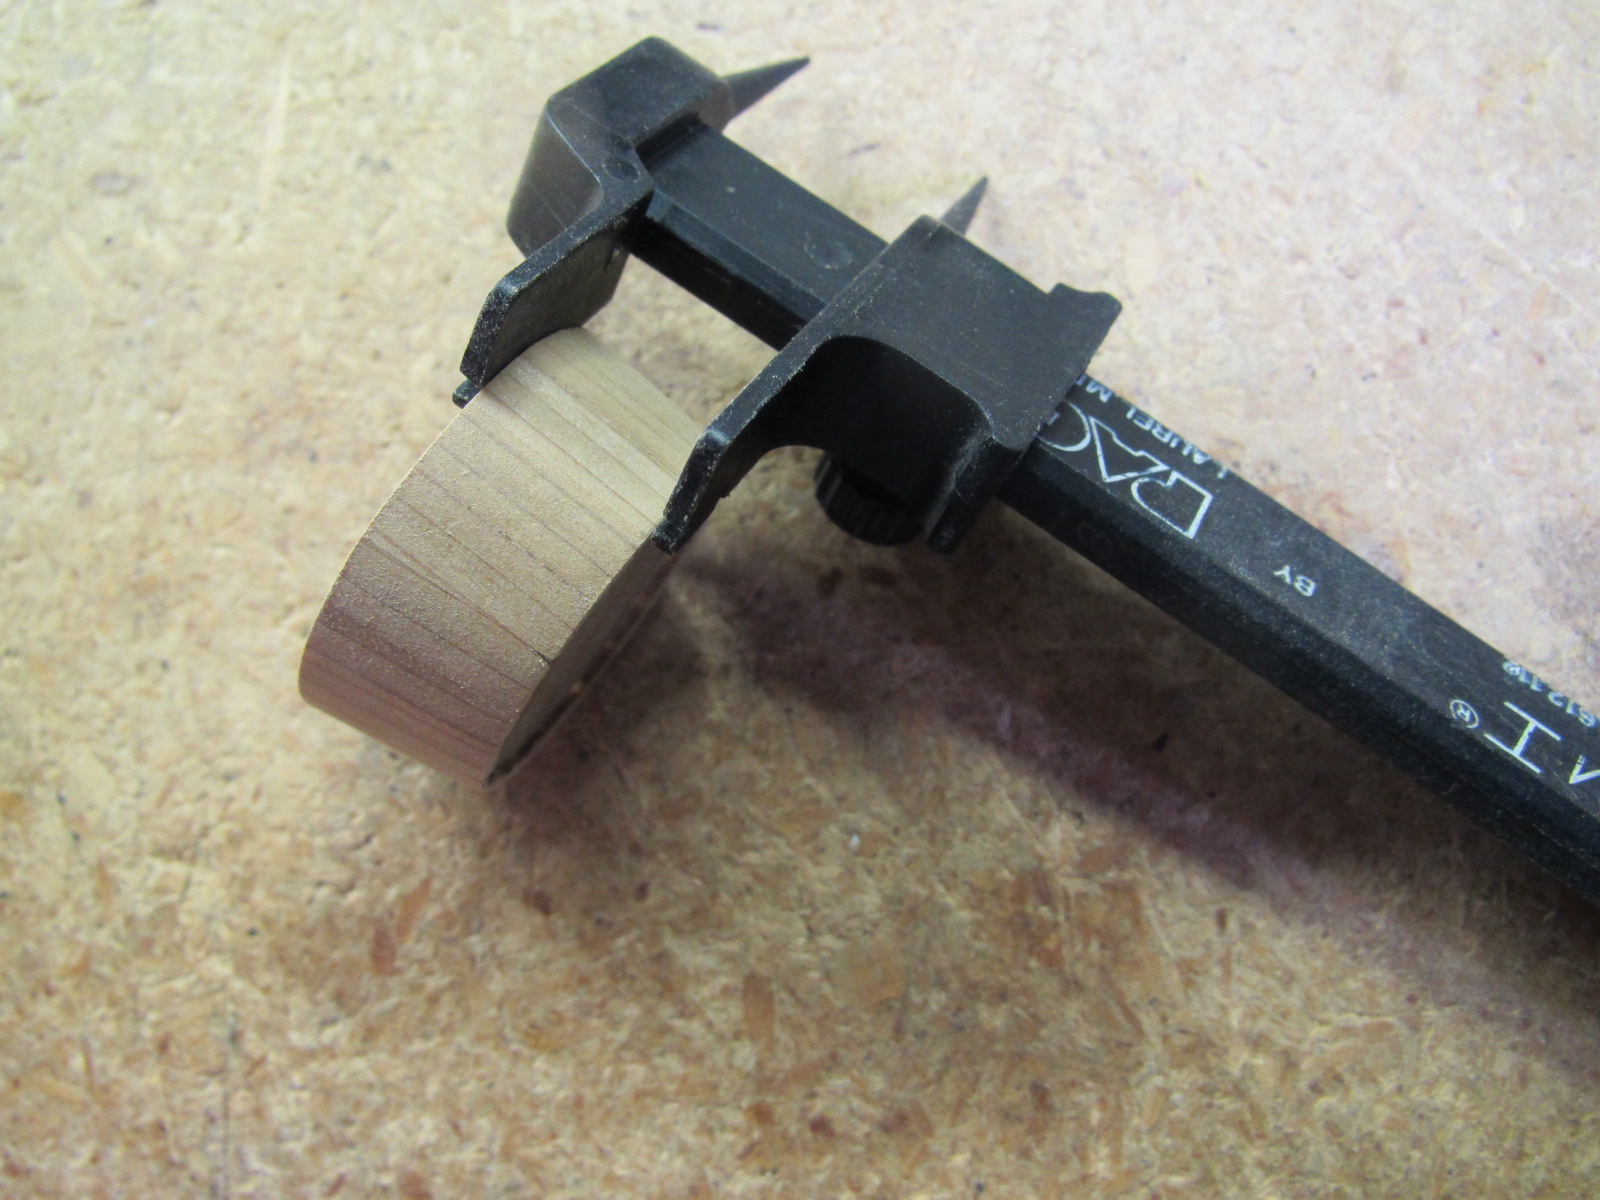
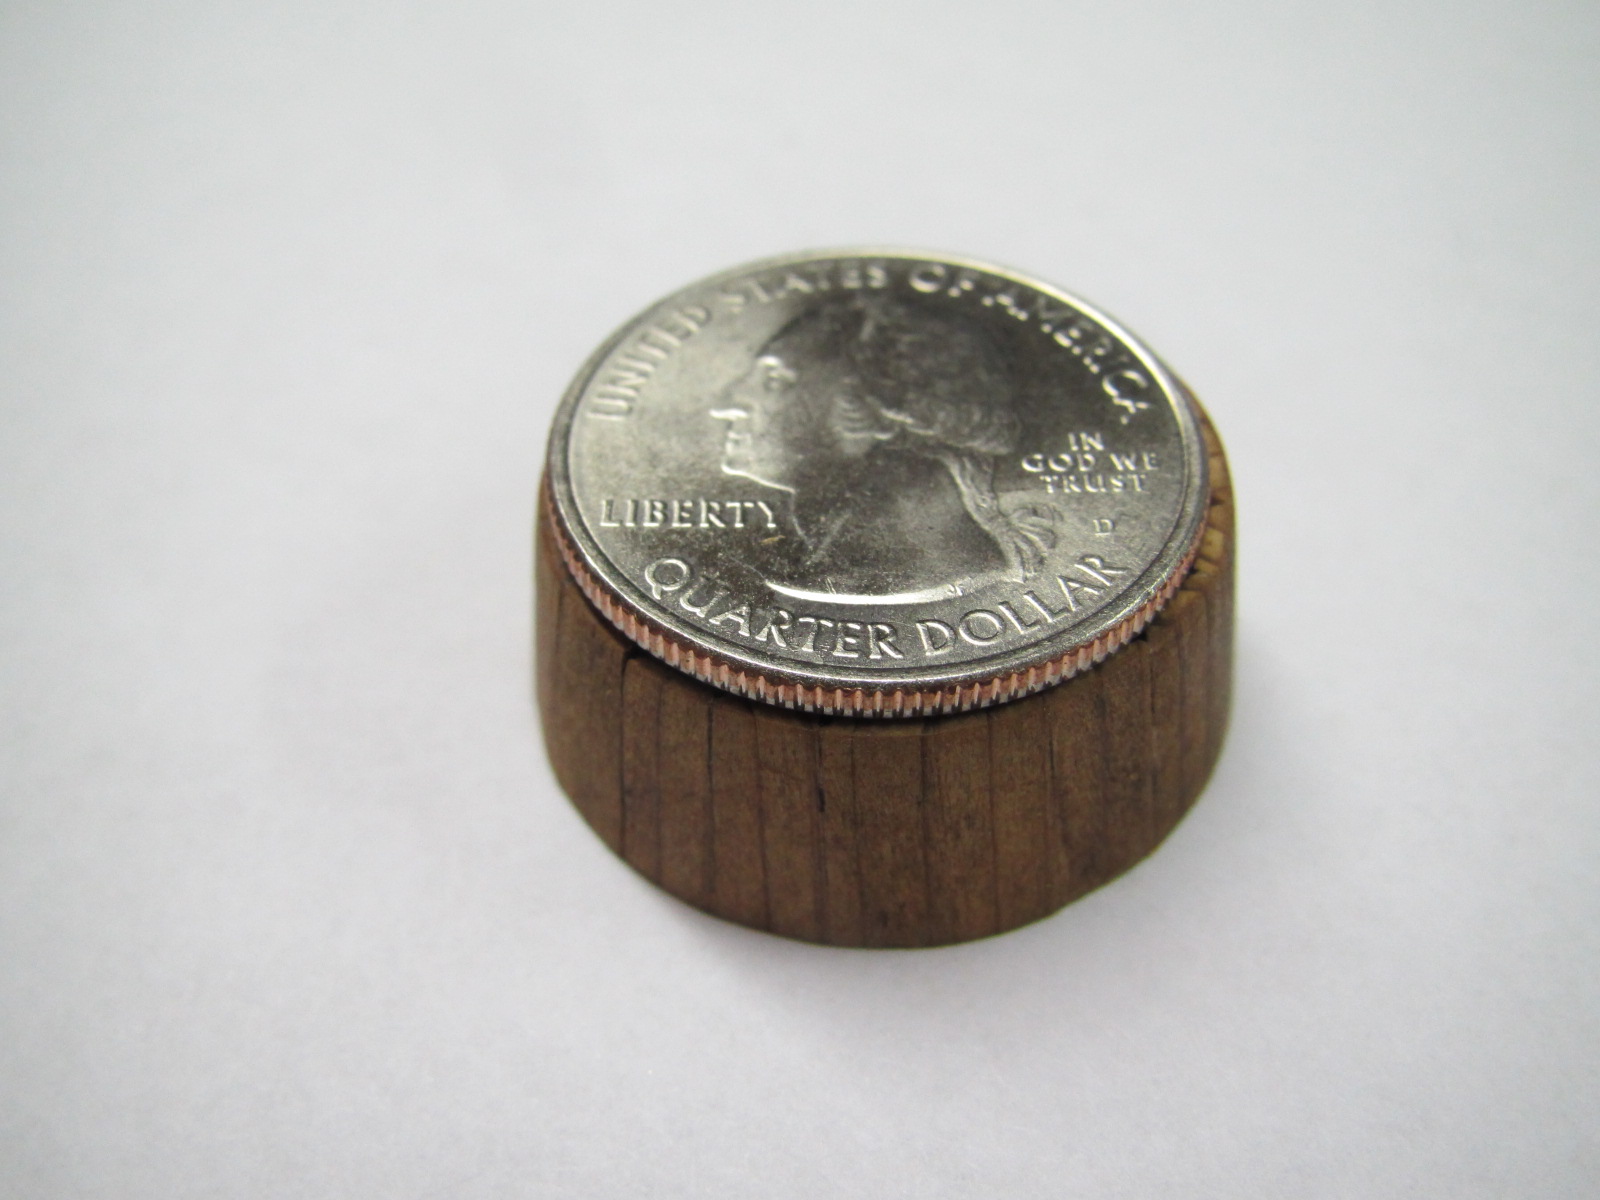
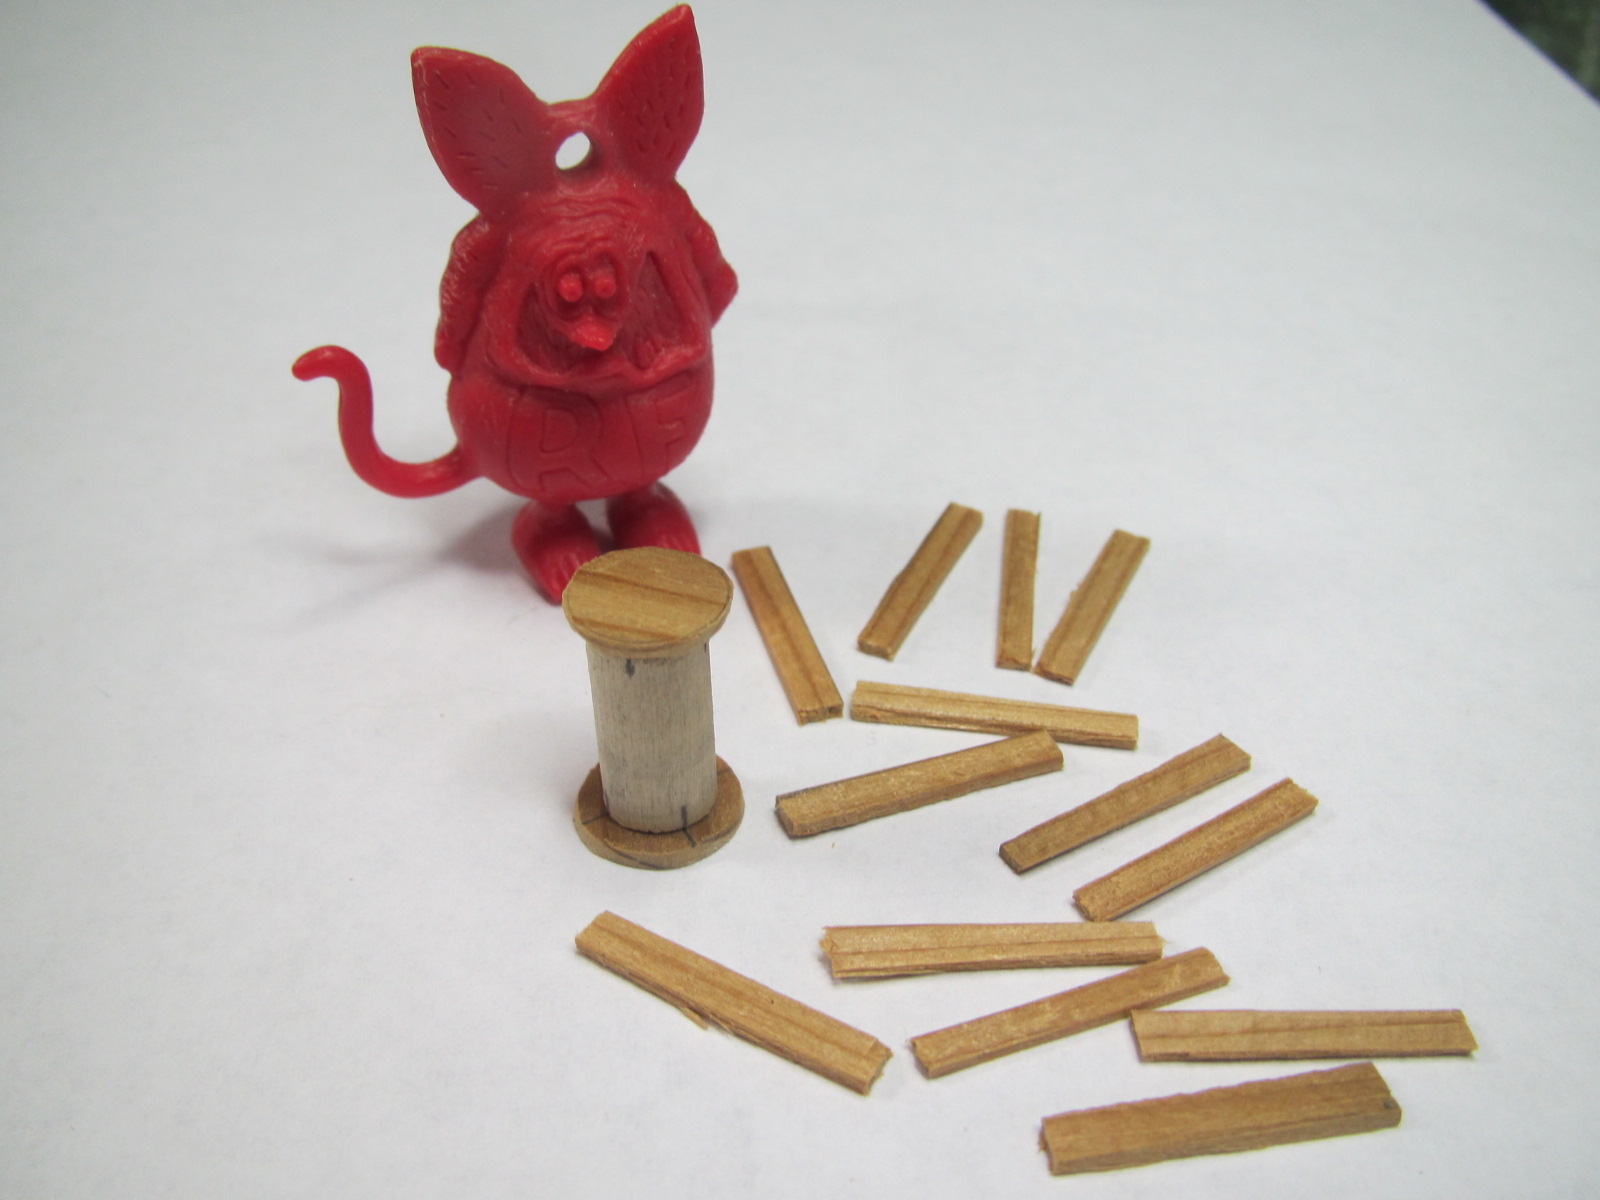
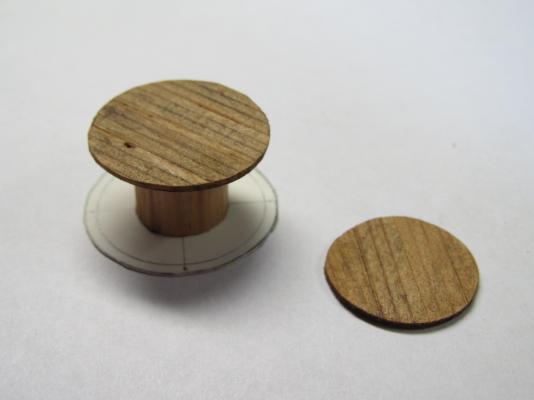
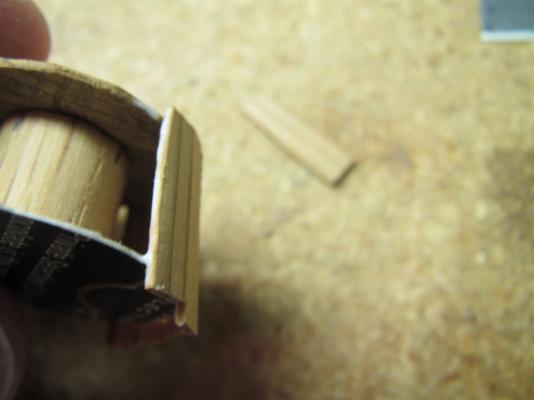
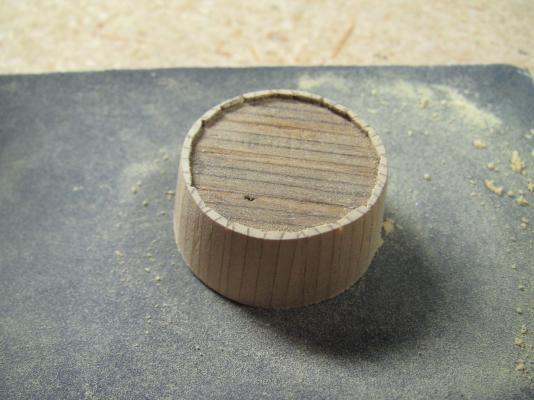
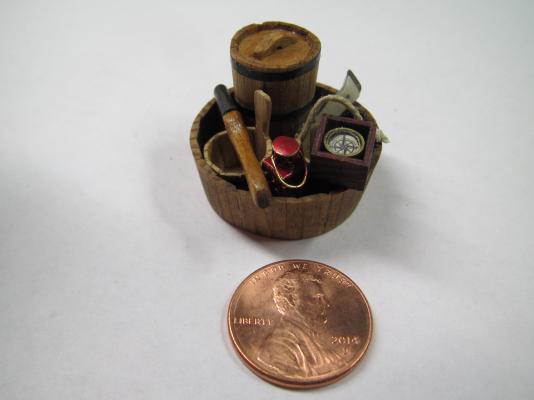
Hello everybody! I've been doing a lot of work on the fixer-up house lately but I got the big line tub made. I still need to add rope handles and coil a bunch of rope, but the wood working is done. The color is a mix of Minwax Golden oak and Dark Walnut blended with a paper towel moistened with naphtha. The bottom is made of multiple boards but the quarter sawn cedar makes it look like a lot more pieces. A dowel was lightly glued to the bottom and a larger diameter piece of thin cardboard was glued at the other end to flare the sides. Once the side's staves were all in place, the top and bottom were lapped until the final height was achieved. This thing is huge! The base is the size of a quarter! That may not seem big, but all of my little stuff fits inside!


- 515 replies
-
- 7
-
-
- artesania latina
- whaleboat
- (and 1 more)
-
Wow! You are doing some great work! Thanks for the tutorial.
- 831 replies
-
- 3
-
-
- Armed Virginia Sloop
- Model Shipways
- (and 1 more)
-
Just catching up. What a treat! Really like the detail work. Btw, did you ever get further with shelving and furniture for the work room? My room is still a work in progress and I'm looking for good ideas!
- 831 replies
-
- 1
-
-
- Armed Virginia Sloop
- Model Shipways
- (and 1 more)
-
Gripen 1591 by NAZGÛL (Matti)
Salty Sea Dog replied to NAZGÛL's topic in - Build logs for subjects built 1501 - 1750
I know what you mean. I'm in the same boat! -
Yikes! The detail rigging looks scary small! I'm not one to shy away from tiny stuff, but that looks difficult. Great job!!!
-
Hi Jessie, Check the 1st page of Augie's Syren build. There's a some pics that show that area before and after planking. The one of the planking before Augie painted the area really shows the sweep of those planks nicely. You are doing great and I'm glad you are feeling better!
- 1,306 replies
-
- 4
-
-
- syren
- model shipways
- (and 1 more)
-
Thanks Matt, Michael & Mario! Hmm 3Ms, and extremely skilled ones at that! Thanks for all the likes Mario. Your open boats have really been an inspiration to me. Best wishes
- 515 replies
-
- 2
-
-
- artesania latina
- whaleboat
- (and 1 more)
-
I'd guess that sample 1 is cherry, sample 2 is curly big leaf maple, sample 3 is padouk and the bottom piece in sample 4 is oxidized purpleheart.
-
Gripen 1591 by NAZGÛL (Matti)
Salty Sea Dog replied to NAZGÛL's topic in - Build logs for subjects built 1501 - 1750
How are things shaping up? You had some tricky things to work out. -
At Electron Microscopes R Us! Thanks for the nice comments you guys! I like your stylin' new avatar Jesse!
- 515 replies
-
- 5
-
-
- artesania latina
- whaleboat
- (and 1 more)
-
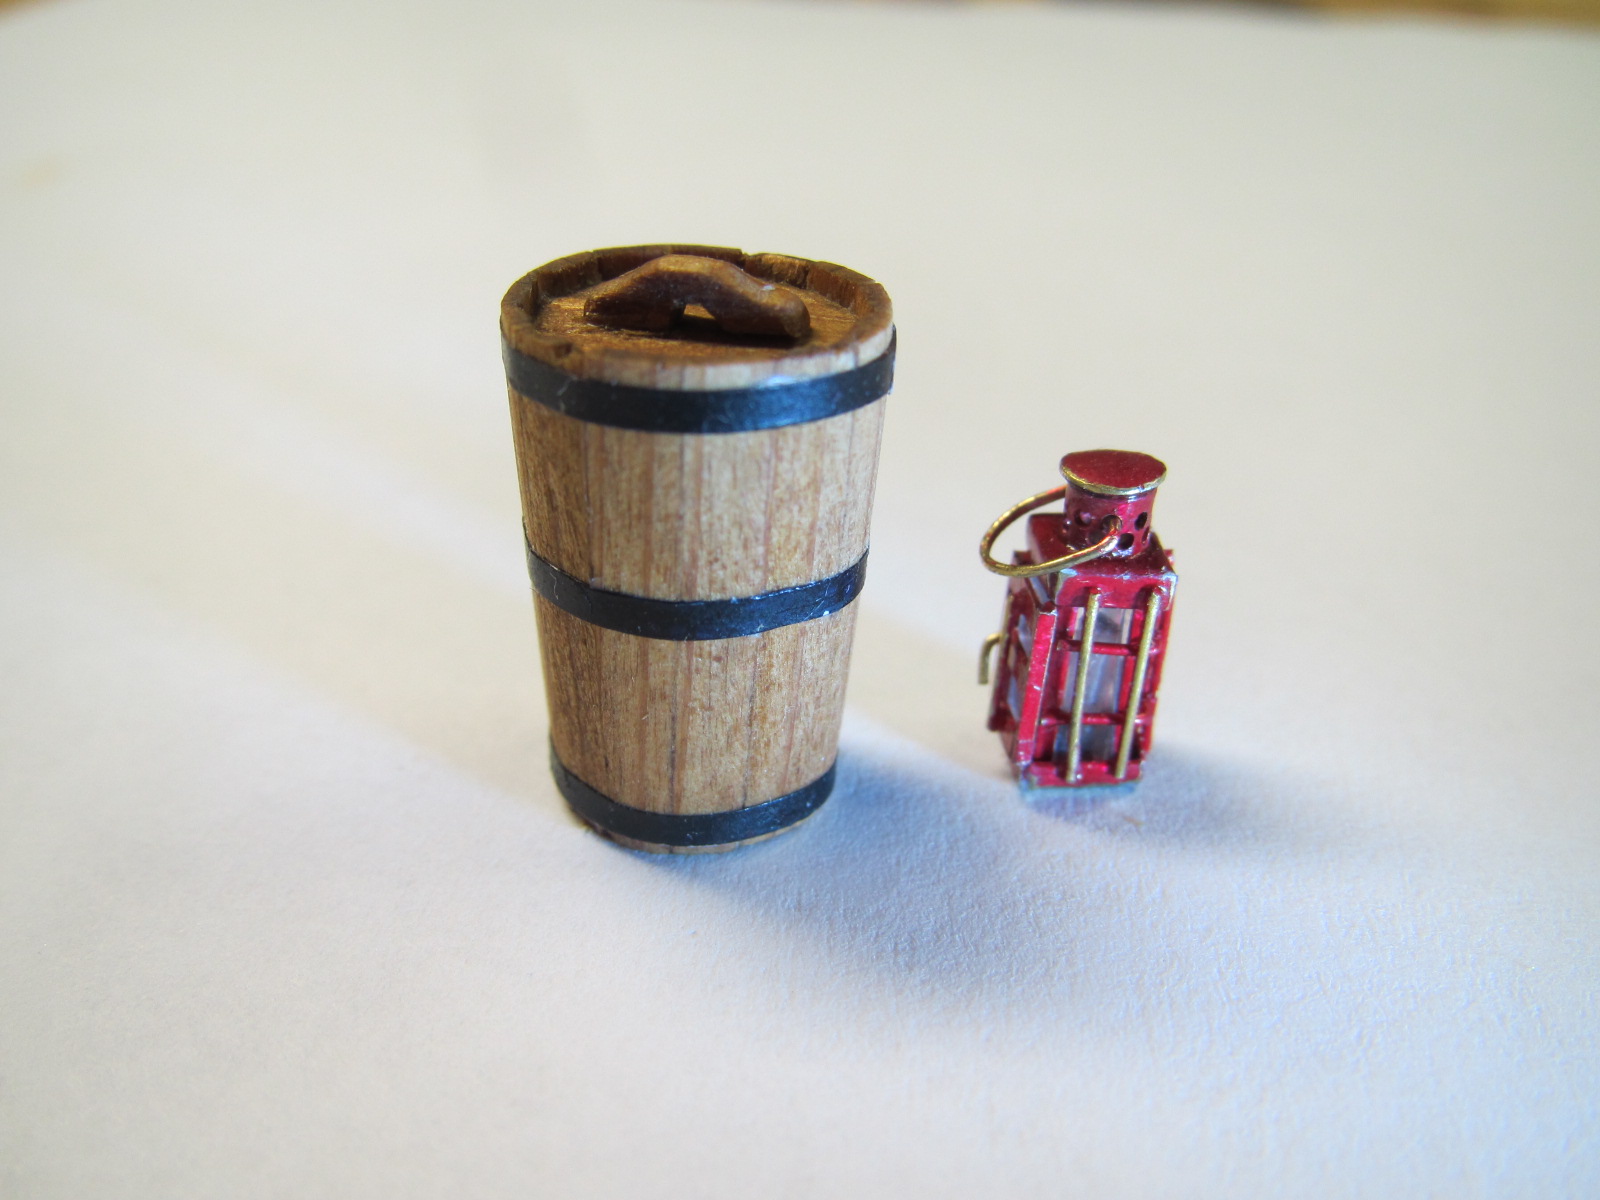
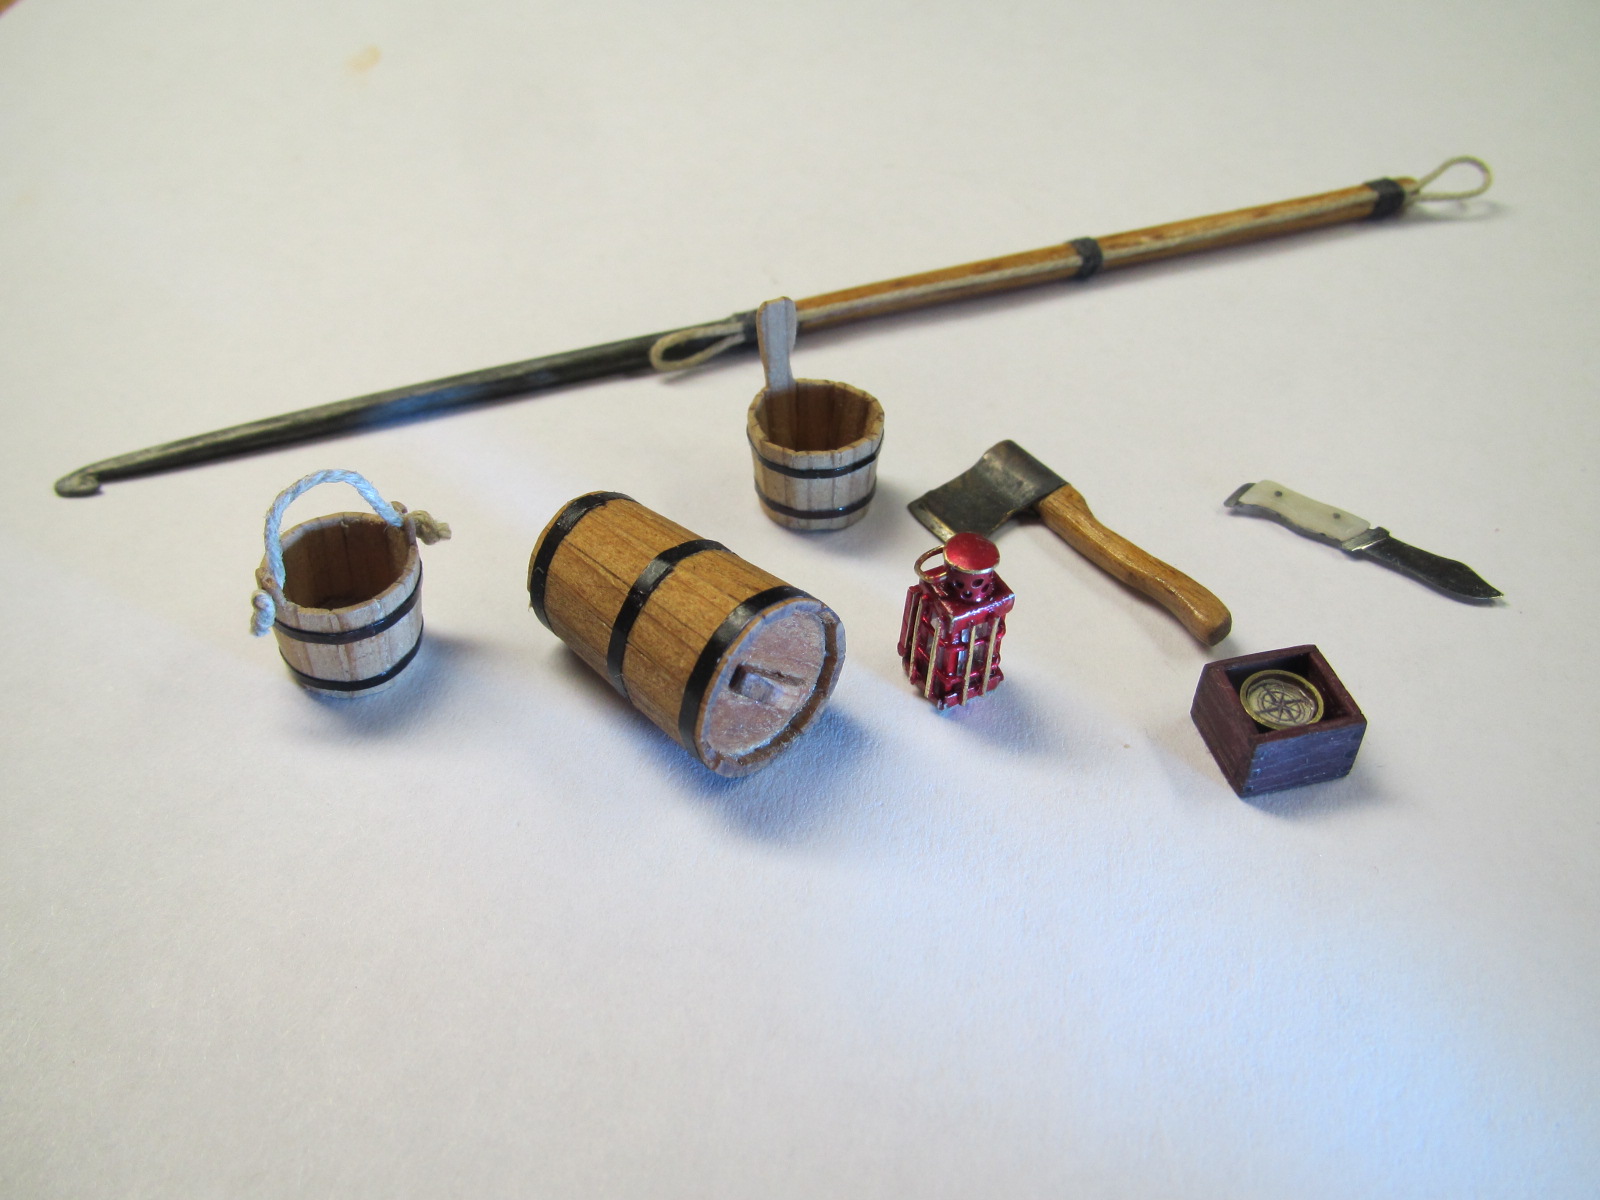
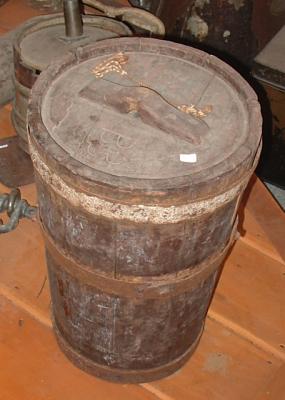
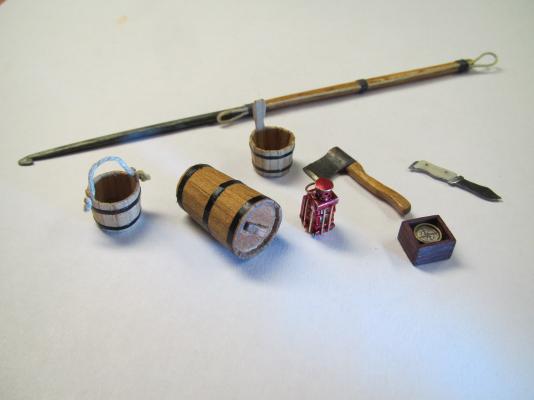
Hello all! It seems I have been doing everything except boatbuilding lately, but the lantern keg is built now. It's a model of the one in Bob Hellman's collection that has the cleat on the big end: Since both ends are closed, the keg was built using a dowel with the heads attached at the ends. Here the heads are still a bit oversized and they were fine tuned and tapered. The cedar wood was stained using a Minwax Golden Oak stain pen. A small parade. Here you can see the stained keg compared to the bare buckets which I figured would be a bit bleached from bailing salt water.

- 515 replies
-
- 13
-
-
- artesania latina
- whaleboat
- (and 1 more)
-
Great thread JP! This has been really helpful. I'd like to see some of the techniques you have for the leathered and scribed spoons if you get a chance. Paul - Really nice videos. I'm envious of your detail work! I have an old type H Pasche that I have used every now and then but never have been able to get really nice surfaces with. Your video on selecting airbrushes really points out why I should get an internal mix. Some questions I have that I'm hoping you more experienced airbrushers can answer: Are dual action airbrushes hard to get the hang of? JP has me thinking about an Iwata NEO which can be had pretty cheap at Hobby Lobby with one of their 40% off coupons. Does this airbrush atomize well enough to get glass smooth results and is it a good choice as an all around primary airbrush? I had watched a bunch of YouTube videos about airbrushing inexpensive craft acrylics thinned with windshield washer fluid. I tried spraying flat white and the surface looked like felt. Lots of clogging and spitting. I switched to flat white Model Master thinned with their thinner and got better (not great) results. The airbrush was a booger to clean after using both these acrylics. Is lacquer thinner the answer? Enamel had easier clean up! Are flat acrylics just trickier to use?? Any insights would be much appreciated.
- 39 replies
-
- 1
-
-
- Airbrushing
- Tips
- (and 1 more)
-
Scary stuff John. I'll be praying for you too. Get well soon.
-
If you give a man a scale ruler he can figure sizes at those scales. But If you teach a man to fish, he can scale a fish...wait a minute, I think that may not be how that goes. Anyway, the important thing is Matt needs a way to figure 1:64 sizes. Let me get all old school on you. First we want everything in the same unit of measure (inches). So 1 foot = 12". 12" divided by 64 = .1875" which is a decimal way of saying 3/16". So 1:64 scale is the same as 3/16" = 1' scale. When I made the little buckets for my 1:25 whaleboat and Lawrence's 1:50 schooner, I used the 1:16 plans from the New Bedford Whaleboat. If this kit is in your ships locker Matt, of if any kit in your locker has plans that have a scale "ruler" on them, you are half way there. Just make a photo copy of the scale ruler and then play around with the copier's reduce setting until the 1' increments equal your 1:64's scale size of 3/16". You could just go full old school and draw a straight line on a piece of paper. With a ruler, make tick marks at every 1" increment. In the first increment, add more tics at each 1/4". These will be 3" increments in your new scale which you could divide later into 3 to make inches when it's to scale. Put that on a copier and reduce so the increments are 3/16" apart. Hope that helps. I'm off to the mountains for a week and will have no signal or internet - bliss! Good luck!
-
Well if I were to harvest wood from the 3 aspen trees I'm cutting down in the back yard...