EJ_L
-
Posts
2,246 -
Joined
-
Last visited
Content Type
Profiles
Forums
Gallery
Events
Everything posted by EJ_L
-
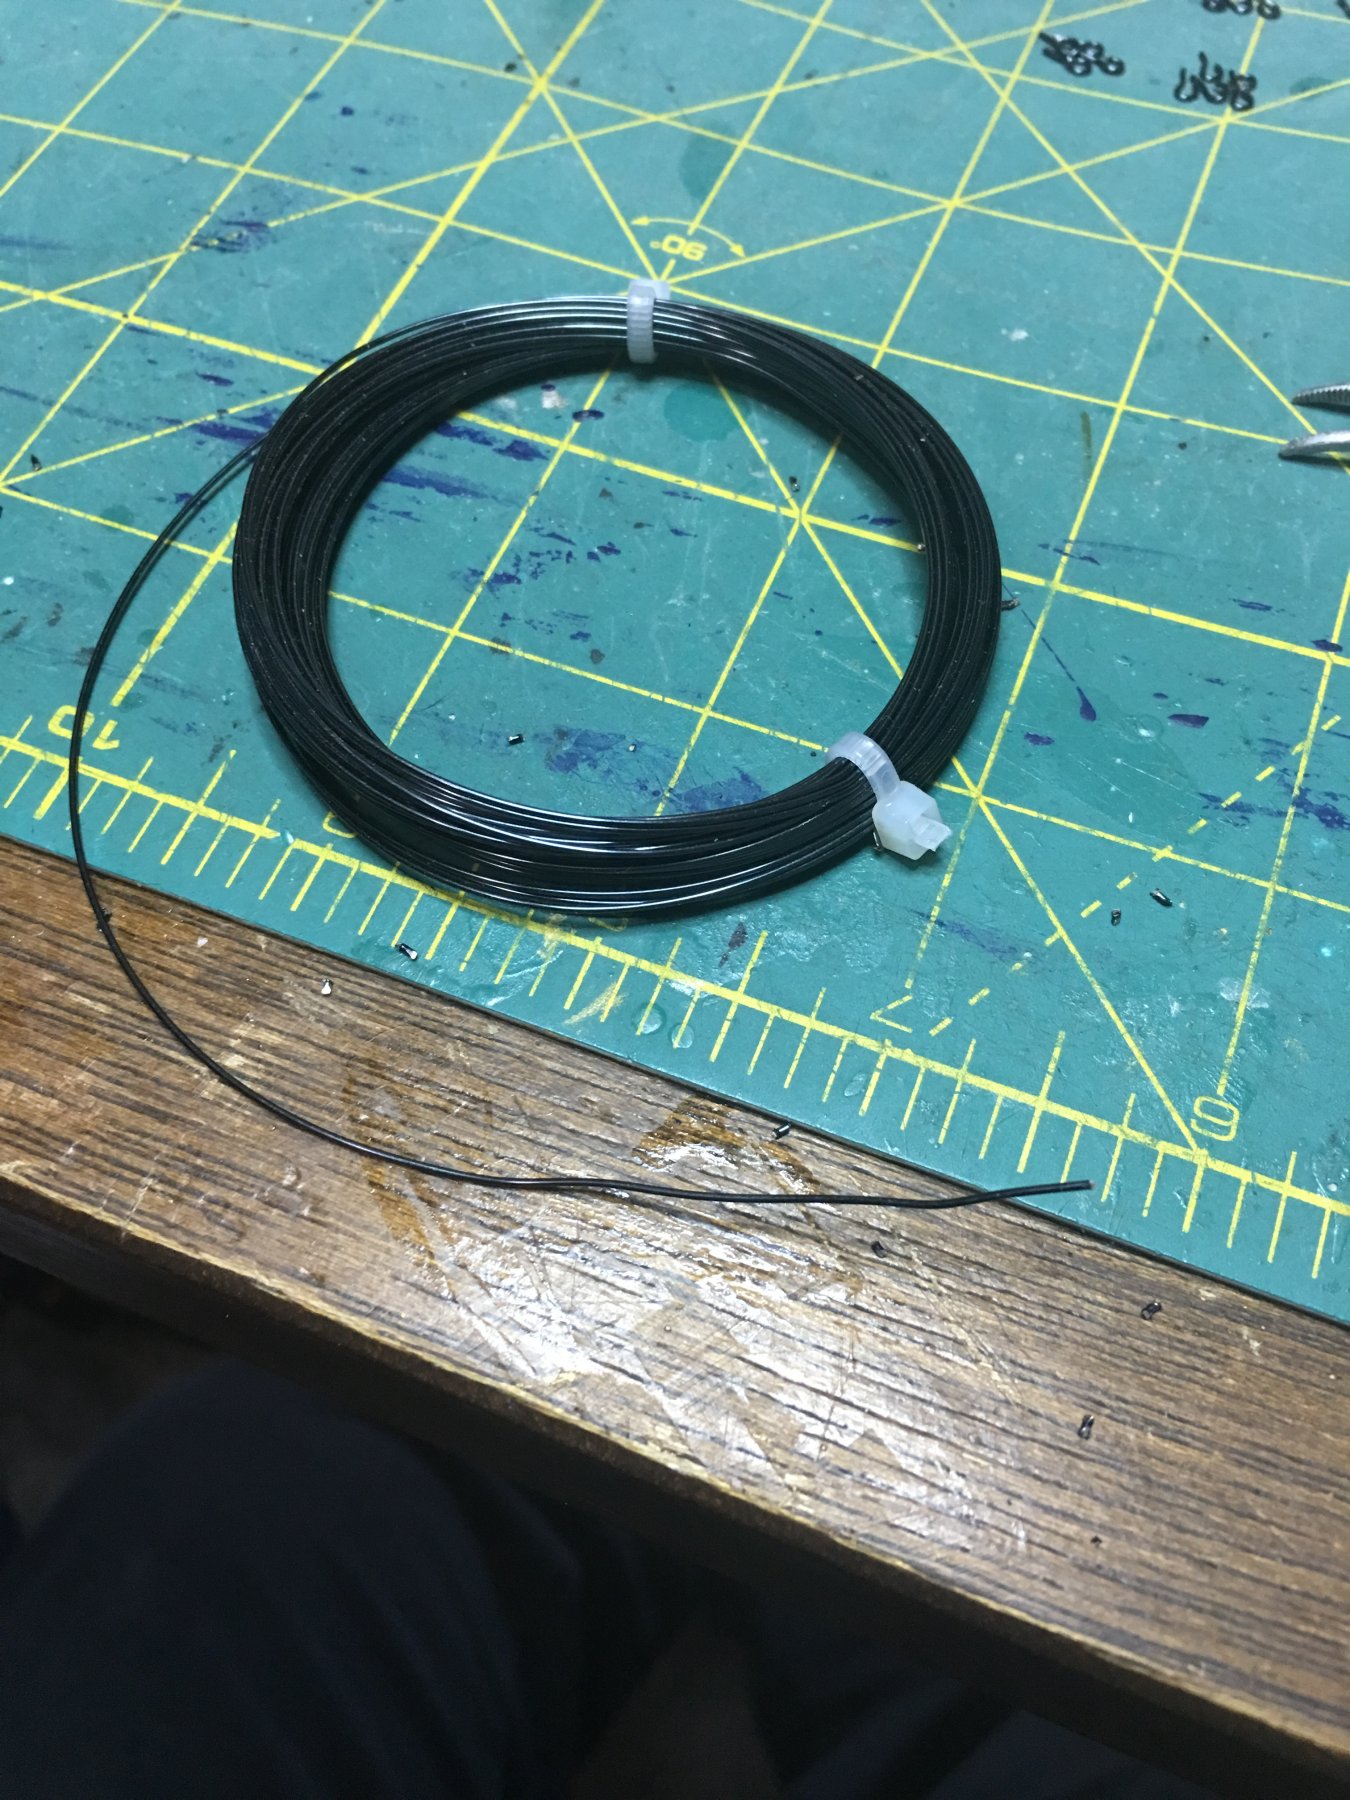
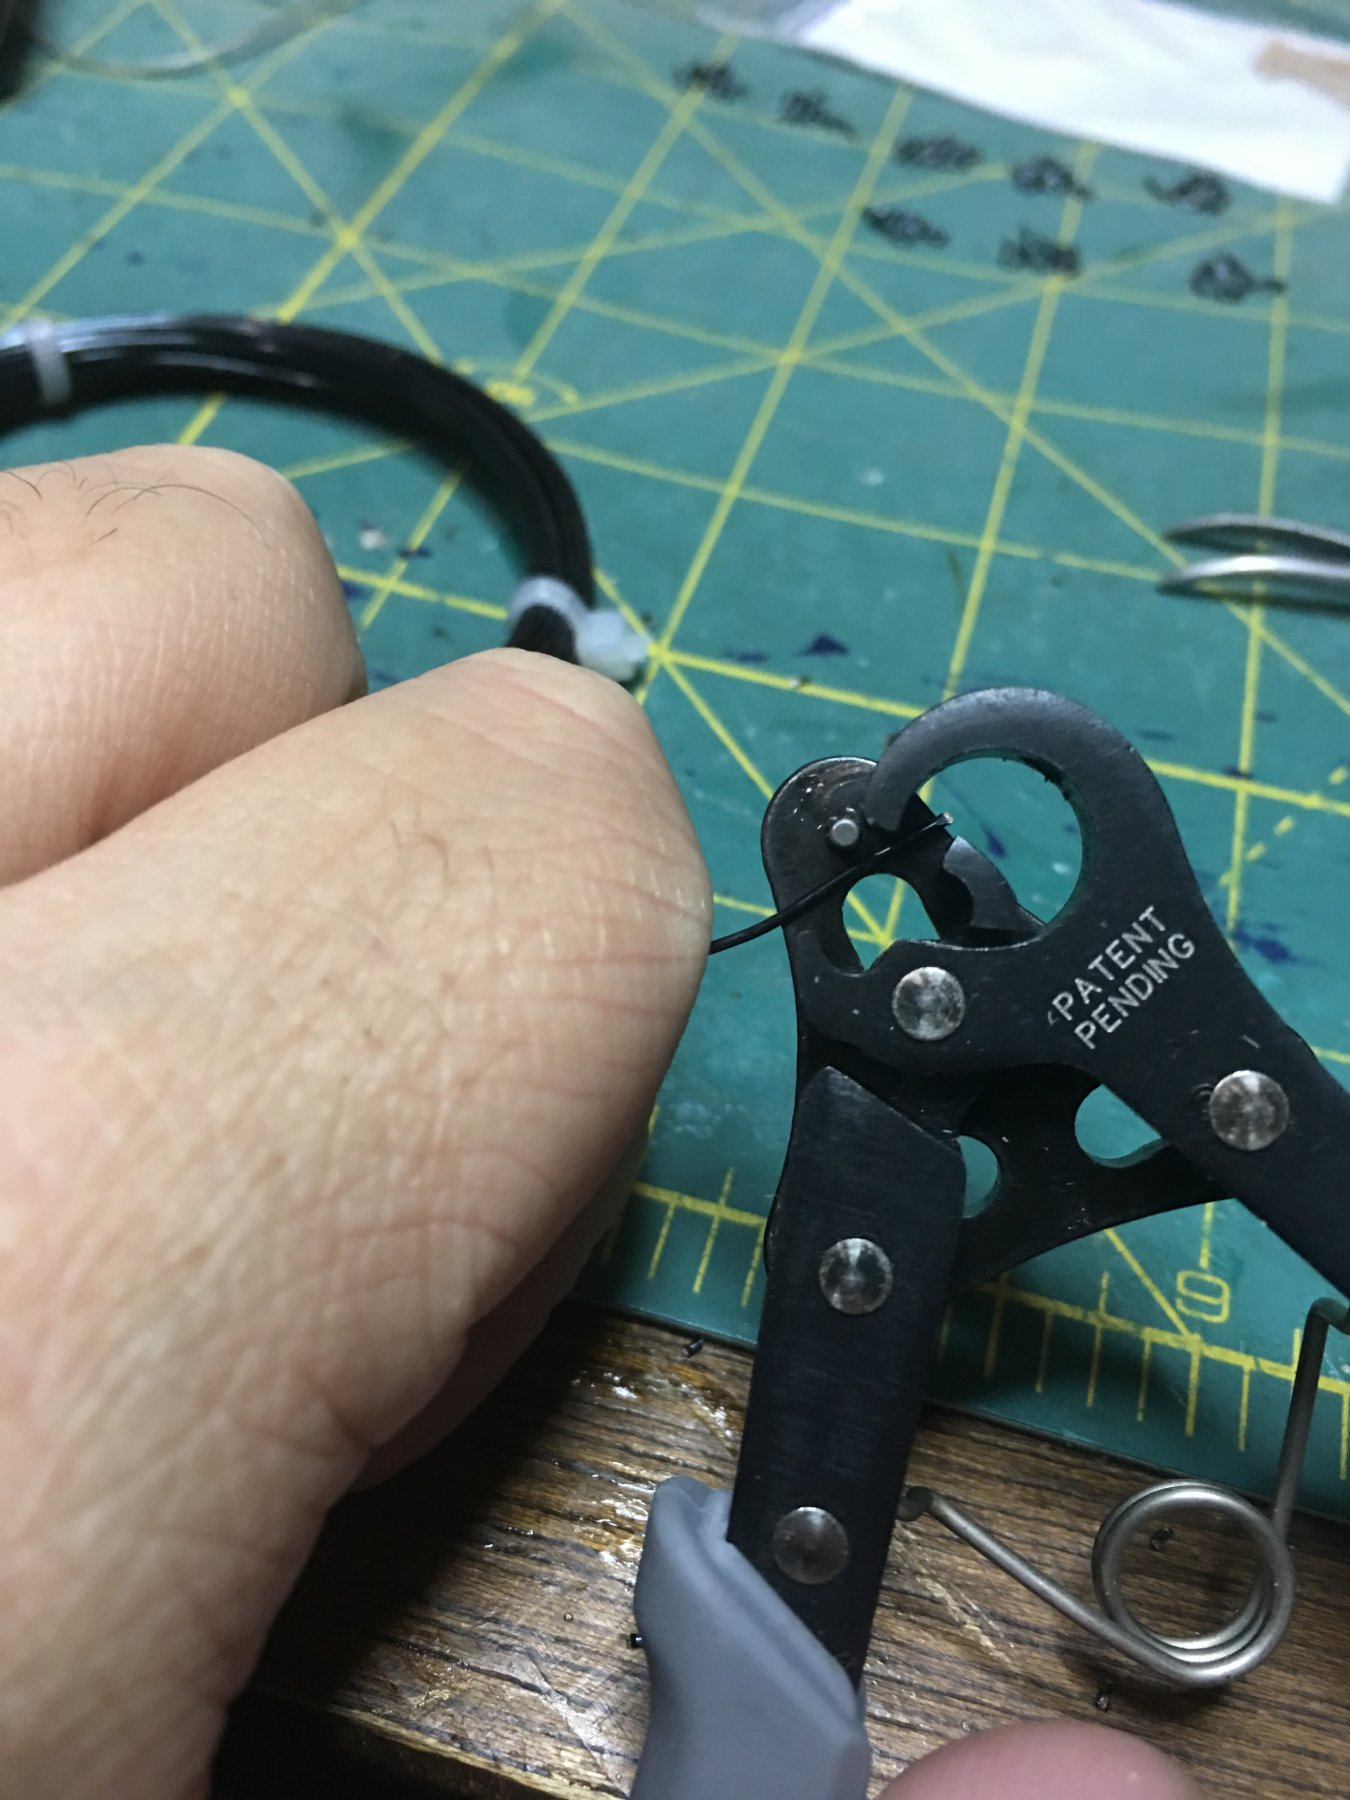
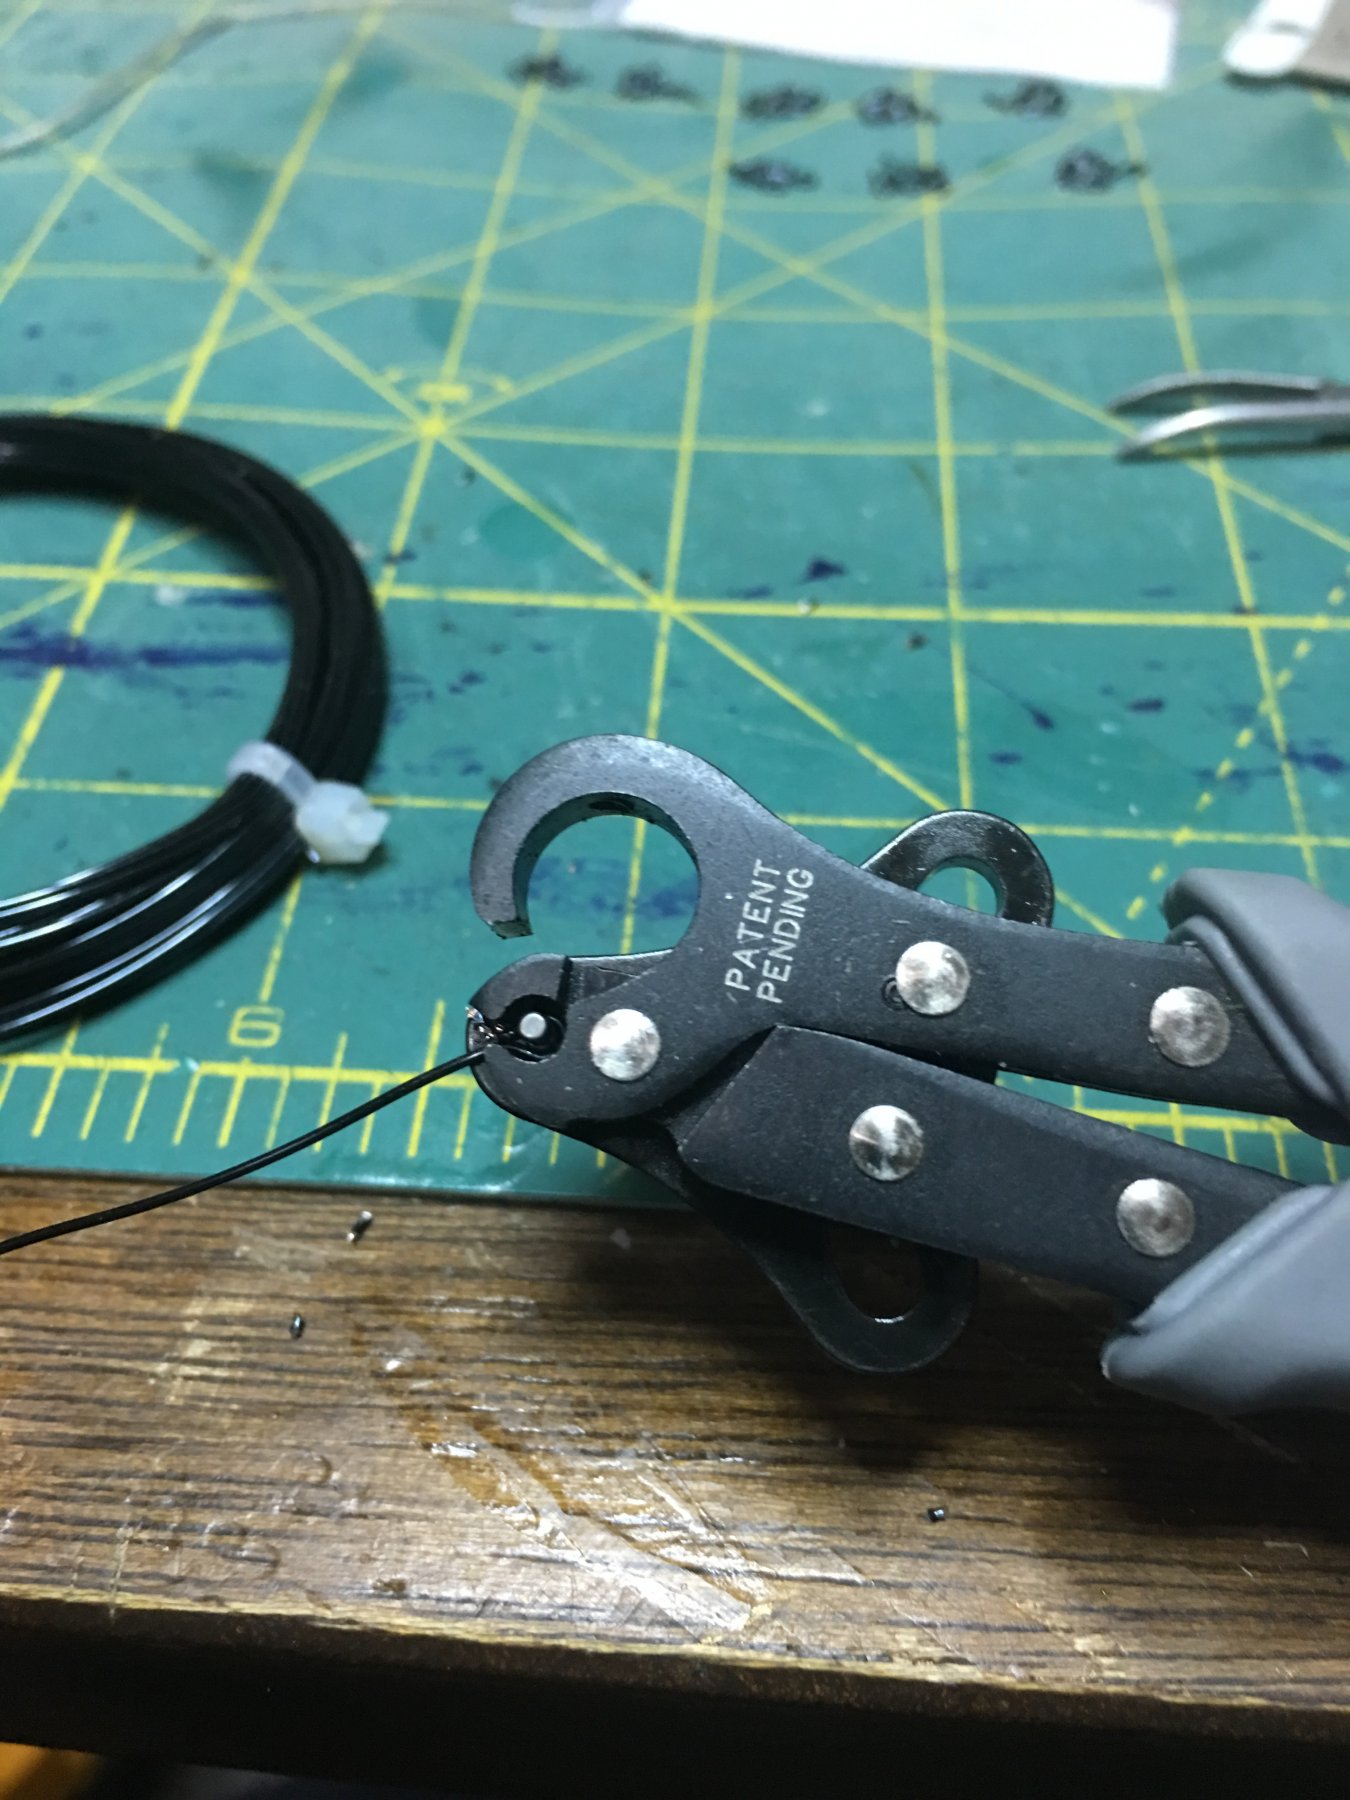
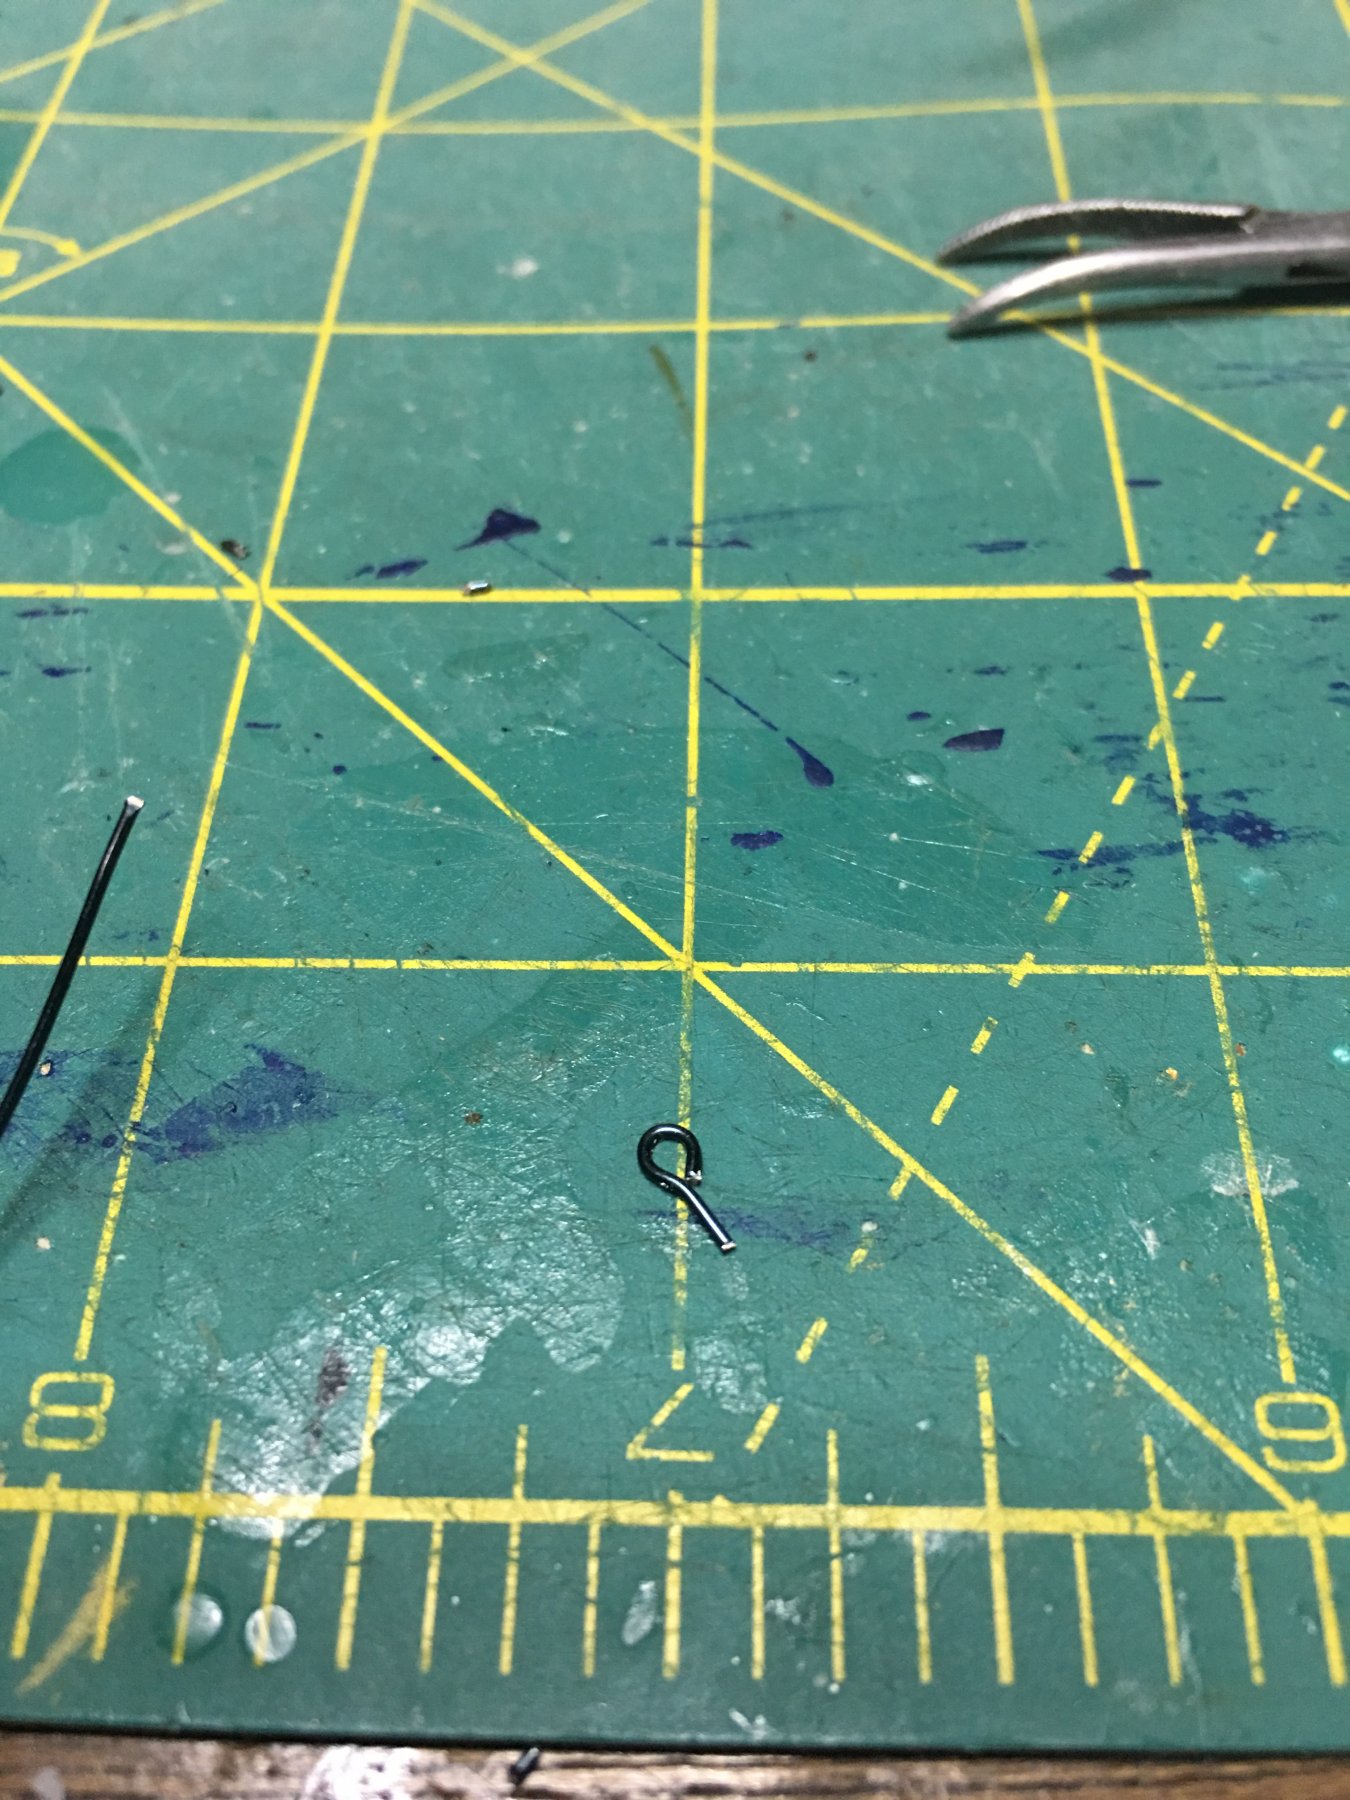
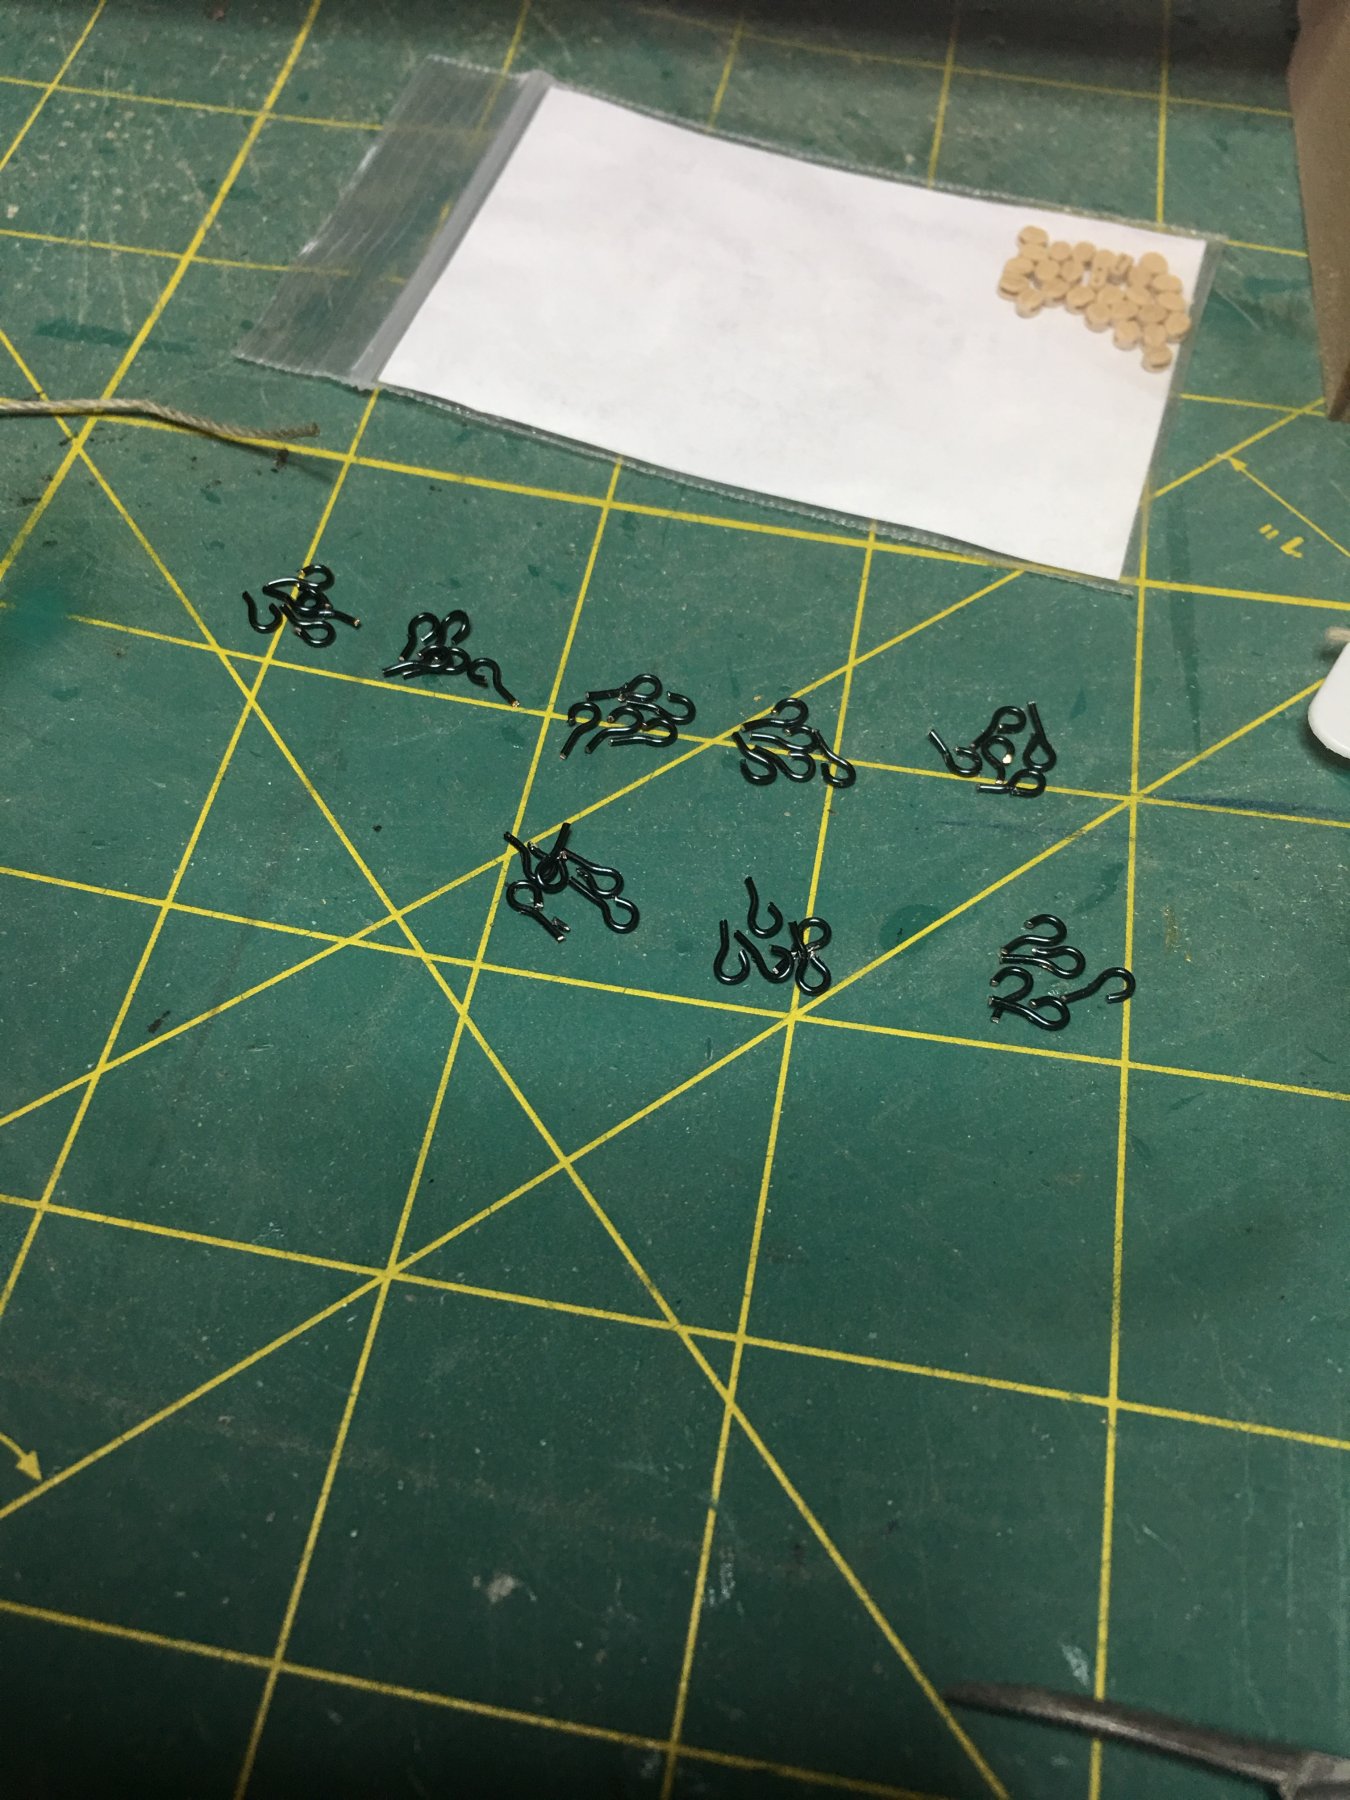
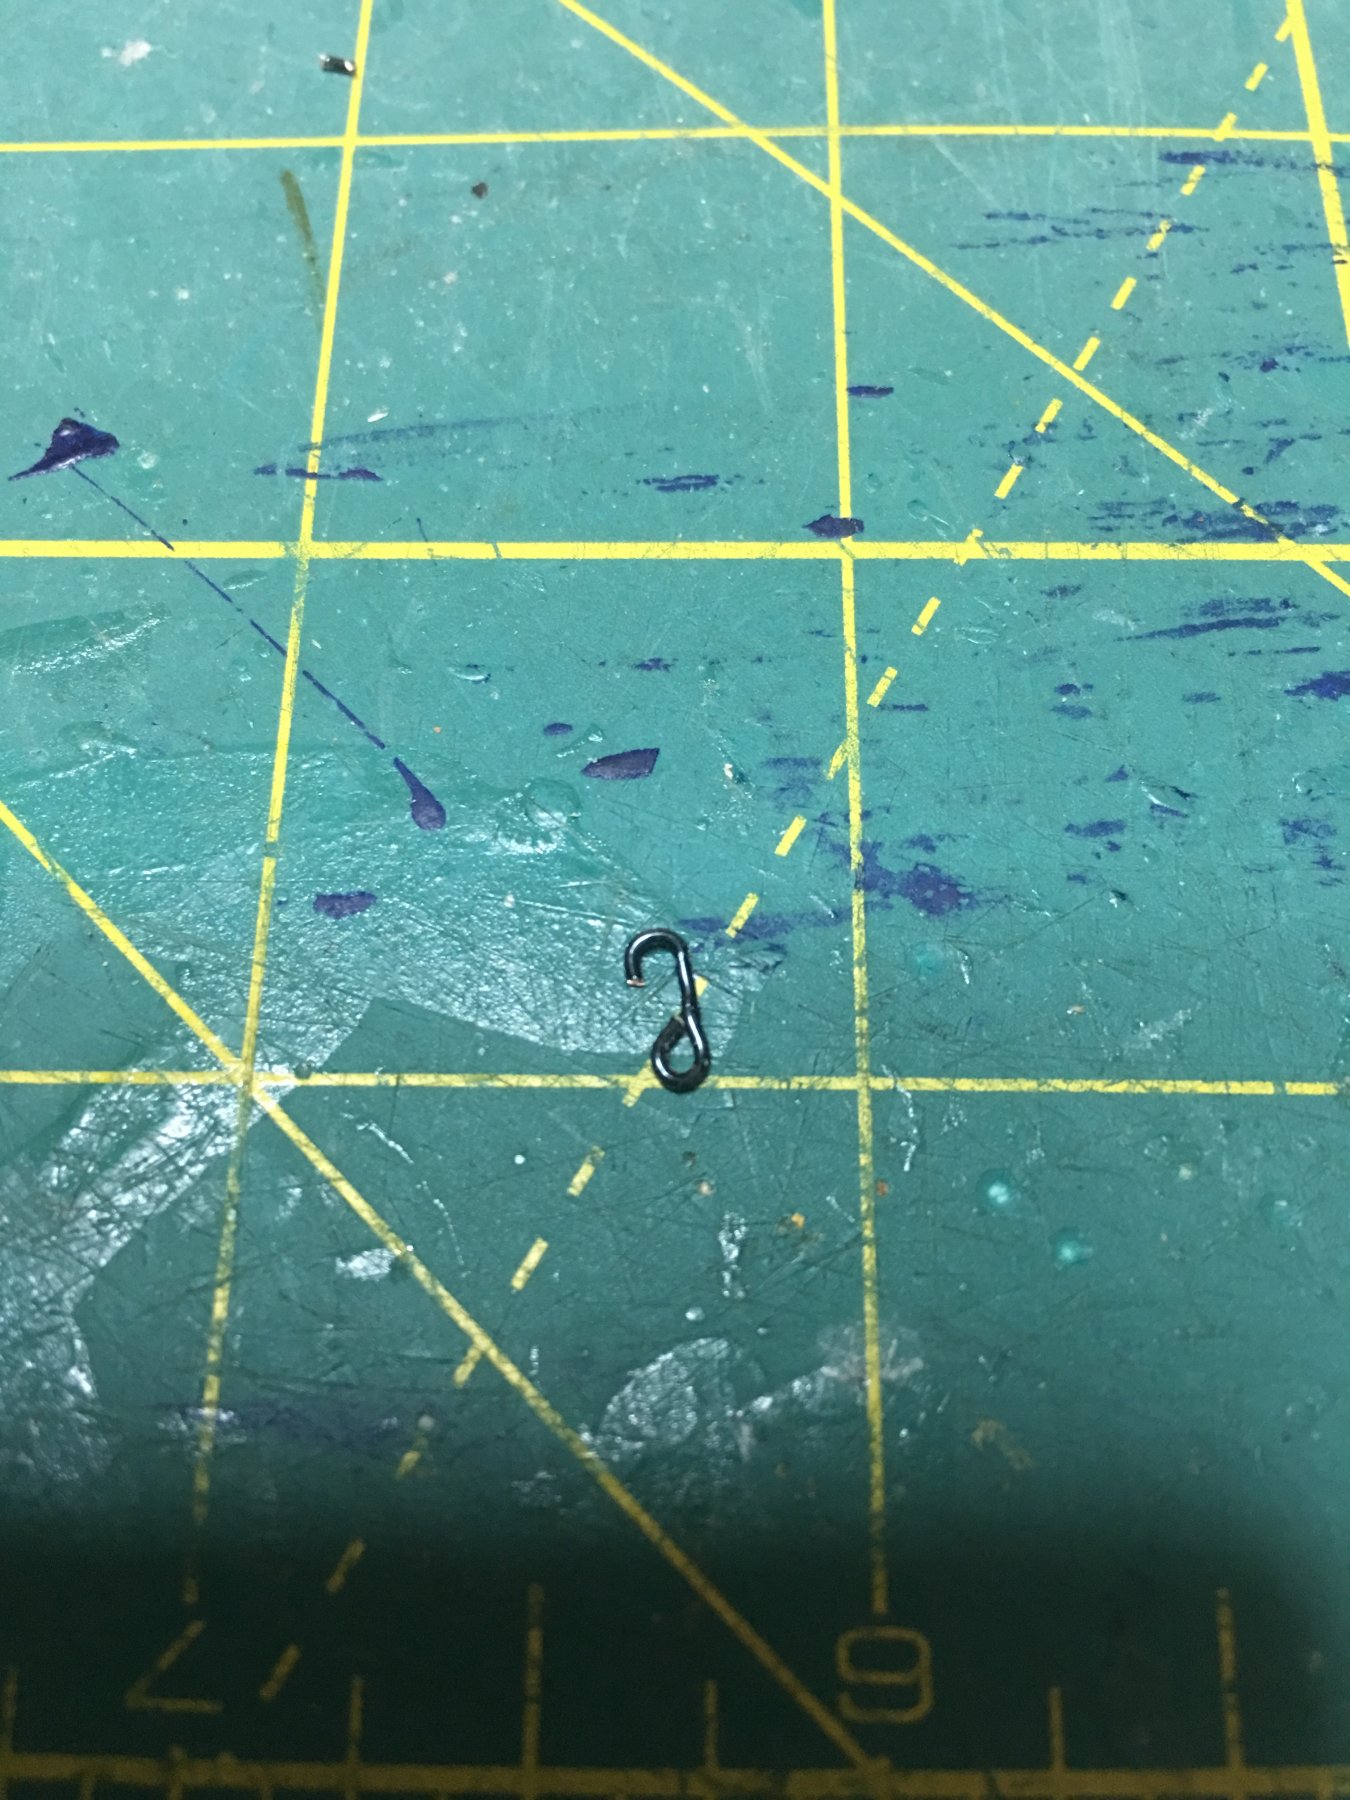
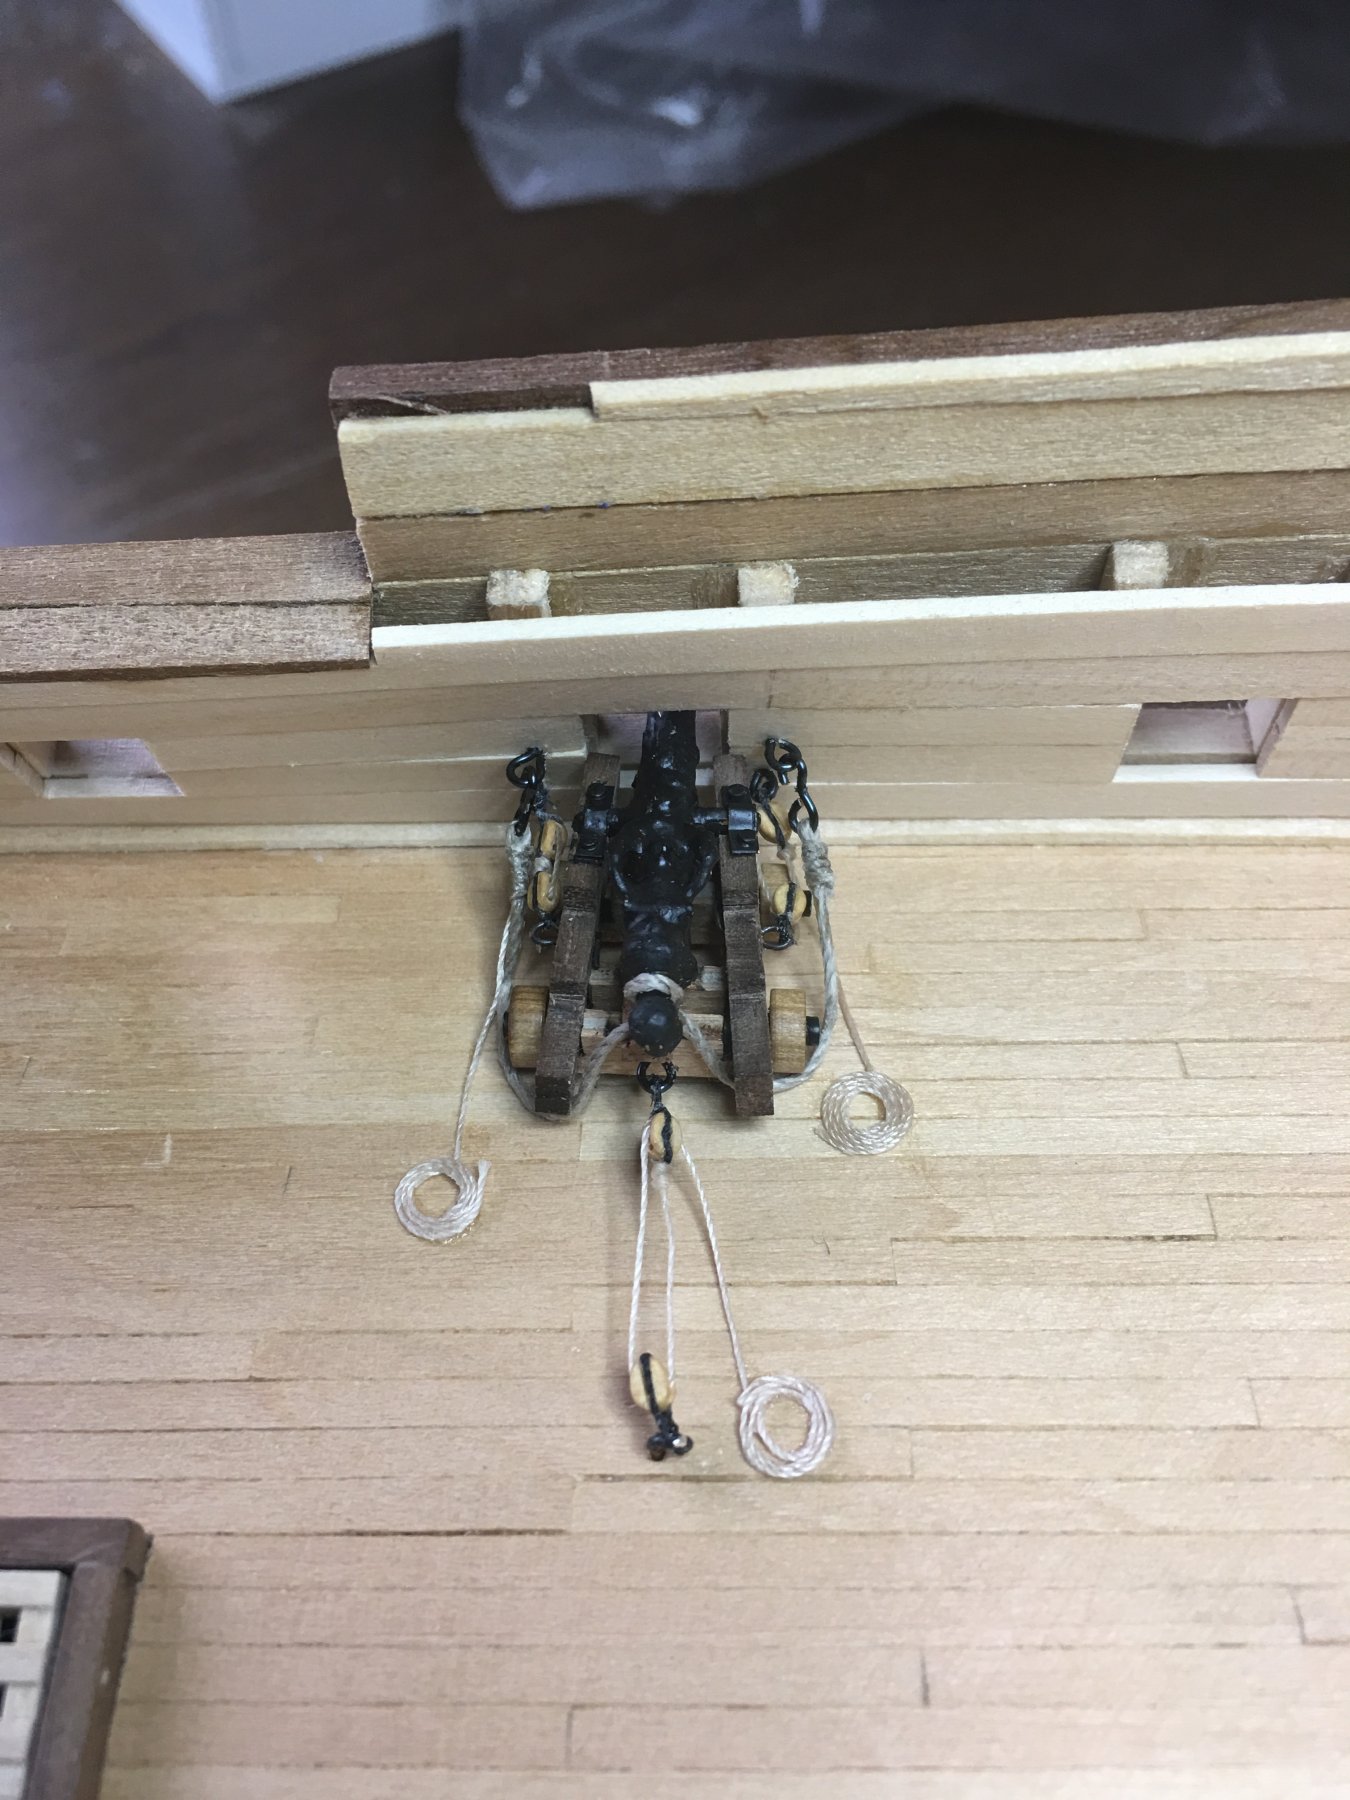
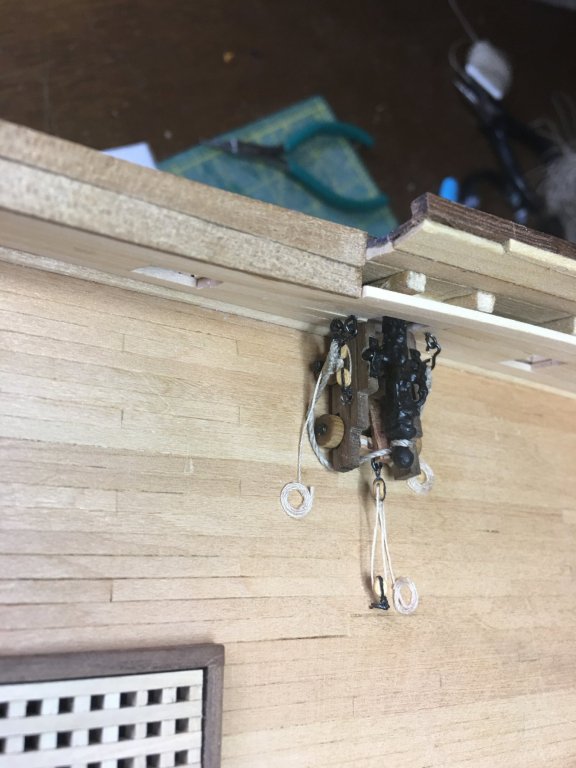
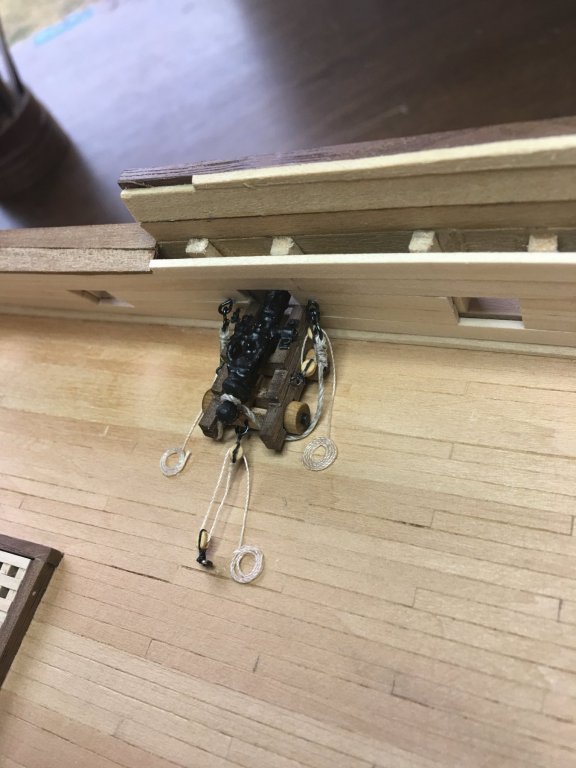
 After a bit of a head clearing break, the ship yard is back in full work mode. Leaving the stern behind for a little while I’ve decided to work on some of the guns that will be fully rigged. Not all of them will get this level of rigging done, only about 12 on this deck as those will be the only ones fully visible. The rest will only have minimal rig or none at all. All the uppermost decks will be fully rigged later on. First off off though I had to create a lot of eyebolts and hooks. That alone took a couple hours but I now have enough to get through these first guns. Unfortunately, I do not have enough blocks so I will only be able to get 3 or 4 complete till I can get some more which looks like that won’t be till May. Here is the first one in place!
-
The rigging is coming along nicely! Those last connections are a pain when you have to weave tweezers in and out among the other lines. Just be glad it is only the one mast! As for shipping, that is always the challenge. If you are driving, simply laying it in a foam lined box with some foam supports under the mast and along the sides to keep it from shifting would probably work fine. If you can get it into a case before then, that would be better yet.
- 108 replies
-
- 1
-

-
- mamoli
- constitution
- (and 2 more)
-
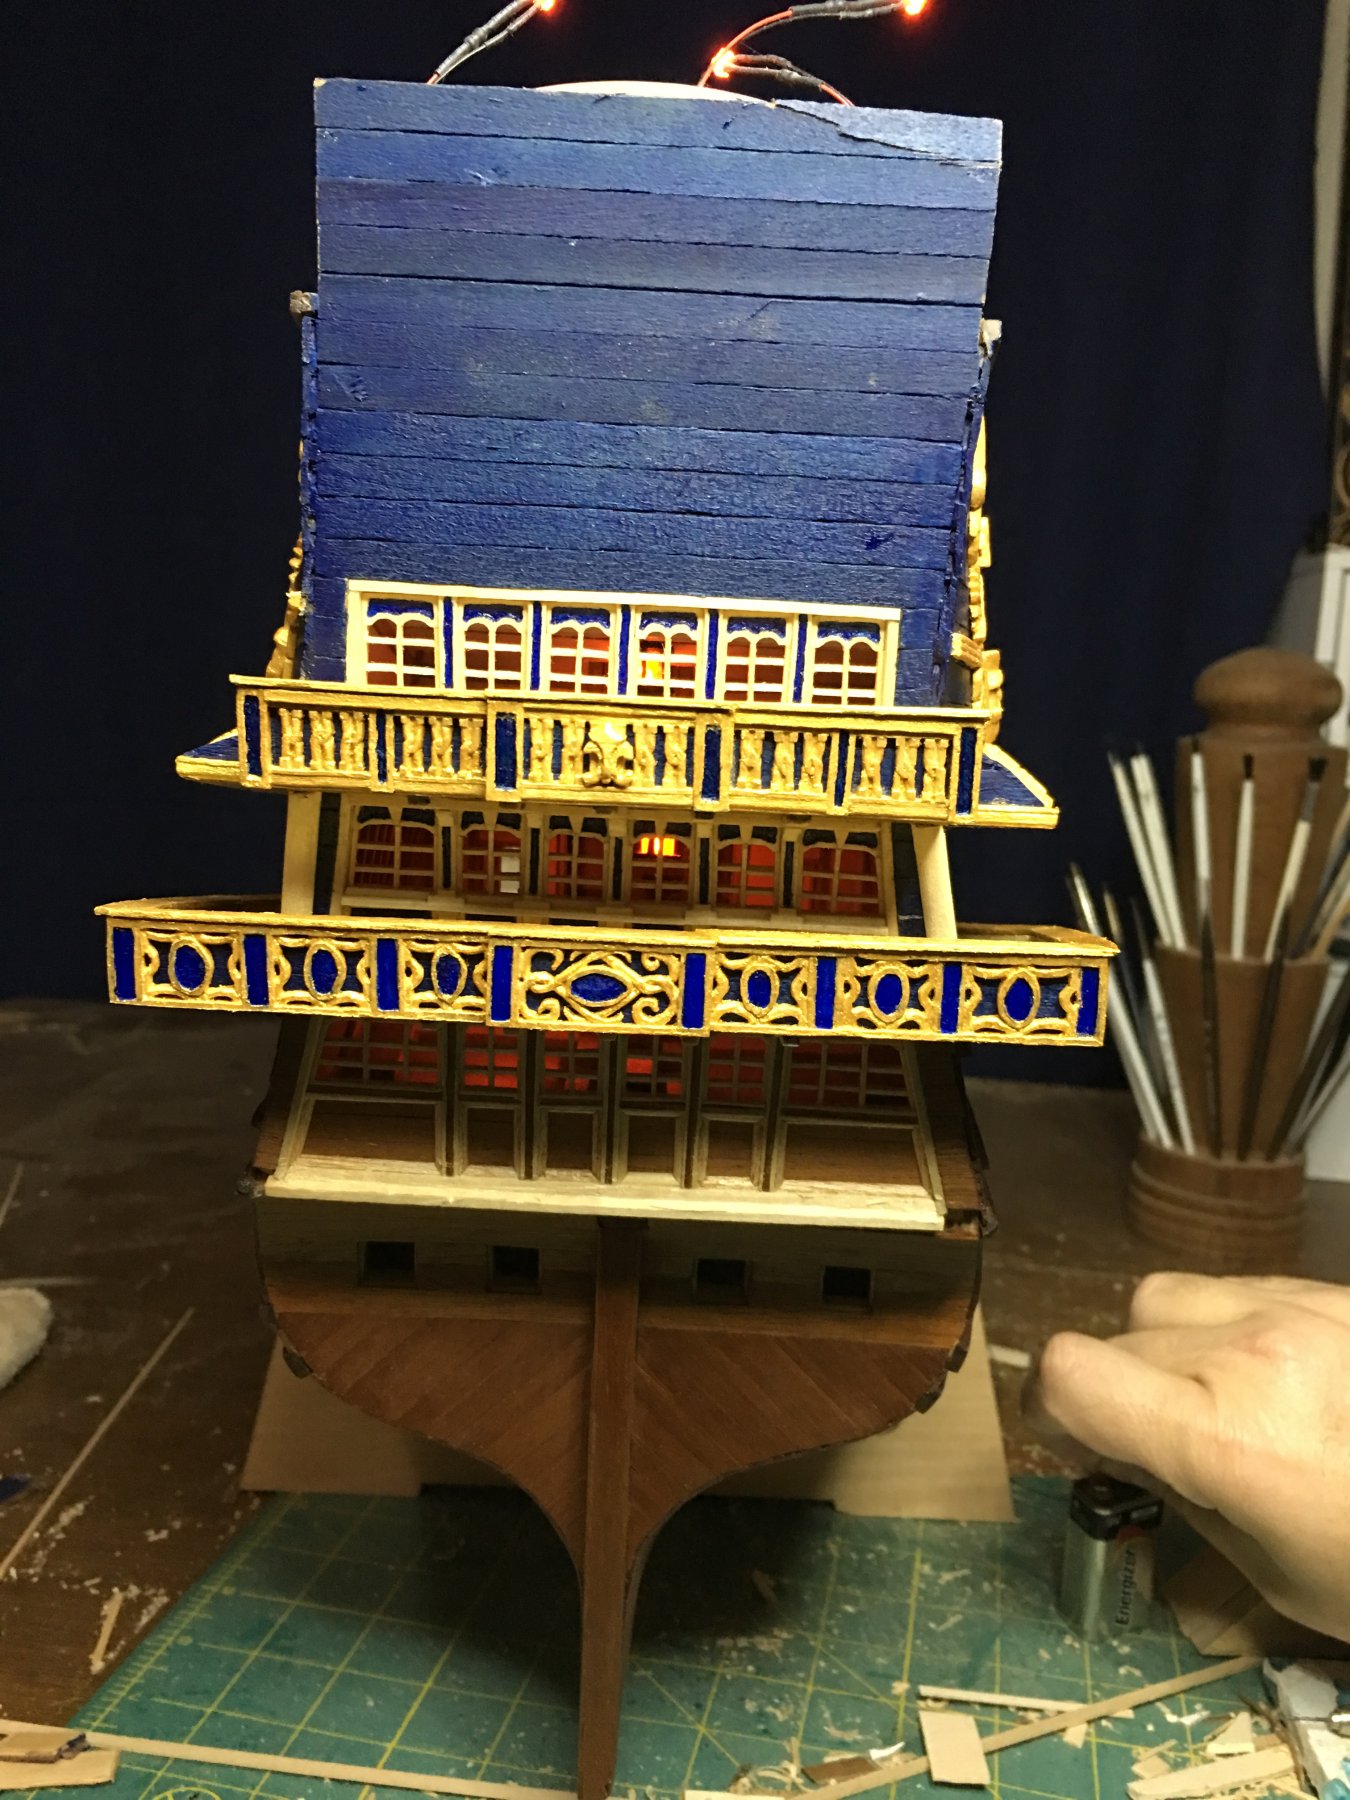
Yes, I am having to add in some additional supports due to the extra balcony space not shown on the Berain drawings. The nice part of that is I get a little more creative freedom in the design. To be honest, I am starting to have that bug in my mind that I am not going to be happy building the balconies and QGs open in the kit design that I have been following. The more I work on it and study the different drawings the more it is bothering me. Also there is the practical standpoint. This ship was built as a flagship with accommodations for the highest ranking admirals and the King himself. I have a feeling that in preparing a vessel for those people they would not have the privy hanging off the side of the ship for the King to be exposed to everyone. Even on ships decades earlier than S.R., they had enclosed QGs so why wouldn't this ship? Now, I think some of the confusion could be attributed to removable windows or even solid panels that could be opened like any of the other ports on the ship for extra ventilation. Seeing those opened up could have accounted for the appearance of open QGs. For the stern balconies, full width seems to be more common than the tiered balconies of Berain's drawing. However, again we must take into account the grand design this ship was intended for and along with the out of the ordinary cosmetic designs that would likely have been used to achieve a unique and grandiose appearance. All of these thought have been piling up over the past year and a half I have been building her and now I am finding myself quickly approaching a fork in the road. On one path I can continue on as I have been and put out a model that is more true in spirit than fact or, I can start over and take the balconies and QGs back to the hull and build closer to the Berain configuration. This is a big debate. Time and money are not the biggest concerns here. Time I have, money not so much but, while saving to resupply the wood needed for a rebuild, I can continue to move forward with the rest of the ship. There is plenty to keep me busy on so that is not a huge issue. I may pull off of the stern for a while and listen to other opinions and let em mind work itself to a conclusion. I have been wanting to start getting the canons built and maybe working on the main deck furniture and fittings will let me clear my mind. Probably just in to deep on the subject. Michael, I have not forgot about answering you! I had thought about gold foil but not given it enough thought. I think I will look into it and try it out to see how it works at this scale and on the tiny details. That would probably look much better than the paint.
-
Patrick, I understand you perfectly. The faces are kinda scary I agree. I meant to paint them a more fleshy tan color but the paint I had intended to use was dried up. i think the scary factor should lessen once they look a little more alive!
-
It may have been a bad batch. I've had that happen at work where the stuff has sat on a shelf for too long and is no longer good. Air temp and or humidity could also be a factor. Dirt on the surface before applying or as you say, bad paint. Another thought, how long did the paint cure before applying the sealant? It may not have been fully dry and that could cause the staining as well as cause it to separate from the board.
-
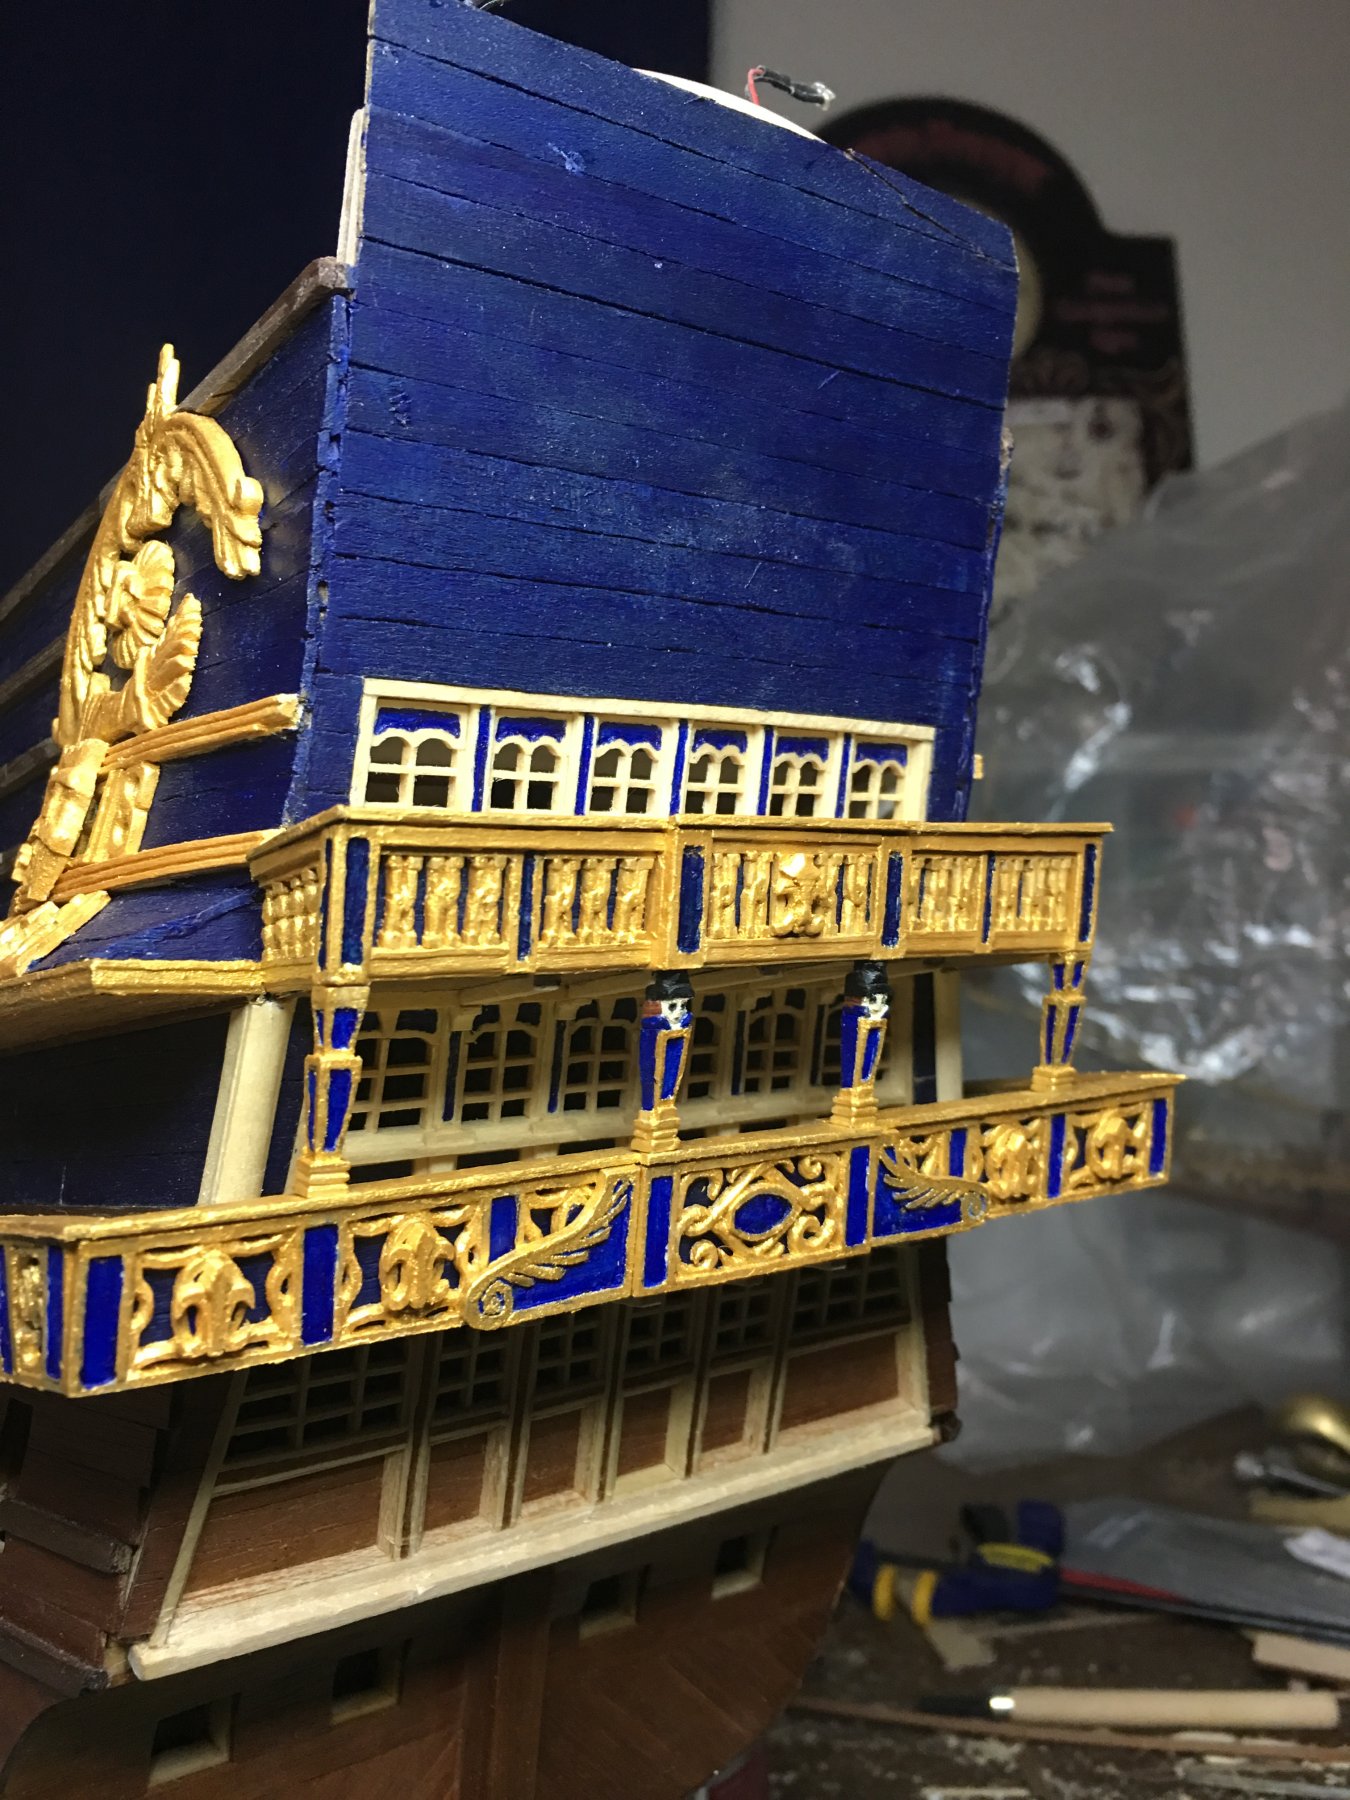
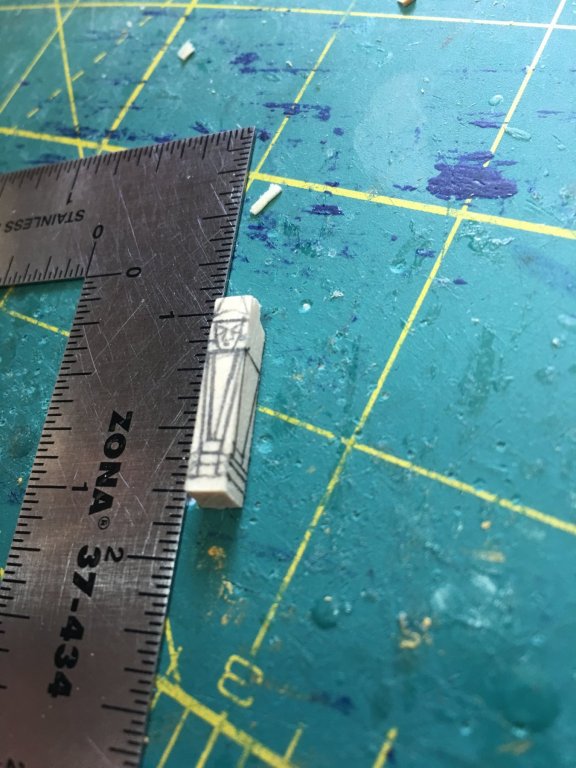
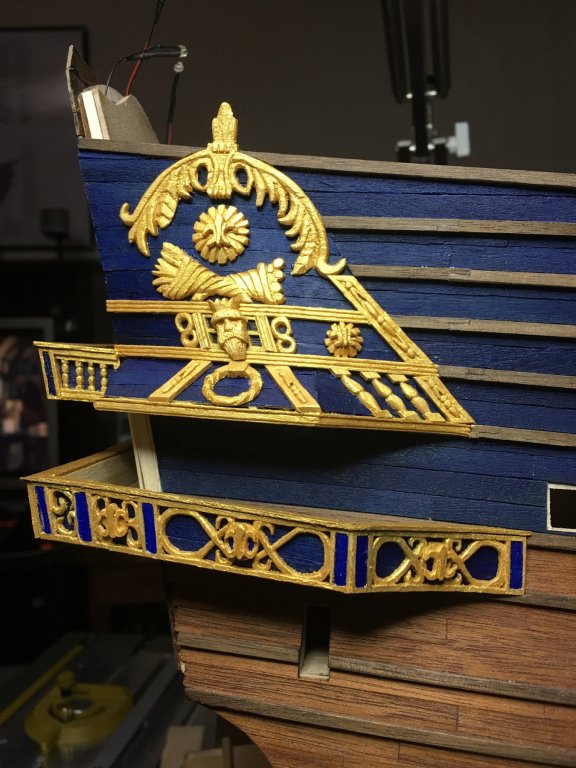
I was originally going to make all 4 posts the same but looking at the Berain drawing, (no my design does not completely follow his) he has the 2 balcony supports with busts carved on them. Wanting to more or less see what I could even accomplish I decided to make these 2 posts attempt to resemble what he shows. Honestly, I have mixed feelings about the end results. I am letting them sit in place for a while and see what the response is from both my fellow builders and my own reactions. The nice thing about these pieces unlike so many others is that I can easily pop them out and replace with something else later if I change my mind.
-
The port enhancements do look fantastic! I was always told that one of the best ways to know that something was handmade and not mass produced on a machine was imperfections. Maybe they just told me that to not hurt my feelings about shoddy work... In any event, as it has been stated, those tiny differences will soon fade into the background as more and more of the ship comes together. As to the misalignment mystery, I wonder if something as simple as the the thicknesses of the removed materials caused a tiny misalignment? When we are working in such a small scale and we cut 1/32" & 1/64" or smaller still of material off and sand and file even the tiniest of fractions start to add up. Combine that to the various curves that are represented on a ship and that trimming an arc and keeping it aligned is far more difficult than trimming the same amount on a square item, it would not take much to throw off an alignment by the amount you are seeing. Or it could just be a bad molding from the factory 40 years ago... In any event, she is looking good and your hard work is paying off with each installment!
- 2,699 replies
-
- 2
-
-
- heller
- soleil royal
- (and 9 more)
-
Hmmm... that is an interesting reaction. While I like the green look to the water, like Henry said, you may need to add an anchor detail to simulate closer to shore as the easy fix. I've not had that problem before either but I've not used the sealant approach to water yet. I've only had to simulate small ponds and streams on my model railroad in which I used Woodland Scenics Realistic Water and related products. Great for those uses but, could become expensive for a large display like yours. You might try using a different paint and sealant combo on a test board and see if you get different result after a few weeks. Maybe also try a different sealant as that one may have been expired. I would try a couple combos to see what the results are before digging into tearing up what you have. As for it creeping onto the boarder, I think that is just the residue that smeared over the edge more than it transferring through the paint itself. If you redo it, mask off the boarder and then remove the tape after you are done smearing the sealant around but before it hardens. That should take care of that problem.
-
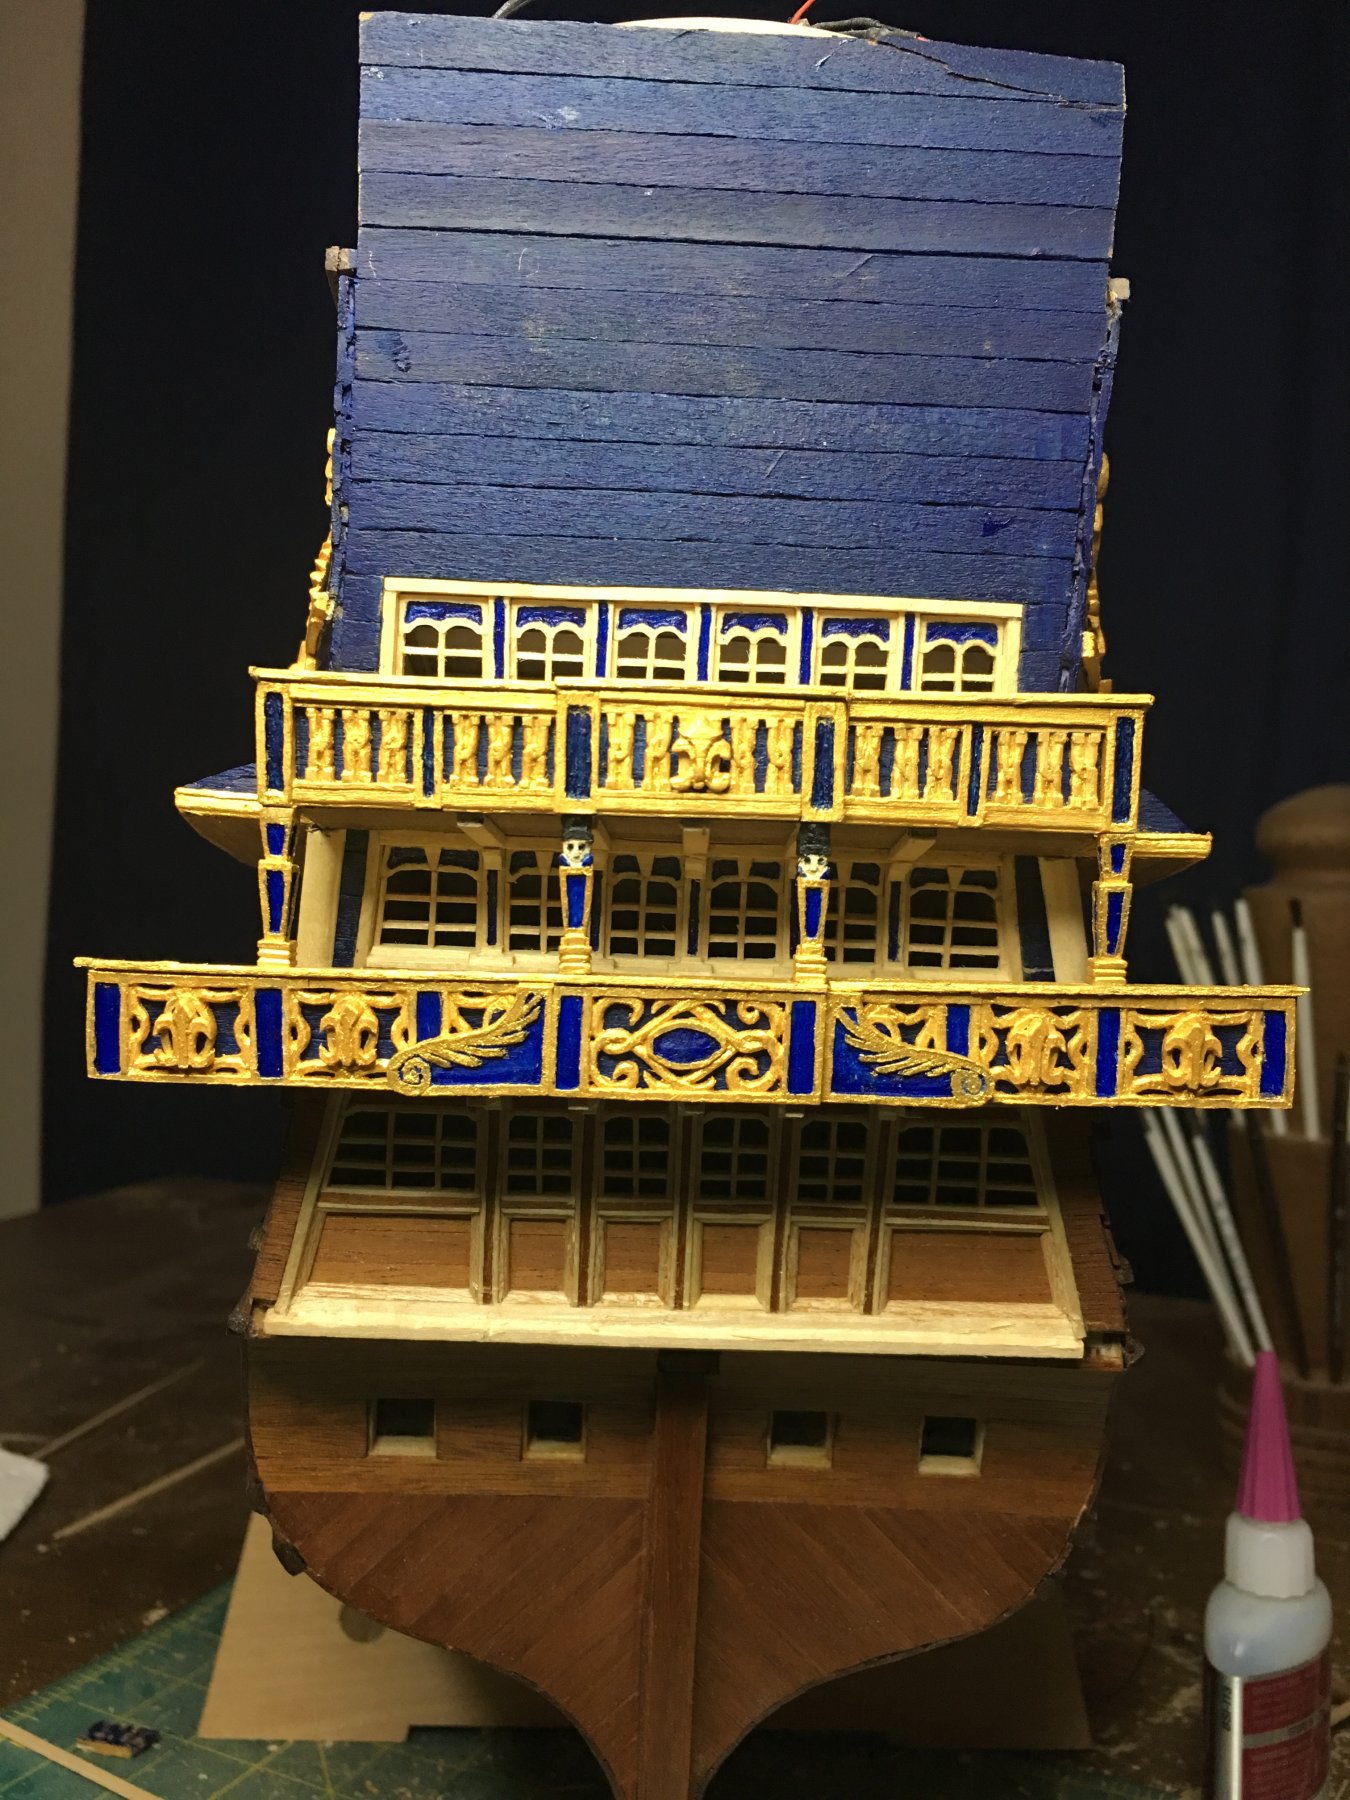
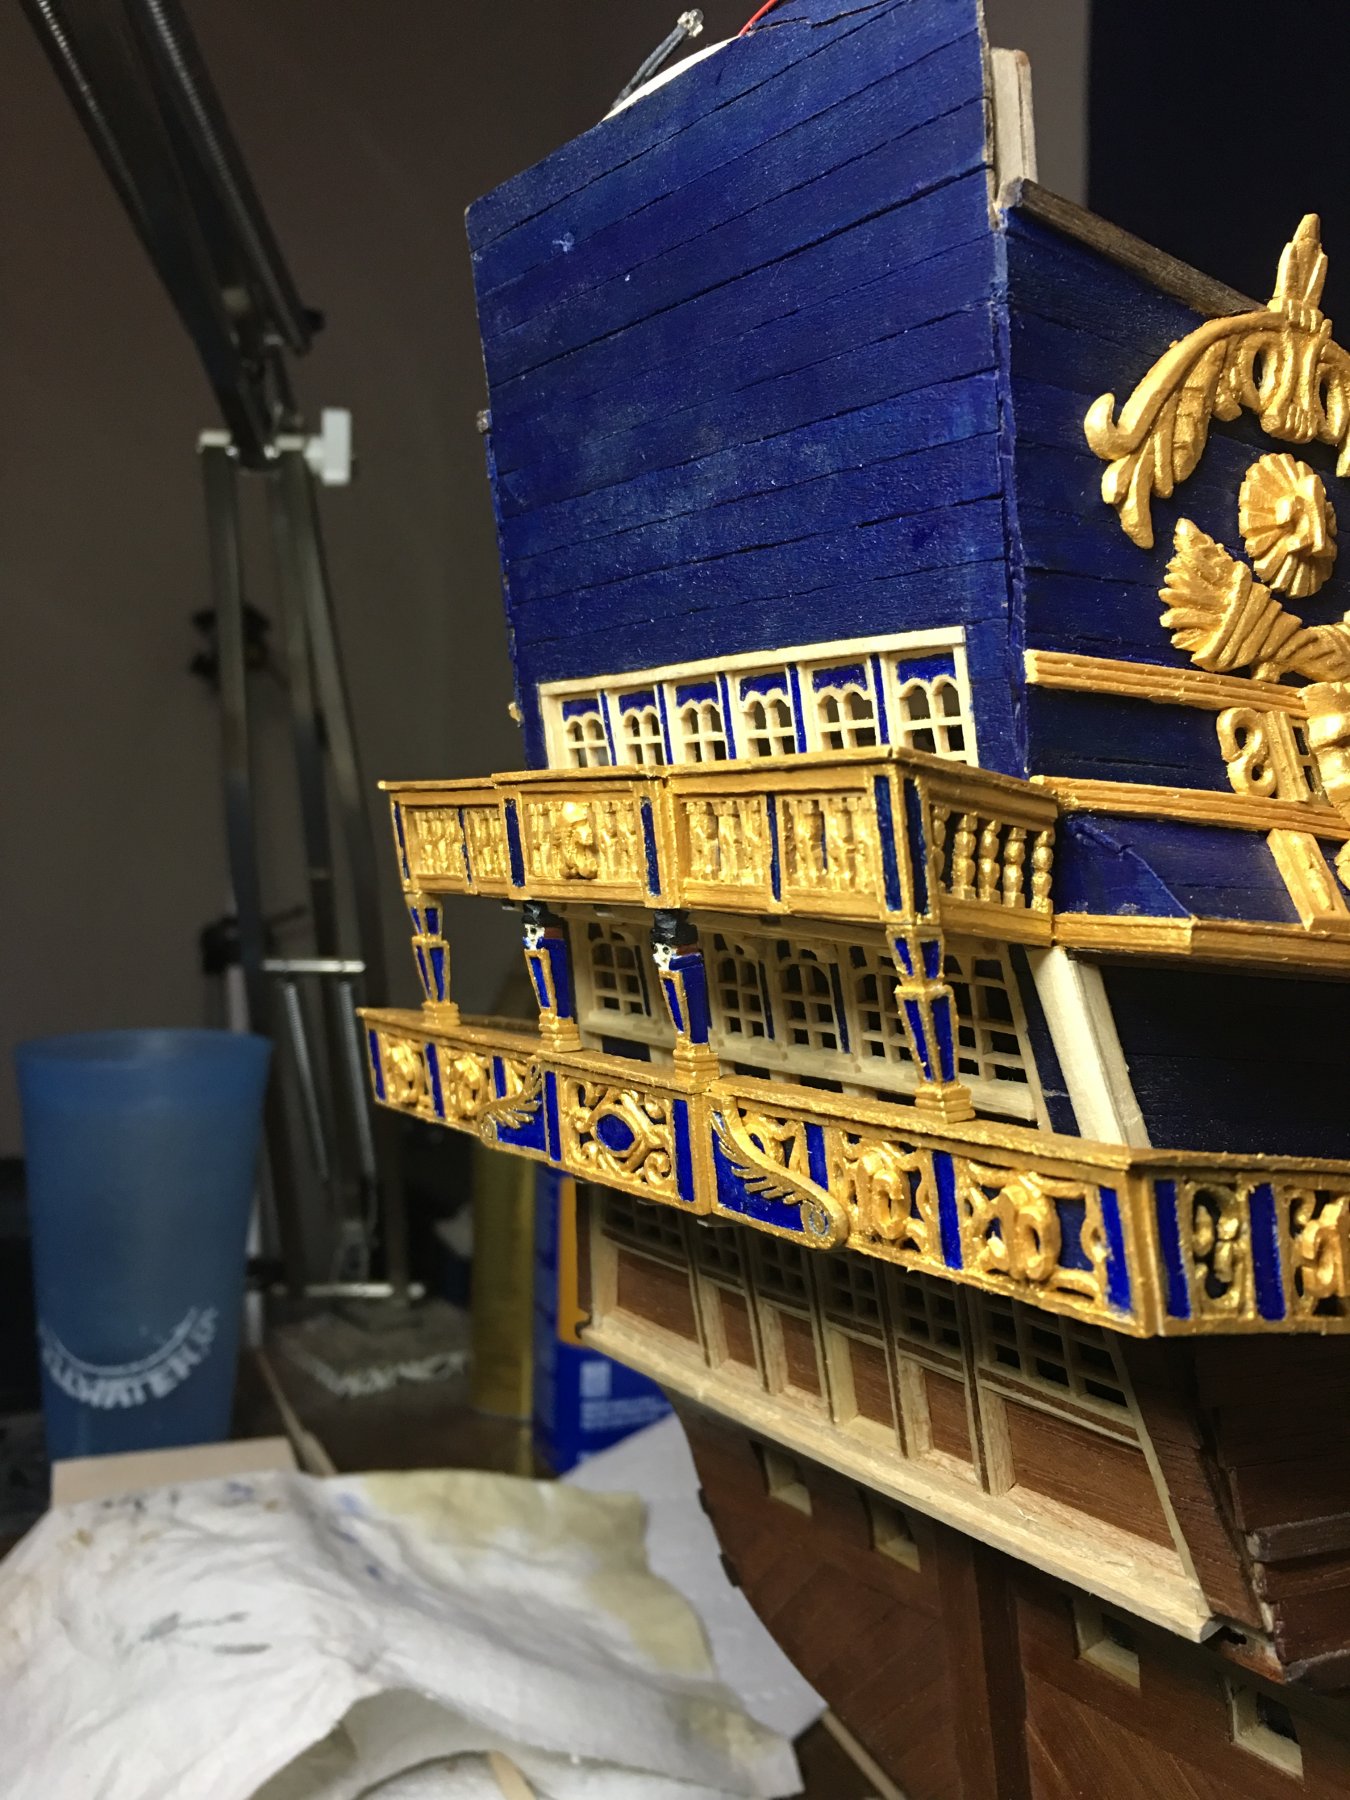
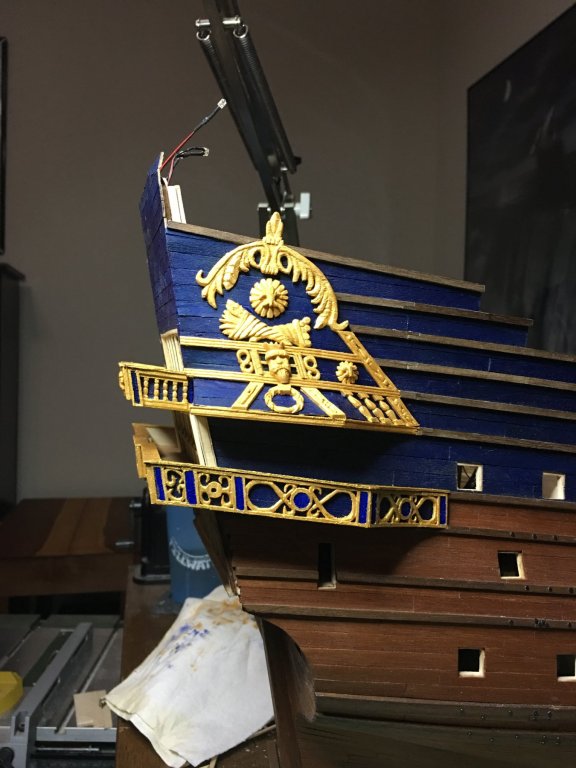
Thank you all for he comments and likes! It it has been slow going this past week just due to the nature of the work. I’ve been carving the support columns between the balconies. This has been largely guess work as to appearance partly from fuzzy images and partly because of my skill set. Regardless of both of those issues, I have turned out the first four columns! I’m still having a hard time with facial features though a lot of that is the fact that the face area on the two center posts are only 4mm x 4mm so there is not a lot of room to work. Lessons for the future continue to add up which is good. In addition to buying better quality wood for the carvings, I need to expirament with different paints. The acrylics I am currently using, especially the gold, tend to be too heavy and thick for the tiny detail work needed. Using thinner paint though tends to bleed through the porous woods that I have been using to carve. Going to have to play around with some different options to see what I like best. Especially for the day when I attempt the Vasa. (It’s on the list but still a couple of builds away ) I think if I decide to build her again in the future (likely) I will possibly try to only use natural wood colors and only have paint as accent colors and then only on a few things I really want highlighted. Won’t be color accurate but I am a big fan of how the natural wood looks and I have seen some very impressive models done that way. Okay, enough of that, here are a few pictures!

- 961 replies
-
- 10
-
-
That ship's boat is really impressive! I like seeing it rigged as that is rarely done. Looks like the time away has been beneficial.
- 37 replies
-
- 1
-
-
- sovereign of the seas
- model space
- (and 1 more)
-
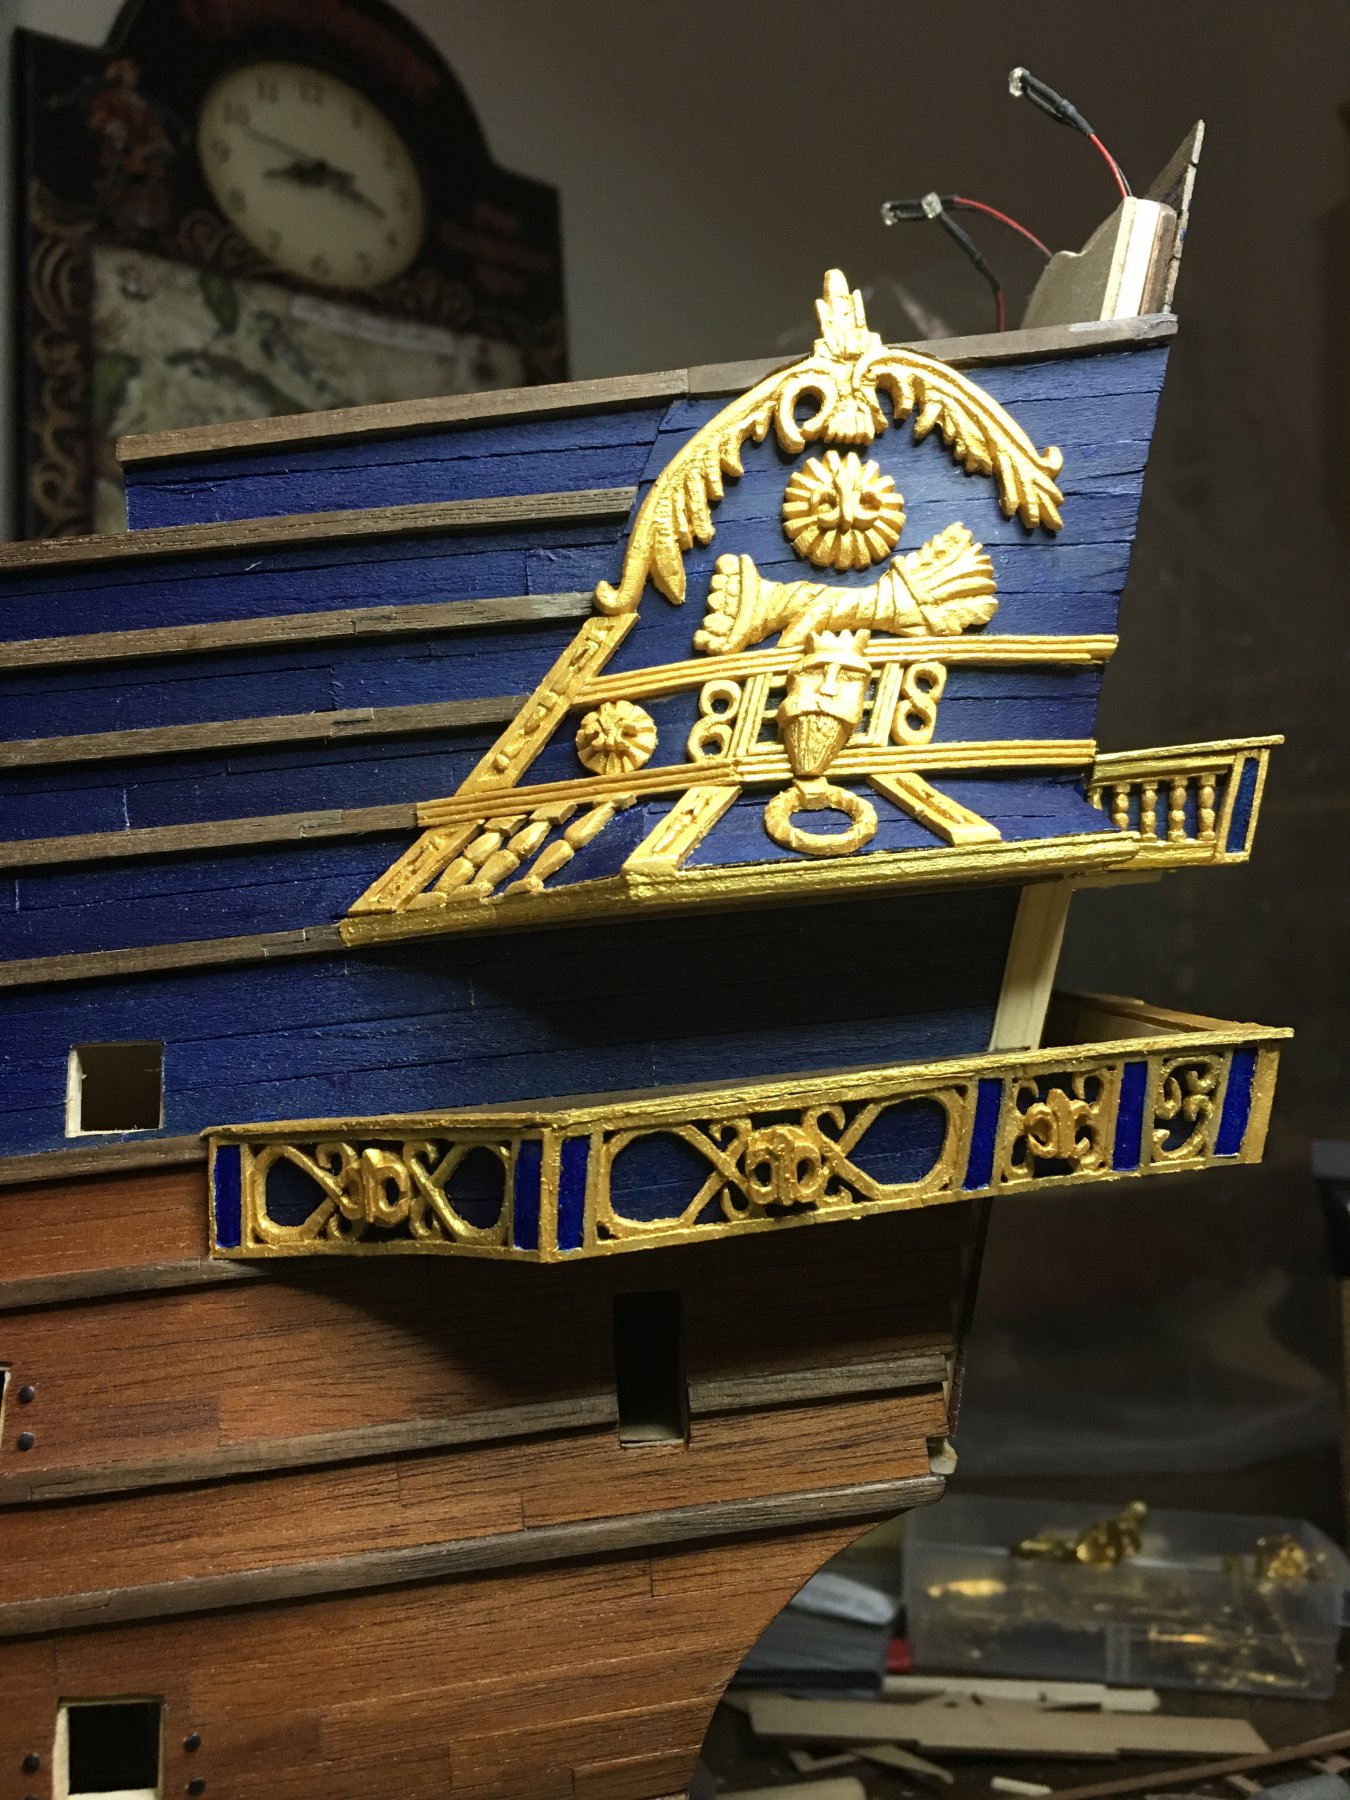
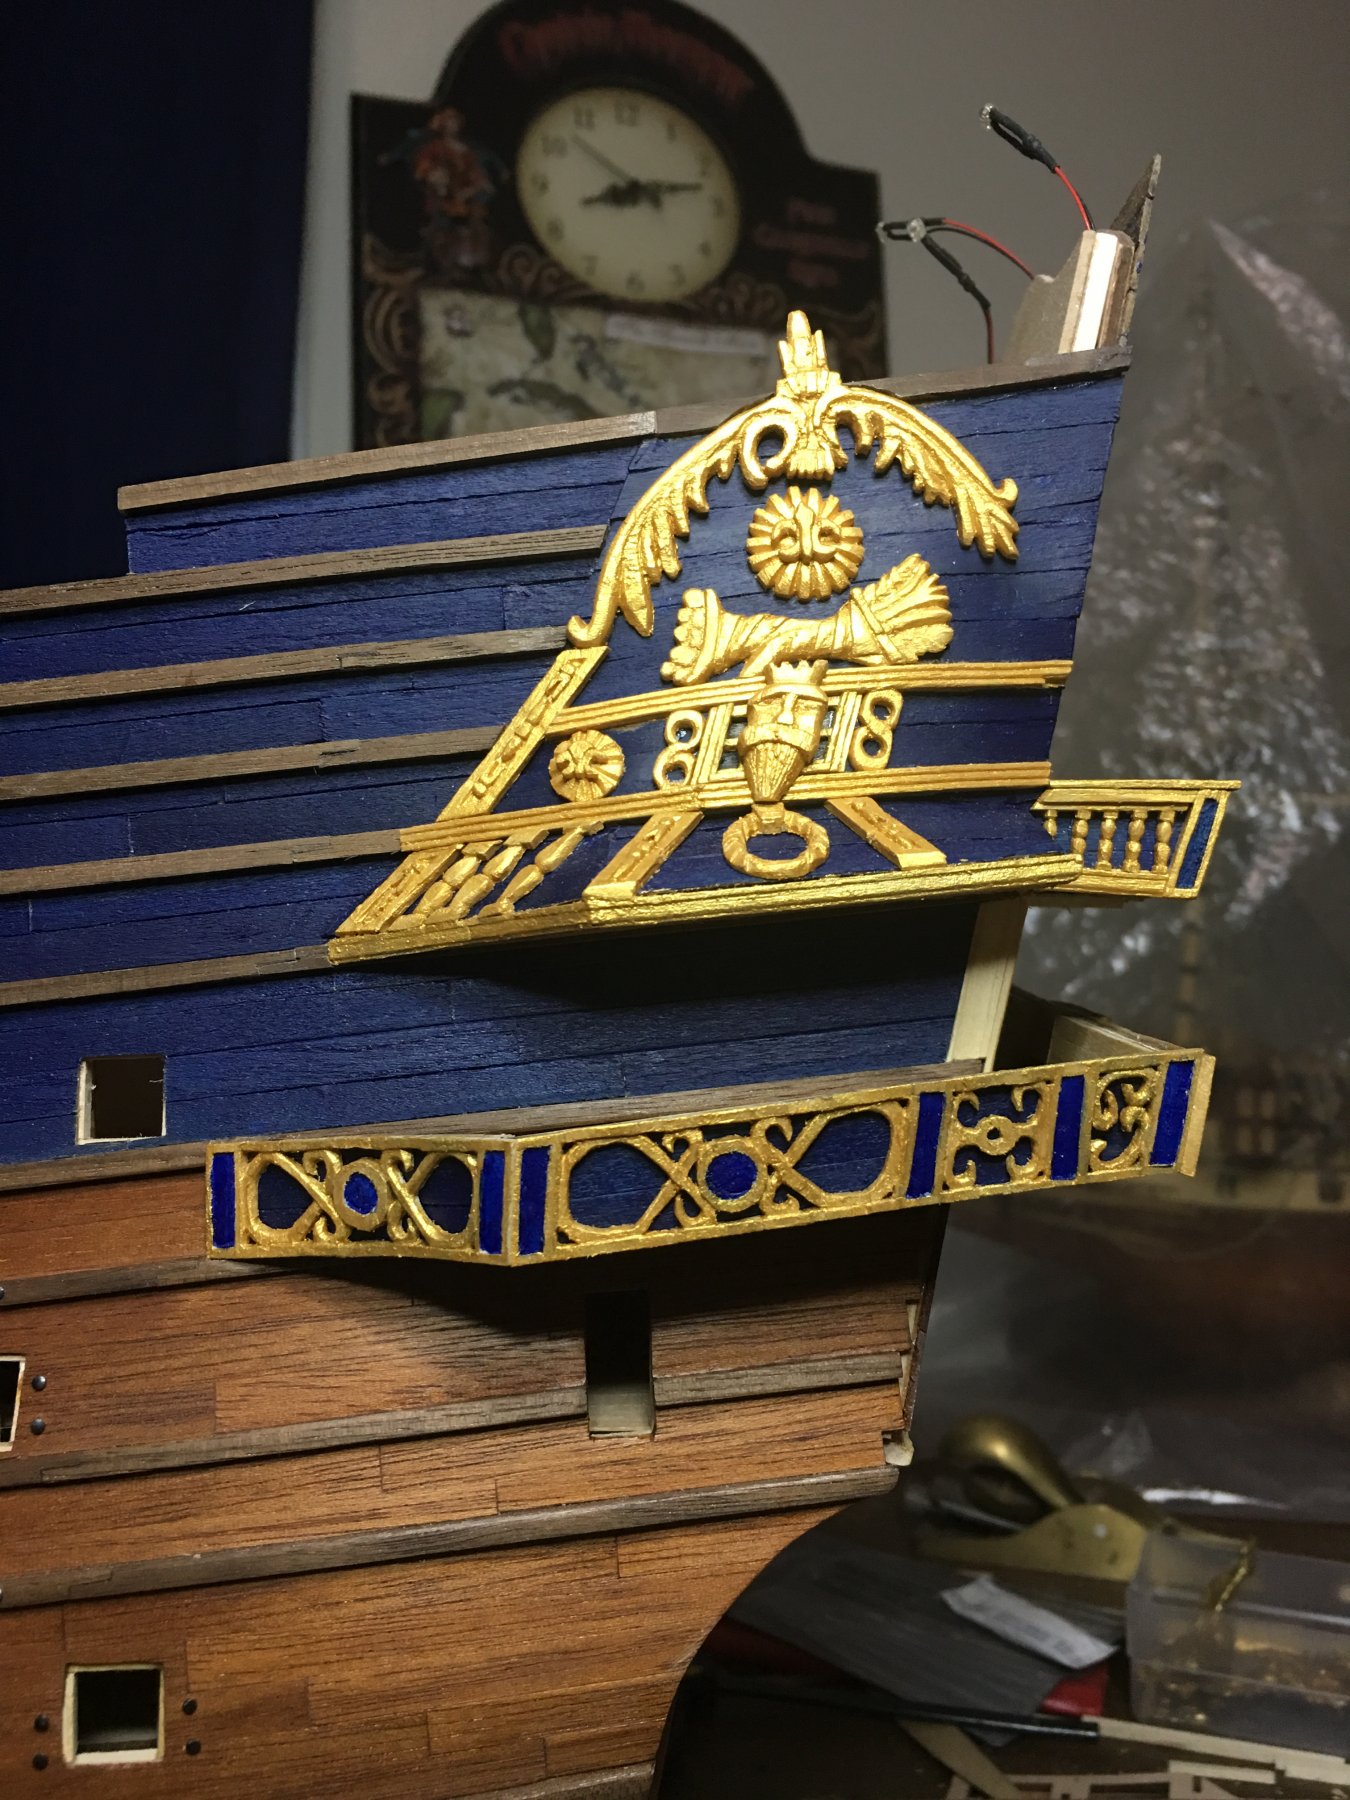
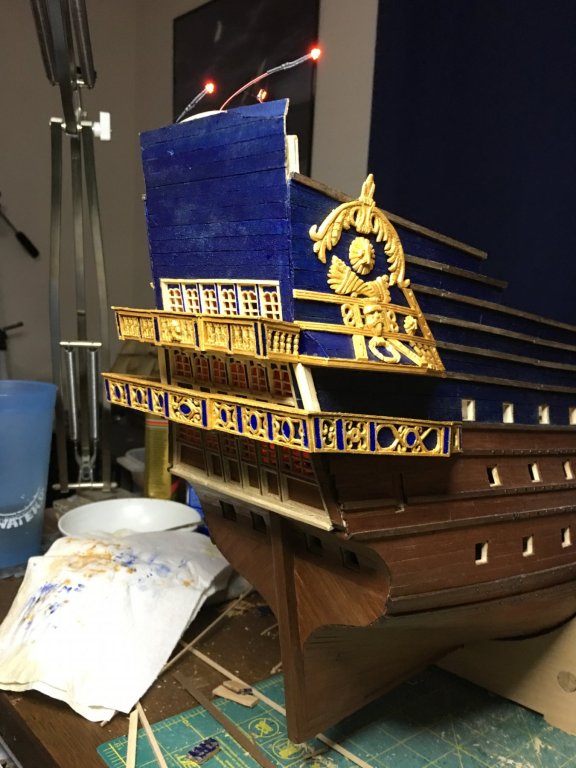
10 more fleur-de-lis have been added around the balcony railing. Next up are the support columns between the balconies.

-
I will second the nice furled sails and the decision to keep them furled on the courses so they do not block all the details of the deck. Those ratlines look good and I'm sure that is a huge relief to be done with them!
-
Those are some very nice details you have added. I really like the lumber rack as that is something not often seen on the cross section builds.
-
Thank you all for the comments, likes and stopping by. Michael, I am glad I decided to try carving also. It slows the build down a lot but, in the end it is worth it. I wish I would have maybe started on a smaller ship with a few less carvings but, with ship modeling, I have never been one to start off small. You should give it a go. The relief style carvings that I have been doing so far really are not too bad. I'm currently much more worried about doing the full figured carvings. Those are still intimidating to me. One thing I would highly recommend is to spend the money on good carving wood. Box wood or a fruit wood like apple or pear. Maple is good too if you can find some clean pieces with little to no grain. I've been using bass wood for a lot of mine, and while it is working good for what I have done and is great for learning, it is very soft, can split easy and doesn't take tiny details well. When I make my next wood purchase I want to invest in some pieces for better carvings. Popeye, I'm looking forward to having those columns in. Their building is fast approaching and I am hoping with their install they will shore up the upper balcony and keep the spacing between the two more consistently even. Tom, I do not know if I have a simple answer for you. I like to try to plank where planking should be instead of using solid blocks. Partially for appearance, though that can be easily fixed with scribing the planks onto the solid wood but, mostly it is sheer stubbornness on my part to see if I can do it. This one quickly became a victim of not fully planning. Originally, I had planned on having the window opened into the cabin space. However, I forgot about it during early construction and by the time I was framing and getting ready to place the window, it dawned on me that I never located and cut the bulkheads to the interior. I debated over a glass of rum and decided that those would become dummy windows instead of real ones. I decided to still see if I could plank over the framing as that was still an unknown but would have been more important in I was building a working window. So that is what I did. Would I go that route again? If I was going to put in the actual window I would. It was not really that hard. Otherwise a solid block shaped to fit would be just fine and much easier. As for the lower piece, I'm still working it out. I think for it, I will probably use a solid filler piece and plank over that.
-
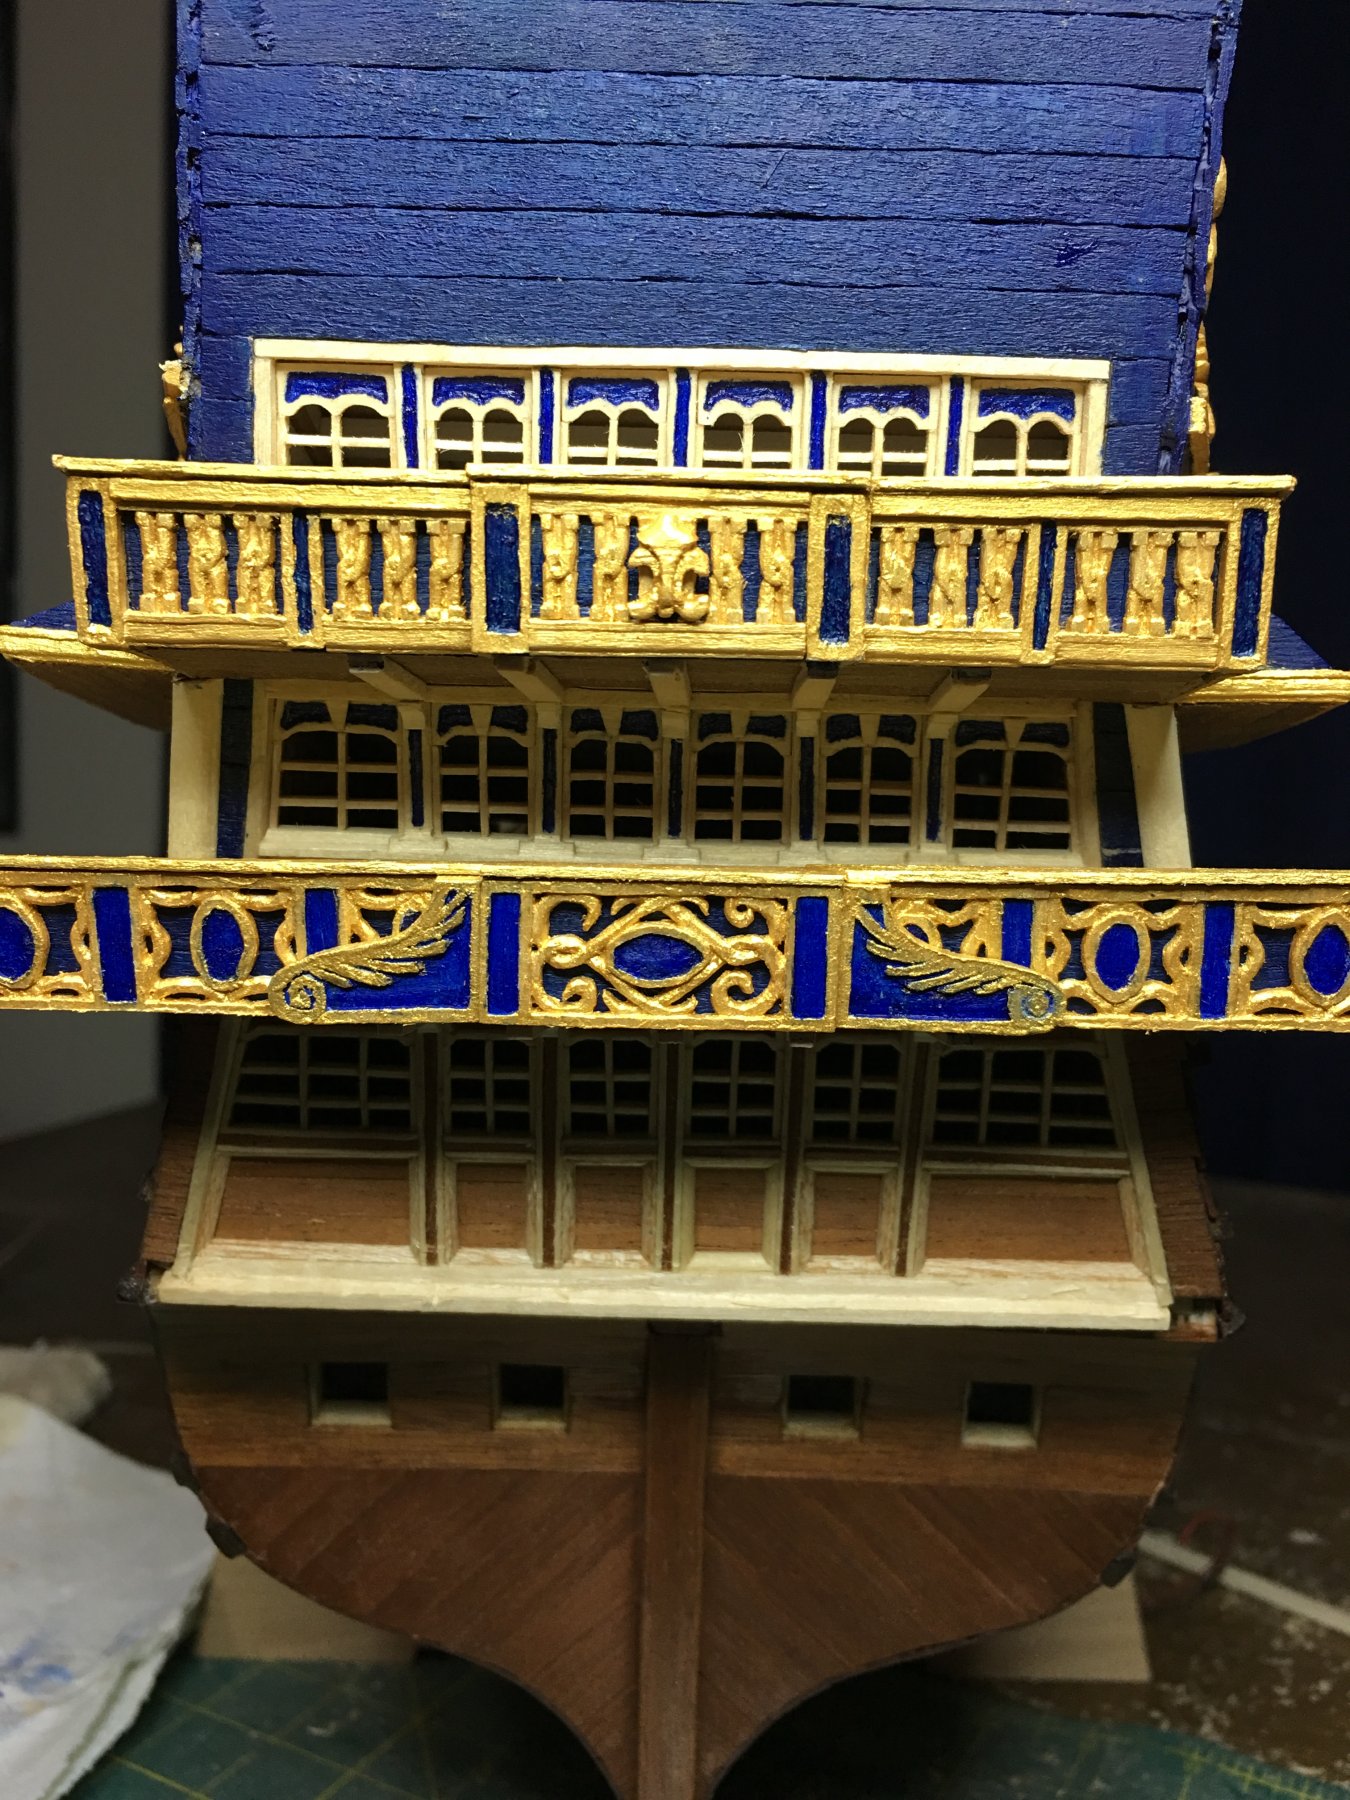
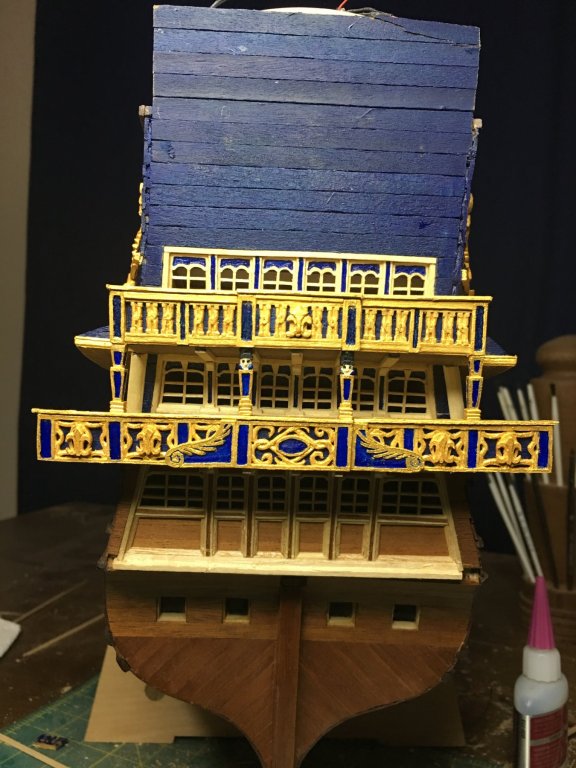
Middle balcony is coming along with the bulk of the decorations now in place. Got some more details to add and also support columns between the two balconies. Glad those carvings are done as I am ready to move on to the next painstaking set.
-
Looking great. I'm glad to see that you are putting in all the extra little details. They always enhance the model and even when they are not seen, they enhance understanding of how the ships were constructed and equipped.
-
Vic, I'm planning on a curio cabinet design to display La Couronne in. The Admiral is needing a place for her collectibles also so I figure I can do both in one unit to save space. I'll post pictures of it when I get it going. kpnuts, Thanks for the kind words and great to have you along on this build. Always nice to have builders of the same ship together to help each other learn and grow.
-
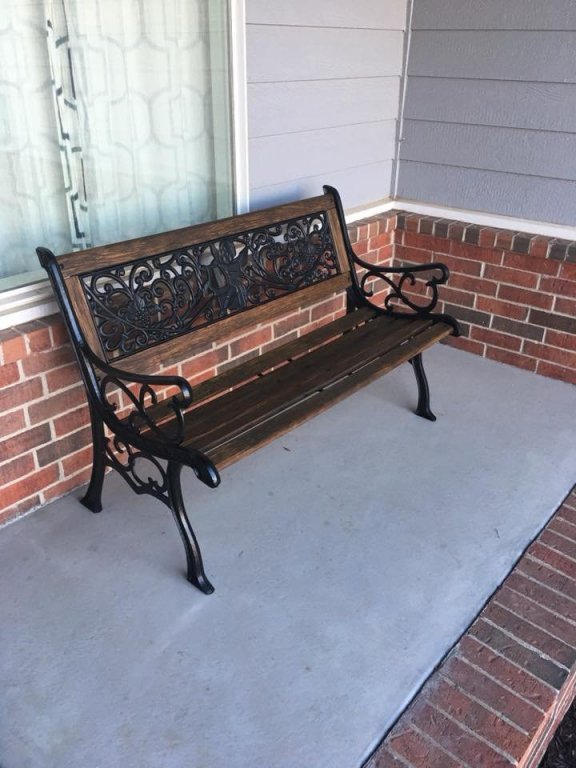
Not much to update on the ship from this weekend. Weather was very nice for most of it and so I spent a lot of it out with the Admiral and the rest in the wood shop finishing a project and getting ready to start a new one. I did start on fixing the upper balcony last night though. I got one side trimmed out and should have the other side done tonight. Then I can re-position it, touch up and return to decorations. Here is what I worked on this weekend. Last fall I started to restore our porch bench as both the wood and metal were in rough shape. I disassemble it last fall, stripped and sanded down the wood then after confirming the wood was still sound, I applied a new stain coat and sealer. The metal I took to my dad's auto shop and sand blasted them bare, sprayed primer and then painted with an exterior paint coat. I ran all the connecting hardware through a wire wheel to remove the rust and painted them as well. Finally after months of it sitting in pieces on one of the benches in the shop, I got it reassembled this weekend and returned to our porch where it belongs. Now I have some bookcases I need to build for the Admiral and I may be able to work in my display case for La Couronne sometime soon.
-
The parrel looks good Henry! As for rigging them, I've used Anderson's 17th Century Rigging book as a guide for that. I do not remember precisely what he states in it and I am not at home to look it up. If you do not have that book, first I would highly recommend it and secondly, I would be glad to share what he says in it for the parrel when I get home tonight. Even with it, there is still room for variances and how/where the lines attach to the deck I am uncertain about. If you do have the book, then this post is relatively useless to you other than to say that I share in your confusion!
- 196 replies
-
- 2
-
-
- plastic
- soleil royal
- (and 2 more)
-
Rigging the shrouds is a miserable and very tedious job that I think most of us can say we hate doing. However, they are a very important part to the rigging and one of the signature items on any tall ship. Glad to see you back at it and like you said, they do get easier and better with repetition. You will have a lot of repetition... Hang in there and get through the shrouds. You will be on the downhill slope of the rigging then!
-
SS Wilton Castle by kpnuts - 1/32
EJ_L replied to kpnuts's topic in - Build logs for subjects built 1901 - Present Day
You are making some nice progress on this build. I think I'll stick around to watch it as I always enjoy seeing a model of a ship not commonly shown on MSW. -
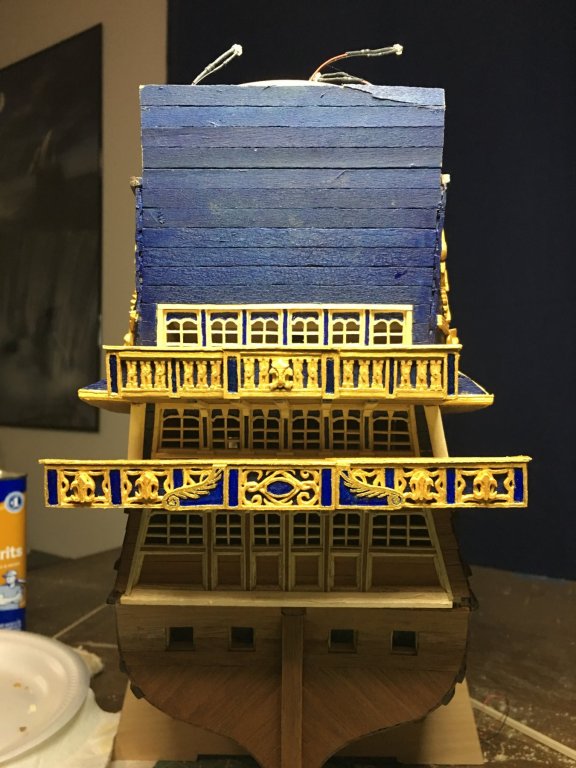
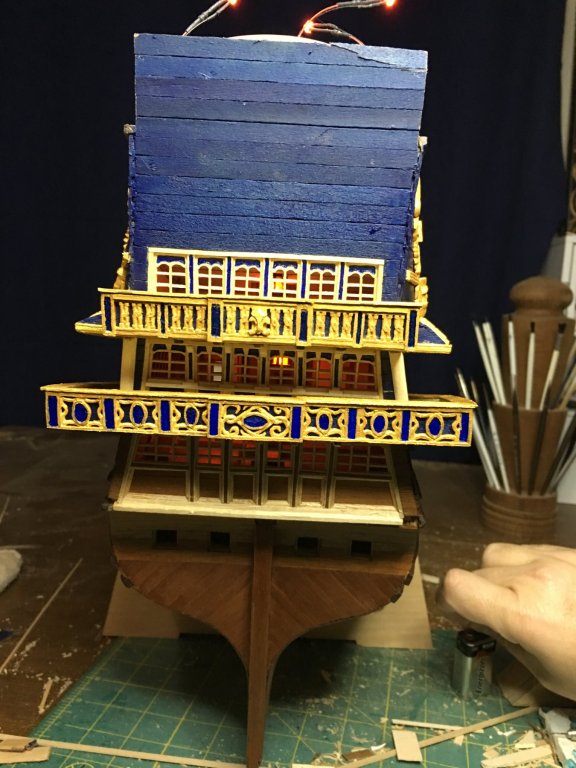
Wow! I knew the upper balcony was sagging but when I look at the picture on my computer screen compared to my phone when I uploaded it, that is indeed bad! I knew I was going to have to adjust it as I could see something happened to push it down on the aft side. I think when I made the side panels I may have cut them at the wrong angle which has forced the aft end downward and become more noticeable now with the middle balcony in place. Should be a relatively easy fix to trim back the sides which will hopefully allow the aft end to raise back up. It never ceases to amaze me how you can stare at something for days on end and miss things until you look at them in a picture!
-
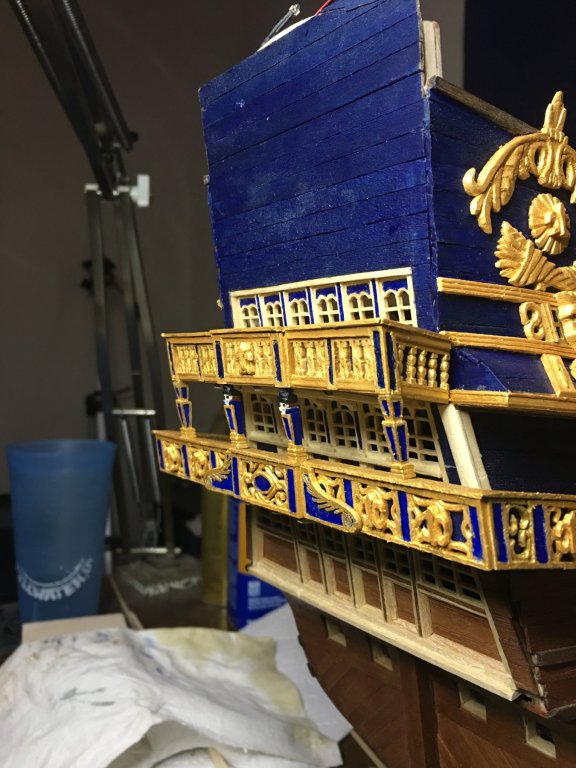
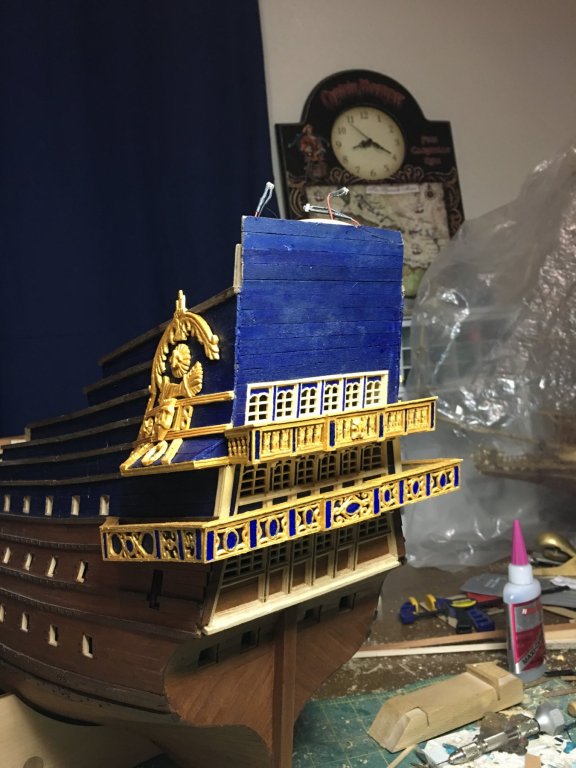
Another section of decorations have been added. Now to make the other side look the same and then I have to create a lot of fluer-de-lis. As always, thanks for stopping in, the nice comments and likes!