HOLIDAY DONATION DRIVE - SUPPORT MSW - DO YOUR PART TO KEEP THIS GREAT FORUM GOING! (Only 13 donations so far - C'mon guys!)
×


Fright
-
Posts
562 -
Joined
-
Last visited
Content Type
Profiles
Forums
Gallery
Events
Everything posted by Fright
-
 I just came across your build and I'd like to congratulate you on a fine piece of workmanship !
 -
E.J. Enjoy your reading. The work on your ship is really amazing and shows off some of your excellent skills!
-
Congratulations on the hull !!! 🥂 Looking forward to seeing your progress.
- 104 replies
-
- 1
-

-
- constitution
- BlueJacket Shipcrafters
- (and 1 more)
-
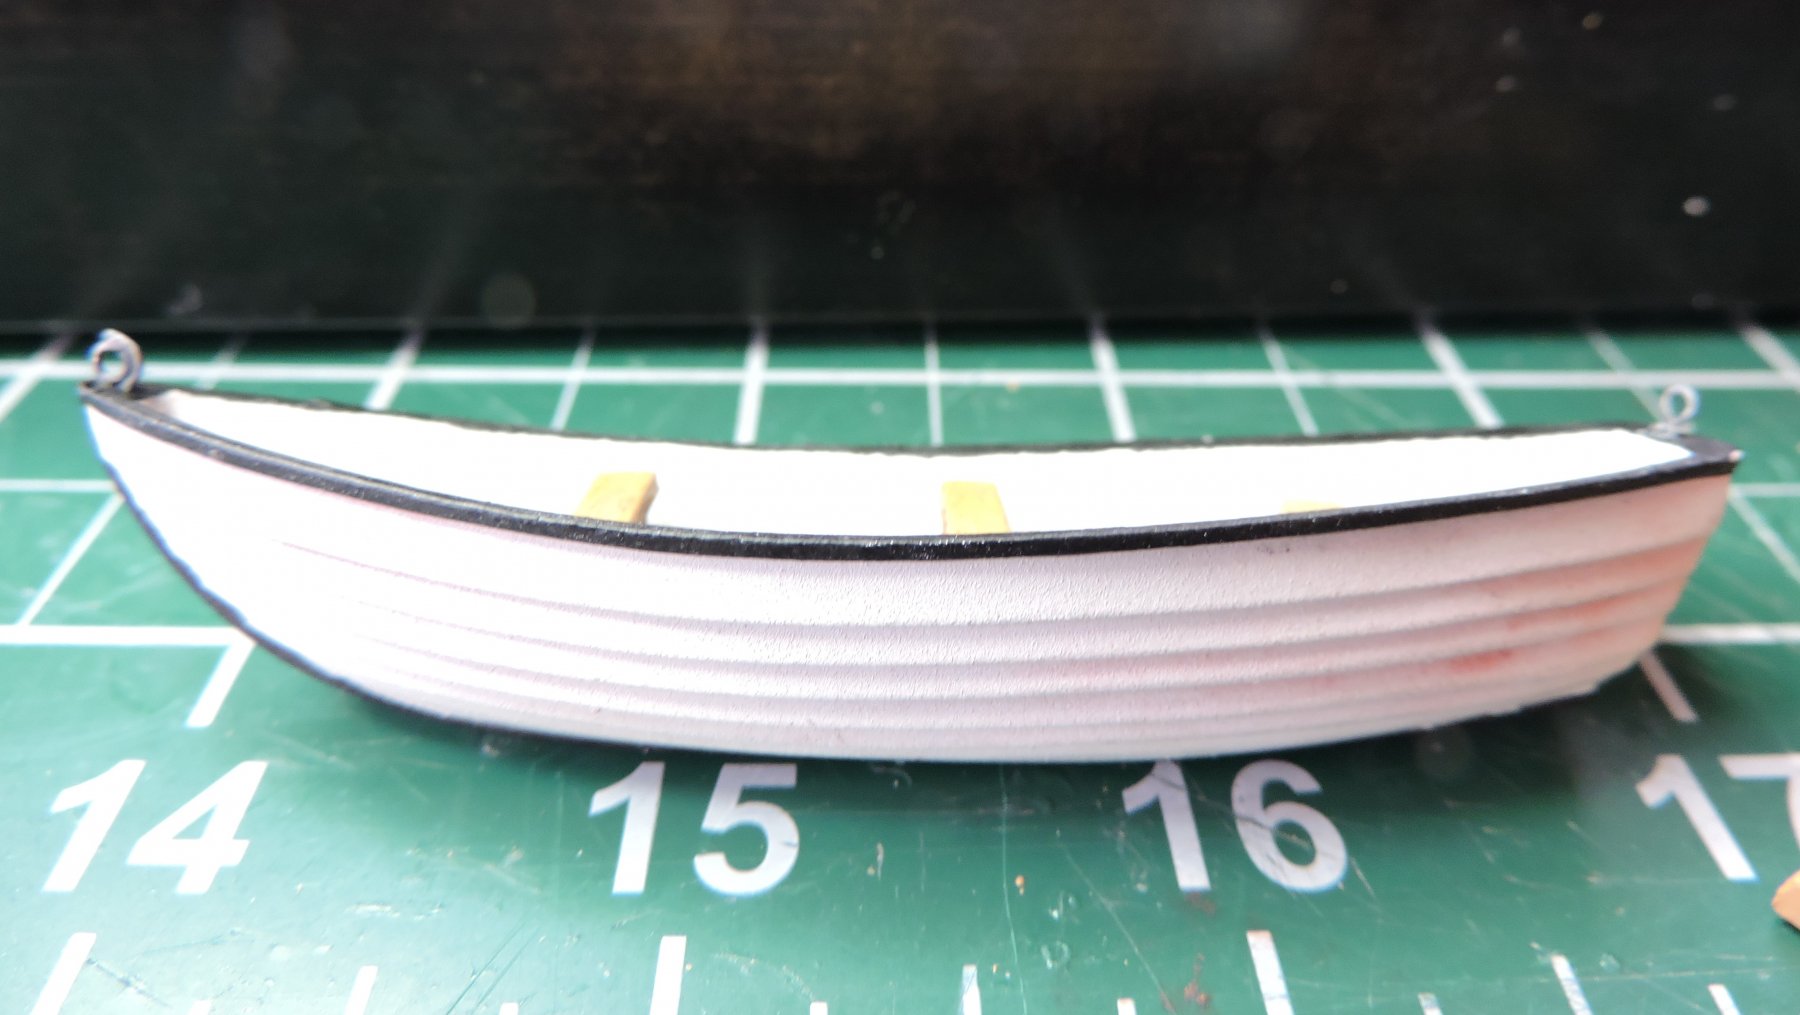
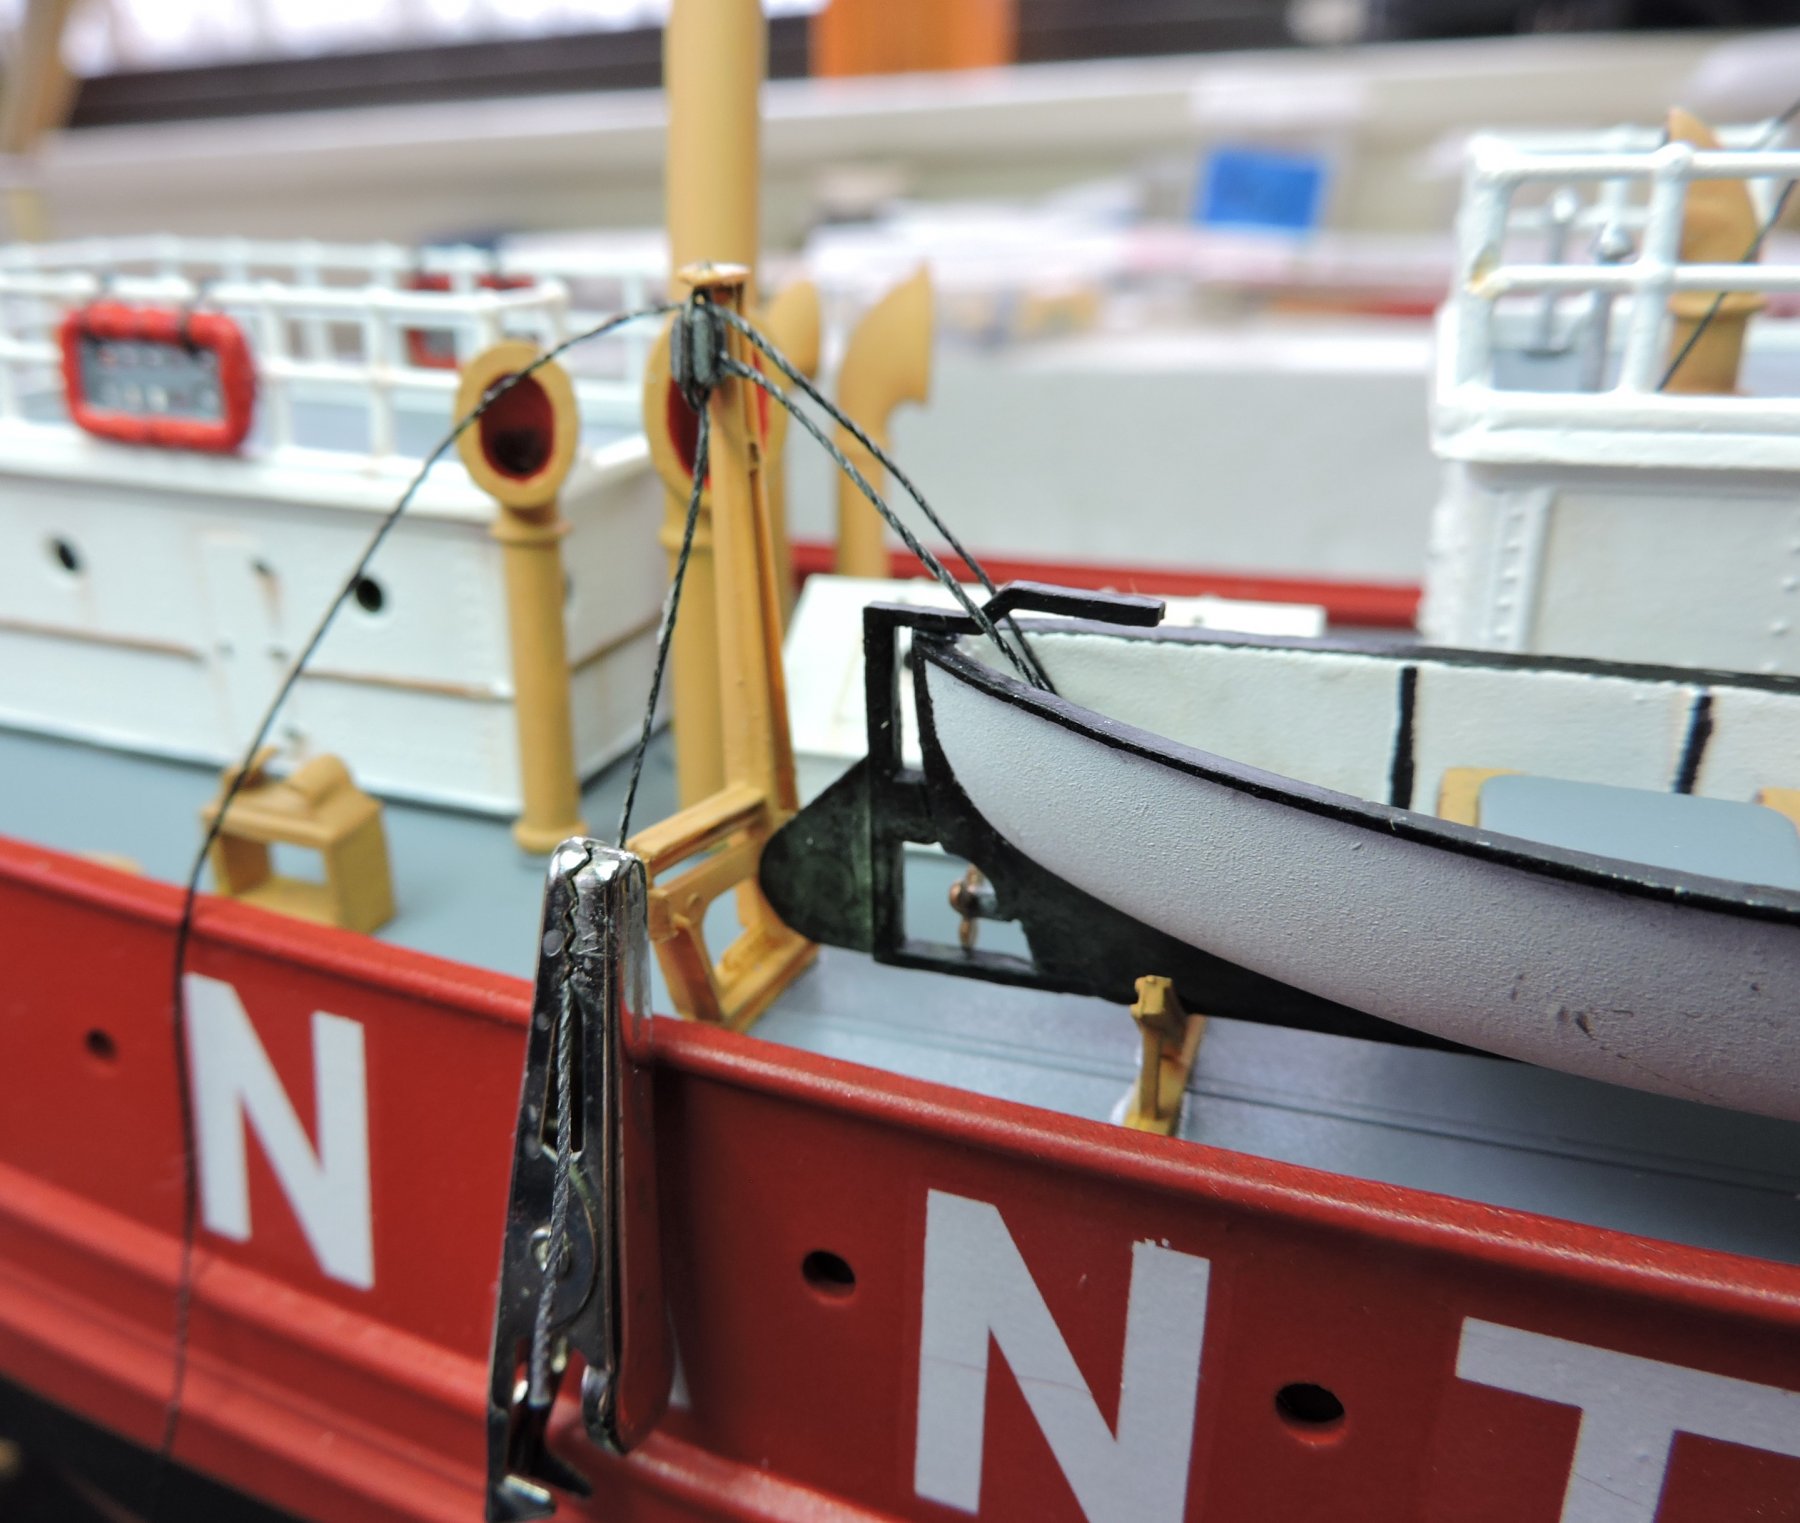
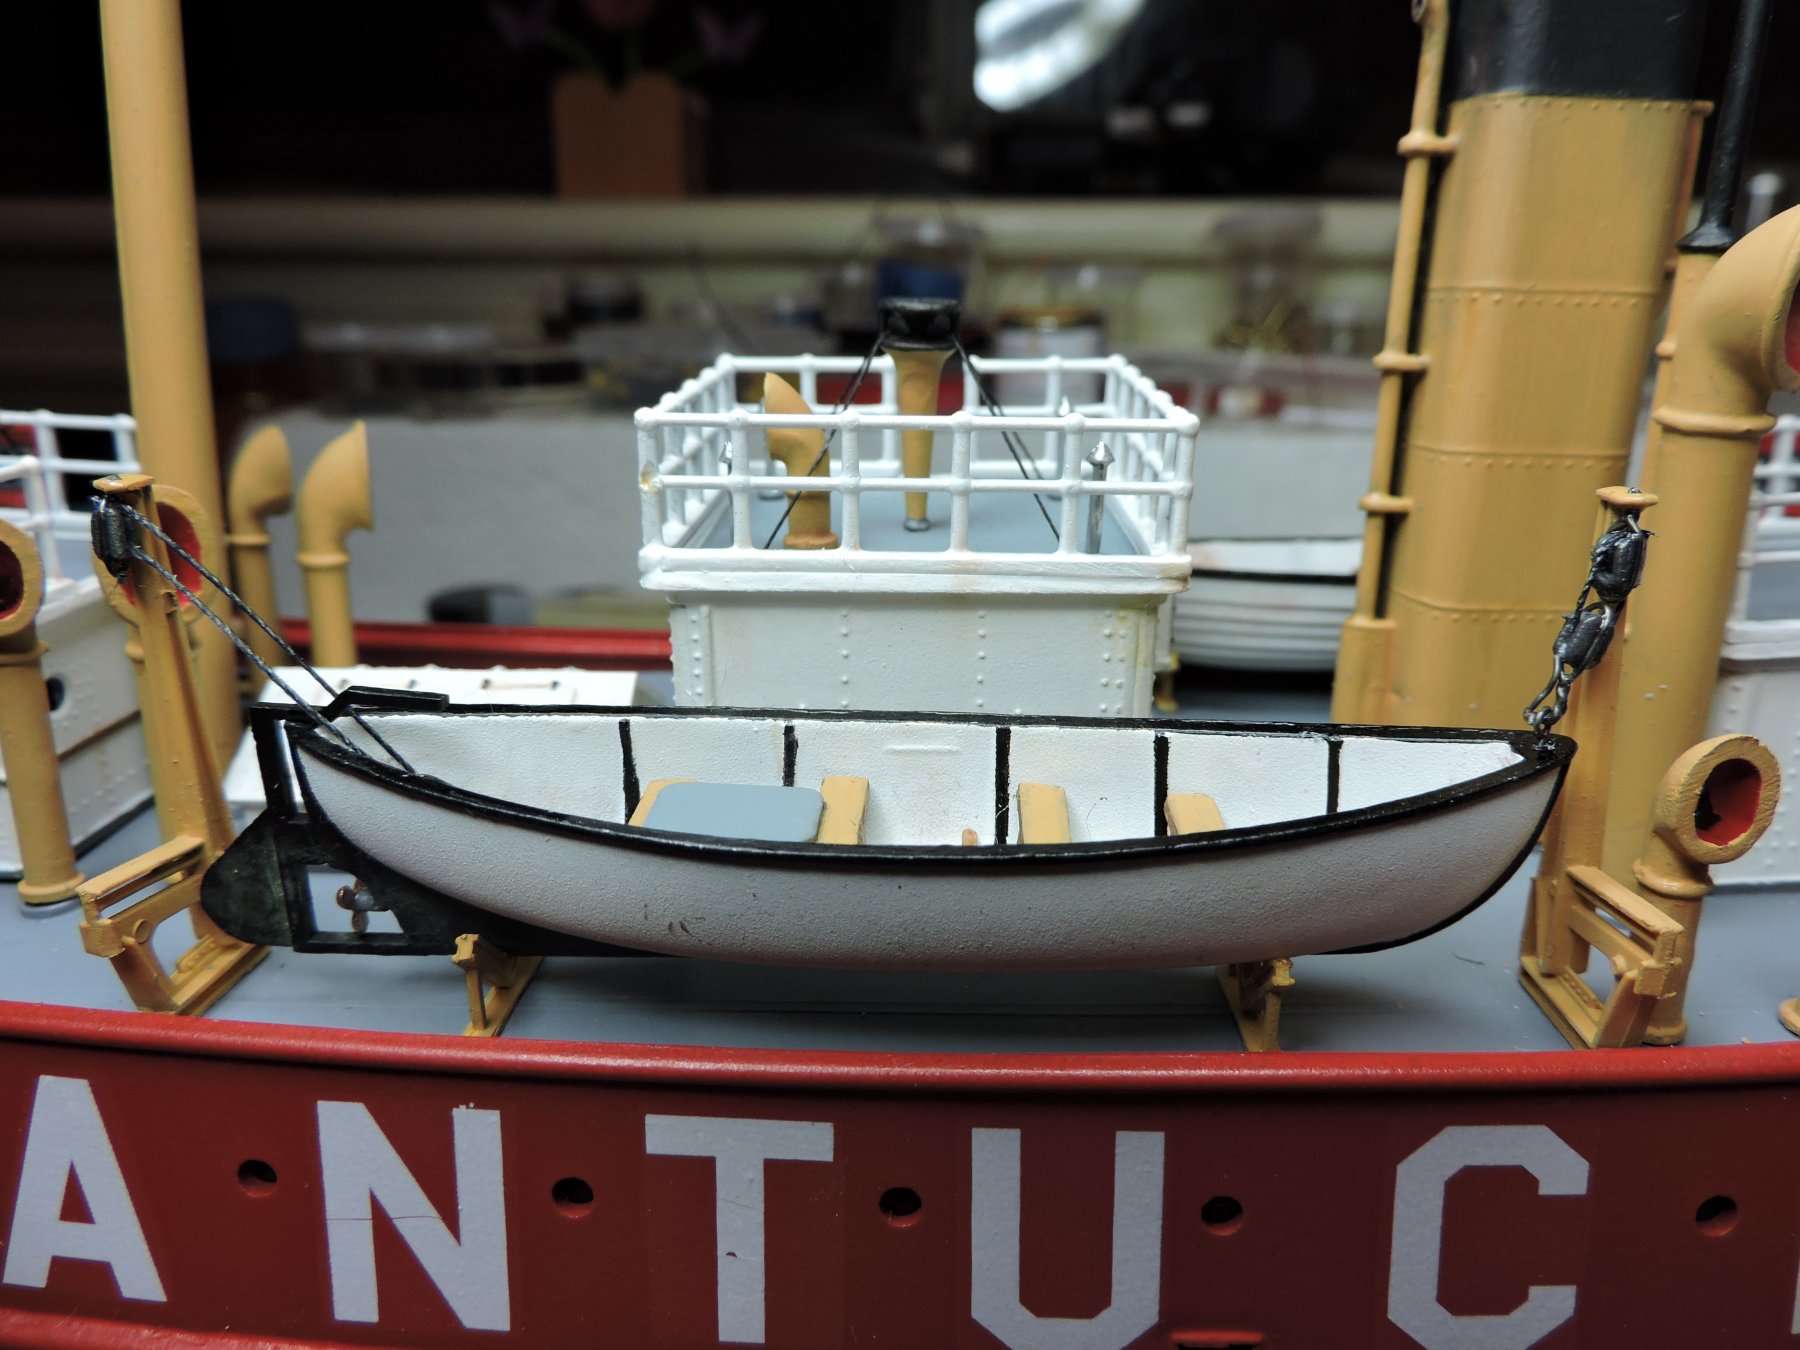
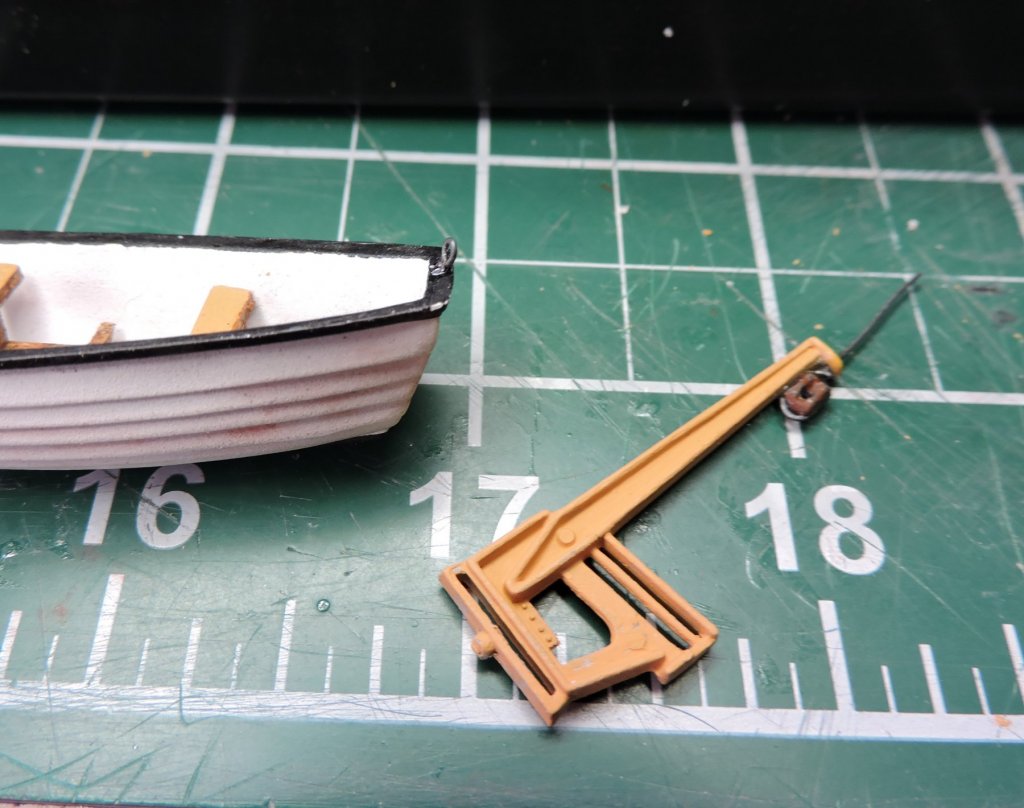
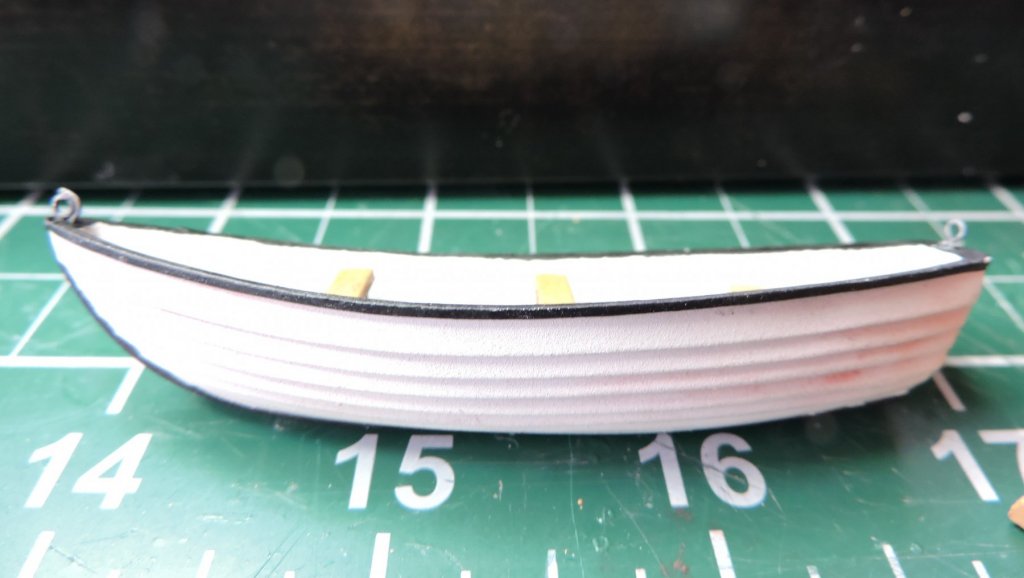
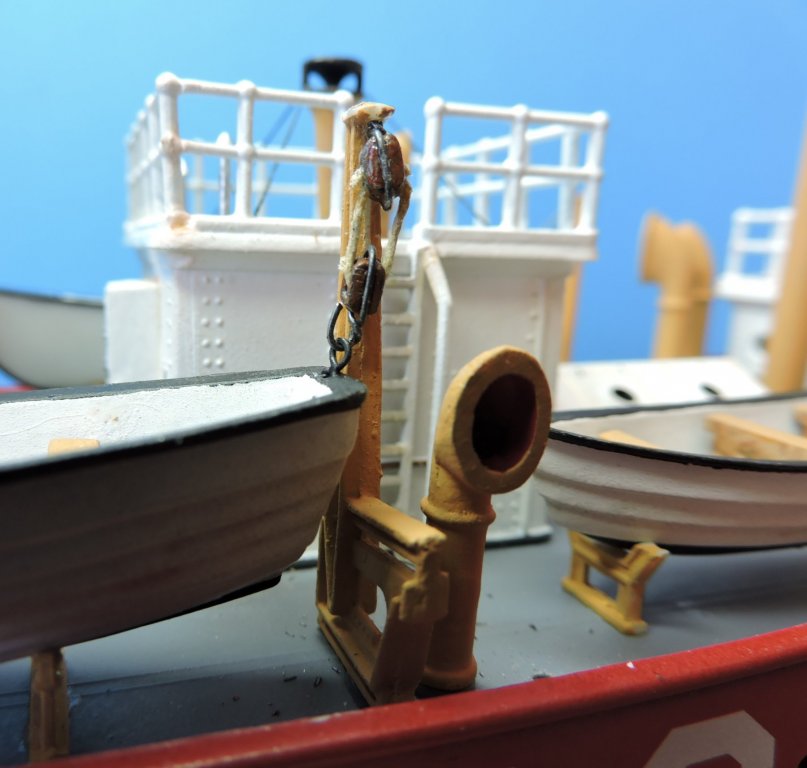
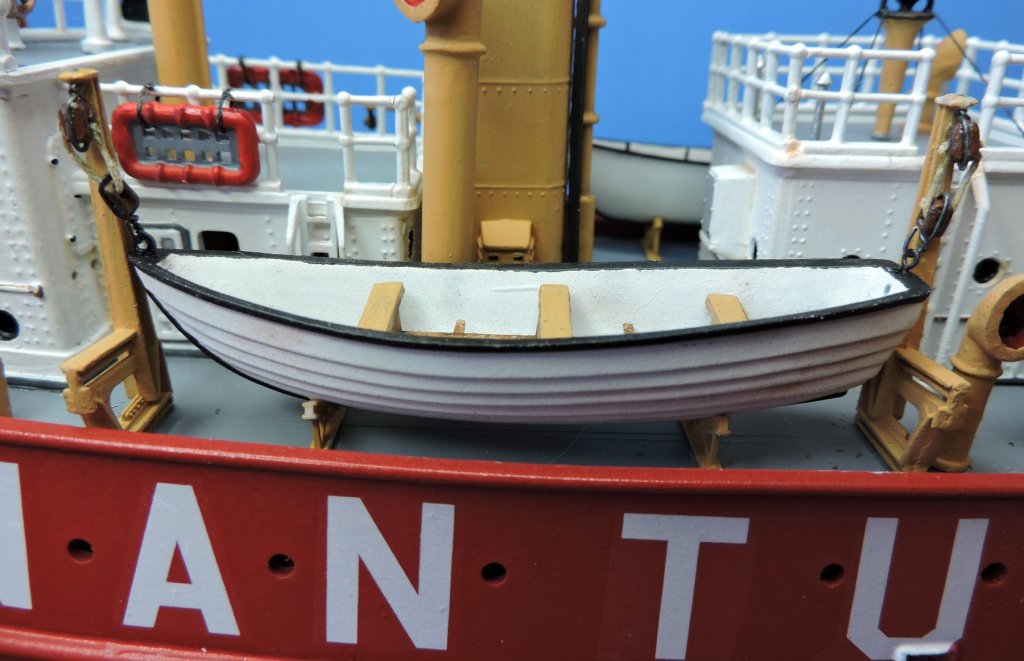
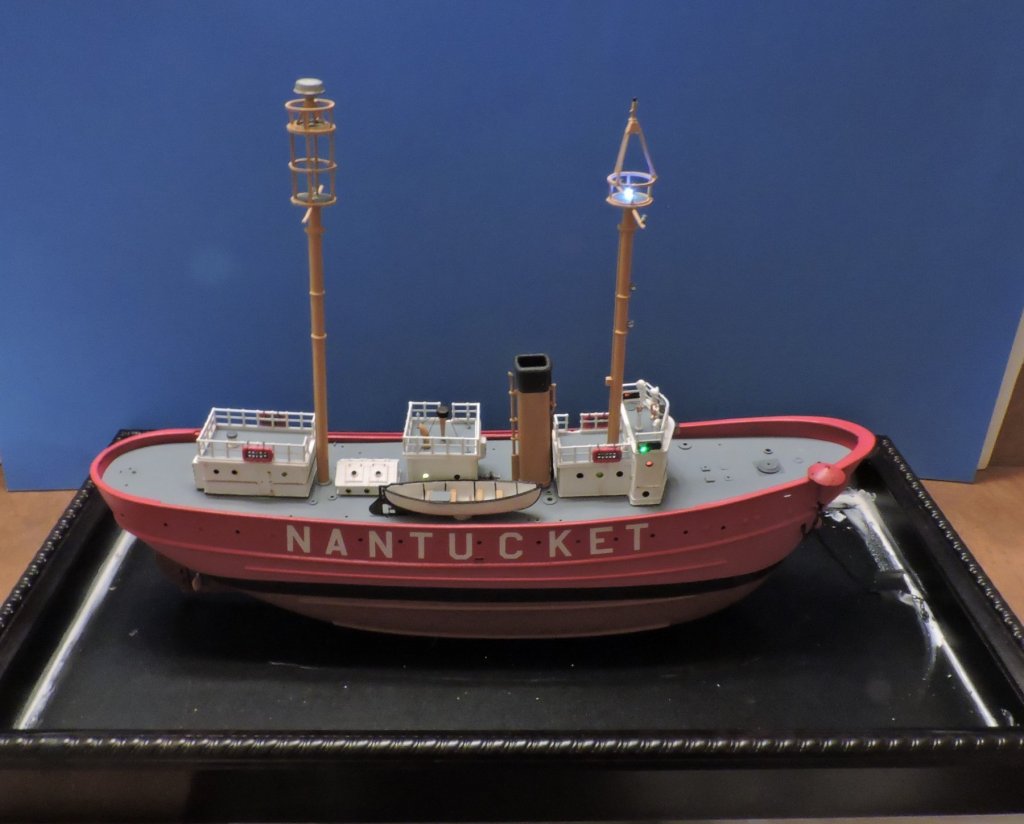
I was able to get a little time to do some further work on two of the three smaller boats that attach to the davits on the deck. I chose not to use the pre-fab tackle that came with the kit, but to make my own. I drilled fine holes thru the top of the davits and also into the bow and stern of the boats. I made small eye rings out of 30 gauge wire and glued these into the holes made in the boats. I used pliers to attach my wire around the blocks that were to be used. I glued the davits and boats into place on deck and then finished by running my tan thread thru the blocks to connect the boats to their davits. Could anyone help me with identifying the names of these boats? The largest one has a motor and prop with rudder. Would this be considered a whaleboat and /or a launch? Second largest has no motor. The third is very small hull - would this be a dingy? I read countless articles on the Nantucket and could find no mention of these boats.


- 97 replies
-
- 14
-
-
She's looking good so far. It's nice to kick things up a notch on a model build and your attempt looks very nice. It's those 'little' things that make things great!
-
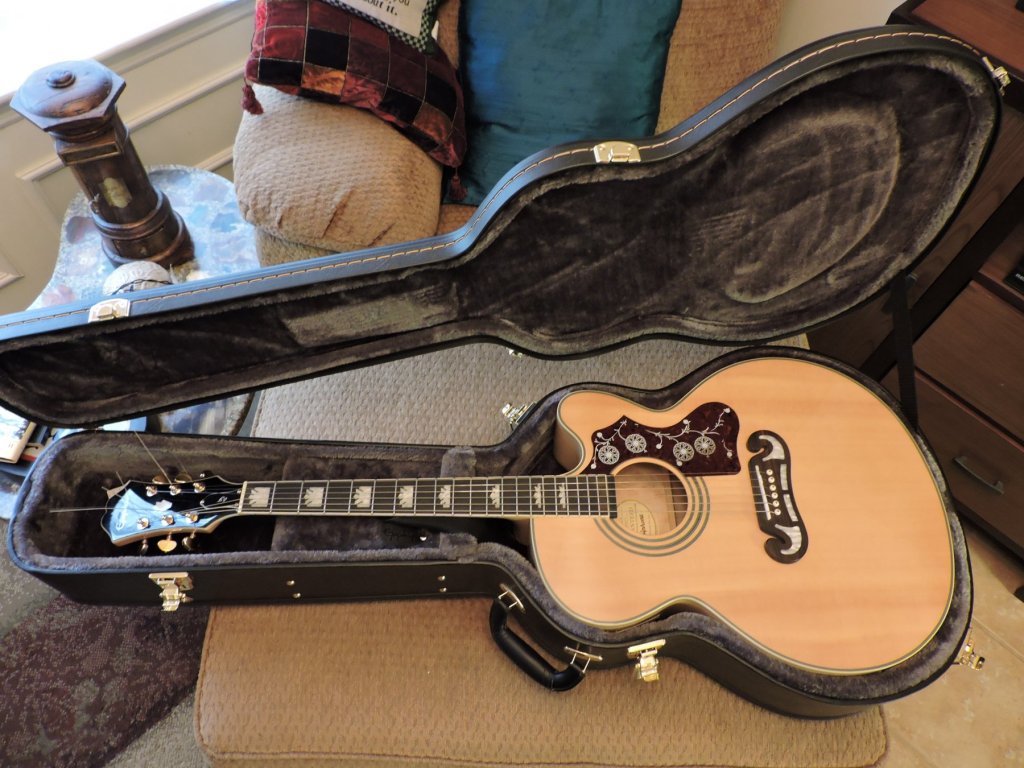
Wow! We've got enough musicians to start jamming! LOL Bassist and guitarist here. Santa was kind enough to leave this under my tree.
-
I was able to get some more work done on the deck fittings over the weekend. I ran out of my Spar paint and still had a few bollards, cleats and fairleads to paint, so I mixed some Acorn Brown and Straw colored acrylic paint until I came really close to a match with the spar. Next up will be adding the three boats and davits to the deck and then on to the rigging.
- 97 replies
-
- 13
-
-
Many thanks! Ken - I'll be following along on you Longboat build. That is my next wooden kit after this one. I can use any pointers and tips that I can get on planking. CPDDET - your hull on the Bluenose looks fantastic - especially with the light stain that you applied!
-
Wow! The hull looks wonderful after your sanding and staining. Beautiful work!!!
-
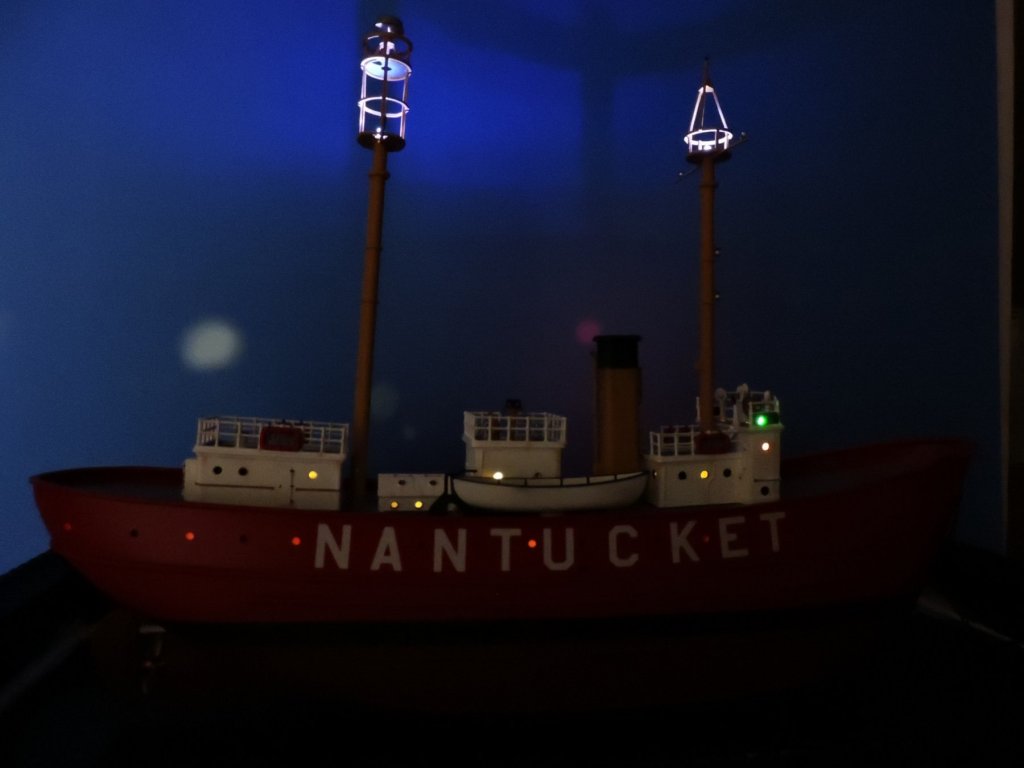
Finally, with the help of the Mrs., I was able to install the deck into the ship's hull BUT, not without a major blunder on my part. I was so proud that I finished soldering all of the wires that I forgot to feed them through the bottom of the hull. That certainly put a smile on my wife's face!!! After removing the deck and redoing the wiring, we finally re-installed the deck to the hull. I had only a slight gap at one spot between the deck and hull, but it was resolved by using some CA glue and tying some string around the hull until the glue dried. Now i can move on to gluing all of the pieces to the deck, along with the rigging and then create my water effect in the frame. Two photos taken in our bathroom to see how the ship looks like with it's lights.
- 97 replies
-
- 15
-
-

-
Popeye - Congratulations on a superb planking job 🥂 Excellent work !!!
-
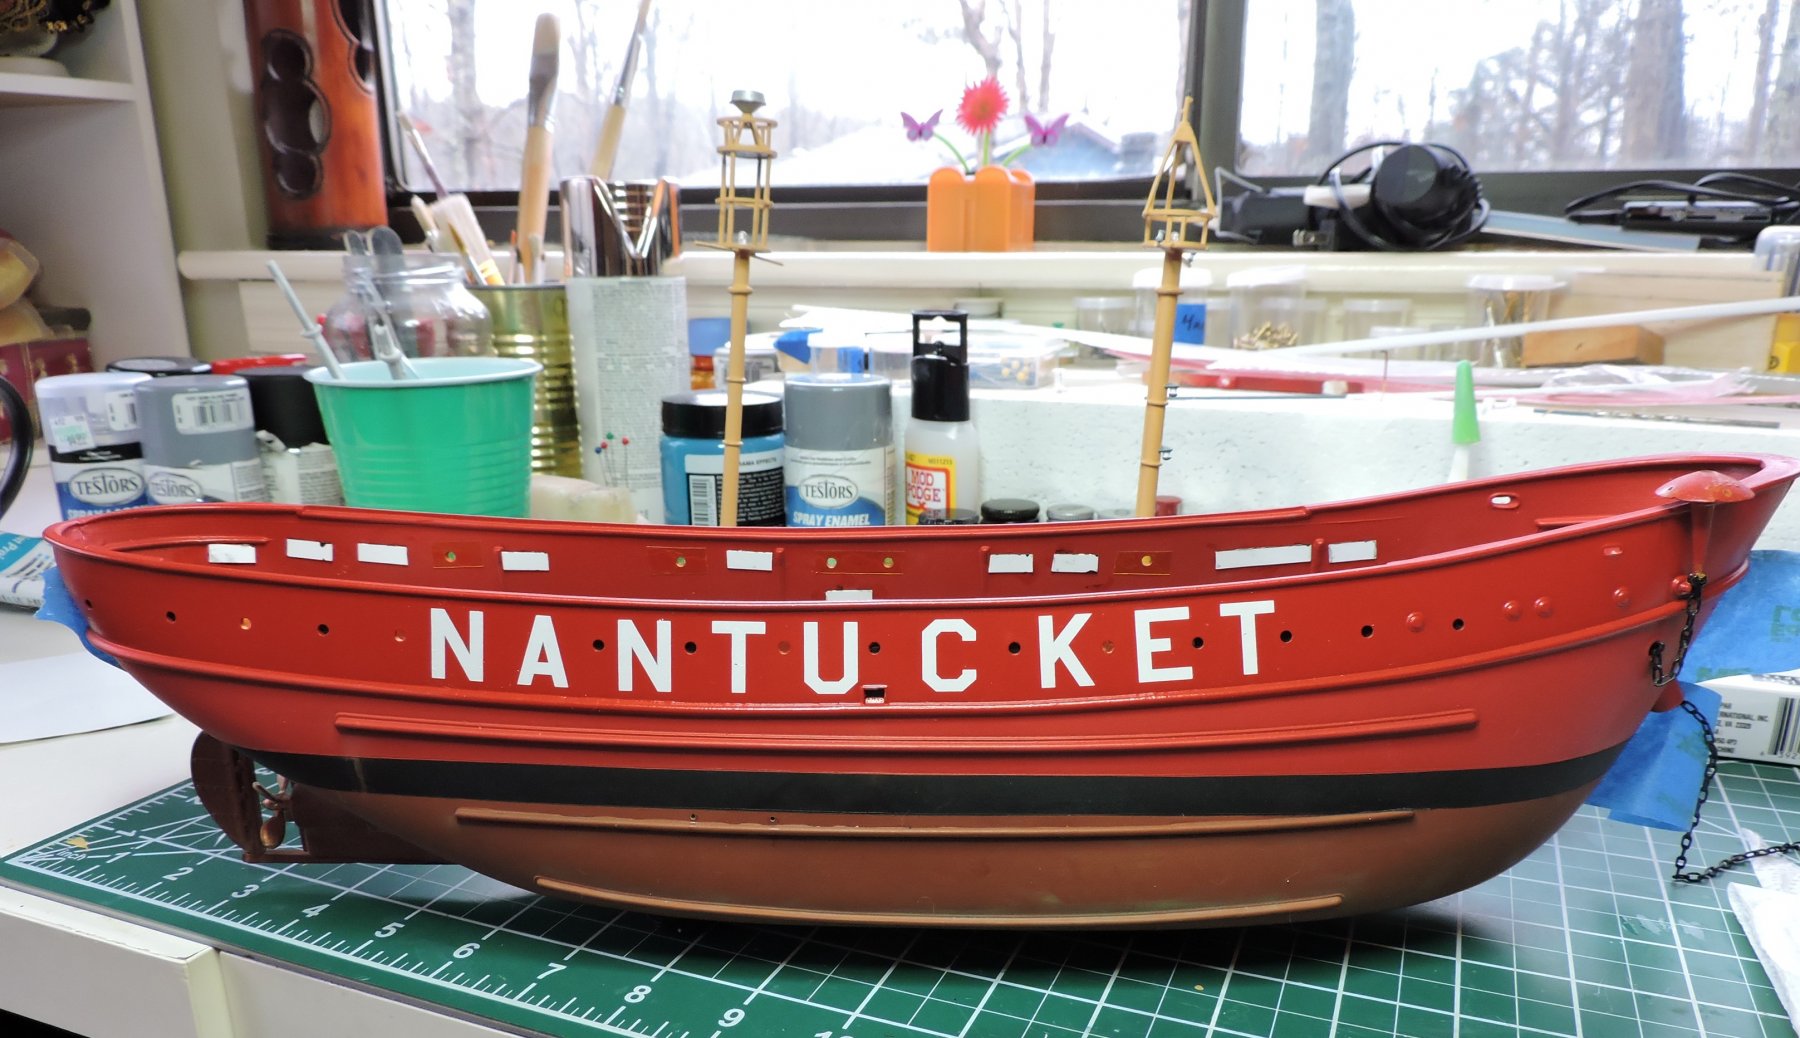
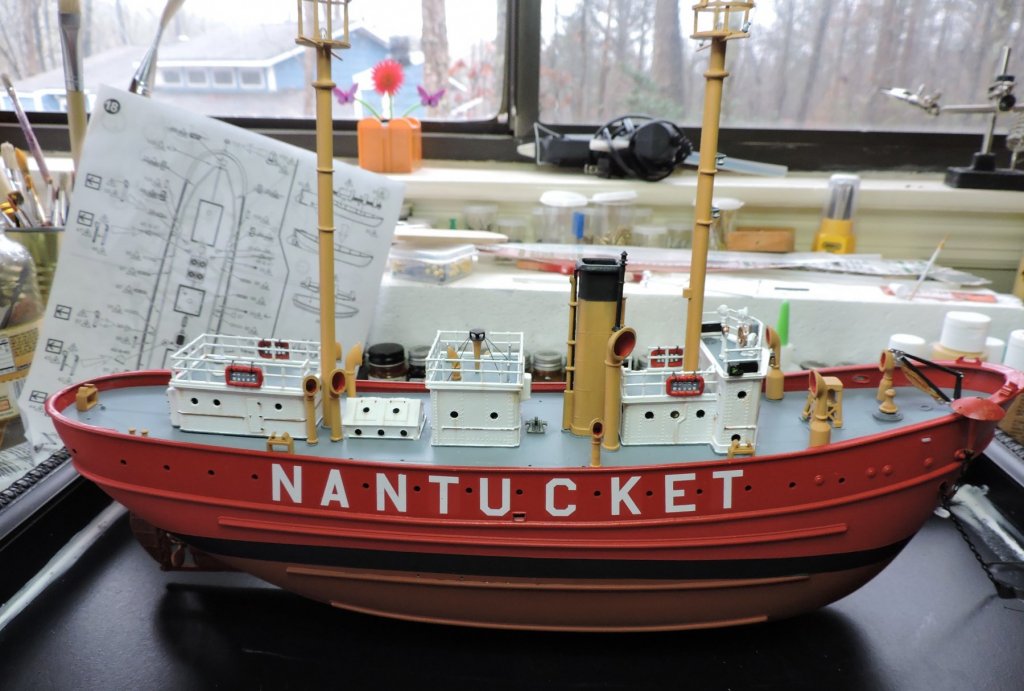
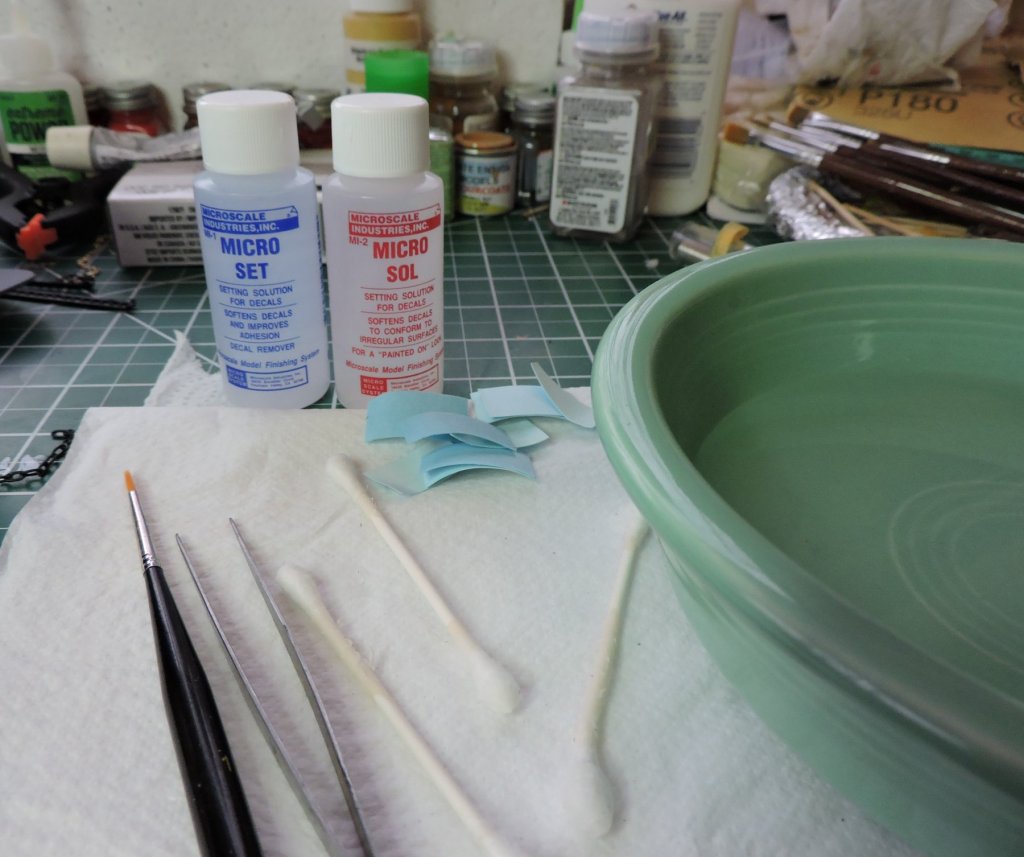
My Micro Set and Micro Sol arrived so I thought I'd get the ship's name on the hull. I masked off the lower two-thirds of hull and sprayed the upper hull with a clear coat. Once dried, I cut out each individual letter and applied to the hull. It went rather quickly and I will spray a coat of Dullcoat over everything once the decals are completely dry.

- 97 replies
-
- 15
-
-
E.J. - many thanks for this tip on the loop tool and showing the process for making the hooks!
-
Frosty says 'thanks for the rescue'! Stay warm 🥂
-
You're right - she's starting to look like 'the ship'. Wonderful work!!! Smooth sailing and Good Holidays
-
Wow !!! The rigging on your cannons are amazing. Are the hooks that you used on ropes scratch built? Magnificent work "GooD HoLiDaYs" to you and loved ones!
-
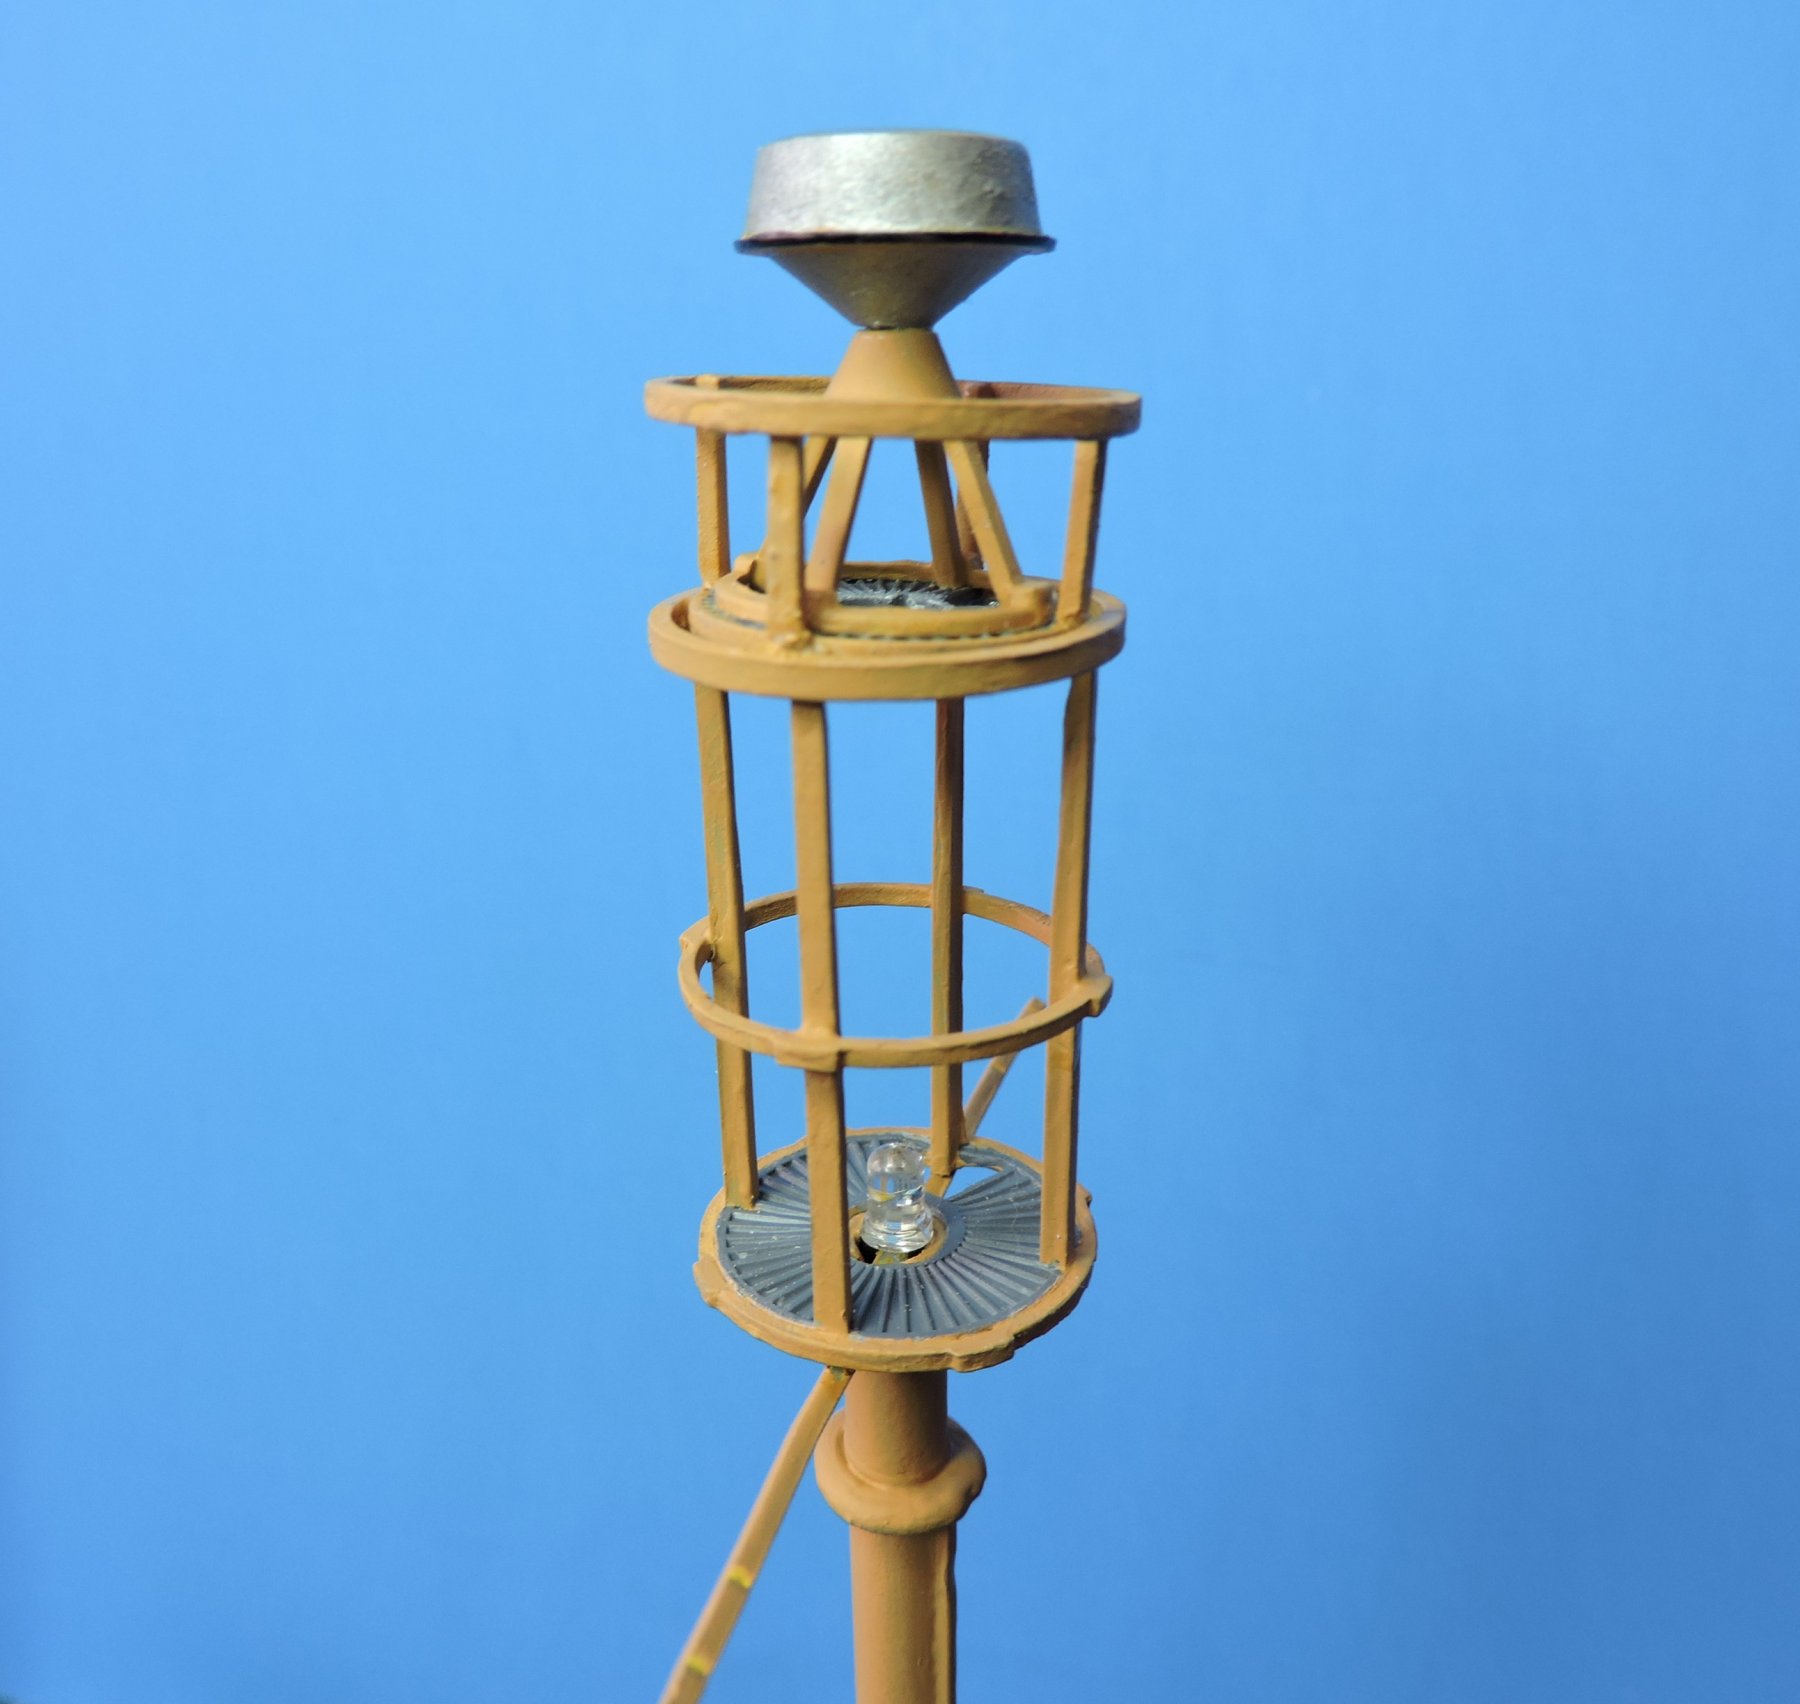
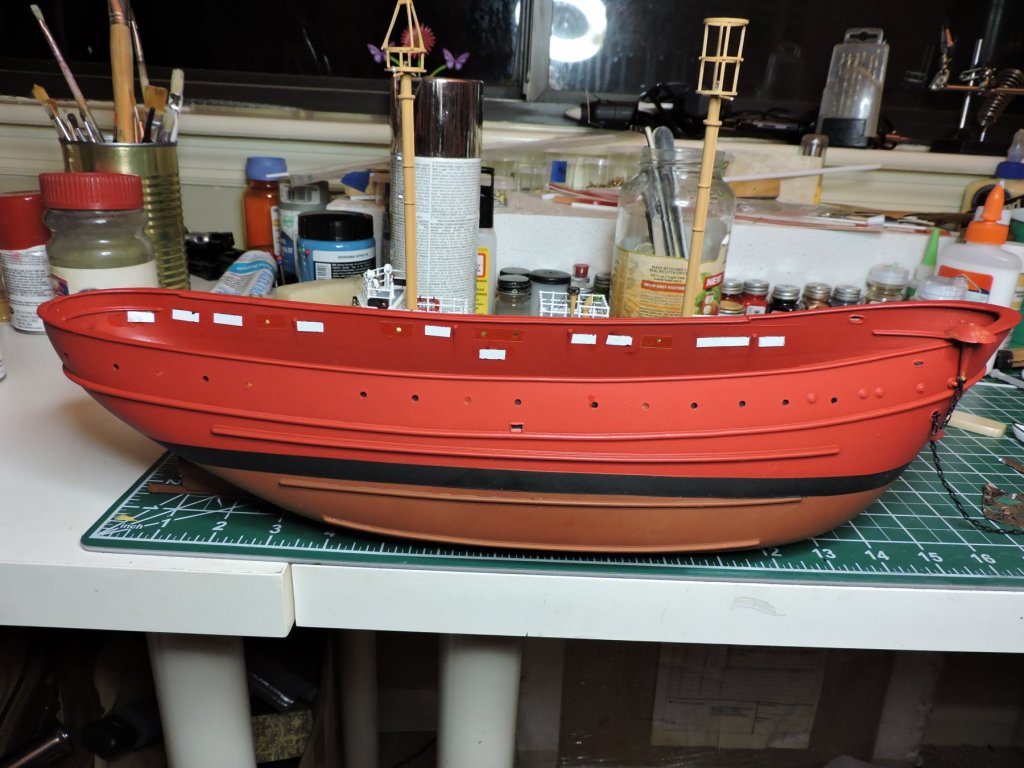
Update on my beacon towers. I am a little irritated and confused with Lindberg and their 8 page instructions. I started to notice that their were some 'extra' parts on the sprues that are not listed or shown on the directions. I started to look at photos of the real ship and of model builds and that's when I found the answers to my confusion. At least two of the pieces are rings that attach inside of the tower's beacon light cages. Three other pieces are for the radar unit atop the aft tower. The radar unit was installed towards the end of WWll. Lindberg needs to update the instruction sheets and show accurate directions for using the parts given to one supplied in the kit !!! 🤬 I went ahead and decided to include the radar unit to my model. I had to cut a little off the bottom of the four vertical rails and sand and about a 45 degree angle to get this unit to fit into the aft tower.


- 97 replies
-
- 10
-
-
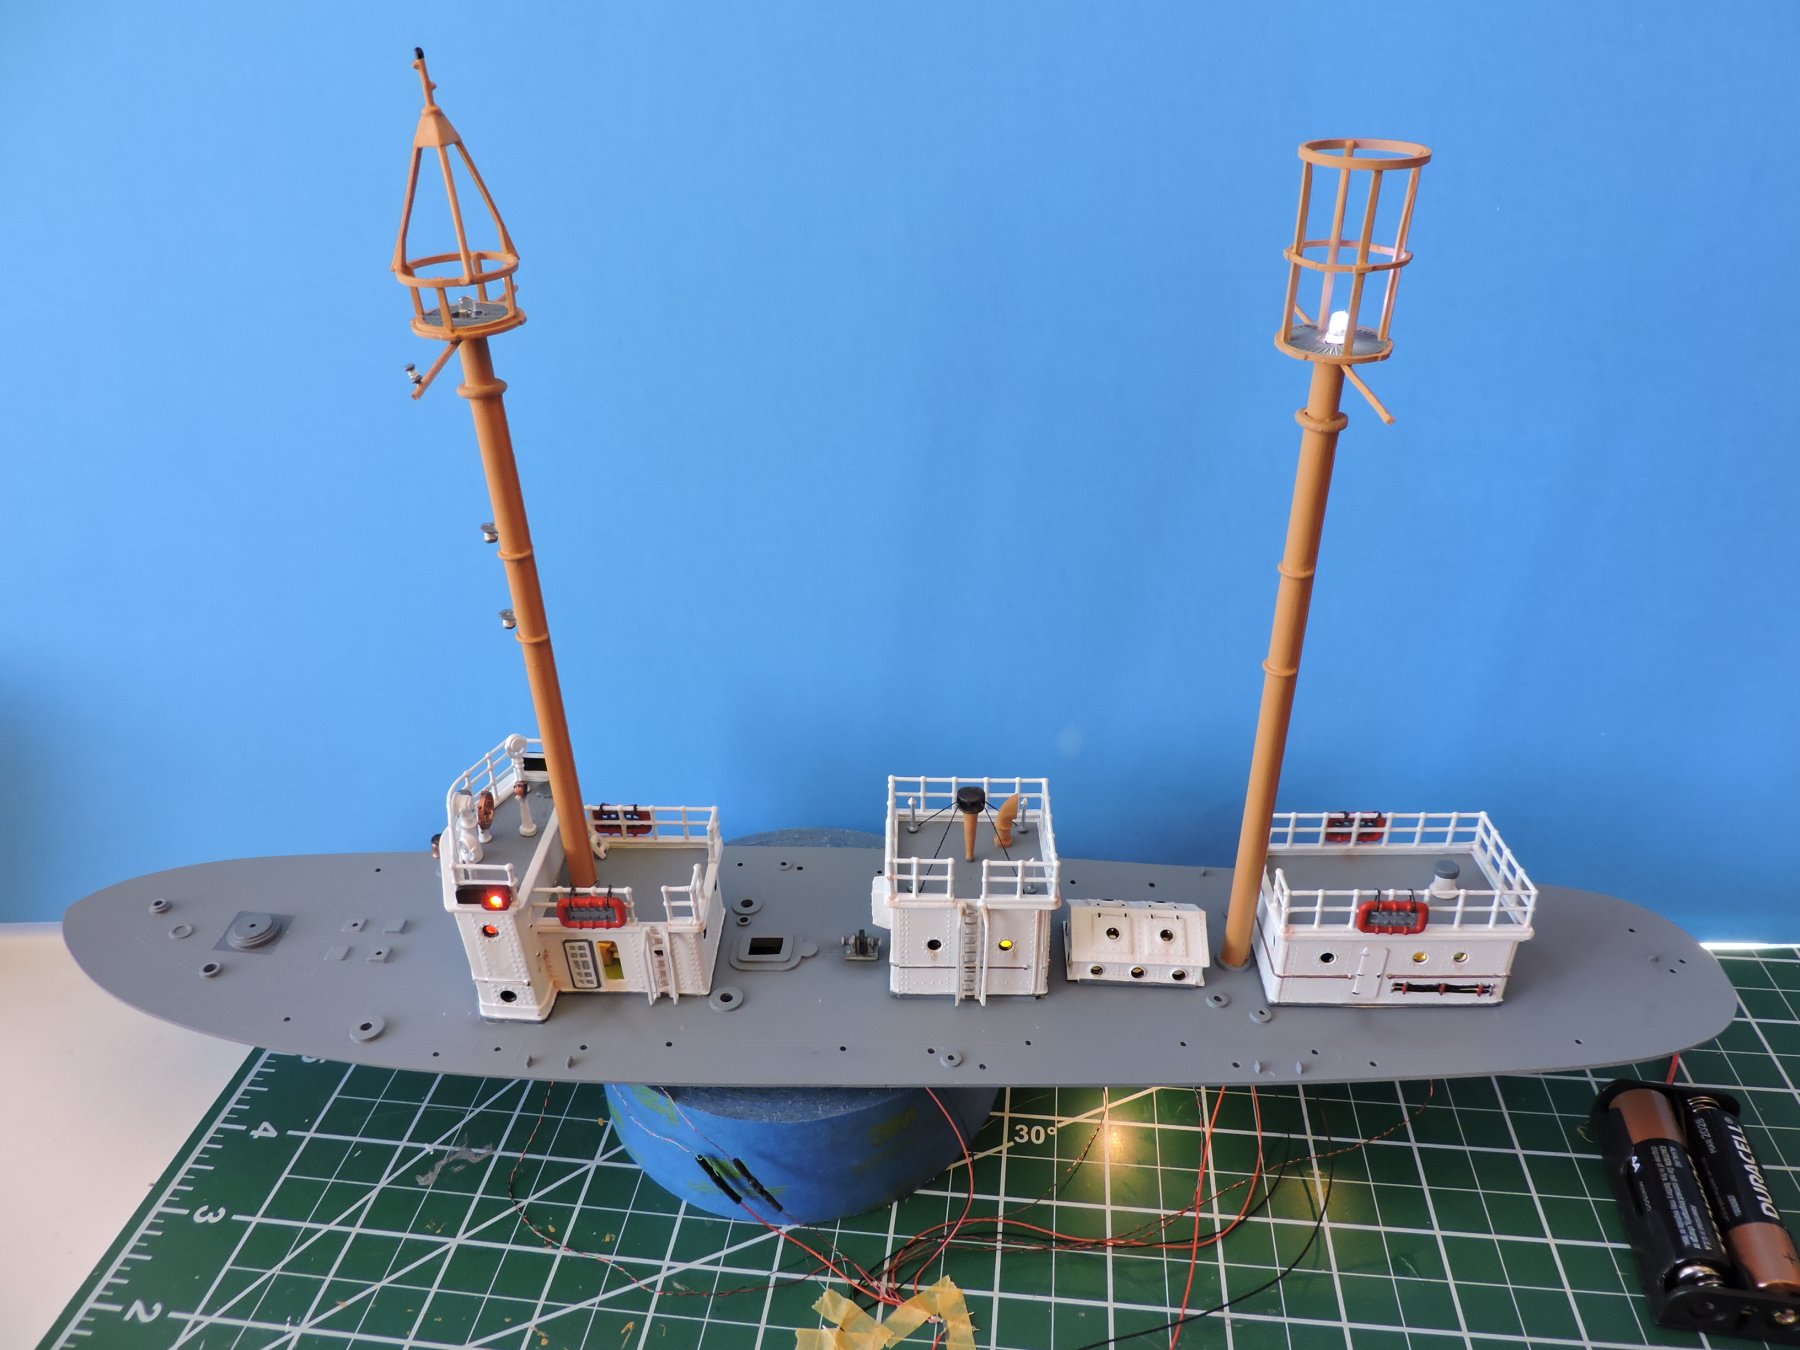
Final test run of lights before installing deck into the hull. Only the pilot house and two beacon towers are glued to the deck. The one light below deck will illuminate the engine room skylight and random interior portholes covered with yellow transparency film. All other portholes have been blacked out. Prop and rudder will be added today. I used tin foil stripes that were painted with flat black to cover both anchor openings to prevent light leakage. The same will be done to prop and rudder.

- 97 replies
-
- 10
-
-
Ouch! Your determination on getting this correct is to be admired. On the de-bonding, I had my masts set up backward on my Bluenose and I used an acetone based nail polish remover to loosen up the crossbars and platform.
-
Bill - Great job on your cutter! Nicely done and very clean. You should be pretty happy, as well as your rc group, on this one.
-
Dave - thanks for posting this information on Robert Hunt's practicum and about the adhesives used. I'm shooting for the end of December with my project well LOL Cheers!
-
I've been following along and the work on your planking looks great! I'm hoping to pick up some tips from your build for my 1st planking kit coming up. Cheers and a Good Holiday Season!!!