


Baker
-
Posts
3,659 -
Joined
-
Last visited
Content Type
Profiles
Forums
Gallery
Events
Posts posted by Baker
-
-
-
To late, but.
A certain Mister Furttenbach had the same problem 300 years ago.
Now this drawing is an example in rigging for many 😉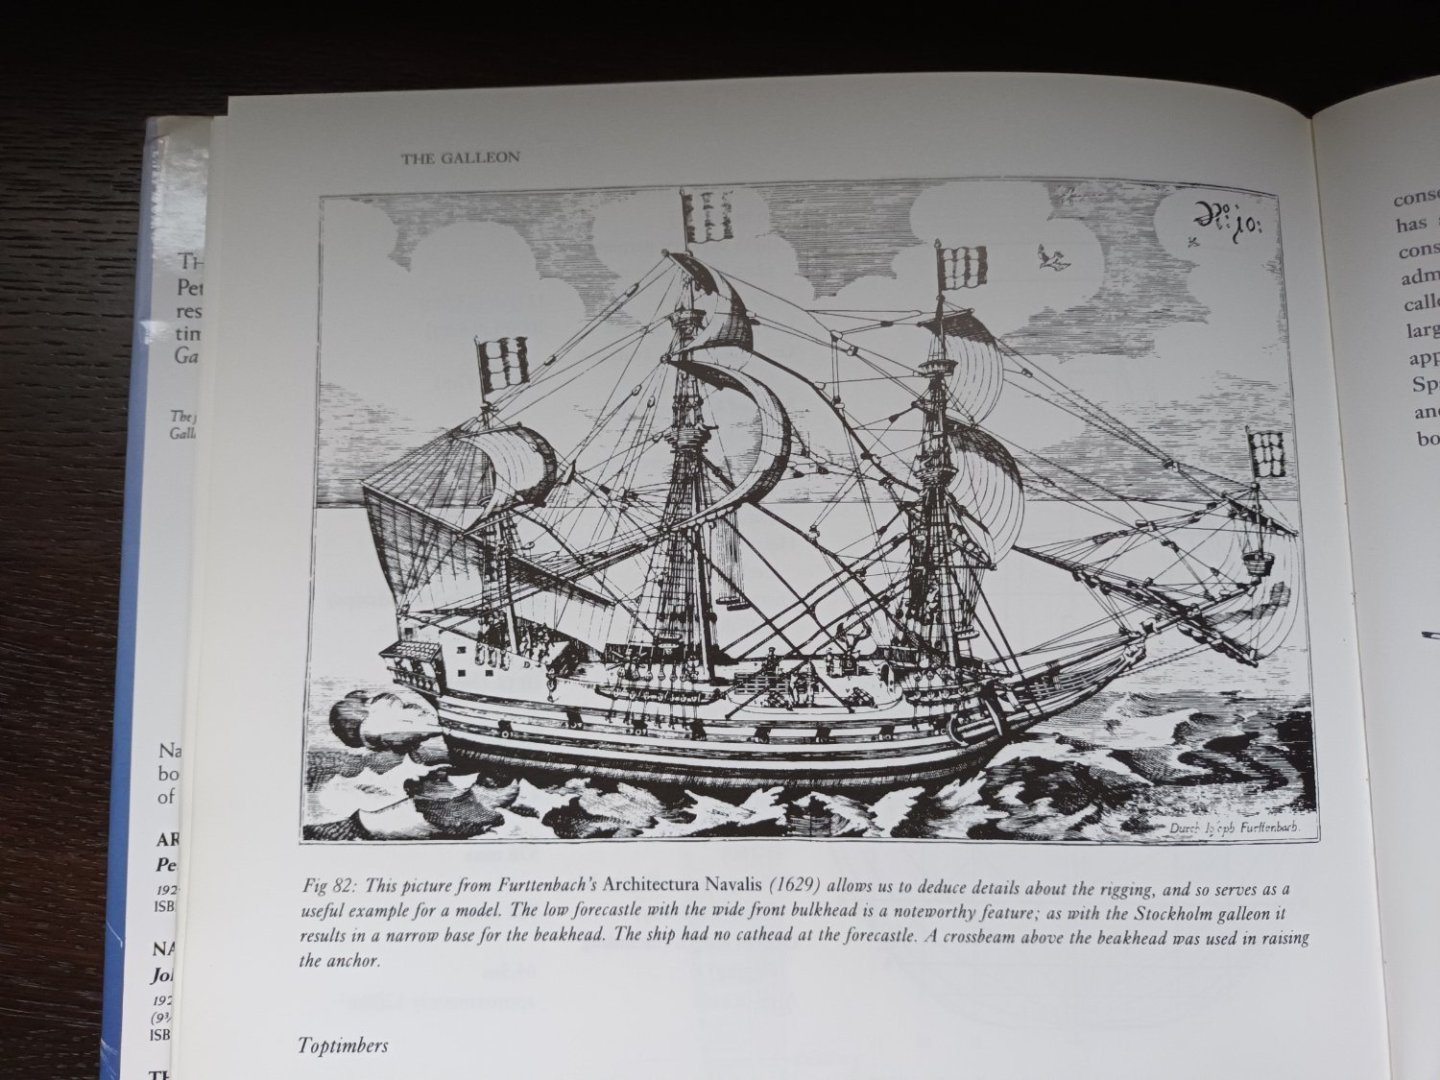
-
-
-
-
There is little information about colors on ships from this period.And certainly not about merchant ships.
I would leave the colors as they are, looks good- Ferrus Manus and GrandpaPhil
-
 1
1
-
 1
1
-
https://www.hismodel.com/articles-detail-814 price : 82,61 euro
out of stock...☹️
-
All this could end up on the mast top i think.
Not on the deck.
-
-
-
2 hours ago, Snug Harbor Johnny said:
Simply awesome, those treenails. Did you cut 1mm strips off he 1mm thick walnut stock, then pull through a die plate to make them round?
Thanks,
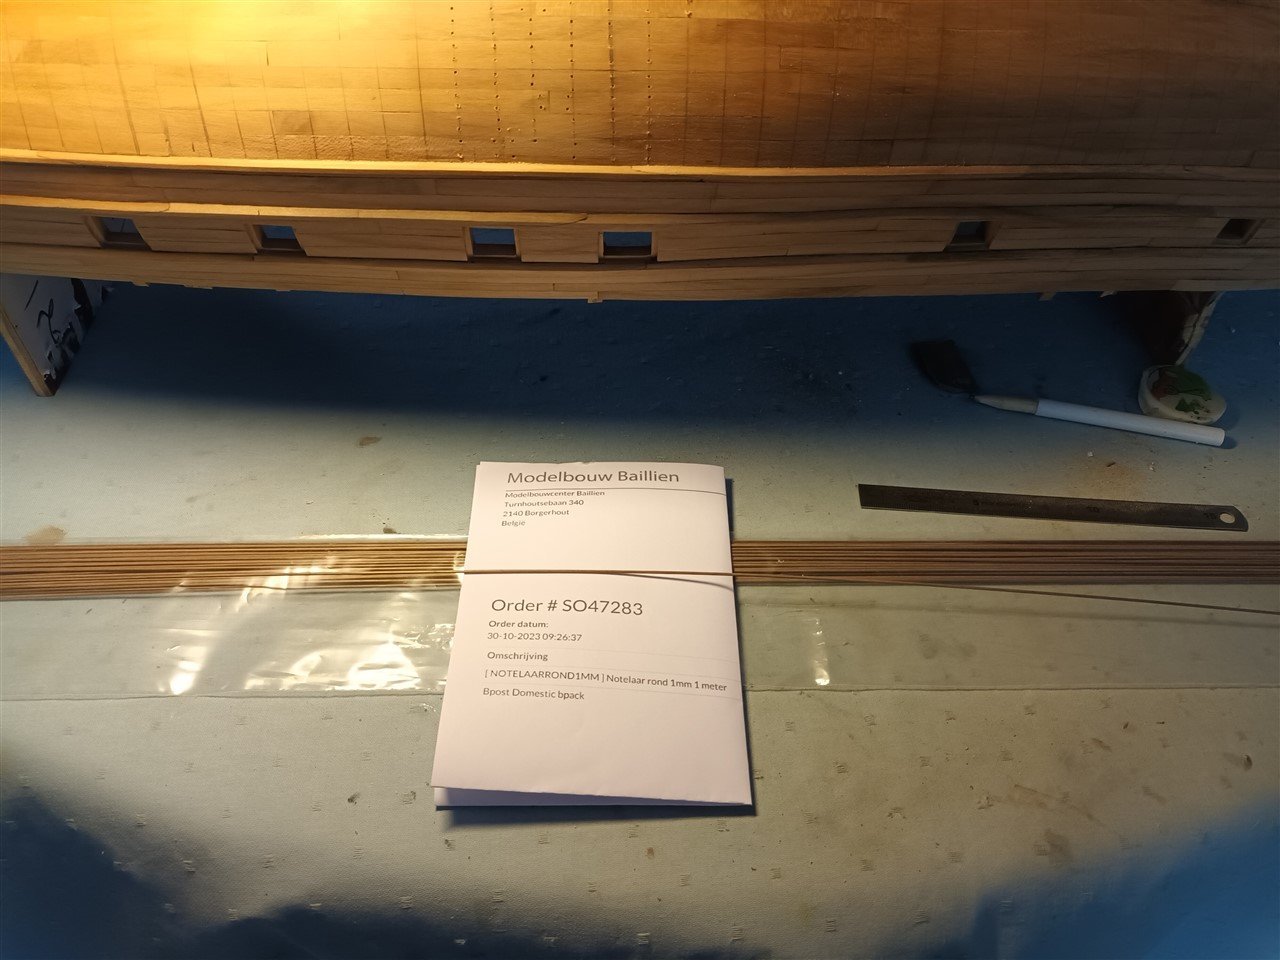
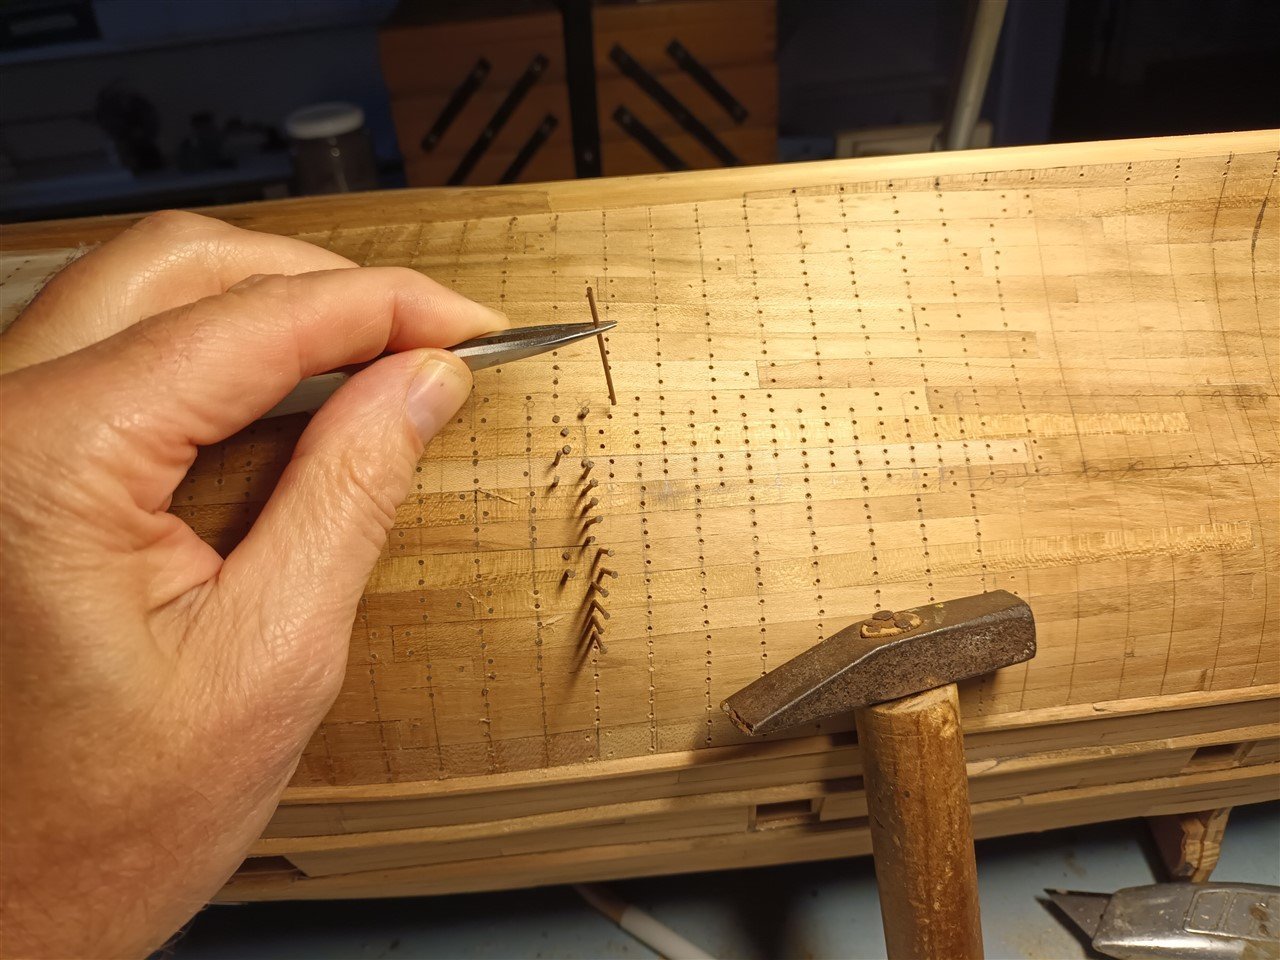
These are walnut wooden strips from amati 1 mm diameter.
https://www.cornwallmodelboats.co.uk/acatalog/Walnut-Dowl-1mm-1WD1_0010.html#SID=470
-
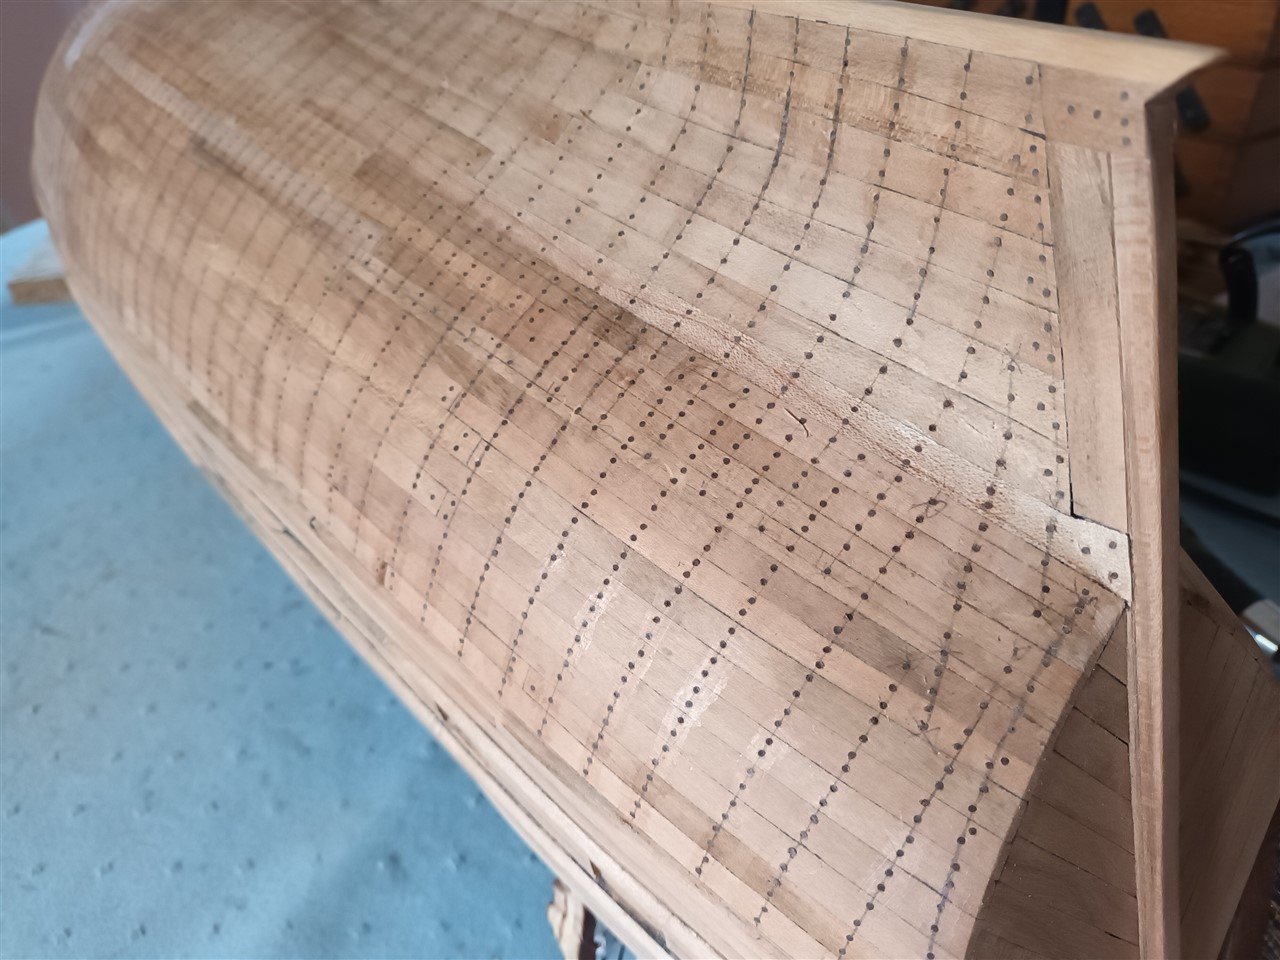
Treenails...
There have been many discussions here on the forum; Treenails, yes or no.
For me: yes. It's a lot of work, but for me it adds value.
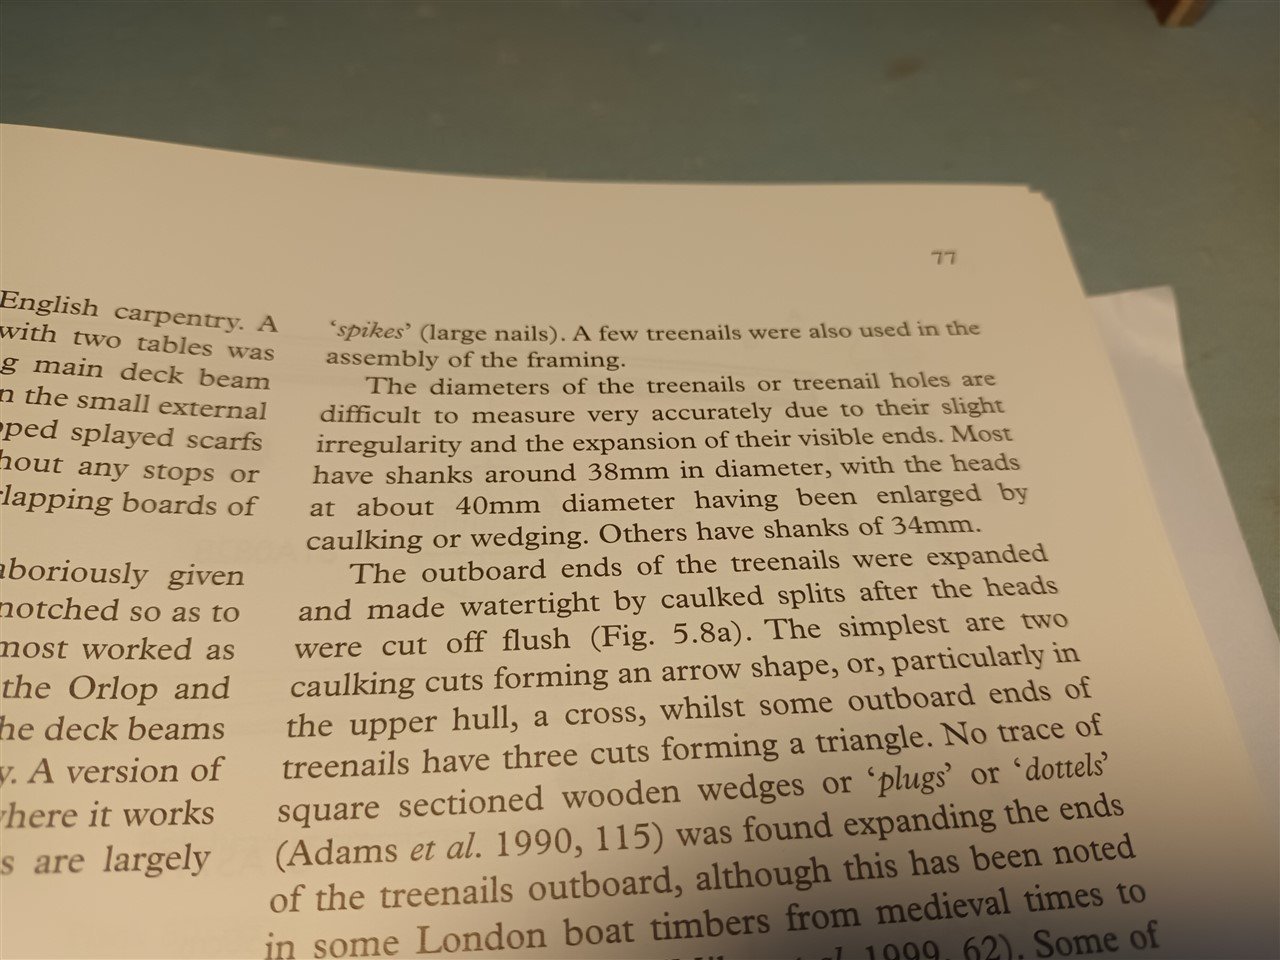
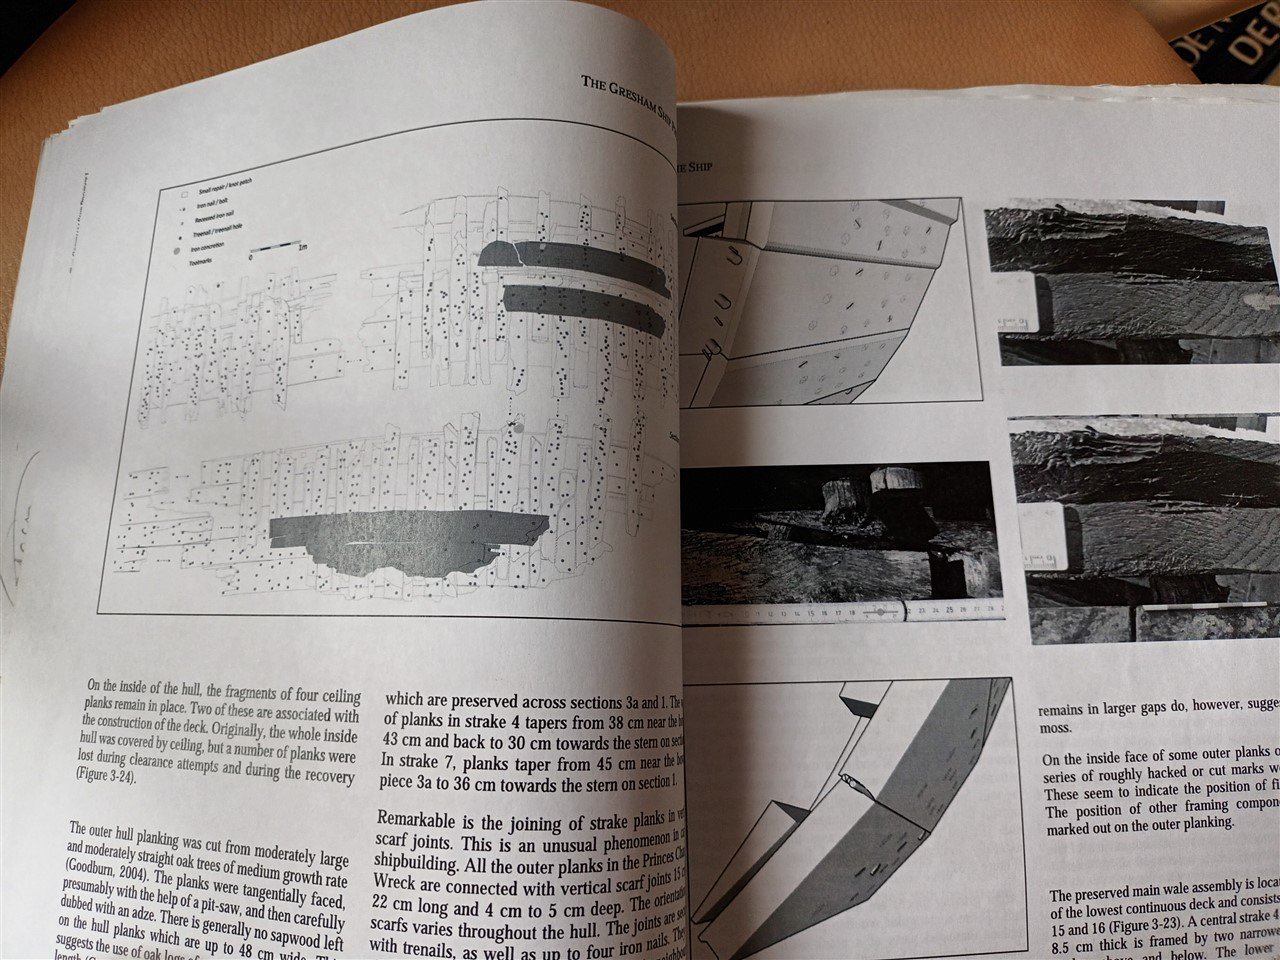
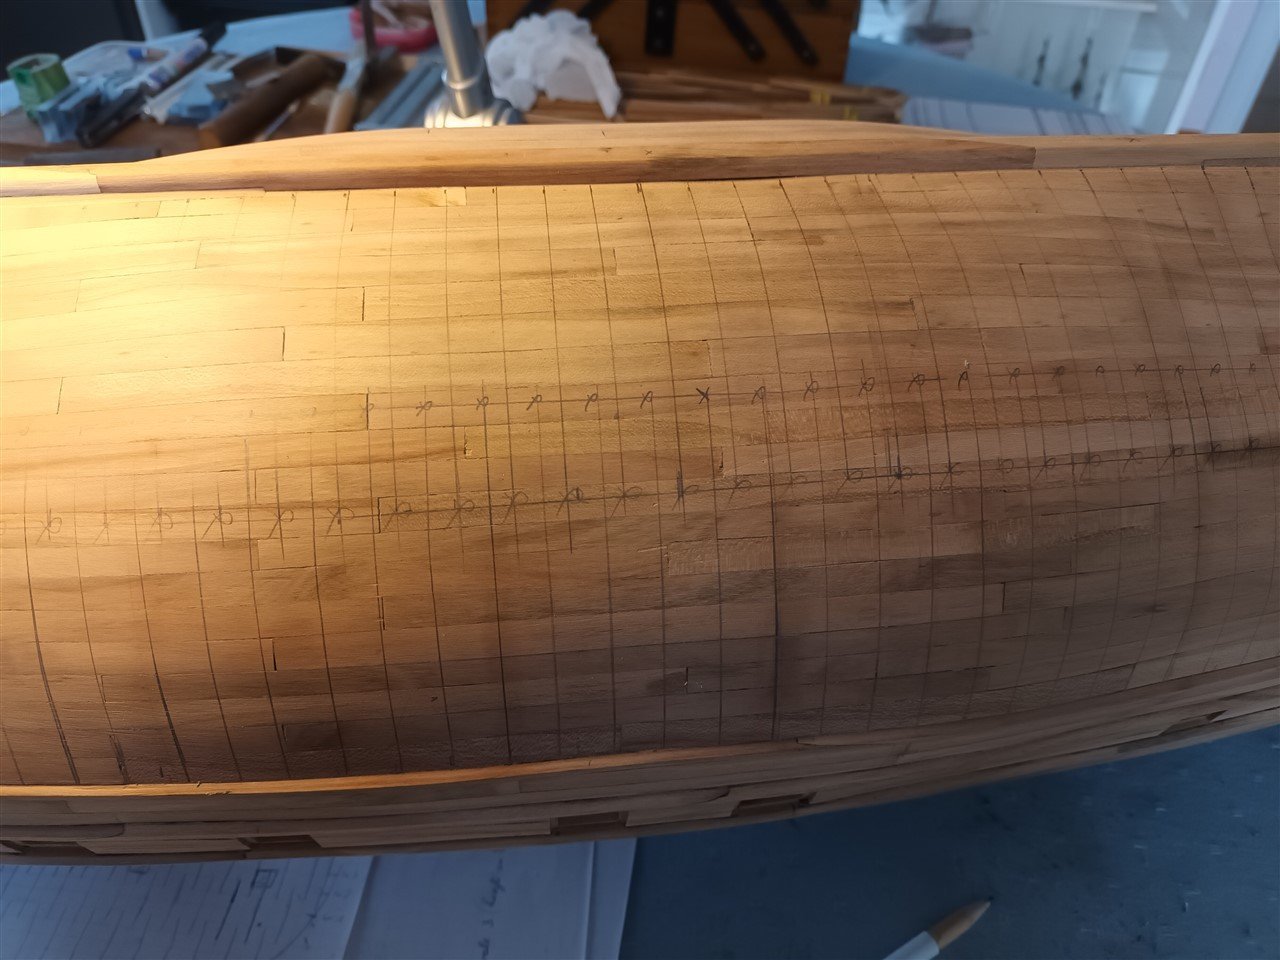
The idea is to add the treenails and then paint the hull with diluted Tamiya paints. This worked last time with toothpicks and ramin wood, but the cherry wood does not provide enough contrast. That is why I purchased walnut strips with a diameter of 1 mm, these provide sufficient contrast with the cherry wood to be able to paint over later.There is not much information for the Mary Rose, only the diameter of the treenails. The frames also do not have an ordered structure to create a treenail diagram.
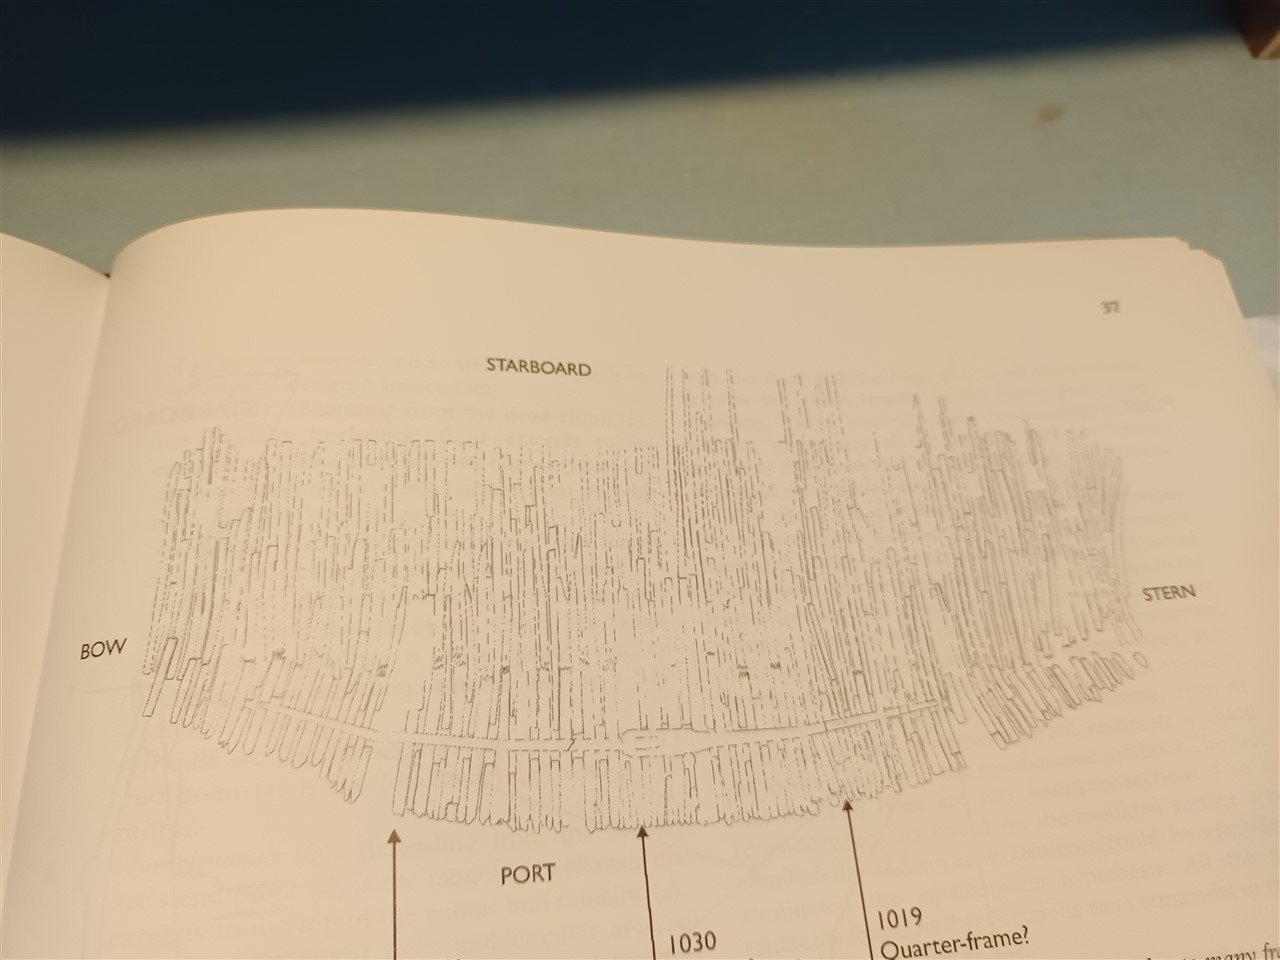
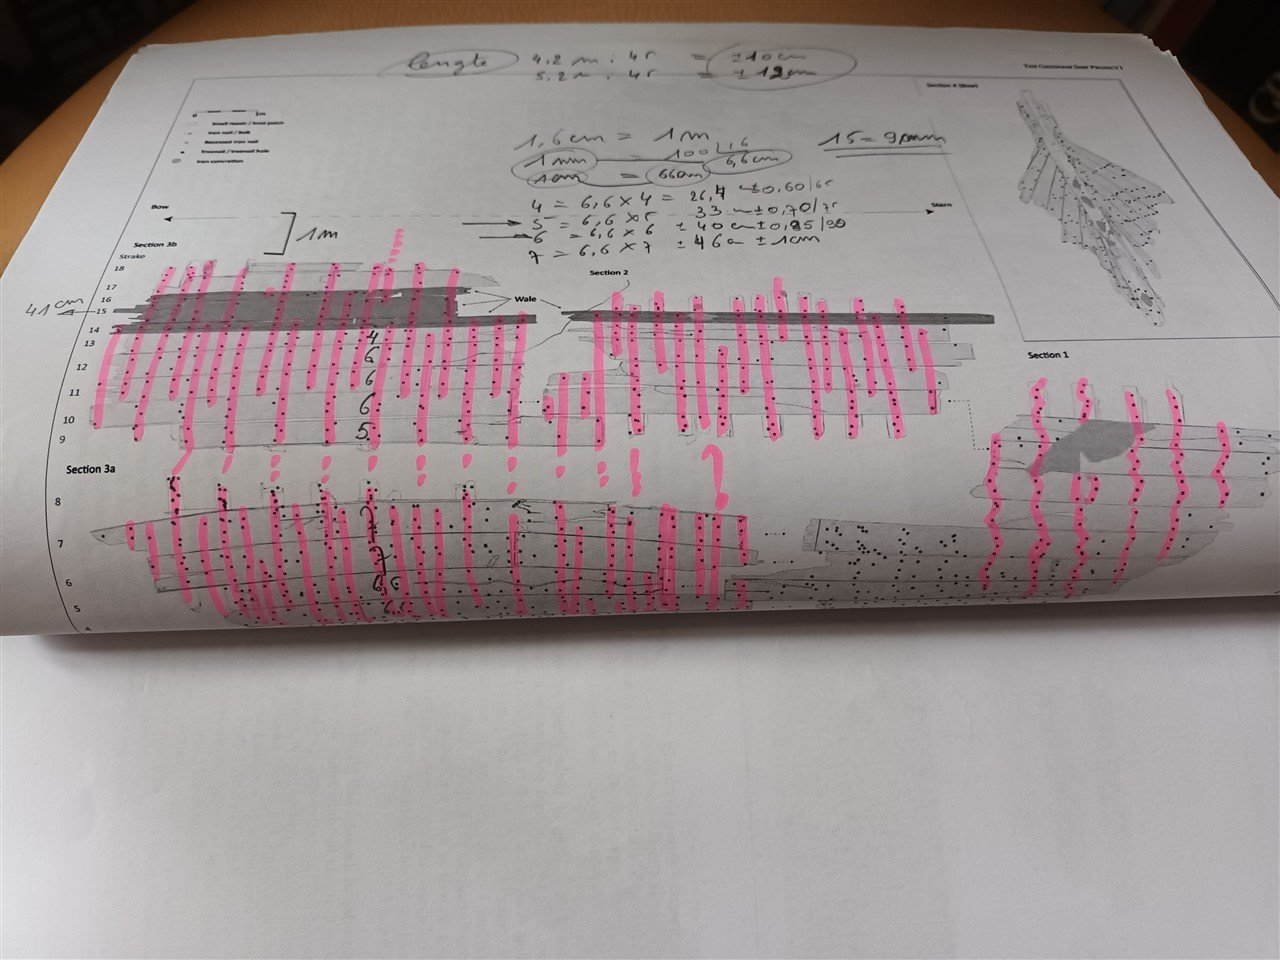
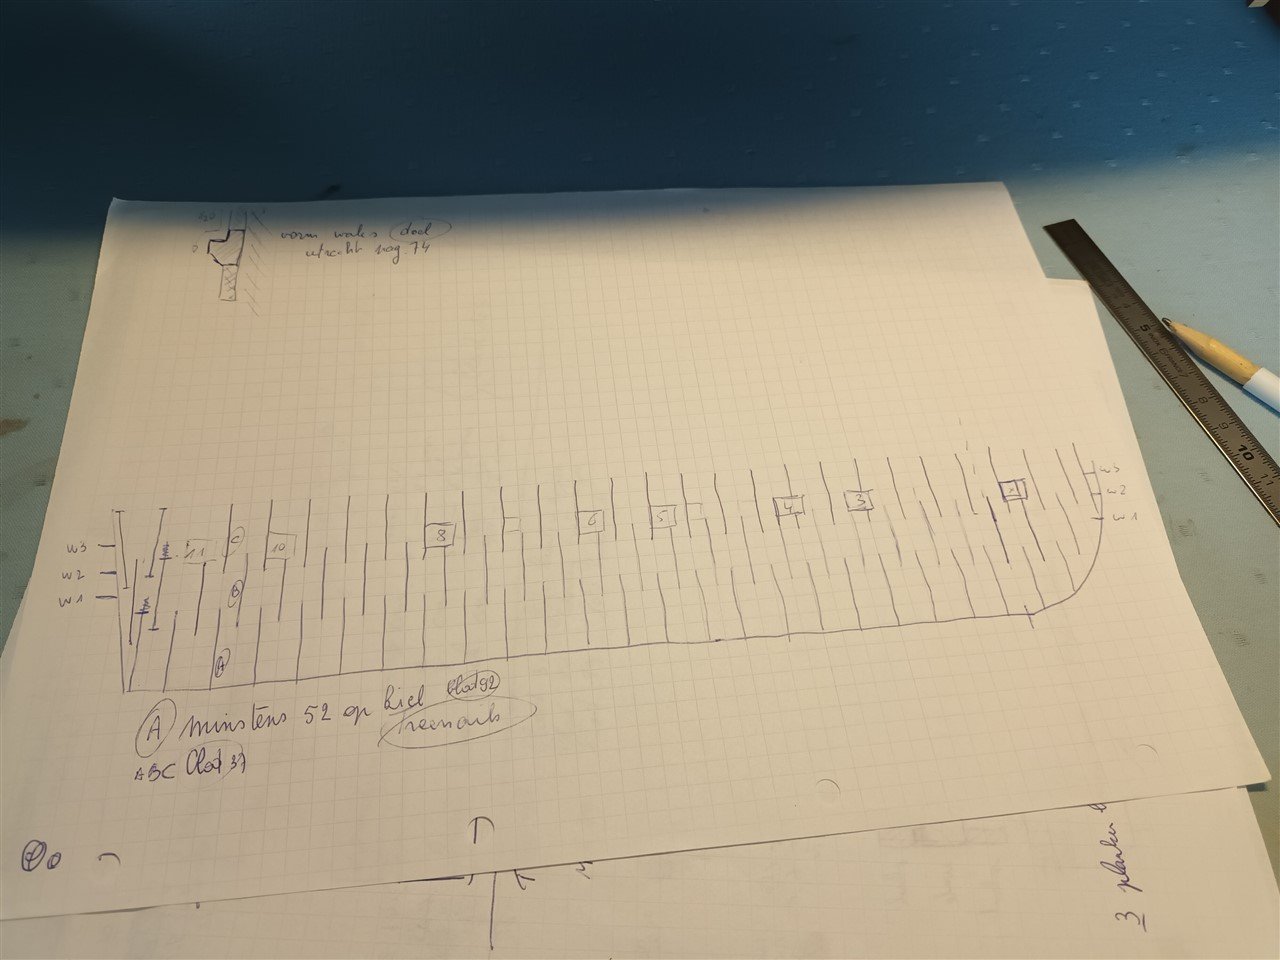
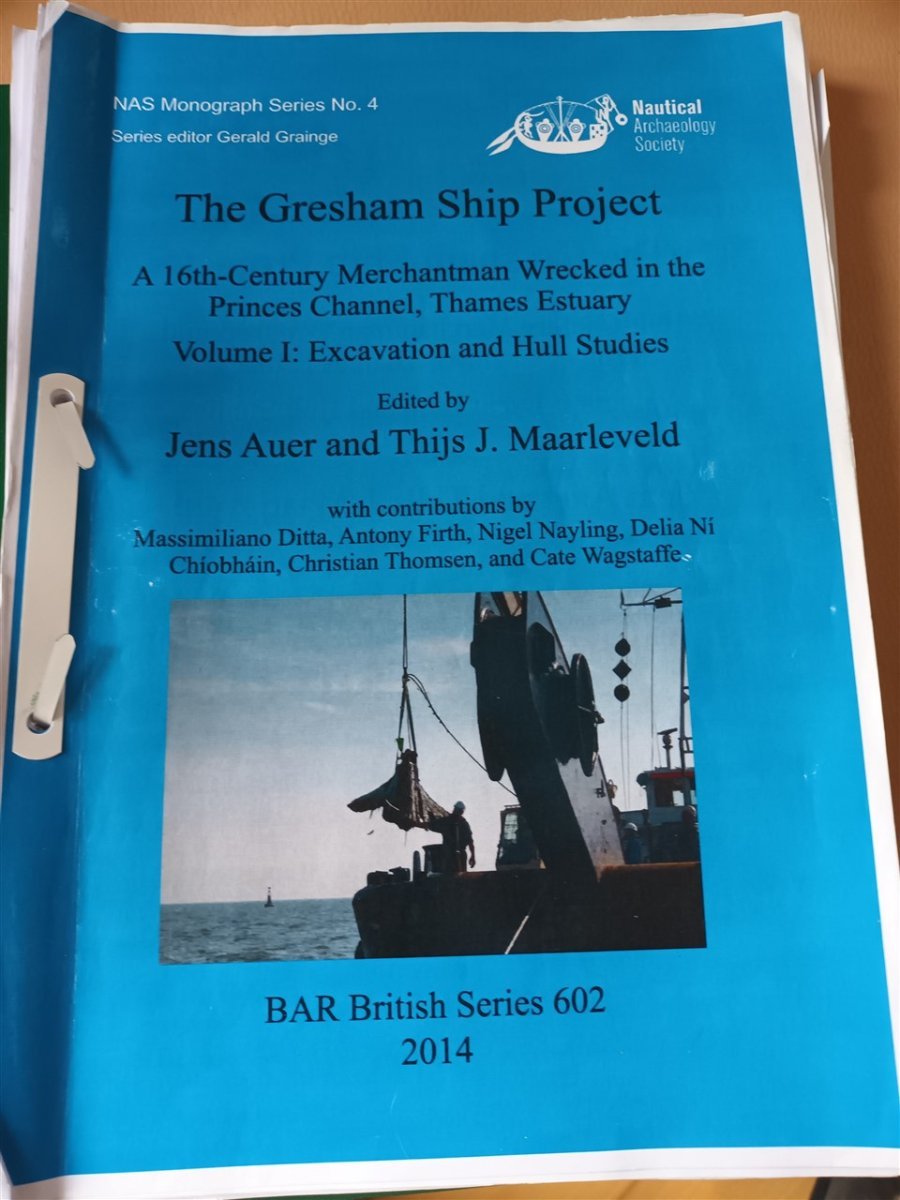
Therefore, back to the method on my previous model. This creates a schedule that has some structure. This will not match the real ship at all. but it looks good (to me).The Mary Rose info,
Further in the book it says : We will investigate this further later...
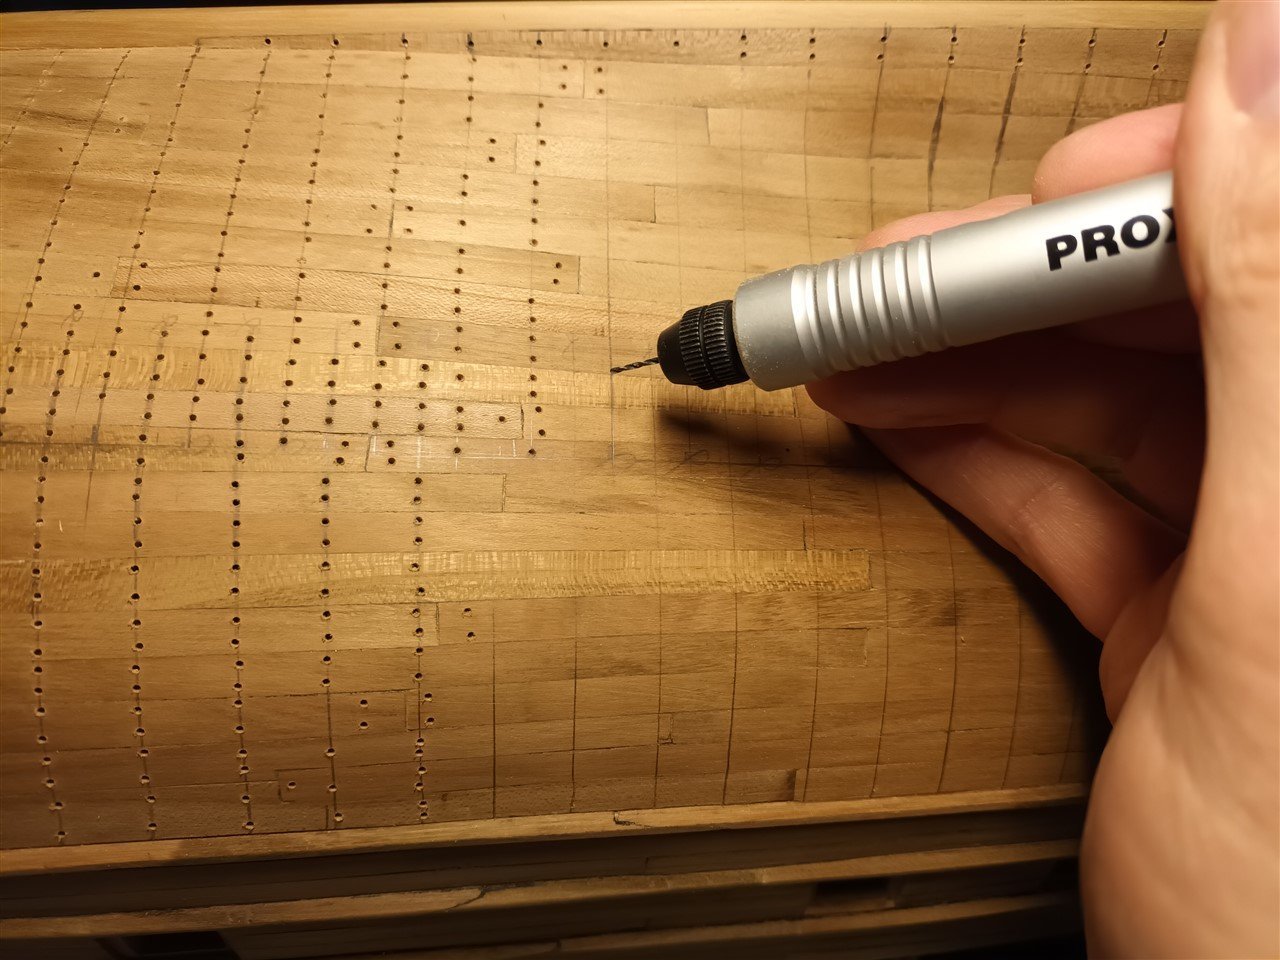
My treenails are indeed 0.2mm too thick. But I couldn't find smaller strips in walnut and 1 mm drills are cheap here
The frame diagram
Plan B

The strips : ordered on monday, delivered on teusday.
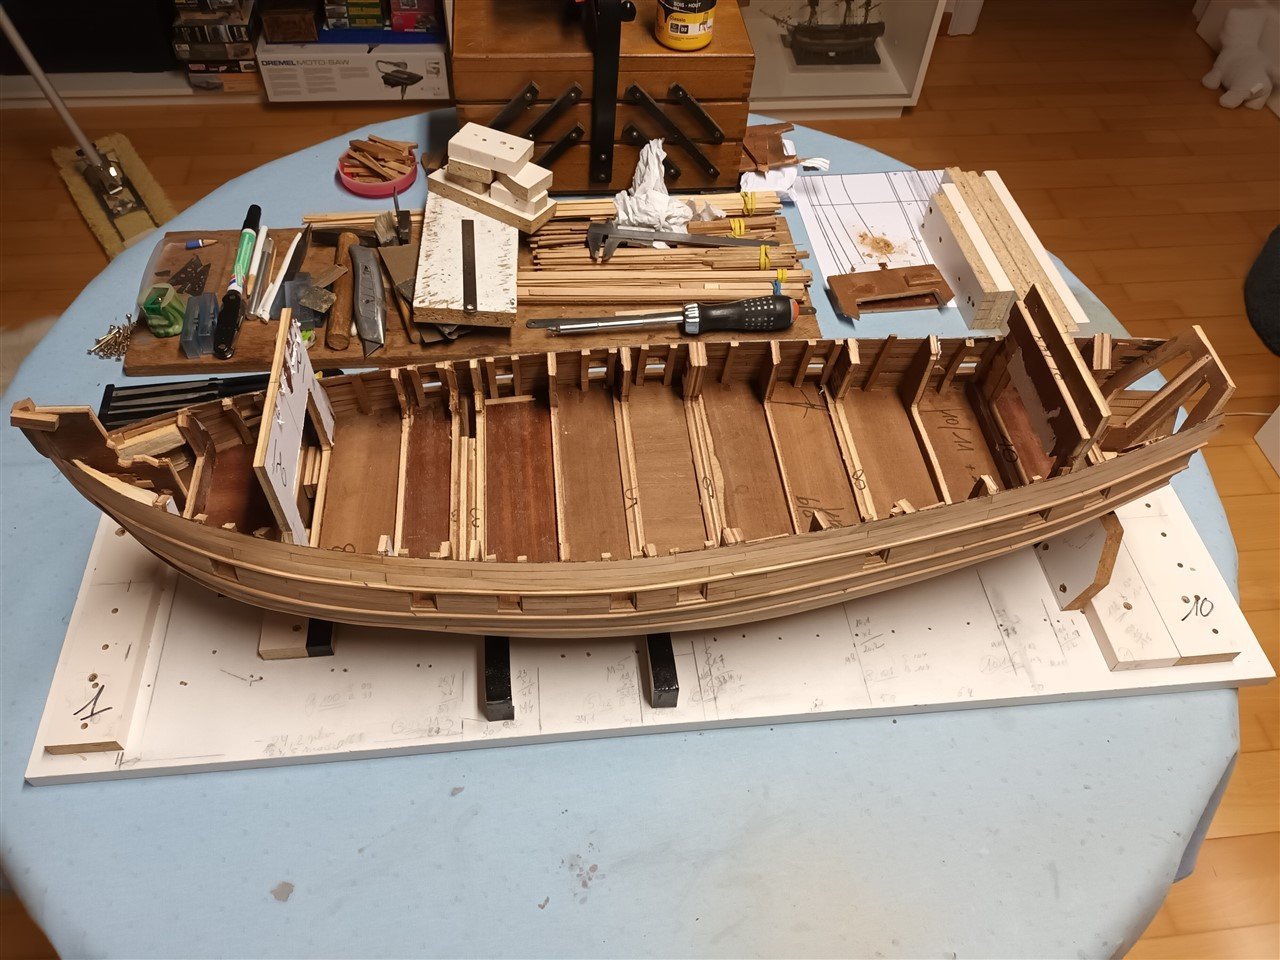
There should be approximately 5500 to 6000 holes between the keel and the first wale. This work requires new tools
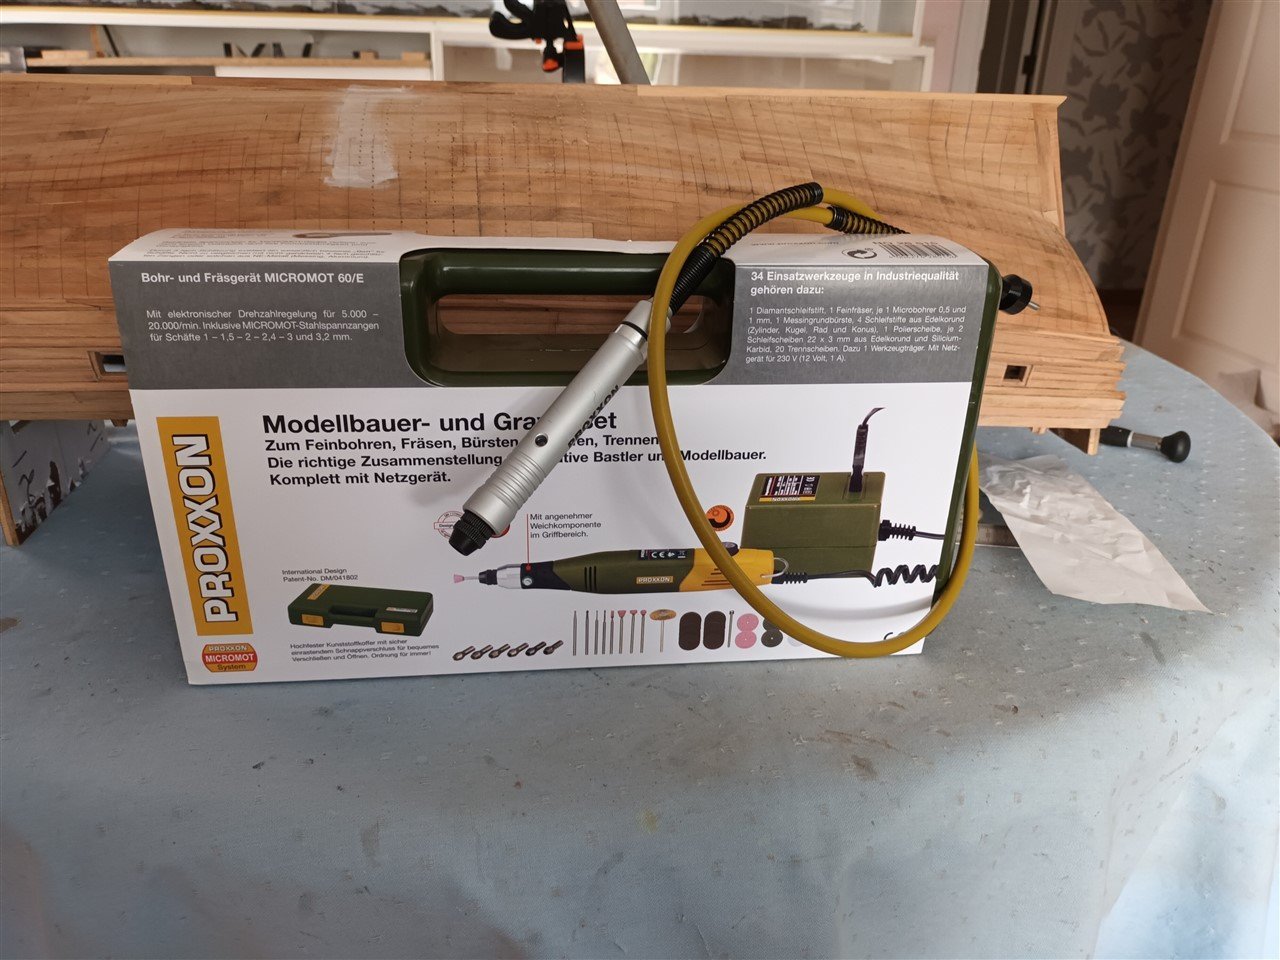
Drilling
Adding the treenails (and my very first hammer, still in service)
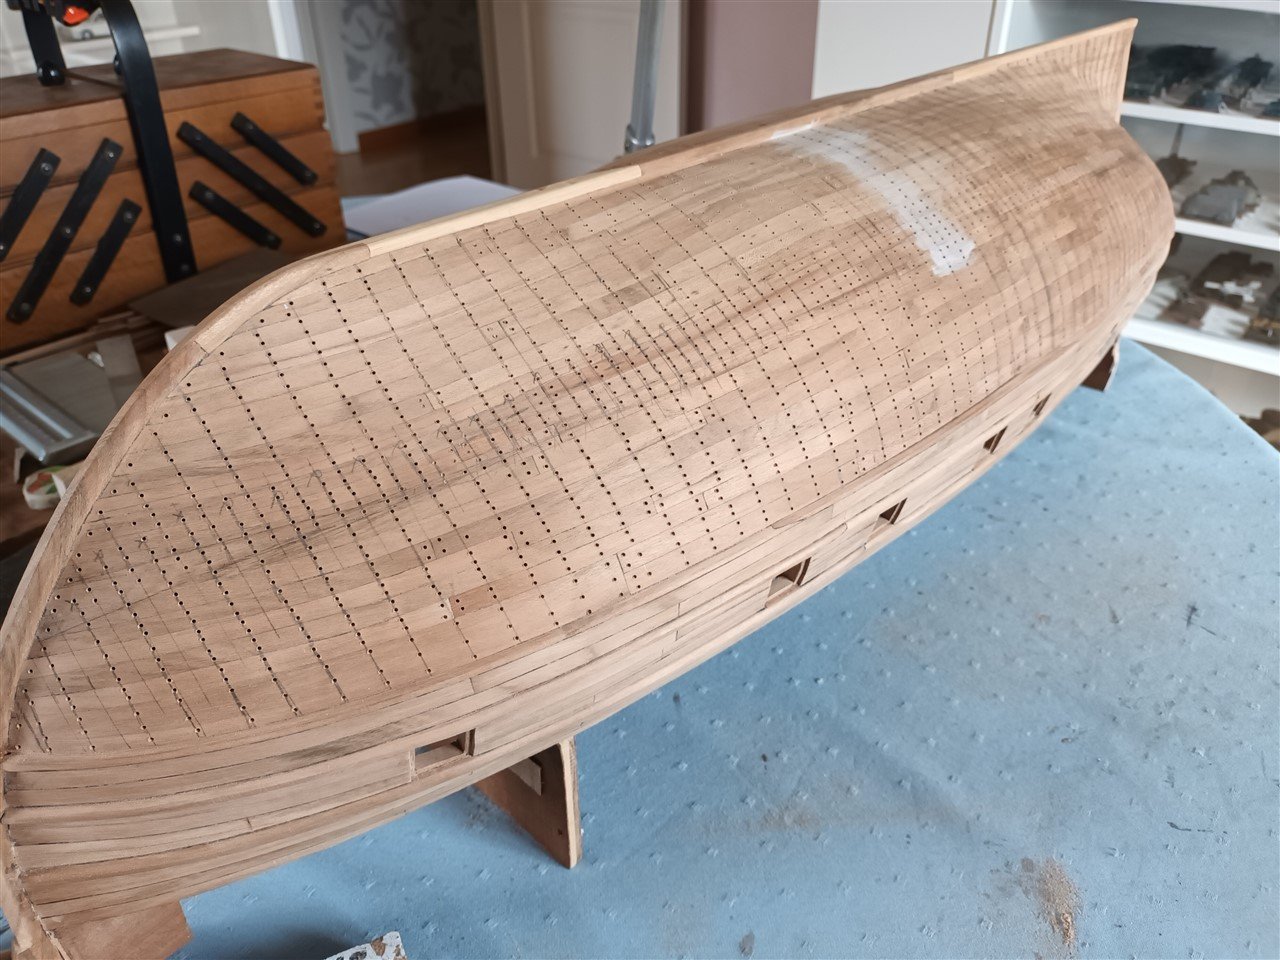
Work in progress

-
-
-
-
I think your painting gives a very special and beautiful result.
At the time the Revenge was built, wood and iron were used.No brass 😉The most common colors where red,green and white
-
-
6 hours ago, GrandpaPhil said:
I think I’m going to try and get Admiral Claus to get me a Syren Rope Rocket and Serv O Matic for Christmas for this model.
a nice person like you will definitely get this from Admiral Claus 😉
- mtaylor, GrandpaPhil, Glen McGuire and 1 other
-
3
-
1
-
-
-
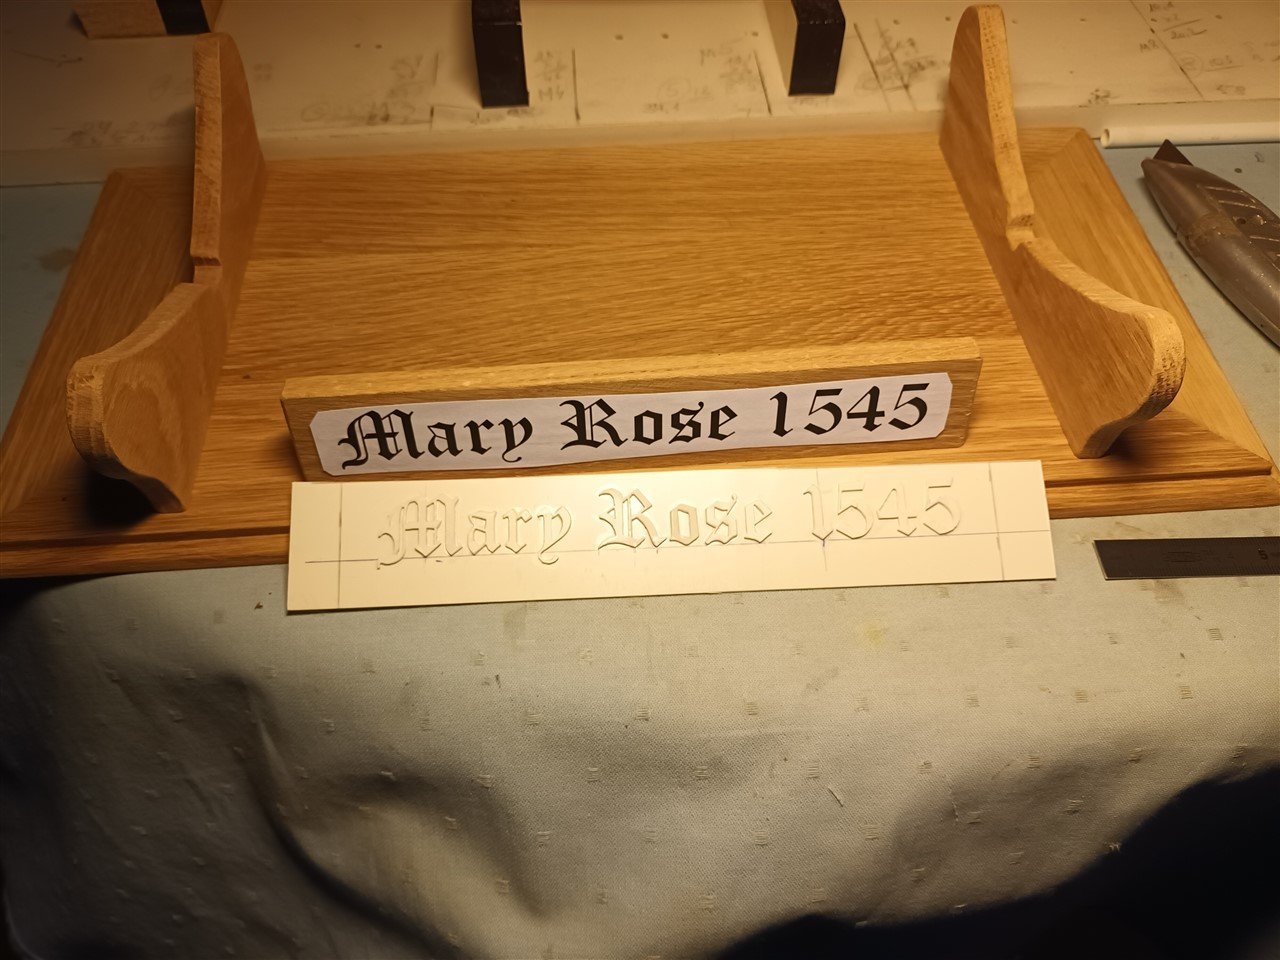
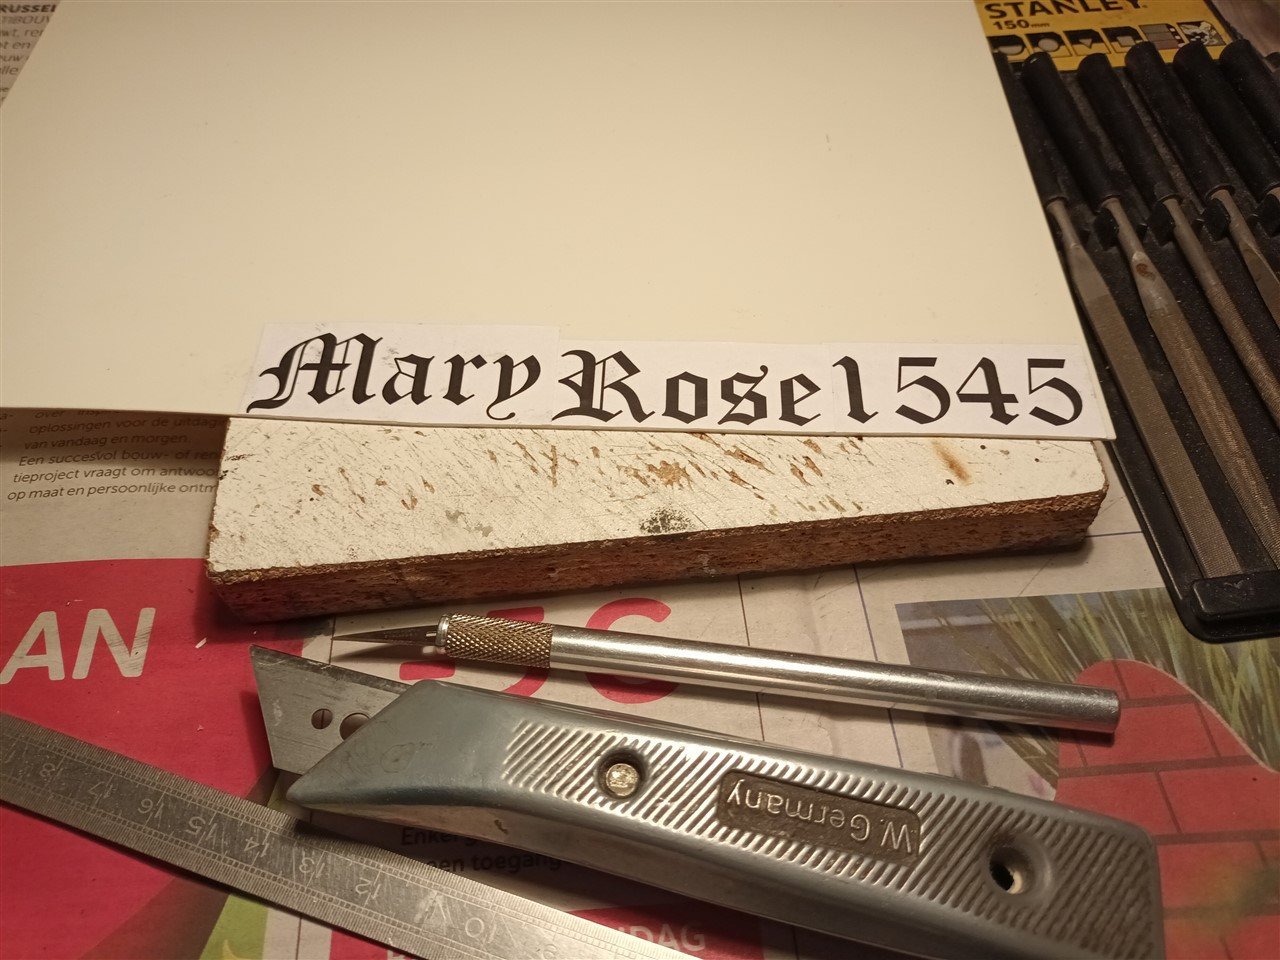
The name is now complete.
And planking is done on both sides. Further planking at the stern is for later.
Now this part of the hull will first be further detailed (treenails, etc.)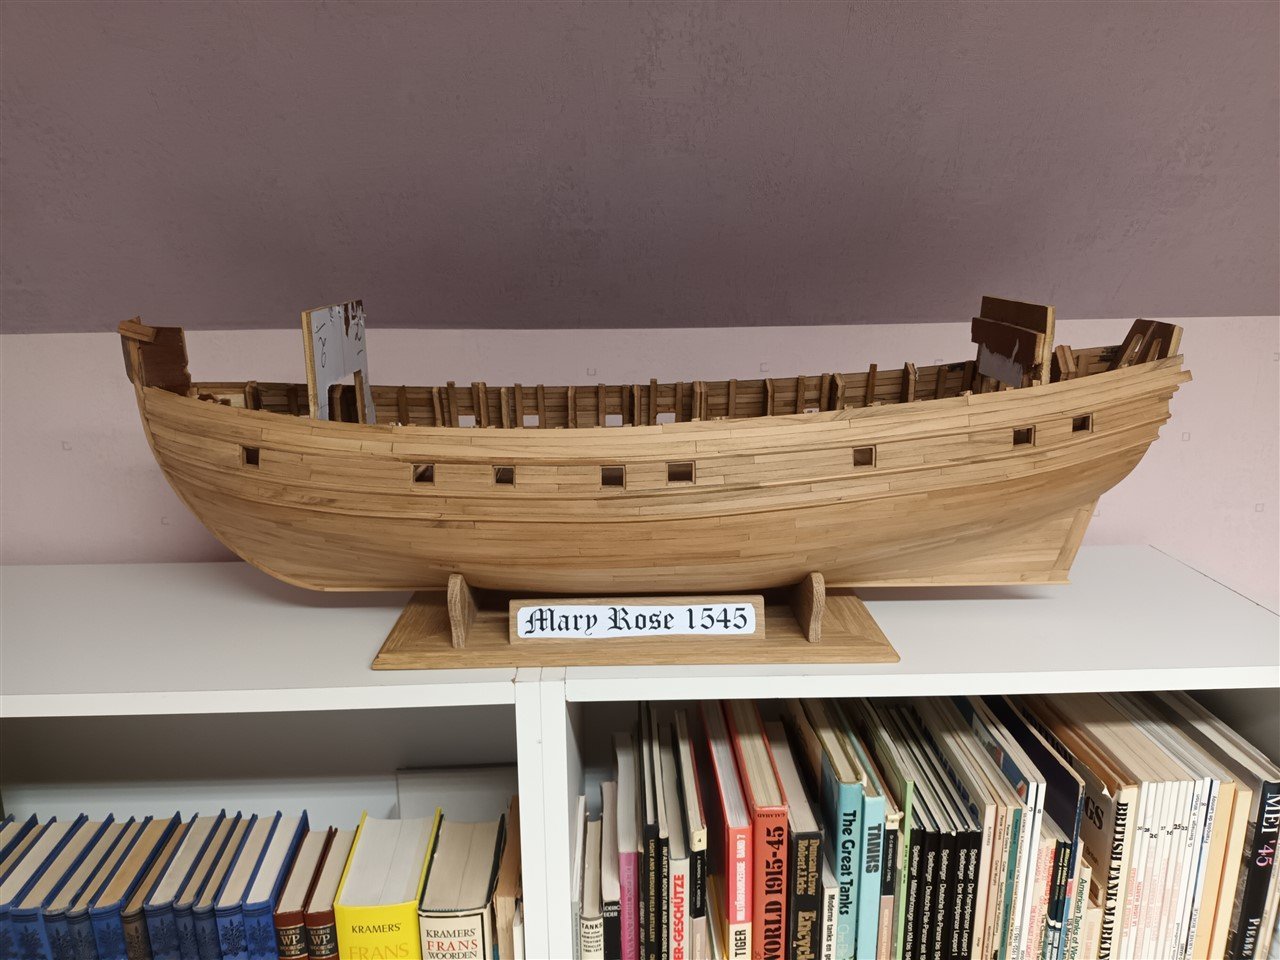
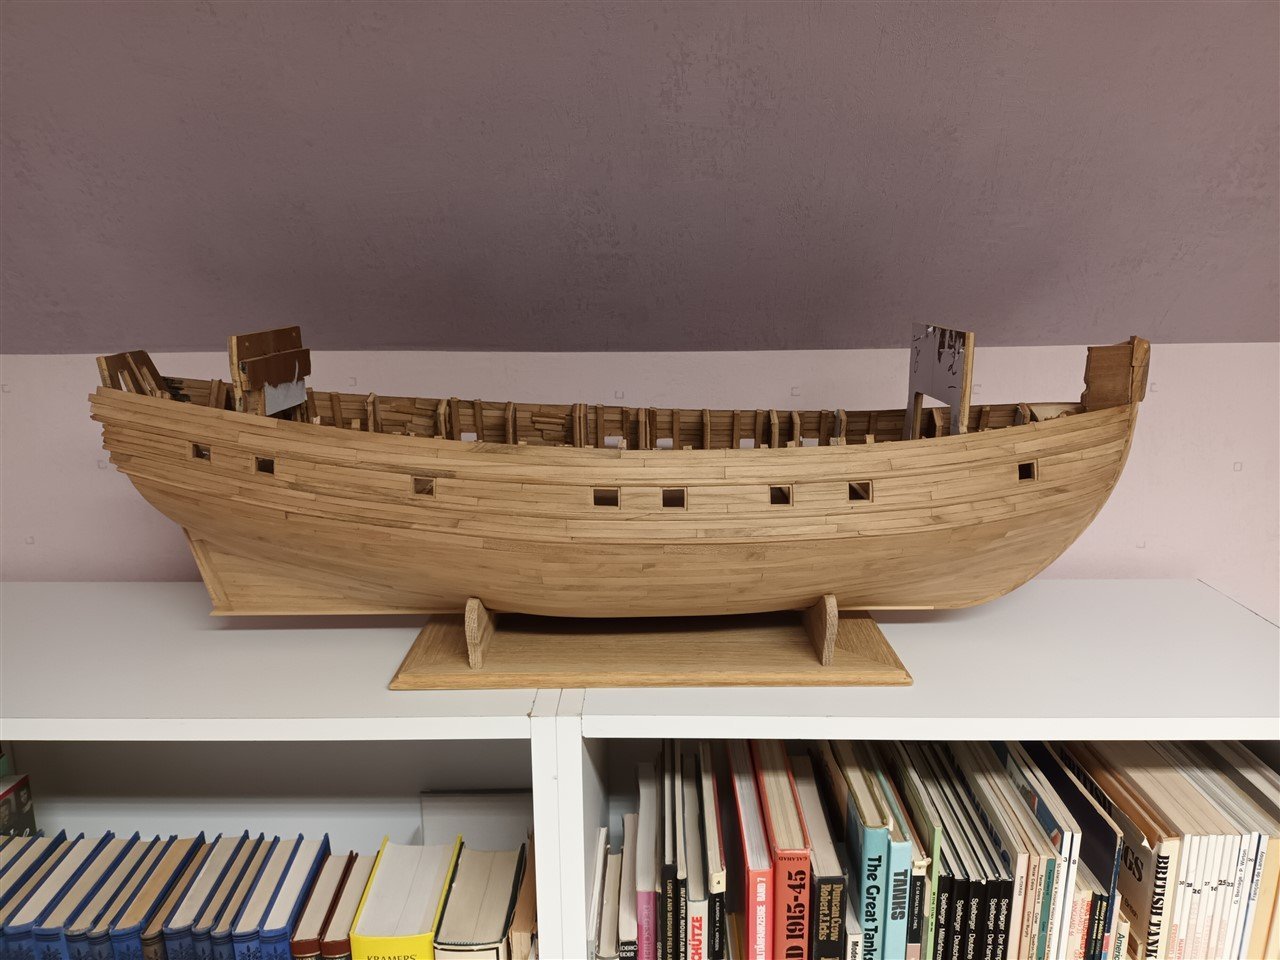
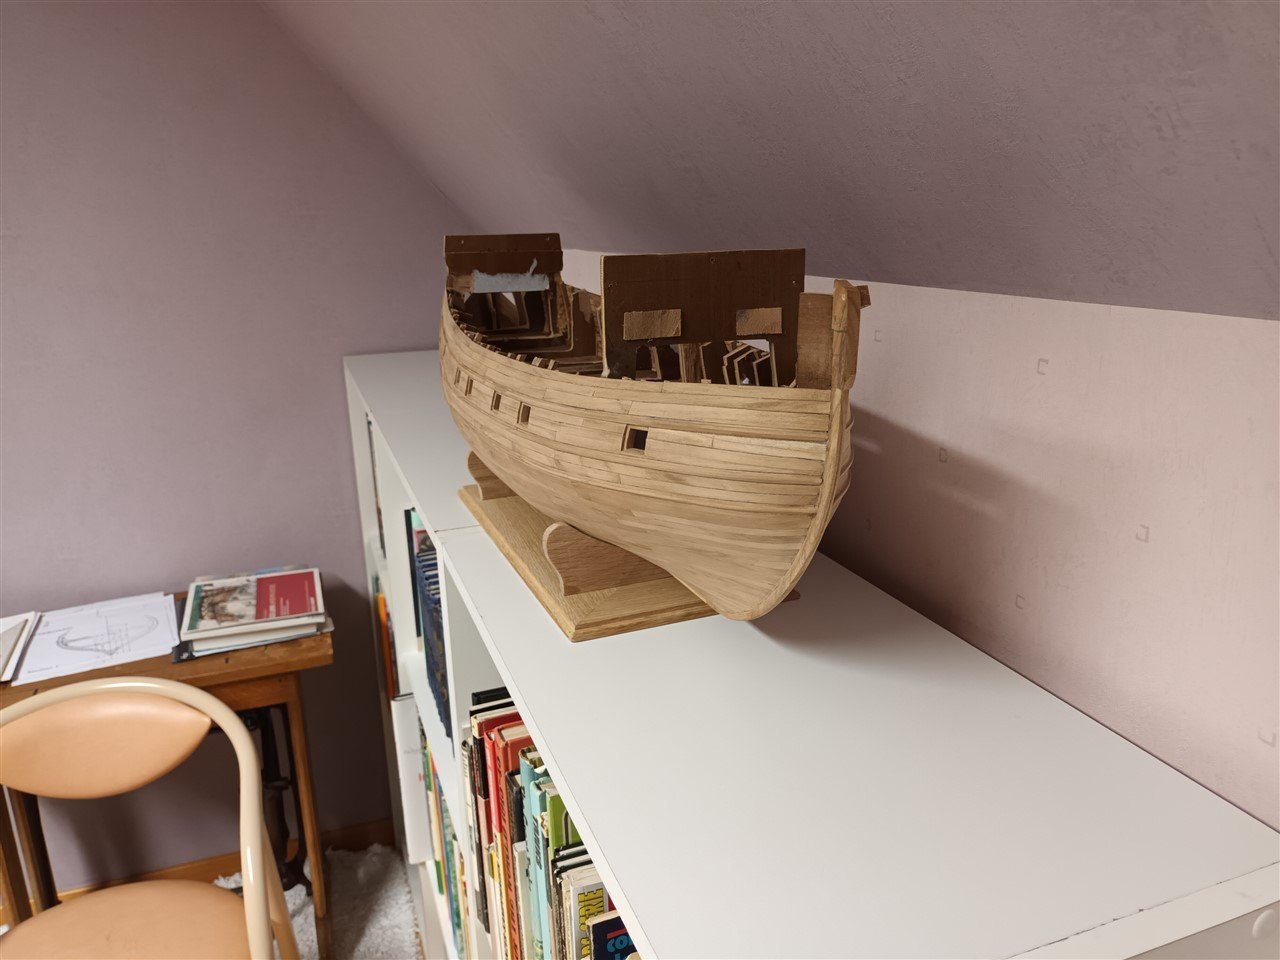
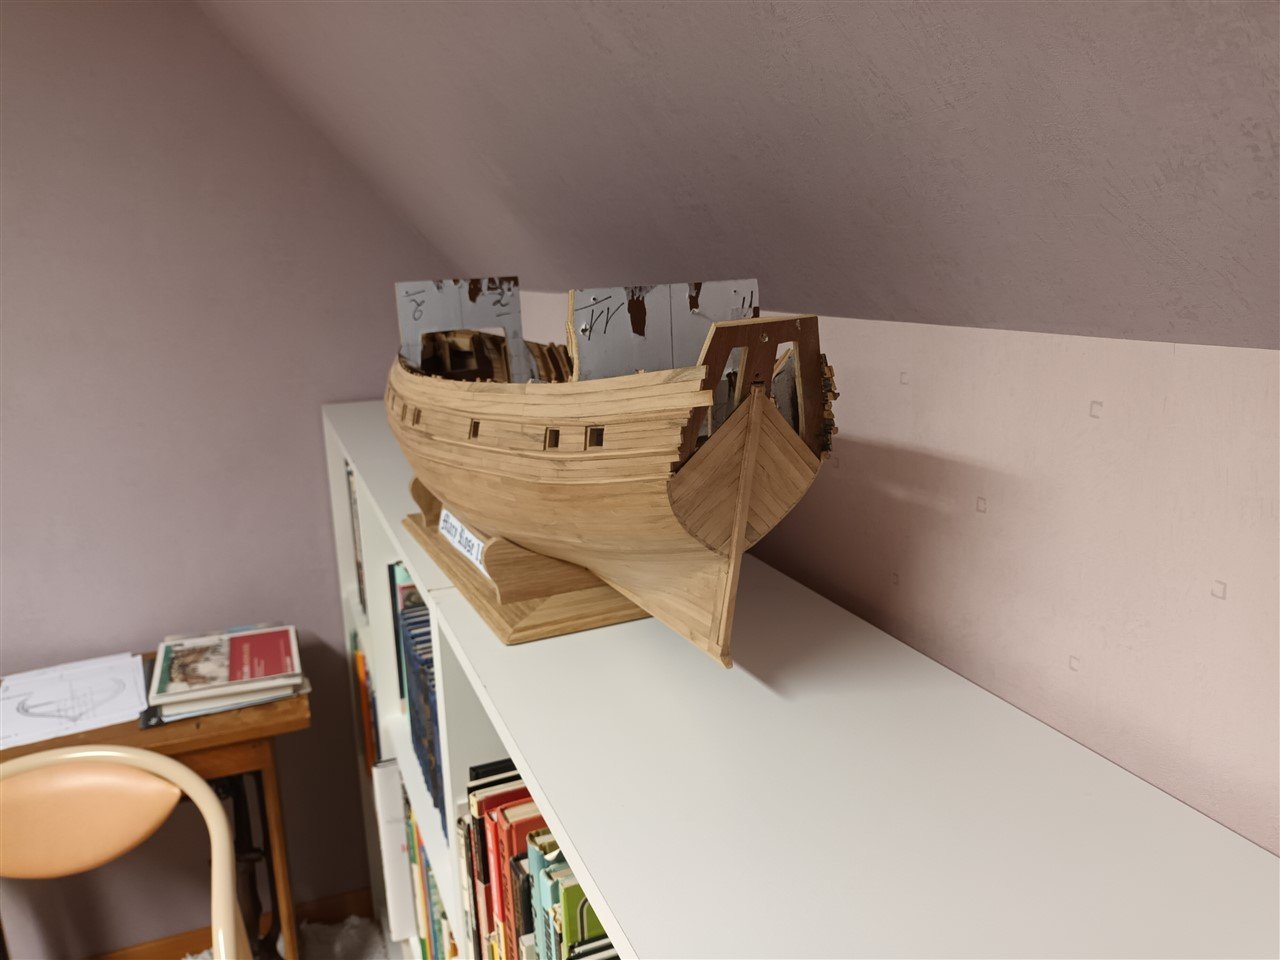
2 plywood bulkheads remain present, so the model can easily remain upside down for further finishing.
The strange piece of wood on the bow is just a temporary reinforcement so that the top part of the stem doesn't break off
Thanks for following, comments and likes
-
-
-
The wale 3 problem has been solved. This now has a more flowing line towards the bow.
The front cannon port has also been modified. Like ports 2 through 6, is the opening now to just below the wale.
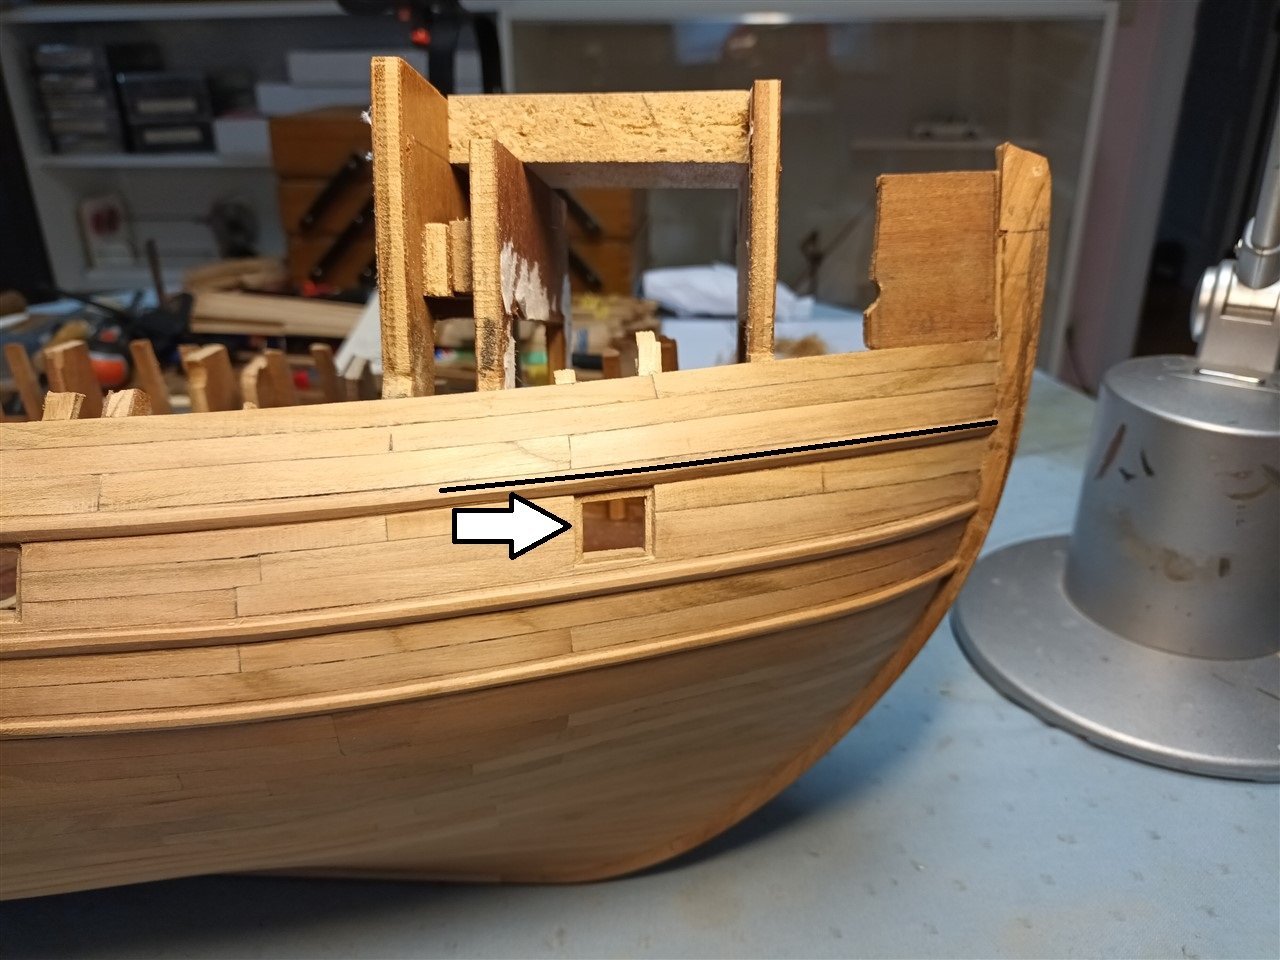
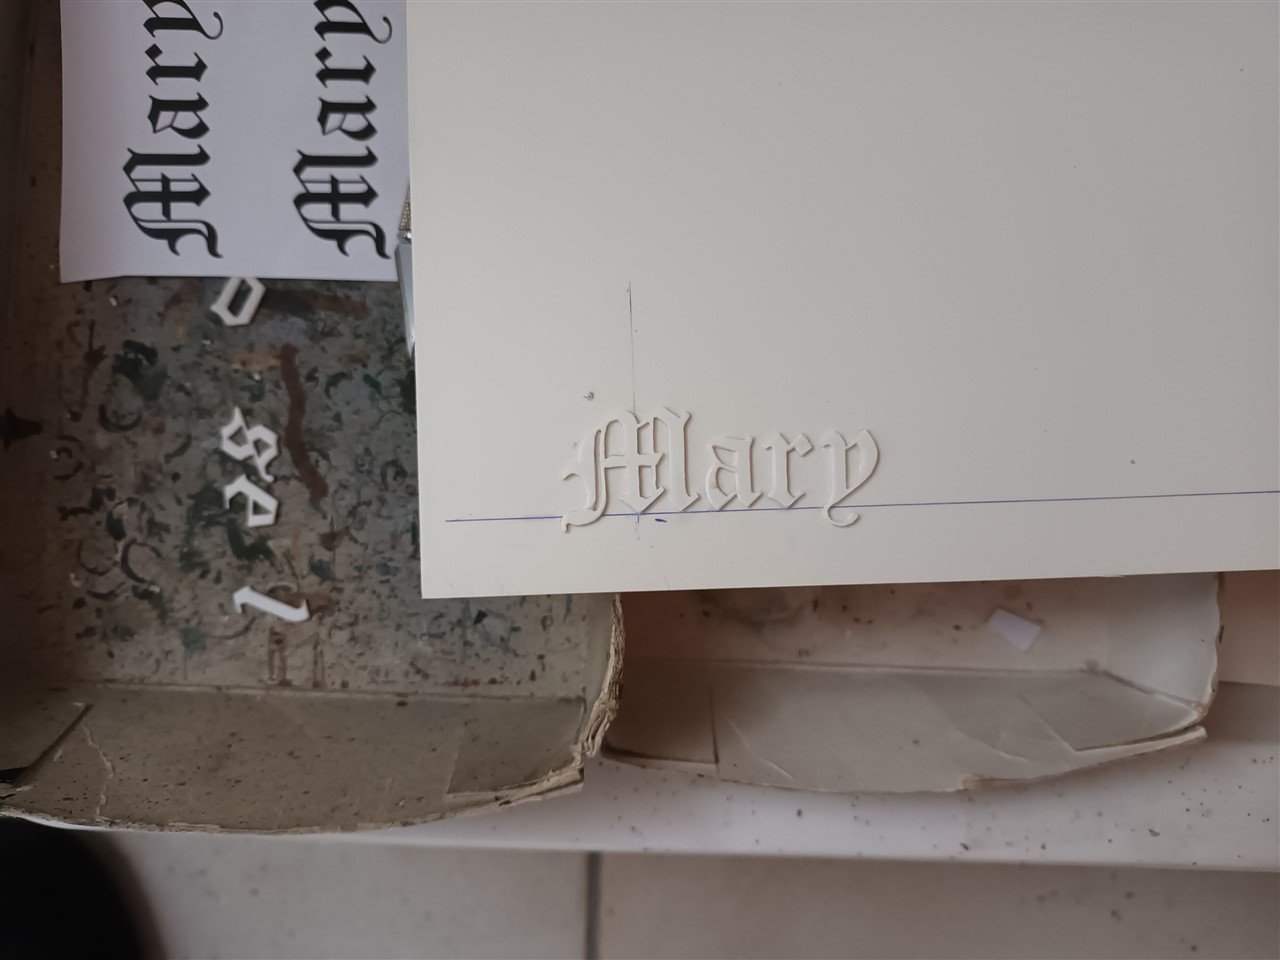
The letters of the name are also coming together well.
Starting with an easy one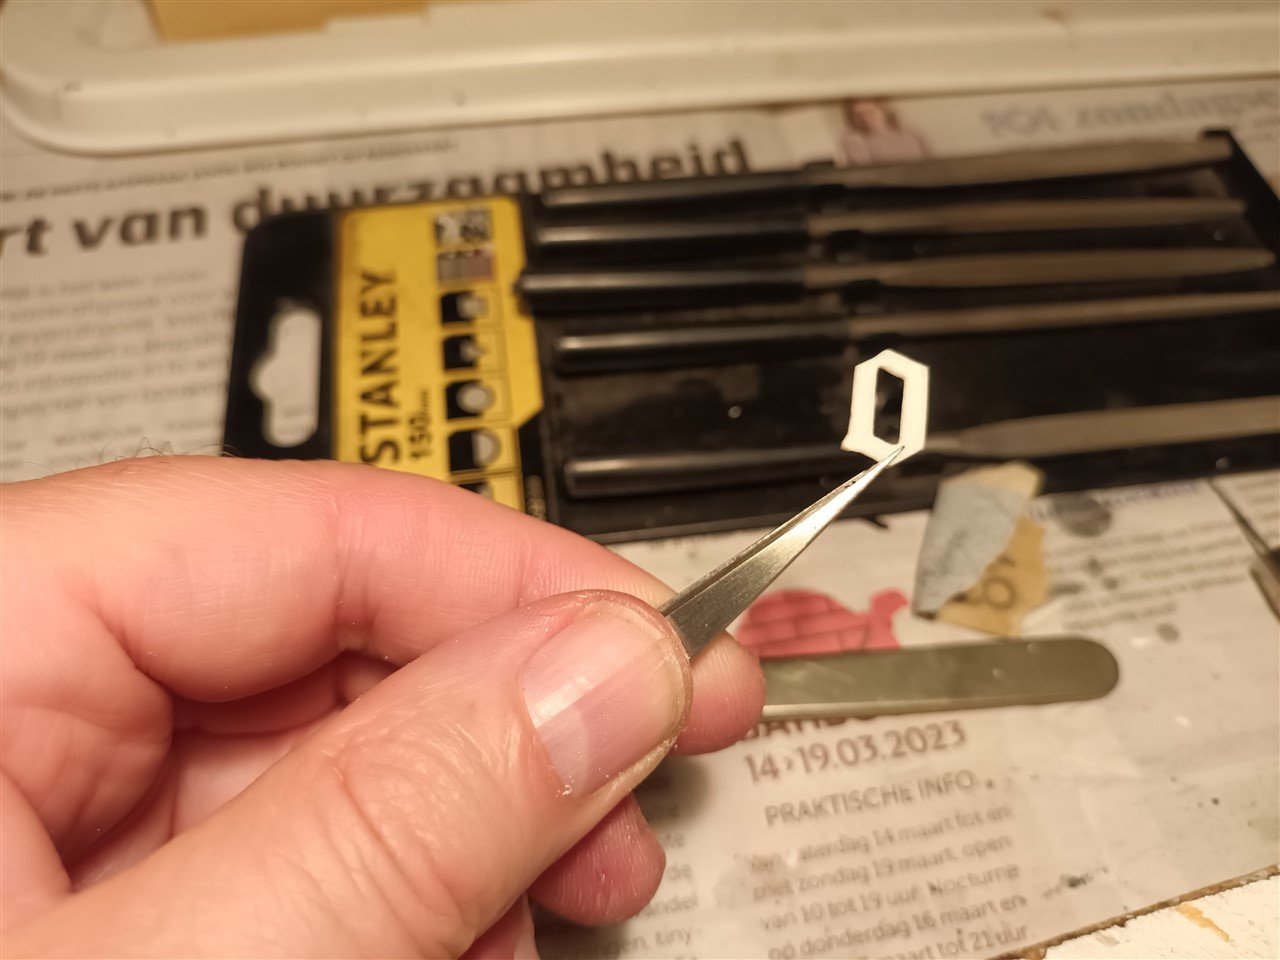
And then the difficult one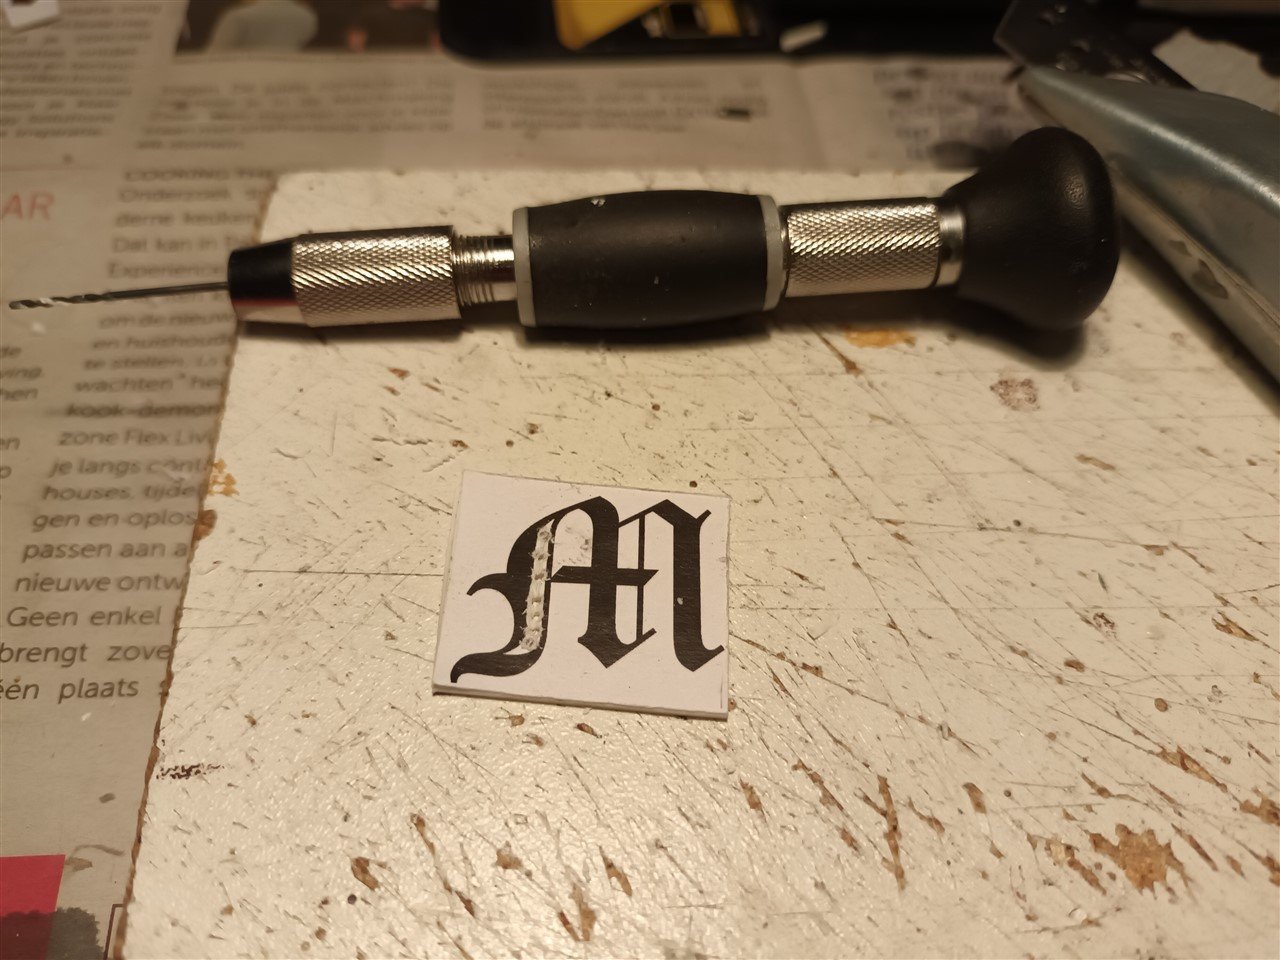
Mary (without Rose
") )
)


Soleil Royal by Ulises Victoria - Artesania Latina - 1/72
in - Kit build logs for subjects built from 1501 - 1750
Posted
A very special "look" 👍
Nice work