HOLIDAY DONATION DRIVE - SUPPORT MSW - DO YOUR PART TO KEEP THIS GREAT FORUM GOING! (Only 51 donations so far out of 49,000 members - C'mon guys!)
×


reklein
-
Posts
1,285 -
Joined
-
Last visited
Content Type
Profiles
Forums
Gallery
Events
Everything posted by reklein
-
Some big hospitals have surplus sales where one can get used equipment. Bill
-
Try this link, look near the bottom for the english- polish glossary.http://www.cardfaq.org/faq/
-
ON one of the card model forums theres a pretty good translation sheet I'll see if I can find a link. I think its fun to try to figure stuff out. ALso be sure to se the symbols page that tells you what to do and where. BILL
-
For those of you who like to make your own machines,there is a very cool 3 axis milling machine made from a rotary tool, wood, and store bought fittings. Its in the July/August issue of SHOP NOTES magazine. Wish I could post a pic but there are rules of course.SHOP NOTES is a very informative magazine on woodworking and is usually more technical than say HANDYMAN or some of the others. All dimensions and materials are given for this tool and also the sources for parts are included check it out. BILL in Idaho
-
- 1
-

-
This is a little late , but nice work on the ship. I think I may be starting one of these in the fall. Also Really nice work on your photo website. Bill in Idaho
-
AHHHH! Now "Gros Ventre" makes sense. The use of pear wood is interesting because in the wood turning world any fruit wood is avoided because its relatively unstable. Partly I think because turners use much bigger chunks than do ship modelers. About 14 years ago I got some 4" diameter branches from a local orchard and cut it into a 4" thick billet but It still checked pretty bad. But I just checked and my 1" thick boards are pretty clear. Hmm maybe I have a project coming up. BILL
-
Should be a fun project, but why"Gros Ventre" for a name. There is an indian tribe in Montana with that name and it means "Big Bellys" any way thats,what everyone calls them except for themselves. Just saying. Bill in Idaho
-
I'll second the use of jigs. Set the lower deadeyes,seize up each pair of shrouds at the masthead, place the upper deadeye in the jig, seize off the shroud at the proper tension while in the jig. Then remove the jig and reeve the lanyard. With small adjustments in tension you can get good alignment. BILL
-
Very nice work for a beginner,actually its nice work for an intermediate builder. I was a little startled at first to see it sitting on the water.But then I grew interested to see how she floats and all and can imagine her as she was launched. I'll have to keep track of this build. BILL
-
That ball vise is the ticket for handling small parts and carving badges and scroll work. Are you buying or making your blocks etc. when you get to the rigging part. Will it have sails? Do you have a good plan for where all the running rigging lines belay to on deck? Bill
-
I see at least one version available on amazon. Not sure if its the one you need though as one is unavailable. BILL
-
Thats a big project Gaetan. You need a construction crew. At the rate you are going it will be an antique before you are finished Its beautiful work BTW. Bill in Idaho
-
what is the ideal modelling table?
reklein replied to AON's topic in Modeling tools and Workshop Equipment
I use an old typewriter table to finish up and rig the ship, I can roll it around and position it and with a roll around chair it works pretty good. Only problem is the height. Can't lower it enough to rig the tops . BILL -
you might try thr fly fishing shops for small thread or fine fishing line. Make sure its flexible enough to lay in the deadeyes correctly though. BILL
-
The Color Buff
reklein replied to wallyh's topic in Painting, finishing and weathering products and techniques
Freshly painted ? A week old.? a year old? in the north or the tropics? Behind the stacks or ahead? I'd just paint it something close and make up a story to fit. I hope I don't sound too sarcastic but there can be so much variation. You could take a picture but the color would depend on the exposure,film type, light conditions and all. Bill -
When I lived in Alaska I had a whole clear spruce log cut into 5/8ths thick planks and brought what was left to Lewiston with me. If the spars are small enough I use a single thickness. I will glue two pieces together if more thickness is required. A small plane such as violin makers use makes it fairly easy to get a nice taper.Taper the spar squre starting in the middle to the ends. Once tapered I then shave the corners off to make an eight sided spar ad then sand from there. I've been having good luck lately finish sanding the spar while its chucked in my drill press. I tighten the chuck just hand tight then support the work with my fingers while I sand the spar with a sanding block. I start with 80 grit then go thru the numbers to 150. Don't use too high a drill speed if you use this method. The drill press I use BTW is a floor model and I can get 2 foot long stock in it easily. A wood or metal lathe would work even better if it has the capacity..BILL
-
Are all Exacto blades equally sharp when new?
reklein replied to Captain Al's topic in Modeling tools and Workshop Equipment
X-acto blades aren't necessarily the best for everything. Those sharp points often break off in the more brittle or hard woods. This can be remedied a little by using a stone and grind off the back of the tip to give a little more metal to back up the point. I also keep a Flexcut woodcarving knife handy as a bench knife. Its got a big wooden handle and you can put a lot of downward pressure on the blade for crosscuts. Also a NWSL chopper tool will crosscut most small x-section lumber easily and accurately. My 2 cents. BILL -
Thanks Modeler12, I found your post where the collection of videos is. Thanks for info. Bill
-
I'm sorta late to this party, but Ill throw in my 2 cents anyway. I'm a fan of using square stock.. Taper it ,then carve to eight sides and last chuck it up in a drill press and use sanding blocks starting with eighty grit and down thru the numbers to 150 or 225. Spruce s very strong but you should get aircraft grade.Be selective don't just take the first stick out of the box. look for straight grain not diagonal or knotty. Not so strong but nice to work with is clear red cedar. However if you're the least little allergic to dust use a mask or use spruce. BILL
-
Modeler12, thanks for the seizing blocks video. Its been a big help. Do ya have anything on fixing blocks to the yards and or eyebolts. My era is 1580. BILL
-
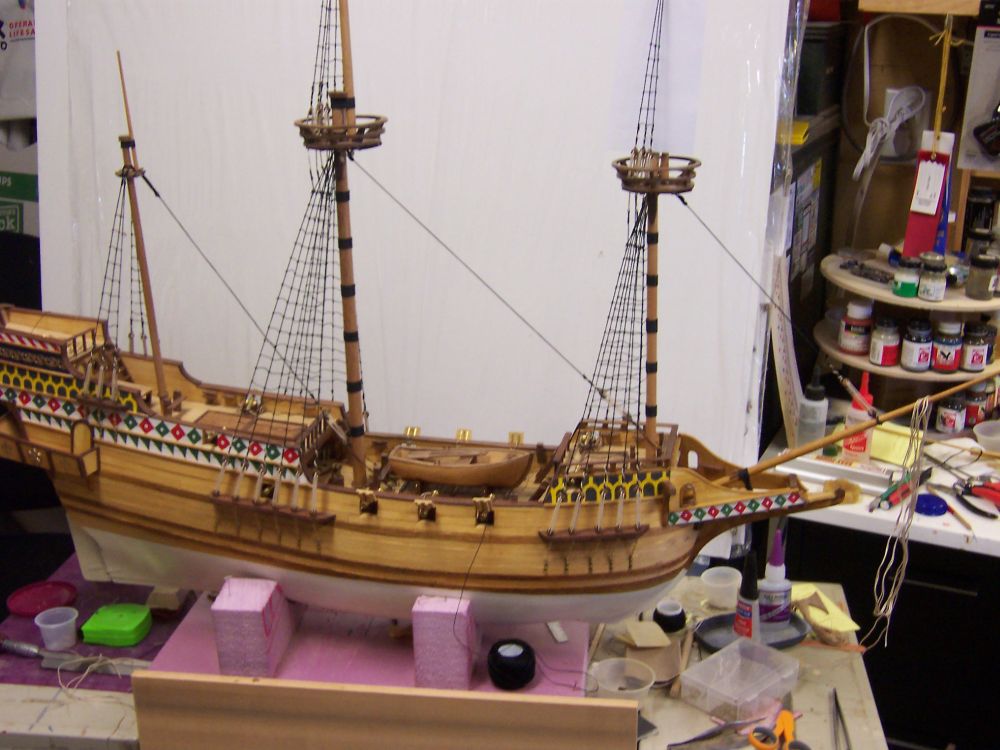
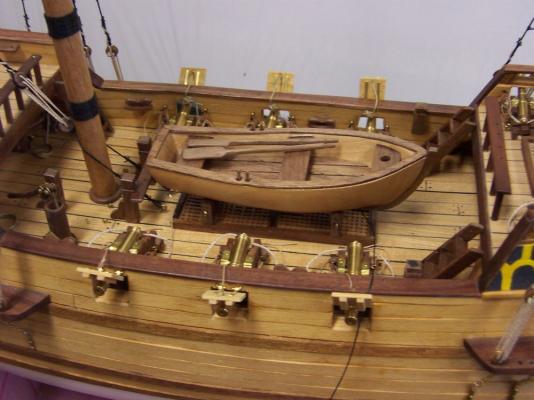
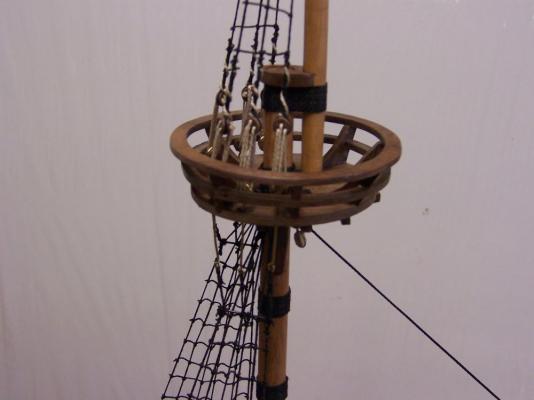
Well after a two year hiatus I restarted my Golden Hind project. Its an old Billings kit and quite a large one at what I figure must be 1/2"=1" scale. Its about 34" long. I just about to finish the standing rigging including ratlines. Thank God. Heres some pics I hope.Looks like everything posted just fine.

-
Don't forget a couple of smallish hemostats. They're nice to clip on to a line and leave hanging to apply uniform tension while seizing lines. Also a few"roach clips" alligator clips, I think you can still get em from Radio Shack while they're still around. BILL
-
Fiskars ! Micro-tip
-
Sherry, You might check out the Alumilte casting resin website. Just Google Alumilte. They have DIY videos for resin work that are very useful. Good luck on your project. keep us posted. BILL
-
Using chisels for turning brass
reklein replied to tkay11's topic in Modeling tools and Workshop Equipment
If you are having trouble with grainy -ness on your wooden cannon, try a paste filler on them before priming to fill the grain. You should be able to find the filler at a store that sells caters to the custom furniture business and hobbyists. There are also good filler primers. BILL