reklein
-
Posts
1,285 -
Joined
-
Last visited
Content Type
Profiles
Forums
Gallery
Events
Everything posted by reklein
-
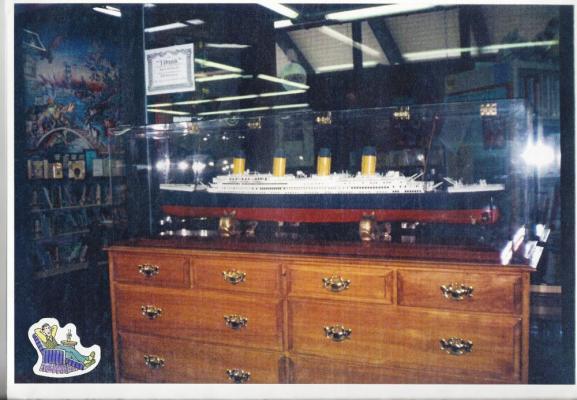
Nils, I found,or rather my wife found, my picture of my Titanic. Turns out I built it 20 years ago. The plans were French but I got them from Taubman. The model is scratchbuilt. Bill
- 2,625 replies
-
- 10
-

-
- kaiser wilhelm der grosse
- passenger steamer
- (and 1 more)
-
Probablyknot,I think that this is a kit that philo got from me a few years back for a nominal fee.I found the kit at a garage sale pretty cheap and I think I passed on the savings as it cost me more to ship than I got for the kit.I think hes done a good job considering the shape the kit was in. I actually disassembed the frames and keel to shelve the kit for later. Steingraber was an older German firm who also dealt in R/C models. I think philo was looking for some cheap kits to get experience on and it looks like he's going after it.Good for you guys to coach him as hes getting better. Bill
- 69 replies
-
- 1
-
-
- admiral vernon
- steingraber
- (and 1 more)
-
Nils, I built that model 18 years ago, Give me a day our two and I'll see what I can dig up. The guy I built it for has passed away since about 5 yrs ago and I don't know where the model went. He was autistic and quite the titanic enthusiast. I'm sure the model exist I just don't know where. Bill
- 2,625 replies
-
- 5
-
-
- kaiser wilhelm der grosse
- passenger steamer
- (and 1 more)
-
Our similar thinking may be due to our shared German ancestry,However, mine is 3 generations away and thinned out by scotch/irish genes. I visited a steam sternwheeler in Canada in which the coal was bunkered aboard by handcarts. Each turnaround required 38 tons of coal to be loaded in 4hrs. The ashes were shoveled out by hand into a water washed funnel and dumped overboard into the lake. What a mess that must have been. Bill
- 2,625 replies
-
- 6
-
-
- kaiser wilhelm der grosse
- passenger steamer
- (and 1 more)
-
Hi Nils, I built a 53 inch Titanic from French plans back in 97 and installed radio control. It was frighteningly rolly in the water. I had used cast lifeboats. In order to reduce topside wieght I took them off and carved individual ones from basswood. While it improved the performance it was still scary. We ran the boat a couple times then I took out the electronics and machinery to prevent her loss. Your shots of bunkering are great. Do you suppose the coal funnels were added to the outside or were they folded out from the inside. In which case you'd thing the bunkering hatches would be hinged on the bottom. Also the Titanic had hatches for bailing out the ashes,which I assume was done underway. What a mess on the ocean eh? It fun to watch this build. Bill ,still in Idaho
- 2,625 replies
-
- 6
-
-
- kaiser wilhelm der grosse
- passenger steamer
- (and 1 more)
-
This is my first look at this project. Its coming along very nicely. The hull plating "reads" very well. I'll have to continue supervising this project. Bill in Idaho
- 2,625 replies
-
- 3
-
-
- kaiser wilhelm der grosse
- passenger steamer
- (and 1 more)
-
The painting of a 17th century ships hull
reklein replied to silverfoxes's topic in Nautical/Naval History
Try artists acrylic, unbleached titatanium. Just thinned slightly. I'm pretty sure a mix of white zinc and horsehair would be a umberish white. Bill -
This is looking pretty good considering its your first build and you scratched the hull. GOOD JOB. Bill
-
Ion driver, where in Idaho are you I may be able to help you with your build. Bill
-
Are you an Impressionist or a realist?? Bill in smoky Idaho.
-
Tiny fake nails/nail heads
reklein replied to Landlocked123's topic in Metal Work, Soldering and Metal Fittings
Check the Model railroad supplier Grandt Line. They have tons of tiny plastic Nut,Bolt Washer (nbw) castings of varying small sizes. Micro-mark may carry those parts also. Bill -
Hull Planking
reklein replied to wallyh's topic in Building, Framing, Planking and plating a ships hull and deck
Do a search on plning on this forum. You'll find a ton of stuff, specially in the NRG section. BILL -
I have at least one of Keiths books but I haven't found anything very detailed about planking specially with the kit supplied material. I can't seem to get straight planks to lie flat on the hull in the bow area. I see a few guys on the forum have done a pretty good job of getting them smooth and orderly looking but not quite the way a real ship would be planked. I even built a bending jig as is illustrated in his book but one still gets the stair stepping effect with straight planks. The only cure I have found is spiling and I'm not sure I'm doing it right and Its very time consuming. BILL
-
The Meta looks to be the one to me, just by comparison. BILL
-
Wow!! Looks like you have you work cut out for you,no pun intended. I hope you can get through thst kit without too much stock replacement. I still can't figure out how these kit manufacturers expect a modeler to plank a hull with only straight stock. Well good luck on this project. I'll look in from time to time to watch your prgress. Bill
-
sealing a solid hull
reklein replied to bushman32's topic in Building, Framing, Planking and plating a ships hull and deck
Depends on what scale you're working in. If you're down around 1/96 or smaller the layers of primer will suit you just fine. Use a good thin tape to build up your layers. If you're in the bigger scales then the bondo thing will work good just don't get too carried away with the thickness.Keep it subtle. I'd stay away from mixing spray primers with products like Tung oil. The oil is good for natural finishes but it looks like you're going for the steel navy look.Take a look at some of the tutorials the NRG offers. Bill in Idaho where it has cooled off signifigantly after a couple three weeks of 100 deg. temps. Now just 85 in the PMs. -
No snideness from me Mr. Madd. I thank you for filling me in on Wills history. He is an honored veteran. Bill in Idaho, where its getting hot and the fire season is upon us. Although no big fires yet.
-
Haven't ever used a tatting shuttle for rigging, but I have used a crochet hook. Meeanwhile your thread caught my eye as I just litterally inherited the Billings Will Everard from a freind who passed away. He was in the airforce and spent 9 years stationed in England and married English also. The Will was in his collection of kits and his widow asked if I would build it in trade for some model train kits. I also agreed to build a Mamoli Halifax which I am now working on. Anyways Looks like I'll have to do some research on the ship and see why he was worthy of a Billings kit. Know he was steel I think I'll overplate the hull with plastic card to simulate the steel. Might be a fun project. Bill.
-
Fiebing's Leather Dye
reklein replied to JohnB40's topic in Painting, finishing and weathering products and techniques
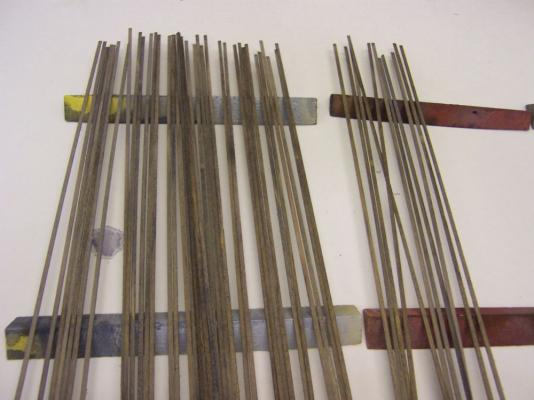
Heres the pics , I hit the wrong button. The pic with the boards is of the stained wood drying.If I have a lot of sticks to do I use a flat plan and dump the sticks in and immediatlt remove. It only takes a couple seconds. Maybe wipe of the excess stain or touch the dripping end of the boards to a paper towel to remove excess. Also dry time is onlt ten or fifteen minutes. When used as a wash all the wood grain shows through and it looks quite natural , but is hard to control when wet because of the low viscosity. Bill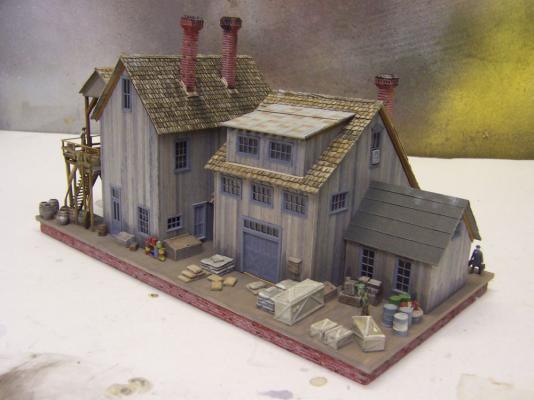

-
Fiebing's Leather Dye
reklein replied to JohnB40's topic in Painting, finishing and weathering products and techniques
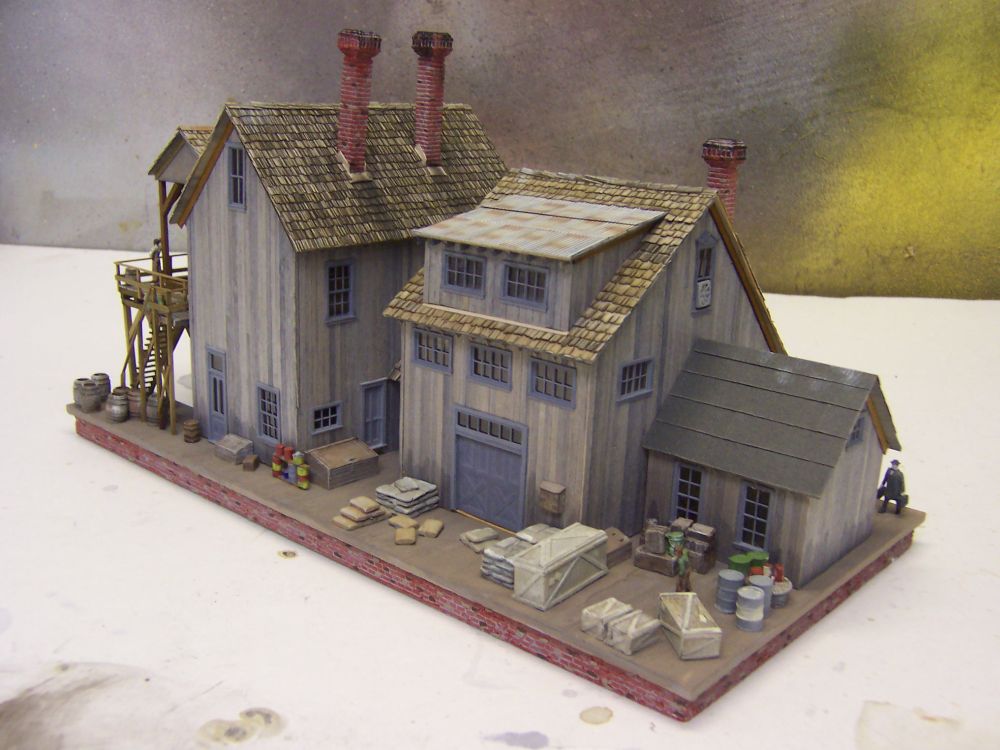
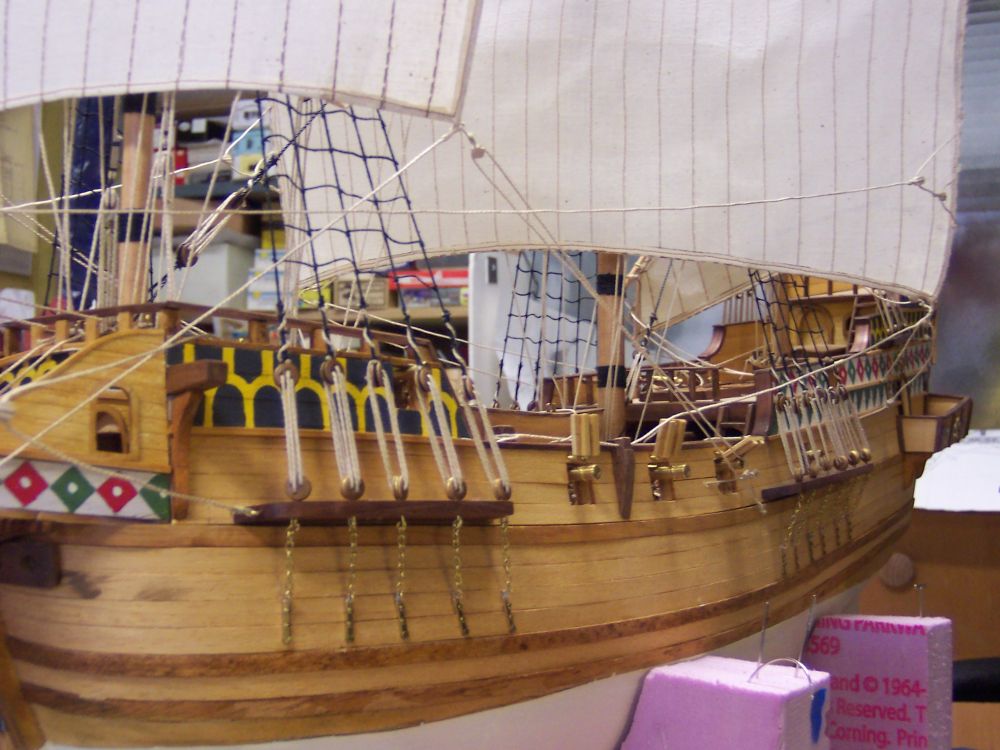
I have quite a bit of experience with Fiebings and its great stuff. Its a very strong dye so you may want to experiment with thinning it with rubbing alcohol to get the shades you want. You need to dye everything before you put it on the model or it will run all over every thing. I haven't had any problems with using a clear varnish over it. The below photo is brown dye in different shades on my golden hind and thinned black on a structure model. BILL -
I really like your build on the GH. I finished Billings GH a couple years ago and sorta mudled through t. My friend thought enough of it to buy it from me for a good price. I had a lot of trouble with wood quality and replaced most of it using the printwood parts for patterns. I also had a little trouble getting the right configration for the gun carriages and I think I used Wolfram zu Monds book as a reference. I particularly like your paintwork which is so nice and sharp and colorful. I rigged mine with full sails which I paid to have sewn for me buy one of my wifes quilting freinds and used acrylic paint for the heraldry. There was a real sense of accomplishment on my part when I finally finished it. Keep up the good work. Bill
-
Now for something entirely different - card model
reklein replied to Kurt Johnson's topic in Card and Paper Models
Clever Models online has some fairly easy building models to learn paper modeling and Fiddlers Green Has a LOT of simple airplane models and a few boats to practice with. Alenes glue is a really good product but it will "grab" in just a few seconds and repositioning may ruin your part. Accurate cutting right on the lines is essential for good fit. Aselection of rounded and pointed dowels can be handy for forming parts. Paper is a lot more malleable than one might think. Zealot .com has a good paper model section with lots of advice and a German site Kartonist also has a lot of activity,specially in the steel navy category. Another good tip is to spray all your printed sheets with a good matte fixative. It gives the paper a more plastic feel and tend to roll and fold better. Also it doesn't attract dirt as much. I also print on the heaviest matte photo paper I can buy. Bill -
Per, In Spokane theres a guy advertising Laser cutting and engraving. He is dshort9871@aol.com, or 509-238-6034. He was showing his stuff at train shows a couple years back. In spite of his being local Chuck would probably your best bet for ship model specific parts. Short is more of a wood worker type. Bill
-
Scroll saw operation
reklein replied to bigcreekdad's topic in Modeling tools and Workshop Equipment
Maybe a faster blade speed along with fewer teeth. Bill -
Is there a better #11 blade handle
reklein replied to roach101761's topic in Modeling tools and Workshop Equipment
I'm still using my grandfathers #11 knife. Of course my dad replaced th blade aand I replaced the handle,but its still my grandfathers knife. Kidding aside, I resharpen exacto blades a lot. I also grind the very sharp point off at an angle as the seem to break away anyway. Bill