petervisser
-
Posts
579 -
Joined
-
Last visited
Content Type
Profiles
Forums
Gallery
Events
Everything posted by petervisser
-

Billings Danish training ship Danmark kit (review)
petervisser replied to mtdoramike's topic in Wood ship model kits
Hi Mike, Beautiful model!! I have an old Billing Danmark as well which I am now more anxious to build, having seen yours. Like you, I depend on the drawings to guide me through the project. Mr. Billing is short on instructions, which is fine. After all a picture is worth two in the bush, as the saying goes... Thanks for the photos and inspiration. Peter -
Hi Gerald, Thanks for resurrecting your build log of the Charles W. Morgan. I remember poring over you original build log. A real masterpiece. Wish you well with the rest of your model. Peter
-
Hi Keith, I am in the same boat as you! I also bought a partially started Cutty Sark wih only the frames and false deck started. Having seen your fine work on the Victory, I will follow along closely with your CS. I am taking the summer off from modelling, but at least I have your model to follow in the meantime to keep me inspired. Cheers, Peter
-
Congratulations on your completed model Marc! She looks terrific! Well done. Peter
- 85 replies
-
- 1
-

-
- yacht mary
- mamoli
- (and 1 more)
-
Congratulations on your fantatic model. Very fine work and the pictures do it justice. Time to splice the ole mainbrace, I'll wager! Peter
-
Congratulations on your very fine Half Moon! It is most imressive, all the more so because it is your first! Lovely detailng and a clean build. I wish you all the best with your next "adventure". Peter
-
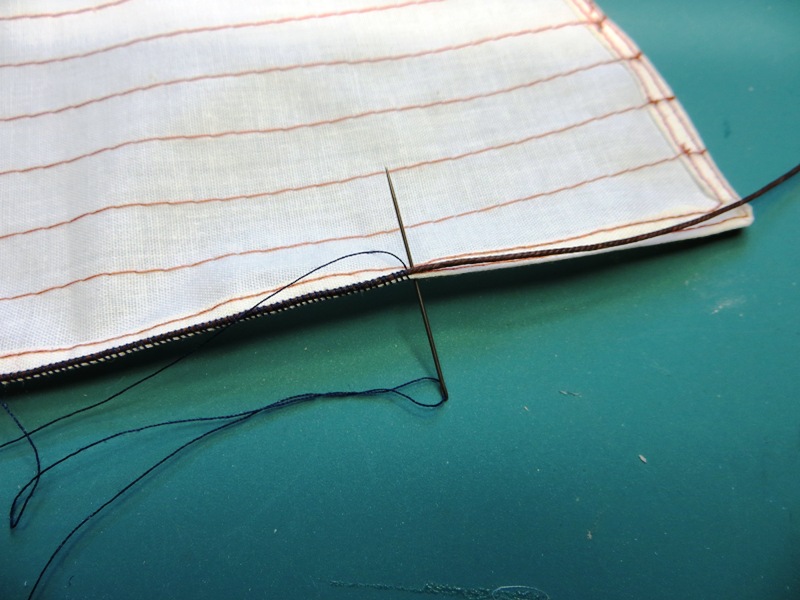
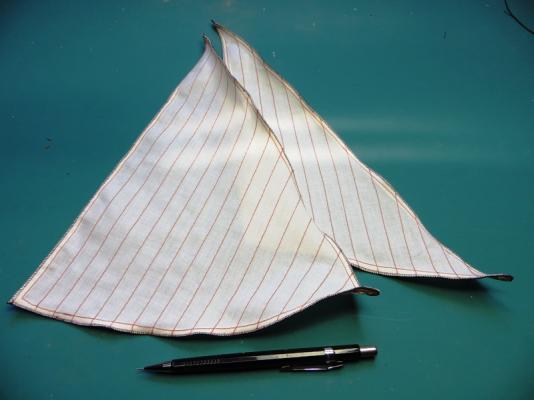
On the other hand, if you like to sew, here is what I did which turned out nice. A simple round stitch along the edges of the sail holds the bolt rope in place. Very theraputic... Peter

-
Hallo Nils, What a great model that is you have built! Another unusual kit produced by Billing. Like you I have really appreciated the unusual subject vessels they have chosen to produce kits. They are a nice change. Cheers, Peter
-
Hi Mike, I used an Anatomy of the Ship book of the Pandora as a guide on the belaying plan as well as Lenarth Petersson's Rigging Period Ship Models to add more pins to the rigging arrangement. I did not use the rigging diagrams that came with the kit. Peter
-
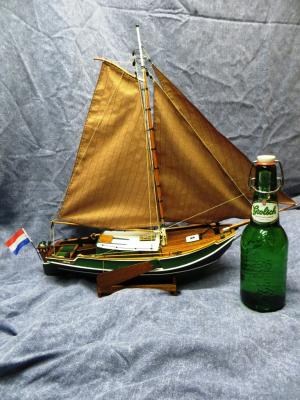
Hi Everyone, I am pleased to say the my little Zeeschouw is now complete! It is always a thrill to complete a ship (boat) model and this little kit is no exception. It was a treat to build and after the Unicorn, a breeze. I highly recommend this model to newcomers to the hobby. It might be hard to come by to those who do not live in Europe, but with the interwebby, anything is procureable. For those who have asked me what my next model will be, I have the answer. It will be a Cutty Sark model, by none other than Einar Billing! I purchased this model third hand from Kip (aka Sawdust), who bought it from a former neighbour for some bottles of wine. It is an older kit (Kit 459 - Hull and Kit 565 - Fittings) with mahogany planking which must be replaced due to its age. I have always wanted to build a Cutty Sark since I started this hobby with the Mary Ann. But spring and summer are beckoning, so I won't be starting that project anytime soon. Thanks for following along and posting all your very kind words. I hope I have been able to give some of you a bit more inspiration in continuing with this wonderful hobby. I will post some more completed pictures in the Gallery. Now if you'll excuse me, I have a beer to drink... Peter
- 109 replies
-
- 10
-
-
- zeeschouw
- billing boats
- (and 1 more)
-
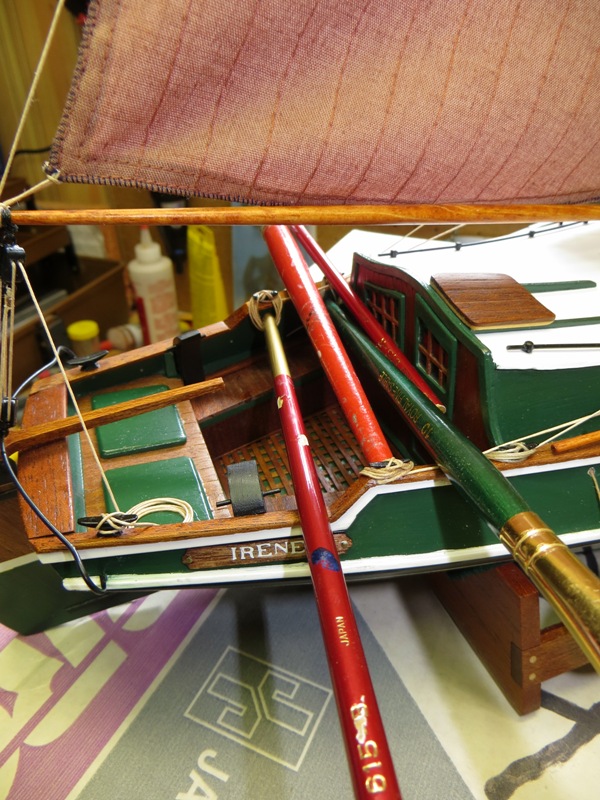
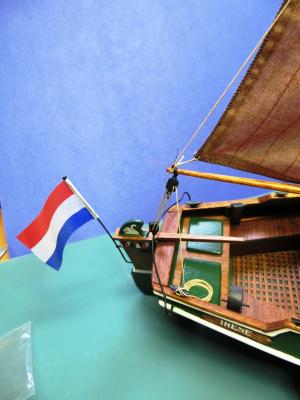
Another quick update. I have belayed the halyards and headsail sheets which competes the rigging. All is coiled down with a coat of lacquer and the paint brush handles are holding everything in place. Come morning these will be removed and I will cut of any little tails that need trimming. I think just the anchor needs to be fitted and "Irene" will be complete! Peter

- 109 replies
-
- 8
-
-
- zeeschouw
- billing boats
- (and 1 more)
-
Hey ZyXuz, Welcome back and sorry to hear about your father's health. Glad he is on the mend. As for your model, it's looking splendid. I really like the detail you have added and your interpretation of the kit. As a model boat builder, I believe we are our own bosun/shipwright and captain. Our models are unique to ourselves and we can have our own interpretation as to how they are built and how they look. You are doing a fine job in making yours unique. Keep up the great work. Peter
-
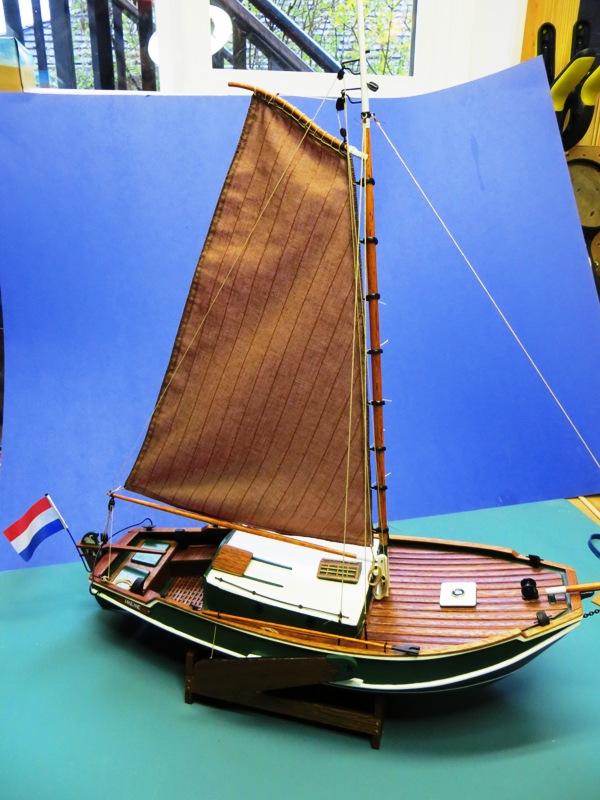
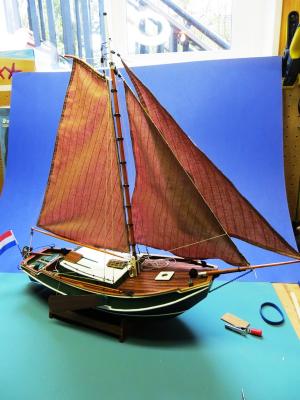
Well, today's progress is now complete. I have put the headsails up and now just have some lines to coil down. Phew! Now I have to pick up my wife from work so we can celebrate 25 years of marriage! Here is a photo update... I should have this baby finished in the next day or two. Peter
- 109 replies
-
- 6
-
-
- zeeschouw
- billing boats
- (and 1 more)
-
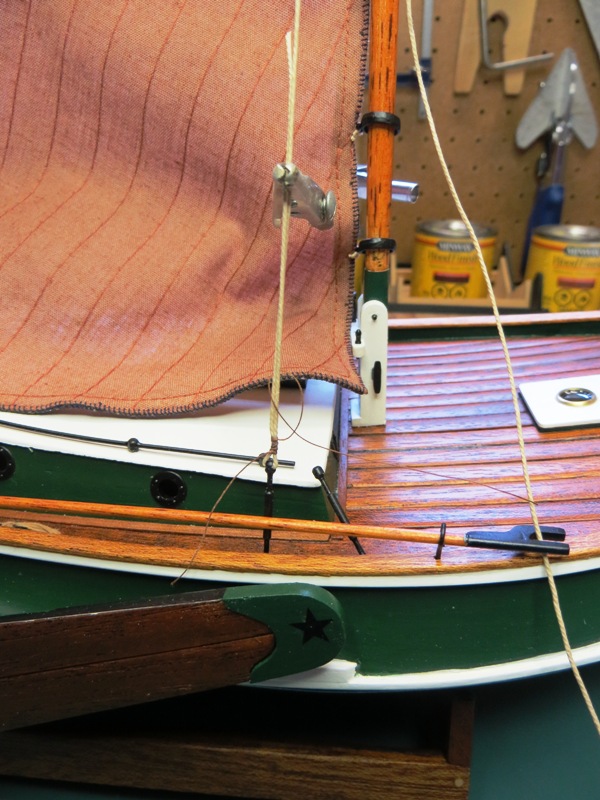
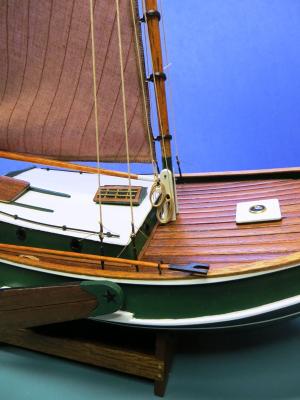
Well, this morning I finished off the gaff sail by rigging the boom vang, main sheet and coiling everything down. I also re-did the mast hoops because I wasn't altogether happy with their spacing and positioning. I am much happier with them now. Here are a couple more pics... I use lacquer to keep the knots tied and the lines coiled. It is very effective and leaves no trace. I have left the tails on until the lacquer dries and then snip them off. Here is the boom vang and gaff lift coiled down. Again, I used a coat of lacquer to hold them in place. Here is the main sheet rigged and coiled down. And finally the main sail finished. Now for the head sails! Peter

- 109 replies
-
- 6
-
-
- zeeschouw
- billing boats
- (and 1 more)
-
Hi Ian, Just looking in on the latest developments. I am really impressed with all the mods you have made. The extra work you have put in really shows and she is looking great. I wonder if I should perhaps break out the mini chop saw and make a few alterations myself....JUST KIDDING! Good luck with the research. Peter
-
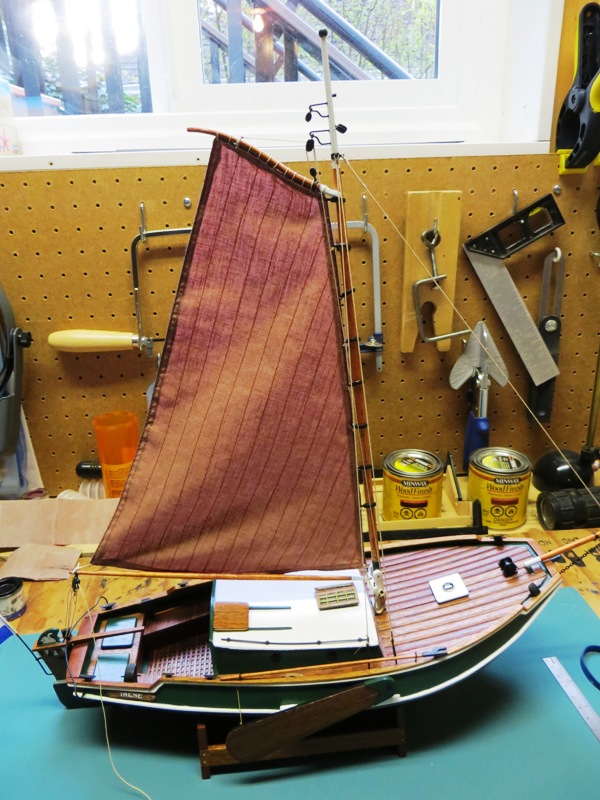
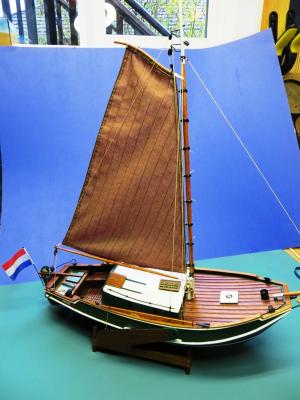
I have finally started putting sails to model. This is always a favorite part of the build for me as it seems the culmination of the whole build. I started by attaching the main sail to the gaff and then used a number of mast hoops to marry the sail to the mast. These were not supplied with the kit, but I had some laying about and decided to put them to good use. I then attached the shrouds to the mast before fitting it to the hull. Then it was just a matter of rigging the sail. Here are some pics showing the progress... I find this little Workmate to be a handy third hand. Here's a photo showing how I put seizings on to tie off the shrouds. And finally a photo of the model so far. I still have the boom vang to attach but that's for tomorrow. Cheers, Peter


- 109 replies
-
- 6
-
-
- zeeschouw
- billing boats
- (and 1 more)
-
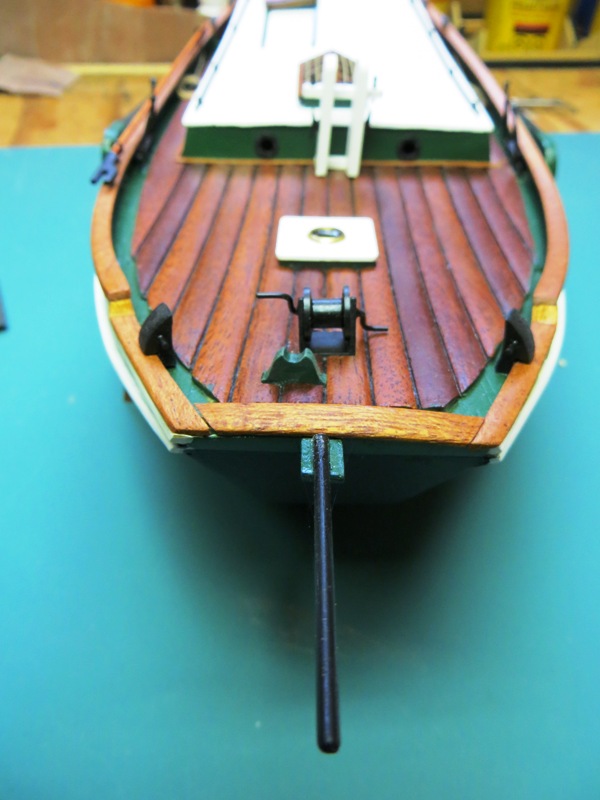
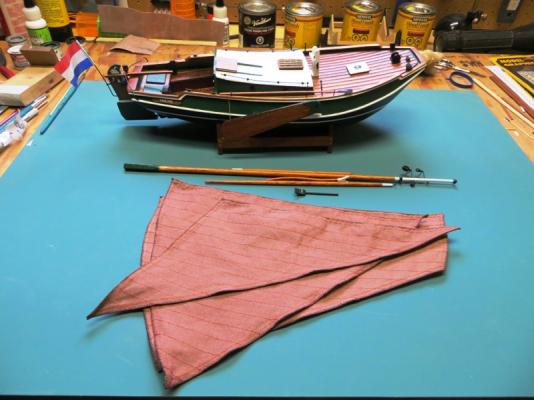
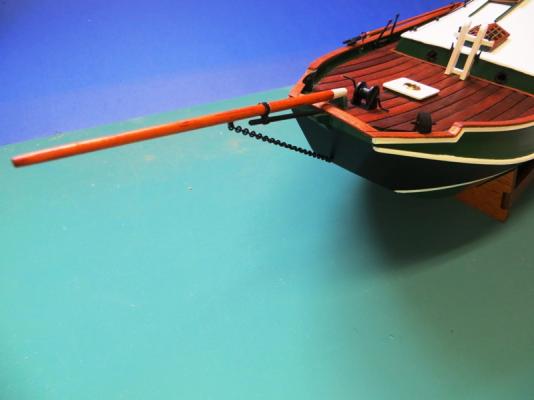
Okay, now the fun begins. I have been very anxious to get the spars up and the sails on. Now that all the components are prepped I can finally begin. Well to start with, I had to mount the bowsprit. It comprised of a couple of components including a small support which helps secure the bowsprit, I am assuming. Although the kit did not suggest a bob stay, I decided to rig one anyway. It is for piece of mind and besides, it looks good! Here are some pics of the progress... Now, back to the boatyard for the main mast and gaff sail! Peter
- 109 replies
-
- 6
-
-
- zeeschouw
- billing boats
- (and 1 more)
-
Thanks for very kind comment gents. Today I hope to start the masting and rigging and will post some pics later today hopefully. There is definitely some light at the end of the tunnel.I can almost taste the Heineken! Peter
-
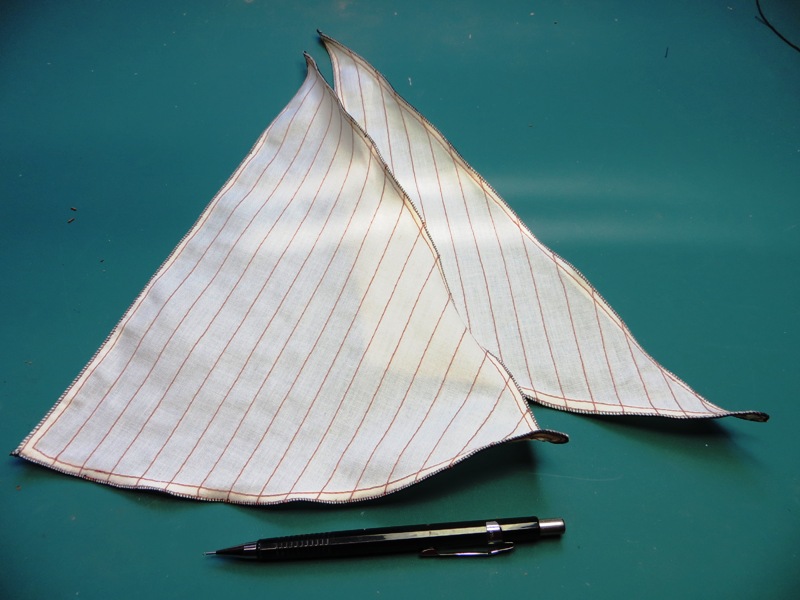
Well, here are the sails out of the bath and after a cold water rinse. I am very happy with them and the colour seems to make them come alive. I am now glad that I used both colours of dye, and I have achieved the colour I wanted. They now have to dry overnight and I am hoping to start the masting and rigging quite soon. Instead of many weeks to rig the Unicorn I am thinking a couple of hours for the zeeschouw. Instant gratification, as the saying goes. Cheers, Peter

- 109 replies
-
- 2
-
-
- zeeschouw
- billing boats
- (and 1 more)
-
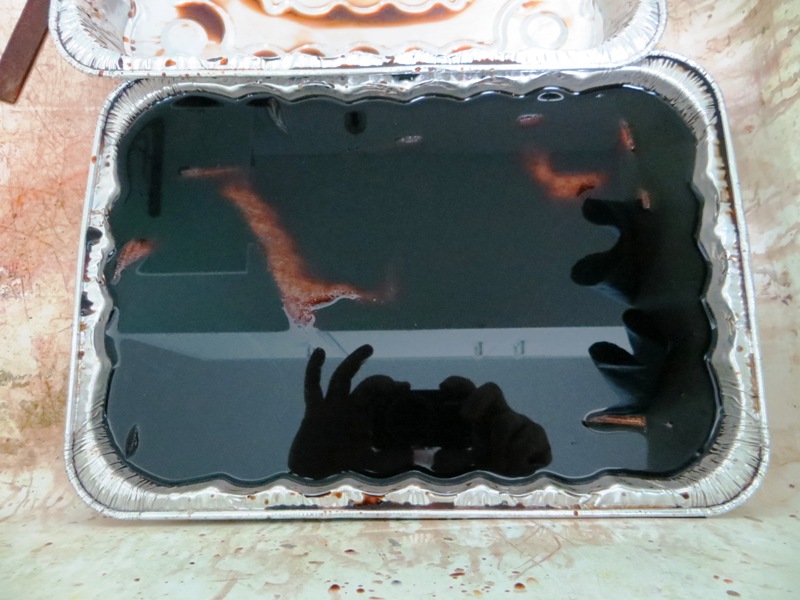
In that brown bath are the three sails that will adorn my model. I went to the fabric store for some fabric dye and was torn between the teracotta brown and the straight brown. At first I thought the plain brown would do, but then had a change of heart and bought the teracotta. I ended up using both because the sails didn't go as dark as I wanted. I will leave it in the bath for another half hour and then give them a rinse. Anyway here is a picture of the first part of the process... Peter

- 109 replies
-
- 2
-
-
- zeeschouw
- billing boats
- (and 1 more)
-
I have been busy in the sail loft sewing on bolt ropes to the edges of the sails. After my wife kindly worked her magic on the machine it was time for me to break out the needle and palm . Ok, I didn't need the palm... Here are some pics of the progress. I have just the gaff sail to complete and then I plan on dying the sails an appropriate colour. I hope to have the sails complete this week. Cheers, Peter

- 109 replies
-
- 4
-
-
- zeeschouw
- billing boats
- (and 1 more)
-
Hi Mike, Glad to see you are starting your Unicorn and I will follow your build with interest. Sounds like you will have a far more accurate model than my own, which will be more satisfying in the end. Corel did not spend a lot of time or money on researching the history of the ship but I had a great deal of fun building it. One pitfall of mine was not ensuring the gun deck height matched the height of the gun ports. A serious (and destructive) mod had to take place in order for the gun barrels to be centred out the gun ports. Yikes! At any rate, have fun with this build. You might find that because of all the various stages of the Unicorn, building a second model alongside, might be a bit ambitious. Good luck! Peter
-
She's becoming very fetching with your colour scheme Popeye. I really like models with lots of colour to them. Peter
-
Making good progress Don. I'll be home in a few days and would like to see her up close and personal. Maybe a get together is called for. Peter
-
Looking superb Shaz. Peter