HOLIDAY DONATION DRIVE - SUPPORT MSW - DO YOUR PART TO KEEP THIS GREAT FORUM GOING! (Only 51 donations so far out of 49,000 members - C'mon guys!)
×


petervisser
-
Posts
574 -
Joined
-
Last visited
Content Type
Profiles
Forums
Gallery
Events
Everything posted by petervisser
-

Fairing frames
petervisser replied to John cushion's topic in Building, Framing, Planking and plating a ships hull and deck
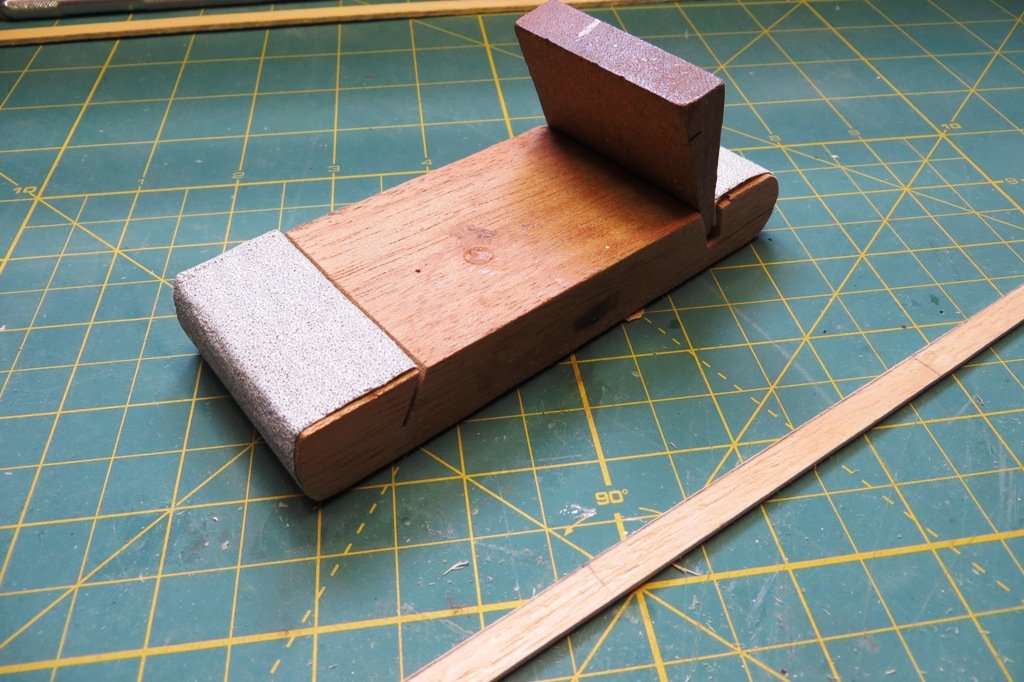
Hi John, What I like to use is a sanding block to bevel the edges of the bulkheads. I take on two frames at a time and sand in both directions. Check the bevel at each frame with a short length of plank that covers 3 or 4 bulkheads and make sure the plank makes complete contact with the edges of the bulkheads. The sanding block I use is made by Xacto. I love it and have used it for many years for all kinds of sanding work. I use 80 or 100 grit sandpaper for this particular job. A dust mask is also a good idea... Good luck. I hope this helped. Peter
- 1 reply
-
- 4
-

-
Great job so far Mark. These 3 masted ships with all their rigging are not for the faint of heart. The nice thing about this stage of the build is that it's easy to see some progress each day. But whatever you do, don't try to envision the whole stage... Peter
- 331 replies
-
- 1
-
-
- nuestra senora del pilar
- occre
- (and 1 more)
-
Thanks Caroline. I haven't seen you around for a while. Glad you're back! Peter
- 207 replies
-
- 1
-
-
- billing boats
- cutty sark
- (and 1 more)
-
Hi Popeye, The distributer in Richmond B.C. is P.M Hansen. Here's the link: https://pmhansen.esamco.com/ I have ordered from them a couple of times and they gave good service. Cheers, Peter
- 207 replies
-
- 1
-
-
- billing boats
- cutty sark
- (and 1 more)
-
The planking continues, but I just wanted to show off my new purchase. I happened to find this nugget by chance at my favorite bookshop in town and had to bring it home. It is published by the Royal Museums Greenich and Adlard Coles. It includes information on the history of the tea trade, construction methods during the time Cutty Sark was built, its time under the Red Ensign and Portugese flag and even has Robert Burns' poem, Tam O'Shanter. Lots of great photos, illustrations and drawings. A real gem! I can't believe I was lucky enough to find it. Now back to the hull planking...

- 207 replies
-
- 5
-
-
- billing boats
- cutty sark
- (and 1 more)
-
Hi Popeye, Yes, it's Obechi wood that I am using on the hull. Just like every other Billing kit I have done. Keeping with tradition...🙂 I purhased a couple of bundles from a Billing distributer over in Richmond, near Vancouver a while back, knowing that the "mahogany" supplied with this older kit would not be suitable as it was pretty dried out and brittle. I also have an ancient Danmark kit that will get the same treatment one day. Yes, the fitting kit was a great find, but I hope the shop survives. There's nothing like going into a brick and mortar store and seeing for yourself what you want and need and inspecting it before you buy, just to be sure that it's right. Cheers, Peter
- 207 replies
-
- 2
-
-
- billing boats
- cutty sark
- (and 1 more)
-
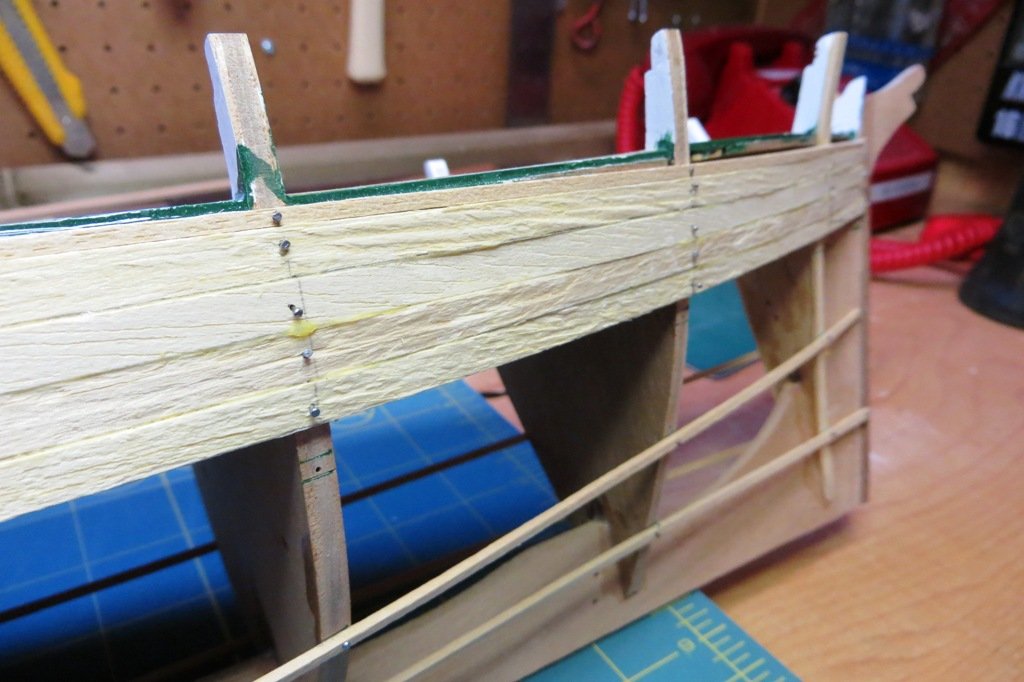
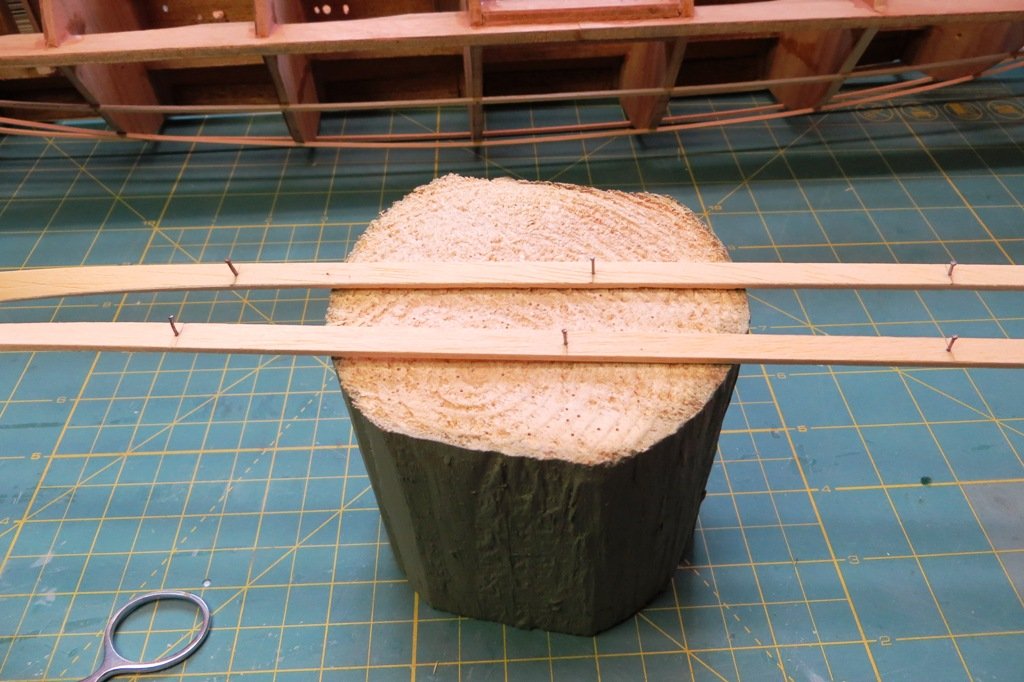
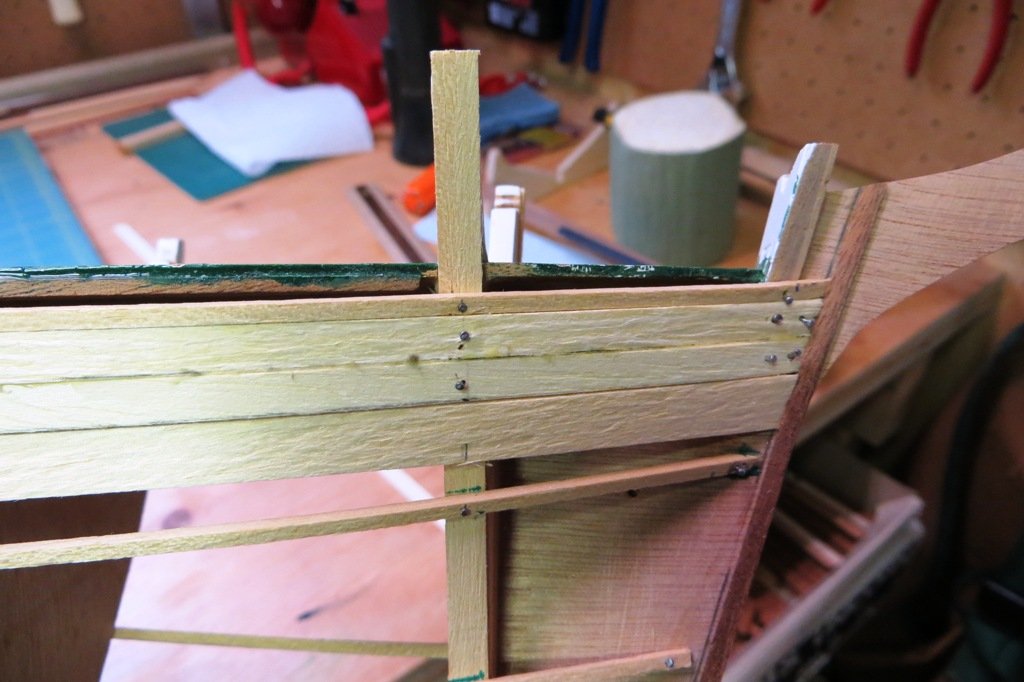
Now for the "glue-age". I have been using good ole carpenters glue of late. In the past I was using super glue, but with the lumber I'm using, it wasn't bonding consistently. I make sure that all the surfaces get a dab of glue, especially along the seams where they meet along their lengths. You don't want any flex between them because it will cause unsightly cracks when sanding the planks smooth and subsequent painting. Lay the plank up against the bulkheads once all the surfaces are glued and tap the pin nail into the bulkhead to hold it in place. I leave the glue to cure overnight and then remove the pin nails. I replace these with wood dowels which sand down nicer. There, that's the first band of planking done. Lots of steps but this is one area I want to get right. A smooth hull is a happy hull as mom used to say...


- 207 replies
-
- 5
-
-
- billing boats
- cutty sark
- (and 1 more)
-
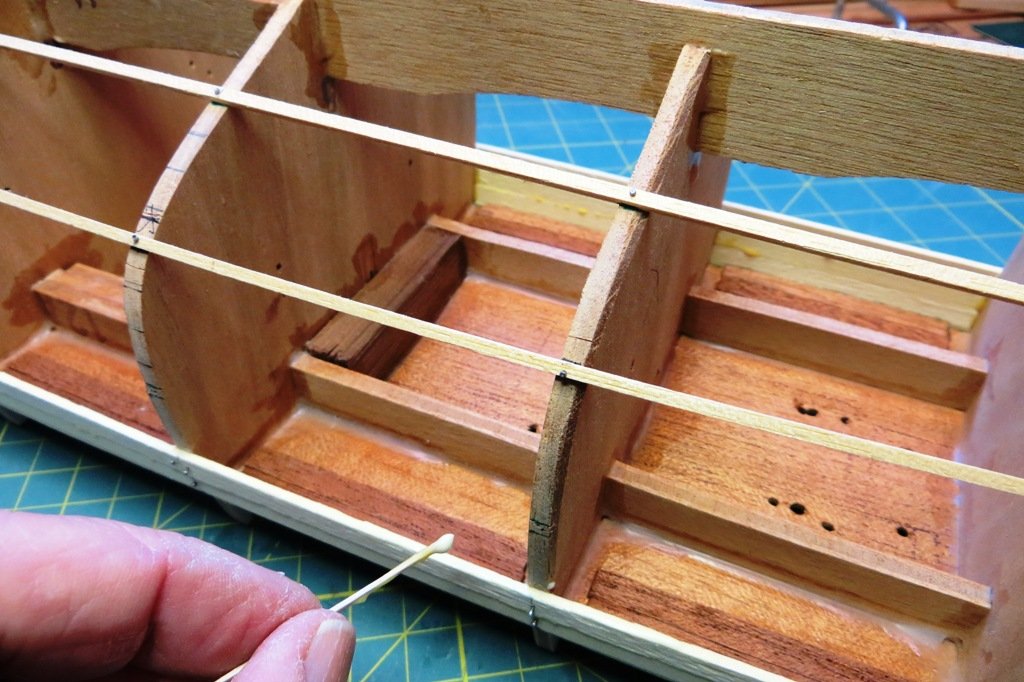
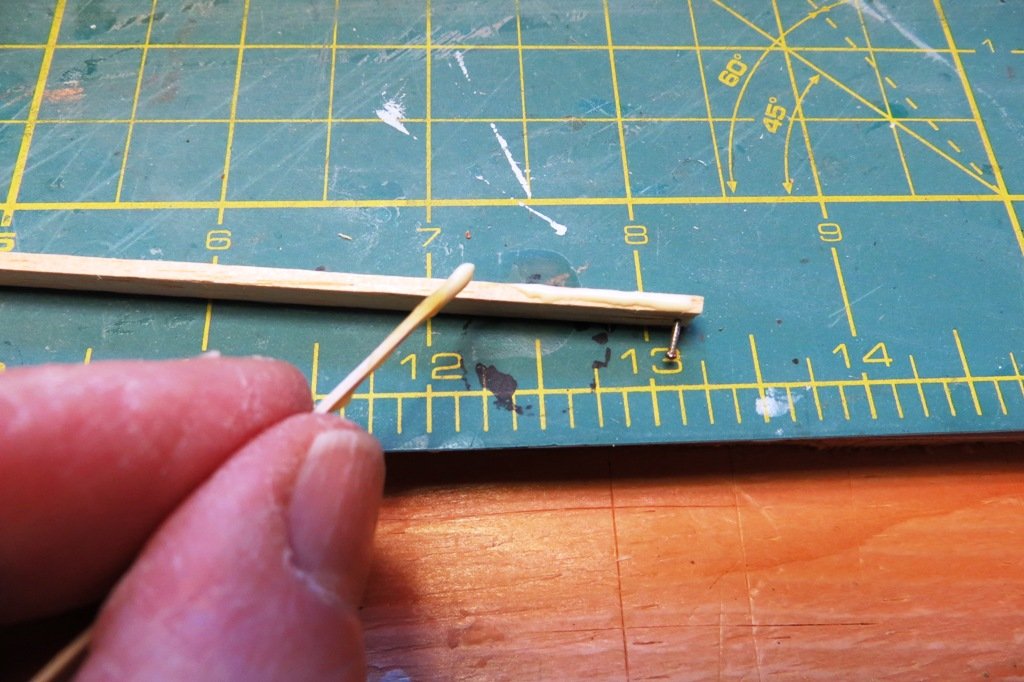
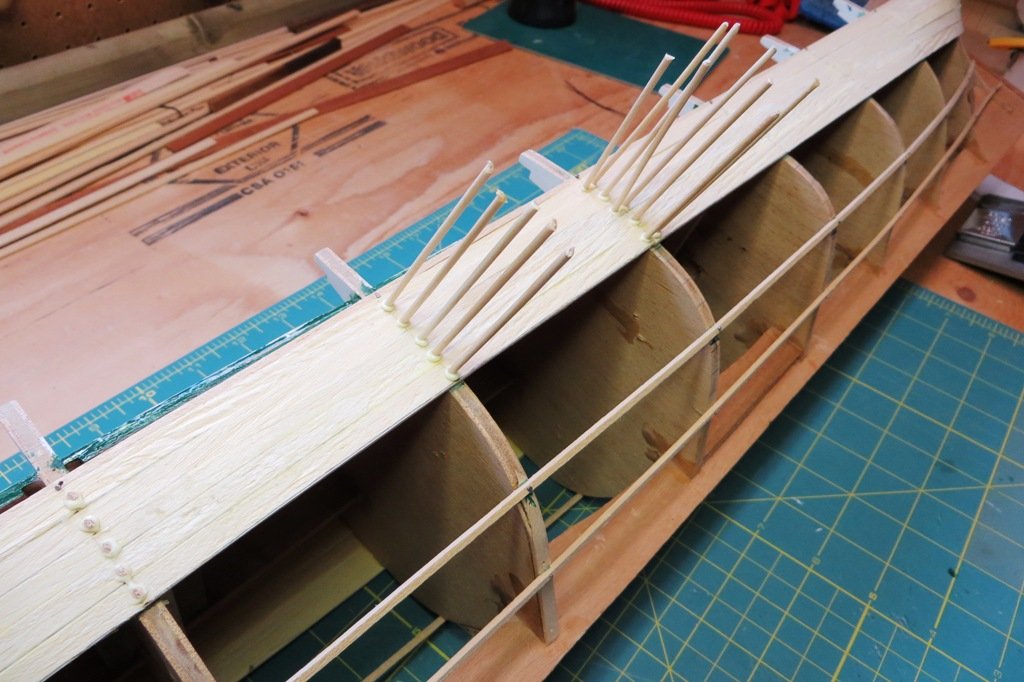
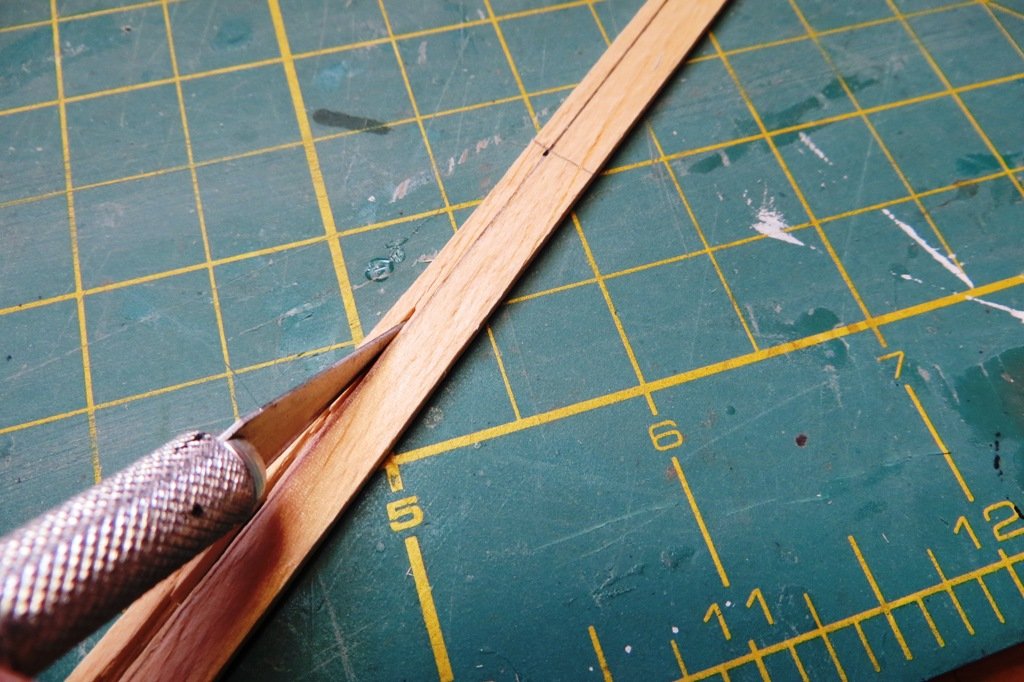
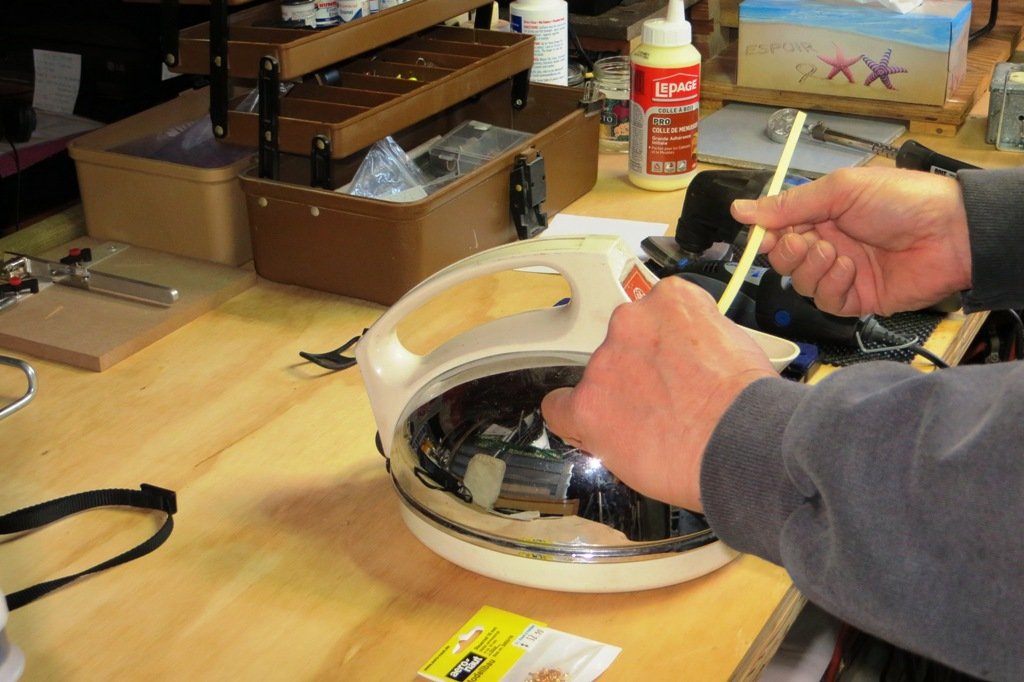
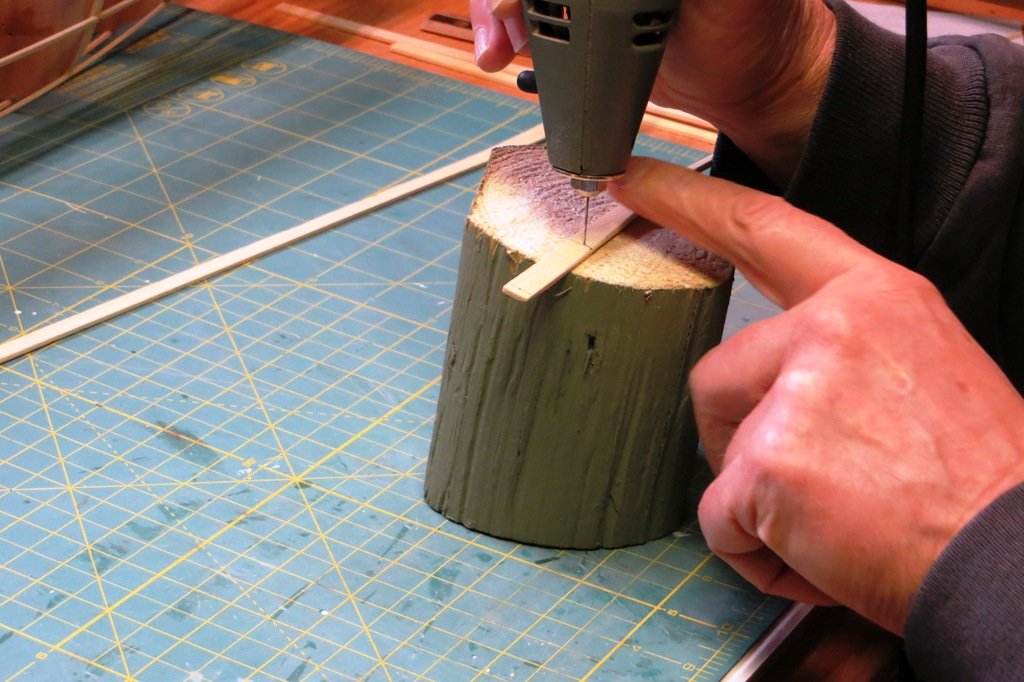
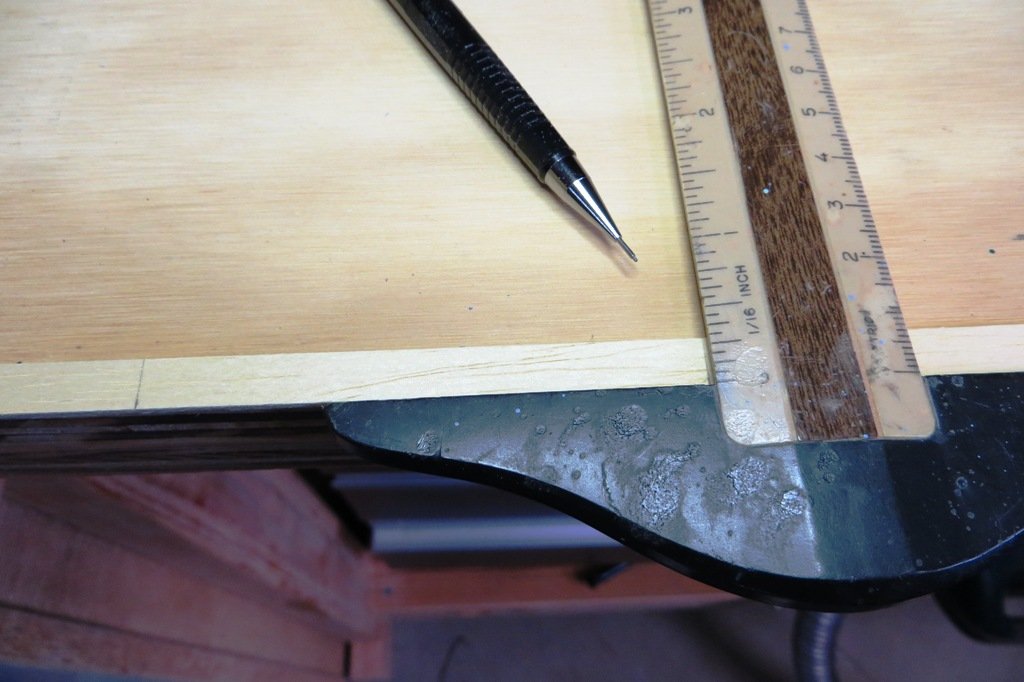
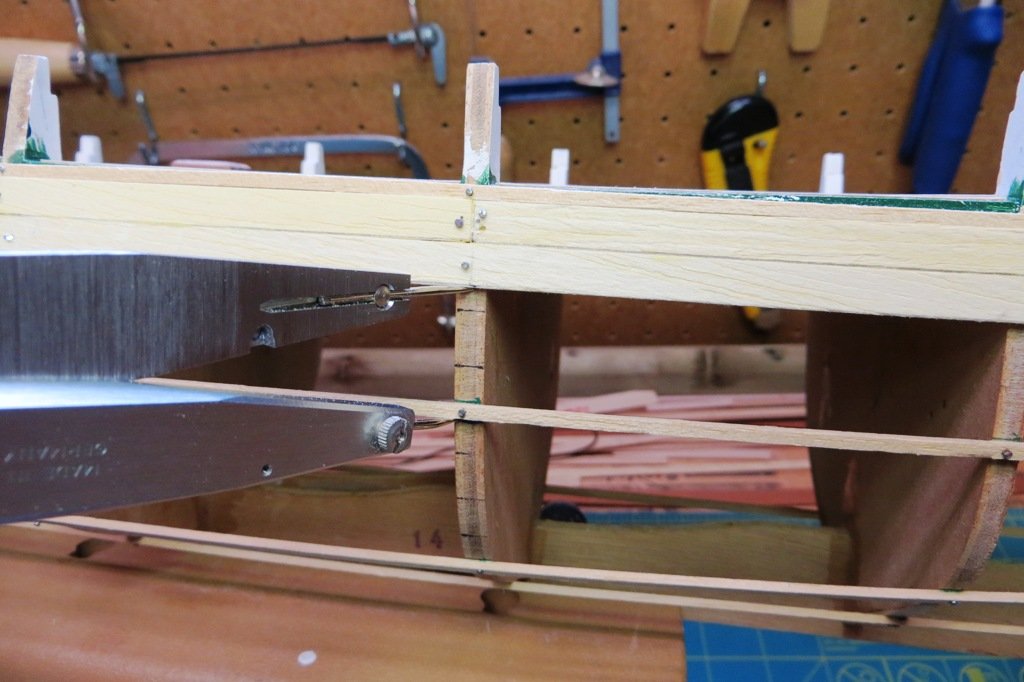
Further to my last post on planking, the next step is shaping the plank. For this I use and X-acto knife and sanding block. This produces lots of dust so I make sure to wear a dust mask. Gotta keep those lungs pink! Once the planks are to the correct shape, I bend them using an electric kettle to steam the bends and twists. The next thing I do is to lay the plank against the bulkheads again to determine where exactly they will sit. Things shift a tiny bit once the plank is bent. Then I mark with a pencil point where I want to drill a tiny pilot hole for the pin nail that will hold the plank in place while the glue dries. When all the holes are drilled, the pin nails are partially inserted into the plank. This save lots of fumbling when the planks is ready to go onto the bulkheads...

- 207 replies
-
- 3
-
-
- billing boats
- cutty sark
- (and 1 more)
-
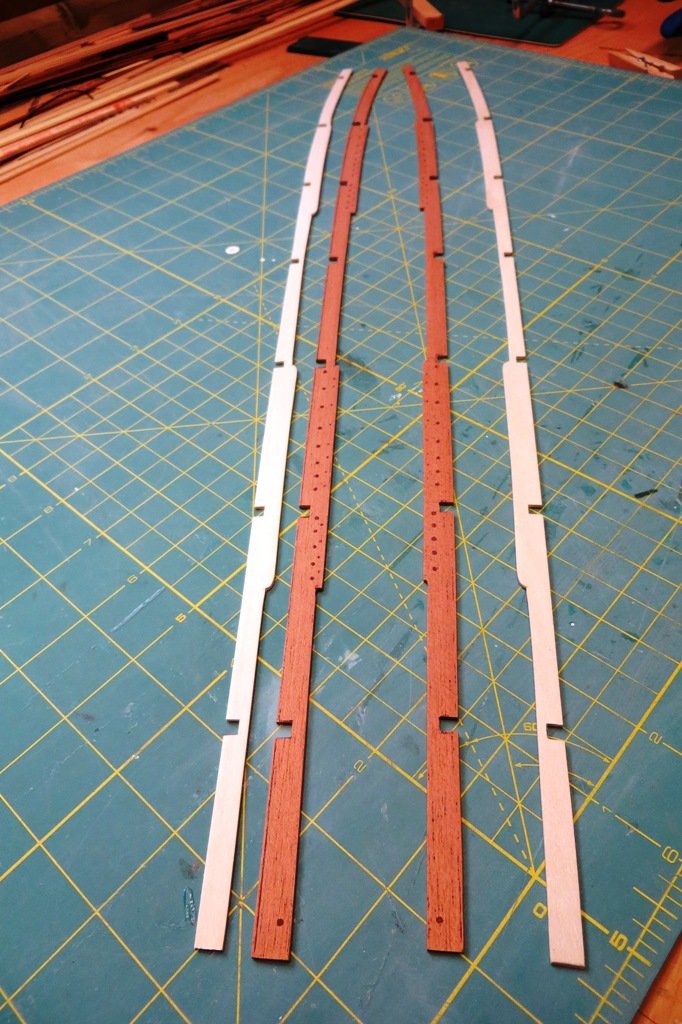
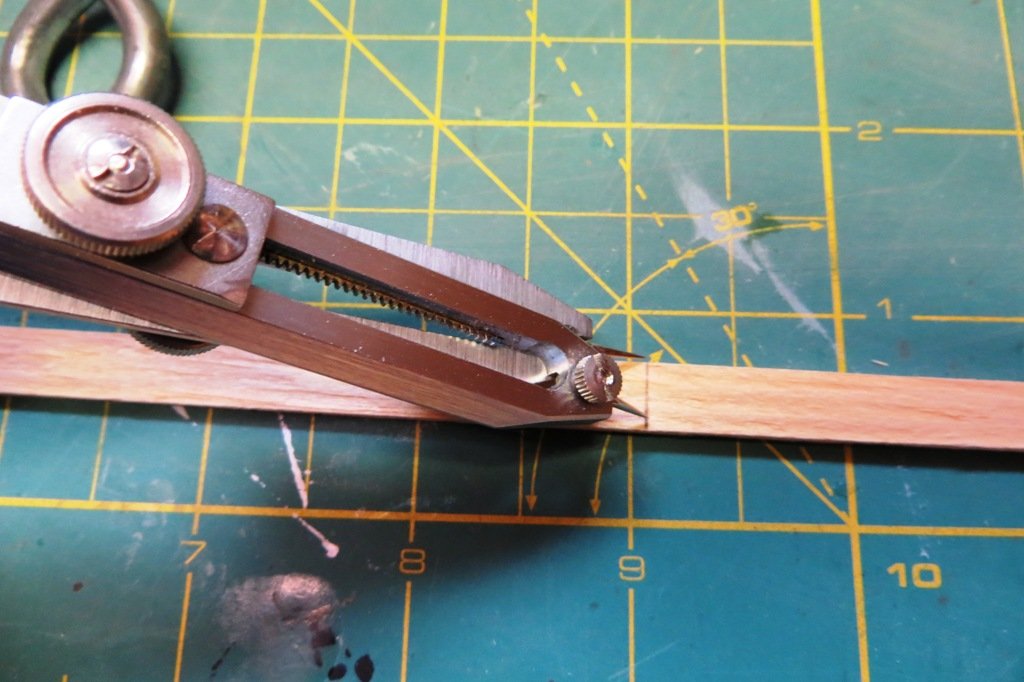
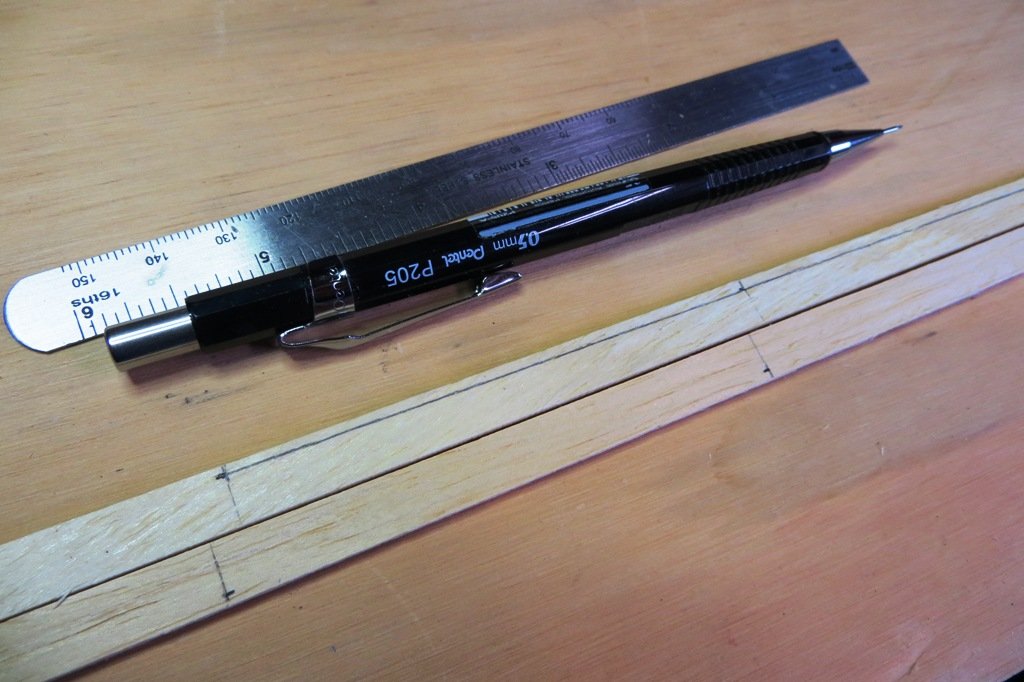
Hi All, Just thought I would include some of my planking techniques in my build log. This has to be the biggest show stopper for lots of first time builders. I know it was a huge hurdle for me when I started out. But now I have a system that although pretty multi-stepped, produces consitent positive results. The first thing to do is mark the plank along its length where it will meet the bulkheads. This is done at every bulkhead of course... I like to then take the little T-square and place the bulkhead position across the full width of the plank. Next, step is to take the proportional dividers and measure at each bulkhead the width to be filled by each plank. That measurement is subsequently transferred to the plank at every bulkhead interval. Then simply join the dots and there you have the shape of the plank along its length.
- 207 replies
-
- 2
-
-
- billing boats
- cutty sark
- (and 1 more)
-
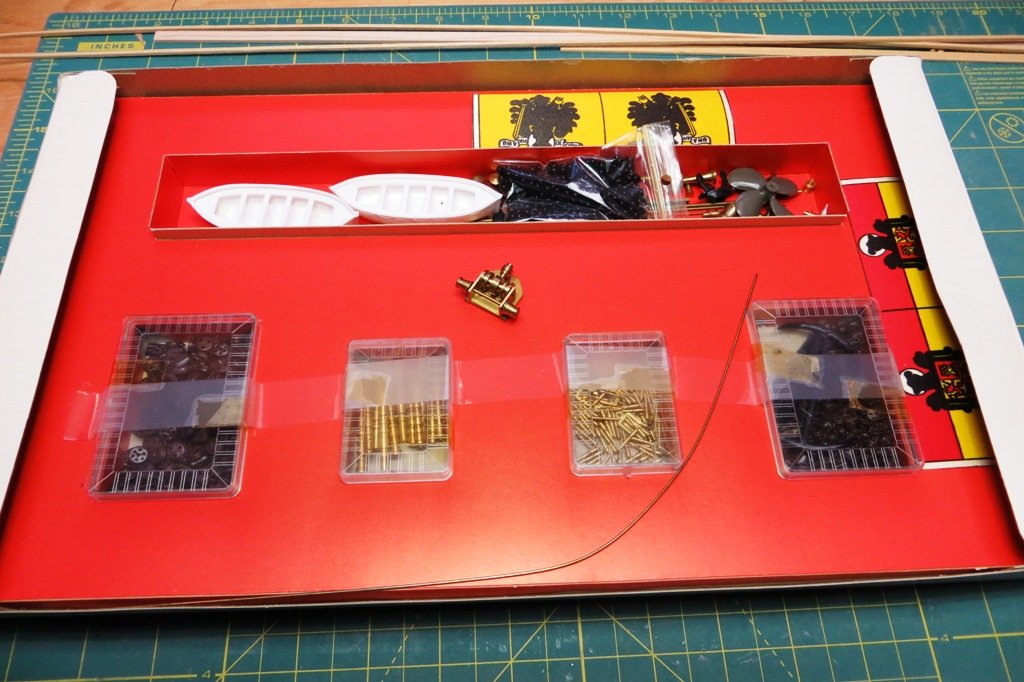
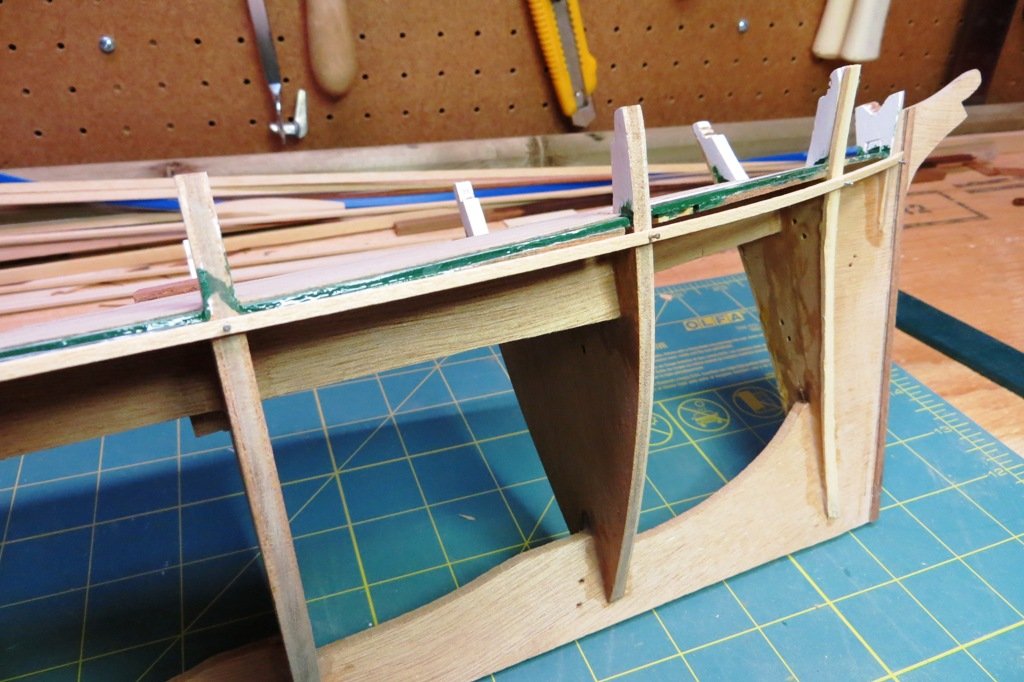
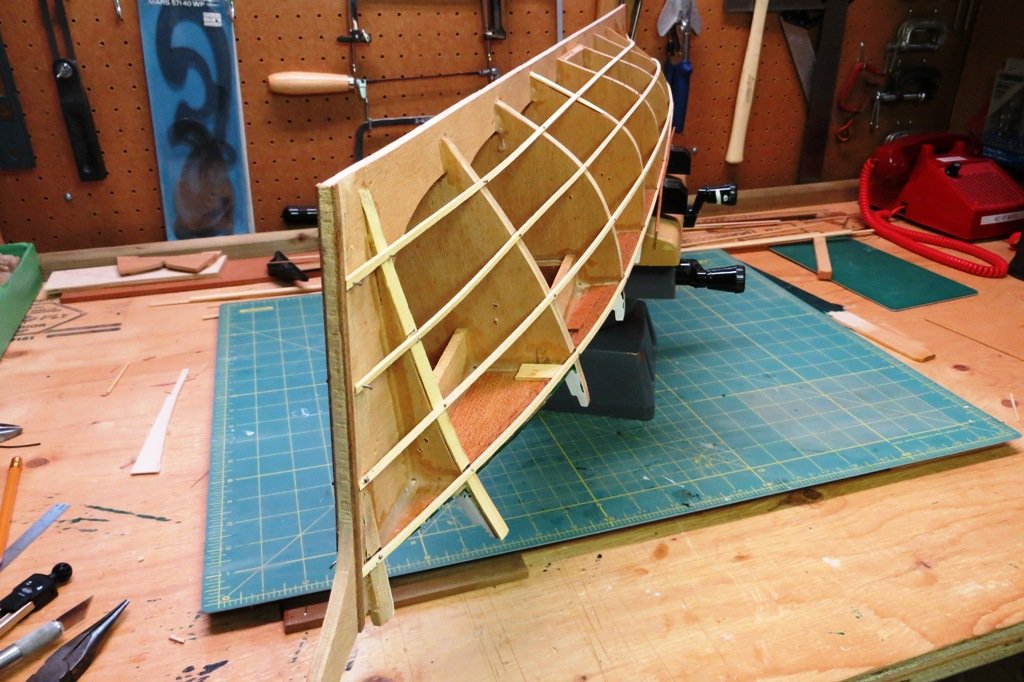
Hi Popeye, Thanks for looking in. As far as I can tell, it's important that the battens follow their natural curve for the length of the hull, and not the deck. Believe me, I tried to run the first batten along the deck but it did not look natural. I then fiddled with it for a long time and settled on the final position which did not follow the deck. We'll see how it all plays out when I start the planking which will hopefully start tomorrow! On another note, my model shop is shutting down here in Victoria after a bunch of decades. The owner is finally retiring and selling his shop. It's sad to see it go because I love going in there to buy my glue and any bits and pieces I need. I bought a fittings set for a Billing Spanish Galleon which also had some Bluenose fittings (?) for 50 bucks. It has stuff in there that I know I can use down the road. You just can't do that on the interwebby... Cheers, Peter
- 207 replies
-
- 3
-
-
- billing boats
- cutty sark
- (and 1 more)
-
I have always admired this model and you have done a FIRST RATE job in building it. Fantastic Zappato! Peter
-
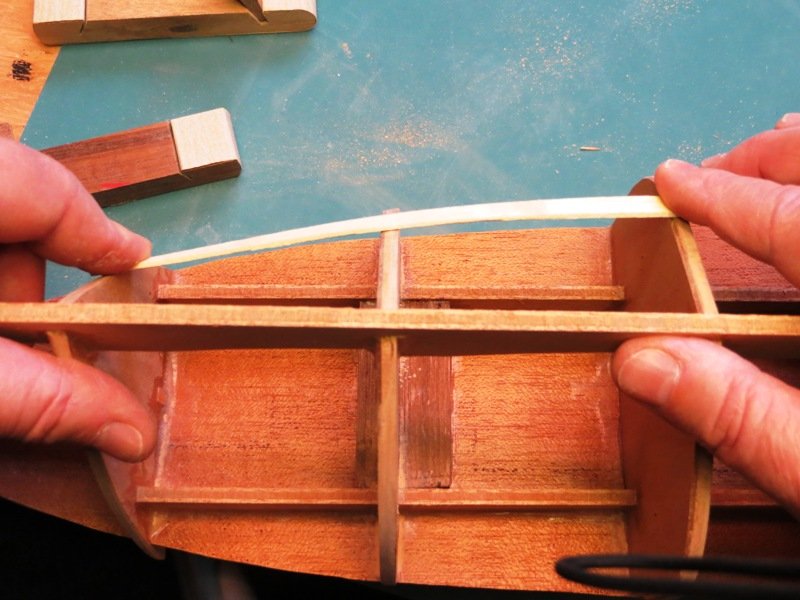
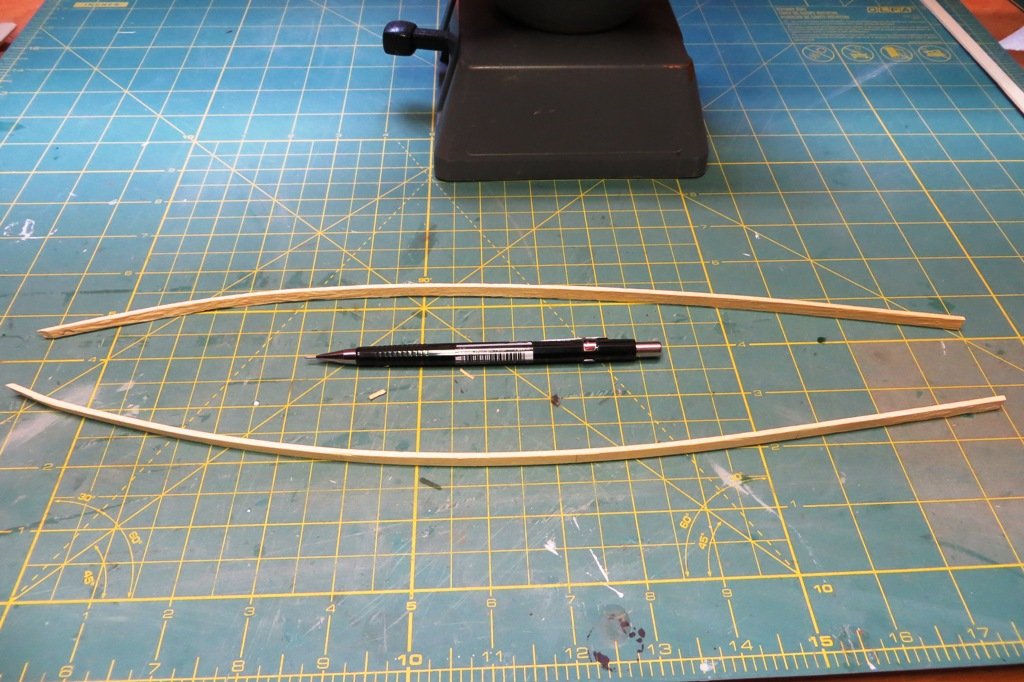
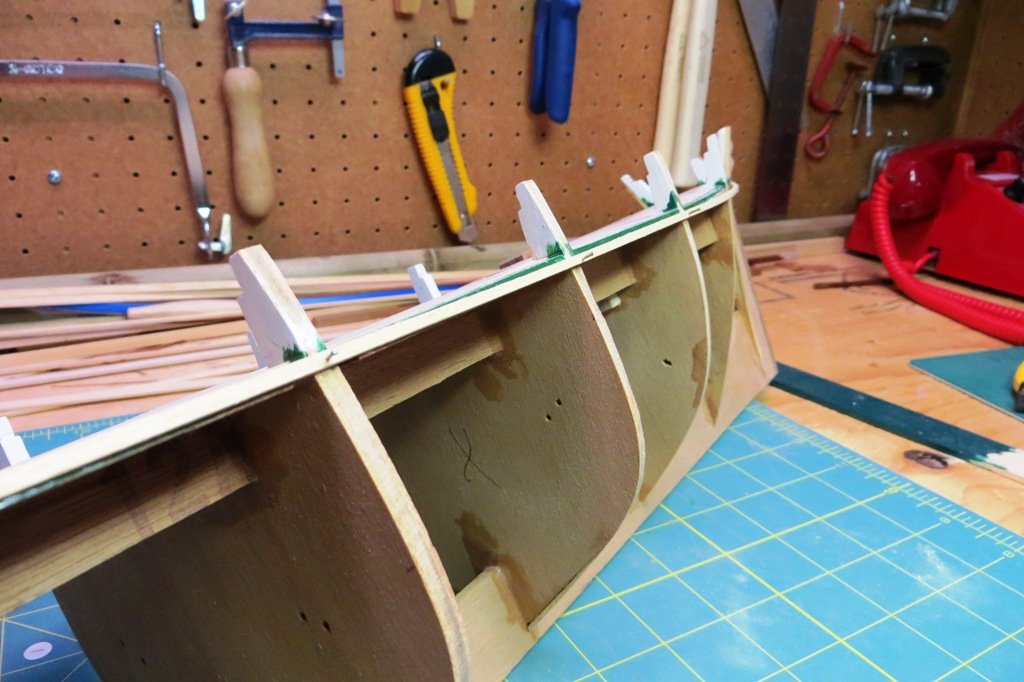
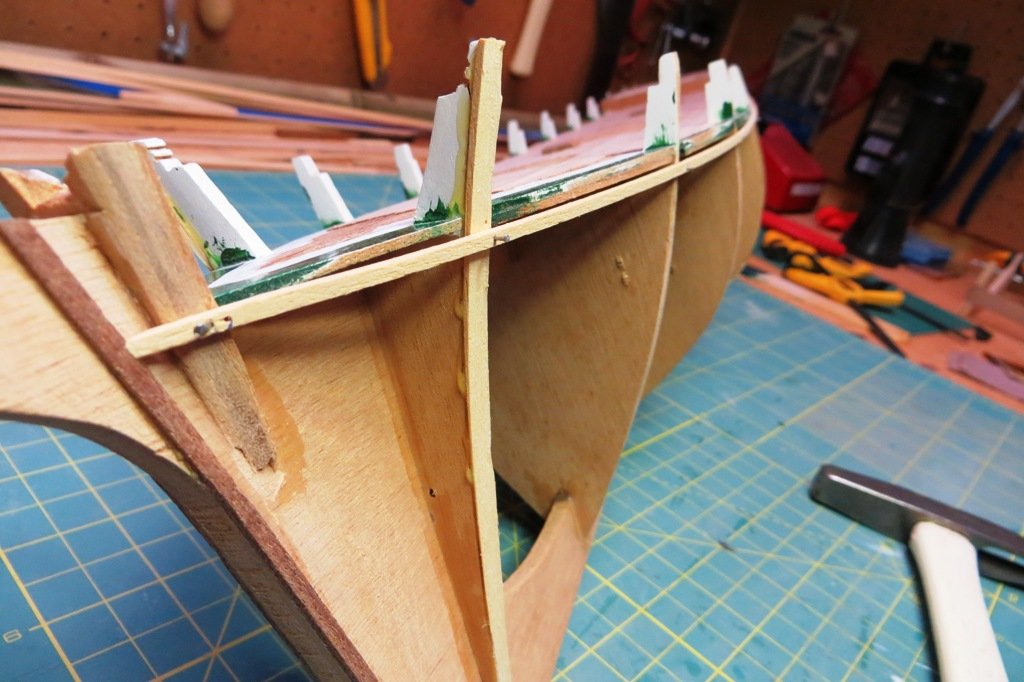
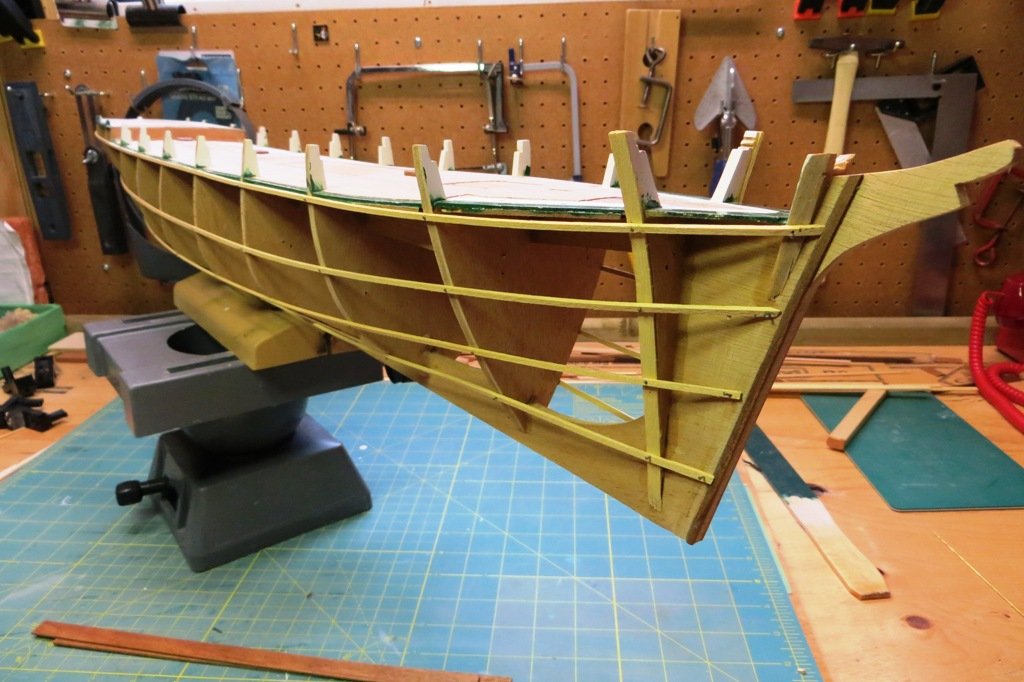
The last task before planking the hull is placing the battens for the final planking. I spent lots of time doing this and I hope it turns out.
- 207 replies
-
- 7
-
-
- billing boats
- cutty sark
- (and 1 more)
-
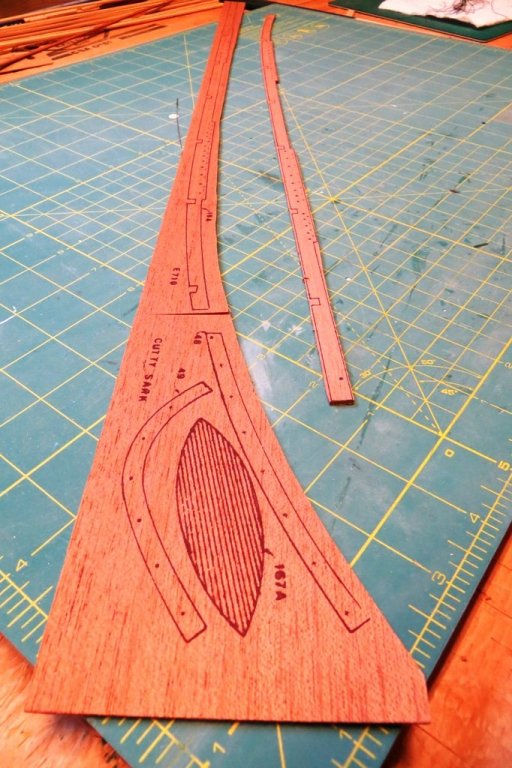
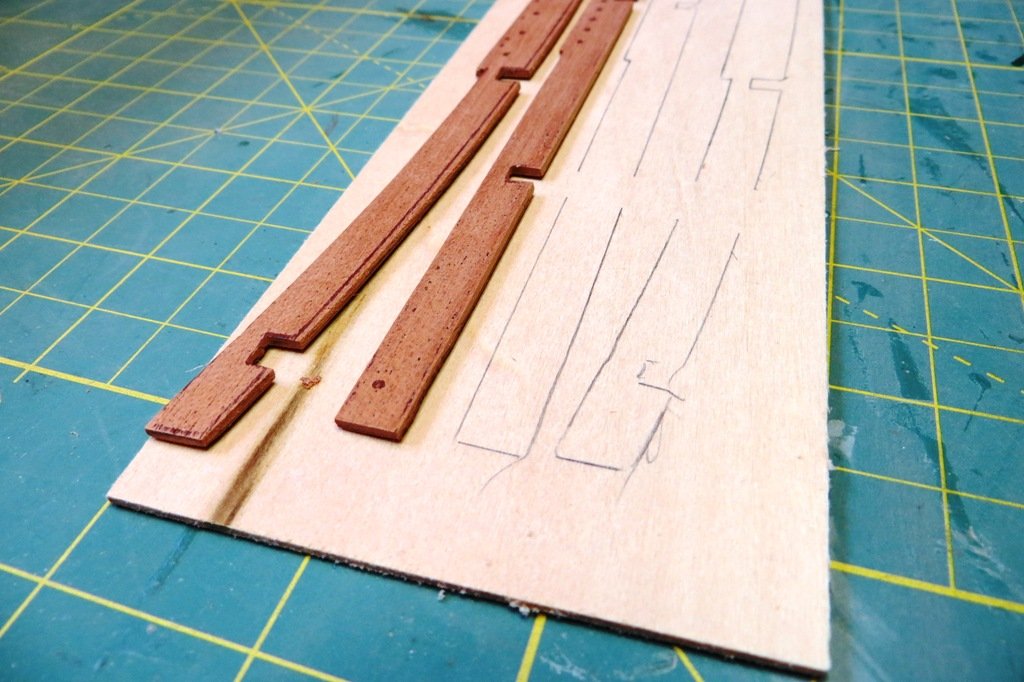
I also decided to prep the pin rails before planking the hull. The kit is pretty old so I don't want to use the original wood. I cut out the pin rails from the sheet provided and used them as templates. Then the pinrails were shaped and sanded.


- 207 replies
-
- 2
-
-
- billing boats
- cutty sark
- (and 1 more)
-
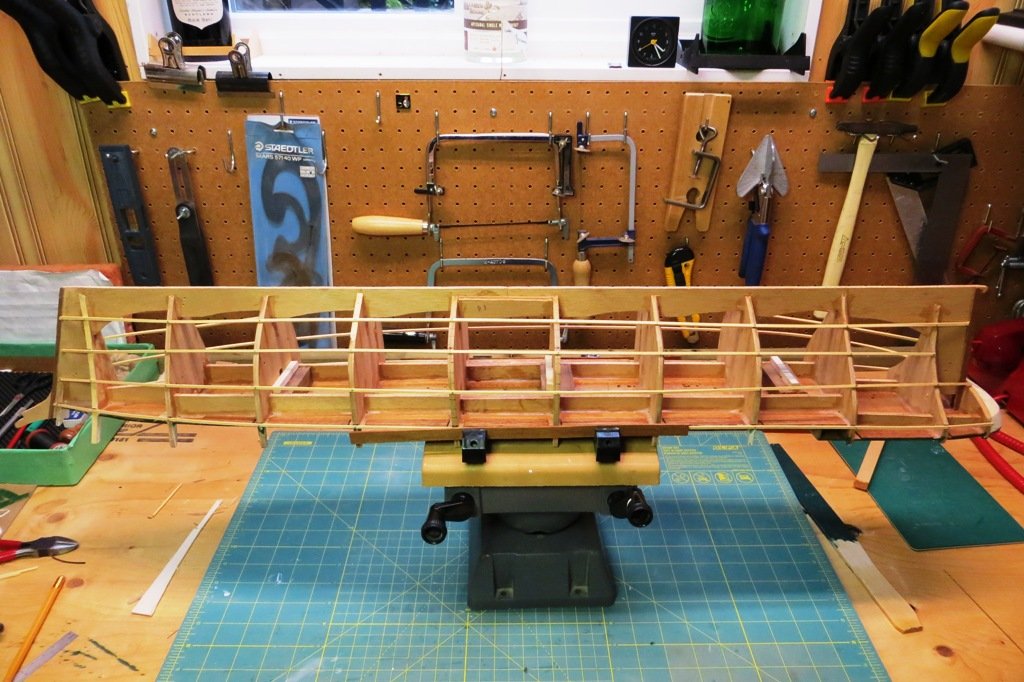
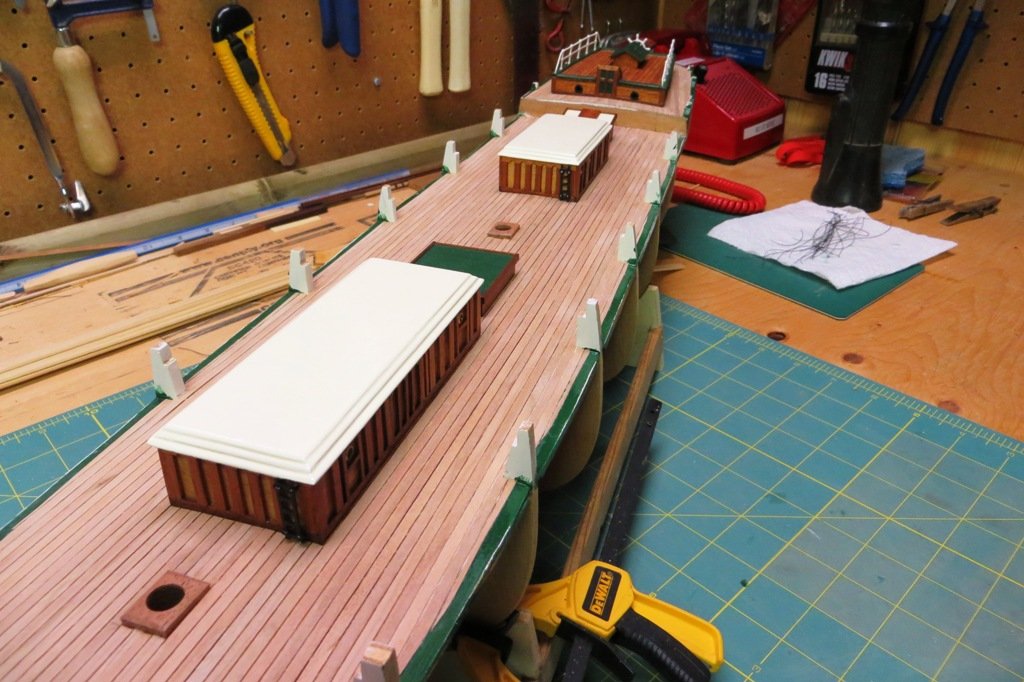
Over the past couple of weeks I have been back at it on my build. I decided to do lots of prep work before tackling the hull planking. First I laid down all the deck planks. No small task on a model this size. Once they were all in place I removed the string between them so that I could sand down the planks some more to get a smoother finish. I will replace the string once I am ready to laquer the decks which will be done when the hull planking is complete. Here's a picture of the deck planking completed.
- 207 replies
-
- 4
-
-
- billing boats
- cutty sark
- (and 1 more)
-
Hiya gents and thanks for the warm welcome back. In answer to your question Popeye, there was nothing serious happening to keep me from the workshop. Just an overabundance of work during my last year with the coast guard. We have been short of personnel and I was filling in here and there to help make up the numbers. It was worth it in the end however, and now I can scale it back in a big way and finish my time on leave. Once work ceased in September, my wife and I took some well deserved holidays (road trip to Oregon and a Panama Canal cruise) and I am now settling into semi retirement. I say semi, because I have taken on another job here in Victoria, as launch master aboard our pilot boats here. It is part time relief work so I should manage a decent amount of time in the workshop. I am looking forward to completing the Cutty Sark and there are a number of models on this site that are giving me inspiration. However today is "putting up the X-mas lights" so I better get to it... Here is a picture of my new rides.
.JPG.01bd898f988f2c15f62e65b220ba604e.JPG)
- 207 replies
-
- 4
-
-
- billing boats
- cutty sark
- (and 1 more)
-
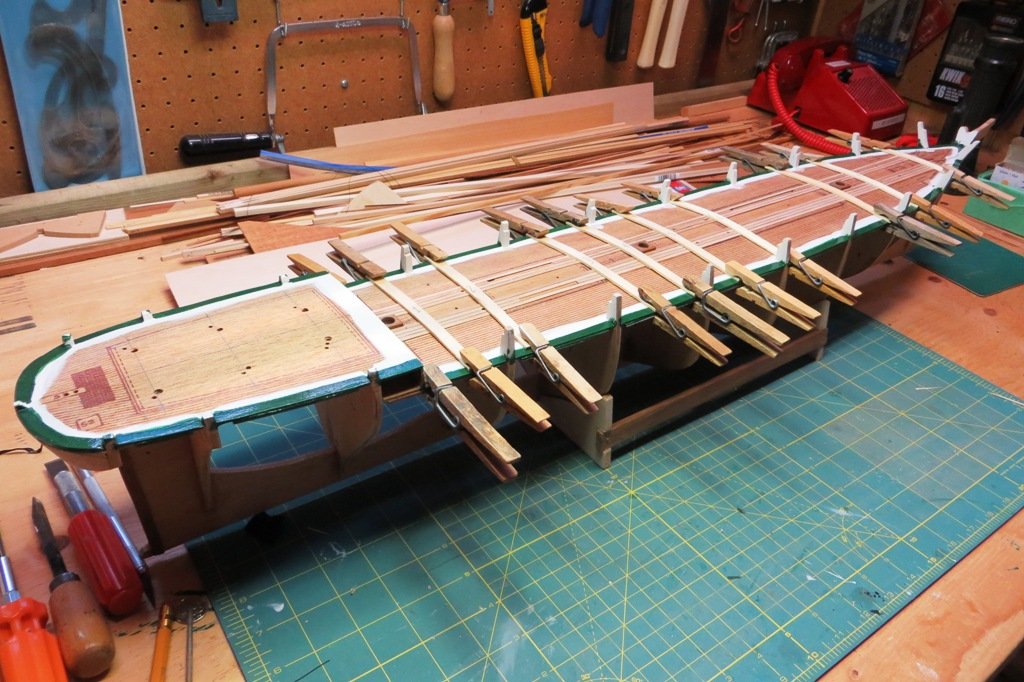
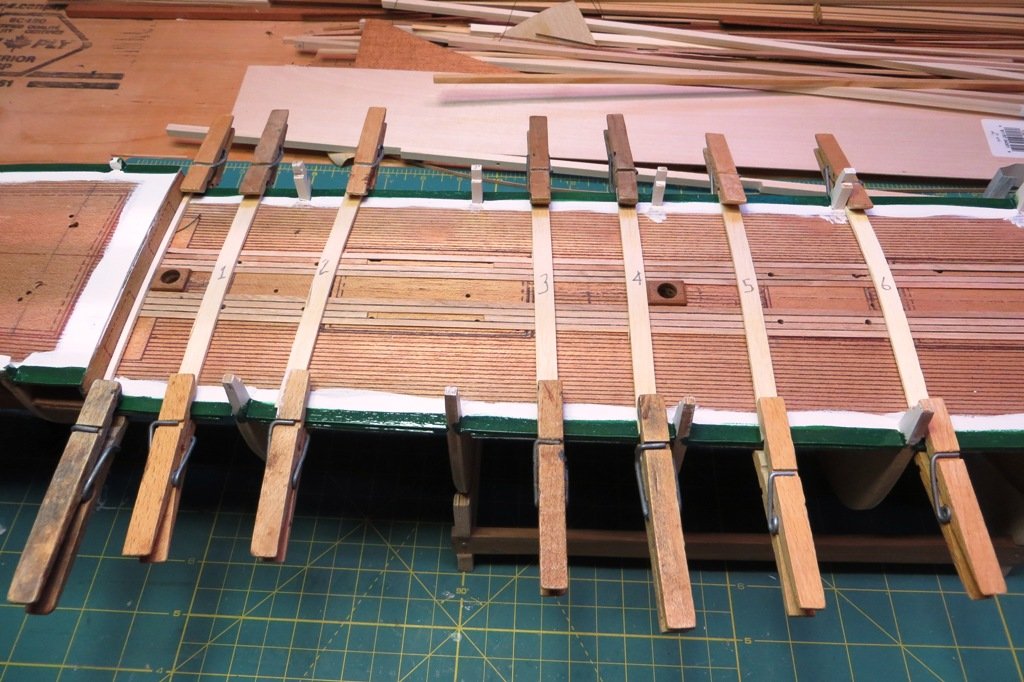
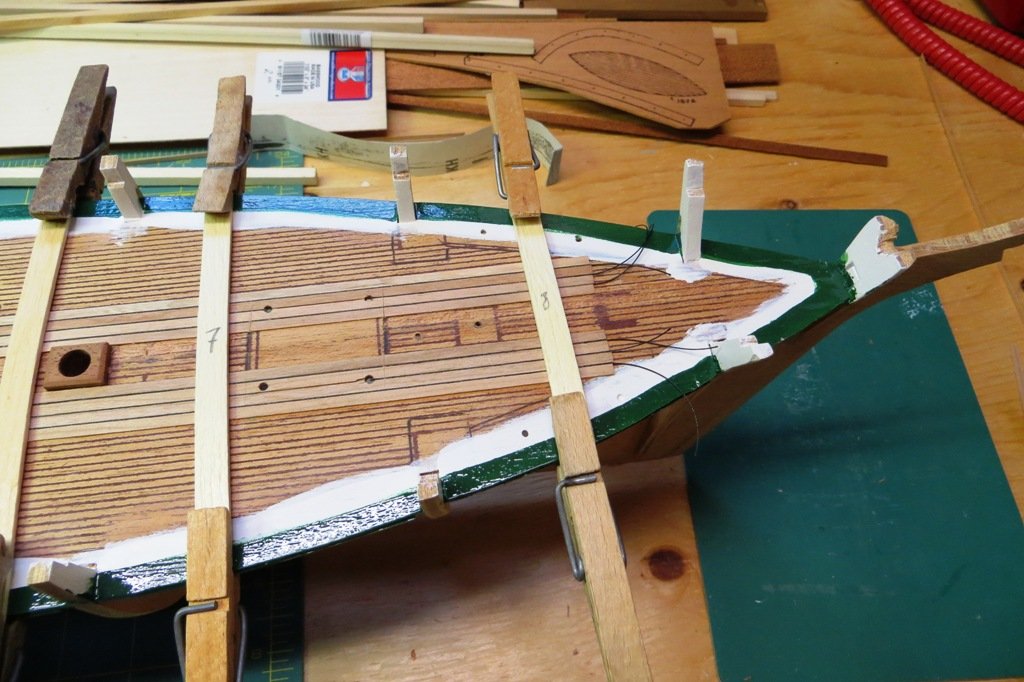
Boy, it's been a while since I last added to this build log. Not much has been happening in the mean time, but I have finally resumed work on the Cutty Sark, all be it slowly. Suffice it to say, it's been a bit hectic and the hobbying was way down on the to-do list. However, I always meant to get back to it and that time has finally arrived. I resumed work, laying down the deck planking. I am using cherry strips that Lee Valley used to sell and black thread to simulate the chalking and wood glue. It's a slow process which pretty much describes every phase of every process involved in building a model ship.... Initially I was using magnets from Lee Valley to hold down the strips while the glue dried. But they are agressive little suckers and in the end the wood battens and clothes pins proved easier. Here are a couple of photos of the initial stages...
- 207 replies
-
- 6
-
-
- billing boats
- cutty sark
- (and 1 more)
-
Hi Dave, You have started a very interesting build log so far. It has everything. Lots of great photos, good description of your process, and an animal act! Just wondering where you source all your great looking wood from. I'll follow along, as I have this kit too. Cheers, Peter
-
Billing Boats Marie Jeanne vs. Artesania Latina Marie Jeanne
petervisser replied to Redshirt's topic in Wood ship model kits
I built the Billing version years ago, pre-laser. It turned into a very nice model and I can recommend it. You're right in that it has very nice lines, which is why I decided to build it. I opted to change the name of the model and named it after my wife whose first and middle name is Cheryl, Anne. She has been much more tolerant of my subsequent modeling purchases ever since... Cheers, Peter.JPG.fbeeb1a1eab407fd232a320d18915088.JPG)
-
Beautiful planking job Mark, on such a curvy girl, ships being she's and all... Peter
- 331 replies
-
- 2
-
-
- nuestra senora del pilar
- occre
- (and 1 more)
-
Hi Mark, Boy, not much of a breather between models. And we're talking "monsters". Anyhoo, all the best with your new project and I'll happily follow along. Peter
- 331 replies
-
- 2
-
-
- nuestra senora del pilar
- occre
- (and 1 more)
-
Congratulations on a very fine ship indeed. Time to splice the main brace, sit back and admire your very fine work! Peter
- 652 replies
-
- 2
-
-
- royal william
- euromodel
- (and 1 more)
-
Hi Ron and welcome from a guy just a few "houses" over... I wish you well with this interesting hobby and your new model. I'm sure you'll find it rewarding. I have the Norske Love as well and think you made a wise decision by starting off "easy". Peter
-
Hiya Rob, Welcome to the site from a fellow Victorian. As it happens I am currently building a Billing Cuty Sark. What are the odds?... Anyway, I take it that you'll be building your model in sunnier climes. This happens to be my building season, precisely because of the weather. It keeps me inside out of the rain. Good luck with your Bluenose. It's a good model to get into the hobby with. If you have questions, just drop me a line. Peter
-
Hi JP, I have built the Billing version of this boat years ago. It is a very shapely vessel and I built it because of its fine lines. And I agree with Robin. It does have a holiday feel. Years ago while surfing the internet, I came across a Japanese ship model website that featured numerous builds of this model. They showed lots of imagination and painted the hull in all sorts of colours. They were awesome! I named my model after my wife, which was an instant "point getter"! Have fun with your build! Peter
- 131 replies
-
- 5
-
-
- finished
- artesania latina
- (and 1 more)