


RGL
-
Posts
5,115 -
Joined
-
Last visited
Content Type
Profiles
Forums
Gallery
Events
Posts posted by RGL
-
-
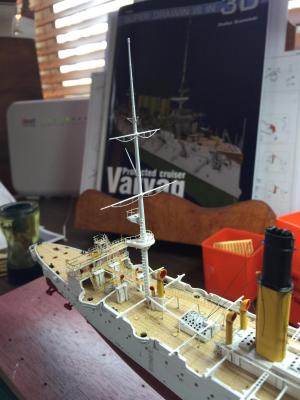
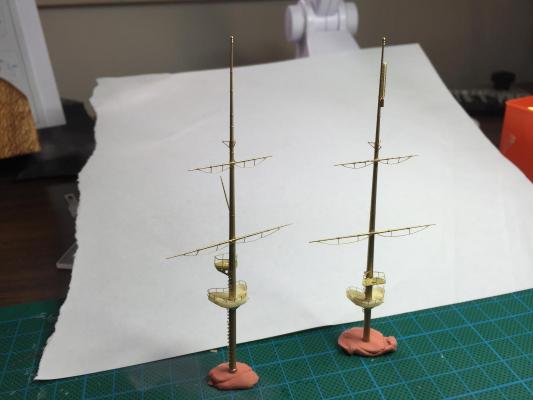
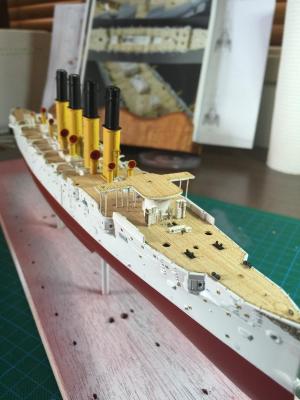
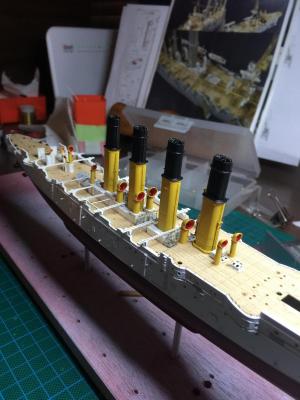
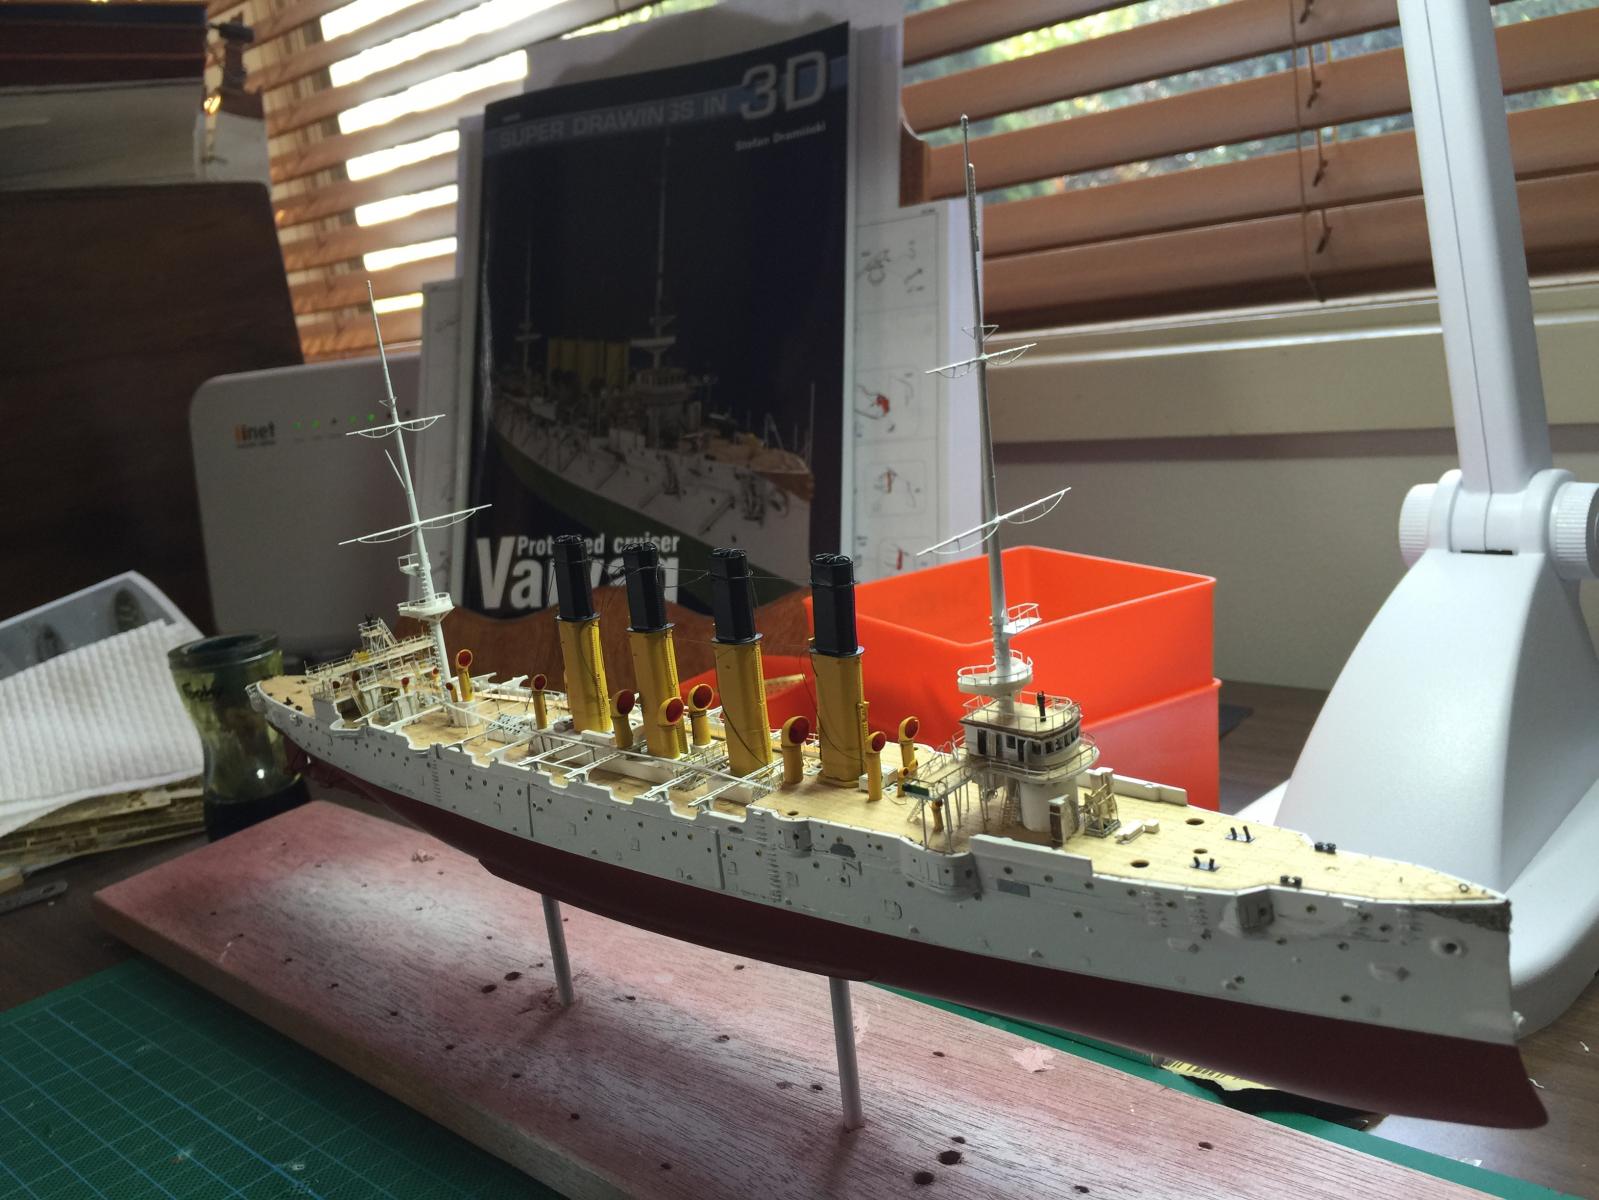
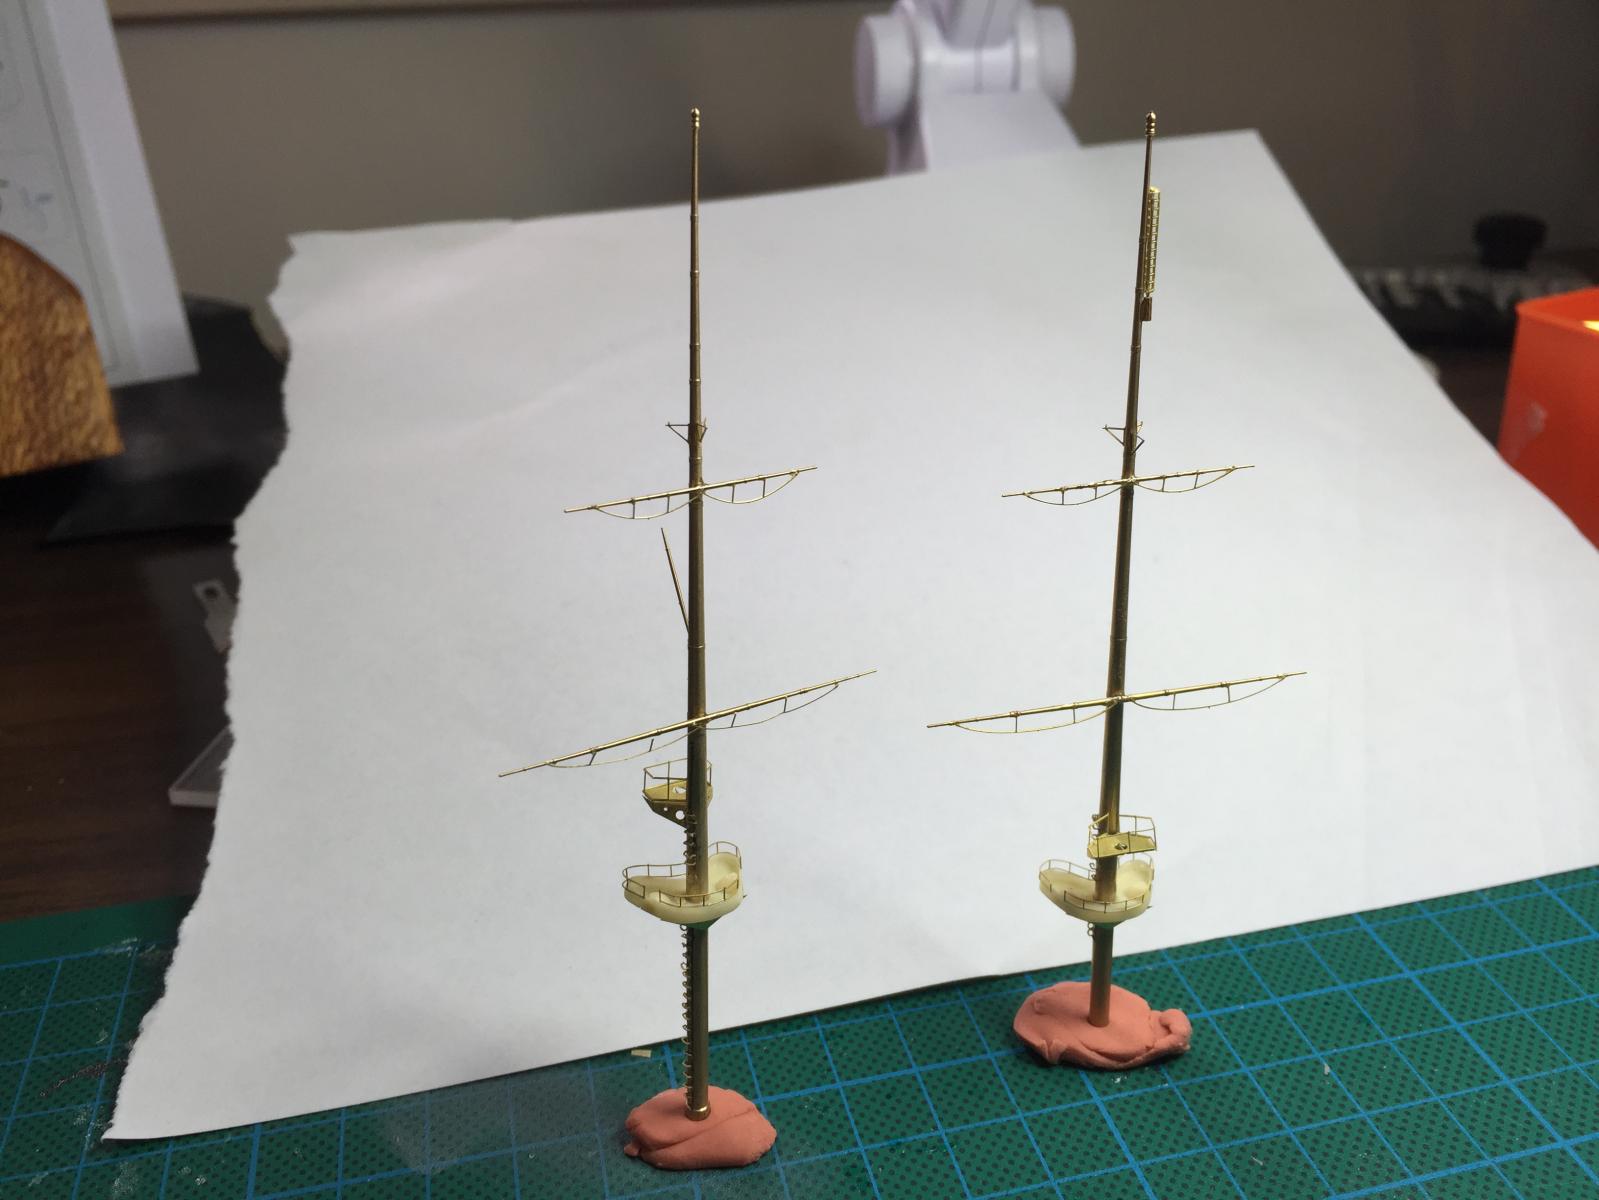
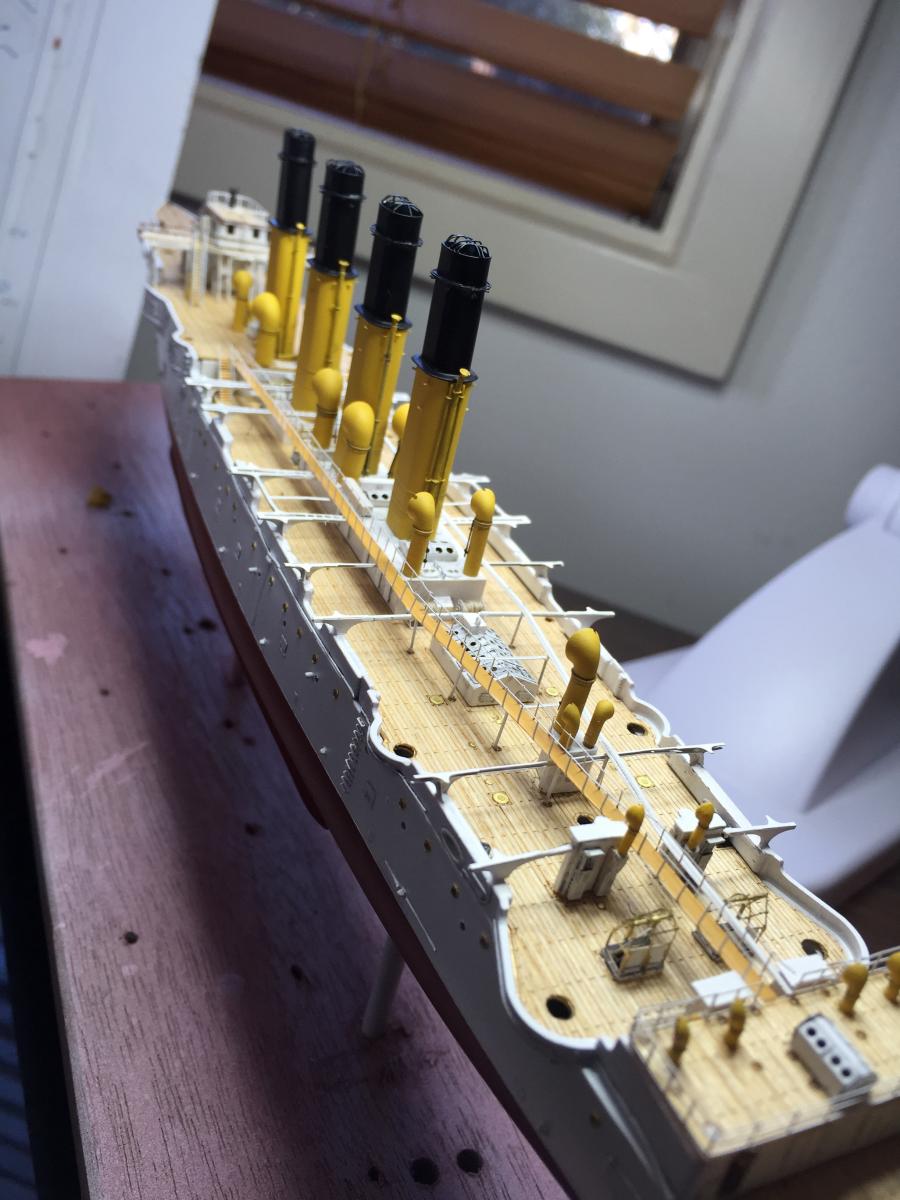
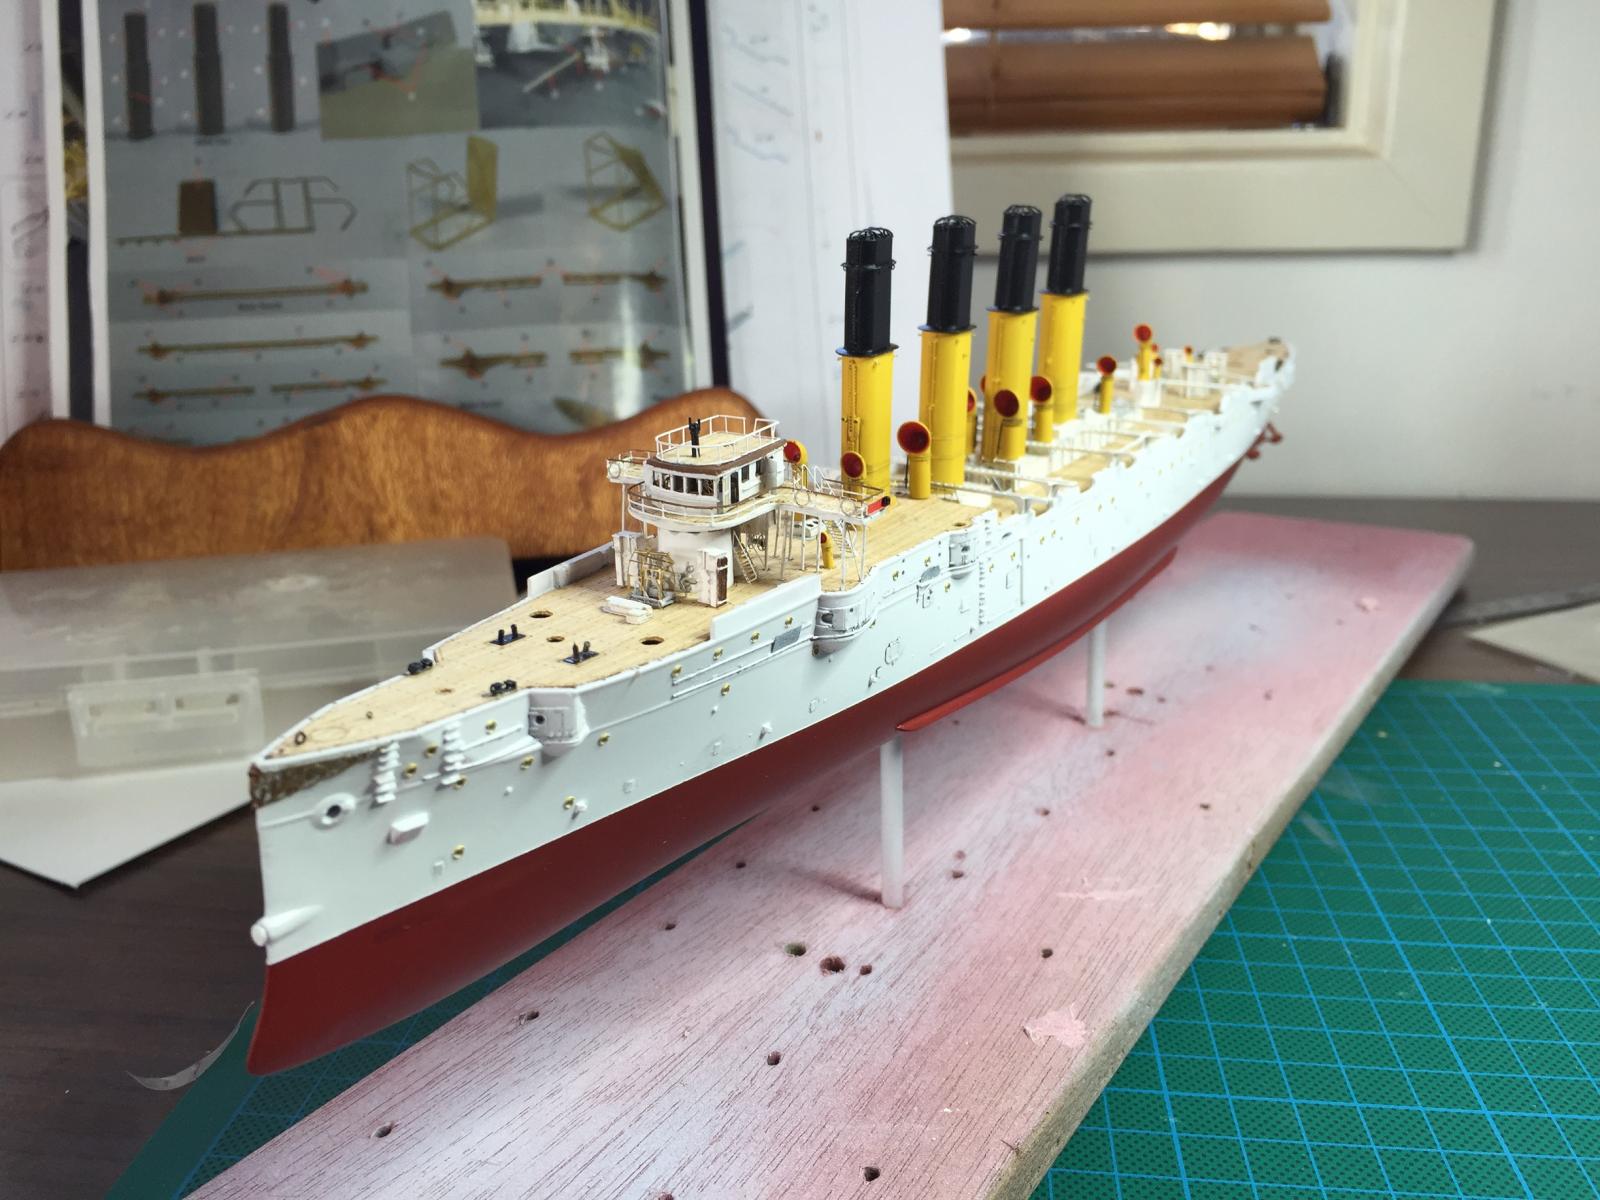
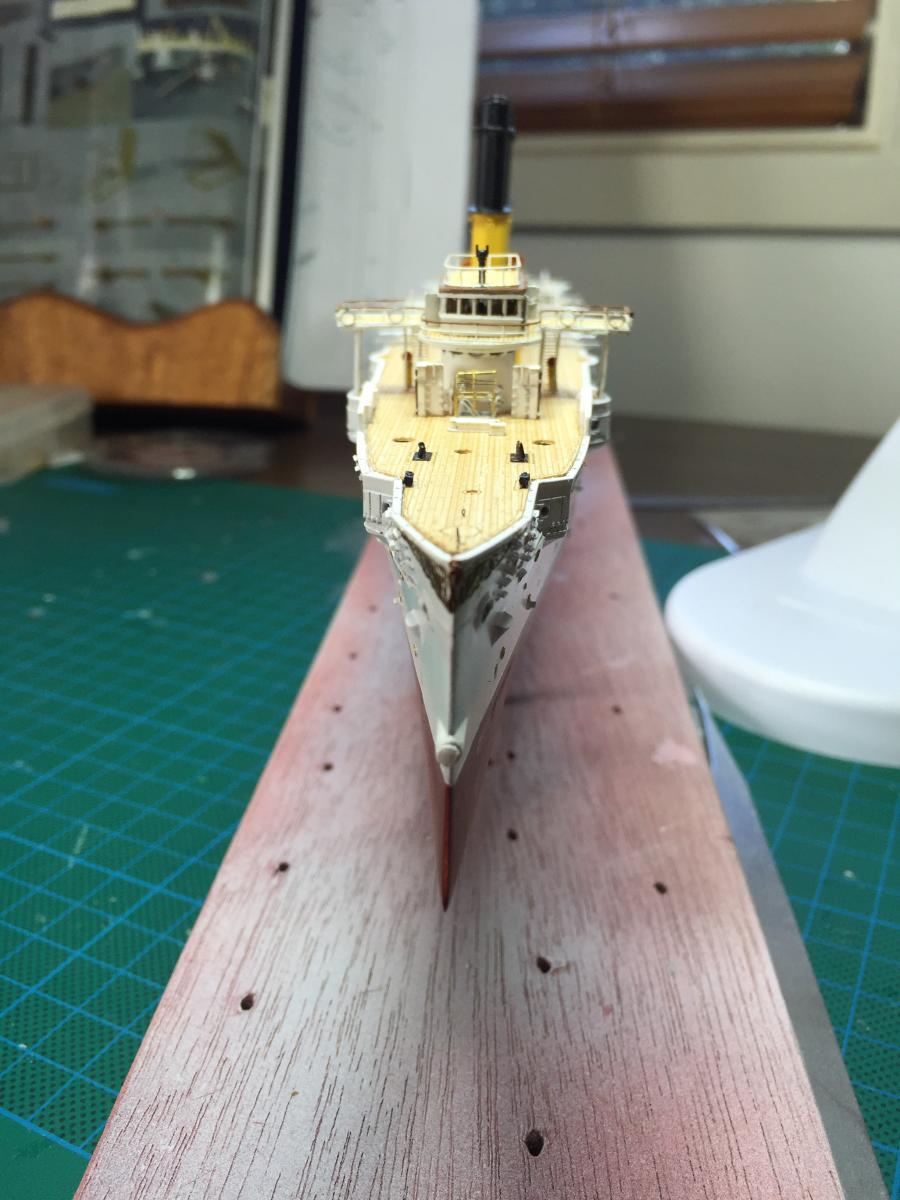
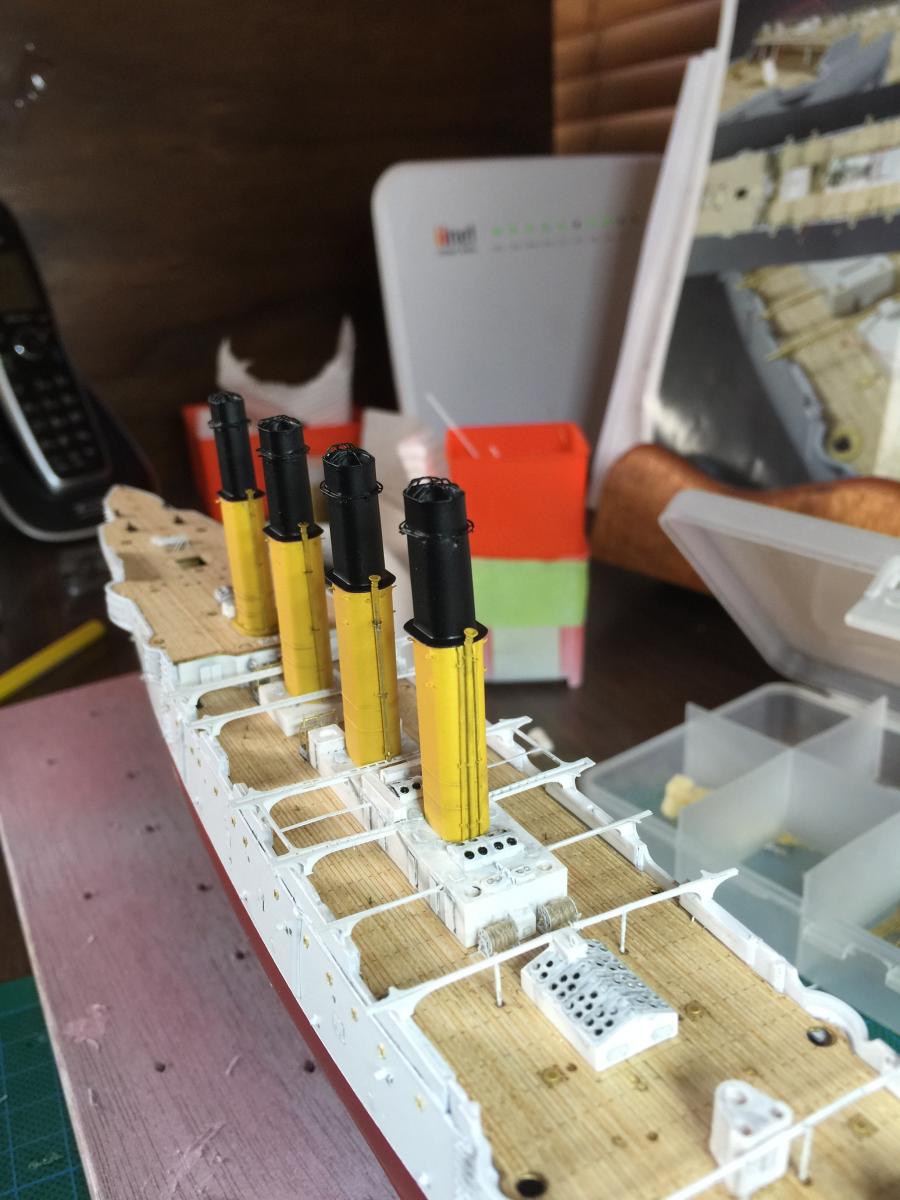
And the masts painted, attached sans rigging


- popeye the sailor, Jason, druxey and 6 others
-
 9
9
-
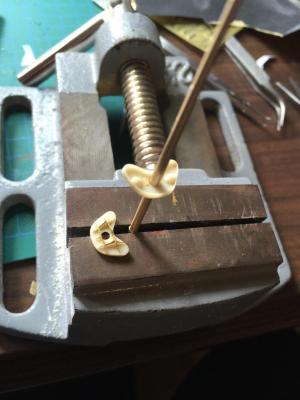
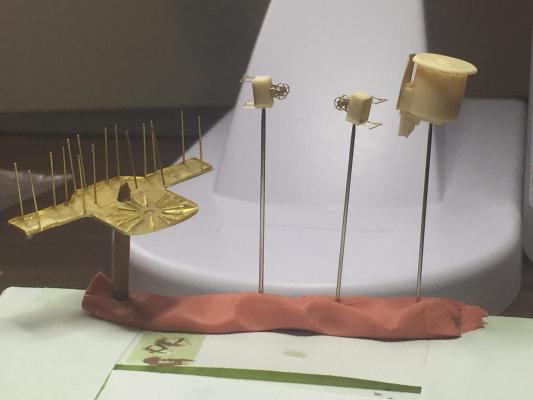
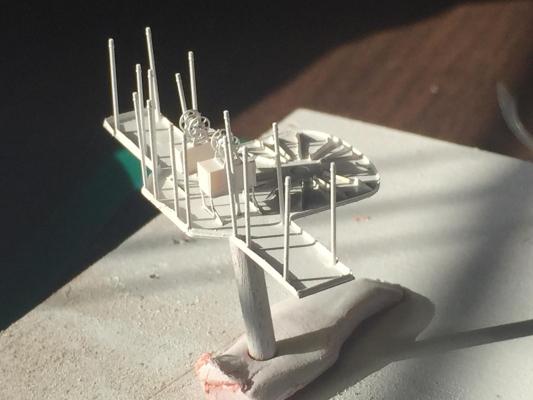
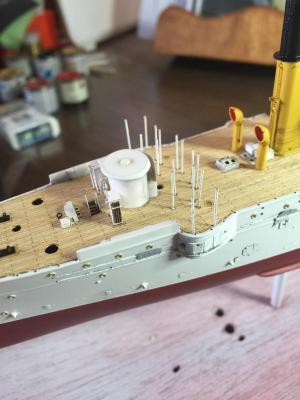
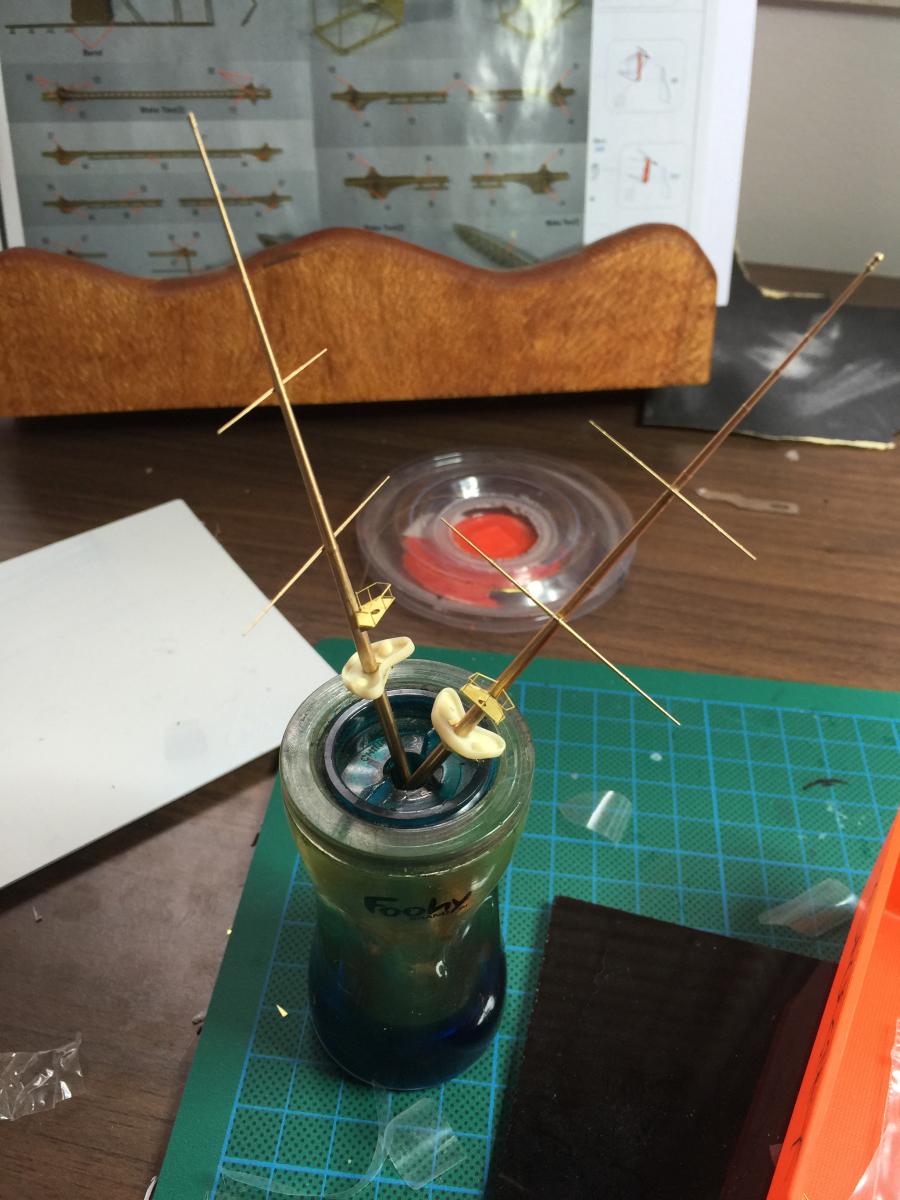
The next step is the masts. The Kit ones have no where near the detail of the Model Master ones. The yards are magnificent as well. they come with bands that the kit one does not have so given the scale doing the d shackles is way beyond me so I can just use the railway models type wire.
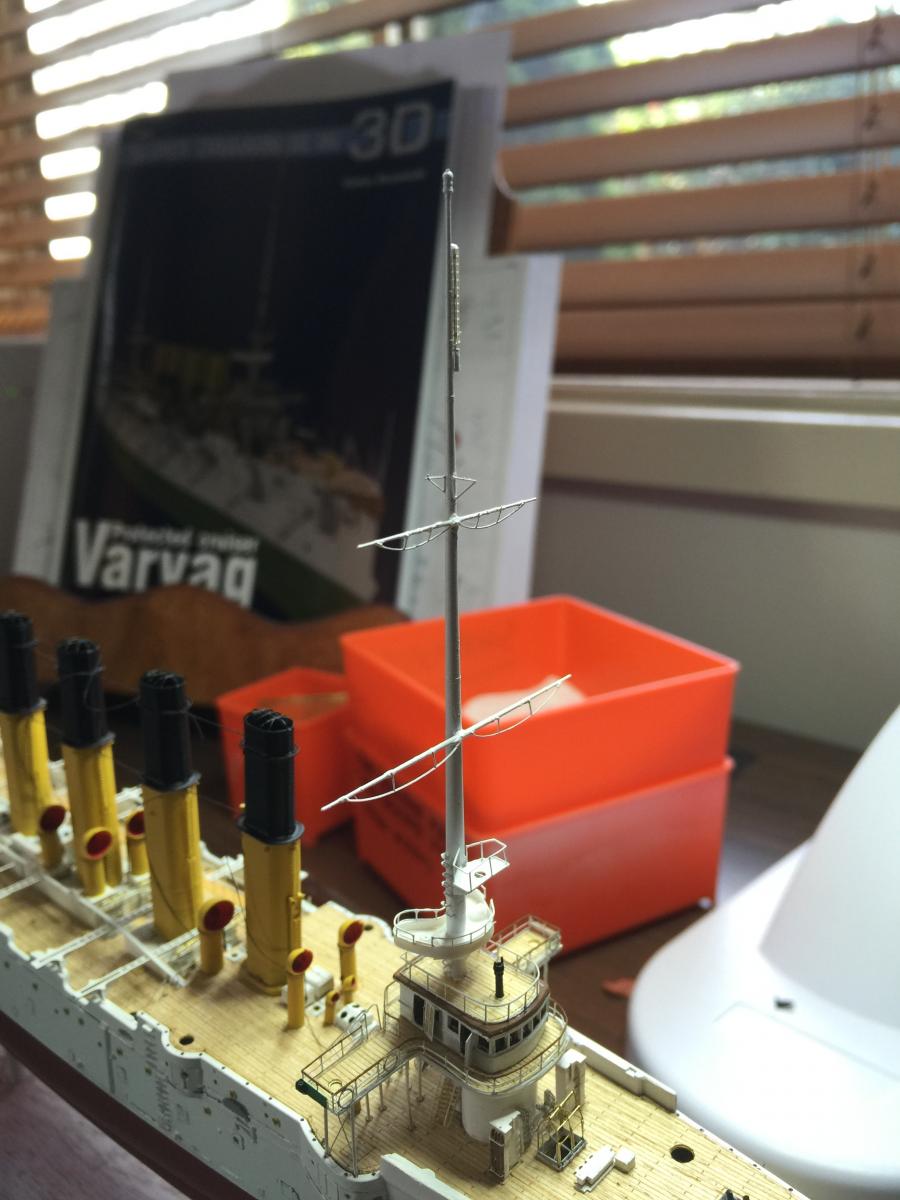
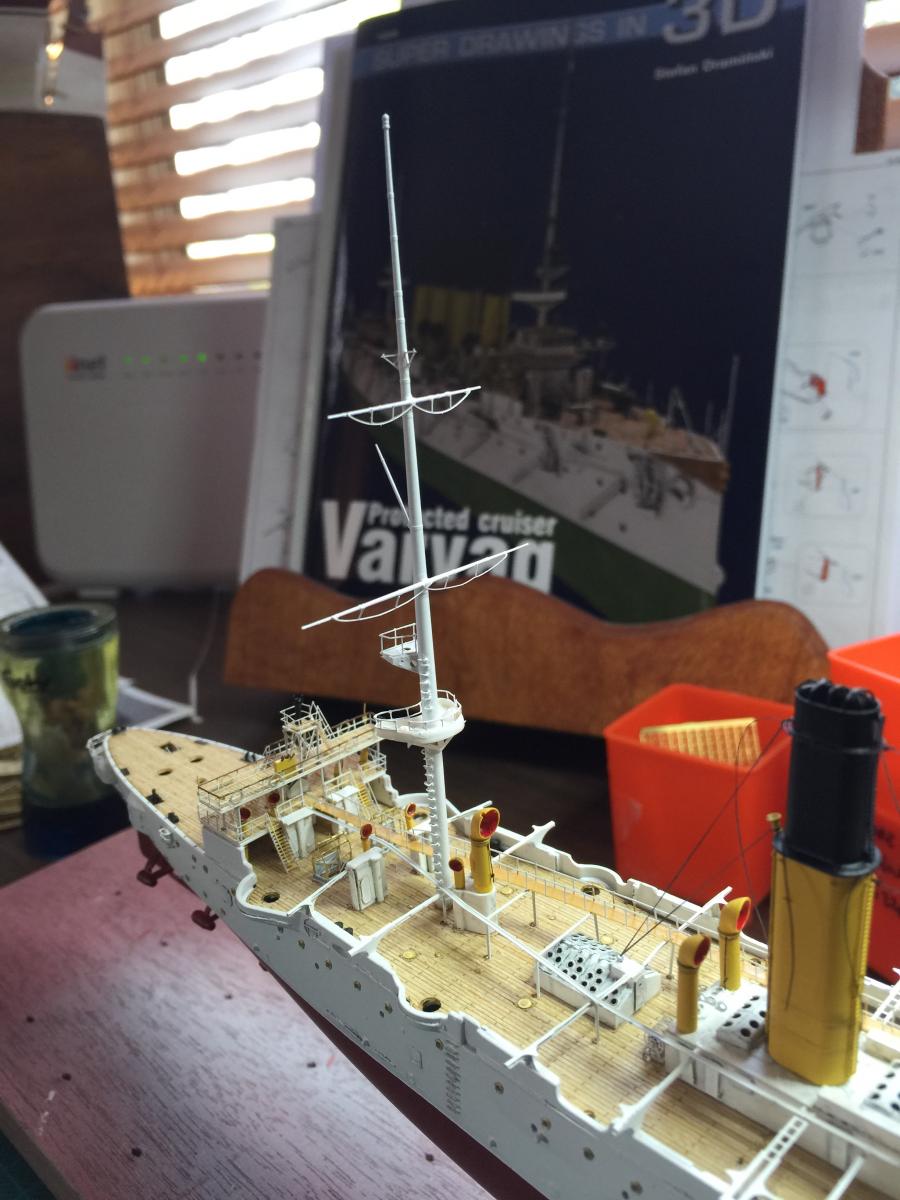
The gun platforms needed to be widened as the masts are thicker, and as such the brackets that hold them up do not match and there was a little improv required. I also added some north star ladders which the kit does not come wit. The instructions state they go almost to the top, but even using a 1/700 scale they will be too big to go all the way.
I tried soldering and failed miserably, so CA it was. Next, off to the painting booth.
There is a lot of rigging required, but the stays and ratlines are one piece which I will use blackener on. I'm thinking 2 days work to rig it unlike a tall ship which takes months, so it is someone easier!

- mtaylor, Jason, Captain Slog and 5 others
-
8
-
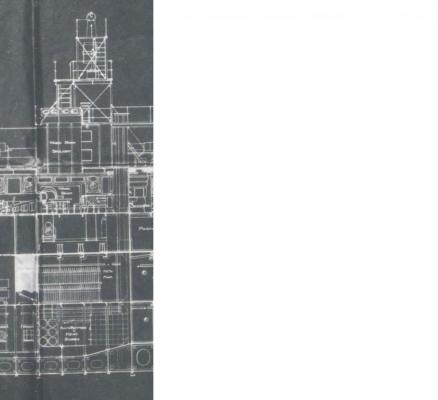
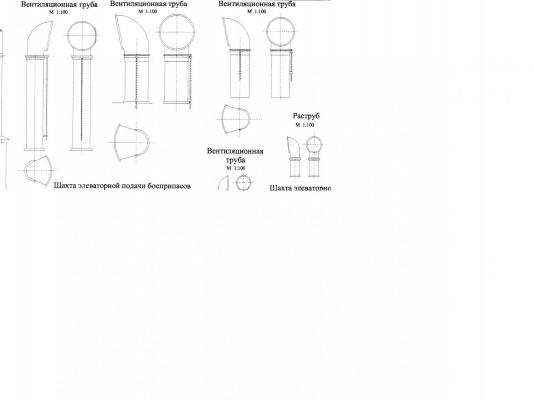
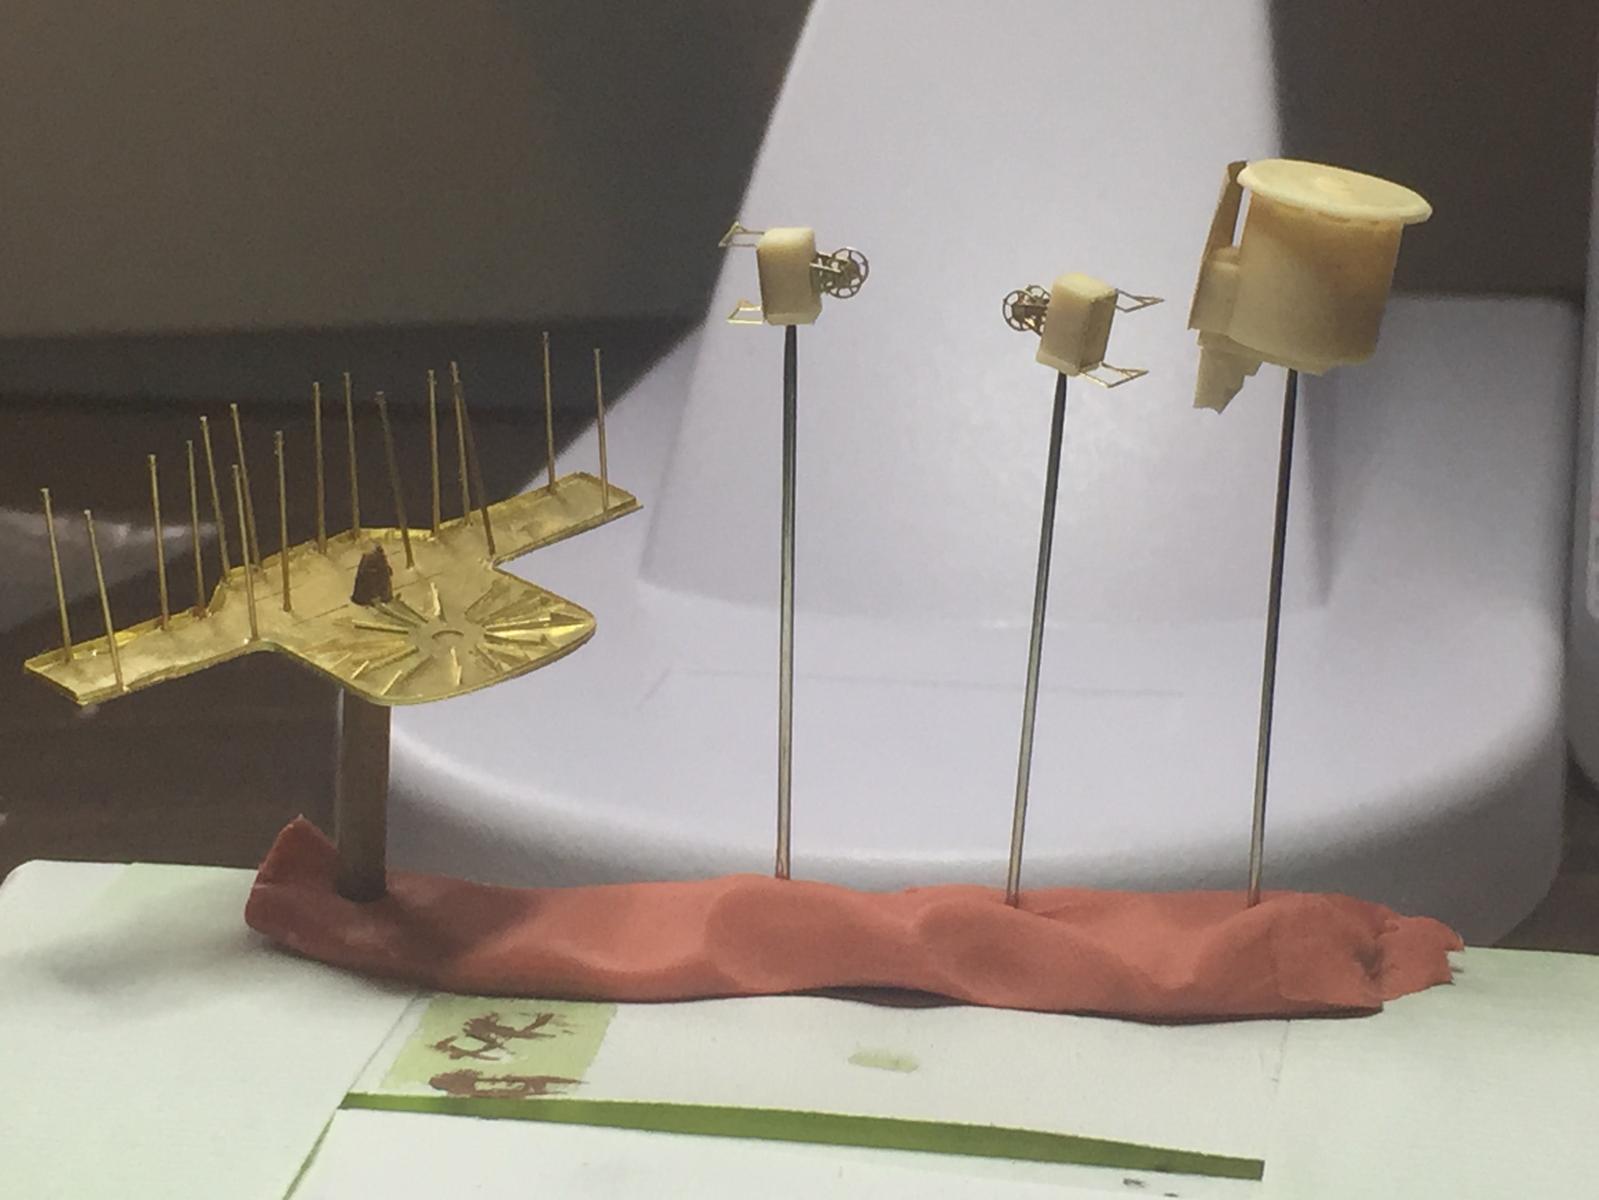
I'll pm you some next week, as I'm interstate but it's just a circular grill that goes over the top of plastic, the Artwork uses a resin piece, the blueprint shows a cylinder with a glass cone Covered with a grill,
-
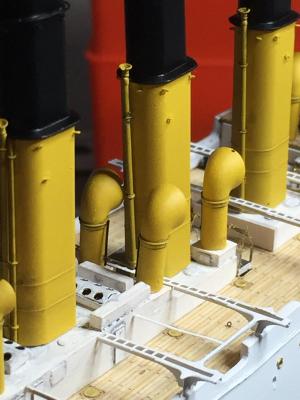
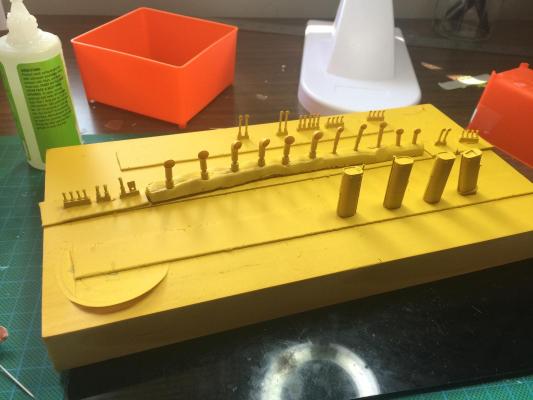
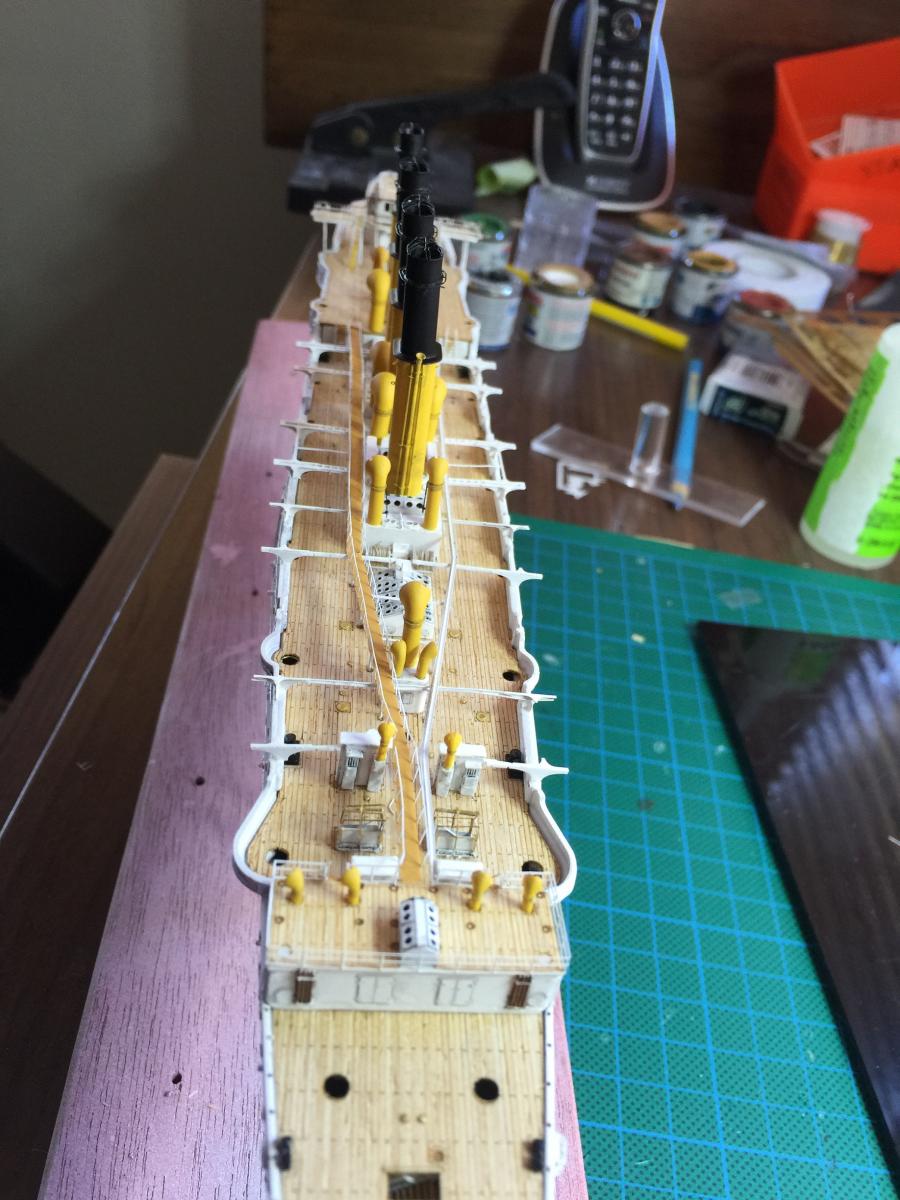
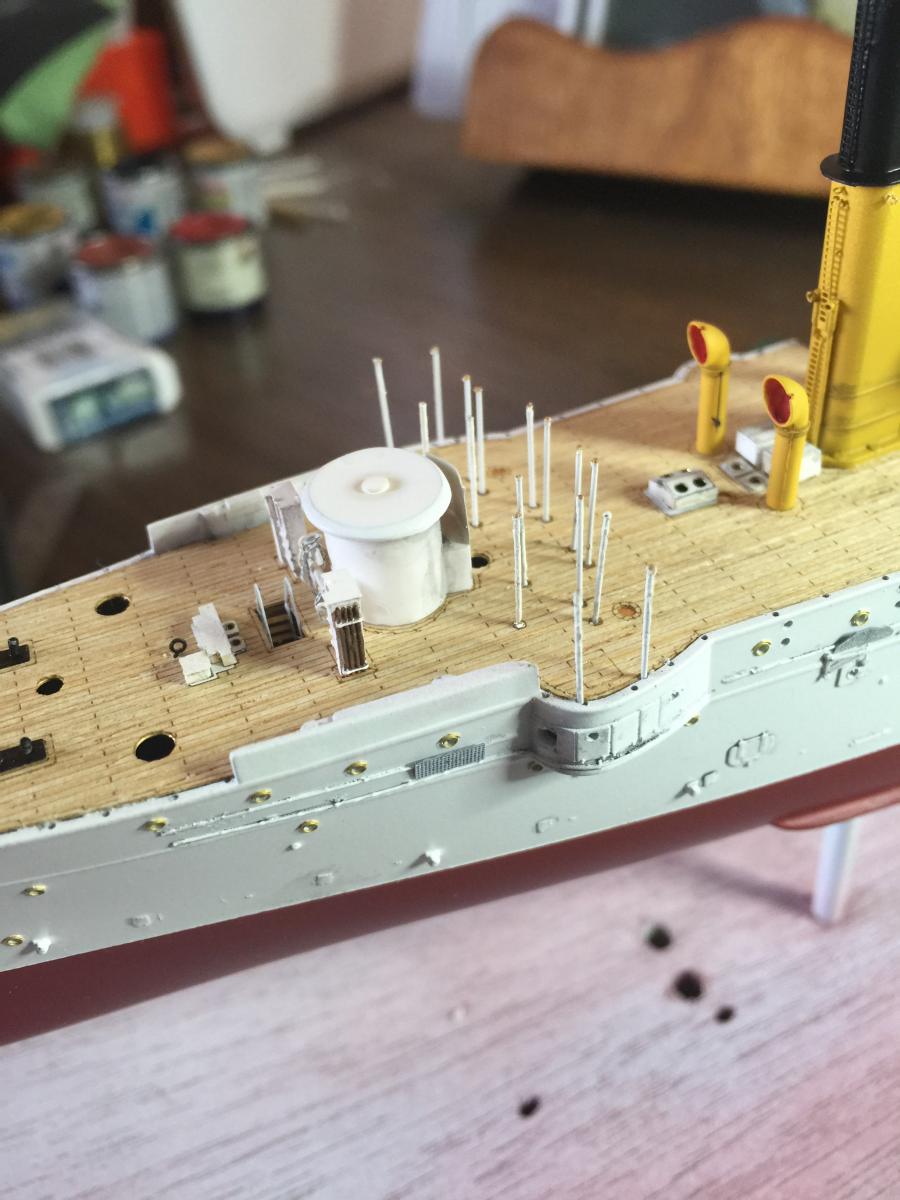
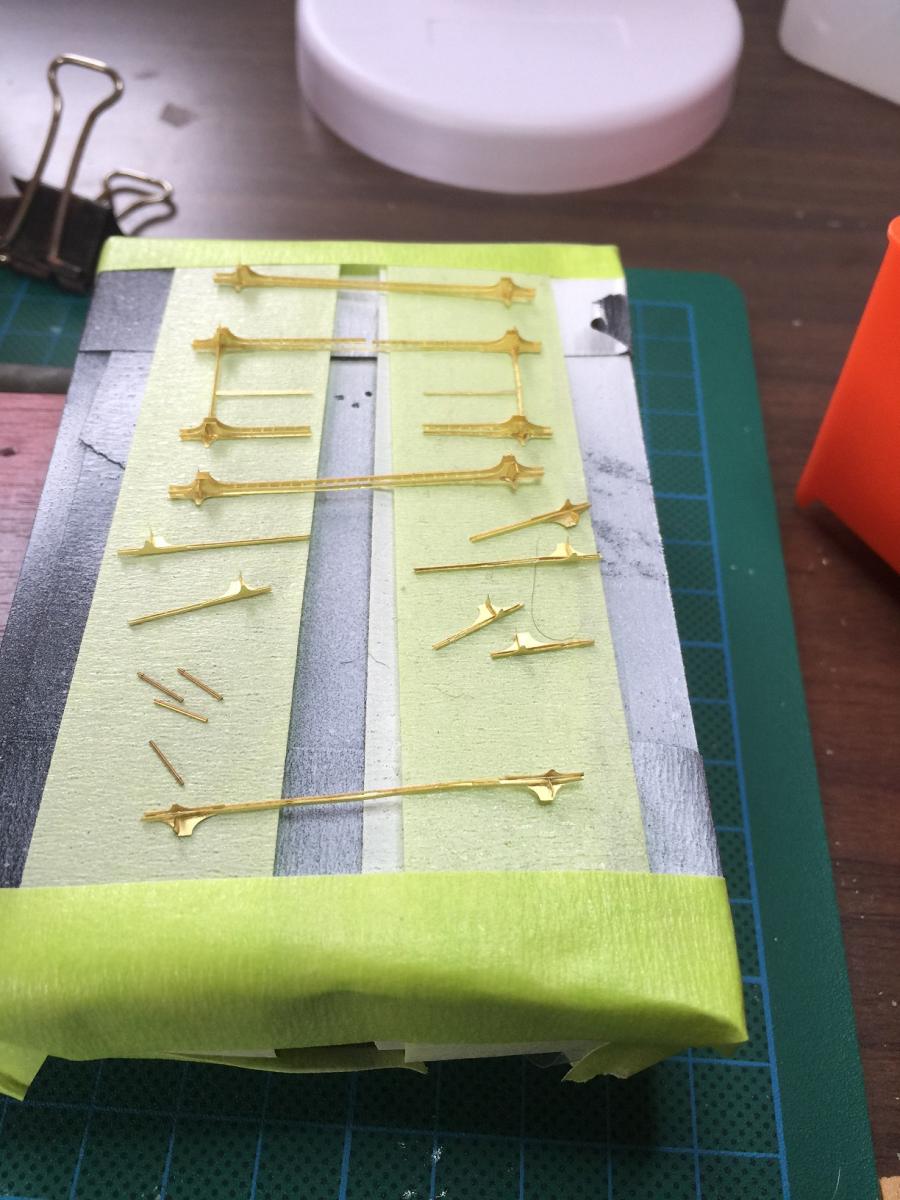
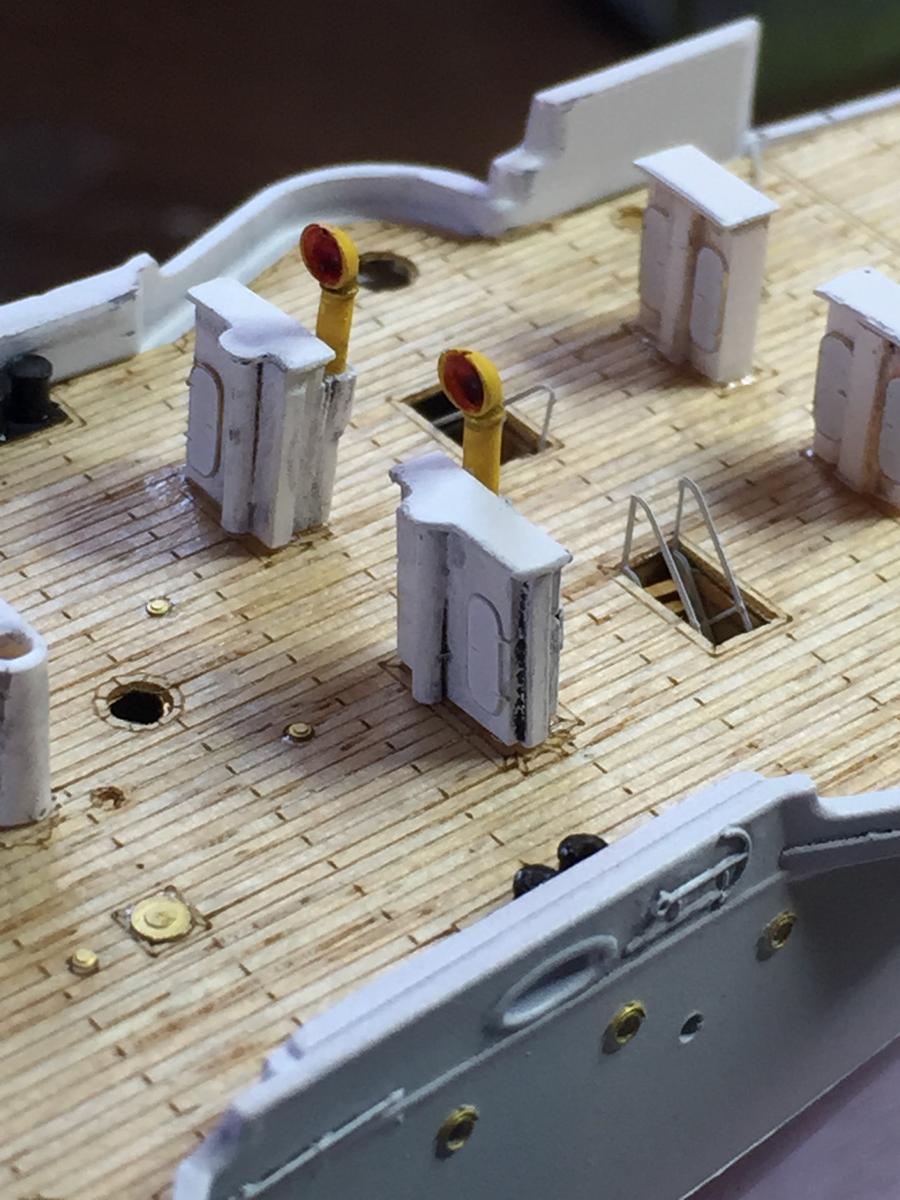
The rest of it is pretty much follow the dots, each pole is an individual brass piece, and this covers the last the adhesive wooden deck for the kit.
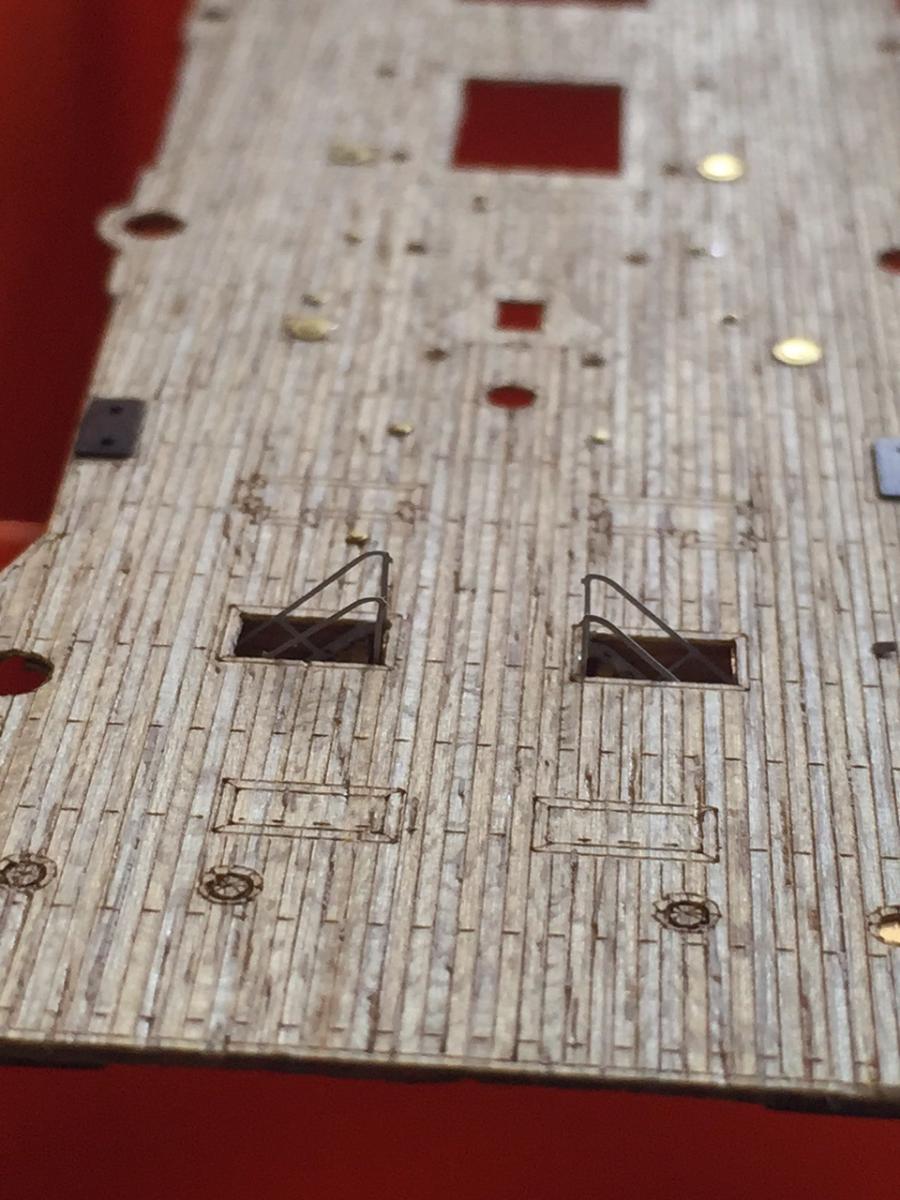
The ladders are now all on. A reminder for anyone who builds this kit, the ladders/steps need to be bent into place before painting, as it is sooooo thin they will not bend inot place after painting. Most of the etch with this kit at least doubles in weight once painted.
The next step will be to rig the funnels then start on the masts.


- Jason, GuntherMT, Captain Slog and 7 others
-
10
-
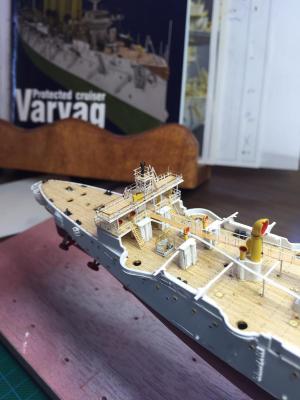
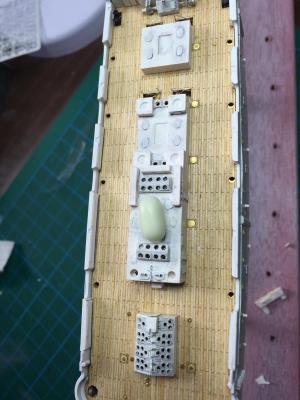
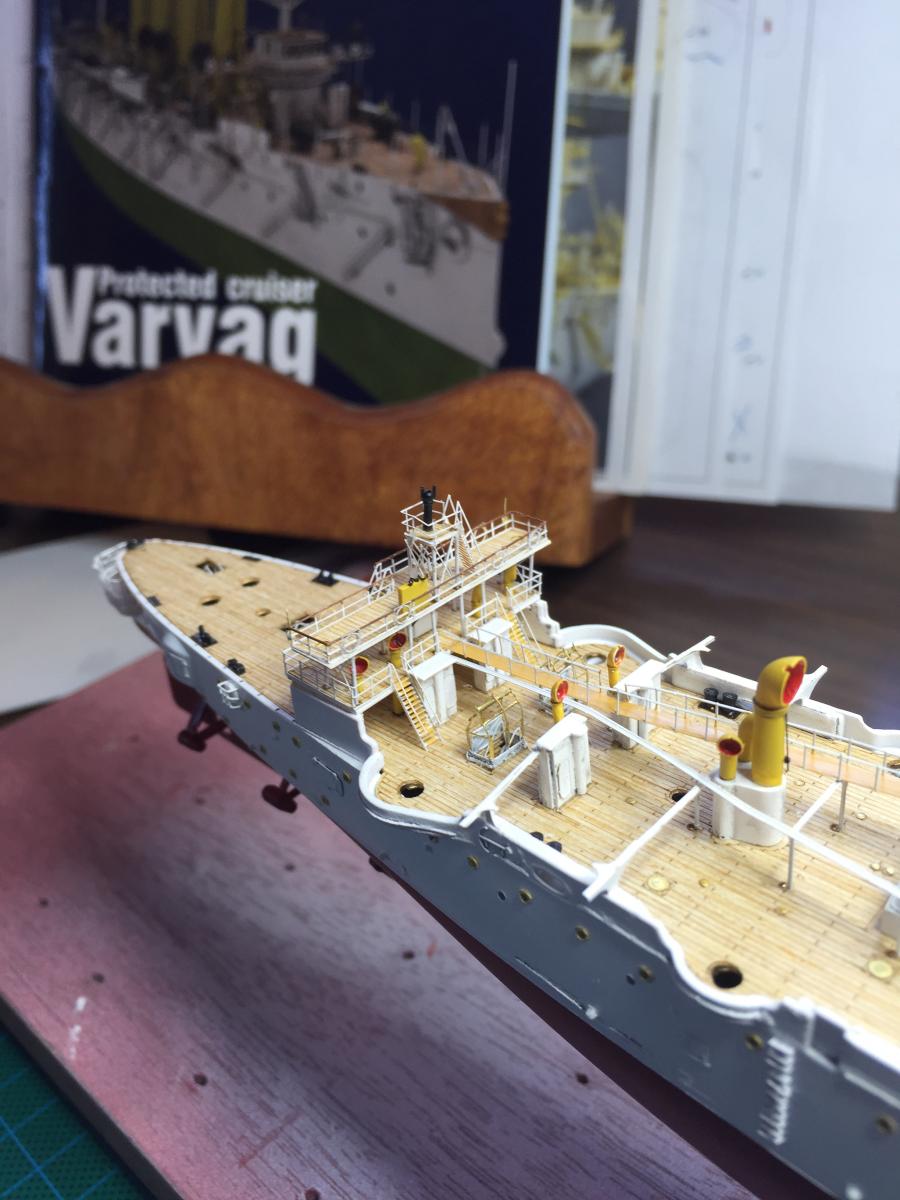
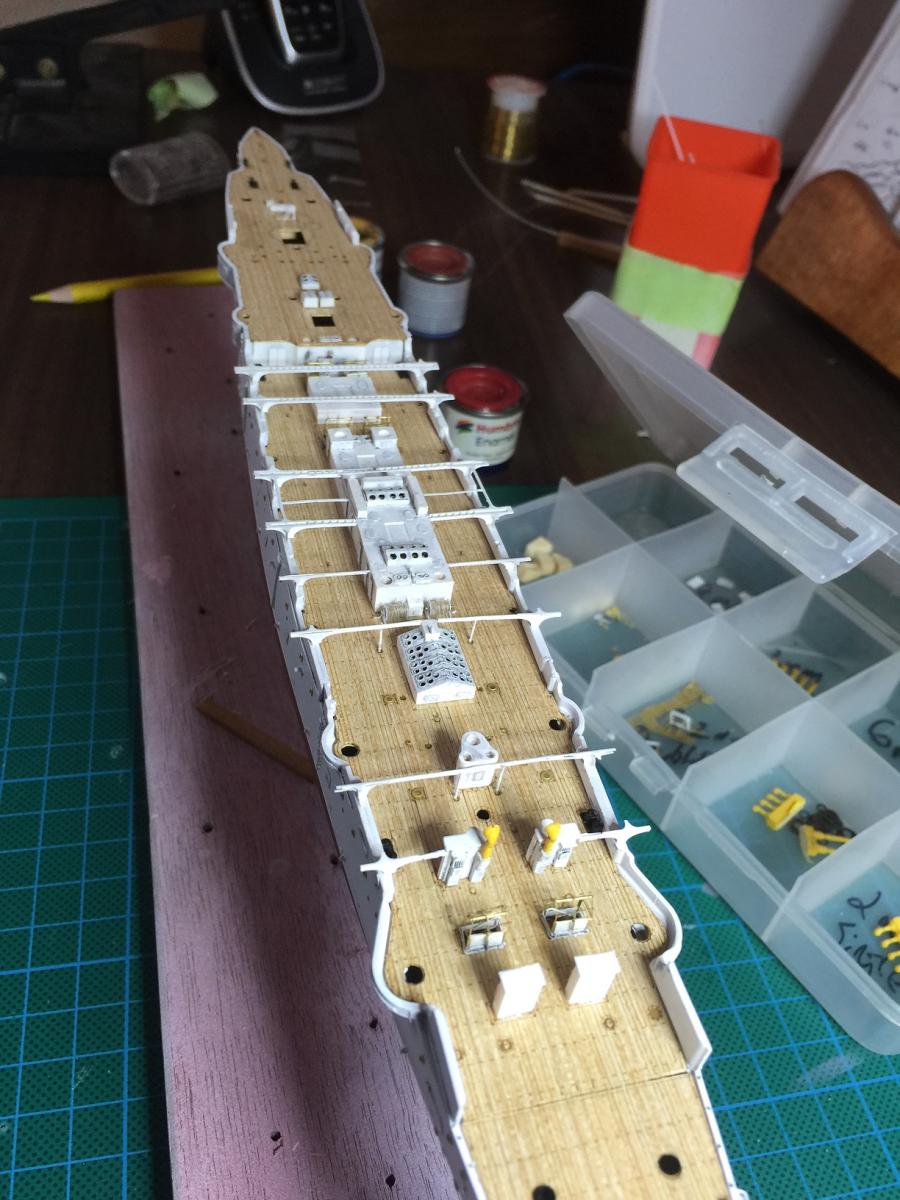
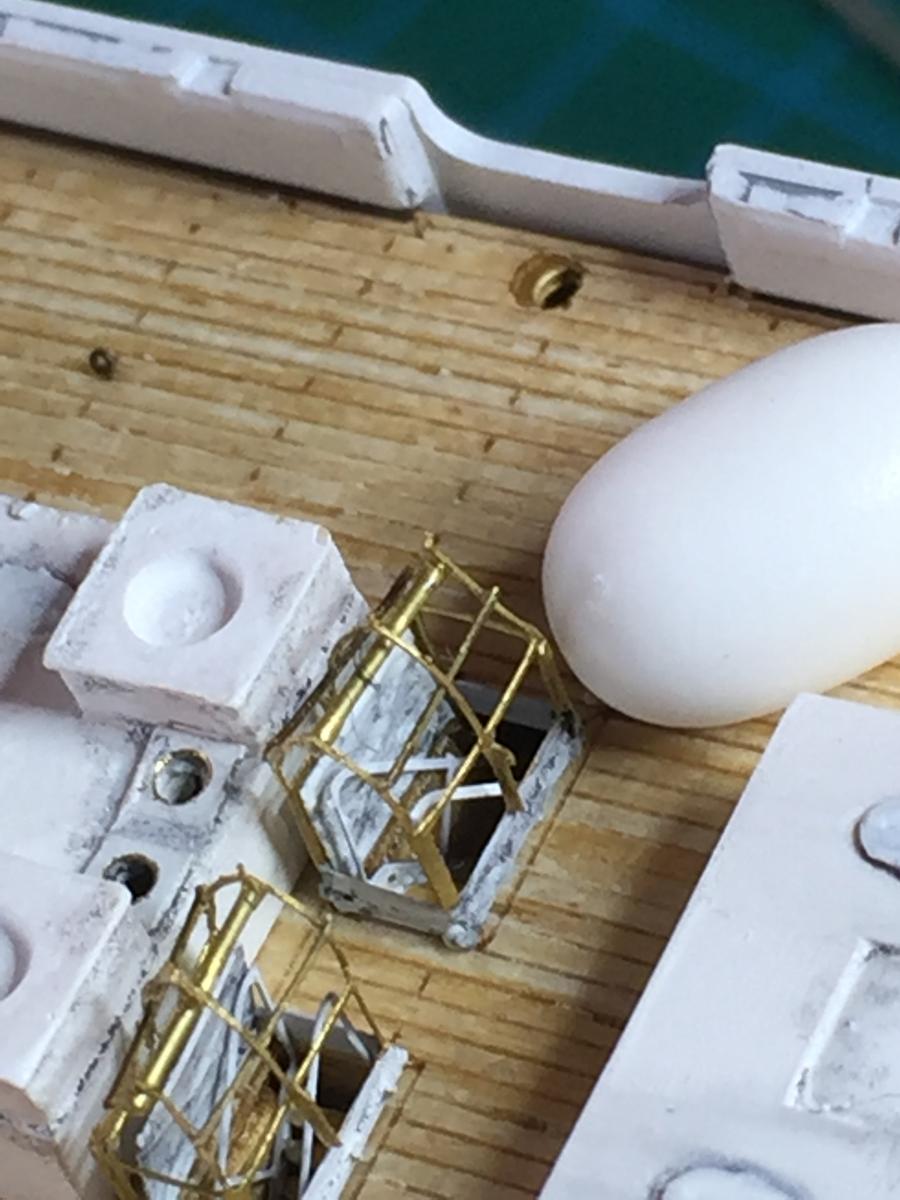
I then did the walkways which run along the middle of the ship. please note there are no instructions whatever on this, and the walkway is a single piece so they cannot be placed in a photo etch bender given the angles.


-
To the back of the boat. There is a single resin piece that does not really sit flush, with nice rear details but nothing on the inside so I added some doors opposite and some storage, you cannot really see them once attached. I trimmed off the Artwox resign skylight and added the Eduard one.


- dgbot, GuntherMT, popeye the sailor and 3 others
-
6
-
-
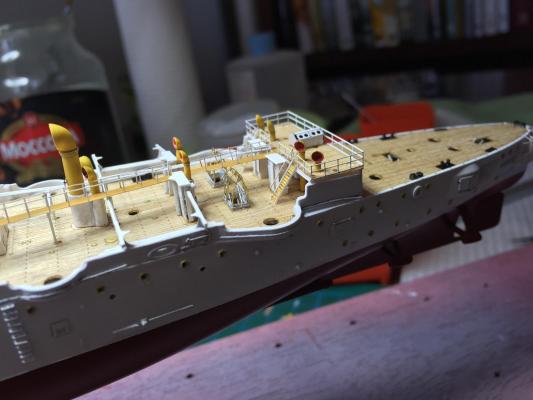
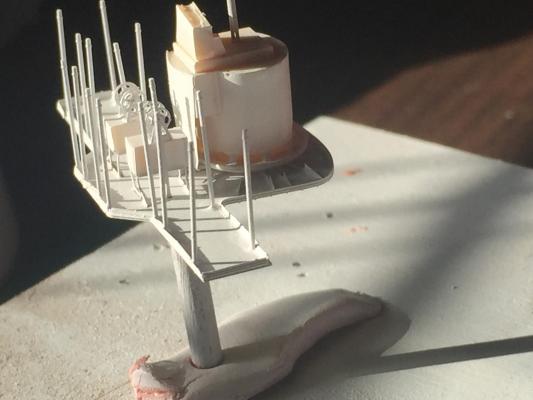
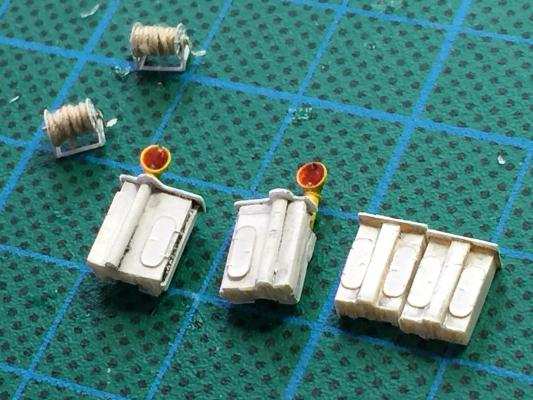
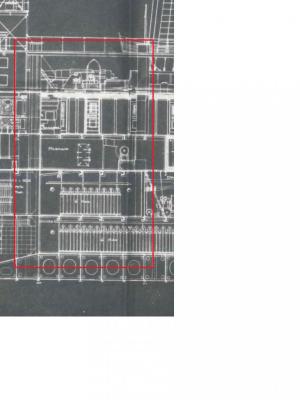
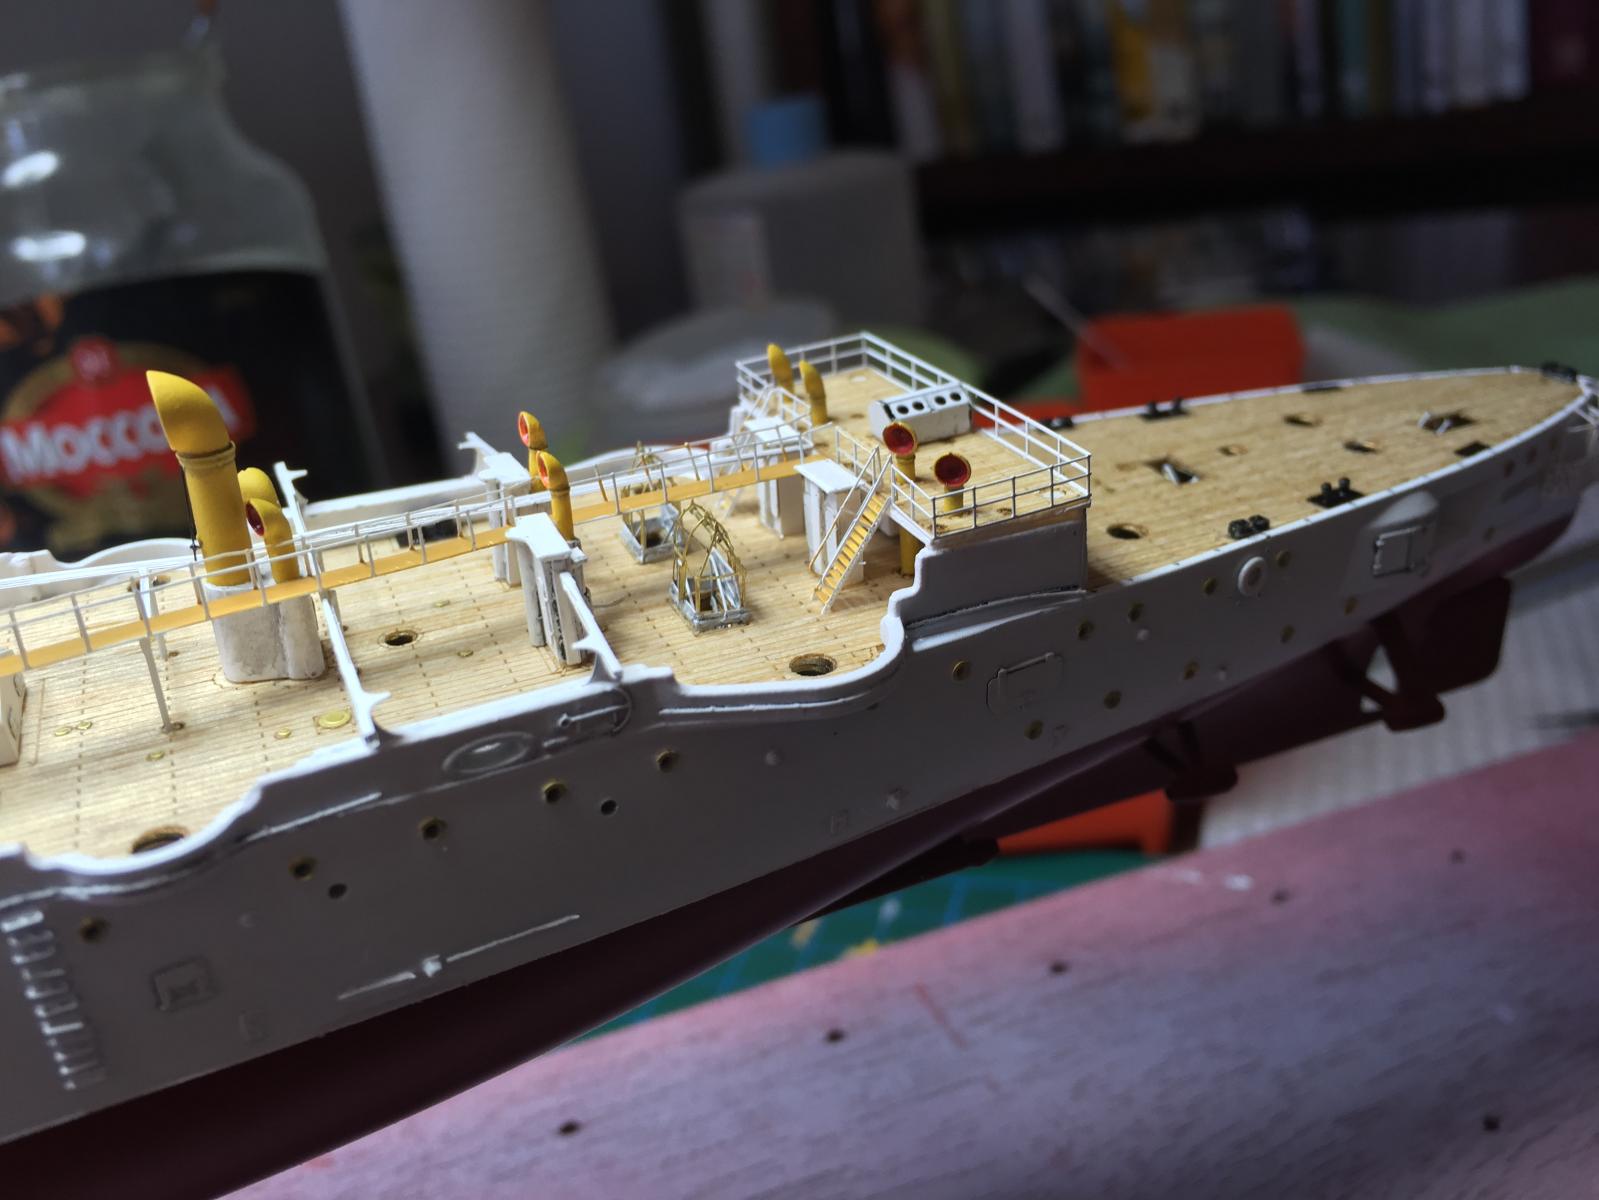
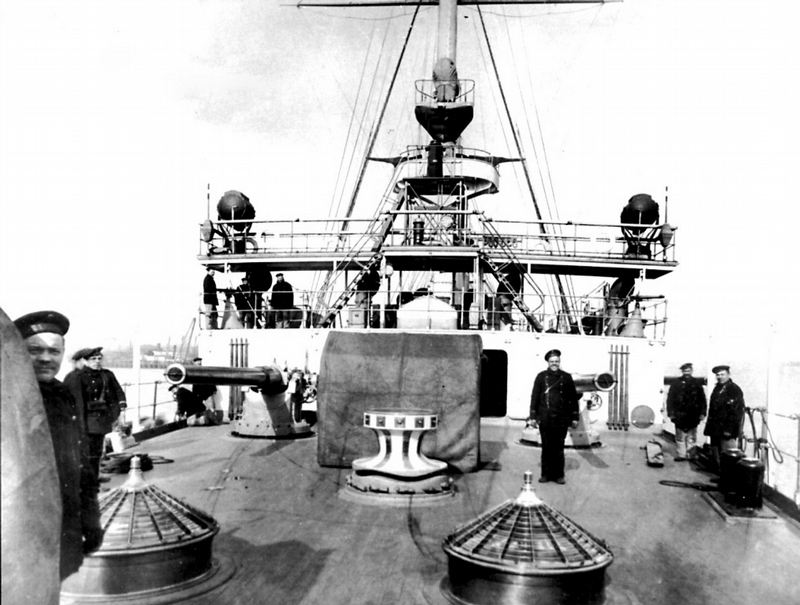
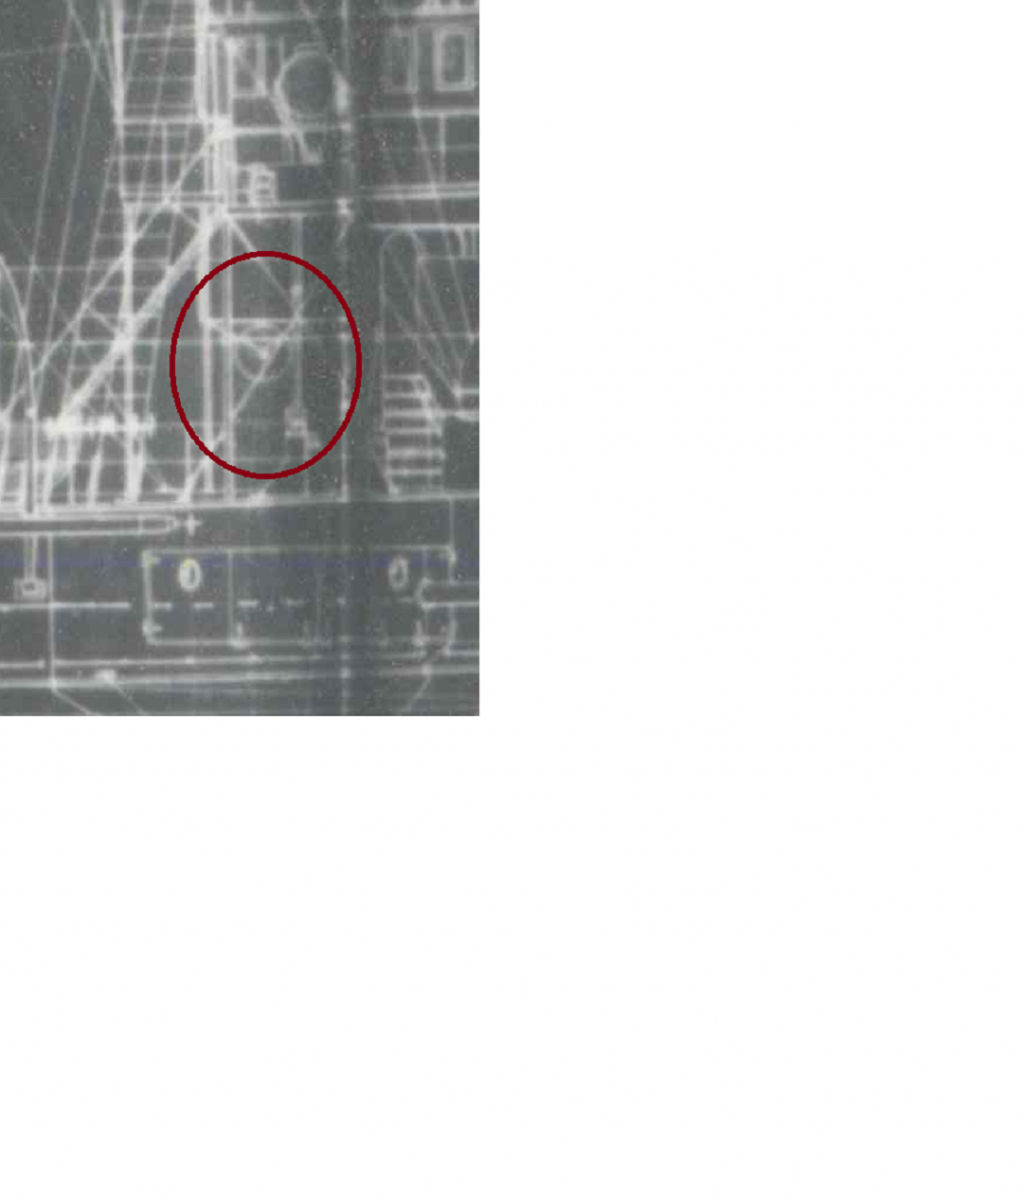
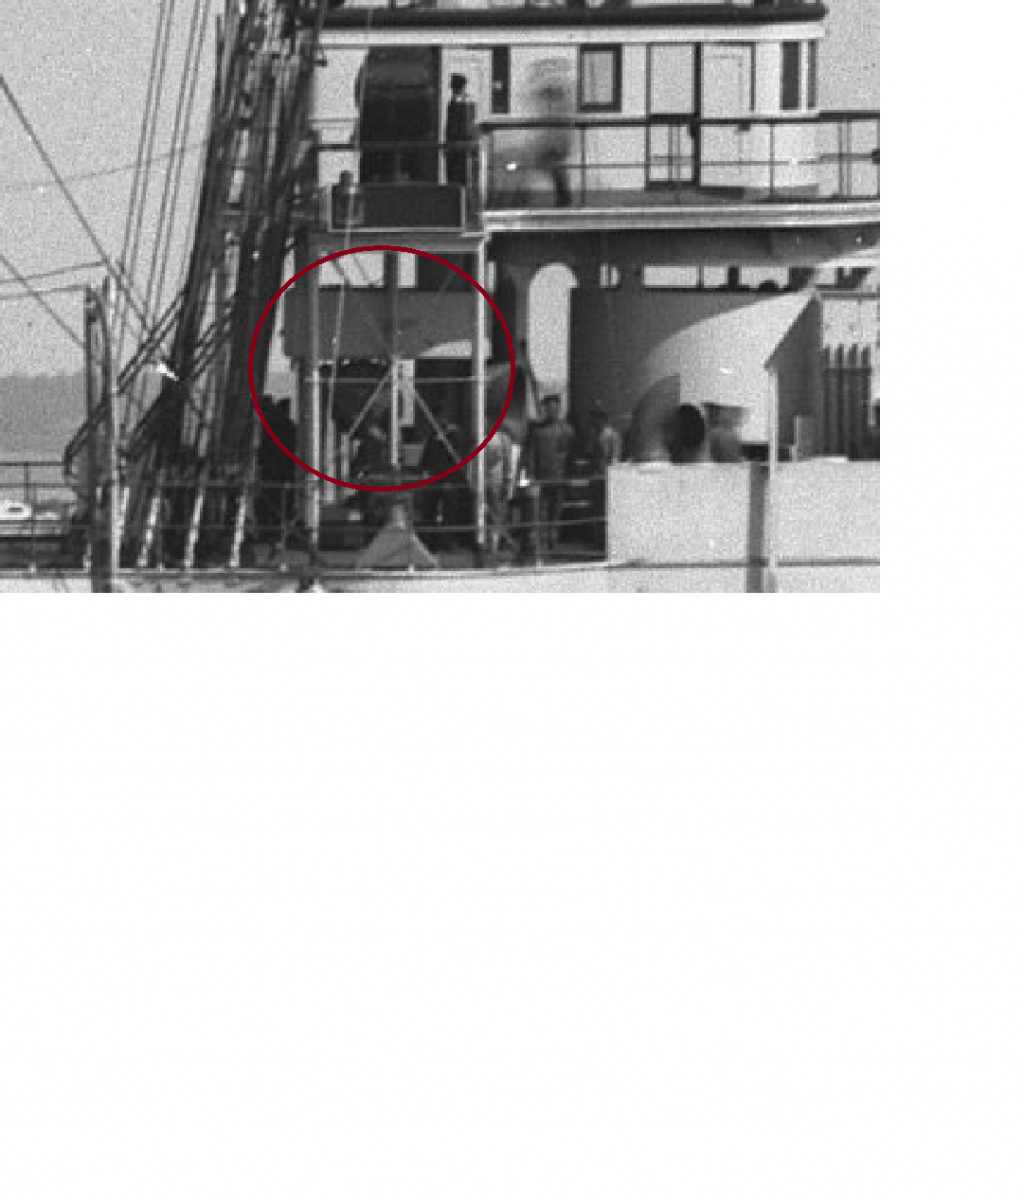
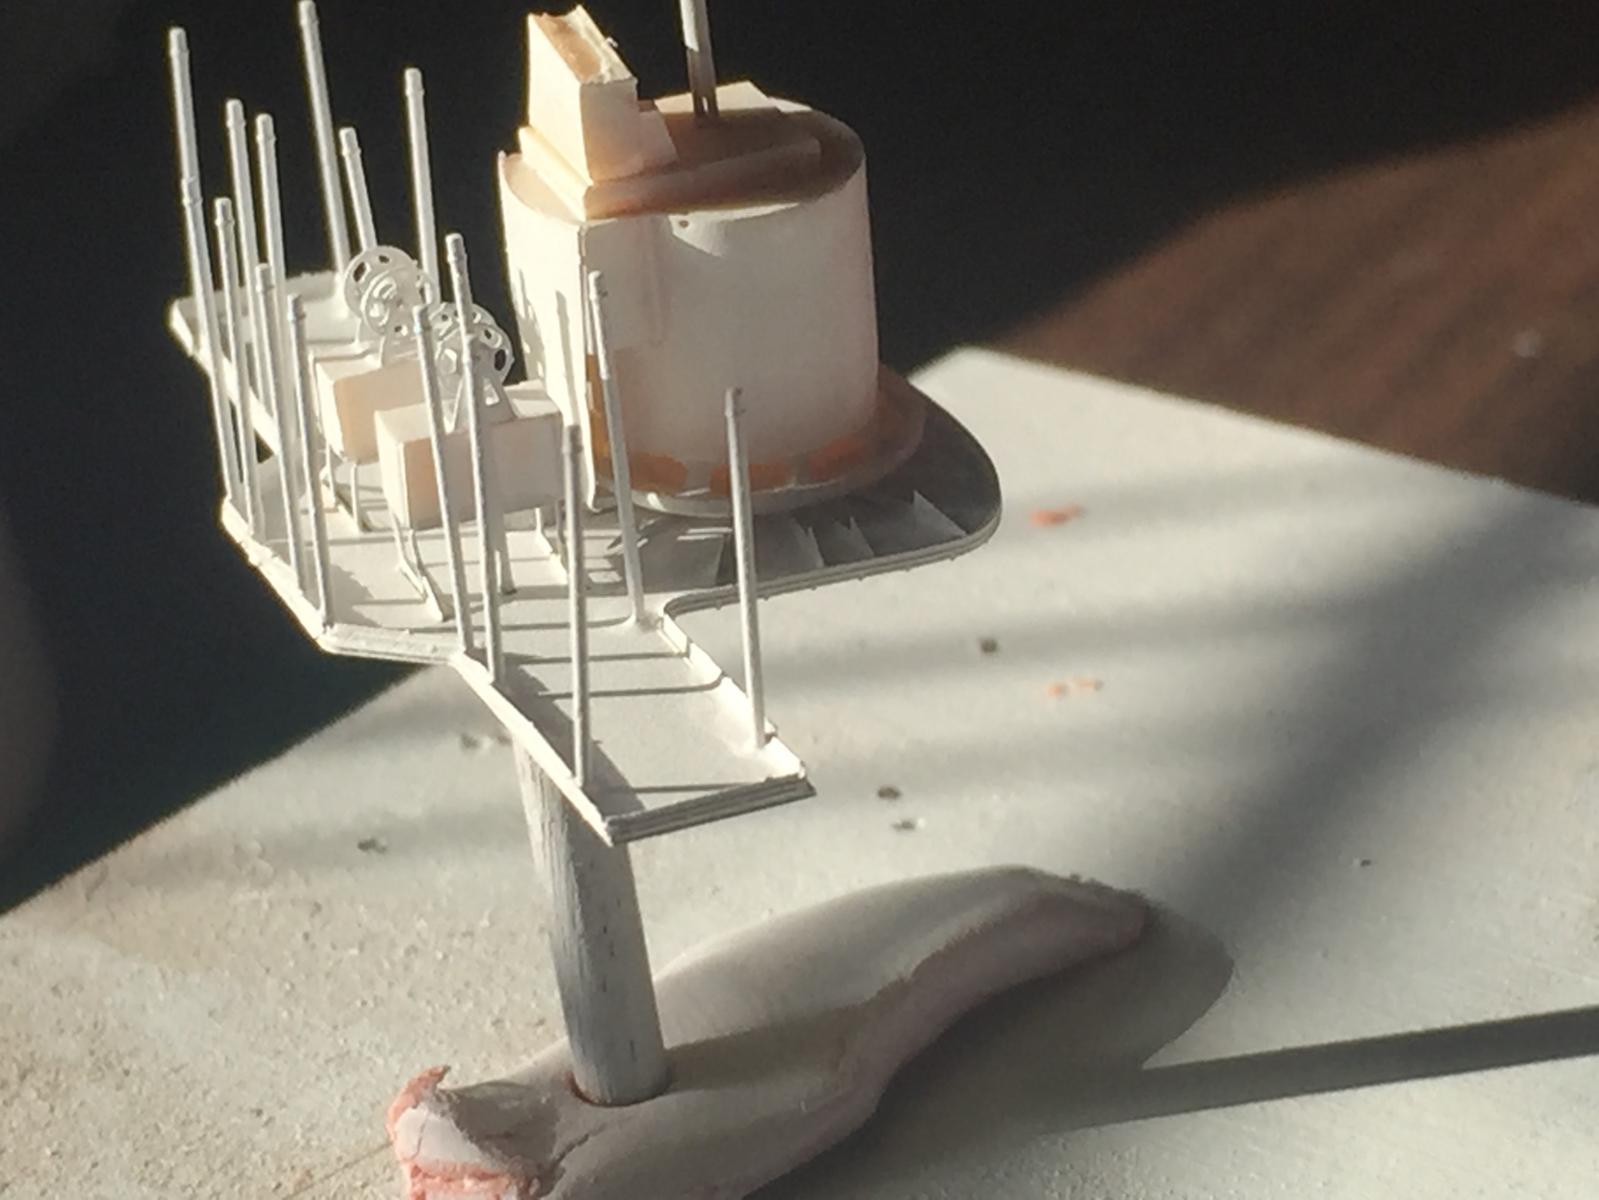
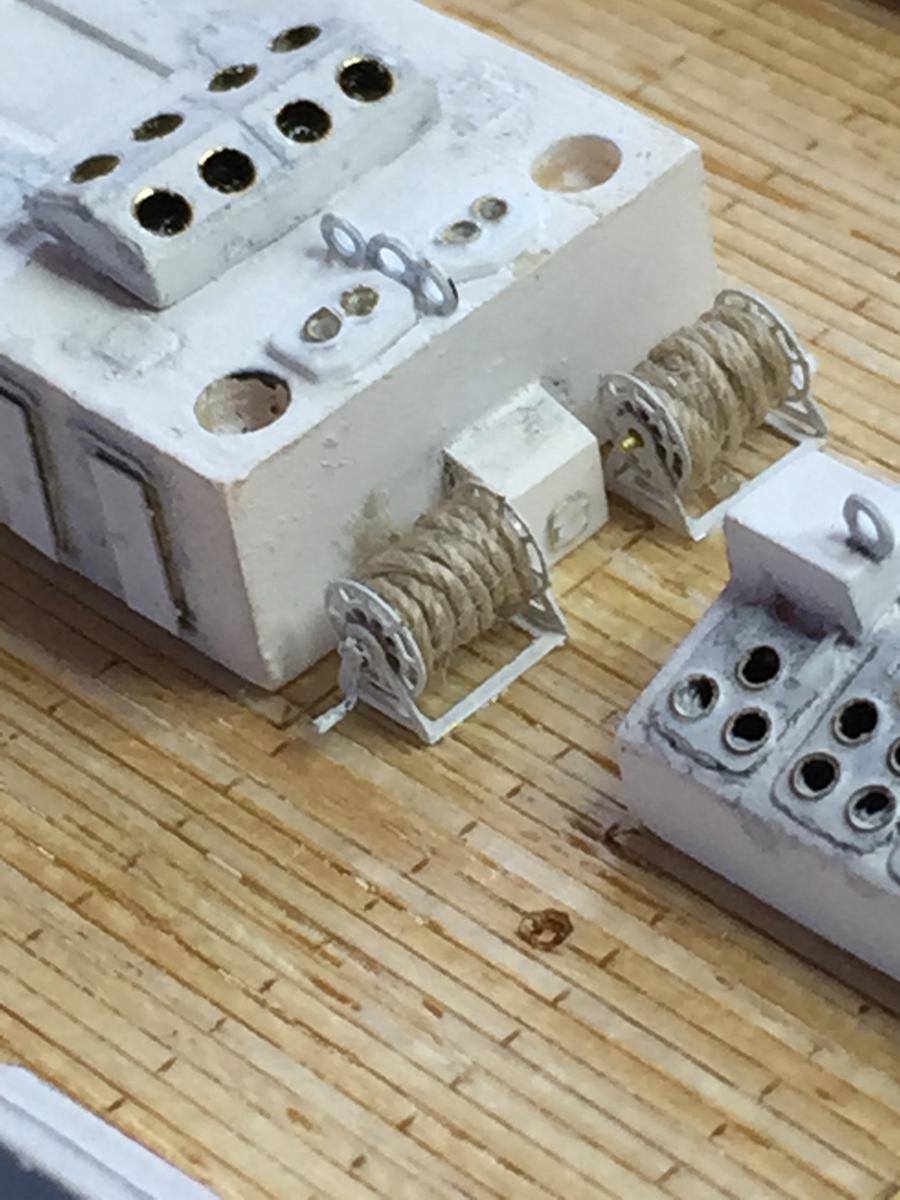
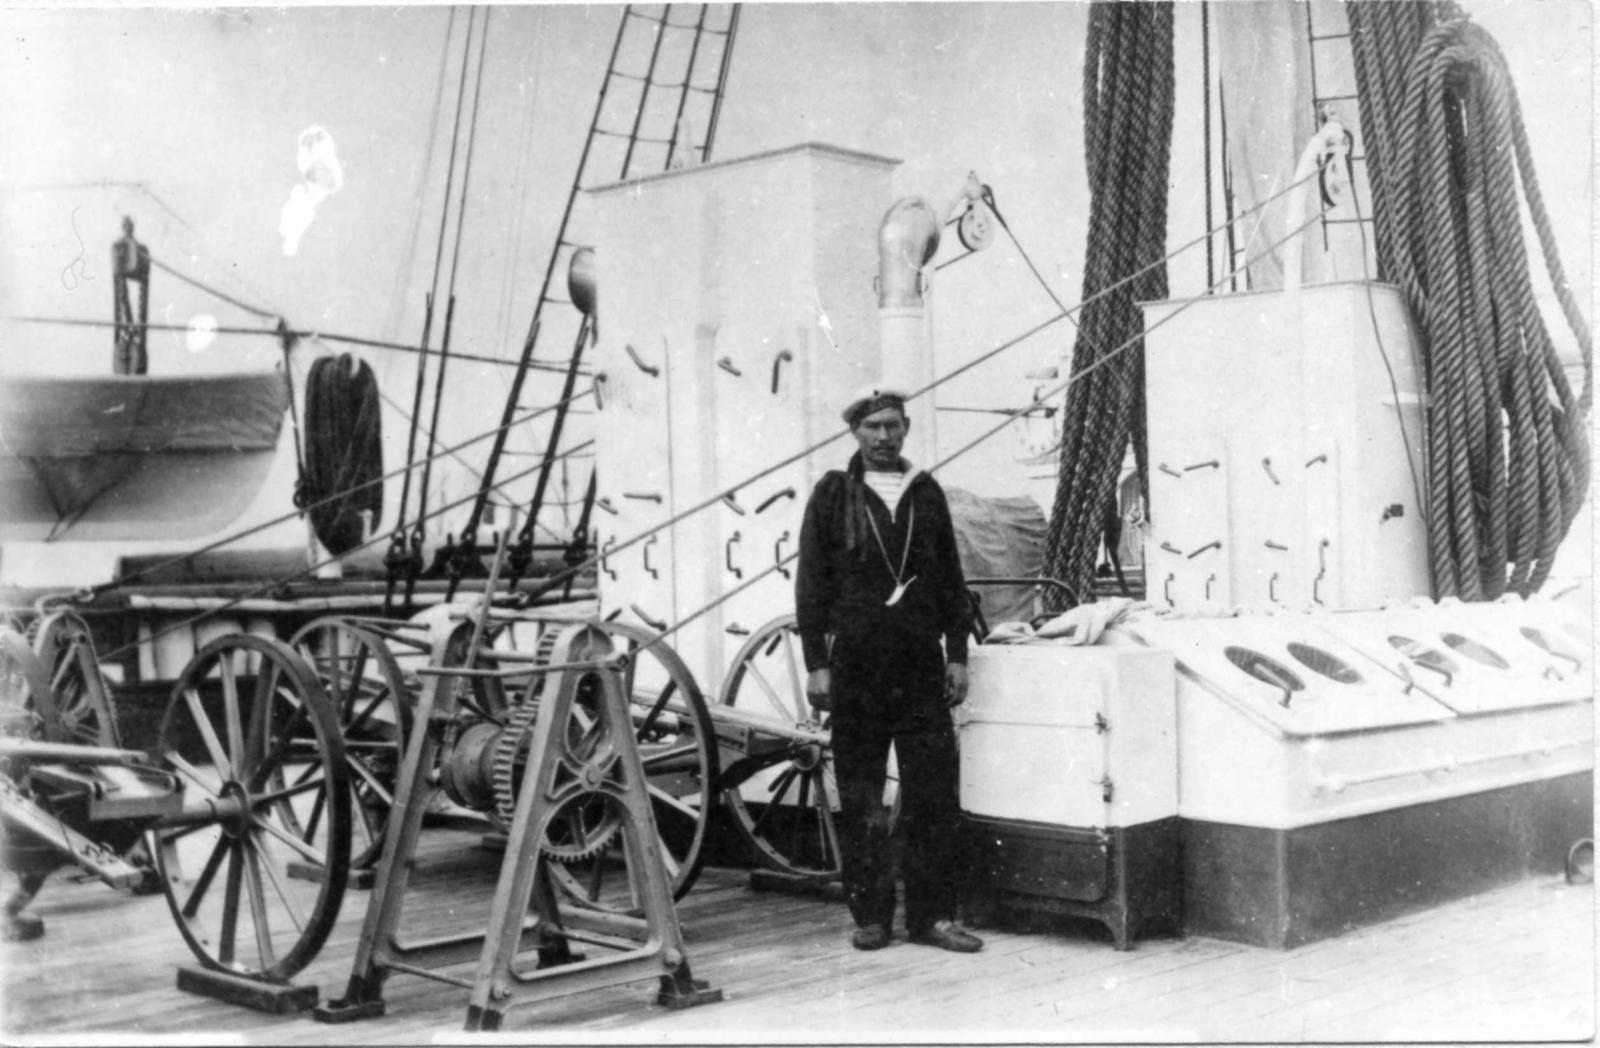
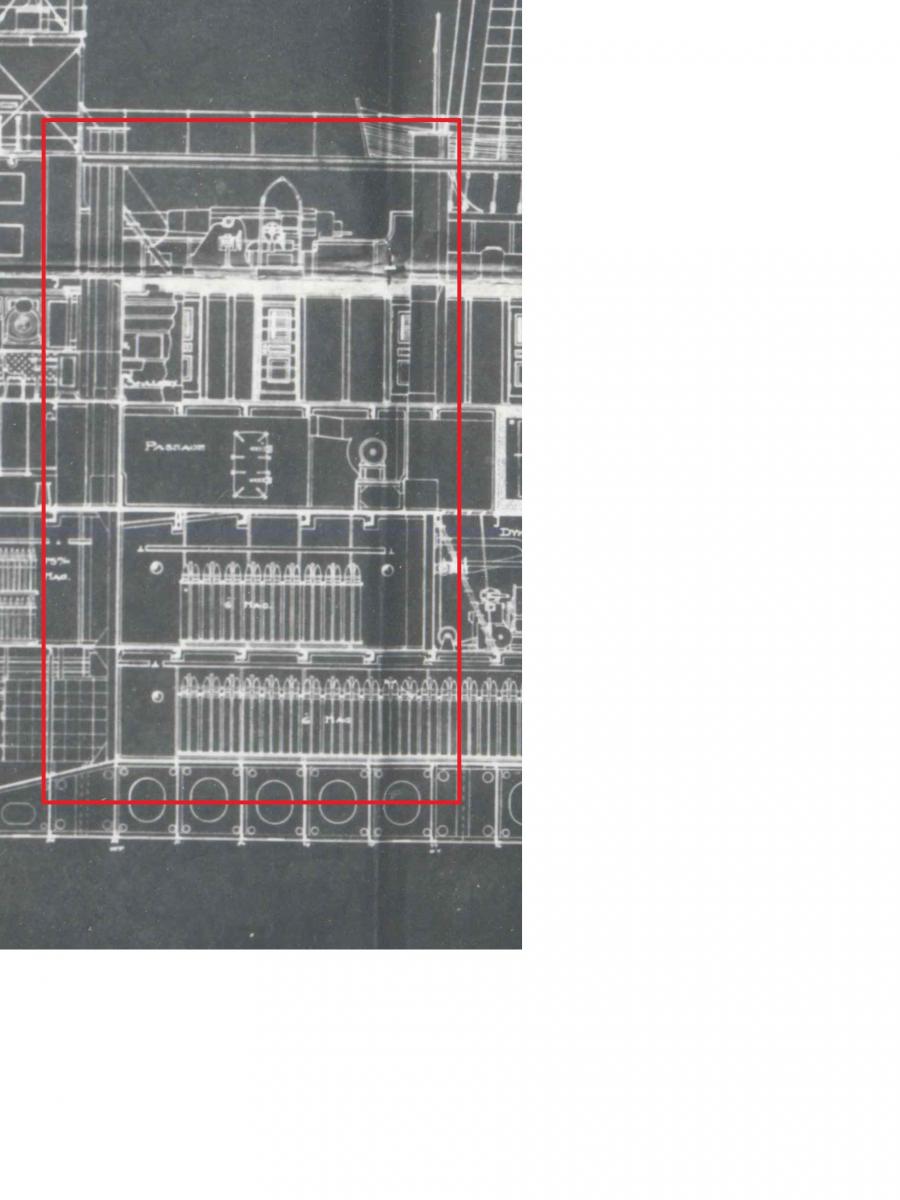
Just a bit of a step backwards, I forgot the watertanks under the flybridge. There is some contention on Polish, Russian and an English site that the wheels underneath are for the cannons (carriages). I just find this hard to believe as I don't know why you would expose them to the elements when you could store them below decks.
I believe they would be reels for hoses for the water tanks, otherwise how would you access it? I just added some aftermarket reels to the base of the Artwox tanks. When you zoom in the original photos and from the blueprints there is no indication of a carriage and wheels. Happy to be corrected The Eduard water tanks are a poor effort in this case.


-
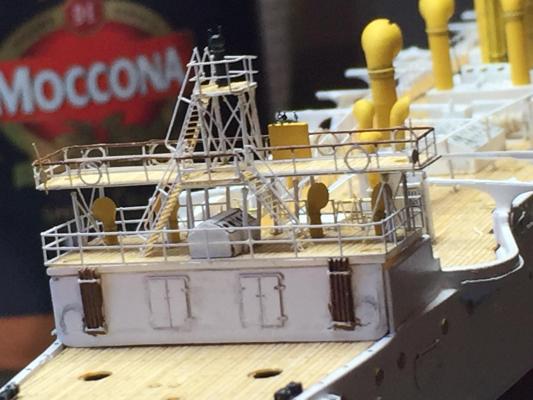
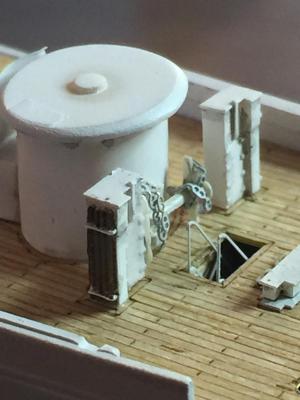
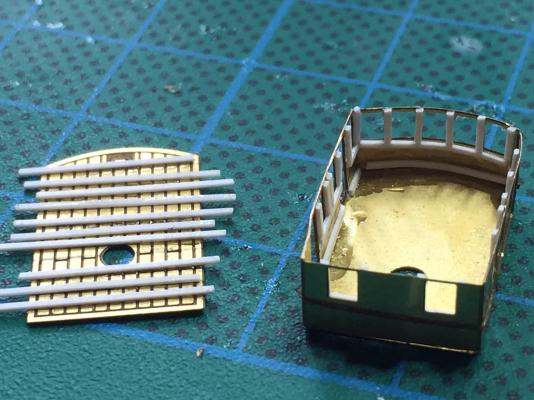
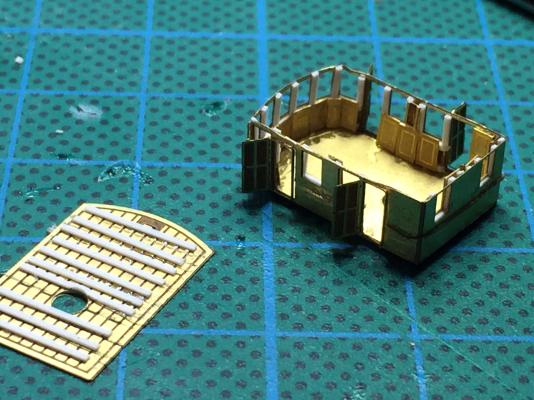
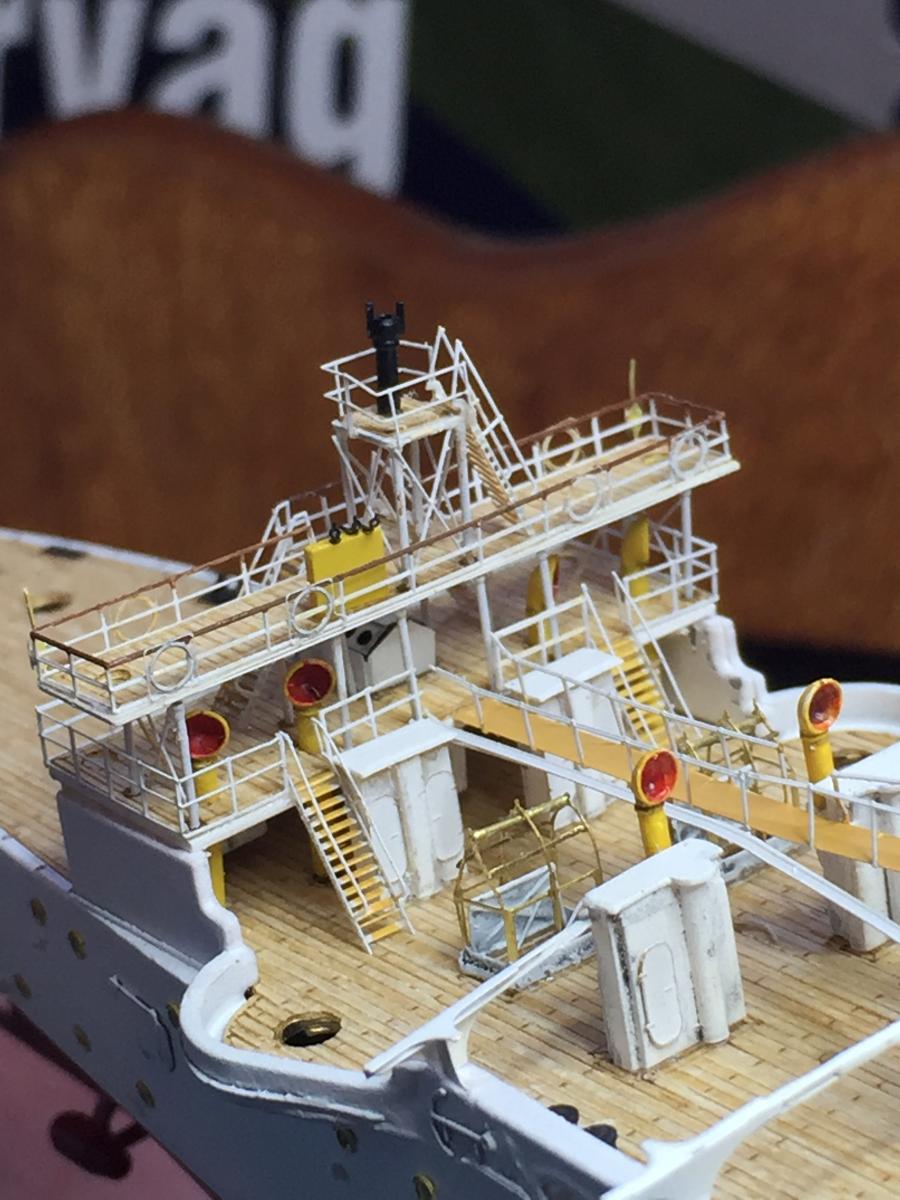
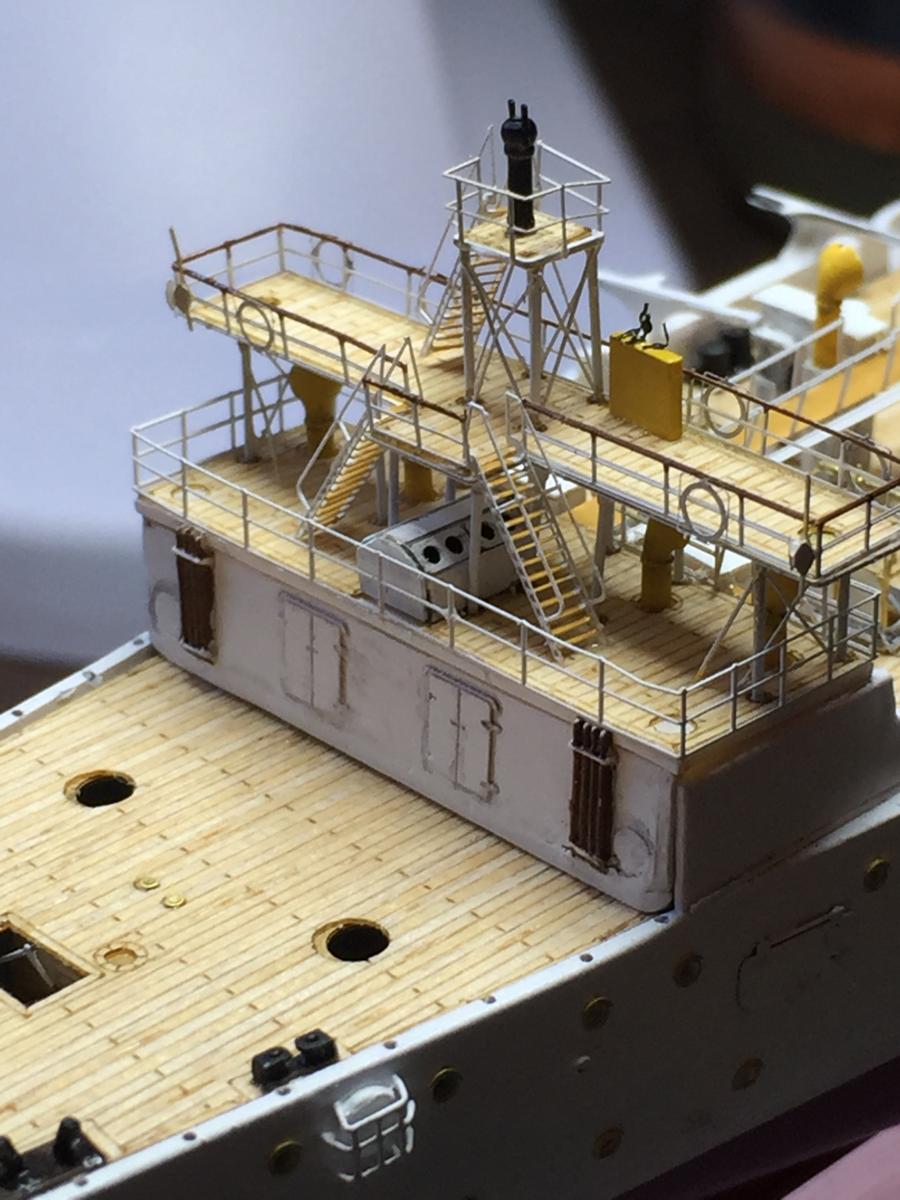
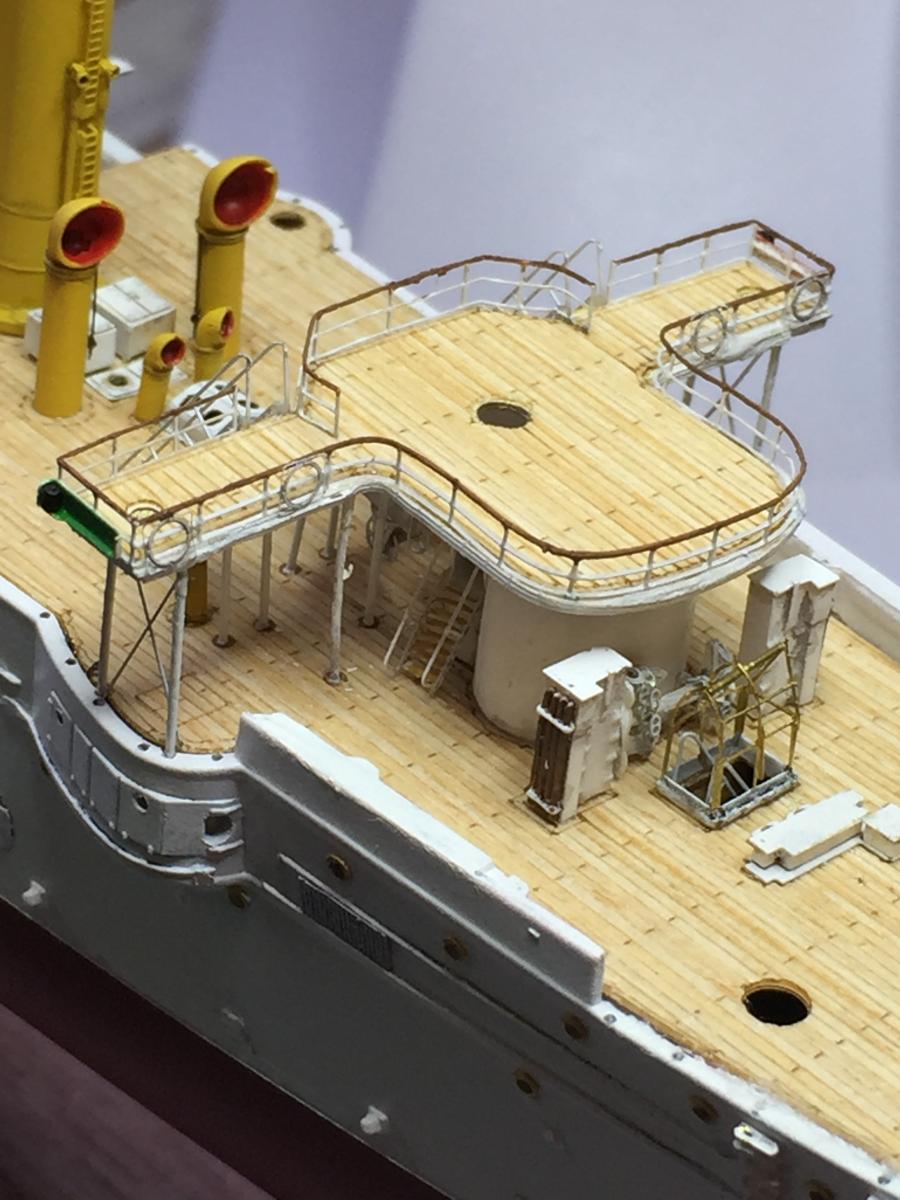
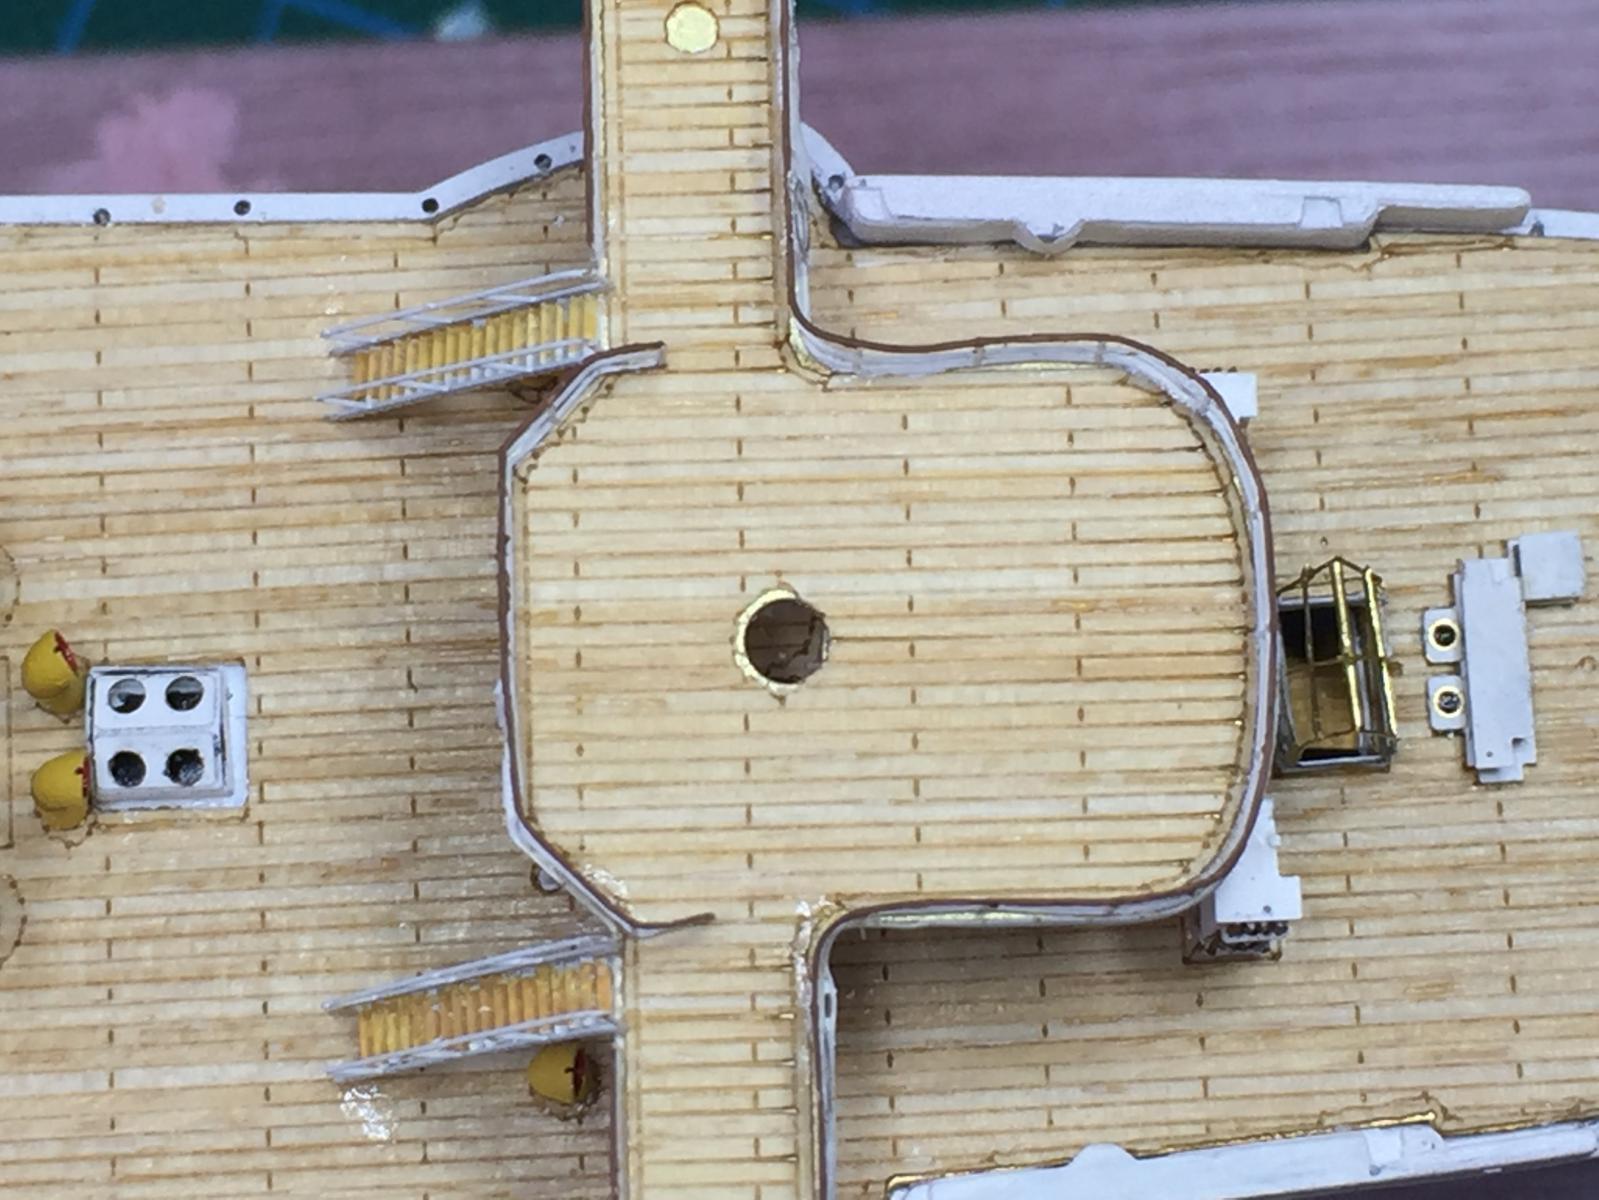
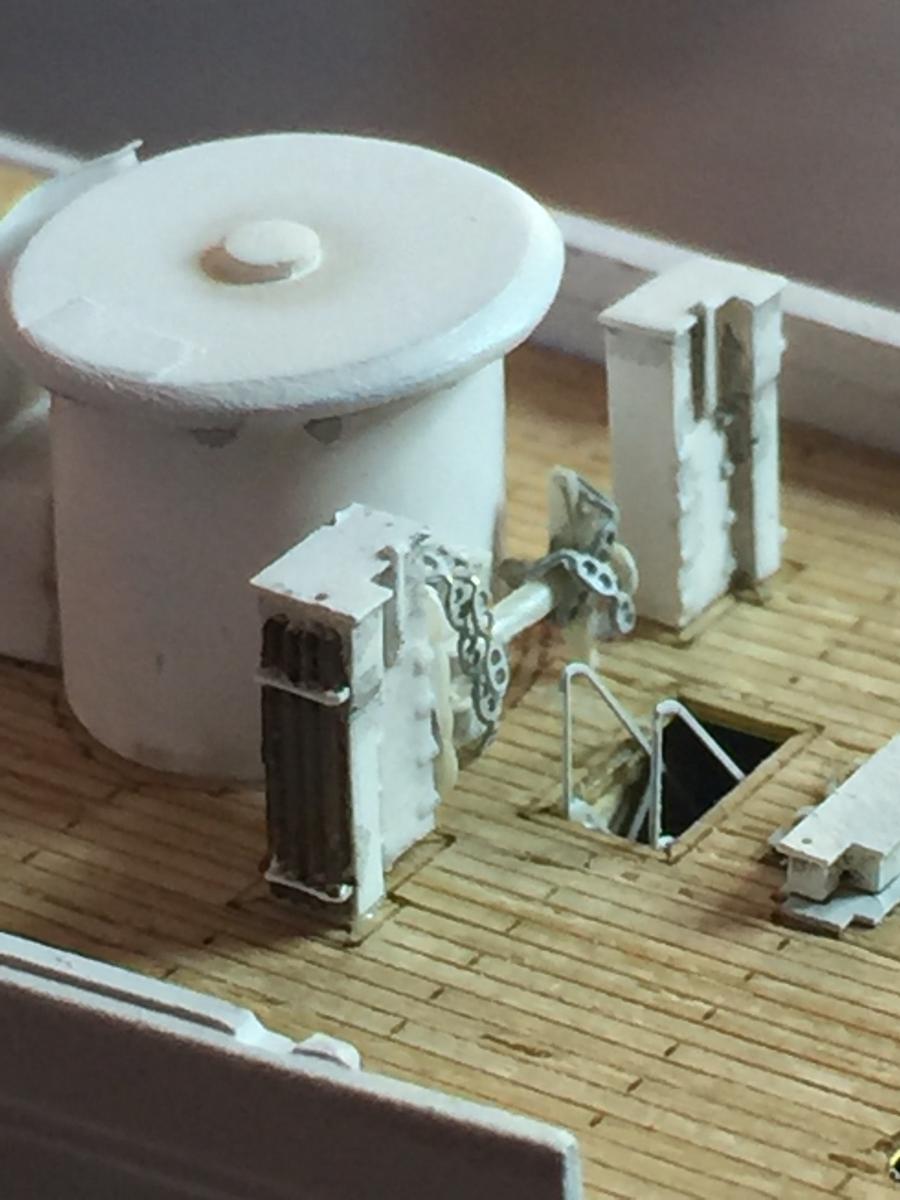
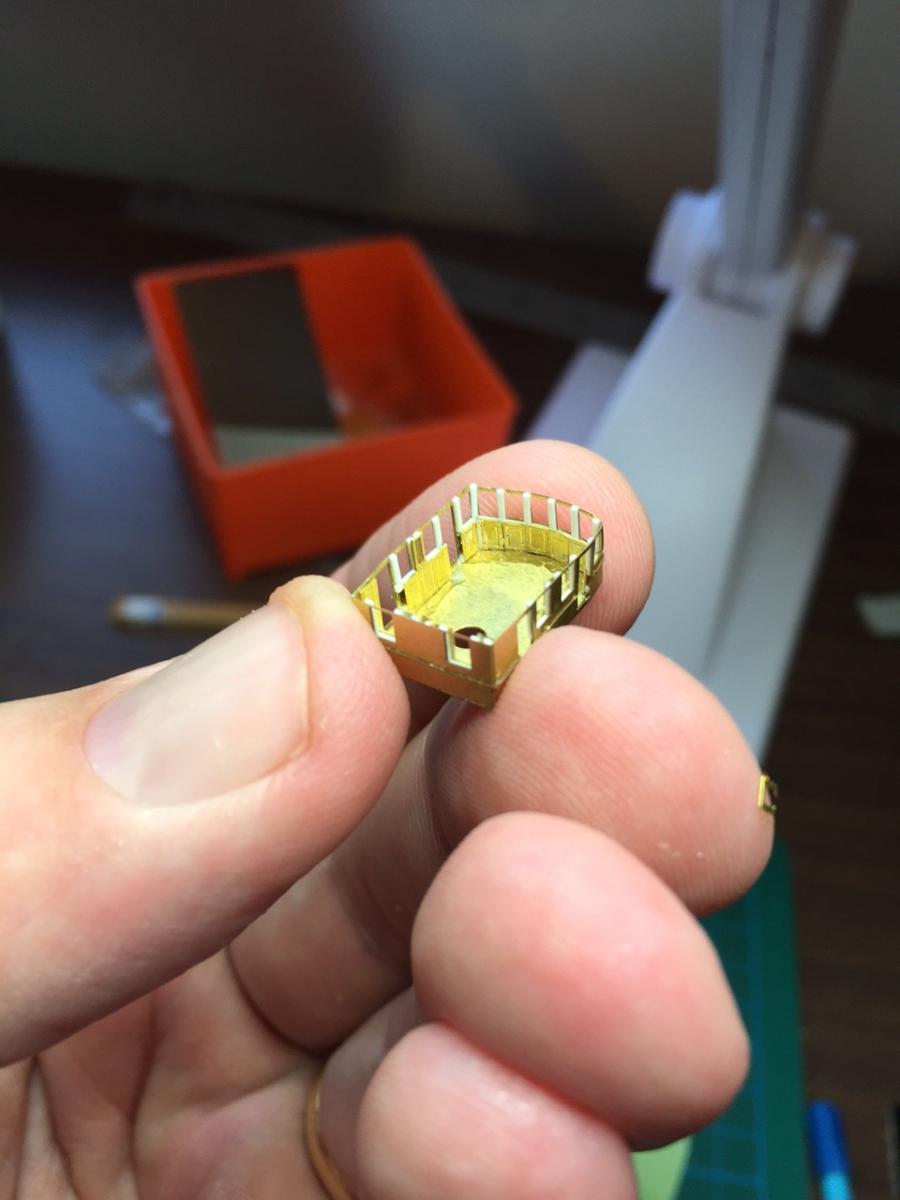
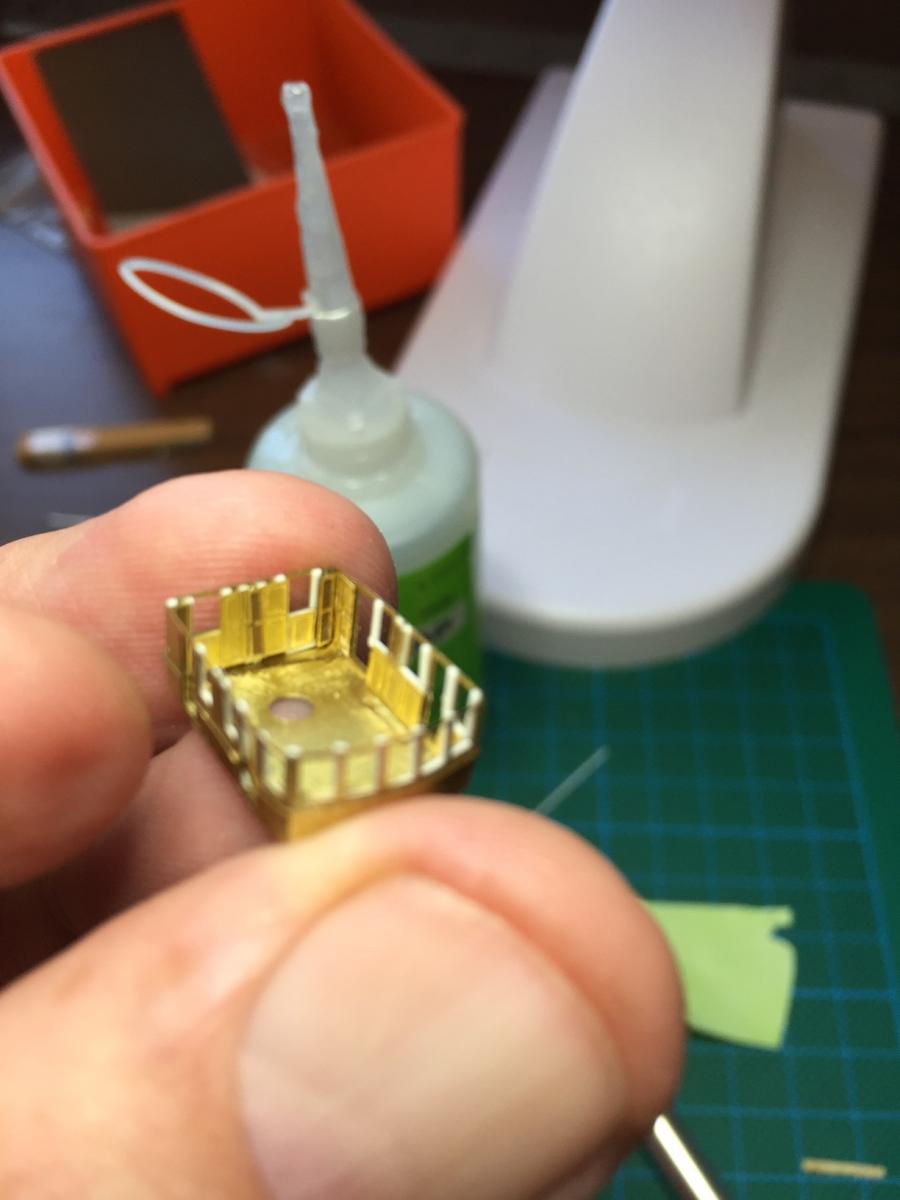
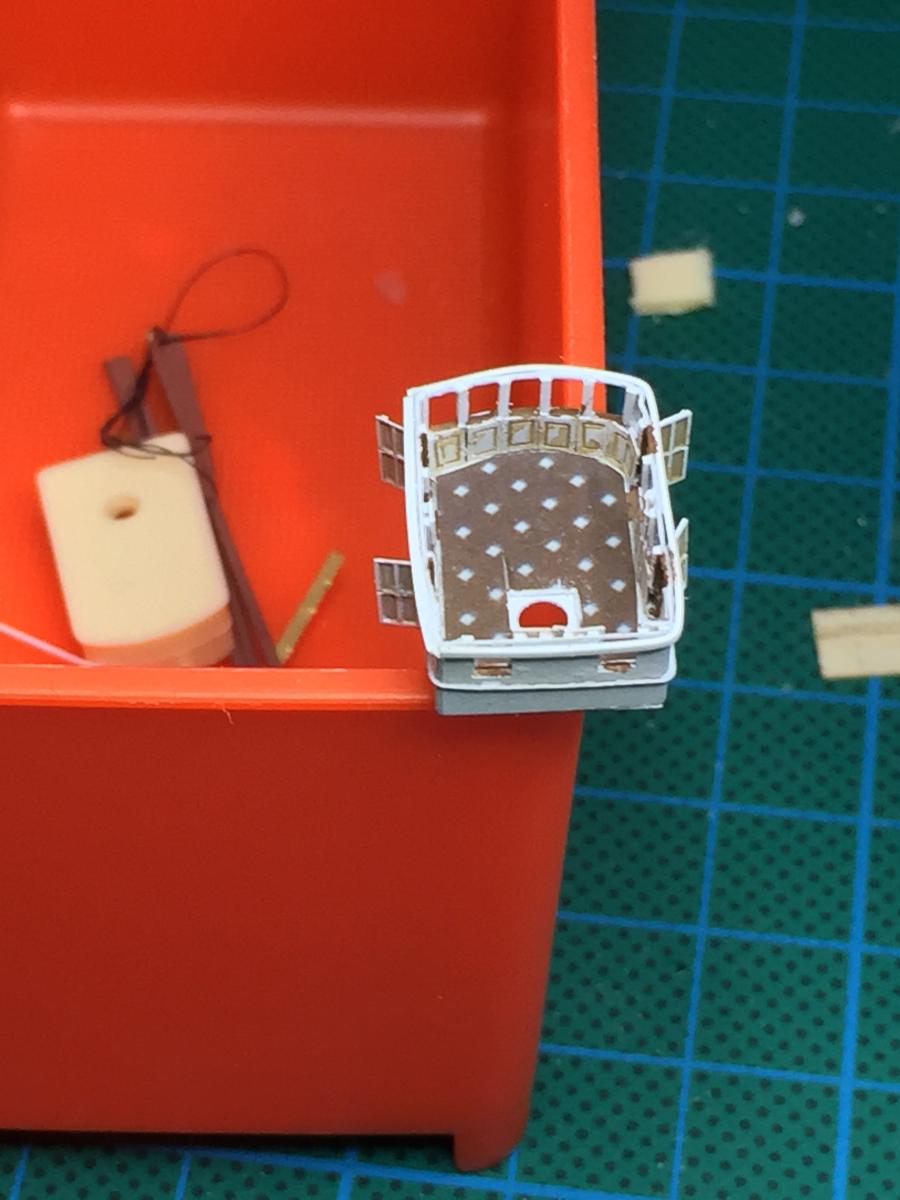
Back to the front of the bus, and time to start on the bridge. The armored citadel fits quite snugly, but I am still not overly happy with this as the roof is not domed enough. The spare anchor is chained up and stuck the magazine elevators. The brown bits on the side are the capstan poles.
The struts for the actual fly bridge are tiny and quite hard to line up. next will be the railings.
- BANYAN, Captain Slog, CharlieZardoz and 5 others
-
8
-
That's the thing about plastic, you can't just bin it and start over. After doing a 10 year build on a wooden ship and redoing lots of mistakes, I'm finding the amount of pre fitting is far more time consuming. Good to see another plastic build here! I shall follow with great interest.
- gdollow, Dimitris71, mtaylor and 2 others
-
5
-
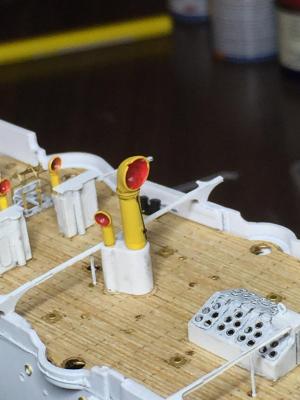
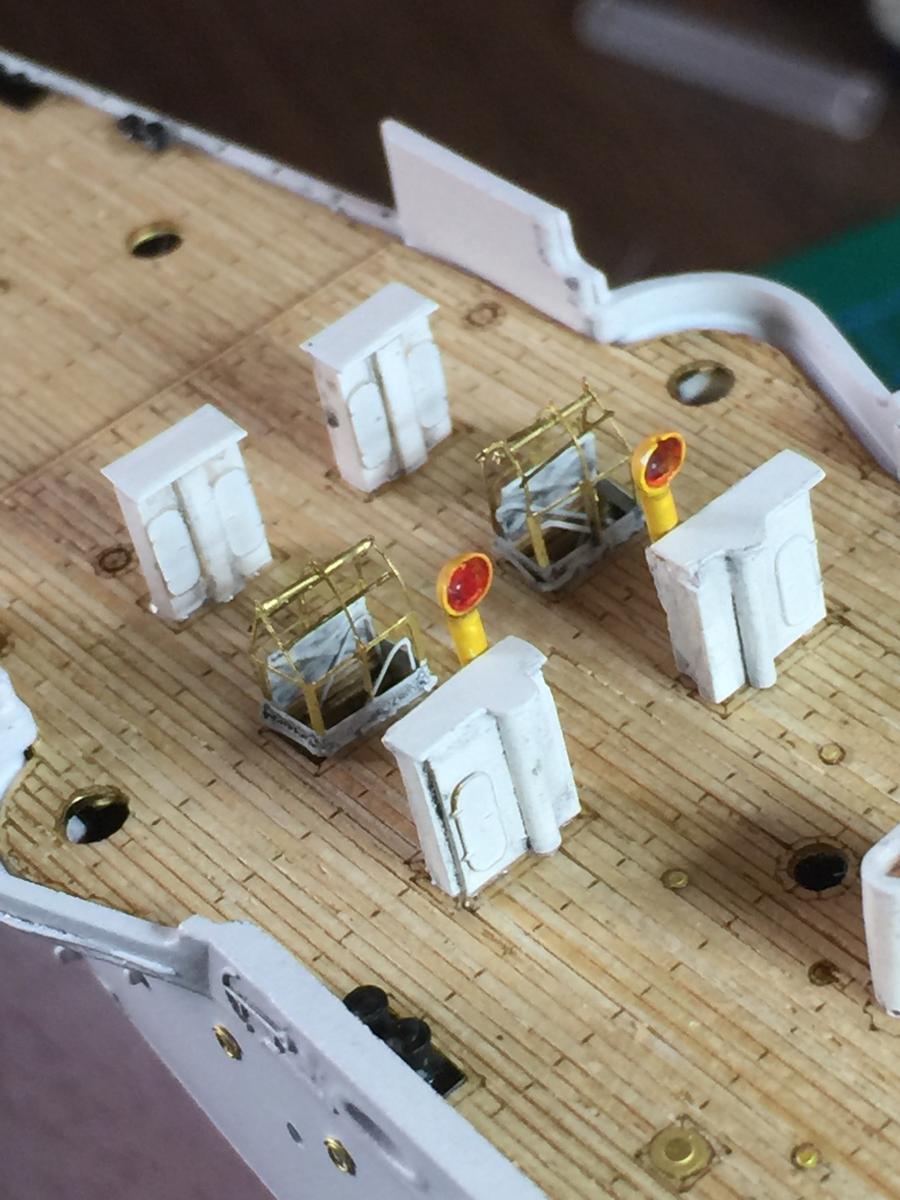
Now onto the vents. The photos of the ship show ratchets to turn the larger vents into the wind, the kit makes no mention of them. Using some .3mm rod I made up handles for the large vents and stretched sprue at about.1mm for the smaller ones. A bit of black wash then attached. Many more to go on the kit but they do not need these attachments.

-
-
Next are the rails which the lifeboat davits will sit on. This was the most difficult part of the build to date. The instructions really are pathetic, leaving me to guess as to what to do, and the photo etch is like working with aluminum foil it is so thin and bends very easily and mistakes are just not retrievable.


- Captain Slog, GuntherMT, Canute and 2 others
-
5
-
-
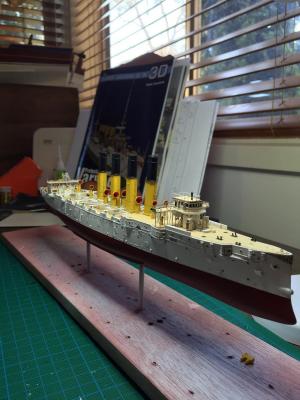
The model itself. I have a heap to do now before the next post, least of all work!


-
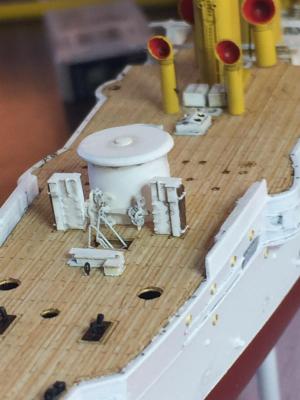
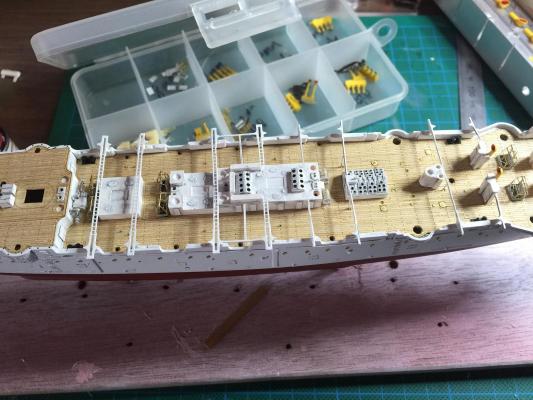
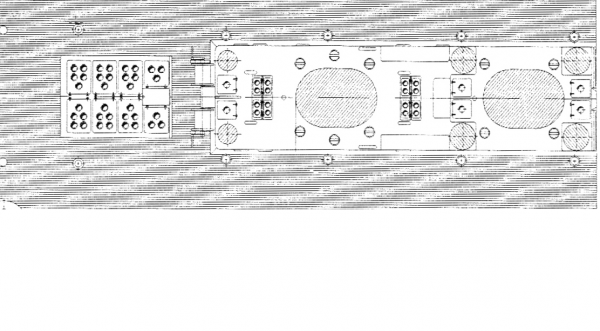
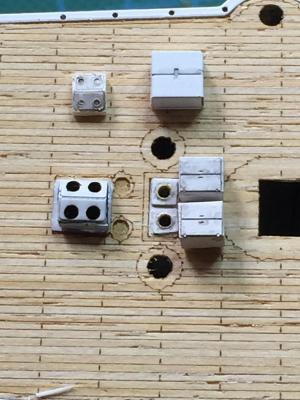
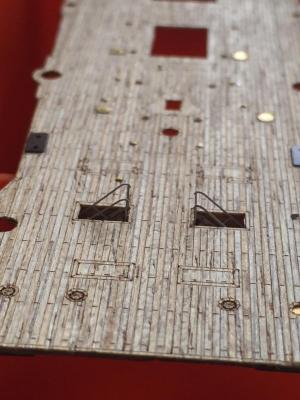
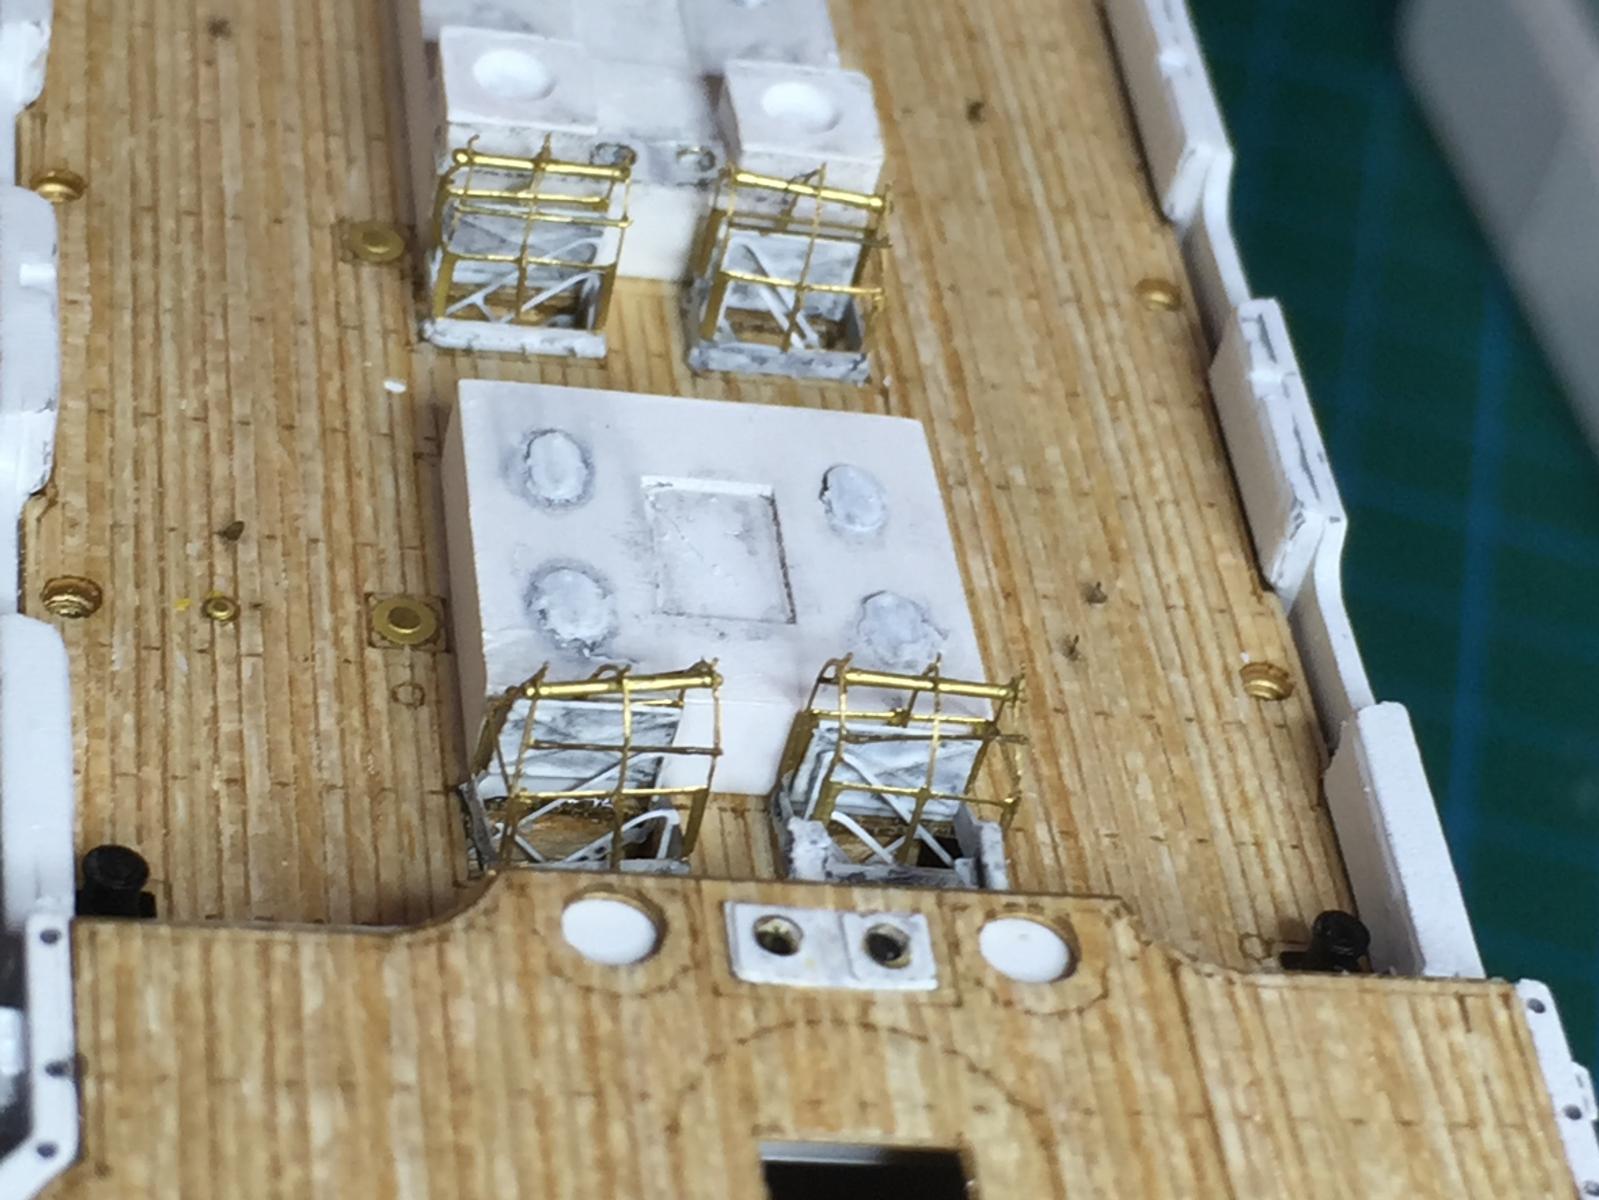
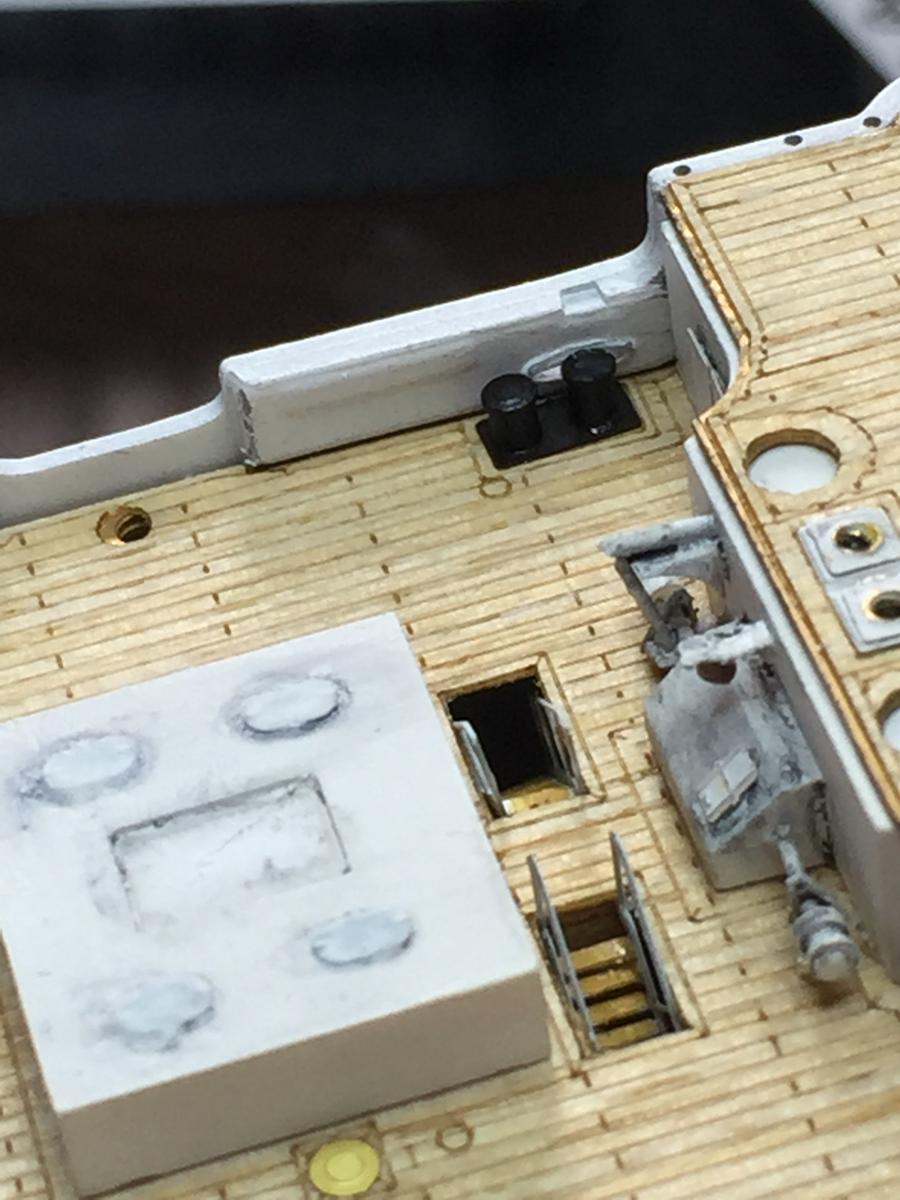
The final bits of the amidships before I start on the railings for the ships boats. the kit includes two cable reels which I replaced and put handles on which are in all the reference material I can find. Then the ammo hoists which you can see from the diagrams would of course require doors or hatches to access the ammo. I found a photo from a Russian site that depicts these doors on another ship but quite frankly at 1/350 I cannot replicate so I stuck some rounded hatches on.

- popeye the sailor, mtaylor and Canute
-
3
-
I glued on the amidships structures as the life raft railings will be attached to them. Not happy with the doors, I added aftermarket doors on top of the ones already placed on their so they actually show up. I also added hatches to some of the structures that are in the designs which are not included in the kit.This included a door not mentioned anywhere but the design plans that are the entry to the Coaling hatchways.
-
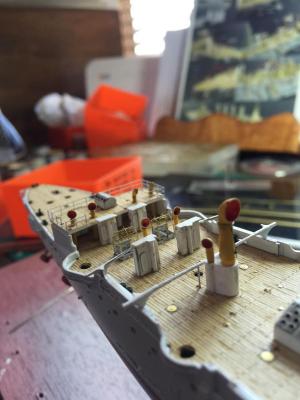
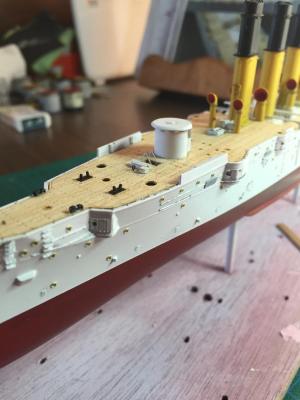
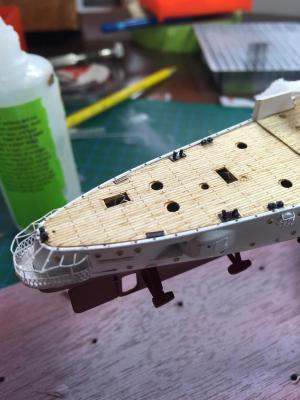
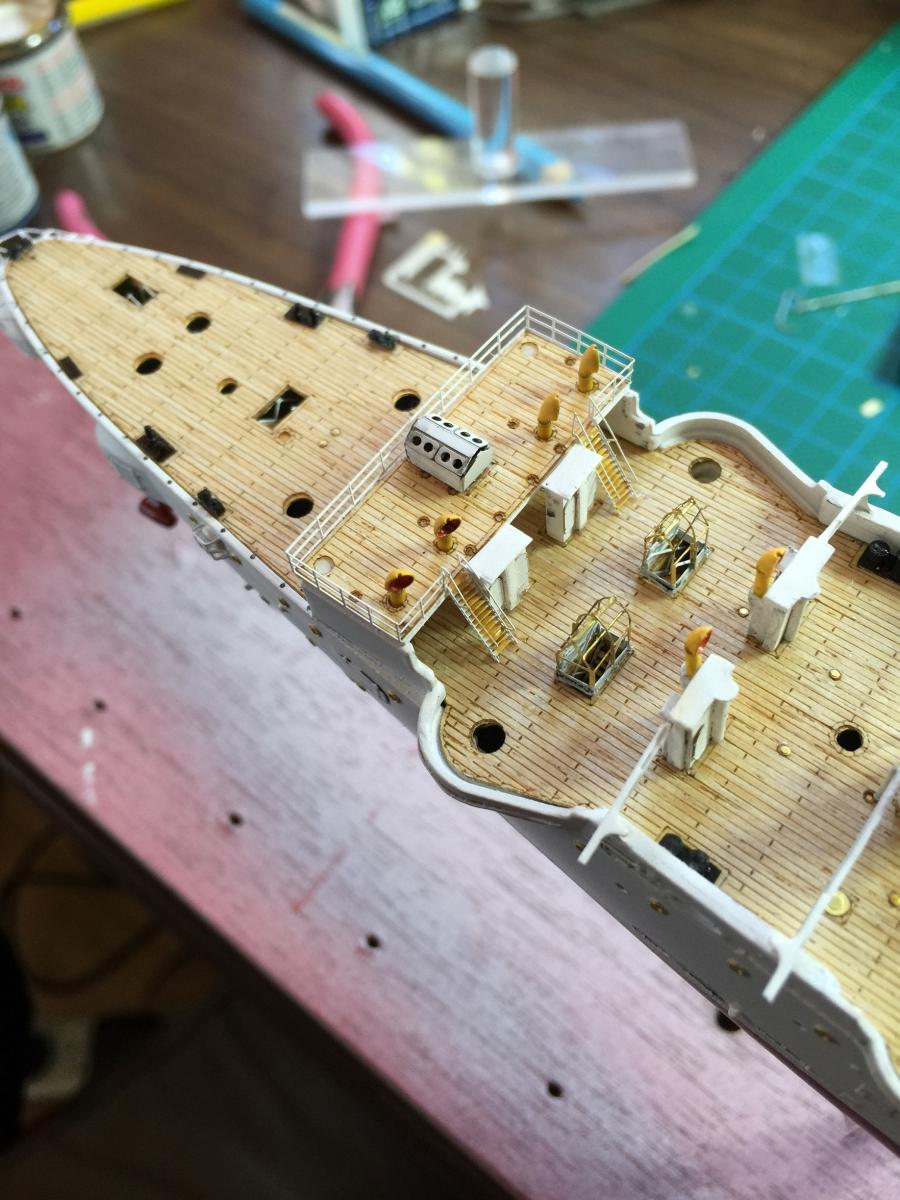
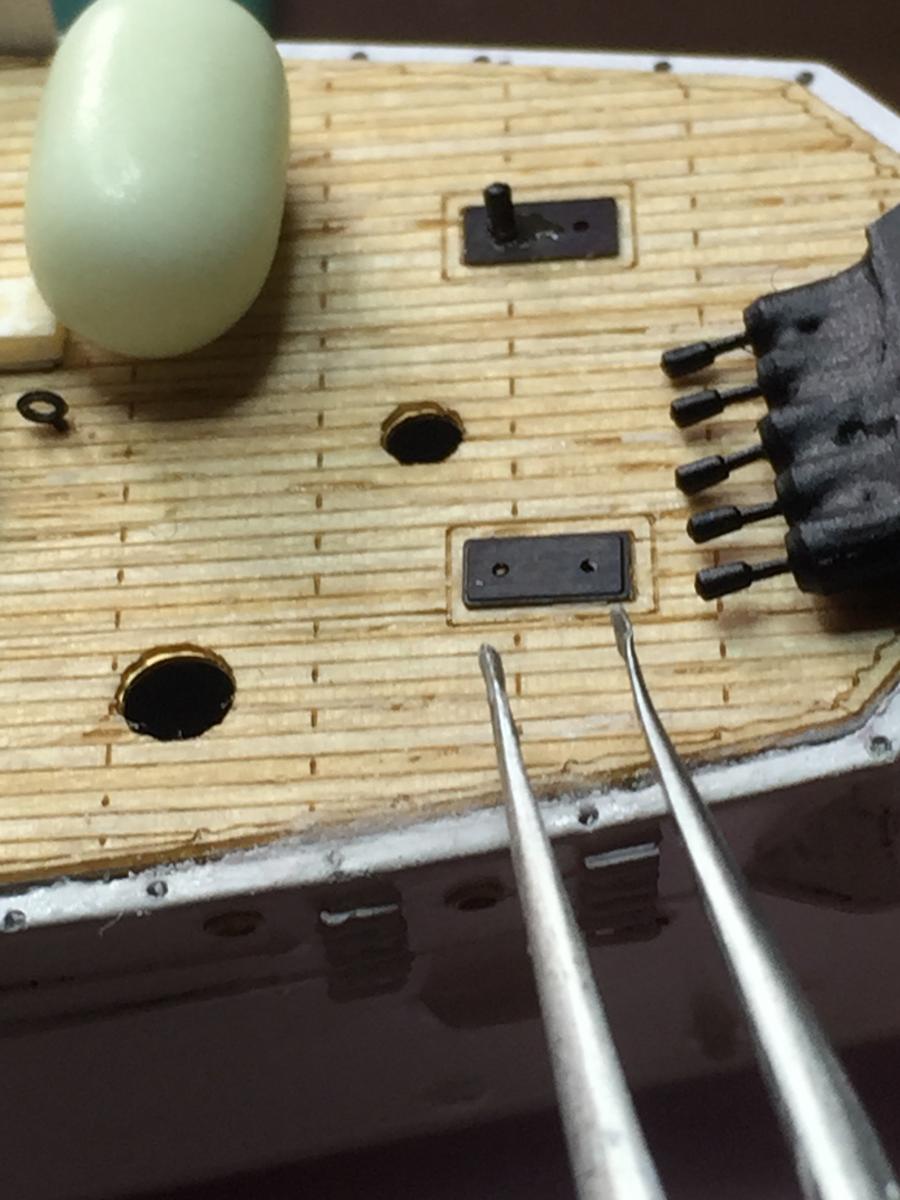
Bollards. yet again, do not drink coffee. The smaller ones are about 1mm. If you choose to build this kit please for the love of god do it off the model and not on it like I did. The detail is lovely but just tiny. they have a little bit of gloss from the glue which I will paint over. There are 4 fairleads in the instructions, 5 provided in the kit, which i used to place on the stern which the constructors drawings depict.
- dgbot, Captain Slog, mtaylor and 4 others
-
7
-
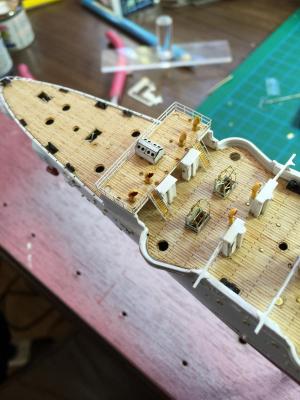
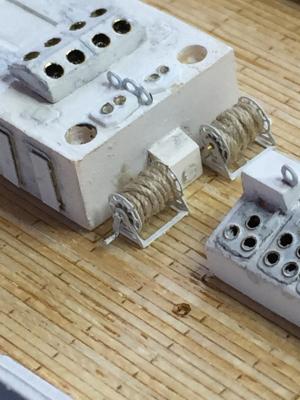
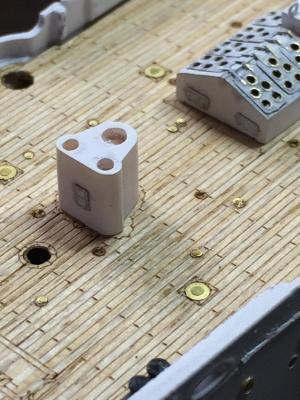
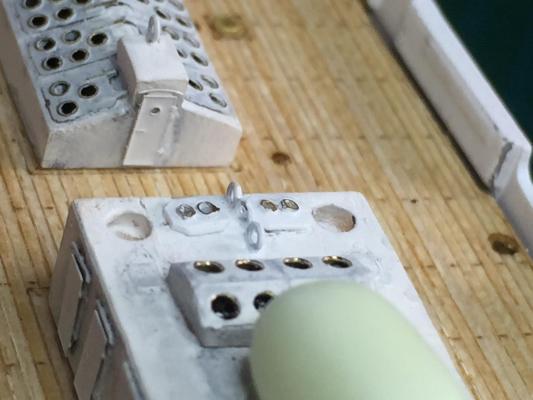
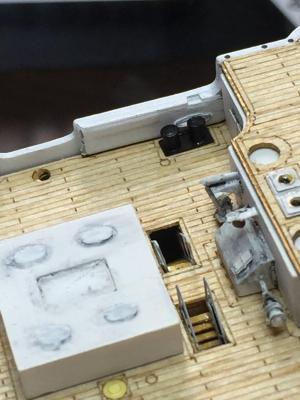
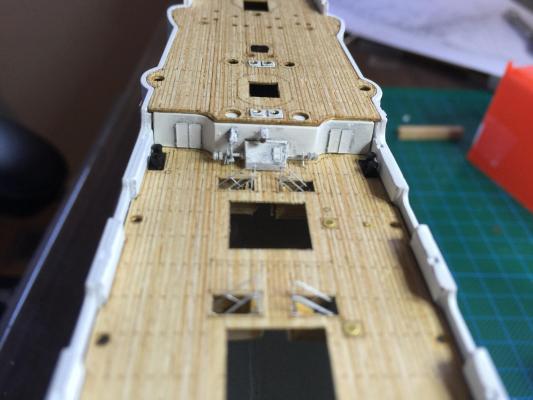
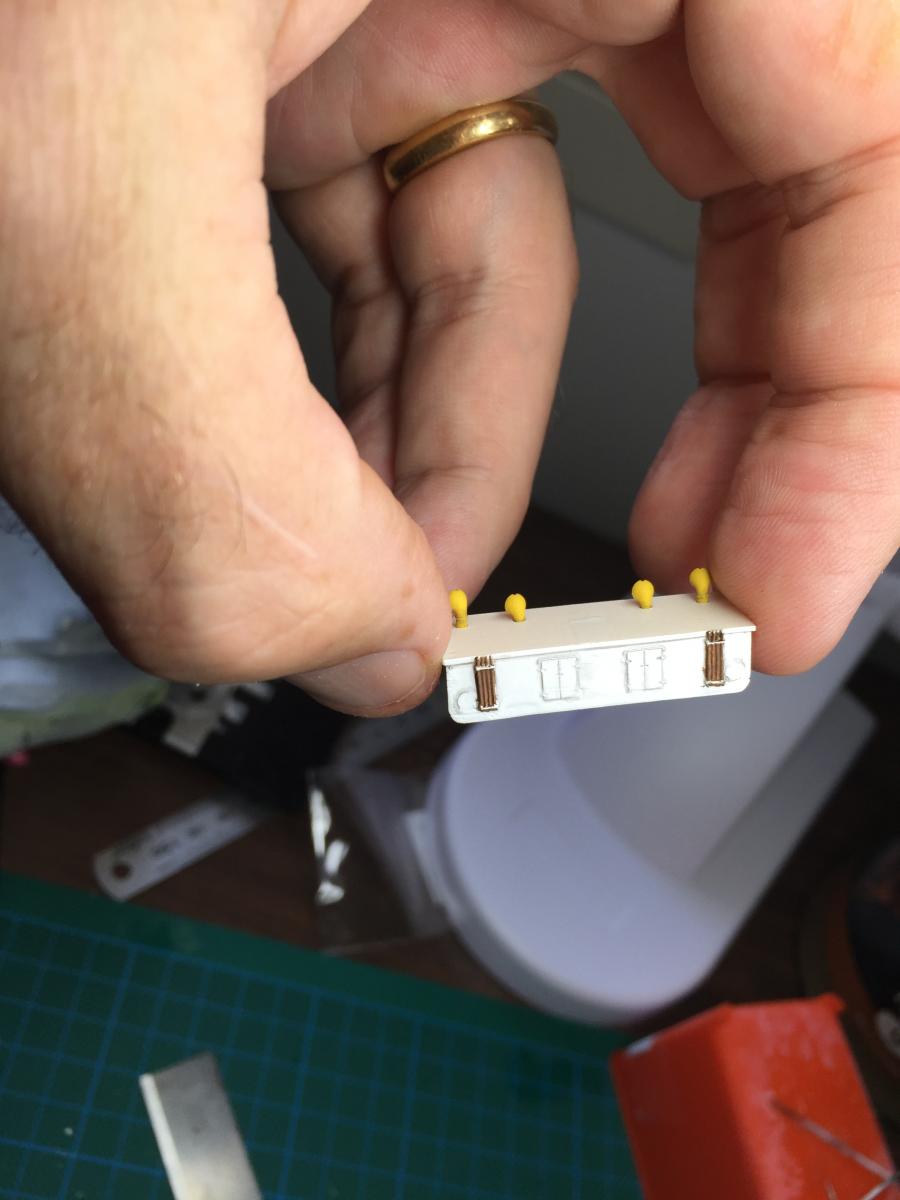
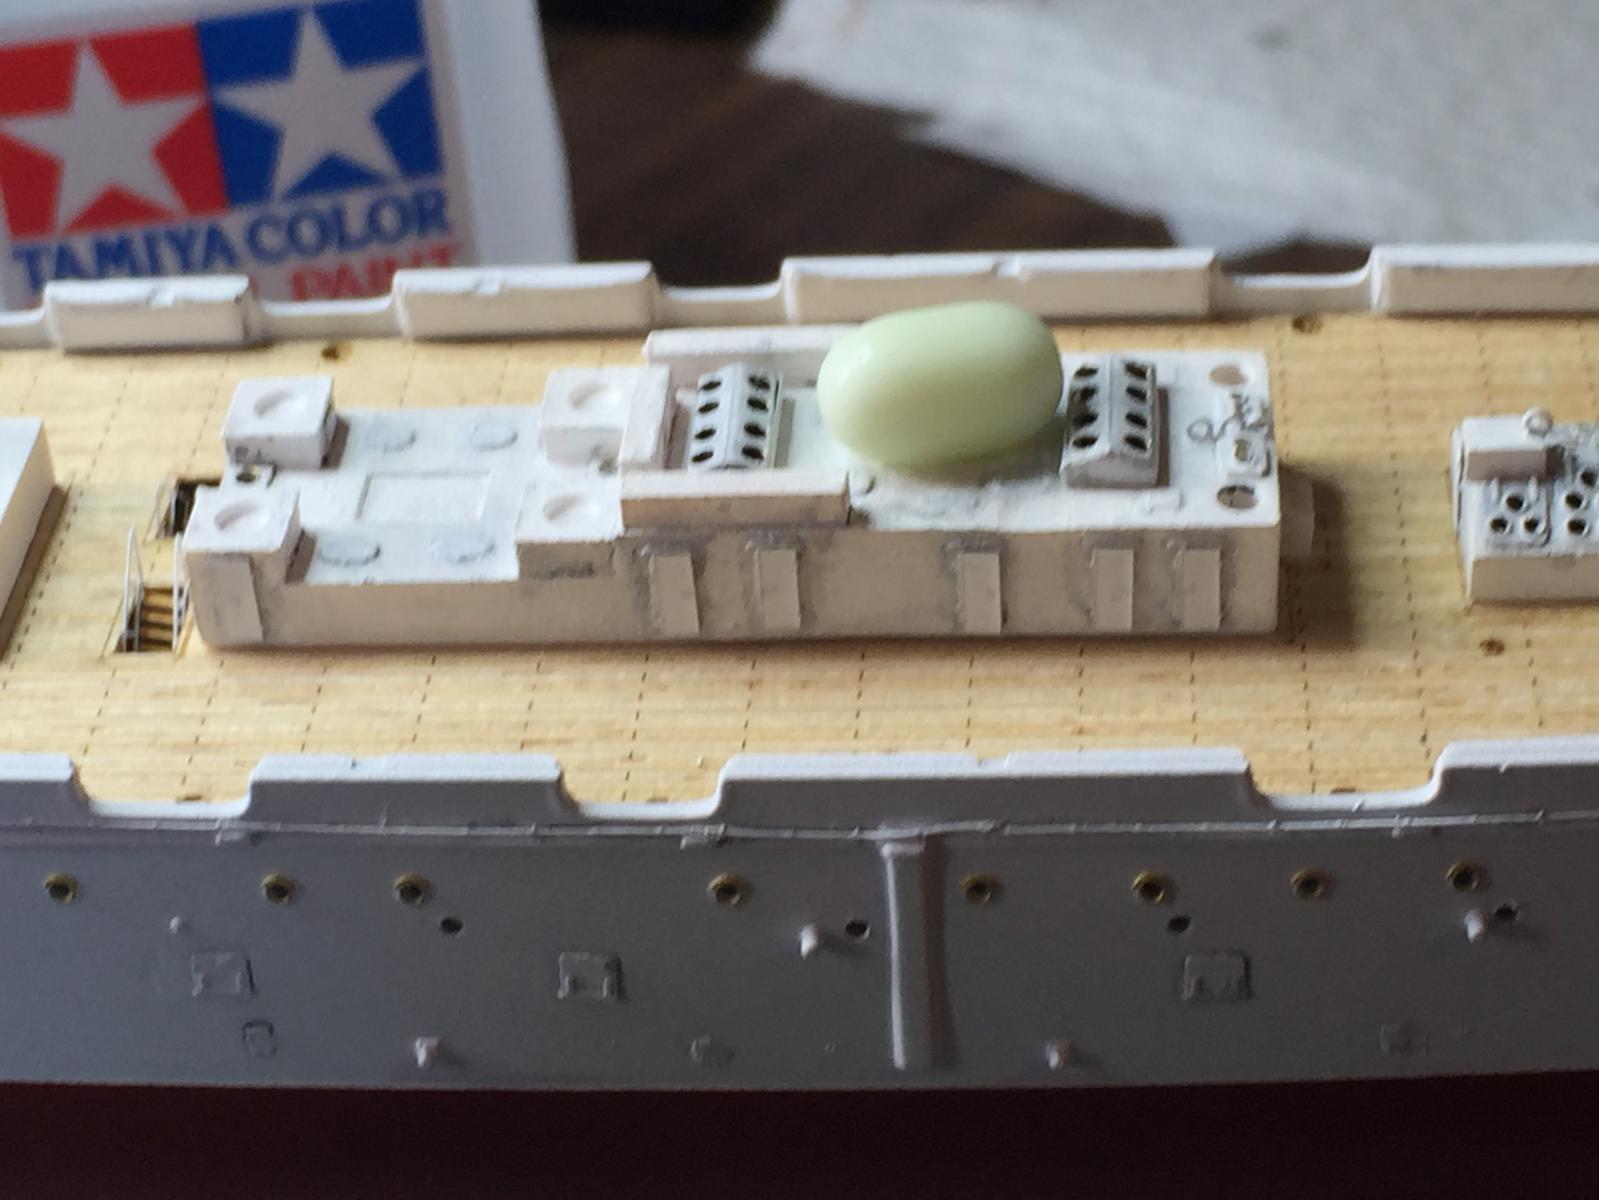
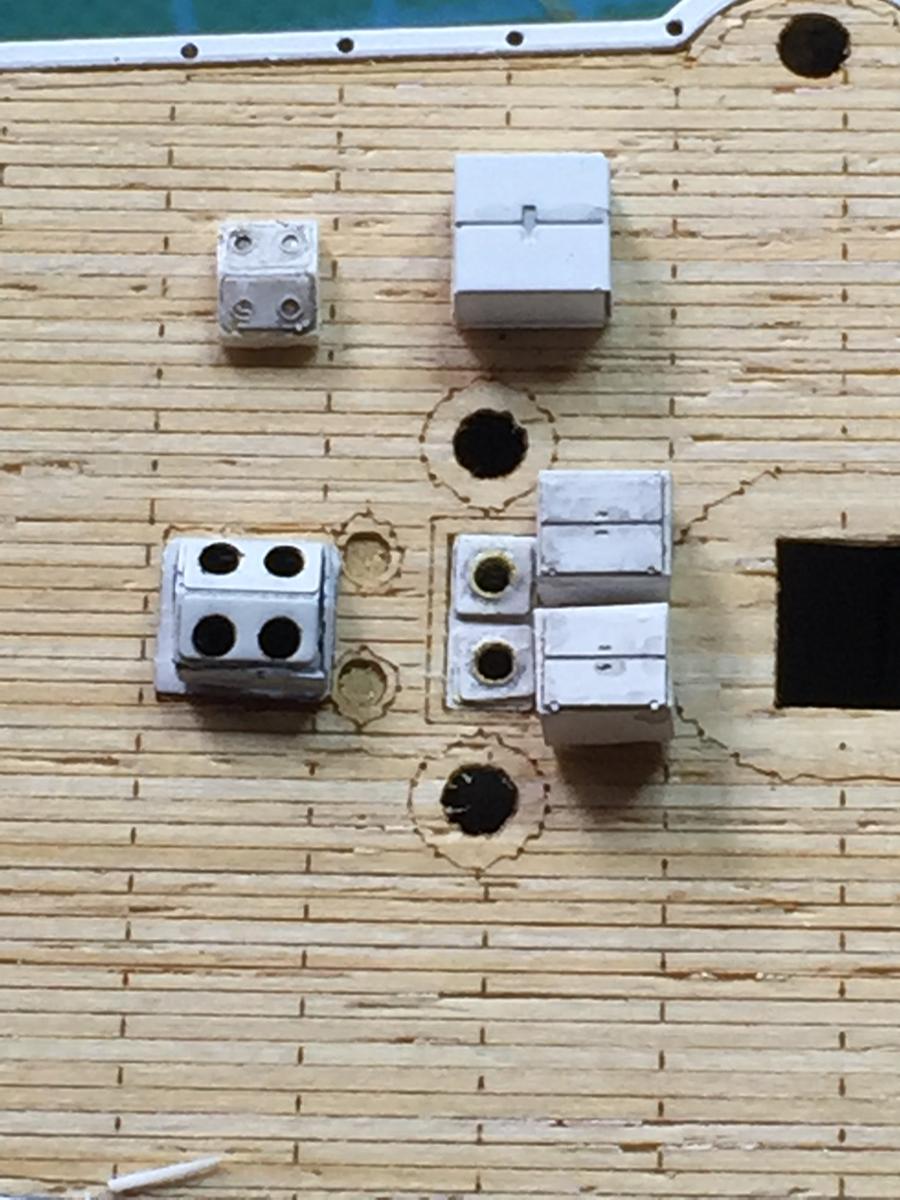
Continuing on, note to self, do not drink coffee whilst doing this stuff, the shakes does not do well for alignment at this scale. This is two equipment boxes that sit in front of the first funnel and a skylight. The little resign piece beside the skylight is the Artwox one which is tiny and keeping in line with the rest of the build I used the Eduard one. The larger equipment box is the Eduard one so I used the more petite Artwox one which comes in 2 pieces, being an open ended box and a double door which is attached to the top. It is not mentioned in the instructions at all but appears on the photos and is included in the fret. .
-
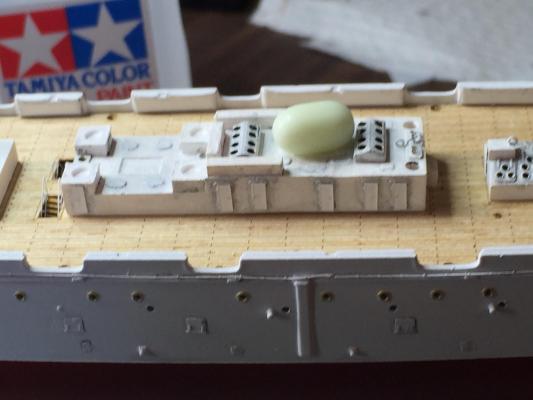
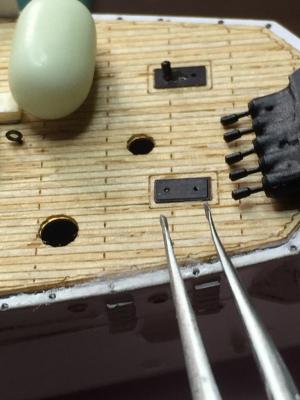
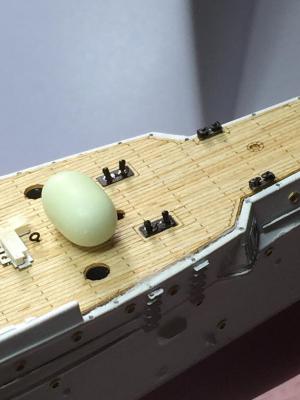
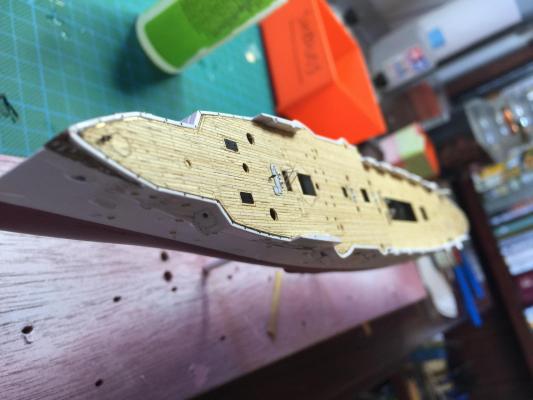
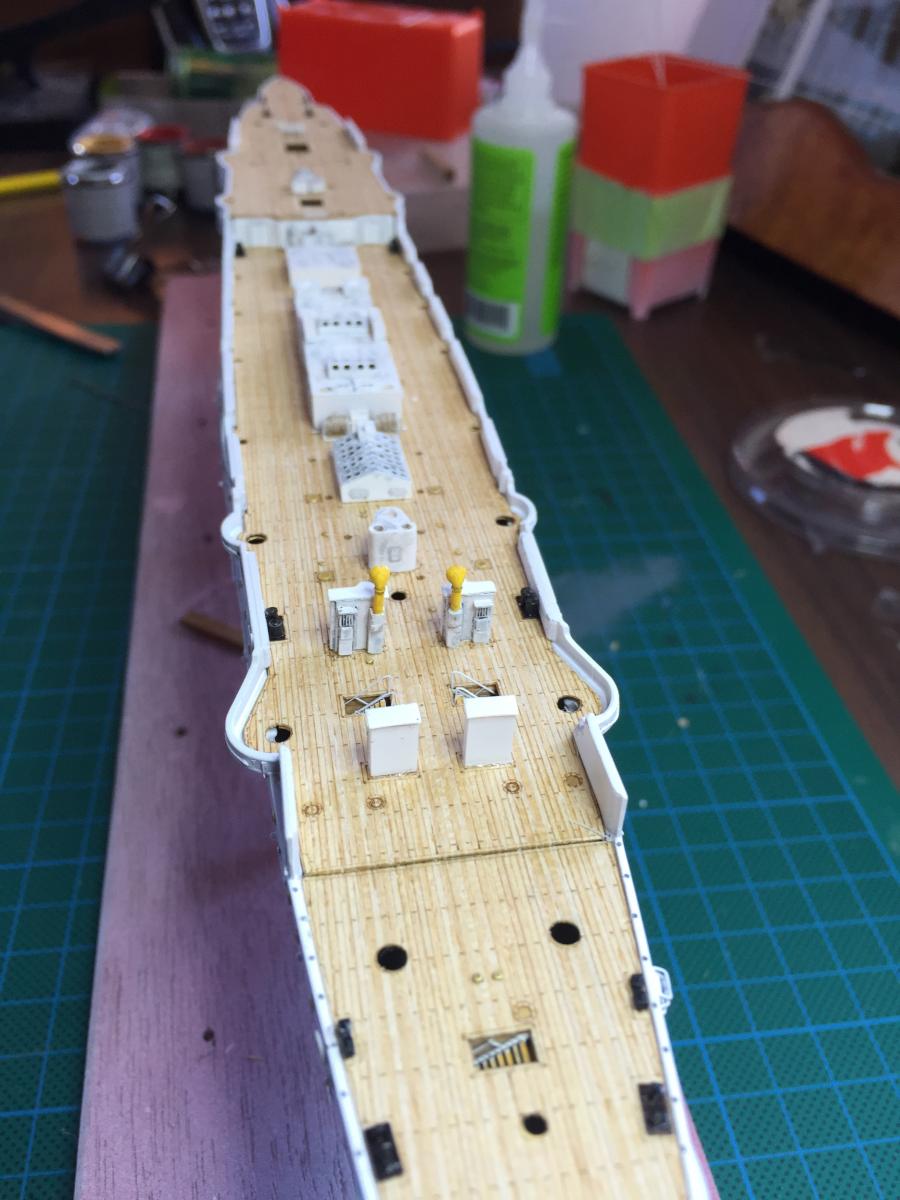
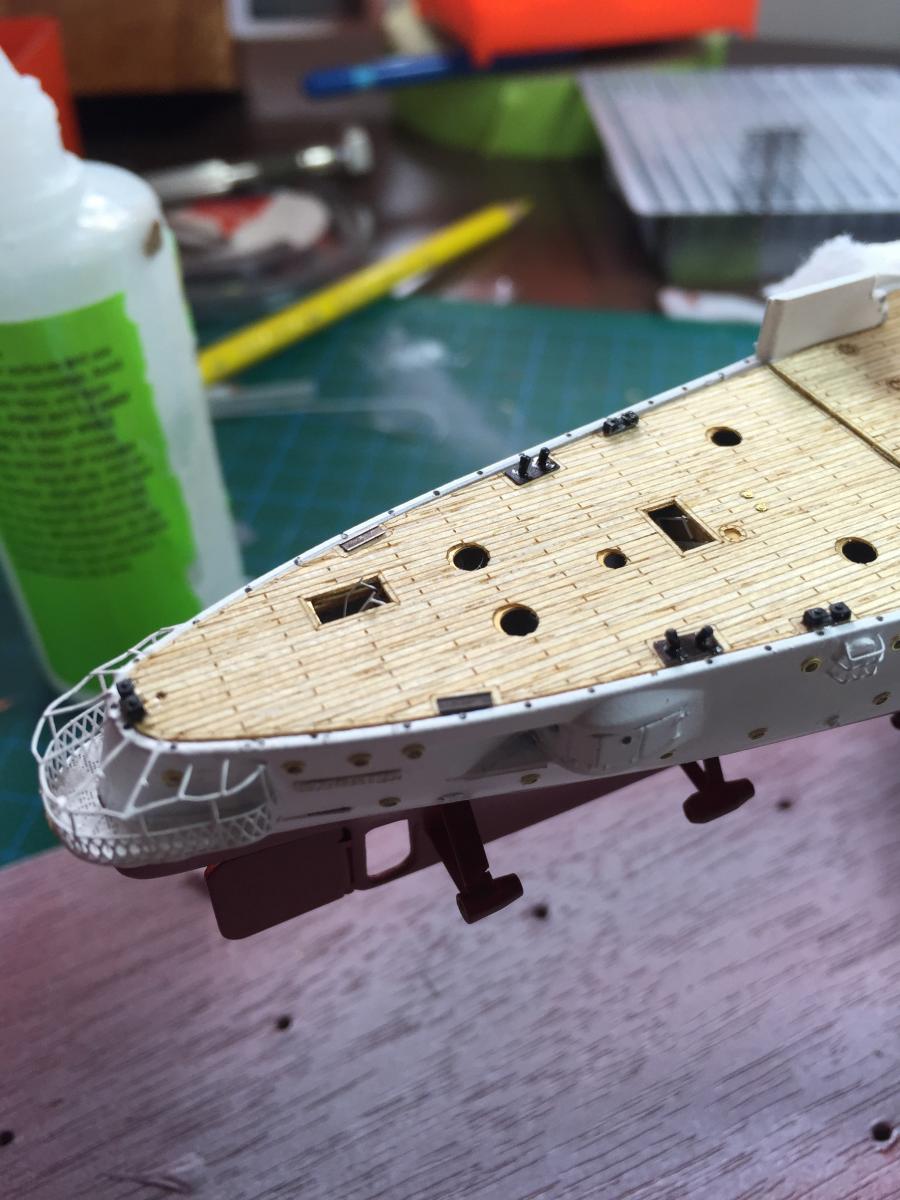
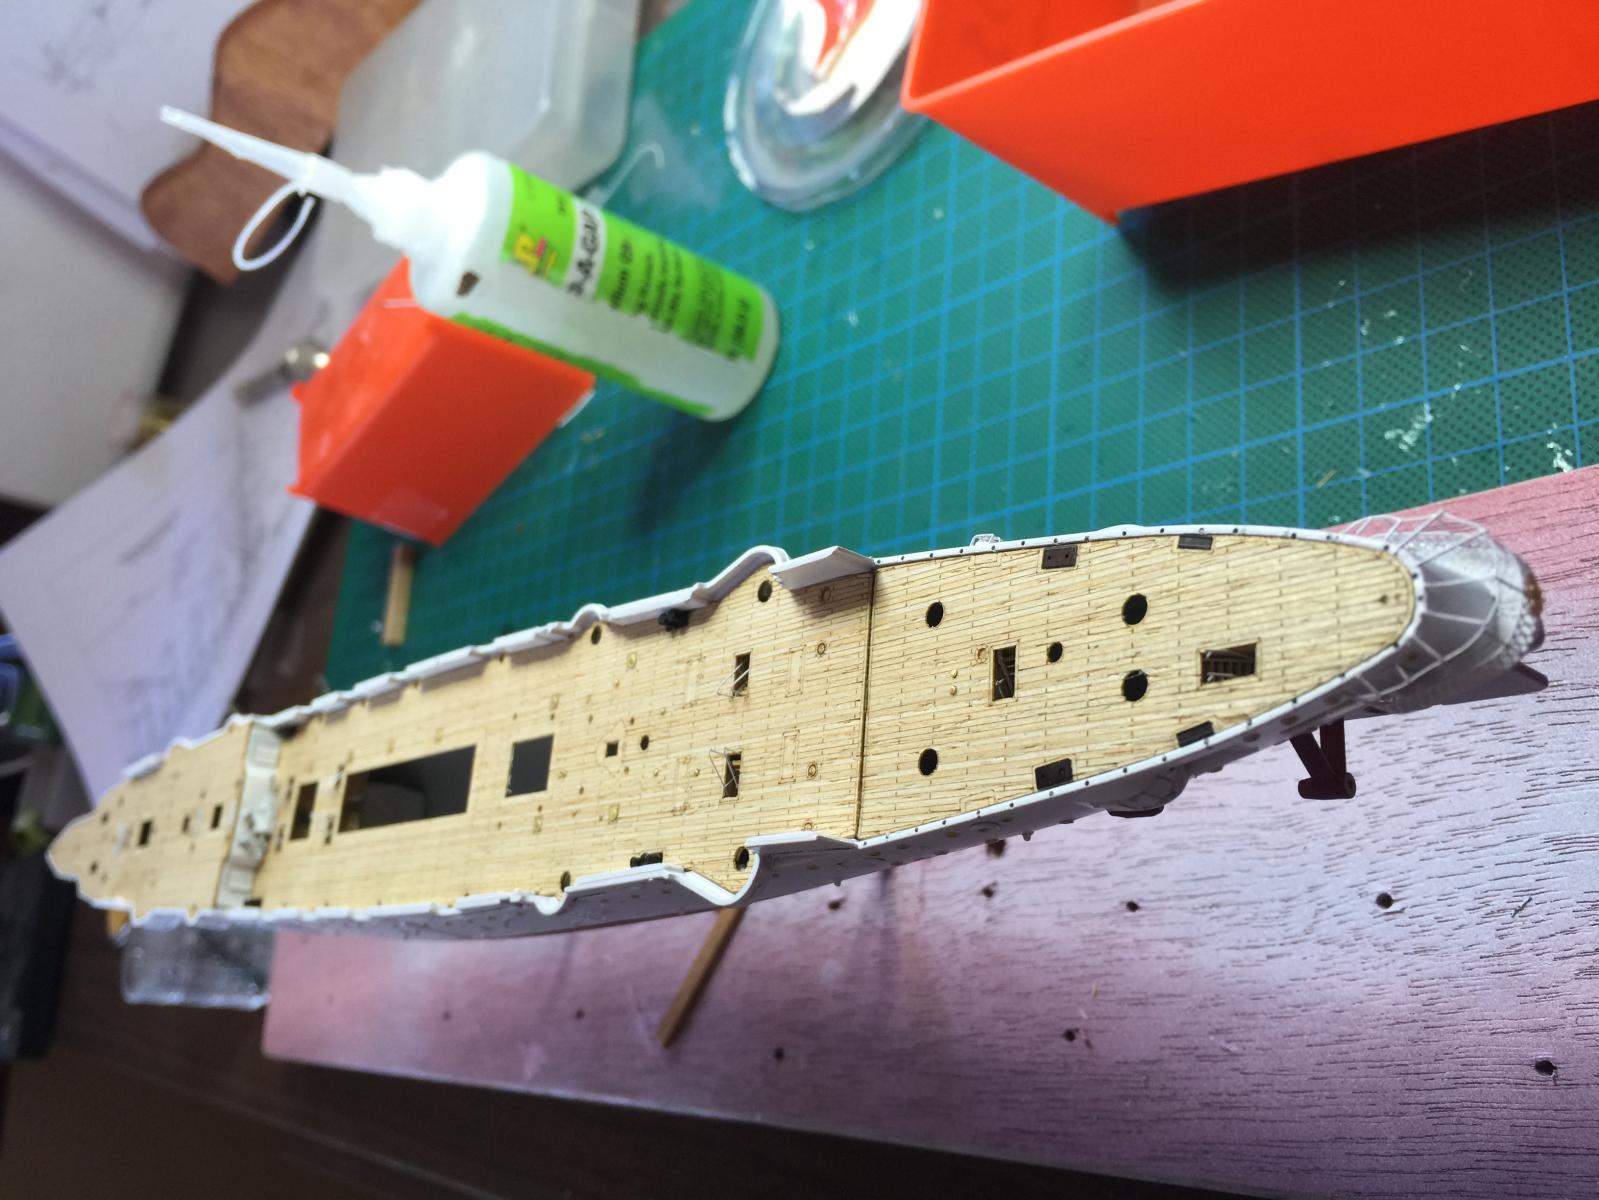
Then finally time to bite the bullet and glue down the deck. The middle and stern deck does not need gluing. Just drops in snugly. The bow deck does need gluing but they are all 99% flush. There is a slight gap where the hull meets the resin part with I will block up with some card. The next step is all the belaying points as the same as a tall ship it will be rear impossible to get to the points when the deck furniture is added.
If you look closely at the bow and stern you will see tiny little holes where I am going to attach individual stanchions and run individual wire rope between them. The upper railings are just that, railings.

-
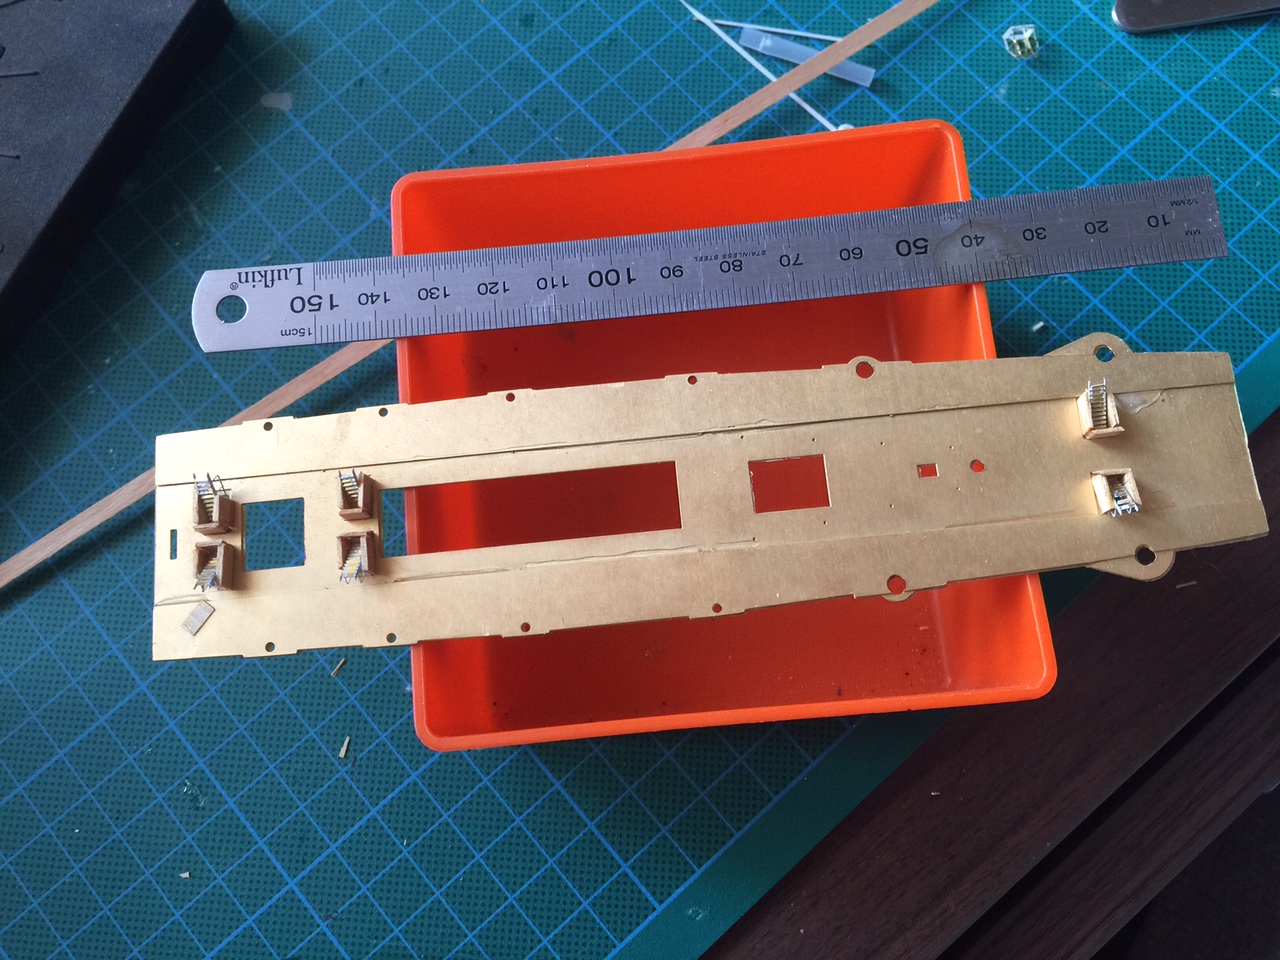
Being a bit lost, I thought that it was time to get serious and just do what I could with the deck and attach it. The ladders are from the Eduard fret and I used little bits of wood on the outside to frame them so they would not drop into the hull.

- CharlieZardoz, Canute, GuntherMT and 3 others
-
6
-
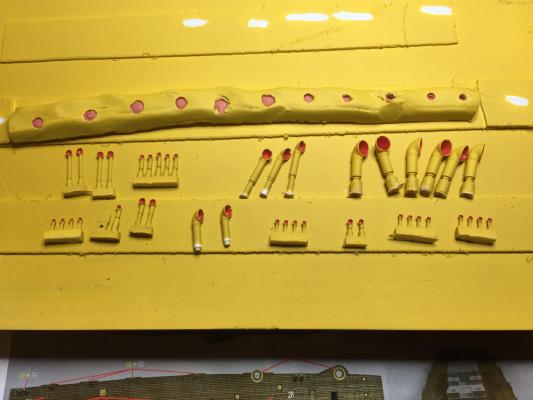
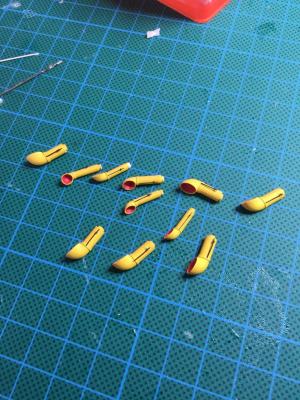
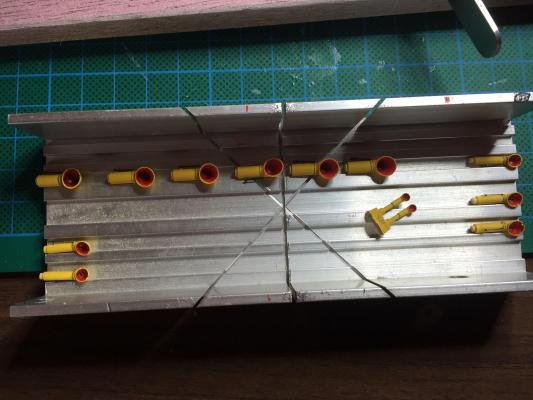
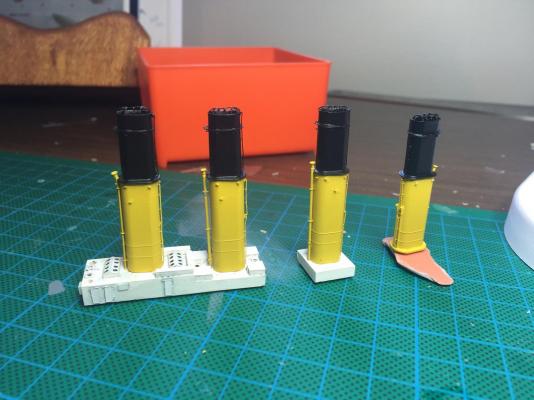
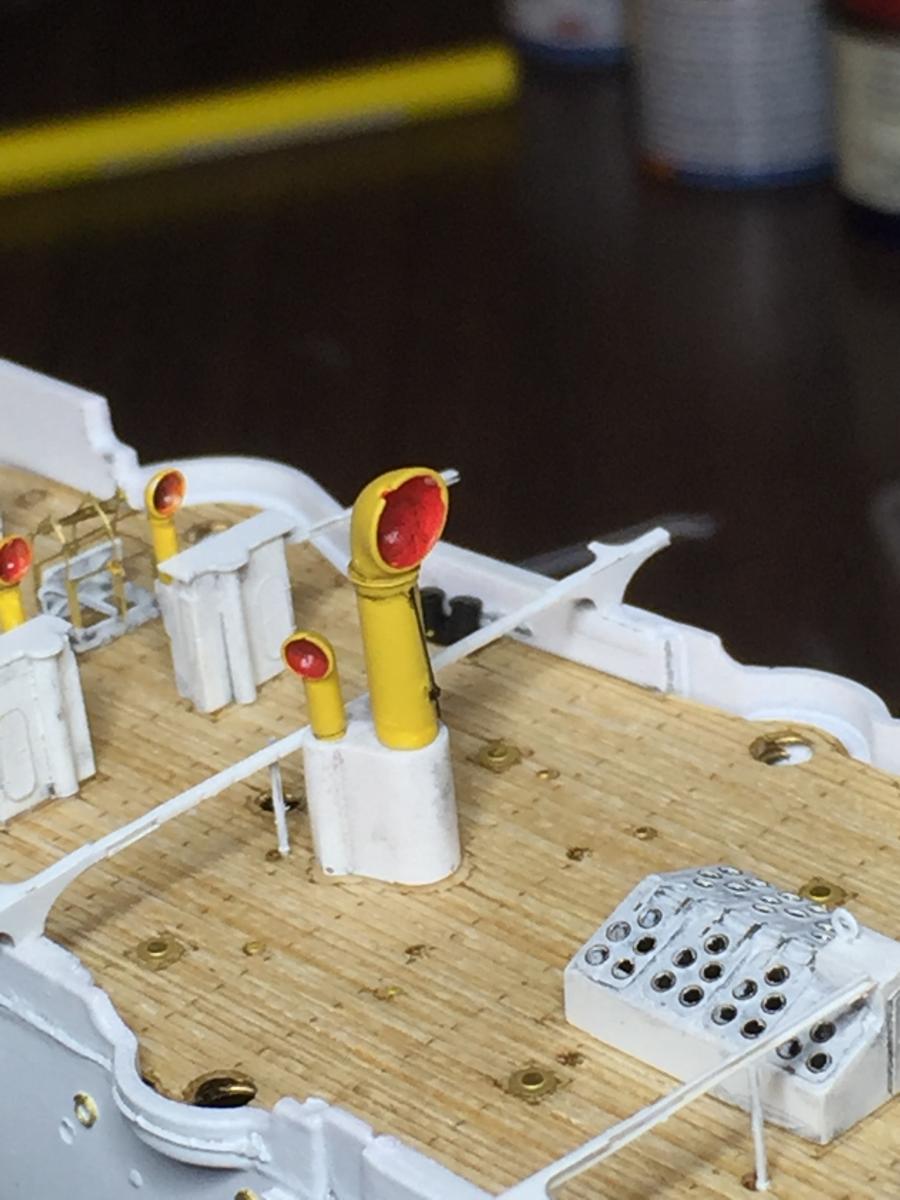
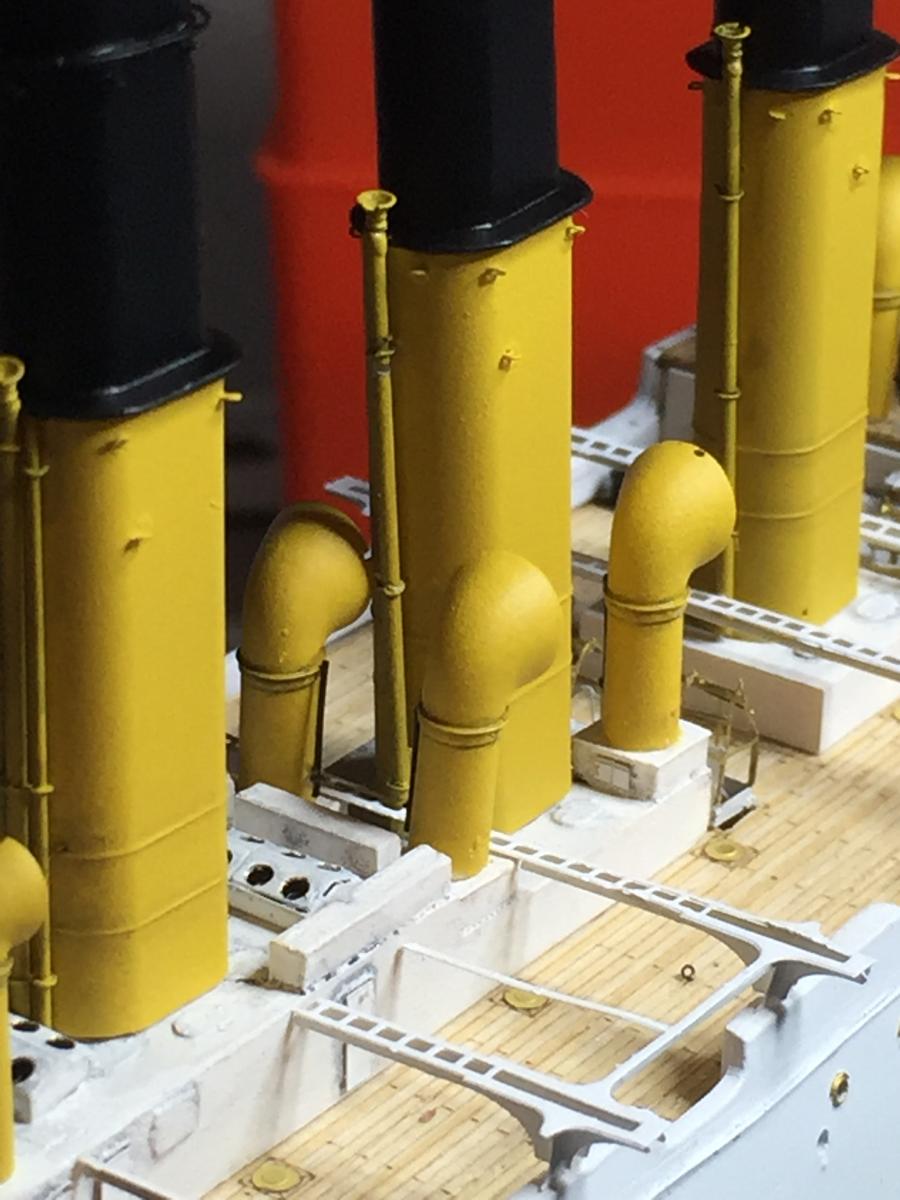
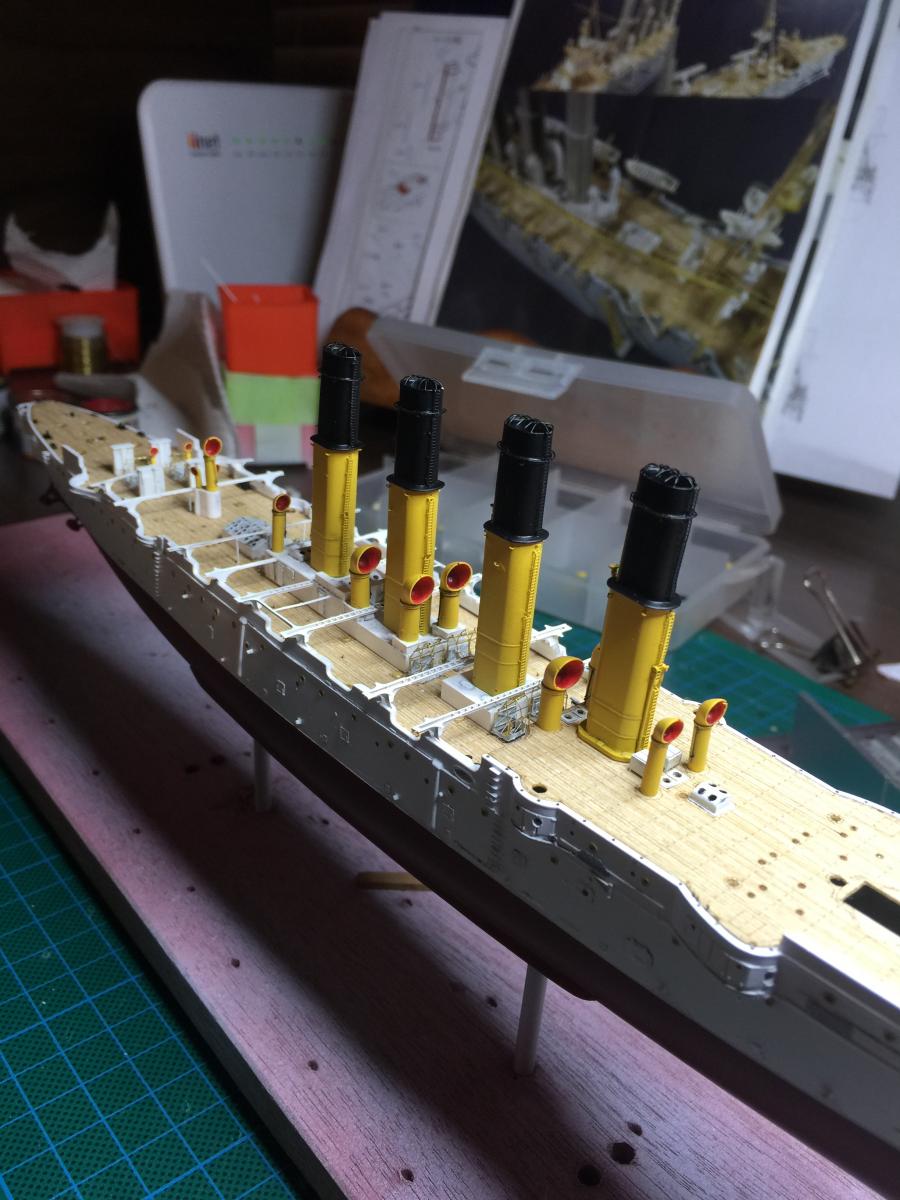
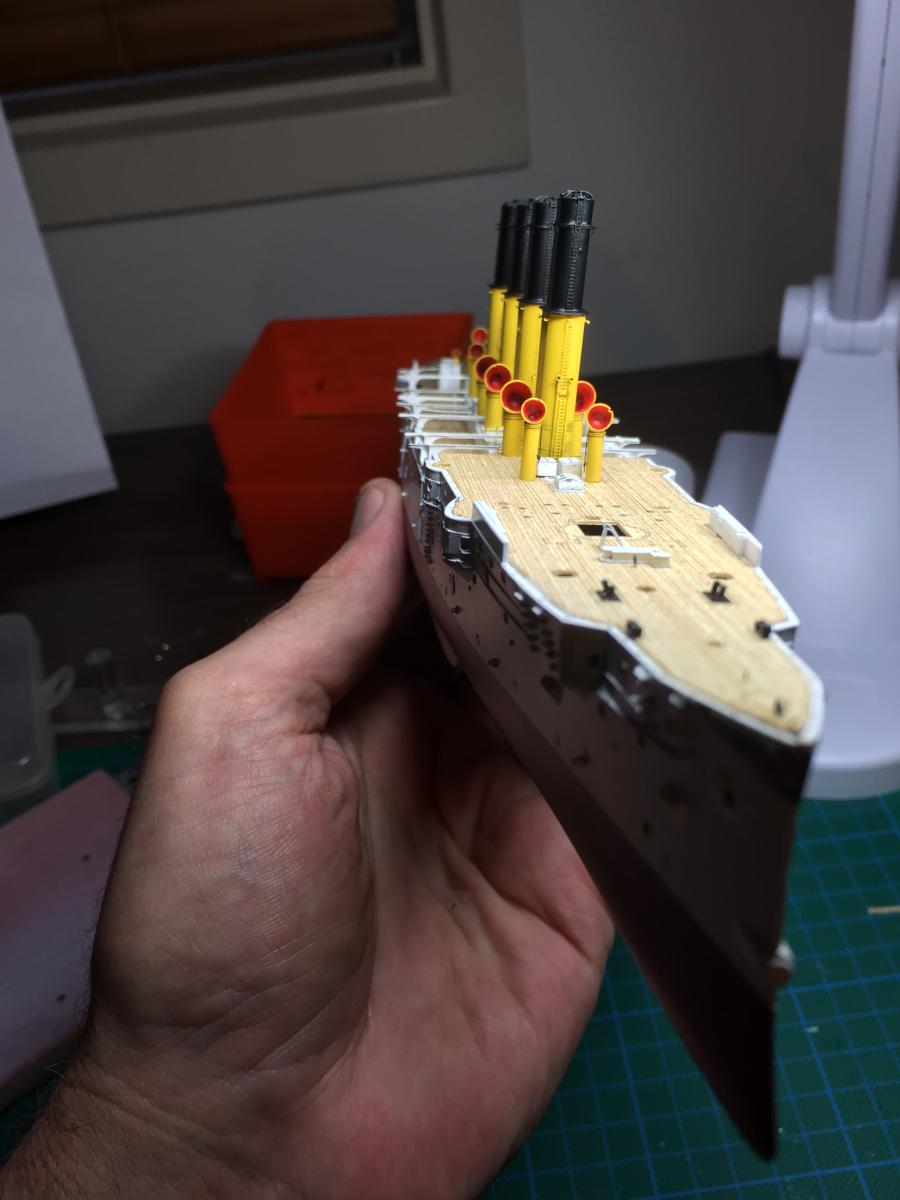
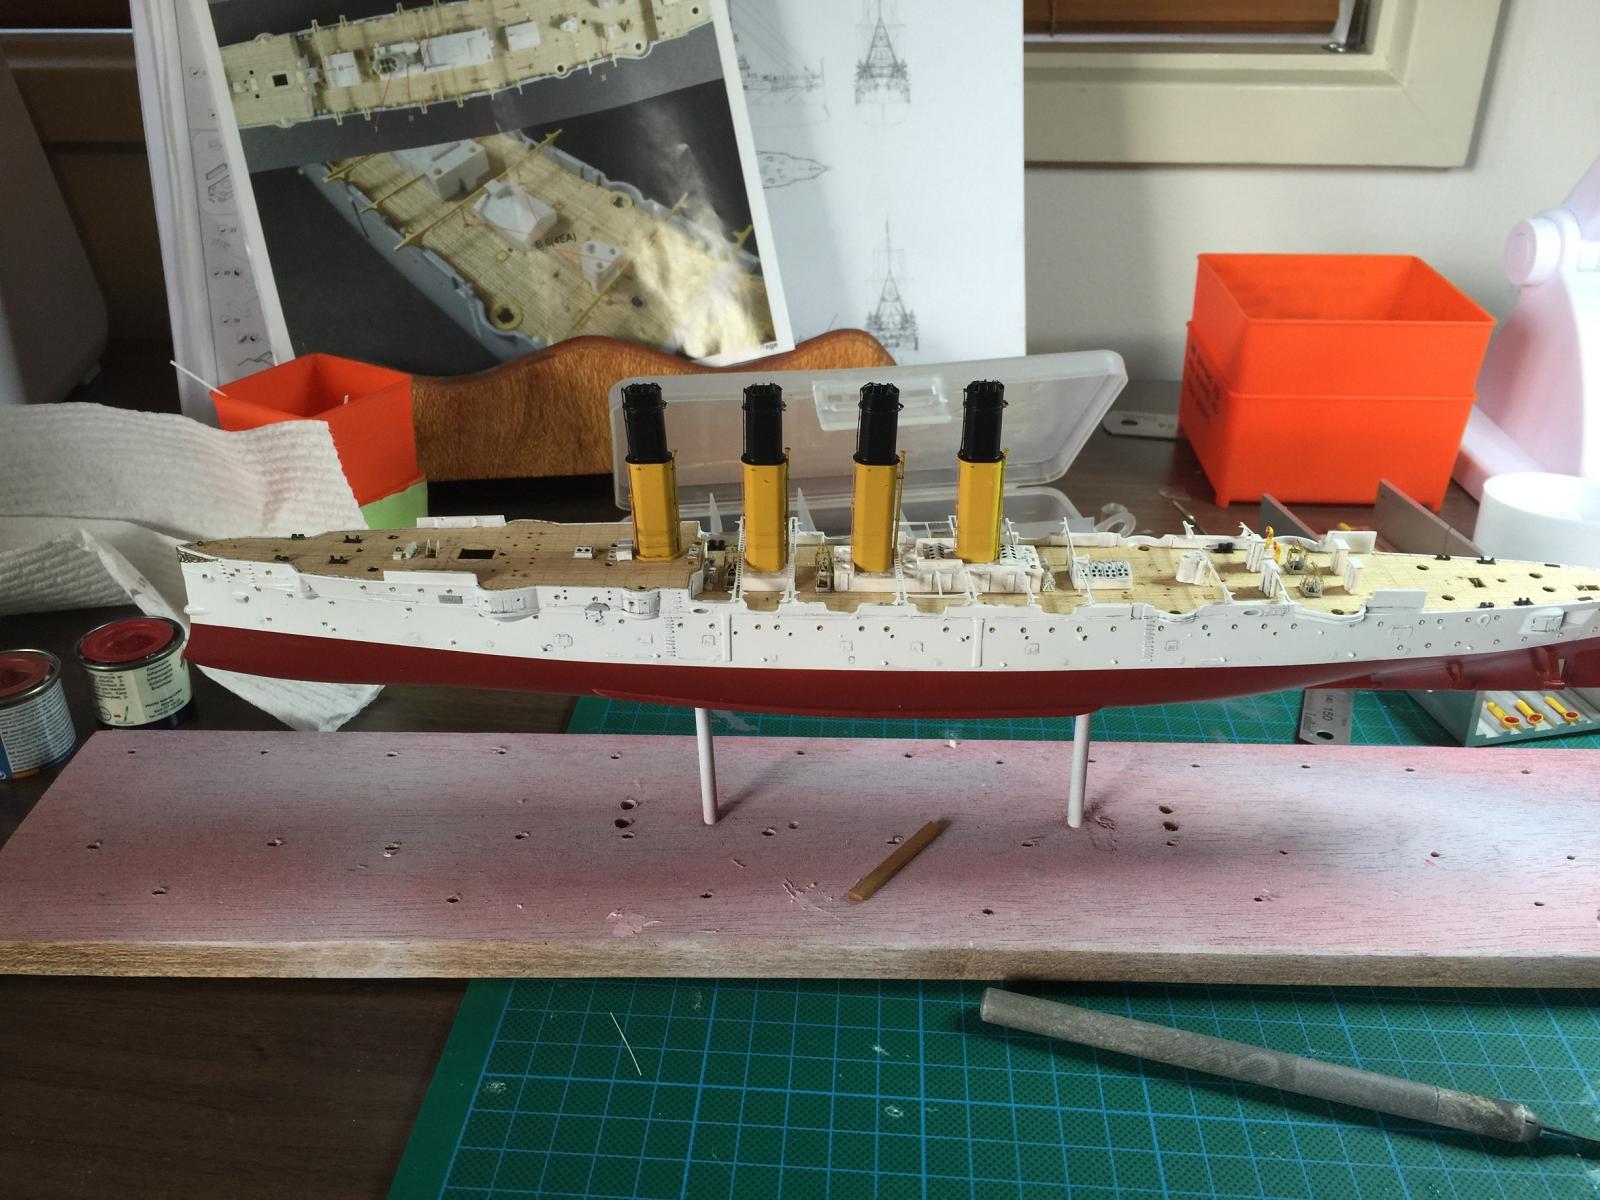
I've been meandering around particular parts of the ship with no real direction so far. I painted the funnels with Tamiya Spray for the black and Humbrol acrylic for the yellow (Tamiya don't do a matt). Also the multitude of vents in the flat yellow with a red inside.

-
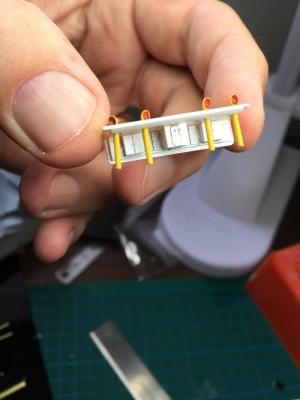
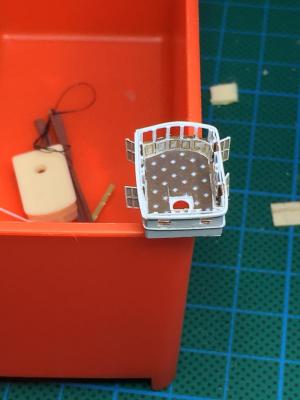
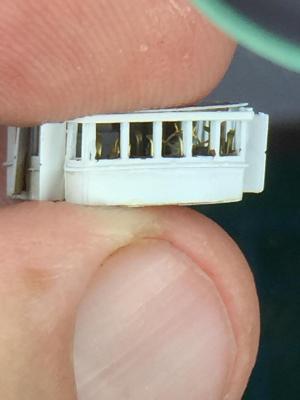
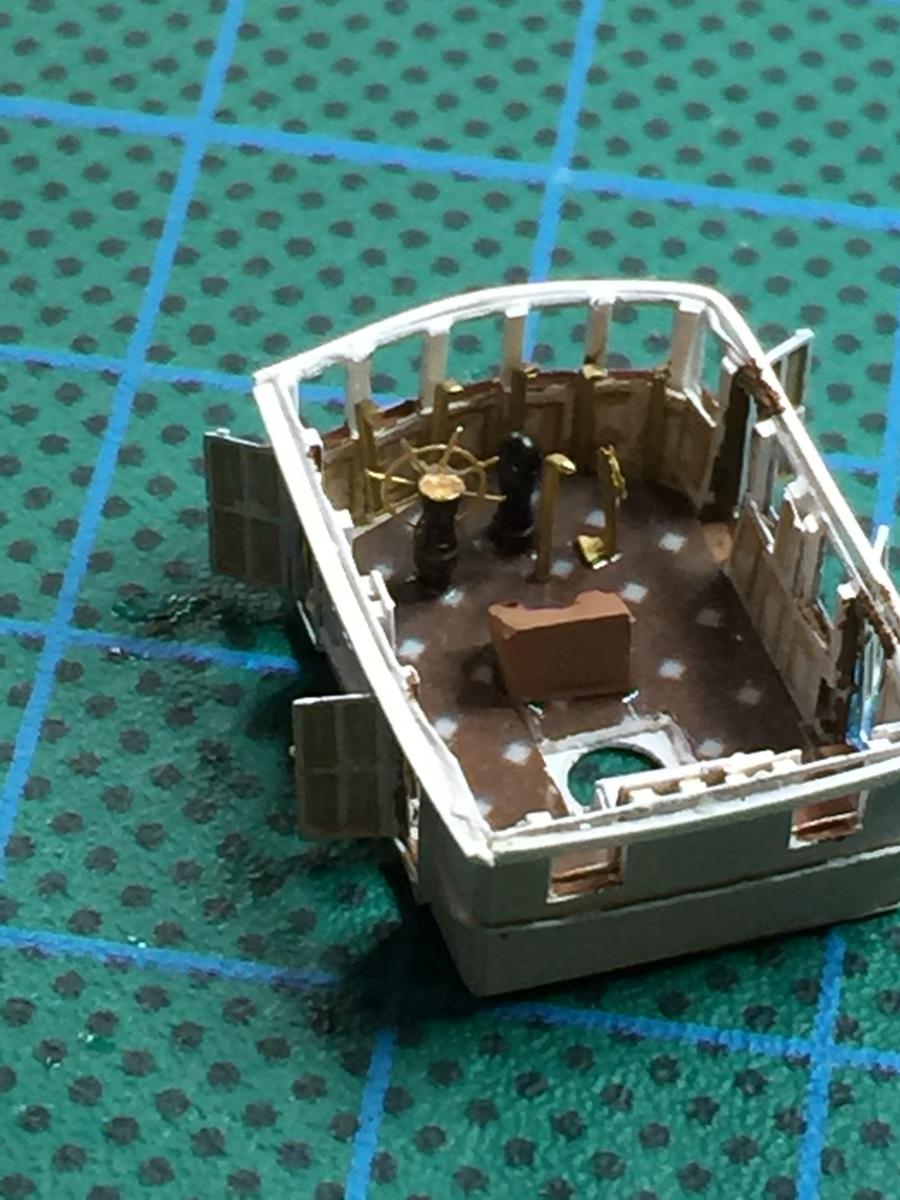
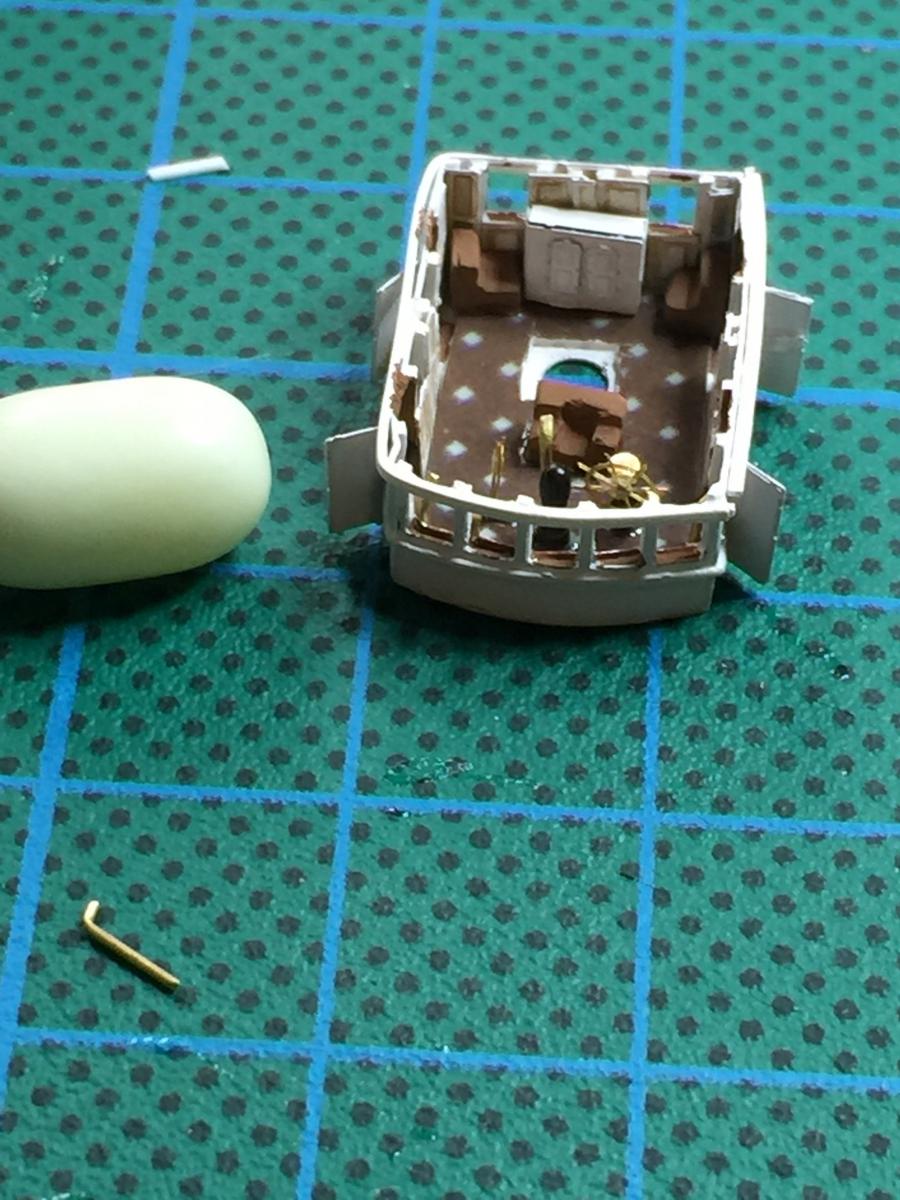
The thing is with closed spaces you can overcapitalize. The inside of this is just tiny, so I did up the panels inside, voice tubes, wheel, binnacle, leather lounges that are just visible in the photo and the blueprints. You can't see much once closed up but it's still visible. The floor was a photo of a spotted lounge I once owned in the 1990's sans the girl sitting on it.


-
Magnificent just love the detail on the mouse.


VARYAG by RGL -FINISHED - Artwox - 1/350 - Plastic, resin and photoetch - Protected Cruiser
in - Kit build logs for subjects built from 1901 - Present Day
Posted
Get some EZ line as well, it is a dream to work with!