Jump to content

RGL

Members
  • Posts

    5,115
  • Joined

  • Last visited

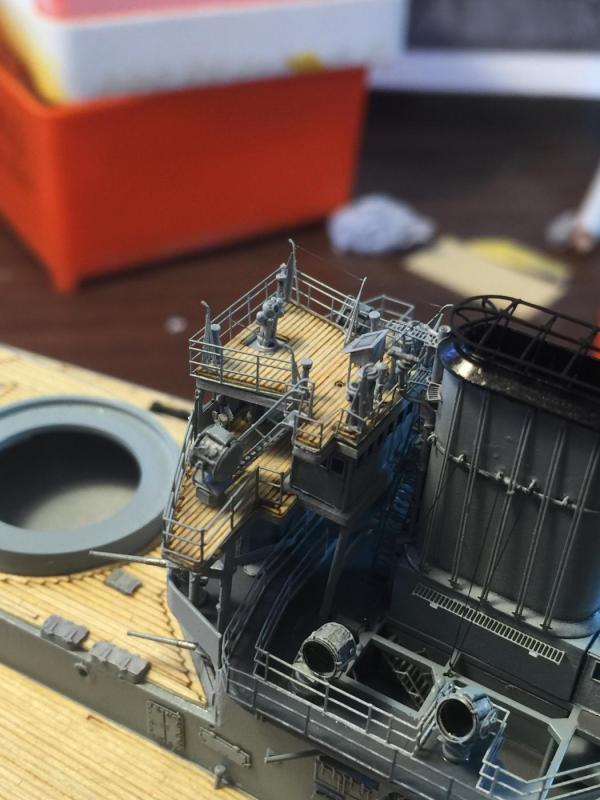
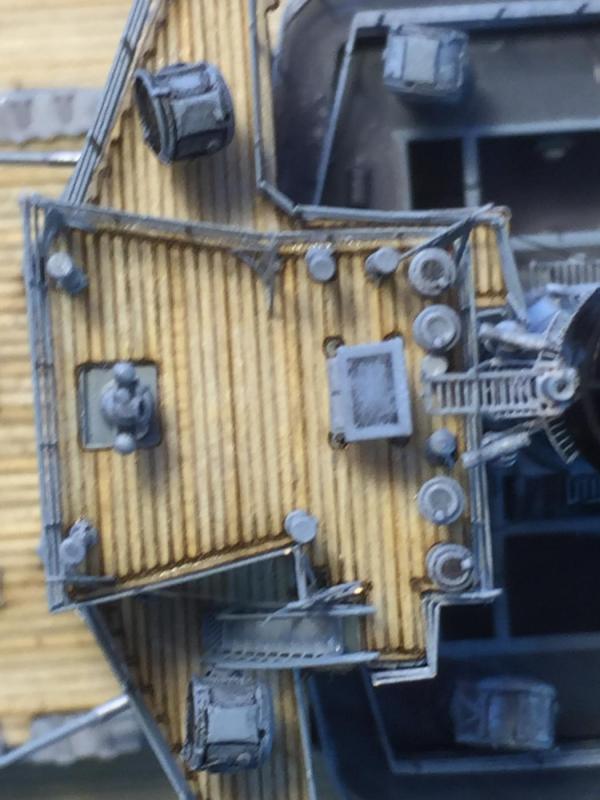
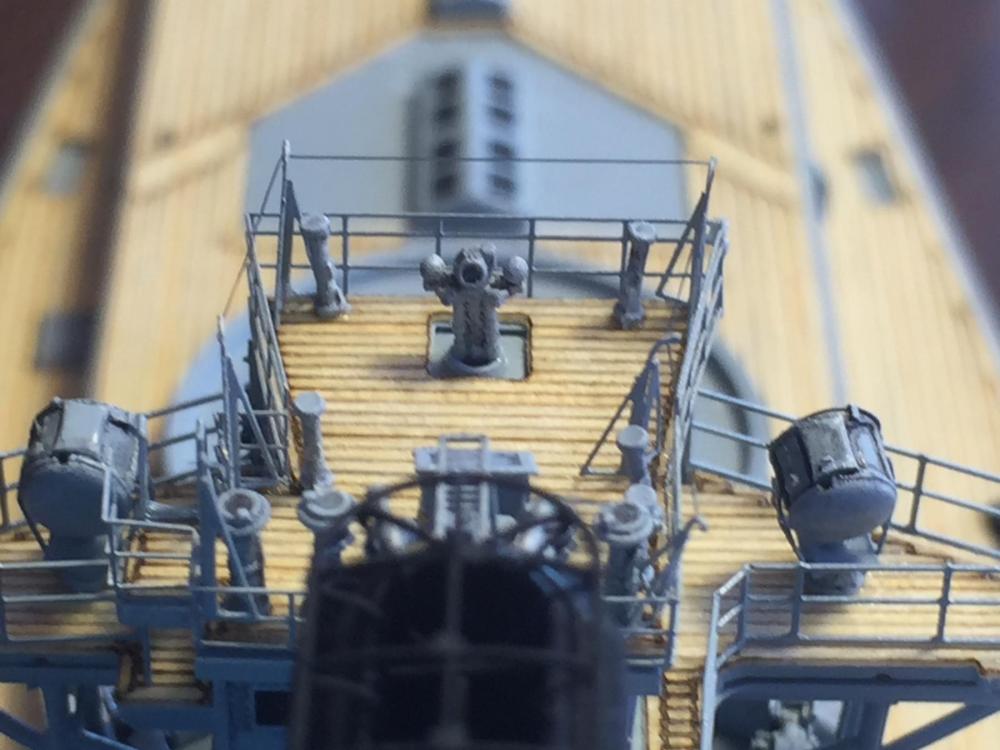
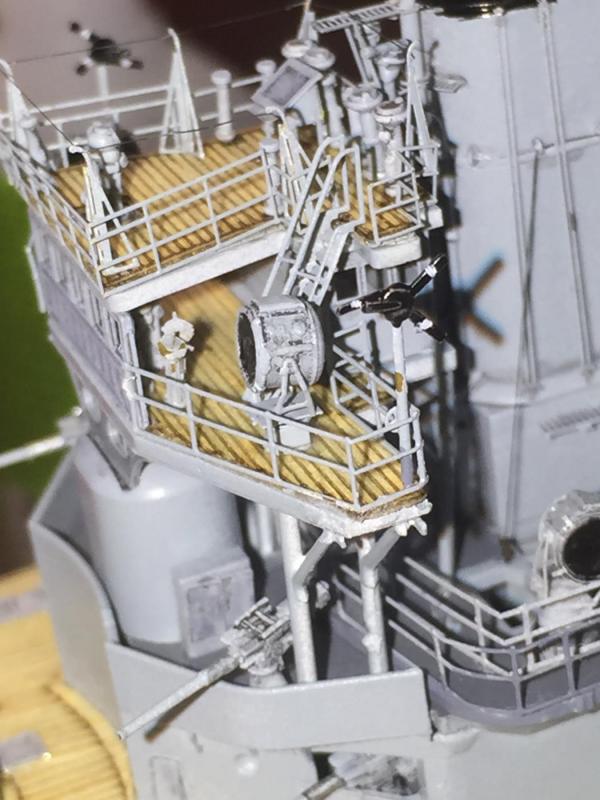
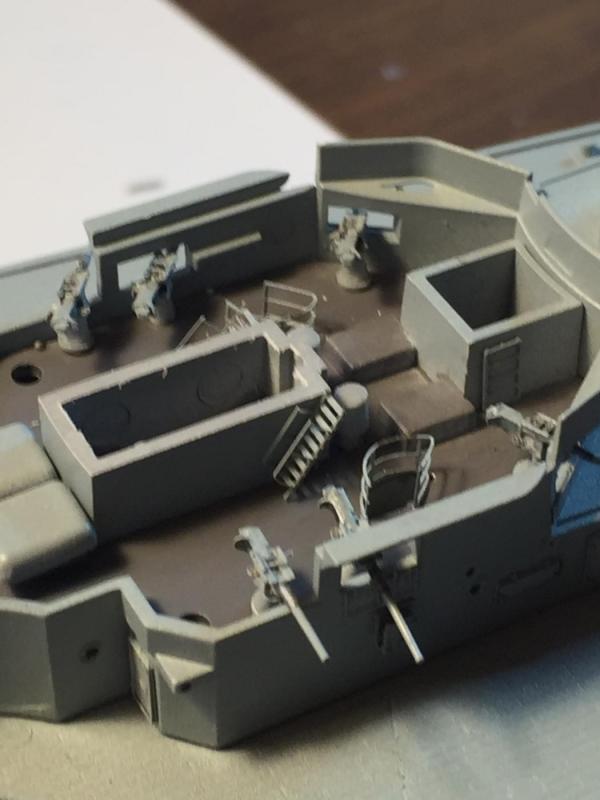
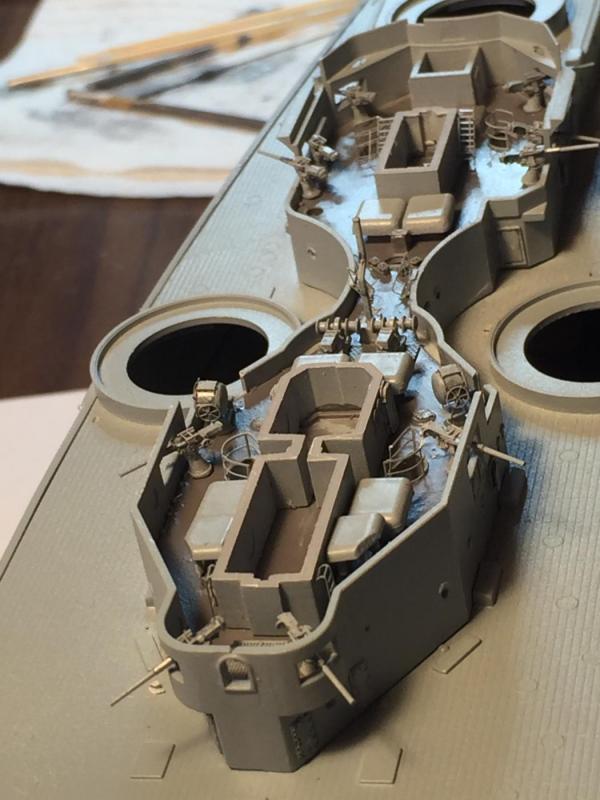
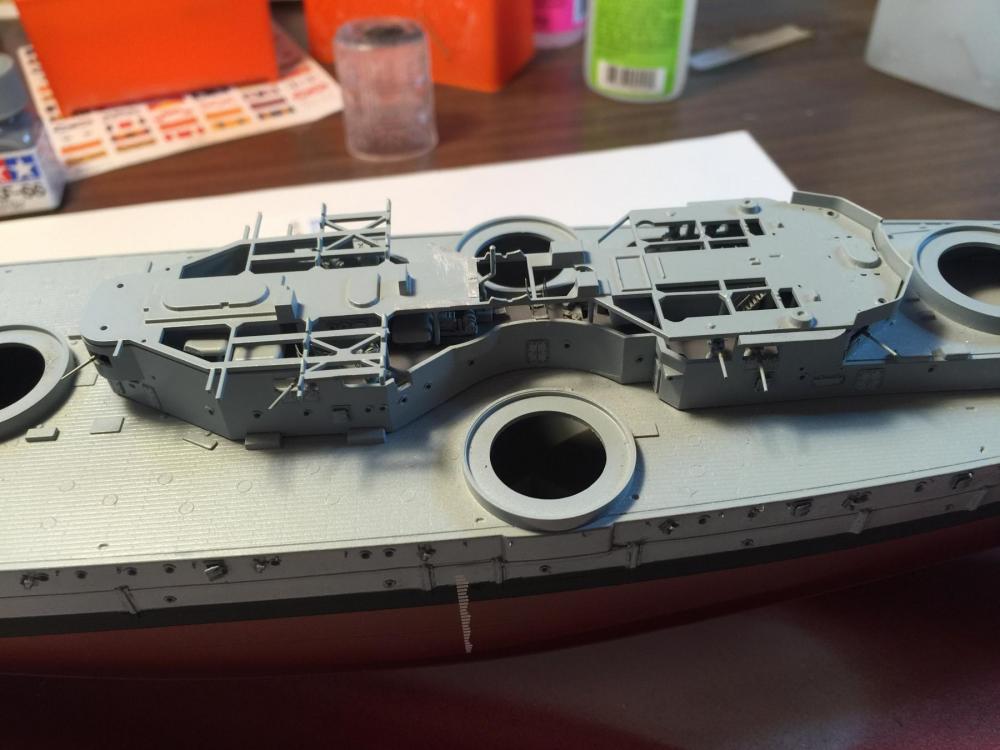
Posts posted by RGL

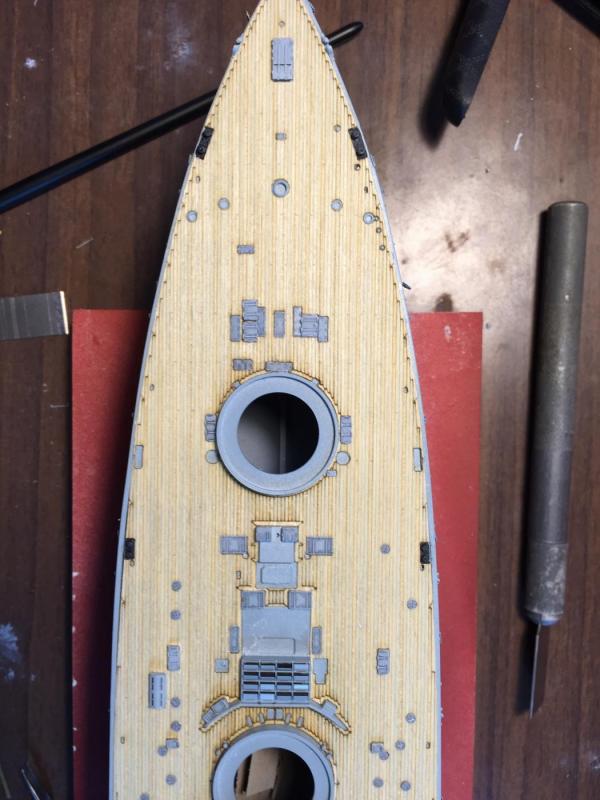
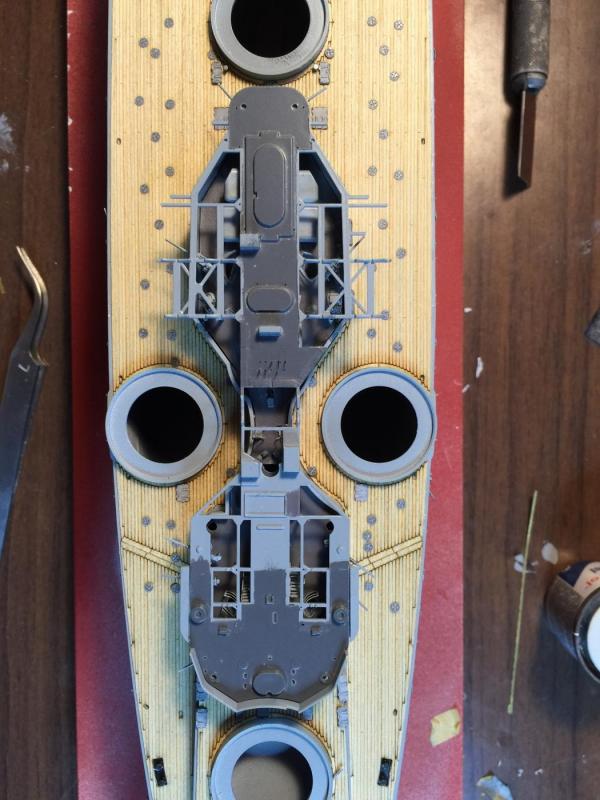
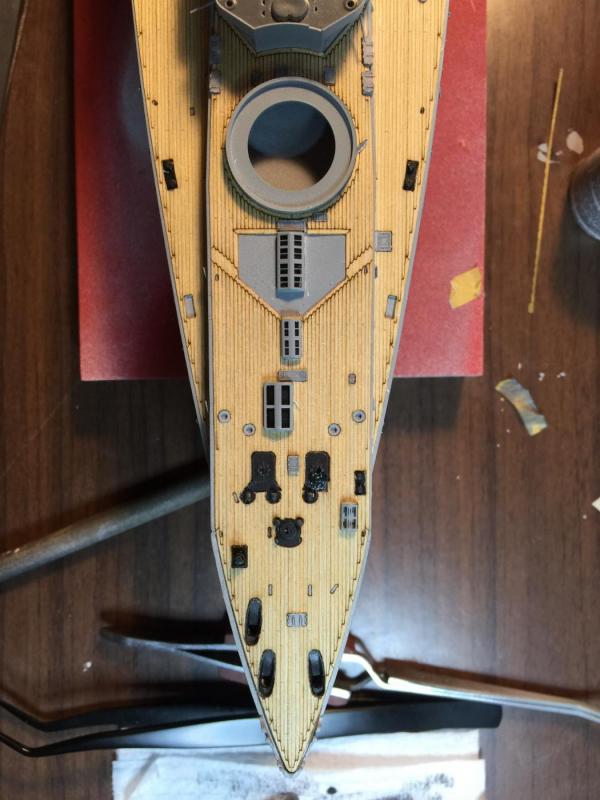
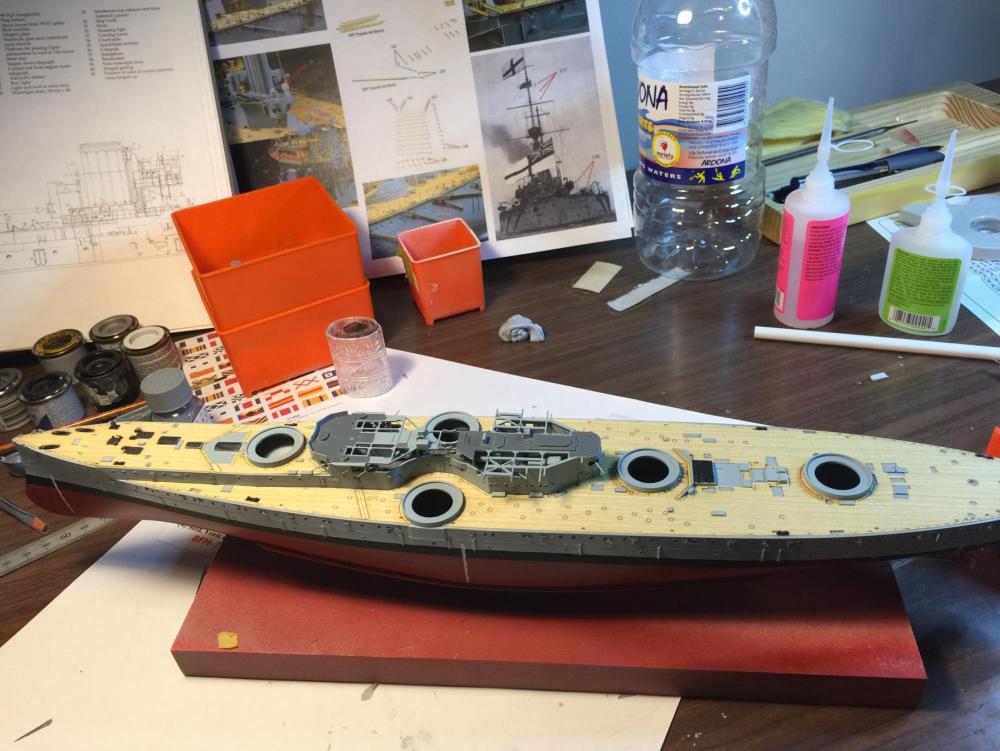
  1. Slow plod, I have added the stanchions for the stern, bow and amidships. They come with a 0.1mm copper wire which does not blacken well and does not run as well as a 0.01mm rigging line. My eyes hurt this is so small now. 2 hours to do the bow. To the naked eye it looks great compared to the etch railing.

    post-253-0-48036900-1445746848_thumb.jpg

    post-253-0-47926200-1445746865_thumb.jpg

    post-253-0-28042100-1445746929_thumb.jpg

    post-253-0-77033500-1445746976_thumb.jpg

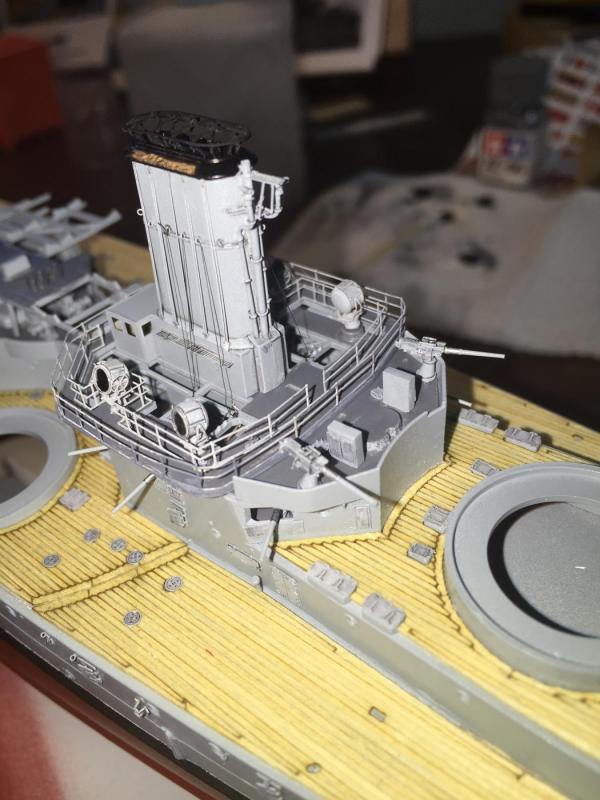
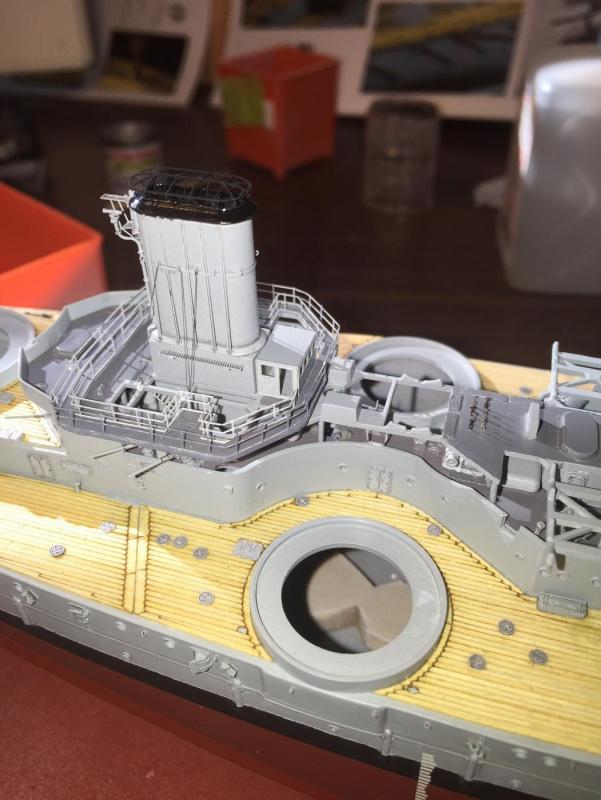
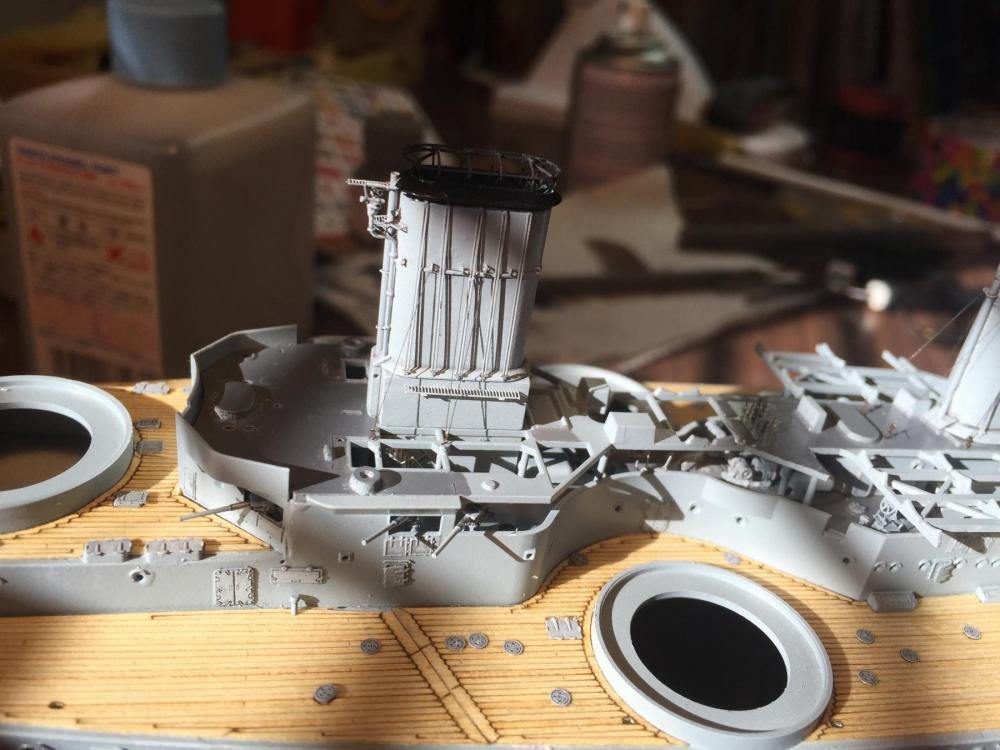
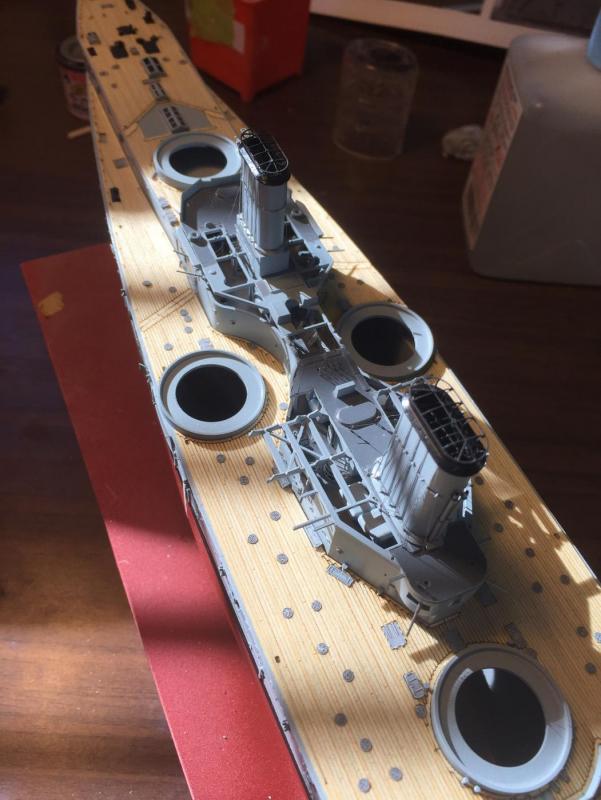
    post-253-0-89339800-1445746994_thumb.jpg

  2. I'm of the belief of going inboard to outboard. Everything that can get in the way will get in the way once you start the running rigging, I did the cannons and boats as they had to be belayed/lashed down. Once the standing rigging in place it just gets harder to touch the deck. The anchors I did fairly much last, as they really snag everything but if you look at how I did the cables it was painful as I had to steer them around the rigging.

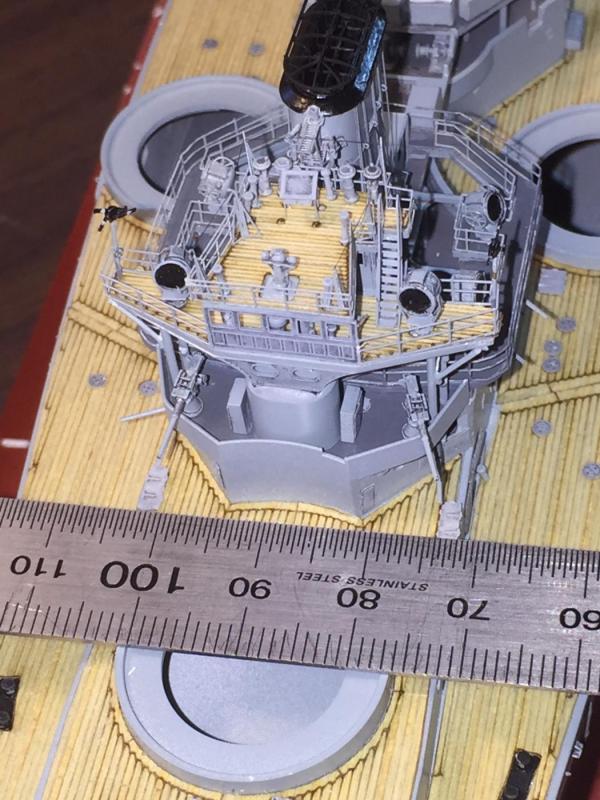
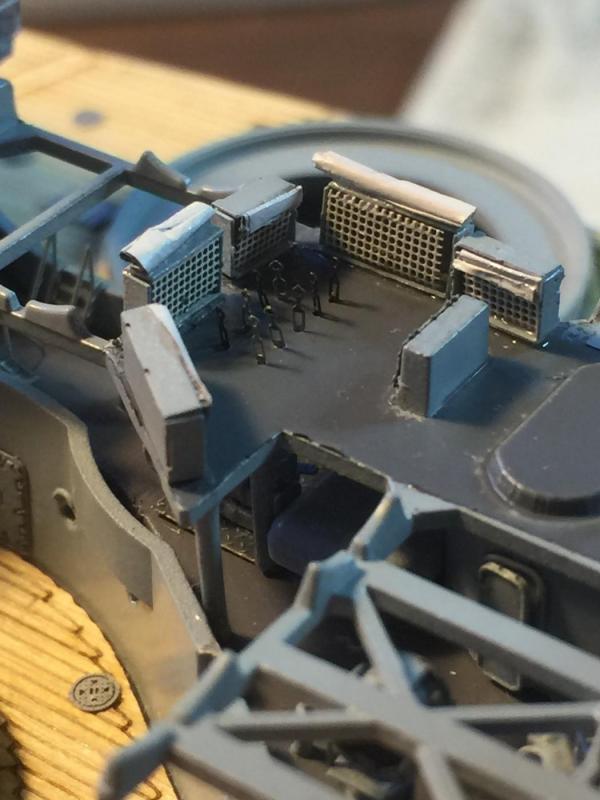
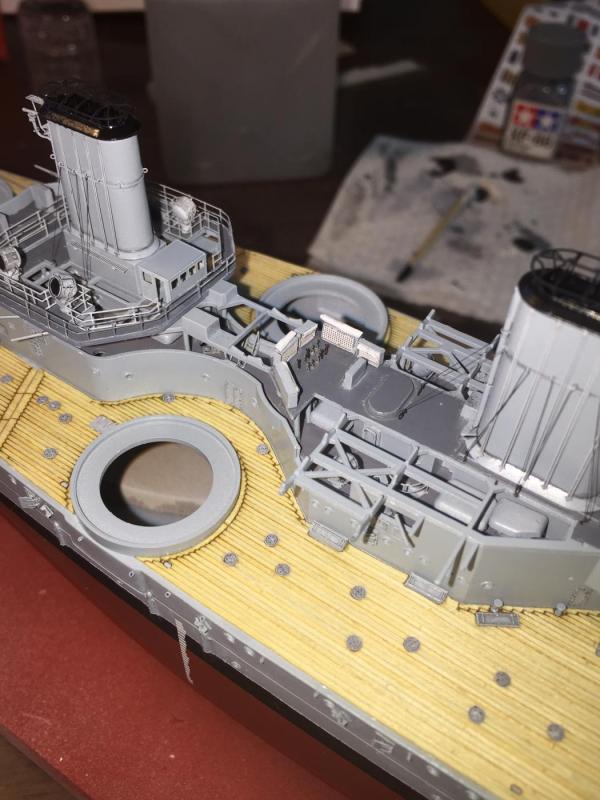
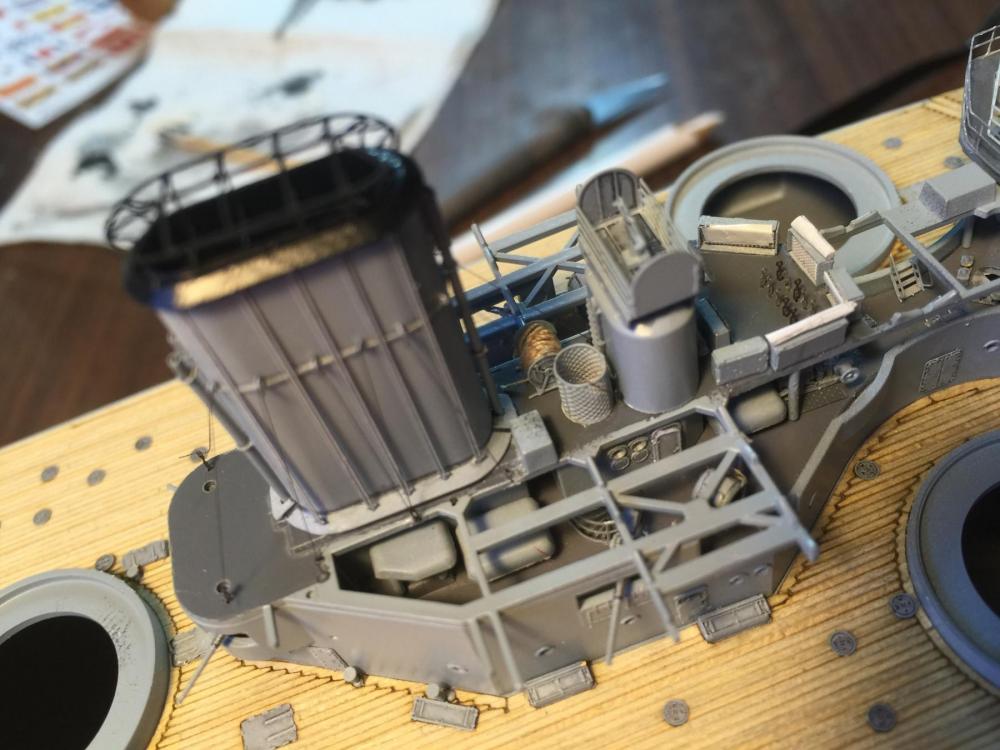
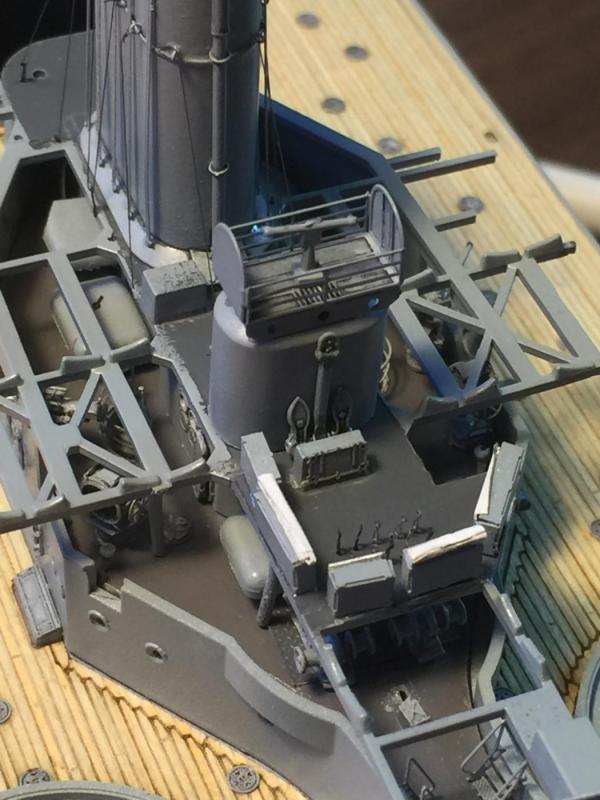
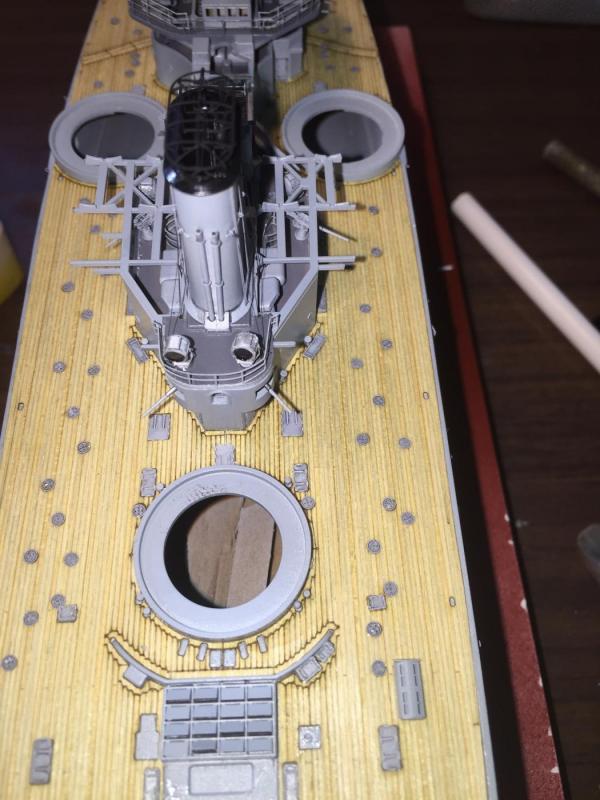
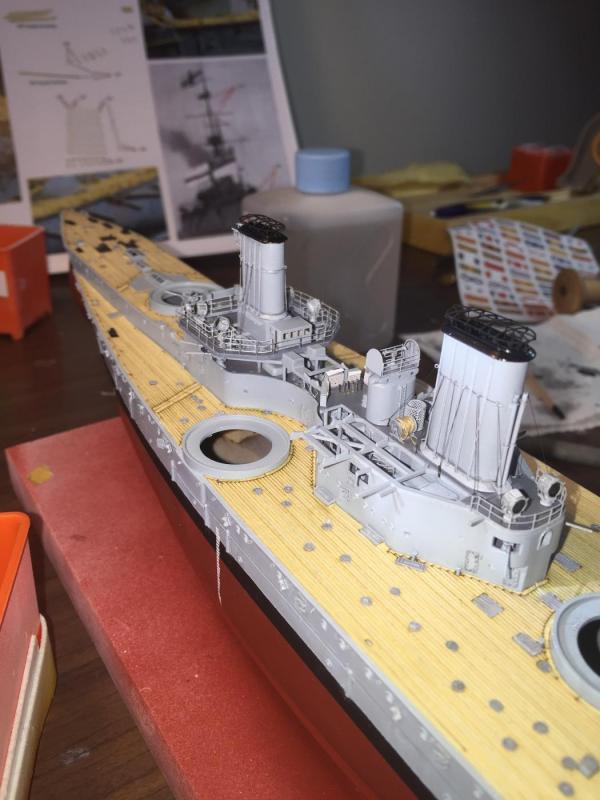
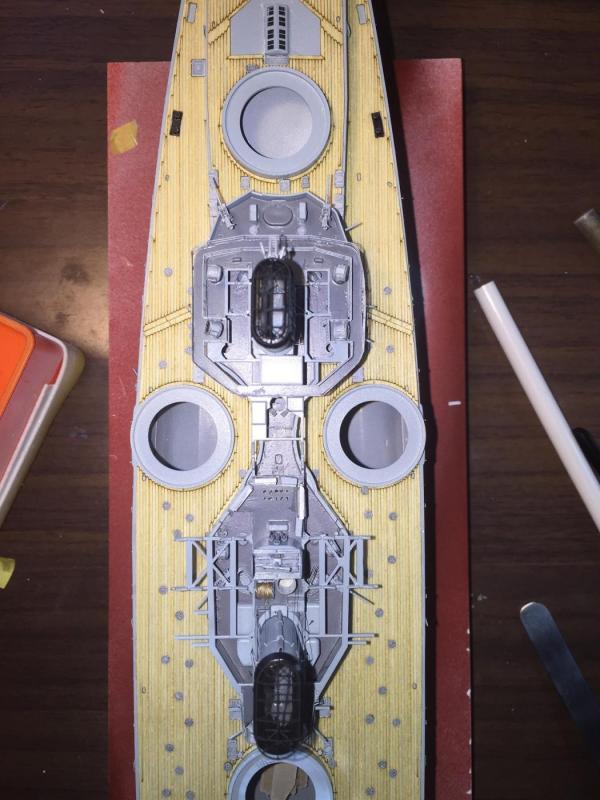
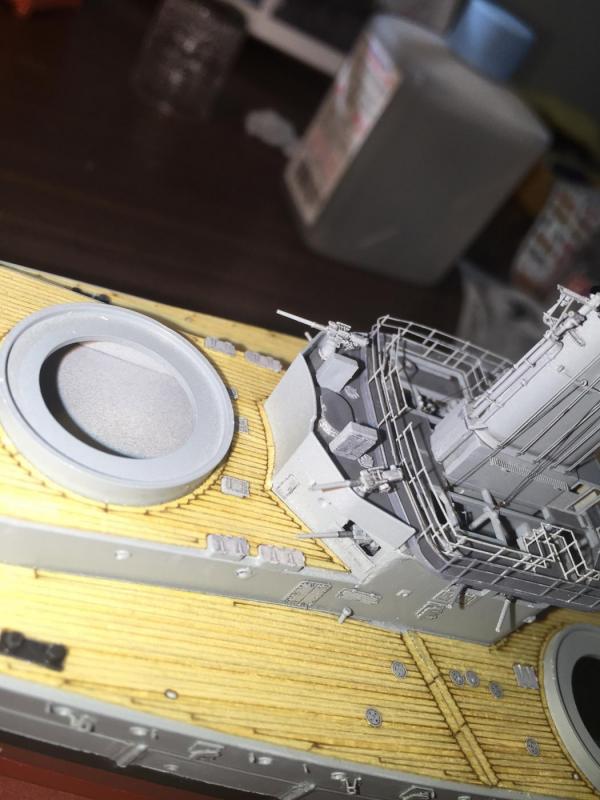
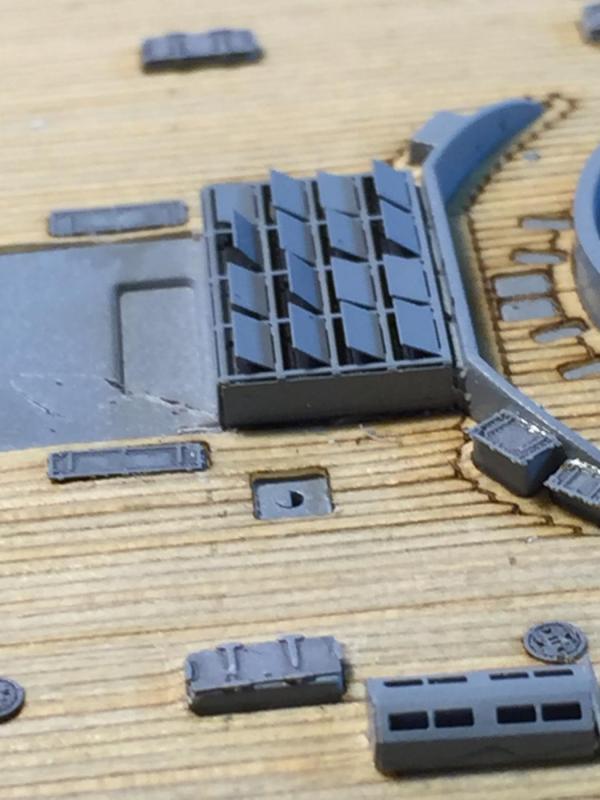
  3. The last of the prepared stuff, being little funnels along the ship, the capstans which I have not painted in black and white stripes, as I tried and it looked crap, nothing detracts from a model than a crap job! the Captain's cabin skylights on the rear deck and the maxims at the bow.


    Back to the grind now of railings, but I think I'll take a break for a while and do some gardening.

    post-253-0-94134200-1444957069_thumb.jpg

    post-253-0-78671700-1444957080_thumb.jpg

    post-253-0-76852600-1444957086_thumb.jpg

    post-253-0-03349900-1444957095_thumb.jpg

    post-253-0-85246800-1444957103_thumb.jpg

    post-253-0-77371900-1444957111_thumb.jpg

  4. I'm happy with the cans at the moment, as it's a big commitment to go the whole hog! But it's good to know which one to buy as there are so many of the things and the prices of them can vary greatly as well as expense, they are fairly expensive in Oz with our dollar bouncing around.

  5. Then the paintjob, the 2.5 inch barowski, the 37mm (I have done them in all black but may use a gun down version of the 47mm yet), the 47mm which have some white on them as they will be going onto white pedestals, , the 75mm and the showpiece 152mm.


    I'm not sure if I want to just re do the 47mm all over again and just order another set.

    post-253-0-24848700-1444799476_thumb.jpg

    post-253-0-89065700-1444799484_thumb.jpg

    post-253-0-39268300-1444799493_thumb.jpg

    post-253-0-22492300-1444799506_thumb.jpg

    post-253-0-83272700-1444799513_thumb.jpg

    post-253-0-07733600-1444799530_thumb.jpg

    post-253-0-42865600-1444799542_thumb.jpg

    post-253-0-50179300-1444799548_thumb.jpg

  6. I'm just using the Tamiya rattle cans at the moment for Primer, black and white and red. They don't do a Matt yellow so I use Humbrol spray for that. I intend on investing in an air brush if I continue with the evil plastic models but I really need to be more organised in the build schedule. The scale is 1/350, 1/700 is too daunting.

  7. The Hodgkiss 47mm quick firing gun and the 37mm (which is provided in the kit but there is no reference in the instructions). The metal barrels are minute, and just do not sit without too much glue making an unsightly bulge. Whilst Artwox provide the photo etch shoulder frame? it is out of scale compared to the North Start models one, and they also have a separate trigger assembly (which is about 1mm). 


    The little white piece is the Artwox 37mm gun on a different pedestal. The masts have 4 guns which already have pedestals built on so i will gut 4 guns off the pedestals when painted,

    post-253-0-35238200-1444704393_thumb.jpg

    post-253-0-85017900-1444704401_thumb.jpg

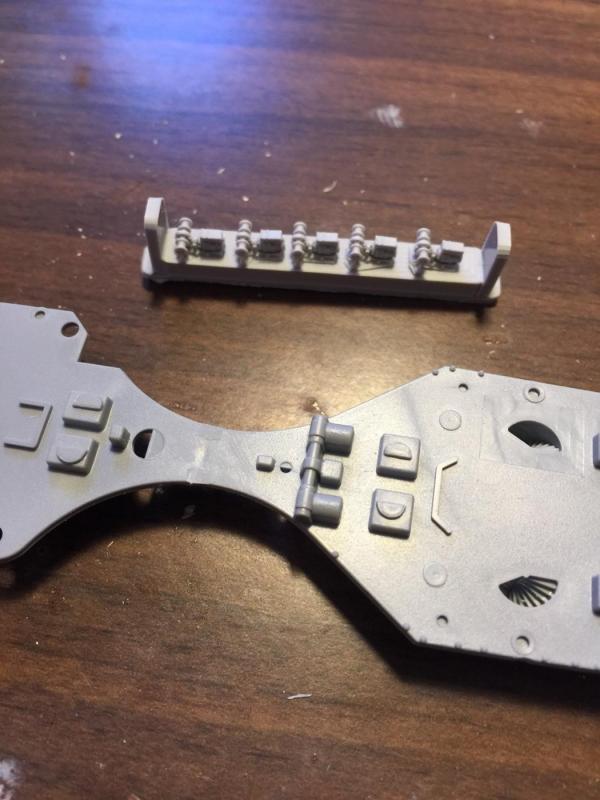
  8. The 75mm Cannons are good on both kits, but the Artwox metal barrels do not sit flush and the Model master ones are obviously designed for the original Zvesda kit and are also out of scale, as such I have had to use the Komplet Zip gun in it's entirety adding on some Photo etch and will add flywheels when painted. 


    You can see from the first photo the silly little pedestal (white resin with an unfortunate bulge on top) provided by Artwox compared to the after market one. I put them on top of the instructions photo to give an element of scale.

    post-253-0-64012000-1444704014_thumb.jpg

    post-253-0-54029900-1444704136_thumb.jpg

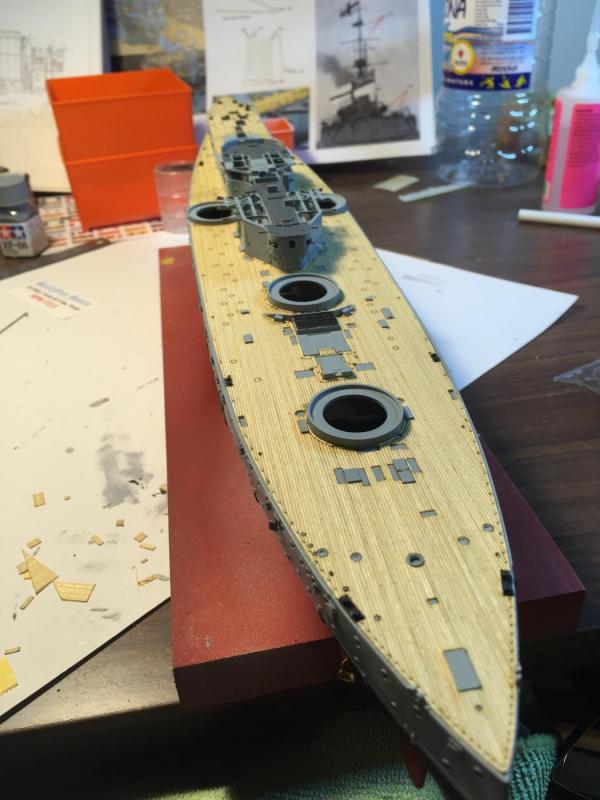
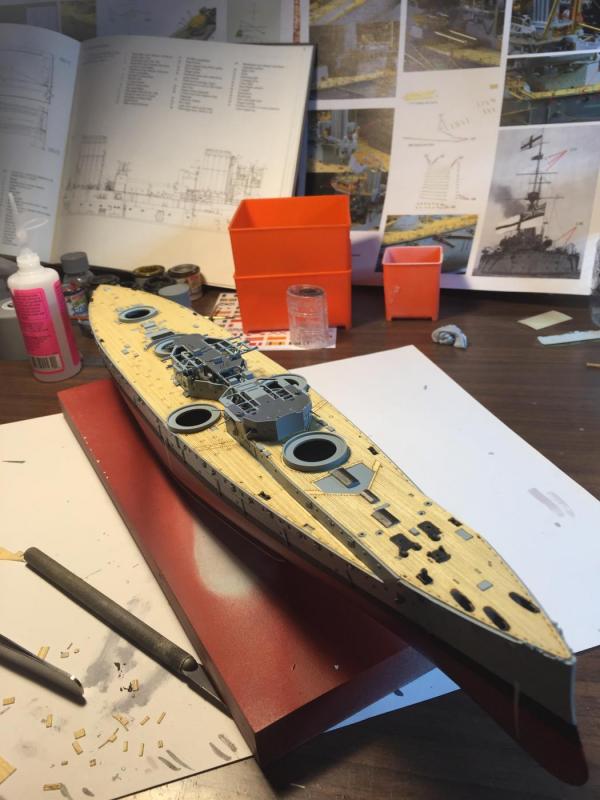
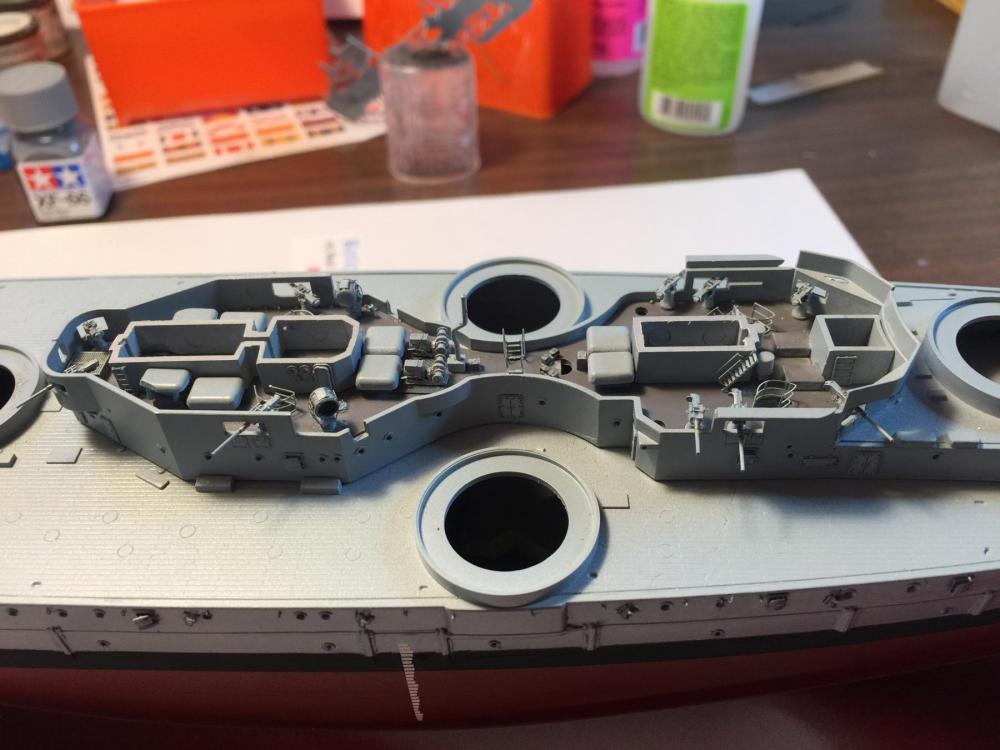
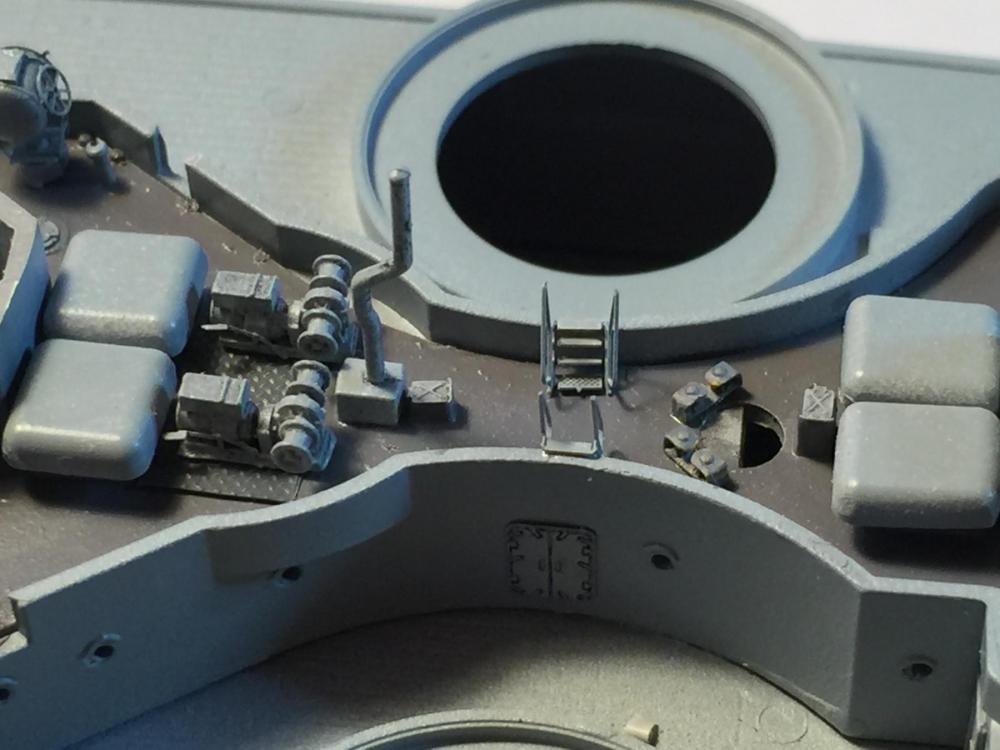
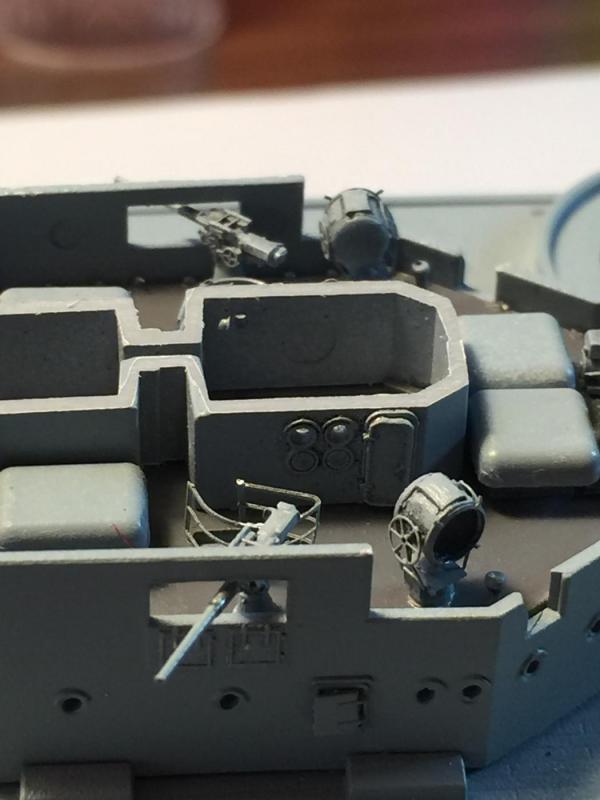
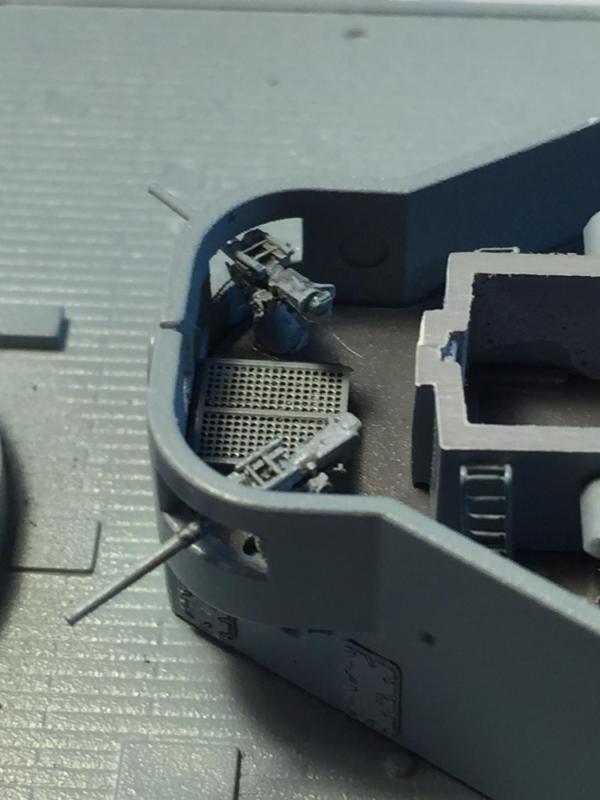
  9. Ok, on to the guns,

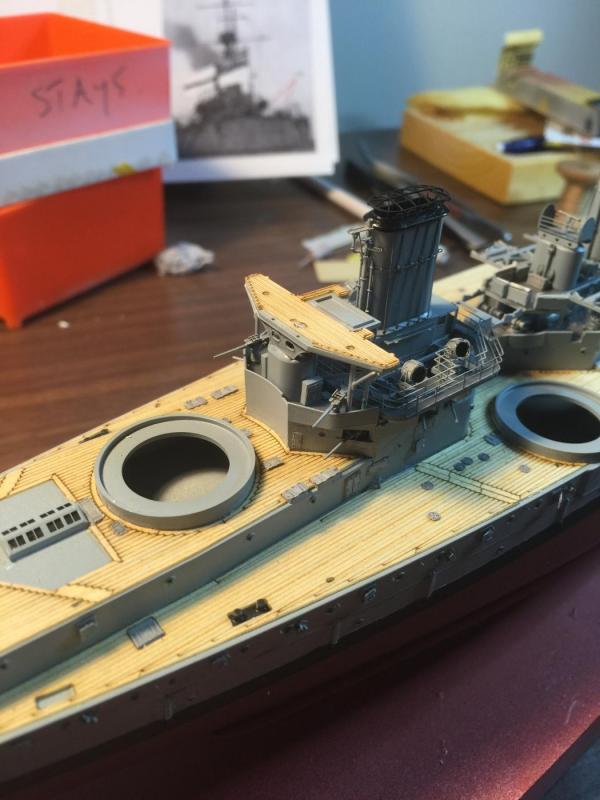
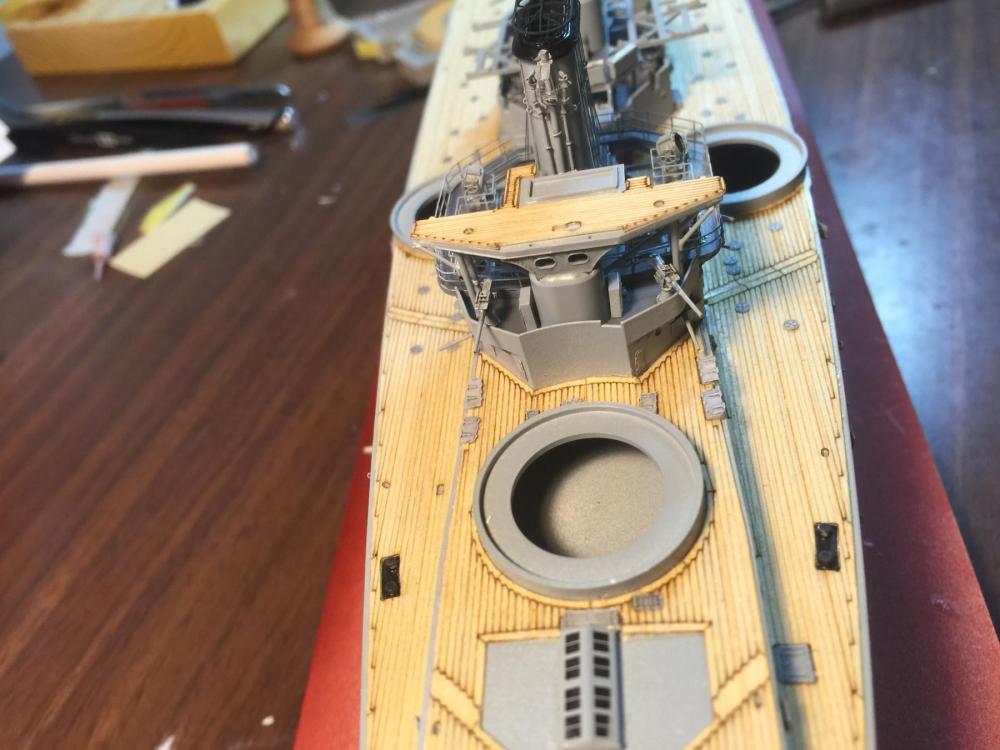
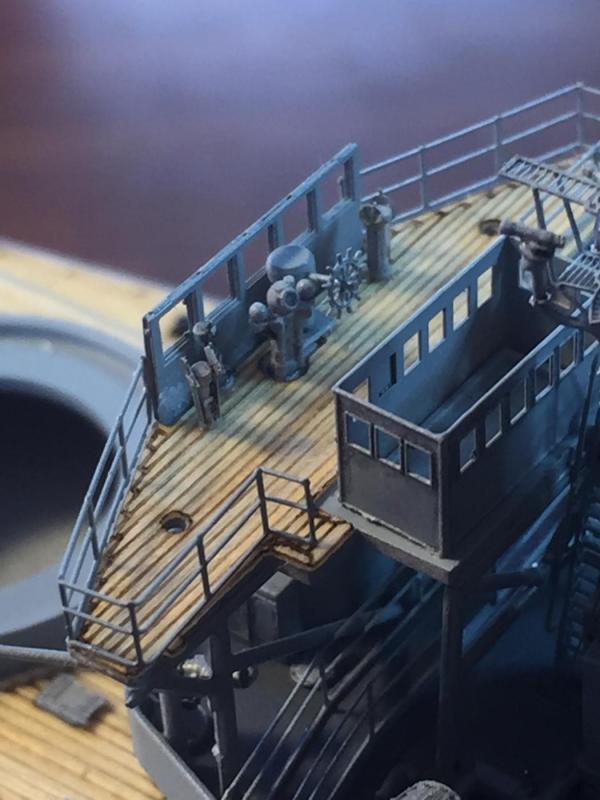
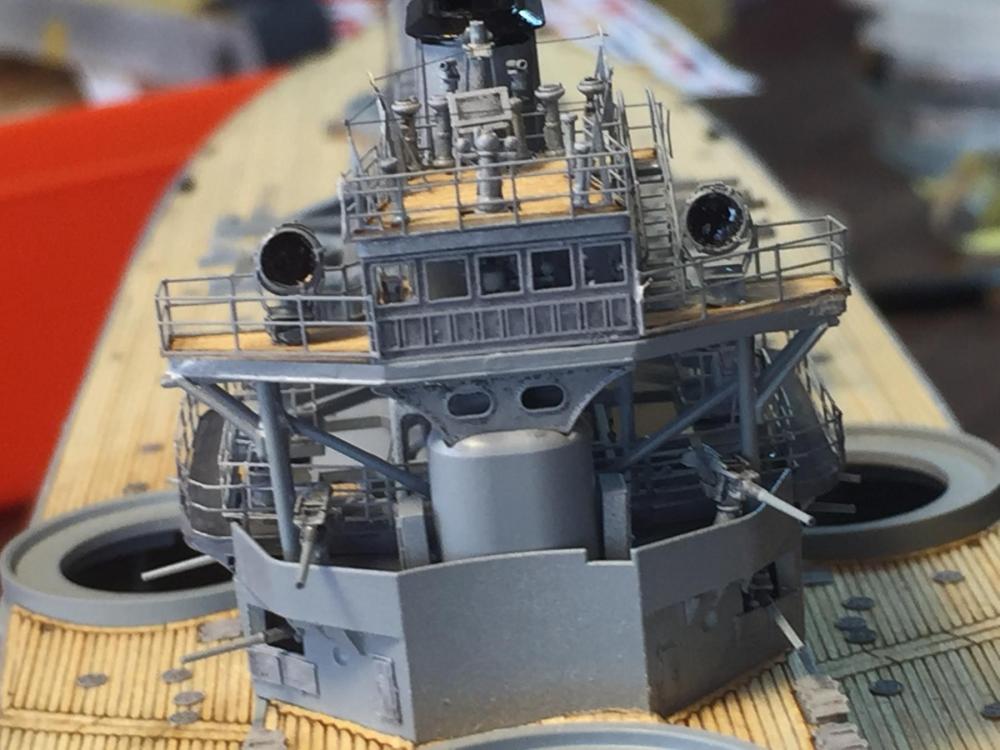
    • Wikipedia and other sources state that she (he I should, say, as apparently the Russians refer to their ships as he), had the following Armament: 12 six inch (152mm) guns, 12 × 1 - 75 mm (3.0 in) guns, 8 × 1 - 47 mm (1.9 in) guns, 2 × 1 - 37 mm (1.5 in) guns, plus torpedos. The blueprints also stipulate 2 maxim machine guns.

    I ordered the Komplet Zip 6 inch and 75mm guns and their 47mm.


    Each is a pack of 12 with resin barrels.


    I also ordered the Model Master Varyag barrel set. Which, as it turns out works fine for the 6 inch guns but not the lower rates as the barrels do not align.


    The Artowox barrels do not sit flush with the casings, and the pedestals are just poor.


    Needless to say, the 47mm barrels sit like crap so I used the 1 peice resin.


    North Star models make a small fret which includes the very fine trigger assembly for the 47mm and 37mm guns and Maxim's.


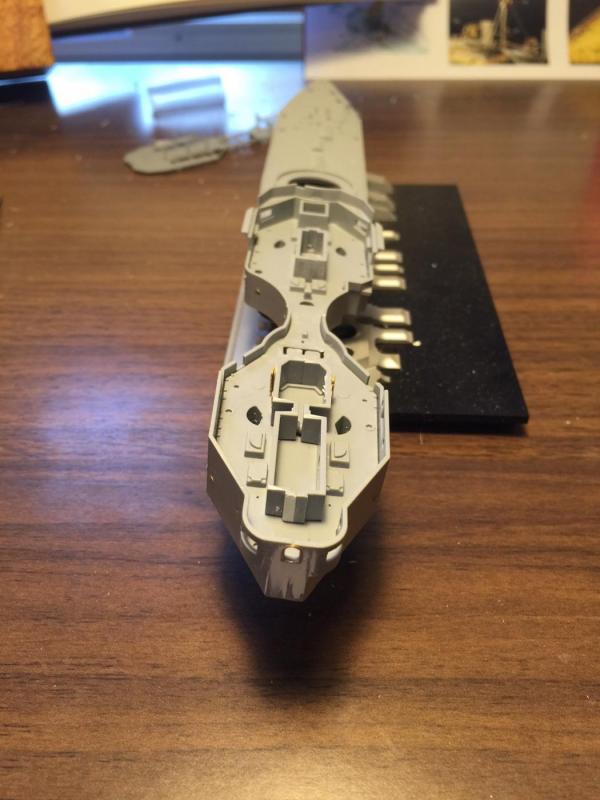
    I have included in this post what the 6 inch guns look like belowdecks as well as the original blue print specs for the guns as well as a diagram for a 1/200 kit for the guns themselves

    post-253-0-94949200-1444703533_thumb.jpg

    post-253-0-97510000-1444703554_thumb.jpg

    post-253-0-70059200-1444703561_thumb.jpg

    post-253-0-12292200-1444703573_thumb.jpg

    post-253-0-01031100-1444703582_thumb.png

  10. Thank you Ian, plodding along with the guns at the moment, the 6" are fairly simple, the 75mm are troubling me getting the barrels right, the 47mm are tiny, and have 1mm trigger assemblies and 1mm barrels which will be a challenge, the Maxims are even smaller. Once they are finished, the Davits and their rigging, then individual stanchions for the railings, using hair thin wire for the railing wire, then the torpedo net booms, the shafts and props. What usually happens next is the wife's cat will jump up on the desk and knock it over, adding a few more months of work.


    I have the Revell twin kit of the Emden and Dresen on the shelf but I'd like to do something more regal.

  11. Finished on the back end rigging. The only rigging left will be on the davits. The ship will now go into the drydock for a while whilst I do up the armament, davits and torpedo net booms.


    There are a lot of guns and I will be doing up both the Artwox offering and the Komplet Zip ones (aftermarket) to see which comes up better.


    A bit of natural light on the old girl shows it up quite nicely.

    post-253-0-15492800-1444527782_thumb.jpg

    post-253-0-52539300-1444527801_thumb.jpg

    post-253-0-92849800-1444527813_thumb.jpg

    post-253-0-34300400-1444527834_thumb.jpg

  12. Working at this scale makes lasing lines very very difficult. I intend to paint the yards black which will cover a few sins. The foremast is now complete and I just have to do the rear mast.


    The stays and ratlines are a piece of PE, the Eduard ones are way out of scale.

    post-253-0-36913300-1444439610_thumb.jpg

    post-253-0-78743000-1444439627_thumb.jpg

    post-253-0-91941600-1444439644_thumb.jpg

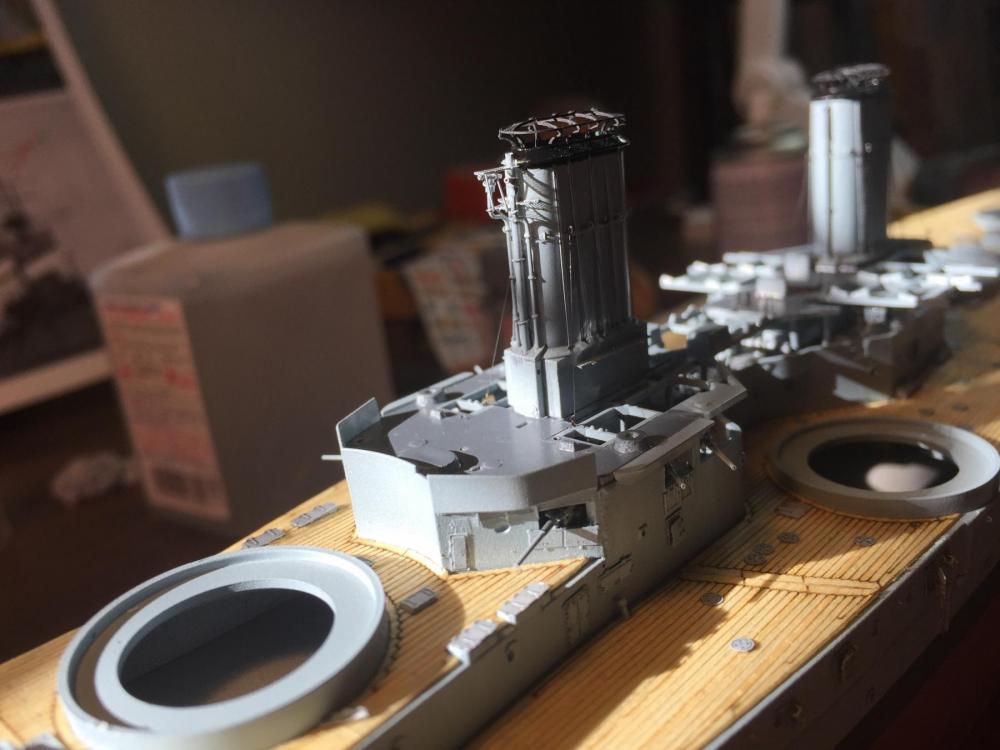
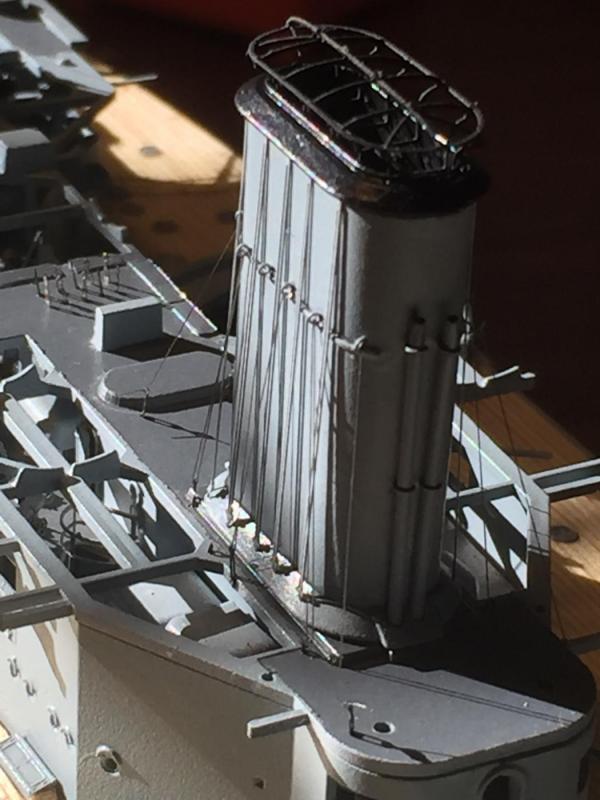
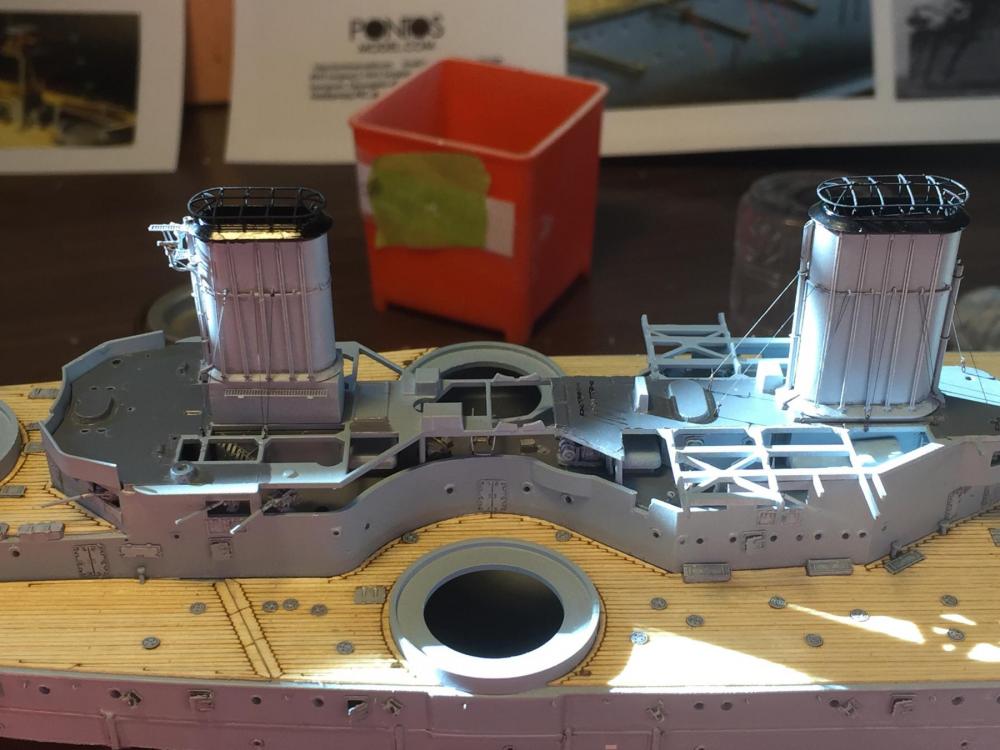
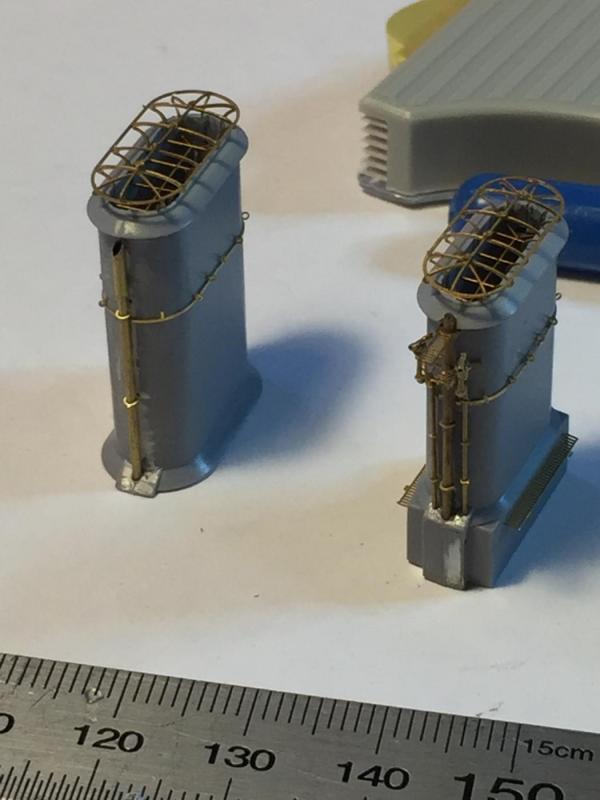
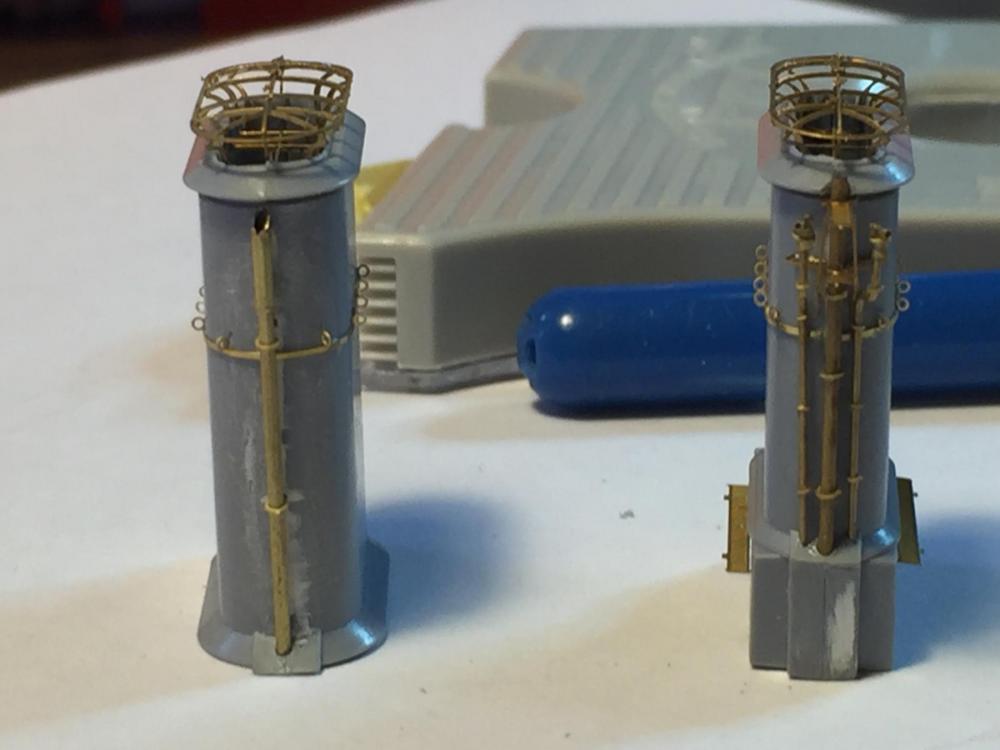
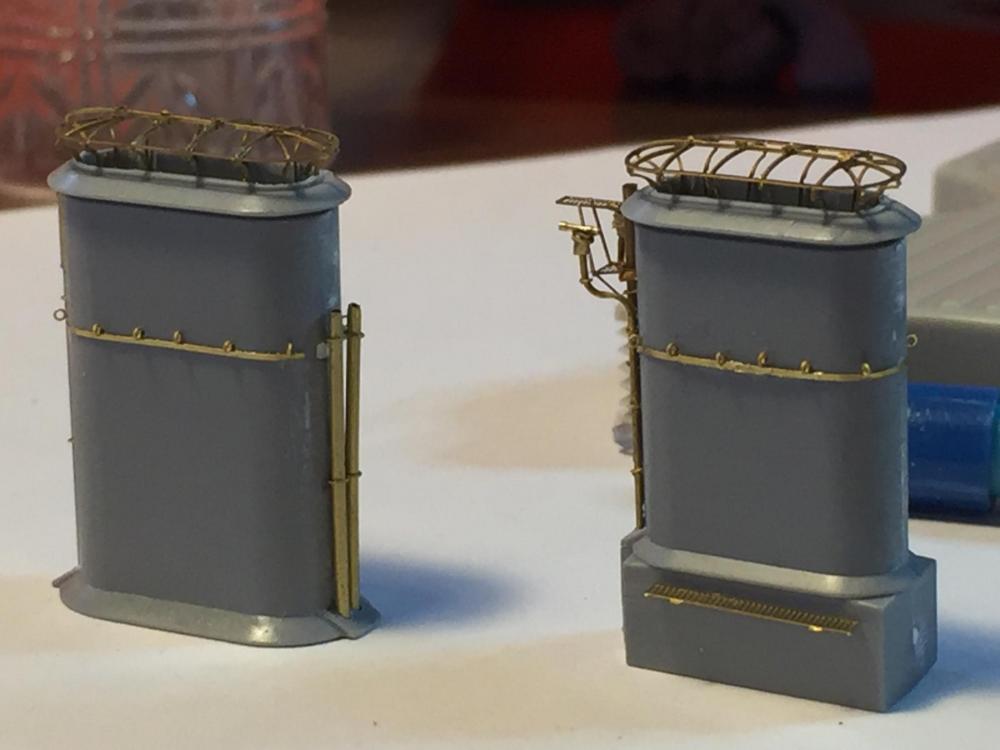
  13. Ok, just to prove I do know something about rigging for those that missed my previous log, I added a photo of my Endeavour in its case.  it is nerve racking! Every time you hit a line you think something is going to snap off. At 1/350, belaying points are a nightmare and whilst you could not use it on a proper ship model, the ezyline stuff has heaps of give and does not pull the model if you hit a line by mistake. The guylines on the funnels first.

    post-253-0-99486900-1444439401_thumb.jpg

    post-253-0-80775800-1444439442_thumb.jpg

    post-253-0-56972600-1444439459_thumb.jpg

×
×
  • Create New...