


RGL
-
Posts
5,388 -
Joined
-
Last visited
Content Type
Profiles
Forums
Gallery
Events
Posts posted by RGL
-
-
-
Don't get disparaged, I have spent 5 days prepping all the final stages of my build, all the etch is done and now just to paint. It shouldn't be work, that pays the mortgage and school fees. And for beer of course.
- cog, mtaylor, popeye the sailor and 2 others
-
 5
5
-
-
-
-
-
-
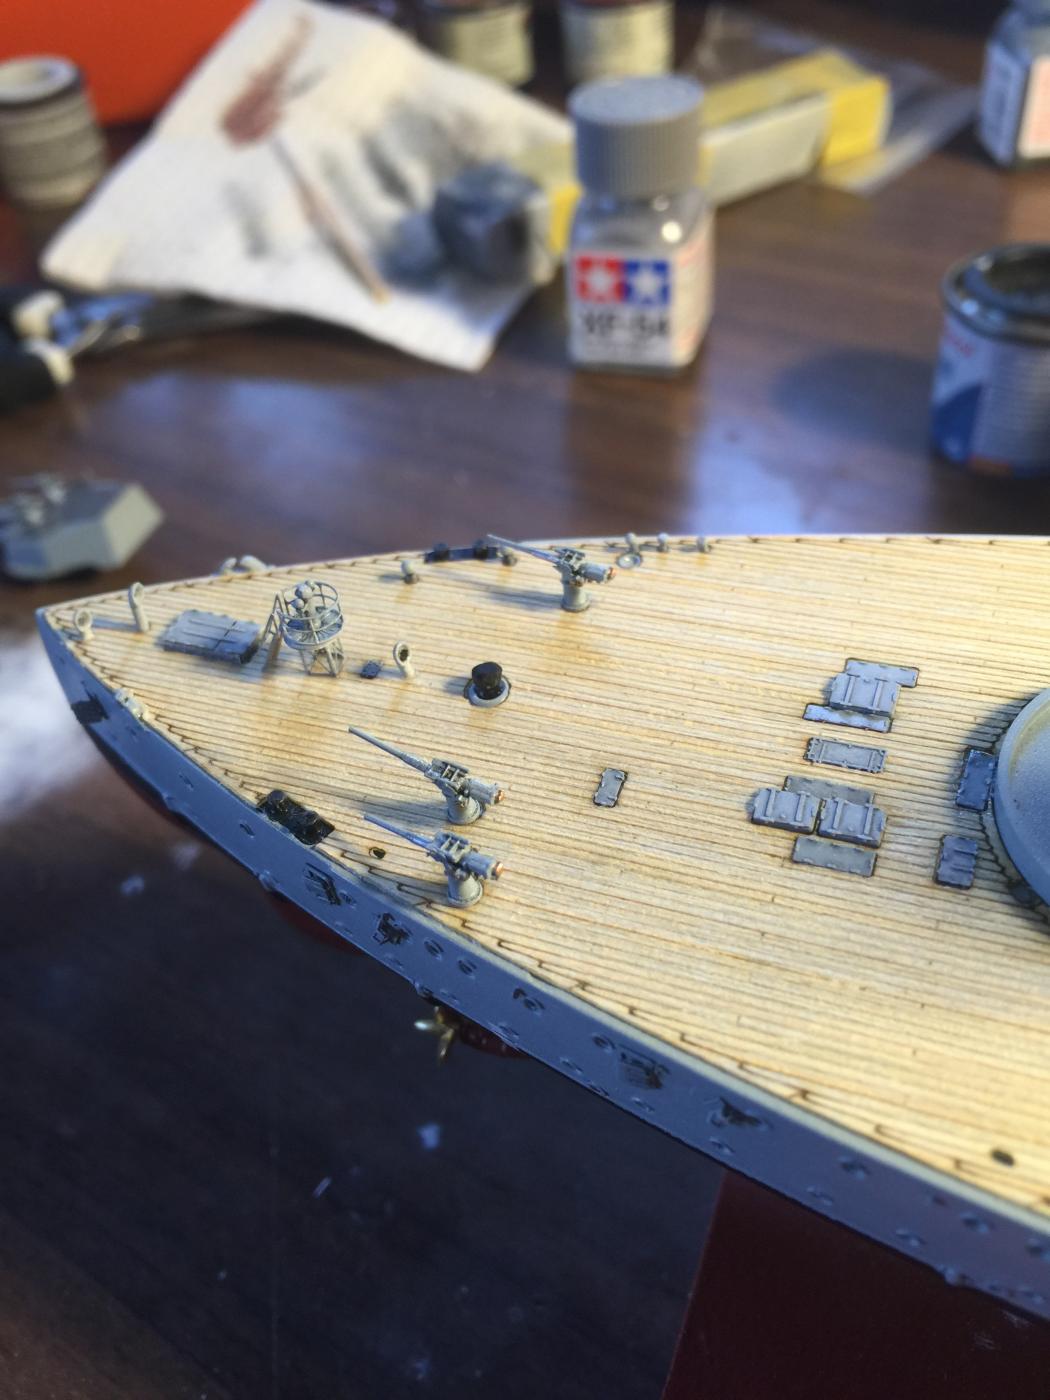
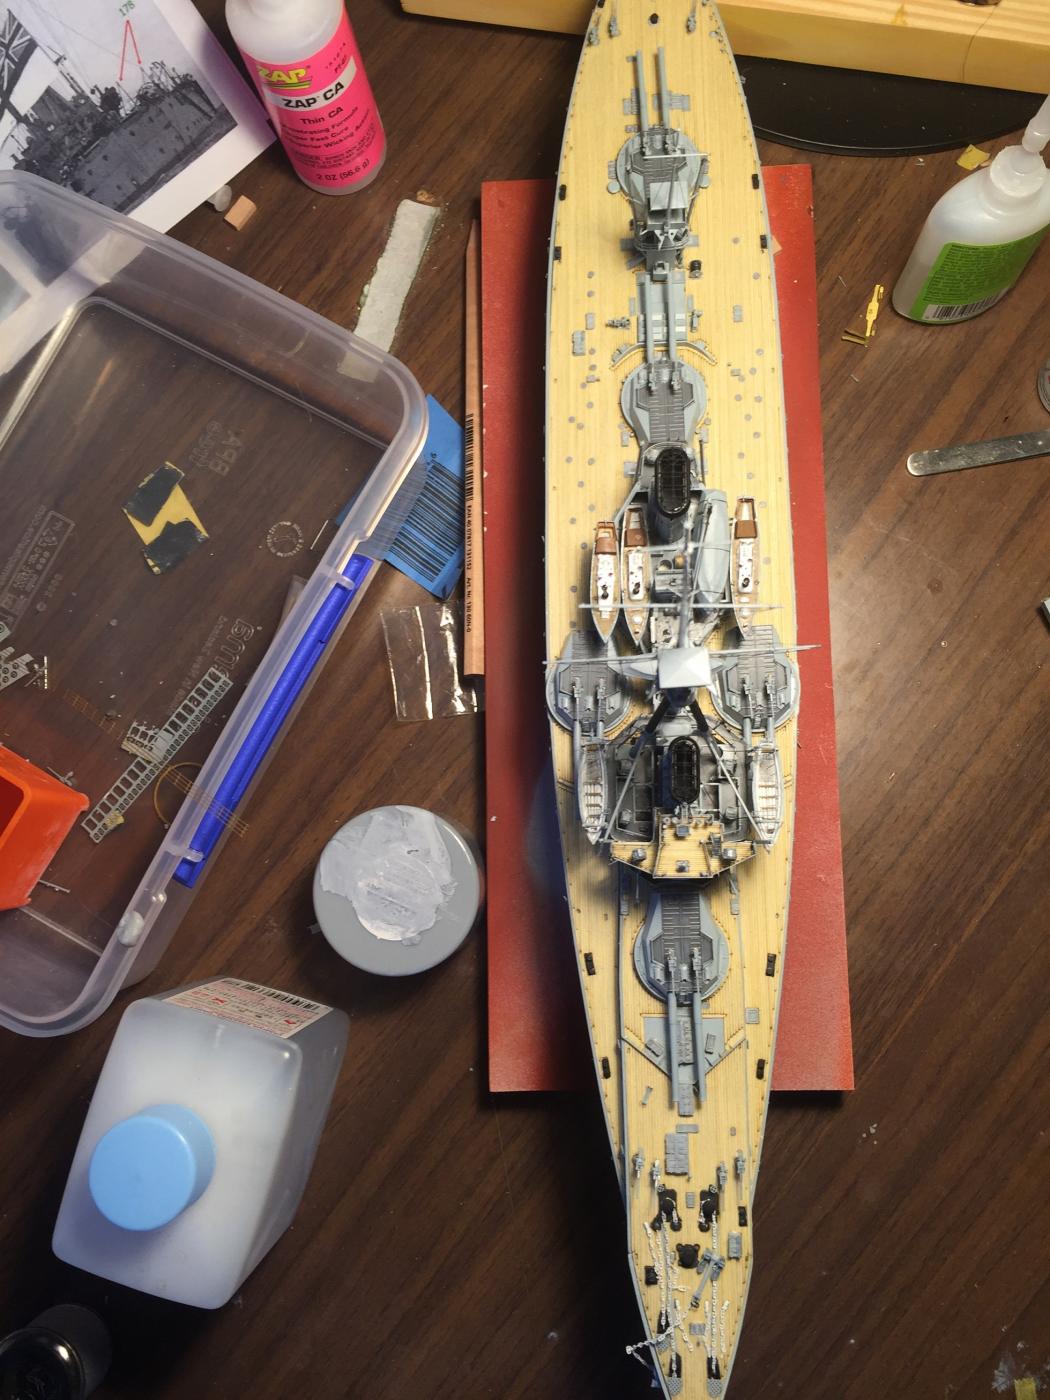
Considering how much even the really expensive aftermarket leaves out requiring even more internet shopping, I'm not going to go larger, as I have lots of spares now, yet alone the storage space required. It might force my hand into buying an airbrush as well which I have been putting off. This scale shows detail without the bulk.
Happy to watch others tackle the big stuff!
- WackoWolf, mtaylor, Old Collingwood and 3 others
-
6
-
-
-
-
-
Seriously, I did go a little cross eyed. It took me three hours to do the first failure, absolute mess, but it's done and slung, bugger me it worked! Photos to come after the youngest gets off the computer.
- mtaylor, Elijah, Old Collingwood and 3 others
-
6
-
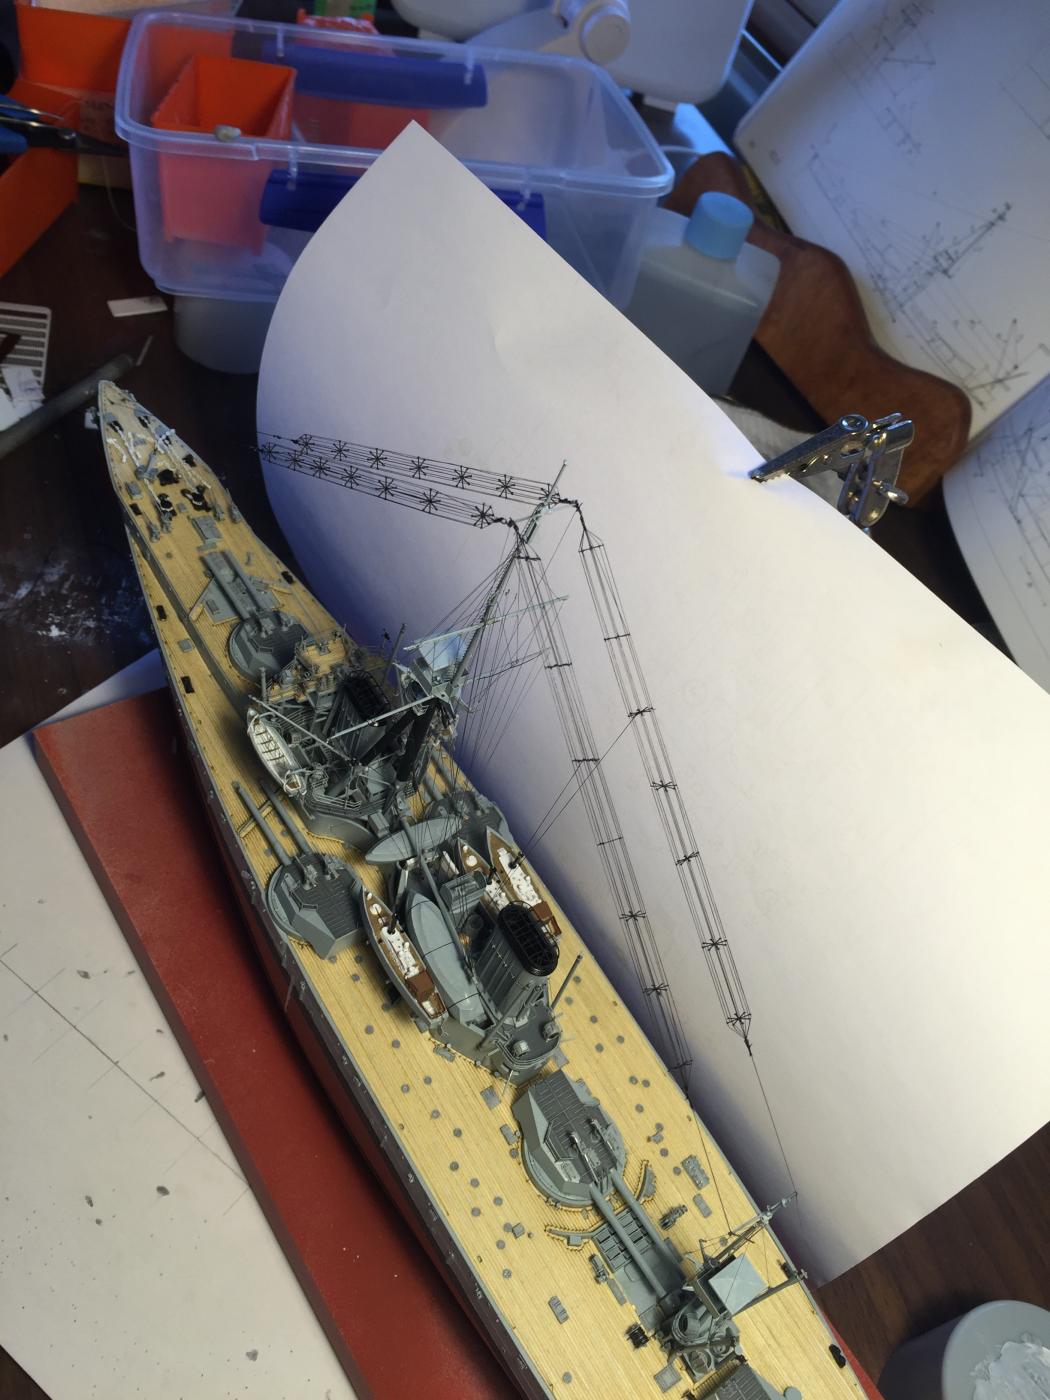
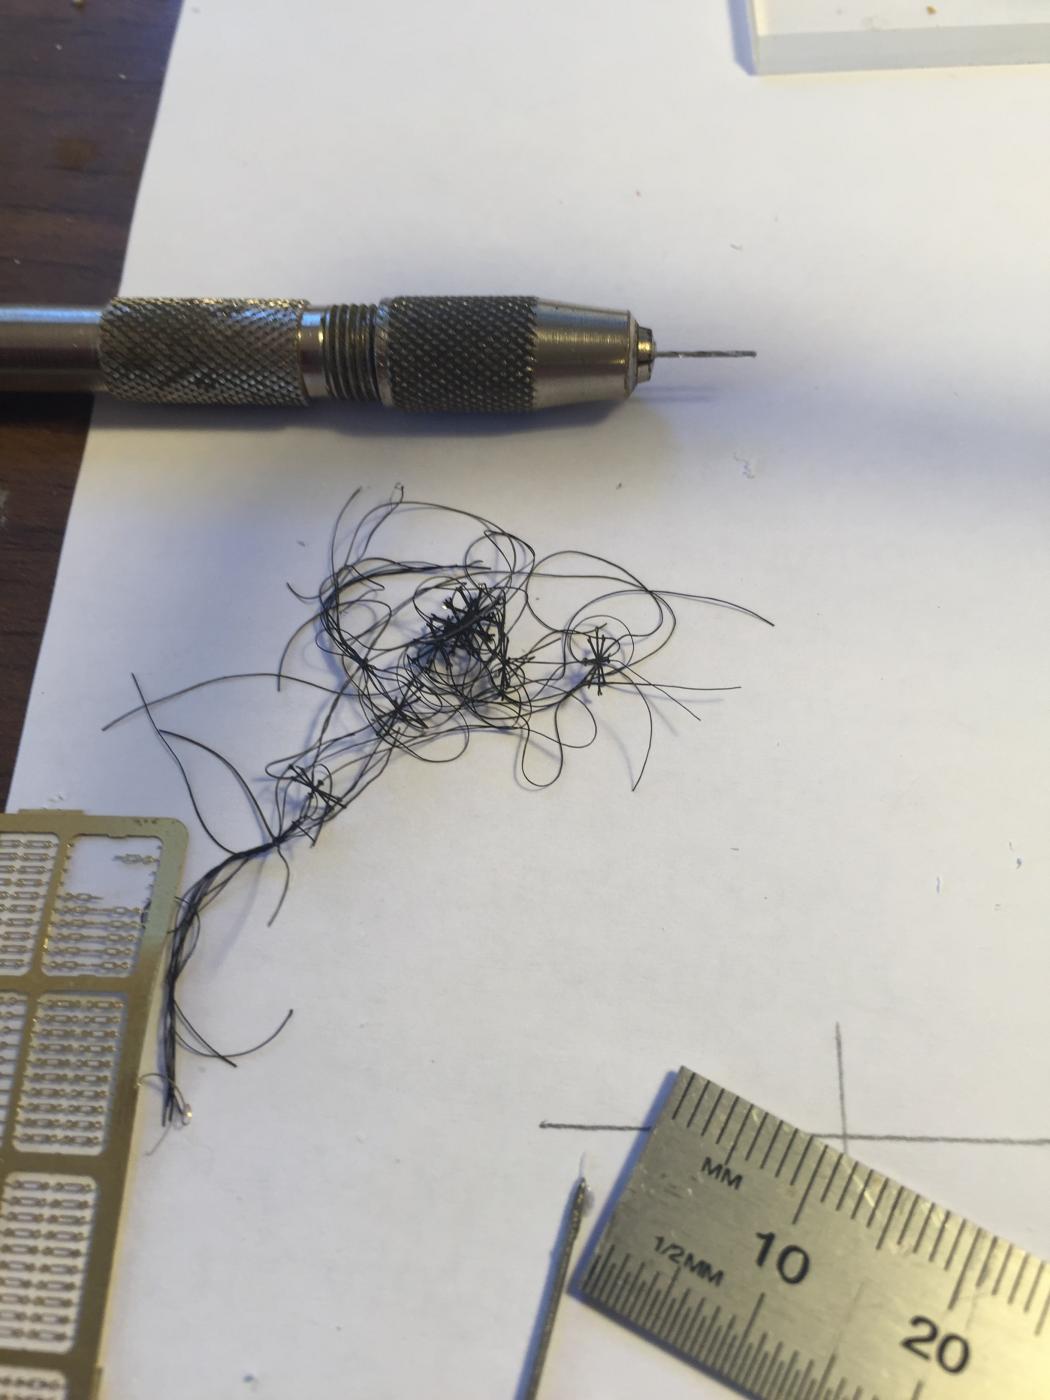
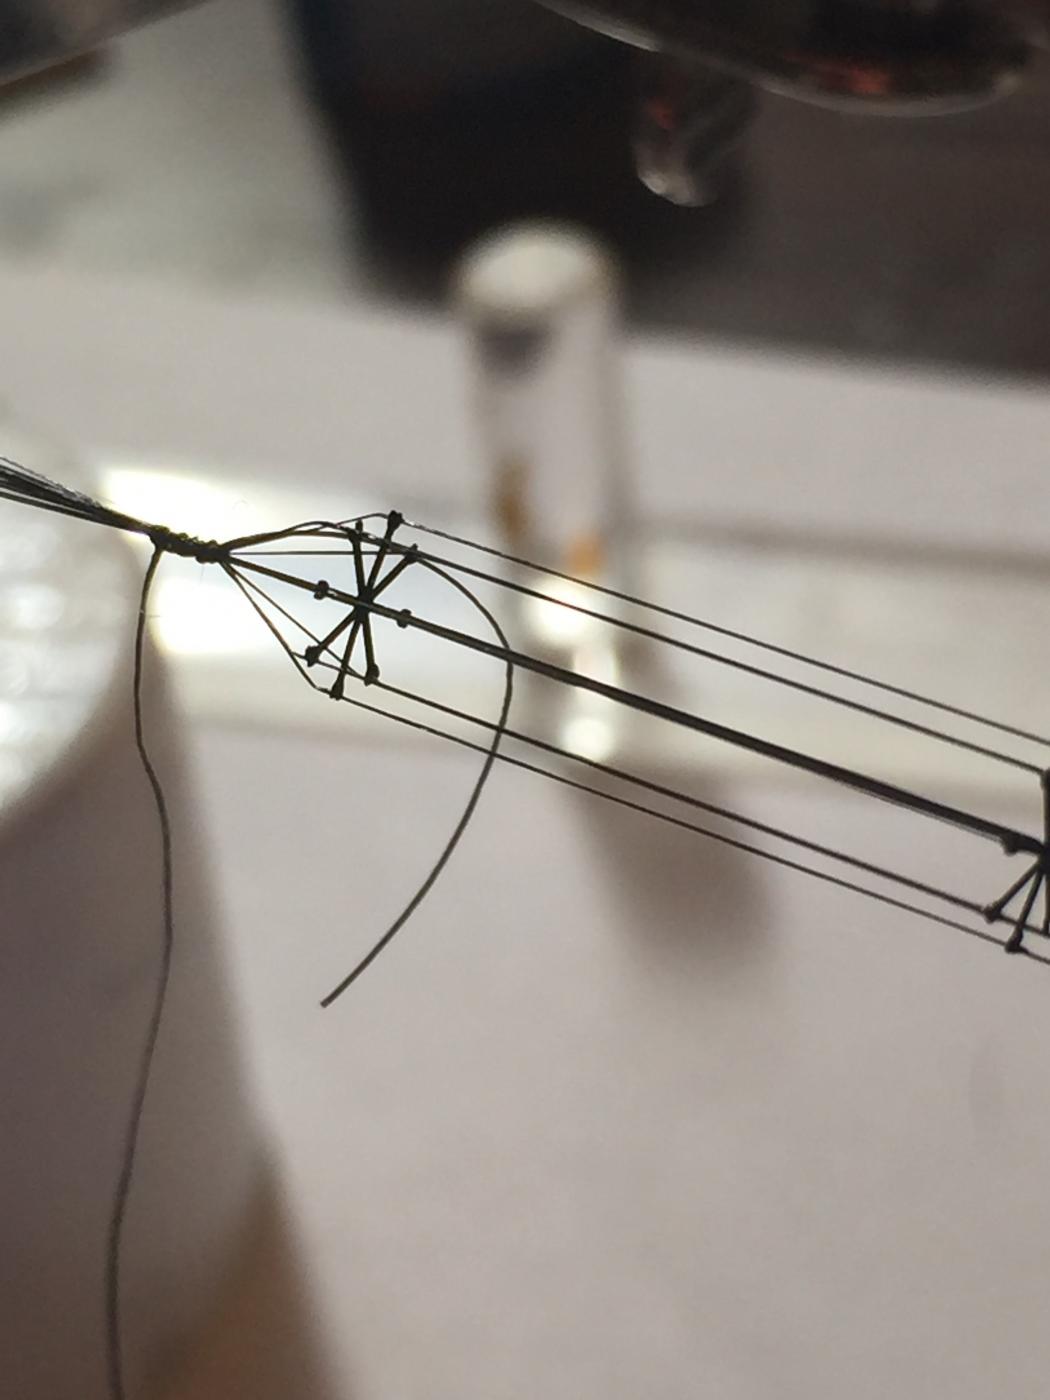
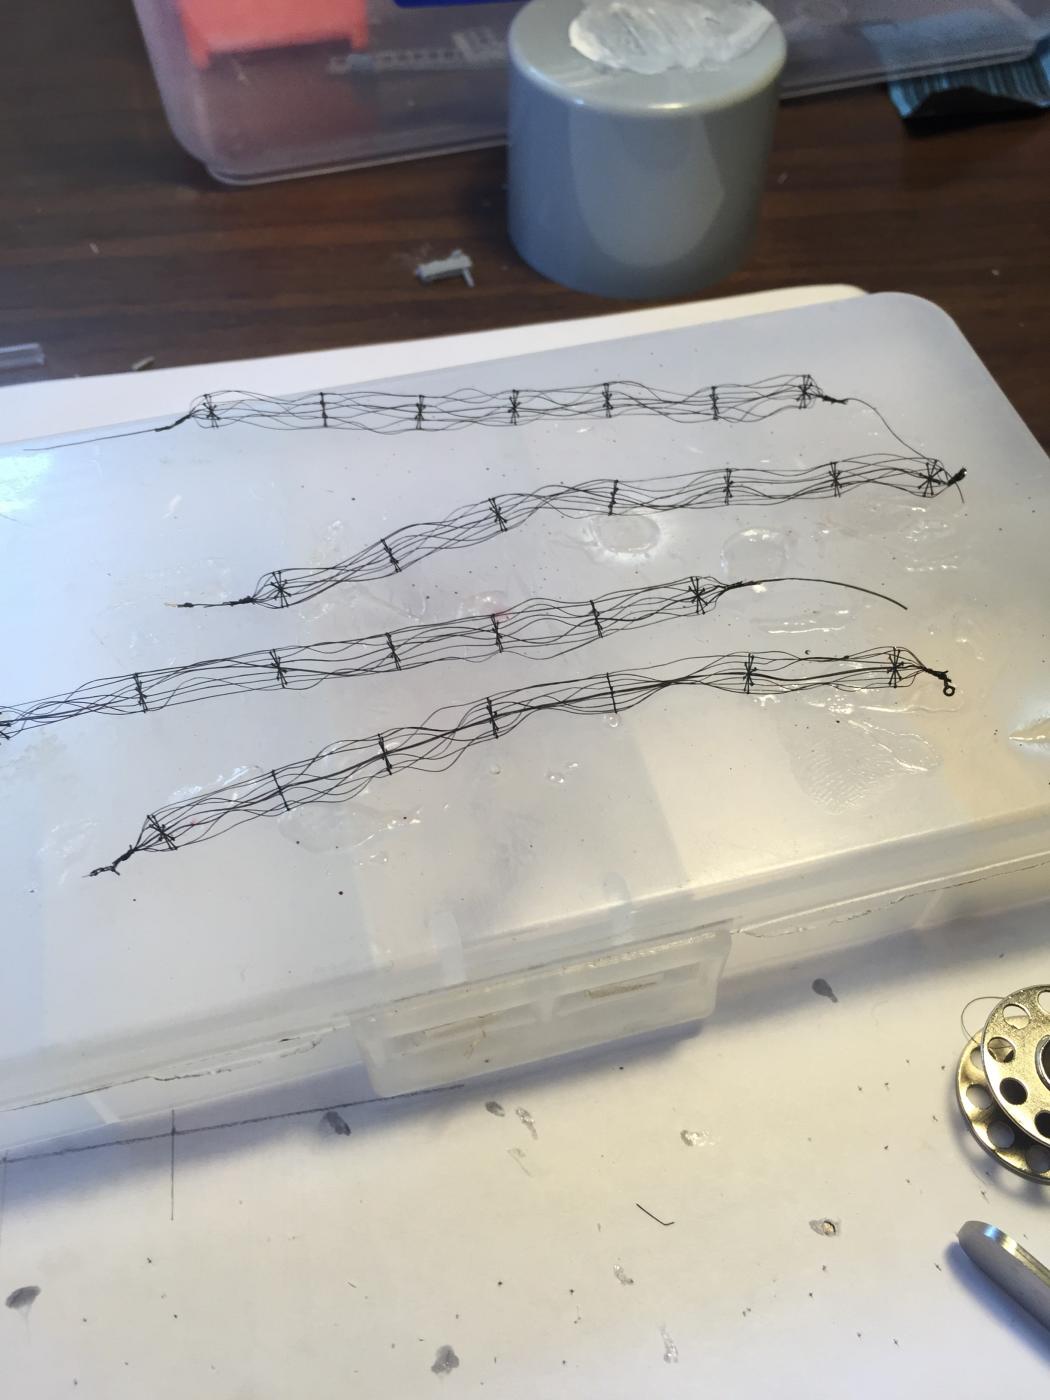
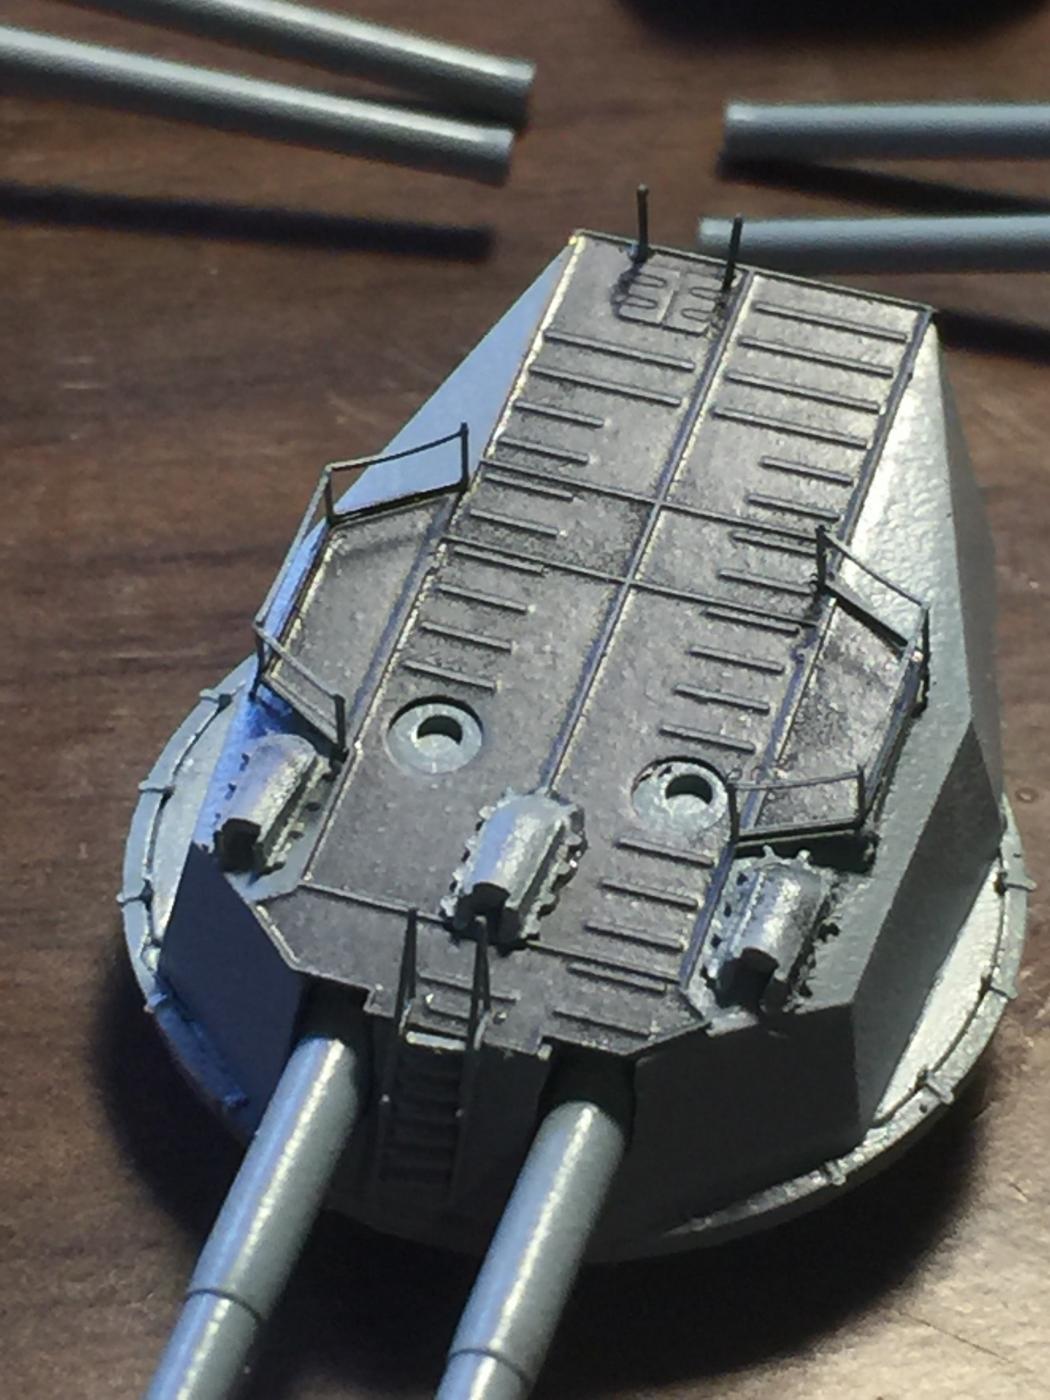
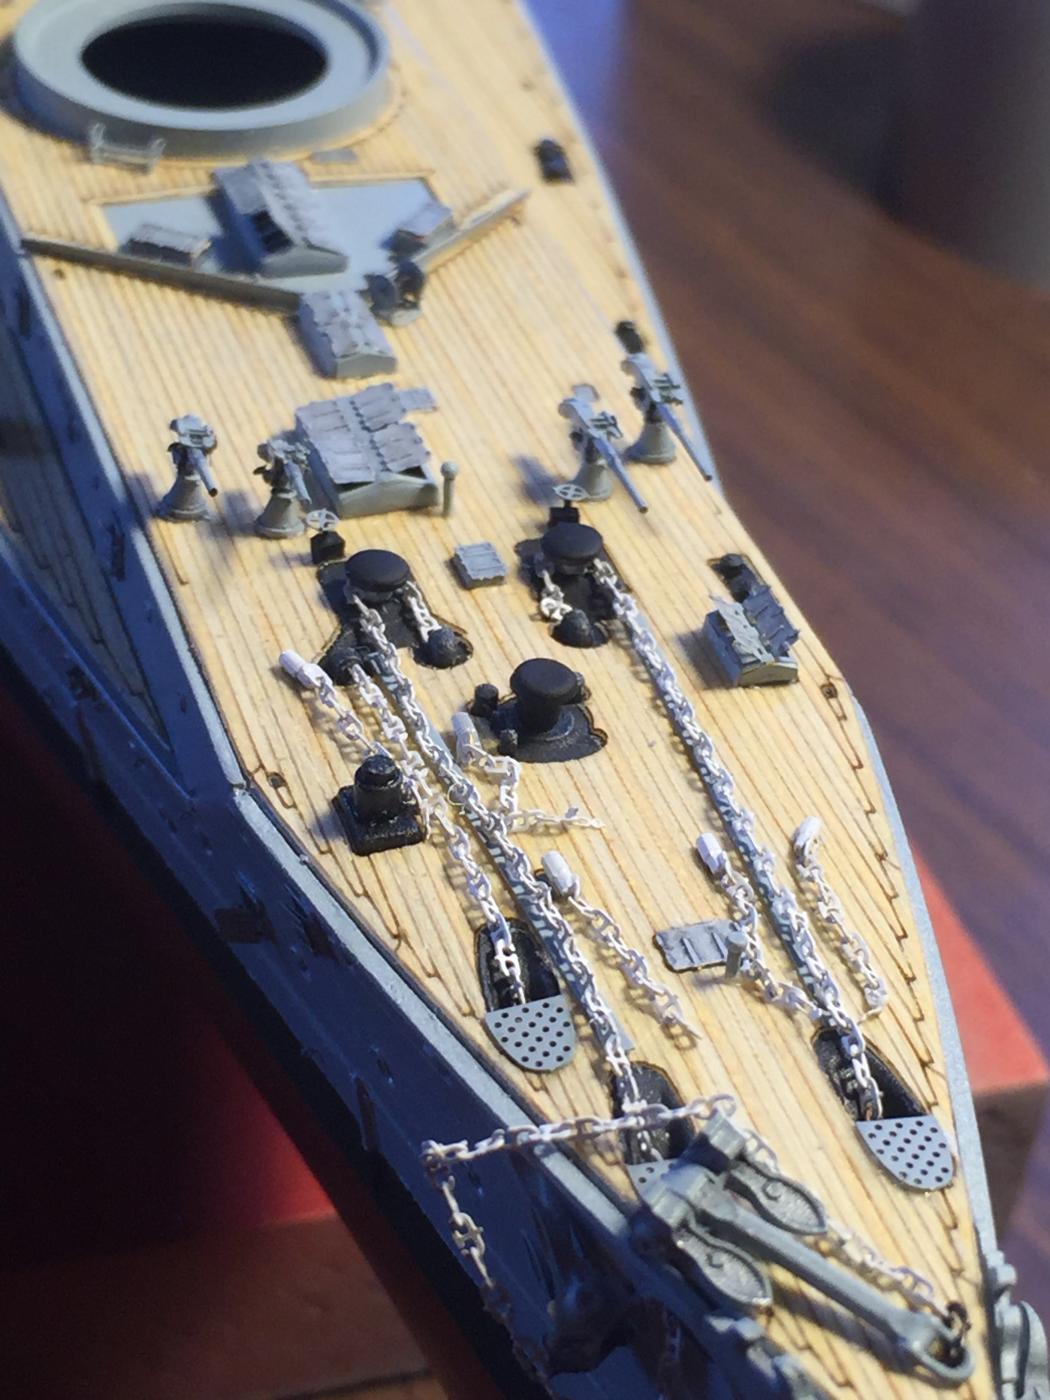
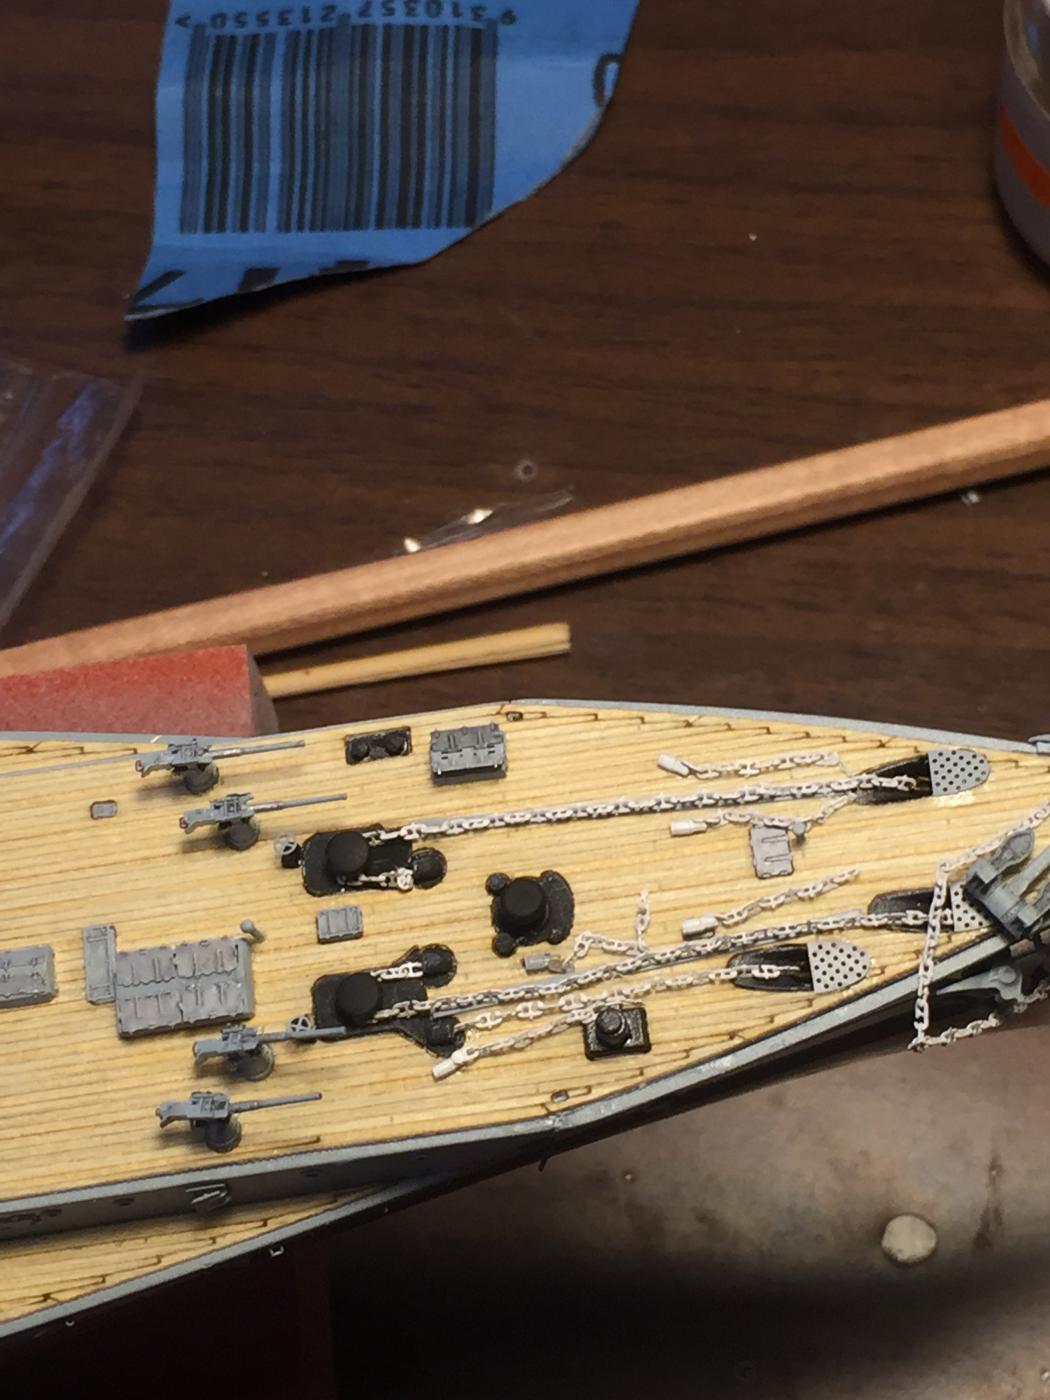
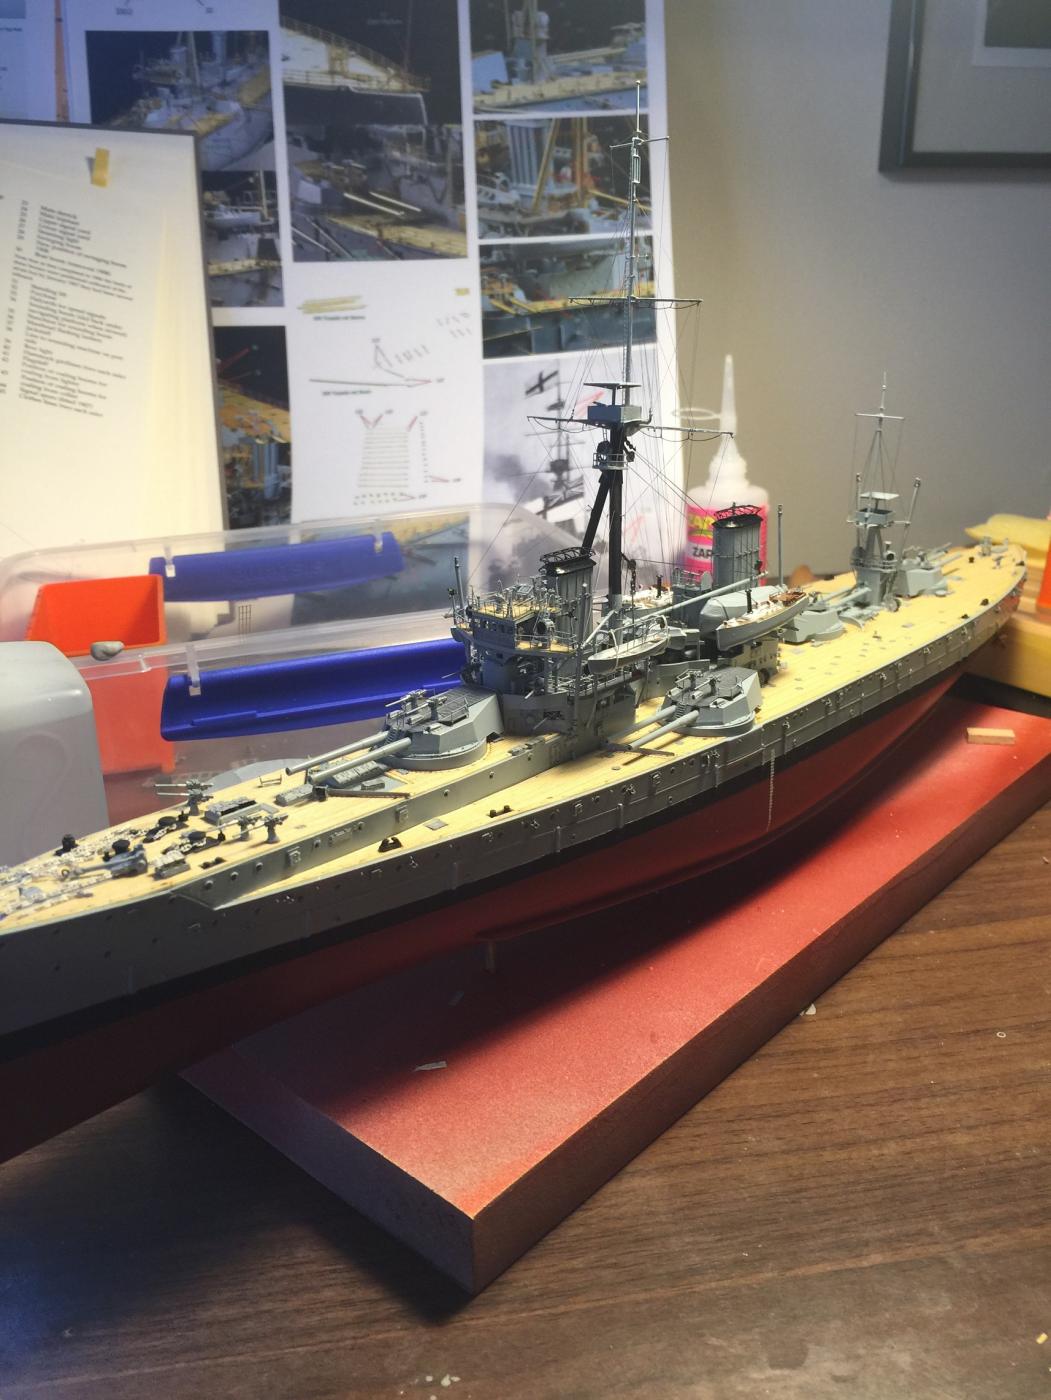
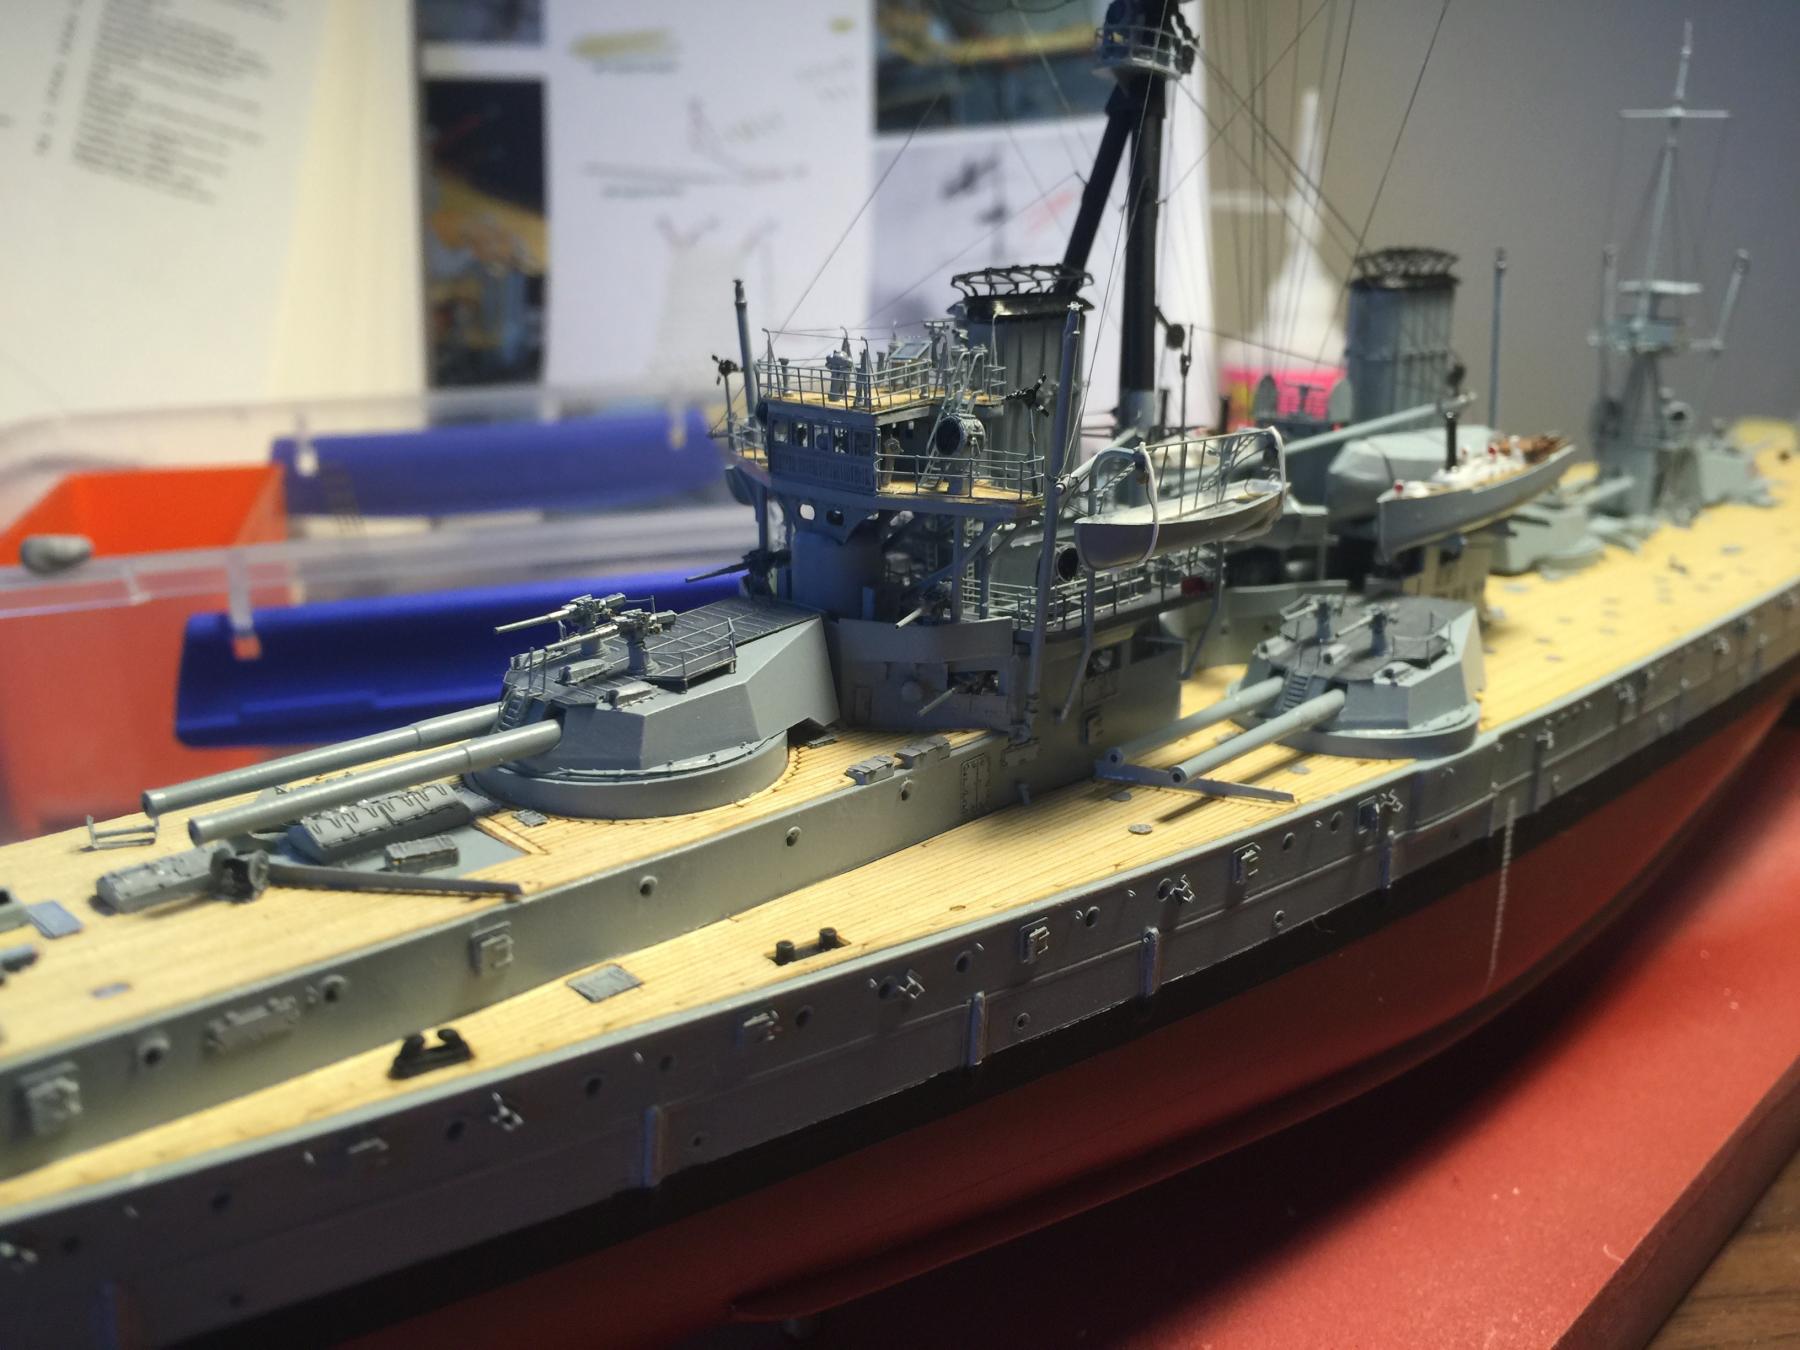
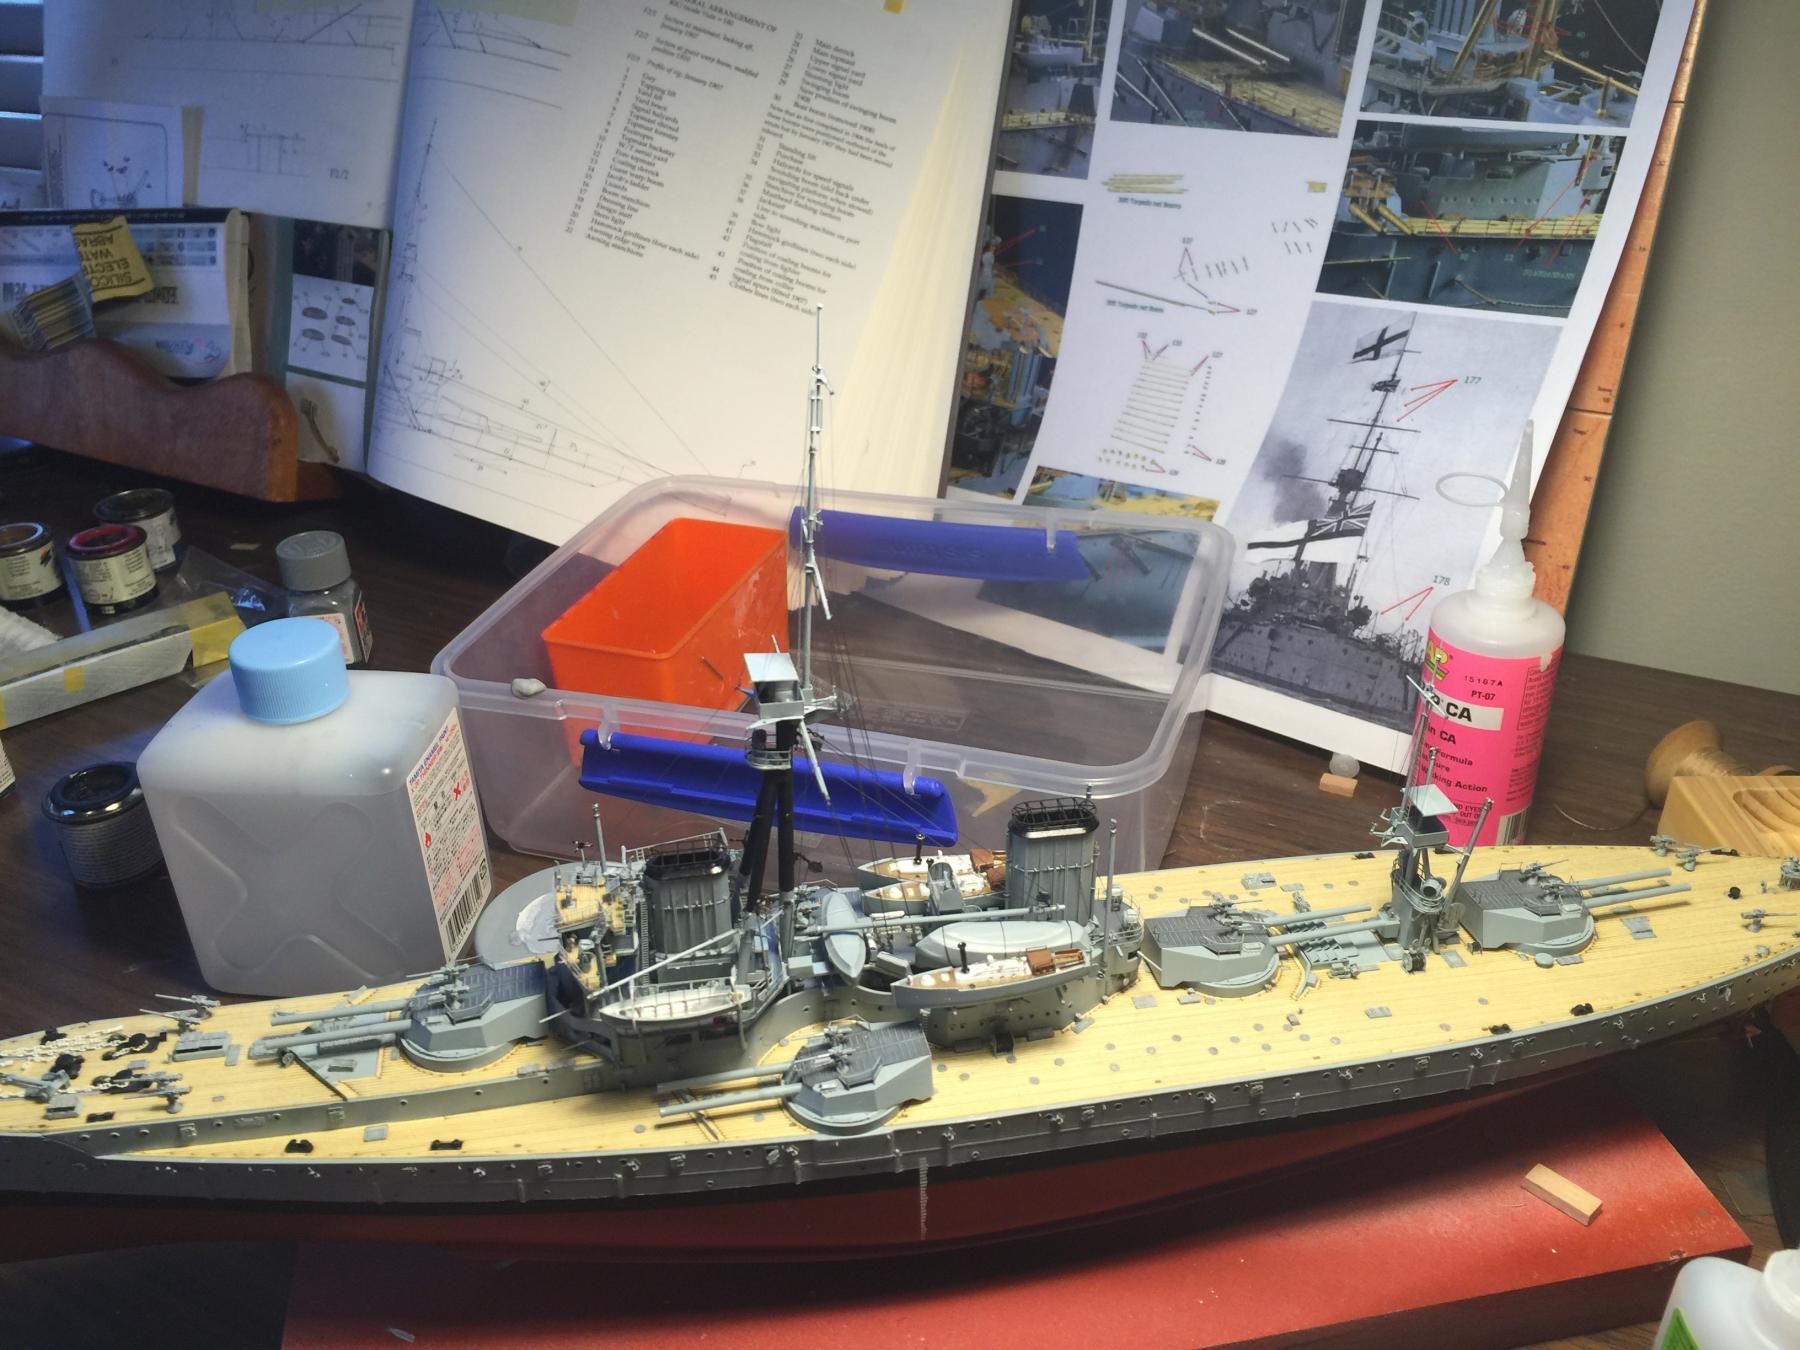
There is a special room in hell for the designers of the aerials on the dreadnought. The kit comes with spreaders, and I see most people try and use stretched sprue or thin metal wire, but trying to be consistent I used the ezyline. The first attempt came out like this.
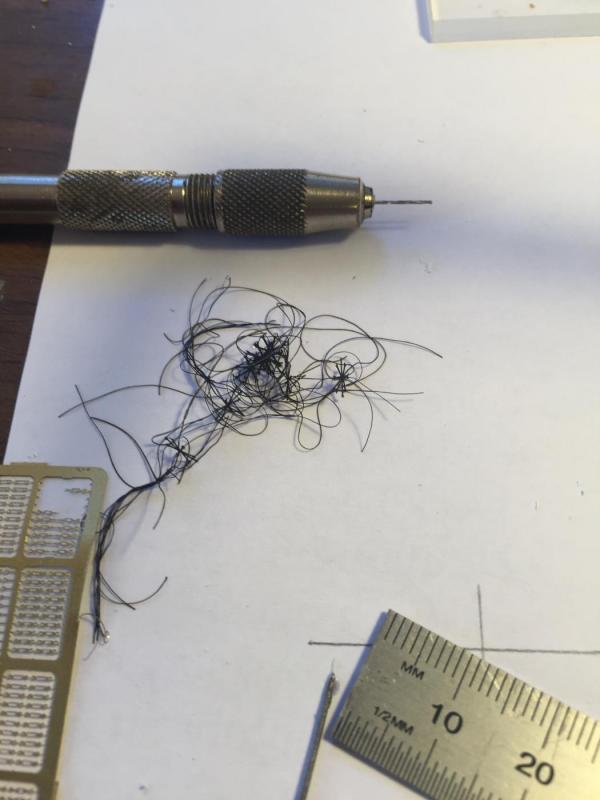
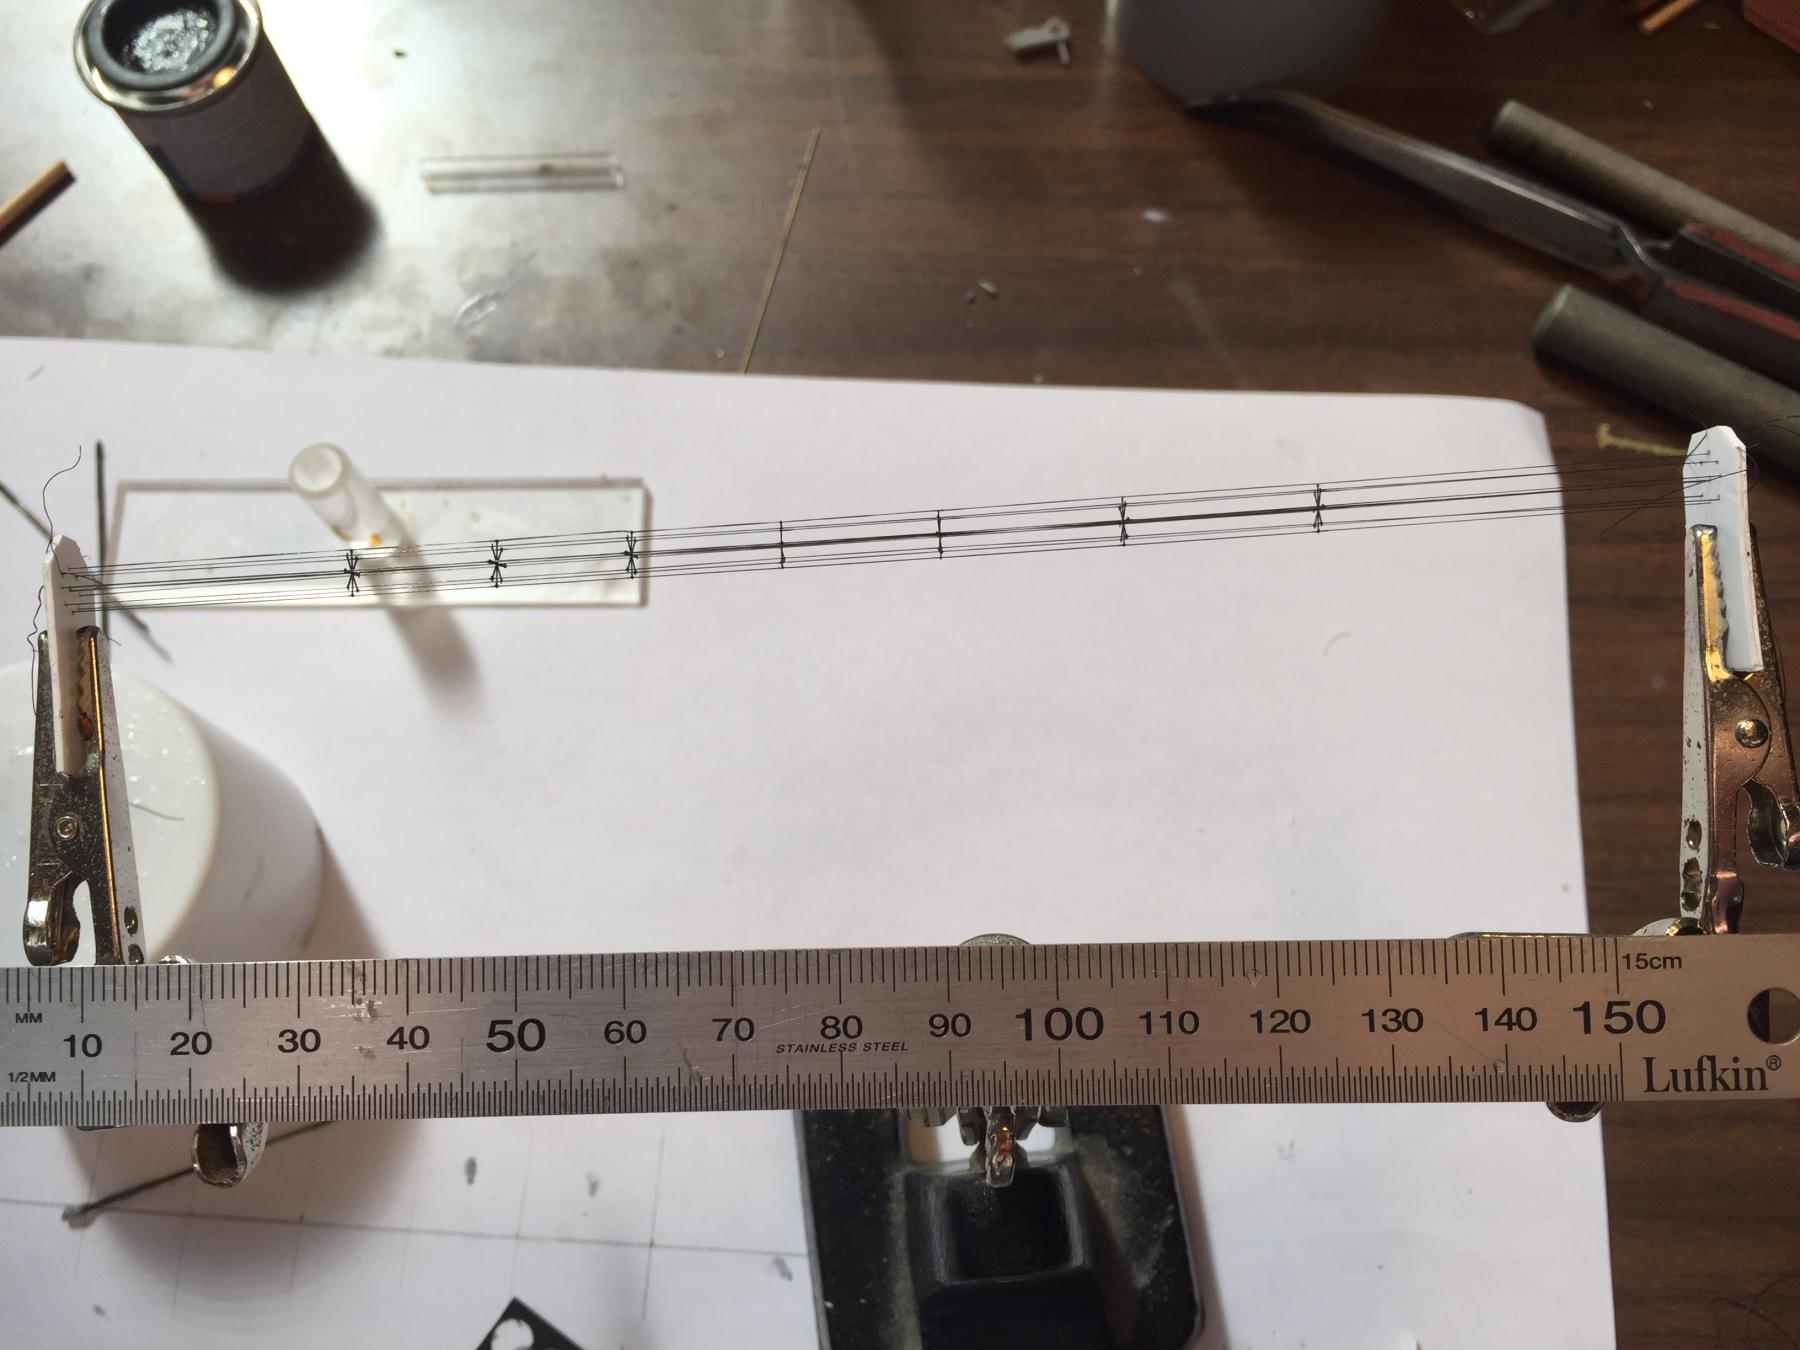
A little more thought and going cross-eyed because of the scale, I came up with this.
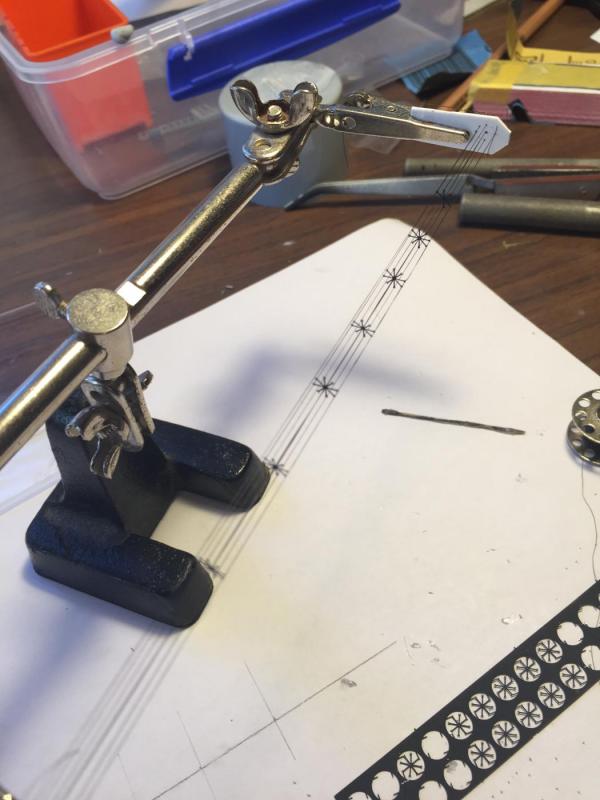


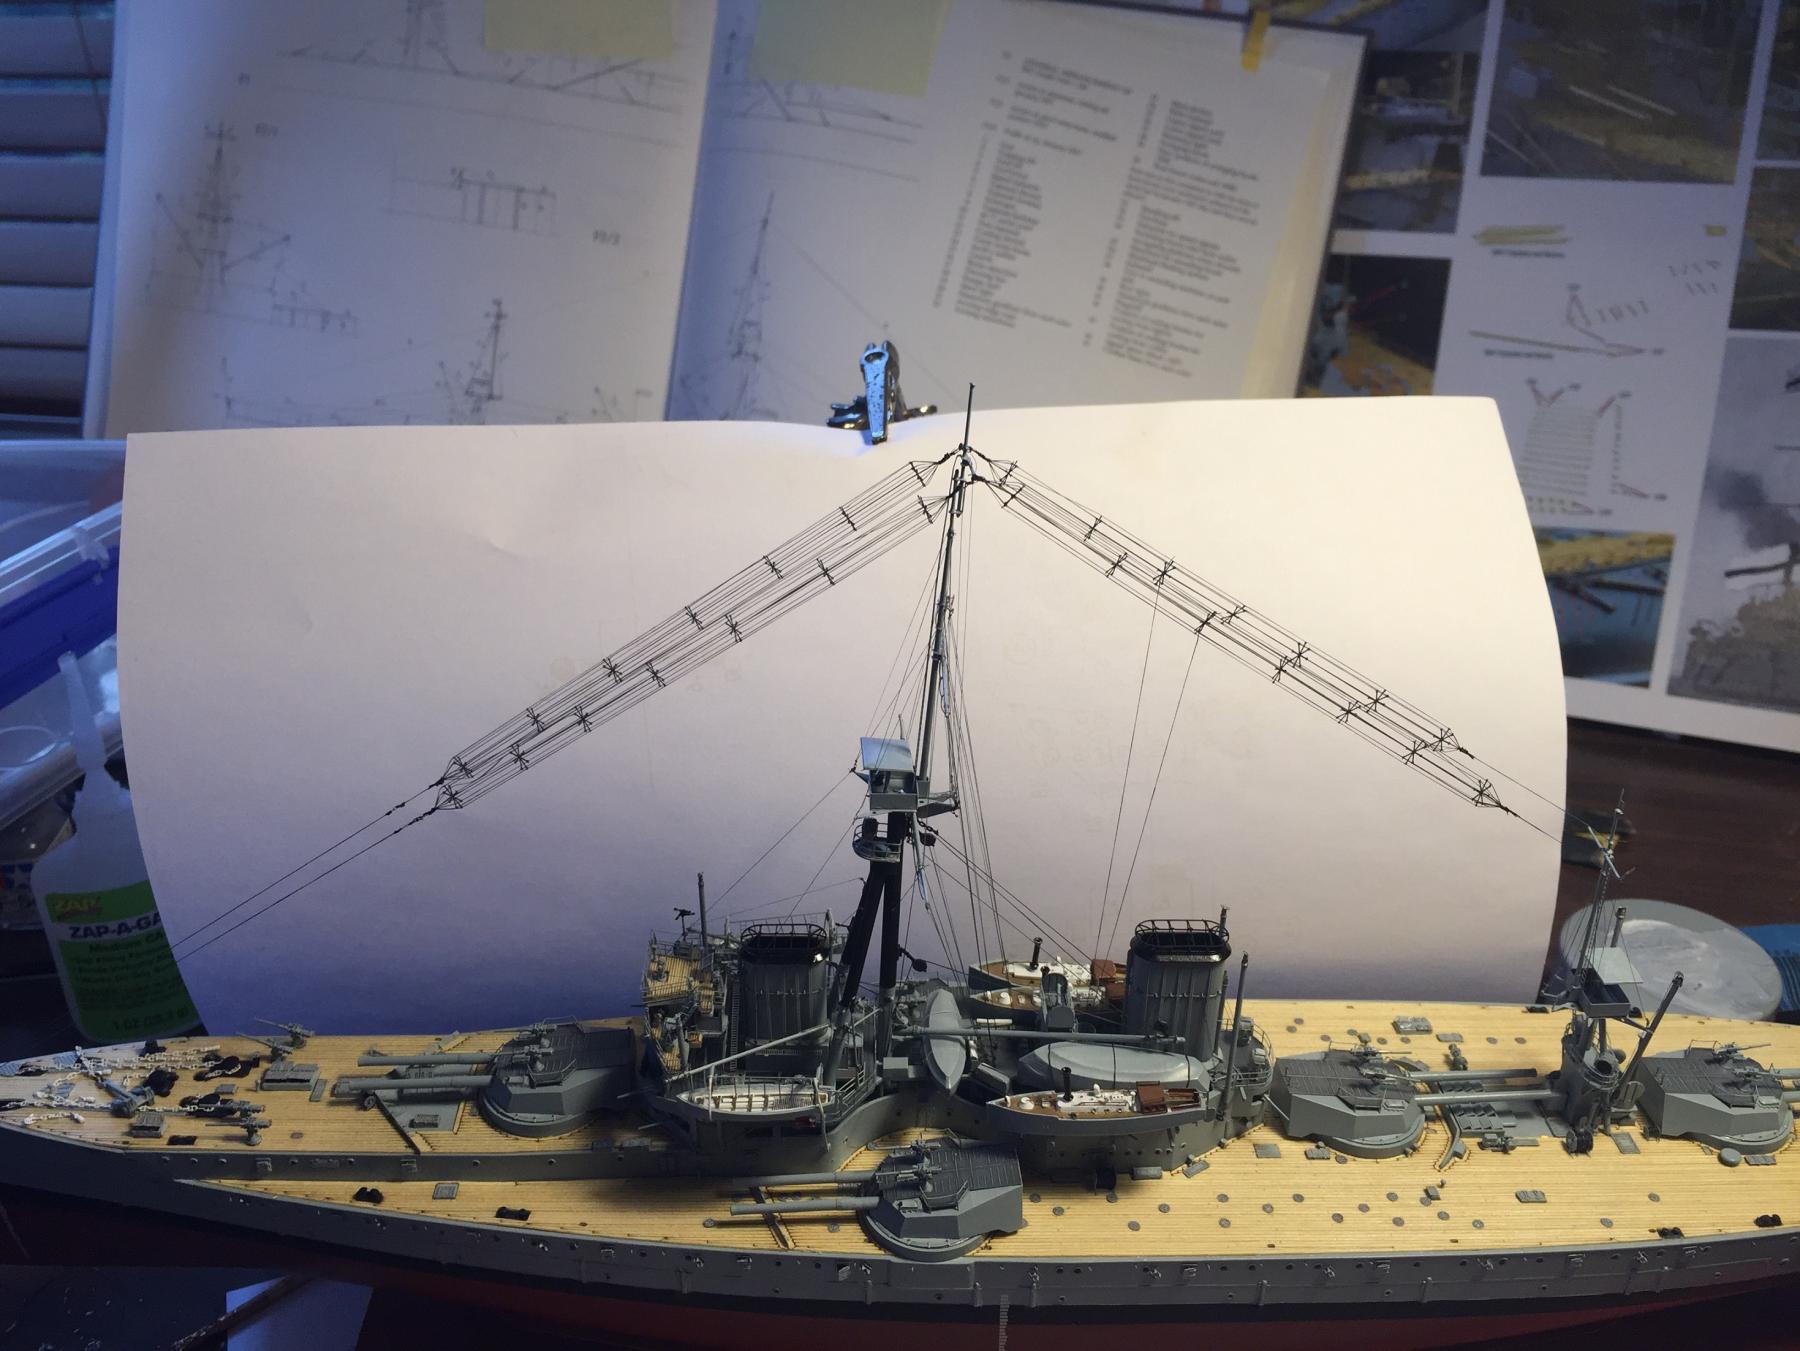
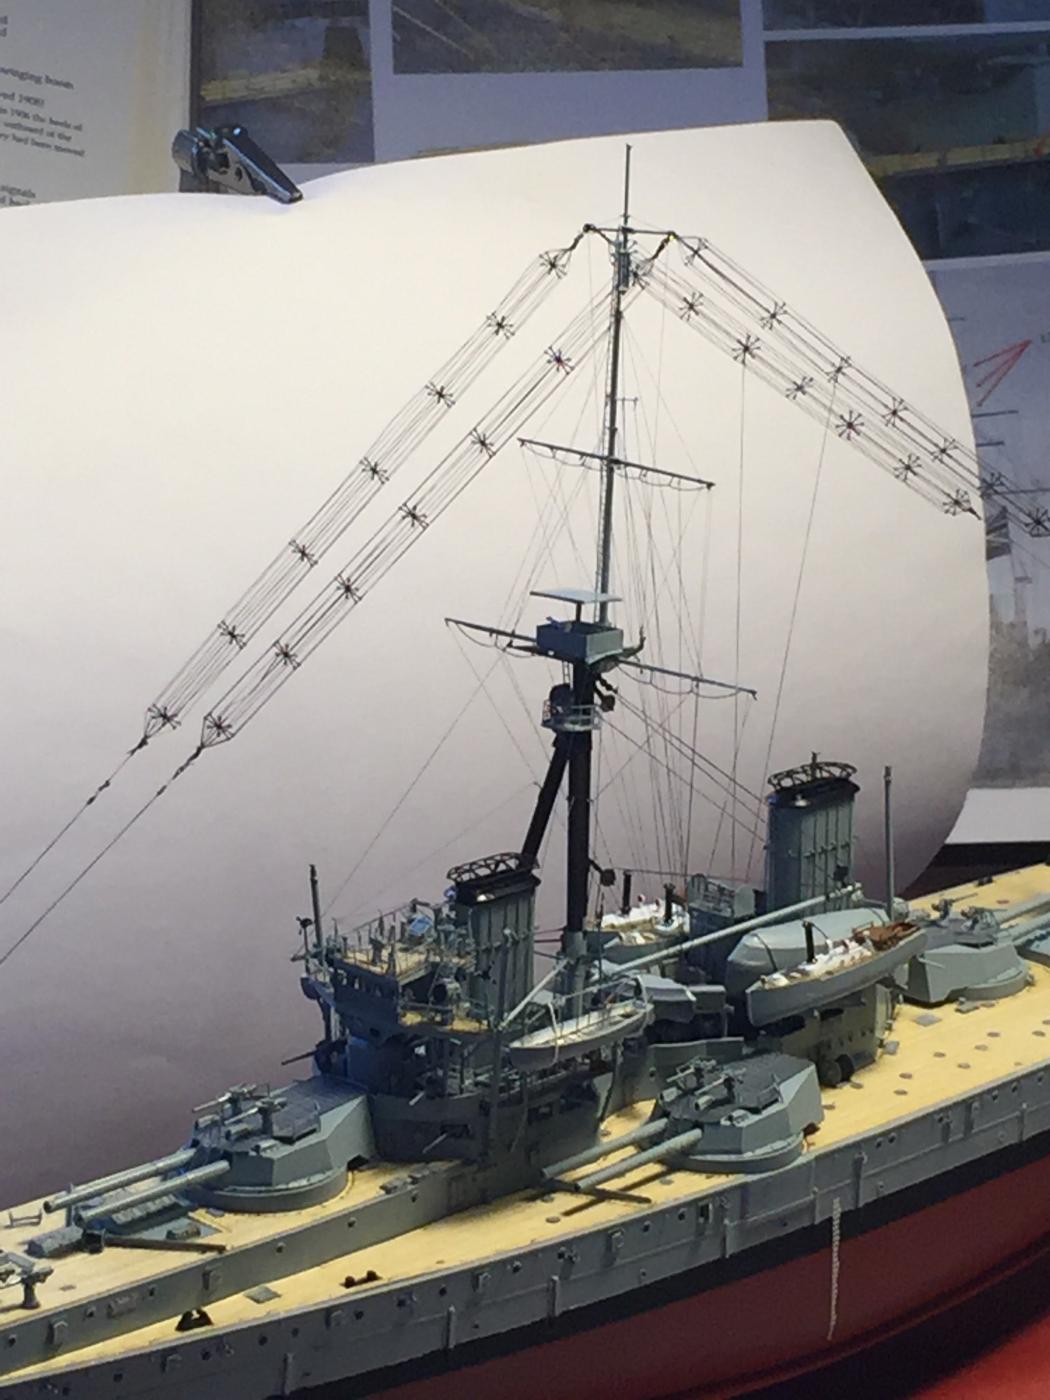
And hopefully I can end up with this.
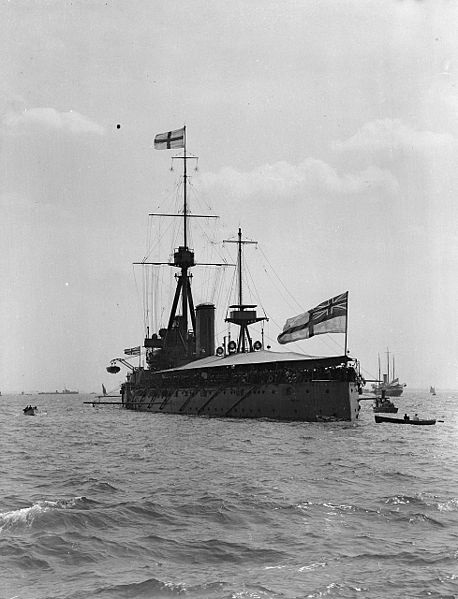
I just have to attach them under tension now. Then I can finally ad some more rigging, and back to making progress.
- BANYAN, mtaylor, shipcarpenter and 11 others
-
14
-
Torpedo nets will be deployed old chap.
- Old Collingwood, Canute, Elijah and 1 other
-
4
-
-
-
-
-
Welcome back old boy! Most of the painting is done, but I did spend a good hour today searching for a prodigal lamb of a periscope that went into orbit, and my employer demanding that I put in an honest day's work. My youngest saw me searching the floor said; "you've lost something"
"Yes mate"
"I bet it's important"
"Yes mate, otherwise I would not be on my hands and knees looking for it"
As it eventuates, it was 6 inches away, not on the floor, and the hour I spent mentally preparing the email to Flyhawk begging a replacement was not wasted as the floor is very clean.
- Old Collingwood, Elijah, Canute and 2 others
-
5
-
-
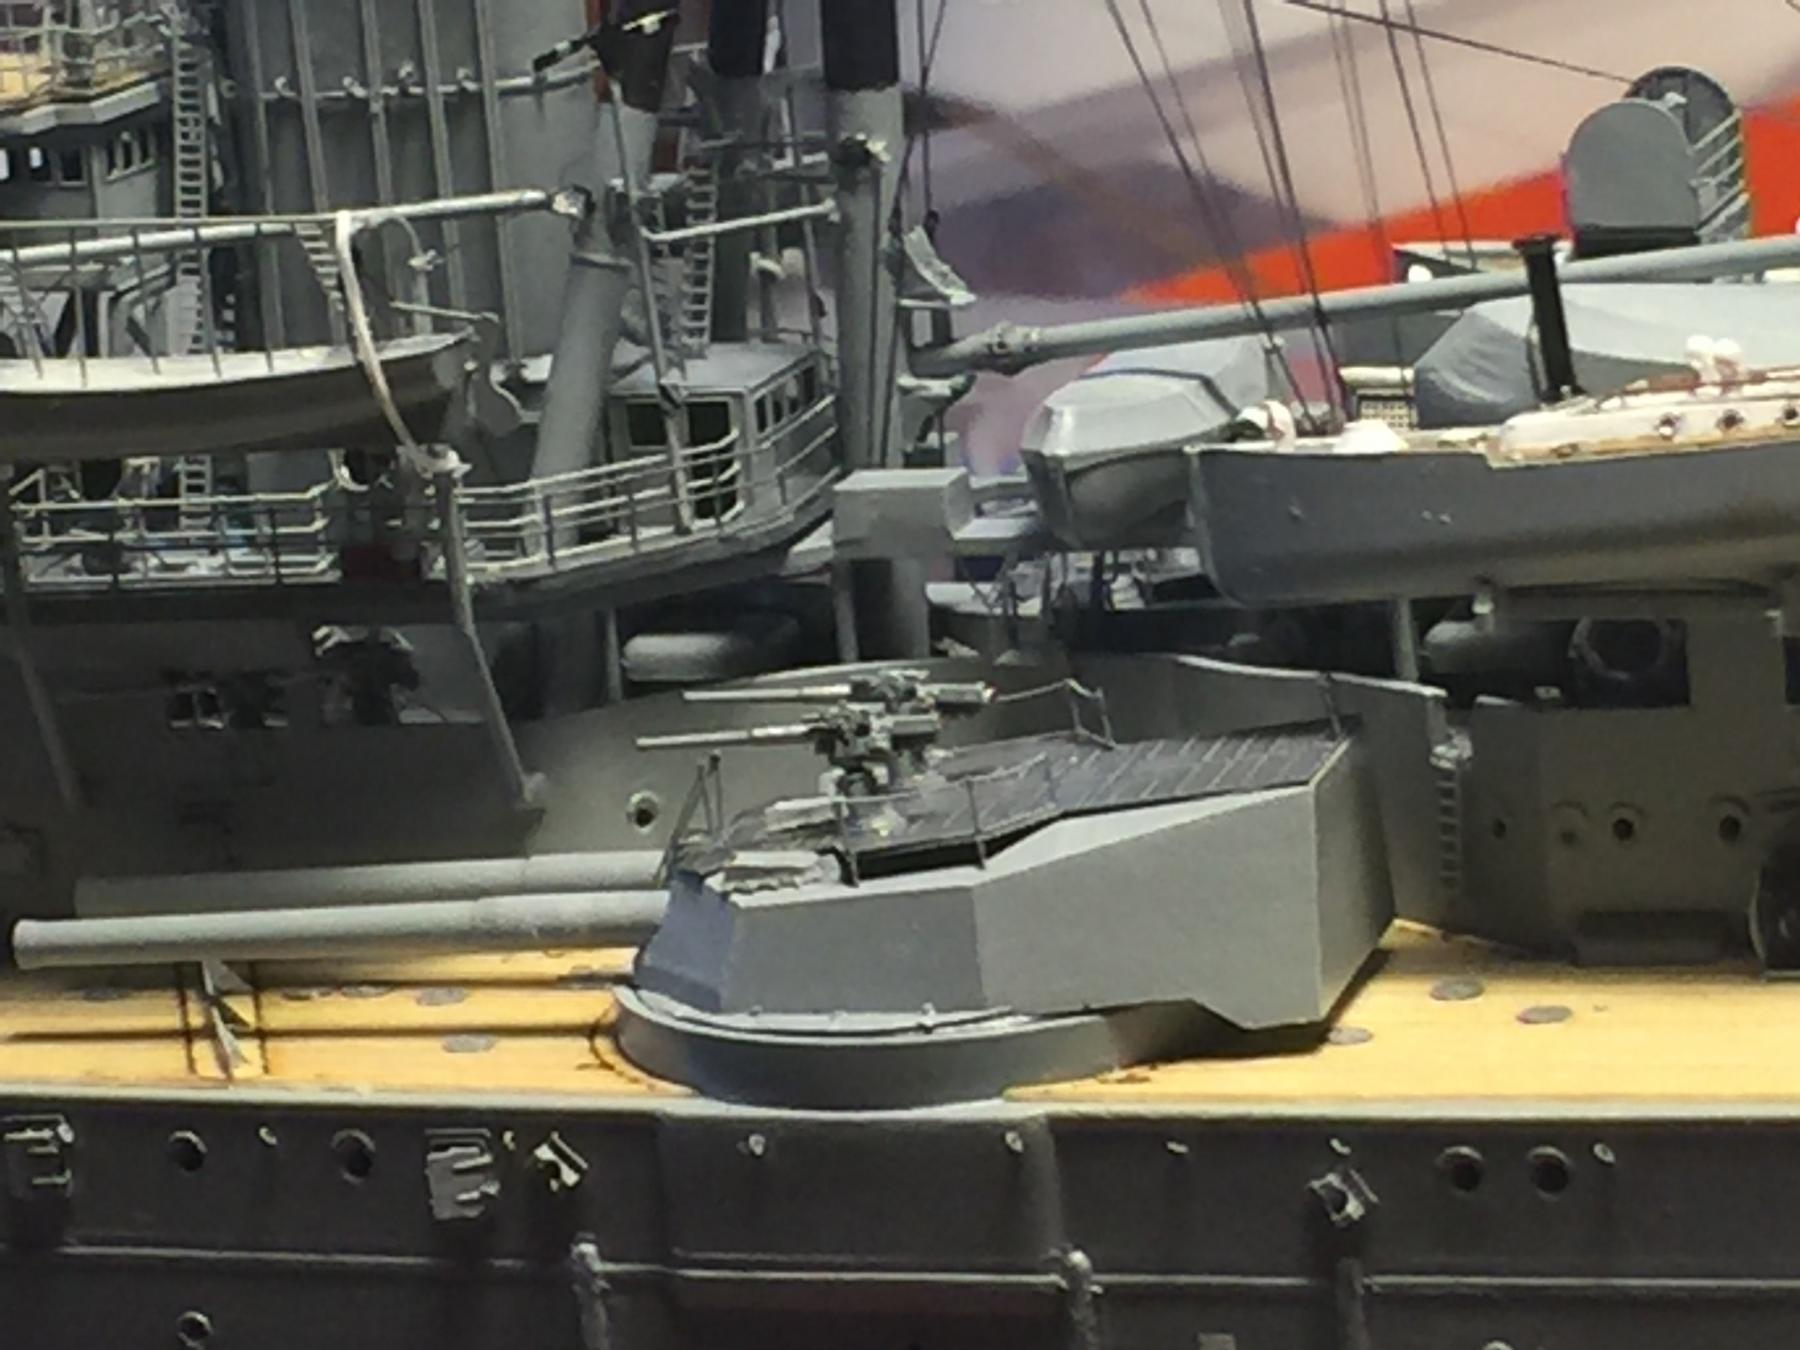
OK, maybe not kill them but I don't think you'd be very well! I suppose a naval person here could clarify fleet actions?
- cog, Old Collingwood, Canute and 1 other
-
4
-
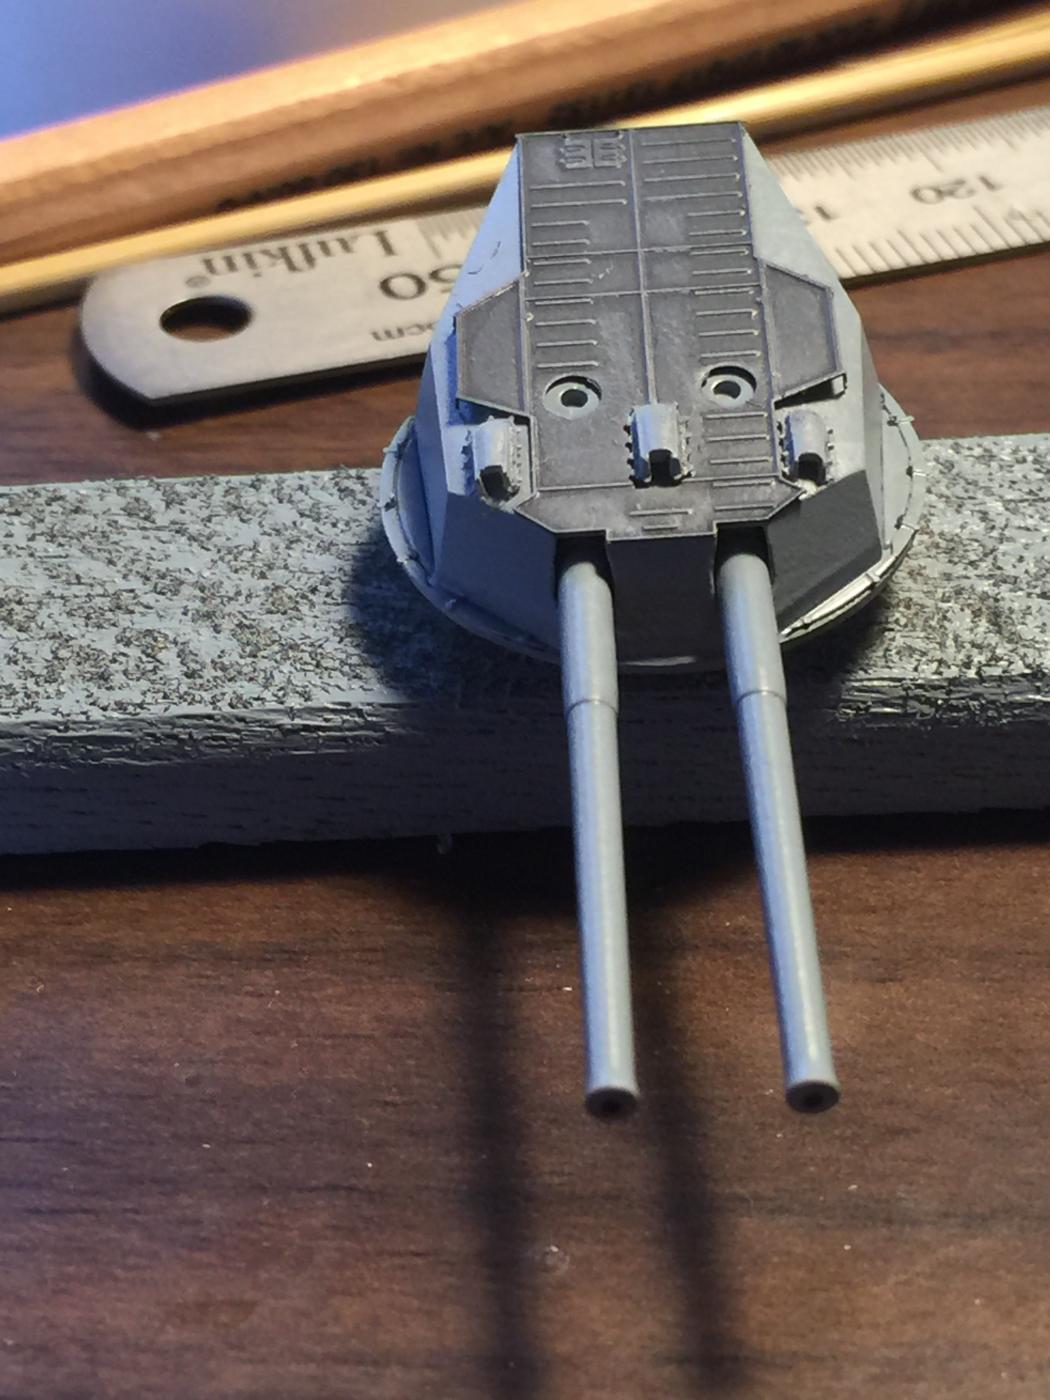
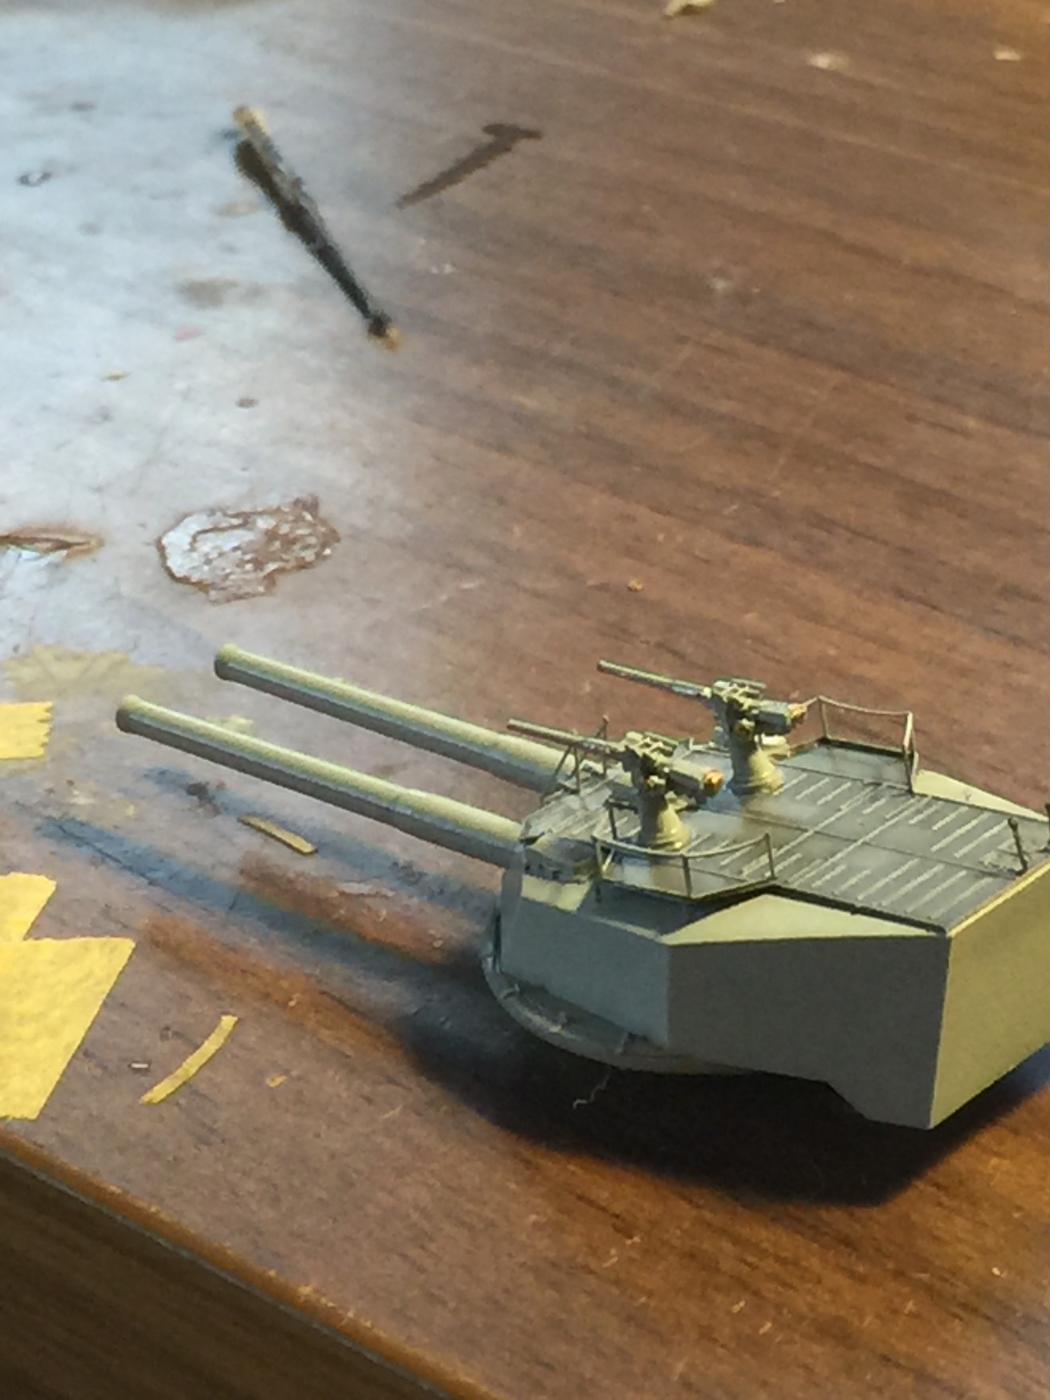
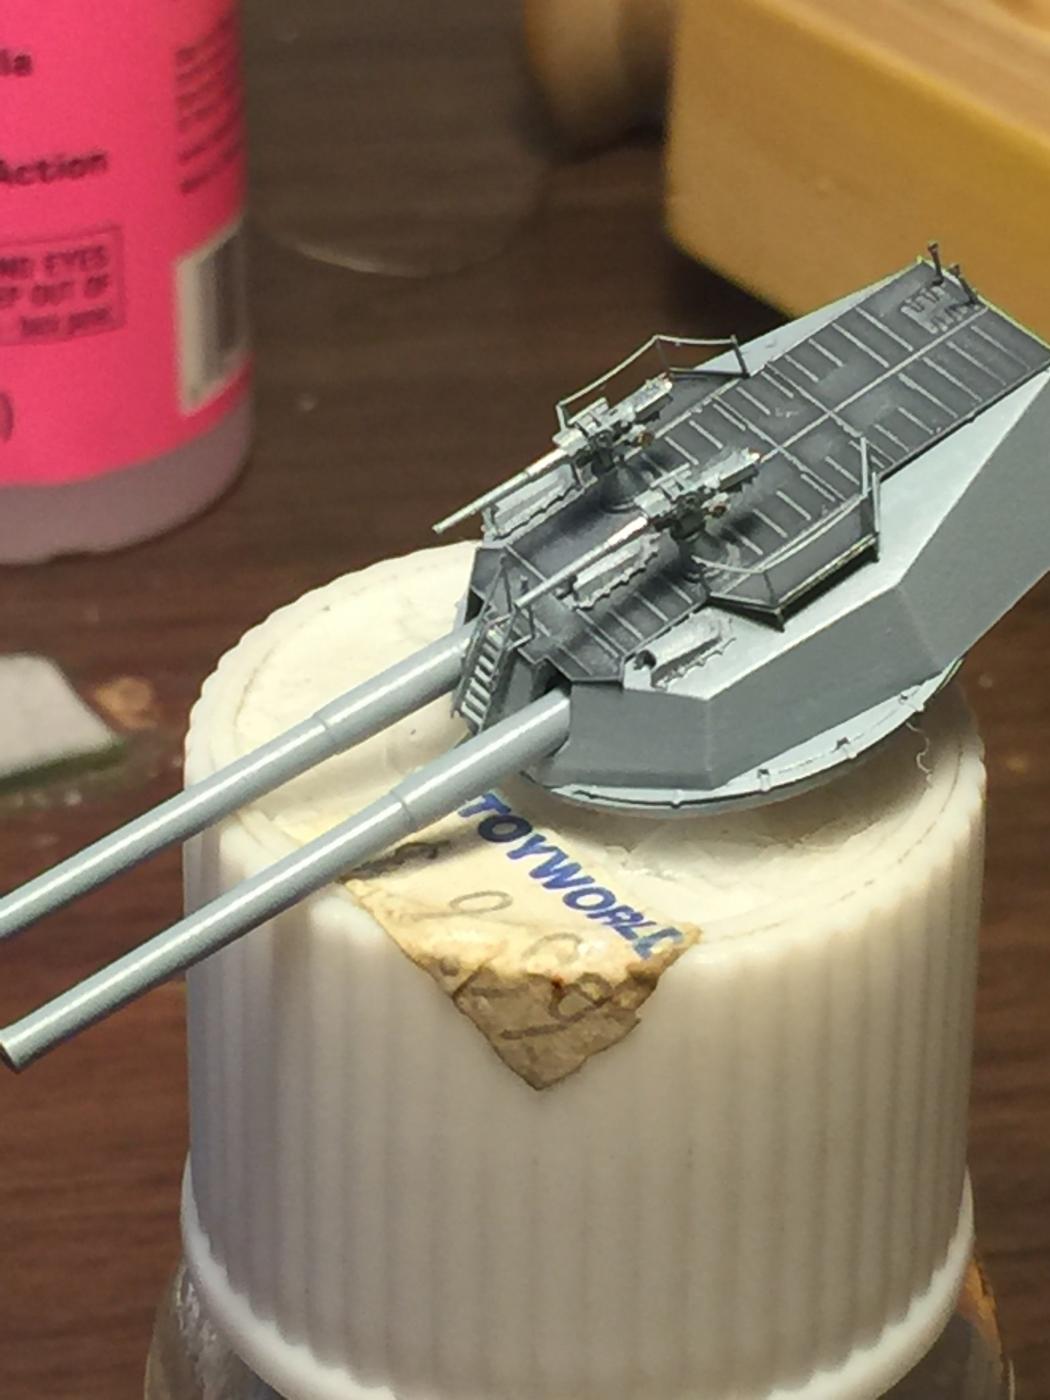
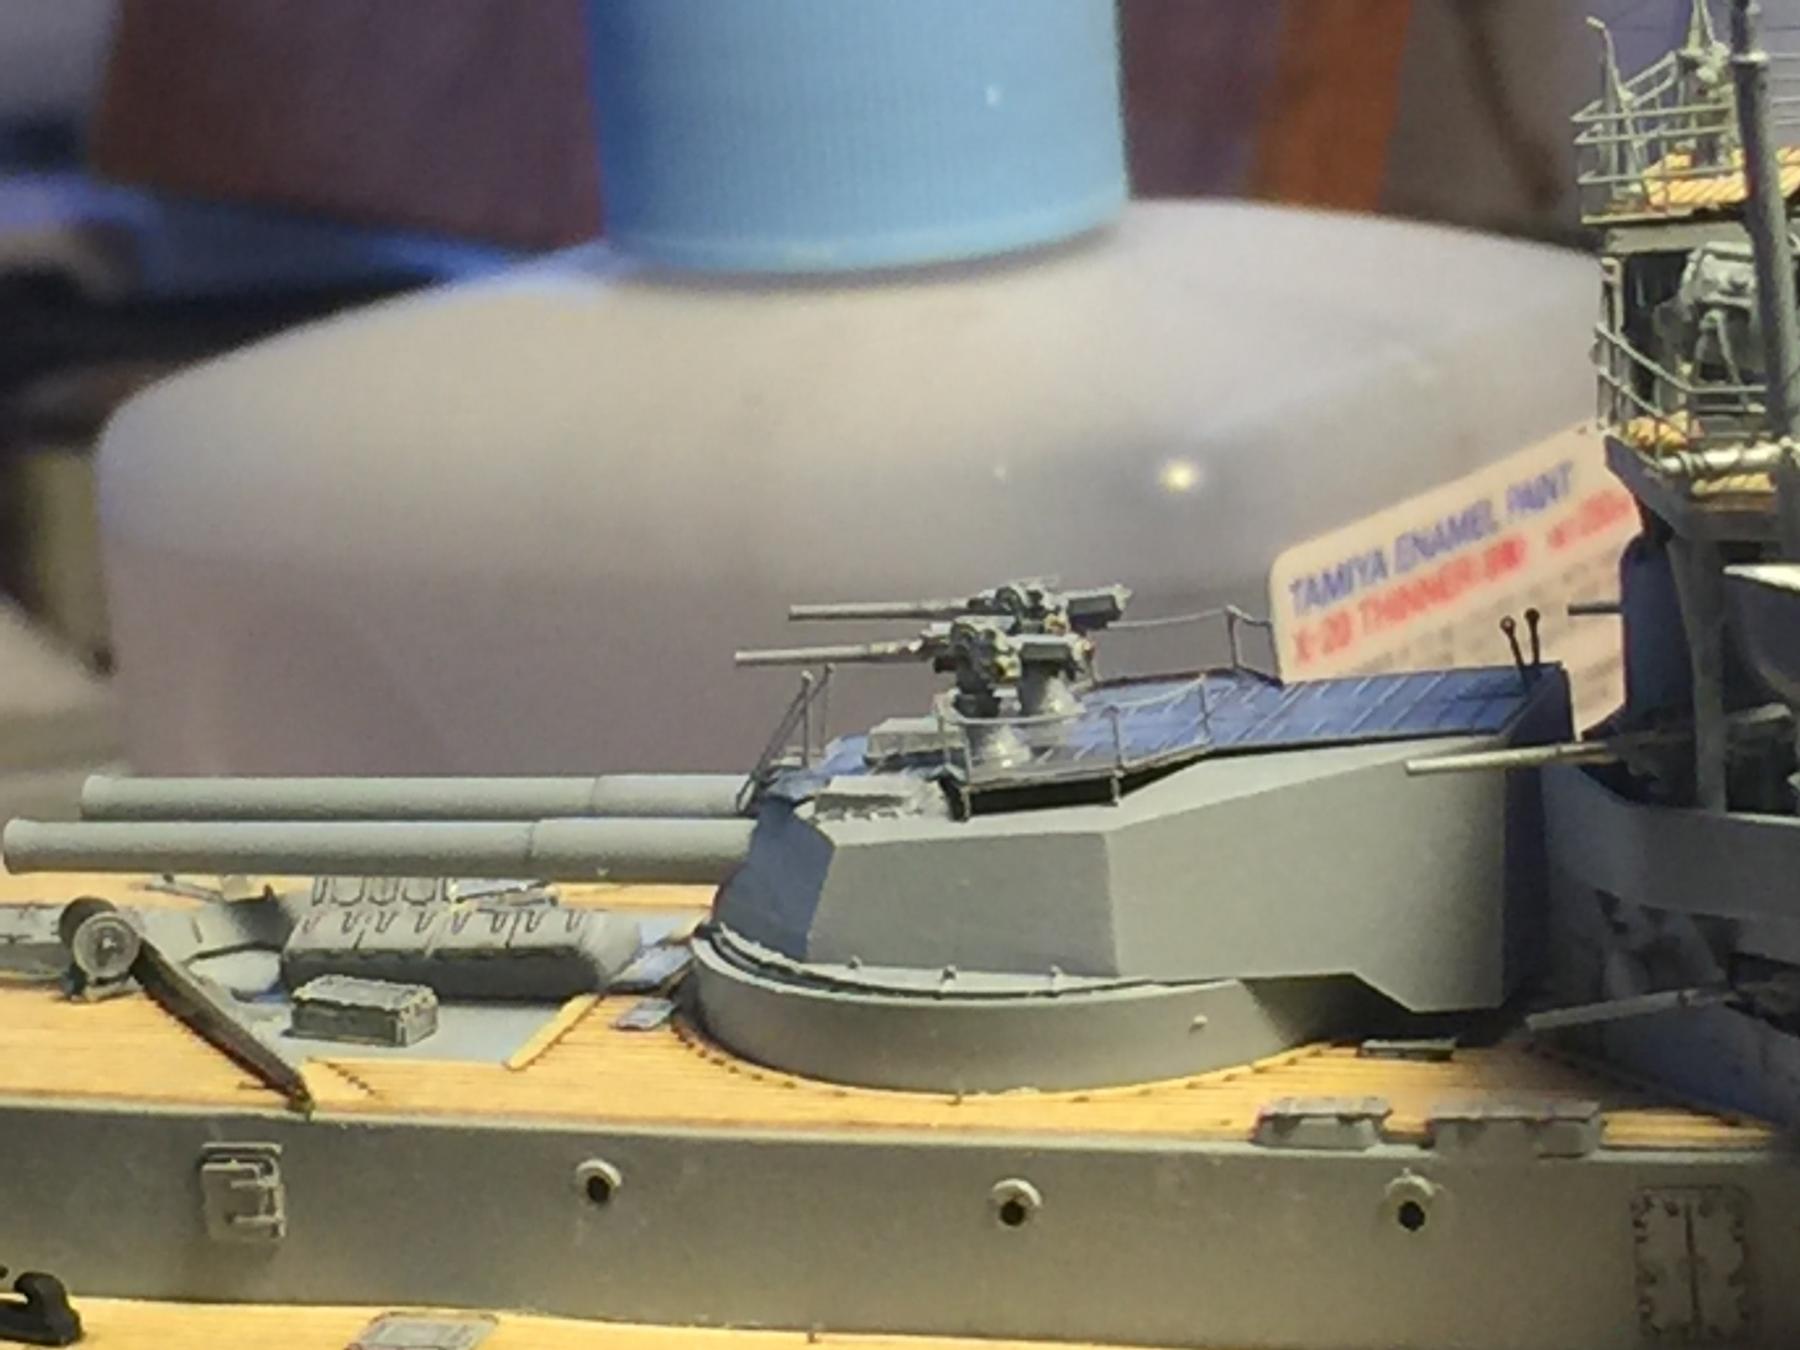
Apparently they were placed there to meet the threat of torpedo boats, I reckon the concussion from the big guns would kill you. There are control rods (which I have not attached) which where slaved to the main guns used for training.
- Elijah, Canute and Old Collingwood
-
3
-


Akagi by Farbror Fartyg - Hasegawa - 1:700 - PLASTIC - as she looked before the 1935 rebuild
in - Kit build logs for subjects built from 1901 - Present Day
Posted
I've been very tempted to do this in 1/350, looking forward to it