


RGL
-
Posts
5,388 -
Joined
-
Last visited
Content Type
Profiles
Forums
Gallery
Events
Posts posted by RGL
-
-
-
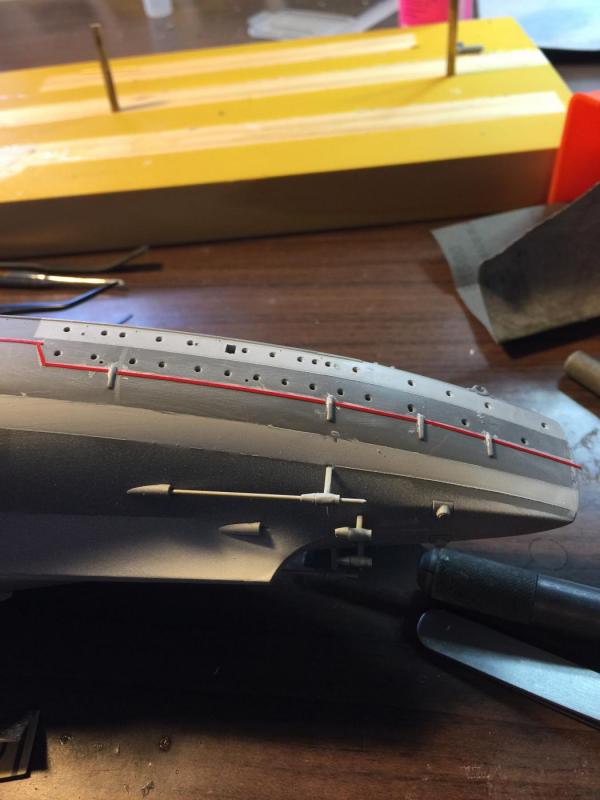
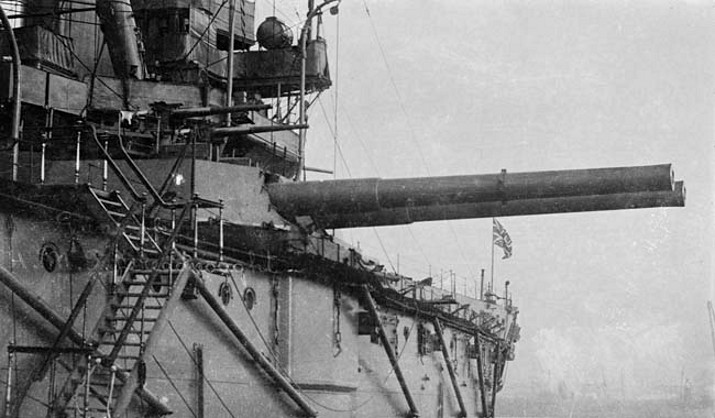
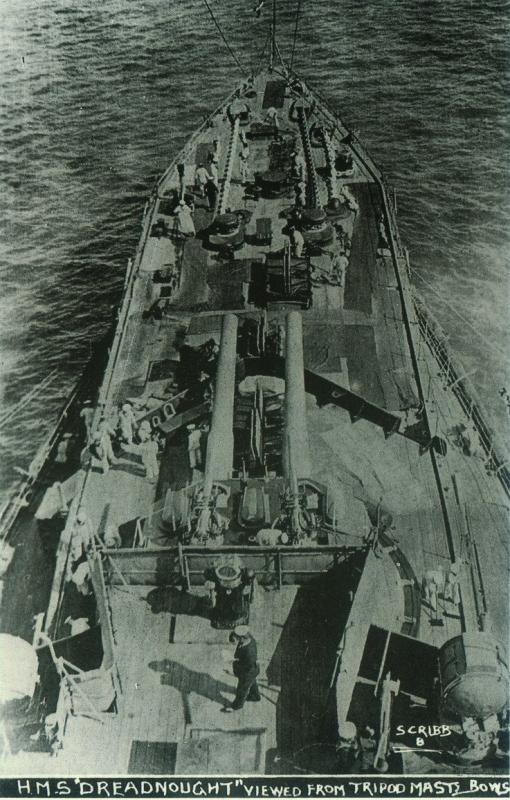
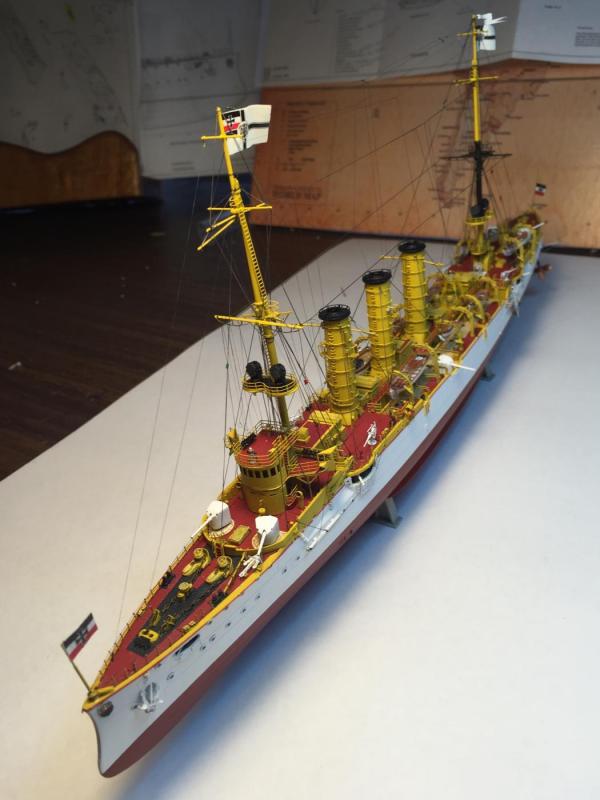
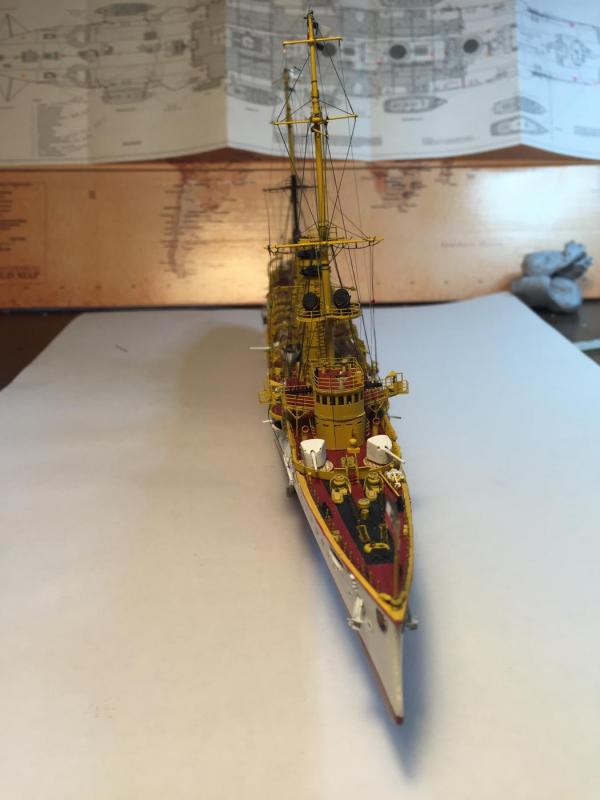
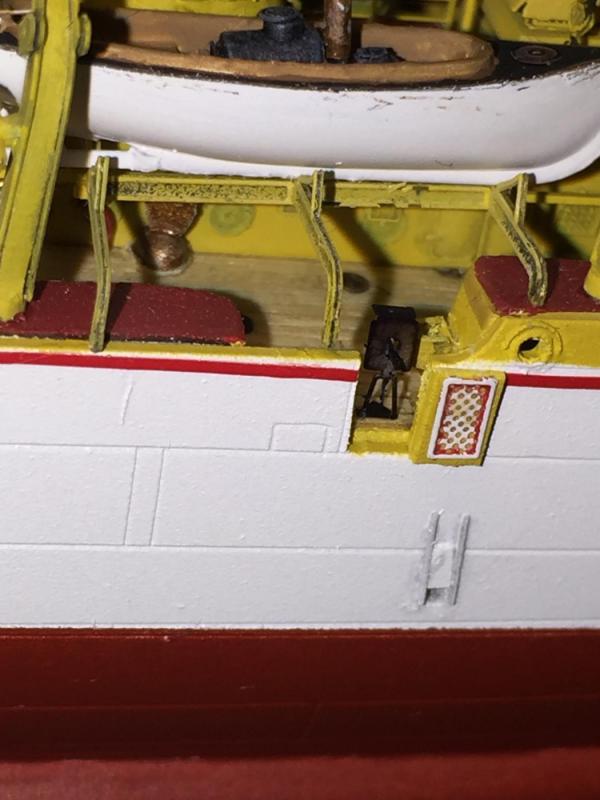
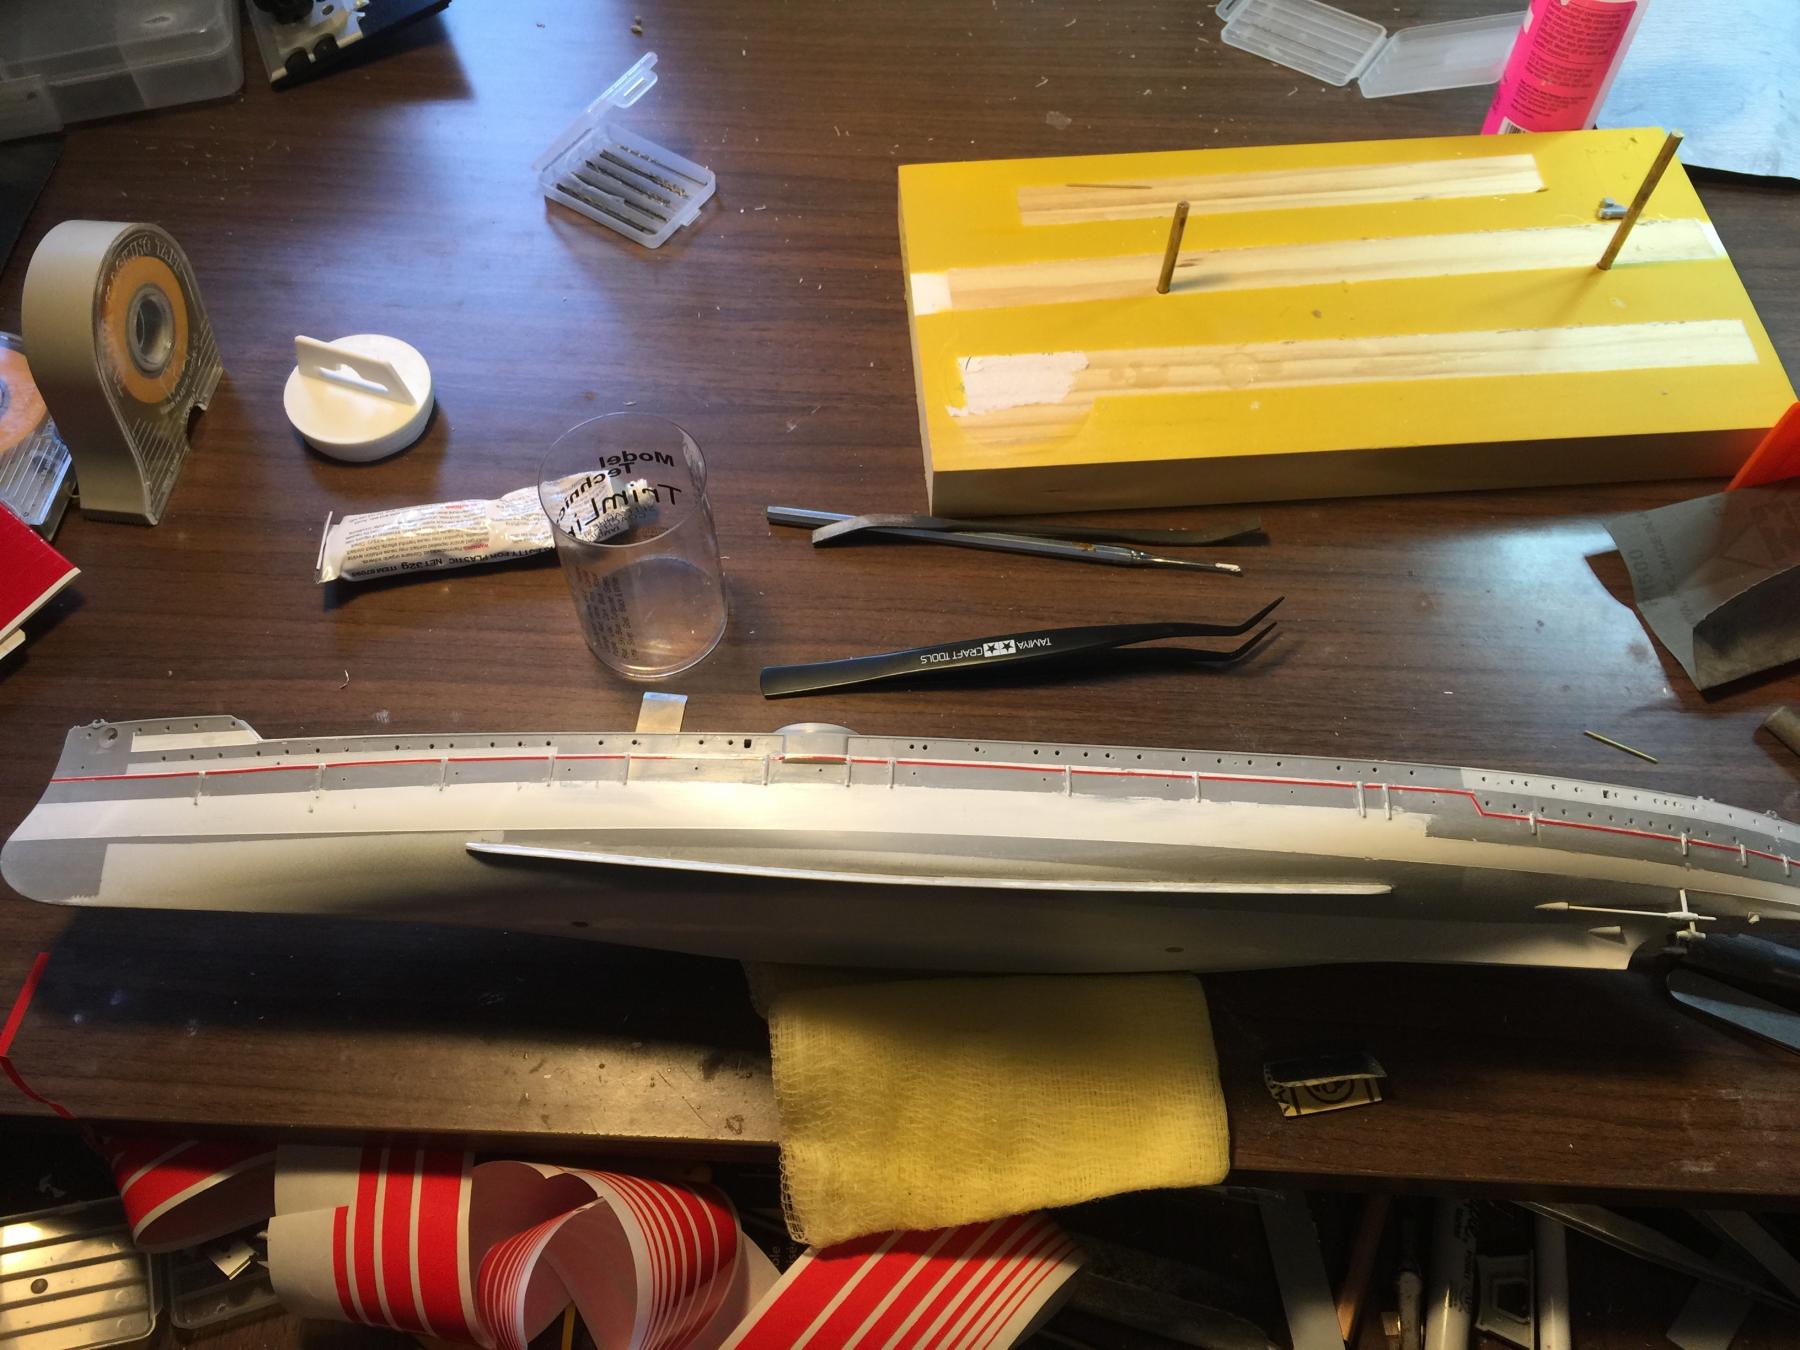
There is no detail of the armor plates at all on the hull. So I did some masking in an attempt to have an under coat of plates, the main band running across the length of the hull did not work out too well so I had an epiphany and remembered the red tape I used on the emden, which is very thin and will do well after painting. But the time it has a couple of primer coats and a sand it should work out before the top coats.
The bilge keels also had a massive gap which needed filling.
A light sand then add the multiple porthole eyebrows. I know it looks rough now, but hopefully will not be so noticeable as it will be wearing a skirt (torpedo nets).

- mtaylor, Canute, Old Collingwood and 12 others
-
 15
15
-
-
-
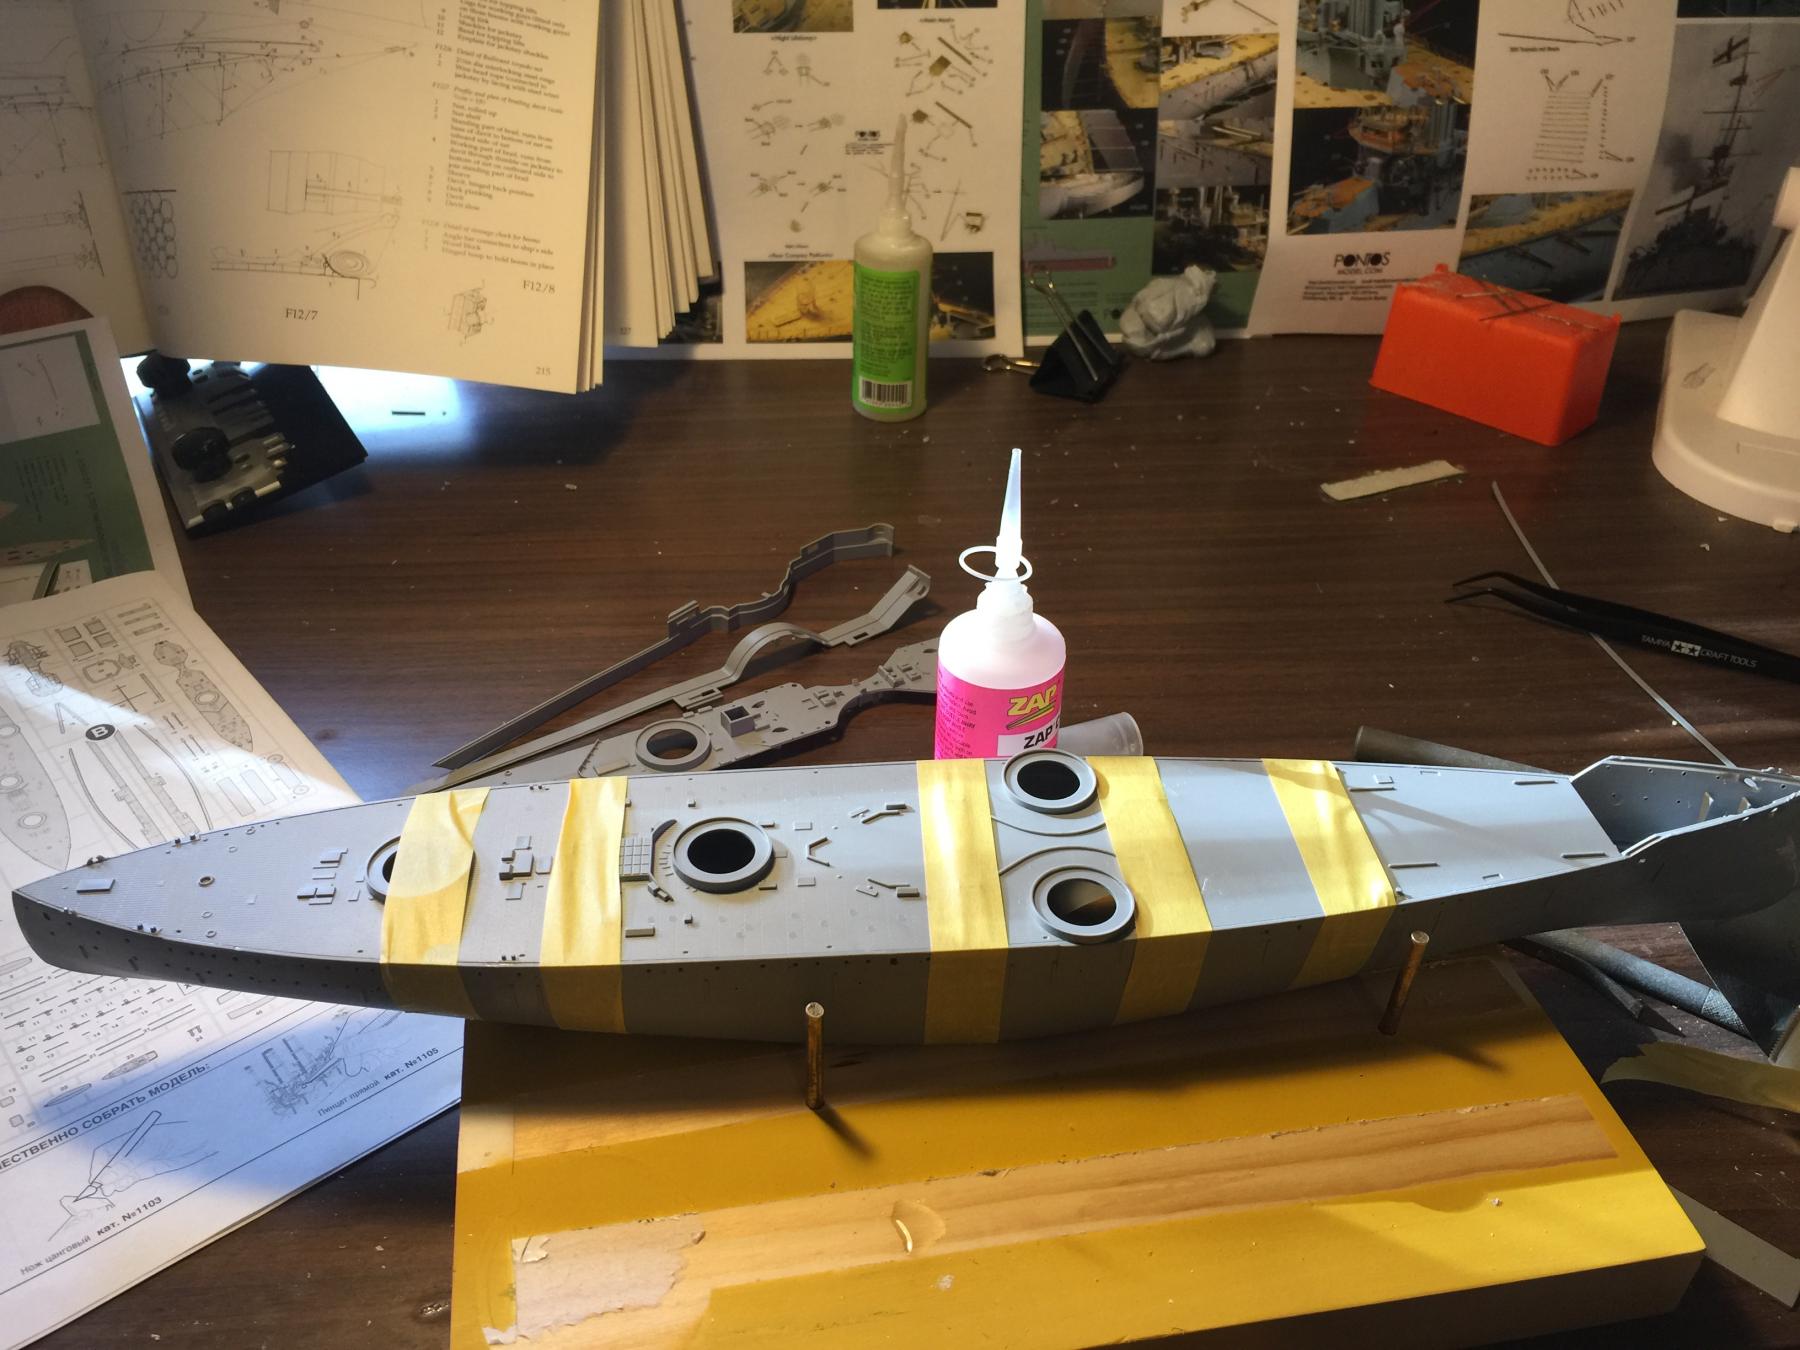
Now, I had to get moving along, as it becomes a bit of a chicken or the egg argument when I do each part. Firstly I had to join the hull, drill holes for the pedestals, putty up the gaps then clamp in the deck.

Next is to add the bilge keels then cut down the shafts and struts, replacing them with brass rods.

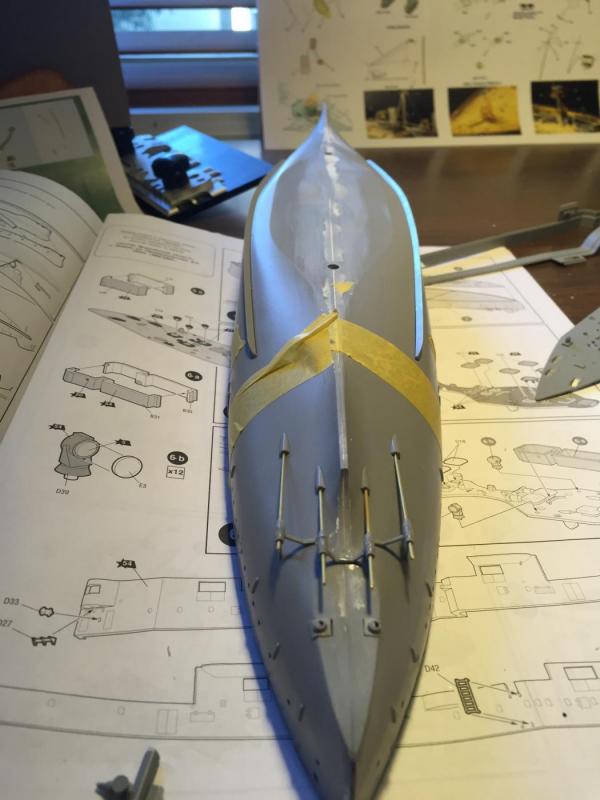
Next will be a light primer coat along the seams to look for errors.
-
Just had a look at their stuff, and it's pretty good. I have been wondering how I am going to replicate the missing armour plates on the hull and this pretty much confirms how I thought it would have to be done.
- Canute, Elijah, Captain Slog and 3 others
-
6
-
-
-
-
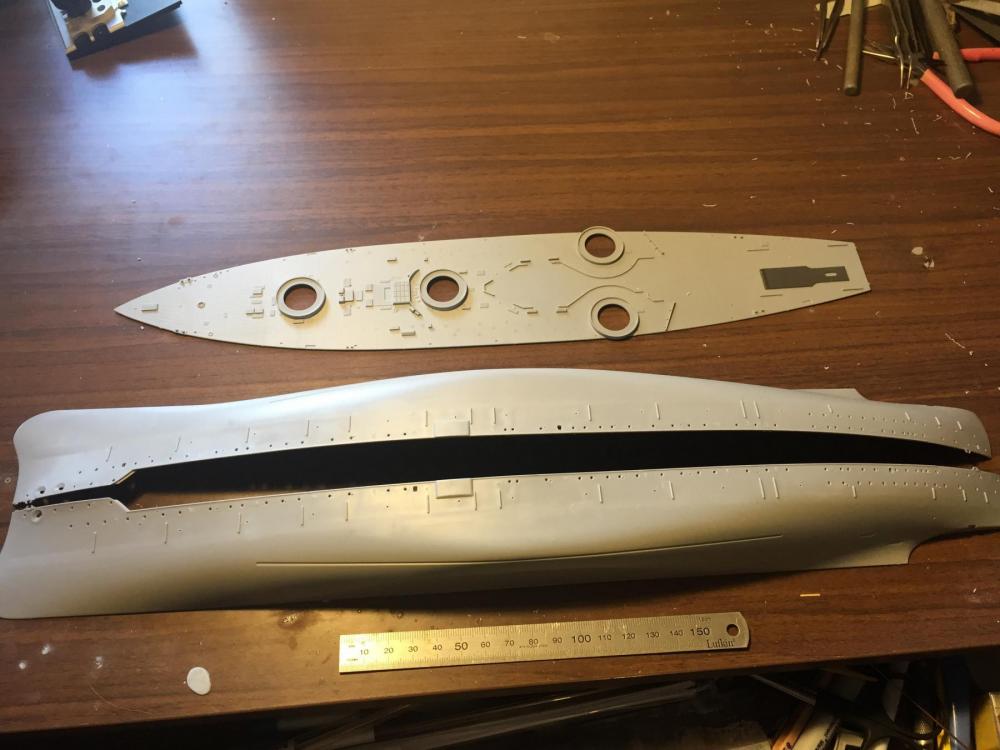
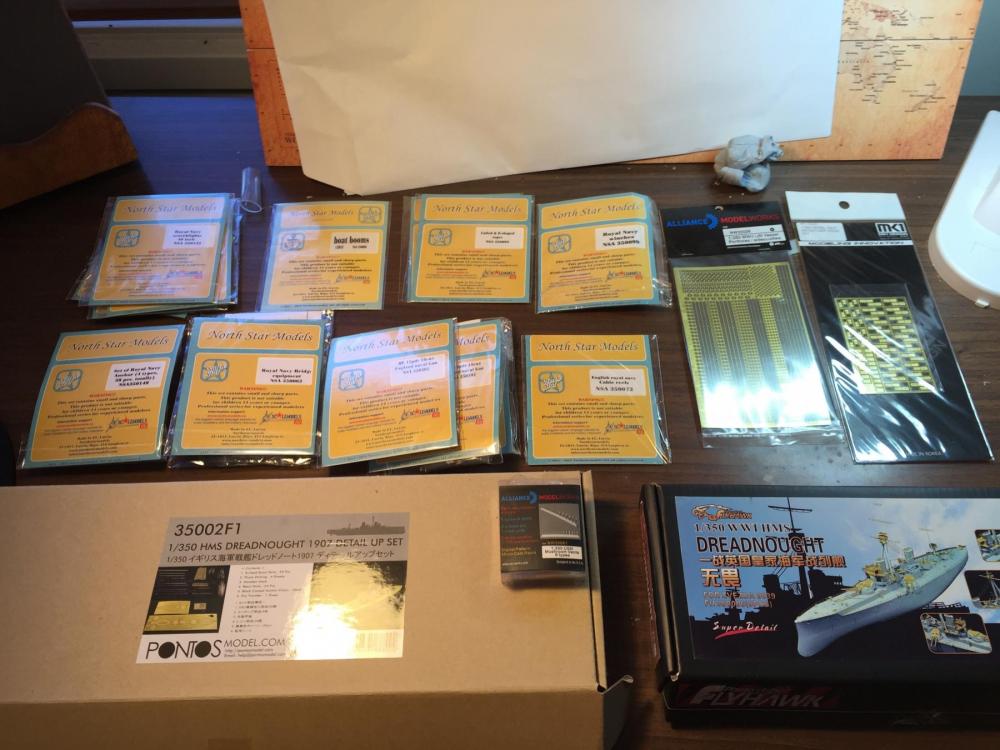
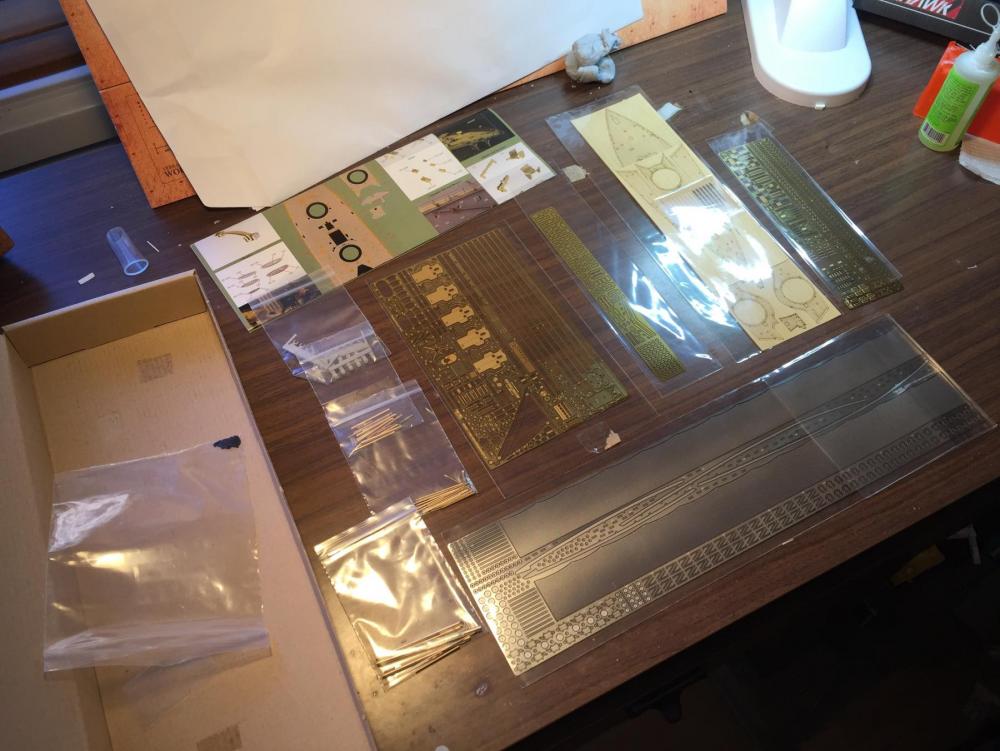
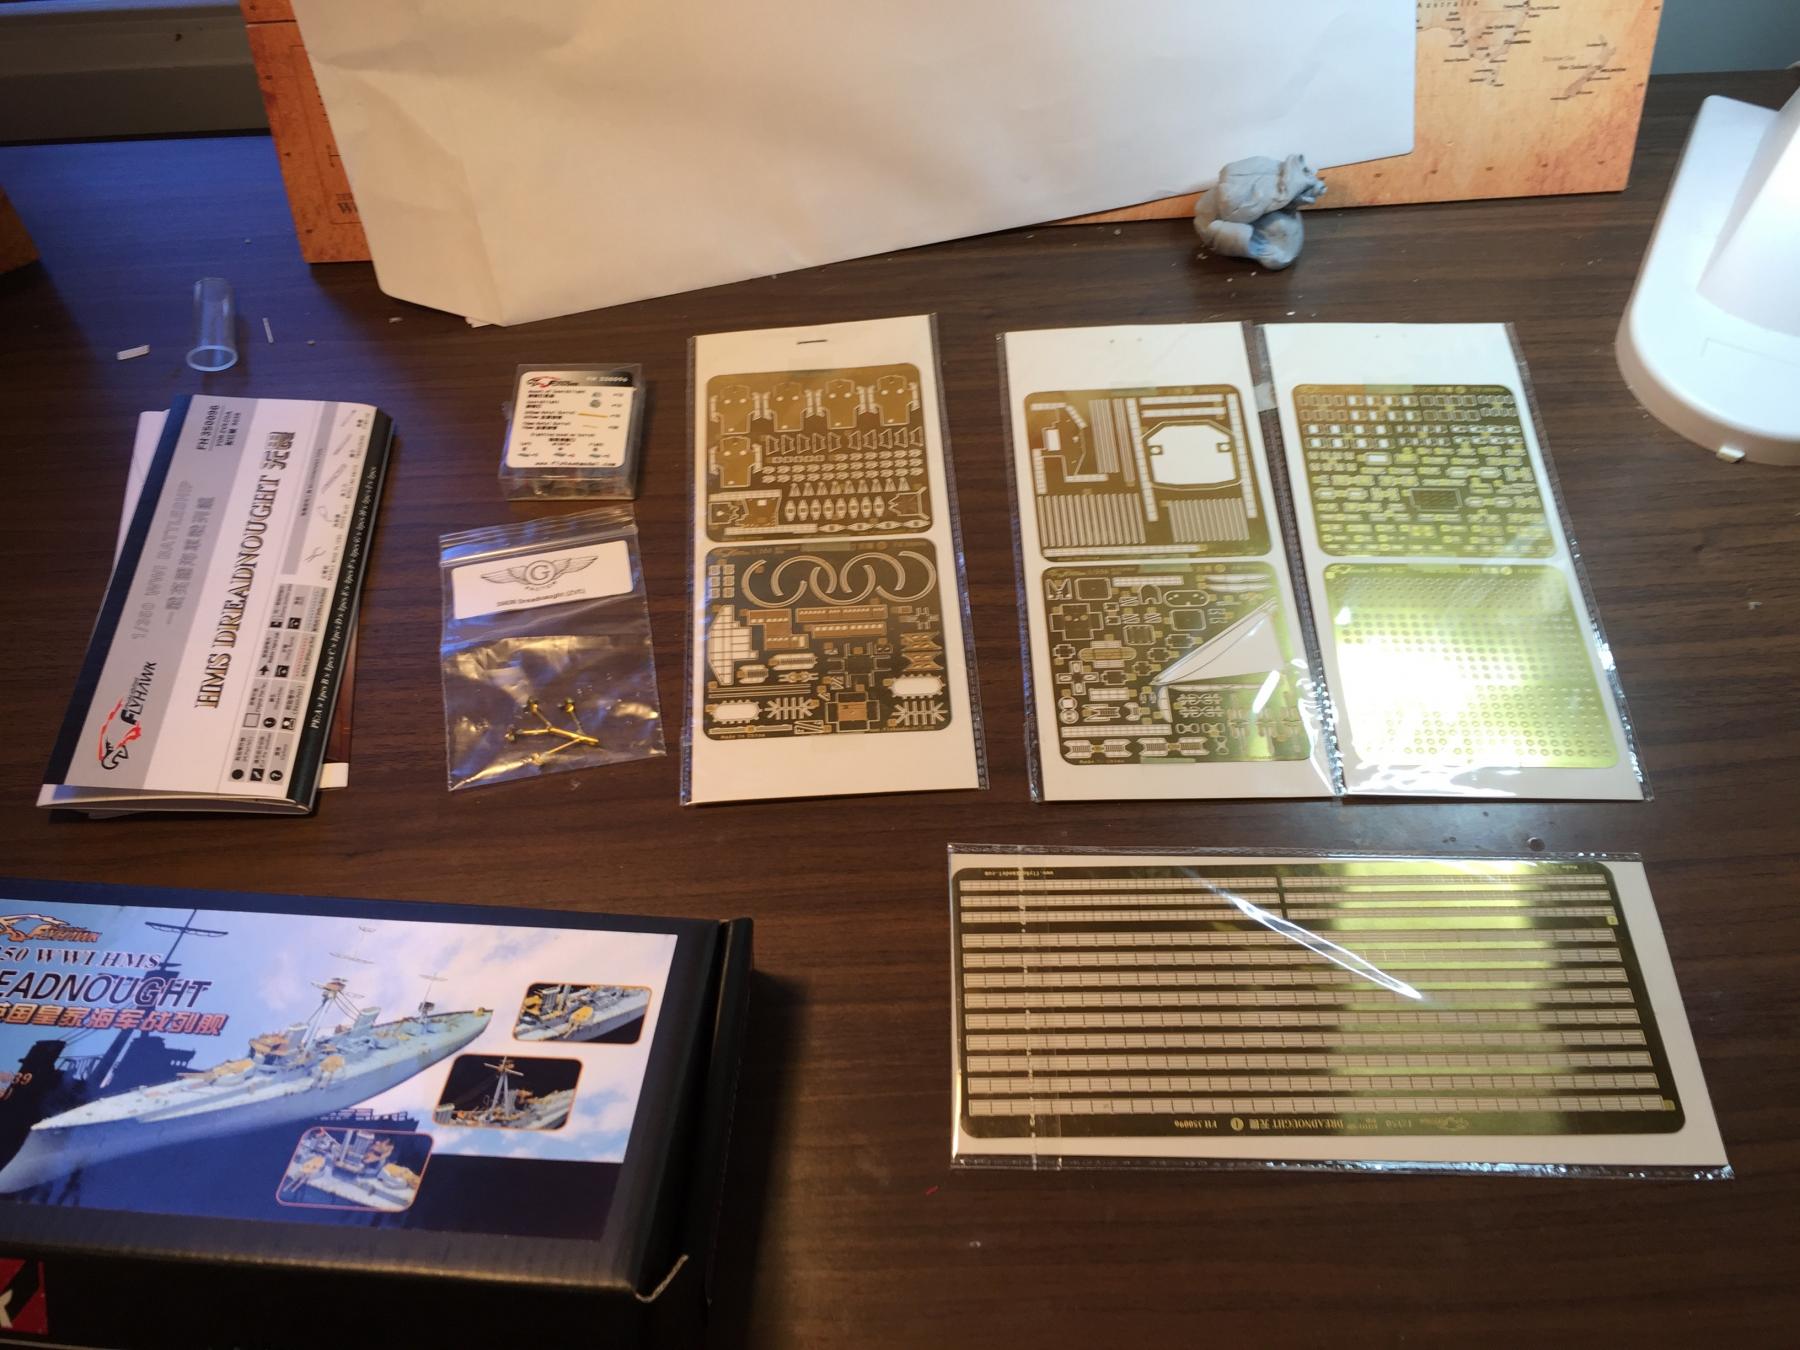
The start, lots of research and trying to get as much done before I even handle the glue. The hull details are not that good, but that's why they invented aftermarket. Pulling out some of the etch that will go and and a bit of dry fitting means that I have shaved off a few things from the hull using a chisel blade sans handle,
I have drilled out all the portholes, and drilled out 5 of the side hatches so they can be open on the model.
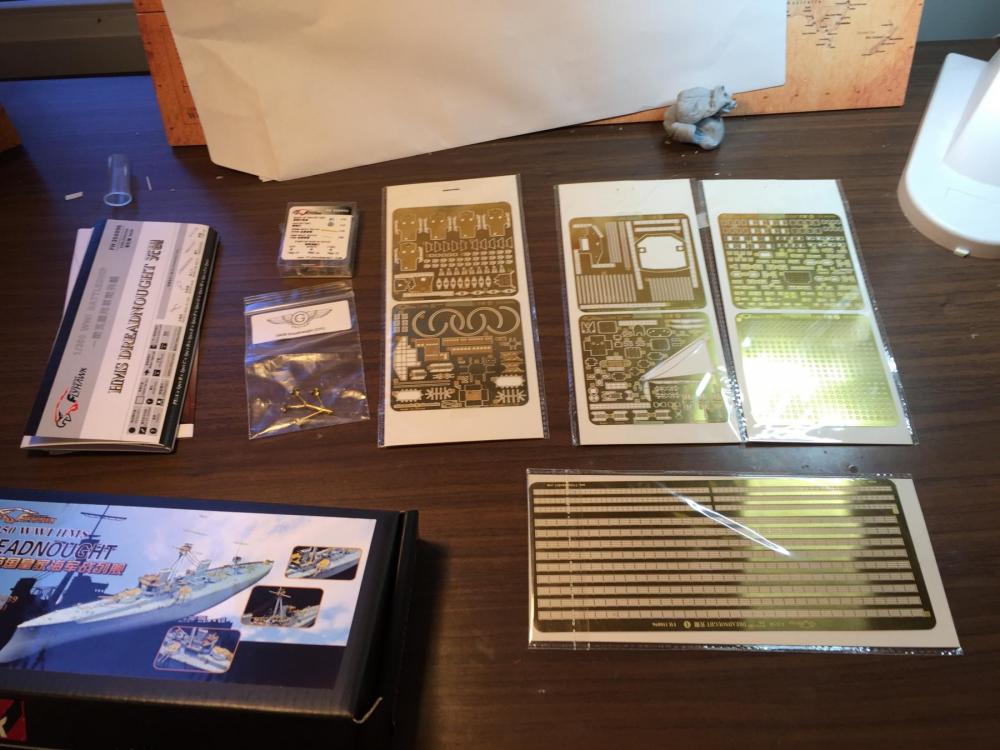
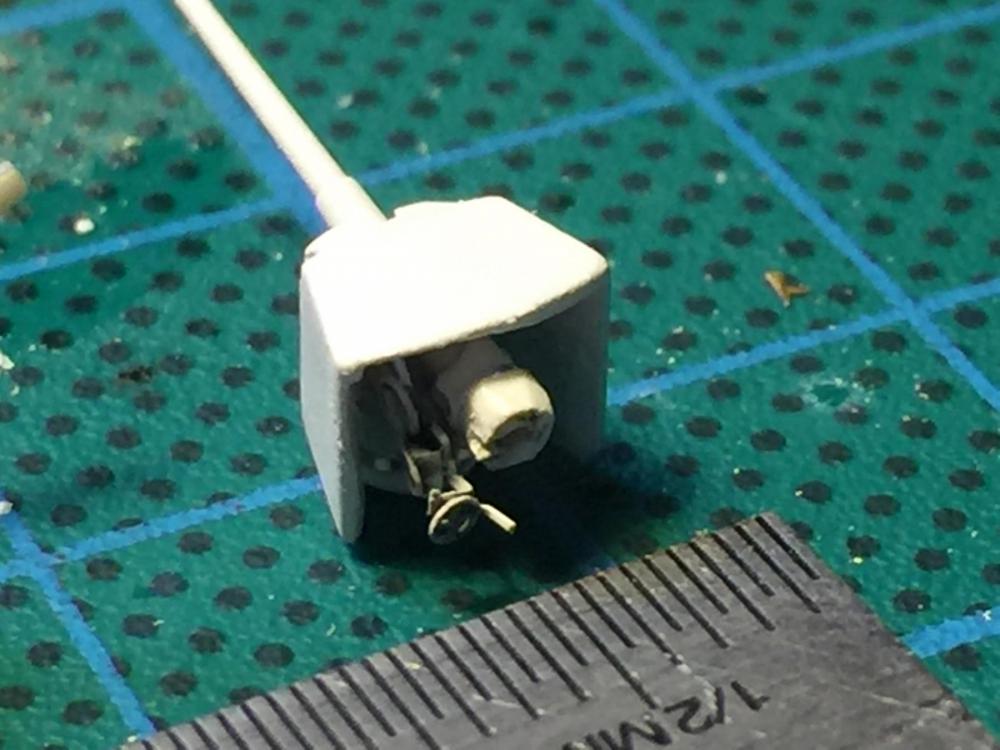
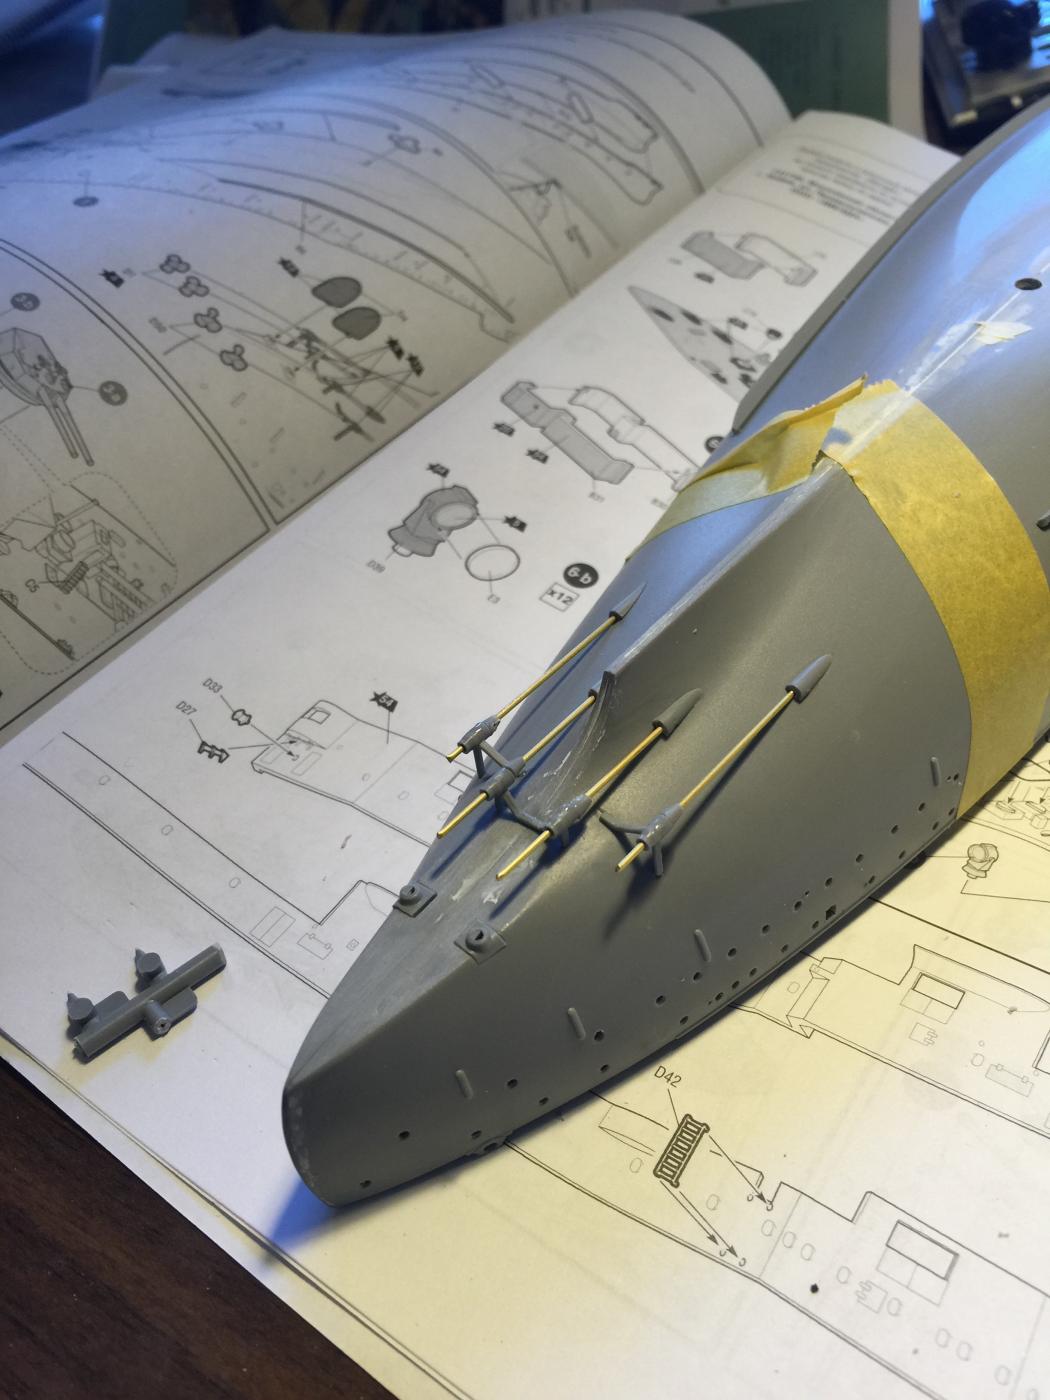
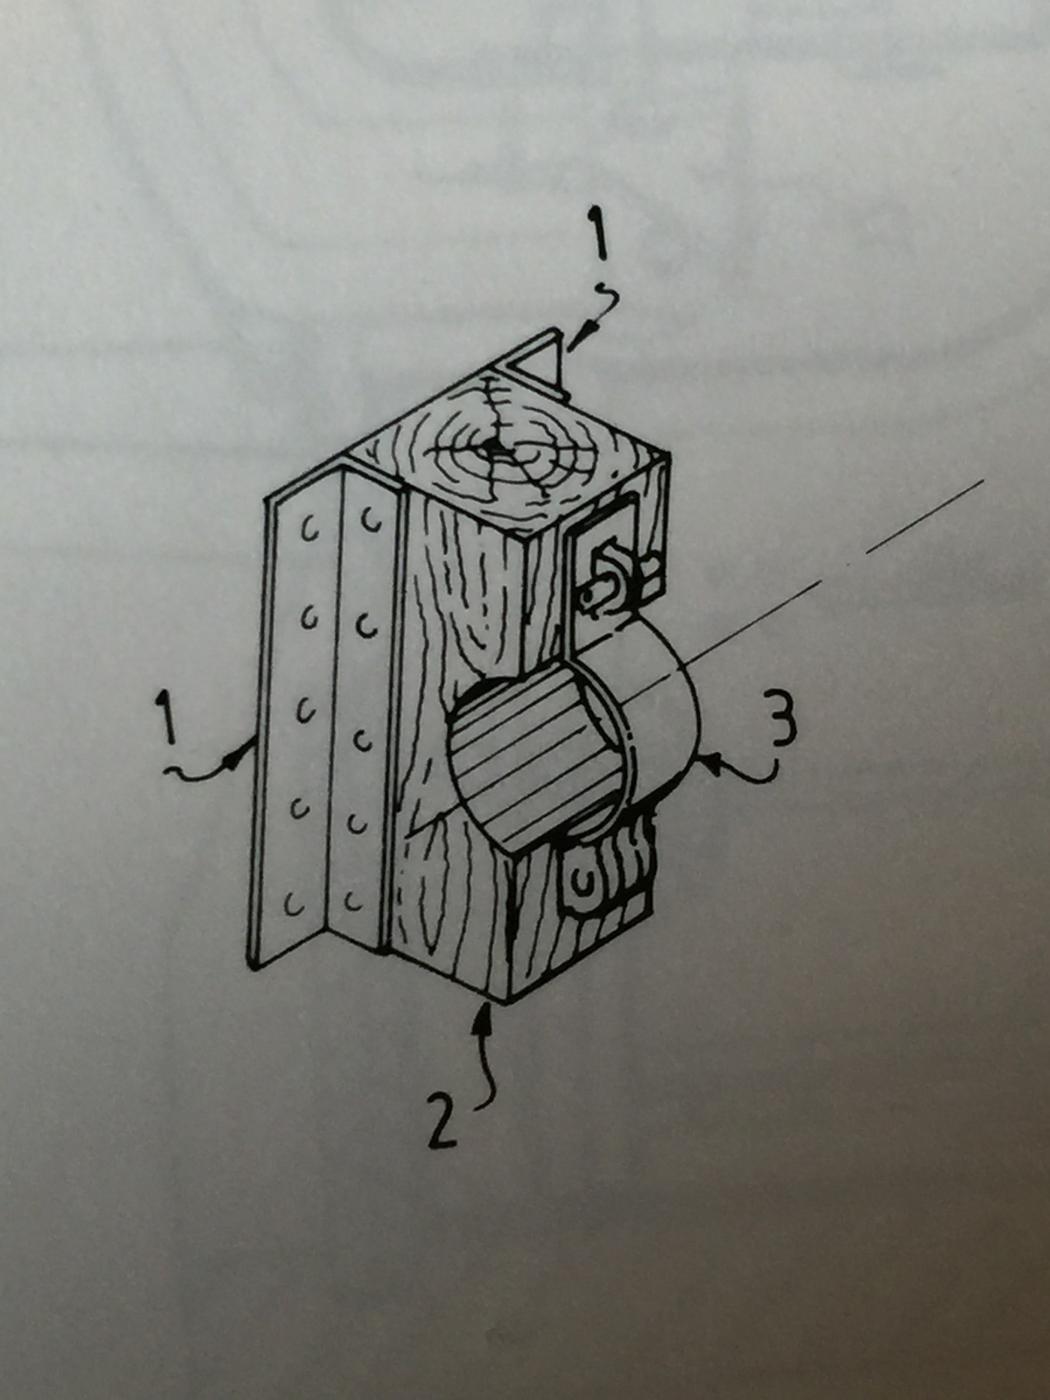
The torpedo net booms will hopefully come up a treat, and the pontos stuff is very nice.


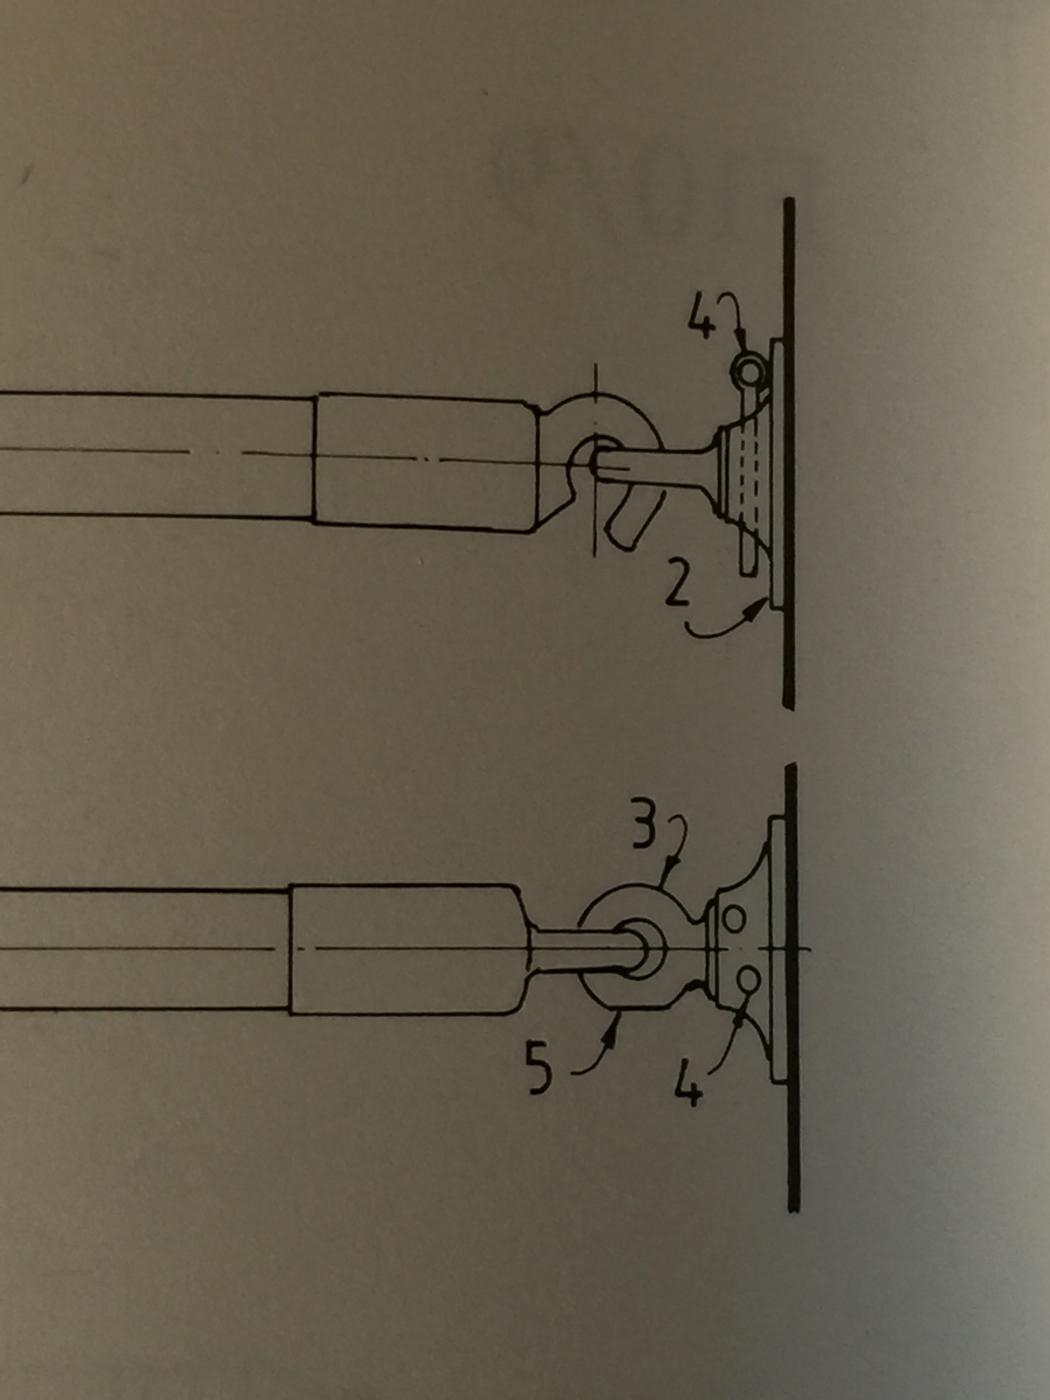
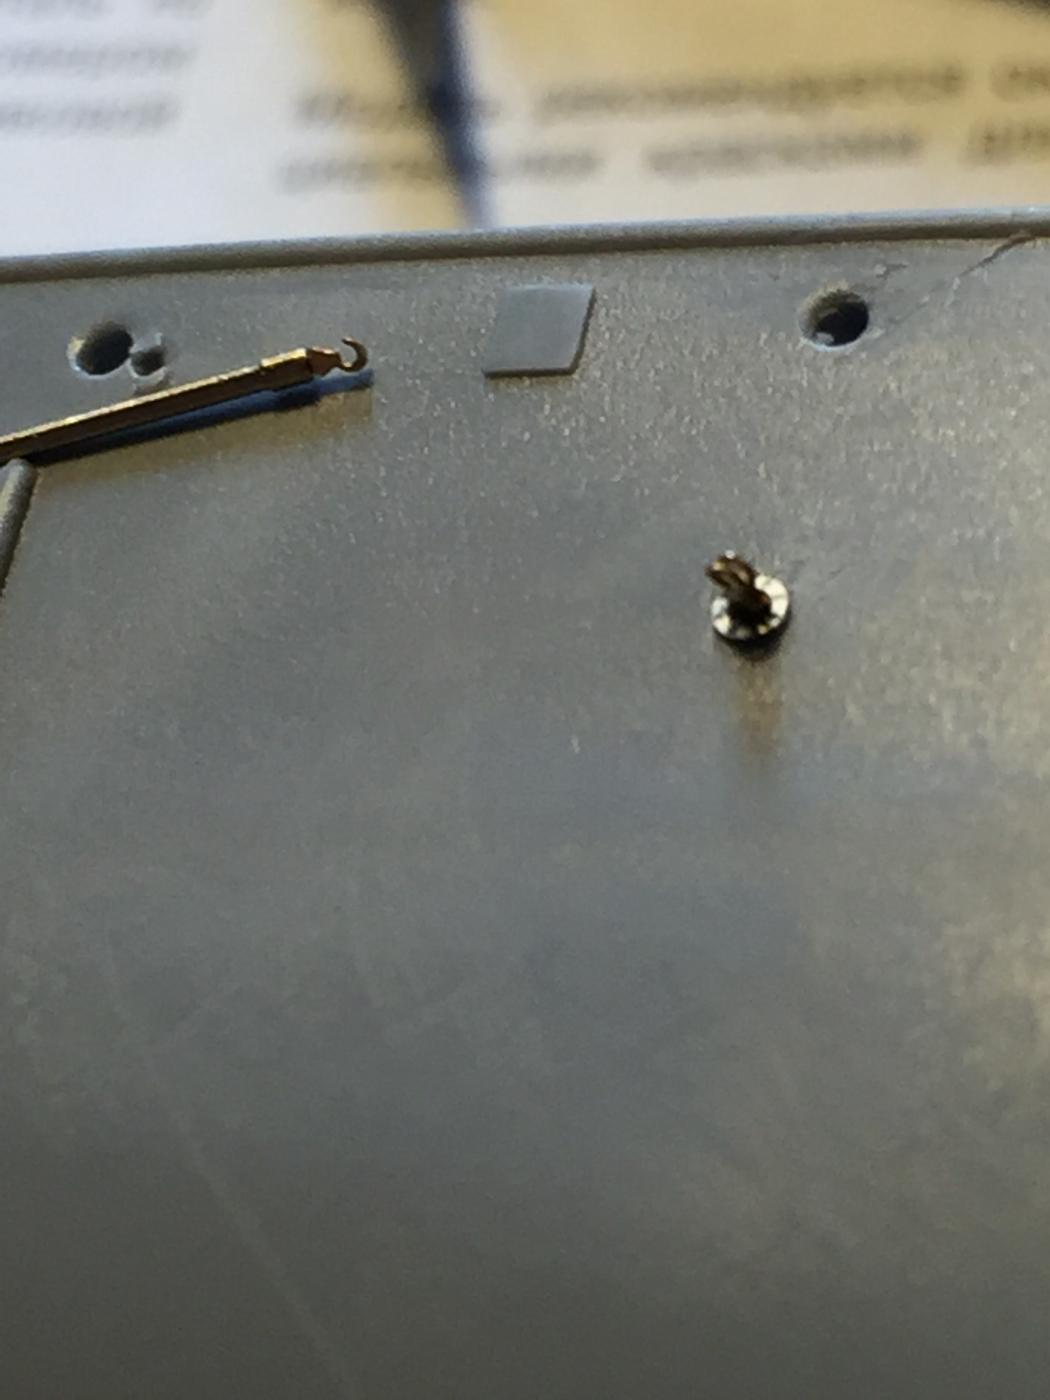
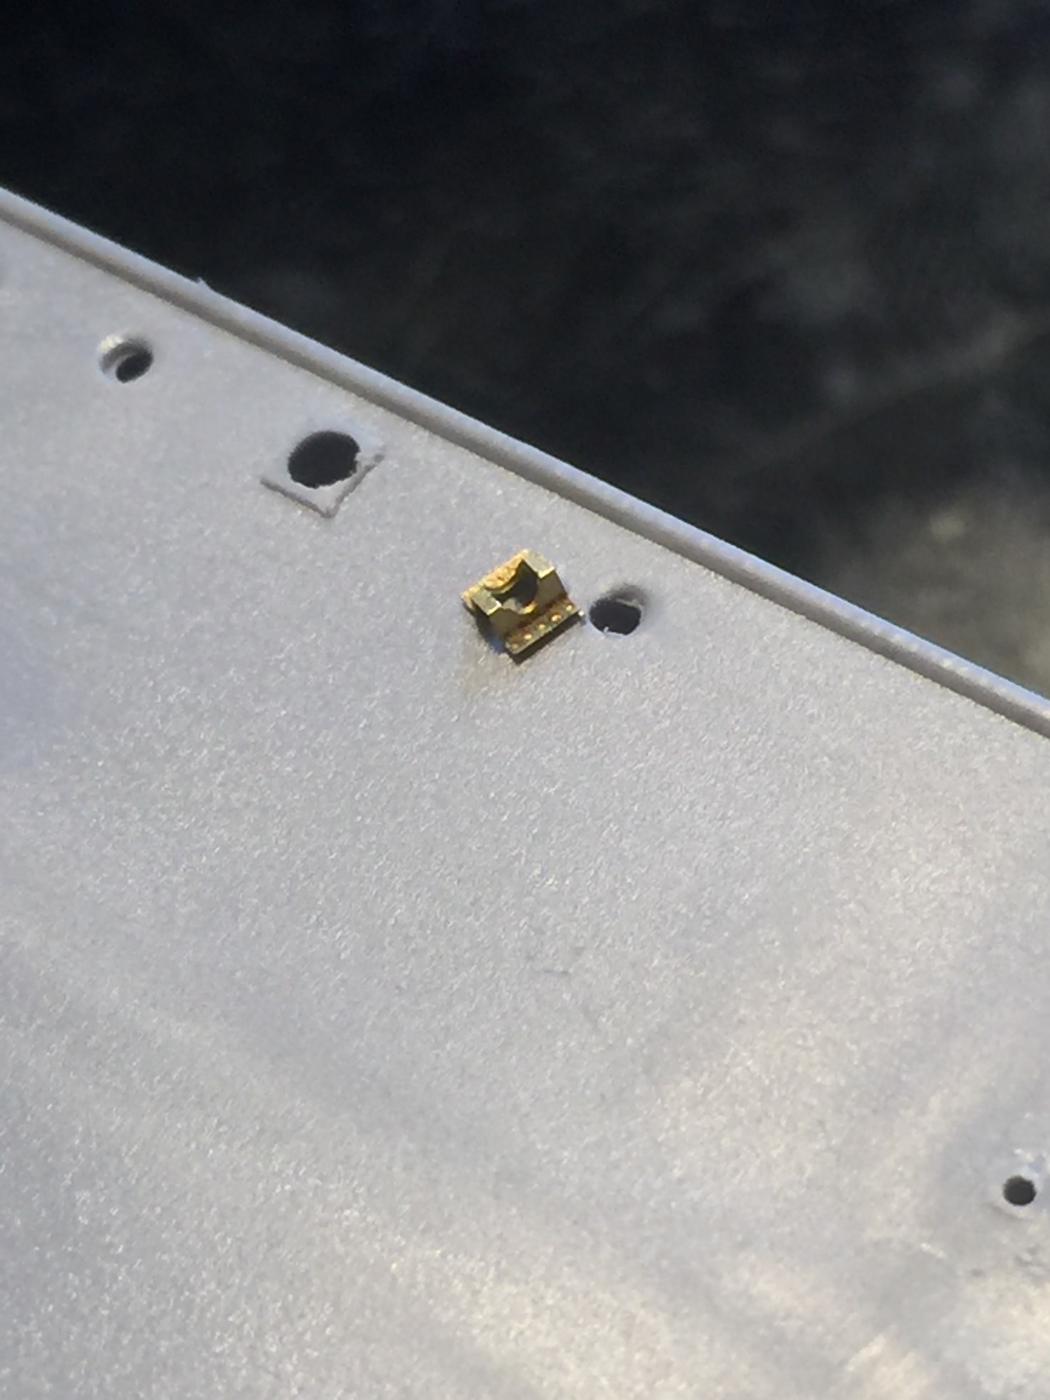
And the brackets that hold them

I now have to drill out some tiny holes on the gunnels that will hold the boom slings.
There is no details on the hull at all for the armour plate, which I think will be best served by masking sections and multiple layers of primer.
As you can see from the first photo there is a heap of things that will need shaving off the deck which will all be done prior to gluing the hull. I will not attach any of the etch until the primer and main coat is done as the etch is soo fine it will lose all detail. It is better painting them off kit.
-
-
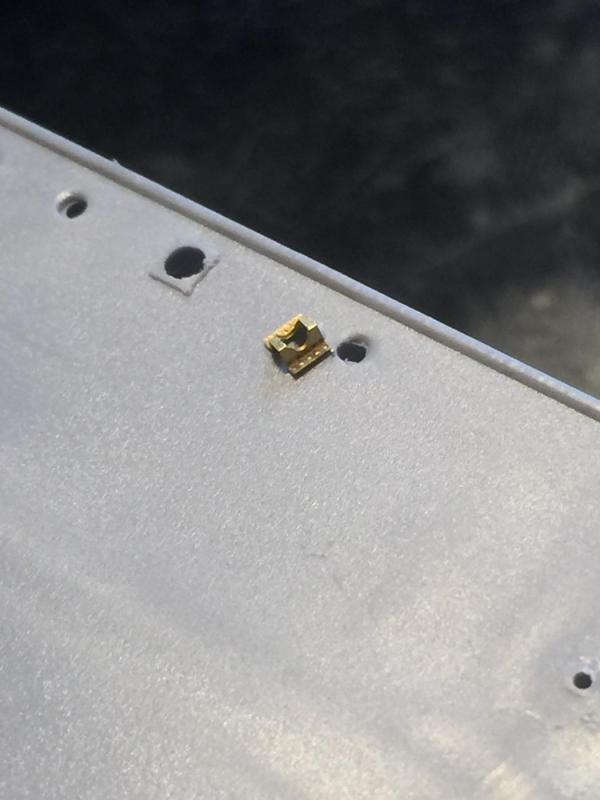
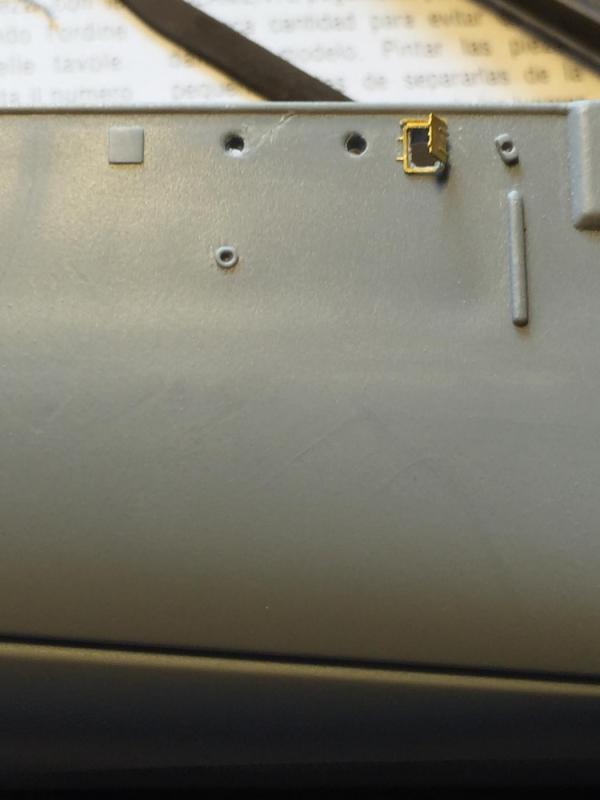
Happy to keep you guessing. Amazingly, as I am in the process of drilling out the portholes I have discovered neither aftermarket sets has the hatches on the hull That run the length of the ship. The kit has plastic squares to represent them, all 30 or so of them. Back to the net.
-
-
I find the fly hawk and Pontos very reasonable as you get resin and turned brass as well, I find the White ensign incredibly expensive for what you get and no where near as detailed. The UK company was bought out by an American company and the newer Asian stuff is incredibly detailed. North Star and Combrig aftermarket is just amazing. Eduard is very dated in this field.
When you shop around the prices vary from very good to plain offensive on EBay (up to 3 times or more).
The Dreadnought has been out for several years now and there is a lot of kit for what is a fairly simple model.
- Captain Slog, WackoWolf, coxswain and 5 others
-
8
-
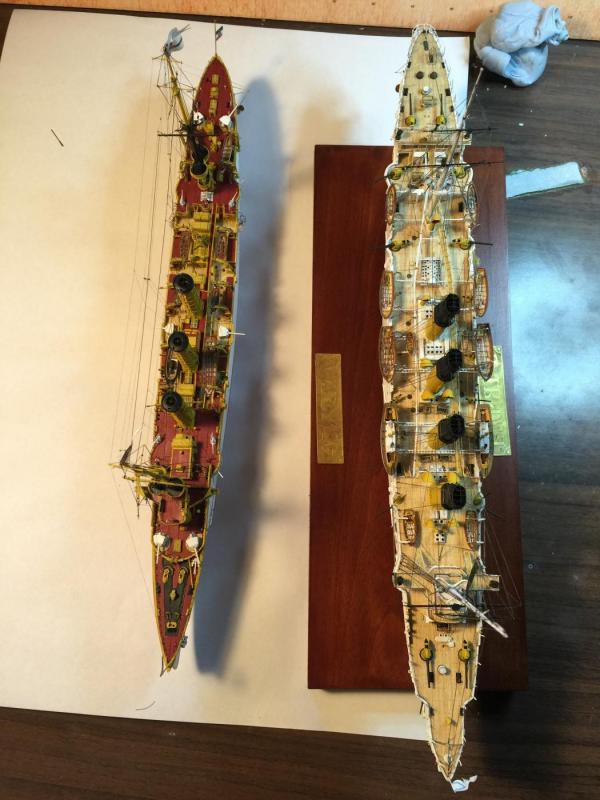
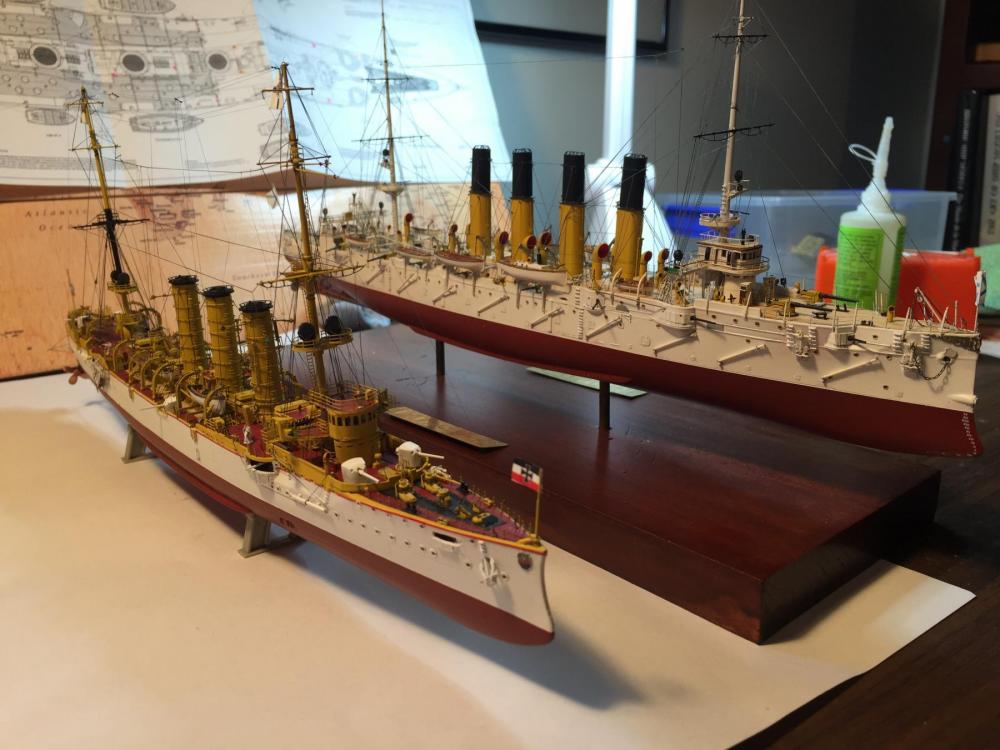
Yes, with torpedo nets, hopefully properly slung out. With regards to wood, I'd like to find something unique. I search continually for a reasonably priced Bluejacket Atlantic that does not require a second mortgage for shipping.
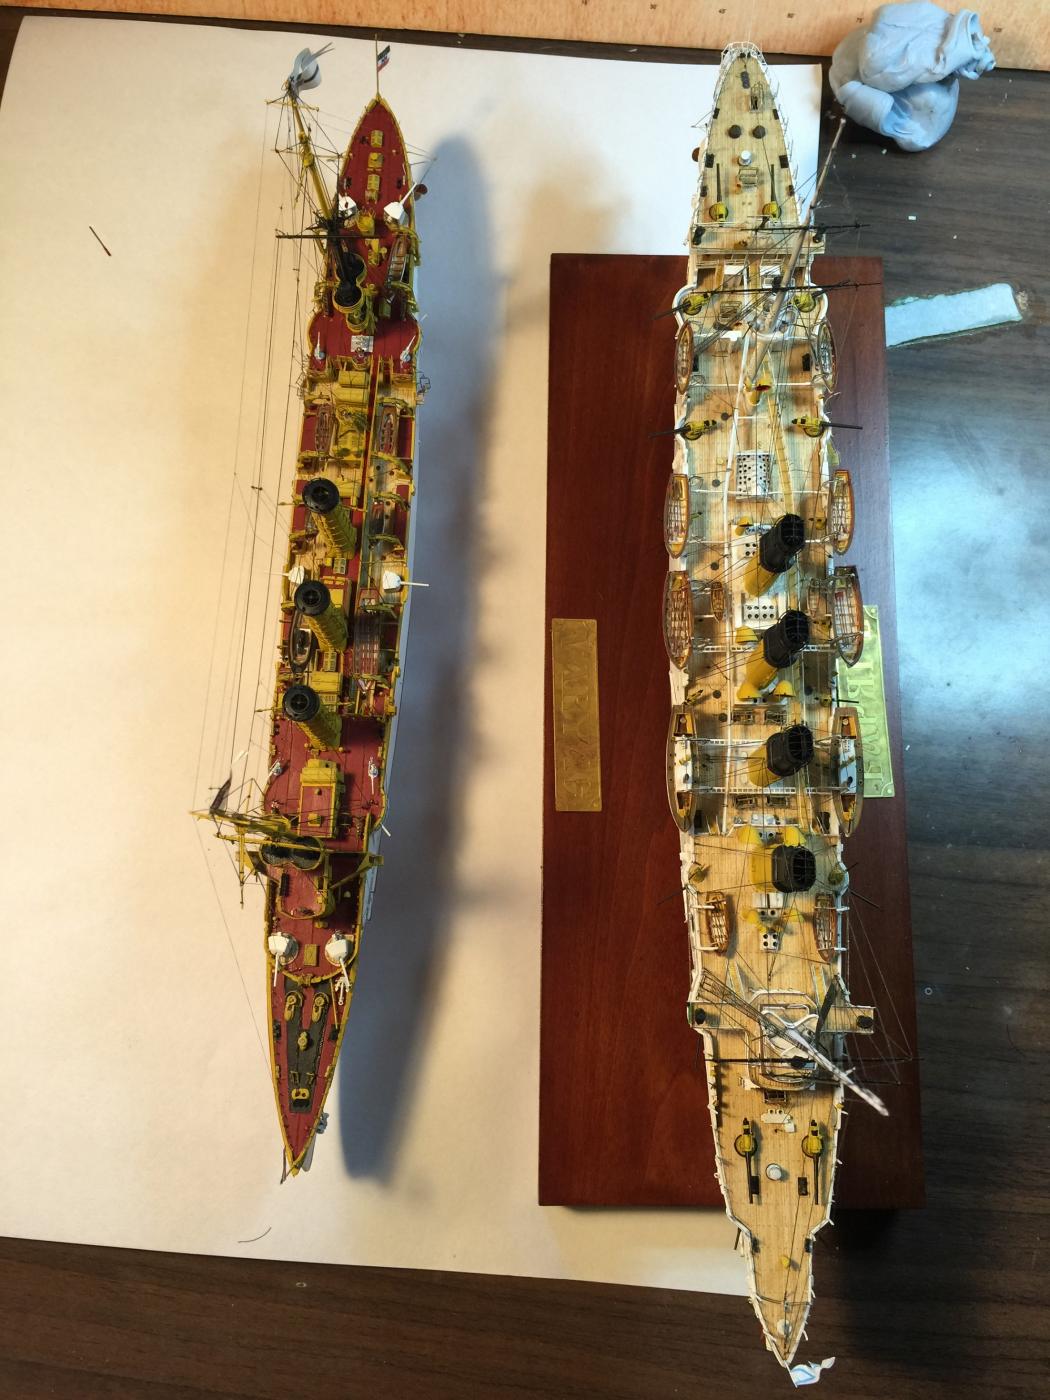
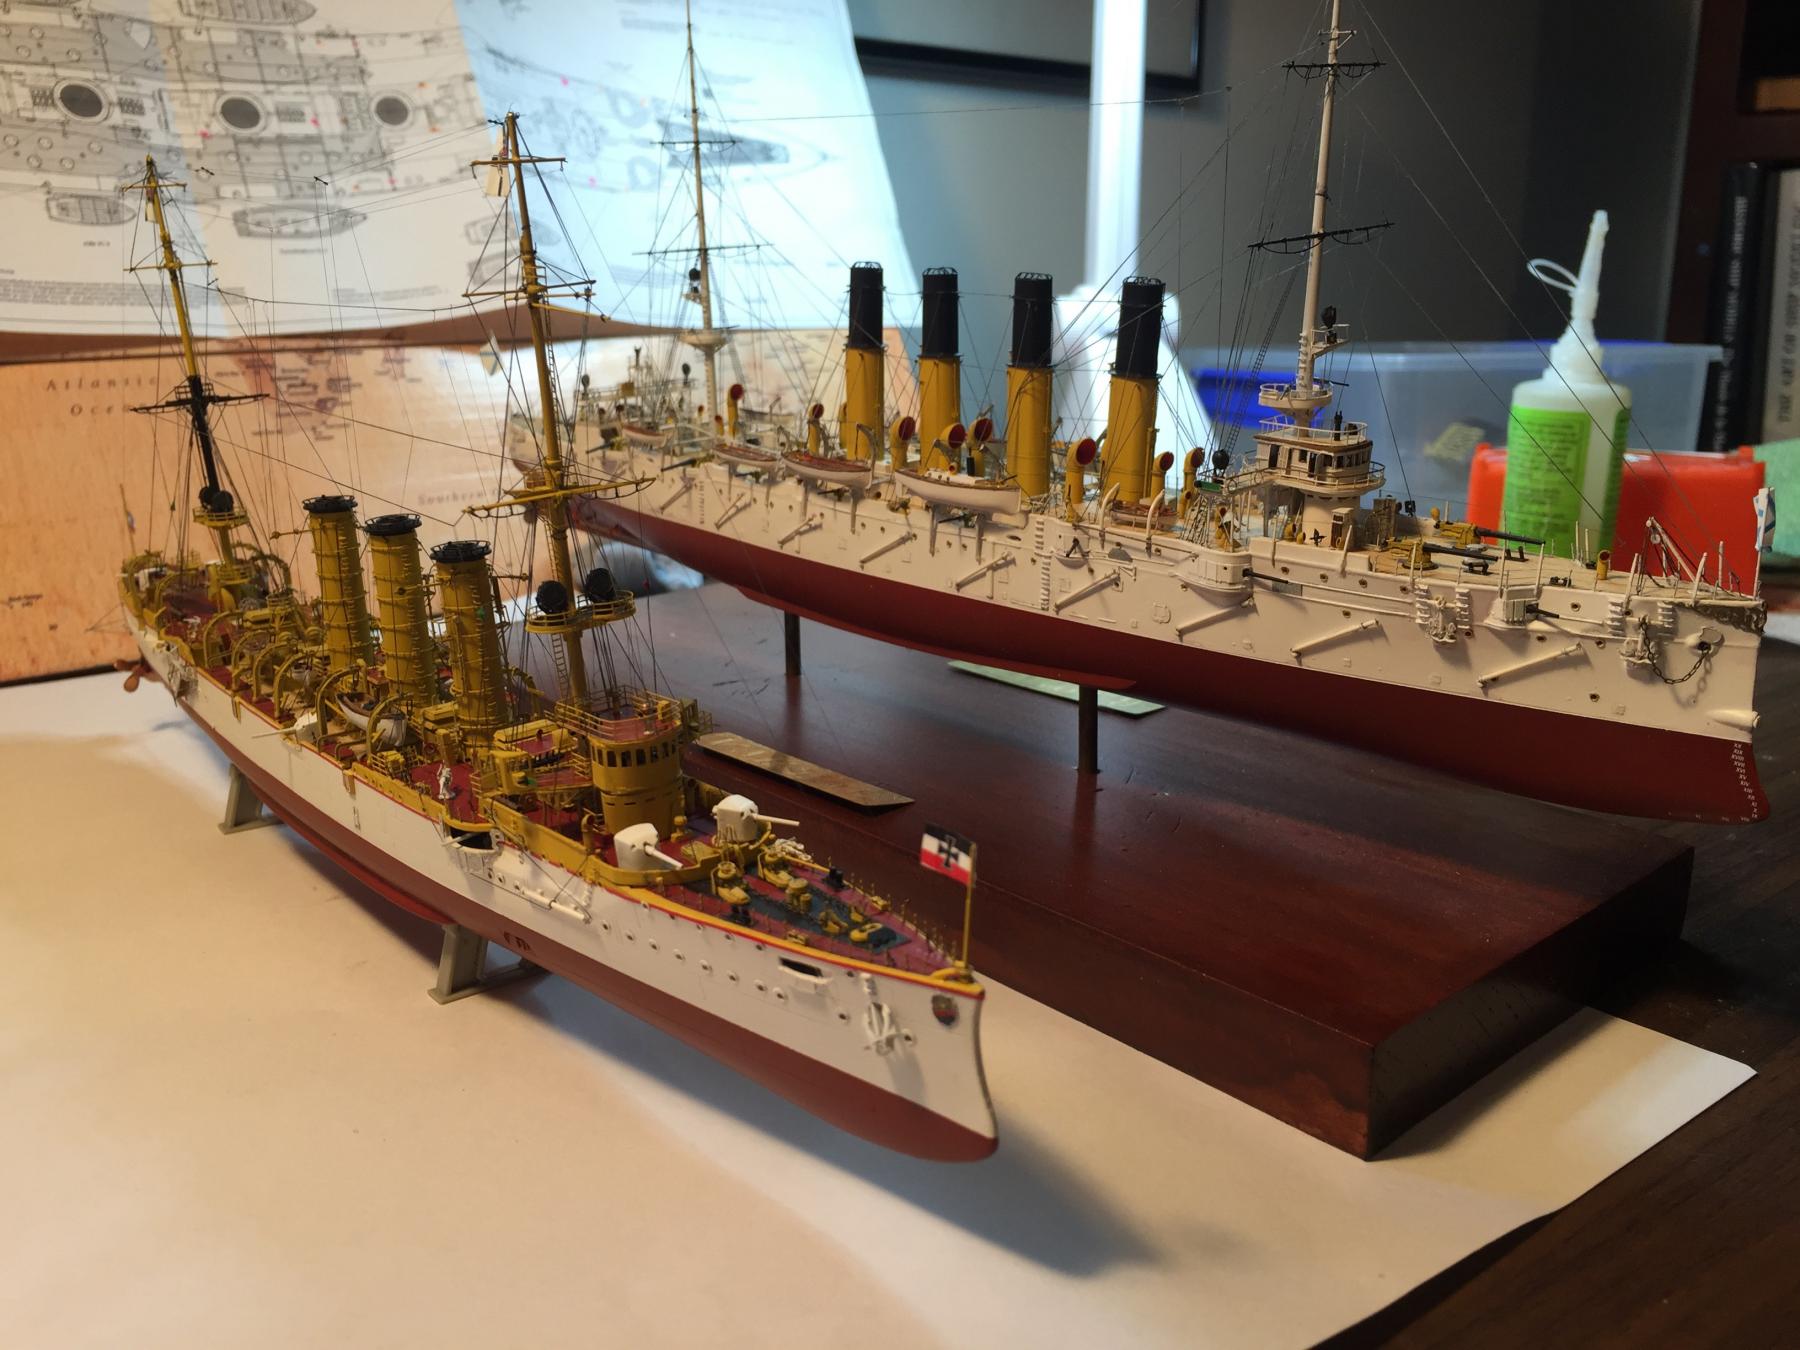
I would first like to bookend the battleships, the first and then the largest.
-
The basic kit is fairly simple but a good start. A simple google search will find heaps of other renditions of this kit and the other manufacturers, but no one else has done one on our closed forum. There is a heap of aftermarket, none of them with a complete set.
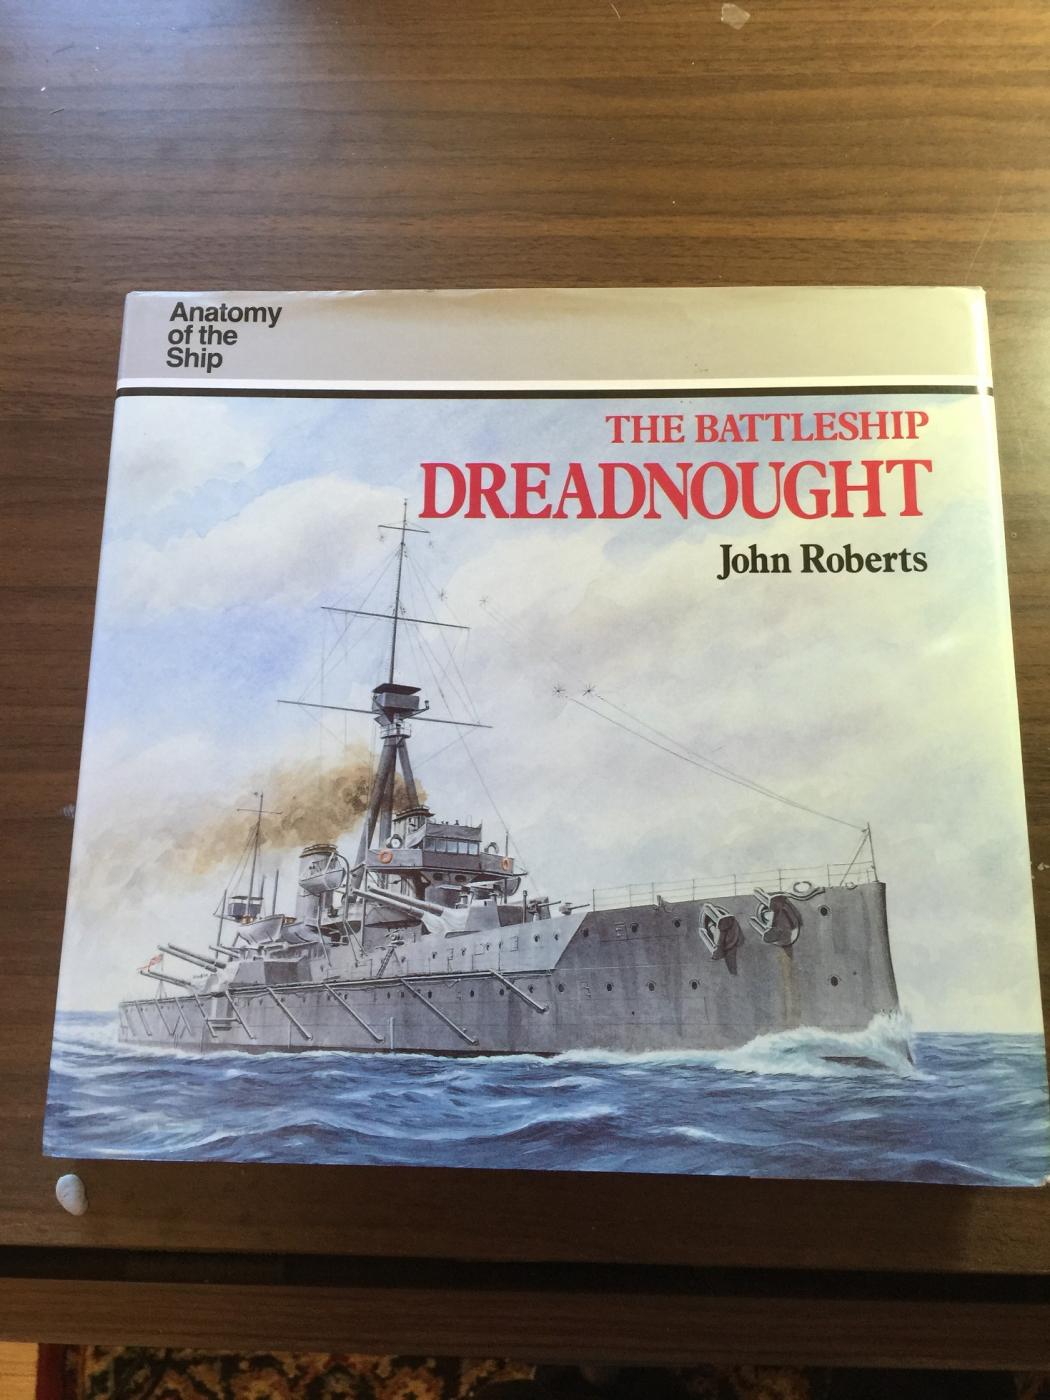
 I don't think I could complte the kit without the AOTS book.
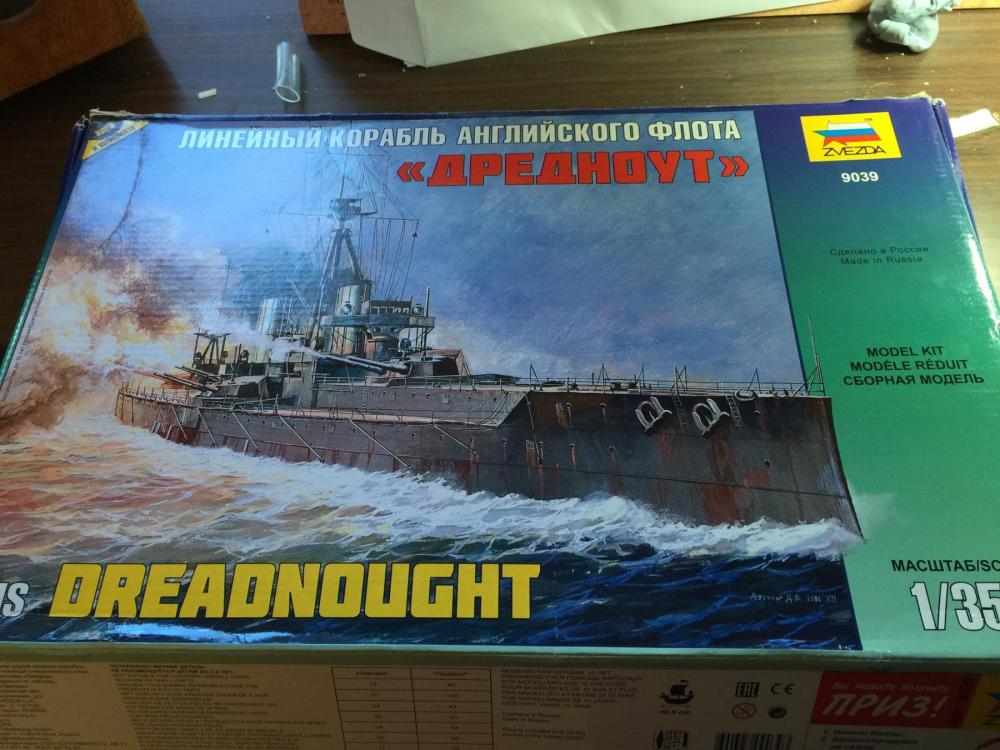
The kit I got from Ebay from Russia which was the cheapest place in the world to buy it.

The aftermarket stuff was from everywhere, each of them having bits and pieces I need, including perfect 12pdrs and winches.
-
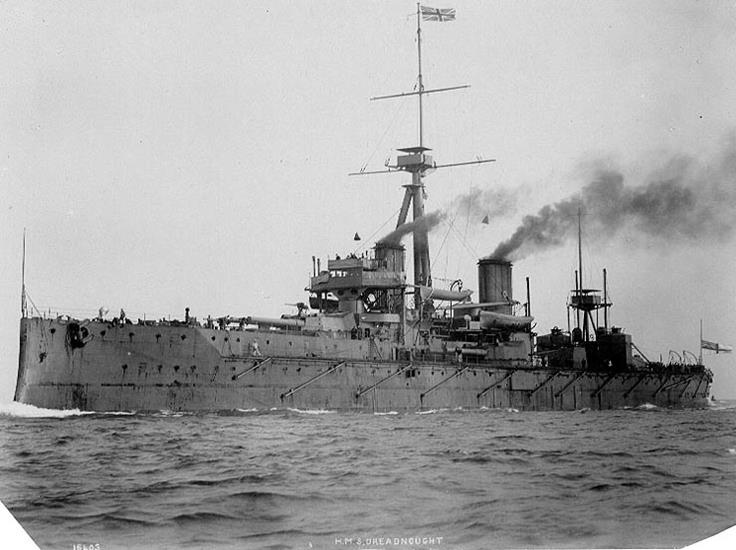
My apologies to the purists, but I'm doing plastic again. This time it's the Zvezda Dreadnought.
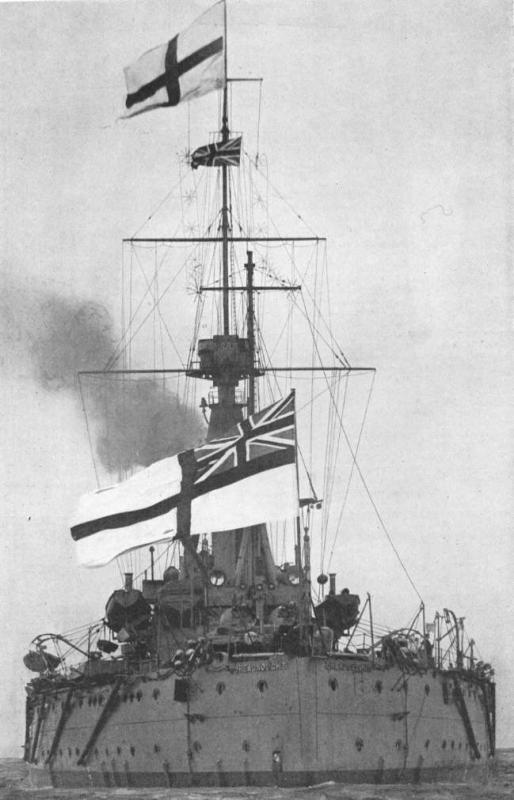
I won't bore you with the history, as it's been flogged to death on the internet anyway.
Over the last 6 months I've been storing up the kit and the aftermarket bits and pieces to build what I hope will be a decent rendition that is no where as hard as the previous two kits to bash.
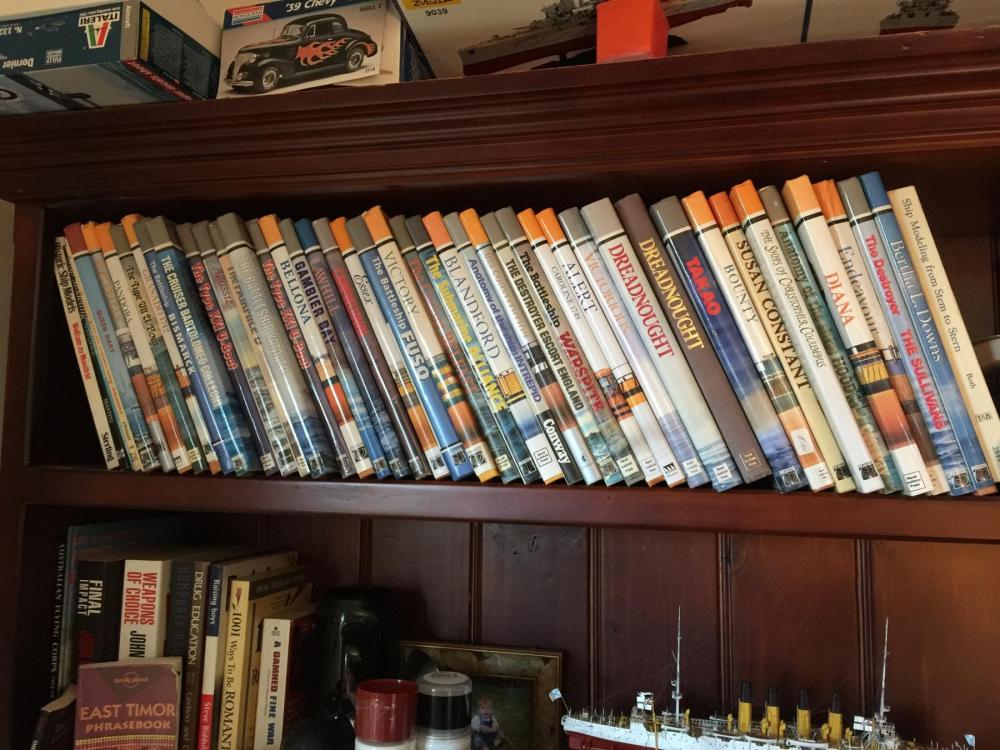
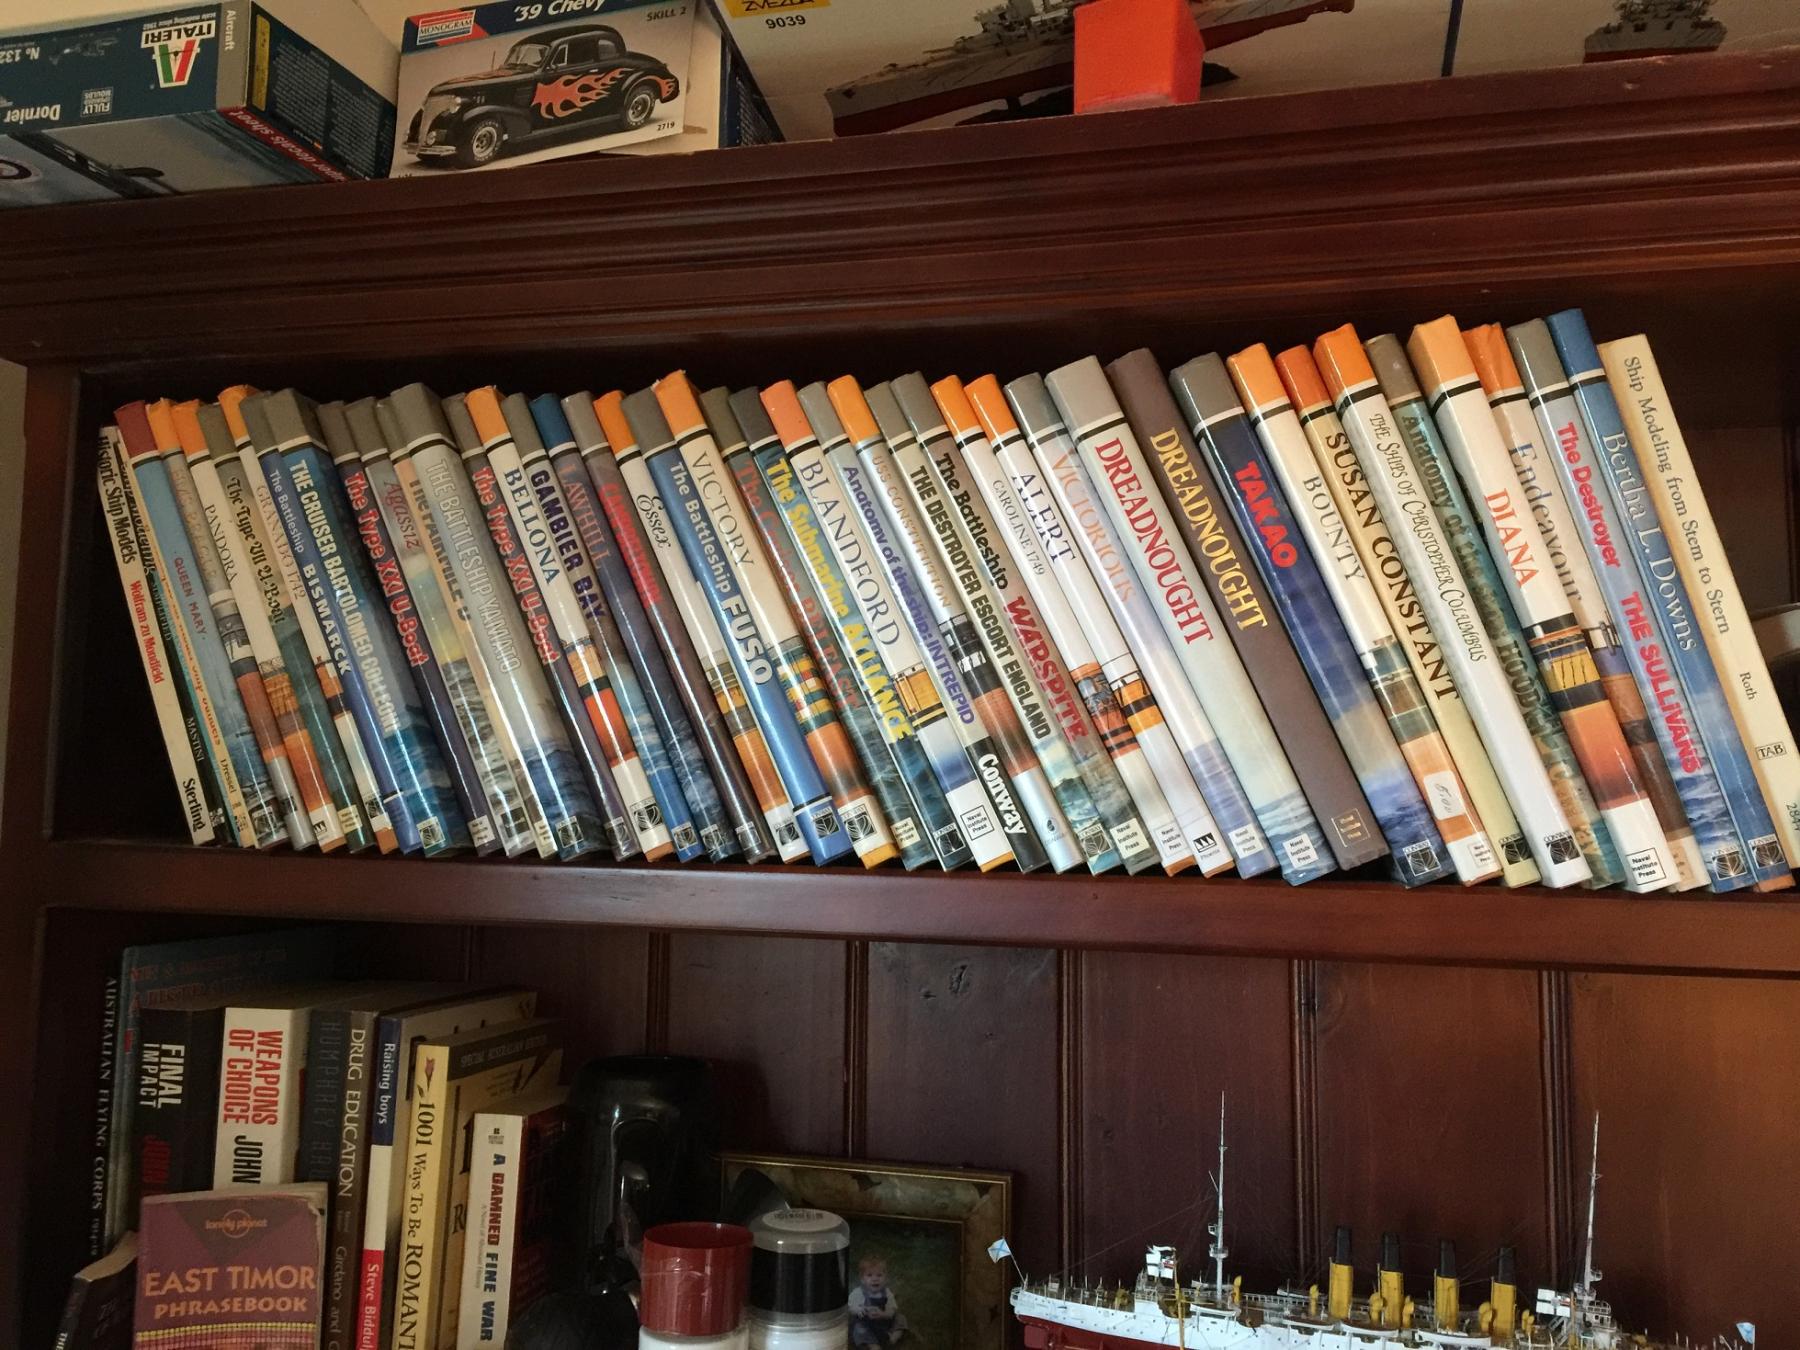
Years ago I started building up the full collection of the AOTS books and this was the first book I purchased over the internet about 15 years ago.
I'm going to go for the 1907 build to keep in line with the age group of it's sisters in the bookcase.


- reklein, robin b, paulsutcliffe and 14 others
-
17
-
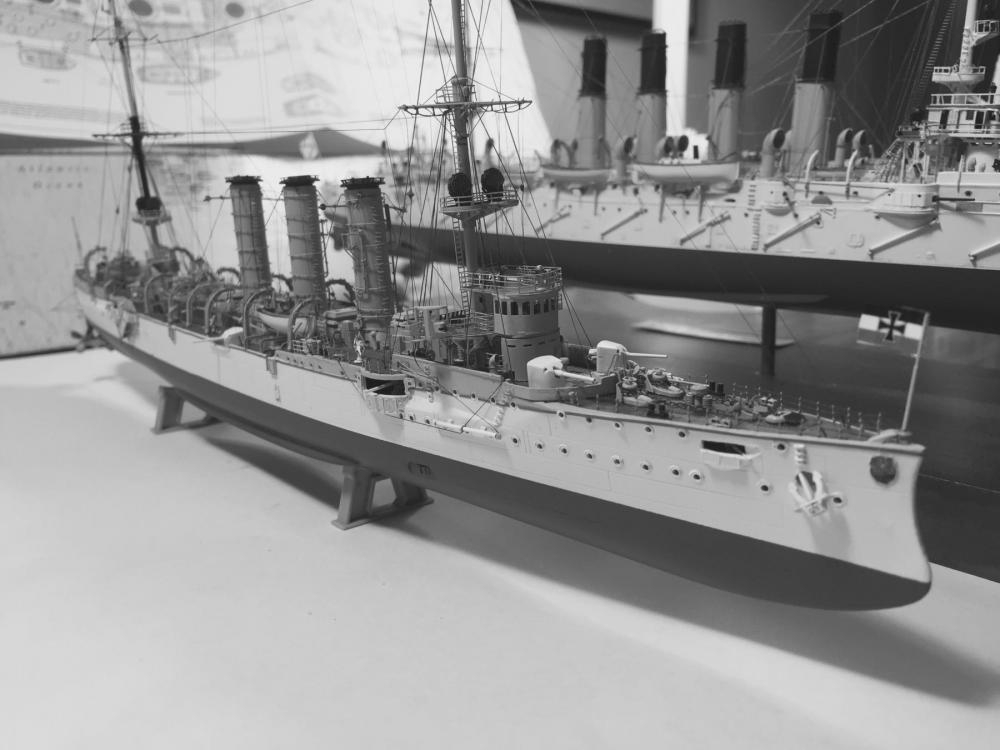
OK, flags added, guns glued down, port and starboard side panels added.
I have pulled it off the base and will get around to getting a proper one then I will park the photos on the completed logs.
Overall it was a frustrating build that really took a lot longer than I thought but it kept me occupied. As you can see it's smaller than the Varyag and no where near the quality put up by the Artwox kit.

- Captain Slog, GuntherMT, mtaylor and 15 others
-
18
-
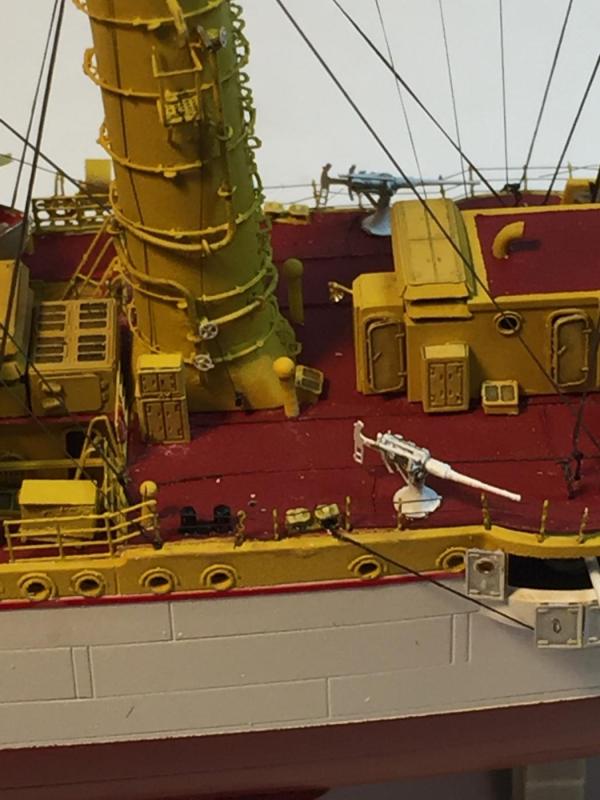
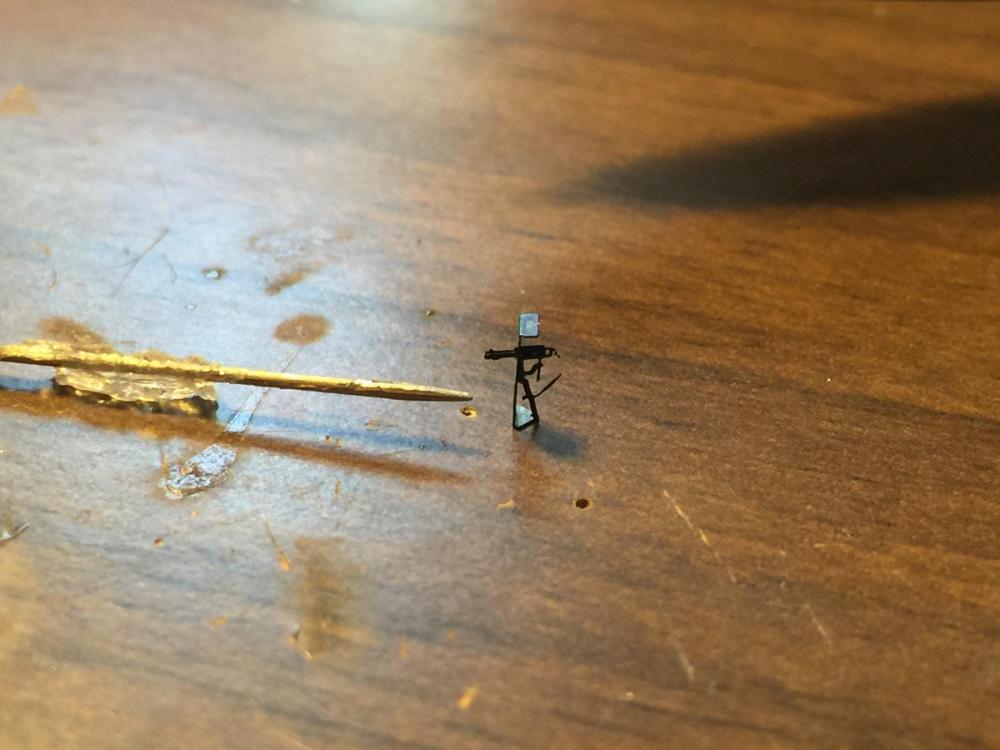
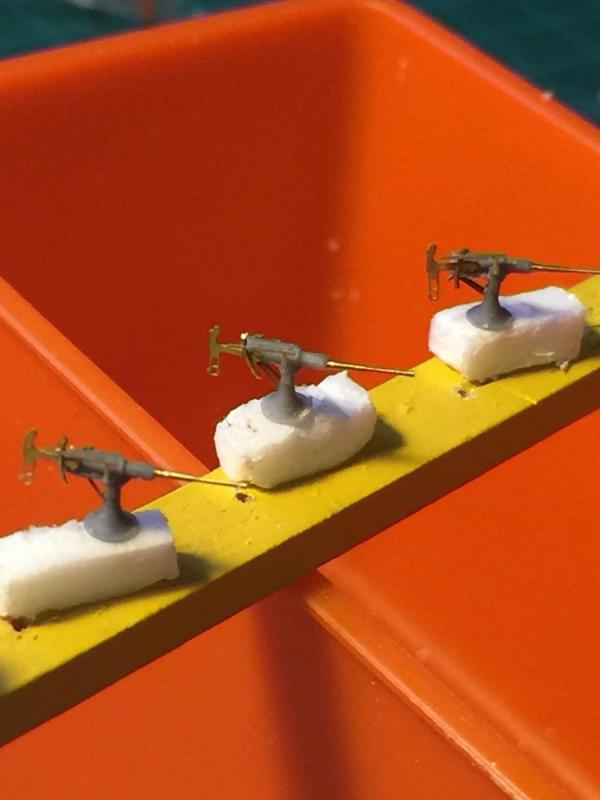
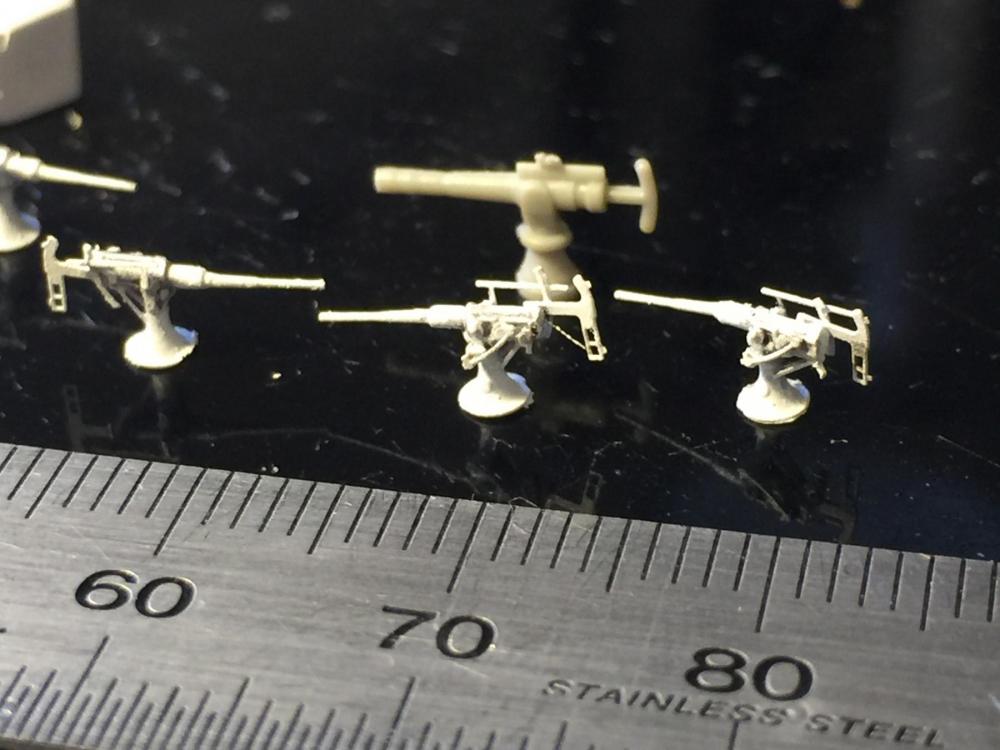
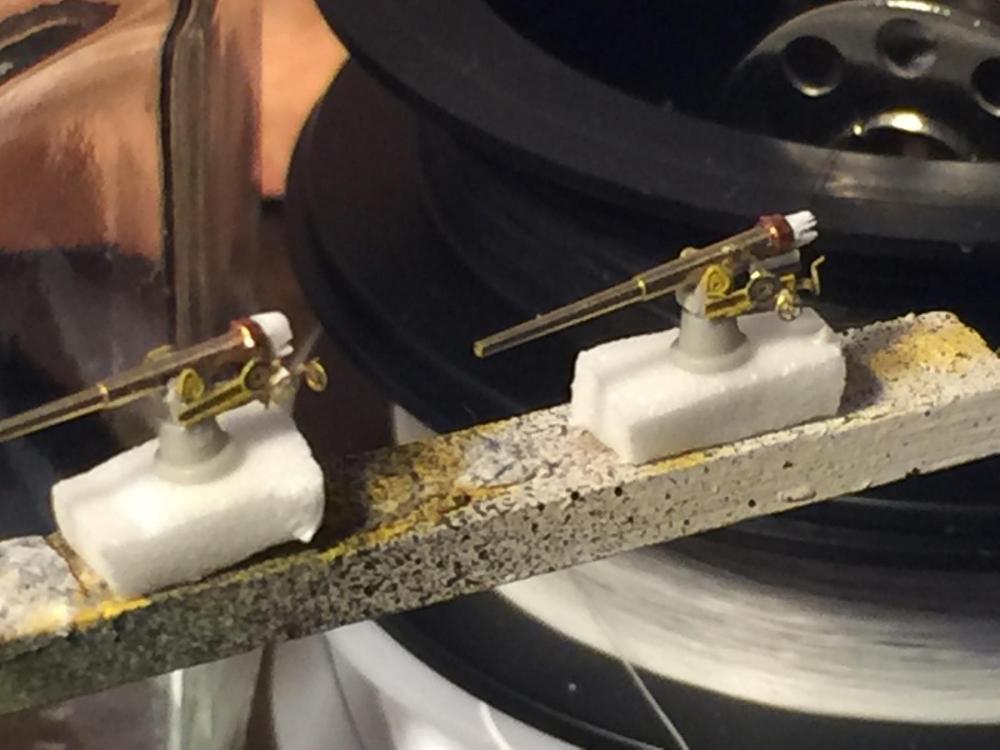
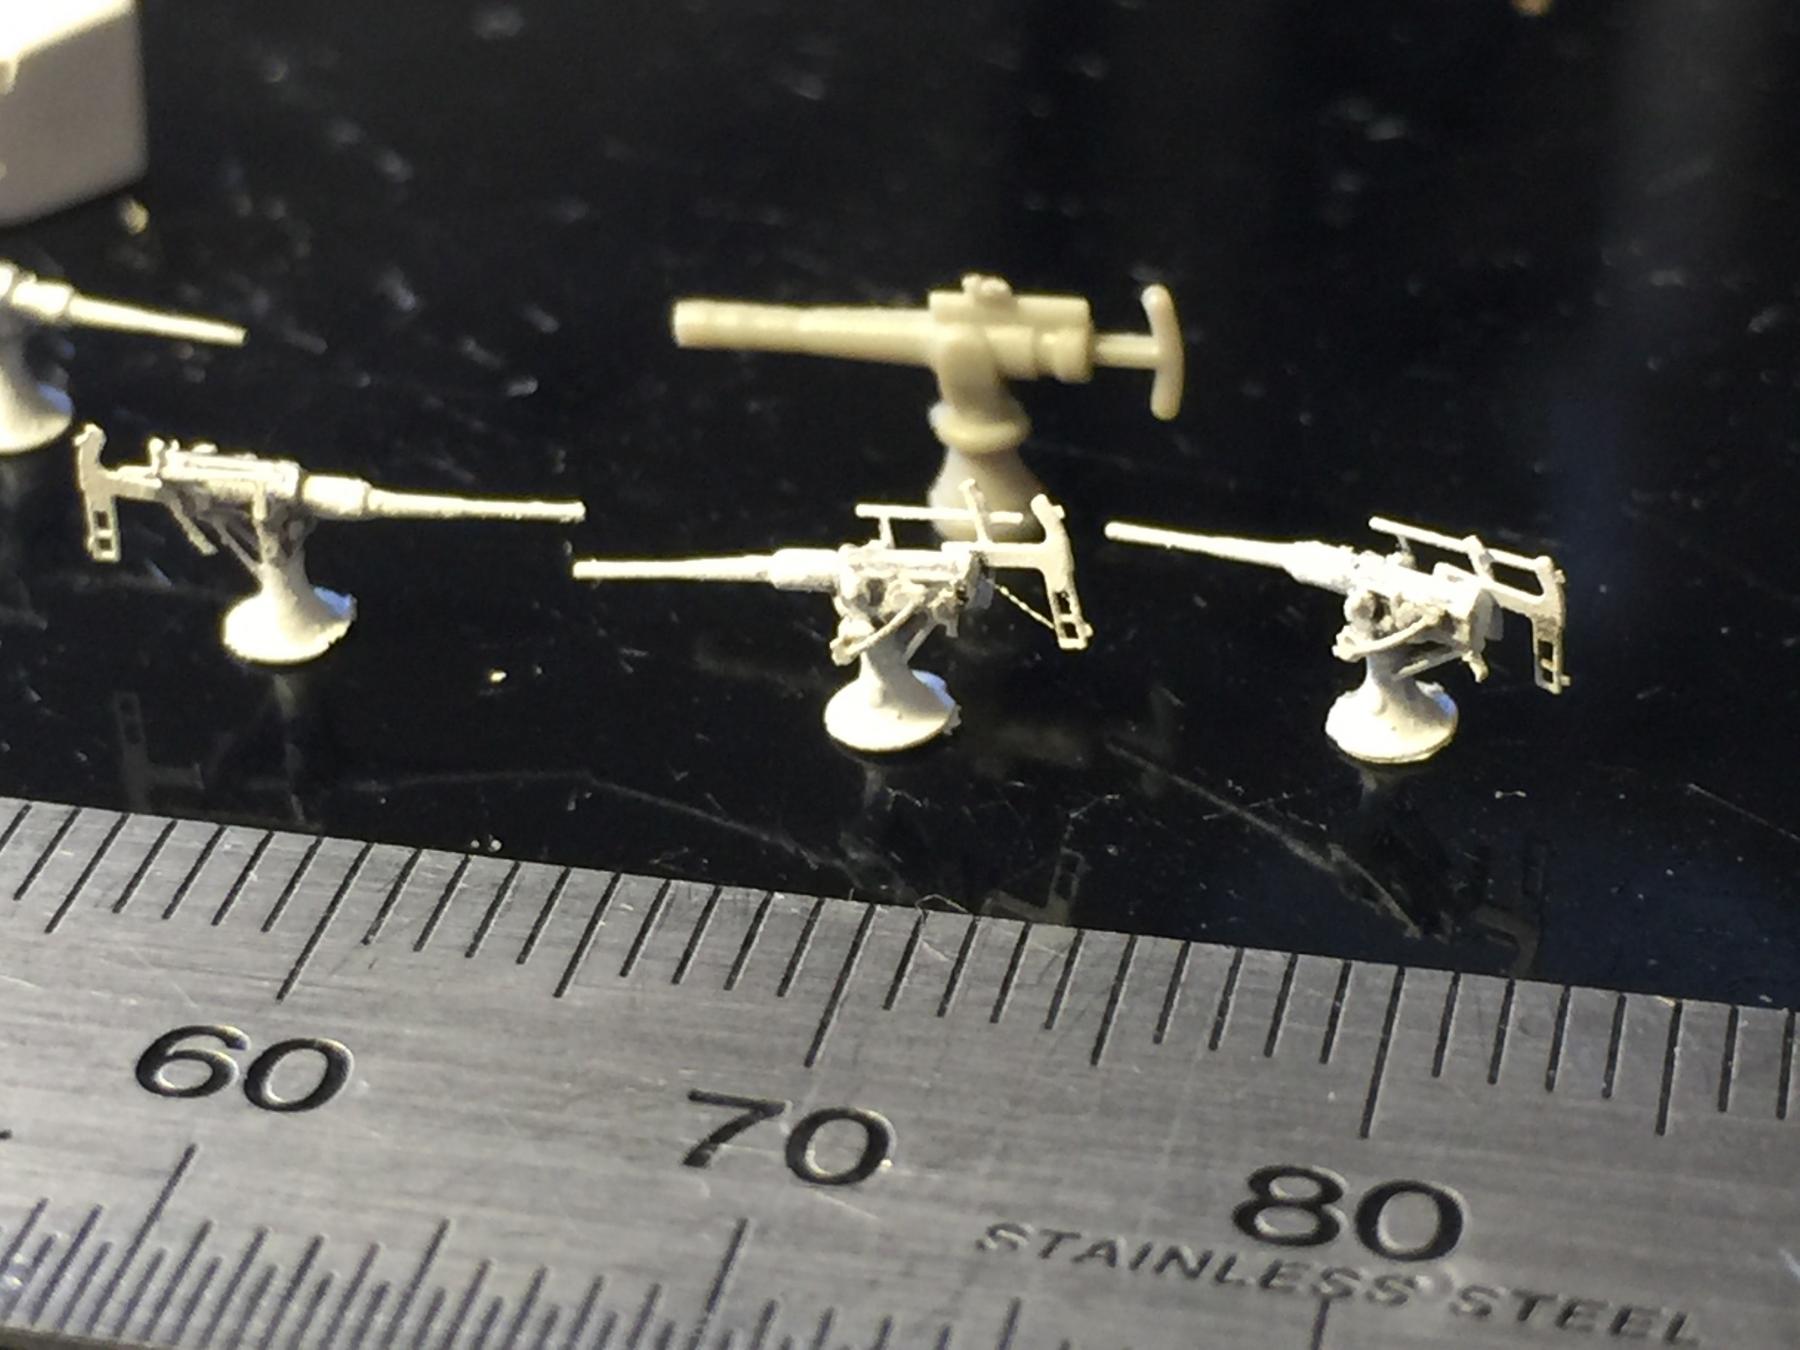
The last guns are 2 Maxims which sit amidships. I used some north Star Models ones which are a little bit small.
- GrantGoodale, mtaylor, Canute and 4 others
-
7
-
-
Thanks folks, nearly there, I have made up the flags and some navigation panels, and discovered I have lost the stern flagstaff, which I had to remake. As I was cleaning the desk the next project's box fell on my head, missing the Emden by inches. A bit foreboding really. She is impatient to be built.
I reckon 1 more day and I'll be finished. I just have to find someone to make me up a nice display board for her and the Varyag.
- Captain Slog, dgbot, mtaylor and 2 others
-
5
-
you know when you're almost finished and have to tell yourself to stop rushing?
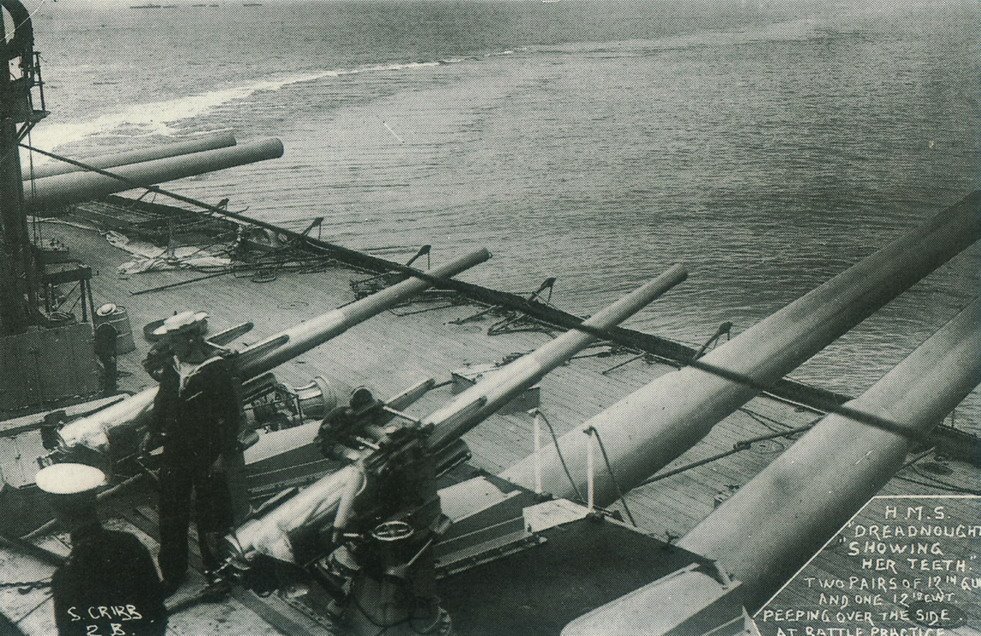
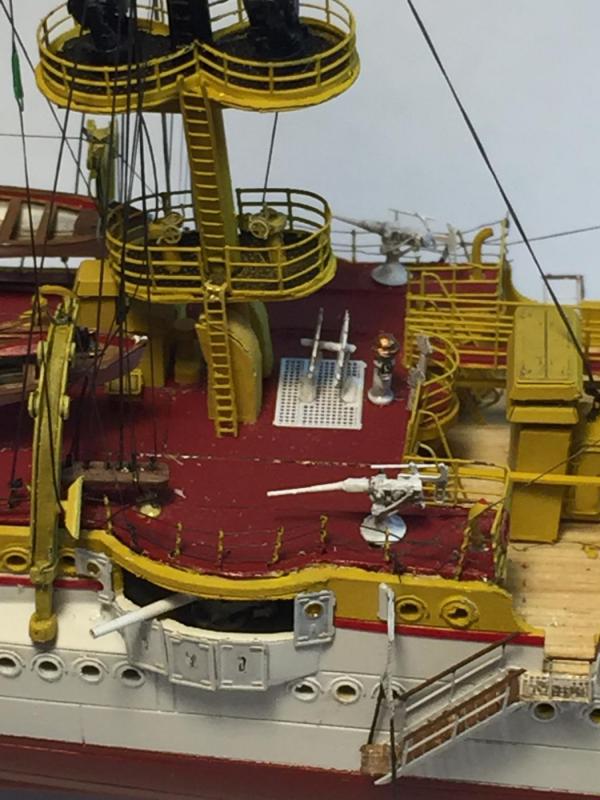
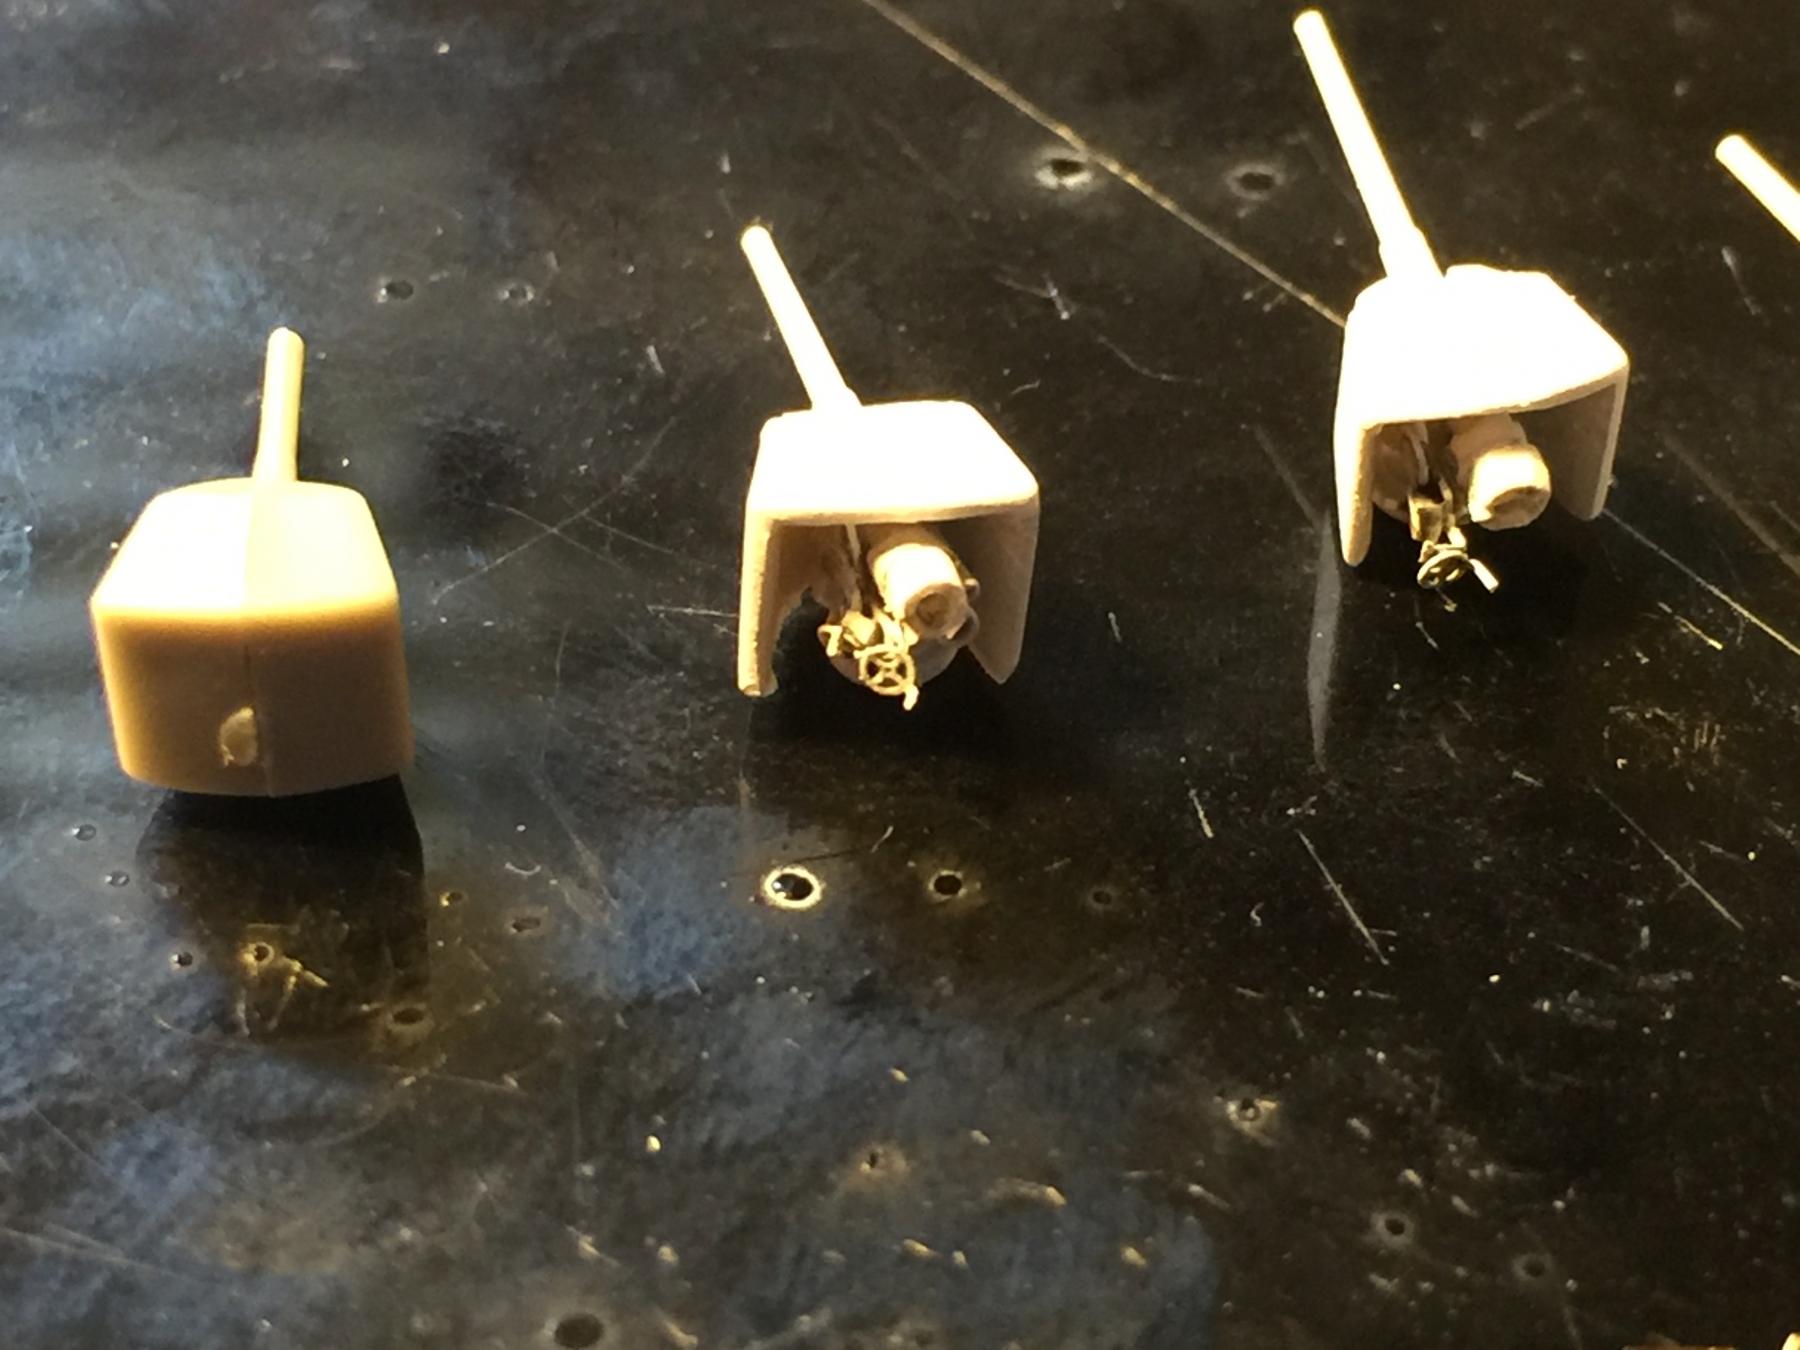
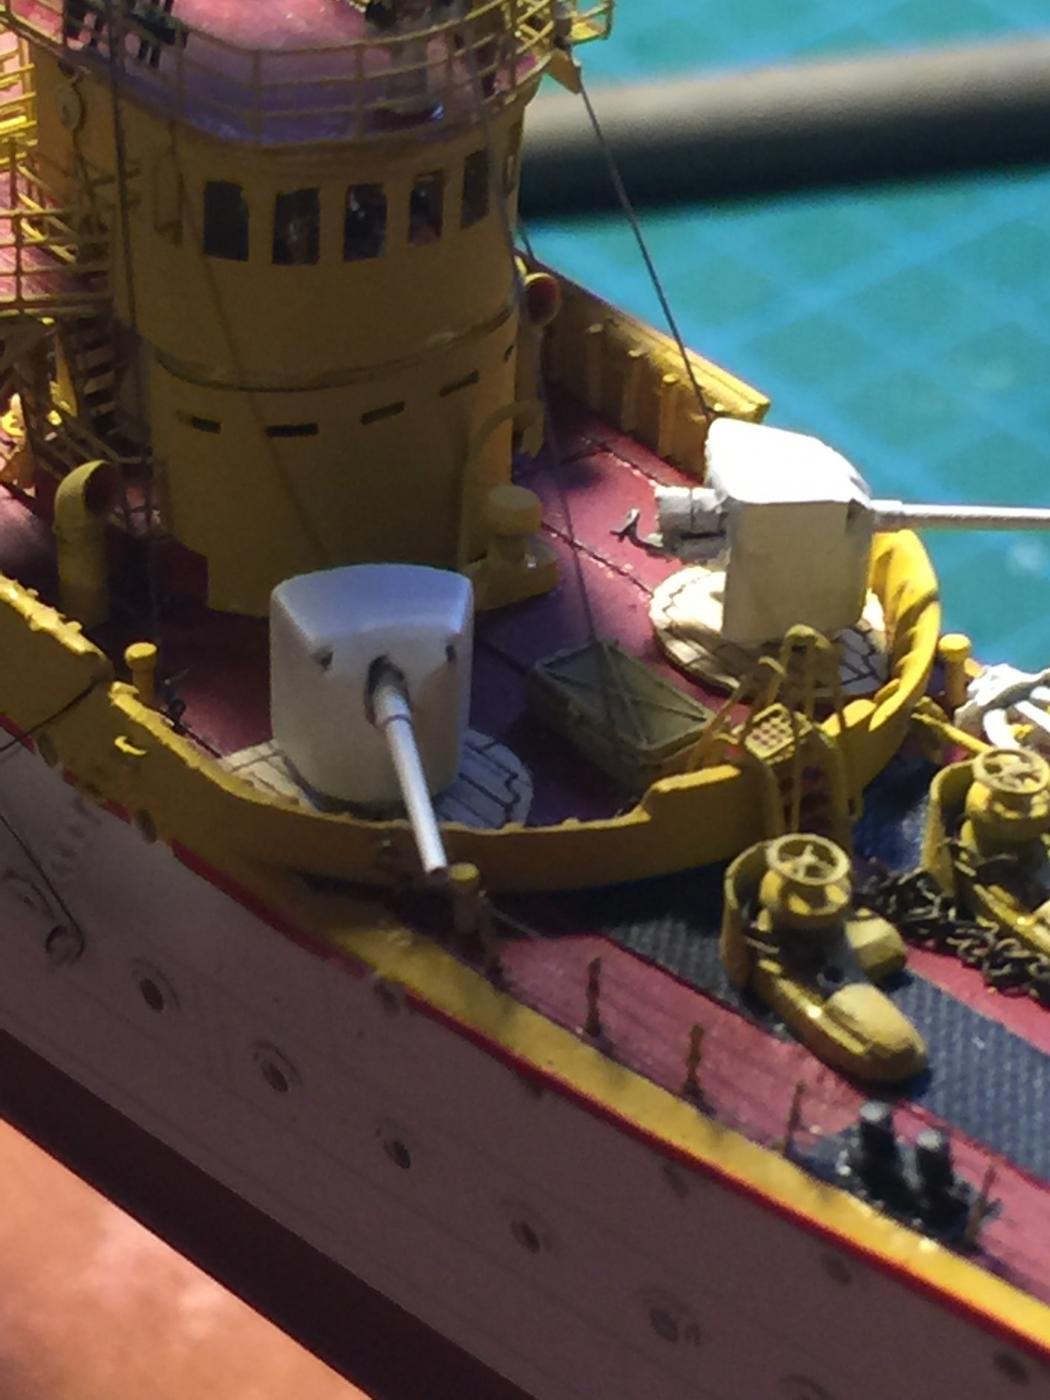
The 10.5cm guns and 5.2cm guns are complete. You can see from the photos what Revel provided and how a bit of bashing works out. I did not put sights on the big guns as you could not see them anyway and the soft plastic is very hard to thin sufficiently.
They look OK on the dry fit.


-
I can see why hobby shops won't hold stock that's expensive and slow to move, I think that's why they invented the Internet. HMS Victory and Yamoto are favourites, Eastern Europe is bringing out some nice stuff in resin at incredibly high prices which will kill them eventually. Asia is bringing out stuff that is just stunning now, especially aftermarket, at very good prices but limited to IJN and a few other nations . The early 1900 ships are just very elegant and revolutionary between wood and steel.
I think we can now afford what we couldn't as kids and are not in such a race to finish one kit and move on to the next.
My AL Endevour was a rubbish kit that required everything but the bulkheads pretty much scratch or aftermarket. Maybe we, here on this forum are more patient, and I kind of consider the scratch builders the grown ups who have the skills and tools to make masterpieces. I'm just a bloke slapping things together.
-
Thanks for the likes and comments, I'm in the process of using the Dremel on the kit supplied gun shields to get them as thin as possible to place them on the deck guns.
- Old Collingwood, mtaylor and Canute
-
3


HMS Dreadnought 1907 by RGL - FINISHED - Zvezda - 1/350- PLASTIC
in - Kit build logs for subjects built from 1901 - Present Day
Posted · Edited by Greg Lester
No idea, if painted on with a few coats, no? I have a few additions to add to the side bars yet which should fix them on. I did 130 porthole eyebrows this afternoon, very little bashing which is nice for once.