RGL
-
Posts
5,077 -
Joined
-
Last visited
Content Type
Profiles
Forums
Gallery
Events
Everything posted by RGL
-
 Lovely work
 -
From memory mine were 4mm wide, I'd dry fit the entire length but I drew on the frames in pencil FO I knew how to put the 6 butt shift. That way the tree nails line up correctly. It also resulted in not using stealers at the stern or the bow
-
As such, each lower mast has it's own tackle block set up, with the rings already placed on the channel years ago. You really do have to plan ahead. The Fore tackle was obviously used to fish out the end of the anchors to get them out of the sea. I shall endeavour to replicate this when i do the anchors.


-
I've finally shipped the fish hook tackle. I did a bit of research on this (I think to meet Marquardt's rigging plan) and found the two following diagrams.


-
I've kept this pillar off the ship to date as it would only get in the road. The bow swivel cannons were a slightly modified version of a Caldercraft cannon copied off the AOTS.


-
Or; as an alternative, there is one plank called thick stuff just above the Wales, and you can do three anchor stock below. I still regret not doing that one plank.
-
looking good
-
Jason, sorry to stick my nose into Rowland's log, I'm also doing the AL Endeavour. I'd strongly recommend you swap out all the planking wood supplied. The decking planks are very waxy and break very easily. The lighter but thicker ones are for the first layer, with the darker thin ones for the second layer. Greg.
-
Thanks gents, things will slow down now, I want to get the mast tackles done next, and time to bite the bullet and make up some blocks with metal hooks. Then the fish hook davits (which are constructed but unshipped) to run off the foremast tackle, then the 4 anchors, the stunsail booms, do up chucks lantern, then wrap it all in glad wrap and start on the yards. So, same time next year then....
-
I reckon dark gloss green would work too, it is personal taste really as to where you display it so it looks right
-
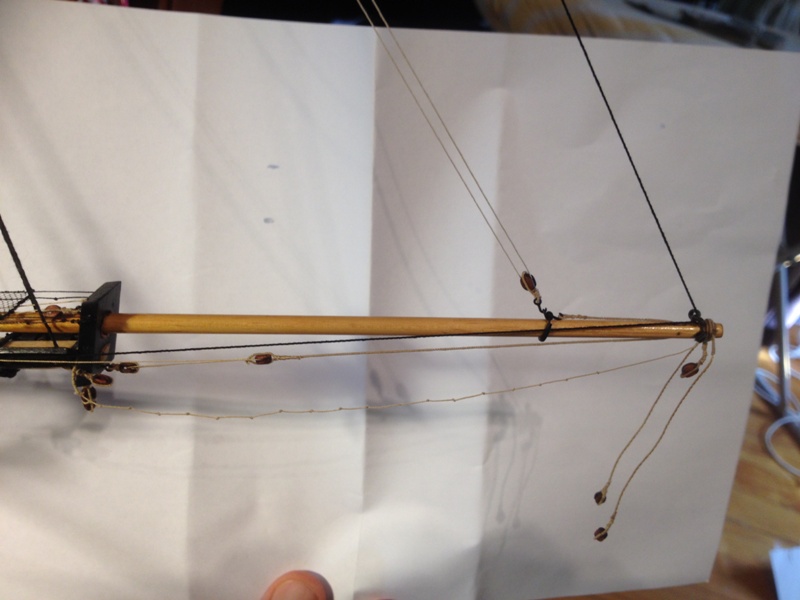
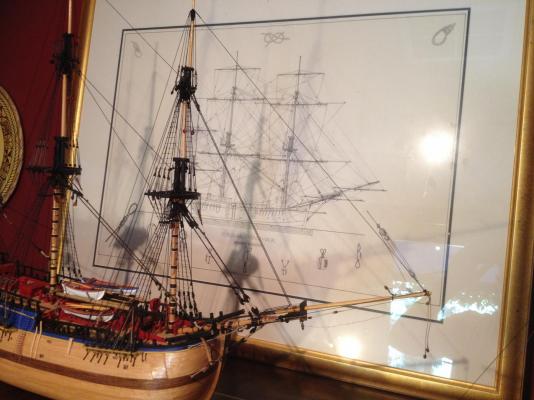
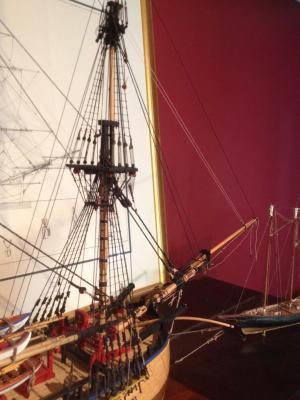
OK, pointy end of the ship done finally. I've pretty much replicated the AOTS for all the stays and running rigging.


-
I really have no idea why they are set up that way but I don't think if worry about it too much, it won't get in road of any of the other rigging at all.
-
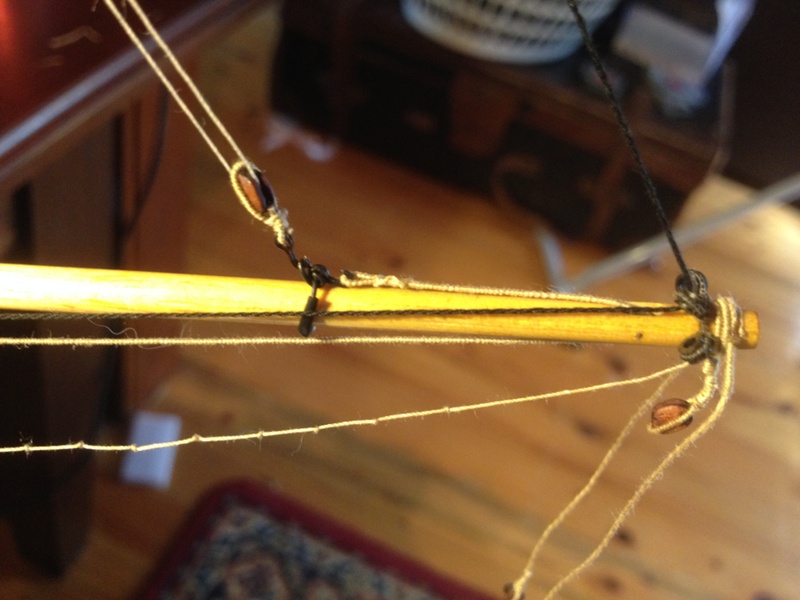
Oh yes, 5-0 and Thankyou skull. I'll take some more photos if you wish with a ruler for dimensions if you wish, I imagine the angles will vary with each kit. I'll finished the rigging on the boom which I'll attach tomorrow.
-
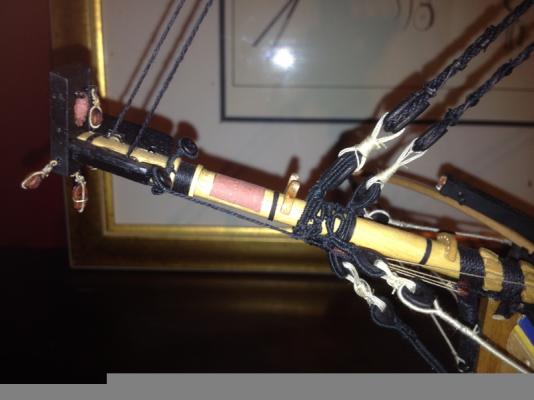
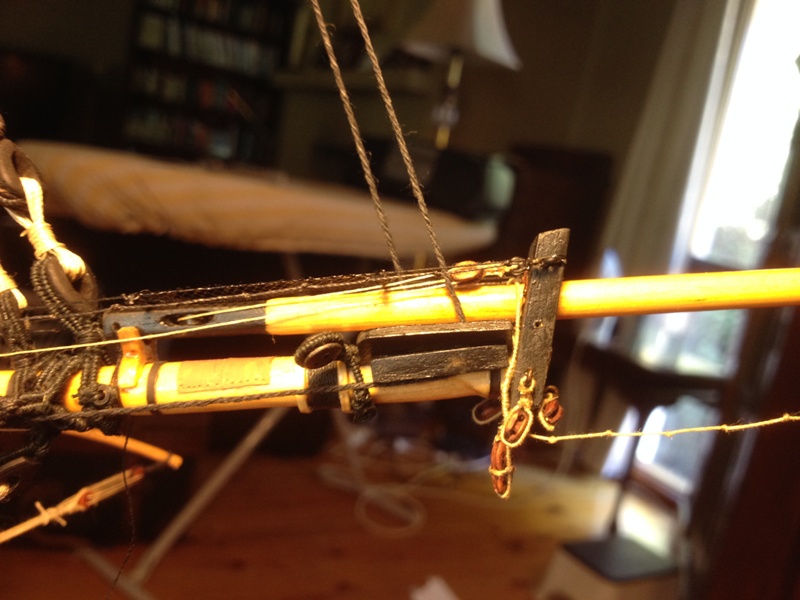
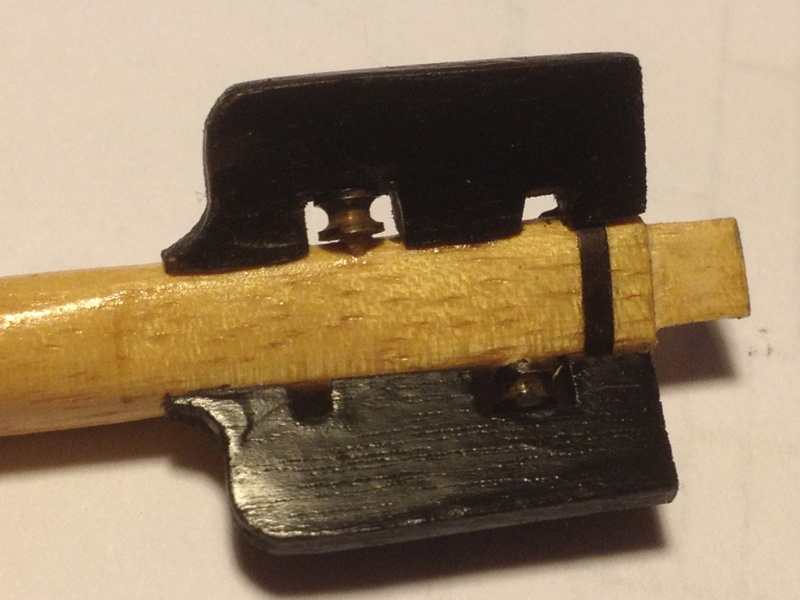
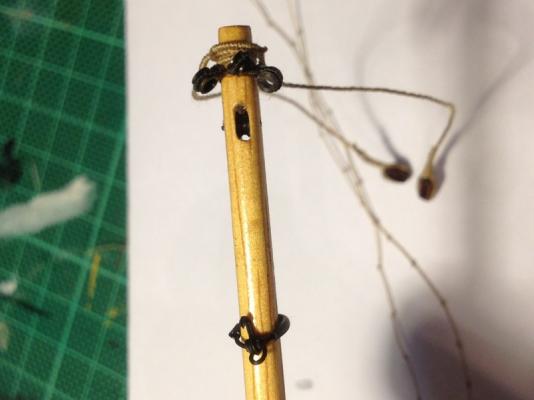
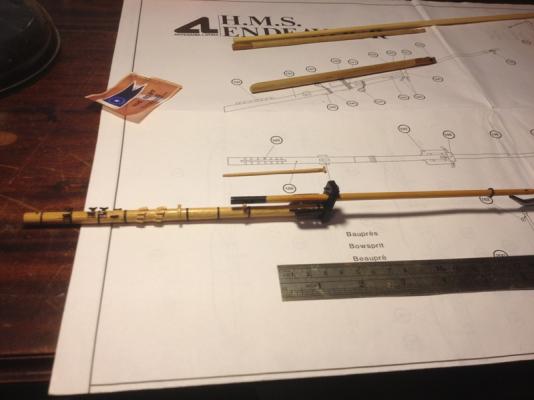
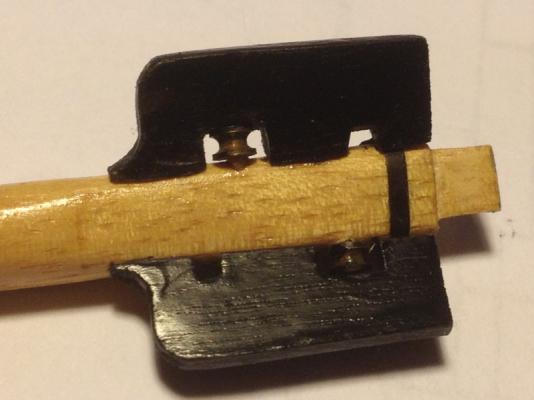
The bowspit cap was cut from an off-cut of walnut that sits just outside the bees (about 2mm) - see photo. It sits at 90 degrees to the waterline but the angle at the top and bottom and the two holes run parallel to the angle of the bowspit. Done with a simple lead pencil and a sanding block to get the dimensions and angles correct. I drilled 2 holes and widened them, the lower one square and the upper one round at the angle of the bowspit. I then cut a small groove for the flagstaff and used a microfile to widen it to fit to seat 1/2 the circumference of the flagstaff. You then need 6 rings for blocks and rigging.
-
I have no idea how the silly smiley face got there.
-
Make sure to do a dry fit of the topmasts before you fit it all so they a) fit and sit square within the width of the inner tops hole. I did the fit which worked at first, then after all the shrouds went on it can be one a very tight fit.
-
Wow
-
I used the CC Photo etch fret. The crows feet thingy does not have enough holes! You'll have to do one by hand.
-
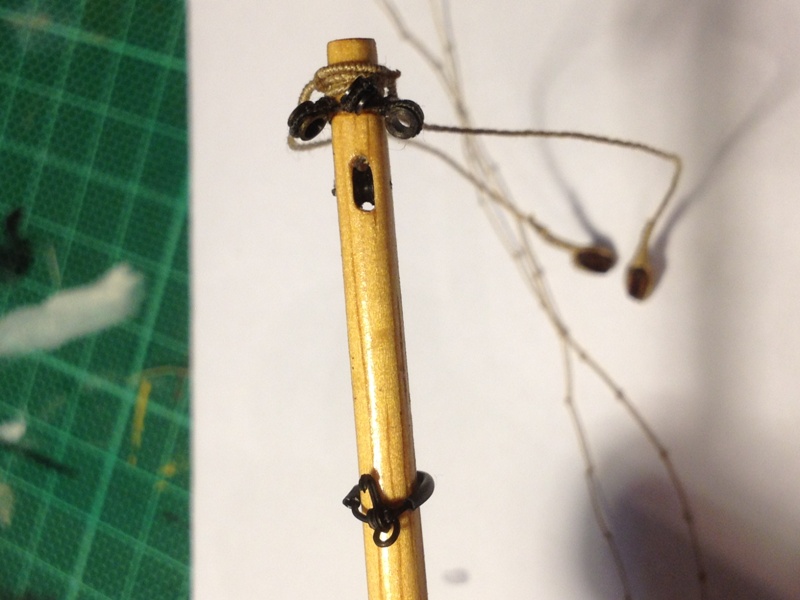
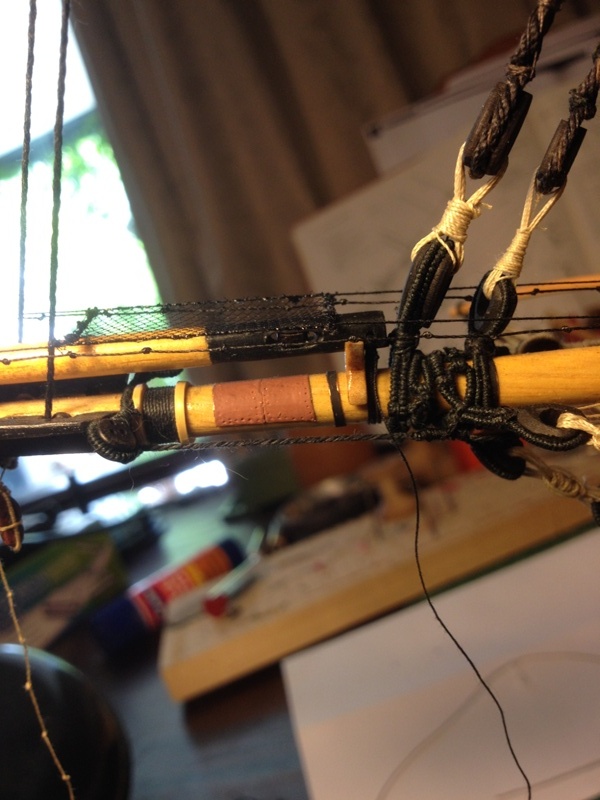
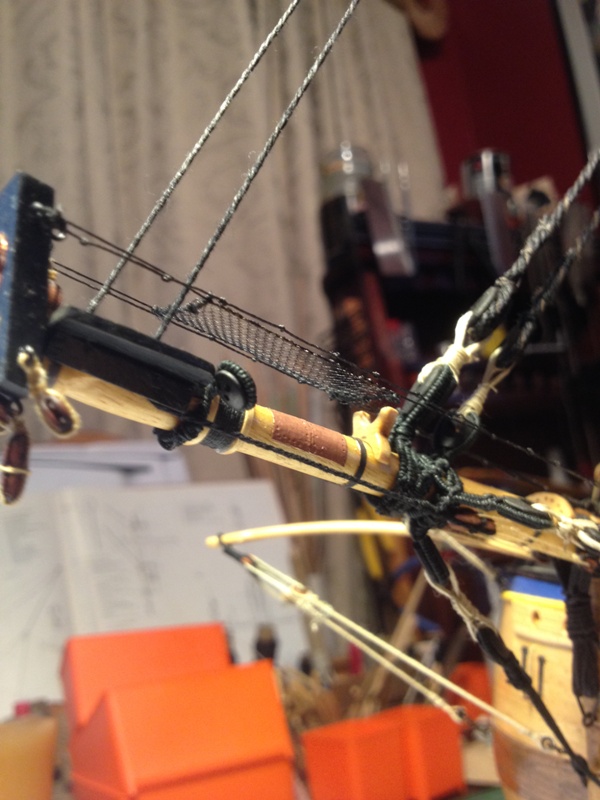
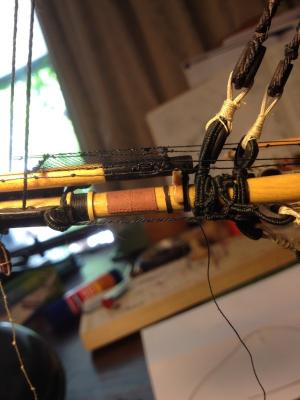
Ok, the whole mast tapers for the cheeks, with the green bit being full circumference. I did it on the lathe. I filed the sides above the green for the cheeks so they are fairly flush. The woulding was filed into the cheeks and used ratan for the hoops. The metal bands were just cut to appear as if they go under.
-
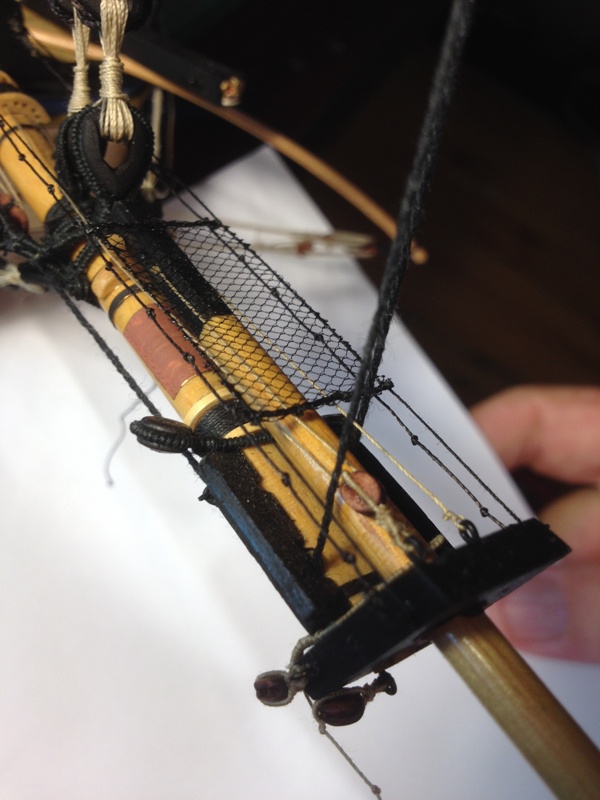
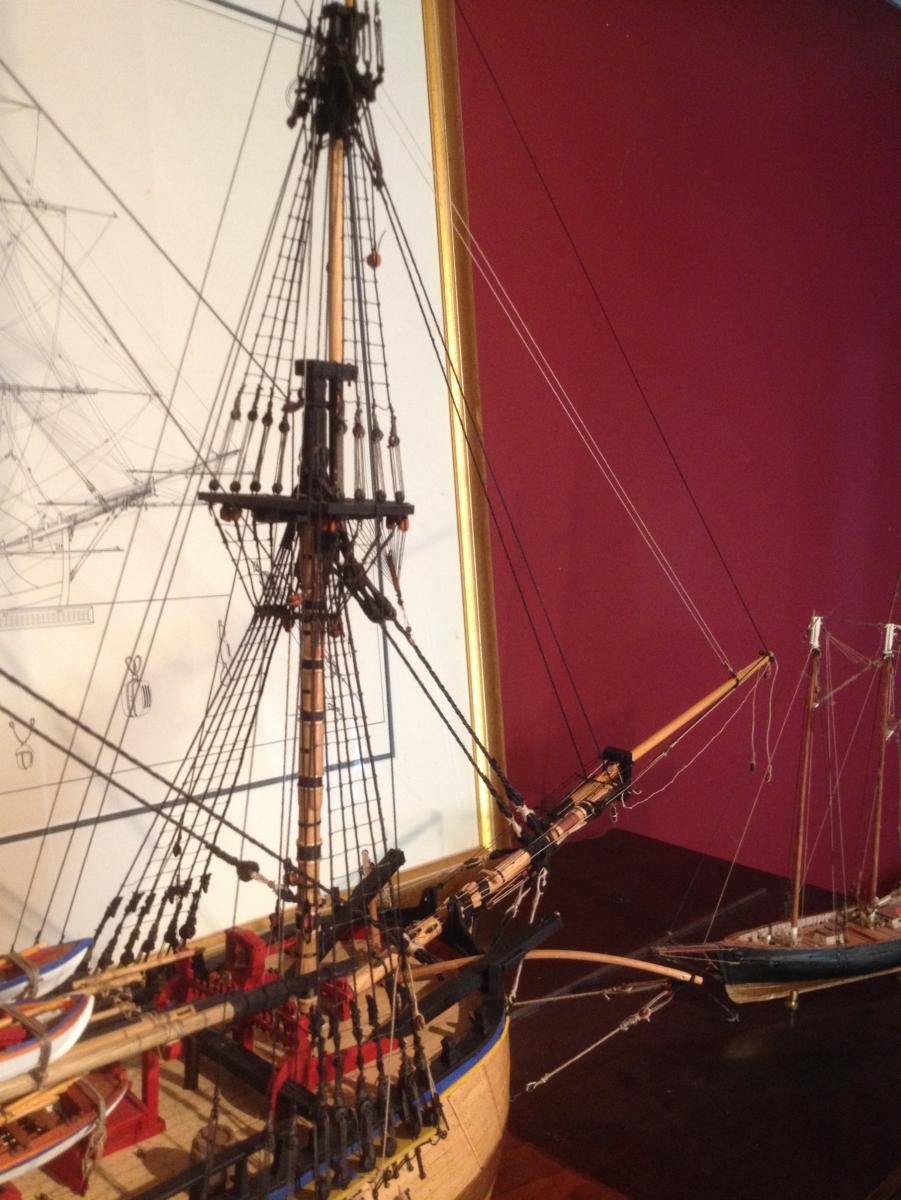
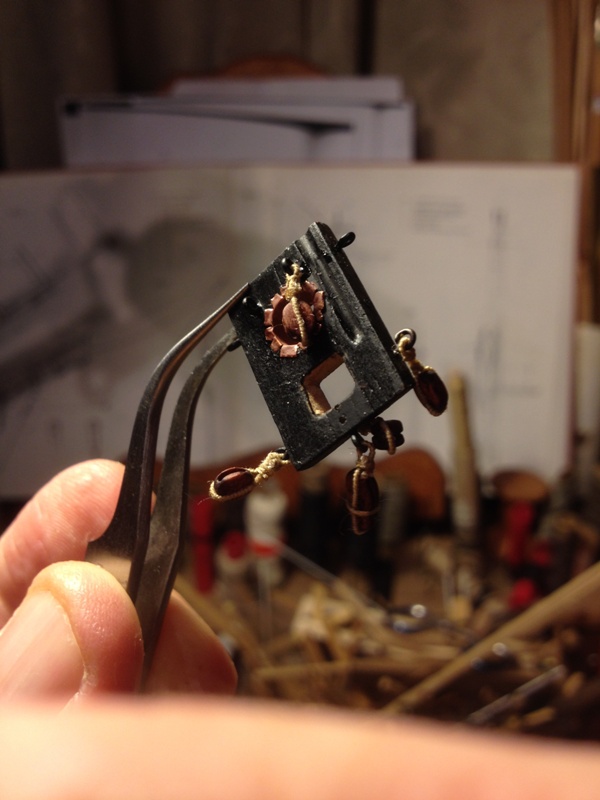
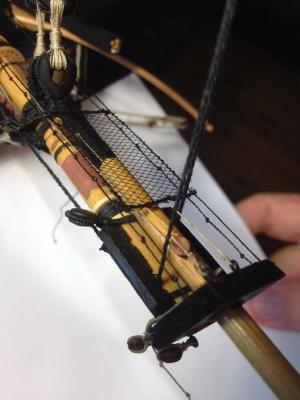
The "leather" liner is copper tape painter brown and the netting is commercial from Cornwall. I was going to try and hand sew it but it would have looked like crap at this scale. I did about 3 versions to get it right whilst I was watching the 5th test.
-
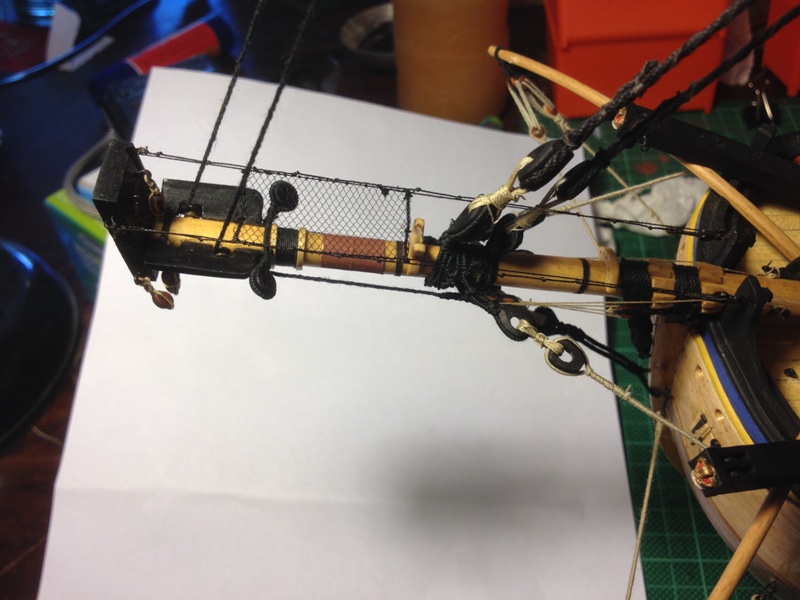
Bowspit cap, and horses and netting. As I said to slog I attached the blocks first to the cap. I've been dreading this part for years, but it came off quite easily really, only a days work in it for the netting.