-
Posts
1,314 -
Joined
-
Last visited
Content Type
Profiles
Forums
Gallery
Events
Posts posted by Tigersteve
-
-
Looks very neat. I like it!
Steve
- WalrusGuy and tommay1953
-
 1
1
-
 1
1
-
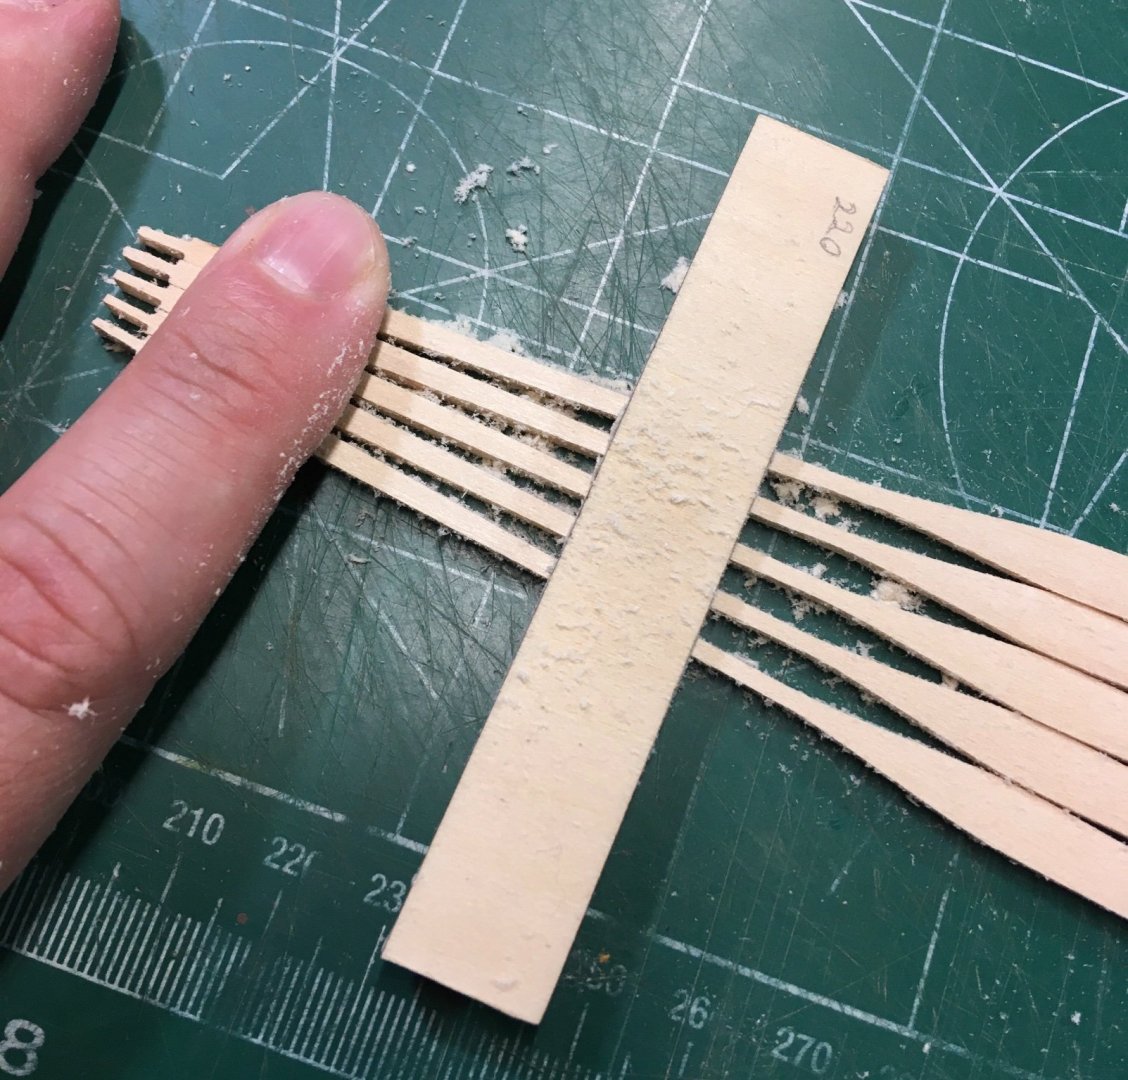
Using the techniques described in the manual, I tapered and shaped the oars. To get a consistent tapering across all oars, I used the technique shown in the first photo where I sanded towards the blade.
The oars were treated with several coats of natural stain followed by two coats of golden oak, which were wiped off after about a minute of saturation. Leathering is next.
Steve- dvm27, JpR62, Ryland Craze and 2 others
-
 5
5
-
-
I think the sail looks pretty good. Shouldn’t the spar be rounded though? That is sticking out to me. Doesn’t look right.
Steve- Keith Black, Ryland Craze and Cathead
-
 3
3
-
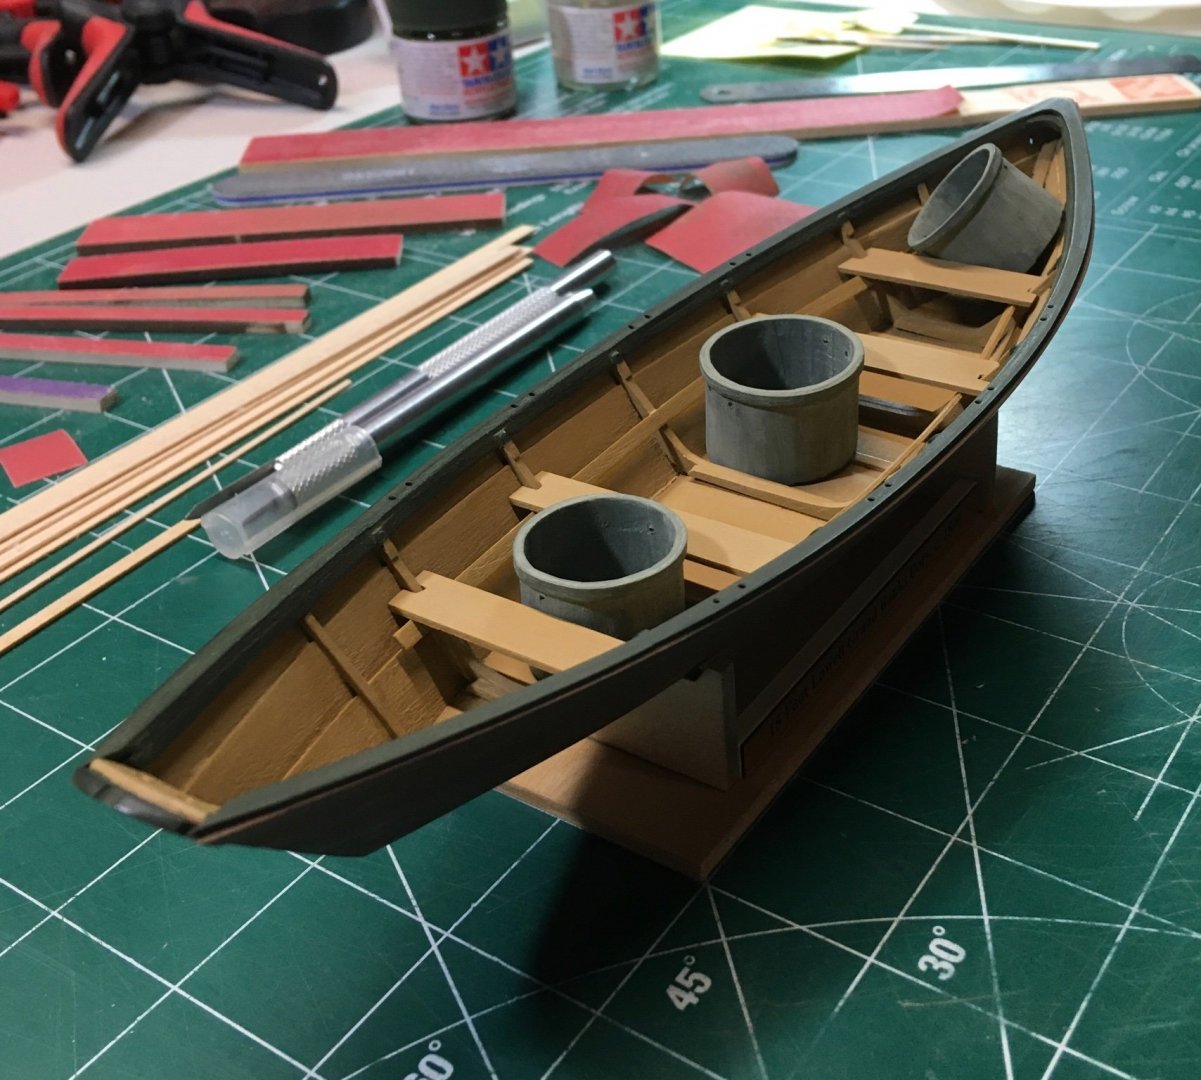
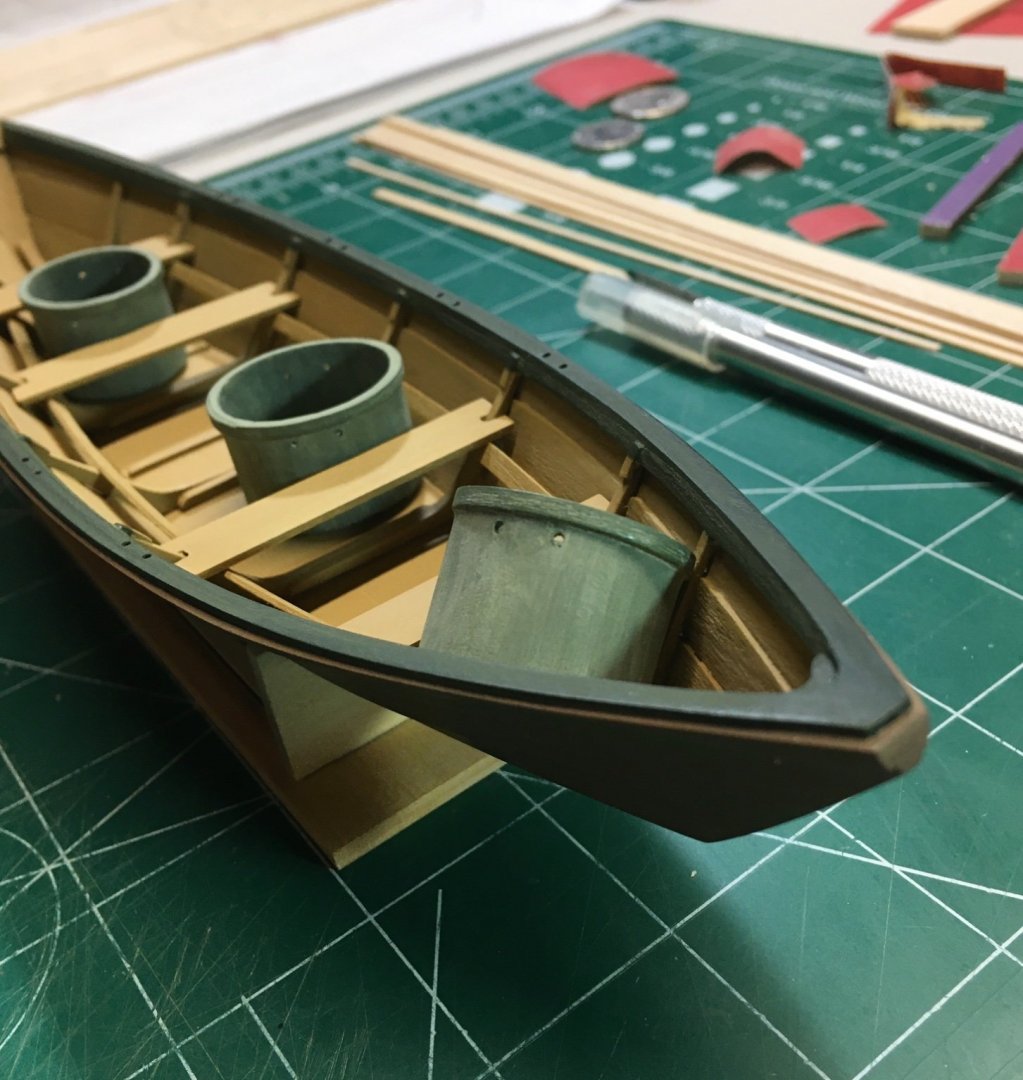
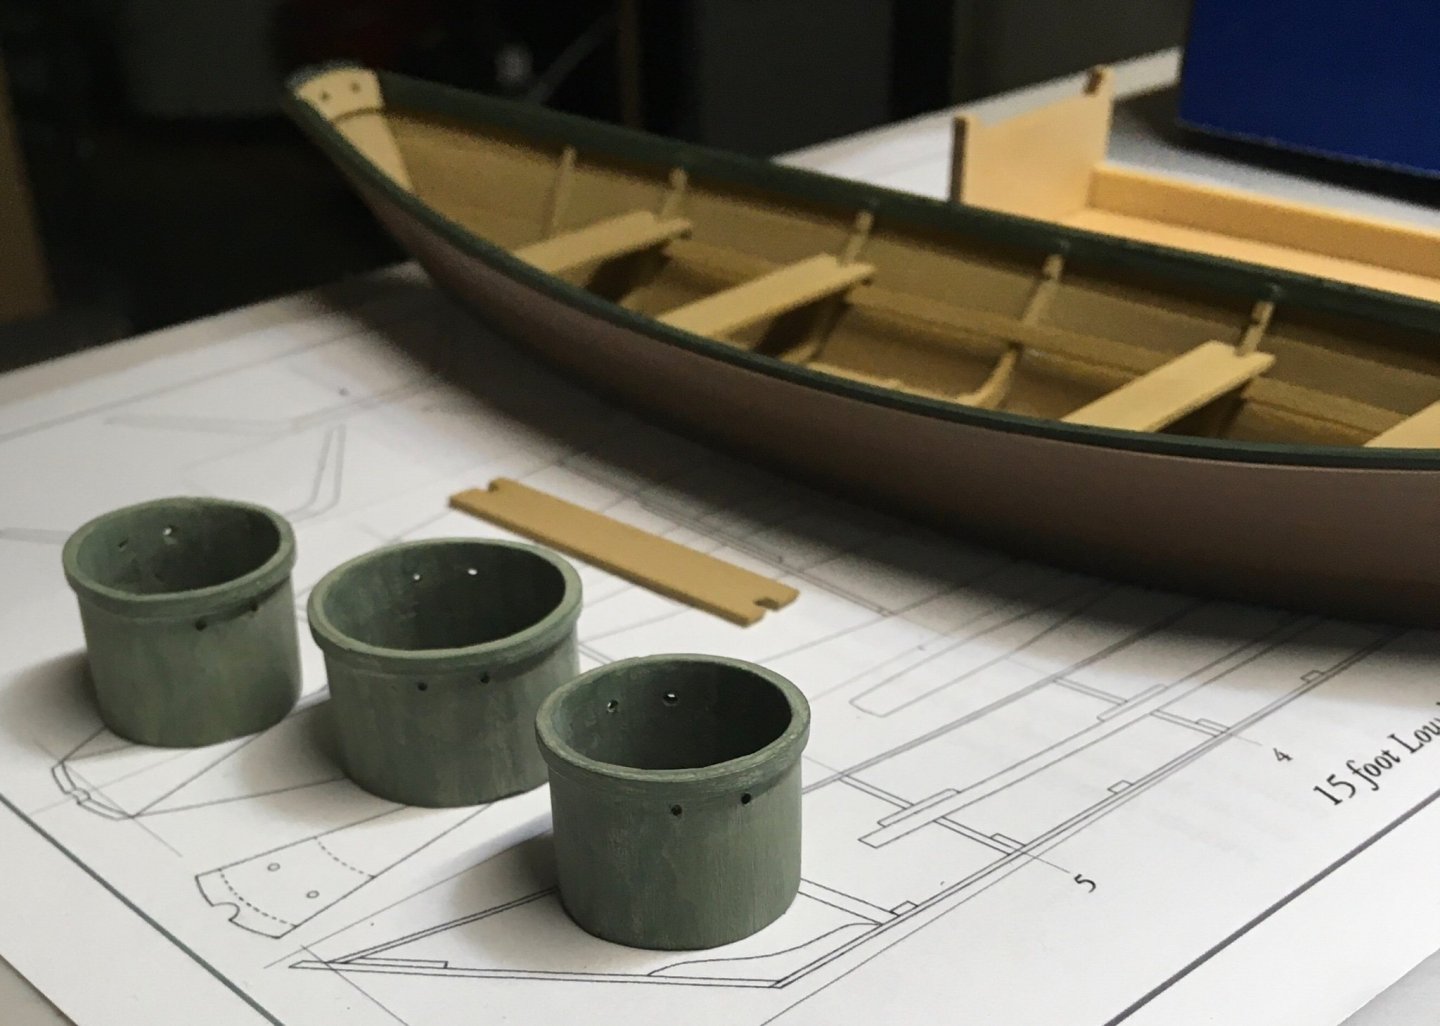
Finishing the paint job on the buckets took a while. White and green paint were mixed in different ratios to get the desired hue. The final coat was the lightest version of this mixture, followed by a damp brush while the paint was still wet. This removed most of the last coat to create the texture.
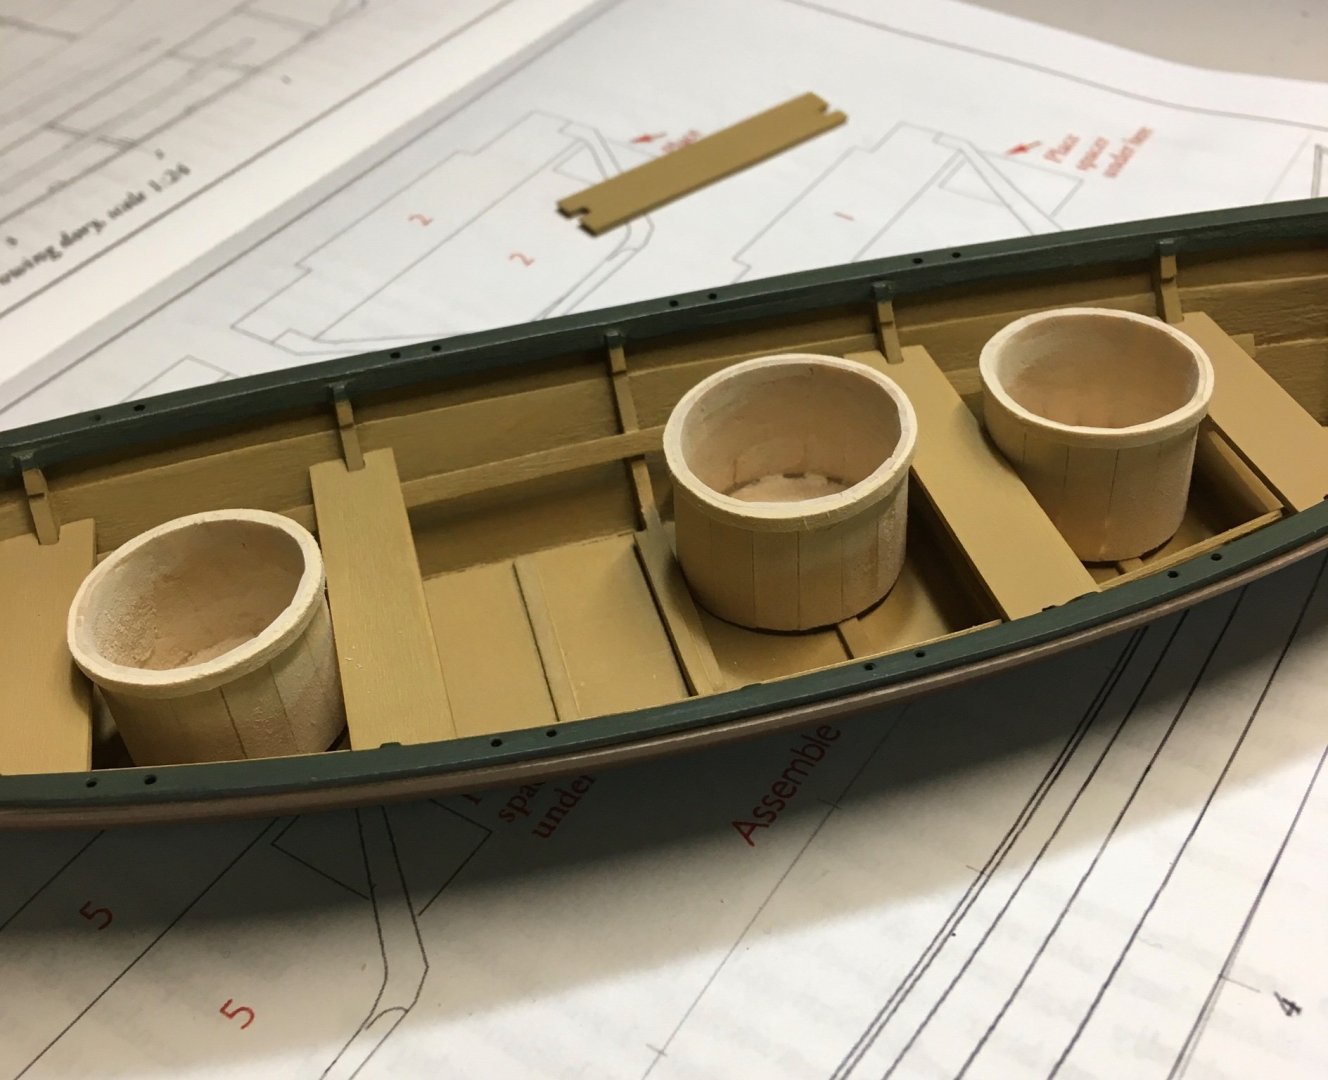
Holes were drilled in the buckets and the thwarts were permanently installed. Next, I will work on the oars.
Steve- Duanelaker, druxey, JpR62 and 2 others
-
 5
5
-
Beautiful design and execution.
Steve -
-
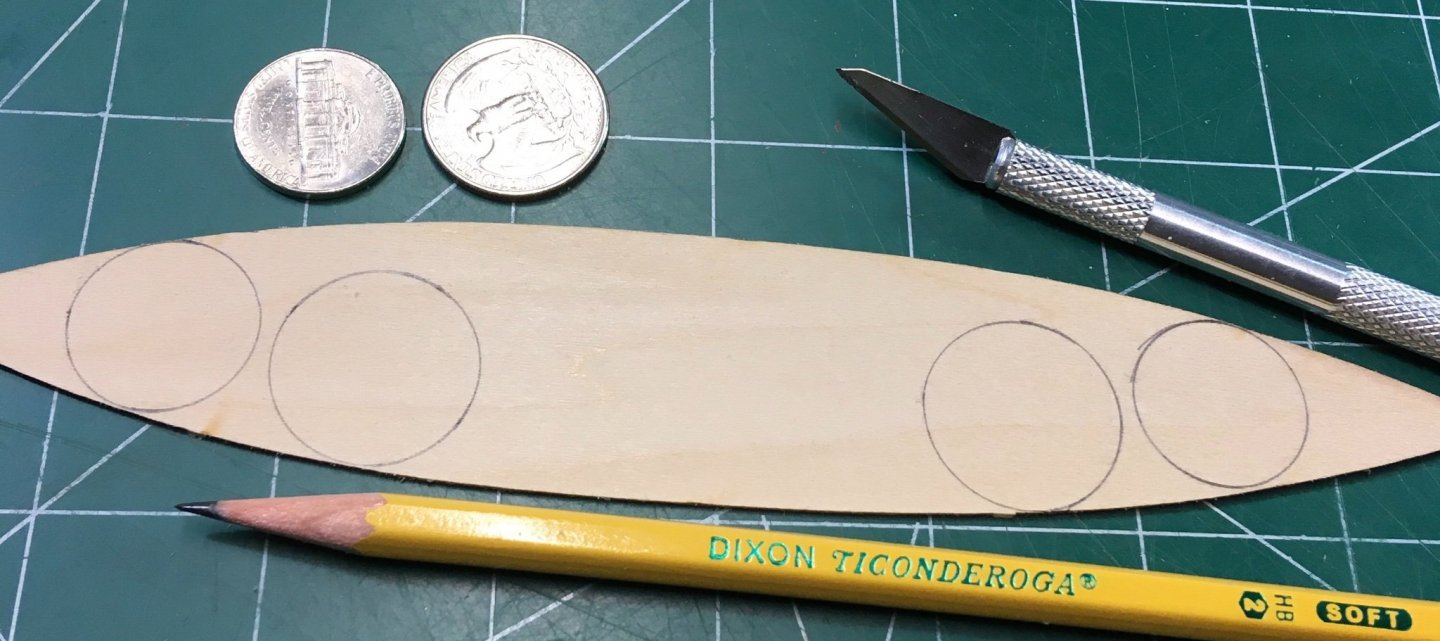
Made four buckets- two quarter size and two nickel size. One bucket did not survive, but I think it would have been too crowded in the presentation. These will be painted and holes drilled. 3/16” strips were used in the construction.
I applied one coat of paint after this photo, but used too much water. There’s a bit of touch up needed as the water caused some damage. Stay tuned…
Steve- Mike the Maxx, Ryland Craze and druxey
-
 3
3
-
Thanks! Took a little break after the painting fiasco. Must build the buckets…
Steve
-
- druxey and Mike the Maxx
-
 2
2
-
I’m sure the repair will look even better than the first attempt.
Steve -
-
Thank you for the compliments. Means a lot coming from fine craftsman like yourselves.
Steve -
Testor’s Dullcote does not react well with Tamiya paints. I was getting a spotty, eggshell type finish. To recover, I sanded the surfaces most affected and repainted. Lesson learned. Test finishes off model. I will be using different paints going forward. Also, do not use Wipe-On-Poly over paint unless you want a sheen. I wish I took this advice on previous models.
I over worked the sanding of the oars and have requested replacement parts from Model Expo. While I wait for those parts, I will construct the buckets and start the rope work on the model. I purchased Syren rope for this.
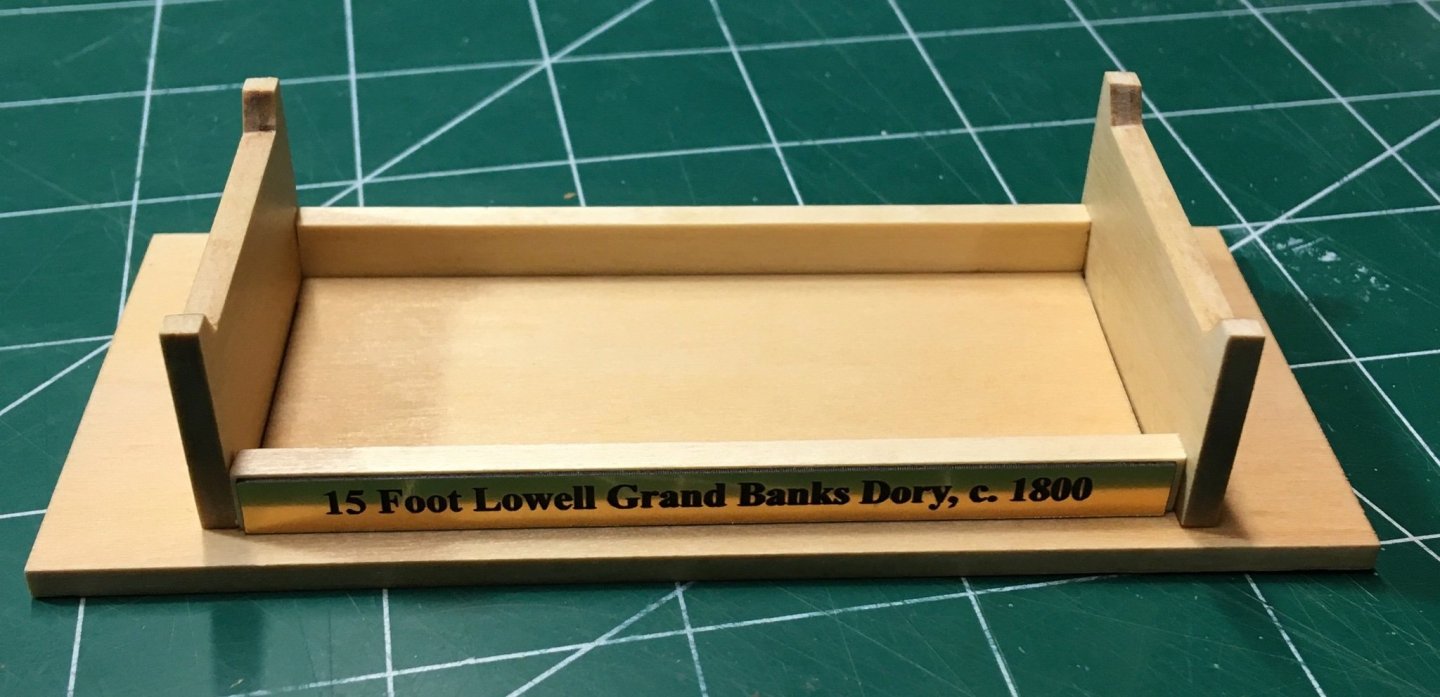
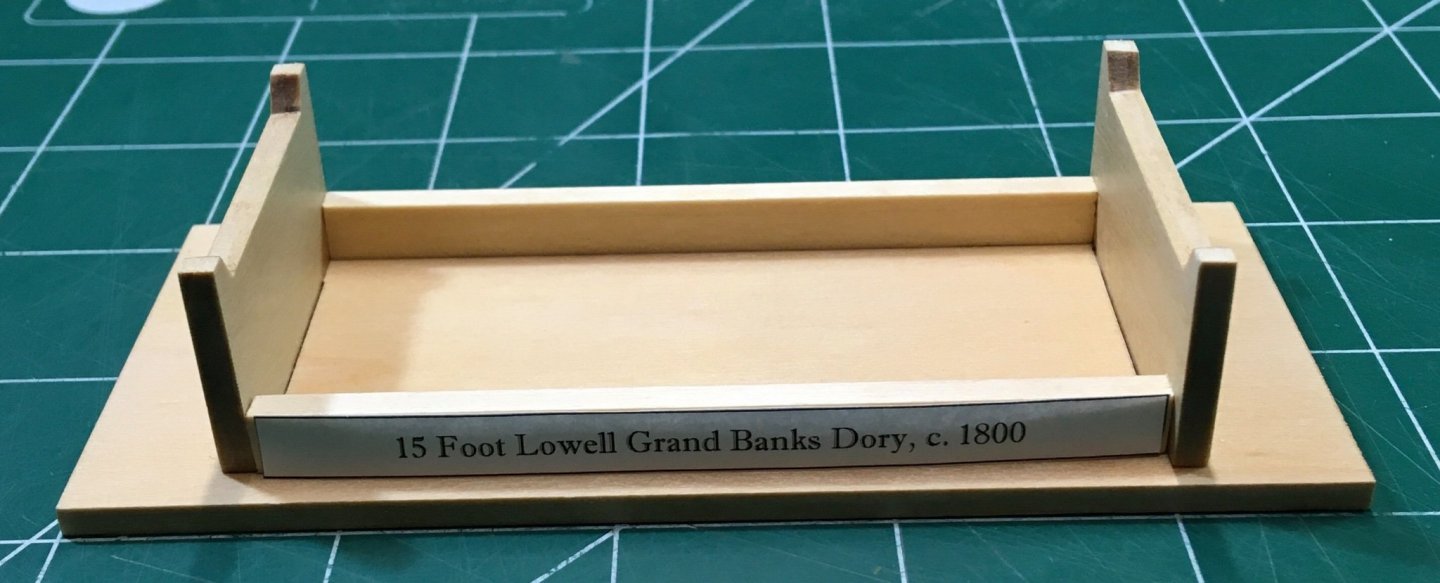
I worked on the layout for the nameplate. Measurements are 3.25” x .25”. I will get that made at a local trophy shop. Very inexpensive and adds a nice finishing touch to the project.
Thank you Mike Stuntflyer and Ryland Craze for your assistance on the paint finishes. I learned a lot from our exchanges.
Steve- JpR62, dvm27, Ryland Craze and 3 others
-
 6
6
-
-
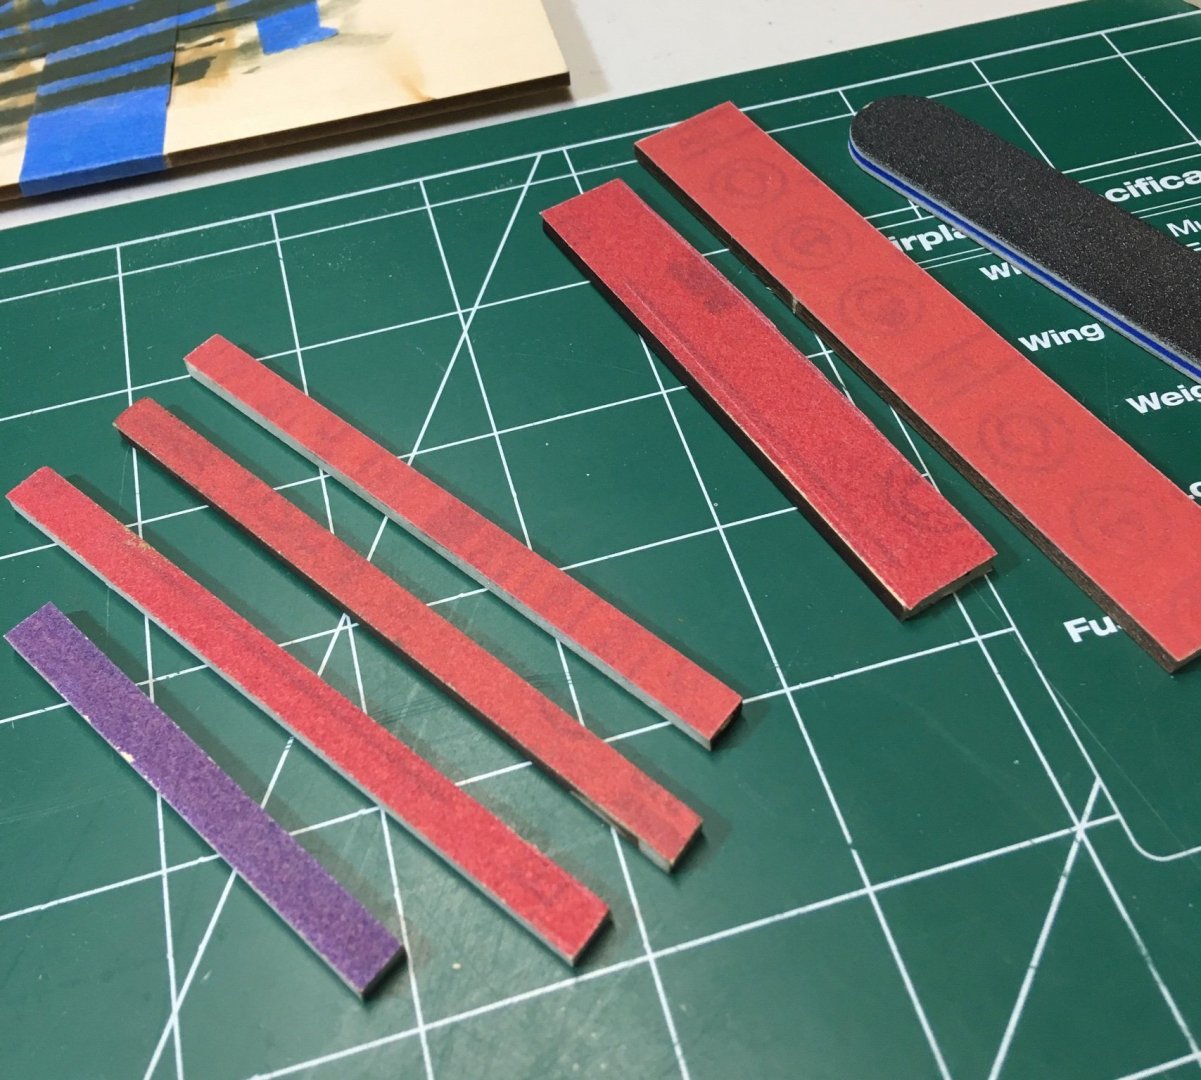
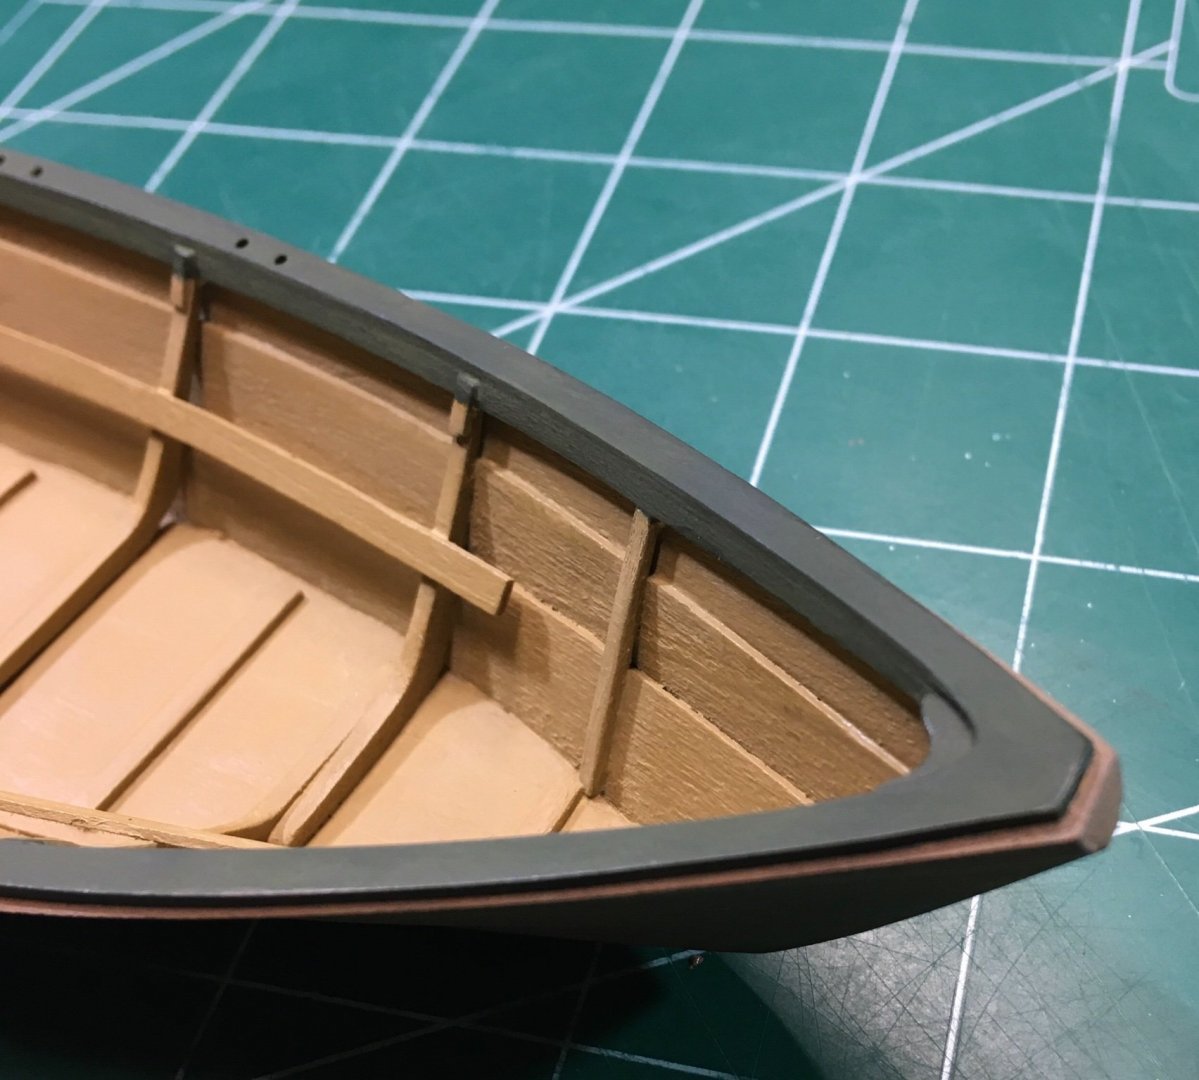
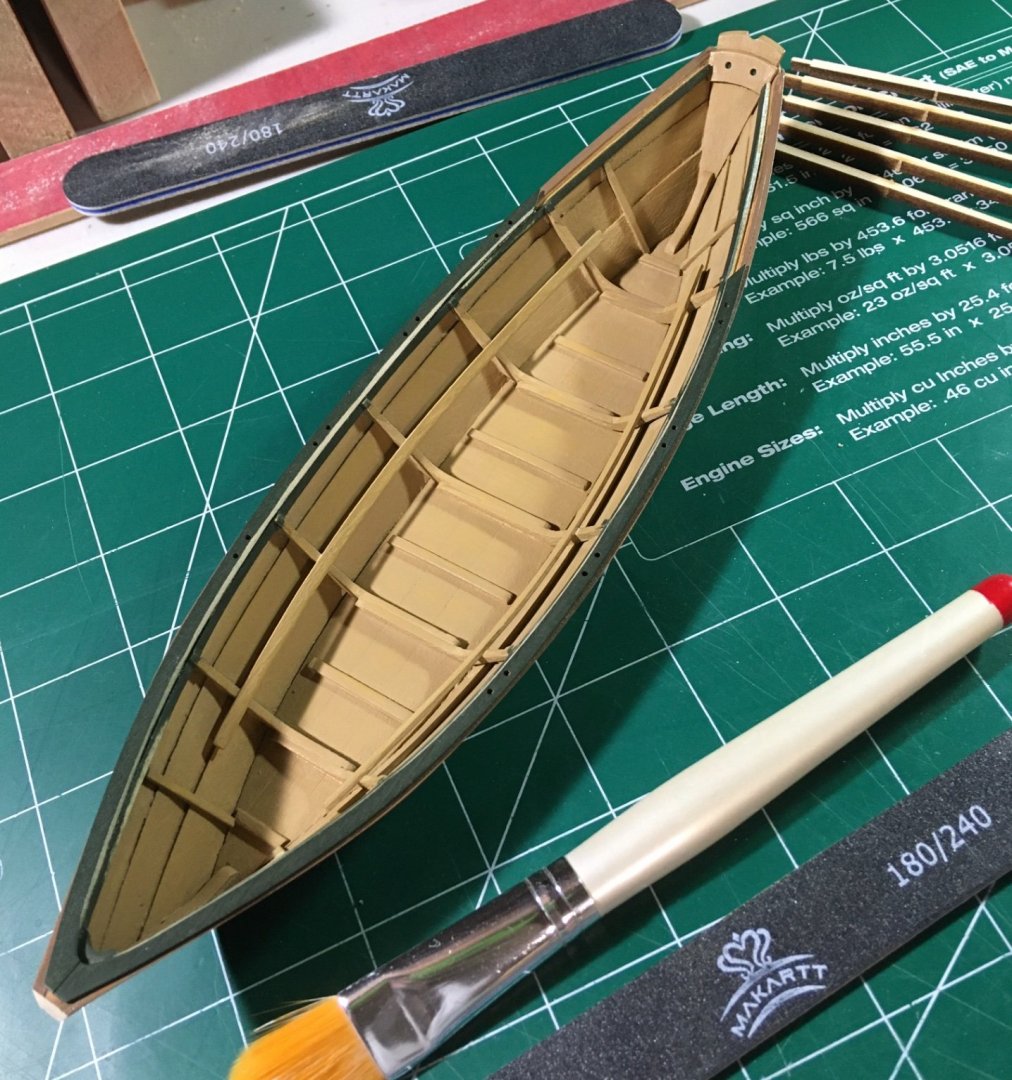
Sanding sticks were made using kit wood and a glue stick. These sizes were very handy for working on the cap rail. I also modified the transom to a more pleasing curve.
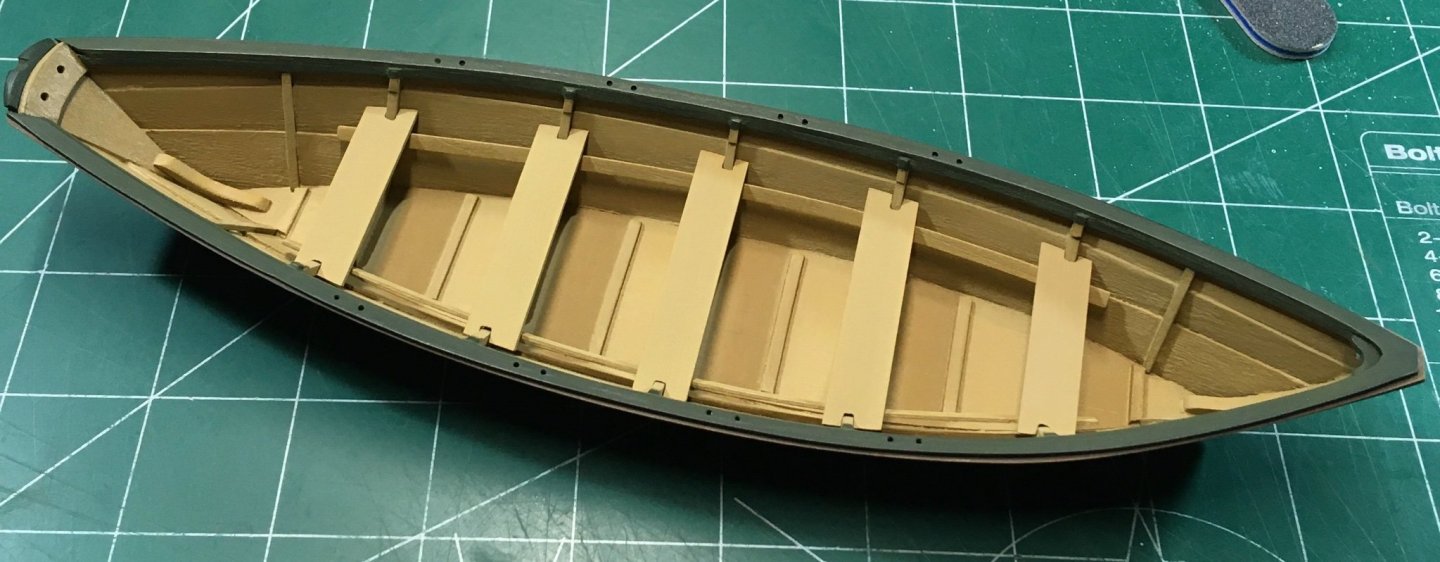
Painting is very close to being finished. I am trying to avoid purchasing more paint as I have over diluted a couple of my colors. Oar construction is also underway.
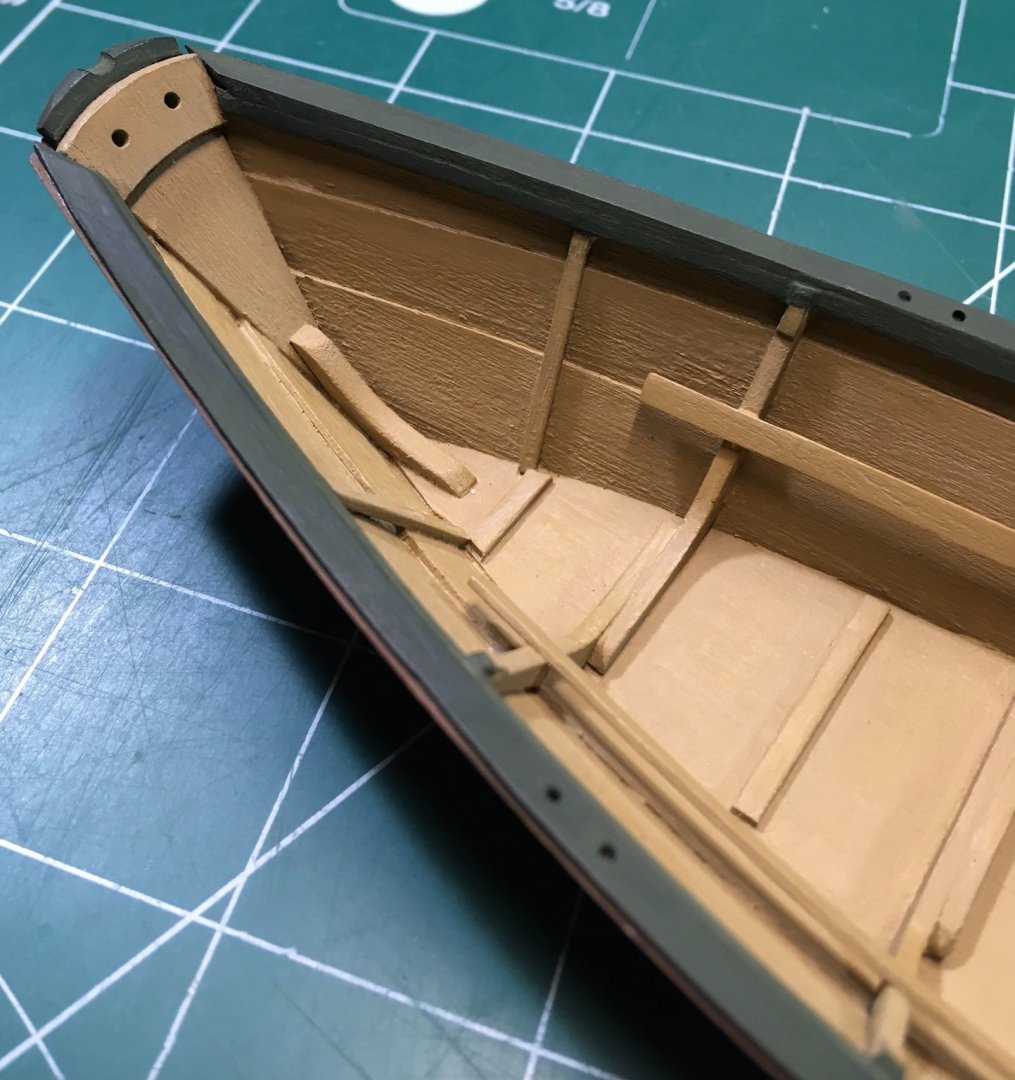
Color scheme (Tamiya Flat Paints);
Exterior Hull: Flat Earth
Interior Hull: Desert Yellow
Cap rail/Gunwale: J.A. Green
For the few following along- thank you for all the likes!
Steve
-
-
-
Very nice! Echo Keith’s suggestion here.
Steve- Keith Black and lraymo
-
 2
2
-
-
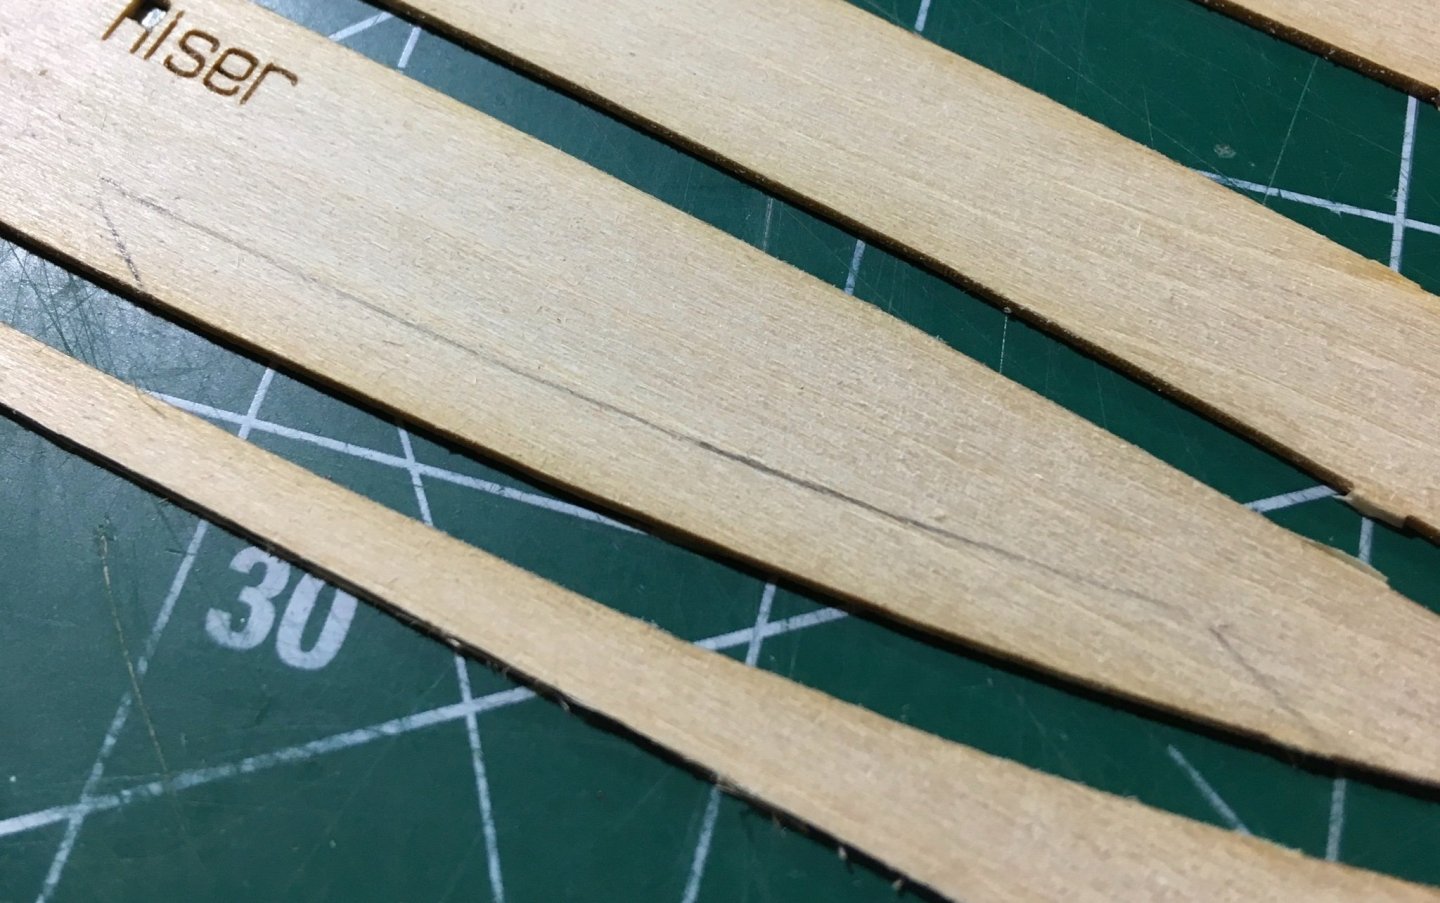
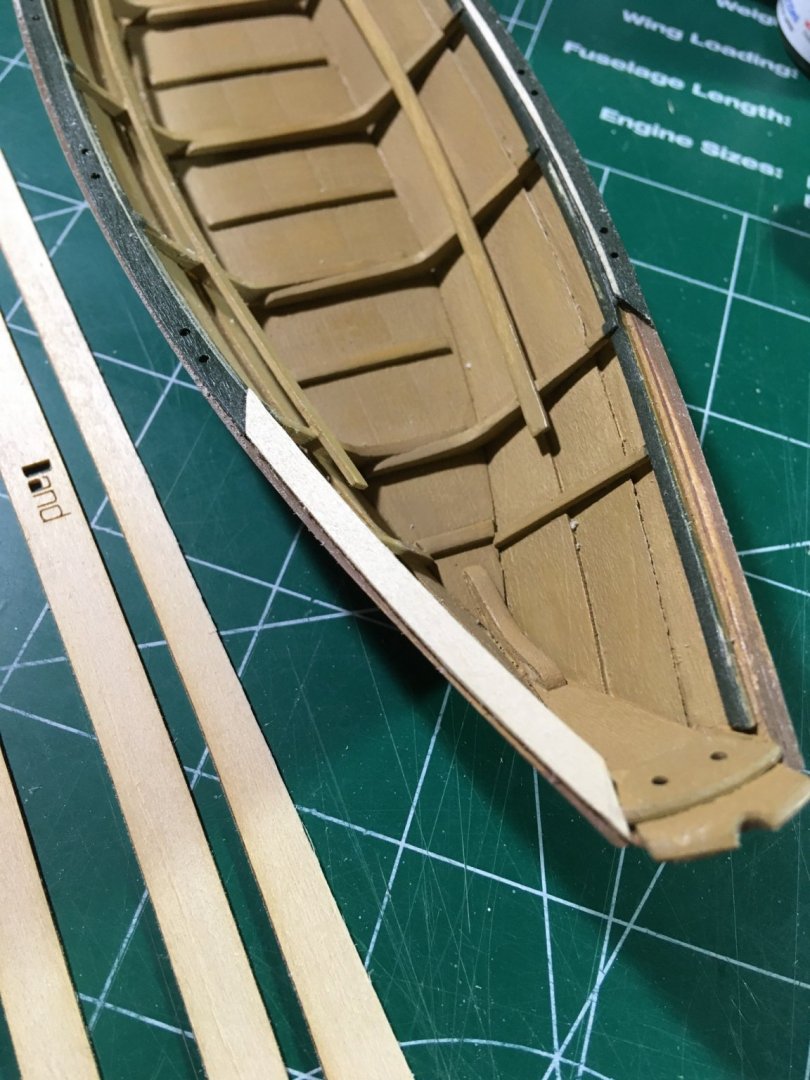
The profile of the hull was used to trace a parallel line next to the cutout where the original cap rail piece was removed from the sheet. After the shape was roughly cut out, I moved the piece along 220 grit sandpaper that was wrapped around my finger. Kit basswood is good for this. All that is needed is your hobby knife and sandpaper.
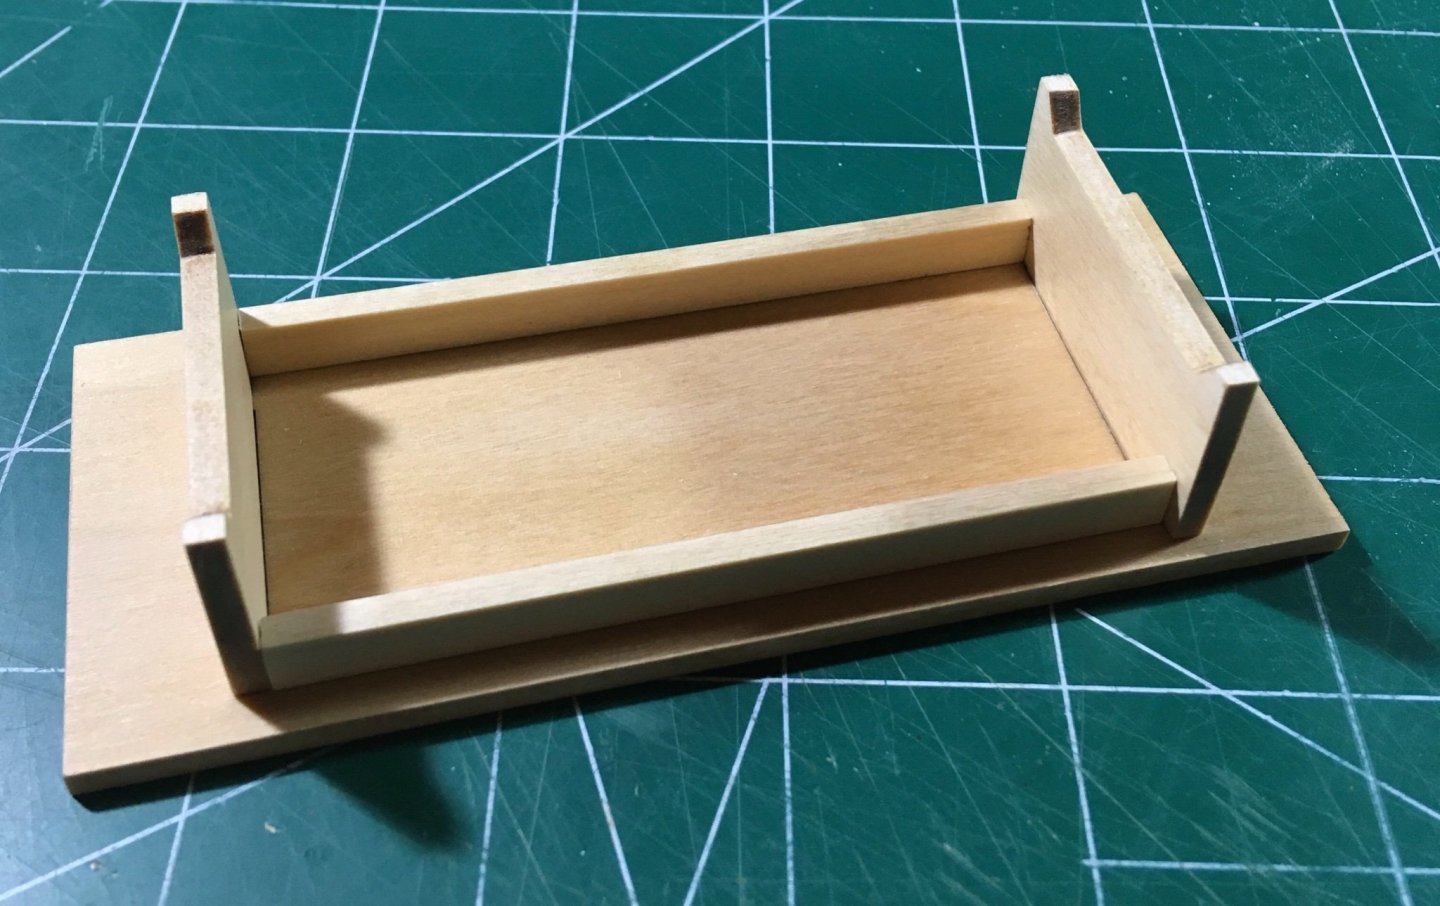
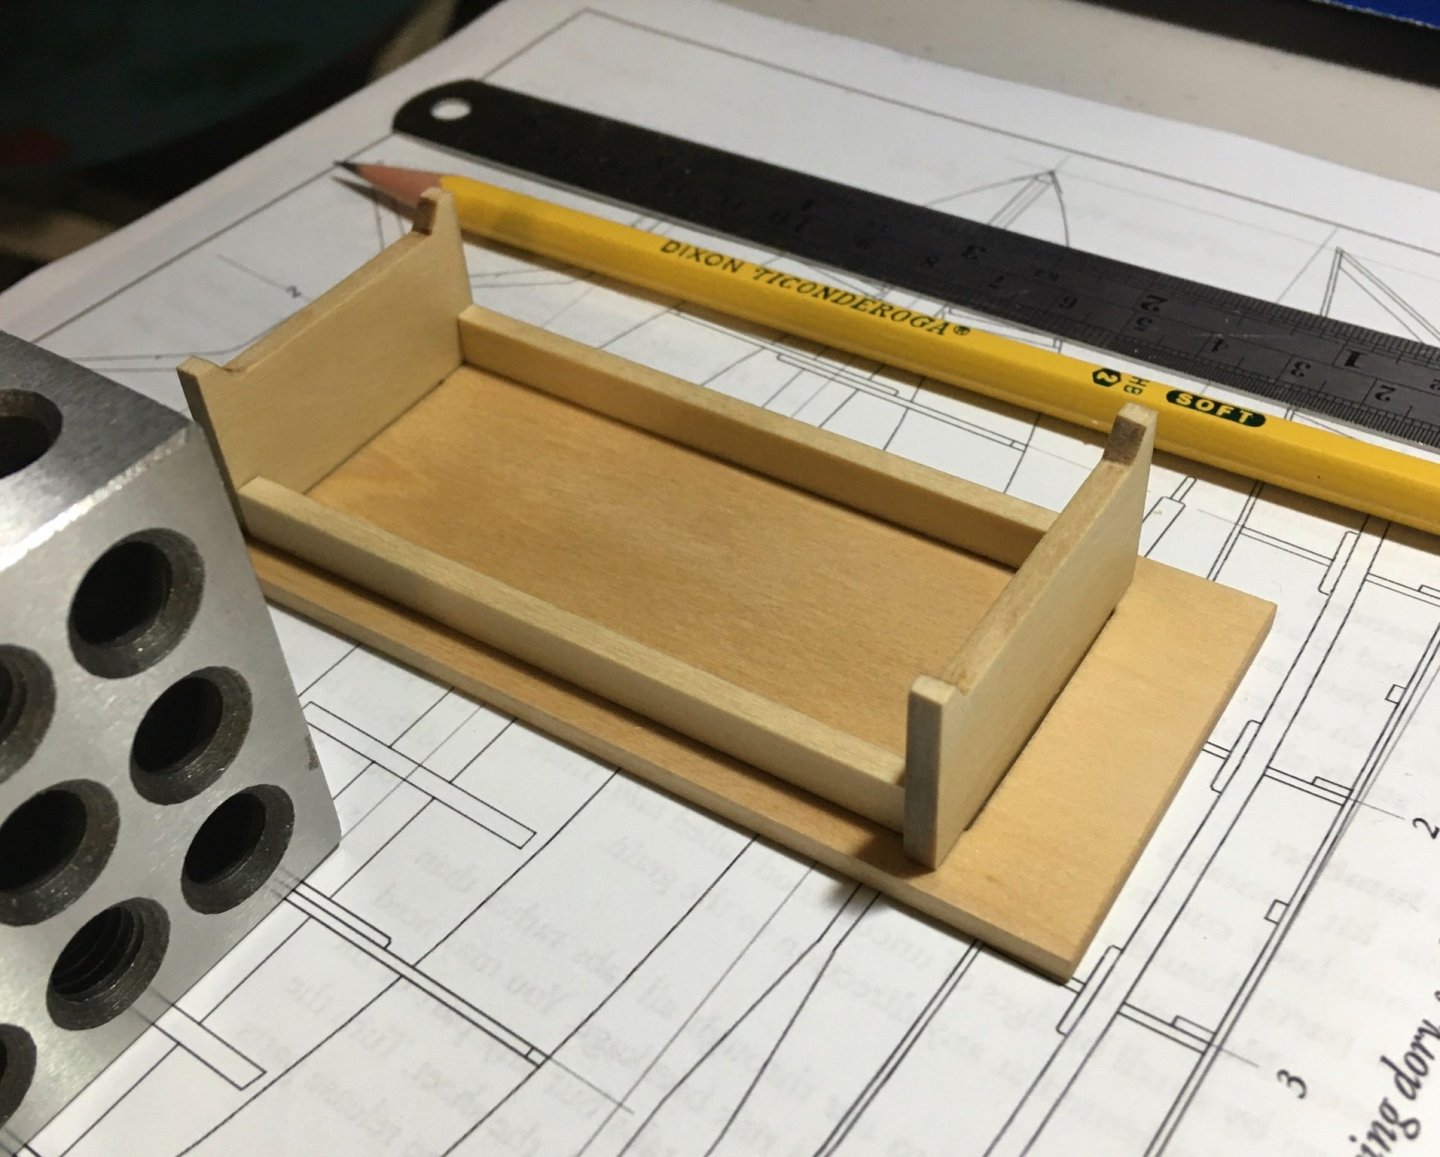
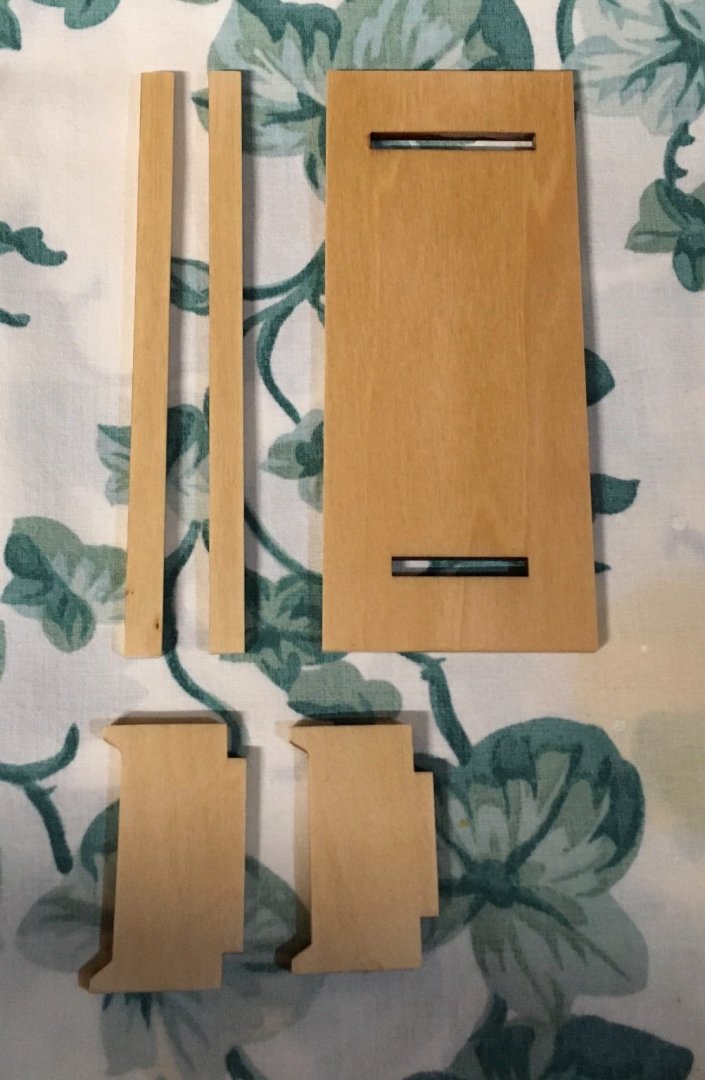
While the cap rail pieces get pre-painted before attaching to the hull, see the attached photo of my modified base parts. The original kit supplied base seemed oversized. The base was treated with pre-stain before applying a natural stain. Three coats of Wipe-On-Poly was applied with fine sanding in between.
Steve- druxey, Jack12477, Mike the Maxx and 2 others
-
 5
5
-
- Mike the Maxx, DPhilbrick, druxey and 3 others
-
 6
6
-
I’ve said it before. Mike’s projects make you elevate your own work. Just excellent! Thank you for raising the standard.
Steve- Stuntflyer and FrankWouts
-
 2
2
-
It looks good. These are some really difficult parts to make. Sometimes it’s good to step away for a bit. Each attempt will be better than the previous.
Steve- Keith Black and lraymo
-
 2
2



Lowell Grand Banks Dory by Tigersteve - FINISHED - Model Shipways
in - Kit build logs for subjects built from 1851 - 1900
Posted · Edited by Tigersteve
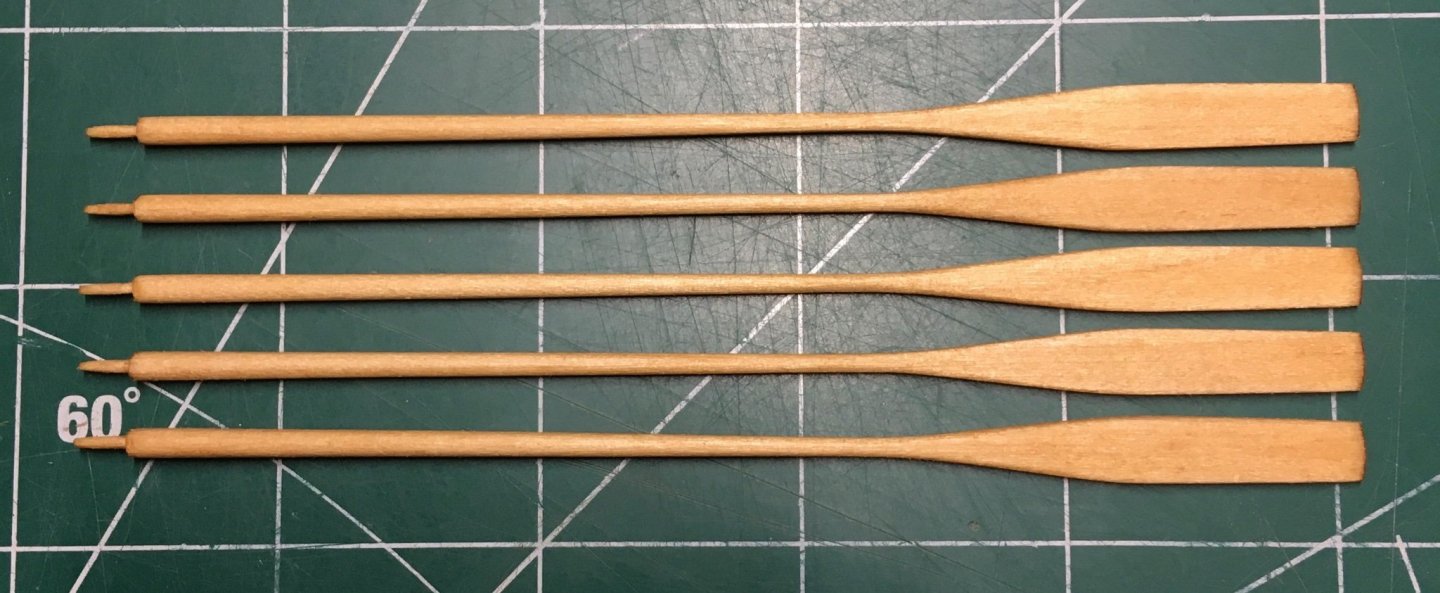
Leathering is completed and one coat of Wipe-On-Poly (second photo). I suppose I will need to eliminate one for the presentation.
Steve