


rwiederrich
-
Posts
5,501 -
Joined
-
Last visited
Content Type
Profiles
Forums
Gallery
Events
Posts posted by rwiederrich
-
-
One other thing Ed. Have you or are you going to consult William Crothers book; *The Masting of American Merchant Sailing in the 1850"s*
Before or during your rigging of the YA?
It is a fascinating read and more then informative and instructional. It has aided me greatly with my Great Republic research.
Rob
-
-
While I'm at work and away from my model shop...I thought it expedient to show some examples of the Top Sail rigging I have referenced and have talked about on several instances.
Possibly unbeknownst to some or many.......clipper ships were originally rigged with a single topsail. Making reefing and furling in any weather, particularly bad weather a tough job. In the late 1840's early 1850's folks...namely a gentleman named Forbers invented a means to quickly reef the sail, by inventing a second sail and spar to make up the entire space one topsail occupied. Two sails doing the job of one sail.....but the top spar/sail of these two sails slid up and down the top mast..while the second spar/sail slid up and down the top of the doubling of the main mast.
In this way these sails could be reefed with minimal men aloft...apart from furling.
Now another gentleman came along named Howes, who improved the design by fixing the lower spar/sail to the main mast head and only allowing the top spar/sail to move up and down the topmast.
In both designs it permitted the top spar/topsail to be lowered over the bottom spar/sail reducing its effectiveness and in essence cutting sail and permitting easy furling because the sail was not full of air and taught.
Here is a painting showing the Howes design...on the clipper drying its sails(To the left)...notice the top spar/topsail over laying the bottom spar/topsail as the top spar is lowered in its lowest position.
Hope this in some way help bring a picture to all the discussion and chatter.
Rob

- mmdd, albert, Pete Jaquith and 9 others
-
 12
12
-
-
Small imperfections make the model yours....not to sound like a non perfectionist...but they really do. Do you think real boat/ship makers didn't have building blemishes in their vessels? One tends to be their own worst critic.....I think your build is super. Even if you are painting in low temp high humidity......
 :A WORLD WHERE ANYTHING CAN HAPPEN AND USUALLY DOES....Ain't it fun?
Rob
-
Man...you're moving along.........Paint already!

I'm still laying decking.....
Rob
-
Yes..some craft stores have a brass foil tape....I can't find it in any small widths though. 1/4" width is all I found.
Rob
-
Head and storage locker?
Beautiful......you've come such a long way and it is wonderful.
Rob
- Omega1234, Piet, popeye the sailor and 2 others
-
5
-
-
Popeye...what are your impressions of the resin? I assume it is your sealant?
Next question...is this boat RC?
Rob
-
Yeah Popeye...the trick is finding the wash tub ringer....and a good one that has good rollers.
Everything else for making copper plates as I demonstrated is pretty strait forward.
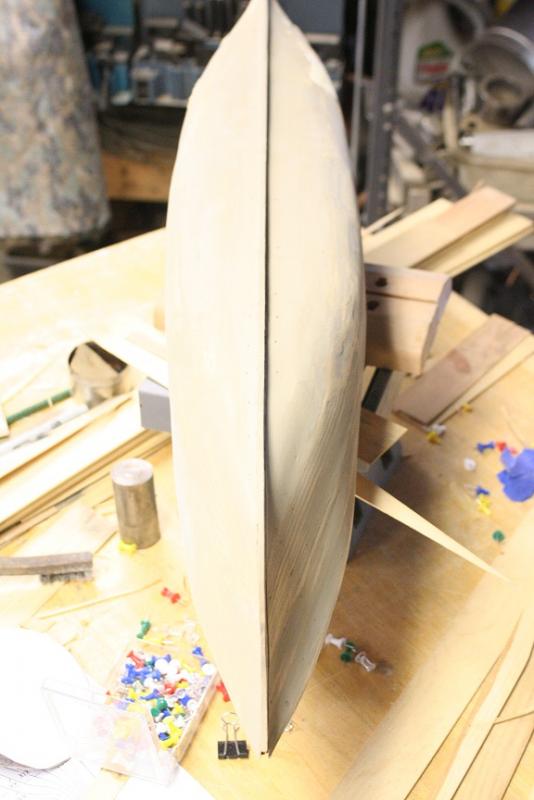
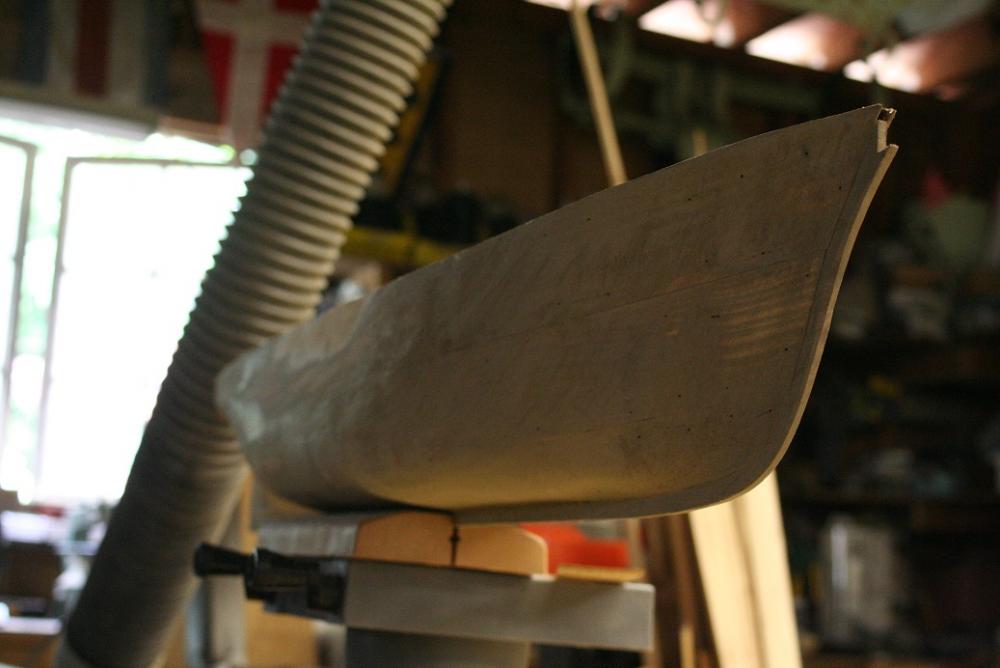
I finished off the hull today and leveled it and marked off the water line..or copper line. It came out fantastically even and level.....

Now I am laying the deck. and when that is finished I will add in the planksheer and edging and base for the turned rail posts.
My hope is to have the deck finished by the weekend....or sooner. Sorry no pics..right now..I'm at work
Rob
-
-
-
Thanks Popeye. Yes..the nail detail needs to be almost insignificant at 1/128. Just the slight impression of the detail. The plate segments are the most important IMV. My build schedule will probably allow the plates to be fixed on the hull...AFTER the hull detail is finished...the planksheer added and then the wood deck added. After that, I'll paint the hull black by masking off the water line.
Just a few more things to do.....
Thanks,
Rob
-
-
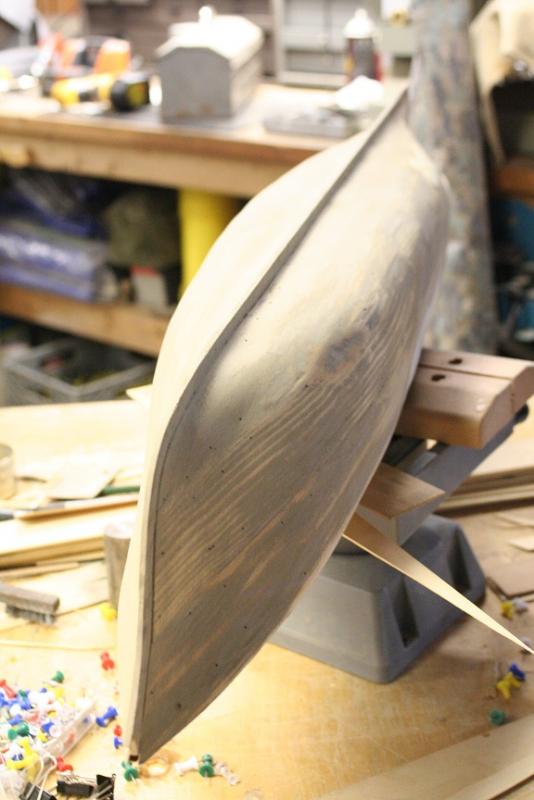
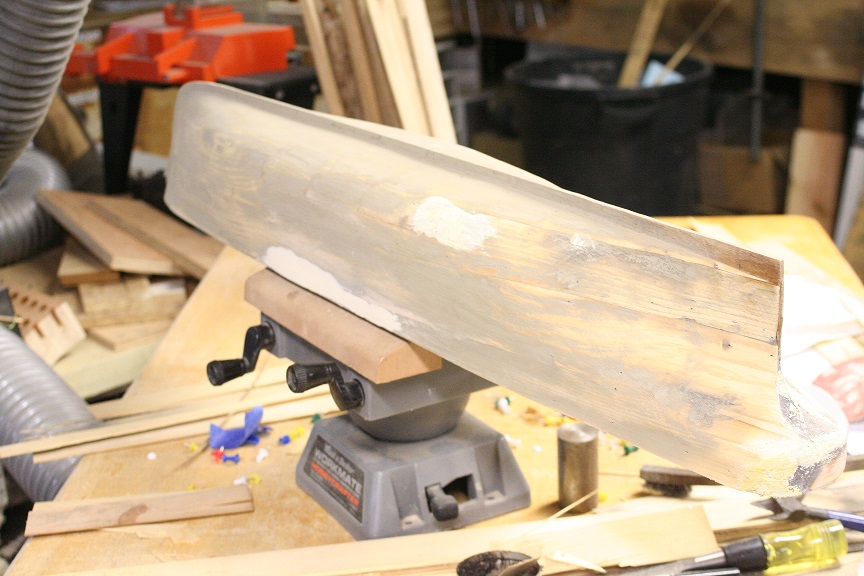
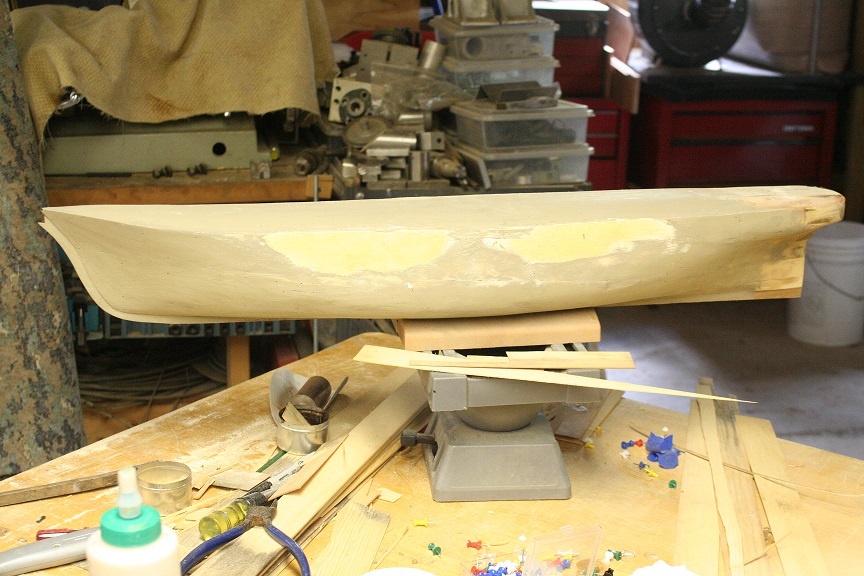
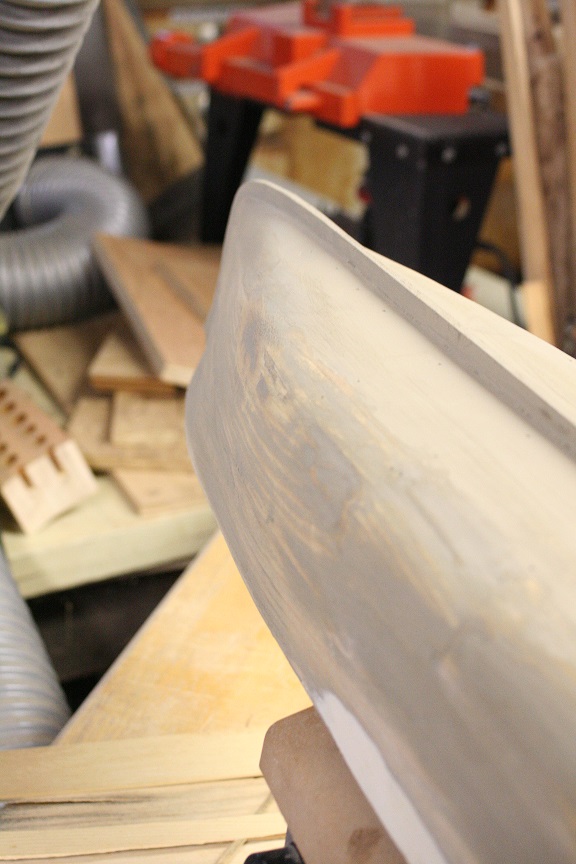
Did a bit of sanding and filling today on the hull......its smoothing up. I hope to finish this step and get a another coat of primer on it.
Planksheers and rail trim will be added next to the hull and to frame out the turned rail base prior to adding the deck.
Rob

-
-
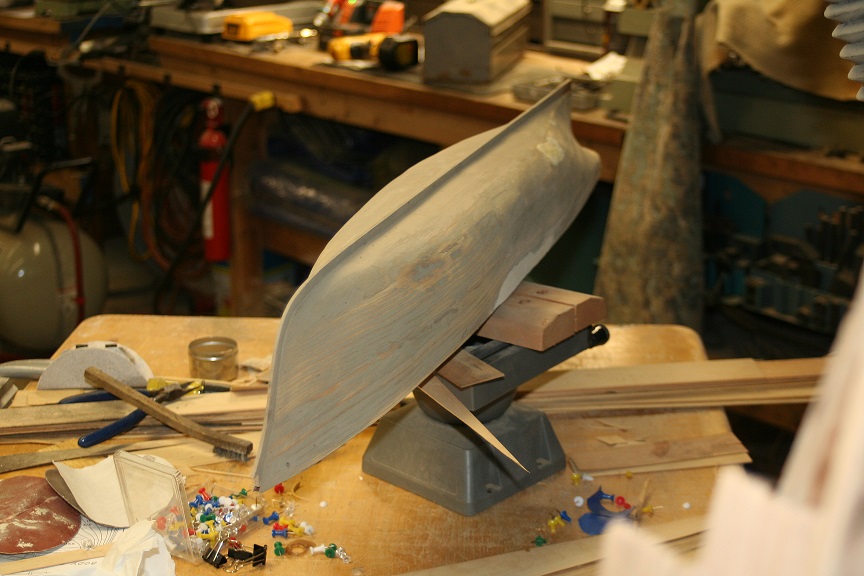
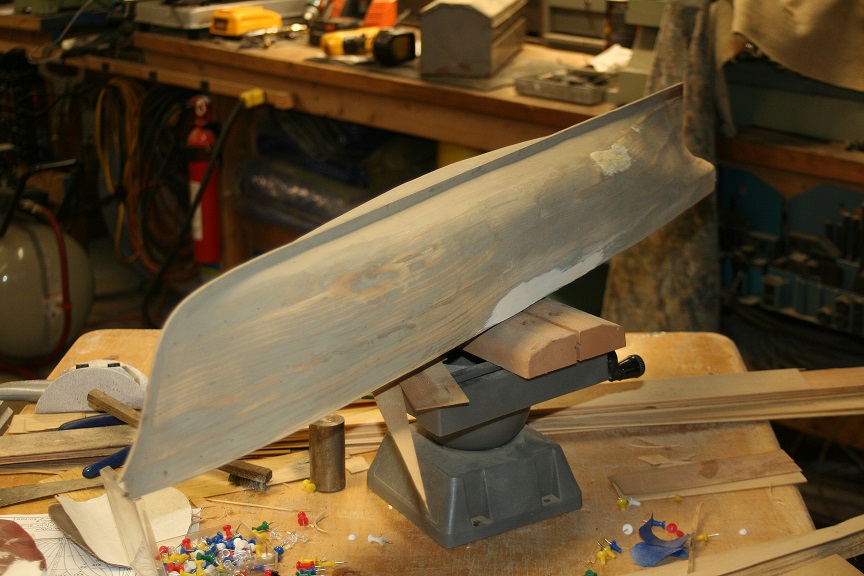
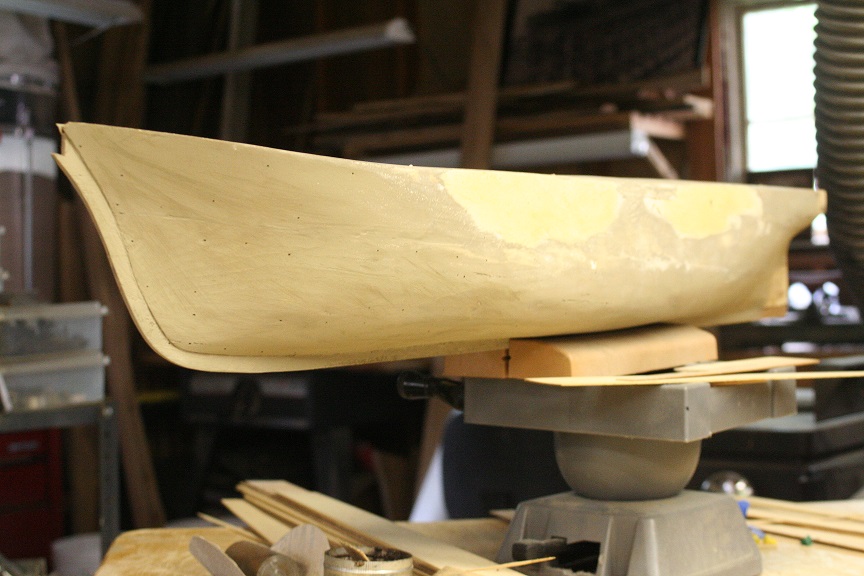
Worked on sanding and filling the hull today. Applied filler...sand and contour...getting there.
Rob
-
Once the entire hull is coppered...I will be applying a dull coat sealer to secure everything.
Ed: The Great Republic was plated with Yellow metal...
Thus far I have not been able to track down brass tape to be used in my jig....If I can fine some I will surely use it instead of the copper tape.
Thanks for paying close attention and noting the detail. I was fully aware...I just didn't point it out. I was focusing on the process of creation.
Rob
-
Yes Ed, I recall your examples and the topic you discussed on your YA build. In my scale 1/128 the plates are roughly 5mm X 11mm. Your jig is fantastic..if I was cutting individual plates....I'm using tape and the advantage from an expeditious point of view is to emboss the nail and segmentation imprints at the same time. My struggle has been the control of the extent of exaggeration.
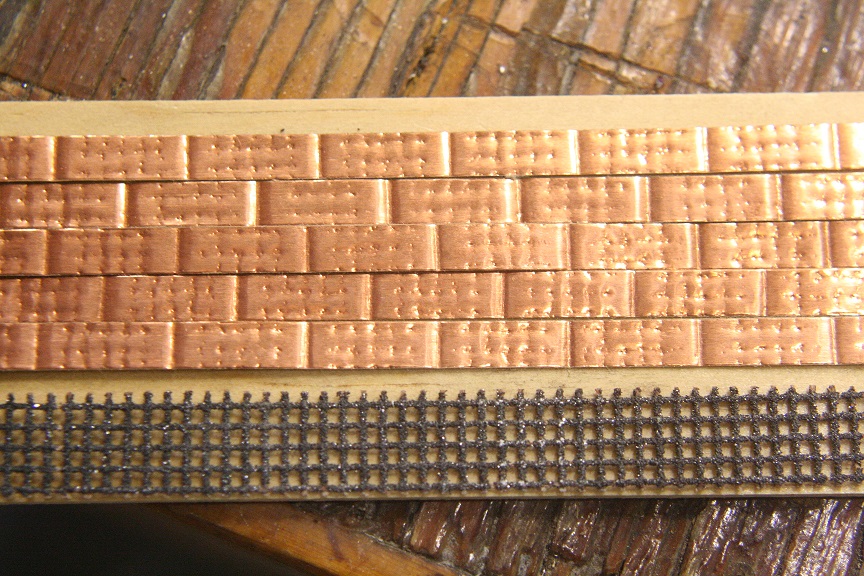
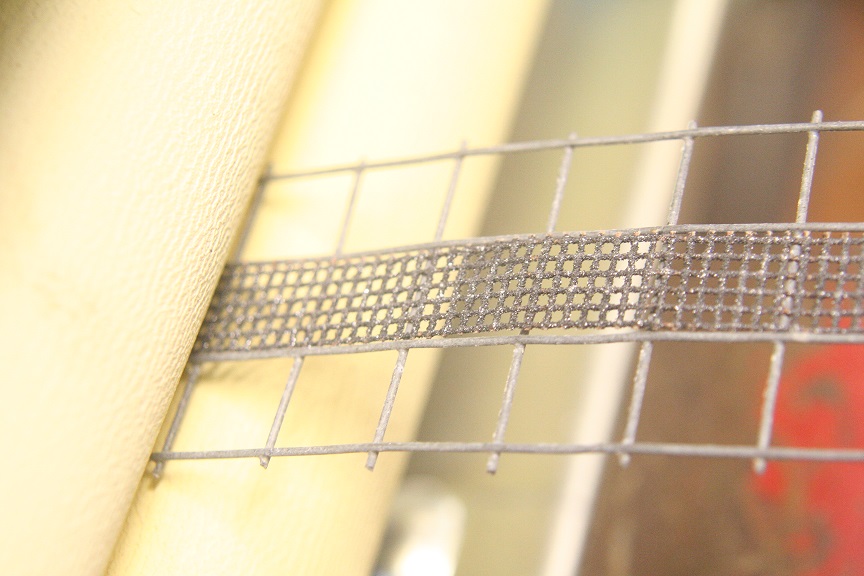
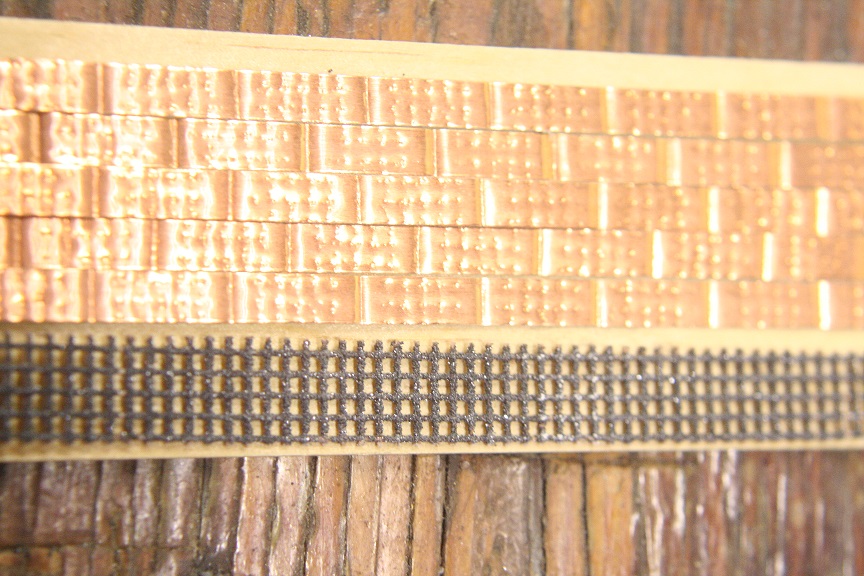
Here is a picture of the means by way I emboss the copper tape. as previously explained... I have now added a piece of drywall sand screen between the exterior wire bands of the mesh. when pressed with the mesh and the copper tape I am left with a symmetrical impression....replicating the many nail impressions present on each plate.
Yes..they are not perfect...neither is the real examples I have posted of the Constitution copper.
These examples not not pressed down or even taped down to the wood..but namely laid against each other to show the symmetry of the impressions.
I think these will do at the scale I'm working in..plus all I want is an impression of the copper nail imprints...not the actual number and exact placement replication.
I am so thankful for everyone's fine examples and advice....they have been very inspiring and aided me in my own fabrication and application.
But when the rubber hits the road....I'm really after a clean very expeditious method of laying 1600 plates. In my case tape that represents individual plates.
Fast and furious...git -er done.....but don't look like you just through it all together...

Rob
-
Thanks everyone...for your fine advice and photographic representations. I think there are two directions for me..One do nothing and simply add the tape as I described earlier using my roller technique.
Second, AFTER FURTHER EXPERIMENTATION..I devised a means to imprint subtle nail prints and to emboss the individual plates onto the tape. I simply added a strip of sheetrock sanding cloth between the wire mesh, just on the outside surface so that when the entire apparatus is rolled I emboss both the nail imprints and the plate segment lines in one quick turn of the crank.
Subtle, yet not imposing or over exaggerated.
I think this might be the path I go down...what do you think? I think it looks convincing.
Rob

-
I'm almost leaning on my original montra of *Keep it simple stupid*.
The clean lines of the crisp plate lines not muttled up with all the nail impressions might be the clean and safe way to go...any thoughts?
Rob
- popeye the sailor, NenadM, omarcs and 2 others
-
6
-
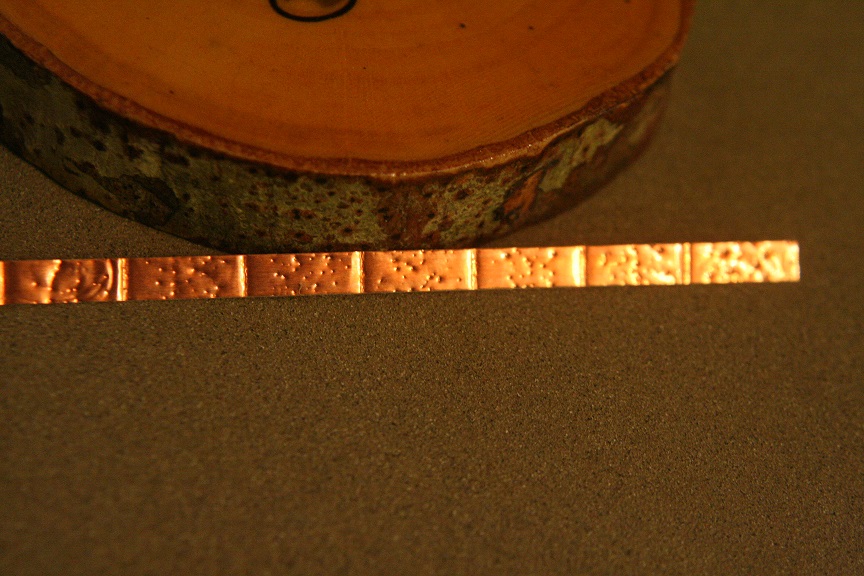
Here is pic of a strip of tape that has been pressed with both the plate and a random nail imprint...Not sure what I think.
Rob
- popeye the sailor, mtaylor and IgorSky
-
3
-
 Fantastic work...superior! I'm in awe.
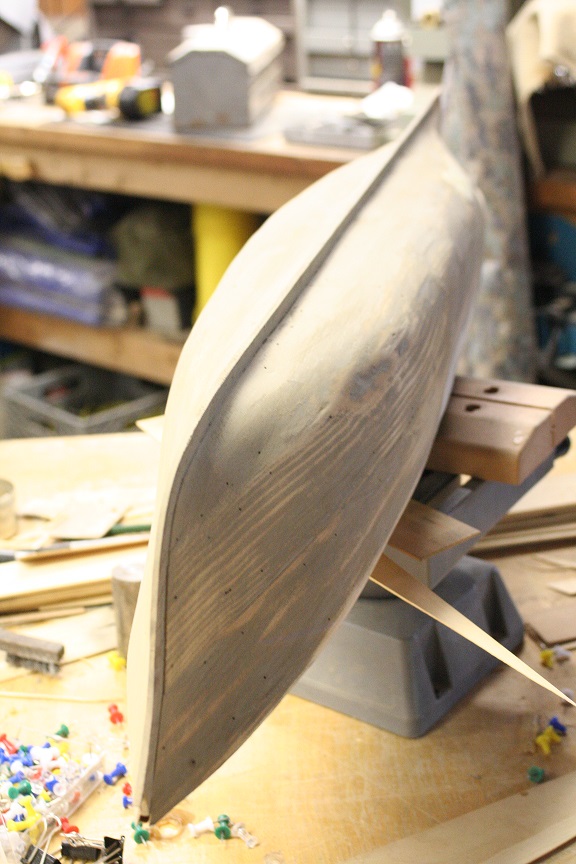


Young America 1853 by EdT - FINISHED - extreme clipper
in - Build logs for subjects built 1851 - 1900
Posted
An Autographed copy........man.
Rob