


lmagna
-
Posts
5,885 -
Joined
-
Last visited
Content Type
Profiles
Forums
Gallery
Events
Posts posted by lmagna
-
-
6 hours ago, AJohnson said:
Well unlike your builds Chris, that thing 'looks' like it's made of card! 😆
Looks more like LEGOS to me. Especially with the rust showing. I think that I might have wanted to be on that deployment. She was up there in the Bearing Sea for over two months during the worst weather time of the year with only quick trips down here to Everett to refuel and resupply. In and out only.
I am not certain on your description Chris. Are you installing all of the "optional" super detailed parts or only a selected few of your choice? Also, is it cheating in card models to substitute say metal rod for things like the handrails etc. like using PE on a plastic kit or is only paper allowed to be considered a "Card Master?"
-
She turned out very nice Mike. Certainly looks like she is in a hurry to be somewhere important. Hope you have a nice place reserved for her.
-
I had no idea. At least you now have a chance to weather it a little:
All that rust caused a bunch of comments even though it was after several months of being up here in the PNW and the Bearing Sea environment for sea worthiness testing.
- druxey, Keith Black, king derelict and 7 others
-
 10
10
-
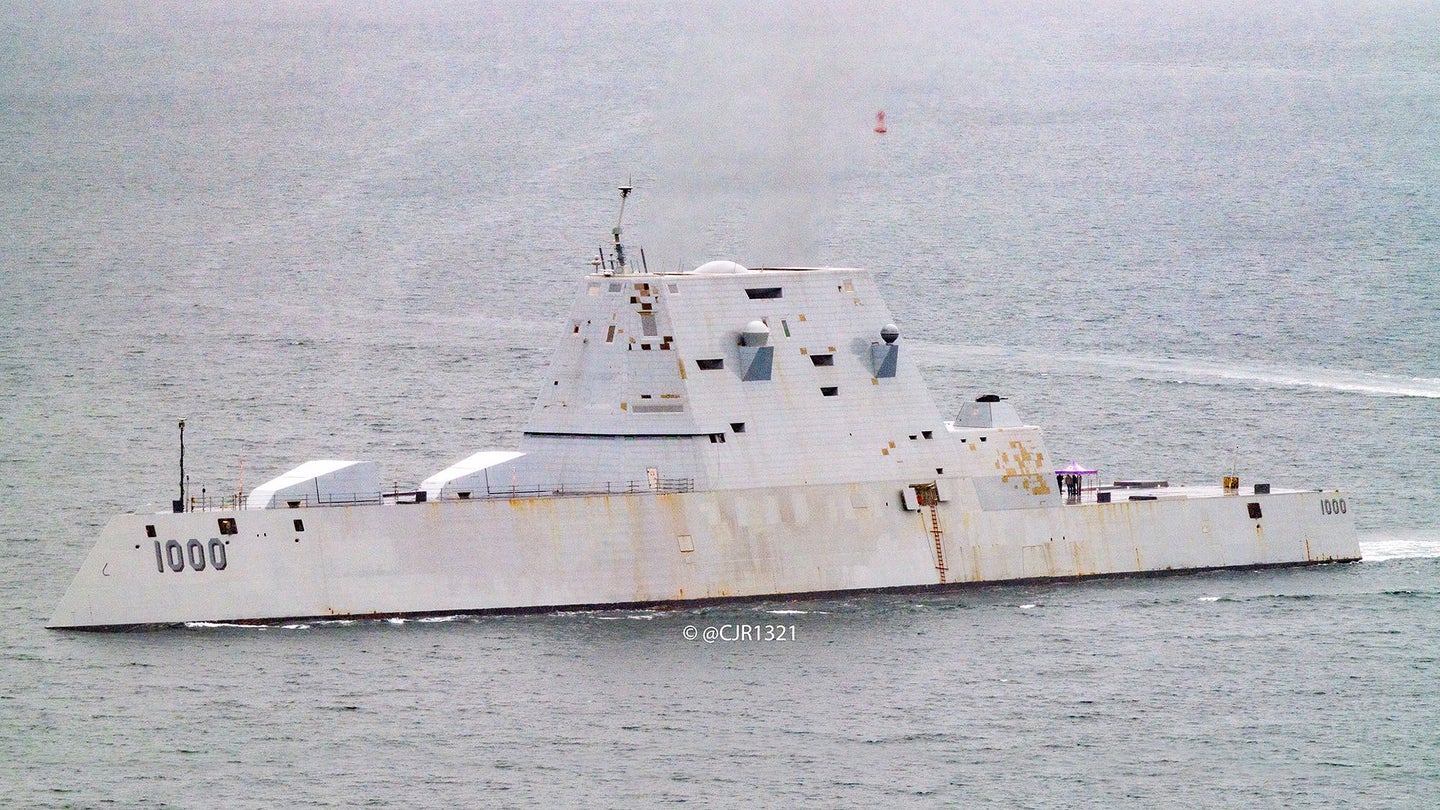
14 hours ago, ccoyle said:
much more visually interesting than, say, a Zumwalt-class destroyer.
Almost anything is more visually interesting than the Zumwalt class destroyers! She was here a couple of months ago and other than looking odd when passing in the morning mist didn't reflect back much to look at either.
-
They are almost indispensable if you are tying multiple knots in things like strings of beads and want each knot to be tight and consistent. Kind of like using needles in knitting. But you may find them a bit more limited and awkward when being used in ship rigging and such.
- mtaylor, Canute and thibaultron
-
3
-
You are really progressing with these builds. Hope you have a prominent place to show them off when you are done.
- Edwardkenway, Canute, FriedClams and 4 others
-
7
-
On 1/28/2022 at 4:36 PM, Landlubber Mike said:
Our wives think we are perfect and never make mistakes.
Your wife possibly. Mine is thoroughly convinced that the only thing keeping me from being completely useless is that I can always be used as a bad example!

-
-
Under normal conditions I would think that the ships stores and the all important ships carpenter would fill the needs. If it was a size that they were out of stock then I am sure that a temporary block or fitting could be used while the carpenter made a new one. They were quite talented and resourceful.
Another possibility would be in the case of extensive battle or storm damage, where I am pretty sure that anything that might be found would be put to use. These repairs might have to last until proper repairs could be made in a port depending on how extensive they were. Thus the term "Jury Rigged."
No validation on this theory on my part just an opinion.
- mtaylor, allanyed and Edwardkenway
-
3
-
Looks just right for a car that a few hours earlier was bright and pristine, but has spent the day being pushed to the limit through the competing pack of cars and weather. GP racing at it's best.
- popeye the sailor, Egilman, BobG and 6 others
-
9
-
Are you going to weather the aircraft as well? I would think they would be in pretty sorry condition if they are being hauled out for scrap or more advanced repair than could be handled locally.
-
In defense of the manufactures all it takes to get it wrong sometimes is one reversed negative. While they may do research at some point, it may be questionable how in depth that research may be. Doesn't seem to be the case this time but sometimes?
- Canute, Egilman, popeye the sailor and 5 others
-
8
-
If I had not seen it built right here right in front of my eyes so to speak, I would have no idea it started life as a card kit model! I think there is no question you have become a master of the media Chris.
- Edwardkenway, Egilman, ccoyle and 5 others
-
8
-
14 hours ago, RGL said:
Paint cue! Hard to get motivated
Repetition never seems to be fun. The results are nice, the journey, not so much.
-
I spent my time looking at this build in awe, enjoyment, and sometimes jealousy. Thanks for bringing me along for the ride Patrick. One of the times that riding in the back seat was fun.

- mtaylor, Egilman, Edwardkenway and 6 others
-
9
-
-
While the sea state did not work out like you intended I still think it looks quite nice and realistic. Many of the pictures of ships in the South Pacific especially in the Dutch East Indies look very much the same, (Except they are in black and white of course).
- mtaylor, thibaultron, king derelict and 3 others
-
6
-
On 1/12/2022 at 8:18 AM, Landlubber Mike said:
I personally don't care if I finish a model. In a lot of ways its anticlimactic for me, and I've been more about the journey than the destination anyway.
You need to get into RC ships Mike.
Unlike RC aircraft that have a tendency to "Re-kit" themselves after a short time and one needs to start allover. Scale boats are a hardier breed. They only get wear and tear and things keep getting broken for one reason or another. You are still making new and improved parts and upgrading the running gear 20 or more years down the road! Also the detailing never ends! Most of my RC ships have only two "Display" locations in my house. The REALLY old inactive models are in the basement on a shelf. The more active models are either sitting on an obscure bookshelf I have or on the workbench, (Read "table") being worked on! The real "Display" happens once a month or so at the local pond where I gather with others and do boat things with them. Lots of fun,
- Landlubber Mike, AJohnson, mtaylor and 2 others
-
5
-
I'm with Mark, Mike, and Chris........... But then I do like to throw rocks!
 How many more mistakes can you point out that no one else has seen? Luckily my aim over the years has become erratic at best!
-
It all depends on what you what refer as "Progress" or "on-the-go". At one end of the spectrum I presently have 100s of kits and scratch builds of one type or another that COULD be built. At the other end I have two RC tugs that are presently actually being worked on. Somewhere in between I have several that I take down and pet now and again.
Yeah I know, pretty pathetic.
-
You may have started with a nice kit Mike but there is no question that you have surly turned it into an exquisite build!................... And I'm not even a big Japanese ship fan!
- FriedClams, Old Collingwood, Canute and 3 others
-
5
-
 1
1
-
So is that enough to qualify as a "Gaggle?"
-
Great work Greg
It's funny though. In the "aerial" shots you used in this set, combined with not having the island as a reference, I found it hard to tell which end the bow was until after you applied the deck numbers.
it's already clear that it is going to be another nice looking ship.
-
I agree with both Dan and Ken. Soldering the tail using brass rod would be the direction I would go if I made any attempt at scratch building the tail at all. I also would use the Italeri parts to make a jig so this would have to be done before building that kit. But then I have done this kind of soldering many times over the years with my RC boats so I do not have too many reservations about doing that kind of work. The added advantage of doing it that way is that you could almost as easily make two tail sections and both models could get the enhanced tail. Just remember that if you do choose this method that you will also have created a tail dragger and there is no space in these helicopters to hide extra weight to bring the nose back down.
Plastic rod might be stronger than you think. The real aircraft after all were for all intents built that way just for that reason, to get strength from what would be normally a material too weak to do the job.
Another method you have partly explored would be to round out the cast Revell tail. In that case I think I would use one or both of two methods. One would be to cut a narrow strip of sand paper, loop it over the sections of "tubbing" and sand the inside surface round. In the other I would use the tip of a #11 Exacto blade and scrape the inside edges. Either choice would be faster and easier than resorting to using a needle file.
Just my two cents worth, (Only one after inflation)


Providence by KenW - FINISHED - 1:48 - Colonial Sloop
in - Build logs for subjects built 1751 - 1800
Posted
I am so pleased to see such fantastic work being done to this ship as you could guess Ken. Please keep up treating me with pictures of your fantastic rendition.
Are you going to keep the oars deployed or stow them?