

Zarkon
-
Posts
205 -
Joined
-
Last visited
Content Type
Profiles
Forums
Gallery
Events
Posts posted by Zarkon
-
-
Thanks everyone for the likes!
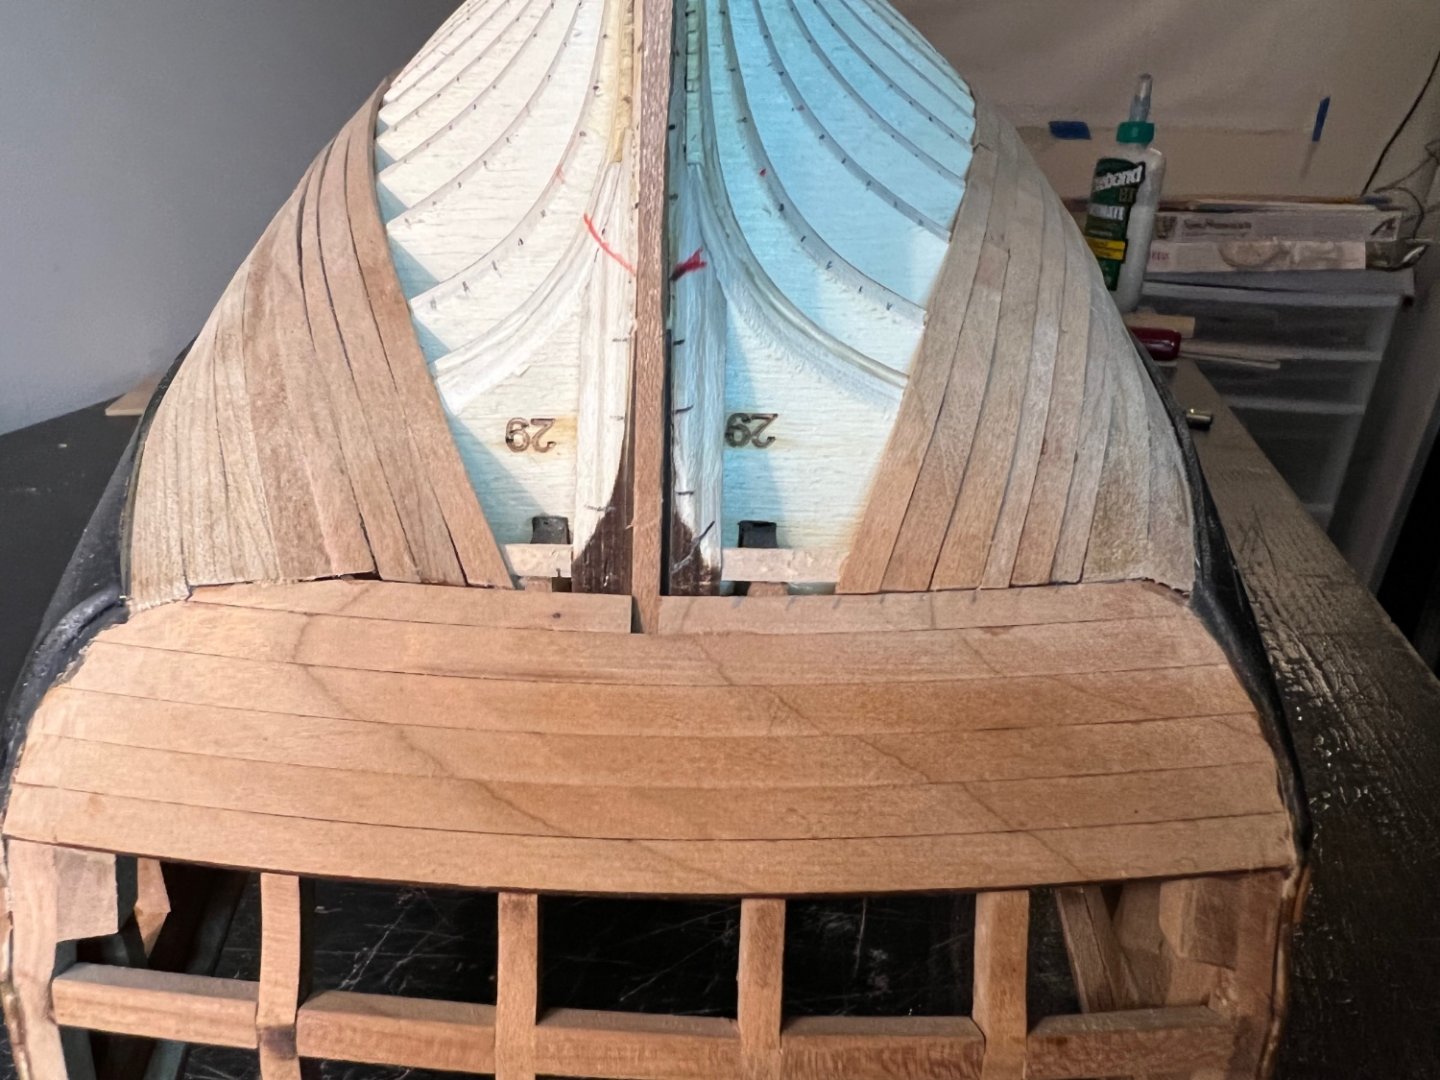
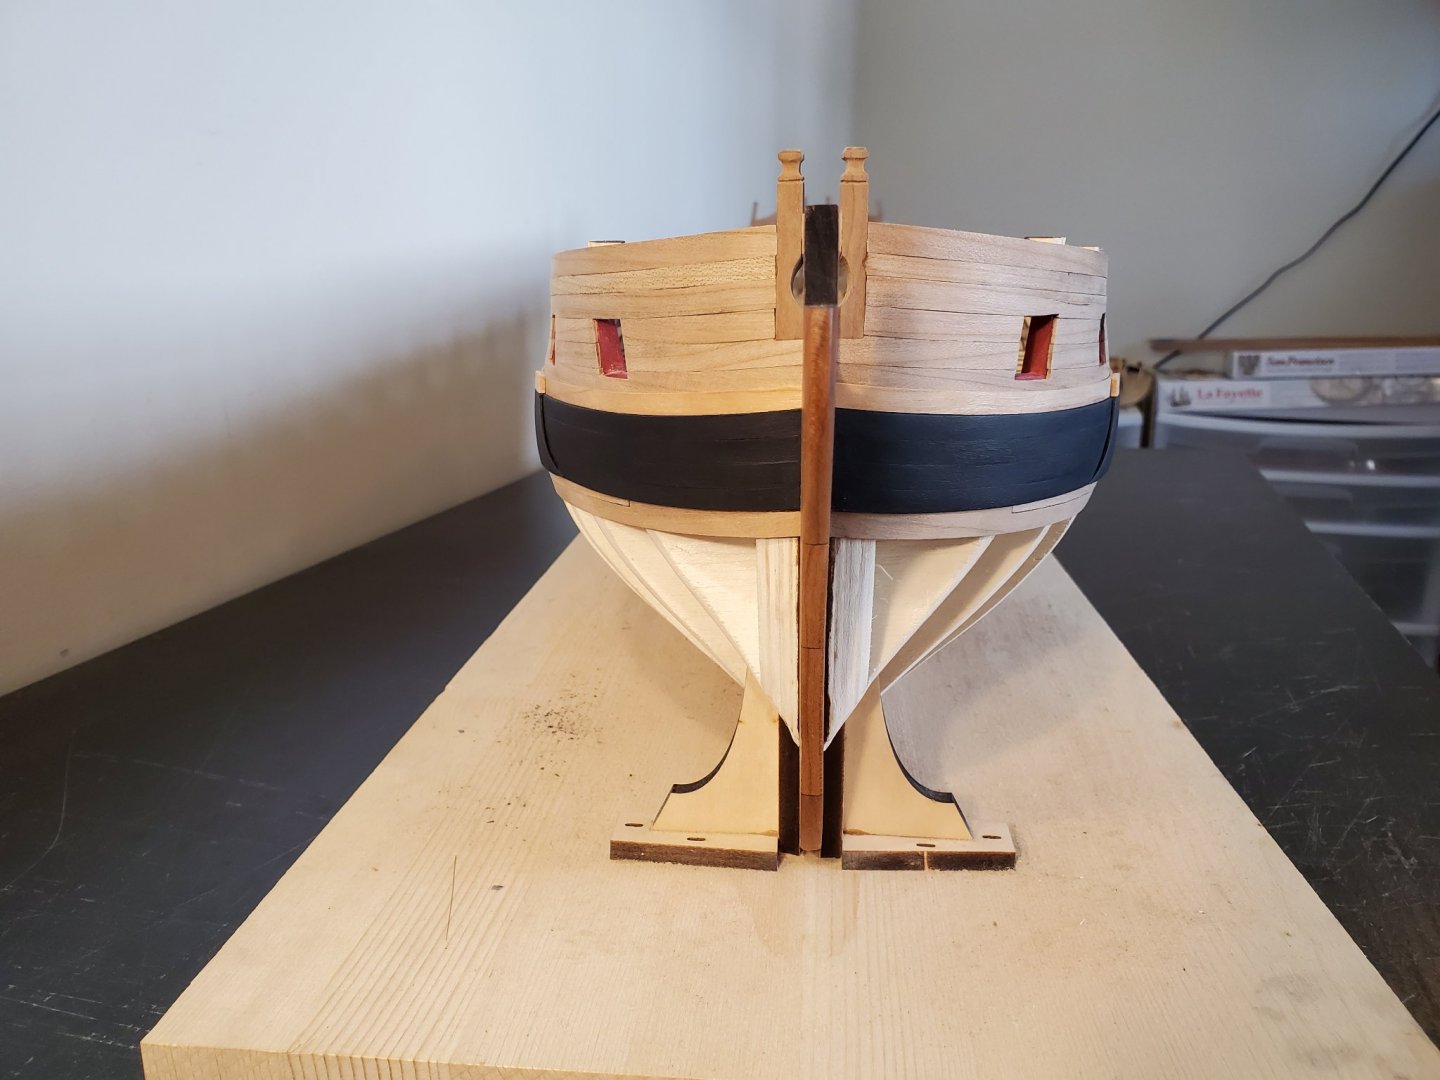
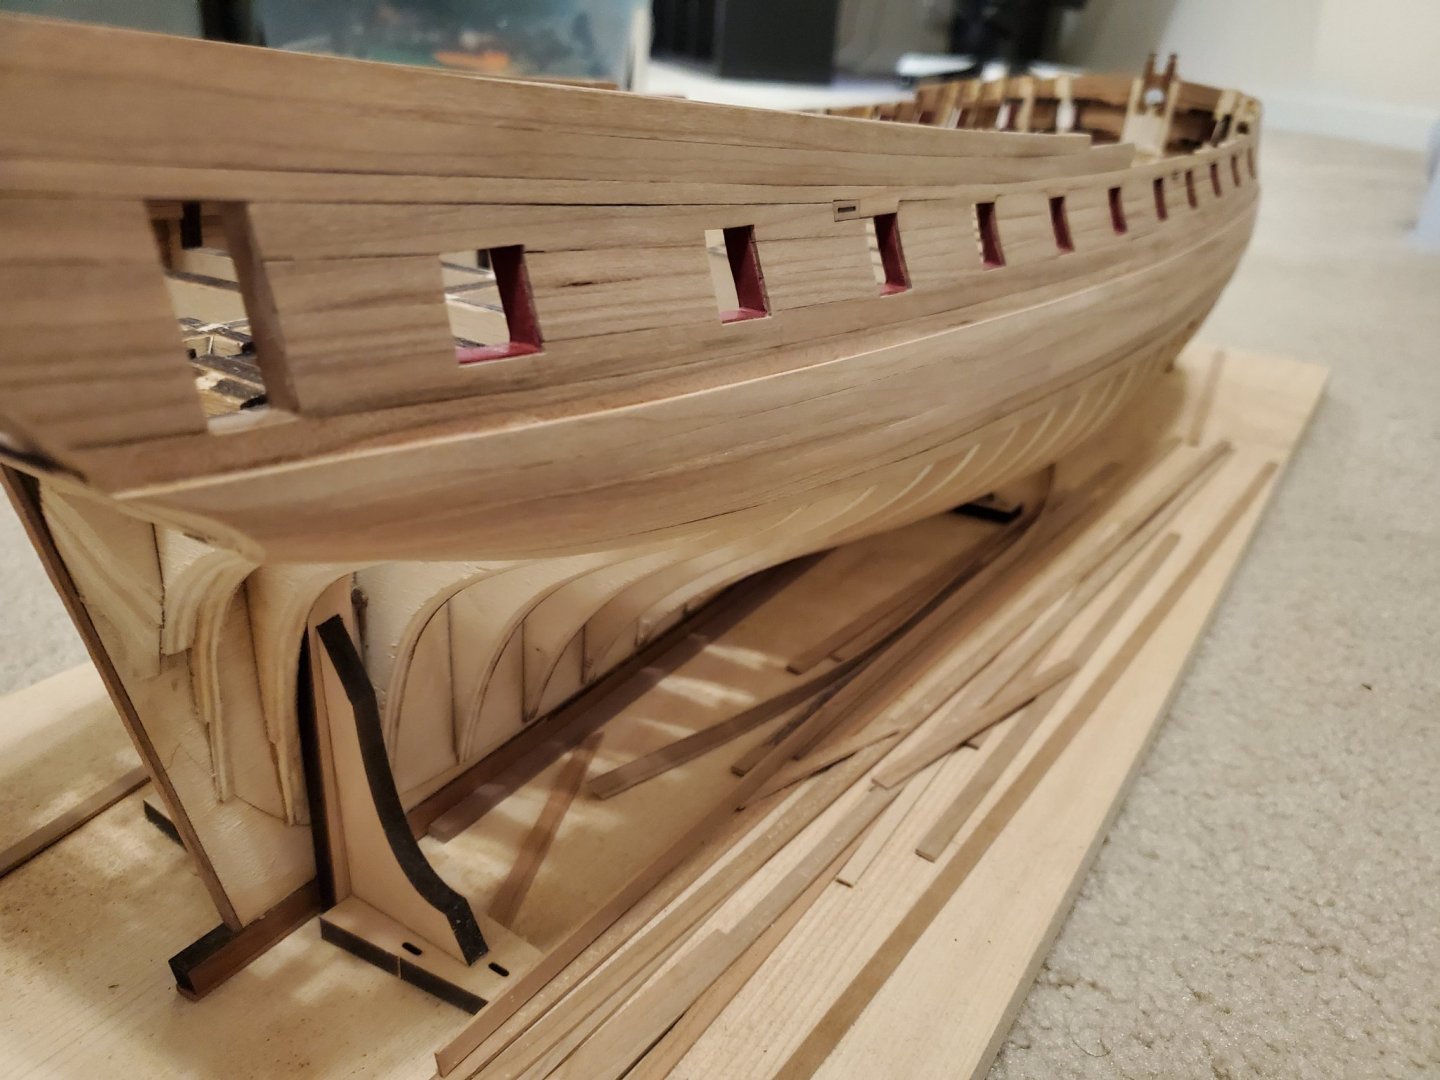
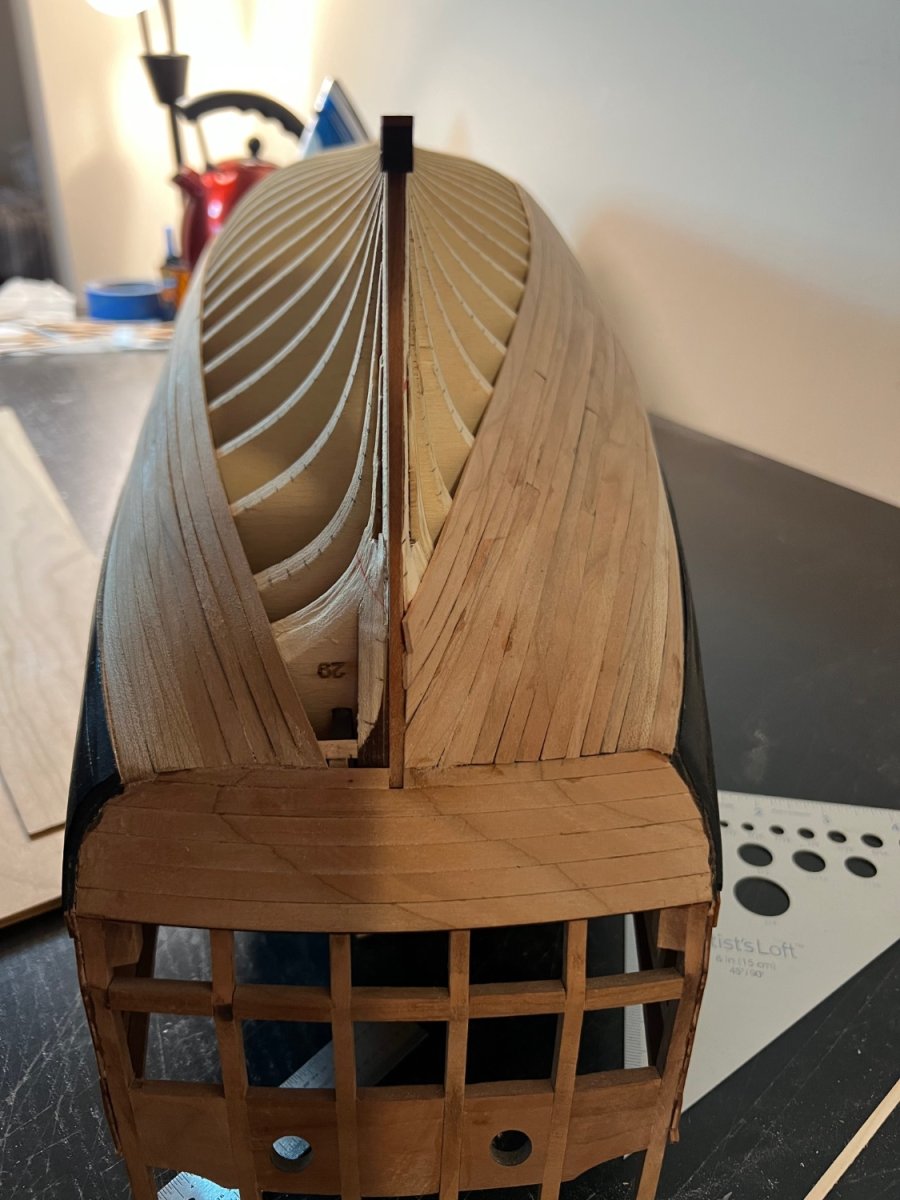
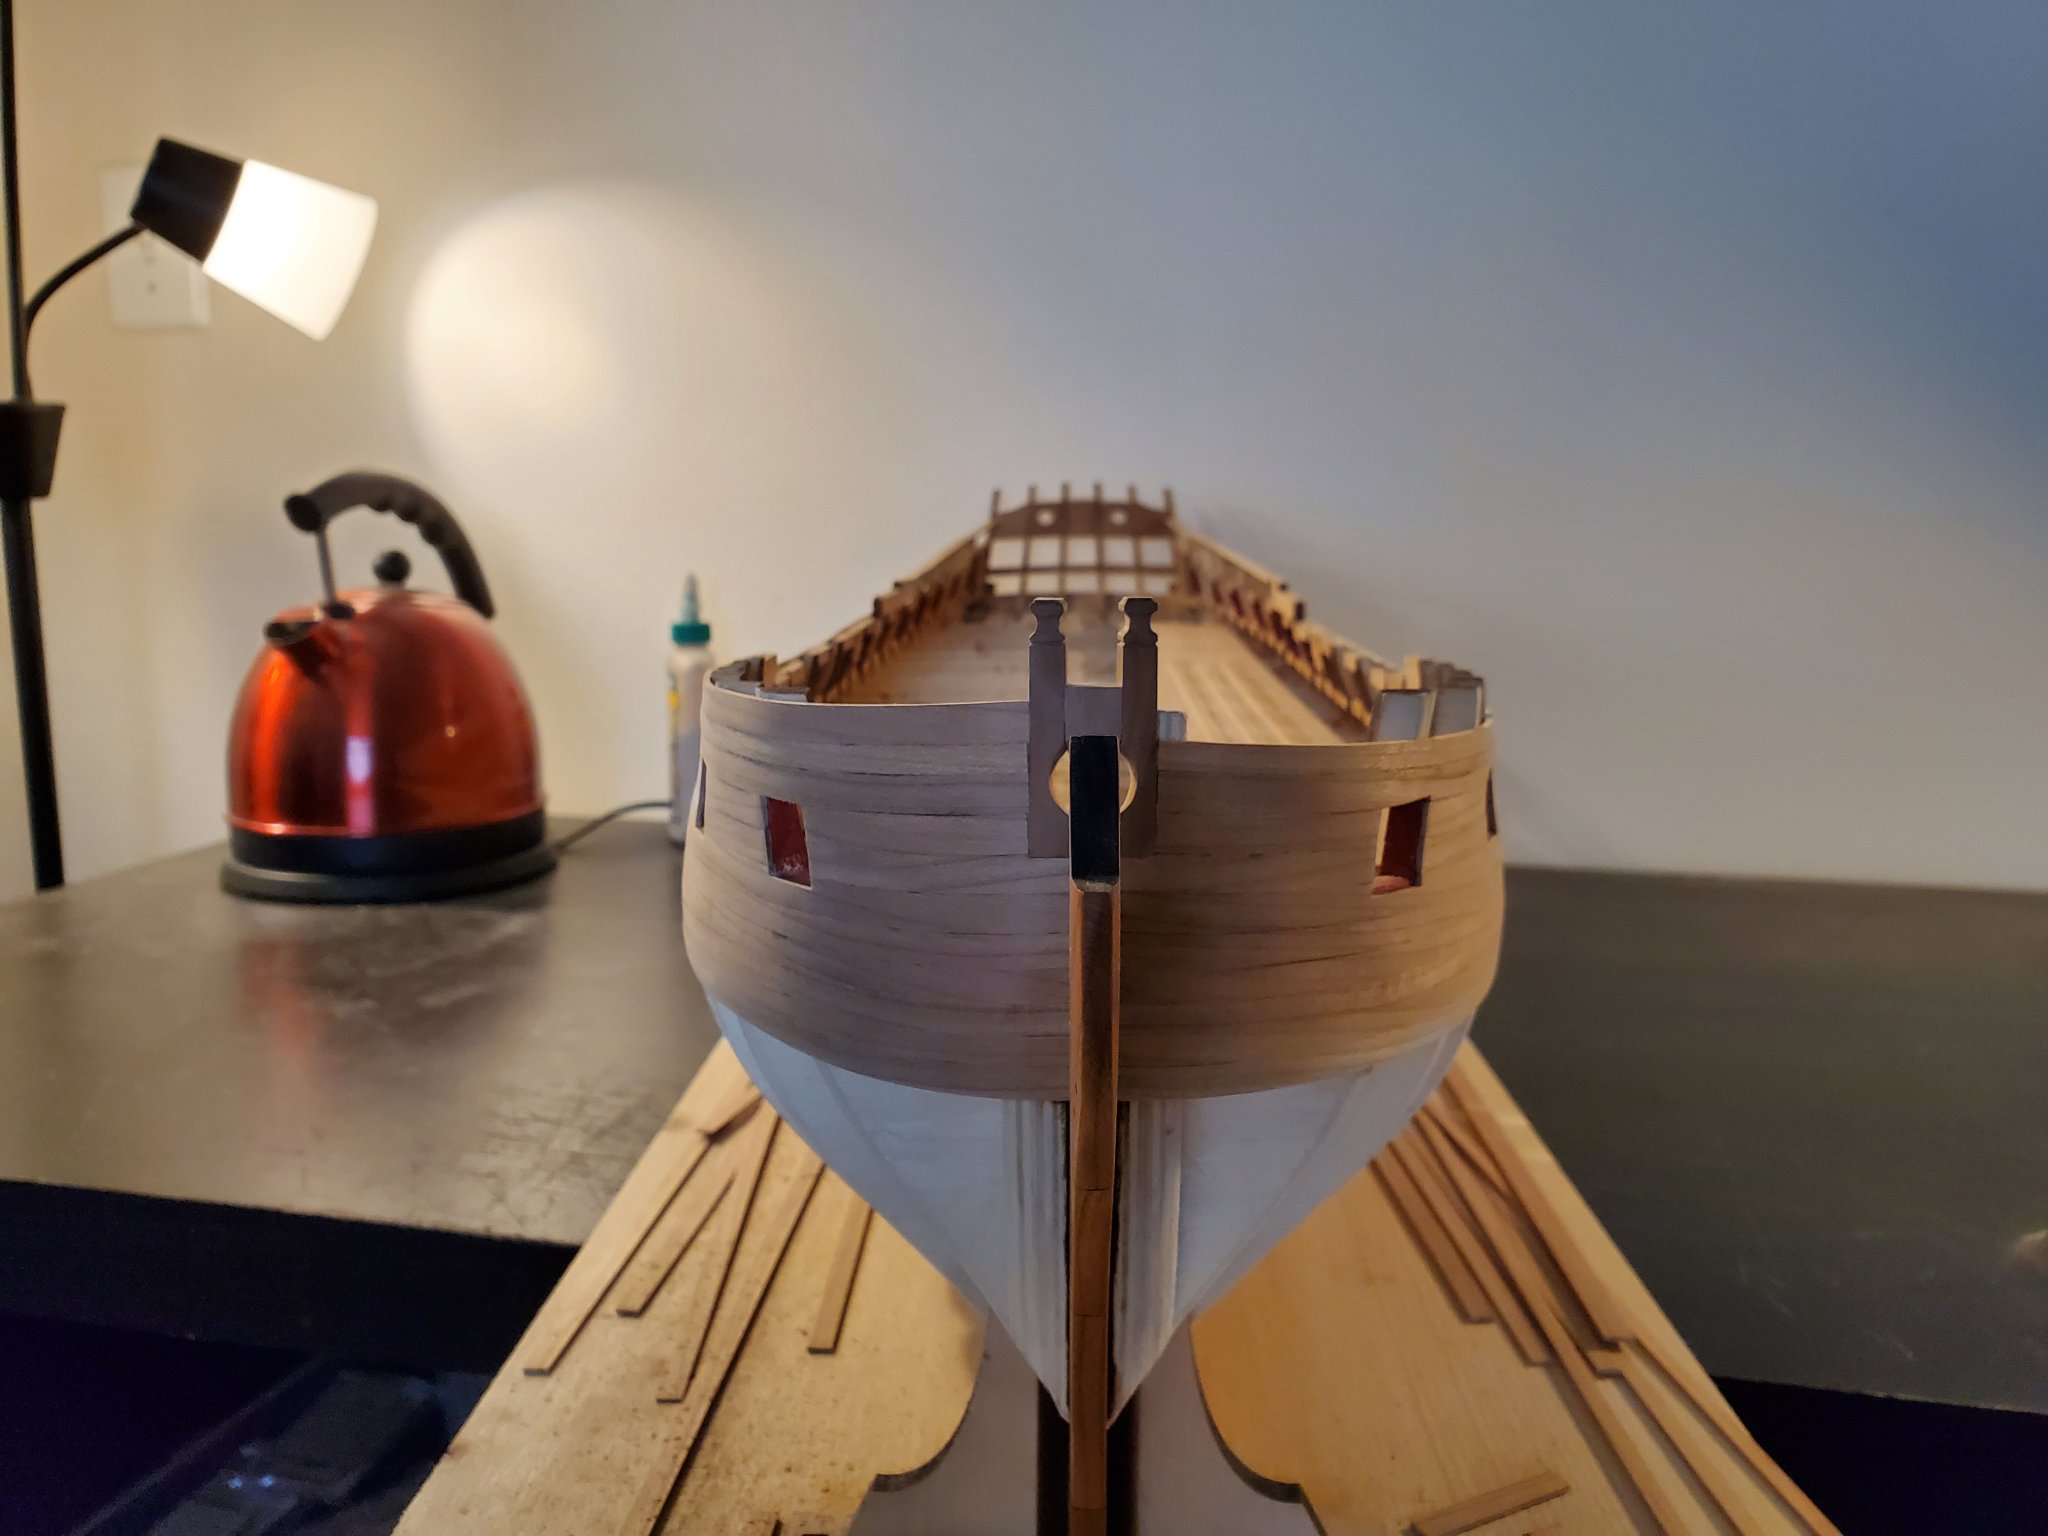
I do have a question about the garboard plank since this is my first time doing this…
Do I have the plank at the correct position in relation to the scarf joint? I don’t want it to be too forward like the instructions say.

I really just want to double check I have this placed correctly before I continue planking.
Thanks!
Jeff
-
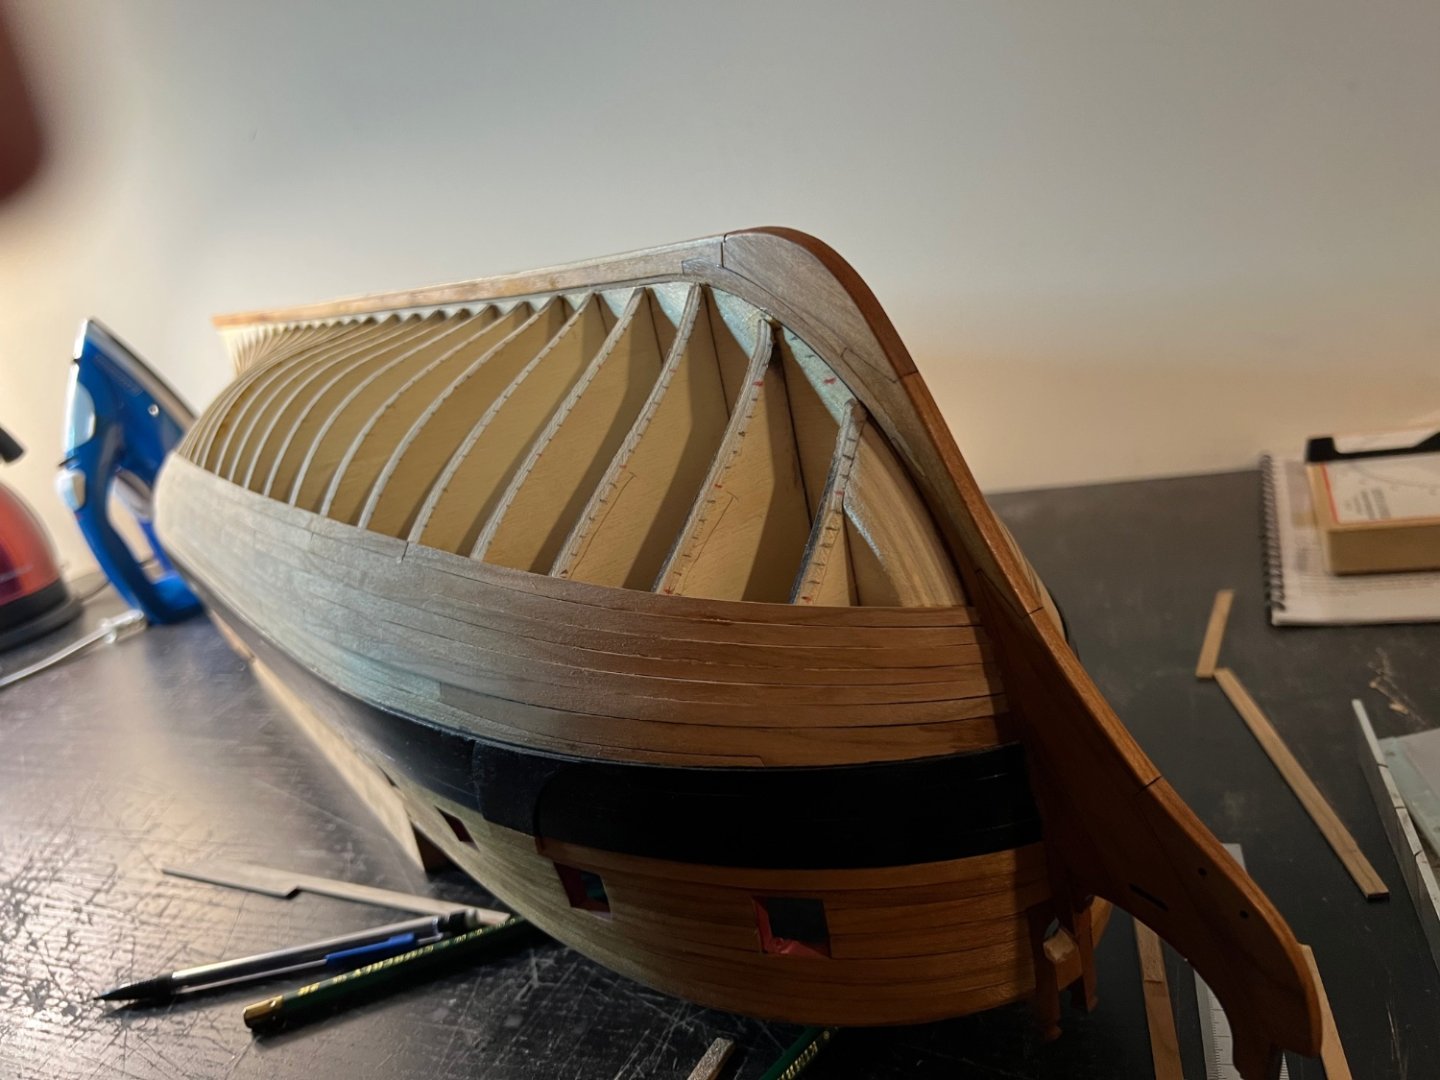
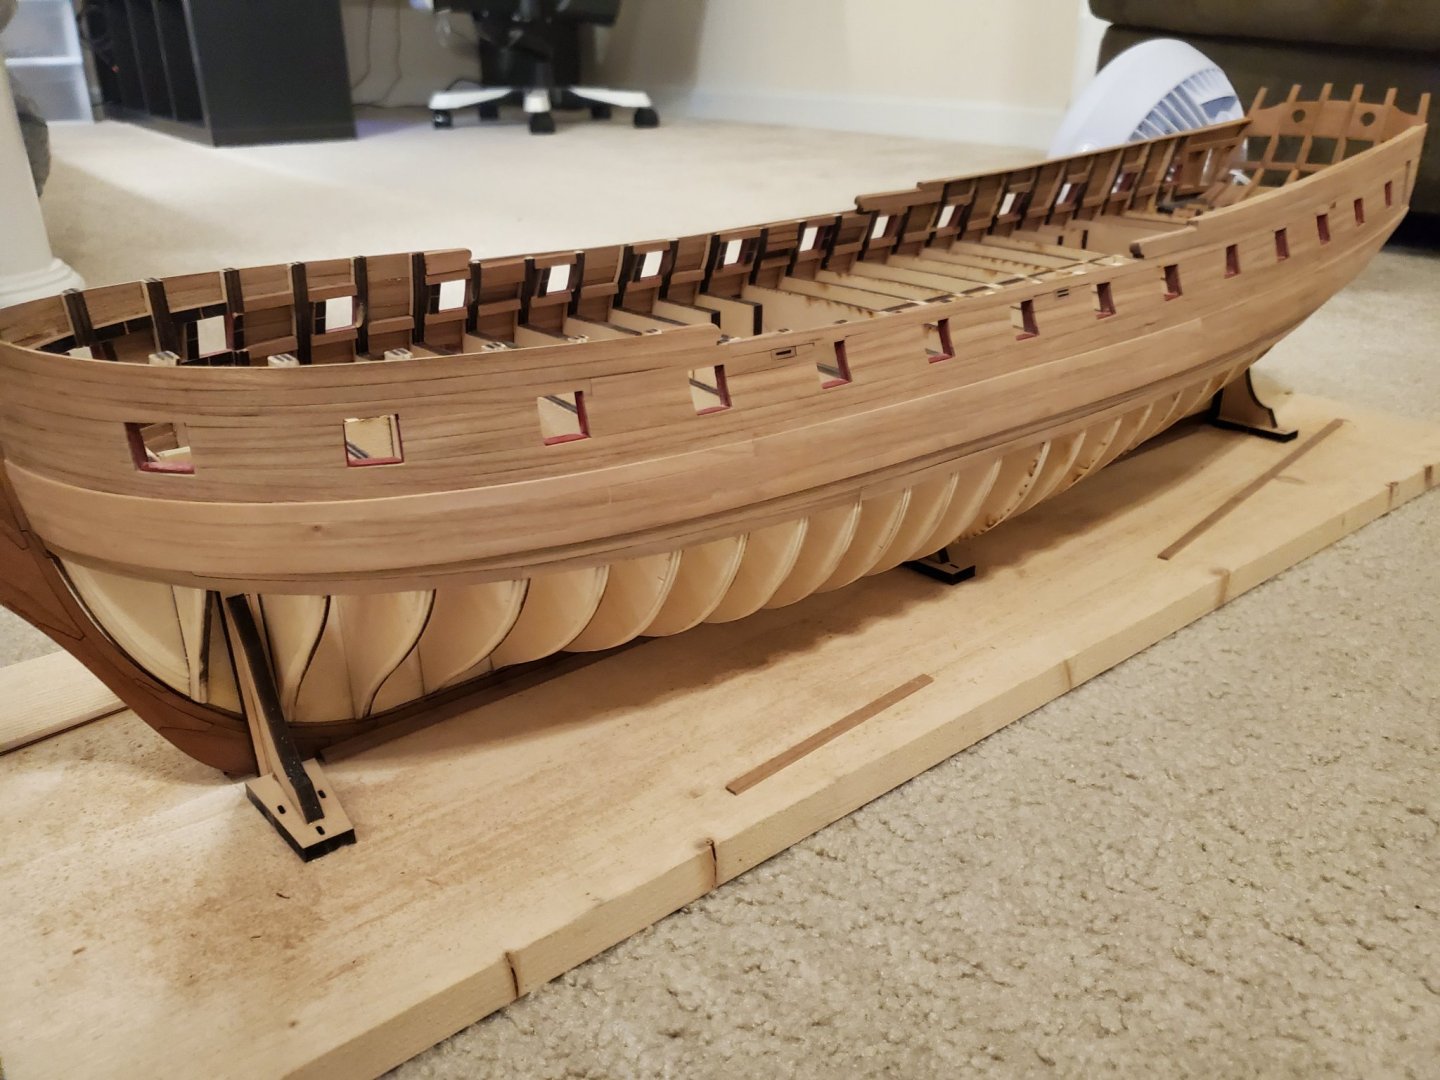
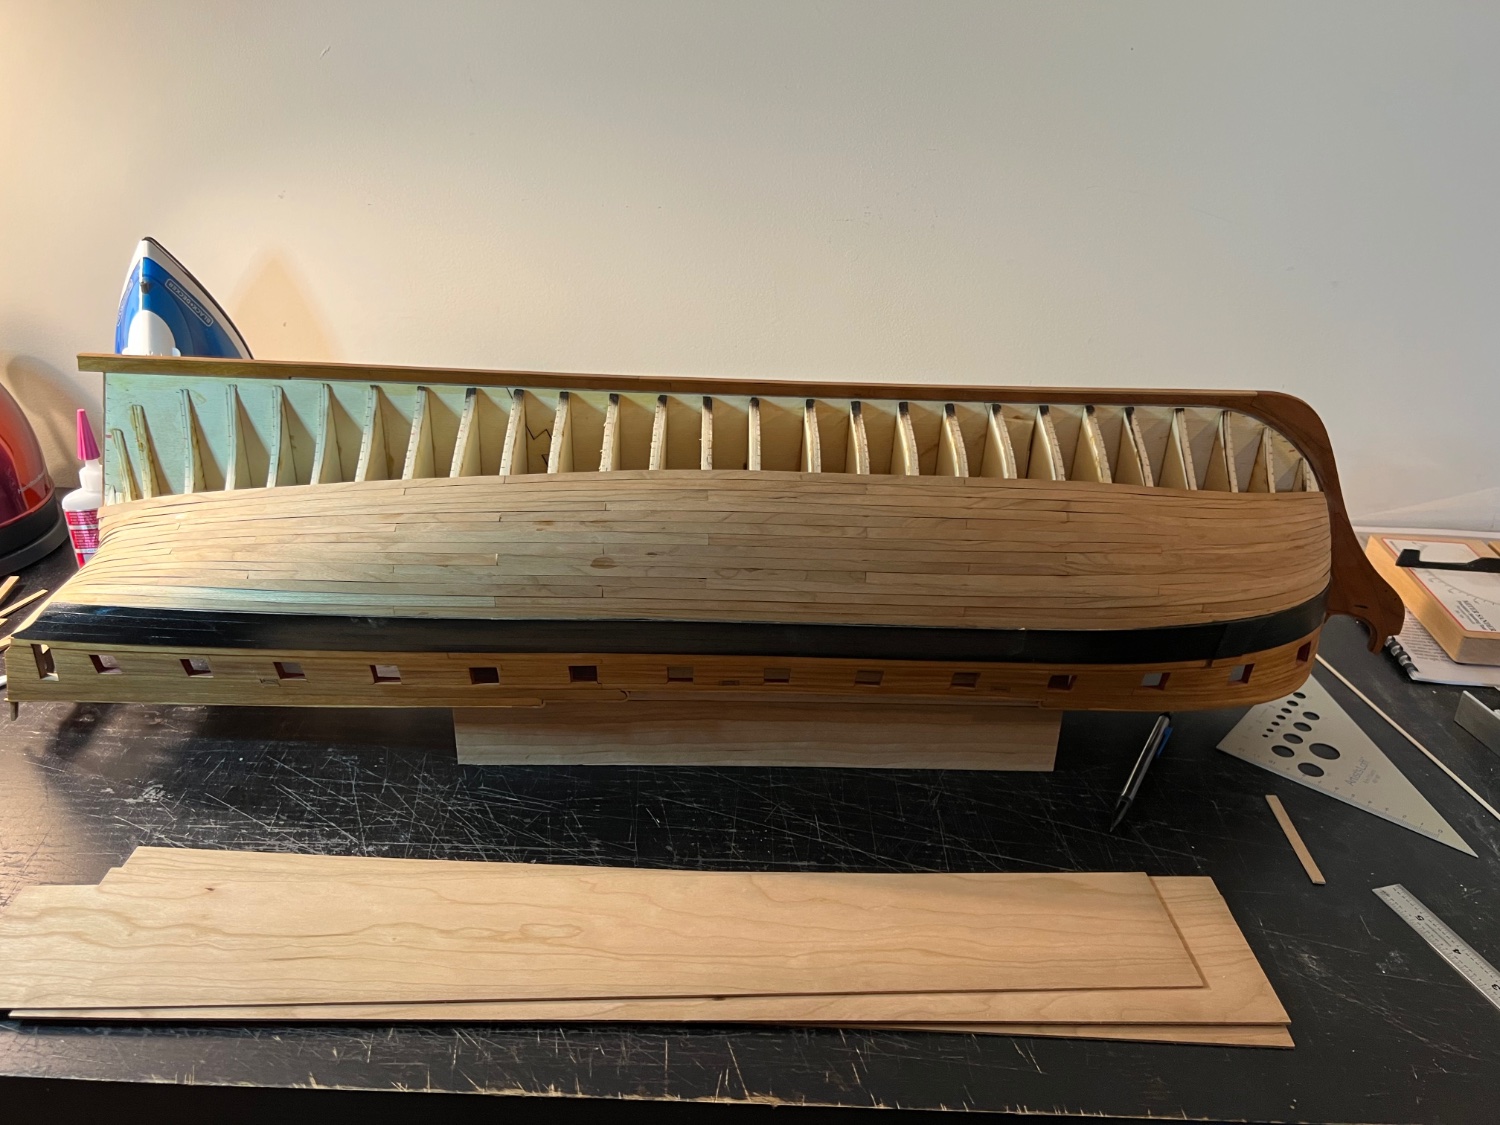
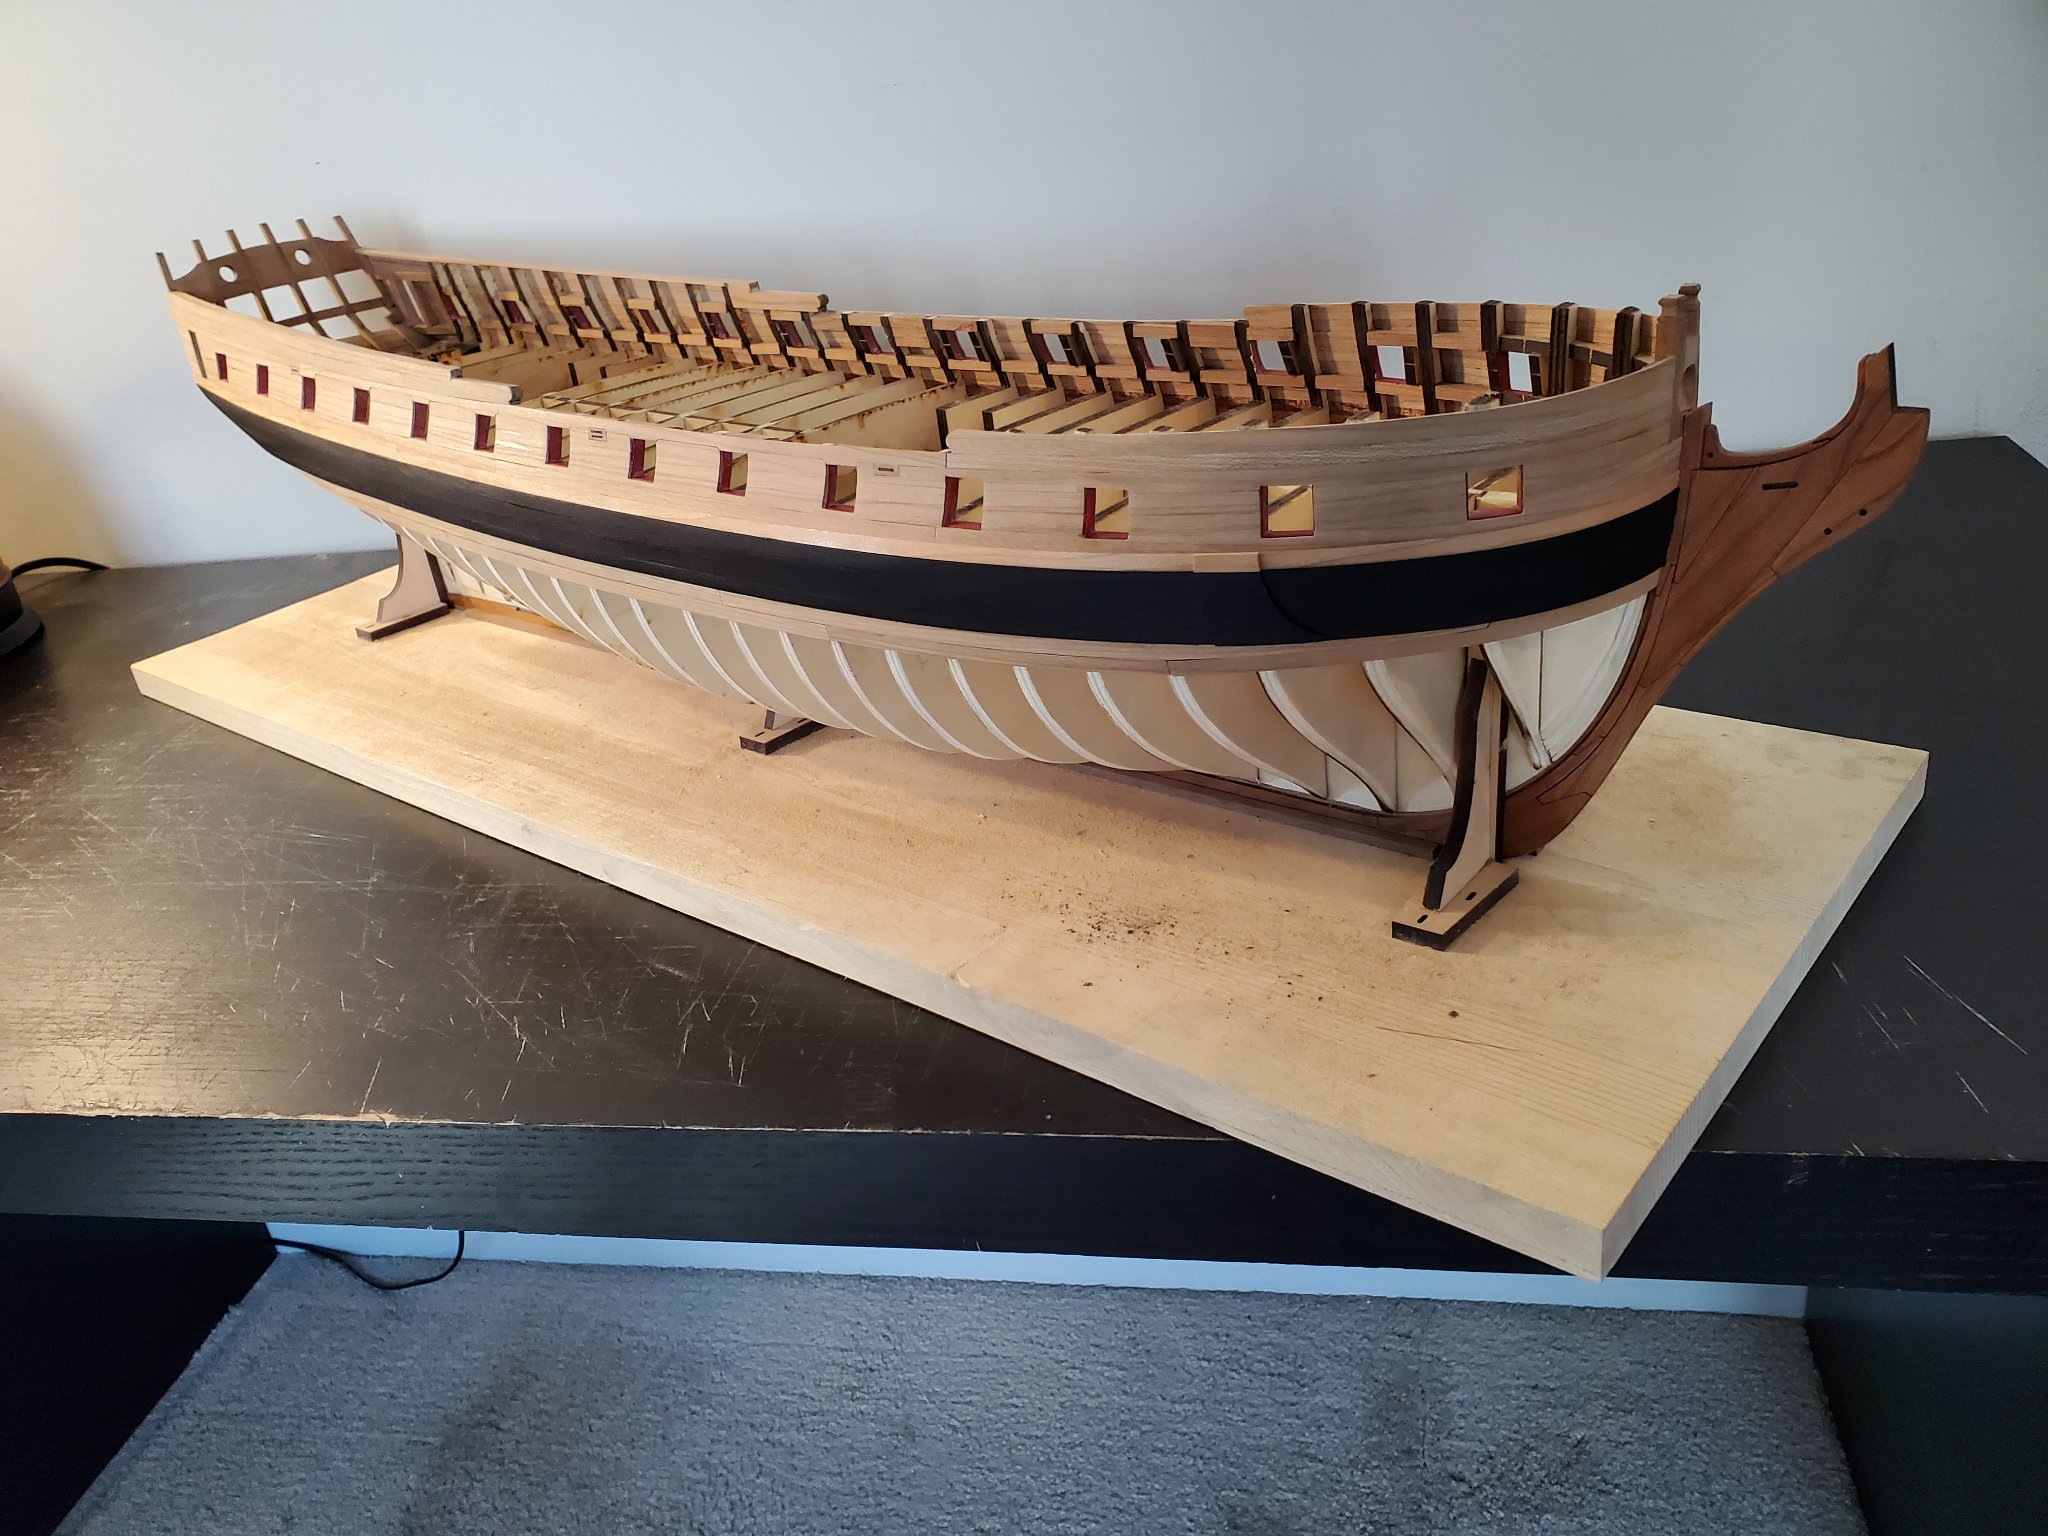
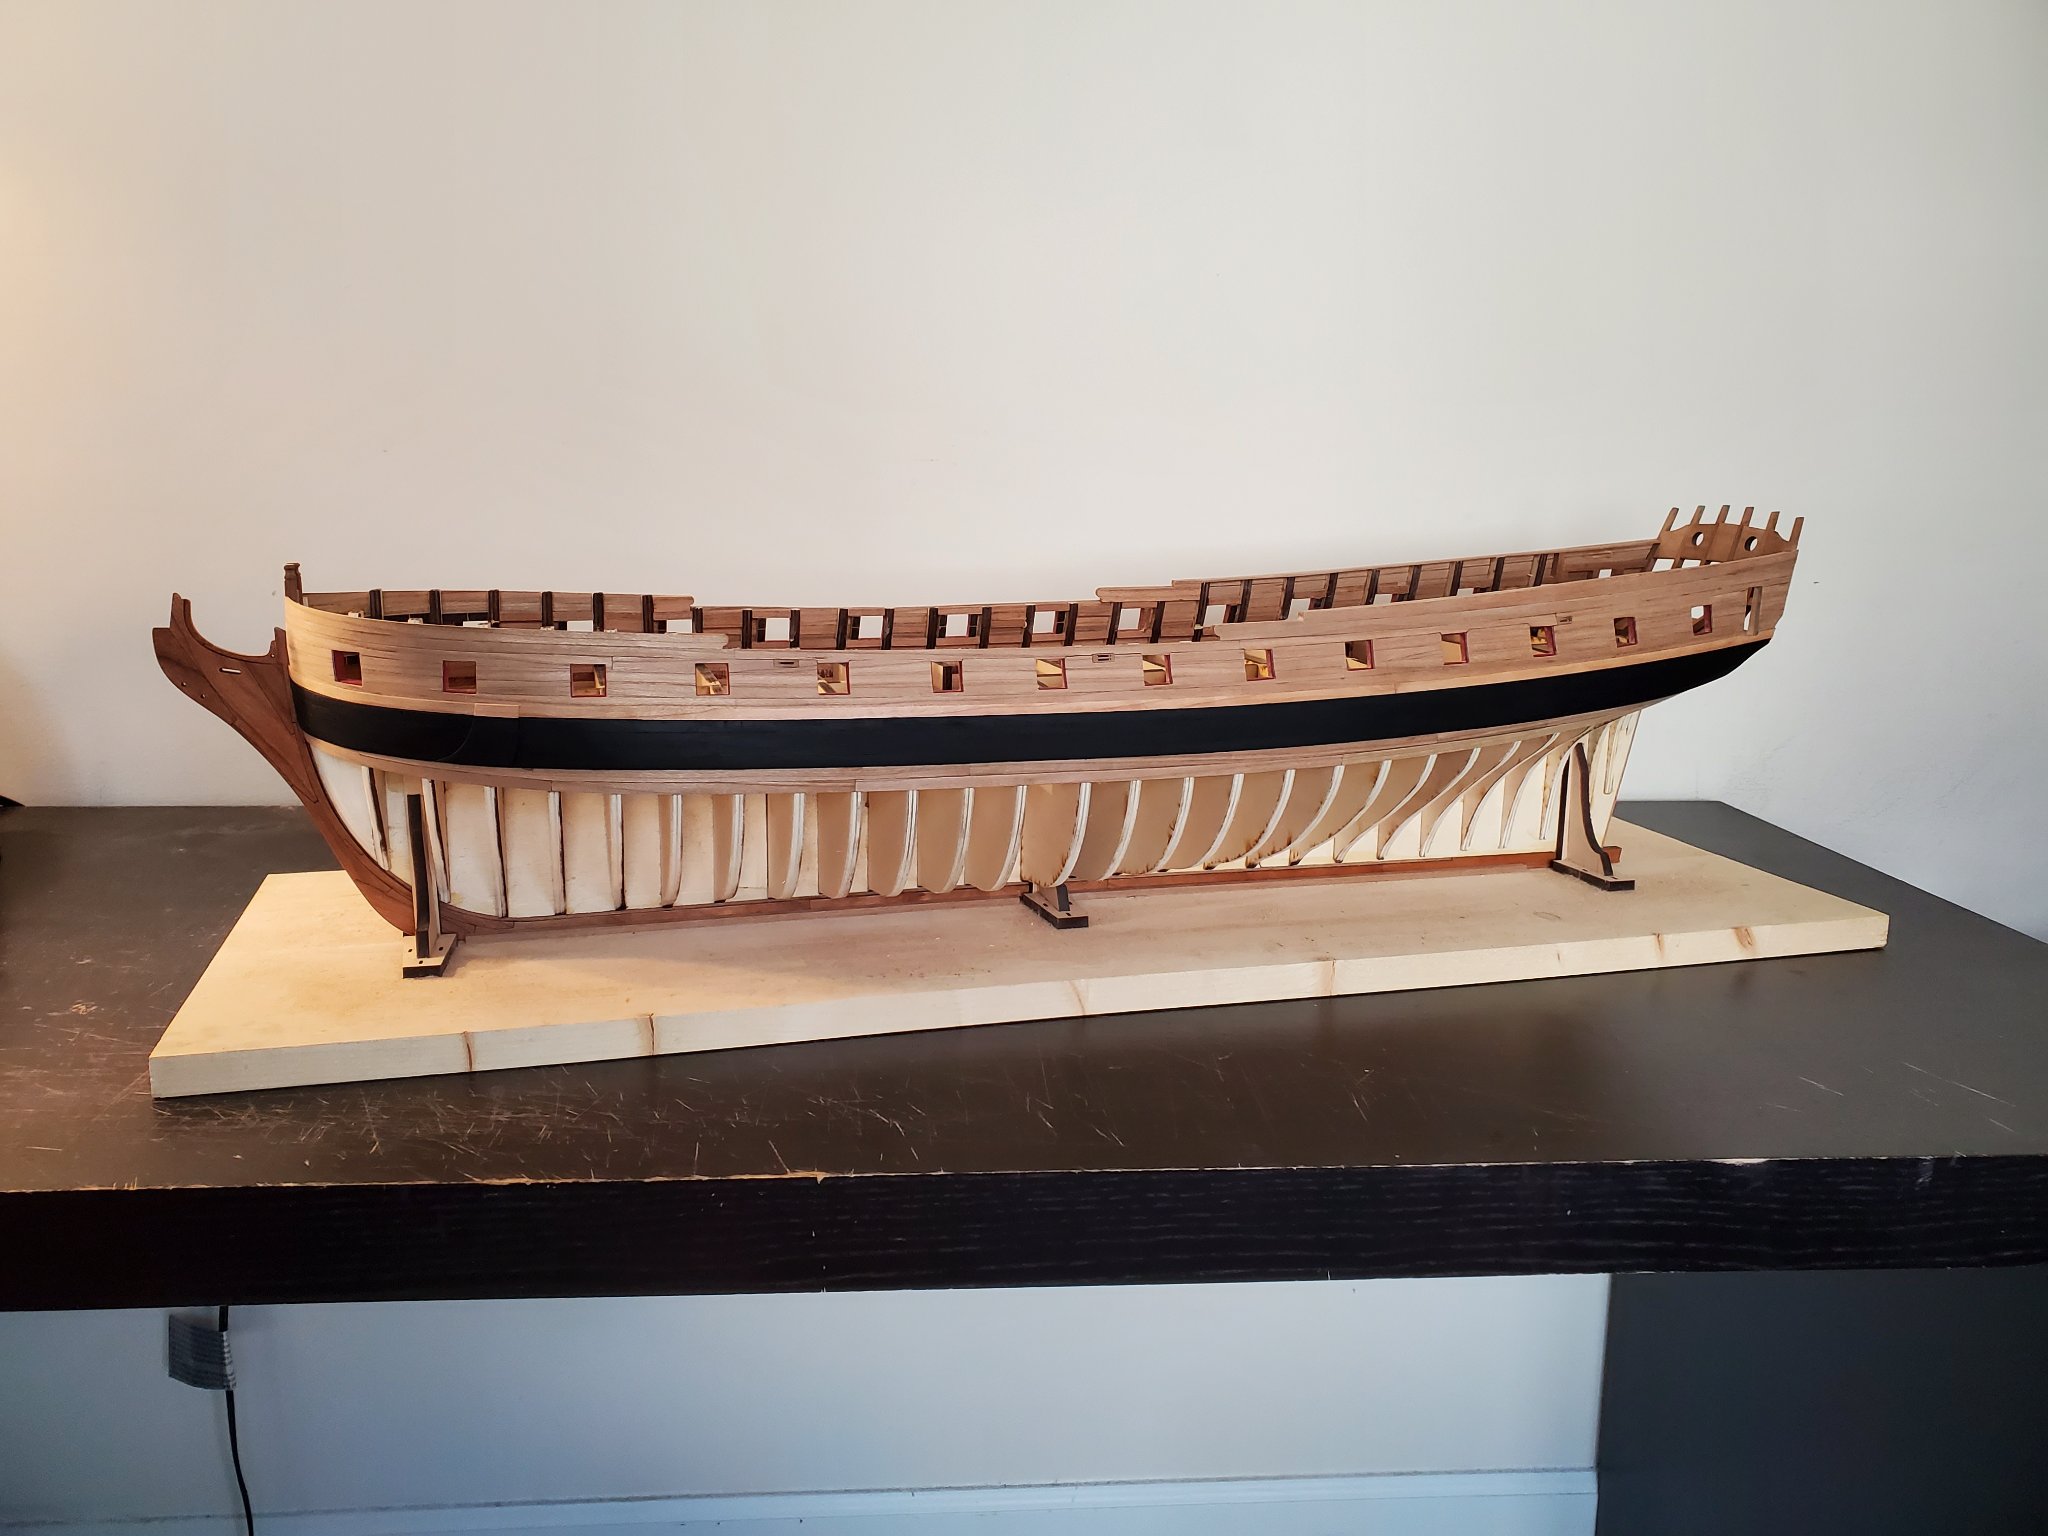
I finally finished with the second set of 6 planks!
I wish I could be faster with it, but I know this isn’t a race. Things at home have been rough which takes me away from building. And a lot of the time, I am too tired to work on her at night (which is my only free time).I also reorganized my work space to be more open. It feels great to have things more organized! I don’t feel as cramped which was starting to affect my building.
I’m slowly getting better at this, and I know the next set of planks will be better ( but still will take me a while to complete). I look through a lot of the build logs and am very impressed with everyone’s skills in this step which I am still trying to get down.

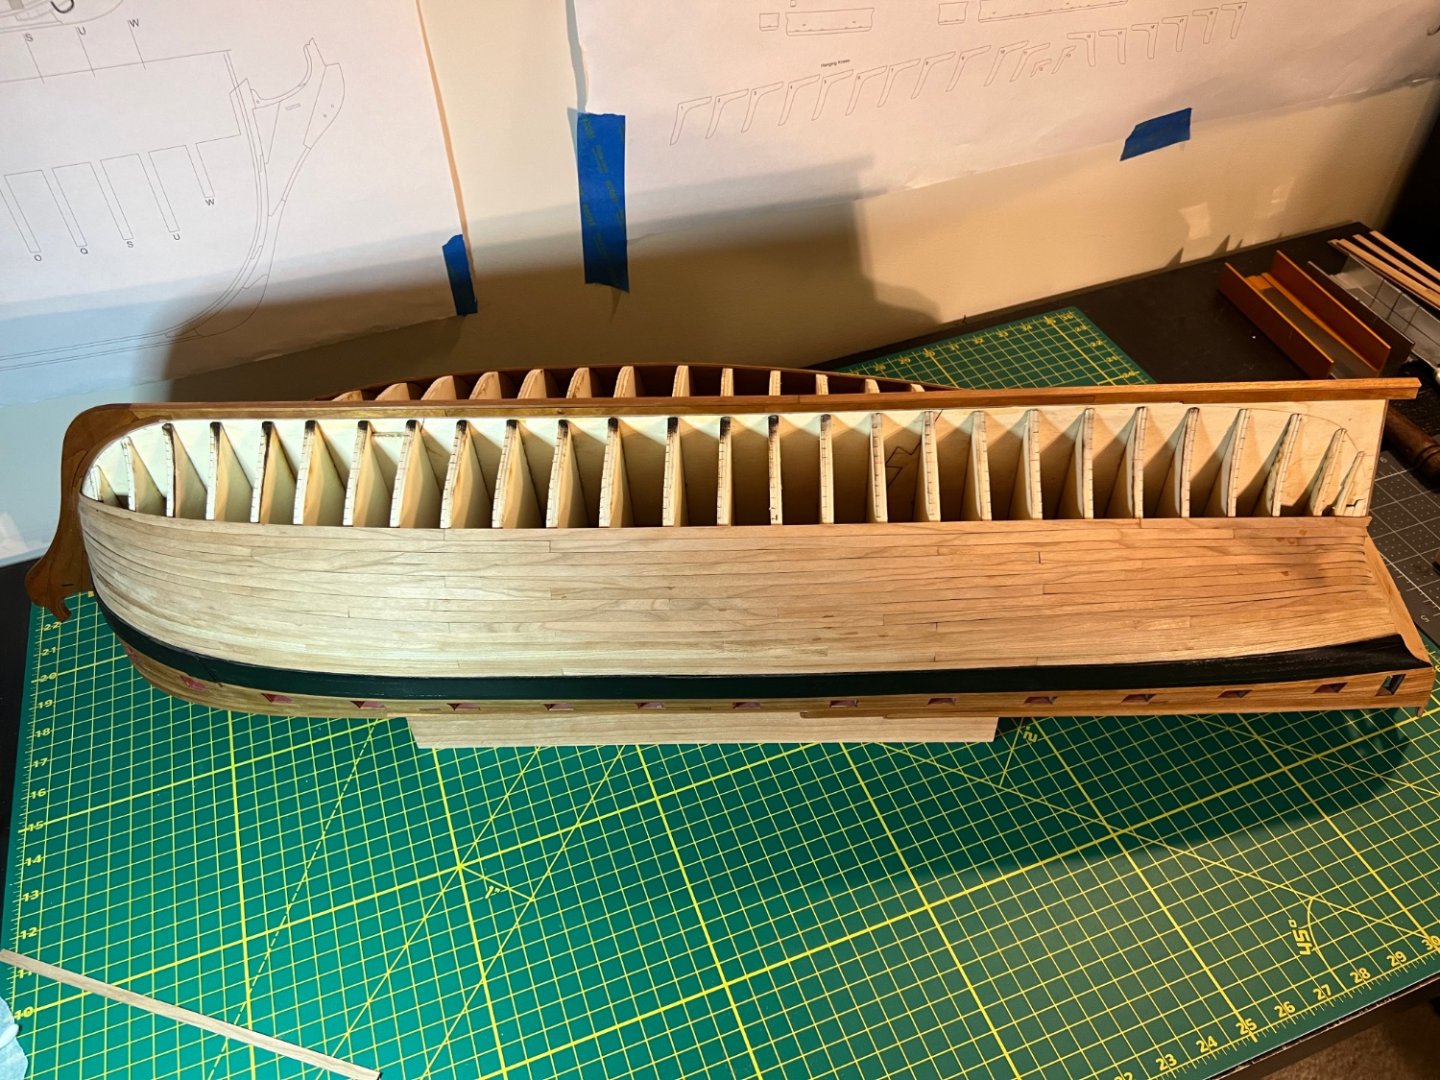
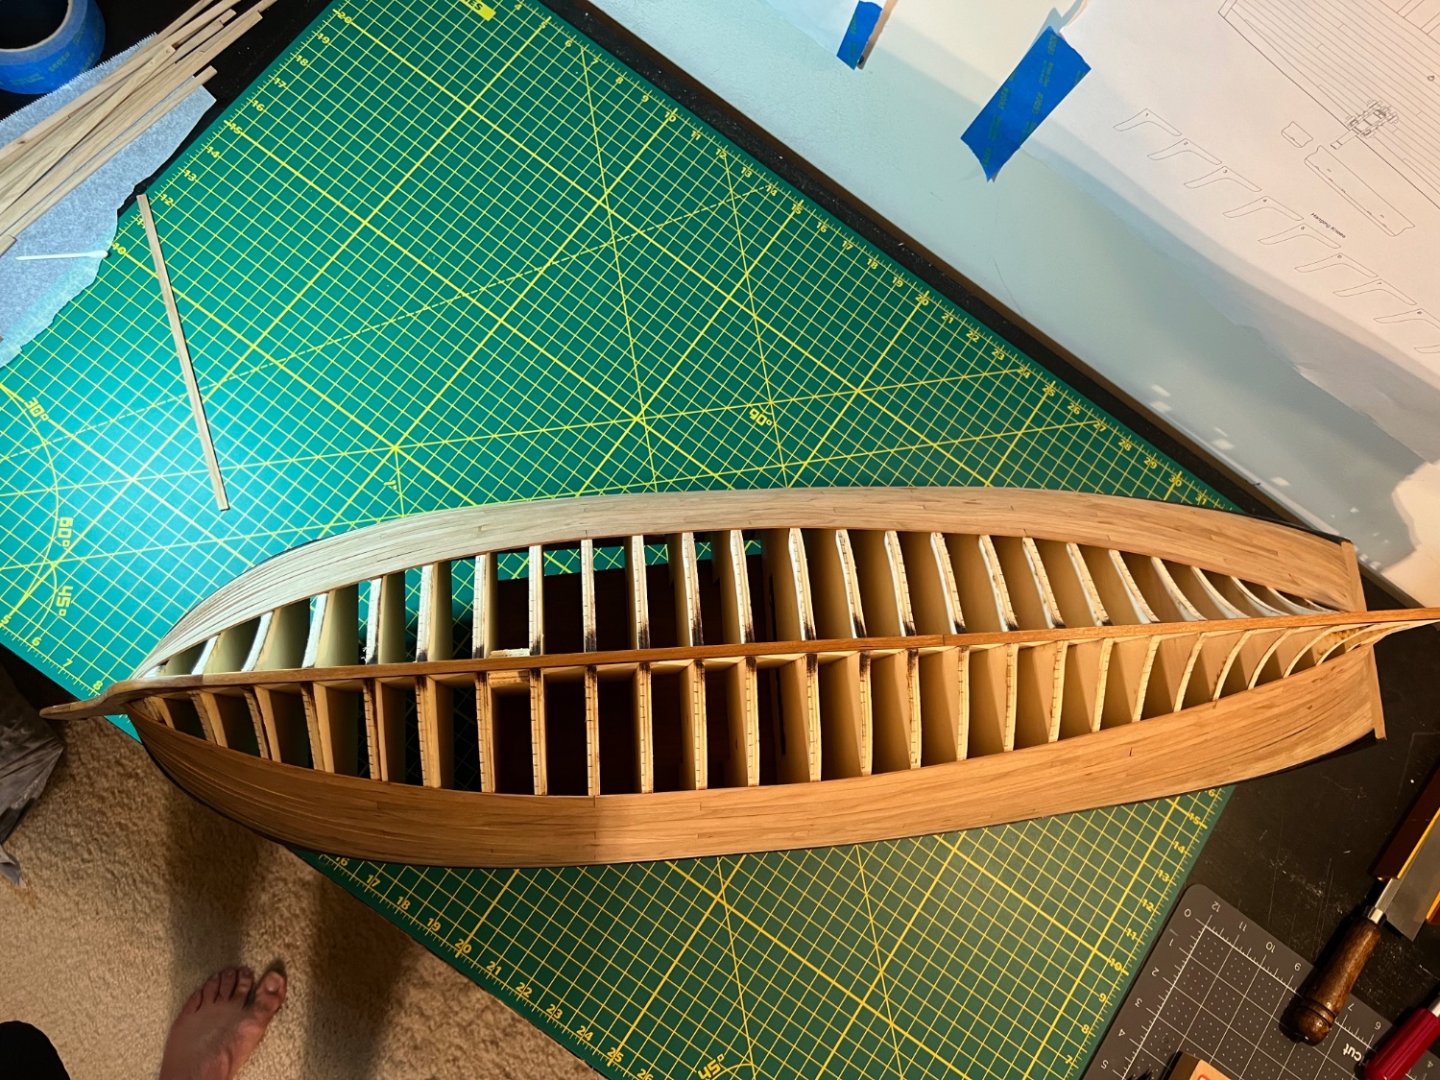
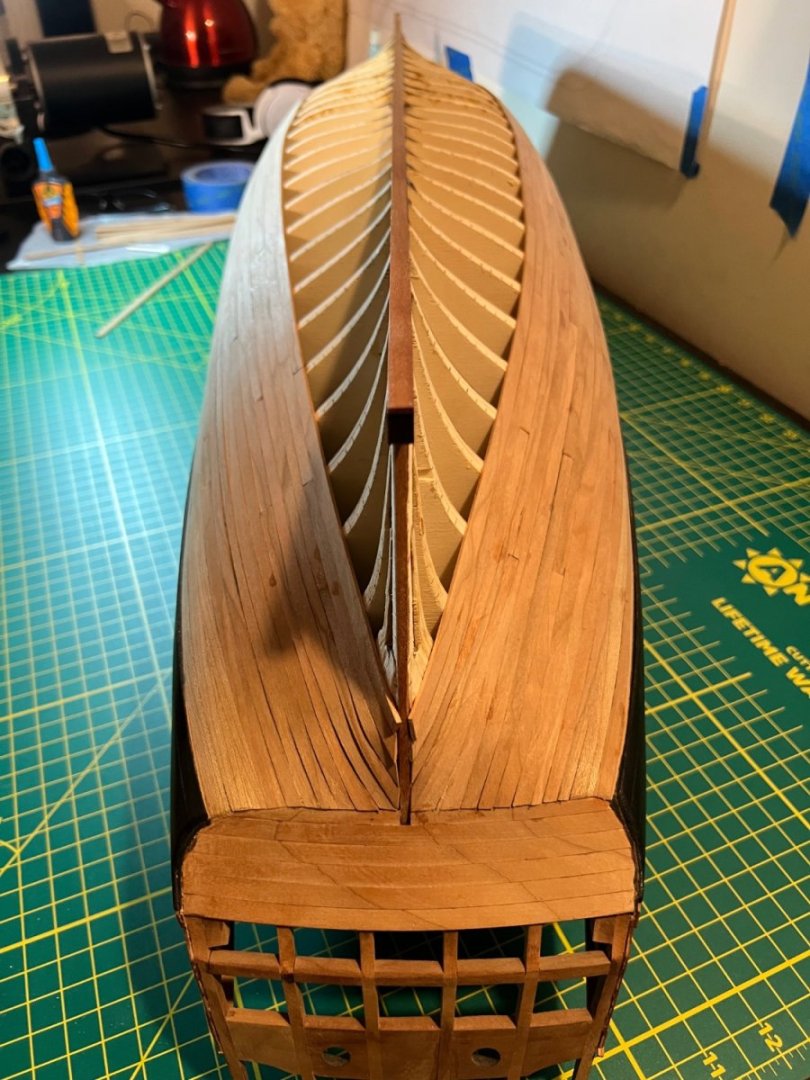
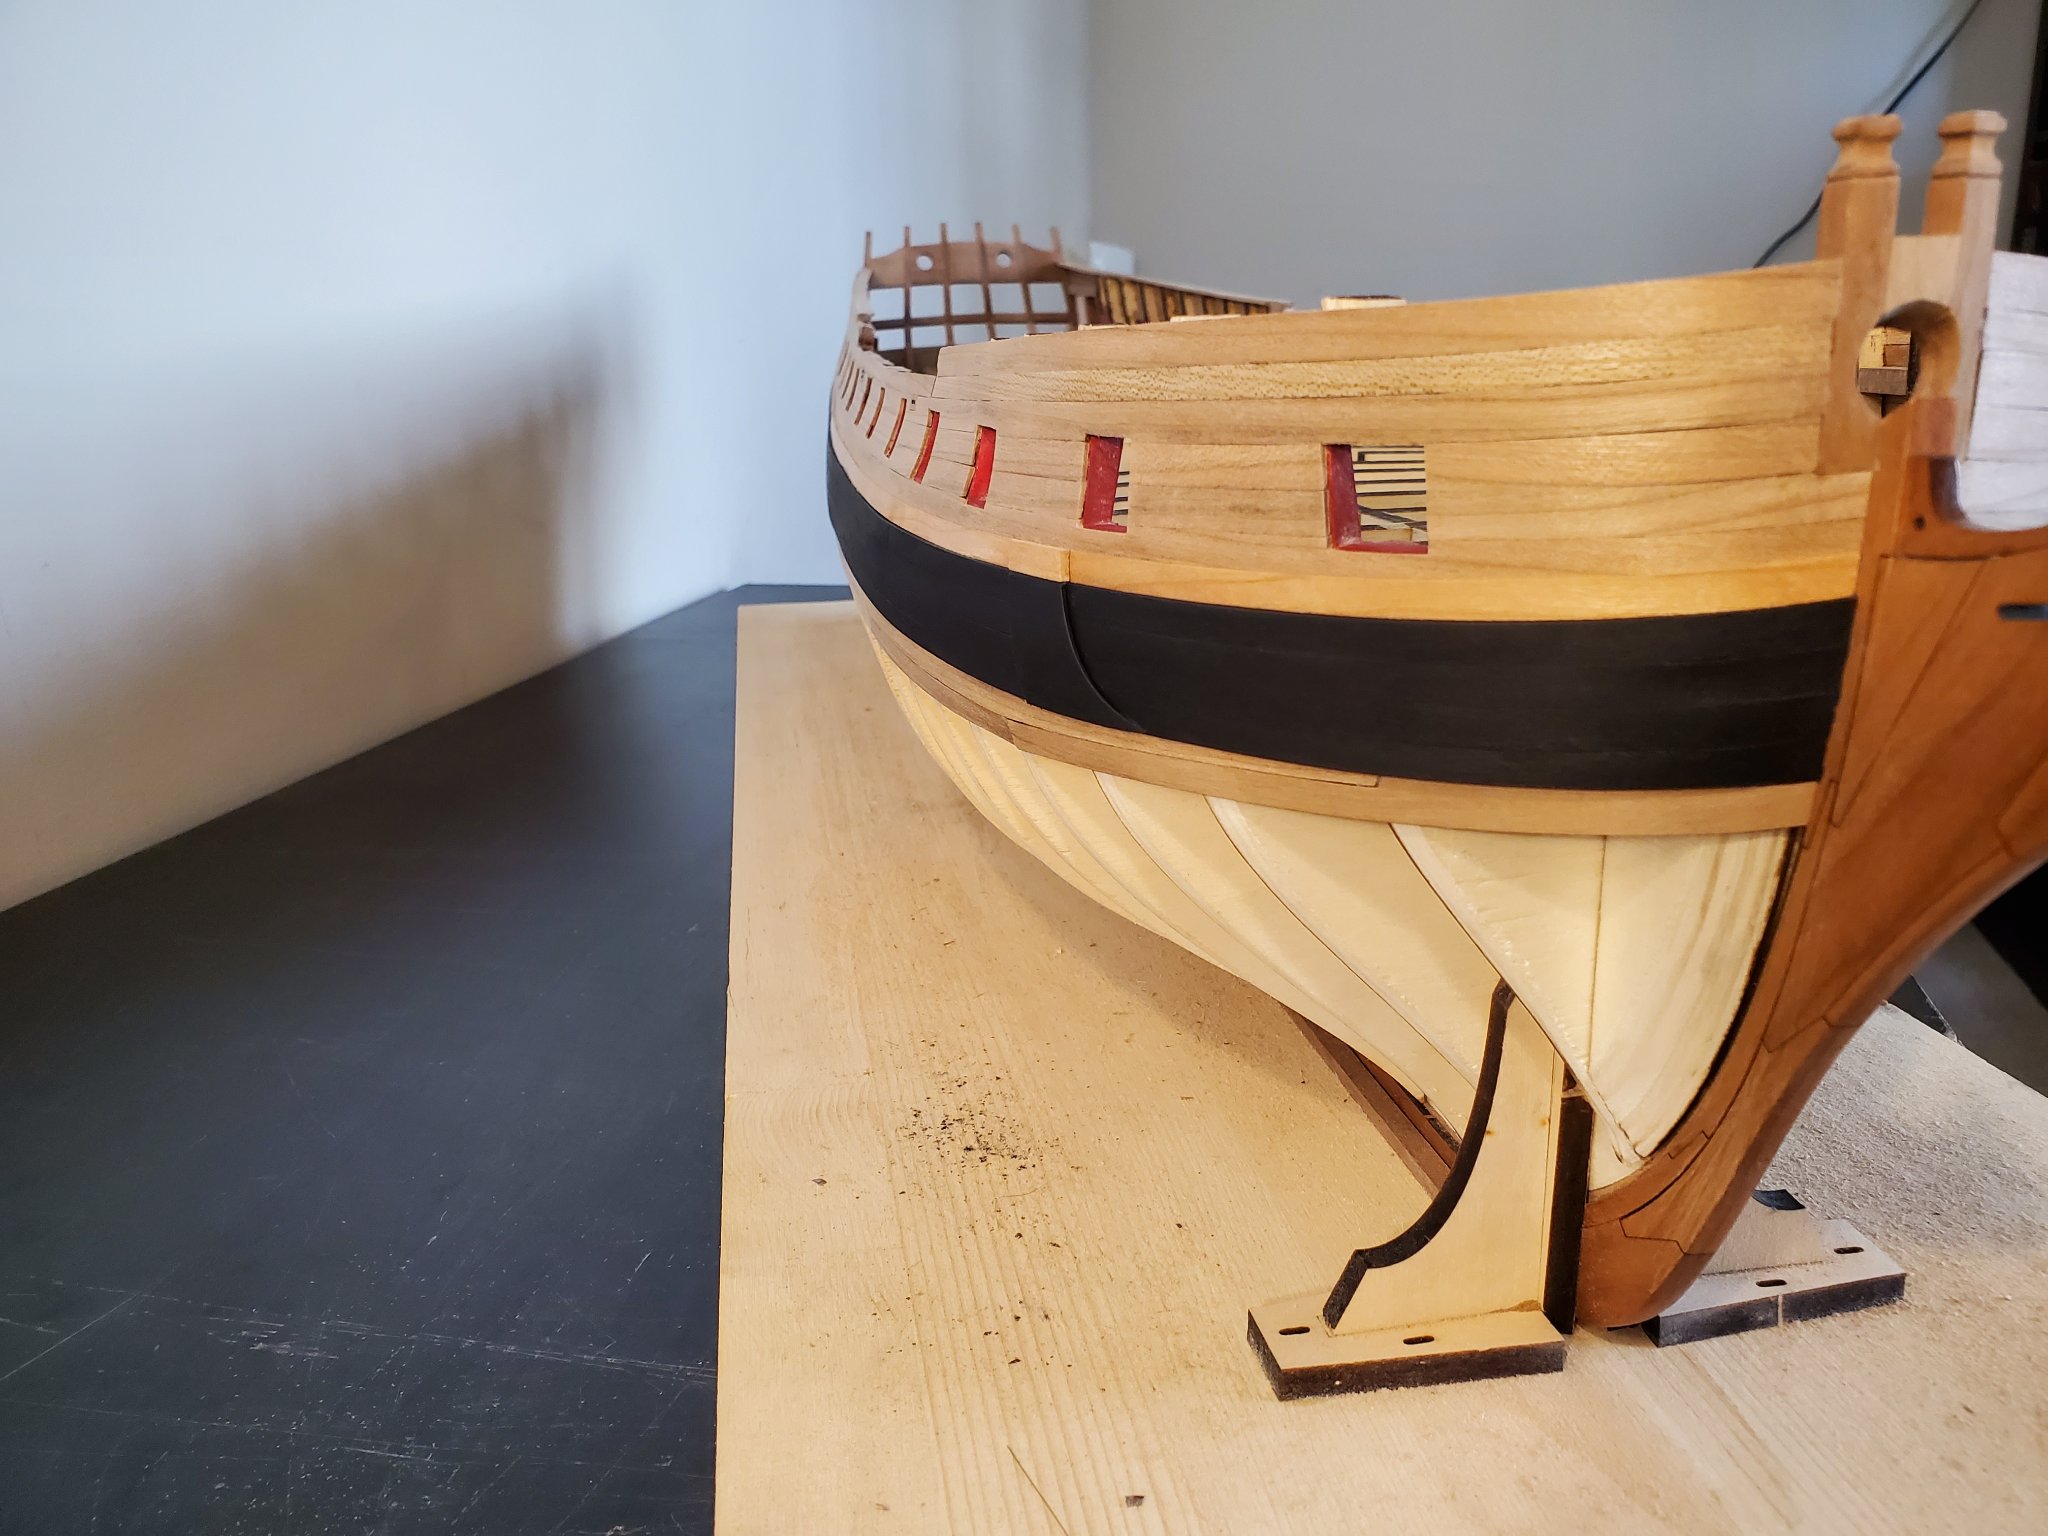
As you can see, there are definitely glue marks all over the hull! I hope I will be able to clean it up with some sanding after I finish planking. It’s been a little confusing to me exactly how much CA glue to use per bulkhead when glueing the strip to them. I seem to tend to overdo it with the glue. Also, the Saturn doesn’t look that great to me. If anyone has some tips for how they bent and placed the strips correctly for the stern, that would be much appreciated.
I am also running out of cherry sheets to use for planking, but money is a little tight right now, so that will have to wait. I currently don’t have enough wood to finish this next set of planks which is a little upsetting. But, what can you do? I will have to wait a month or so before ordering more cherry sheets. I will though, update this log with what I am able to do with the remaining wood I do have.
I think I got the curve of the planks correct, but if anyone thinks I need to adjust it, or any other tips, please let me know!
Thanks everyone!
Jeff
- CaptnBirdseye, Chuck, scrubbyj427 and 3 others
-
 6
6
-
On 9/29/2022 at 9:02 AM, Vladimir_Wairoa said:
Nice progress, I Remember how digficult IT was. Just patience !
")
Thank you Vlad! Your right, it is pretty difficult but I’m still going at it.
I am almost done with the second set of 6 planks, but I am reorganizing my workspace and need to get another table! So I am having to put her down for a few days until I can finish reorganizing. But it does feel good to clean the room and setup the space differently.
I hope to respond in a few days with some more progress.
Jeff
-
-
Thank you glbarlow! I will continue to make progress! (Silly me I ran out of glue so couldn’t work on her the past few days, but I’m all stocked up now!)
Jeff
- FrankWouts and glbarlow
-
2
-
Rusty,
Everytime I look at your build log, I am super impressed with your craftsmanship!
Great job on your build! It’s looking fantastic!
Jeff
-
Thank you Frank!
I look at others building this great model and I’m in awe at everyone’s building skills and craftsmanship.
I hope I can get as good as the others building this model someday
Jeff
-
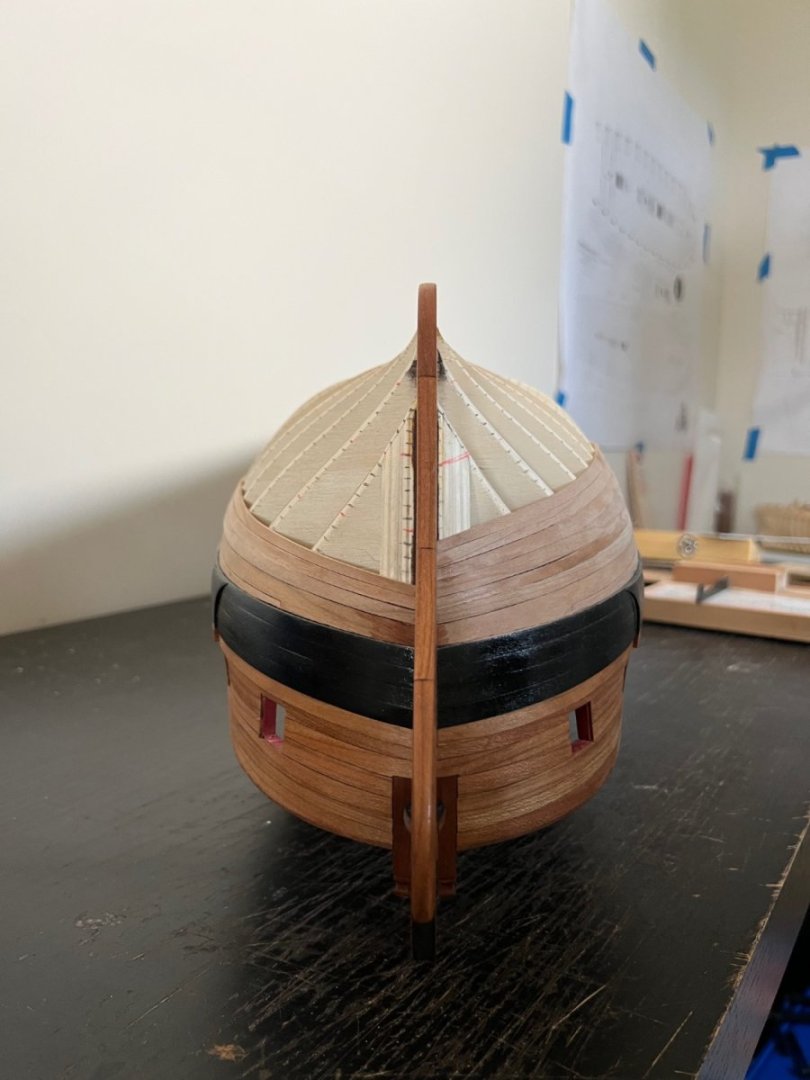
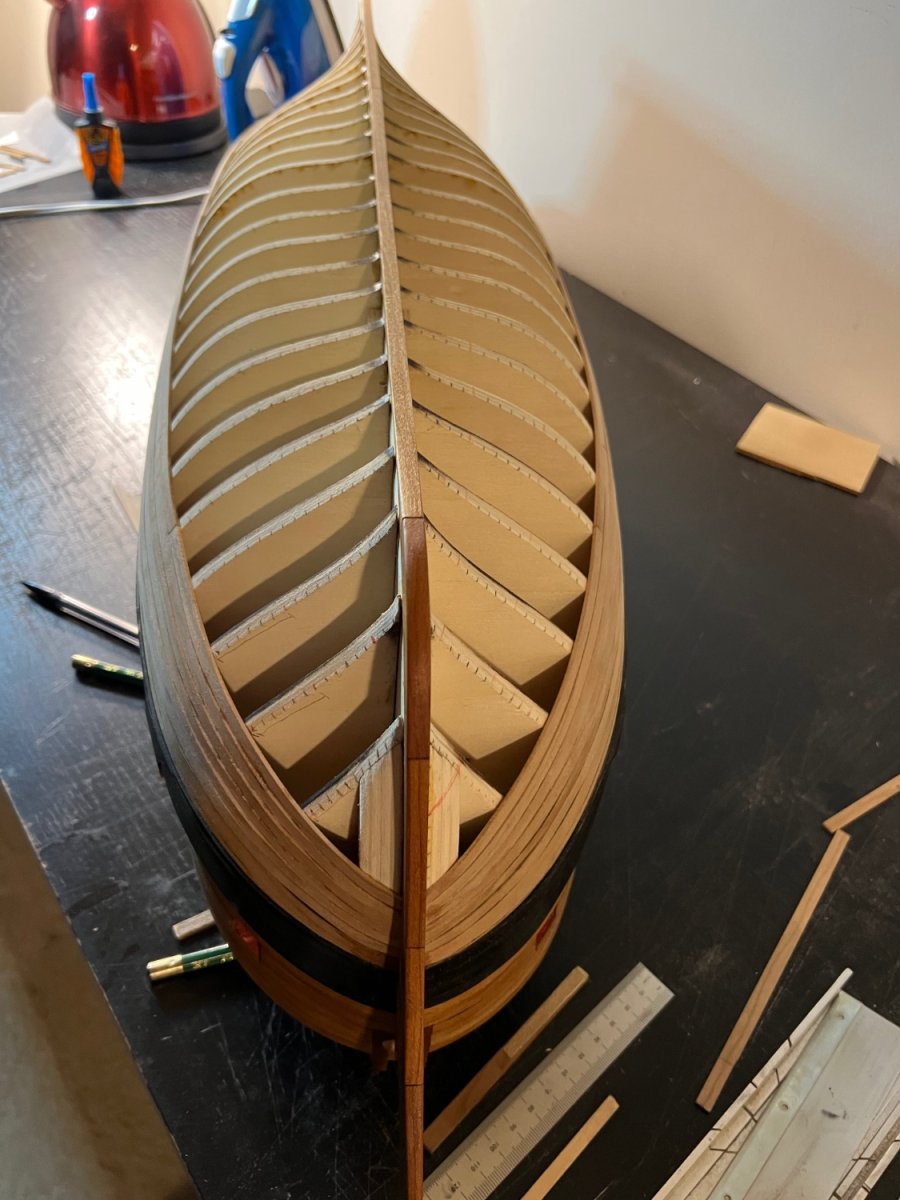
Hi all!
I finally finished planking the next section! I am now half way done with planking on one side!
It takes me a while because I have about 30 min to and hour a night I can dedicate to her.


It ain’t perfect, and I realized I didn’t edge bend enough on the bow to make the planks sit flatter, but I’m learning. So the next section should be better!
I also milled 15 more strips so I can finish the other side’s 6 rows. I do enjoy milling. I don’t know why but I find if fun.
Thanks all!
Jeff
- scrubbyj427, dvm27, Captain Shaun and 7 others
-
10
-
Thanks everyone for the likes!!
I finally finished planking the first set of 6! That took over a year to do. Haha! Here’s to the second set not taking that long 🤪
With the first pic, I can really see a difference between the left and right side. The right side is quite a bit better, which gives me hope I am getting better at this.

I feel like I accomplished quite a bit with this first row done!
I will continue onto the next set of 6 planks and make sure this row is even better than the first!
Thanks!
Jeff
- FrankWouts, dvm27, scrubbyj427 and 2 others
-
5
-
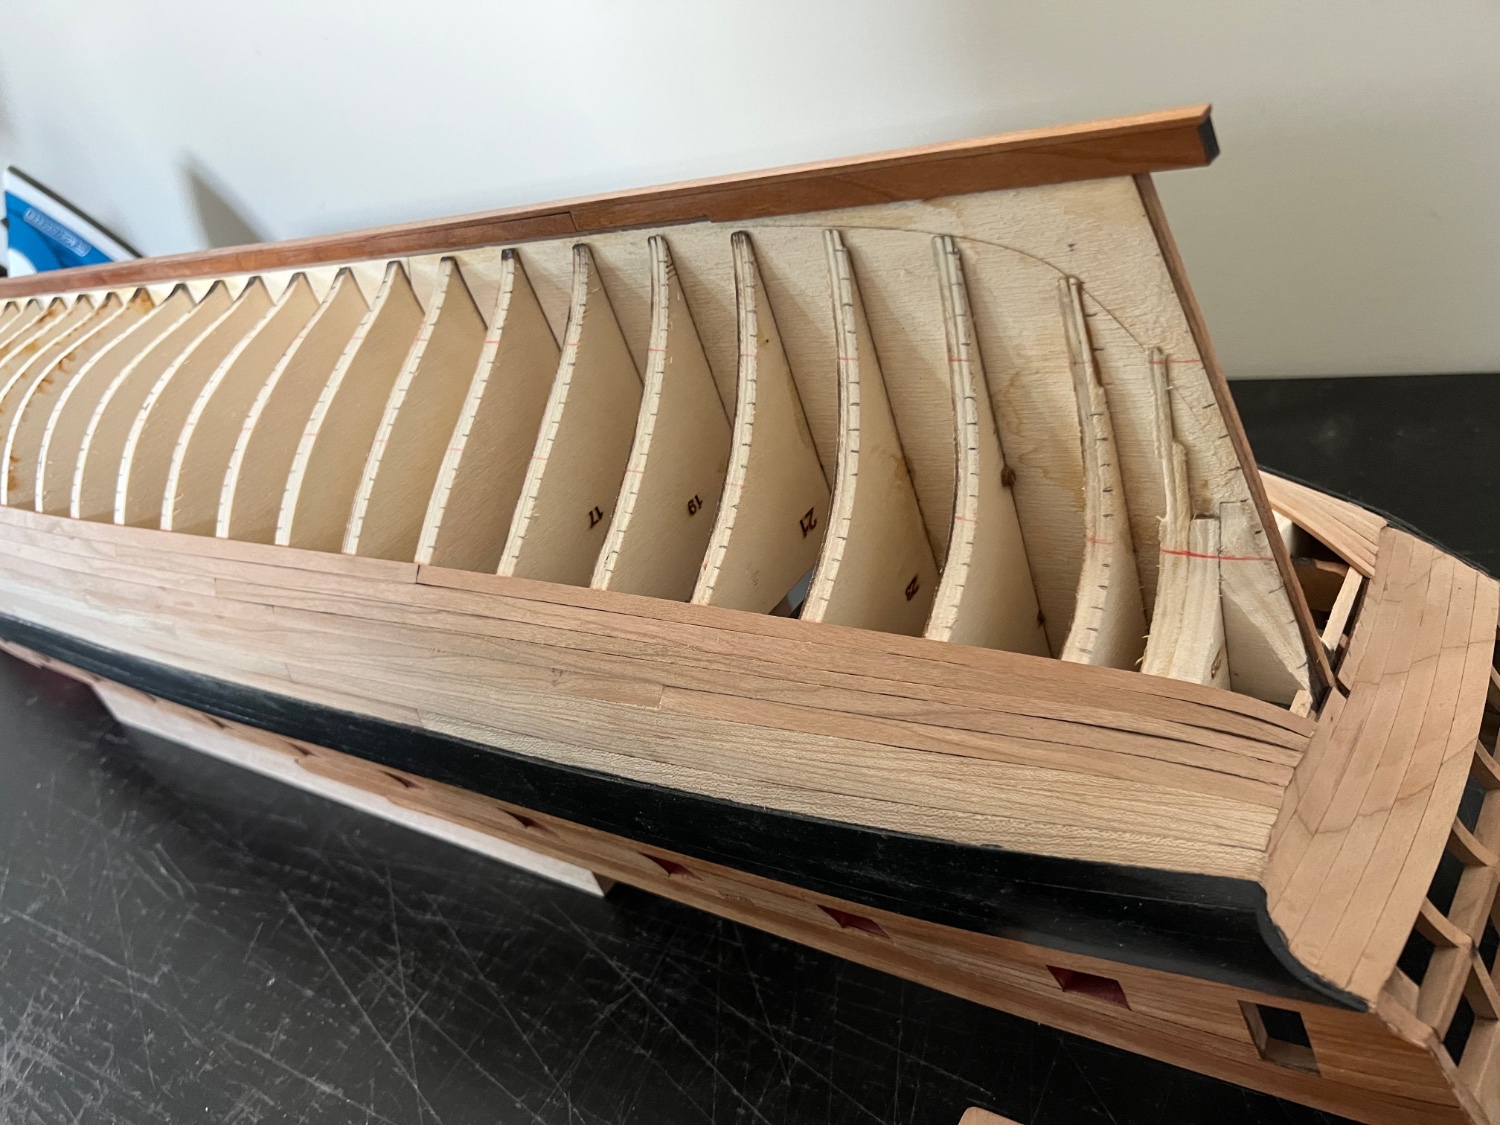
As I said, here are some pics showing my progress. It’s not too much, but I am glad I am able to start building again.

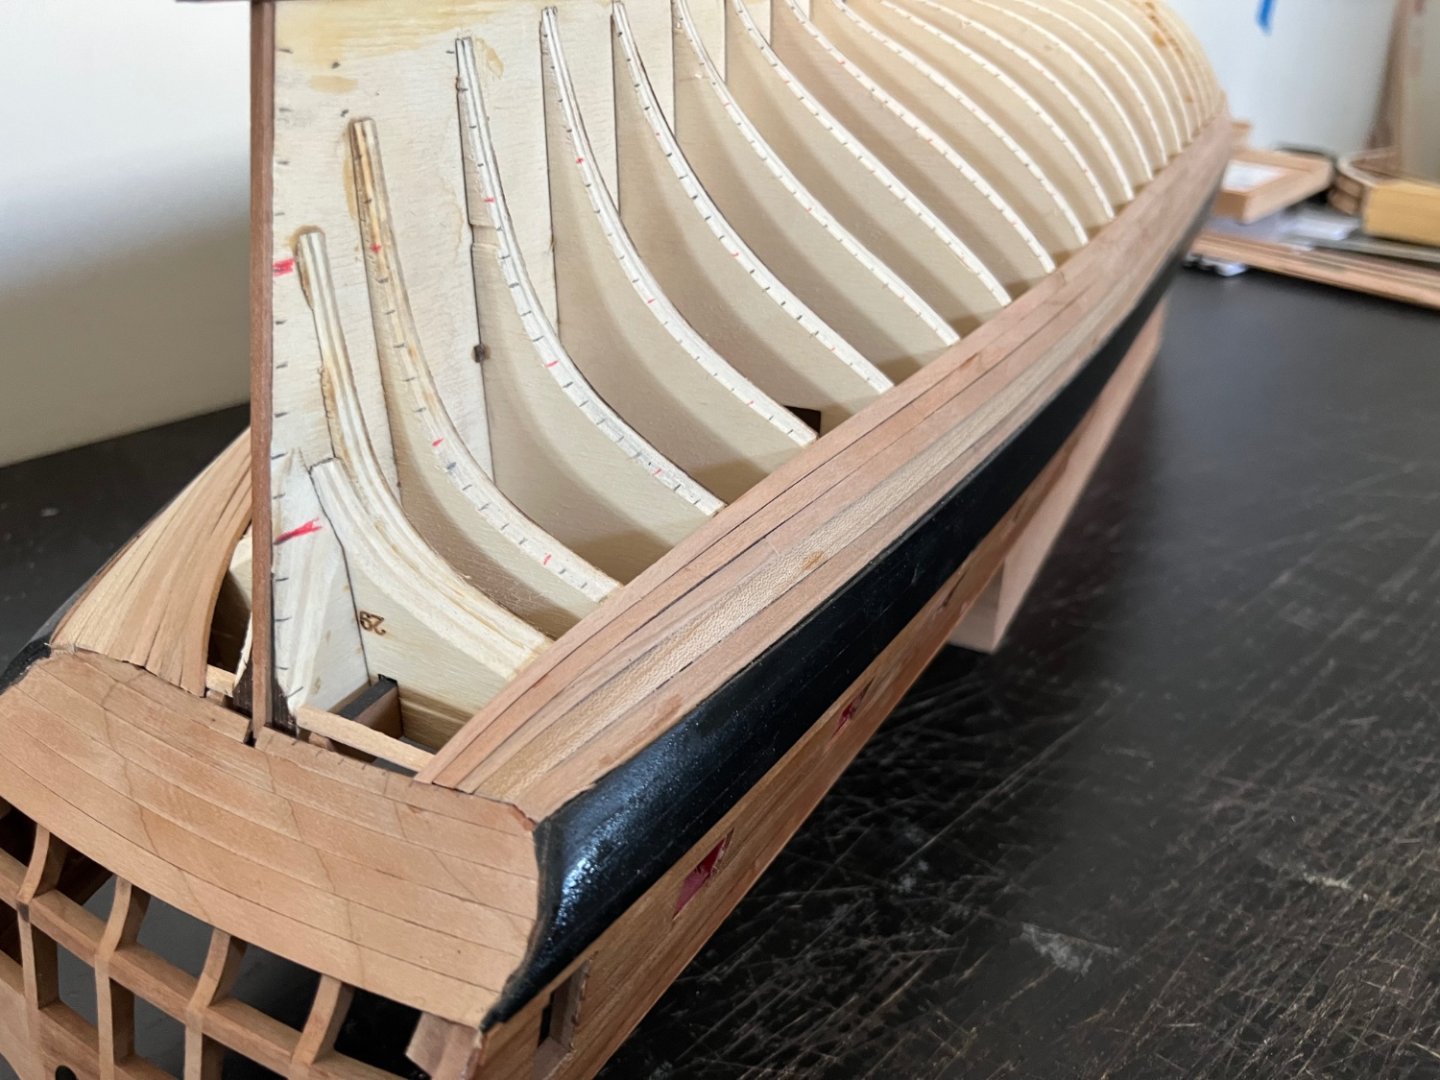
I am slowly getting better at it as I progress through the hull.
One thing I am noticing, is that I need to sand more on the bow and stern. So before I add more planks, I will need to sand it down a little more.
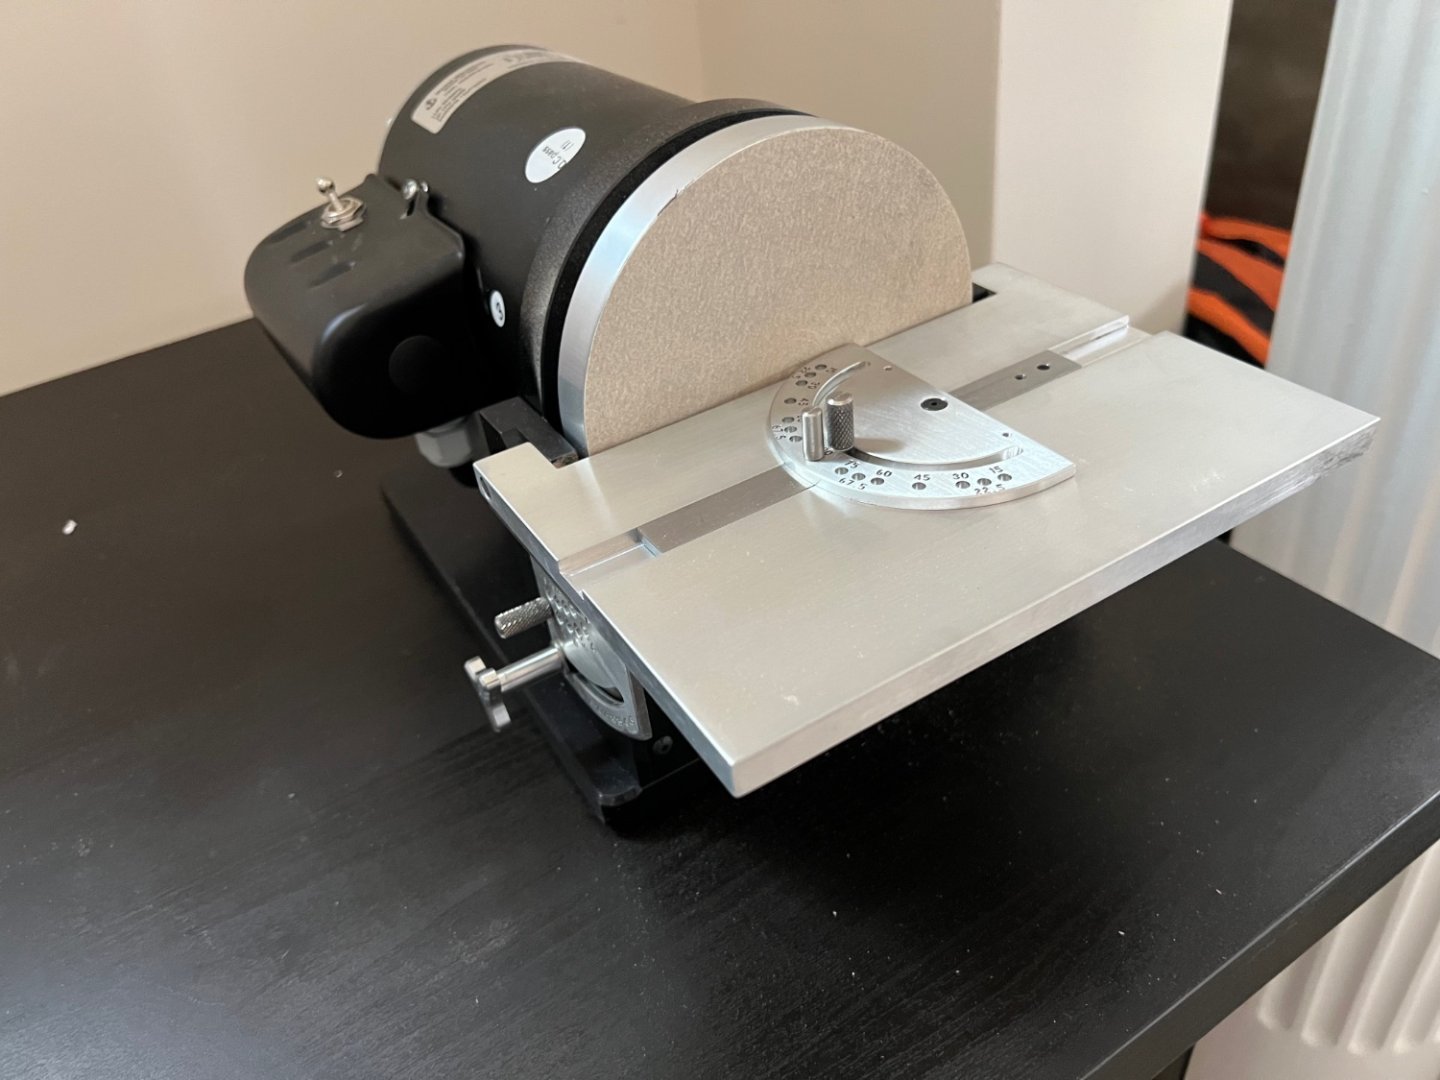
Lastly, as a birthday gift this year, my wife ordered this Byrnes disk sander! It works very well!!
Thanks all! I will be posting back soon.
Jeff
- westwood, Edwardkenway, Chuck and 3 others
-
6
-
Hi all,
Its been a long while since I have been able to work on her. With Covid, work, my son’s health and other unforeseen events, I have had to take a long break. I have had no energy or time to continue…. Until now!
I have been able to plank more of the hull recently and I’m getting back into it. Planking the hull is a daunting task for me and sorta scary. I am almost done with the first set of 6 planks on each side. I will be posting a few pics of my progress later today.
Chucks instructions on how to edge bend the planks has been a huge help with this planking so far. I can tell I am getting better at it as I continue with each plank, so it’s giving me motivation for me.
Thanks all!!
Jeff
- FrankWouts, Chuck and Rustyj
-
3
-
Thanks guys for the feedback. That really did help. I ordered some tracing paper and I will pick it up tomorrow. I have some sheets I can use to cut it out. Would you guys recommend using a scroll saw to cut the base shape?
Thanks!
Jeff
-
Hey everyone,
So I am in need of some advice. I am not sure how to create the fairing cap strip at the bow. The sideways bend needed for a 3/16" x 1/16" strip of wood is proving difficult. Should I try to trace the shape on a 1/16" sheet of cherry, then cut it out?
I'm not sure what the best method is for creating a strip with this type of bend at the bow. I have added the all the other fairing caps down to the stern. I just need help with the bow fairing cap since it bends MUCH more than the others.
Any help would be great!
Thanks!
Jeff
-
10 hours ago, Chuck said:
Looking good Jeff!!!
Thank you Chuck!
I am really enjoying this build! Your pics and instructions are a HUGE help for me.
I ordered the chapter 4 cherry set, and I was really surprised at how fast it got to my house!
I also ordered all the cherry sheets I should need to finish planking the hull. Im excited to line off the hull and start to plank! Well... after fairing inboard of course!
Jeff
- Rustyj, Chuck and FrankWouts
-
3
-
8 hours ago, Edwardkenway said:
I've started fairing the inside of mine, using a cordless with a 25mm diameter sanding drum to take off the meat and finishing with some flexible sanding sticks.
It's taking a long time as having to do it outside I've got to wait for dry days.
I think if you have a Dremel or similar with the flexible attachment it would work better than just the drill.
Hope you find a suitable method. Your Winnie looks very nice so far!
Thanks for the advice!
I do have a Dremel so I will look into using that for the initial fairing.
I do need to re-read the fairing cap section to make sure I am doing that correctly. I might have some questions before I start tomorrow.
Thanks!
Jeff
- Edwardkenway and FrankWouts
-
2
-
Thanks everyone! I do appreciate the feedback and likes! It helps inspire me to do my best.
I have finally finished placing the black strake and the anchor lining. It took longer than I had thought. But again, I am happy with the result!
Next up is the step I have been slightly dreading. Fairing inboard. Chuck even says this isn't a fun step. But I know its really important, so of course I will do my best. I am not sure though what would be the best method of fairing. Would it be just making some custom sand blocks and going to town? I'll have to think about it and any suggestions would be helpful
I will read over Chuck's excellent instructions a few times before adding the "fairing caps".
Here are some pictures of where i am currently.


Thanks everyone for reading my log!
Jeff
-
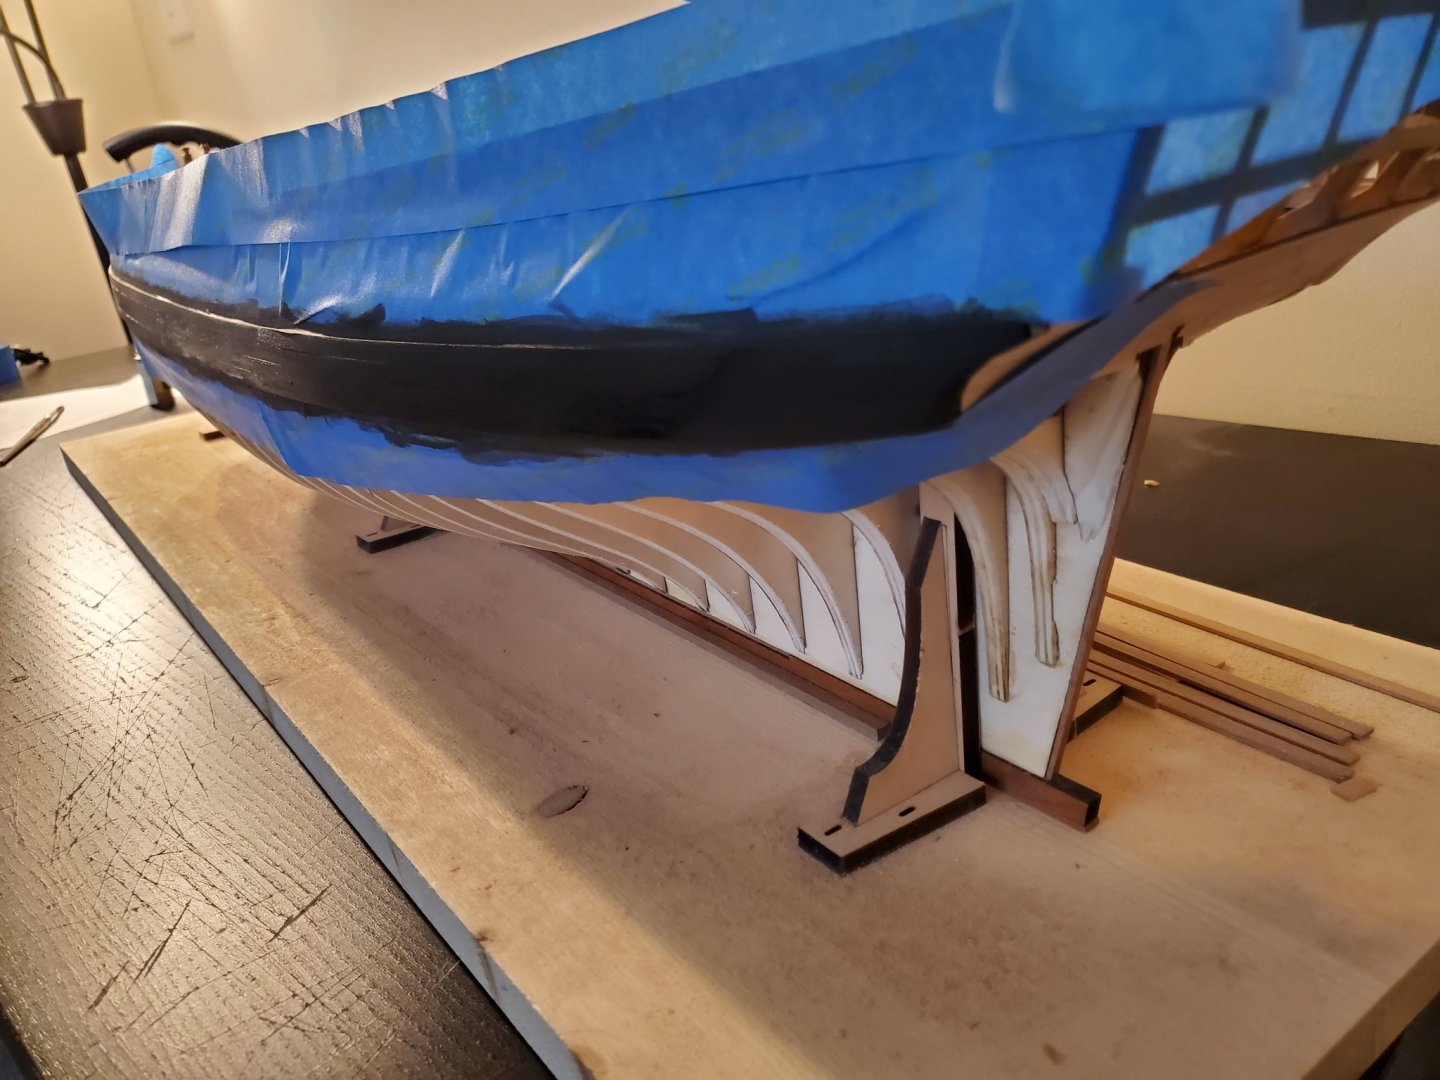
My paint came a day early! I was too excited so I painted the wales with many thin coats today.
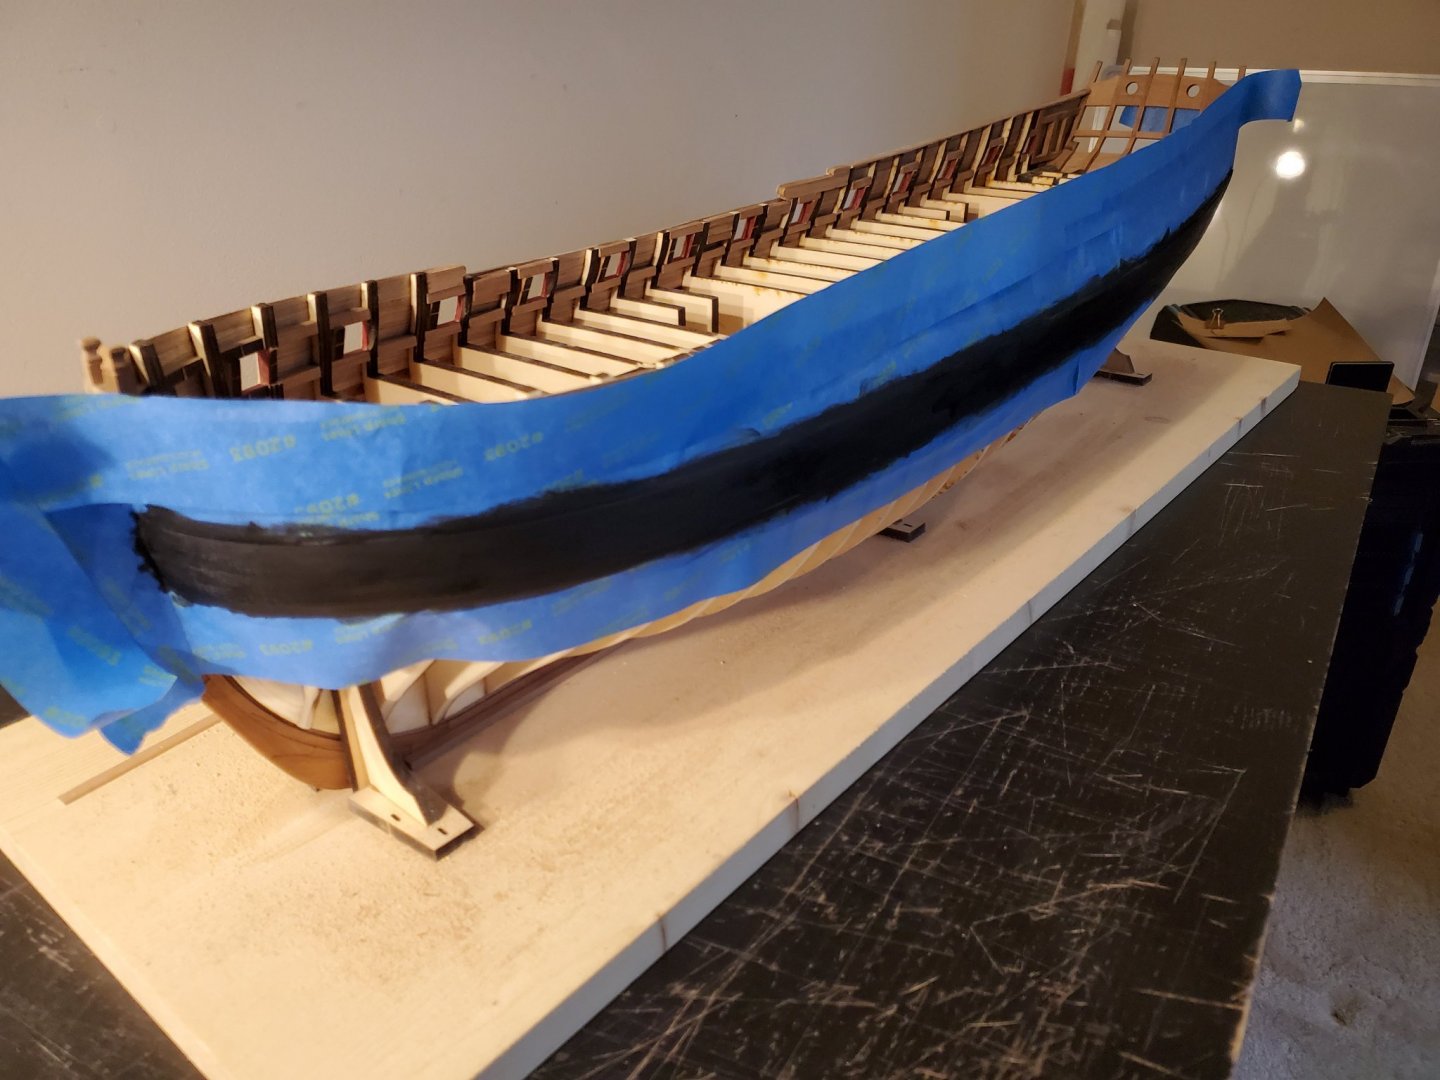
Even my son helped!
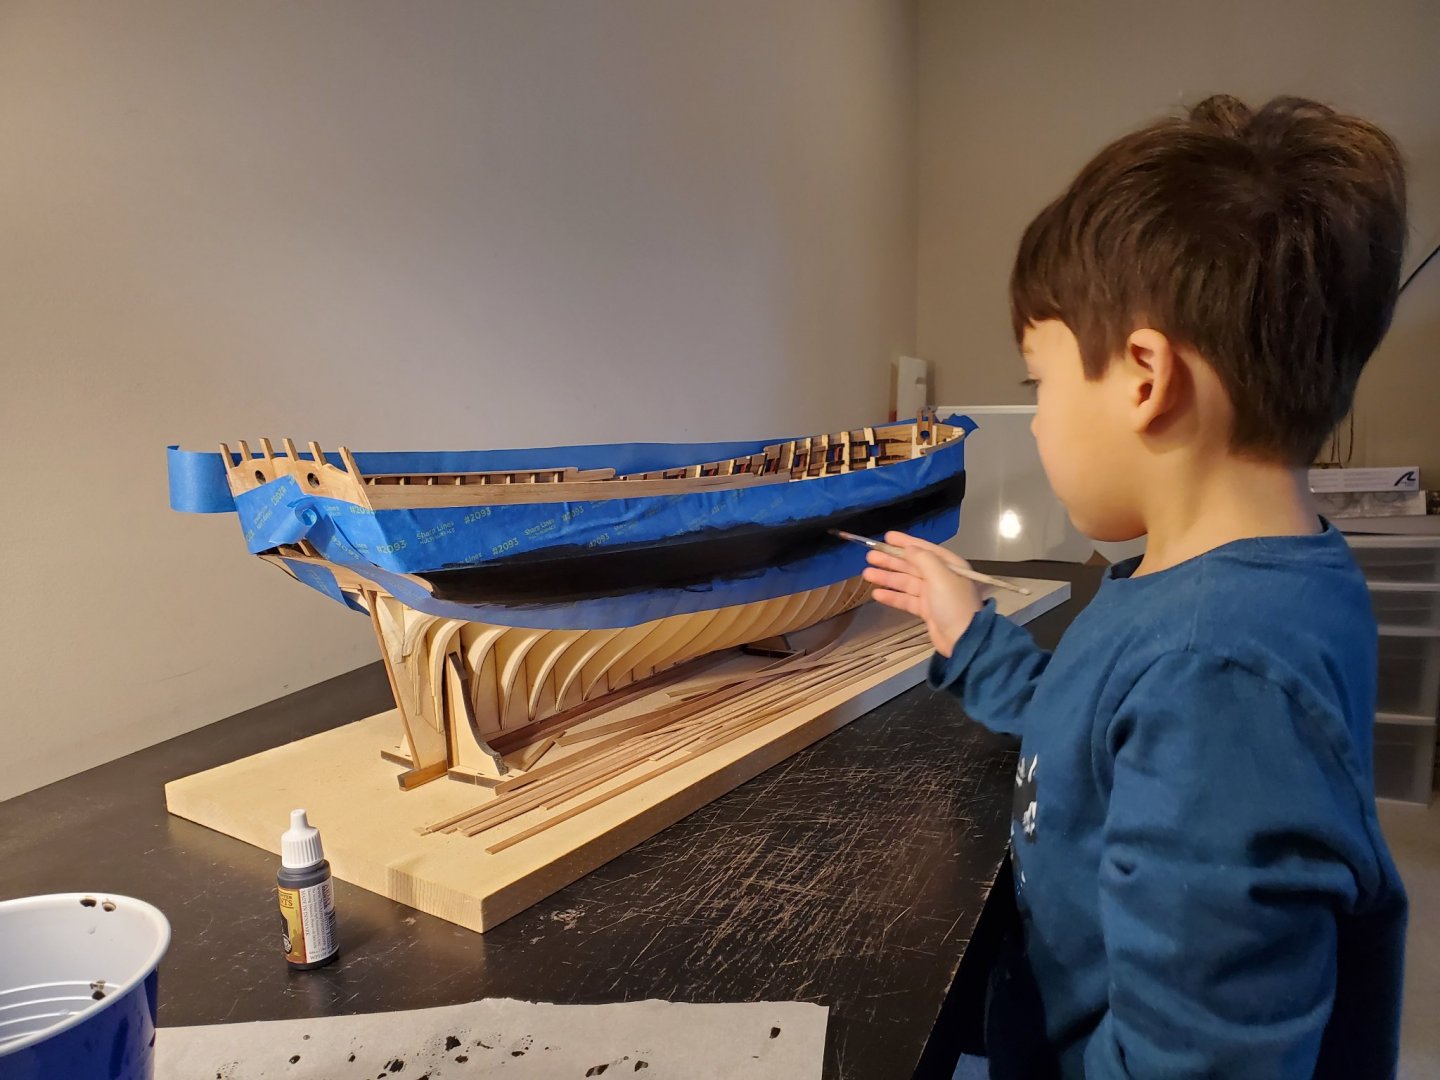
He was very proud of himself for helping to paint
. He did a great job if I do say so myself!
After cleaning it up some, I am really happy with the result! I don't care as much about the top because the black strake will cover the little spill over. I need to make the black strake strips so that will be done this week.


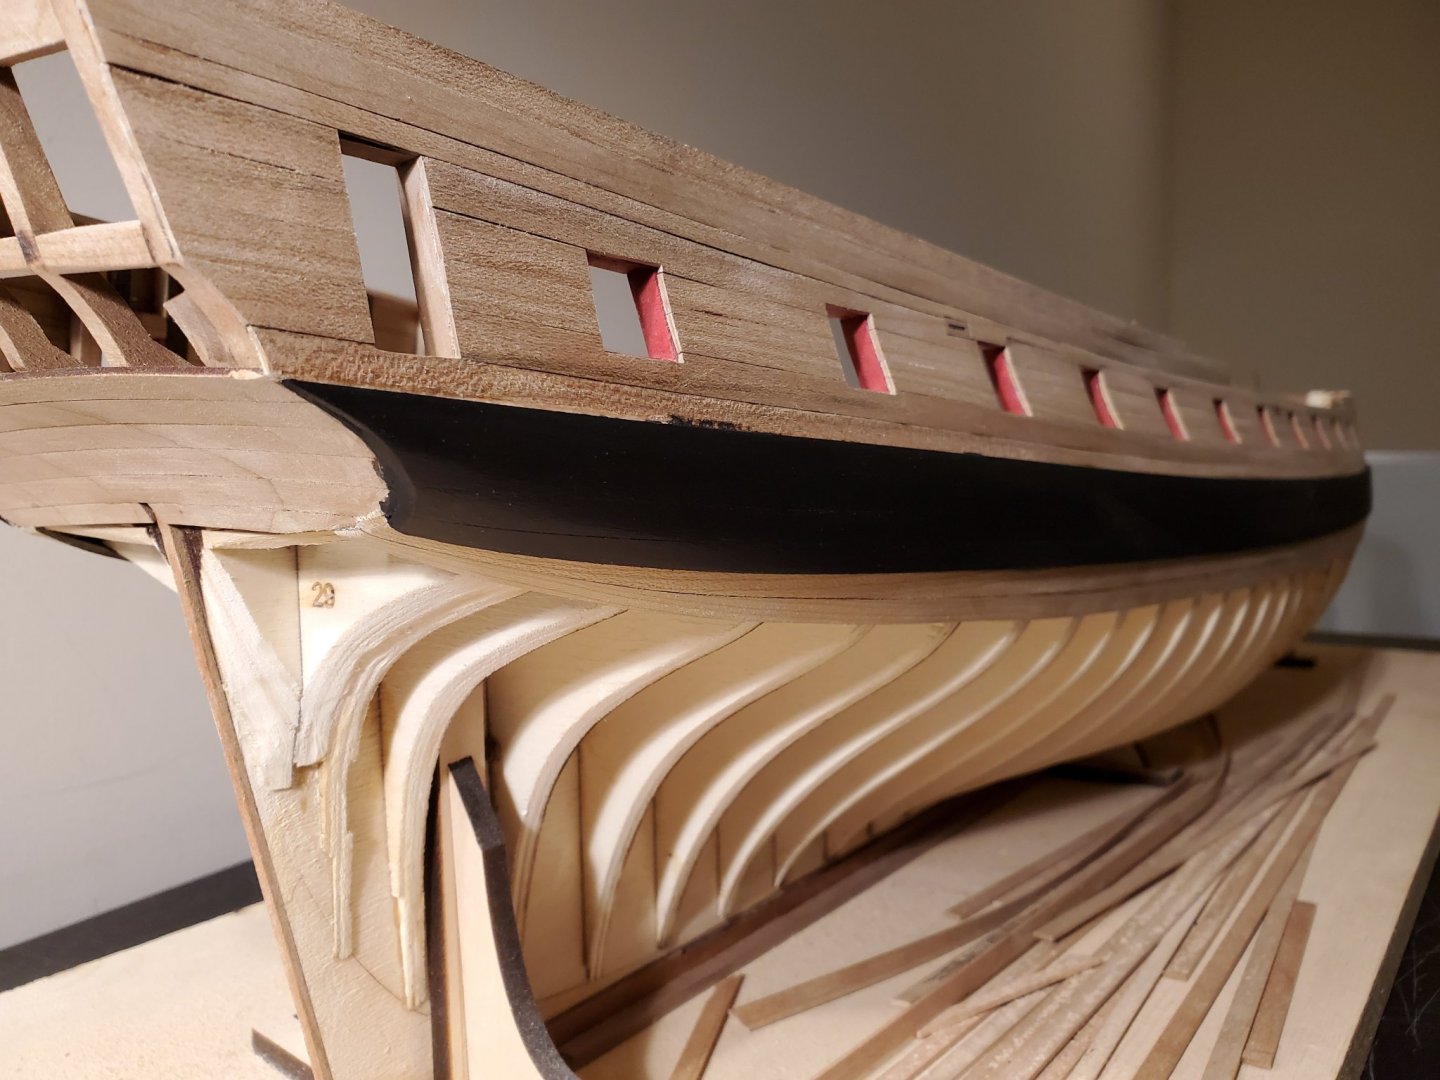
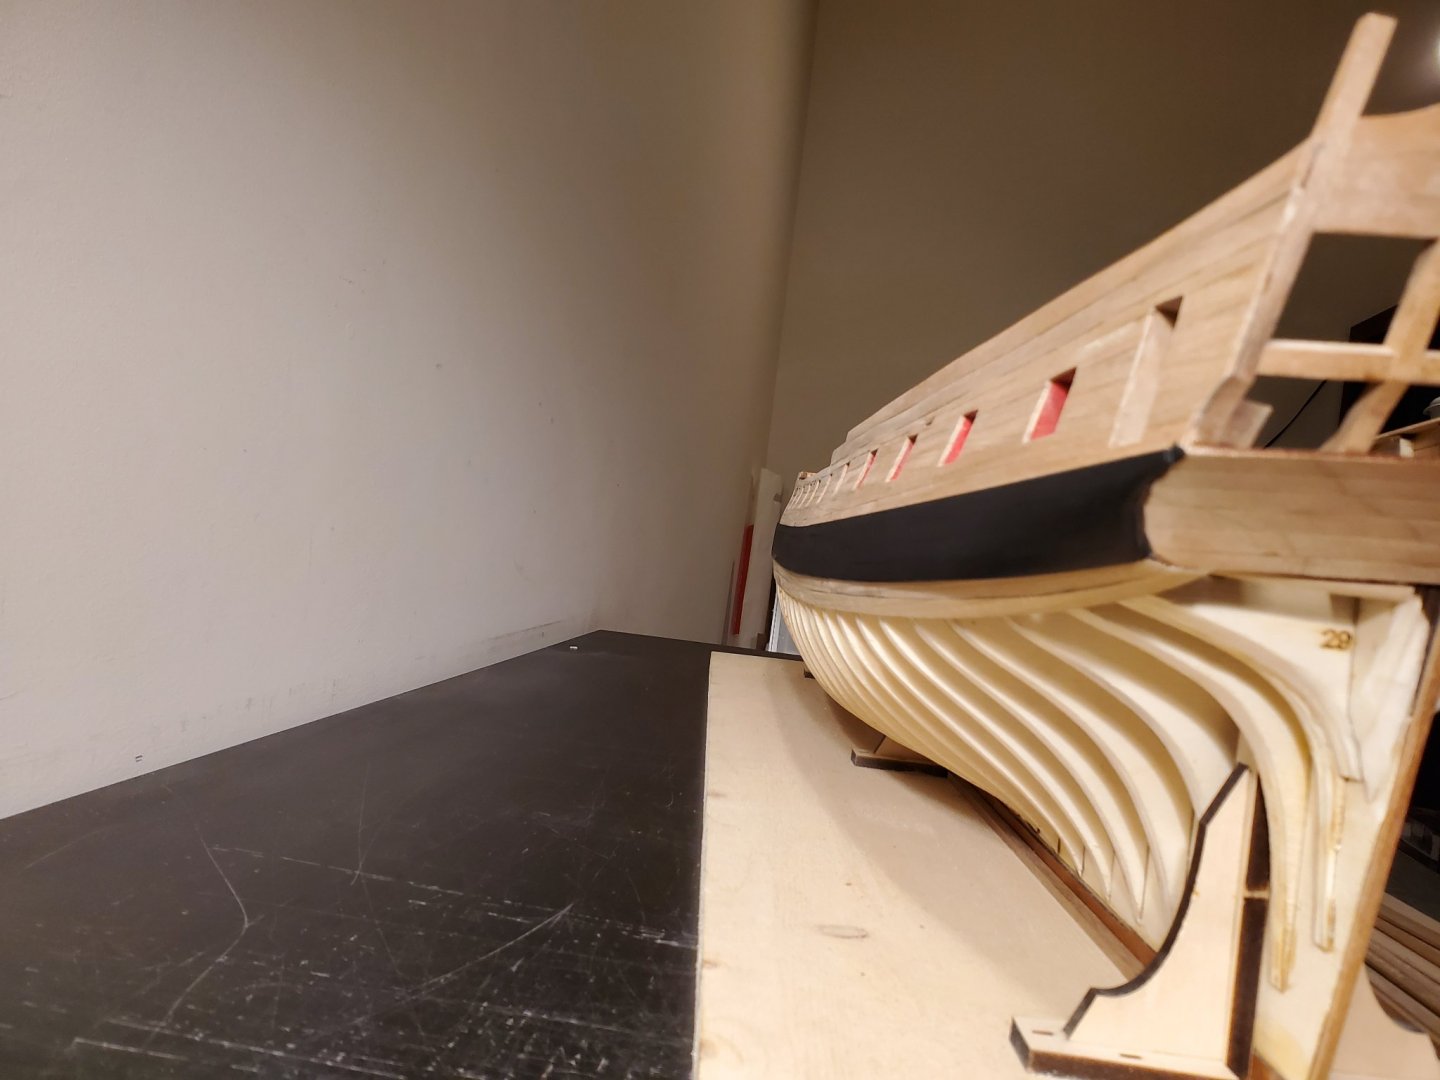
I do need to clean up a few places here and there, but its mostly completed!
Thanks everyone for the nice comments and likes!
Jeff
- rafine, Captain Poison, JpR62 and 6 others
-
9
-
On 10/25/2020 at 8:48 AM, Kevin said:
are you still progressing this build. love to see your work
Yes I am! I had to stop because of family matters as well as other issues. I swear I posted more on this forum, but I can't seem to find it.
Anyway
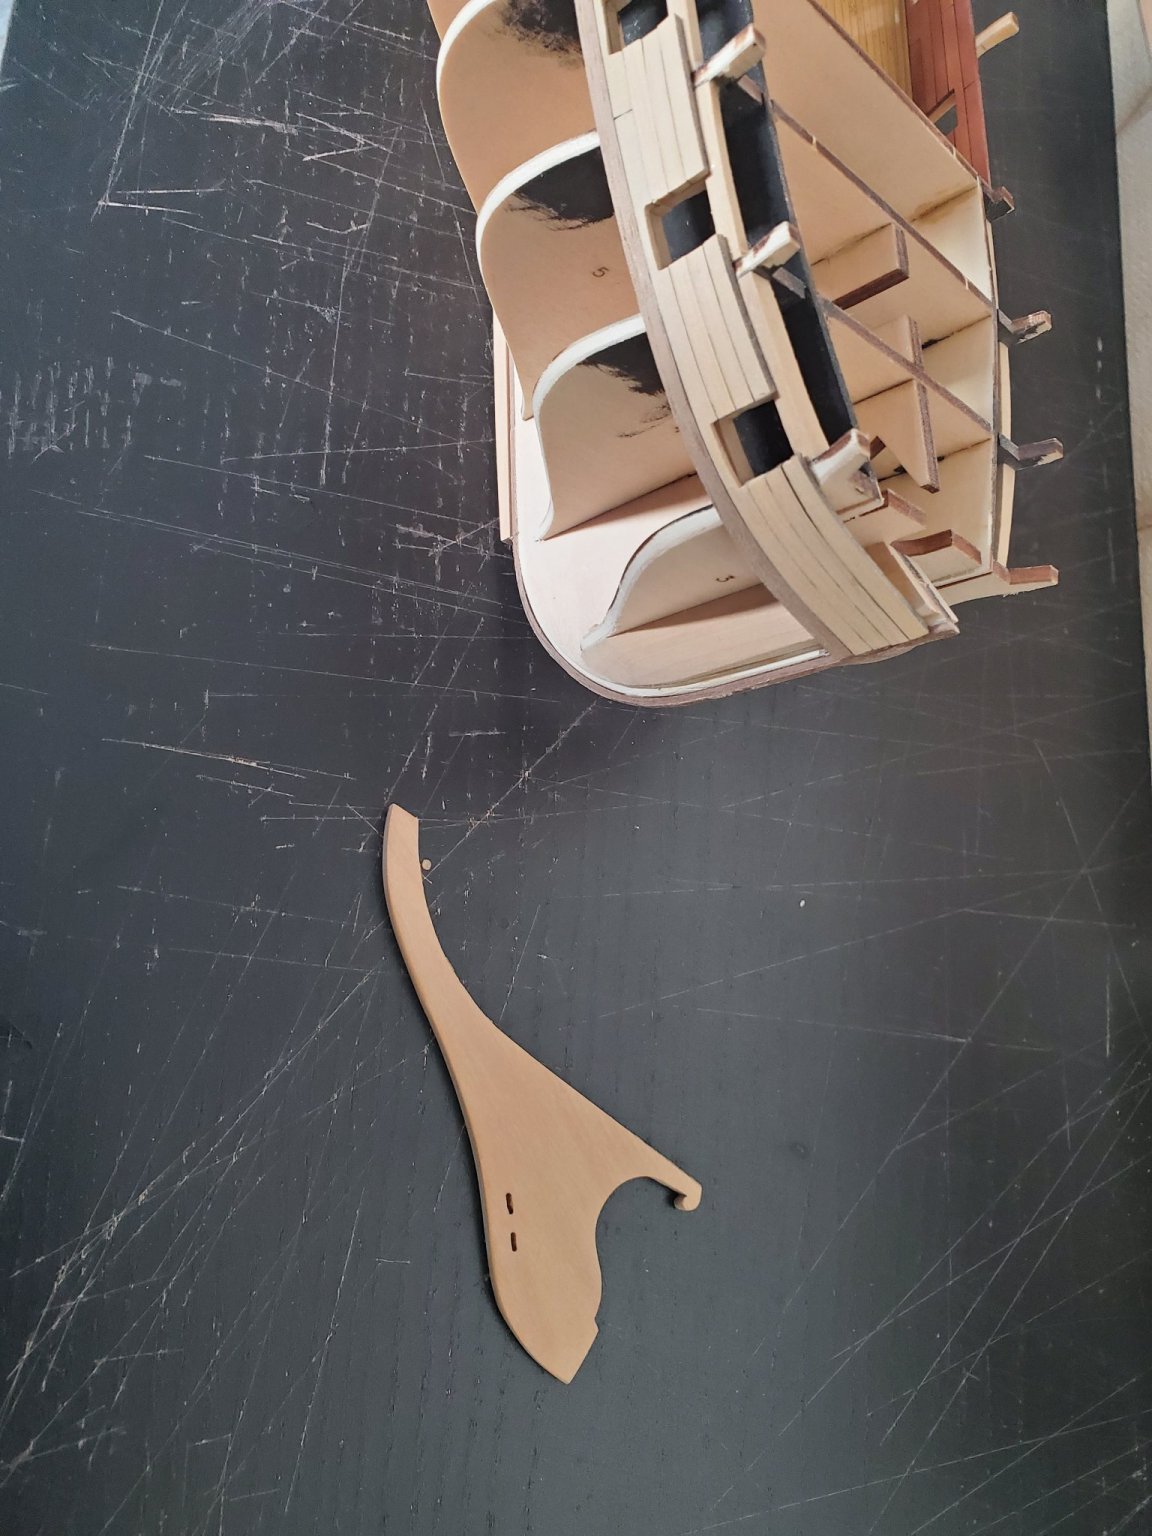
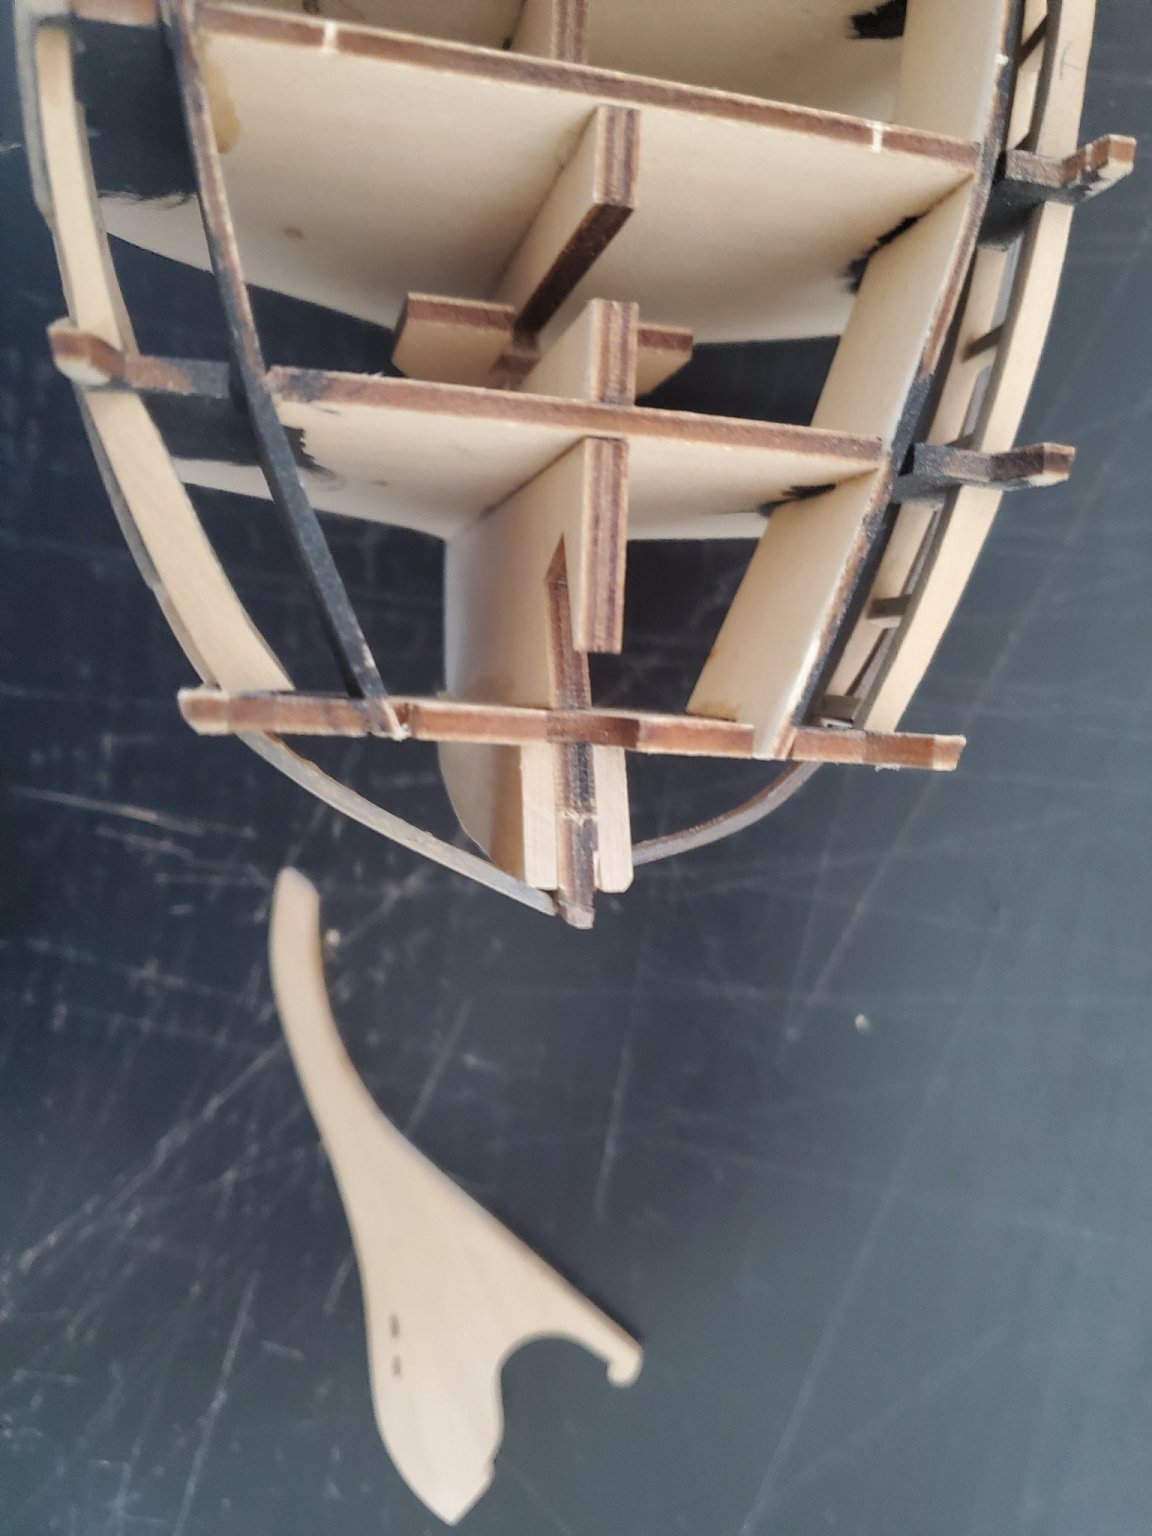
What has happened since my last post was, I wasn't happy with my first attempt at this model. I had since gotten another kit and also a book on Hermione. I started to notice there were many discrepancies between the kit and the book plans. (I will post more on that later). So, what I decided to do, was to plank the hull with boxwood and walnut. I also made the stem from boxwood too.
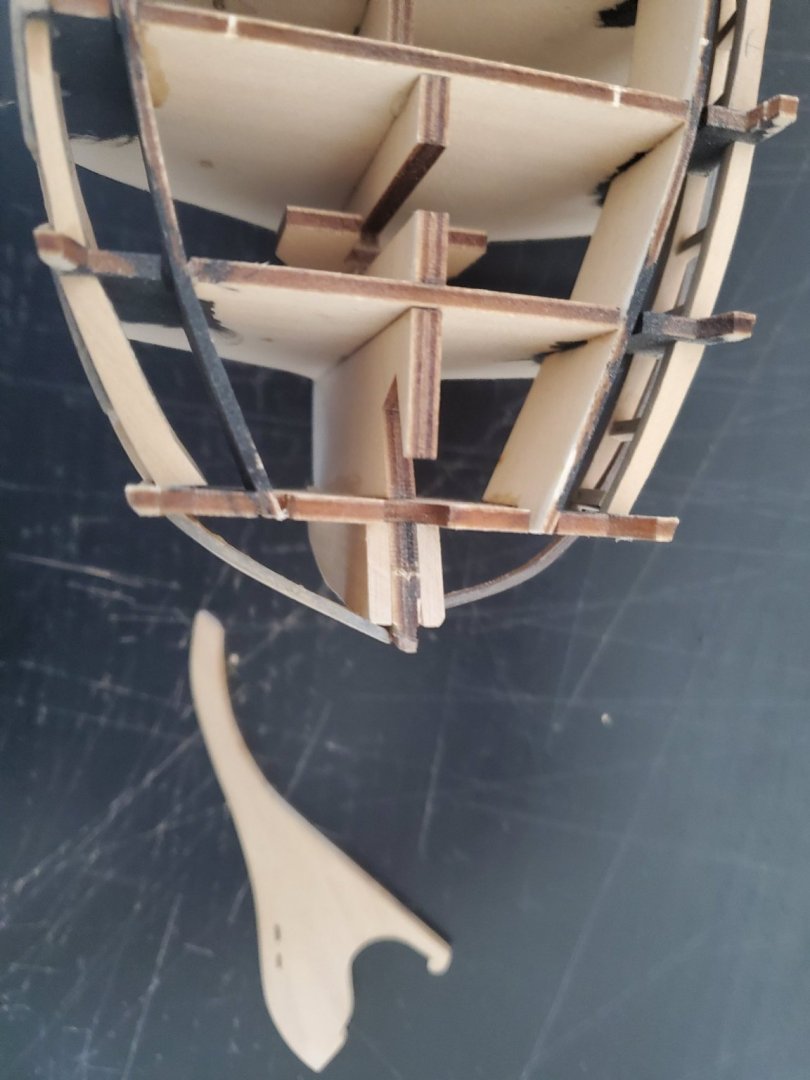
Unfortunately, in the past 2 months, I was rearranging my room when the stem broke by accident. Here is a pic...

Oops! Also, the building board was damaged too. I will be needing to build another building board. I was sad the stem broke because I wad really happy with how it turned out.
But.. this was a blessing in disguise because I realized I needed to make it out of walnut instead anyway. I will also need to make a few new walnut pieces as well.
Also, inspecting the model, I am not happy with how the hull planks bent towards the stem piece as shown below.
I will be ripping out some strips and remaking it. Good thing is there aren't many strips to replace.
To do these repairs, I had to order more walnut sheets. So, I will be waiting until the sheets arrive before I can continue.
Thanks!!!
Jeff
- GrandpaPhil and Kevin
-
2
-
HAPPY NEW YEAR EVERYONE!
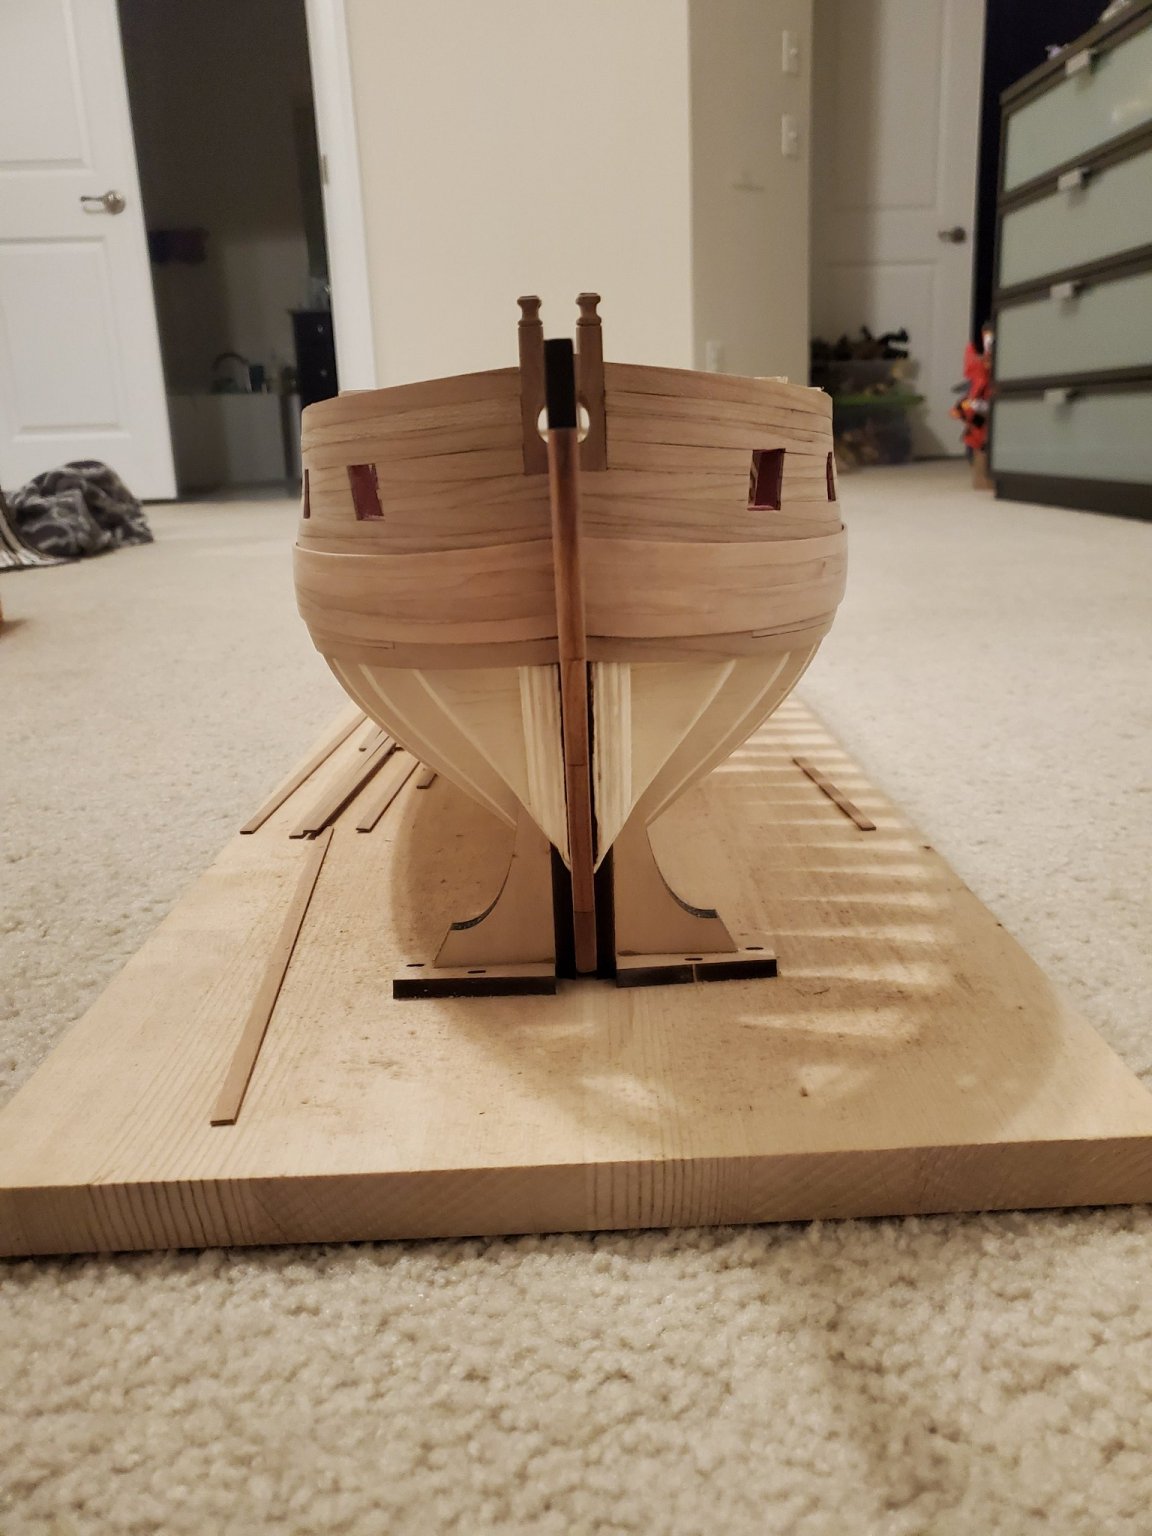
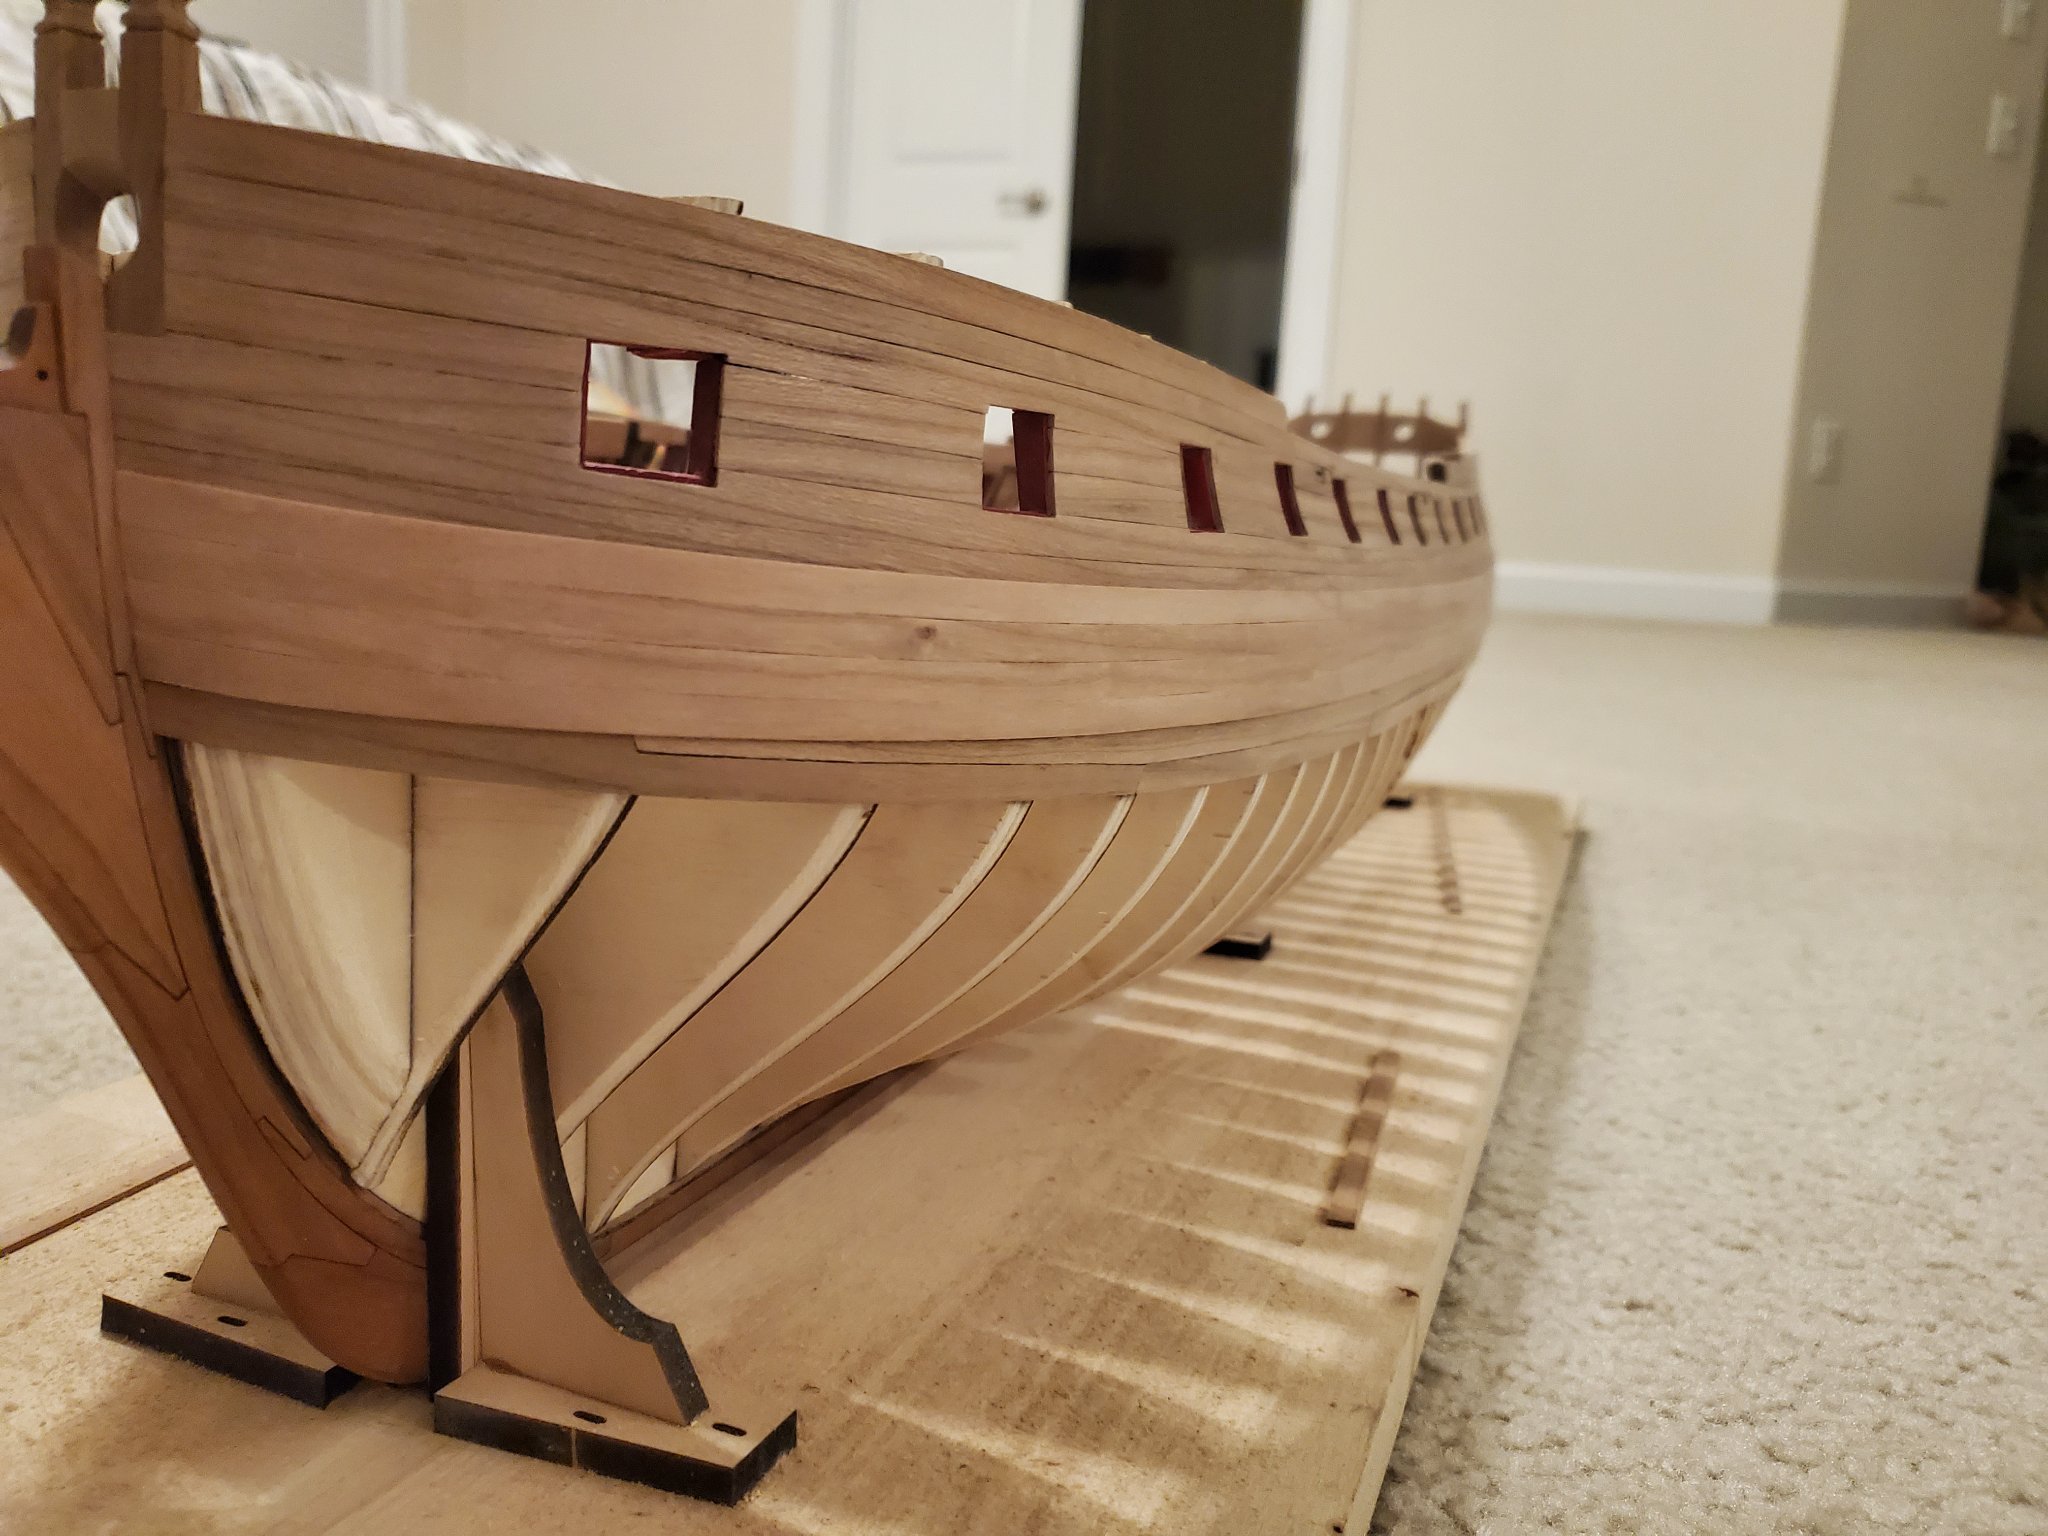
Hey all! It sure has been a while! I finally was able to find time for the build and have completed adding the wales (minus the black strake) to the model!

I tried to make the wales even on both sides. I am pretty happy with the result. To make the wales, I copied where I placed the first layer of planks.
The sides fitted pretty well, but the trickiest part for me, was the bending at the stern. I did the best I could. I am happy with the result. Is it perfect? Nope! Haha! But it seems, I always learn from doing each step of this model.
Here are some other pics:

I did my best to thin the wales down at the stem to simulate the wales fitting into the rabbet.
I am now waiting on some black paint to start painting the wales. I want to start now, but the paint won't arrive until Monday. I can't wait to see what it looks like painted!
I will be painting the wales this coming week, so my next update shouldn't be far off.
Thanks everyone!
Jeff
-
Rustyj,
Your build is coming along beautifully!
Keep up the great work!
-
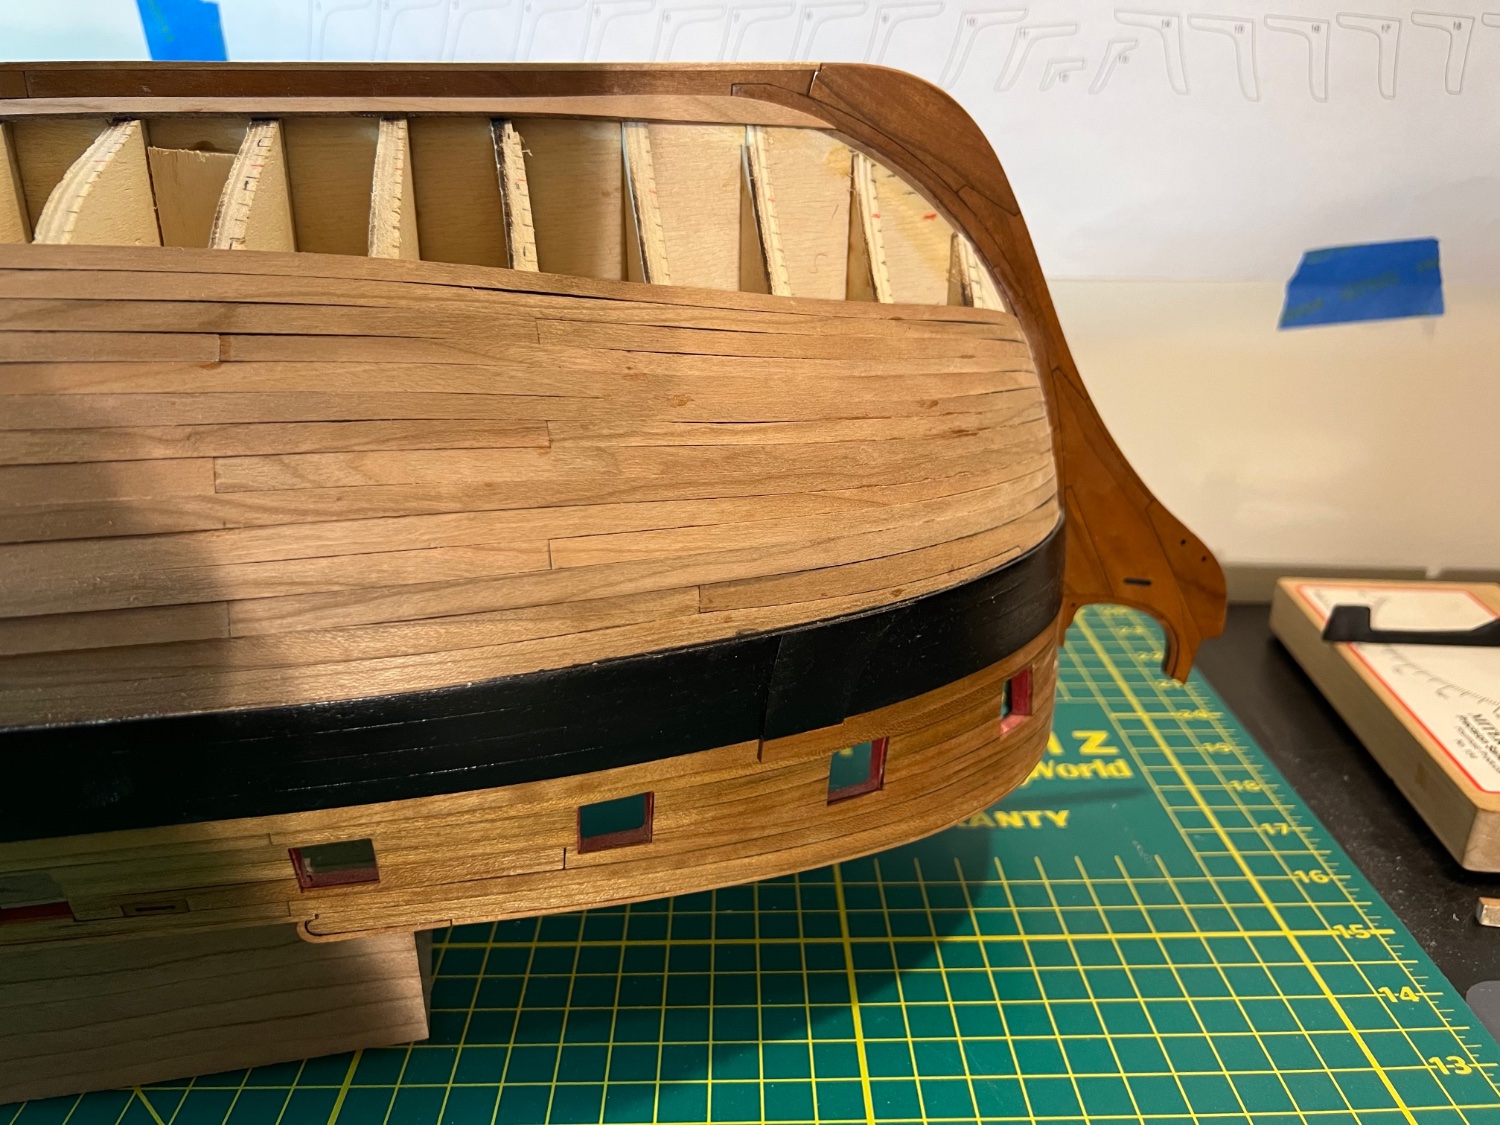
Hey all,
Thanks everyone for the likes!
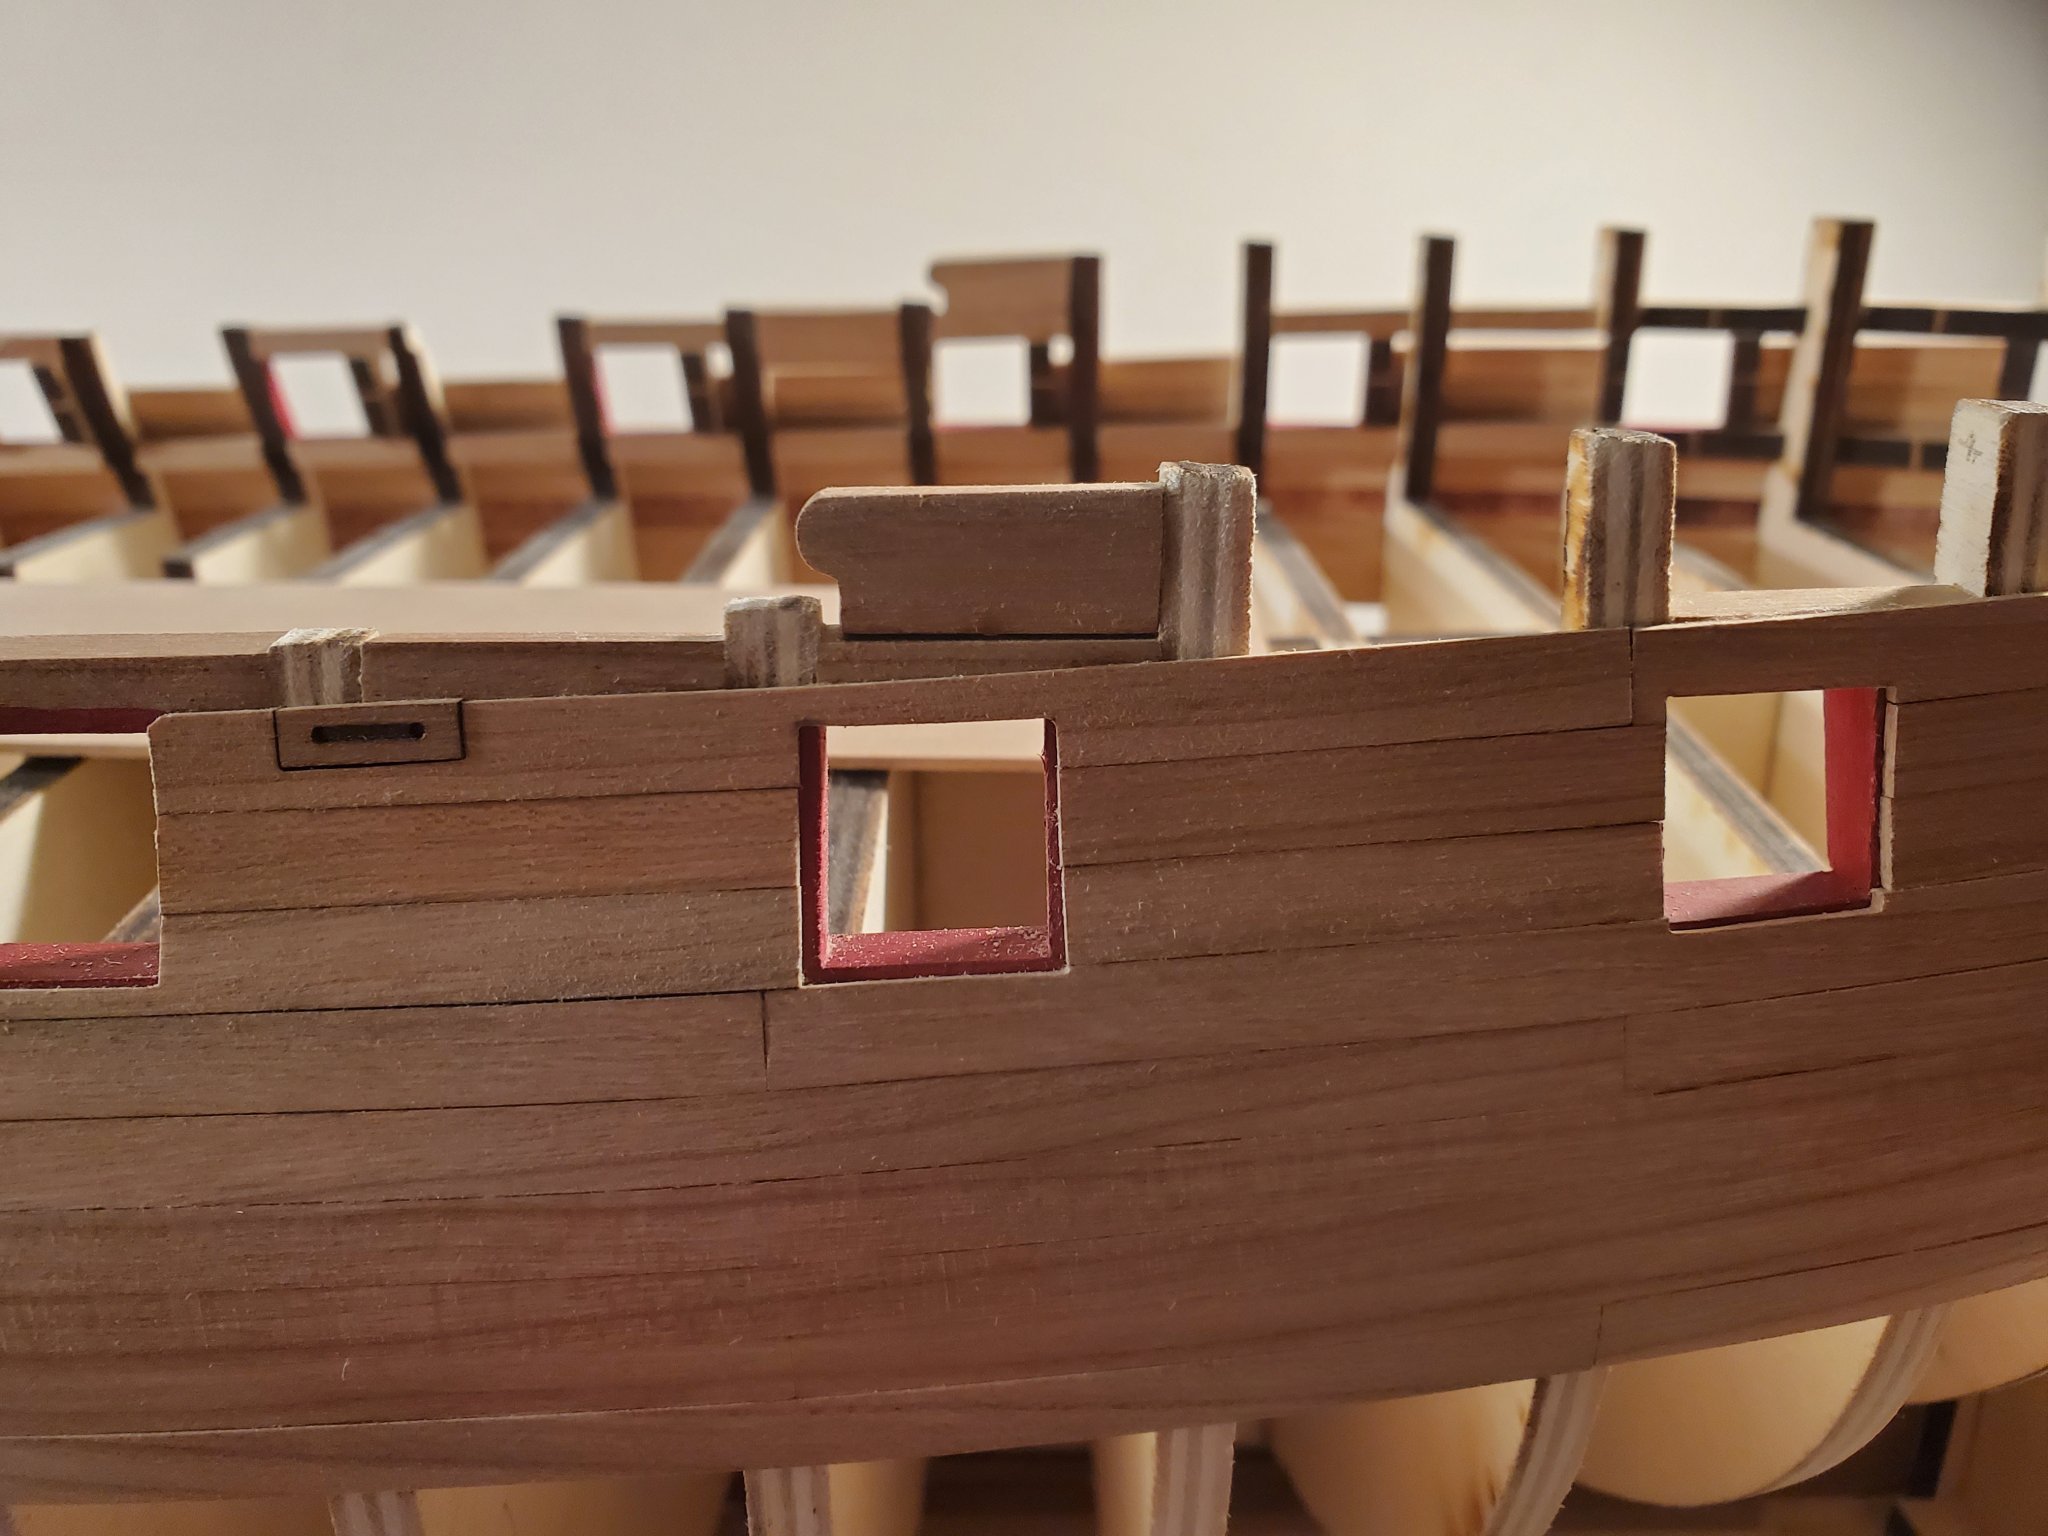
I have been moving up the gun ports. I had thought I finished them until I tried to plank the strake above the gun port. I noticed the top gun port planks don't line up at all with the curve of the planking. I have some pictures below.

Its the top second planks you see.
I'm not sure the best way of fixing this. Would it be to take the strake off and make a new one? Or to try to sand down the top of the strake to try to re create the line of the planking?
Any suggestions would be helpful.
Also, here is an overall pick of my planking so far.

Thanks!!
Jeff
-
Wow! Your build is looking fantastic!
Jeff
-
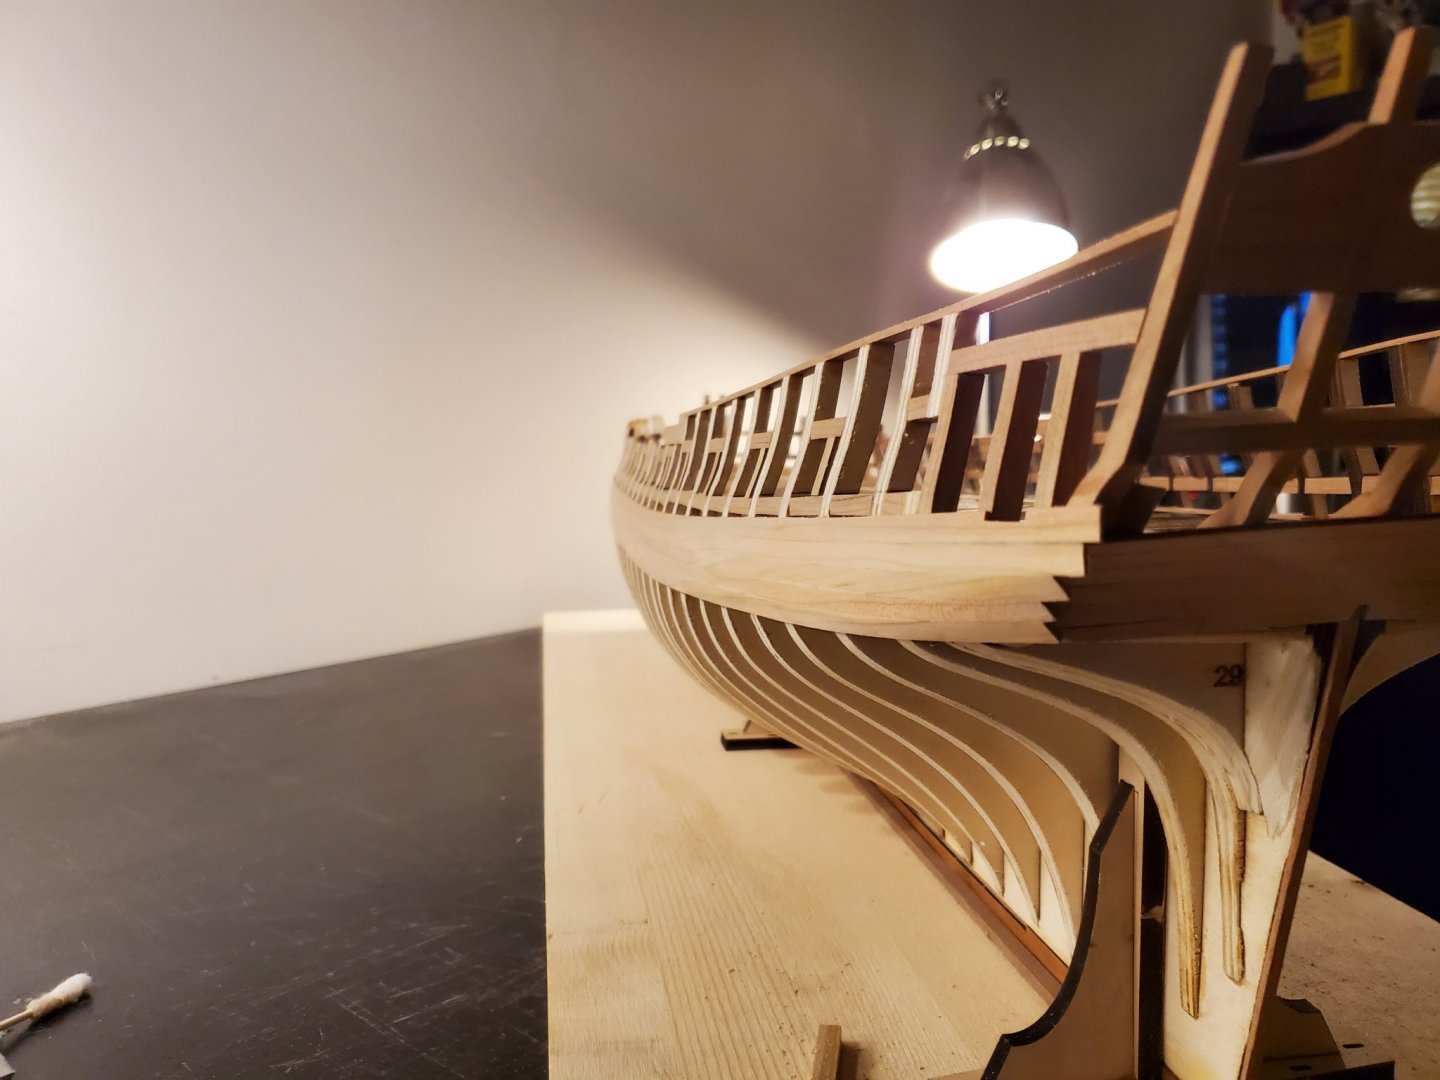
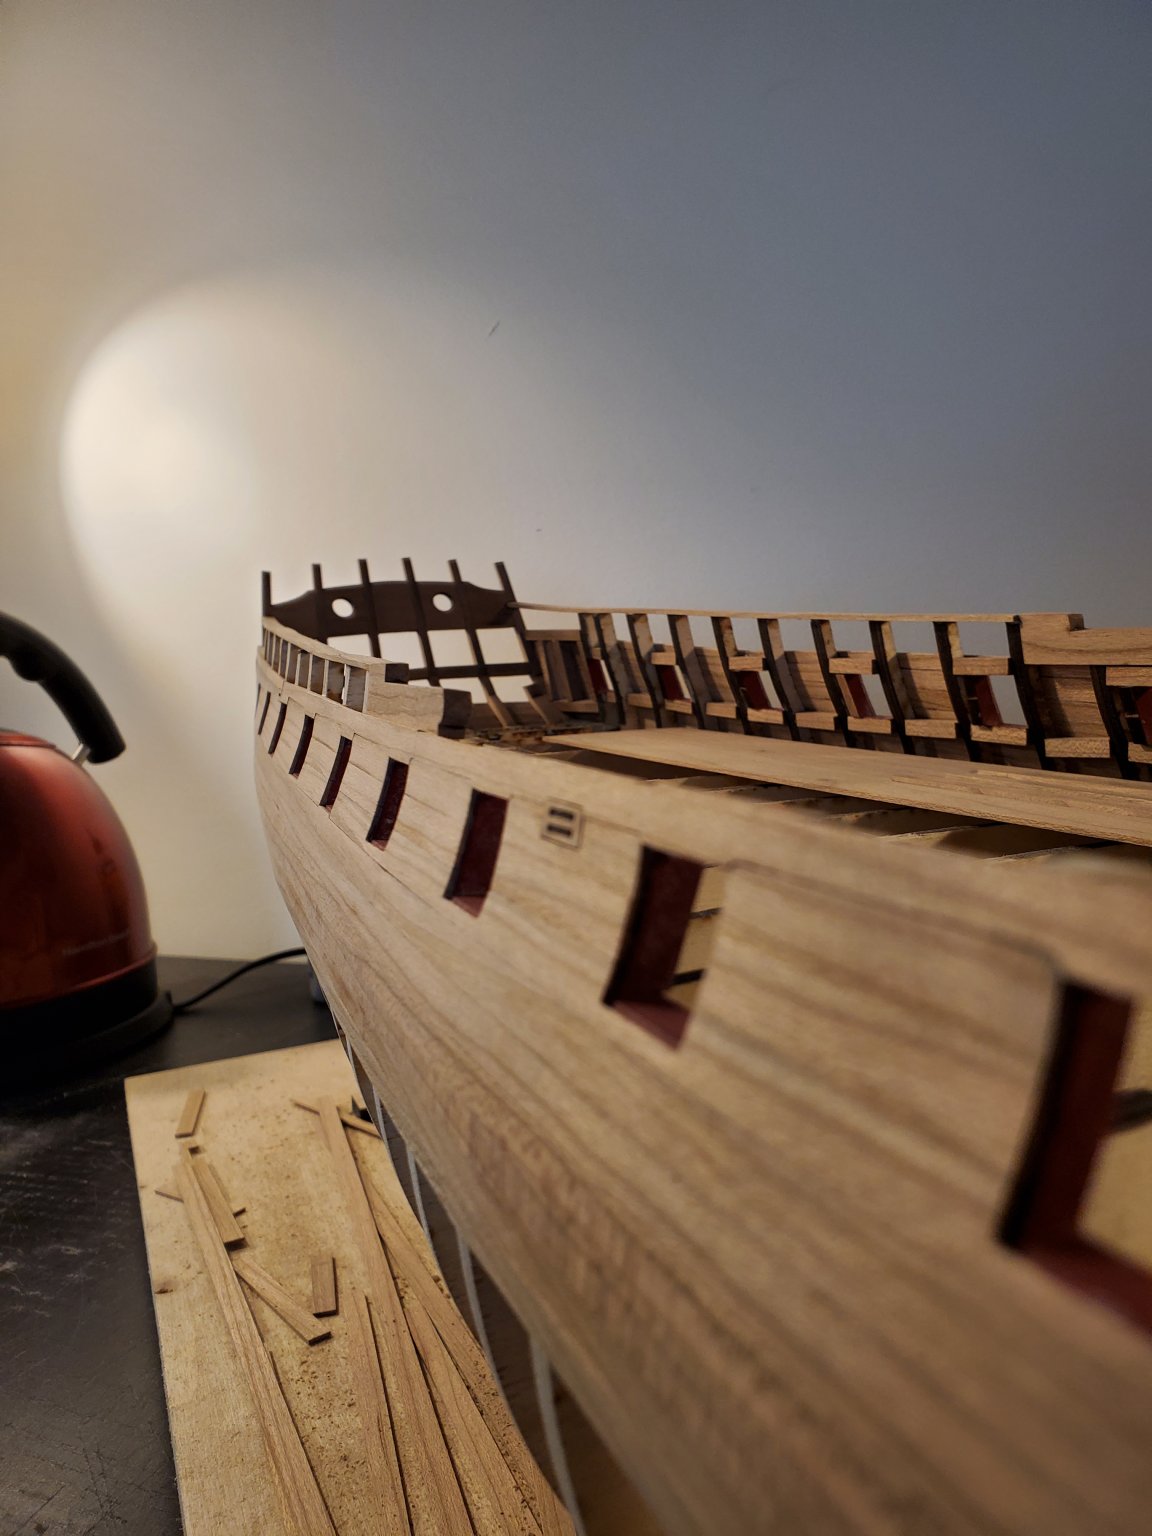
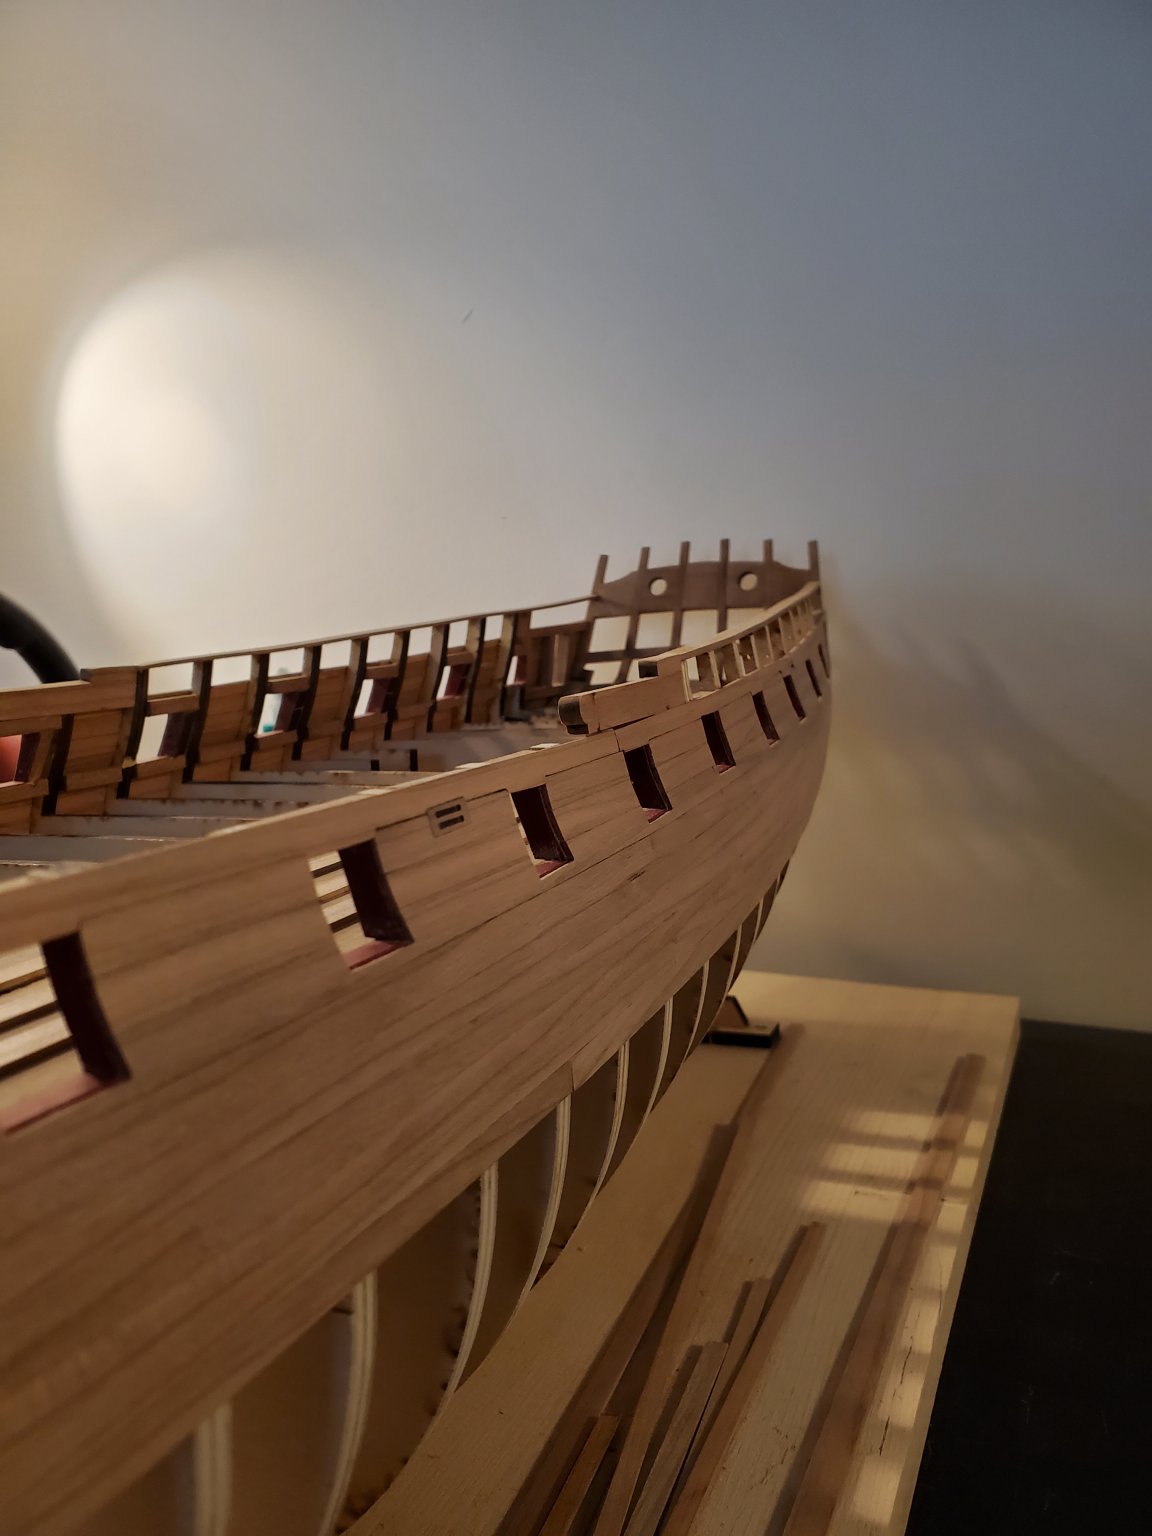
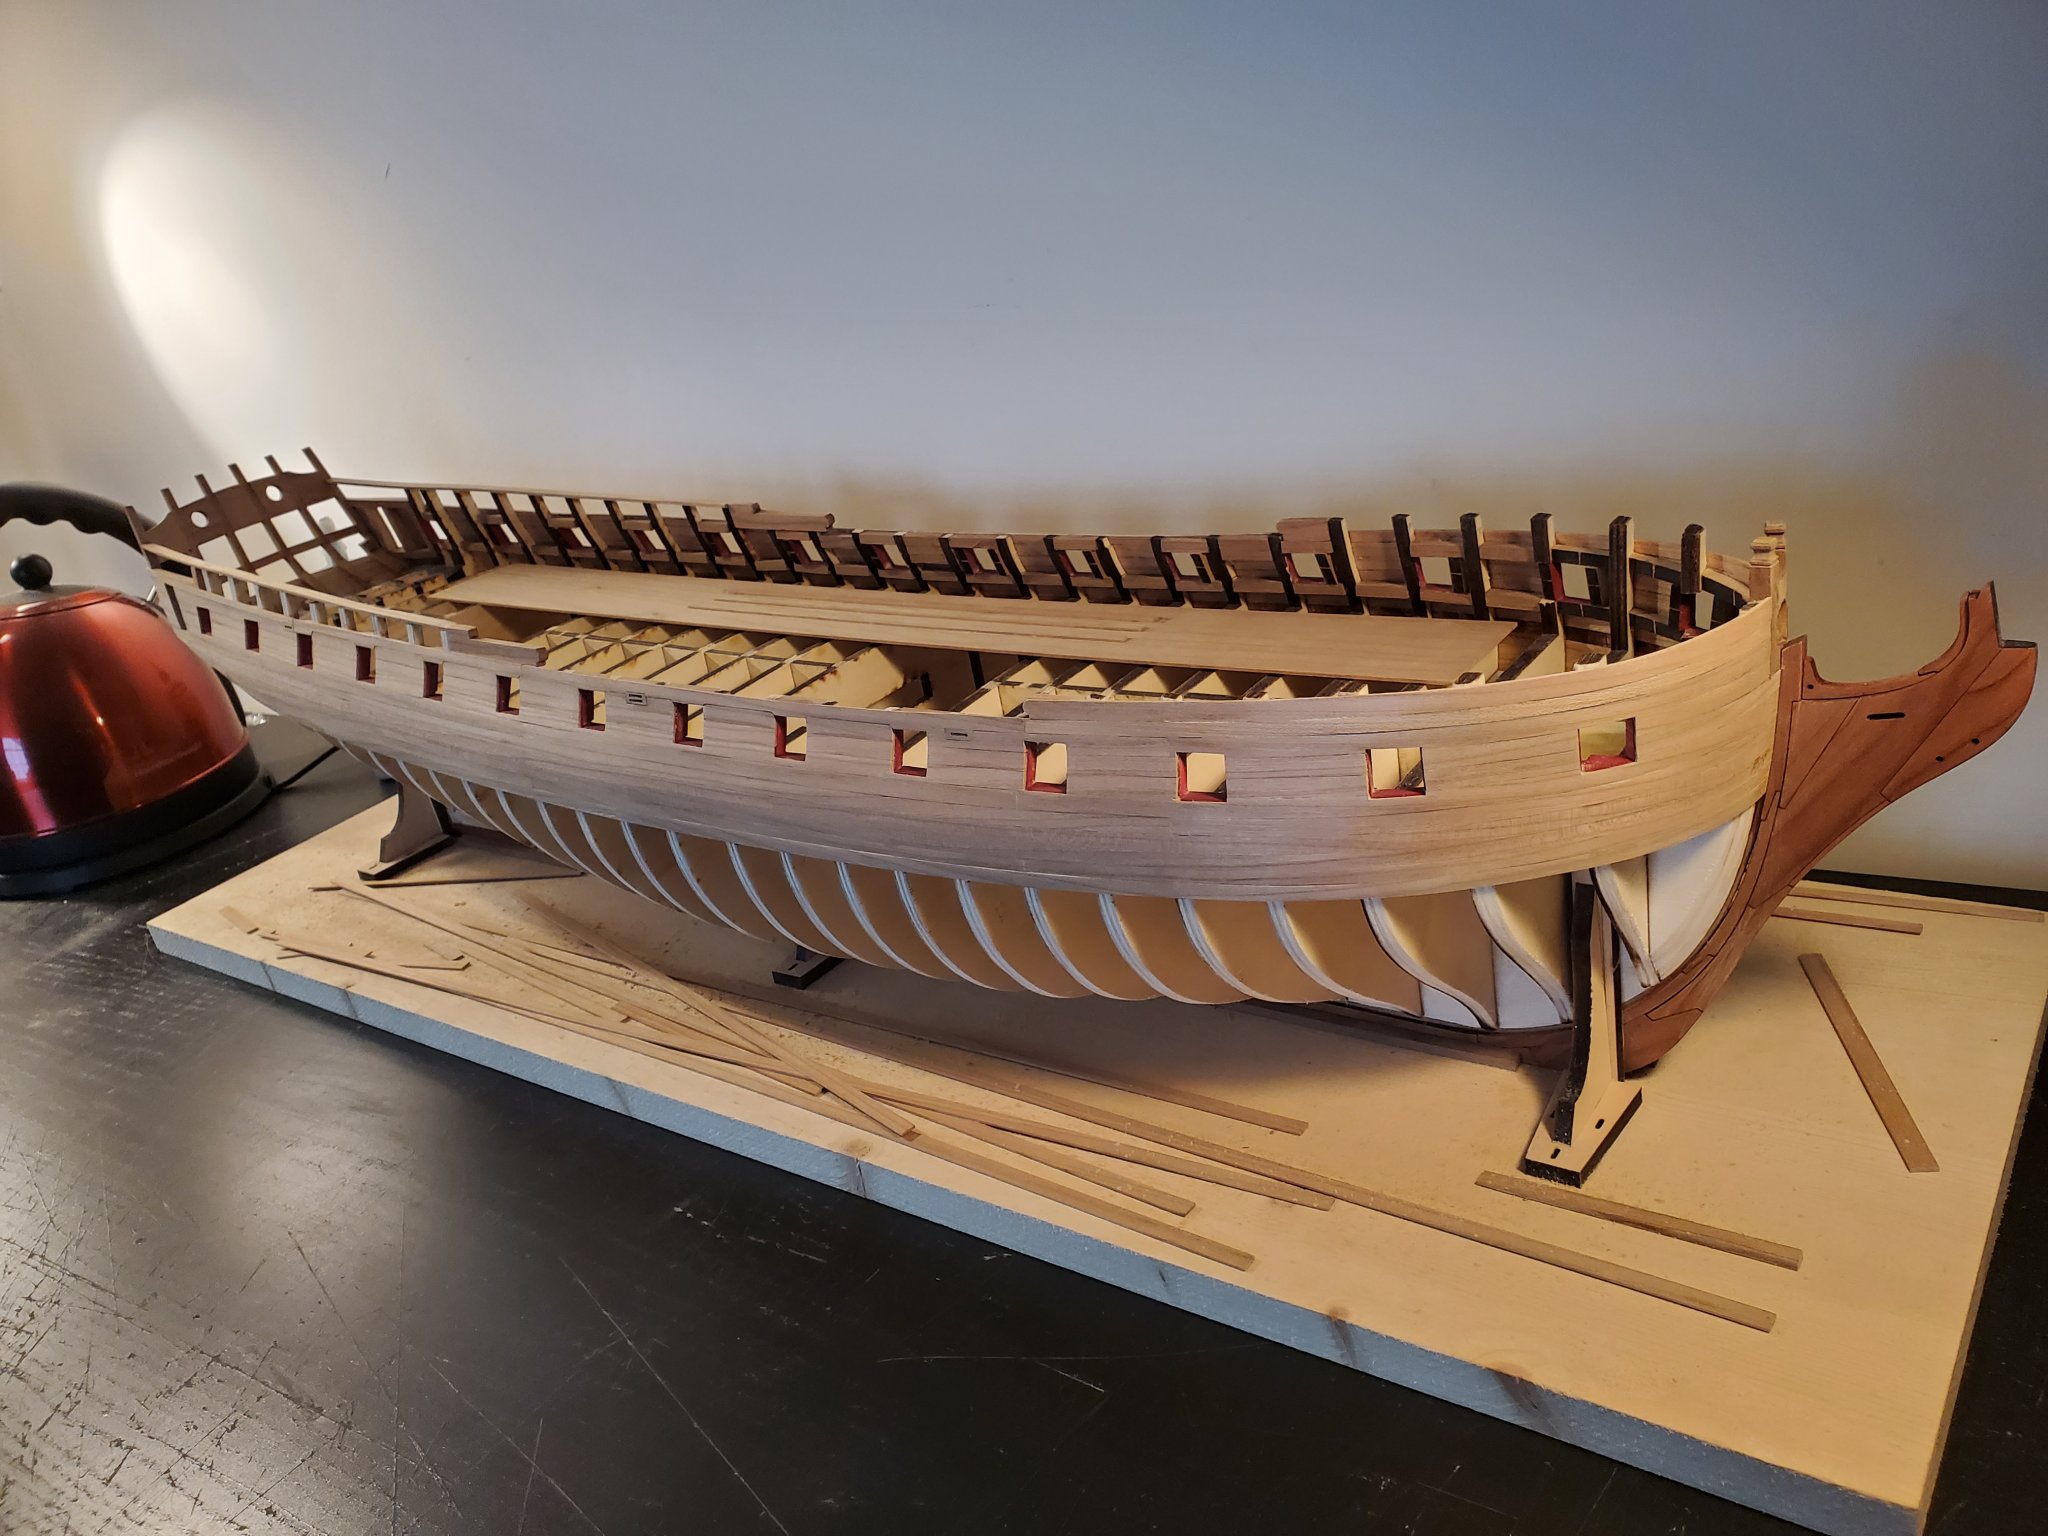
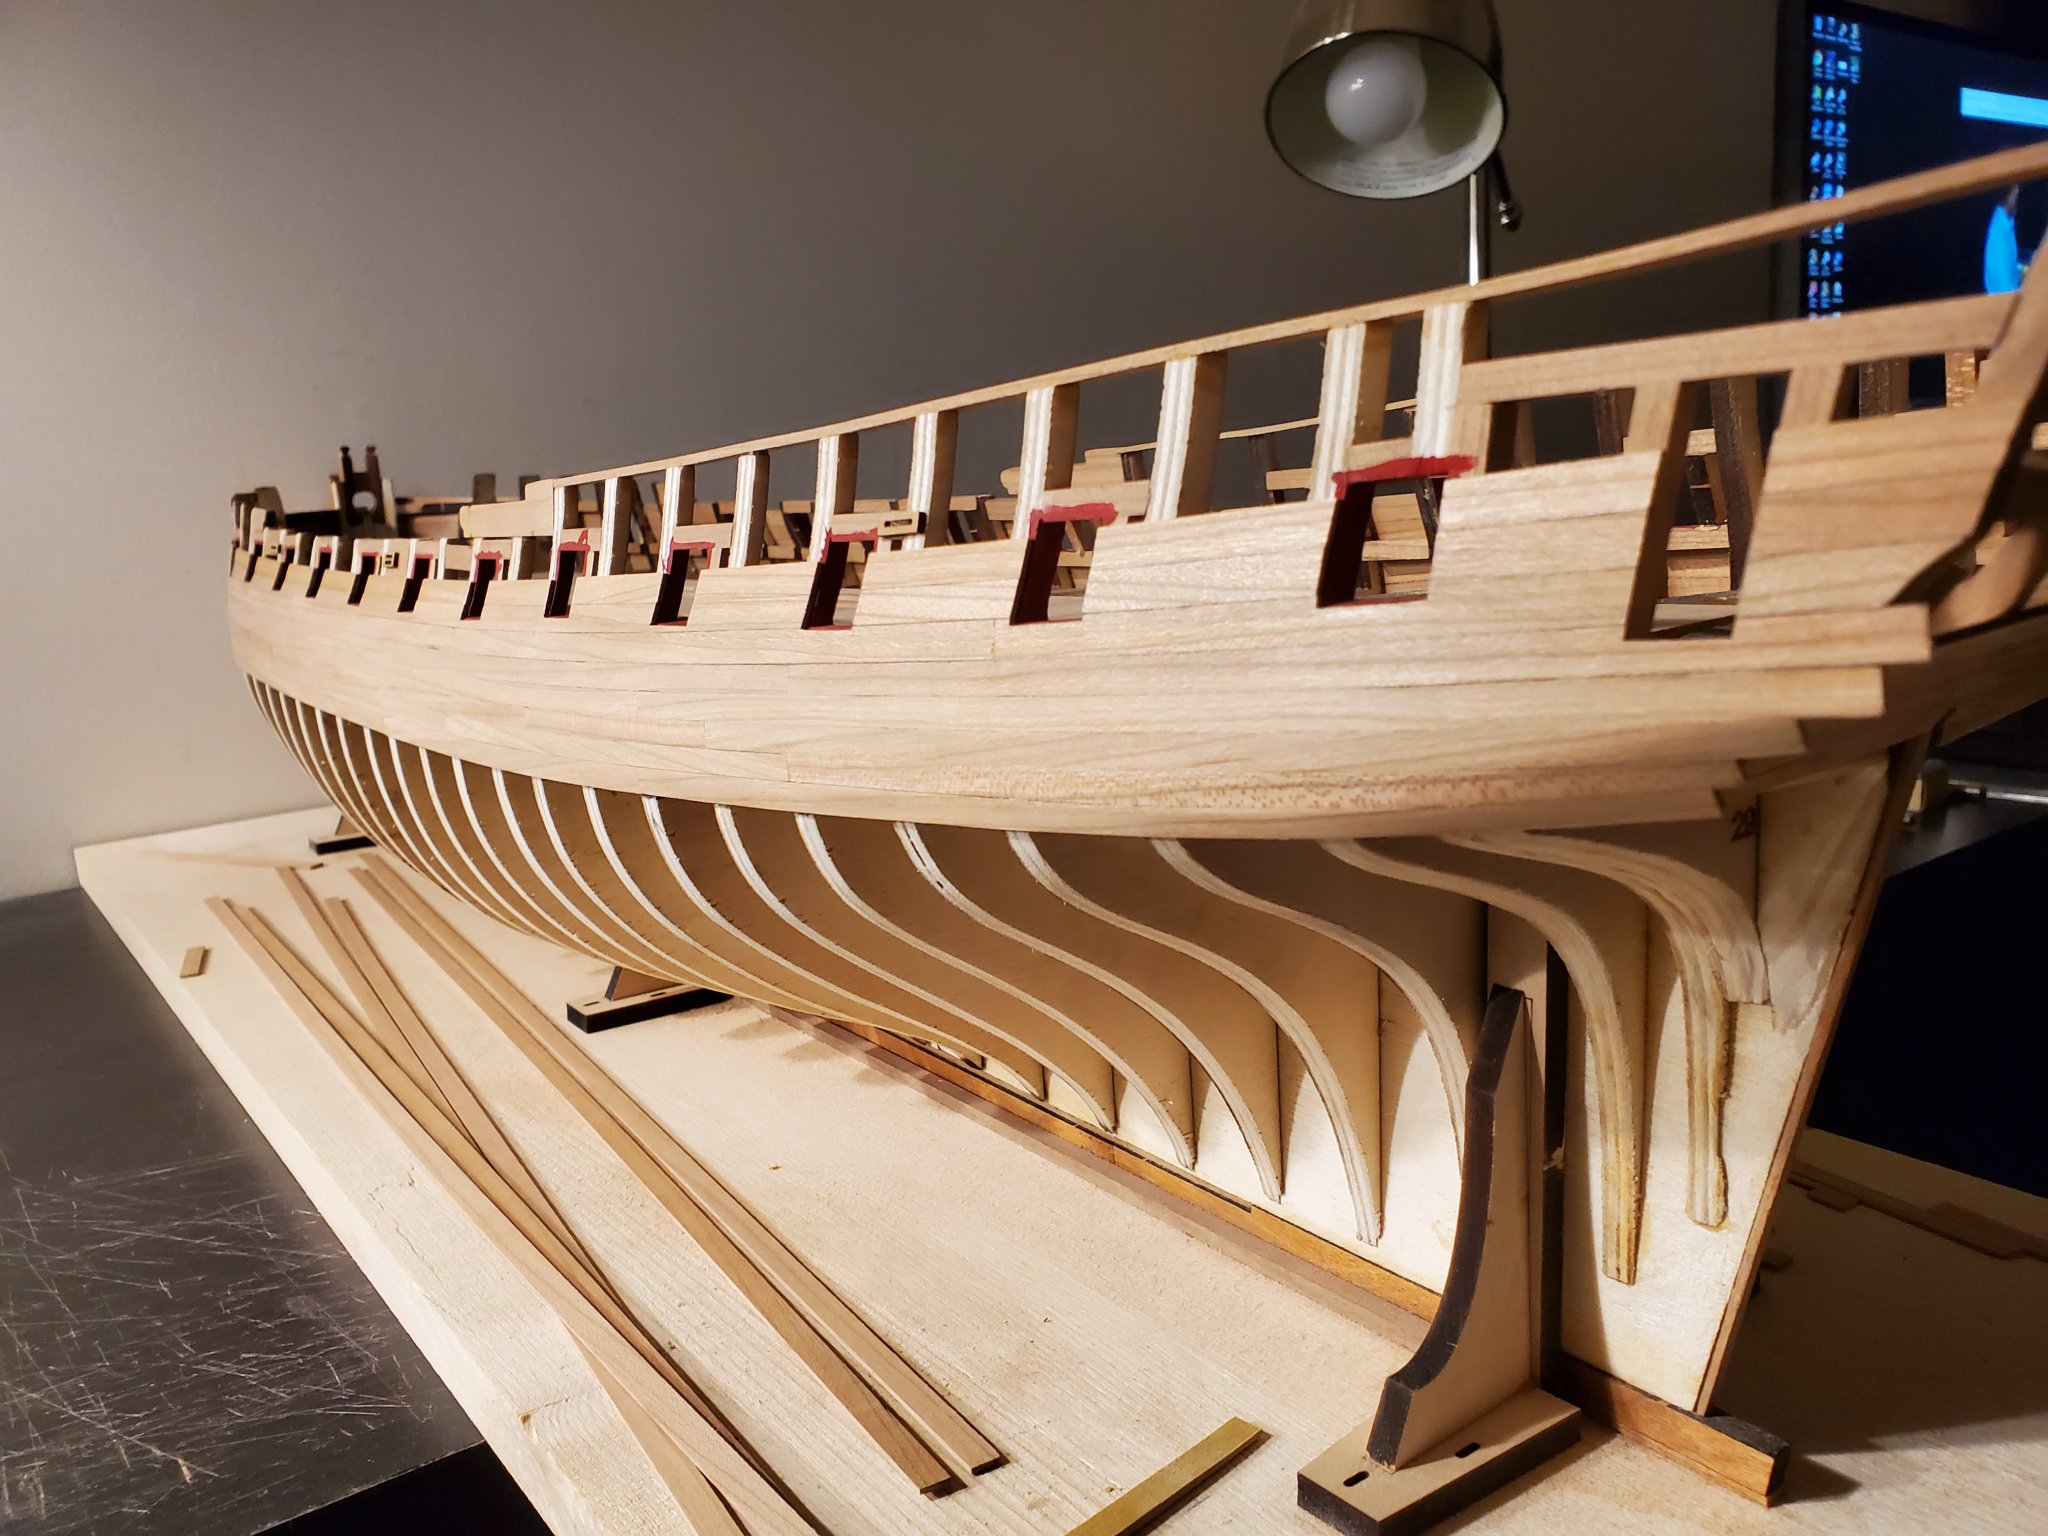
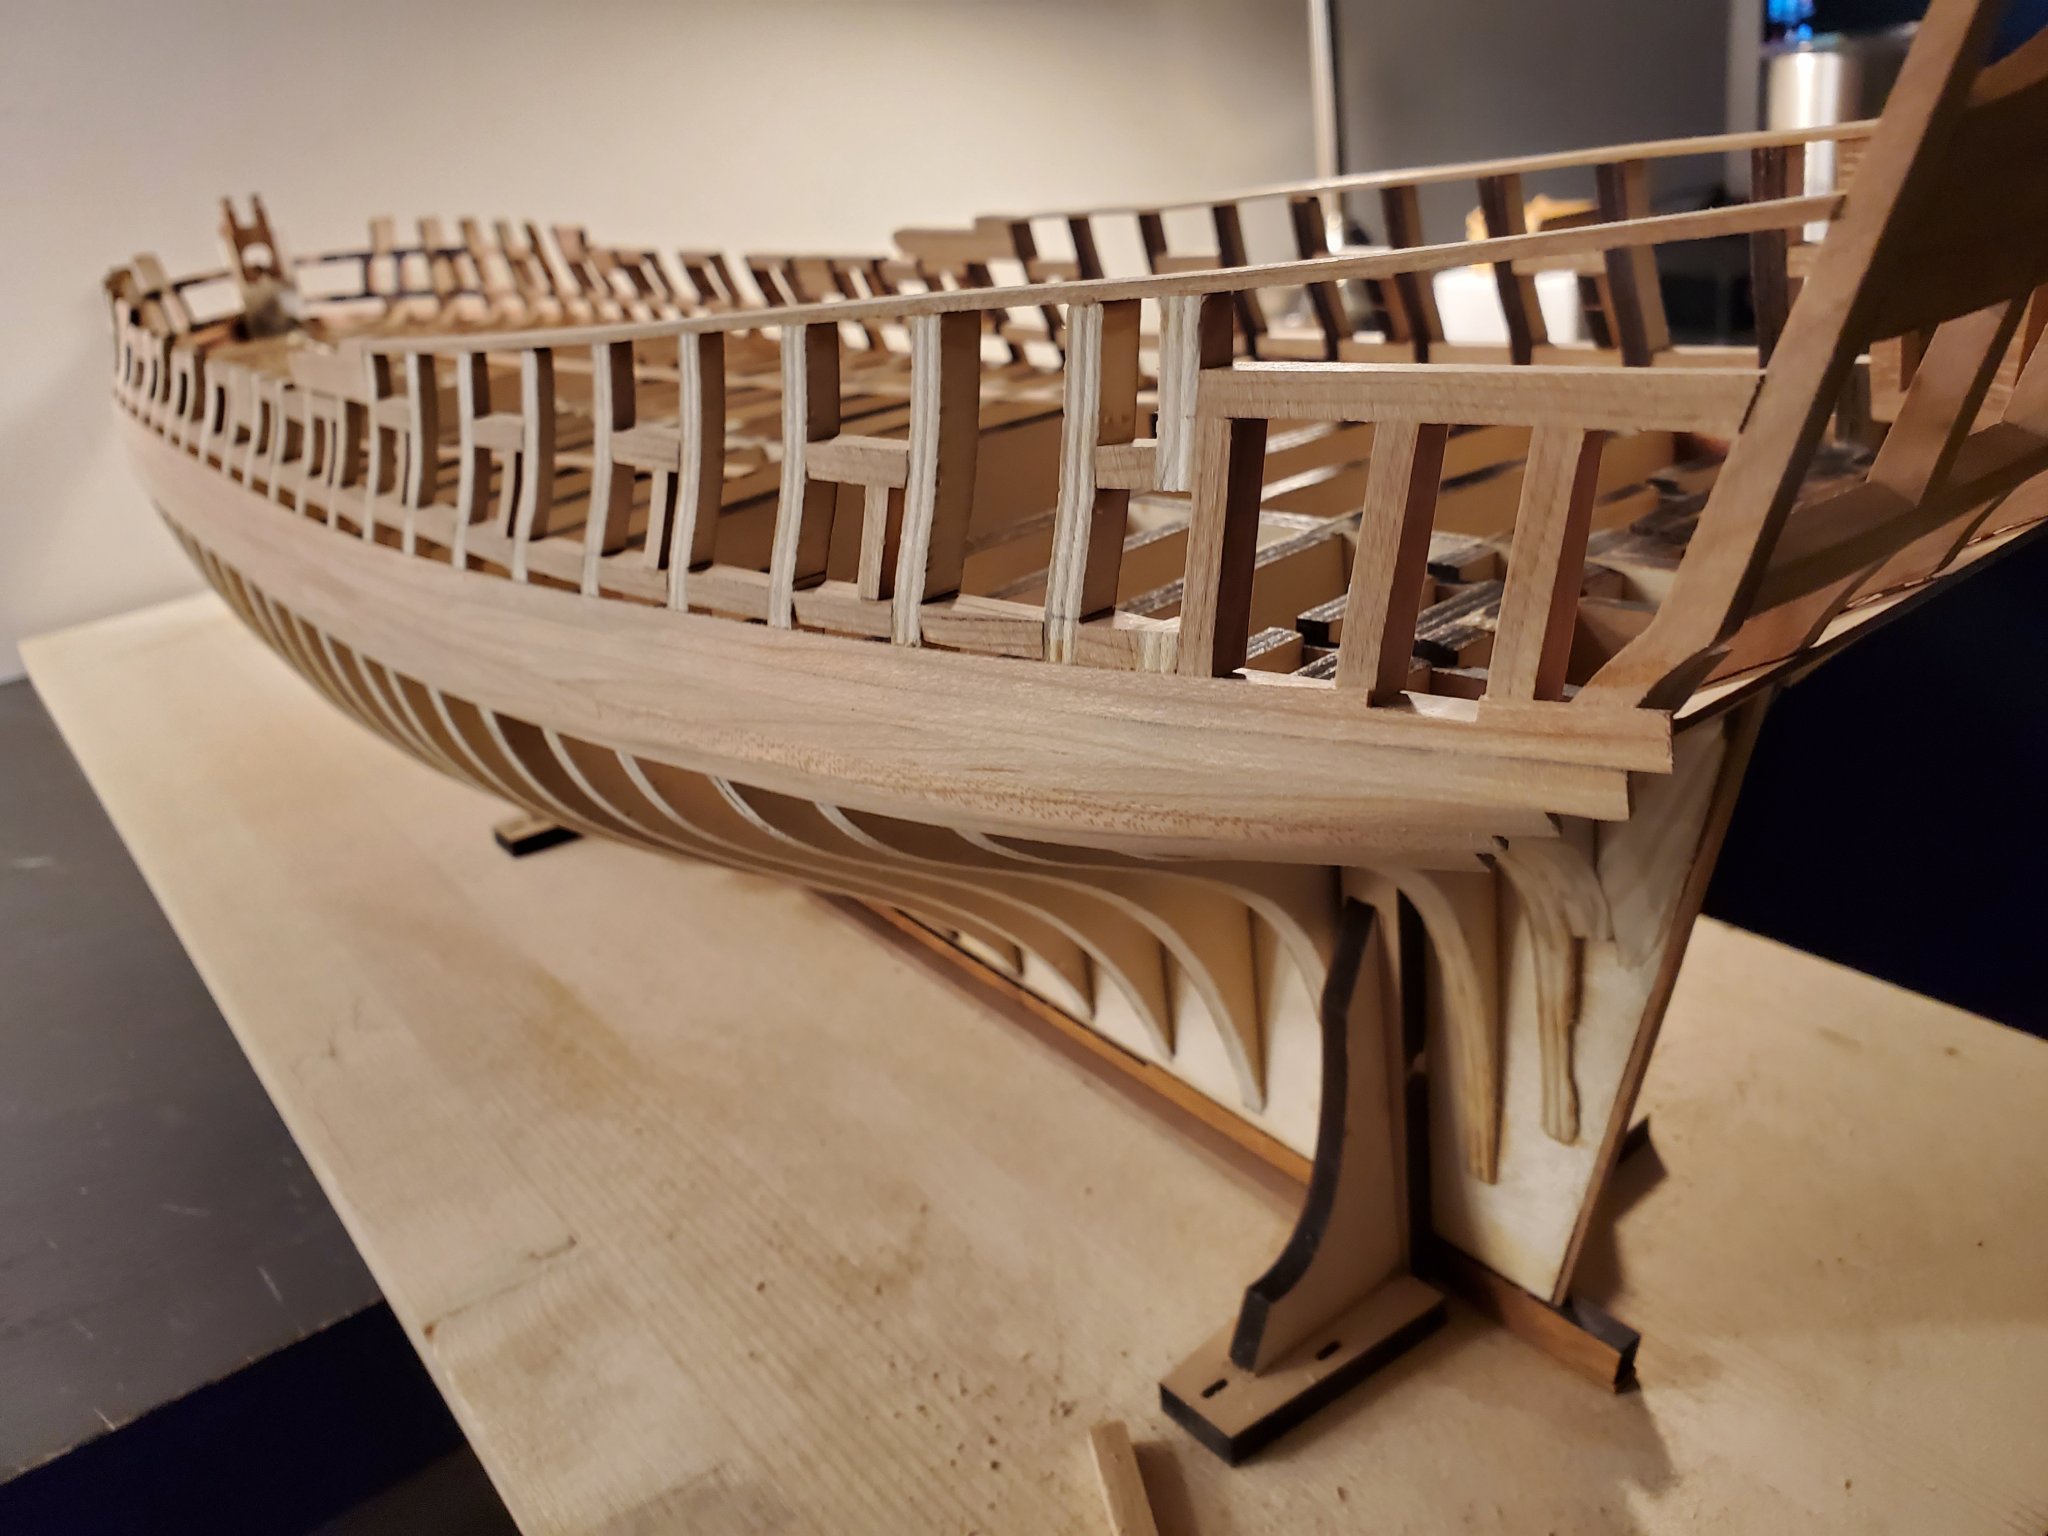
Hey all!
I have been slowly planking my way up from the wales. I still don't get as much time as I would like to work on it, but I'm still managing to get some progress done. Be it as little as 1 piece a day.
Anyway, I hope this looks good. I am still working up the bulkheads, but thought it was time to give an update.
The planking around the fixed blocks was quite daughnting for me. It took me a few attempts, but I am satisfied with the results.

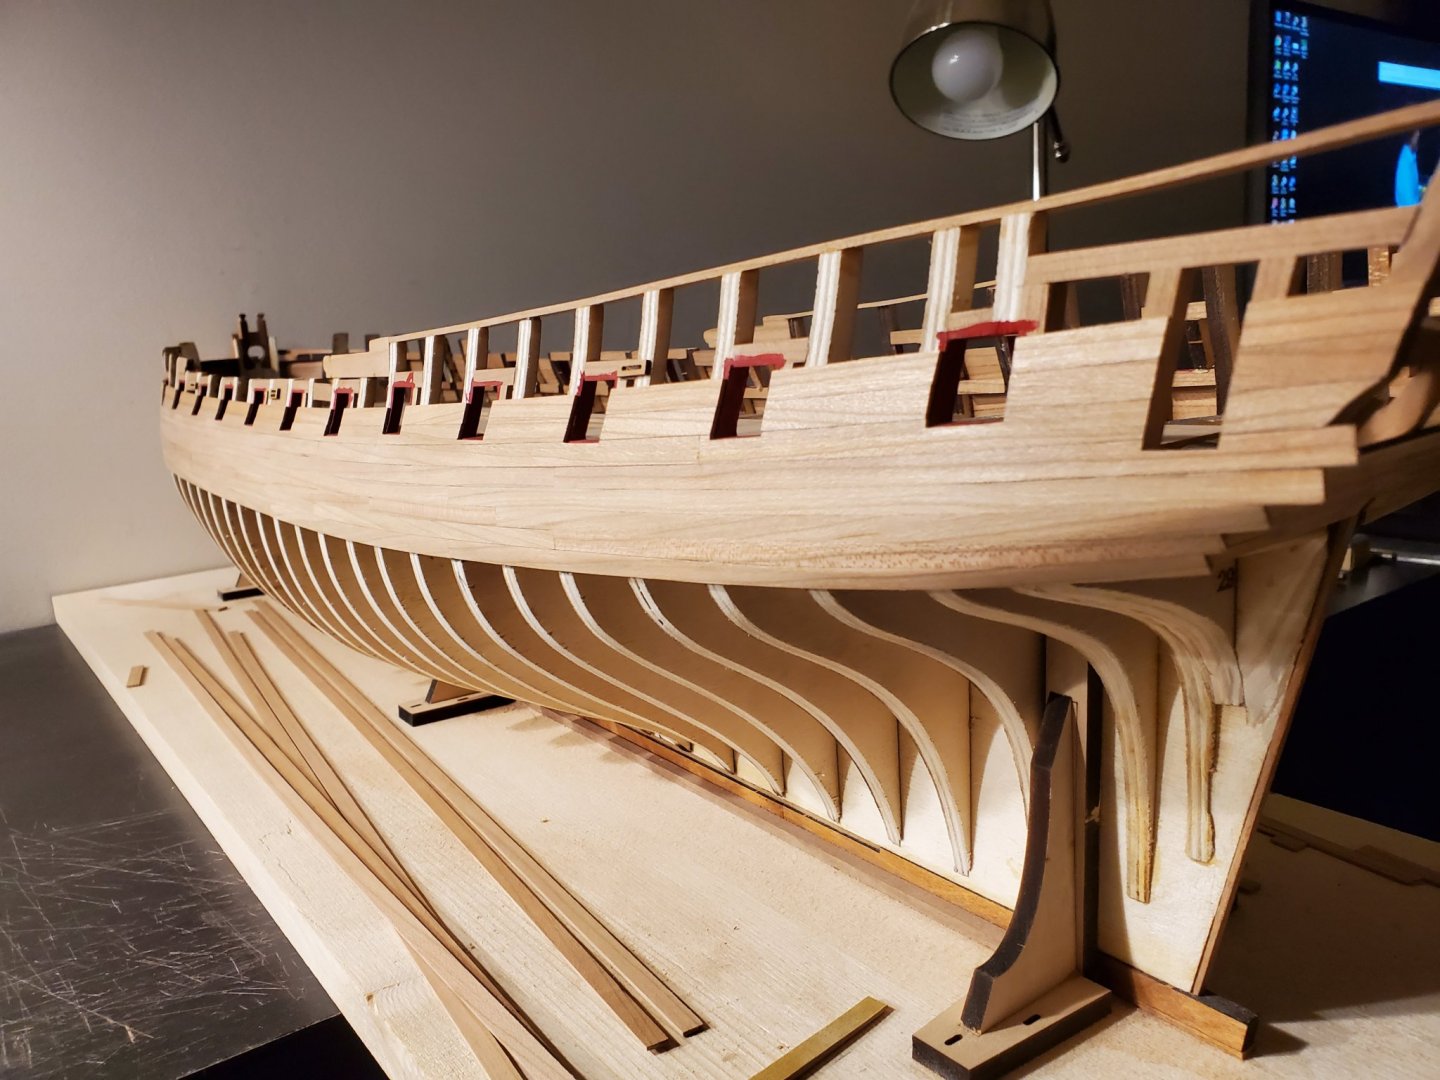
I'm on the last row of 1/4" wide planks before the 3/16".
After I finish planking up the wales, I will sand it to even out some of the rough spots, then add the 2 rows of planks below the wales.
Thanks all!
Jeff
-
I was able replace the strips I removed. I had to remove a little more than the last pictures I posted to fix how the bottom wale streak flows down to the stern.

I think it turned out better than I thought!
Compared to the other side, it is off by 1mm. It was off by almost 7/32". So I feel that's much better. The sheer going down the hull to the stern looks a lot better to me as well .
Thanks!
Jeff
- Chuck, Edwardkenway, JpR62 and 7 others
-
10


HMS Winchelsea 1764 by Jeff 1/48
in Member Build logs for the HMS Winchelsea
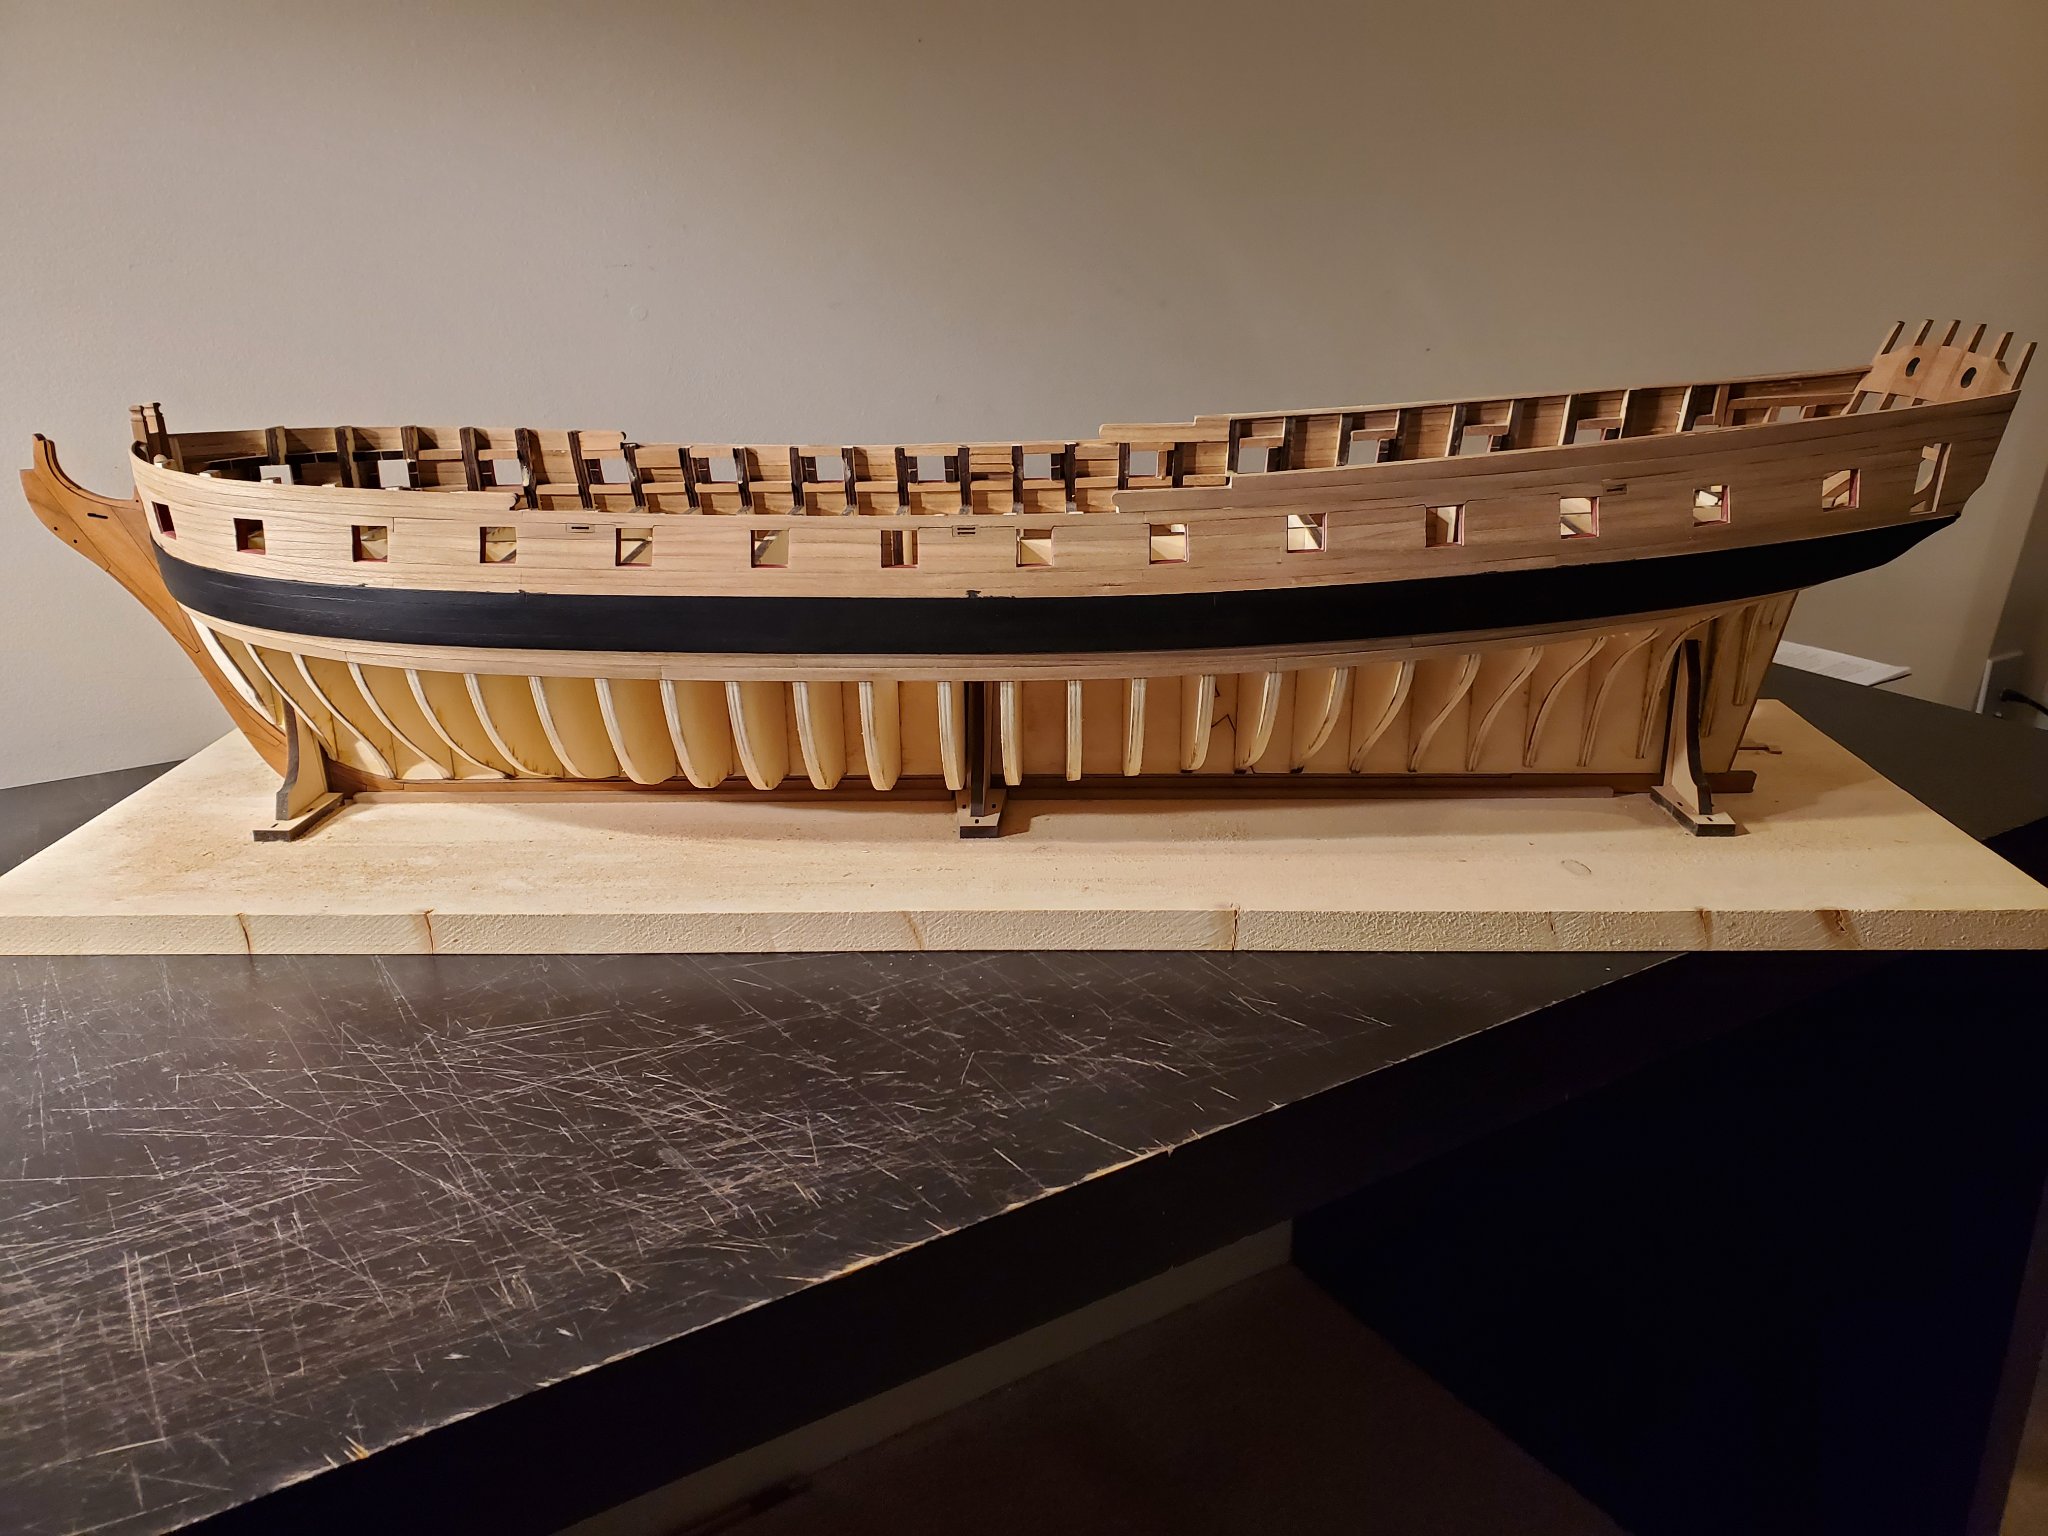
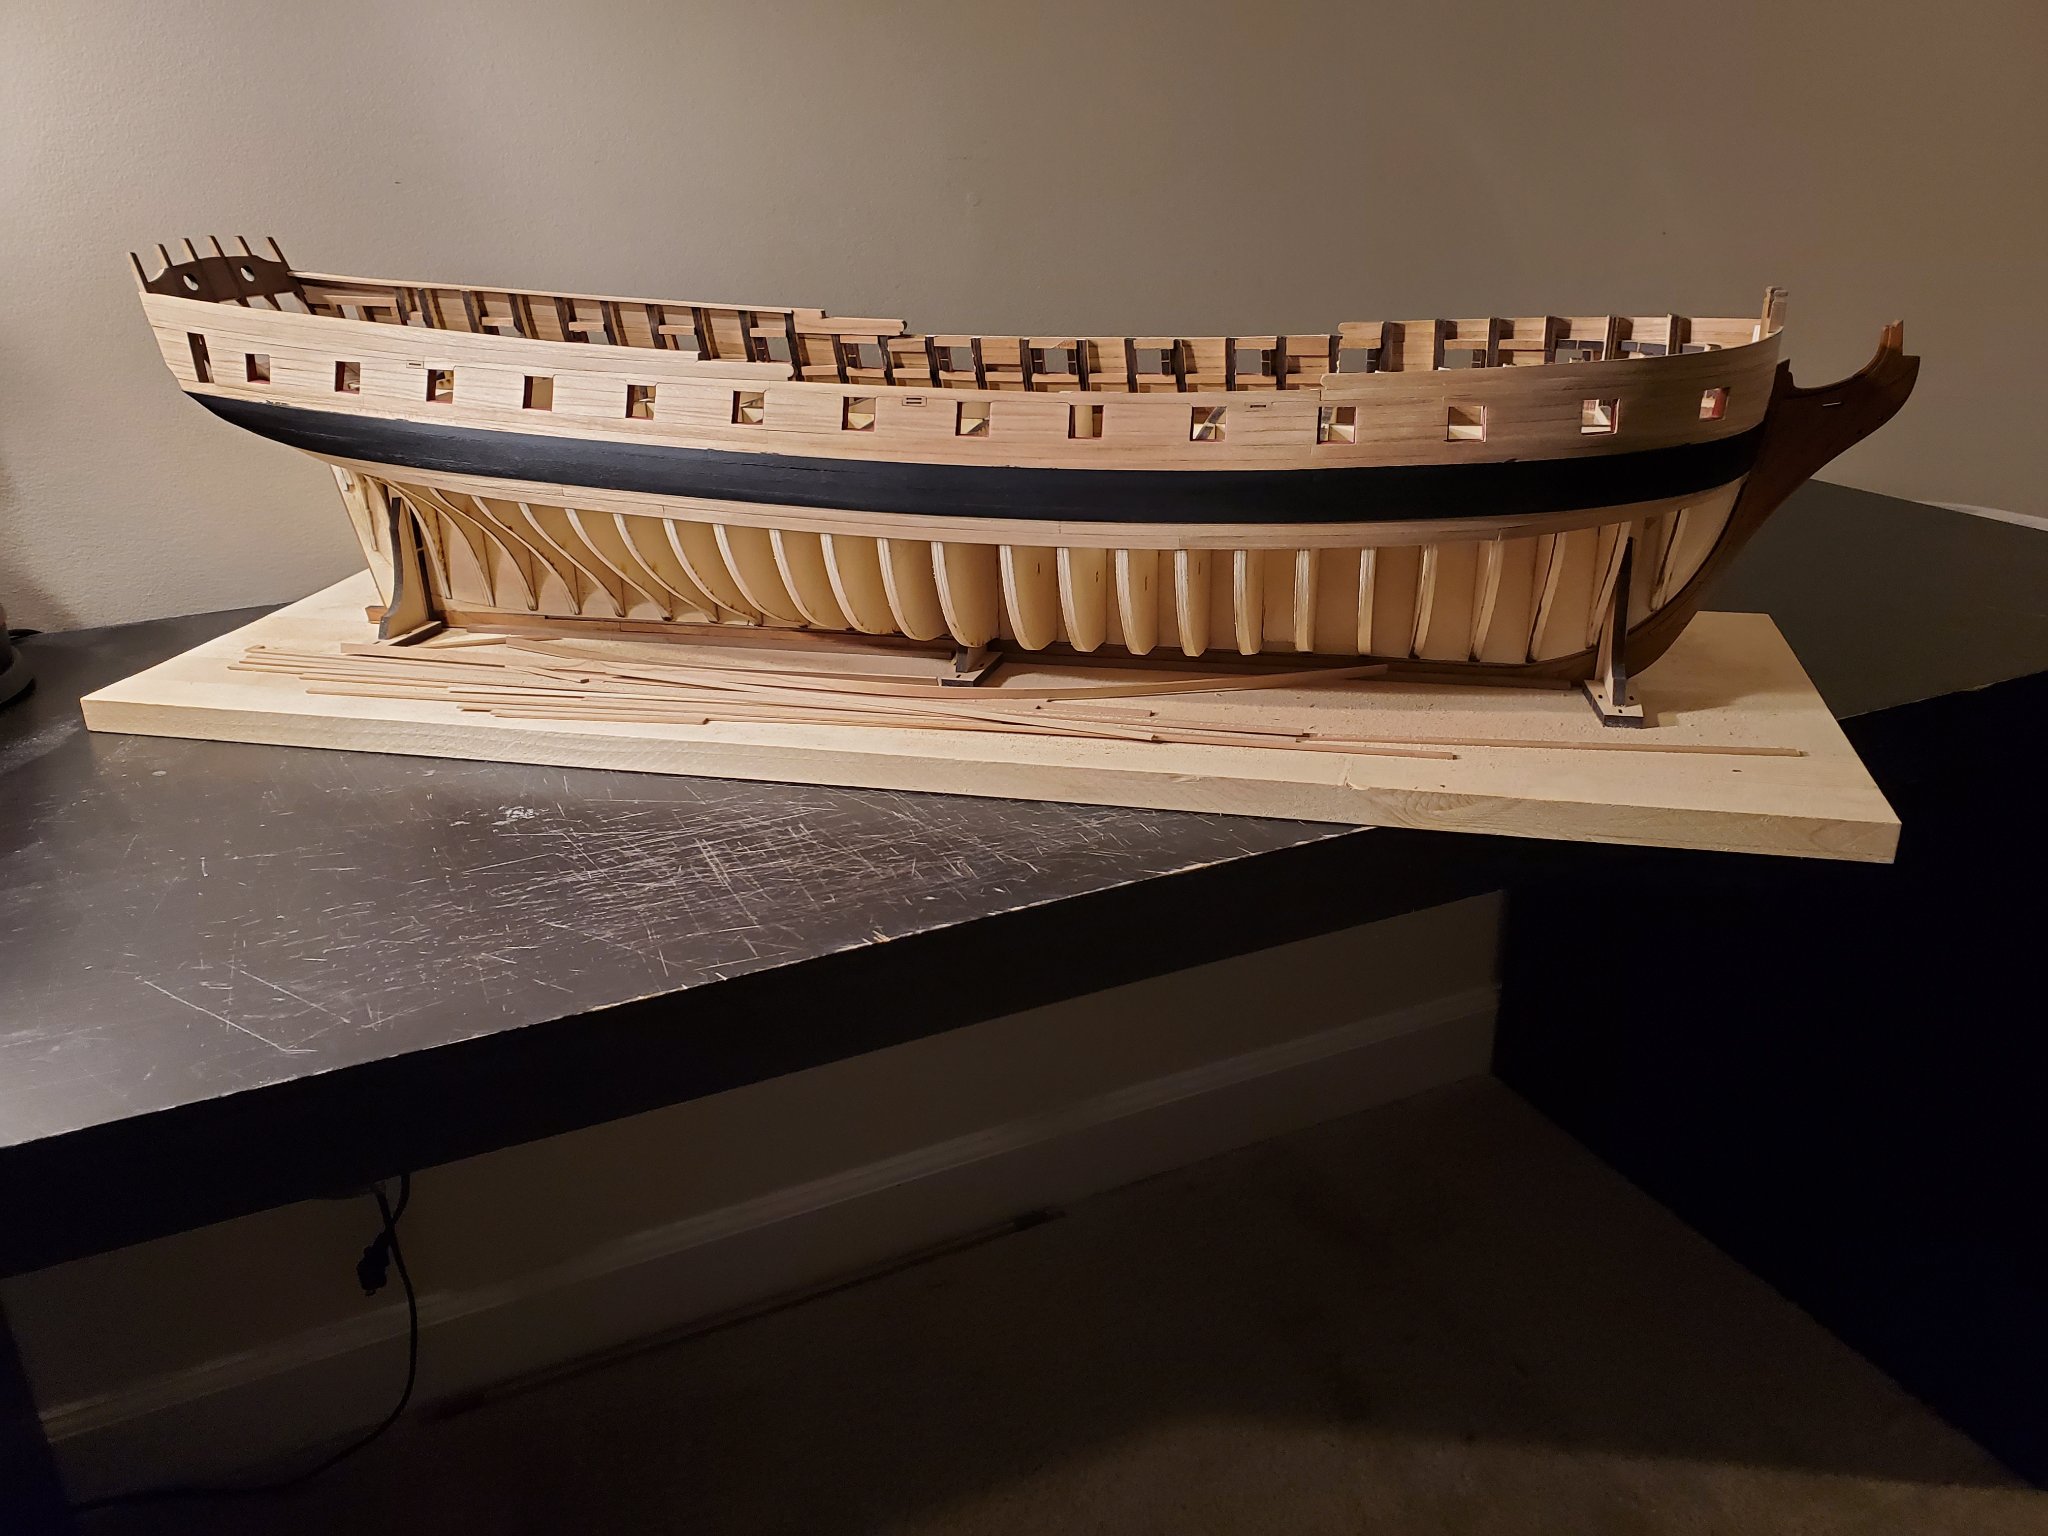
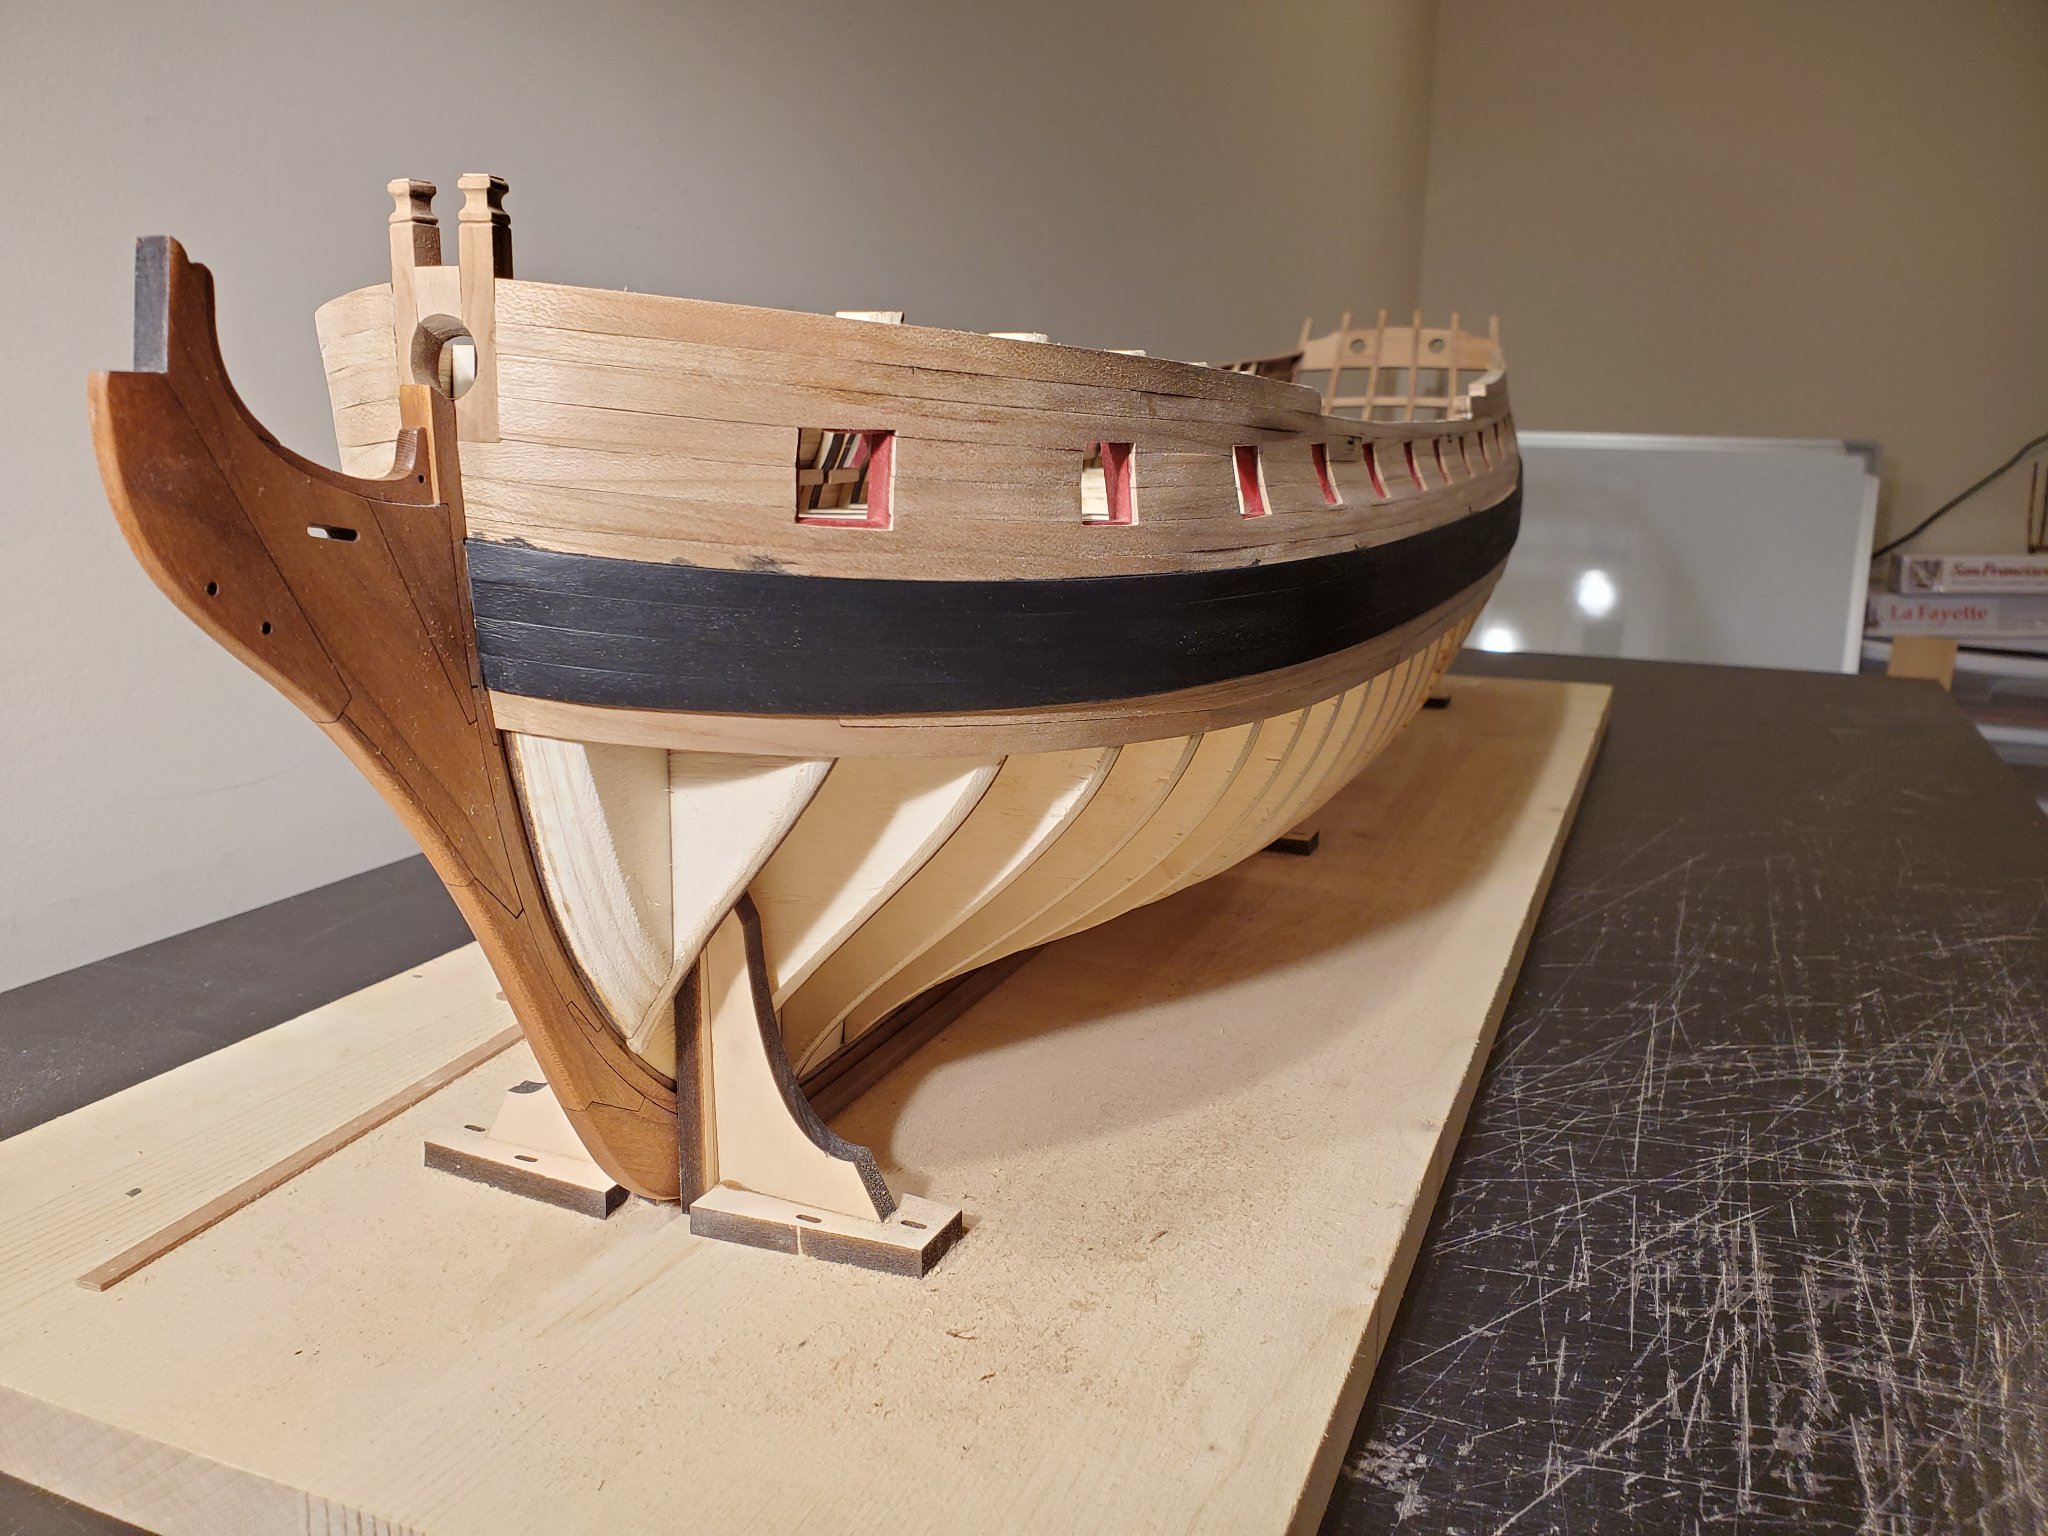
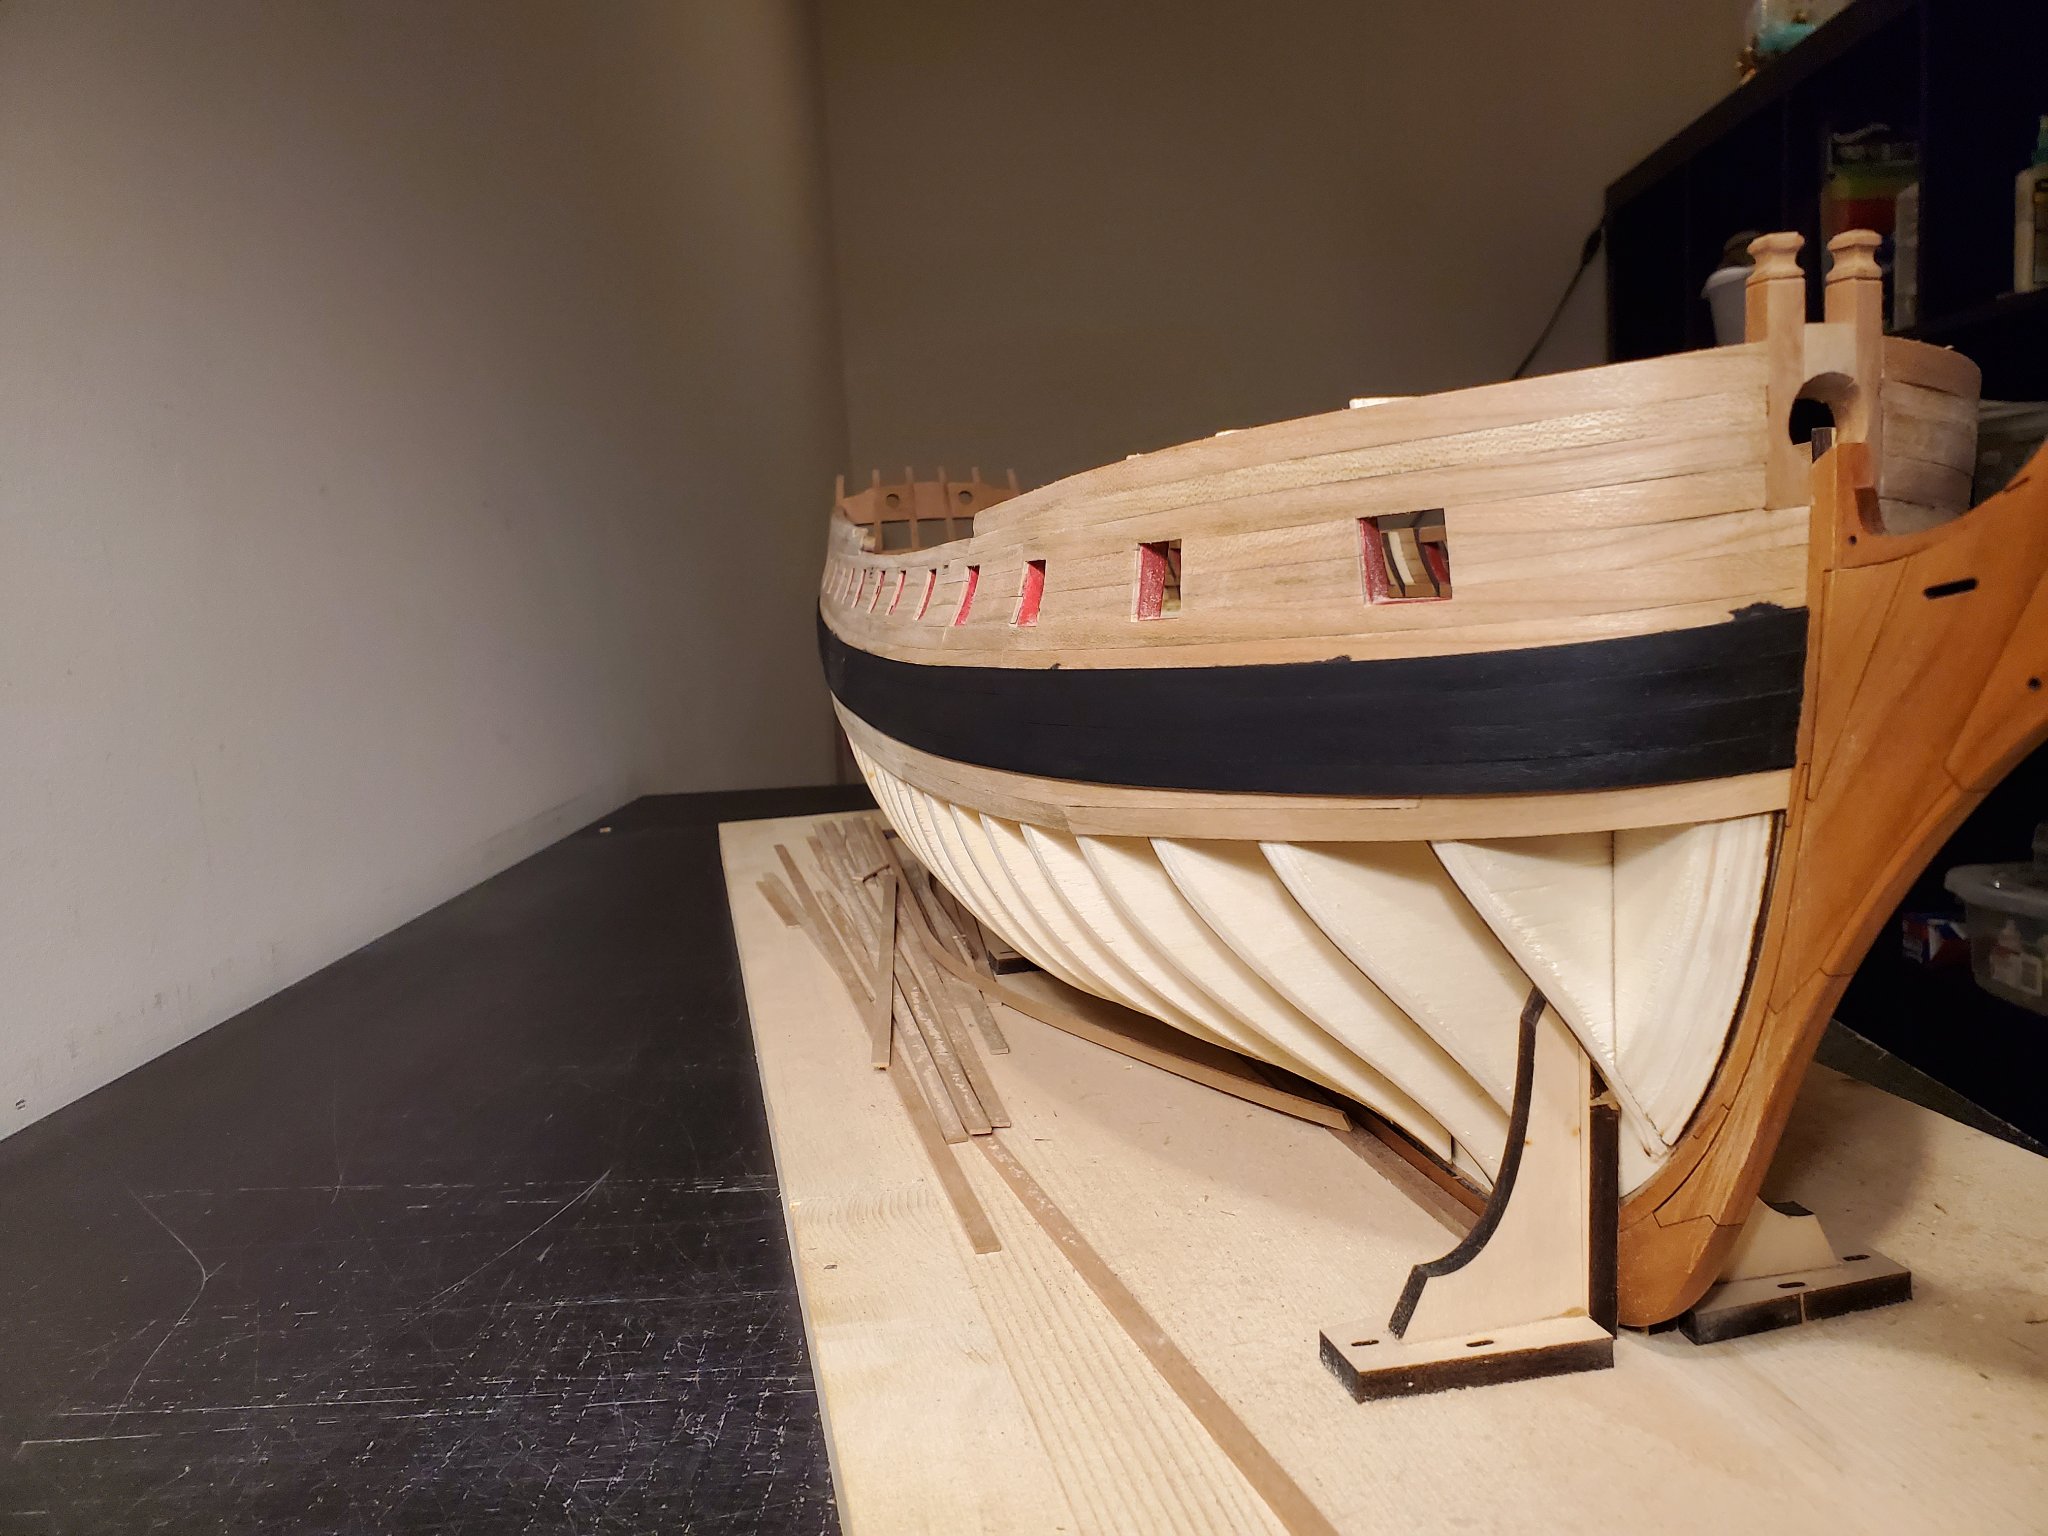
Posted
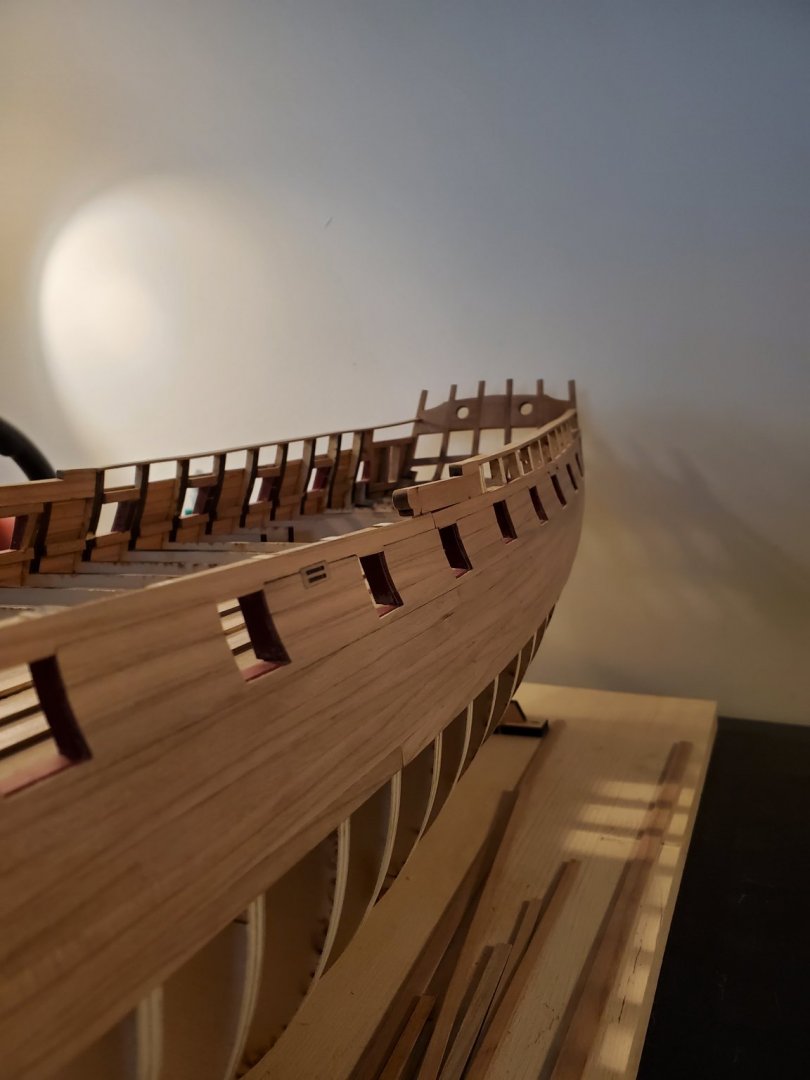
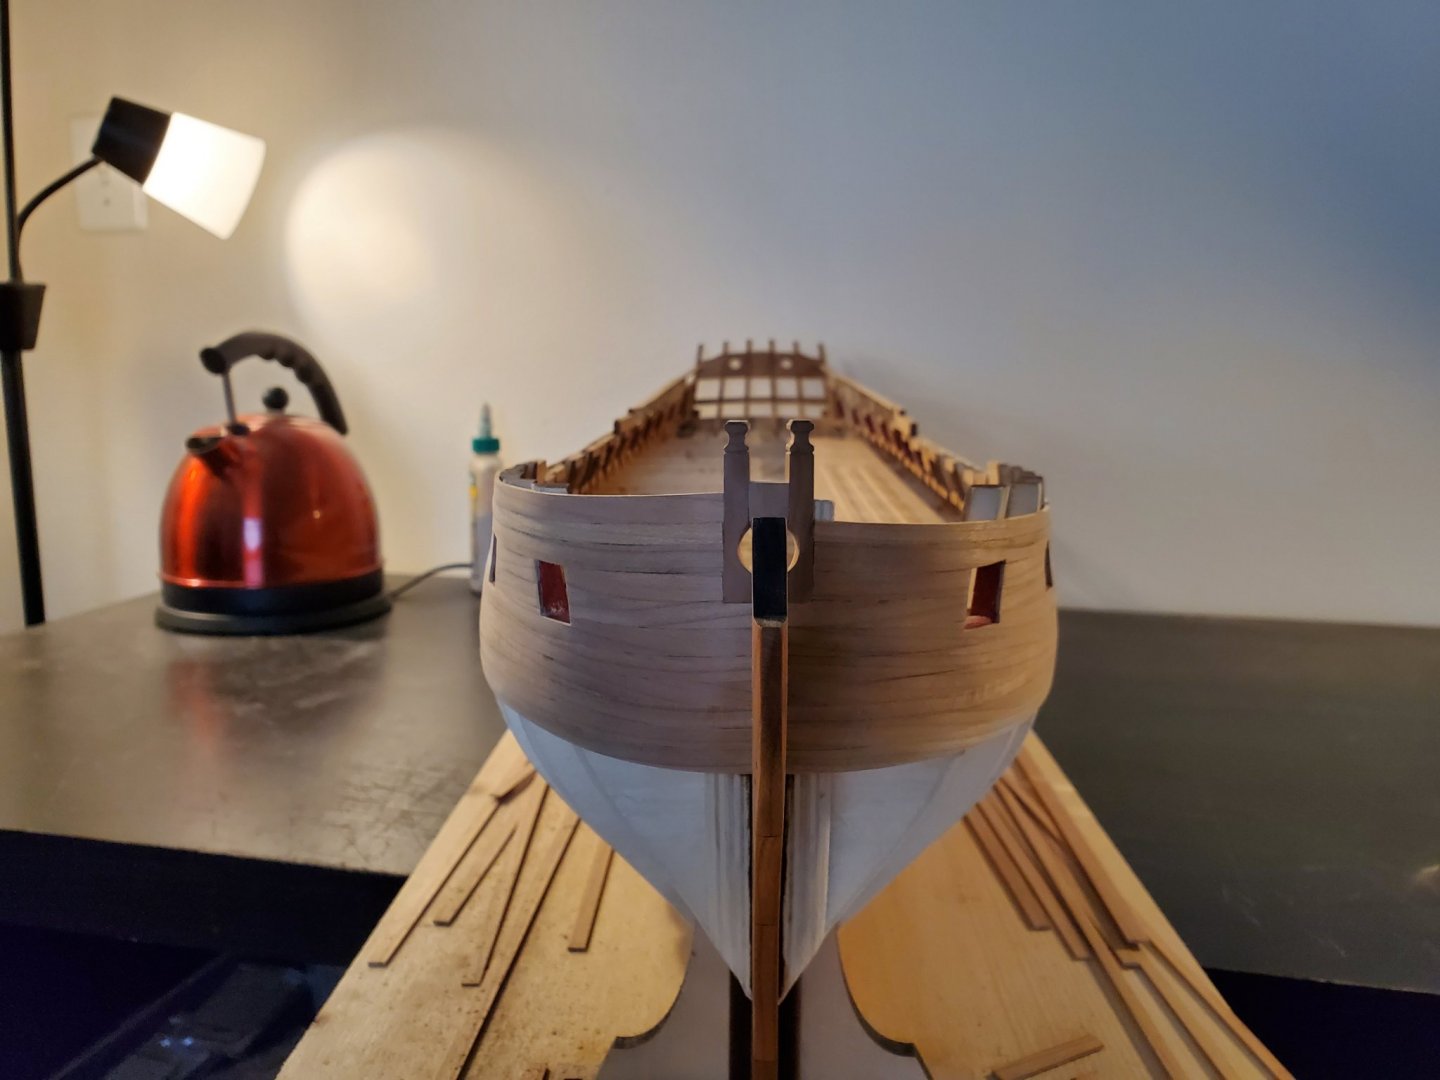
Thank you glbarlow. I am glad the garboard looks about where it’s suppose to be. I tried to not have it inch up the bow like the instructions say not to do.
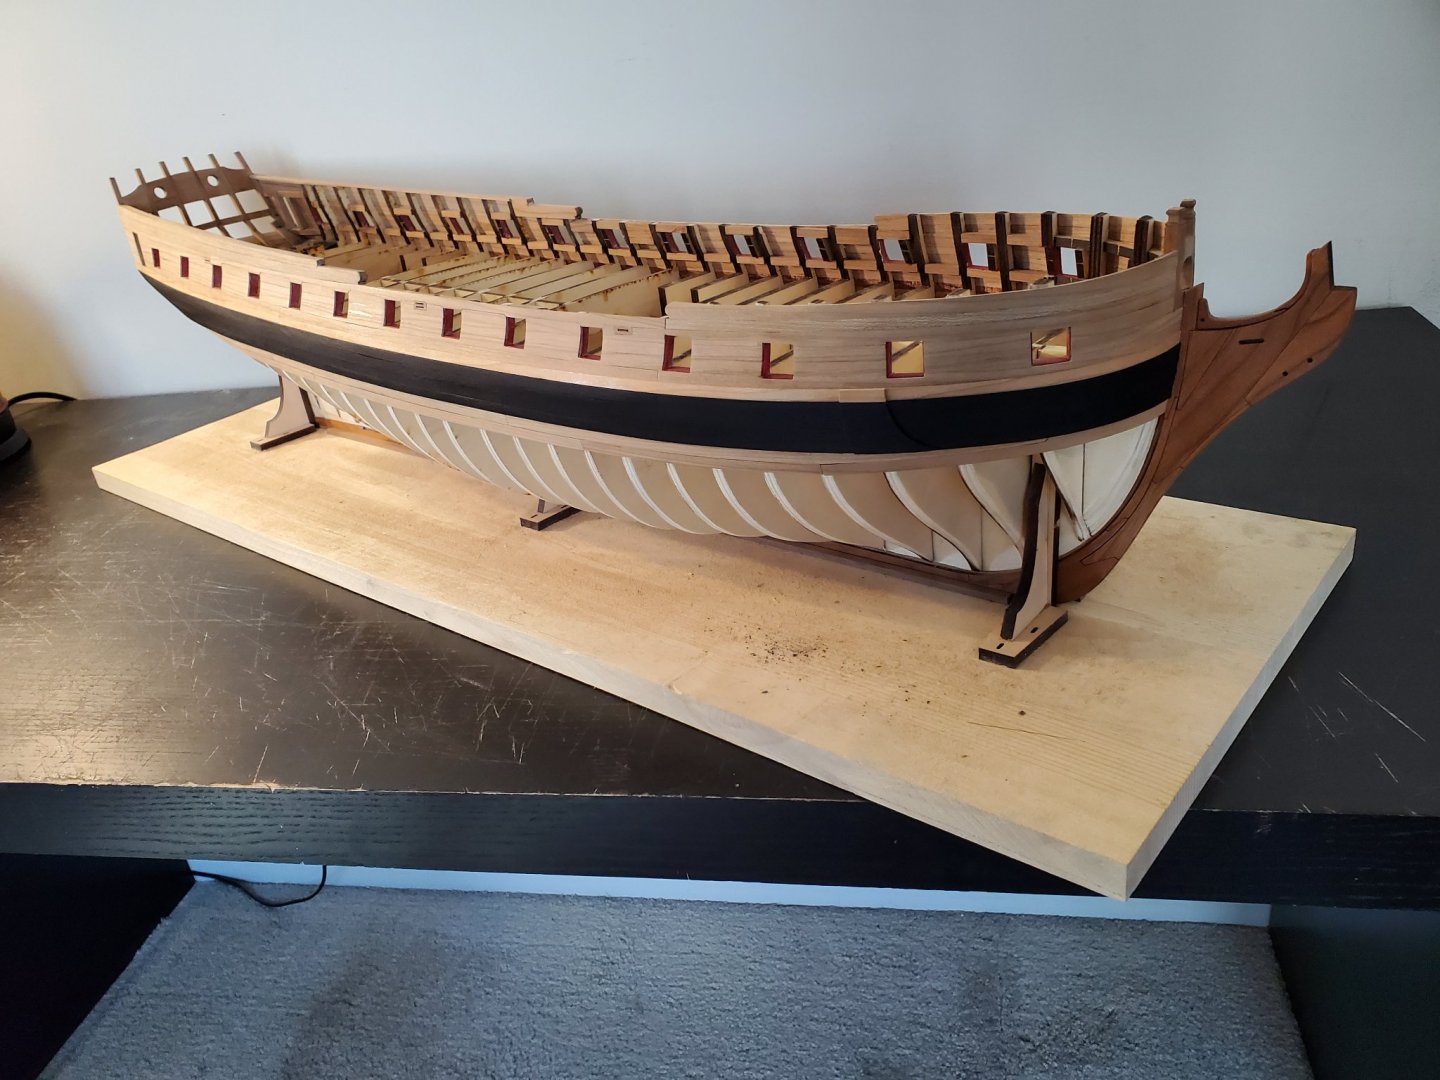
I so feel planking is my way of life right now! Hah! Since it takes me longer, it feels like it’s taking longer than it should. But I’m not in a rush and I am having fun. And yeah! That’s the point isn’t it?
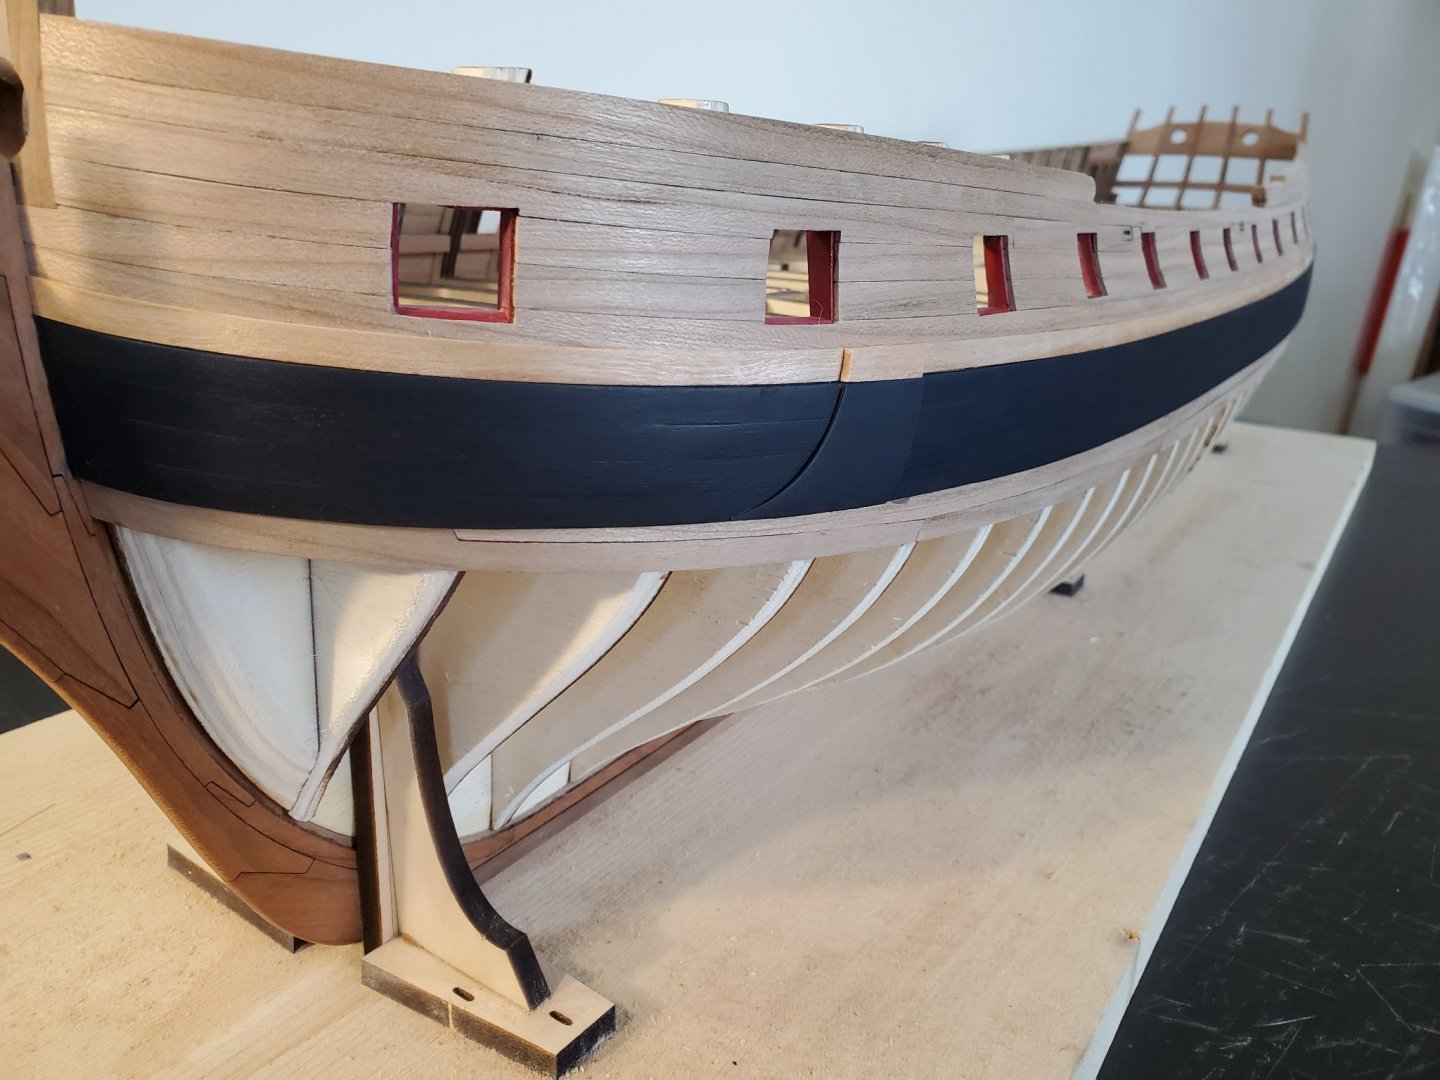
At the stern, I do see a lot of room for improvement on my part. I am taking notes and making sure the next time I will be planking, It will be better. It seems I didn’t twist the strips enough (which I should have caught but oh well). And I know the widths of the planks aren’t correct. Lastly, I’m learning I didn’t sand the bow and stern enough but I’m trying to rectify that as I go.
After finishing the garboard, I realized I need to cut my strips into slightly different widths, so I finally ordered more sheets of cherry. Enough to finish the hull planking. But for now, I will have to take a small break from the build until the sheets arrive.
Thanks!!
Jeff