MORE HANDBOOKS ARE ON THEIR WAY! We will let you know when they get here.
×


hamilton
-
Posts
1,930 -
Joined
-
Last visited
Content Type
Profiles
Forums
Gallery
Events
Everything posted by hamilton
-
 Hi Tim: Thanks for your kind words! I didn't actually consult the kit for the planking, but I like the 3-butt shift. And no, there was no pre-cut cap rail with the kit...I have a thin sheet of walnut that I'll use....I think yours turned out great - hopefully I can achieve something similar. Bye for now hamilton
 -
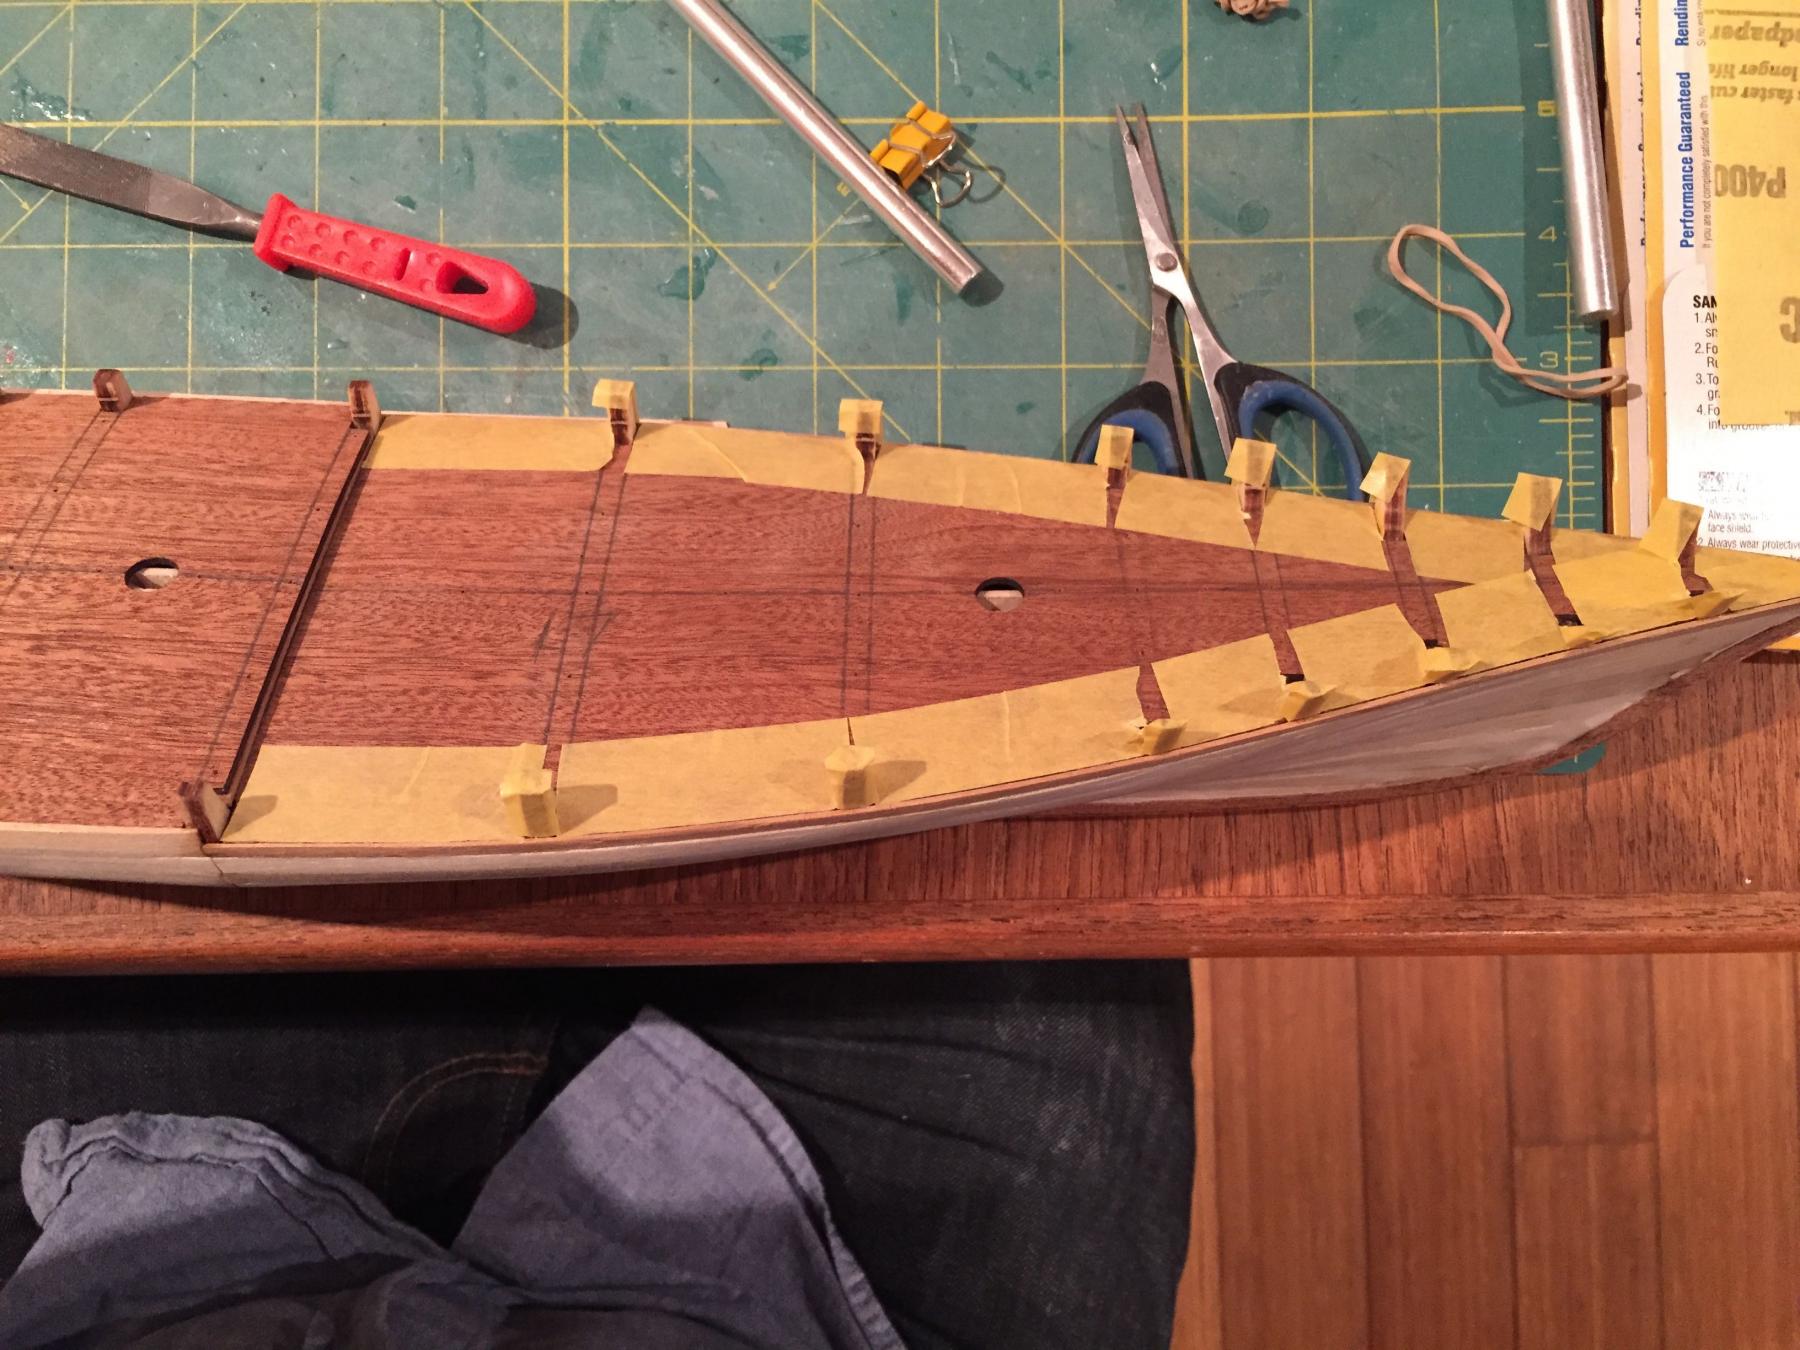
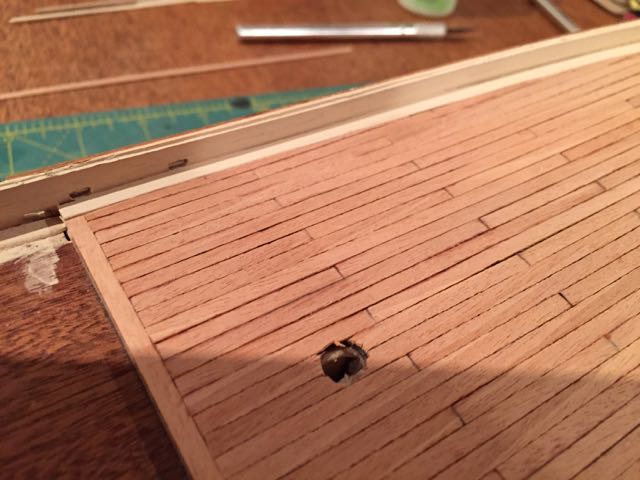
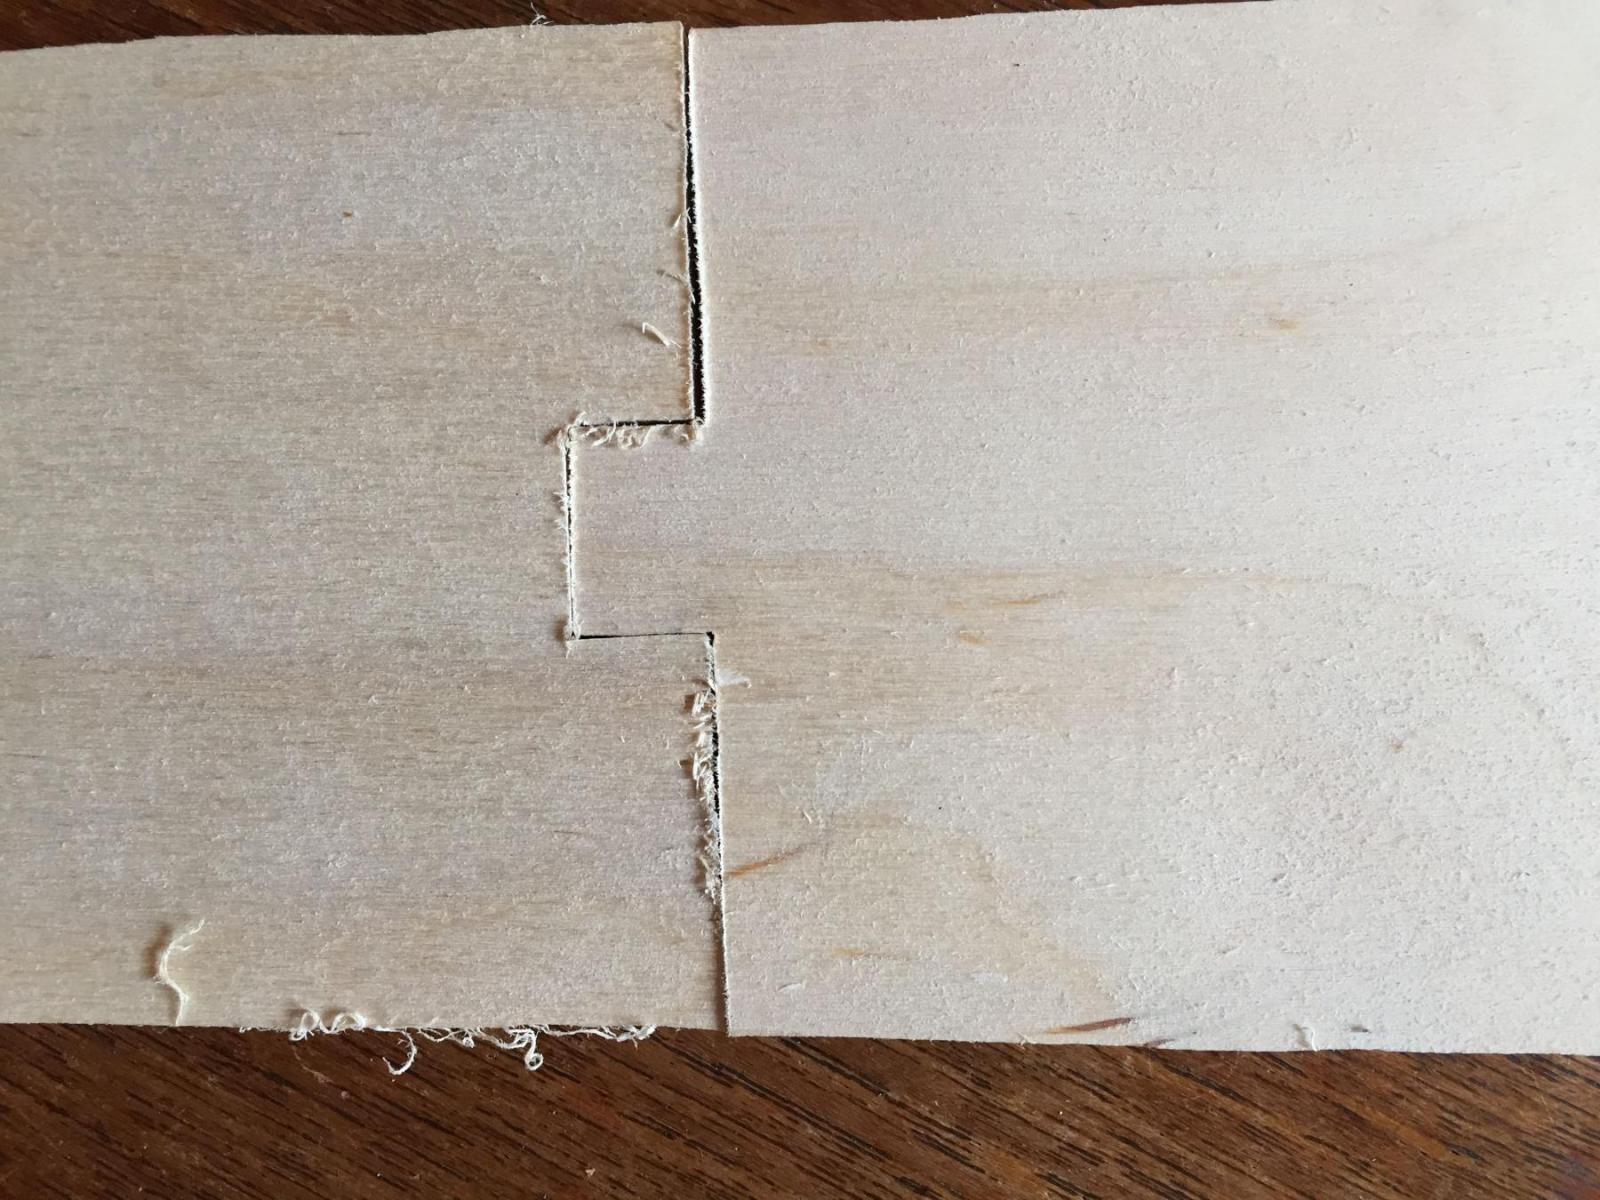
More progress on America I've been avoiding getting back to the second layer of hull planking - I won't be able to avoid it much longer, though.....Instead, I've been focusing on the decks and bulwarks. Tonight I started on planking the fore deck and installing the bulwark stanchions. The latter I started from three points - at the step of the aft deck port and starboard and at the centre of the transom bulwarks. From there, I installed several stanchions fore and aft and radiating out along the inboard transom. Not very exciting, but it's nice not to struggle with the hull planking! Here are some photos - the detritus on the forward deck is pre-cut deck planks. Enjoy
-
I agree - I wish there were more large scale models of working boats like the Glad Tidings.....I have the p.o.f. Emma C. Berry from Model Shipways, and I've built Corel's Flattie and Brittany Sloop - both were a lot of fun, and in a large enough scale (1:25) to add quite a bit of detail. hamilton
-
Great work on a really fun kit - I built this one a couple of years ago and it still ranks as one of my favourite builds so far. Hope you're having fun with it hamilton
-
Welcome back Andy! Looking forward to following along with this one! hamilton
-
I guess the break from building must have brought on a real burst of energy! You're making great progress! hamilton
-
Hi Tim: The .25 .40 and .80 refer to the diameter (or thickness) of the rigging line - in metric! I believe Chuck has both imperial and metric gauges listed for his rigging line - the dimensions may not be exact (a little thicker or thinner) but they'll be close enough and his rigging line is (as others have noted) excellent. If you've got some money to burn, I'd recommend the investment - not only for the way it looks, but for the fact that it is so easy to work with! hamilton
-
There's a couple of guides to tools on the NRG resources page - check here http://modelshipworldforum.com/ship-model-materials-and-tools.php The most used tools for me are my hobby knife and #11 and #10 blades as well as x-acto saw blades. Needle files get quite a lot of use and several sanding blocks and sticks. mini clamps get used with great frequency during rigging, as does my third hand device. And, of course, it's good to invest in a decent pin vice and micro drill bitts. And tweezers - a good stainless steel set of needle-nose and bent-nose tweezers are essential. hamilton
-
Ahh "block tumbler"!! Thanks EJ! On the sails....the material provided with the kit is both too white and too thick.....I have done sails before - they've never been great, but I've not been entirely unhappy with them. For the whiteness, you can "dye" the sail cloth in a dark black tea - I'm sure someone can recommend a combination, but a deeply brewed loose earl grey worked ok for me....the cloth needs to be very well-ironed first and you should endeavour to soak the cloth absolutely flat - any wrinkles will show in the dye and that will be that..... I've only tried tea dying once and it worked out "ok" - but other times I've gone to a sewing/textile store and purchased light muslin fabric pre-dyed a kind of light tan colour. You can easily eyeball something that will work more or less at your scale. The operation of the sewing machine is another matter - it took a while for me to figure out how to get good straight stitching, but once this was done it's pretty much a snap. My wife spent some time laughing as I learned the ropes of the devilish device! The hardest part is sewing the edges of the cloth - more difficult the smaller the scale, obviously, since the "hem" along the sail edge will be smaller and thus harder to control in the sewing.... Another tricky thing is the bolt rope that runs along the outside edge of the sails. Many how-tos (and all kit plans/instructions I've ever seen) recommend hand stitching the bolt rope on....I started to do this once and realised how crazy-making it was and elected another option - to glue the bolt rope on with CA - this sounds very messy (and it can be), but if you use one of those thin applicator tubes on your CA bottle, you can control the glue quite easily and not make so much of a mess or make the sails all hard and patchy.... Not sure how helpful all this is - I guess my point is that I would encourage you to take a shot at the sails - if you have access to a sewing machine, that is...otherwise, you can probably skip it....I think I'll include sails on this one - there are only 5, so not too crazy..... hamilton
-
Hi Tim: Yes about the quality of the blocks.....I've found that the blocks supplied in Mamoli and Corel kits are the same, often very frayed and square looking....on a different kit I would replace the blocks with ones purchased from Chuck's Syren Ship Model Co.....but I don't think I will for this one.....I think there's a little tool you can make with an old can, some bristol paper or card stock, and sand paper that can allow you to shape the blocks en masse. Someone here will know what I'm talking about, but that part of my brain doesn't seem to be functioning today......... hamilton
-
Looks great! Is this the natural finish of the planks or did you treat them in some way? hamilton
-
Harlequin: The fact that there are rats involved in the slow deterioration of your Greyhound simply adds to the authenticity of the build - despite what I imagine is a serious scale issue...... I kind of do kind of don't miss the Greyhound.....I definitely put more effort into it than I am with this one, for some reason.....anyways, always wish I had more time for modelling - now it's back to work! hamilton
-
Hi Tim: Scratch building these is definitely the way to go....I'm keen to see how your versions turn out - I will likely follow suit. hamilton
-
Harlequin! I'm not sure how I've missed your progress on Bellona - but I'm sorry I haven't been following as closely as I shoud...she's looking great! The stern is particularly well done!! I'm at work so have not had time to do more than "like" your photos, but I'll have a closer read through this evening. Good to see some progress on this one! hamilton
-
Hi Frank: Yes I'm hoping for this result! Can I ask why you switched to a glue stick? I find the rubber cement very easy to work with - and particularly easy just to peel the paper off the wood - it comes off smoothly and any residue can be removed with a light sanding. I used rubber cement in a tube before and it was a nightmare - very finicky and it got everywhere! But Elmer's rubber cement in a jar works great. Anyway, interested to know about your preference. Thanks again for stopping by hamilton
-
Thanks Per - she's a beautiful ship! I hope I can do her justice and I look forward to seeing your build when you get to her! hamilton
-
Thanks Russ, Alan and Frank: Yes, going slow is definitely in the cards! I think the band saw will work fine for the purpose I'm putting it to, but I can't expect that the parts I cut using it will be fully dimensioned....as I mentioned before, I can see the value of a disc/belt sander already - though I never considered a jigsaw for fine trimming of the parts......I still have to invest in a smaller blade and I'll see what kind of effect that has as well - I just invested in a bit more ply to do more experimenting - hopefully I'll have a bit of time this weekend to give it a whirl.... hamilton
-
Thanks Tim - so many aspects of this kit have been troublesome - in a weird way because on the surface of things, the kit seems (and is) very straightforward....I think in many ways I've been overcomplicating things.....particularly with the hull planking and the bulwarks....but I'm almost through both and have sworn not to get too analytical about the build from now on...... hamilton
-
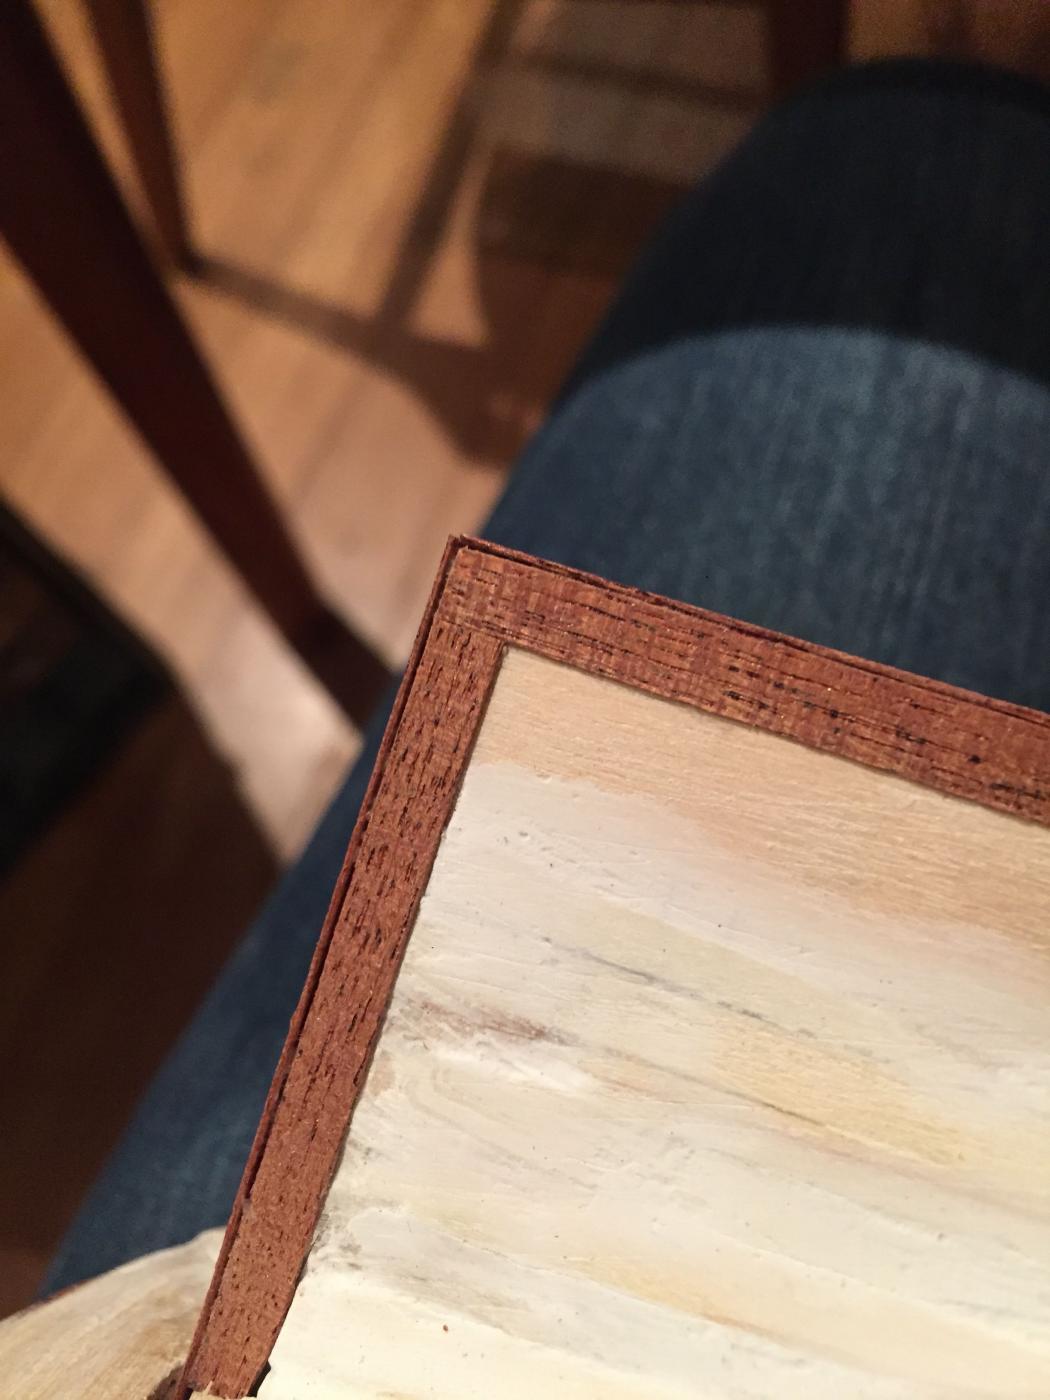
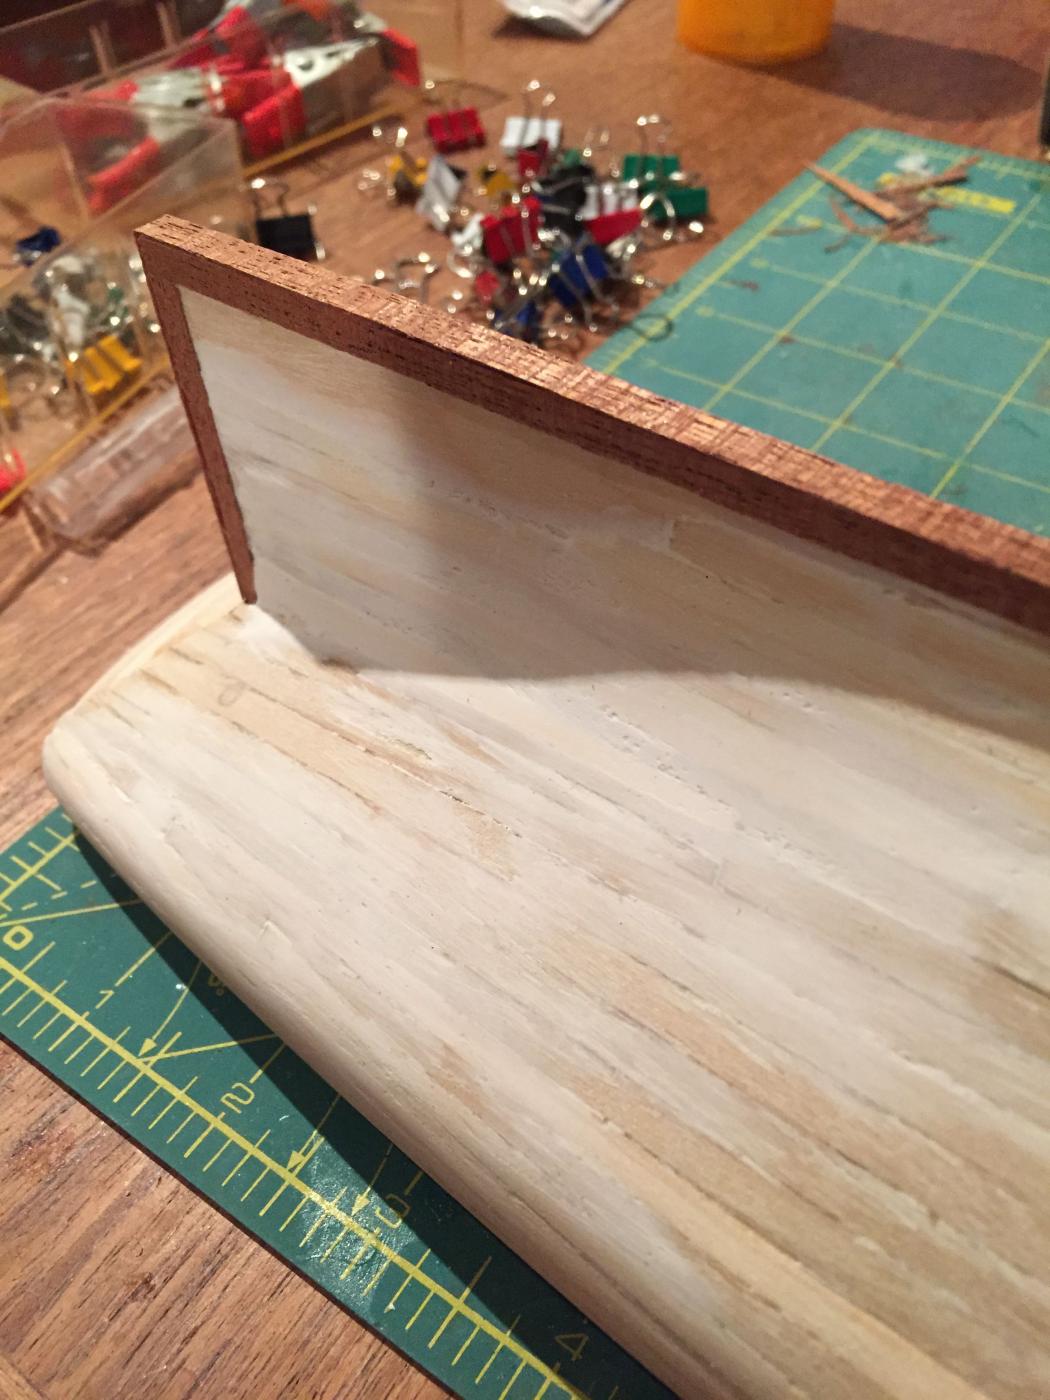
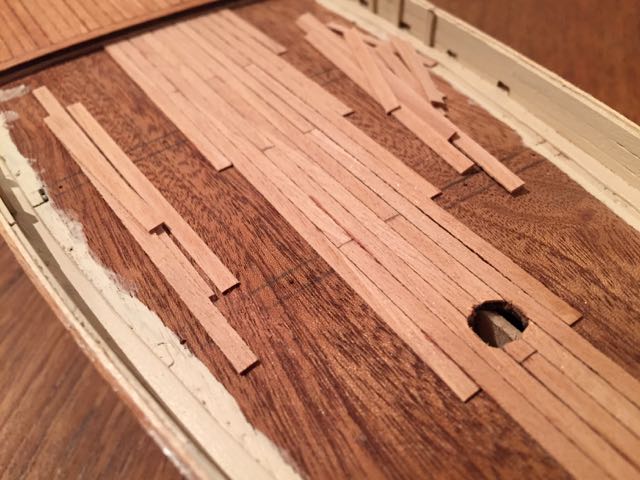
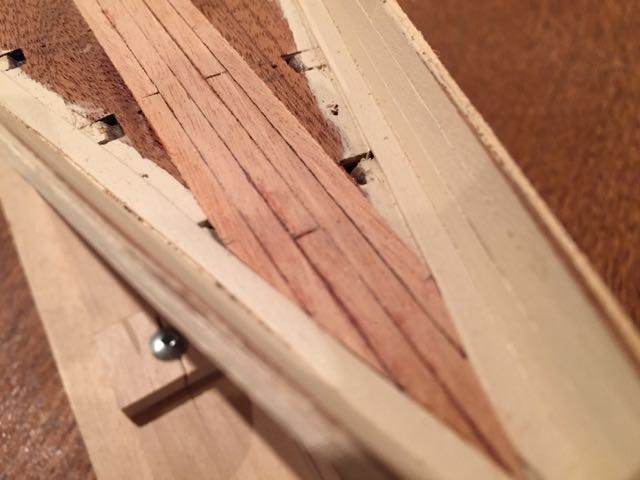
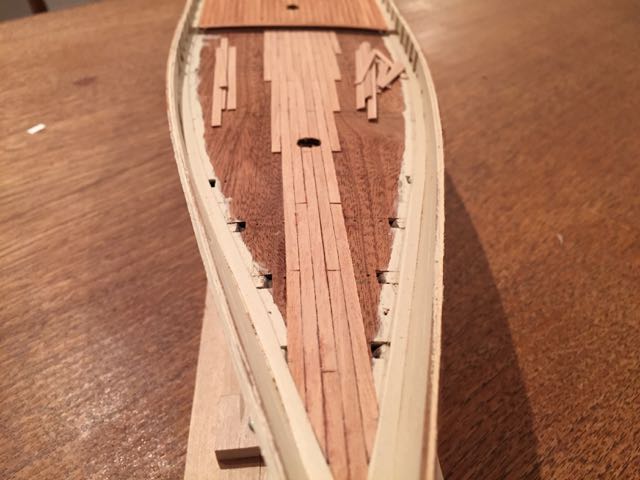
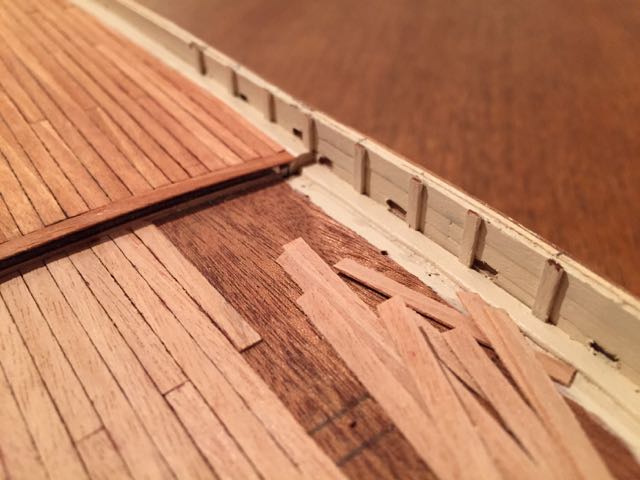
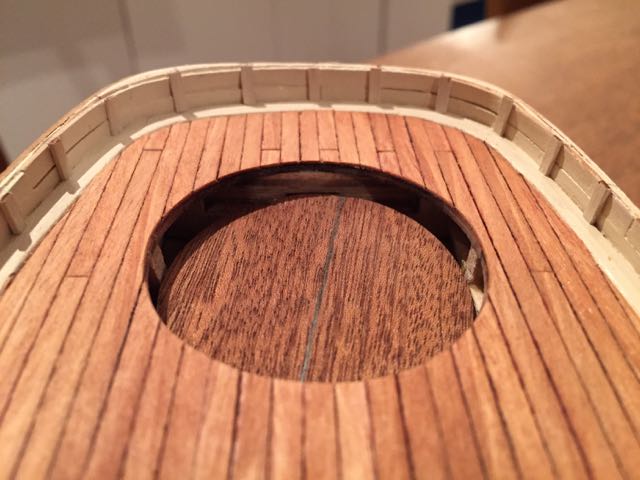
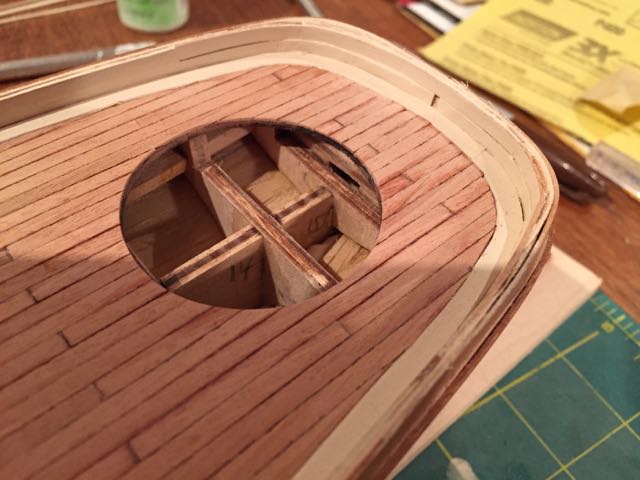
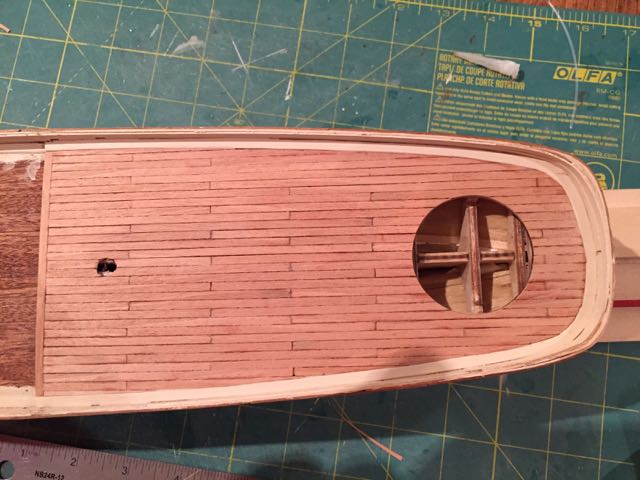
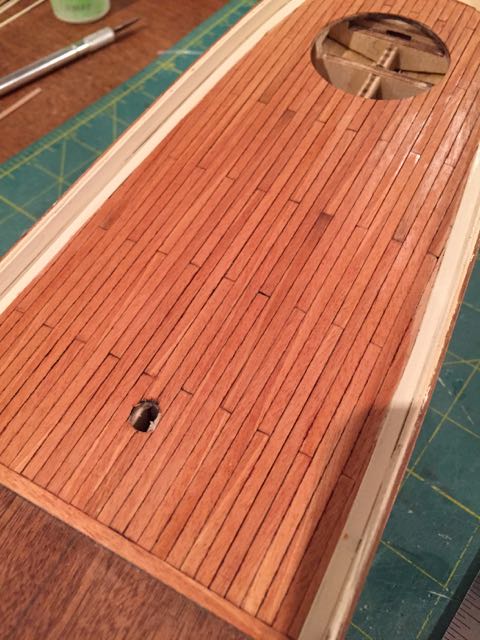
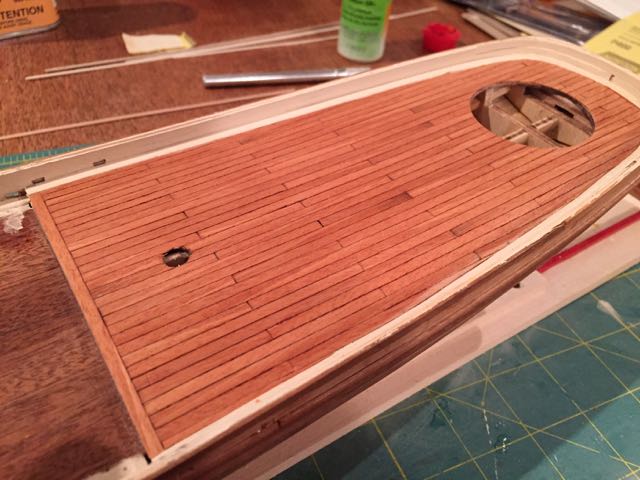
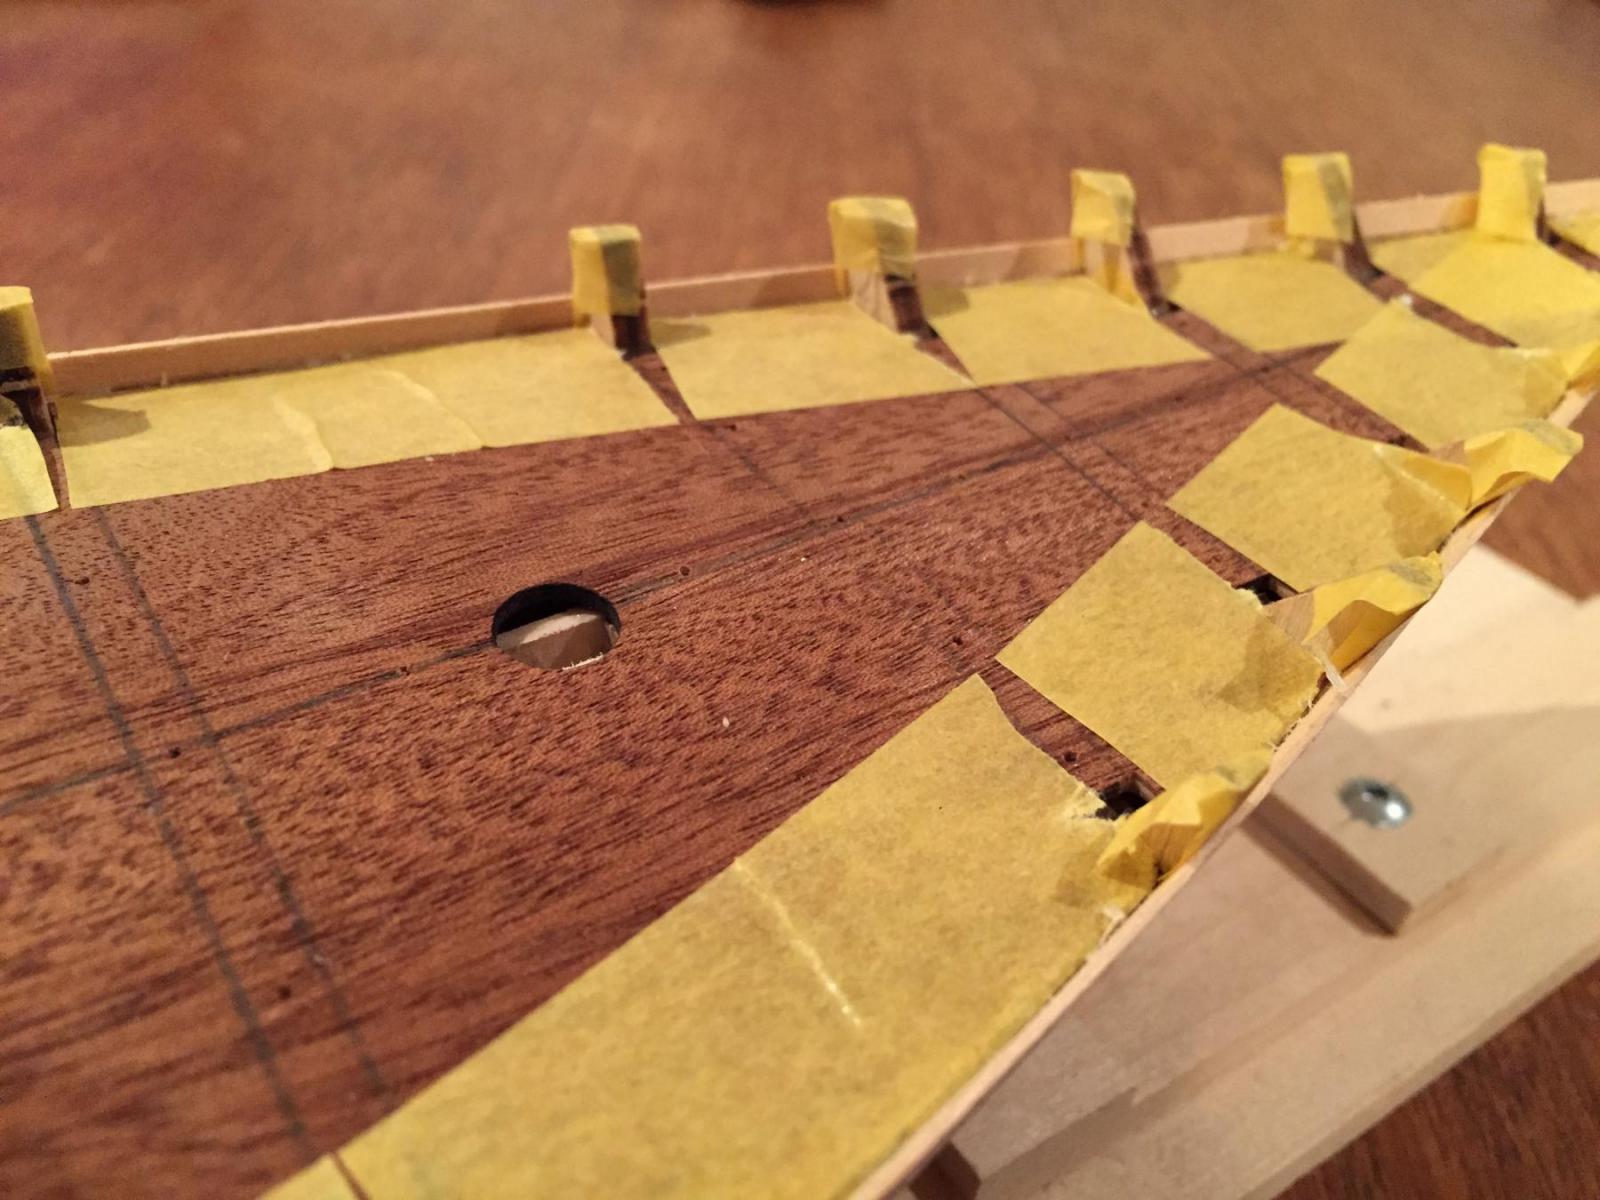
Hello all Another (and more recent!) update on America. Unfortunately, I have no photo documentation of a couple of things - the second planking, the margin planks, and the deck-planking in process. But as I mentioned in the last post, the second planking continues....though in fact I've avoided it tonight in favour of finishing the aft deck. Prior to installing the deck planks, I made margin planks. For these, I used some 1/32" basswood sheets. Prior to installing the decks I had taken patterns of the deck pieces using carbon and bristol paper. These I now cut out of the bristol paper and used them as templates to make the margin planks. I cut the outboard profile of the margin planks and then set a compass to 4mm to mark the inboard edge. I rough cut the margin planks a little thick and then very gently trimmed and sanded them down to size - they're not perfect, but they're alright. I decided on a 3 butt shift for the deck planking, having no idea what might have been the case on the actual America. This stage always takes longer than I expect it will - in fact the aft deck has, in the end, taken 3 nights work and there's still the fore deck to complete. The first three photos below show the deck planks unfinished and the last two with 1 coat of tung oil...more coats to come. Enjoy the photos! hamilton
- 165 replies
-
- 11
-

-
Hi Tim: Replied to your PM - these are cheek blocks - they go on the ends of the main gaff and boom - starboard side for each. They act as sheaves for the gaff topsail sheet and running end of the topping lift. They feature on sheets 5 and 6 of the plans, but are hard to identify because the drawings do not really look like the parts - I id'd them through a process of elimination as I recall..... hamilton
-
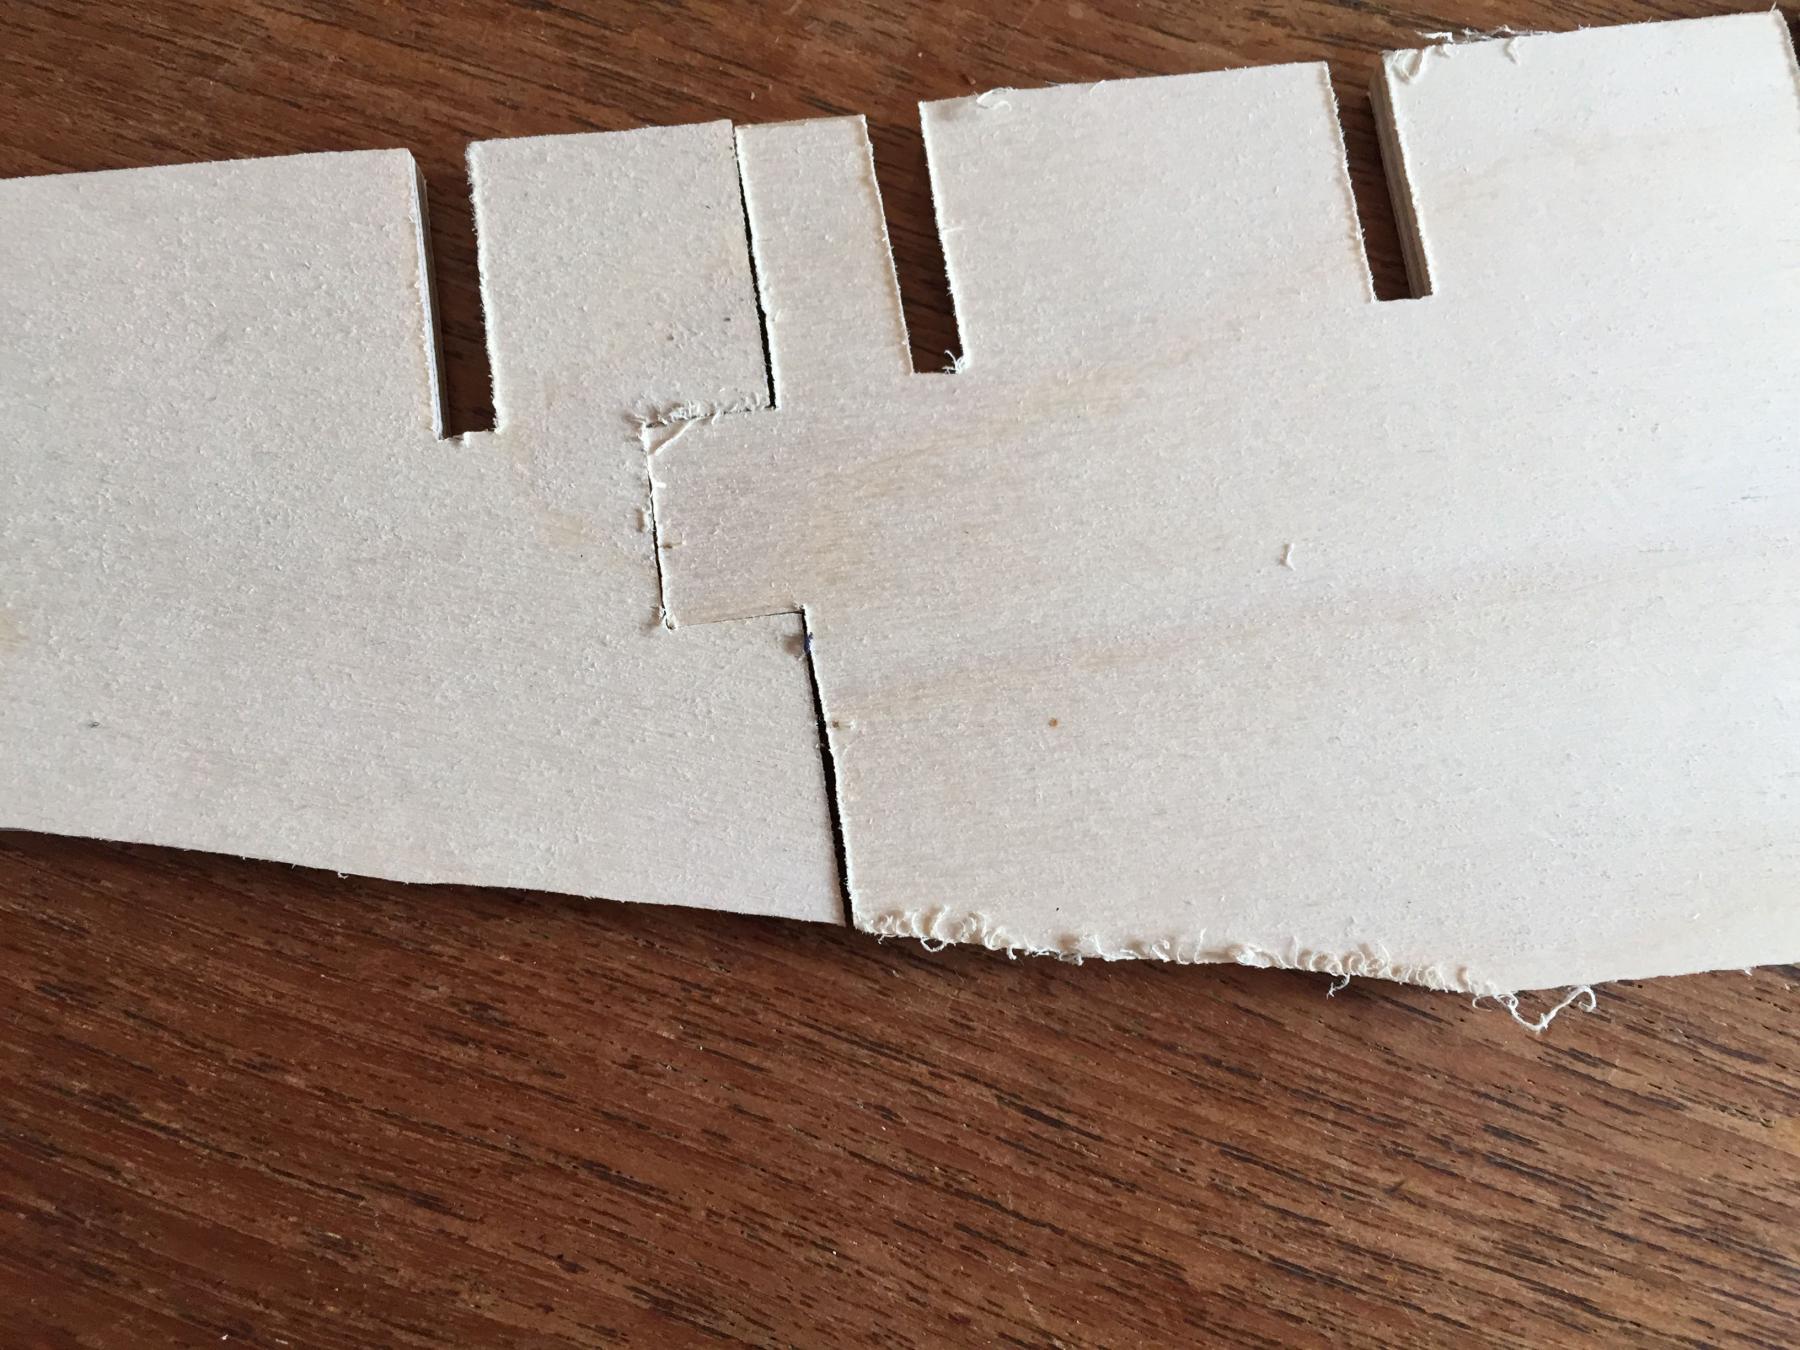
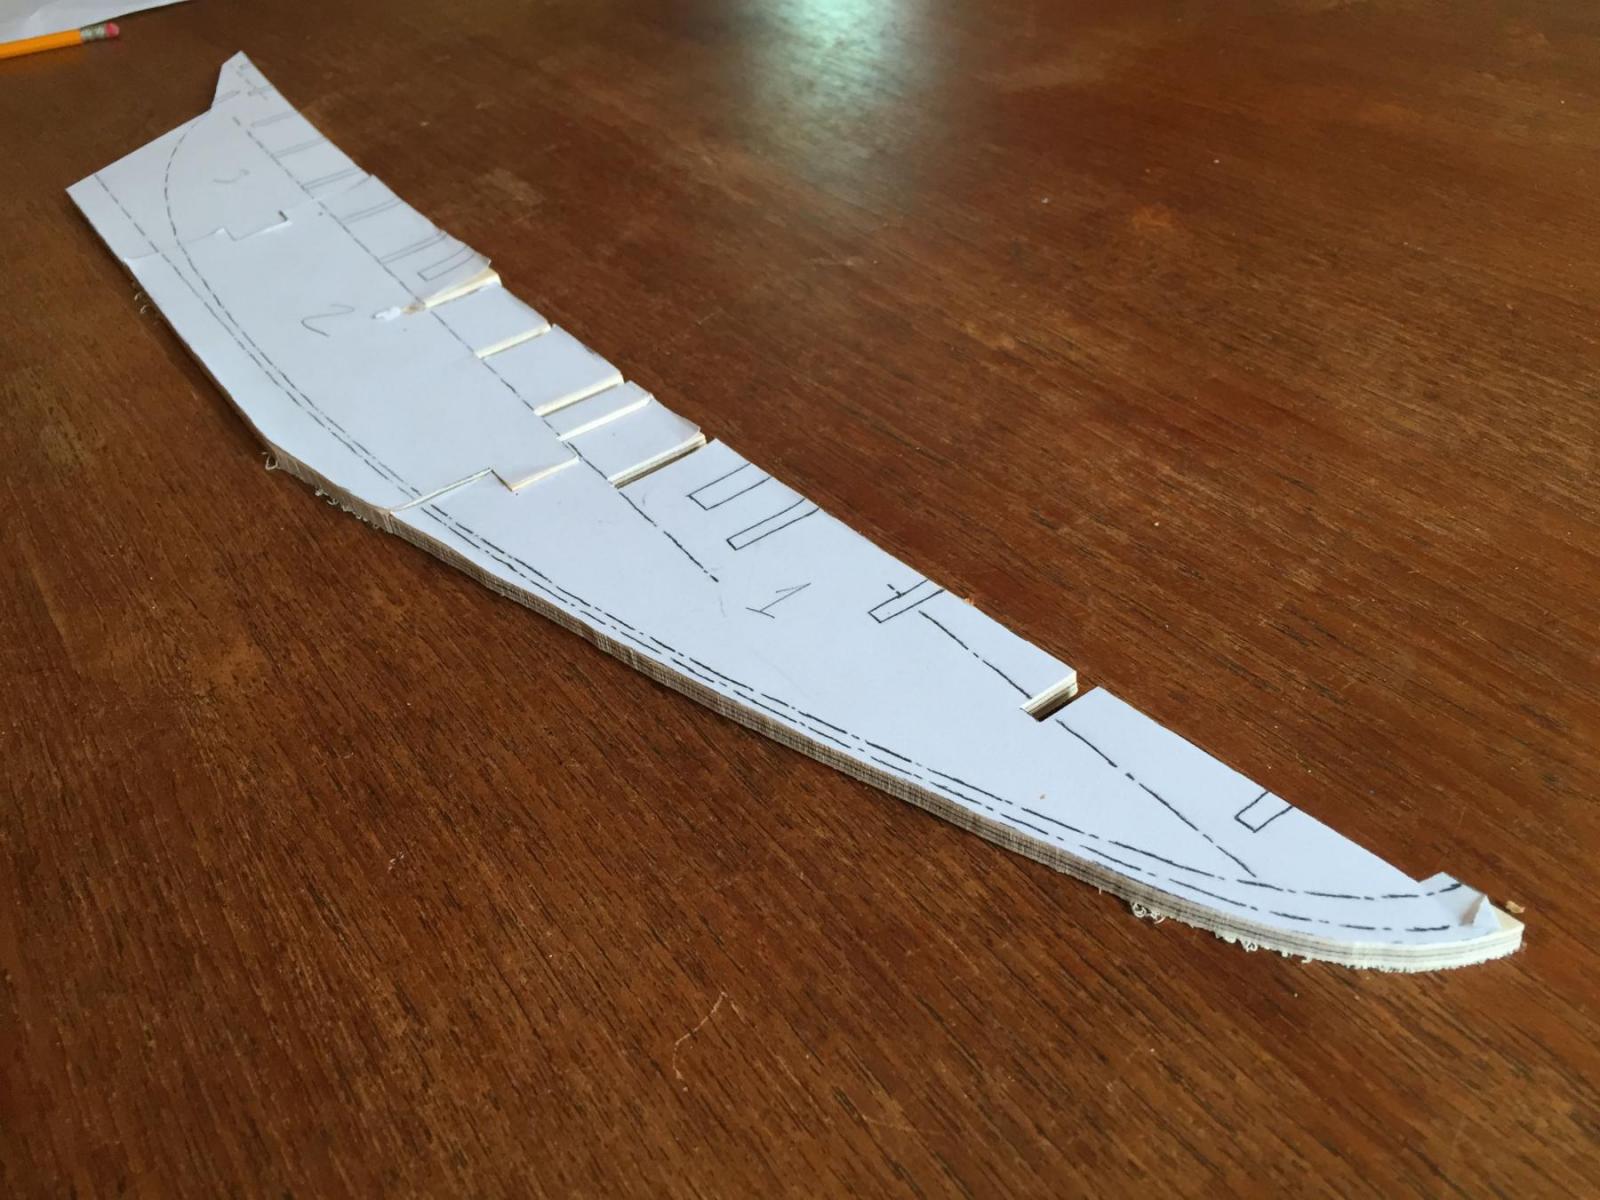
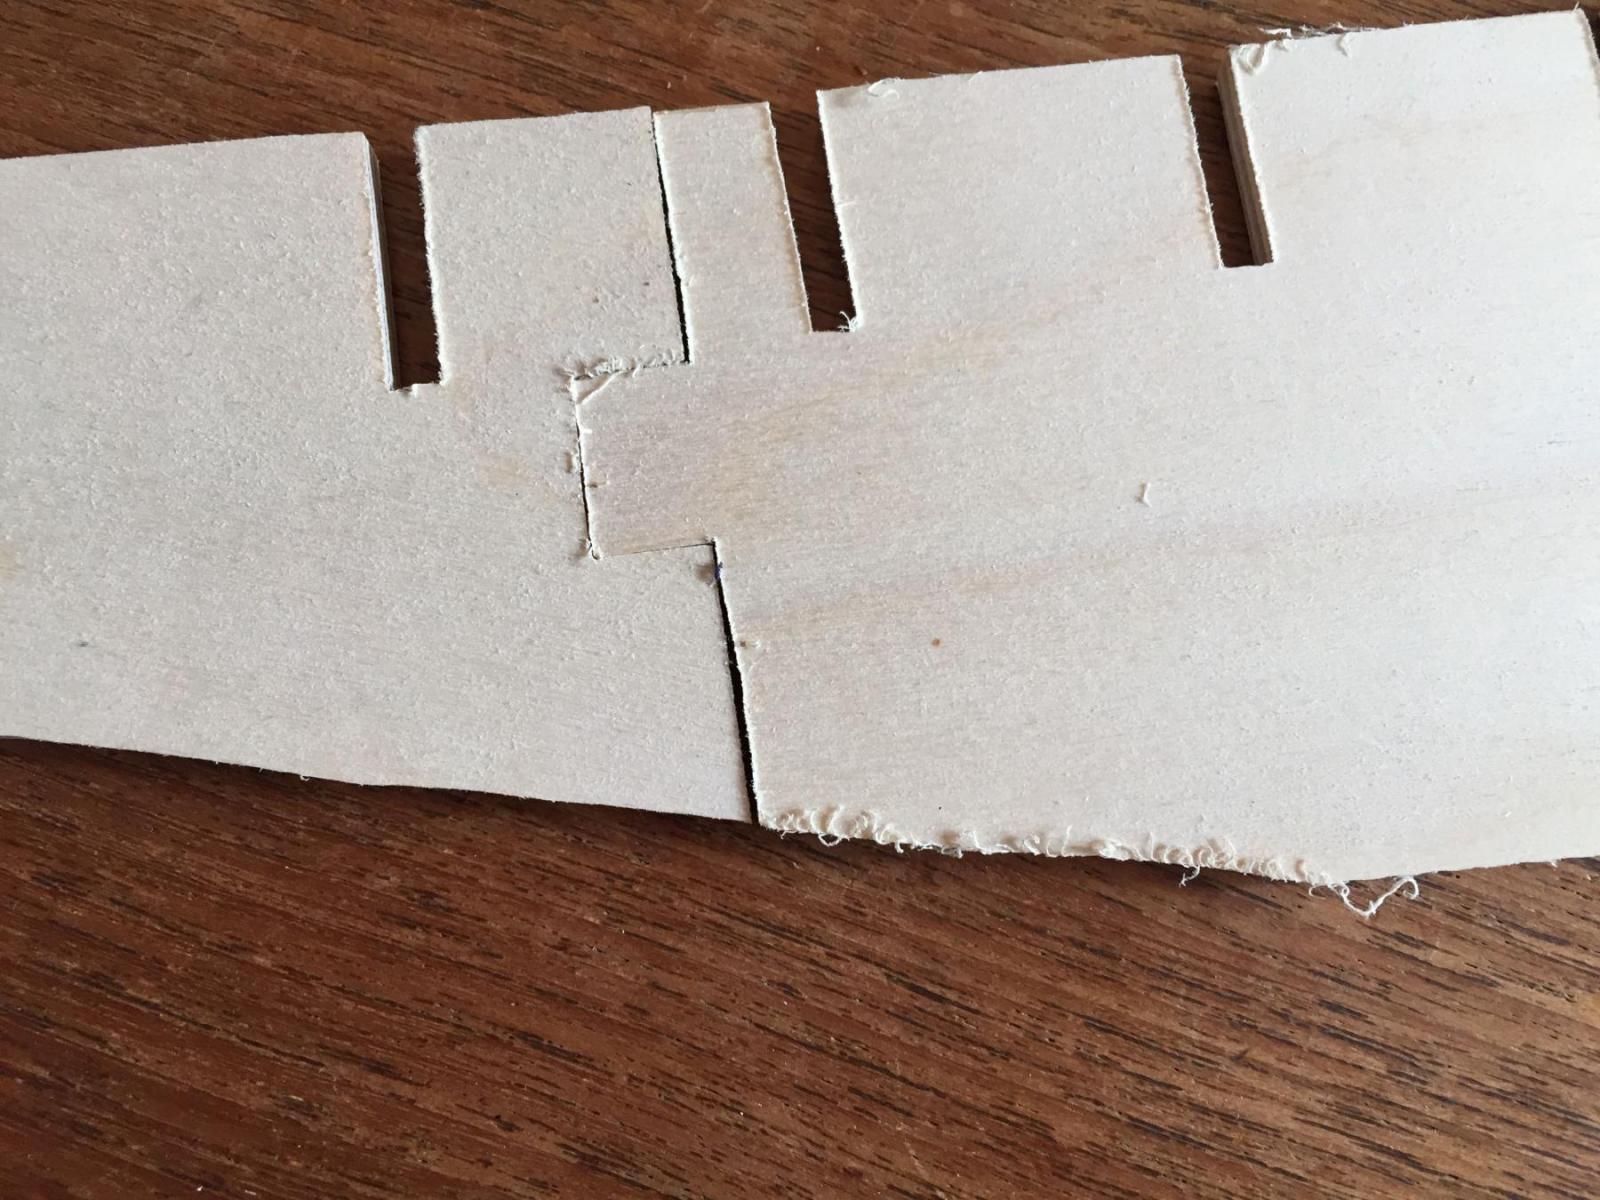
Hello there: The Bluenose is not exactly "progressing" but my experiments with the bandsaw in cutting the basic framework elements continue...... I've discovered several things: 1. My hand is not as steady as I thought....the patterns will benefit from the use of a straight edge - I find that the curved areas are much easier to get right free hand, but a straight line confounds me! 2. The band saw is great, but I need a thinner blade. I'm using a 1/4" blade (factory supplied) but the operator's manual tells me I can get 3/16 and 1/8" blades....I'm planning on investing in the 1/8" blade - some of the curves, particularly on the aft bulkheads, are too sharp for the blade I'm using combined with my lack of experience. 3. I need much more practice with the bandsaw in terms of just basic operations. As you'll see from the photos below, my hand at cutting is just as unsteady as my hand at drawing. I think I will need to try harder at cutting just outside the lines of my drawings and then refining the pieces with a (yet to be acquired) disc sander. 4. While the outside edges need to be cut outside the lines, the bulkhead slots on both the centre keel and the bulkheads themselves need to be cut right at the line, otherwise they are far too thin. I ended up cutting the slots a bit inside the lines and this resulted in a rough fit of the bulkheads that was, if not perfect, close enough that with practice I'm confident I can achieve good results. Anyway, there's not much in the way of pictures. I realise that I'm going to have to spend a bit of time making a building board once my experiments with cutting the keel and bulkheads is over and I get serious about the project. For now, here are a few shots of the keel pieces, given you an exact indication of how sloppy the work is right now.....again - some more experience and a new tool will hopefully go towards better looking results! hamilton
-
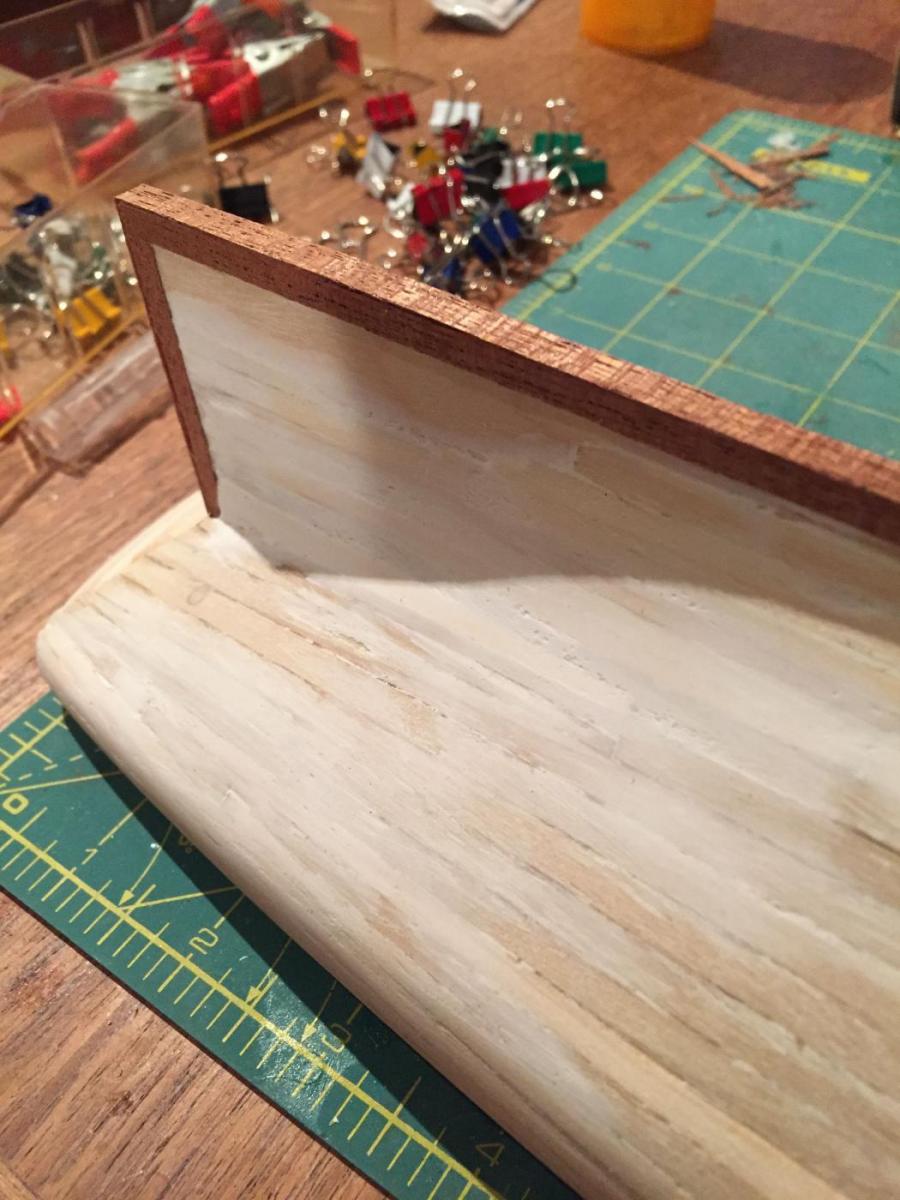
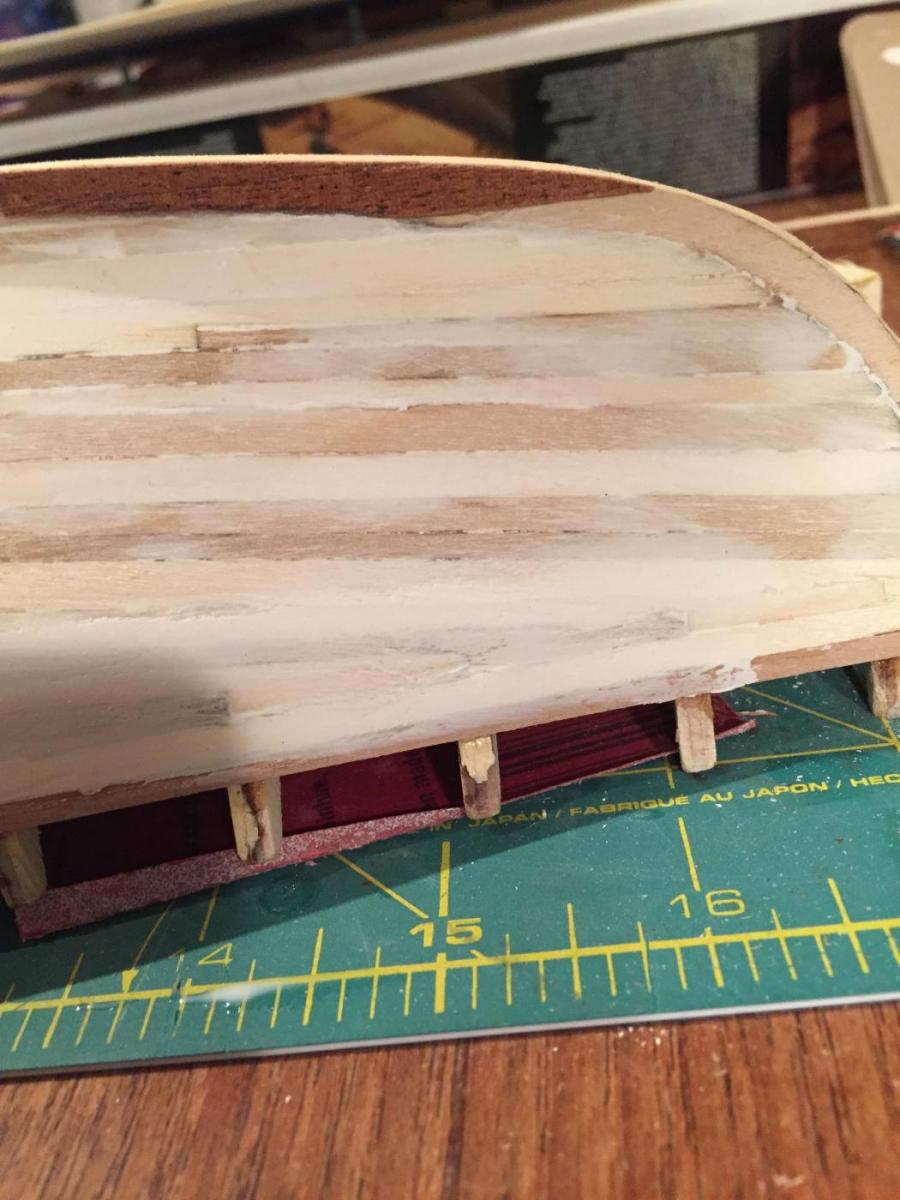
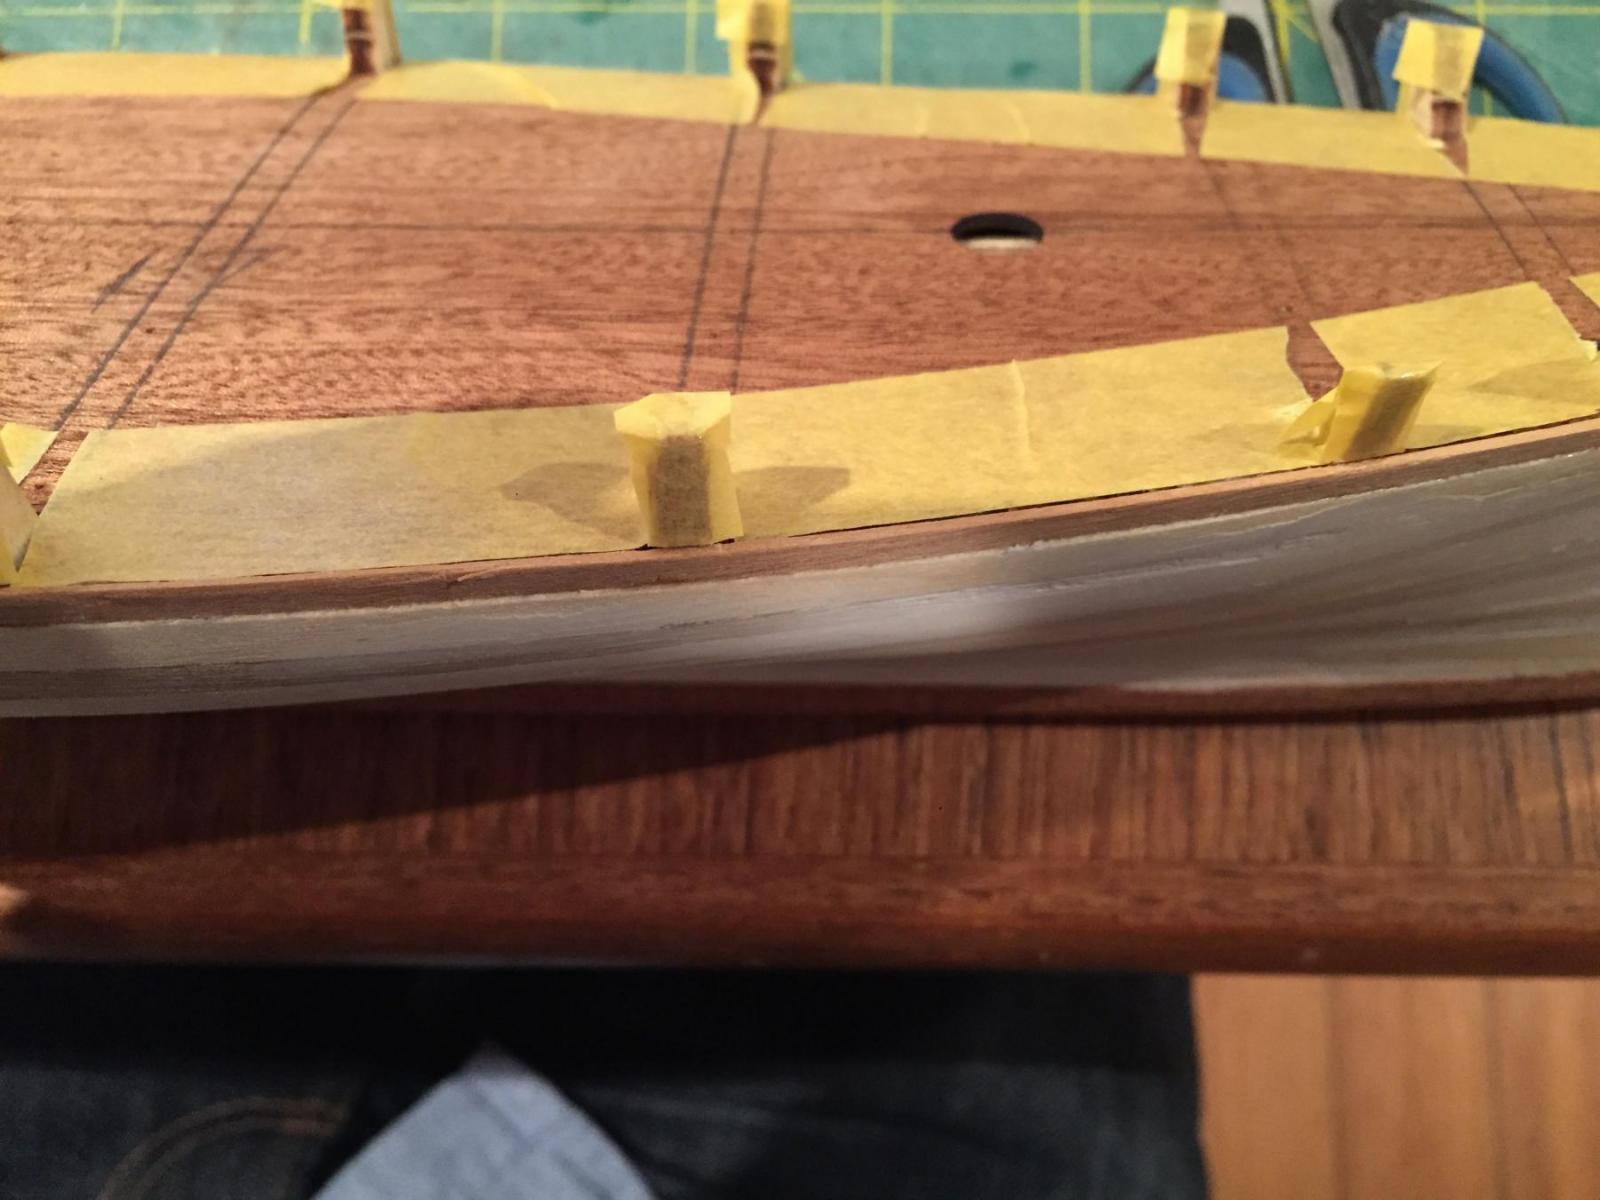
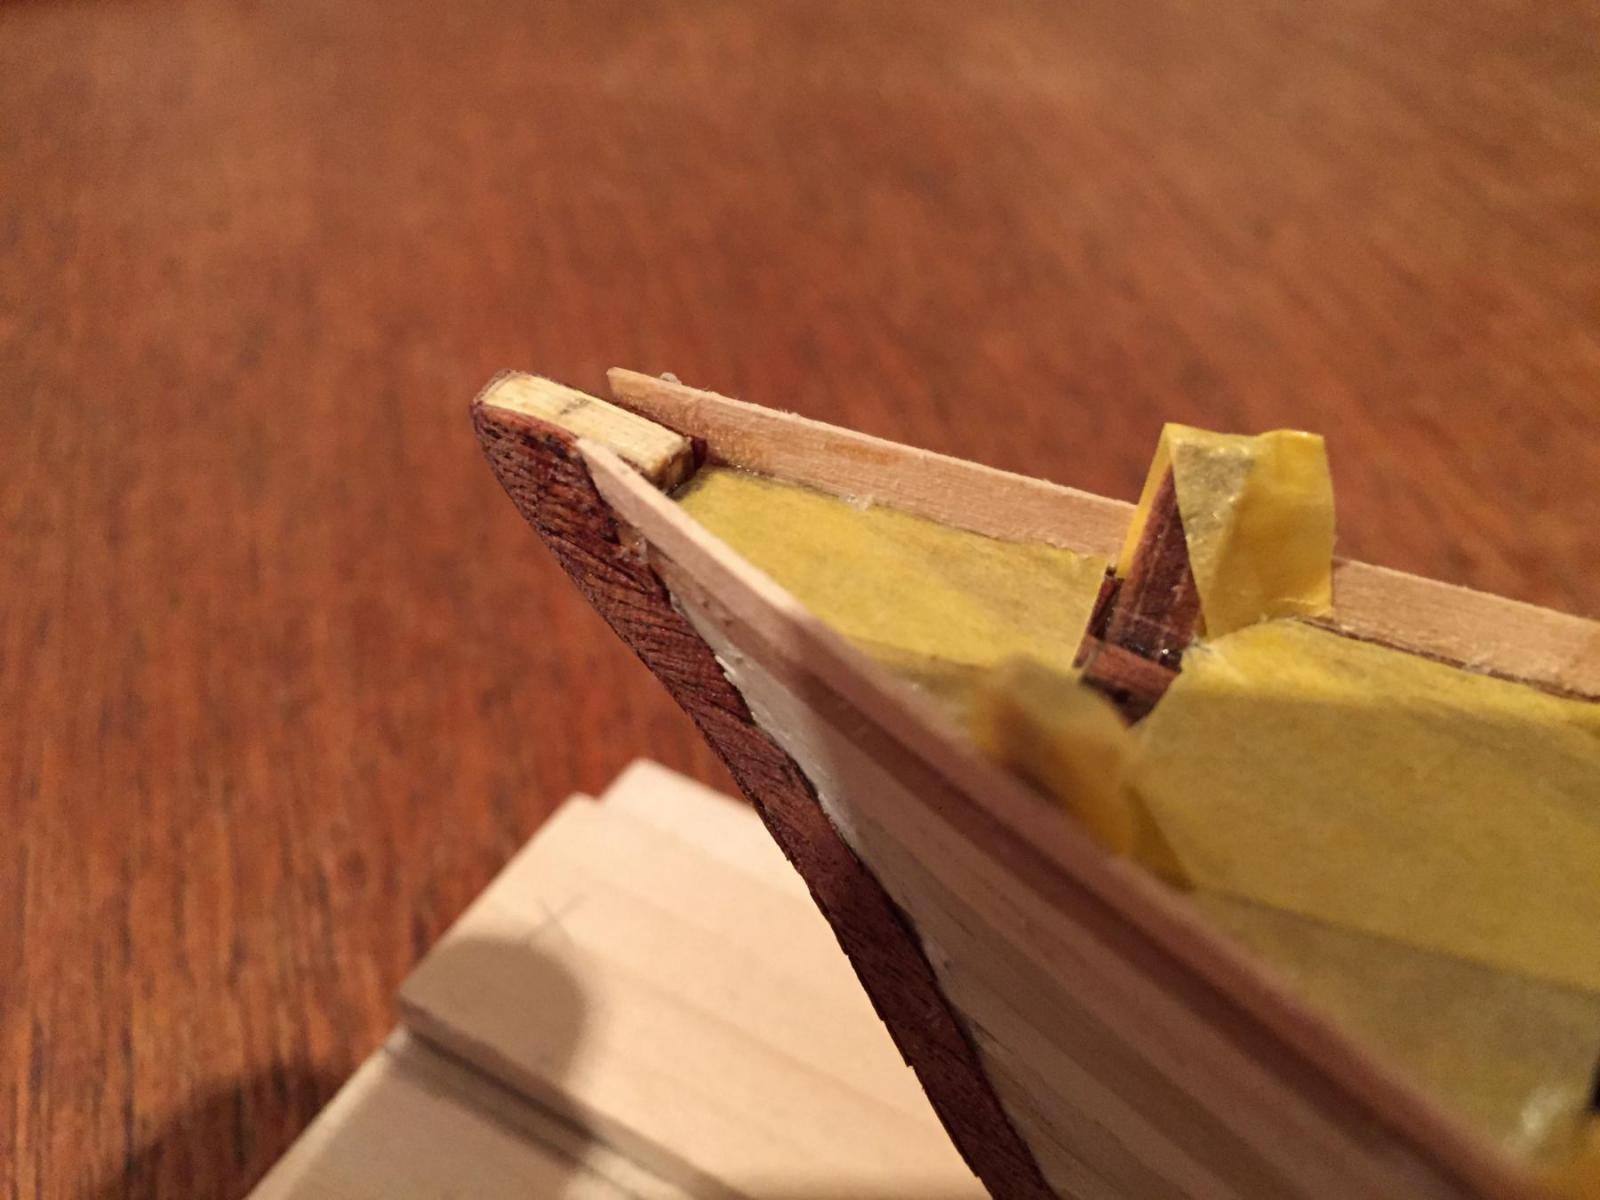
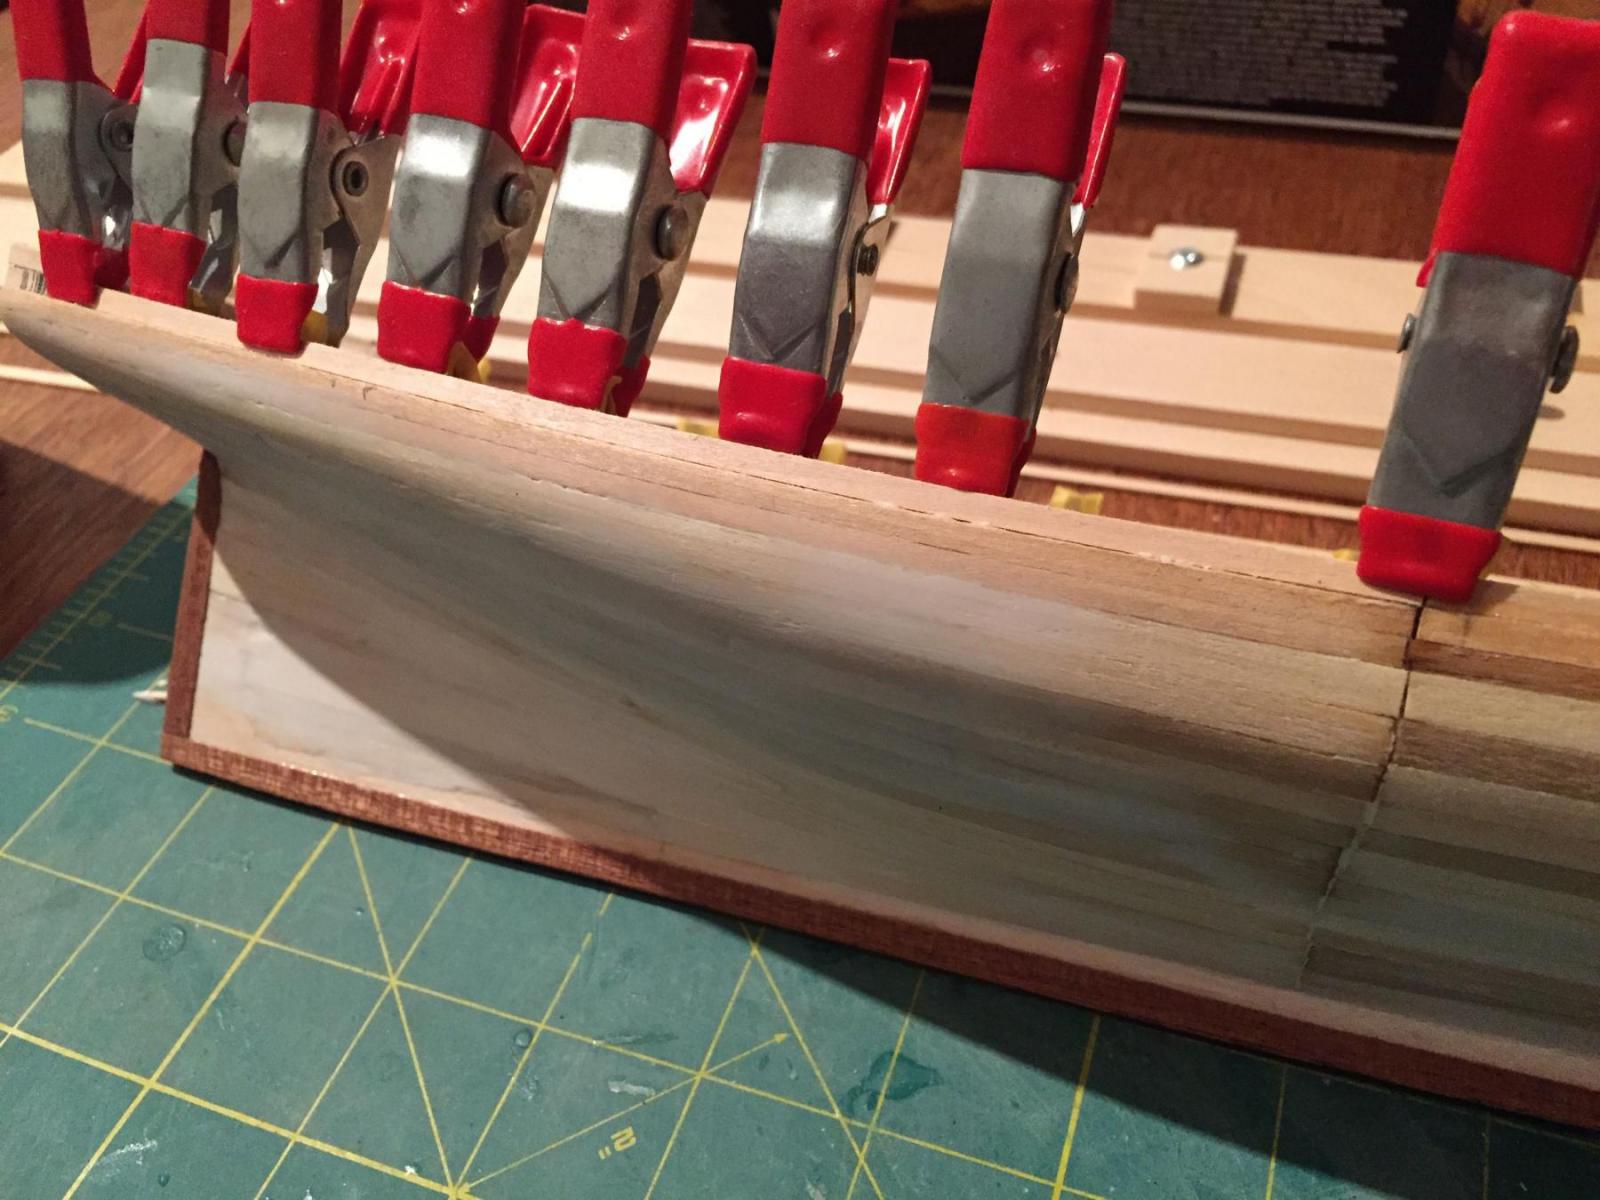
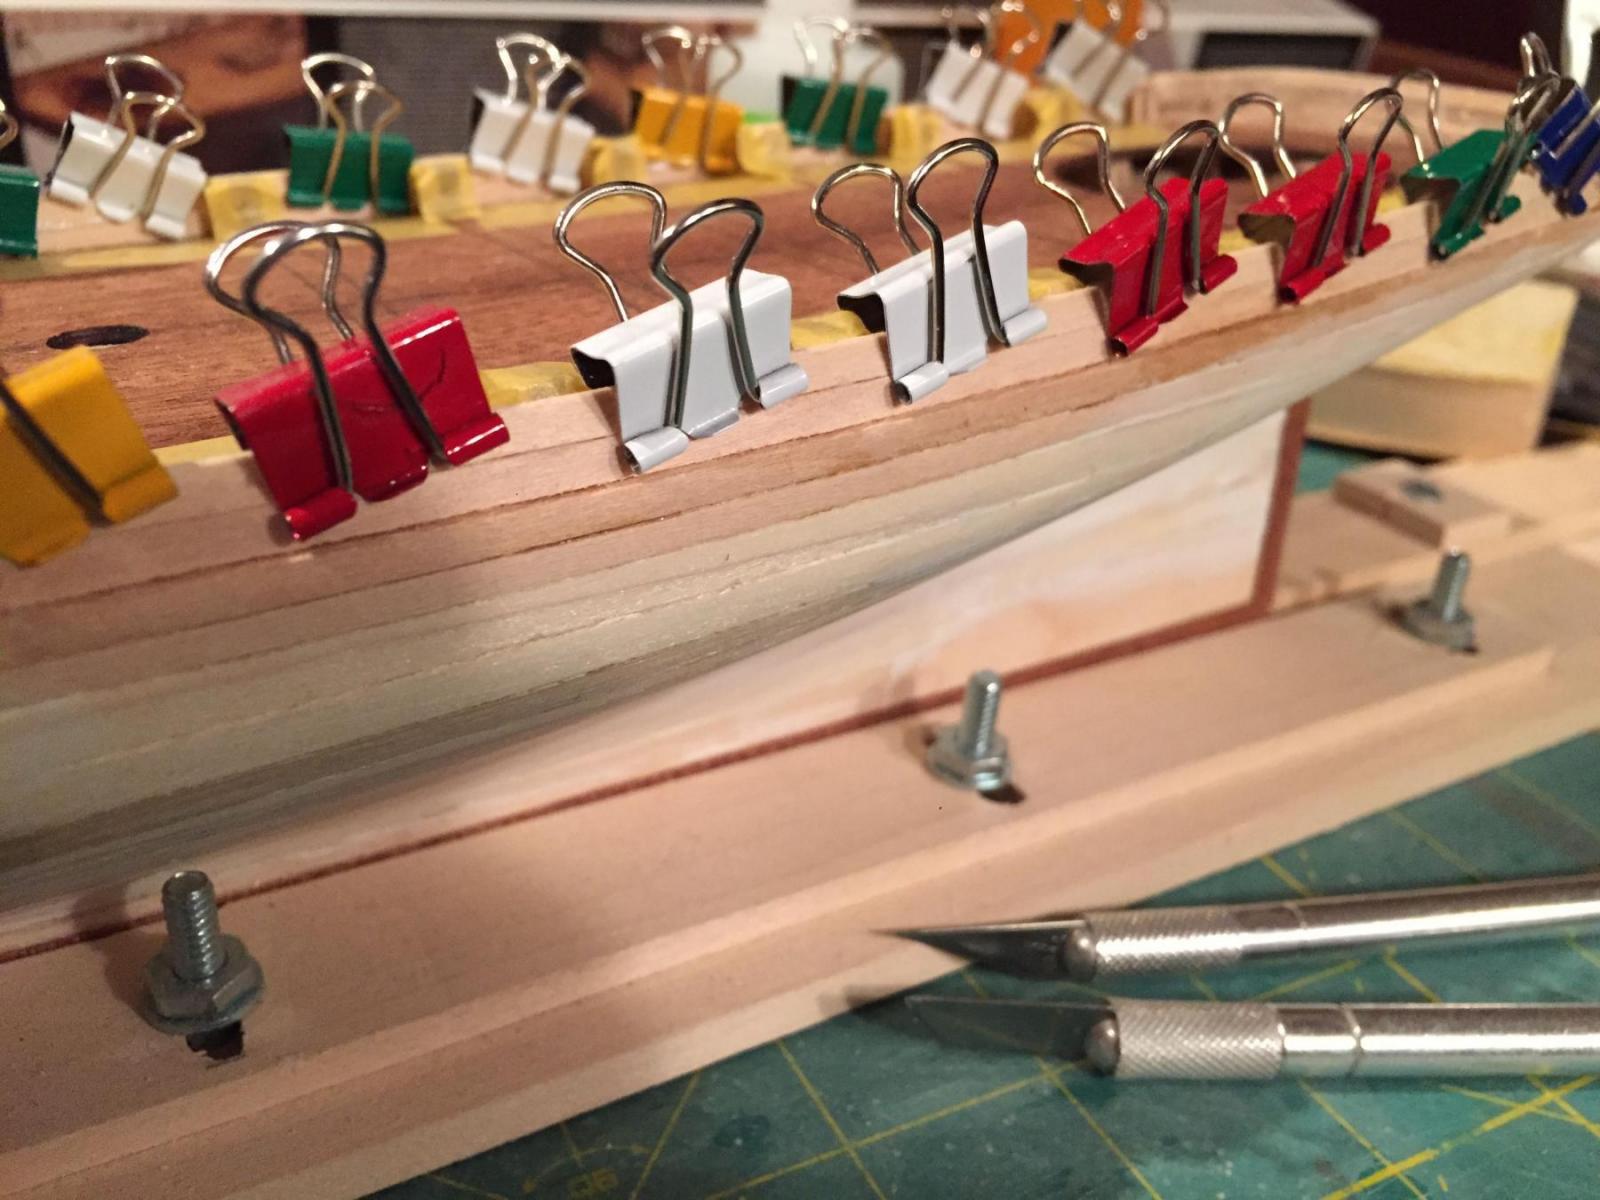
Yikes!! I see my last real update on this log was back in mid-December.....To be honest my work on this model (and on modelling in general) has been very sporadic since I finished the Fair Rosamund last year. After about 6 years of consistent modelling (and 13 completed models) maybe I've just needed a break.... In any event, it's not that no work has been done. I've been working on the second planking and on deck planking, but it's been 2 weeks since I've worked on it at all.....this update is really a throw-back to when I was planking the bulwarks. I elected to create a small rabbet for the second planking by throwing some .5mm sapele left over from my San Francisco build onto the sternpost, keel and stem. The first photos show this. I then masked the edges of the subdeck and the bulkhead extensions to protect them from glue and edge-glued the bulwark planks in place....this needed some finessing and a lot of clamping to make sure they ran properly and were solidly fastened onto the hull plank edges. Even then, as I've done the second planking I've had to re-glue the bulwarks at the bow a couple of times.....fortunately I think I'm past the point in planking where I'm putting a lot of pressure on the planks....and I also hope that once the outboard hull is painted it will hide at least some of the imperfections.....Anyway, here are some more photos! Enjoy! hamilton


-
Really beautiful work Tim! Love the finish on the deck - can't imagine doing all those treenails!! Wonderful results hamilton