GrandpaPhil
-
Posts
4,959 -
Joined
-
Last visited
Content Type
Profiles
Forums
Gallery
Events
Everything posted by GrandpaPhil
-
The capstans would have been wood.
-
New way to mount your mast
GrandpaPhil replied to Geoff Matson's topic in Masting, rigging and sails
I will have to try this when I get around to installing my masts. Thank you. -
I usually lay the model on its side when planking. I just put it on the building board so that the board supports the model and use a tack hammer to drive in pins, or nails, if they are needed. I would read some of the planking tutorials on the site. Chuck, one of the admins, and an expert model builder, pre-bends the planks and uses CA to attach to the model. He doesn’t even use pins or nails.
- 87 replies
-
- 3
-

-
- scottish maid
- artesania latina
- (and 1 more)
-
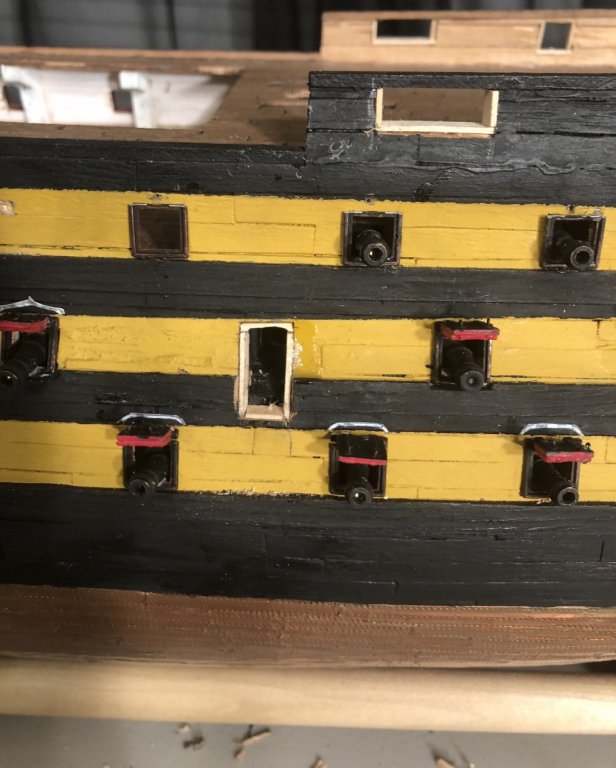
Microsoft word works wonders for printing out new labels and nameplates. If you’re not happy with the windows, just pop them off and reglue them. You’re doing great! Keep at it! Take your time and enjoy.
-
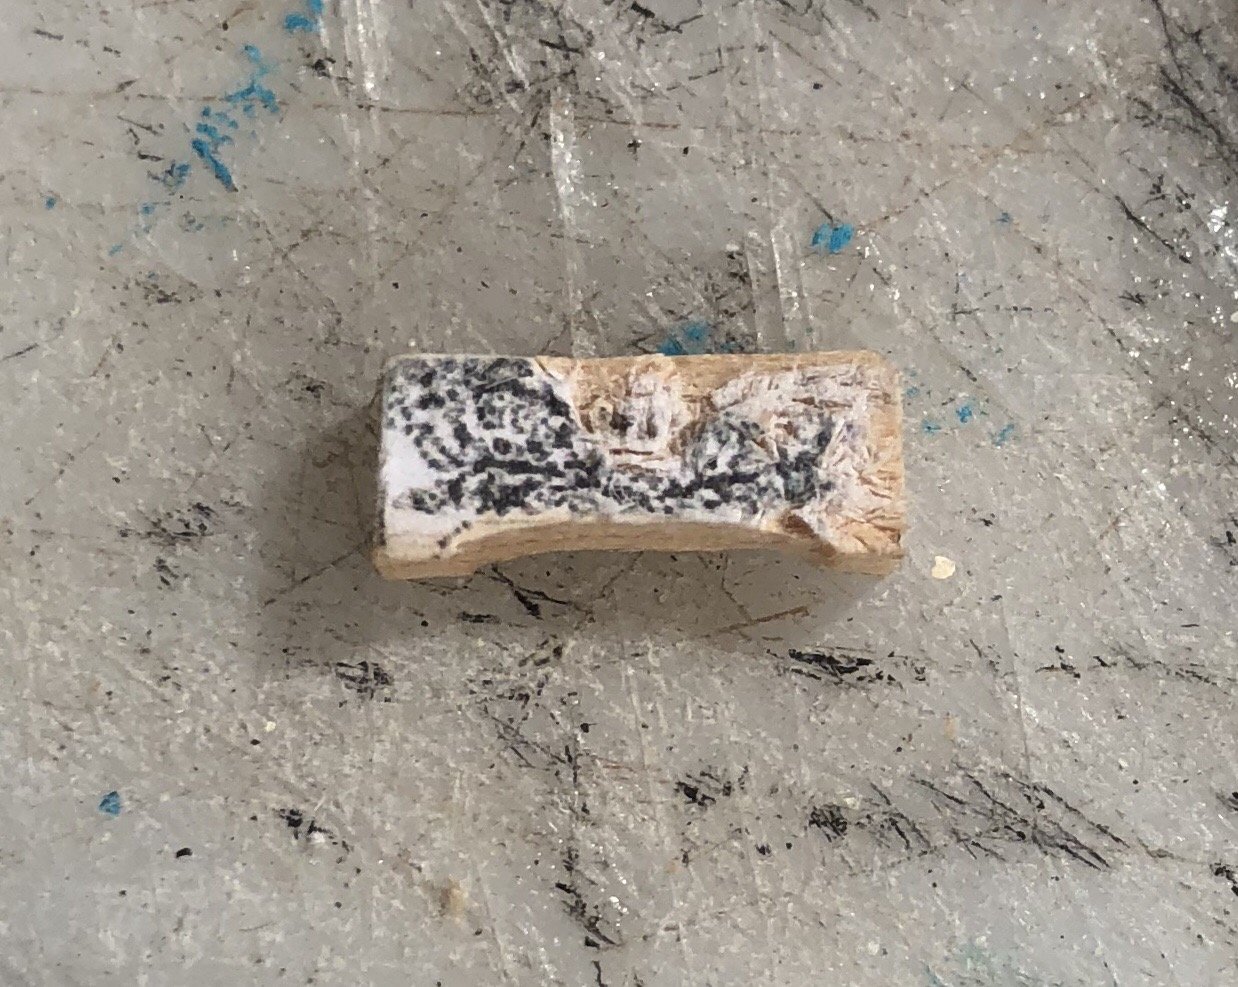
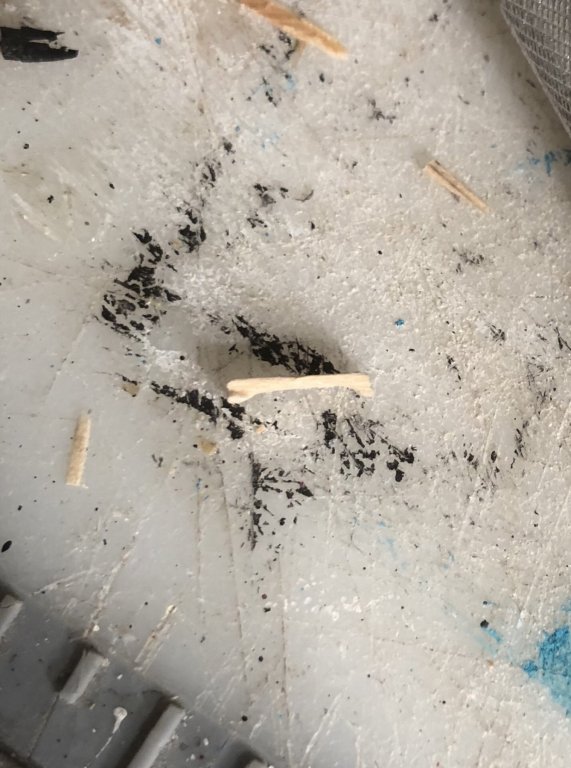
Still working on the entry ports. After one massive failure, I realized that I needed to develop my carving skills, and buy some better quality wood to make my carvings from. Basswood doesn’t hold tiny details very well. However, I ran through the carving tutorials in the group project, which were very helpful, and I’m going to press on with the entry port carvings.
-
Looking good! I’m building the same kit and I’m about a year and a half into it.
-
Very well done!
-
You’re doing just fine. Take your time and have fun building.
-
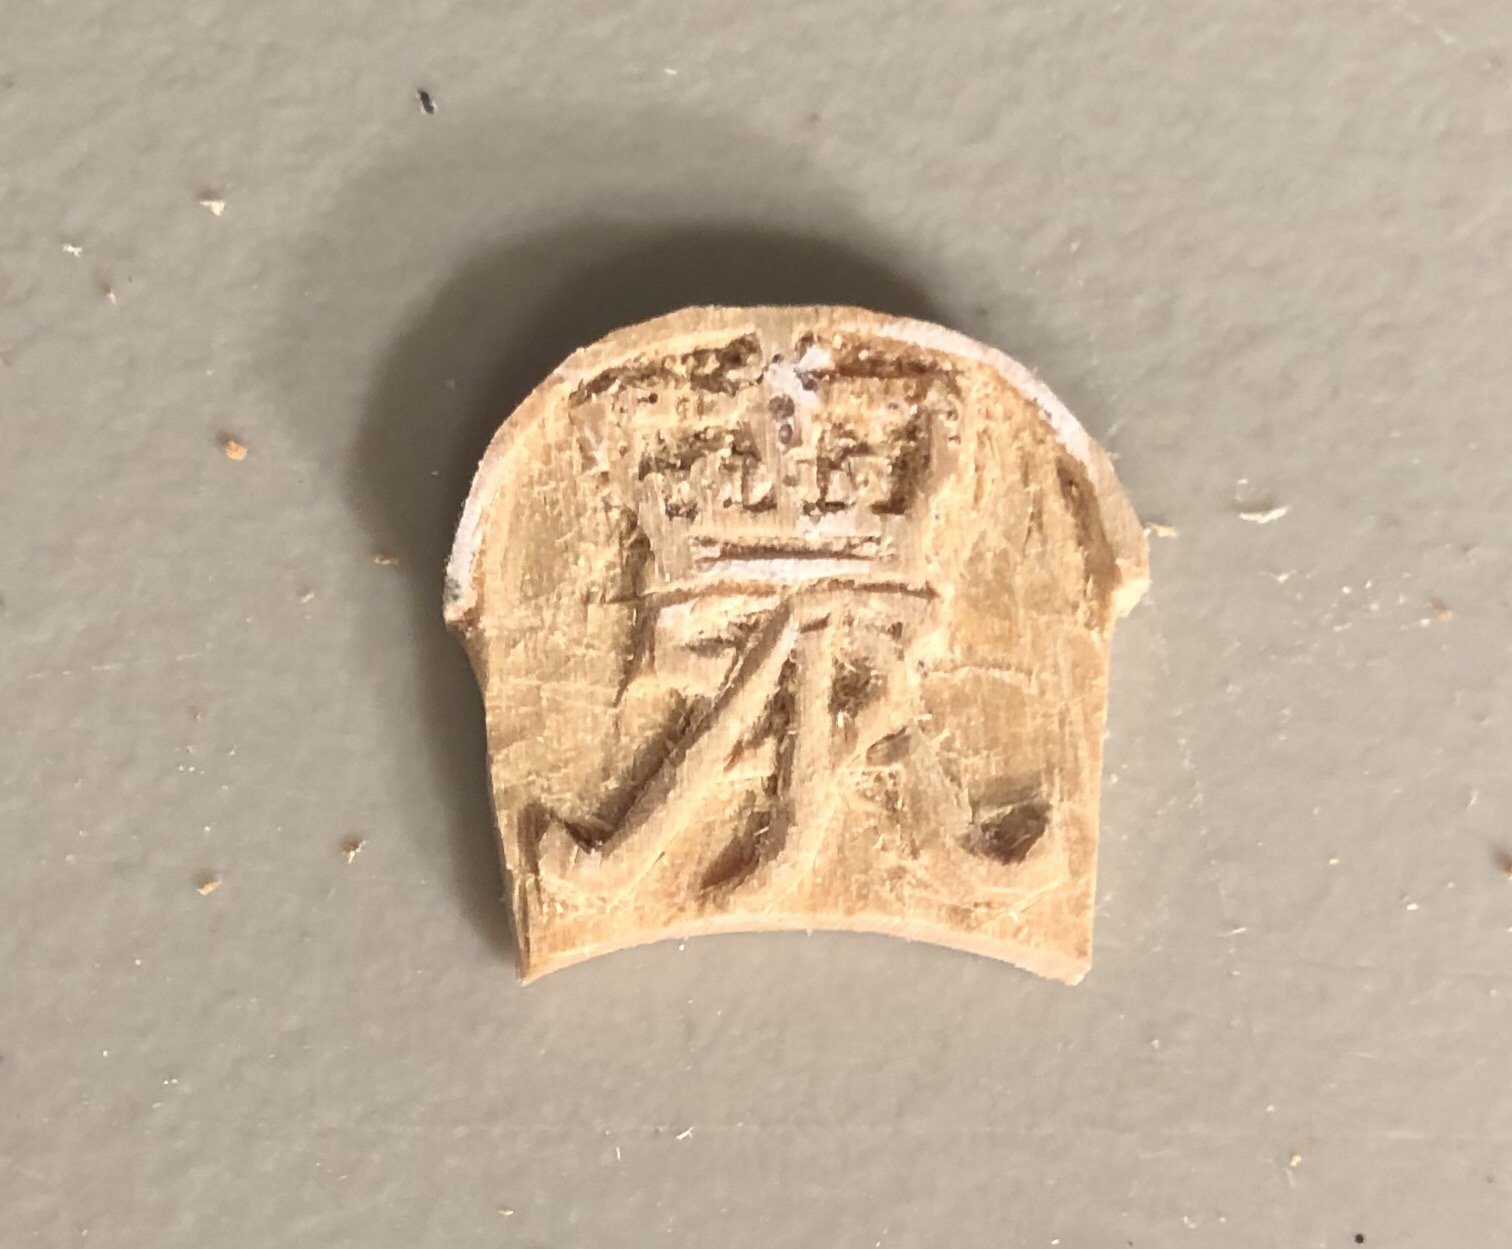
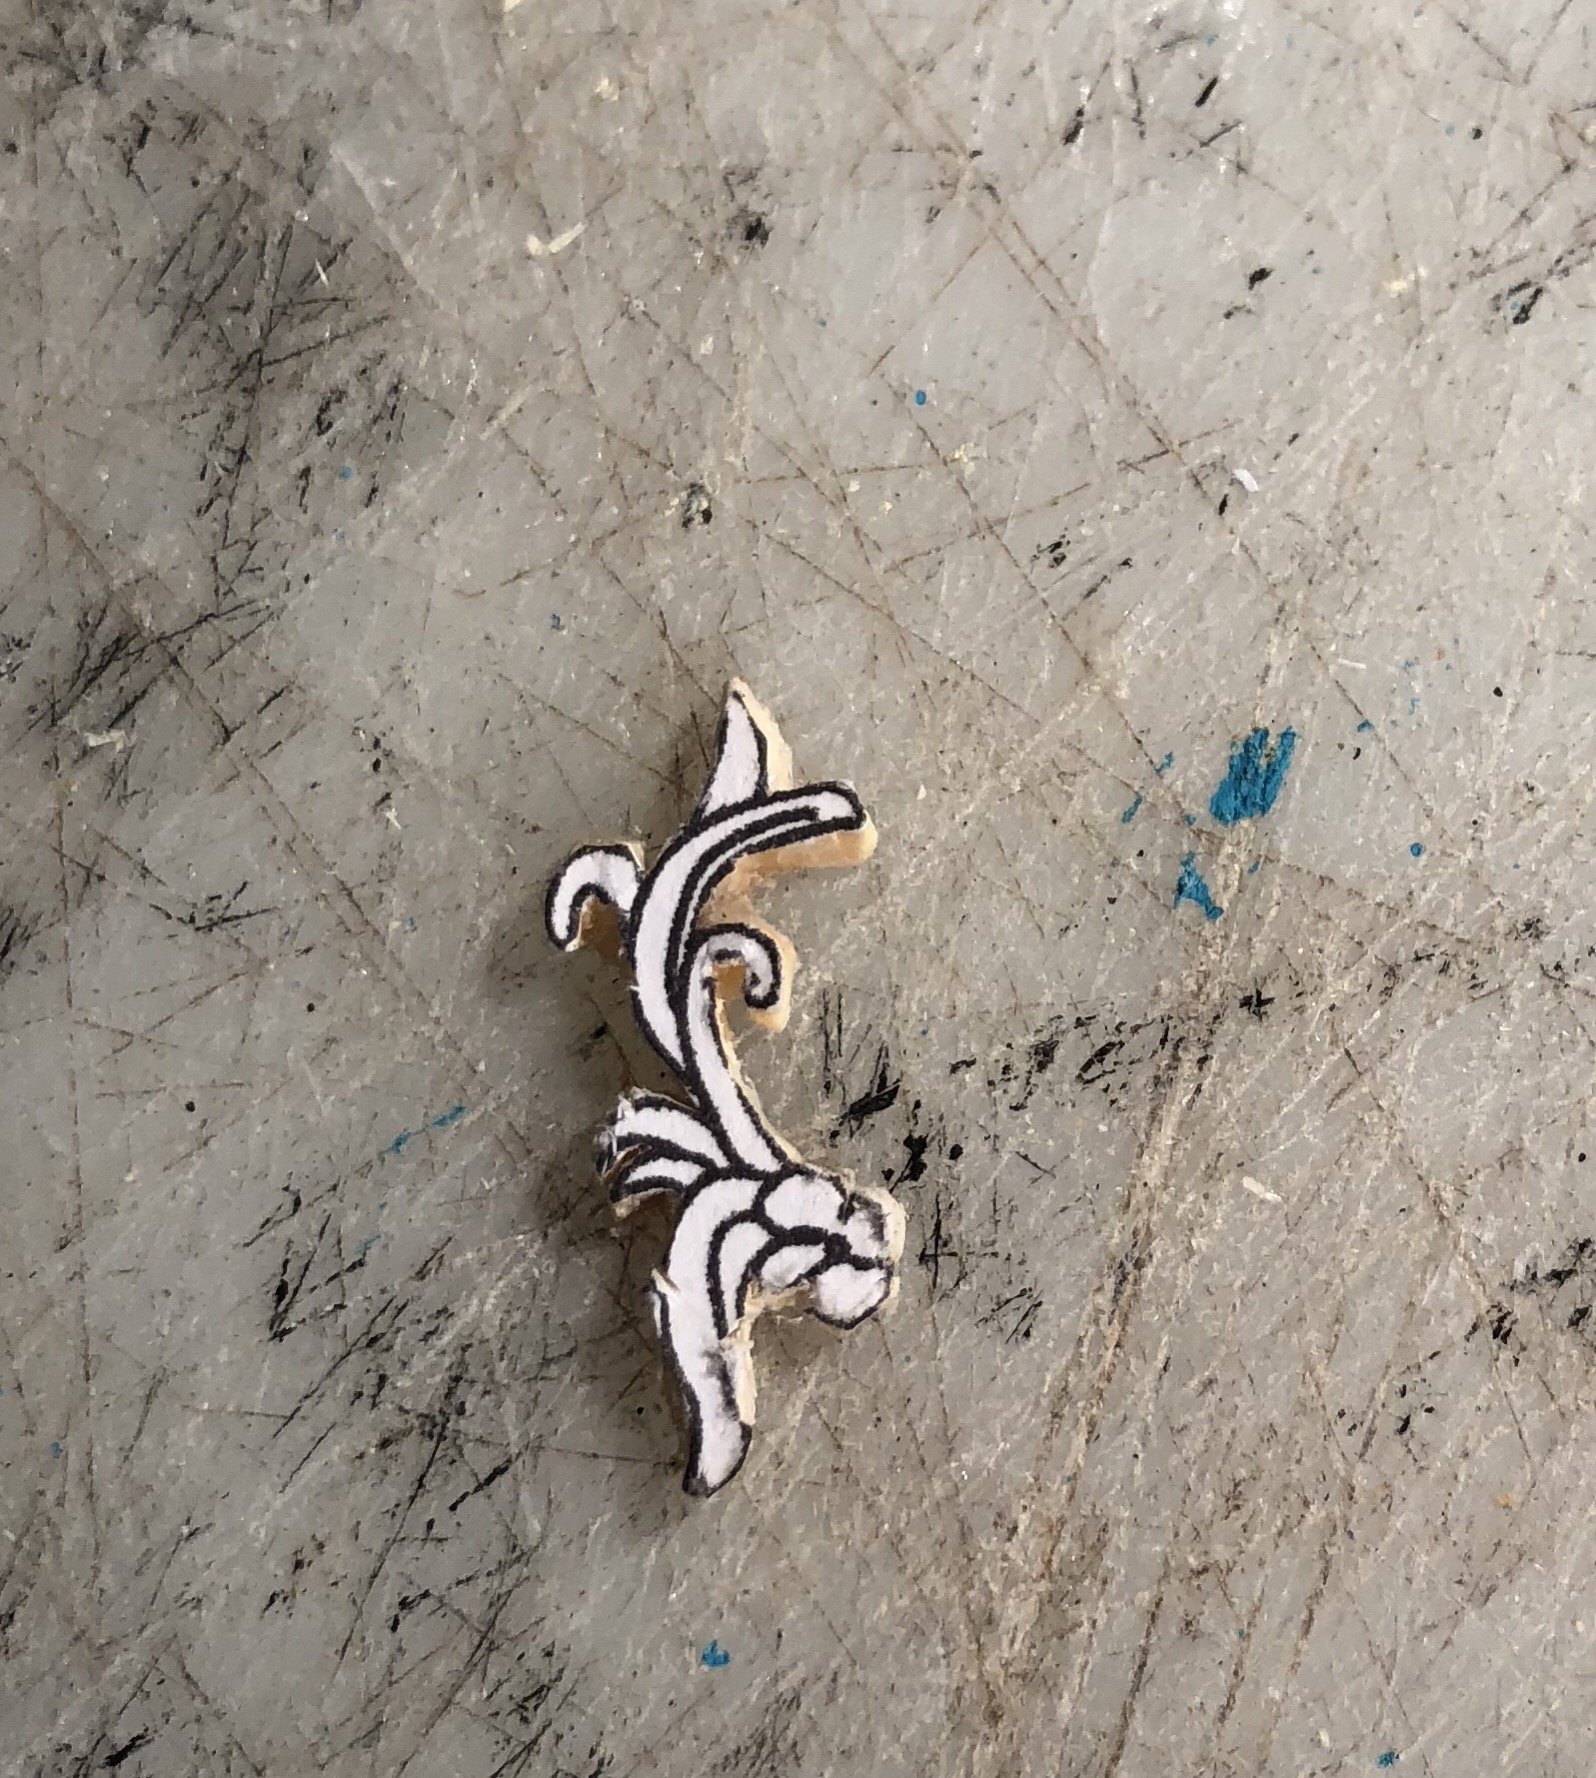
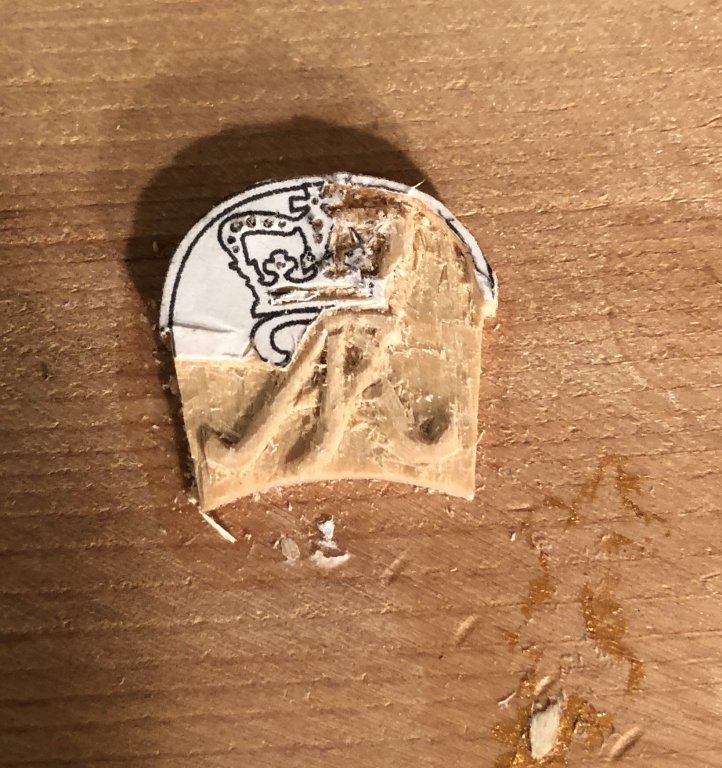
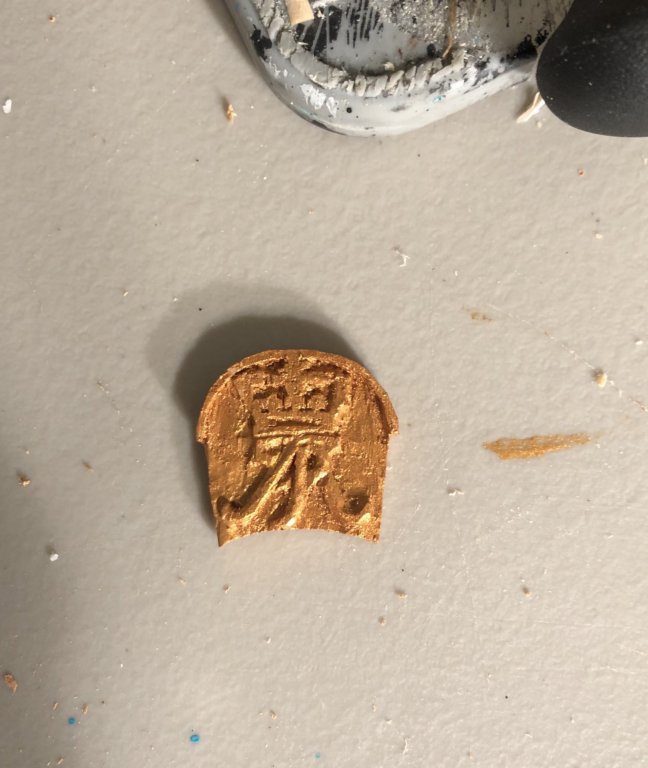
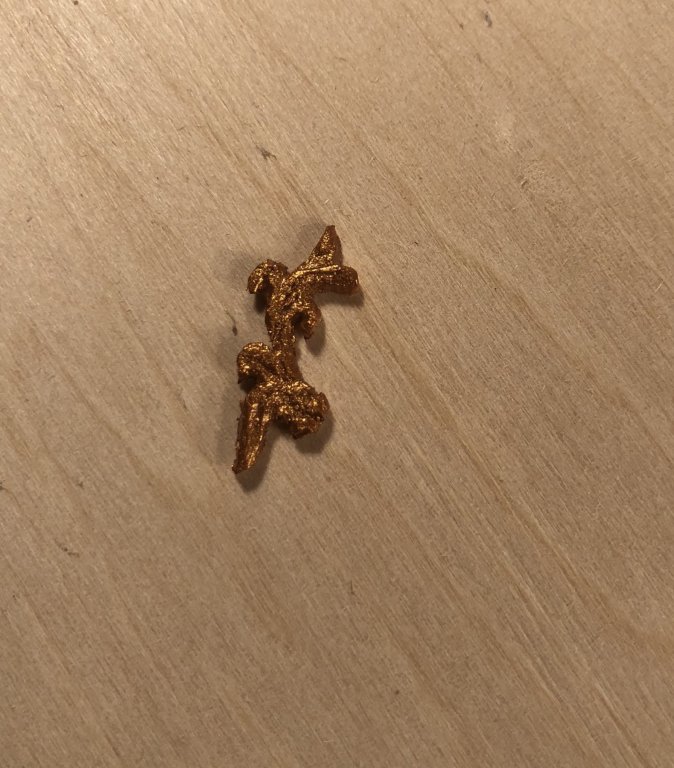
I made the crown cipher on my third attempt. I bas reliefed it into 3/16” basswood. It’s not perfect but it’ll do for now. I made it with a #11 x-acto blade. Among my lessons learned is that basswood is not really effective for miniature carving (which I already knew, but I wanted to try it anyway, because I have a lot of it, lol). I also learned that I am going to have to buy some pear or boxwood for the carvings on the Victory, because these are giant in comparison.

-
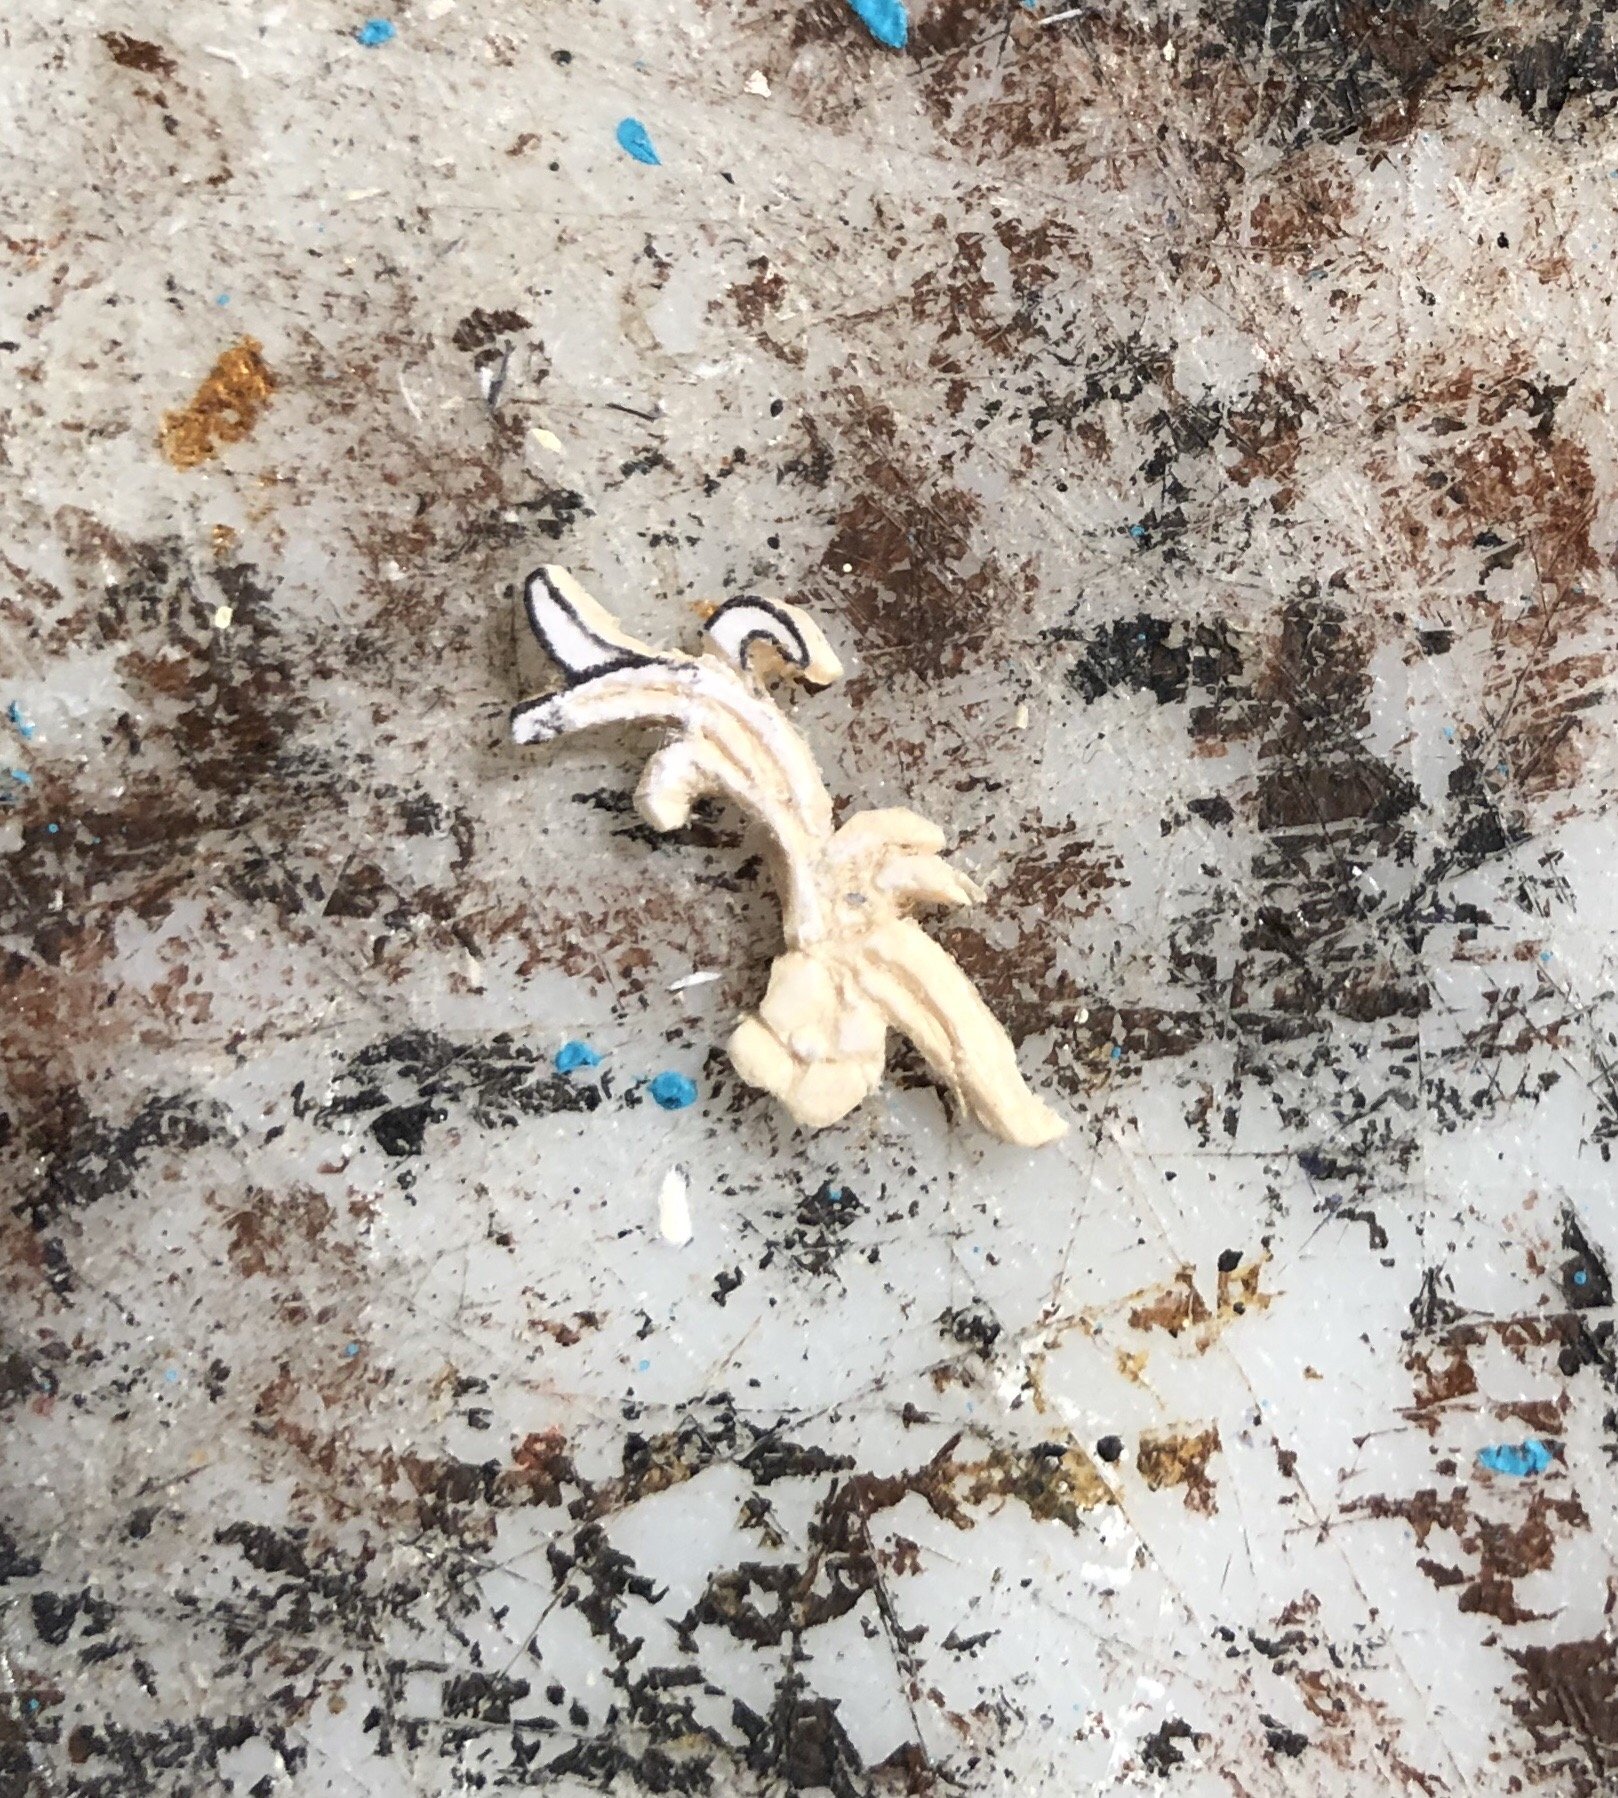
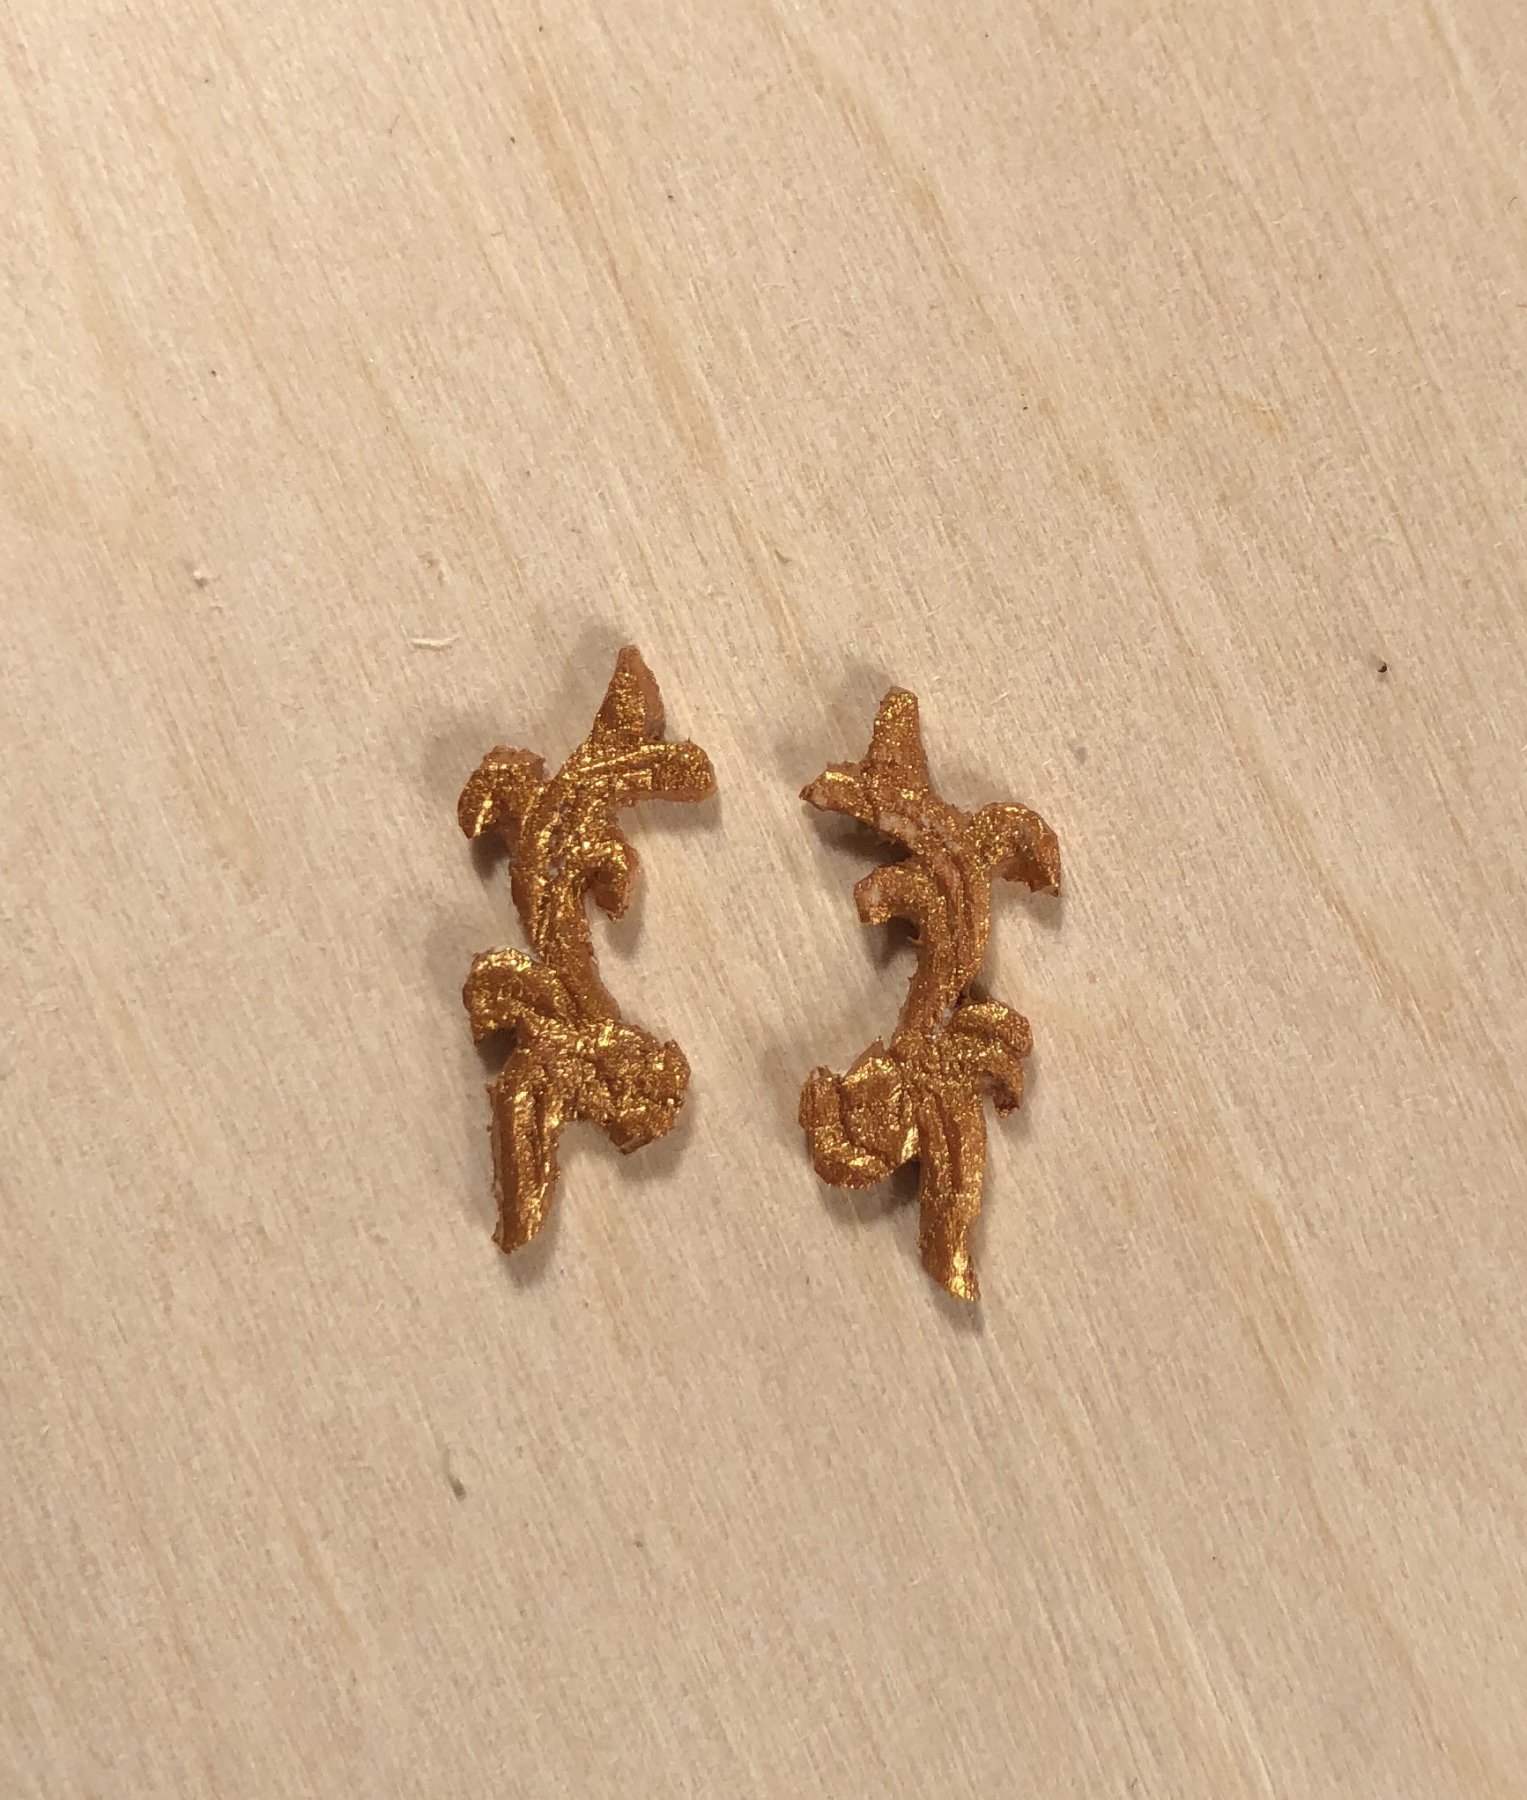
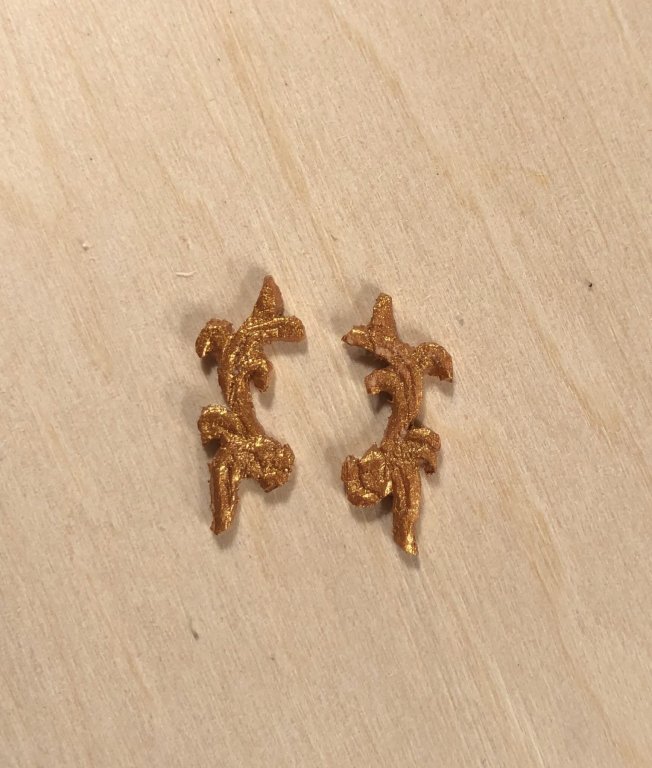
Finished the second one! Still 1/16” basswood! Still learning! Having fun and feeling better about the Victory’s carvings. I have some cedar grilling planks that are going to get cannibalized into those carvings.

-
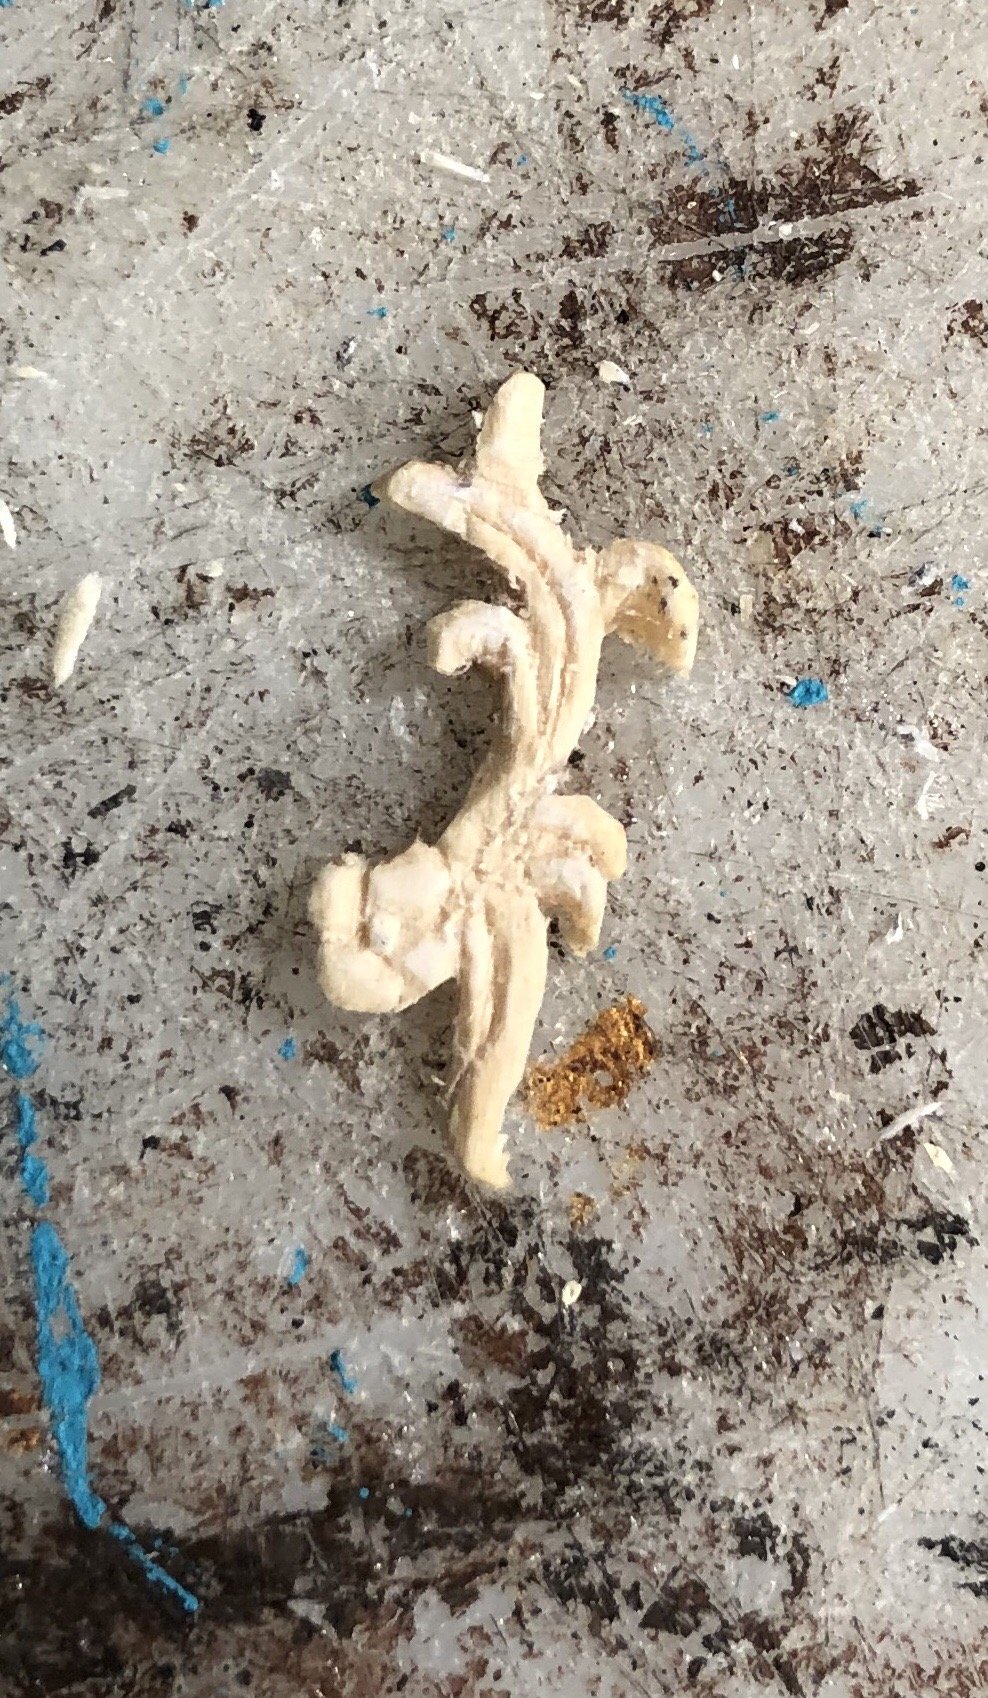
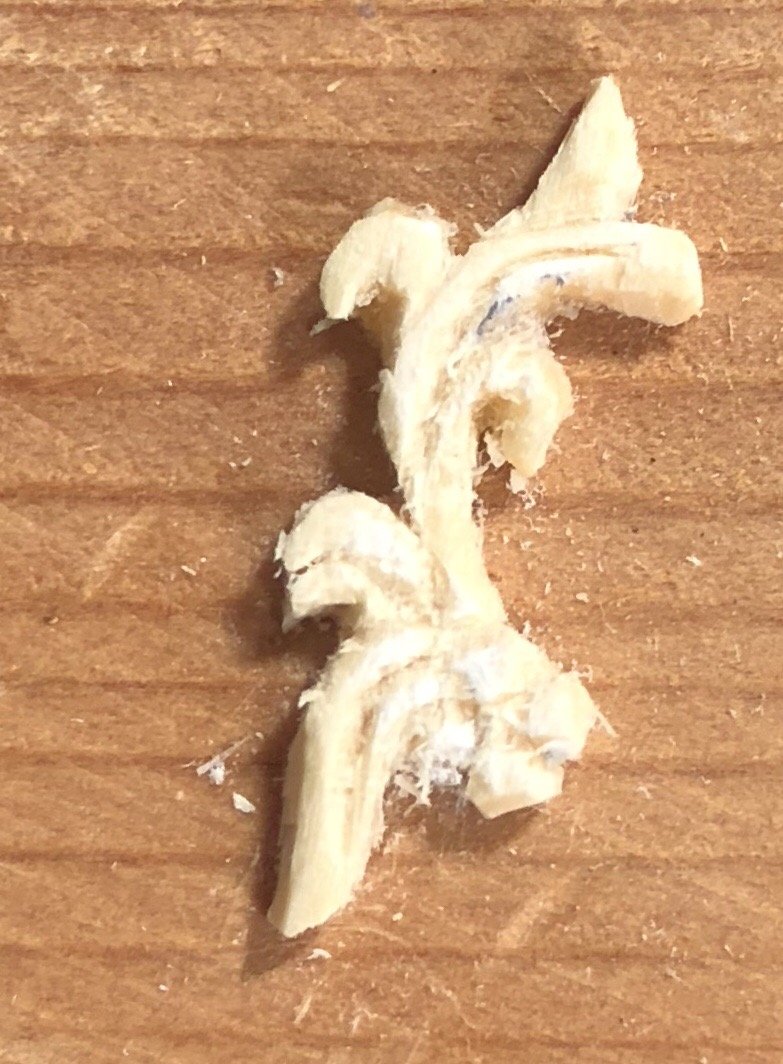
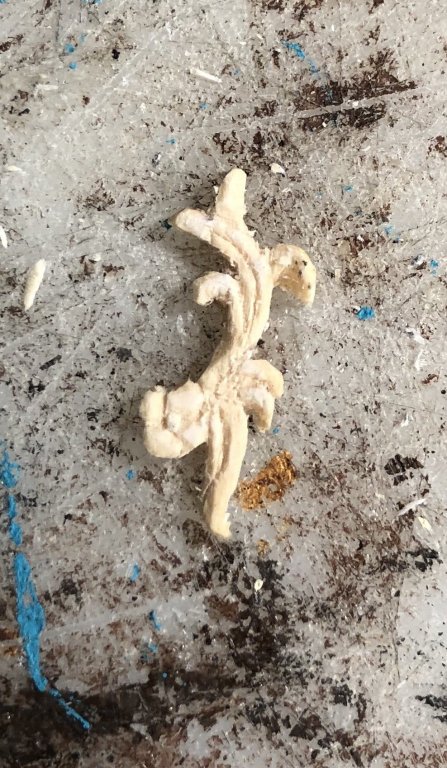
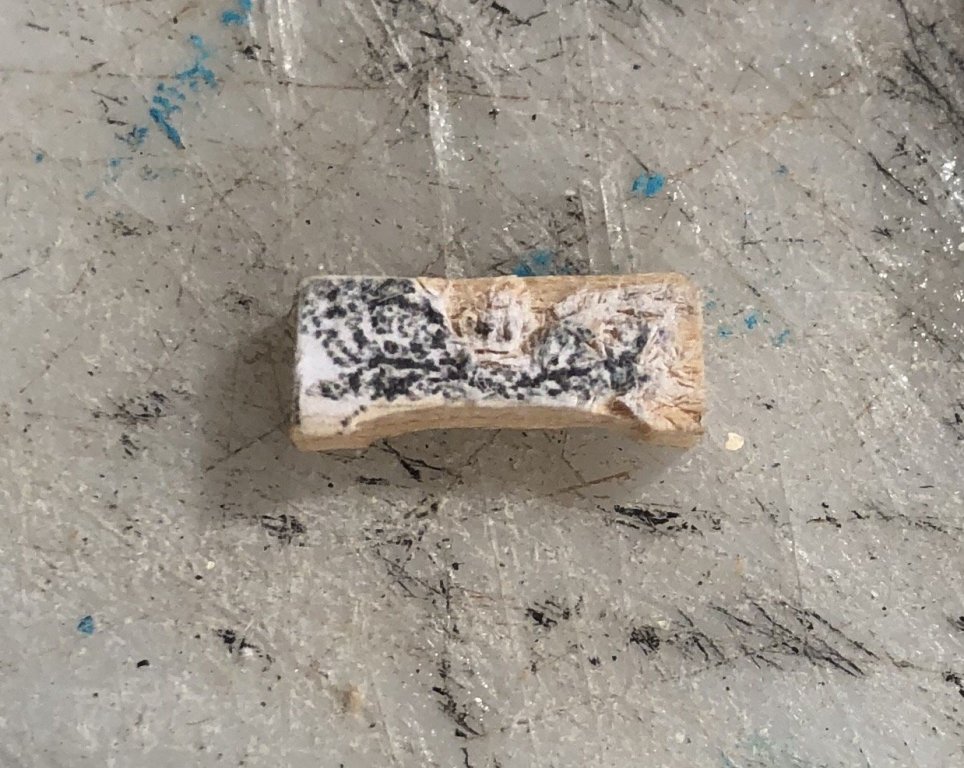
1st attempt, 1/16” thick basswood


-
I’m not sure what order we’re supposed to do these in, but I started with this one because it looked like the easiest to cut out. I used a #11 X-Acto blade

-
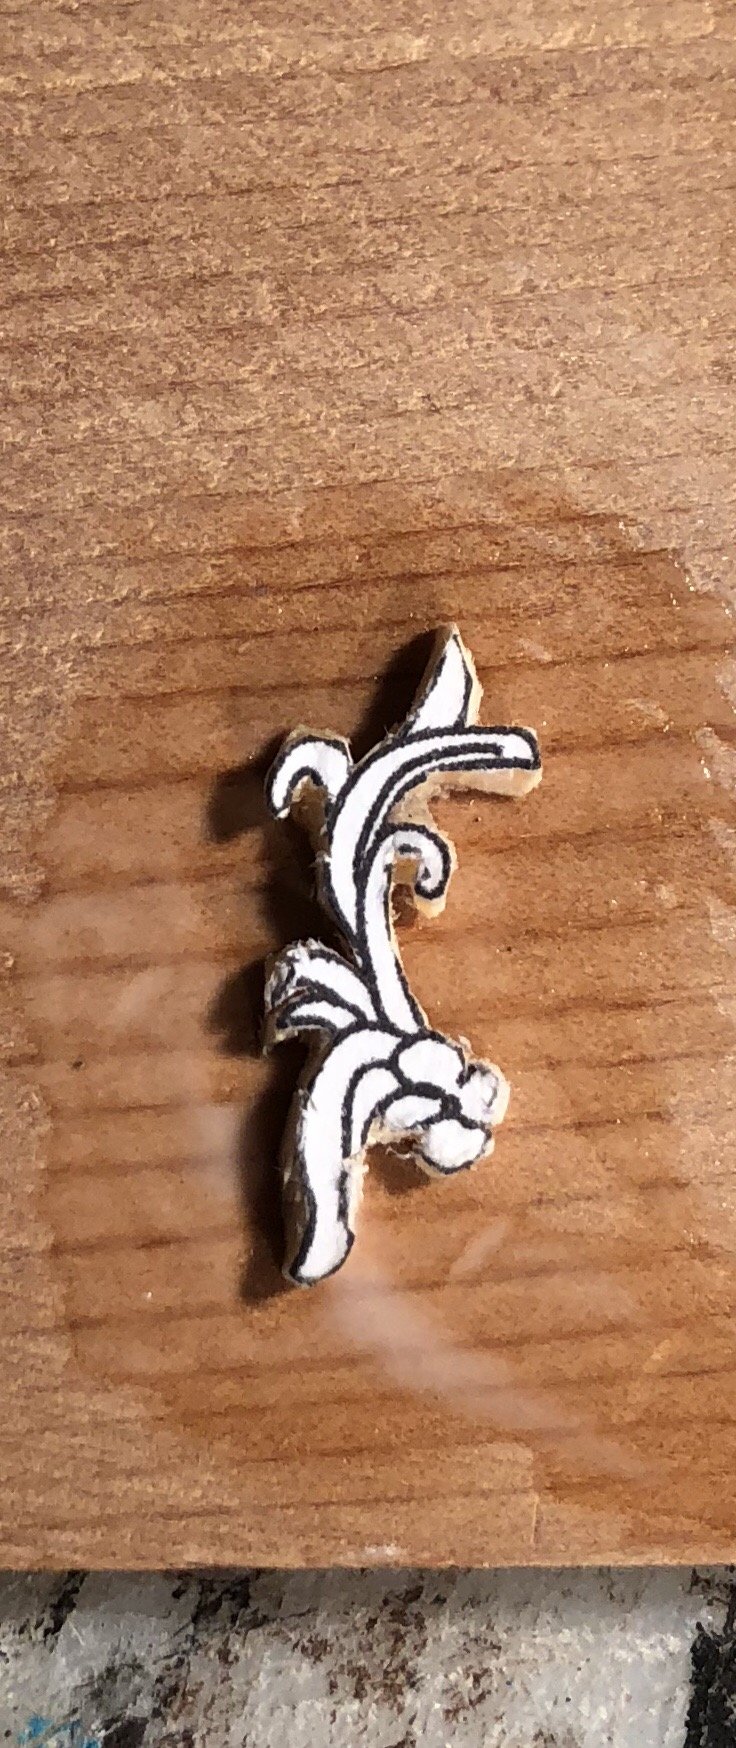
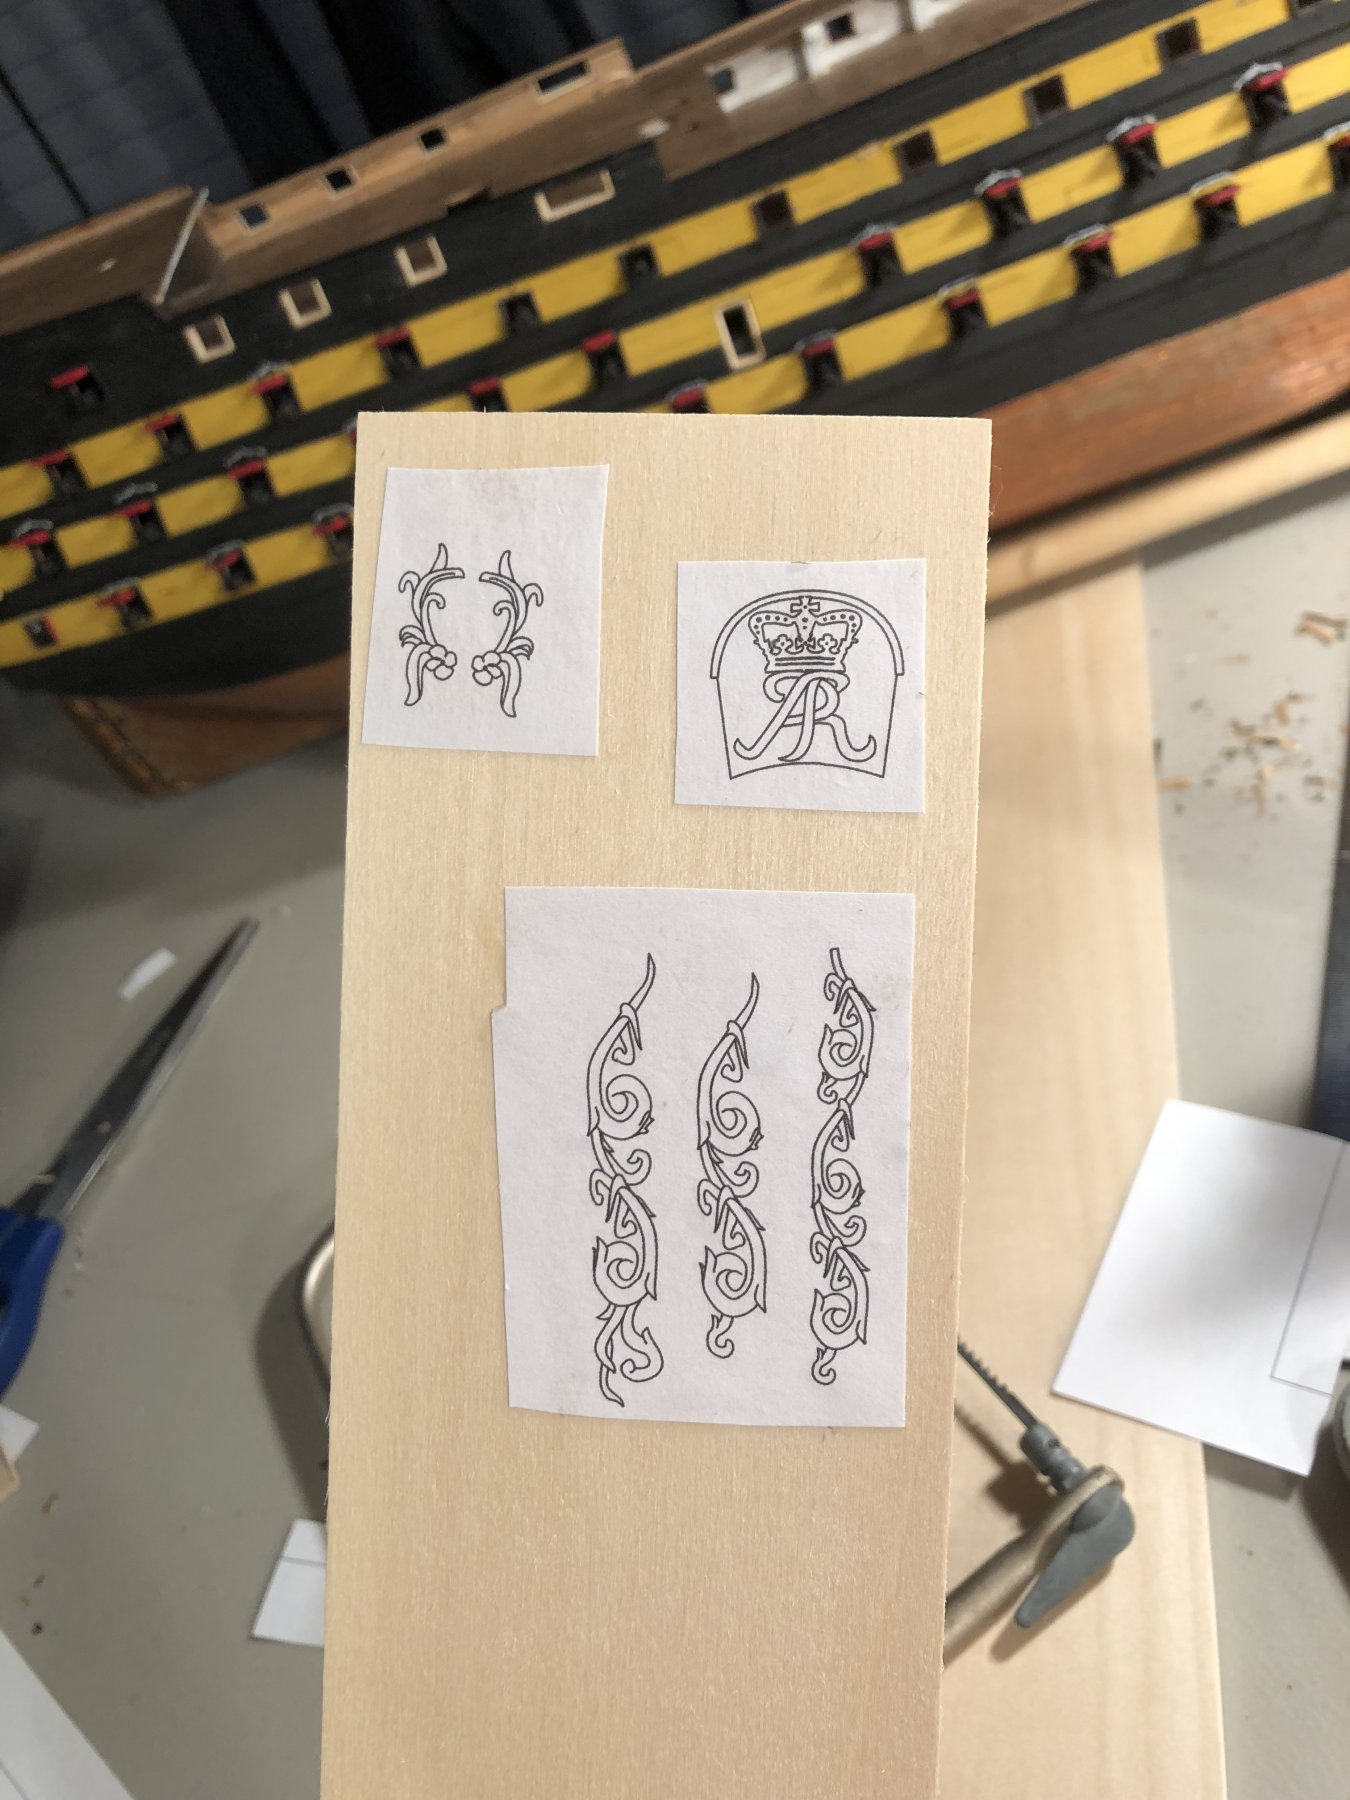
I’m currently trying to carve my entry ports for my model of the Victory. It’s a steep learning curve, which is a nice way of saying that it’s not going well. I have carved a bas relief before, but at much larger scale. I am going to give these carvings a try. I printed the patterns out and pasted them down to the board. I’ll let y’all know how it goes.

-
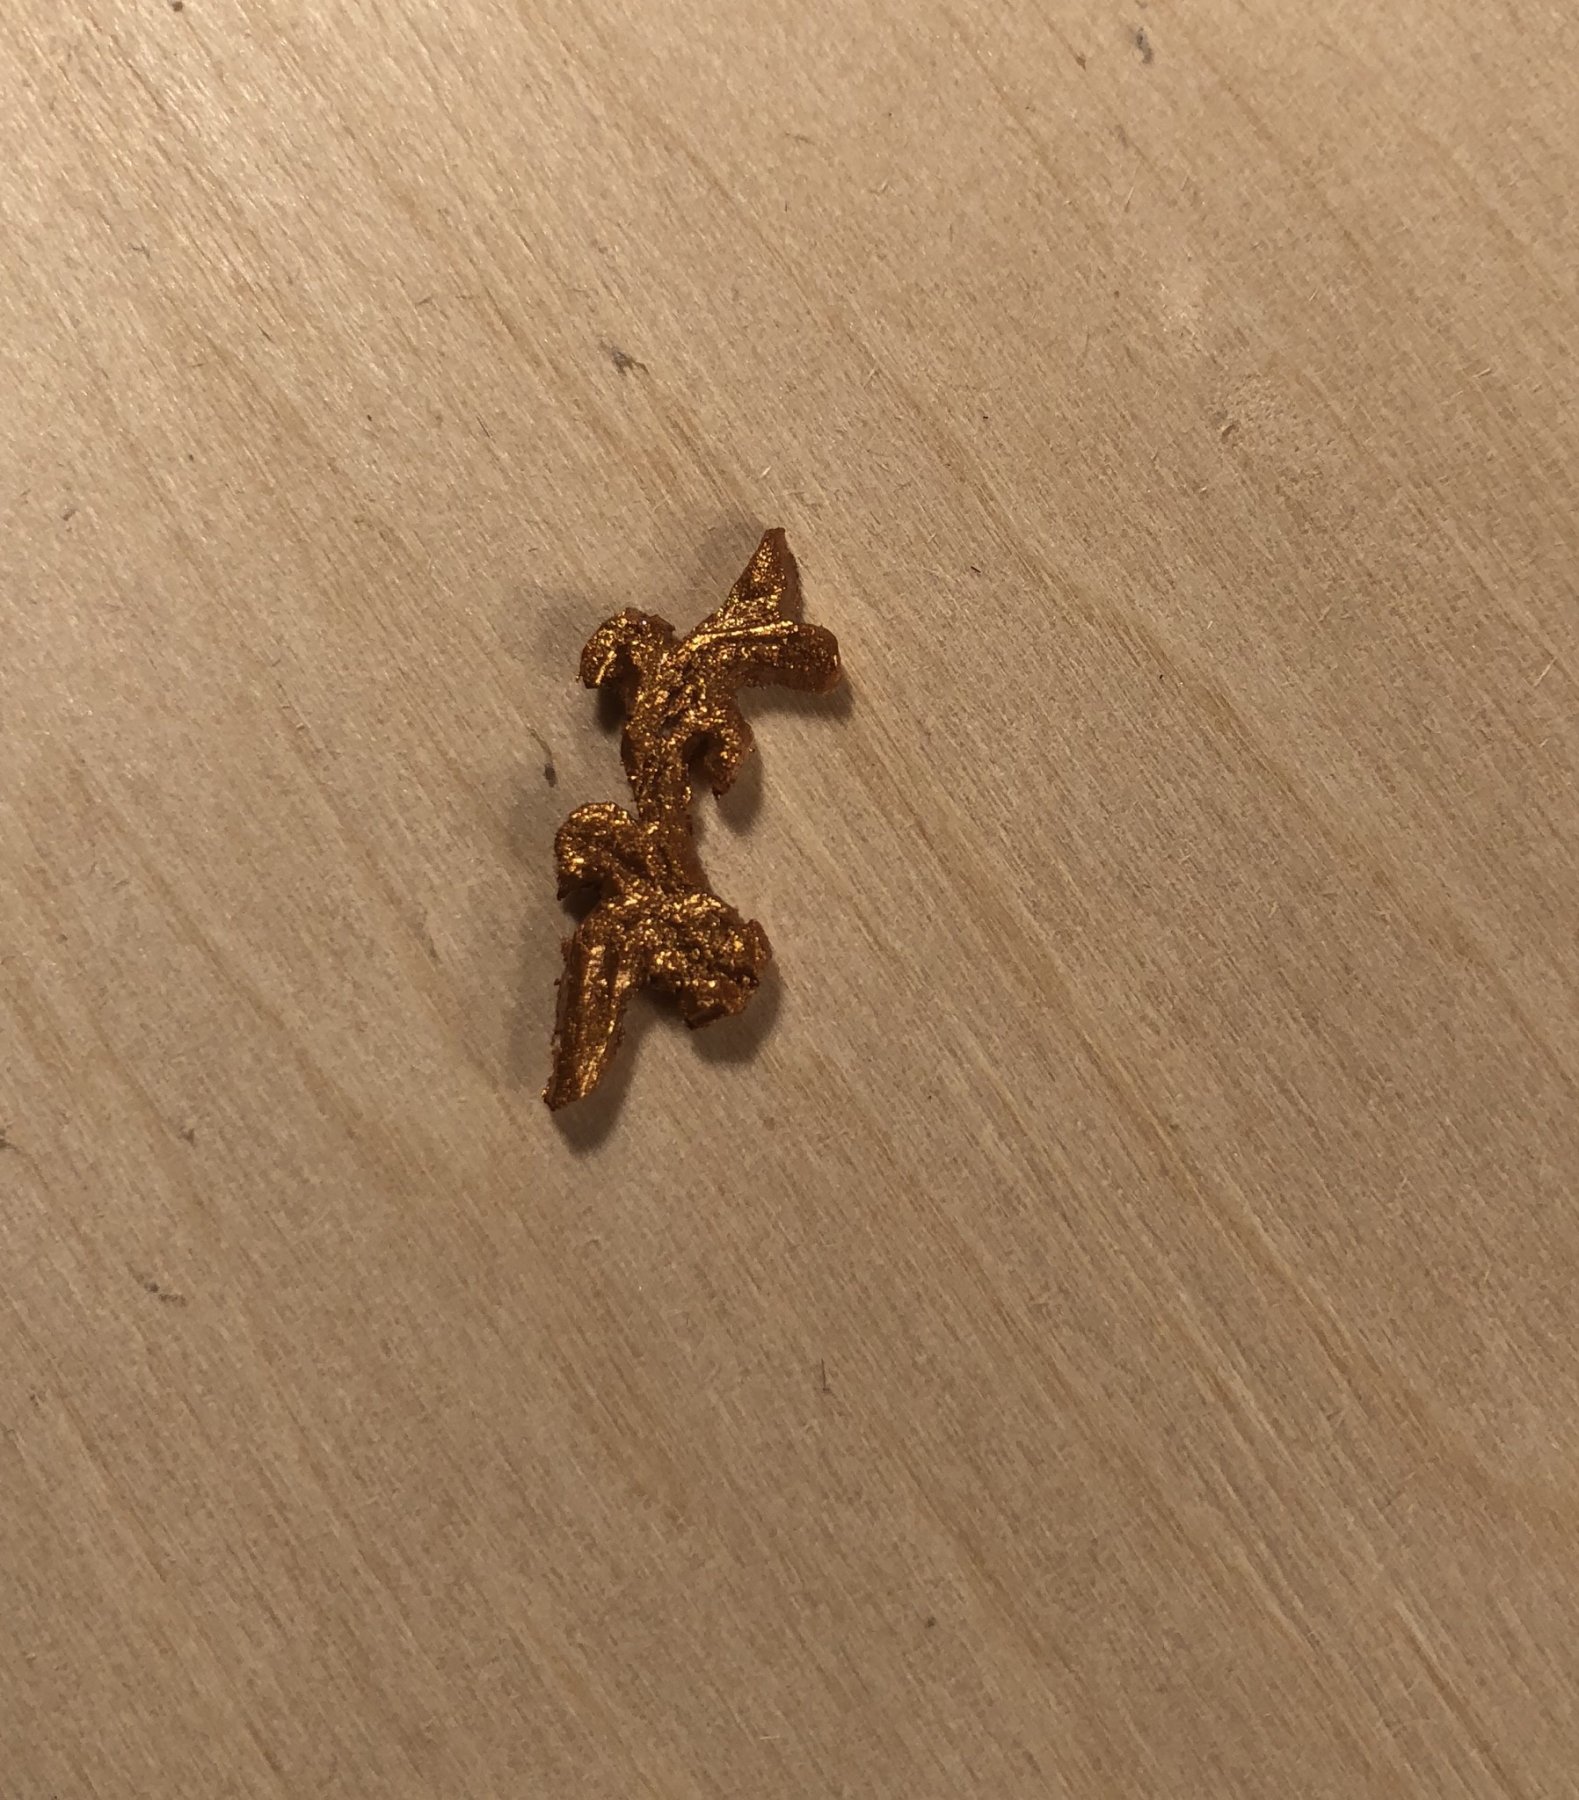
Side two!
-
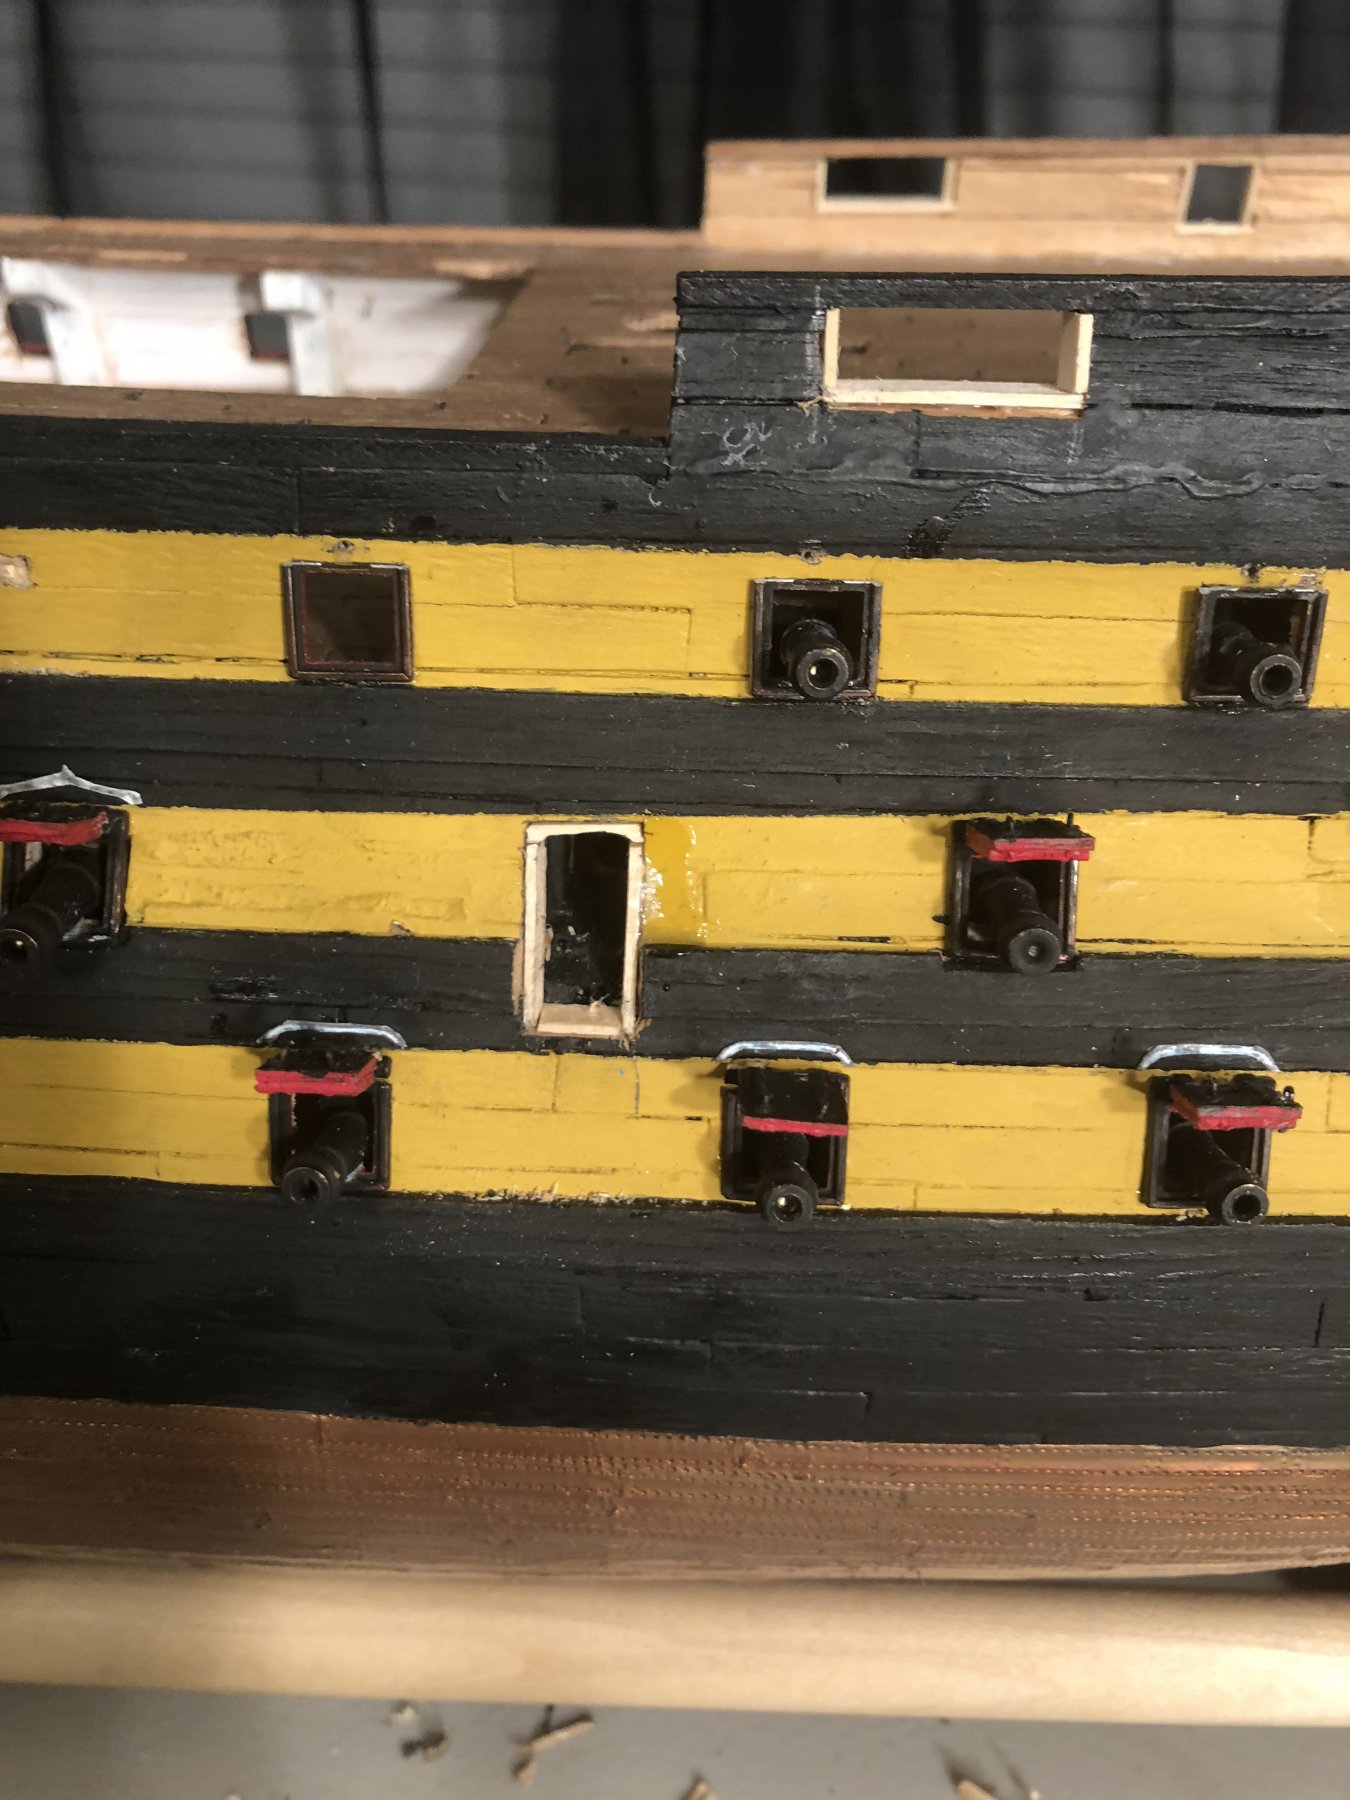
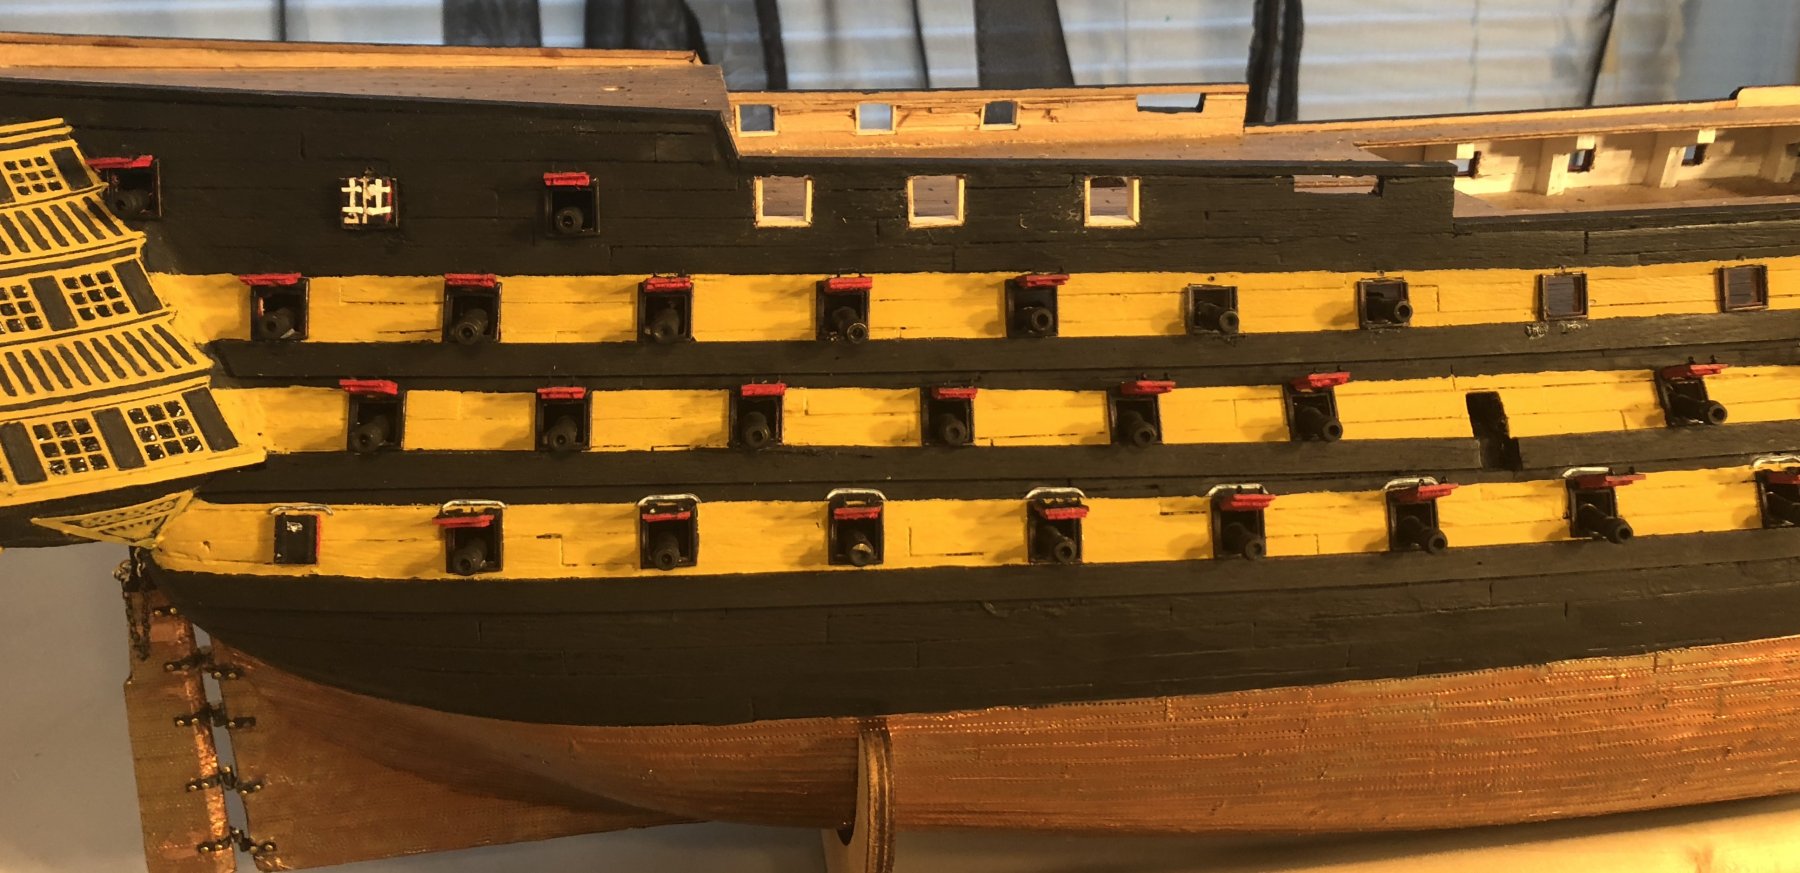
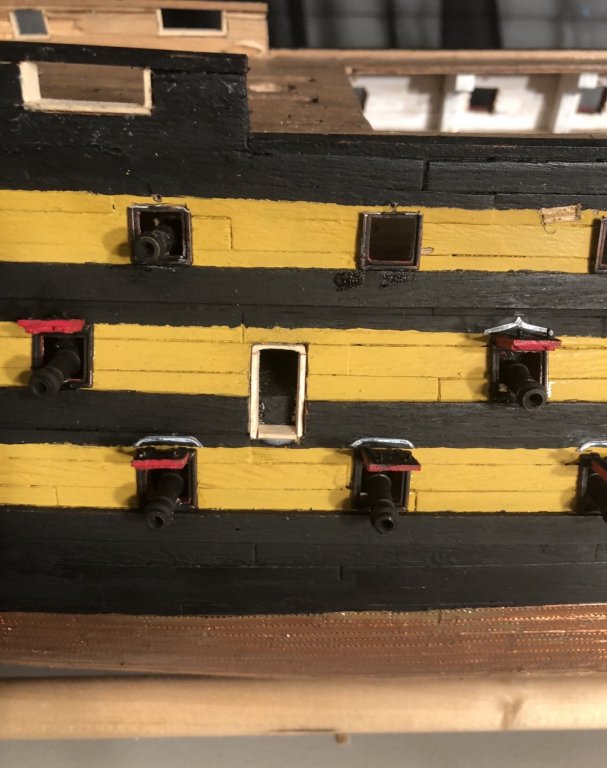
Thank you! I made some adjustments to my bulwarks and opened up the entry ports. I have one framed. I will be making the canopies after I frame up the other one. I’ve never done this level of model building before. So, I am developing much of my woodworking skills on the fly, lol. I’m having fun with it and learning a lot, which is the whole point of this project.


-
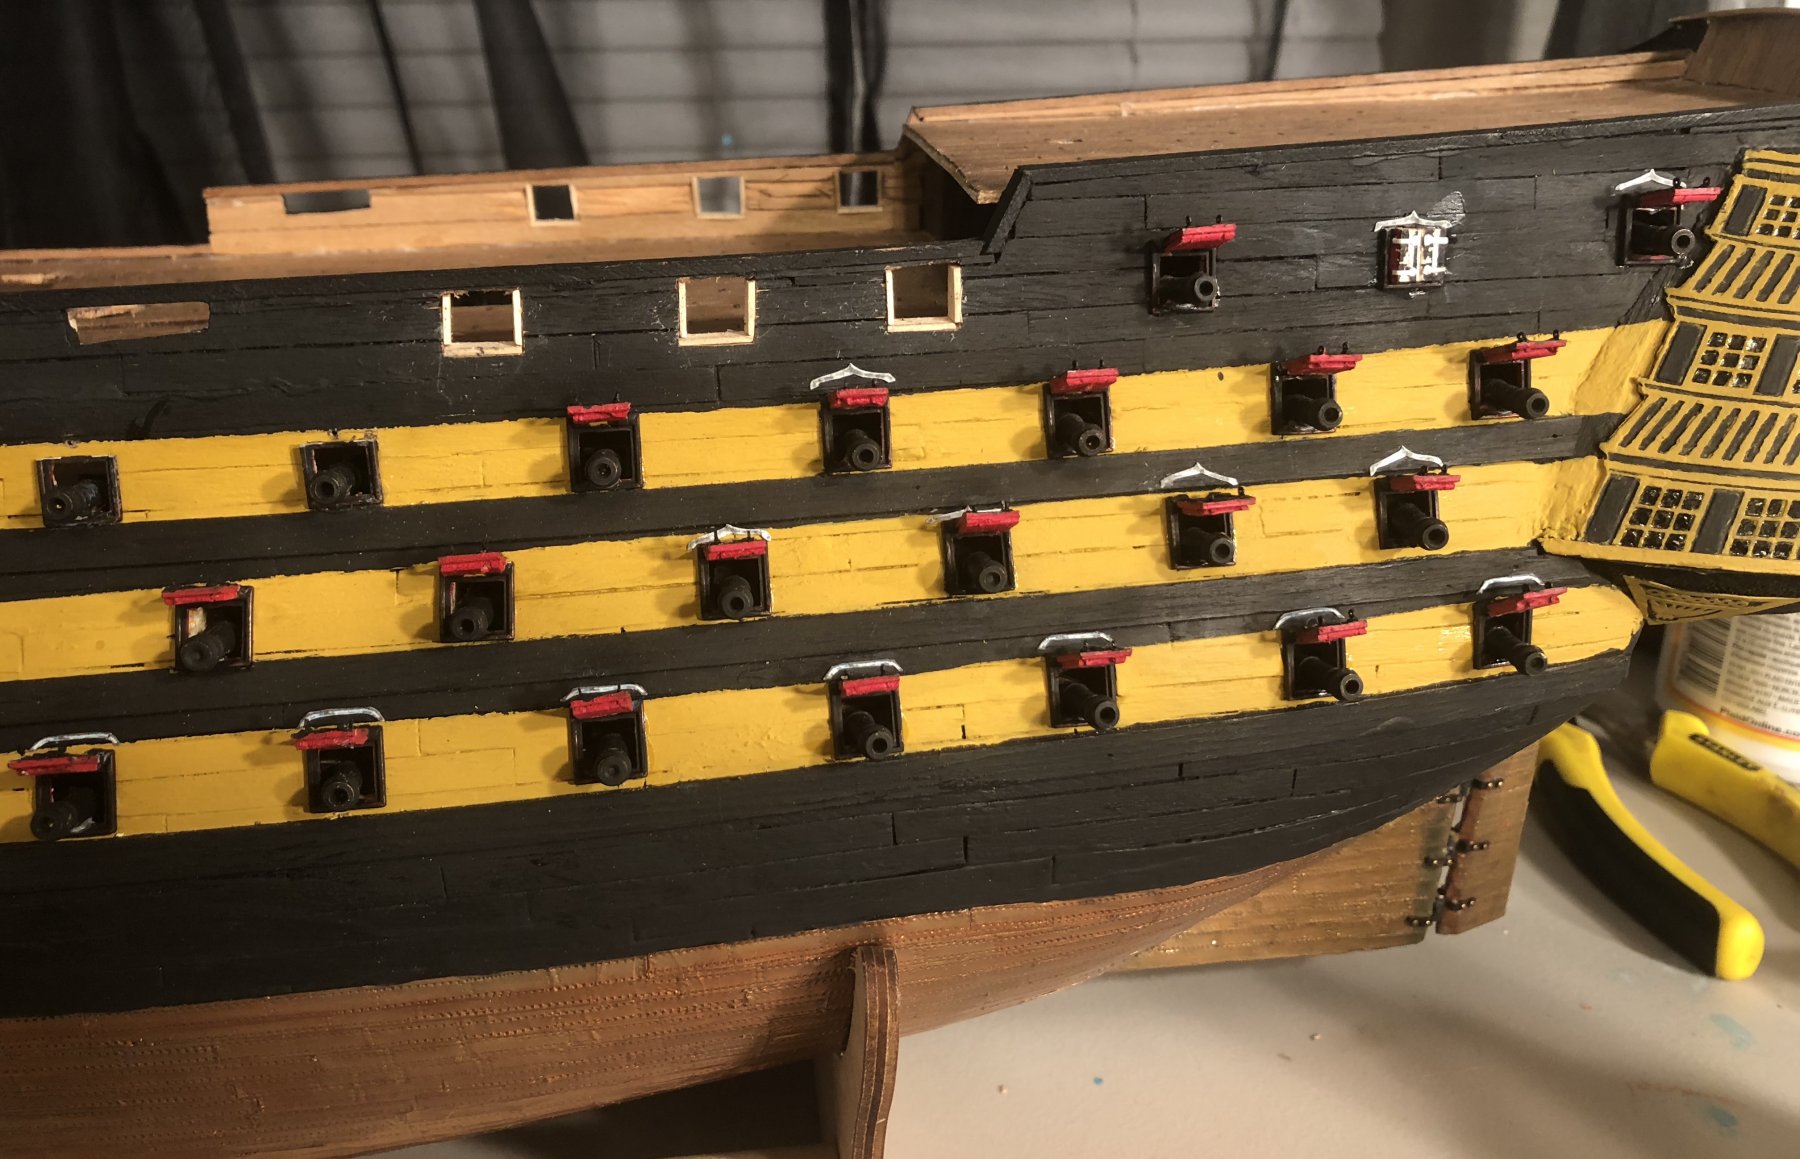
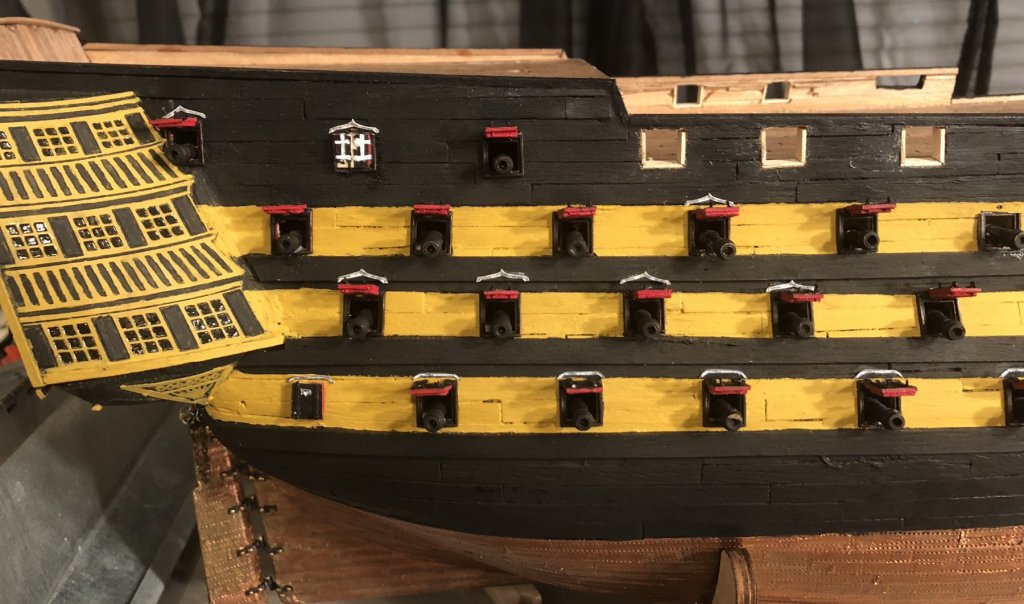
All wriggles are installed! Thanks, OC for the right terminology! Now I need to make some more adjustments to the hull IAW the AOTS outboard profile. Then I’m going to make the entry port.

-
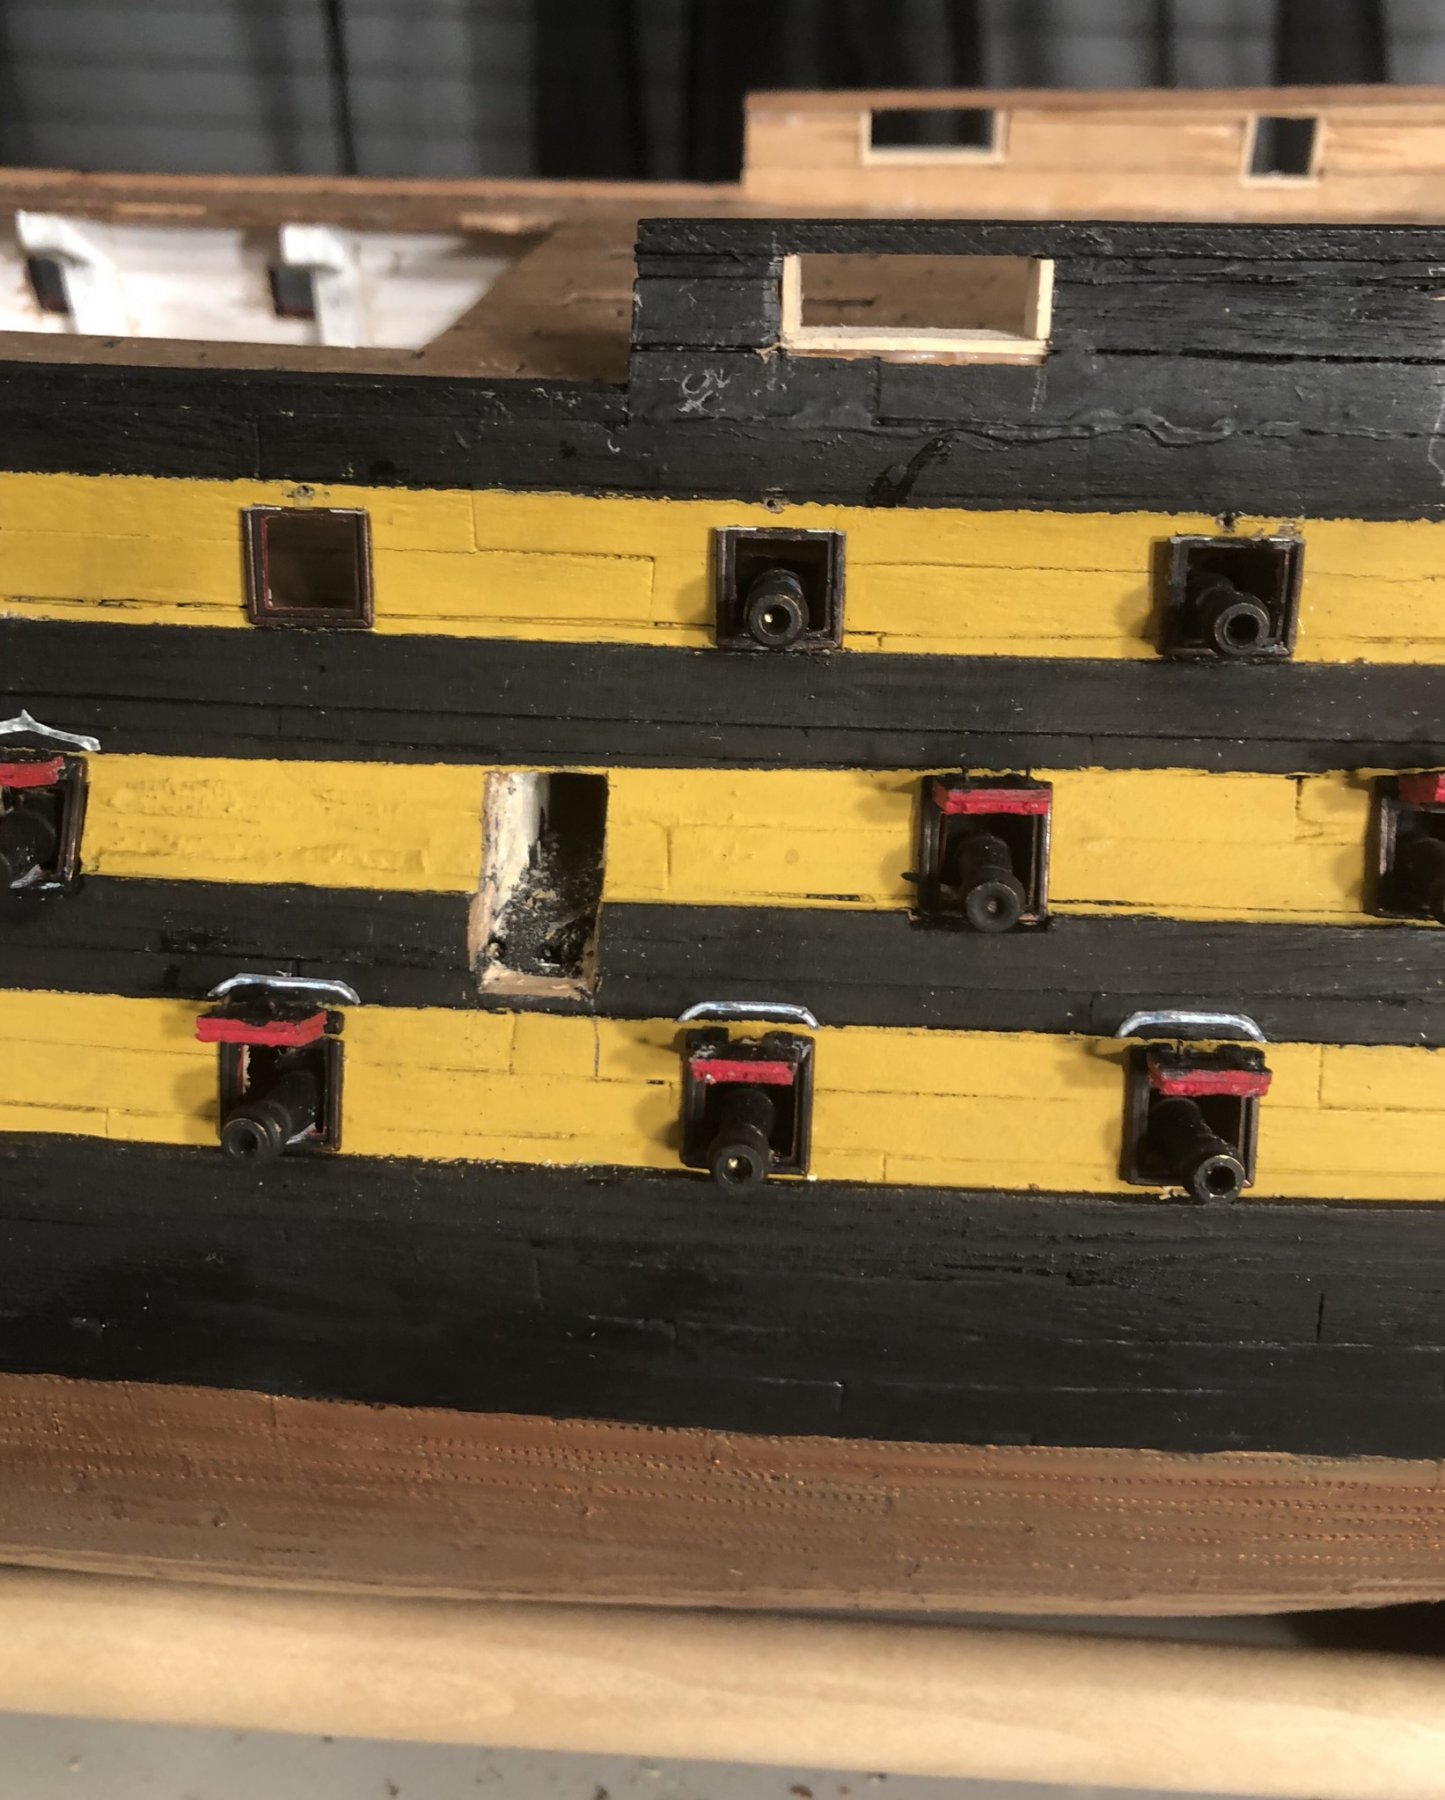
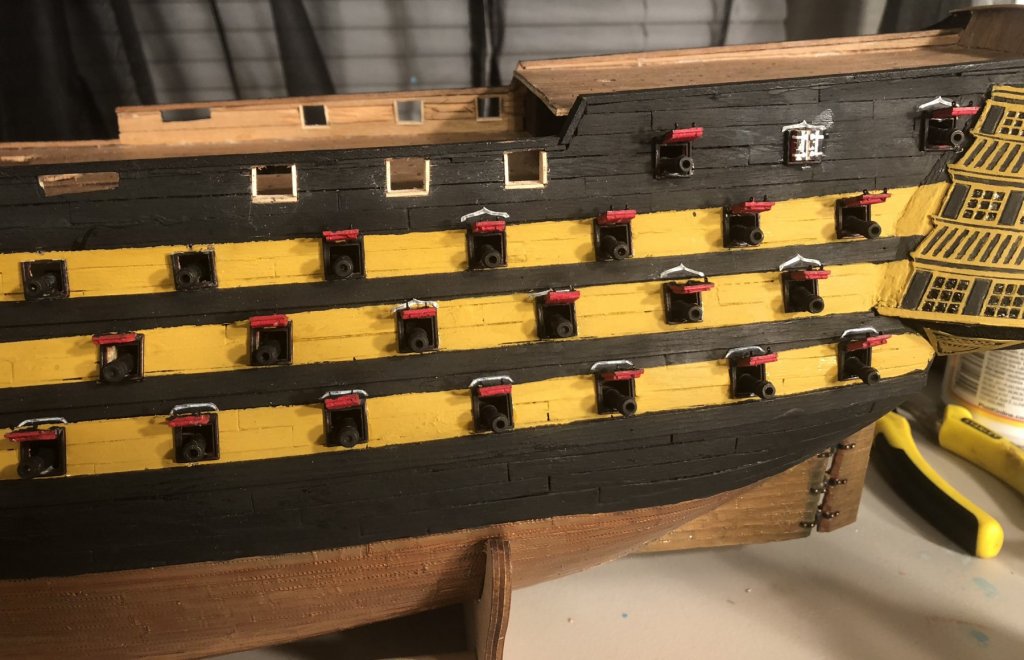
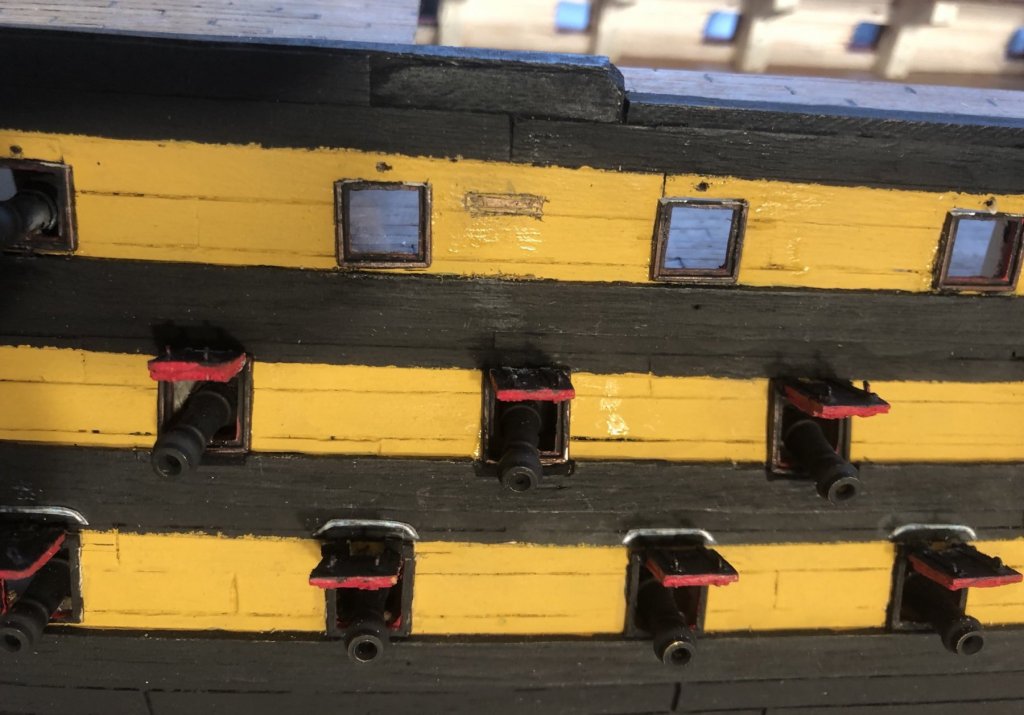
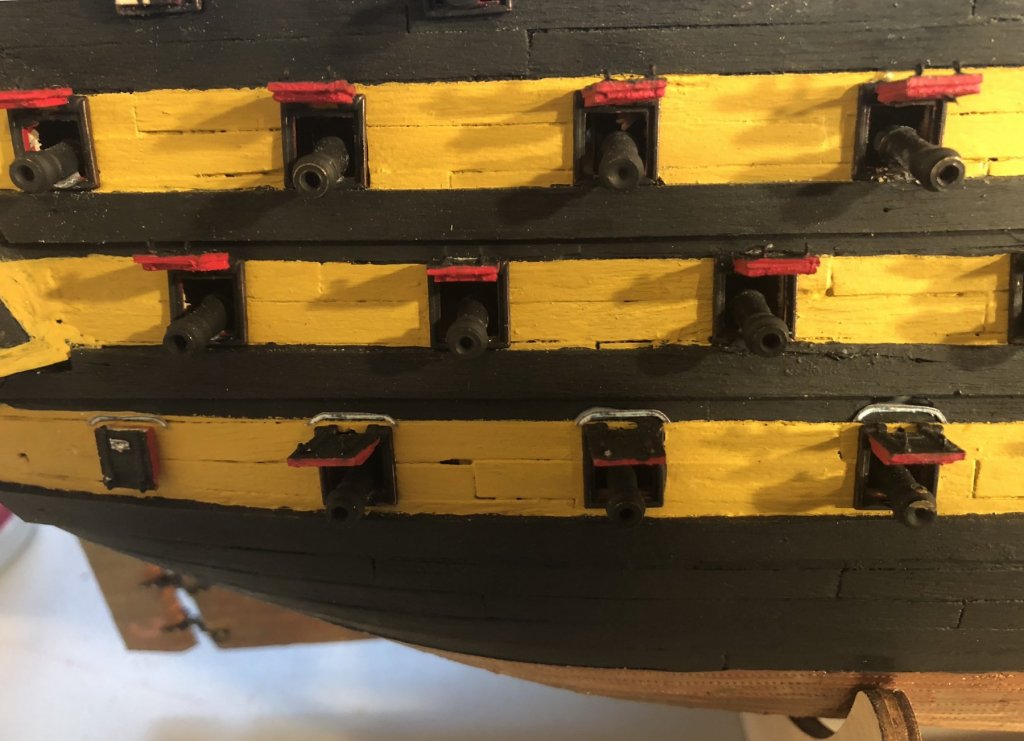
The drip shields divert rain and spray running down the hull away from the gunports, which aren’t sealed. They’re for housekeeping purposes.
-
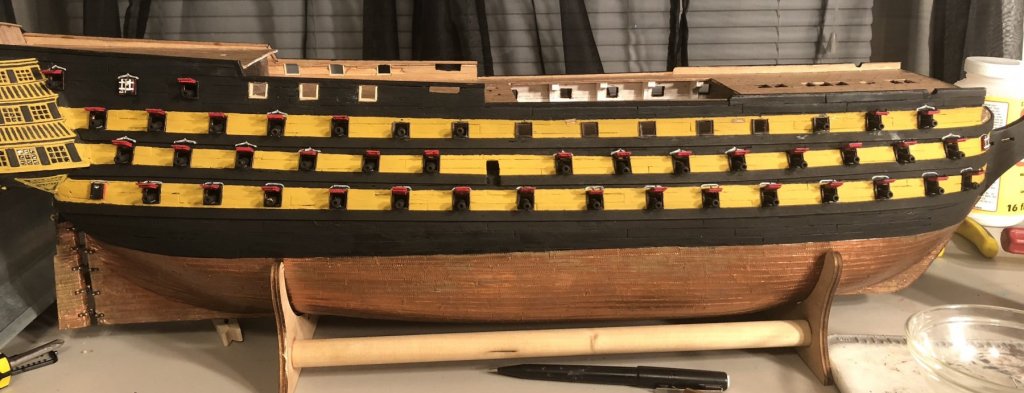
While waiting for the sealant to dry on my drip shields, I made the hull sheaves. I’ve learned a lot on this forum, and I’m putting it to good use.
-
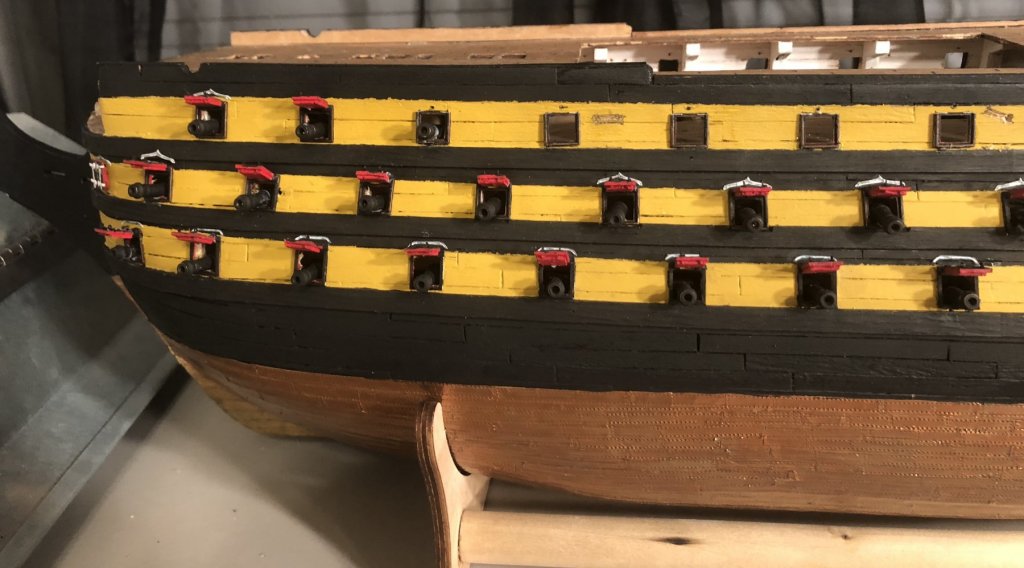
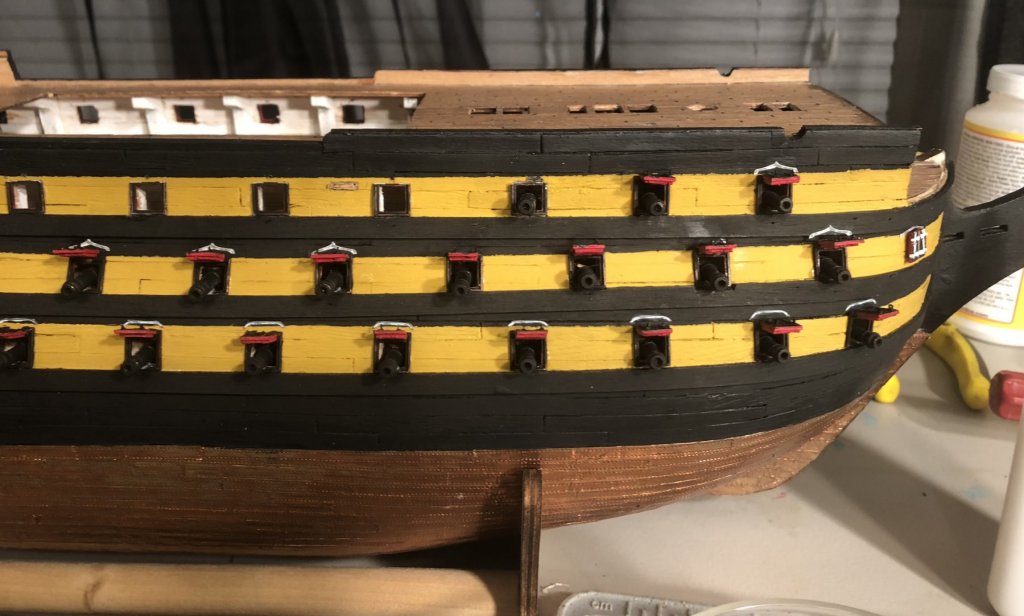
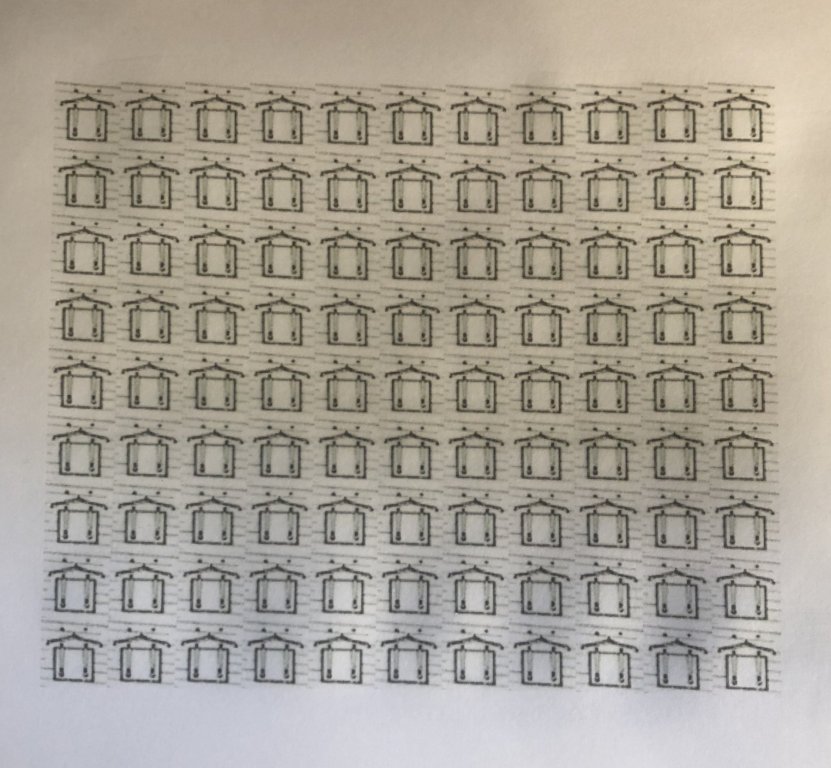
One sheet of drip shields!
-
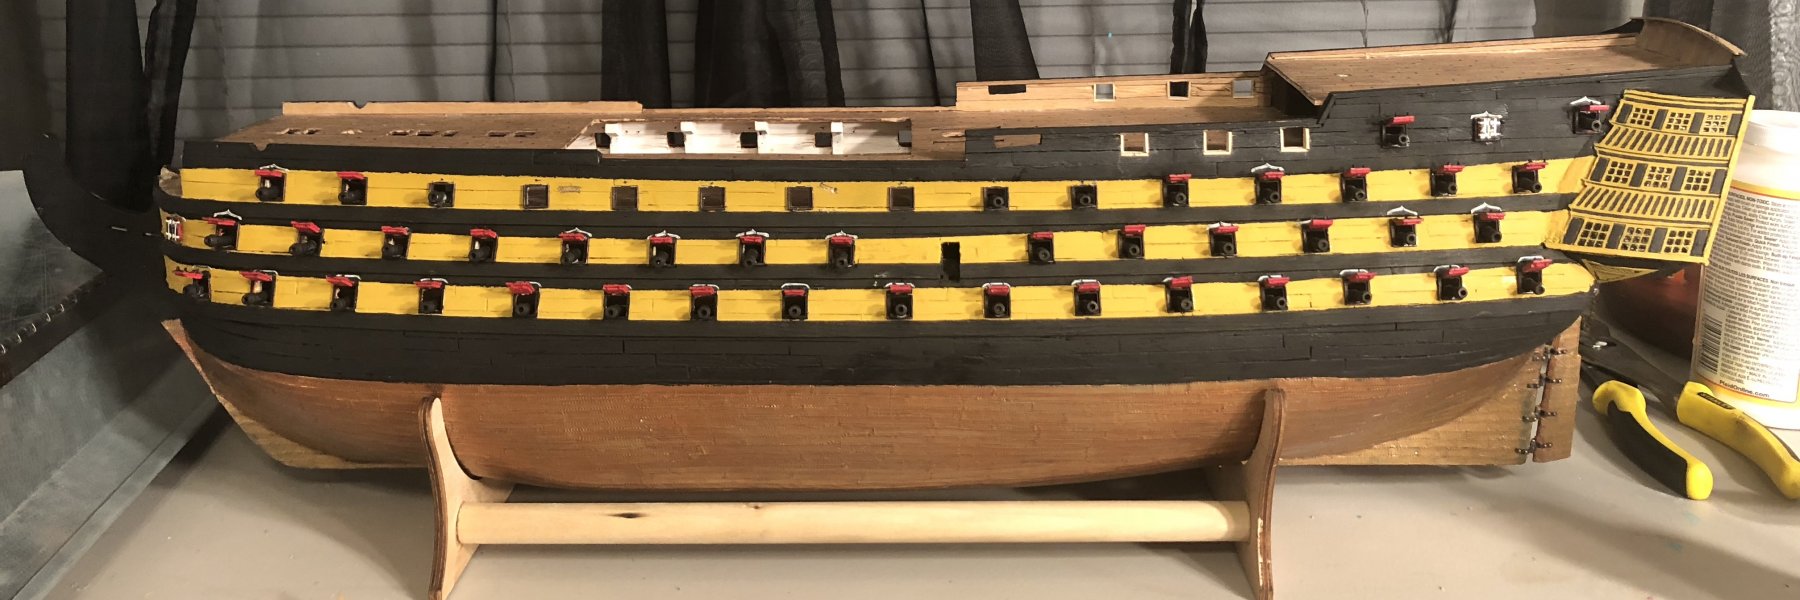
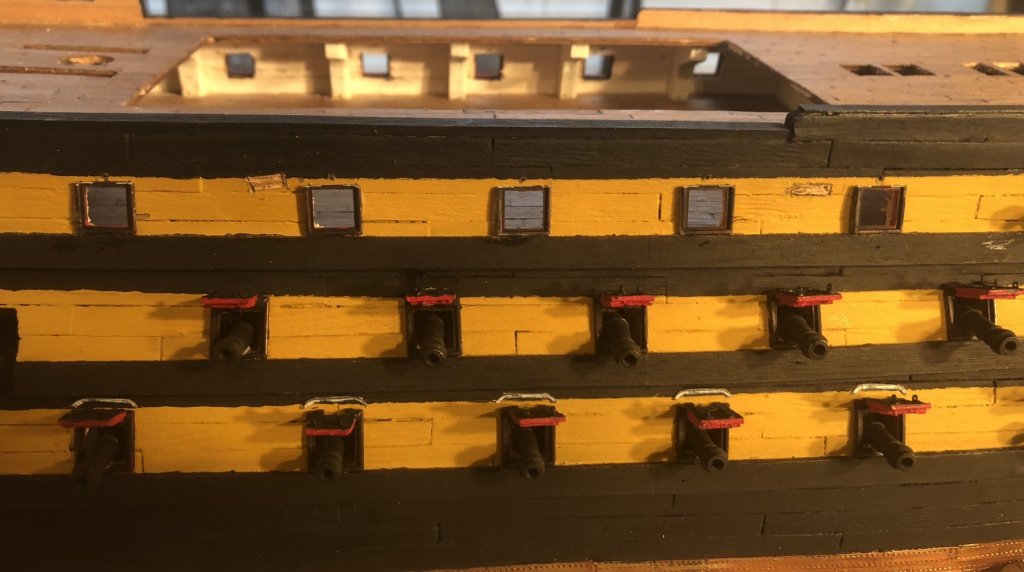
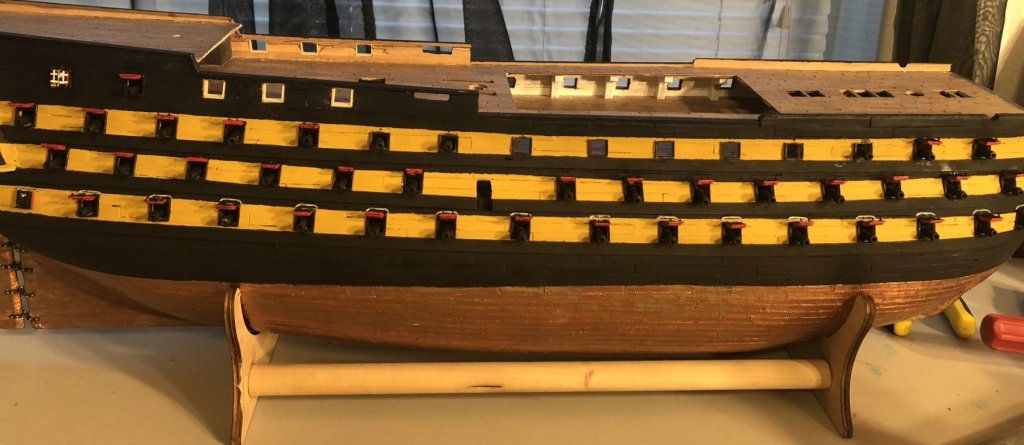
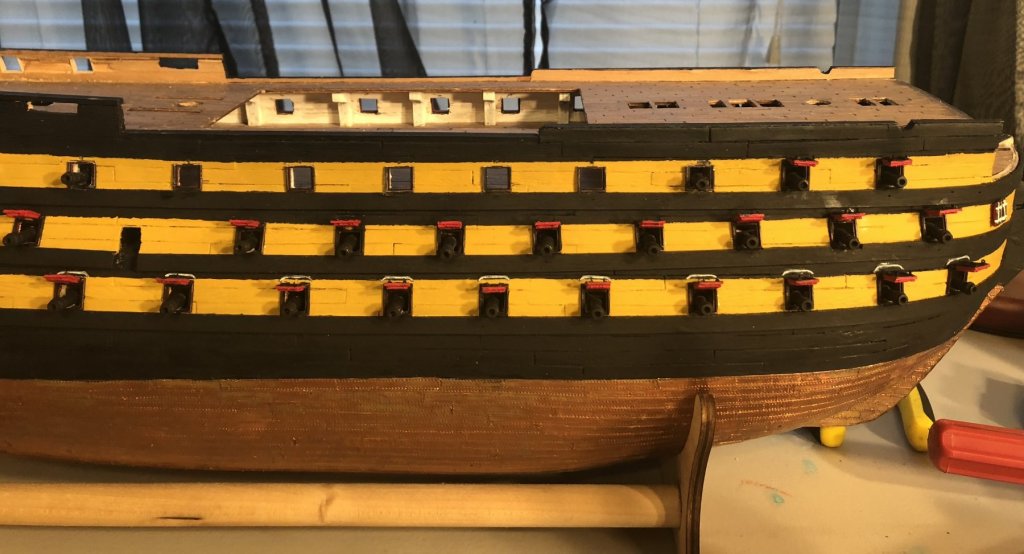
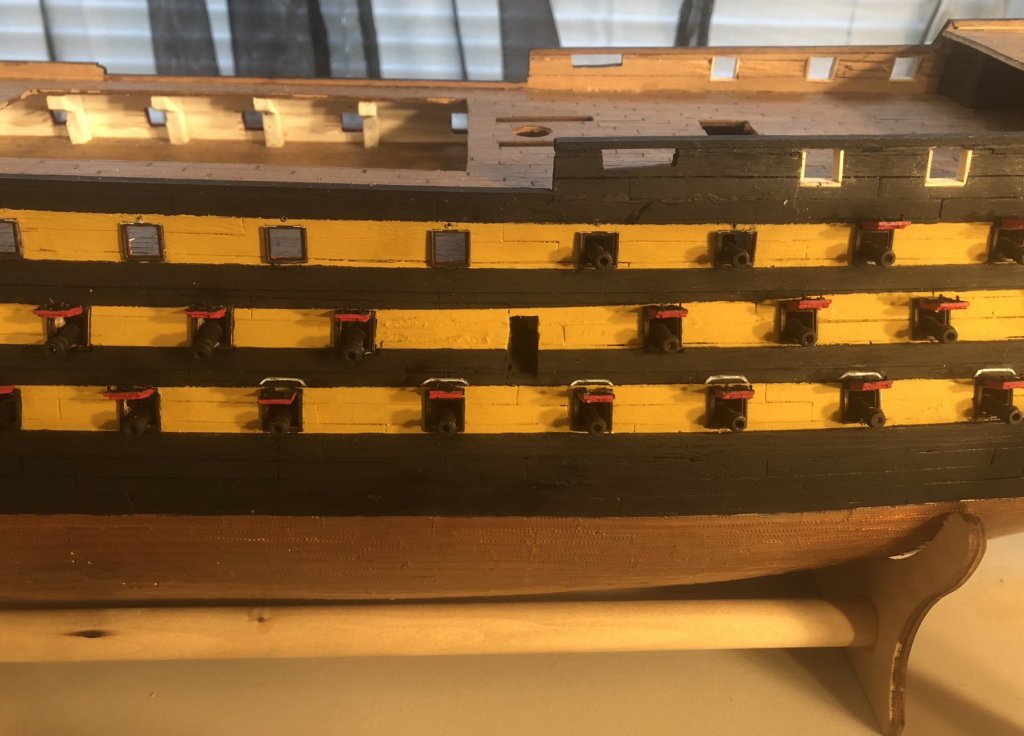
I made the lower gundeck drip shields and installed them! They are made from cardstock. I cut them from the sheets that I made for the port scuttles. I made sure that I made plenty of extras. Next, I’m going to scan a picture of the rest of the drip shields (which are different), and cut them out. Quick lessons learned for everyone, make sure you use sealant on cardstock parts before you cut them out. It makes life much easier.

-
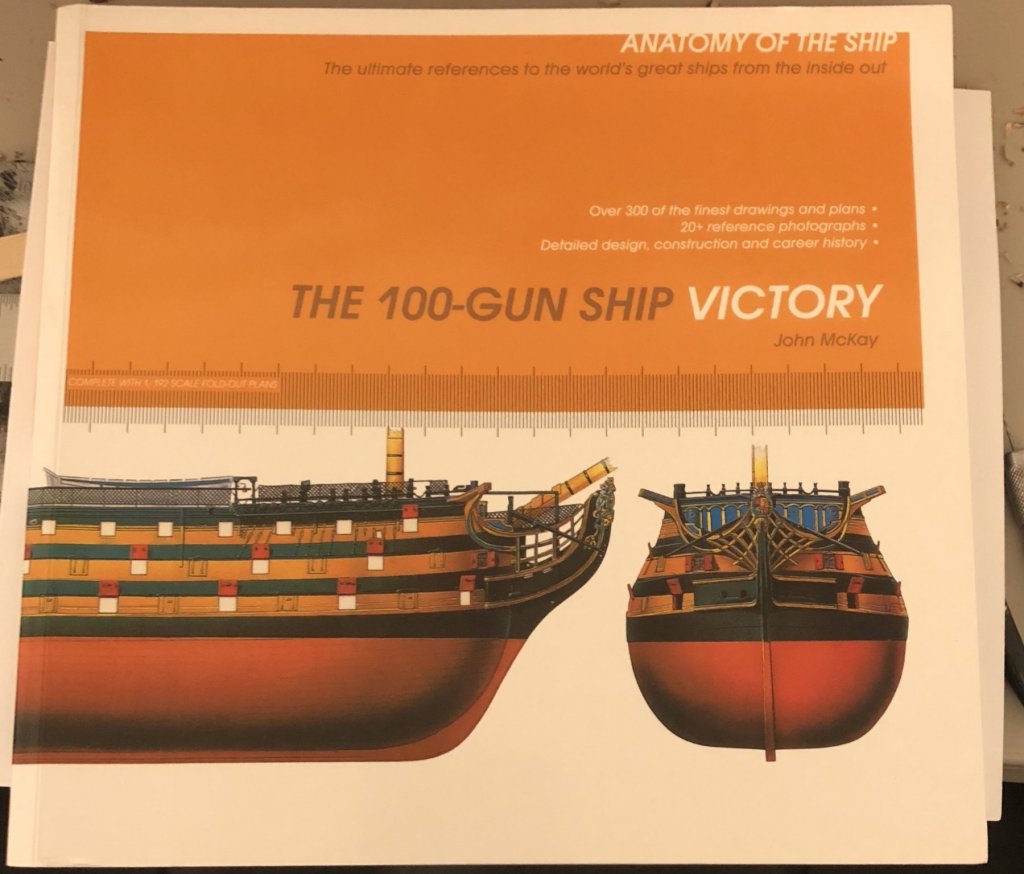
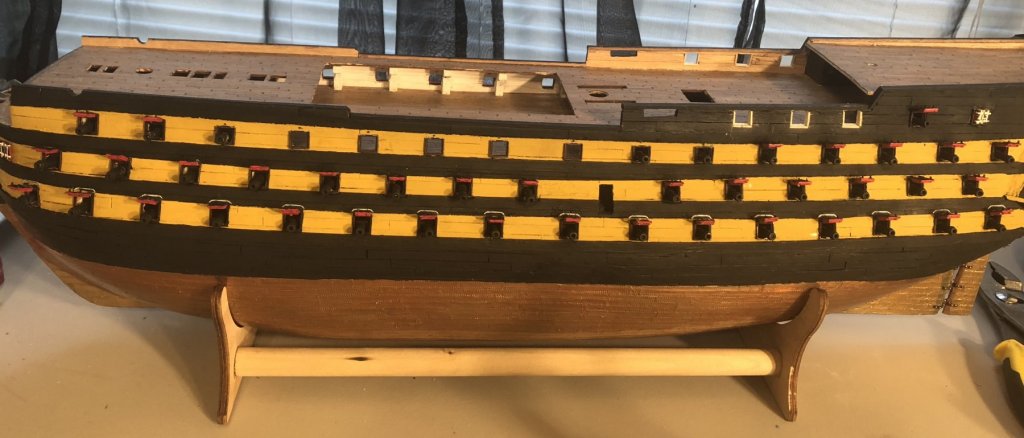
Thank you! I’m using the Anatomy Of The Ship: The 100-Gun Ship Victory by John McKay. It has complete plans of the Victory.