Dowmer
-
Posts
378 -
Joined
-
Last visited
Content Type
Profiles
Forums
Gallery
Events
Everything posted by Dowmer
-
 Well done BE. Looks like the fiddly time spent was worth it.
- 574 replies
-
- 4
-

-
- cheerful
- Syren Ship Model Company
- (and 1 more)
-
Where is the best place to get good quality ships flags?
Dowmer replied to Lucius Molchany's topic in Wood ship model kits
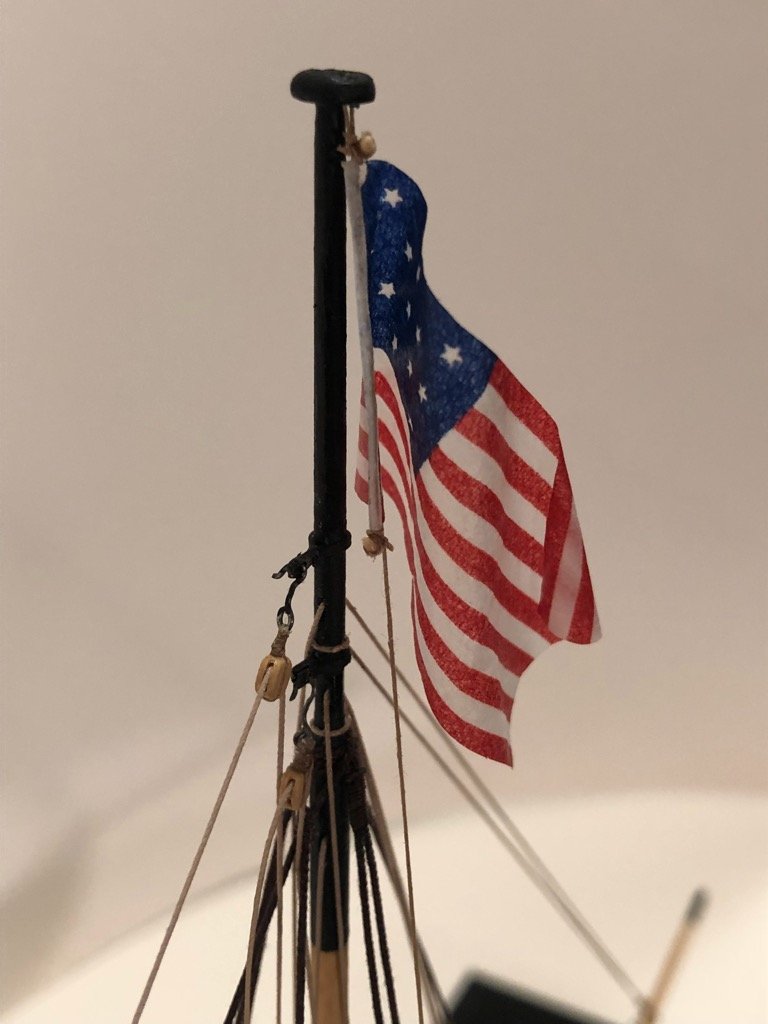
Chuck, When I put the tissue paper (The packing type for gifts, not the backside kind 😁) on a blank sheet of 8x11" paper in the printer, I tape all teh edges down so they dont catch. obviously the paper is bigger than I need for the image. Once the printer is finished, I cut it out with an exacto or scissors. Works a treat and I havent had one fail yet. The fixative really sets the ink so you can see it on both sides and allows the flag to be positioned how you like it. Hope that helps and perhaps you won't have to go buying "weed" paper...although there's nothing wrong with that. 😀 -
Where is the best place to get good quality ships flags?
Dowmer replied to Lucius Molchany's topic in Wood ship model kits
The best flags are those you make on your own. Chuck had a great demo how to make your own flags on his Cheerful build. LINKY The problem with most made flags is the material is too thick or they just dont look realistic. Making them out of Tissue paper makes them llok much more realistic and they drape nice. Here's an except from his explanation, I basically use a jpg. image of the flag which has been sized in Microsoft word. You could skew your flag ahead of time in the program to make it easier to shape but I didnt do that. I just printed out the standard rectangle. First you print out the flag on normal paper so you can see where on the paper the flag will print. Then you carefully tape the tissue paper over that image on all four sides...the tissue paper being slightly larger than the flag. Then print the flag again after placing the paper in your printer again. Cut the flag free from the tissue paper after it dries. Cut it right along the edges with no white space showing. This next step is important. The tissue paper is so thin that the ink will soak through to the other side but NOT entirely. So the first thing you need to do is flip the flag over and spray the REVERSE side with some Krylon Matt fixative. Dont be afraid to spray too much. This will facilitate the ink soaking through to the back side further and it will look like it is literally printed on both sides. Then after it dries flip it over and spray the front side. Shape it to suit with various size dowels. You can also spray the fixative more to really soak it because this makes it easier to shape...you can do this several times if need be. Once dry it holds its shape. Then I poke a hole with a sharp awl in the two corners so I can lash it to the flag halliard. Done!!! Here's a pic of the flag I just made for my boat. 1/48 scale. Give it a try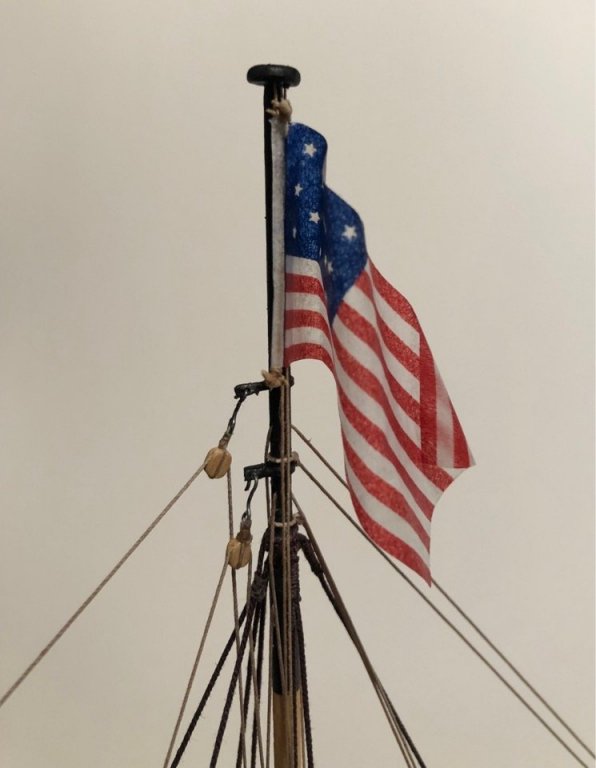
-
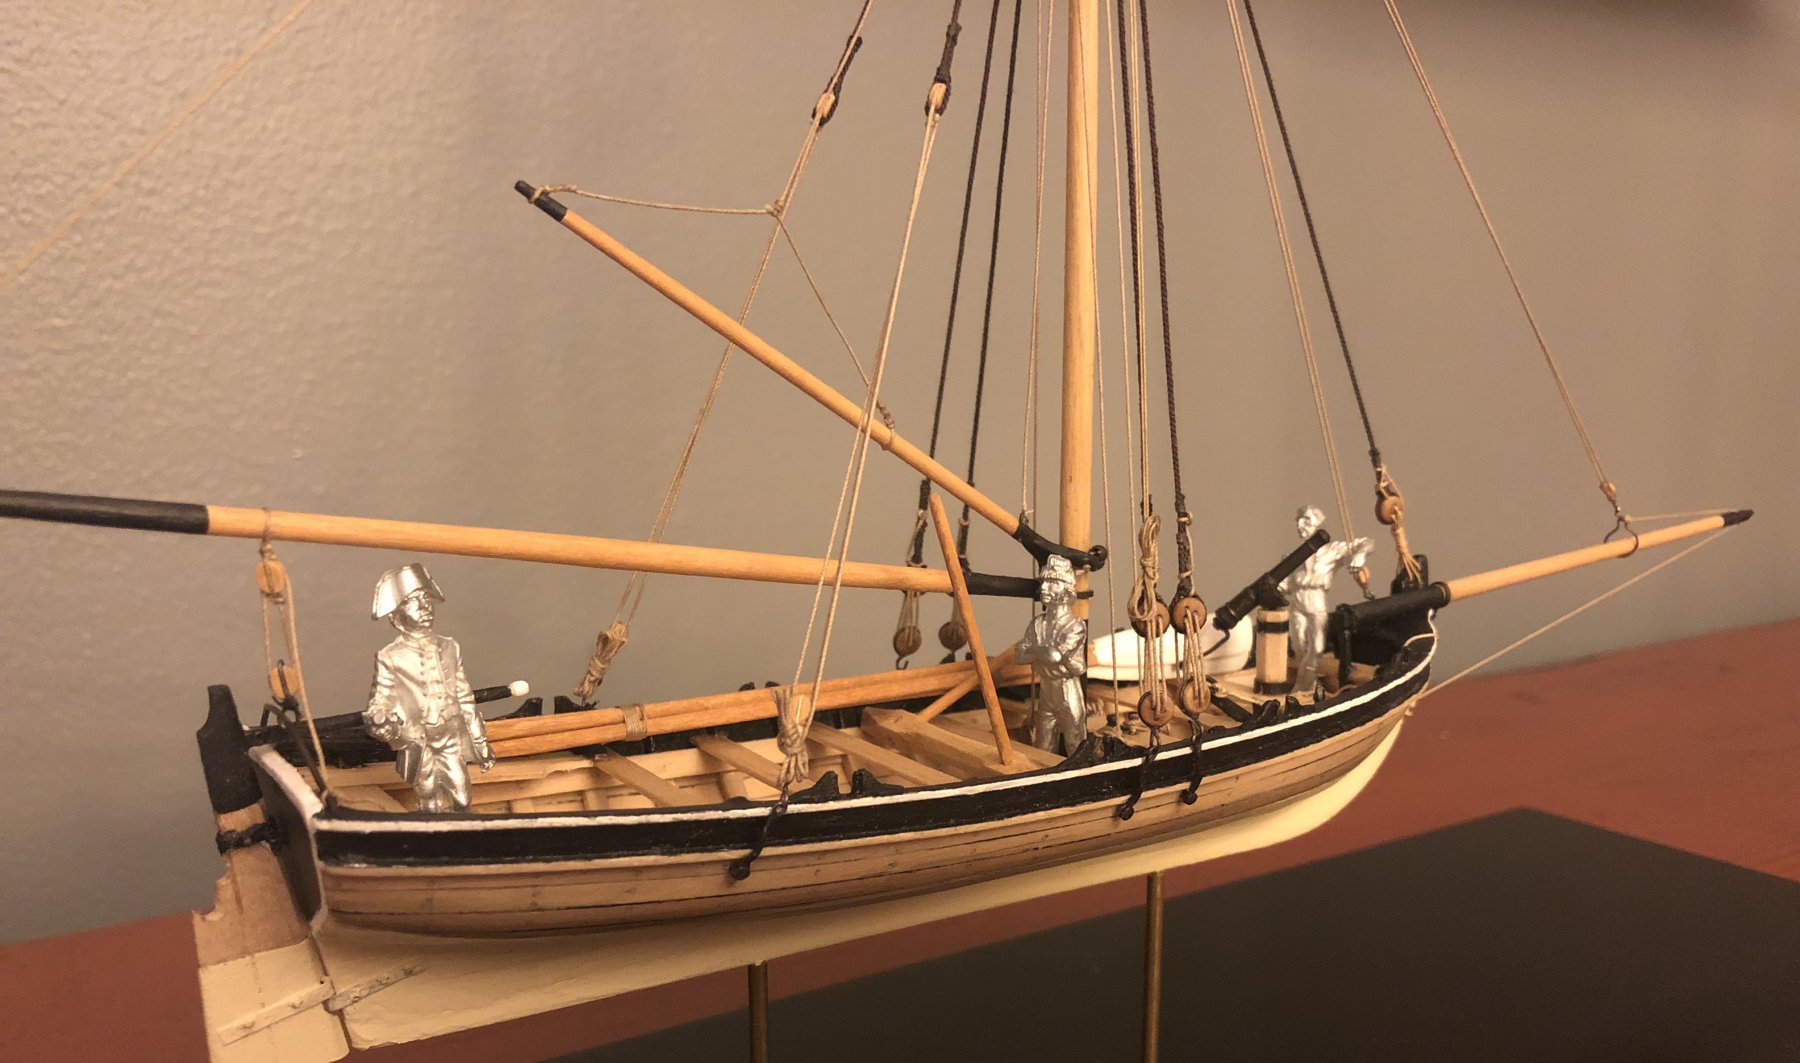
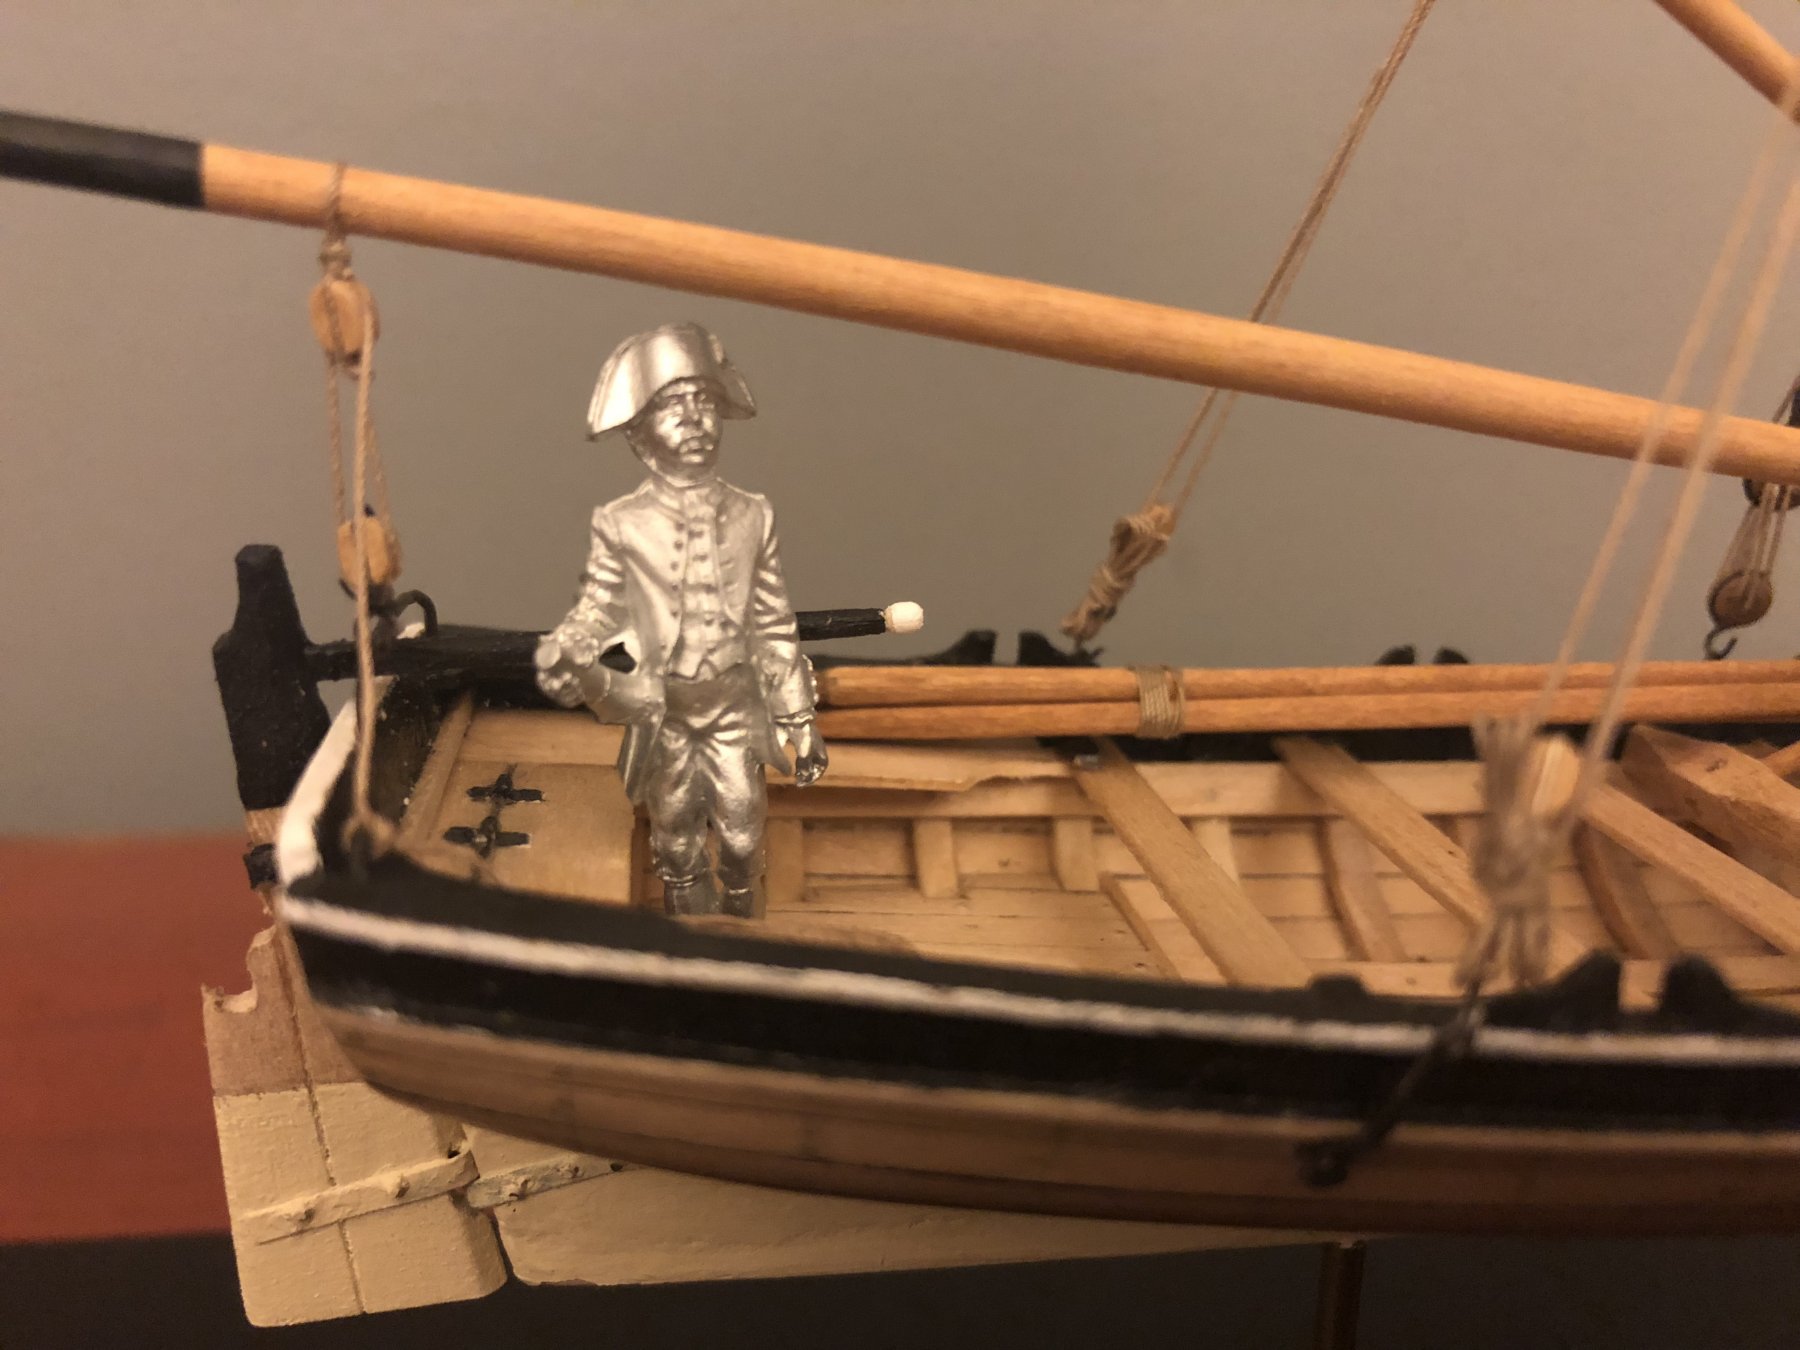
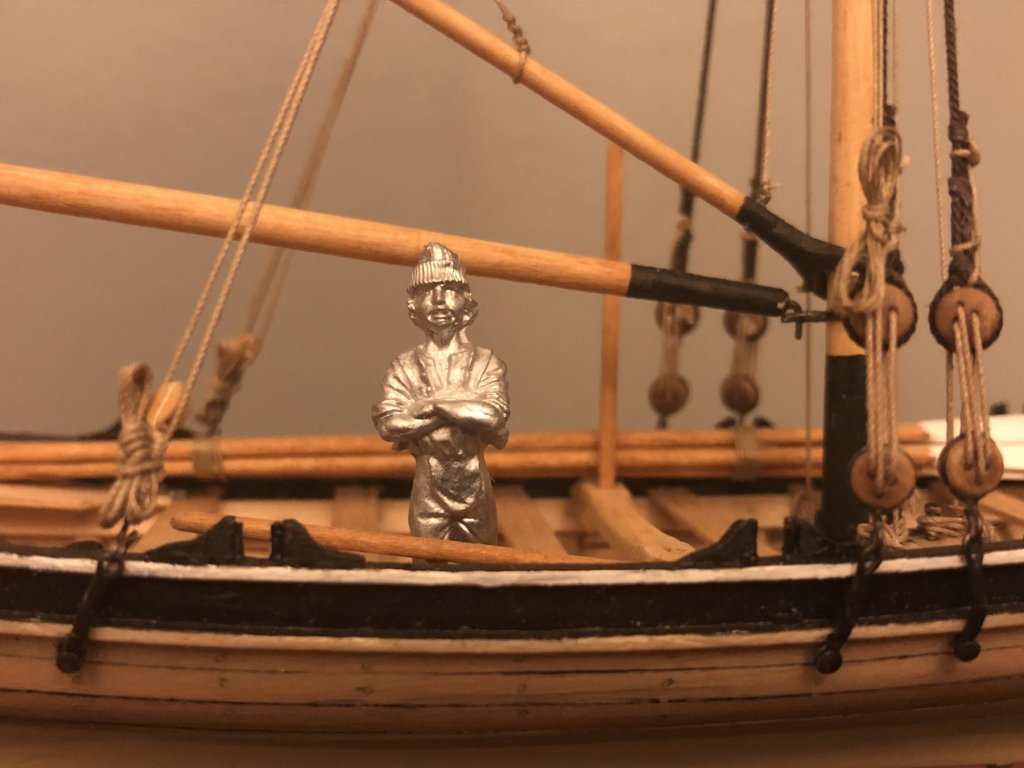
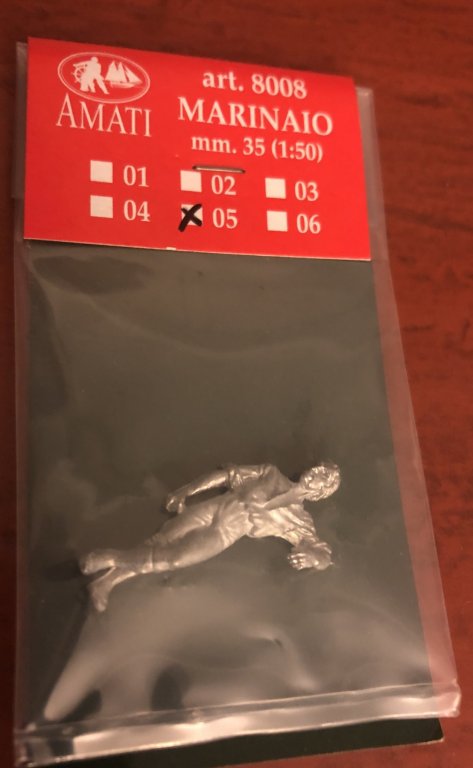
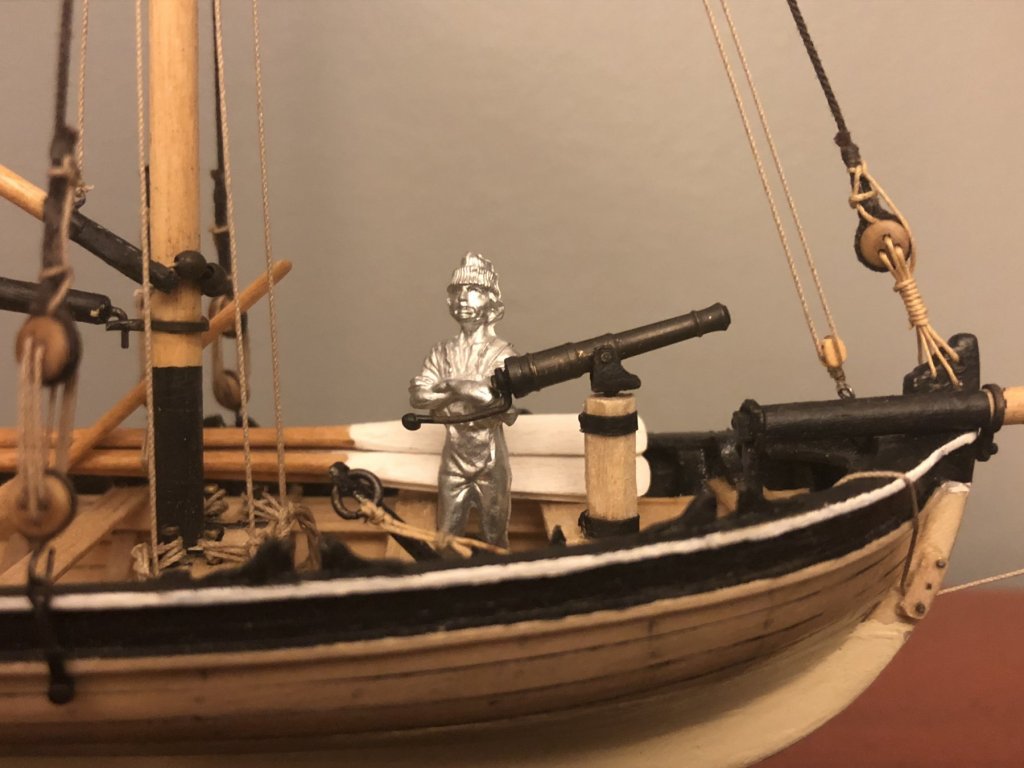
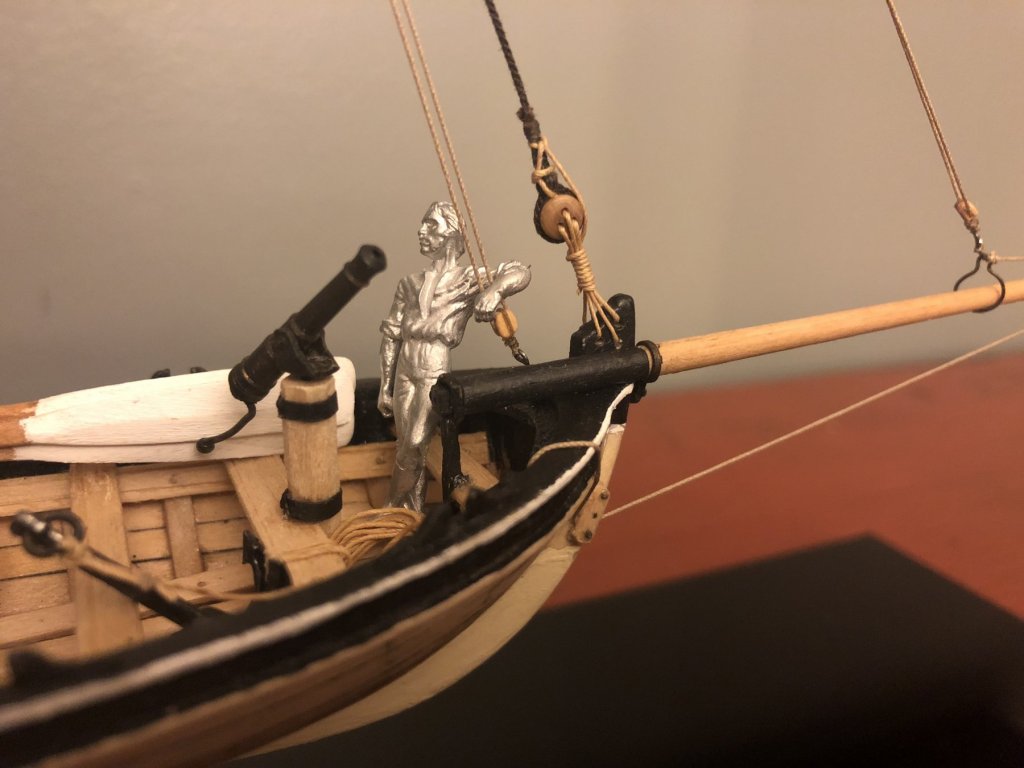
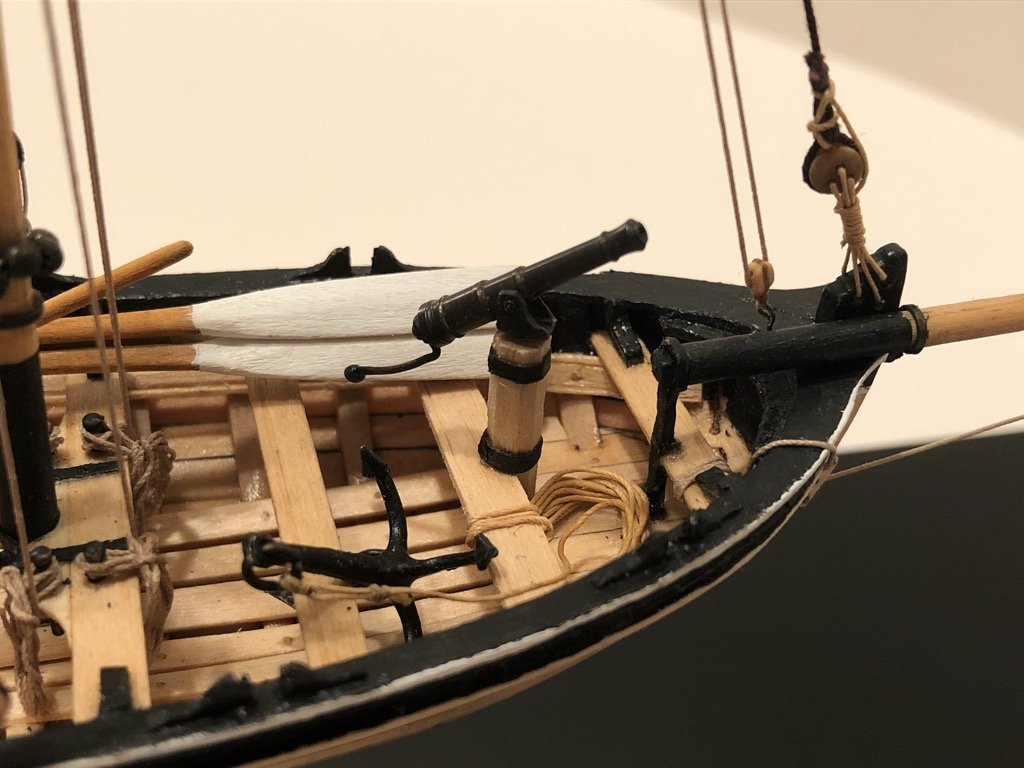
Reviving this thread but no one mentioned Amati figurines for 1/48 scale. Actually they are probably O scale but works out to almost the same. 35mm is the size but that is to the top of the hat. So in reality the figures from foot to top of head are about 33mm which works out to about 5’3” in 1/4 scale. Slightly small but not too bad since the average person back then was about 5’4” to 5’6”. I can live with it. I got mine from woodenmodelshipkit.com. Quick ship. I ordered it two days ago and I already had it delivered from across the U.S. Here's a couple pics in a longboat I just built. Like I said. Slightly small. I bought them so I could use them as perspective when building.


-
I bought a couple figurines so I can get perspective on scale when I build. The only ones I could find that looked respectable were from Amati through woodenmodelshipkit.com. Quick ship. I ordered it two days ago and I already had it delivered from across the U.S. Anyway, if anyone is interested I put them in the boat to see what it looks like. Pics below The figures are 35mm. But that is to the top of the hat. So in reality the figures from foot to top of head are about 33mm which works out to about 5’3” in 1/4 scale. Slightly small but not too bad since the average person back then was about 5’4” to 5’6”. I can live with it. comments? Are they too small? cheers


- 48 replies
-
- 4
-
-
- 18th century longboat
- model shipways
- (and 1 more)
-
Thanks gents. 😁 Time will tell where it ends up.
-
Nicely done BE. A bit tedious but I’m glad it worked out. At least you figured out the internal planking meets the stem in time. I would have noticed it “afterl I completed the task improperly. 😥 😁
- 574 replies
-
- 2
-
-
- cheerful
- Syren Ship Model Company
- (and 1 more)
-
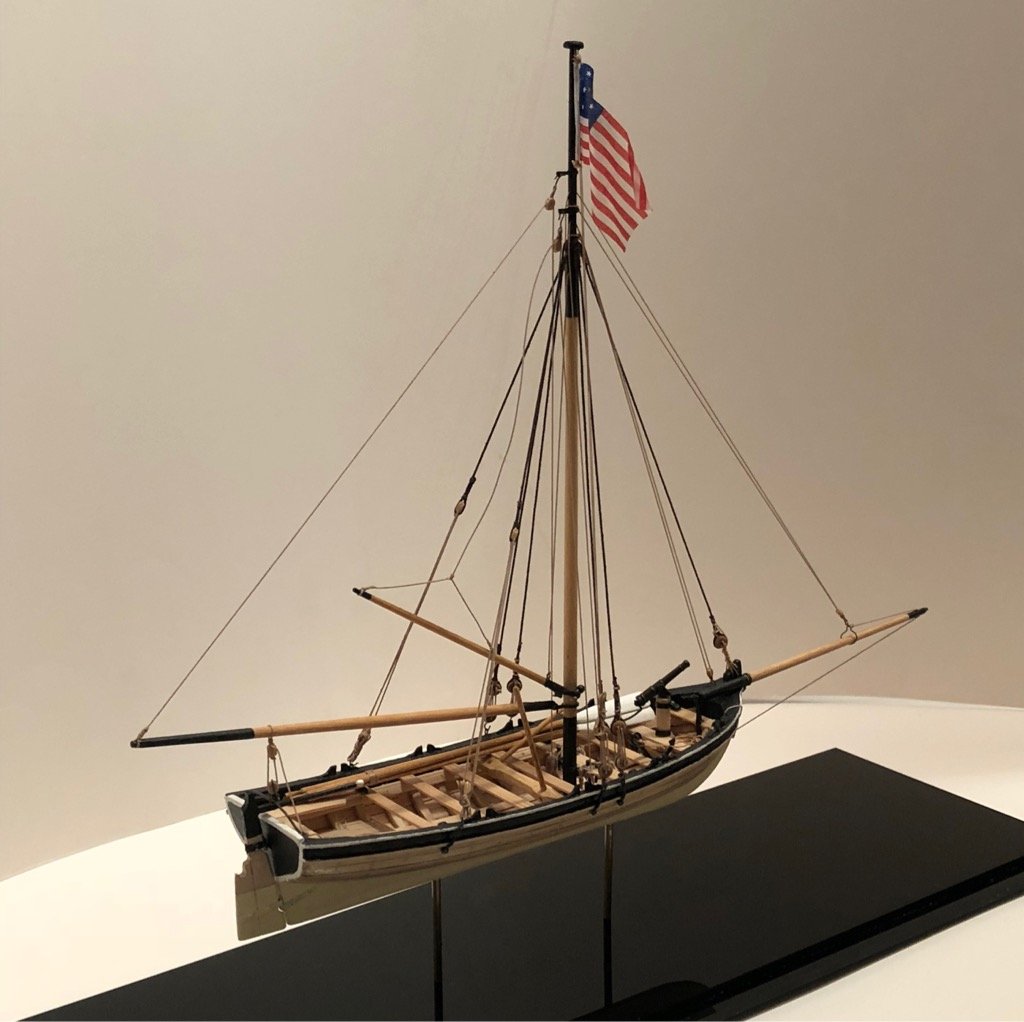
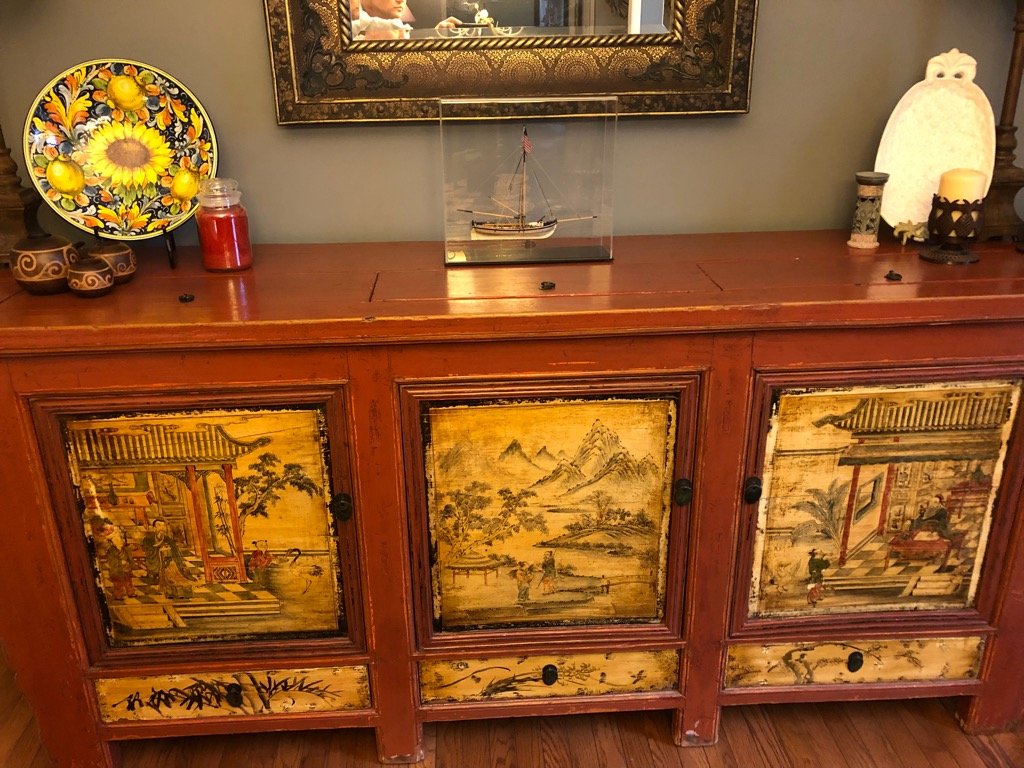
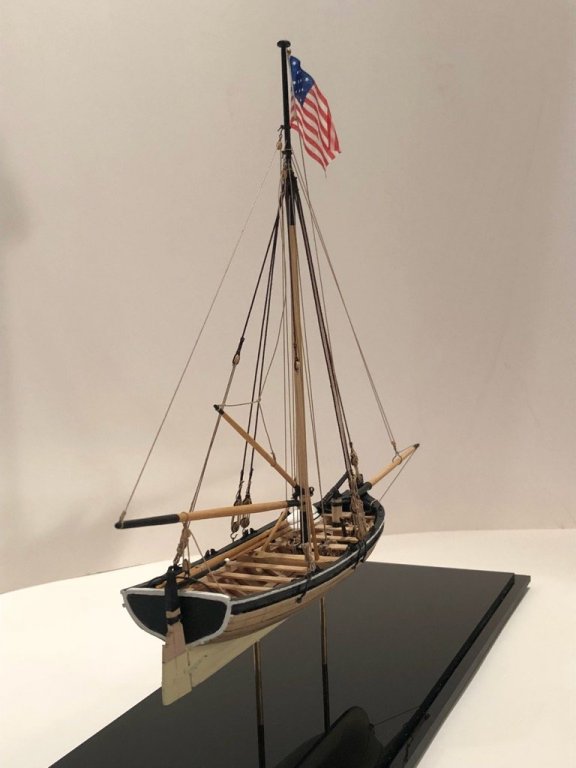
Jim and Lou. Thank you for the kind comments. Next year I’m retiring and I’m hoping to move back to the PNW if I can afford it. It will be nice to have other shipbuilders in the Seattle area. 😀 As far as a “location”, well Lou, that’s the “thing”. 🤔 The wife is currently out of town (in Seattle) so I’m left to my own devices. So I immediately placed it on top of the wife’s Chinese 19th Century Qing dynasty rice bin buffet. Its too small for the space, but I like it and the Admiral isn’t here to tell me otherwise... Of course it will get moved when the Admiral returns and be relegated to some small dark corner of the office. But until then, I will give it the small respite of dignity it deserves. Perhaps she she would allow a much larger POF model to live there......hmmmmm. 🤔

- 48 replies
-
- 3
-
-
- 18th century longboat
- model shipways
- (and 1 more)
-
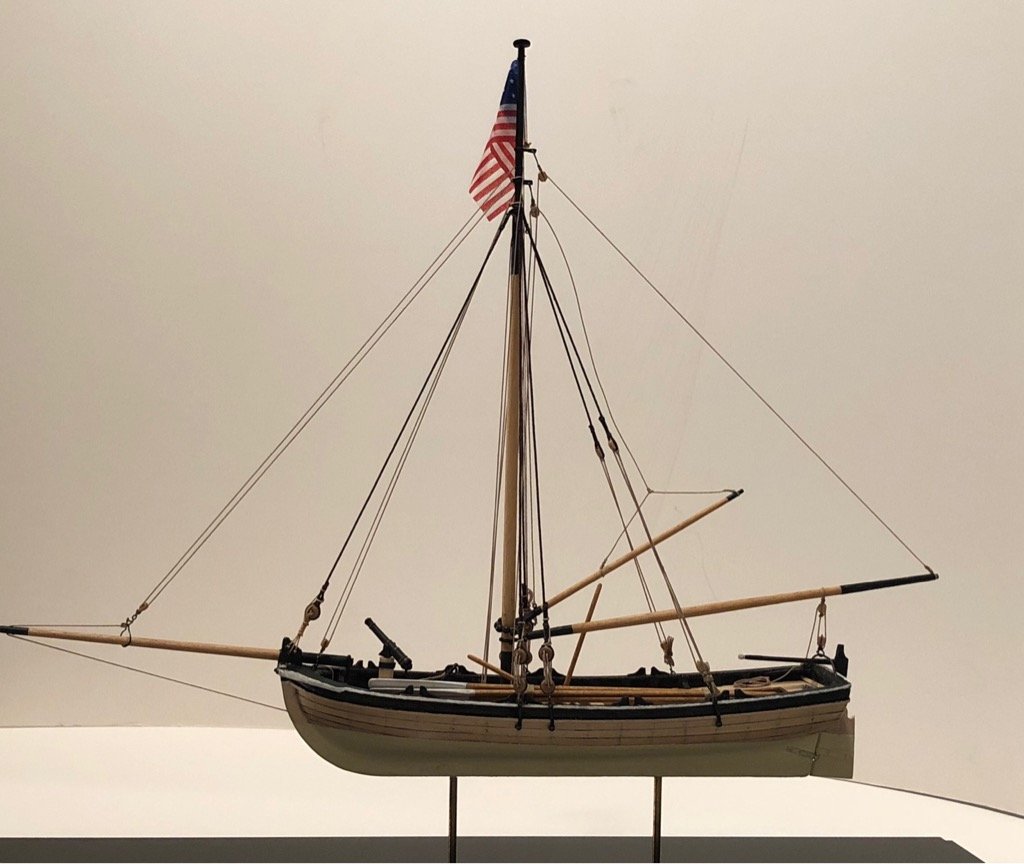
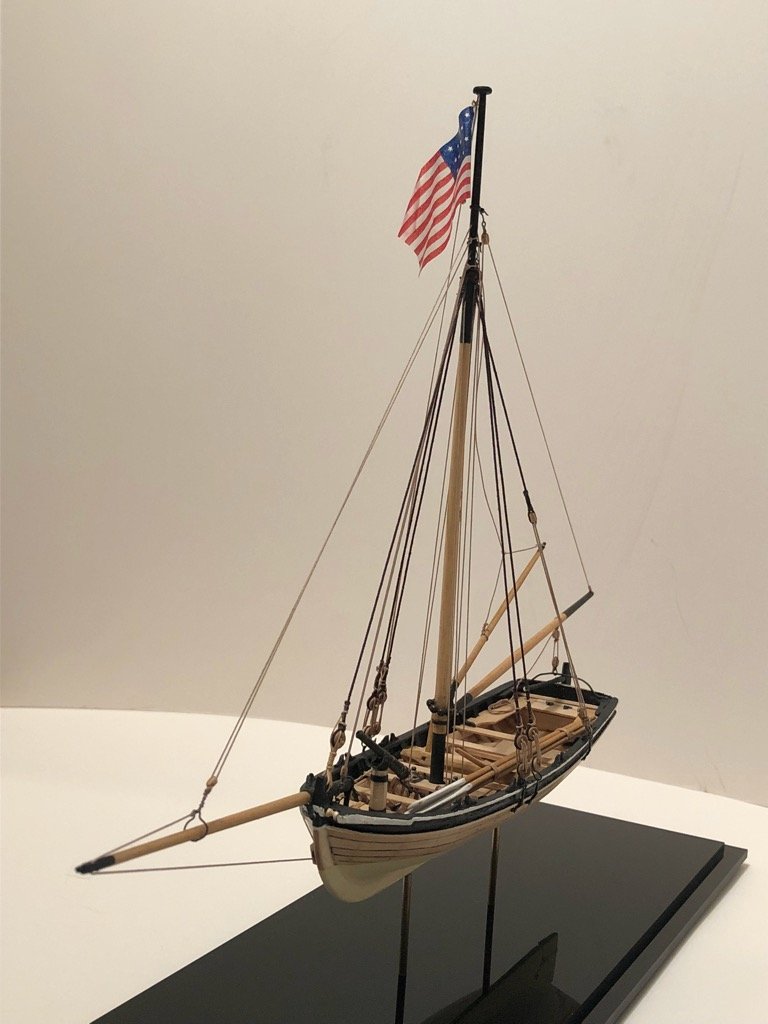
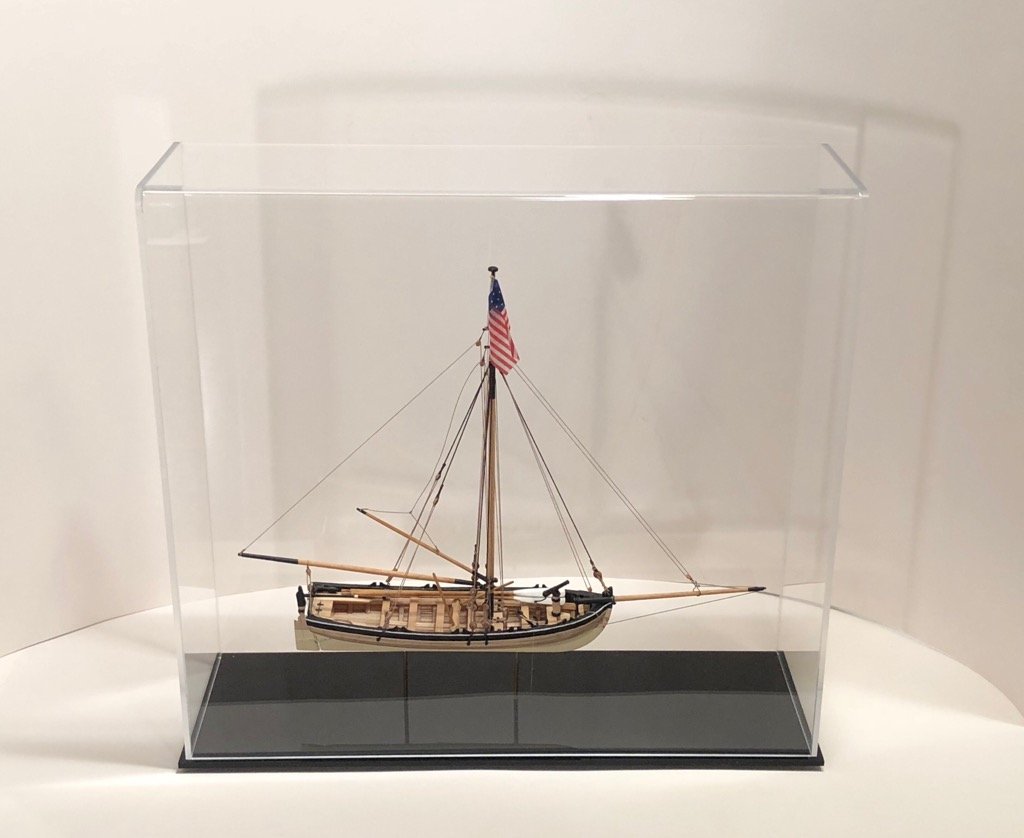
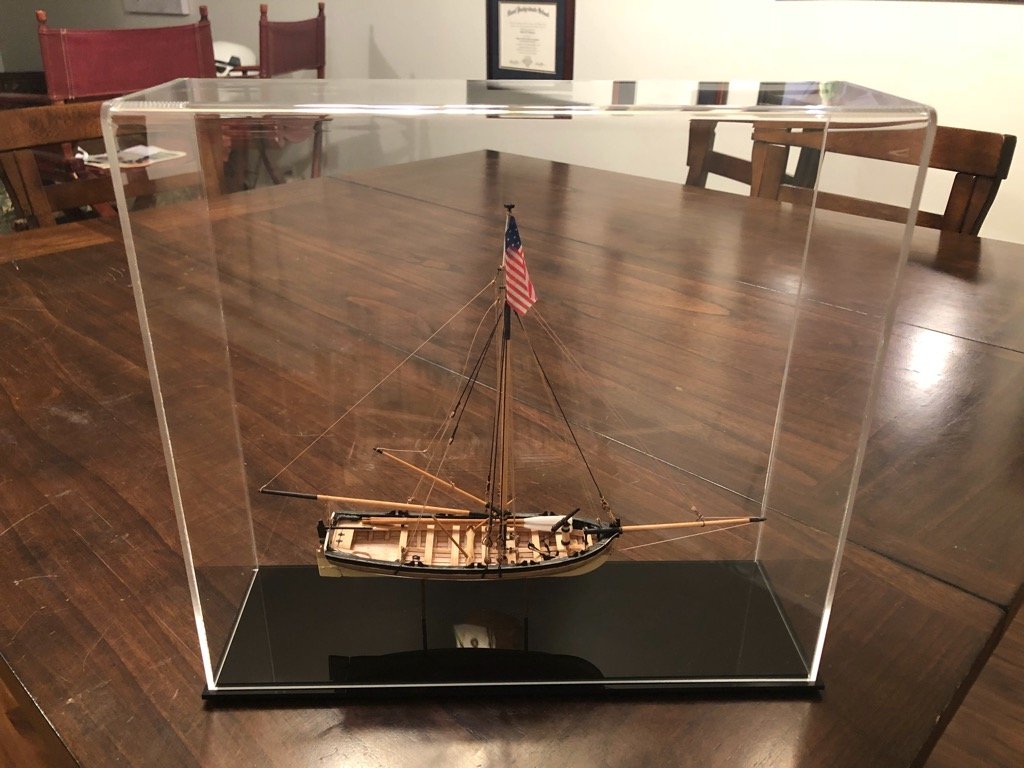
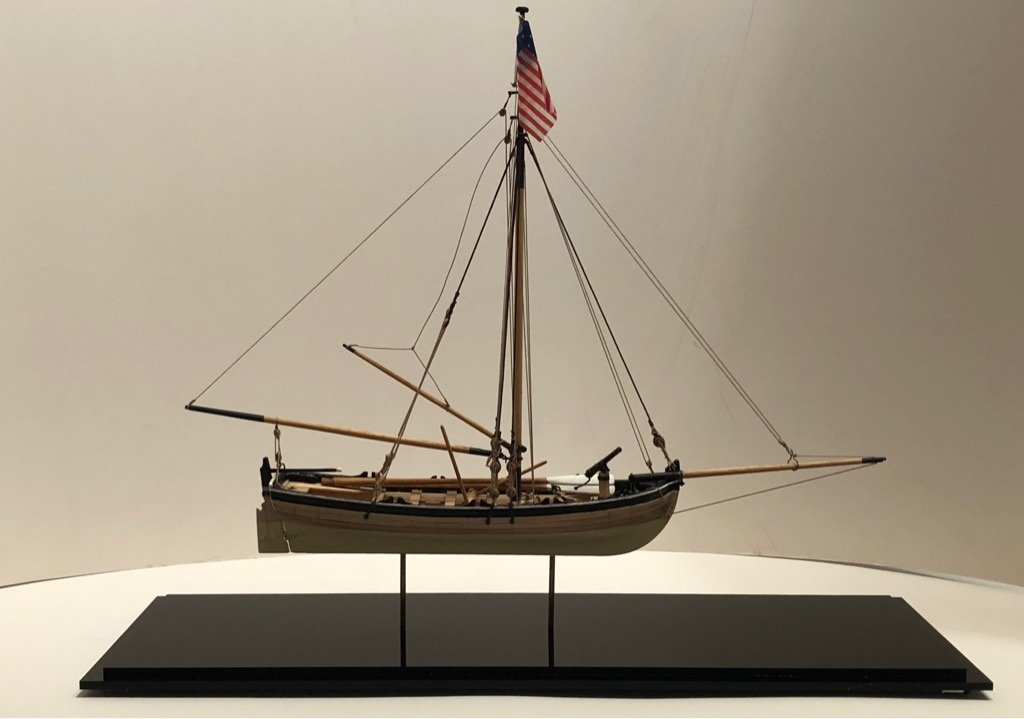
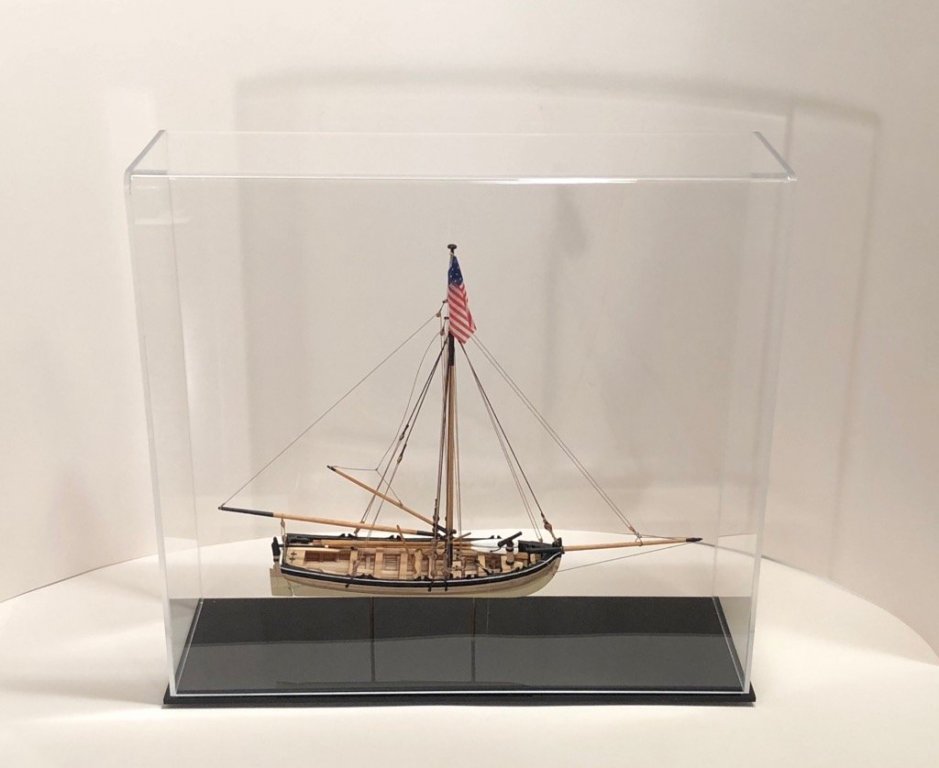
Thanks Jim for dropping in. You are right, cases aren’t too hard to make. I think I saw a video of you making an acrylic case the other day. But I don’t have any materials or tools to make them right now. So I’m relegated to ordering a commercially produced custom acrylic case 😓 Here’s the company I used. Specialty Plastics Inc. in Ohio. LINK They were reasonable compared to other custom case makers only $57. Two days to make and ship. I had the case in a total of 4 days from when I placed the order. That’s pretty good service. I’m sure there might be better cases out there but it served my needs. One solid top and front piece with rounded edges on the top front corners so there are no glue joints. Side panels neatly glued on. I picked a free black acrylic base for now. Some day I’ll make a nicer one when able. Here’s a pic below. Another pic but a little harder to see with the white background. Some final pictures and this build is complete. Thanks for following. Not too much different from earlier except rope coils and a few finishing touches.


- 48 replies
-
- 9
-
-
- 18th century longboat
- model shipways
- (and 1 more)
-
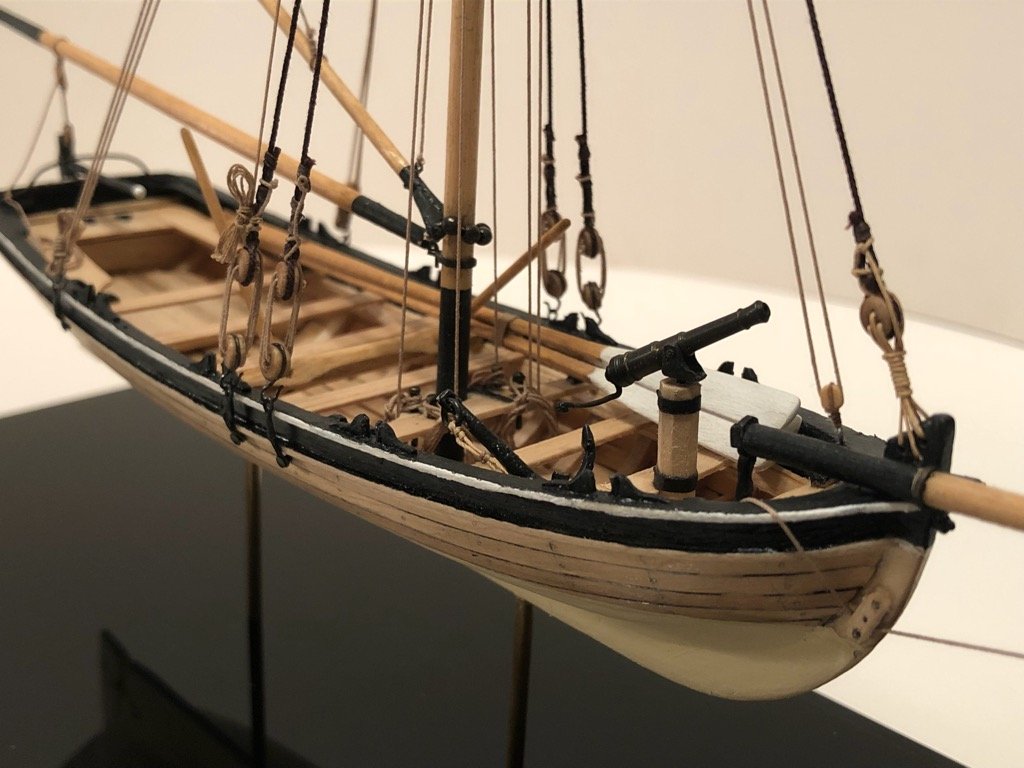
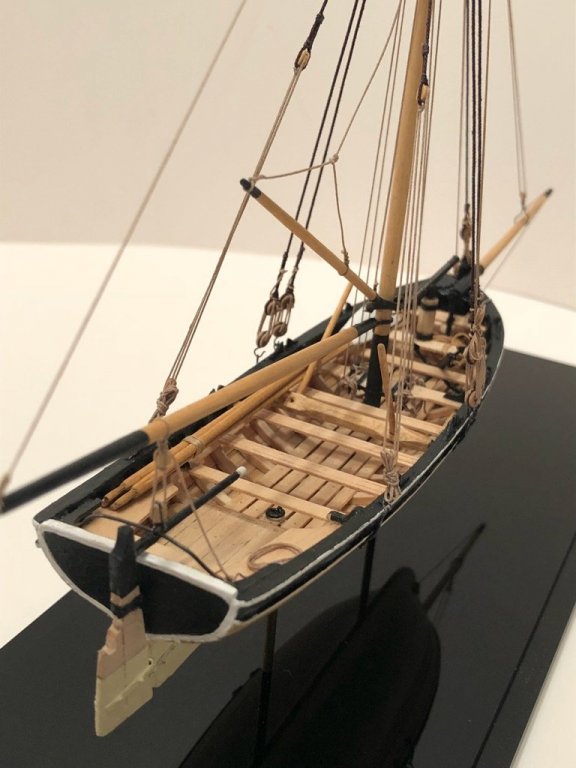
Ian, Thanks for dropping in. It was a quick build only detailing the rigging. I’m glad you enjoyed it. Your Cheerful build is a wonderful project I’m following. Thanks again. I just received the acrylic case for the longboat. I’ll post some pictures soon.
- 48 replies
-
- 2
-
-
- 18th century longboat
- model shipways
- (and 1 more)
-
Lou, Sorry to hear about Laurie’s mishap. I wish her a speedy recovery. You will be able to build when the time is right. Life does tend to get in the way. Now back to the scullery with you! 😁
-
Ian, very well executed. The ship is really looking nice.
- 51 replies
-
- 1
-
-
- cheerful
- Syren Ship Model Company
- (and 1 more)
-
Ed, perhaps too worked up, but fun and interesting nonetheless. Its really a "compelling impression" of scale line we are trying to replicate here. I find it fun using different materials and sources to achieve this and if we can find the right threads we can pass it on to the rest to benefit. I appreciate you desire and willingness to help the rest of us mear mortals trying to keep up. 😀
- 3,618 replies
-
- 4
-
-
- young america
- clipper
- (and 1 more)
-
Well said Lou, I couldn’t agree more. 😁
- 48 replies
-
- 1
-
-
- 18th century longboat
- model shipways
- (and 1 more)
-
Thanks Lou for following. 😊 Only a handful of people followed so I doubt it will be missed that much. My next project will be to break out the UNION that has languished for 15 years in storage. However, life is in the way (I need to retire, move, find new employment etc.) So I won't start on it until I can get settled and set up a proper workshop. I need to re-do much of the hull planking as I was looking it over it the other day and noticed that I added some of the sheer rails in the wrong place. So it will require replacing much of the upper works plank. I'm also not very happy with the planking below the waterline. My skills have progressed over the past 20 years and now I'm a bit embarrassed of my workmanship. Especially now that I've seen how Chuck edge bends his planks. I need to get a thickness sander to do an adequate job since I mill all of my own wood. Unfortunately, I threw away my last home-made sander about 3 moves ago. 😥 I'll probably buy a Byrnes Thickness sander. Sorry for the rambling........ I should probably start a build thread for the UNION eventually, so people can see what I'm talking about. Jason
- 48 replies
-
- 2
-
-
- 18th century longboat
- model shipways
- (and 1 more)
-
The build is essentially finished. I ordered a custom acrylic case to put it in. Once it arrives I'll show the final result. Thanks for all those that have followed this short little build. Jason
- 48 replies
-
- 1
-
-
- 18th century longboat
- model shipways
- (and 1 more)
-
Ed, I've noticed Londonderry makes 100/3 thread in linen. Have you tried them? How is the quality? Here's a link LONDONDERRY 100/3 Heres another shop in Washington that sells it. They provide a .pdf for ship modelers for the diameter for the difference thread sizes and ship scale. LINK Love the work Ed 👍
- 3,618 replies
-
- 3
-
-
- young america
- clipper
- (and 1 more)
-
HMS ANSON 1781 by albert - 1/48 - 64 guns
Dowmer replied to albert's topic in - Build logs for subjects built 1751 - 1800
Great Project Alberto. Following along. -
Cutting Planks
Dowmer replied to sfotinos's topic in Building, Framing, Planking and plating a ships hull and deck
Shawn, if you are talking about the short pieces between the gun ports, I cut them slightly long, then install them on the ship. The plank will protrude into the gunport slightly. Once all the planks are installed for that side of the port, I then use a small fine file. With careful strokes I file it flush being sure to keep the file 90 degrees to the side. Depending on the size I can also use a very sharp xacto blade or scalpel to trim if needed until the blade is held flush against the side of the gunport frame. I hope that makes sense? -
Brig Eagle by robnbill - 1:48
Dowmer replied to robnbill's topic in - Build logs for subjects built 1801 - 1850
Thanks Bill for the Update. By the way, I too am in Chantilly. 😀 -
Brig Eagle by robnbill - 1:48
Dowmer replied to robnbill's topic in - Build logs for subjects built 1801 - 1850
Bill, any updates? Whatever happened to this build? -
Based on the survey done for kit quality on this site under the kit forum I'd say Caldercraft quality wins hands down for quality. There are several builds on this site you can check as well.
-
Dave, thanks for dropping in to my thread. I’m glad you appreciate the nuances of the PNW longboat from the standard kit. 👍
- 48 replies
-
- 3
-
-
- 18th century longboat
- model shipways
- (and 1 more)
-
Now that's funny! ...but sadly true. 😠