Dowmer
-
Posts
378 -
Joined
-
Last visited
Content Type
Profiles
Forums
Gallery
Events
Everything posted by Dowmer
-
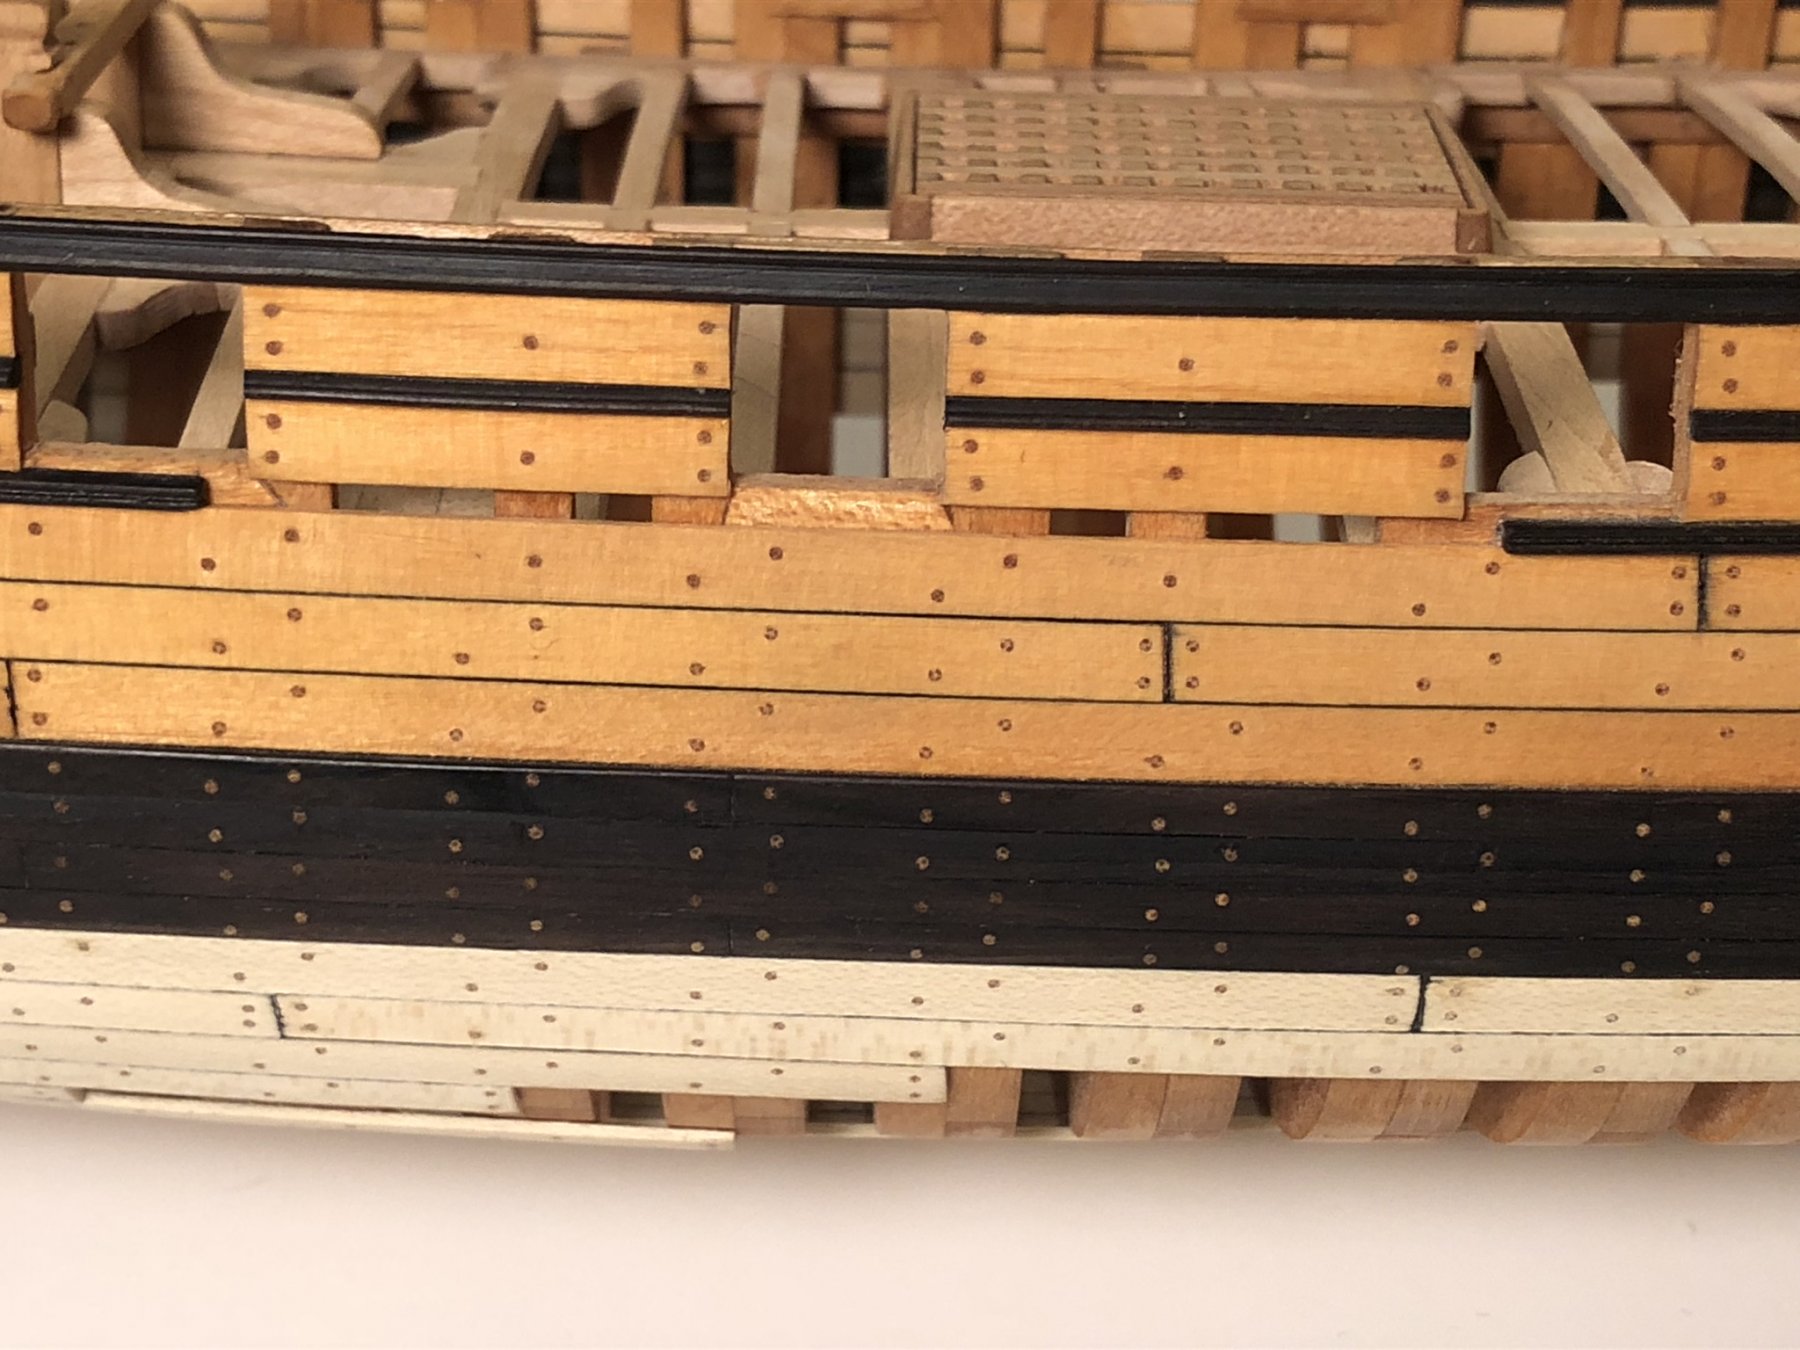
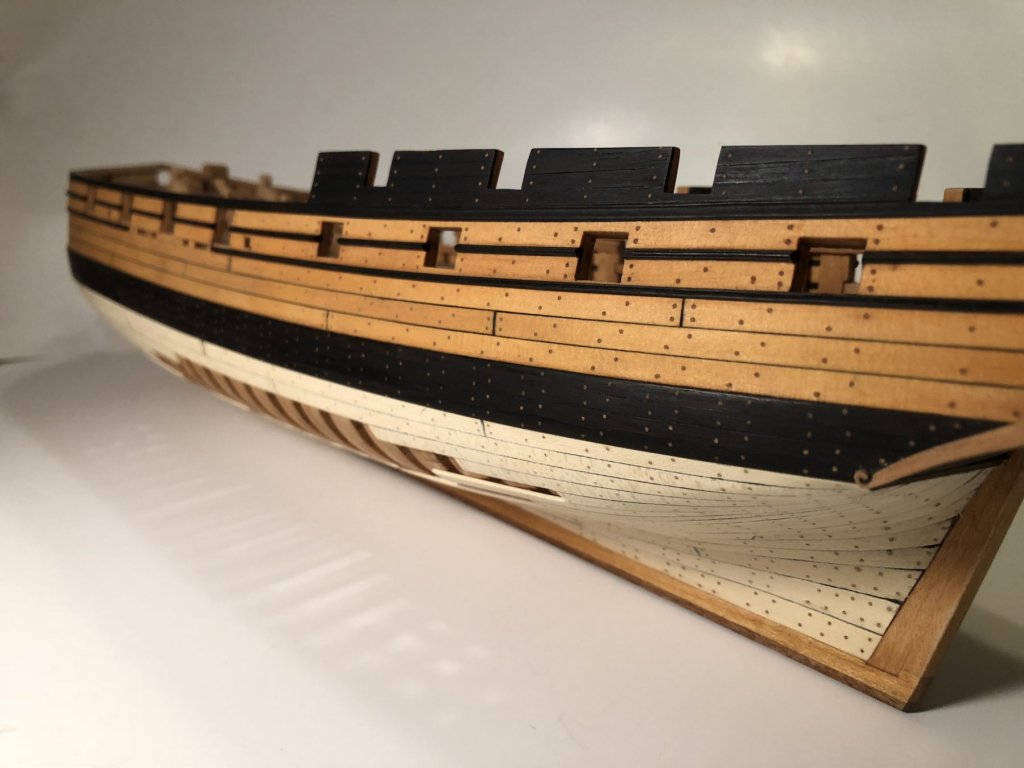
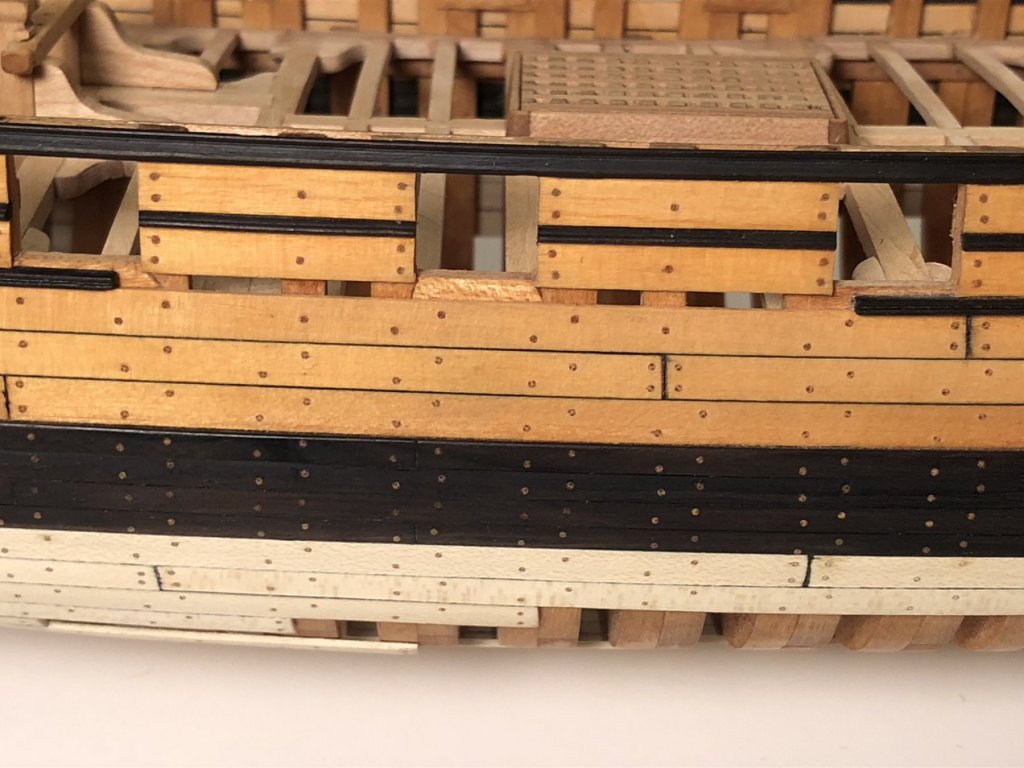
 Chuck, I’m glad you liked and used the pic I took of the Rodgers Collection Frigate. I took it specifically because I liked the planking and stealer in the bow. I guess it was worth while. Interesting note is the hawes holes. It looks like the builder used some lead to line the holes like the full size but you can see the lead sickness. The planking is looking great by the way. 👌
- 1,784 replies
-
- 9
-

-
- winchelsea
- Syren Ship Model Company
- (and 1 more)
-
Paul, I took some pics for you like you requested. Posted on the Naval Academy ship photo thread I started. Academy Ship Model link
-
Mark, I keep my models out of sunlight. But I assume it would bleach to some extent if exposed like any other wood. Like Chuck said, it really is a wonderful wood to work with.
- 1,784 replies
-
- 3
-
-
- winchelsea
- Syren Ship Model Company
- (and 1 more)
-
Amateur, I’ve been using Alaskan Yellow cedar in ship building for 20 years. It’s one of my favorite woods. It does tend to slightly change color as it ages into a warmer yellowish color. I use Tung Oil and keep the models out of daylight. Below is a ship built 20 years ago that I haven’t finished yet and has been stored away in a box all those years with no light. As you can see, the tone of the wood is still very yellow, but it has aged a bit and slightly darker. But not too much. 😀

- 1,784 replies
-
- 11
-
-
- winchelsea
- Syren Ship Model Company
- (and 1 more)
-
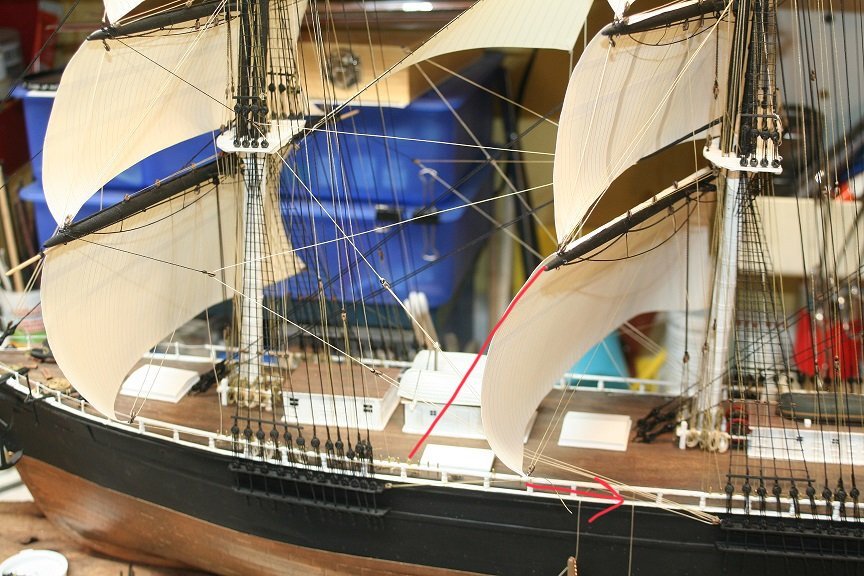
Rob, I’m sure you probably tried this already, but the foot of the main course seems a bit too far forward compared to the fore course. What if it was sheeted home a bit more. Would that help resolve the issue? See pic below.
- 1,208 replies
-
- 7
-
-
- great republic
- clipper
- (and 1 more)
-
Are there any pictures of the boat or similar ones of the time period to give you a better idea?
-
Congratulations and great work BE. Quite a beautiful representation. I especially like the added touch of the coins. I may steal that idea some day. Where did you acquire the 1:48 scale figures? I have found them difficult to procure.
- 574 replies
-
- 3
-
-
- cheerful
- Syren Ship Model Company
- (and 1 more)
-
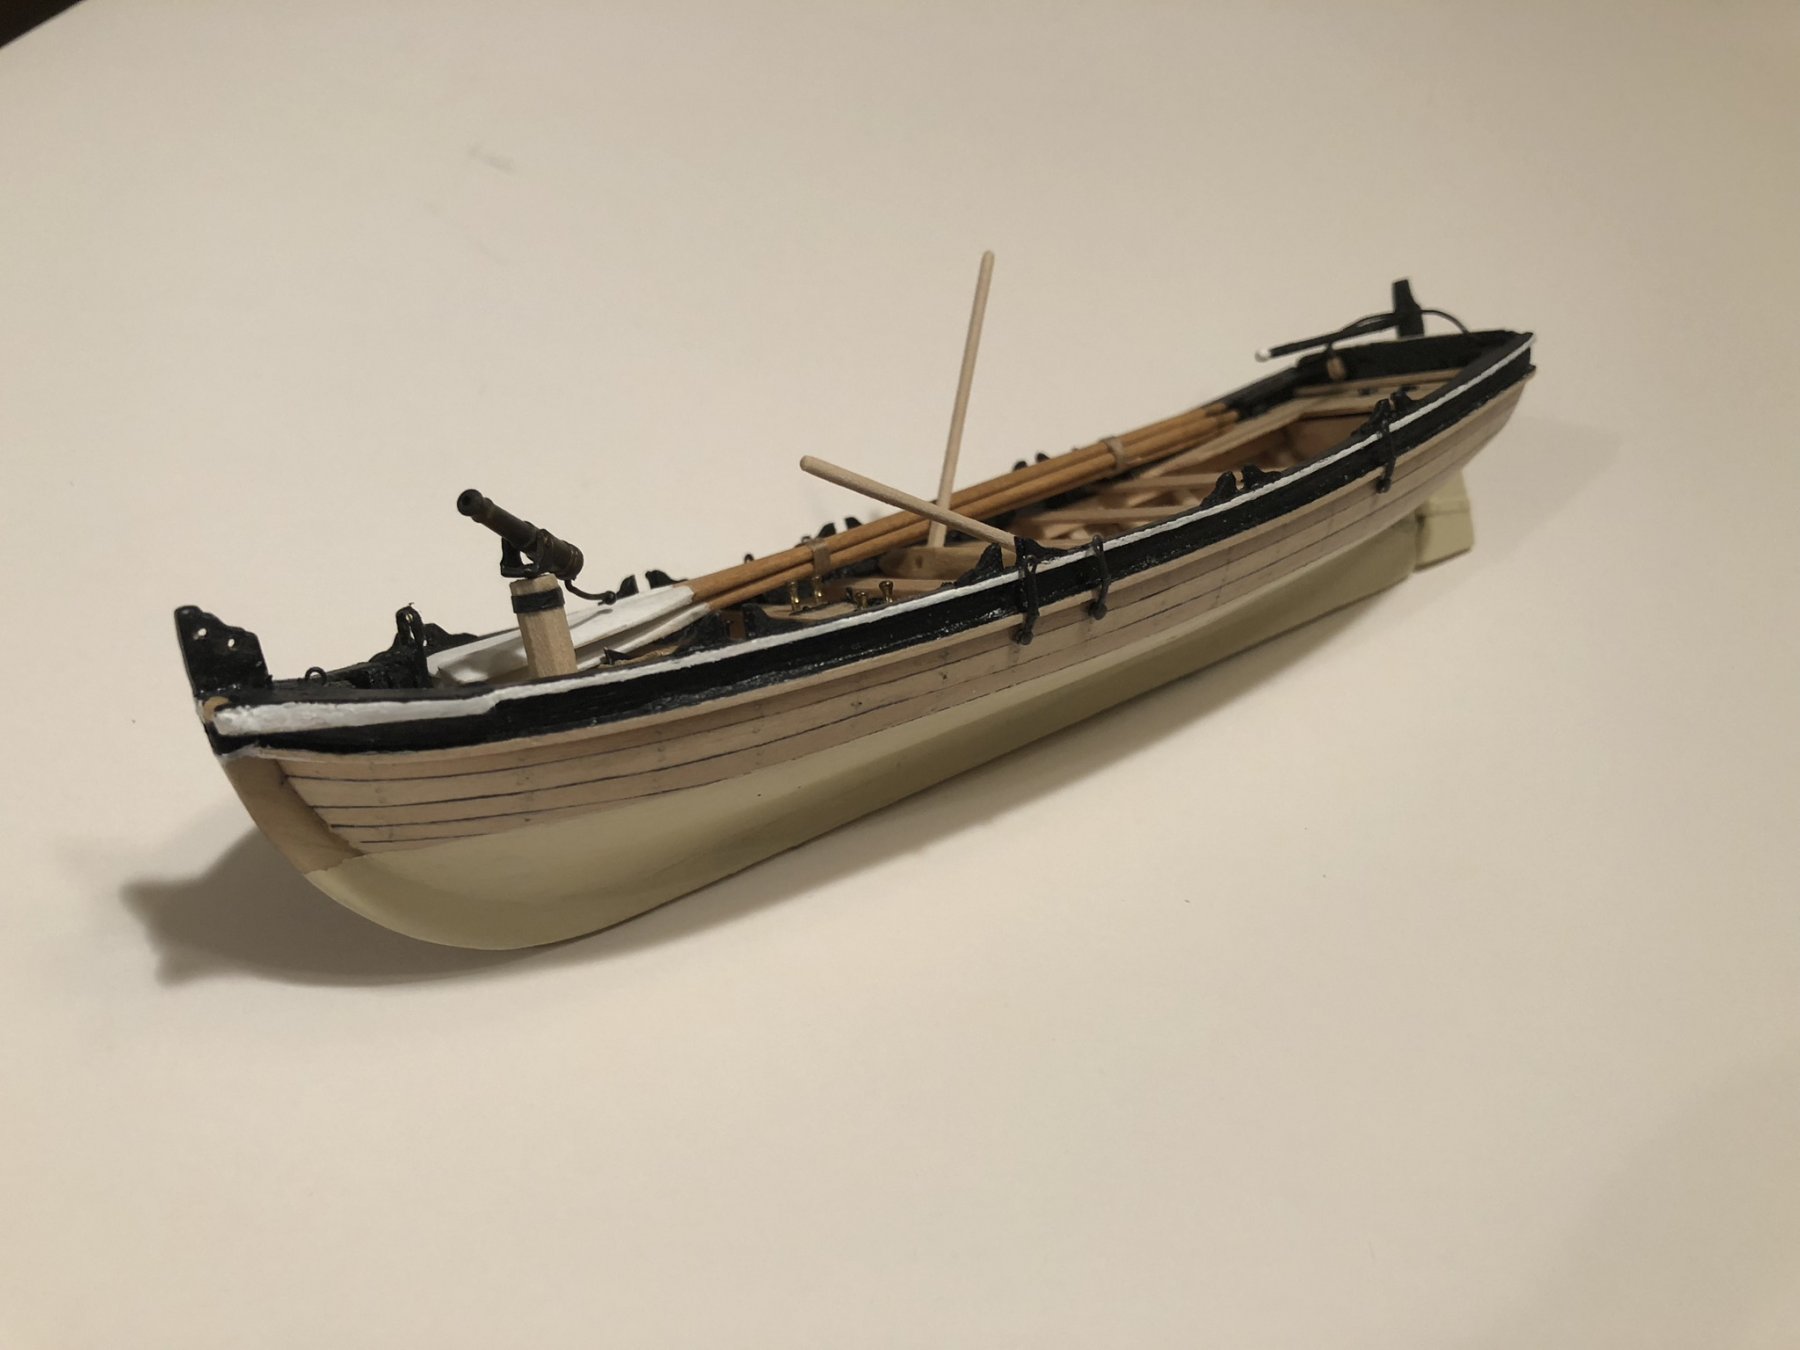
Nice work Mark, the boat is coming along. I noticed it looks like the swivel stanchions in the bow angle out. Is that intentional? It though they were cut to sit upright so the swivel mount was level. Anyway, that is the way they look on Johanns model and the blueprints.
-
Sandy bay and Niki, This thread hasn’t been updated in a long time. If you need info or reference on how to build this kit then one of the best references is probably from the maker of the kit (Chuck). He details every step very well. Also, you can get great tips on planking by looking at his larger 1/2” scale version. Enjoy Heres a link to the longboat thread. Enjoy. Longboat LINK. Heres the 1/2” scale Longboat link. 1/2” scale Link
-
Mark, in reference to the swivels, I too found it difficult to find specific reference to how they were mounted. I have plenty of original info that they were used. Especially for shore work, cutting out expeditions, boarding parties, native attacks etc. I did find one blueprint in the NMM that appears to show a swivel mount. Located centrally up forward. I chose to model something similar on my 18th century longboat as fitted out on a merchantman in the 1790s during the PNW fur trade. I took into consideration that the weight of the swivels on the gunwale would have made the boat lean to one side or another unless they were balanced on both sides. Another reason I mounted it centrally was to allow a clear sweep forward. Perhaps the pictures will give you some ideas how you will want to mount yours.


-
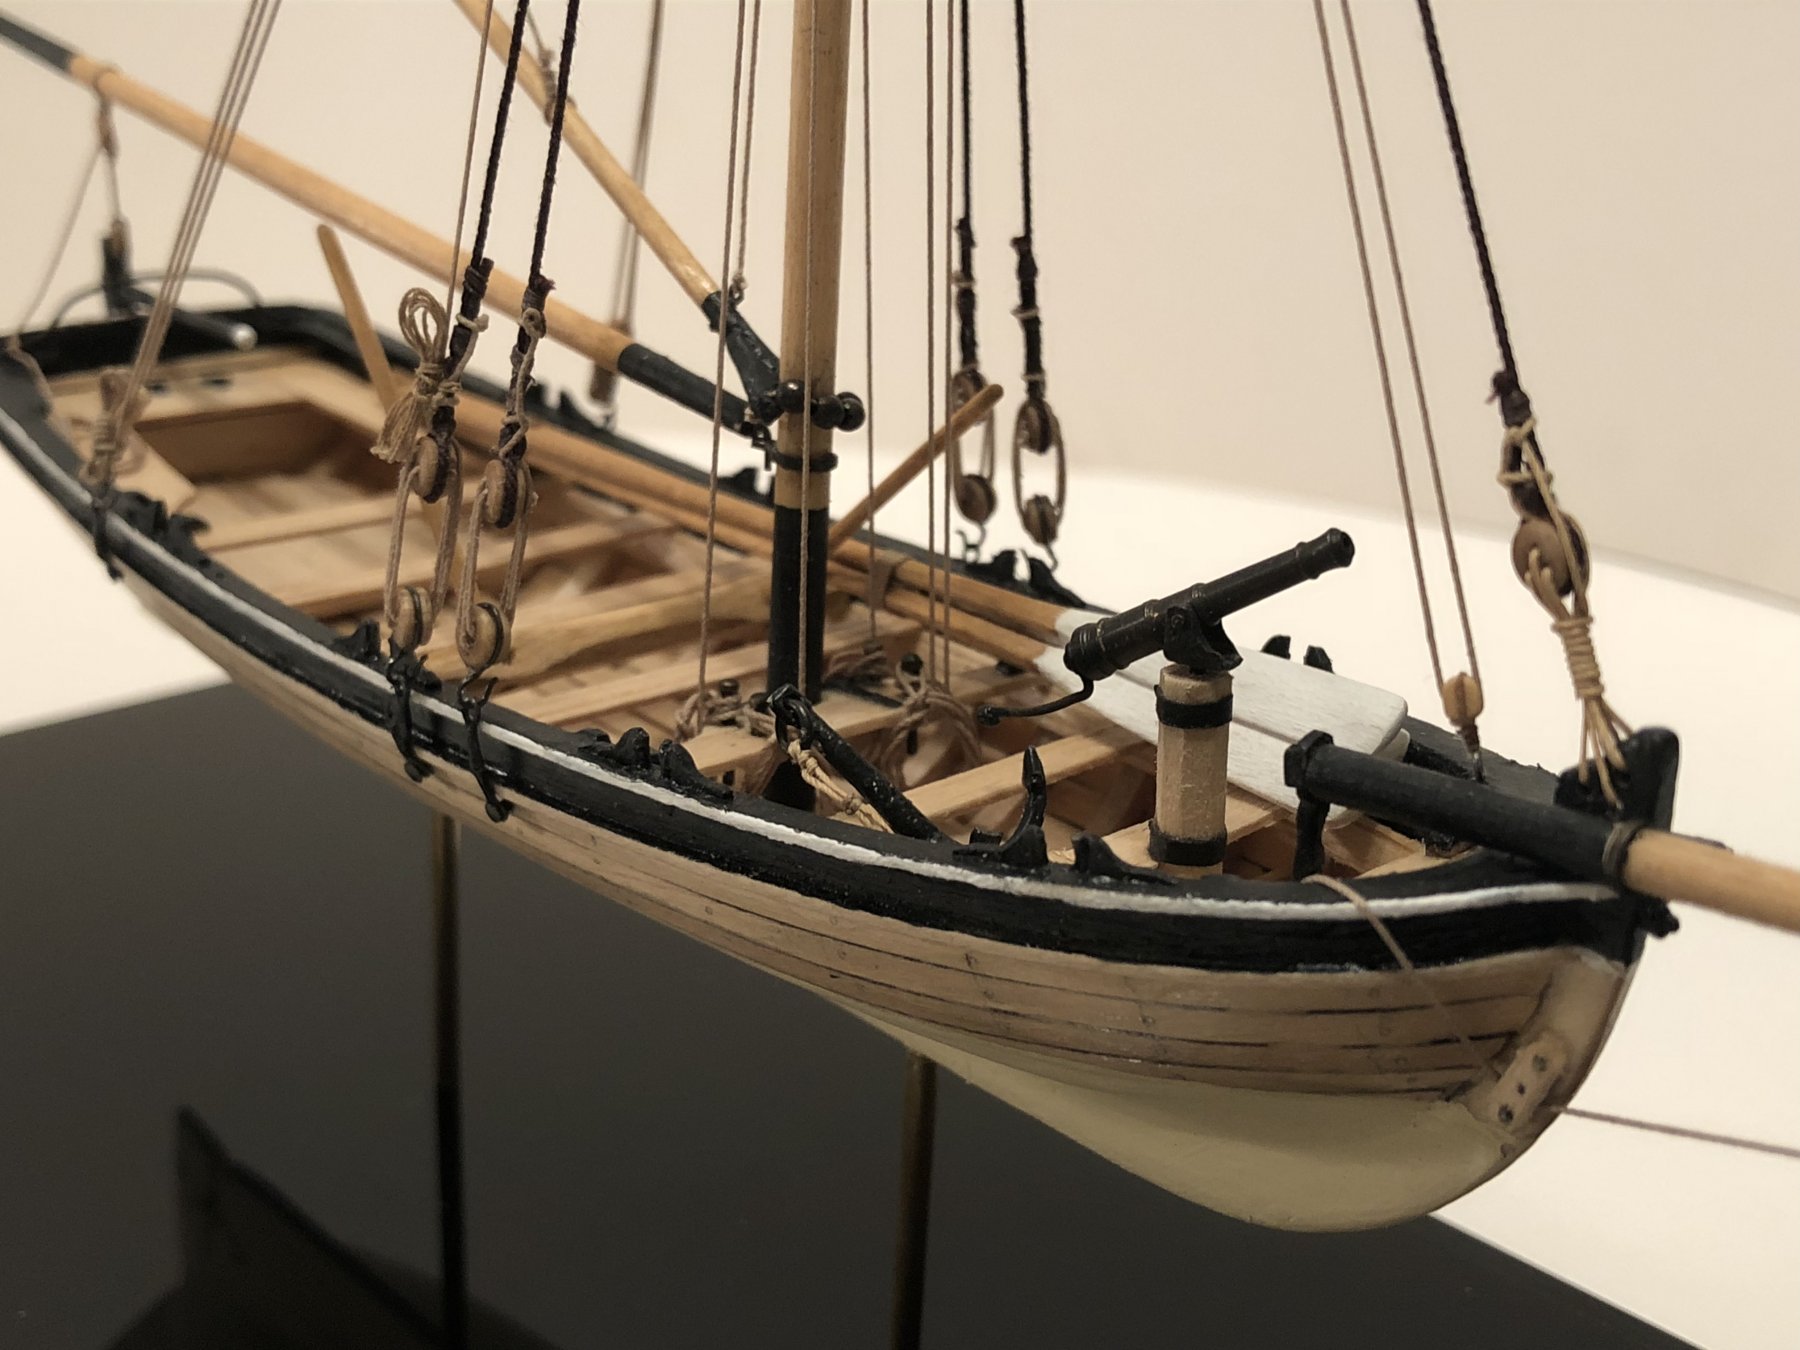
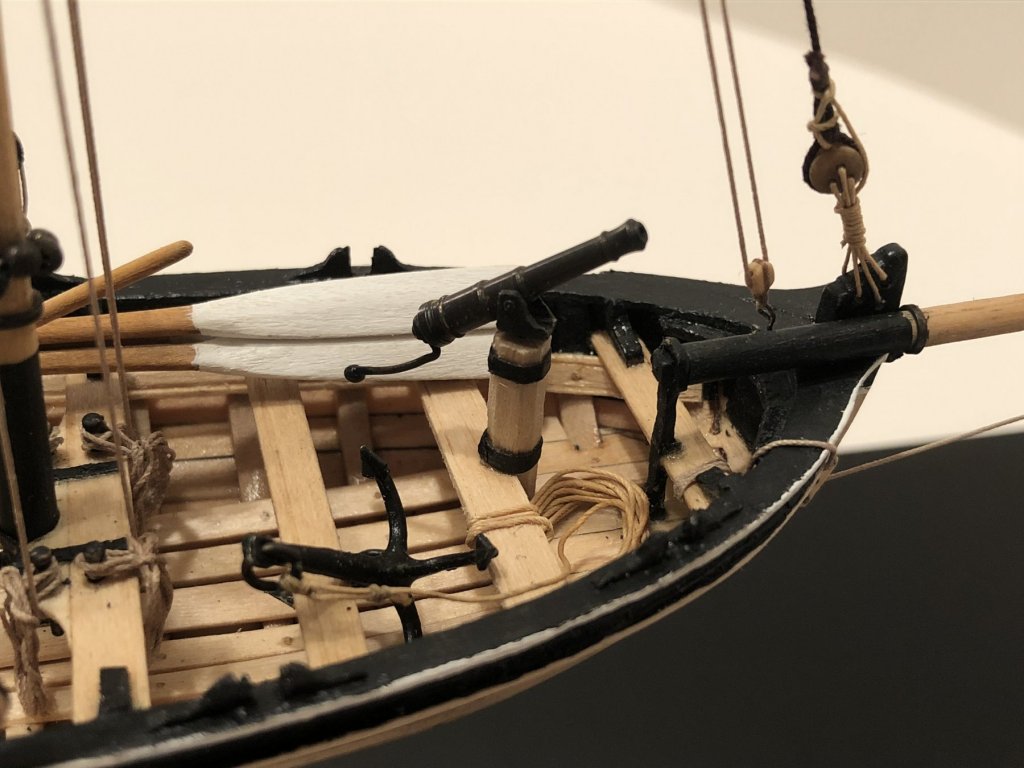
BE, nice rope work. Just a thought, but the location of the secured anchor on the starboard side completely defeats the purpose of the chase gun. The gun would have been trained as far forward as possible to get a shot. That is impossible with the anchor stock in that location close up against the stbd port.
- 574 replies
-
- 1
-
-
- cheerful
- Syren Ship Model Company
- (and 1 more)
-
Although cramped, when cleared for action the boat was towed behind which freed up the deck space anyway.
- 574 replies
-
- 3
-
-
- cheerful
- Syren Ship Model Company
- (and 1 more)
-
BE, I think you are on the right track. I like the size of cable you used rather than the heavier 1.9mm. It seems that Goodwin used the 200 ton Sloop figures for Alert. However, Sloop could be a three masted non-rate ship as well as a single masted ship depending on definition. I think the quarters are just that. So 10ctw 2 qtr would e 10.5 cwt I believe. Either way, the Syren anchors are hard to beat. Vossiewulf just finished securing his anchors to timber heads in his build of Lady Nelson if that gives you any ideas for how you want to proceed. Fair winds 😃
- 574 replies
-
- 1
-
-
- cheerful
- Syren Ship Model Company
- (and 1 more)
-
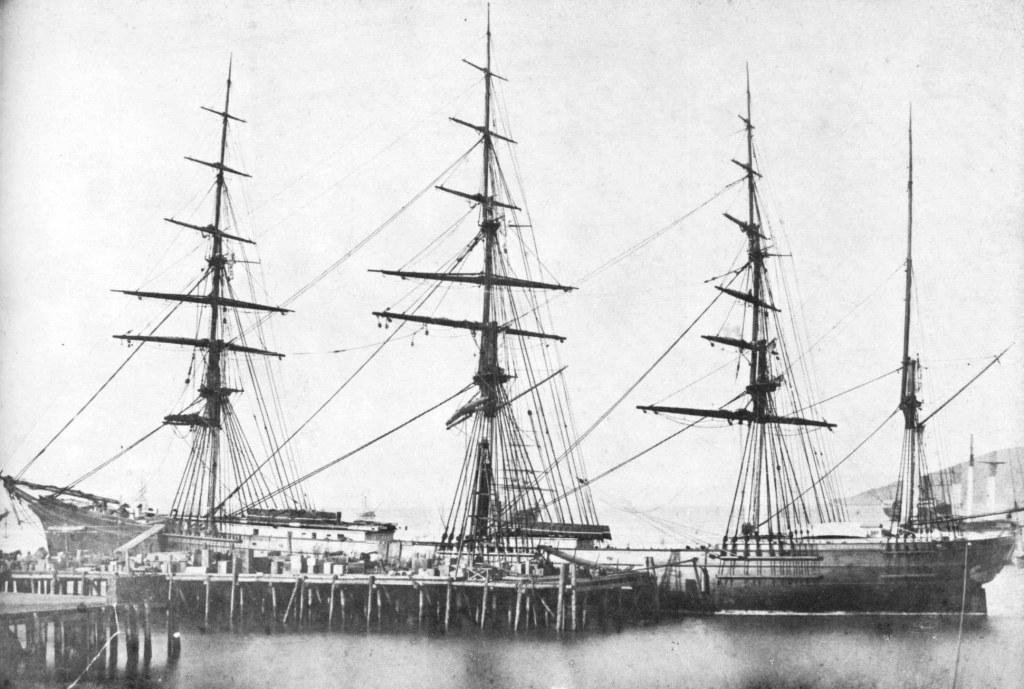
Rob, I'm sure you have this photo and I think it is after she was rebuilt, but I was looking at the yards and you can barely make out the Stuns’l booms. It looks like they are on top of the upper tops’l yards, angled forward a bit, and hanging below on the main courses that are braced around. Interesting anyhow.
- 1,208 replies
-
- 5
-
-
- great republic
- clipper
- (and 1 more)
-
Alan, Nice tutorial. I commend you on use the garden bamboo. However, if you wish a simpler route next time, I like to use bamboo skewers for the grocery store. Only a couple dollars a bag and they will last you for a long time. They usually have a variation of color. I prefer the darker colored skewers for lighter woods and lighter for darker woods etc. I’ll clamp an xacto blade in a vise, wear some gloves and pull the skewer through the blade to break them down into smaller diameters. Due to the longwise grain they split very easy. Then proceed as you have done. Either way, the result is the same. Well done 👍
-
Marsalv, excellent joinery. What kind of wood is it and how did you manage to make a thick piece of wood bend around the bow like that?
- 589 replies
-
- 3
-
-
- le gros ventre
- cargo
- (and 1 more)
-
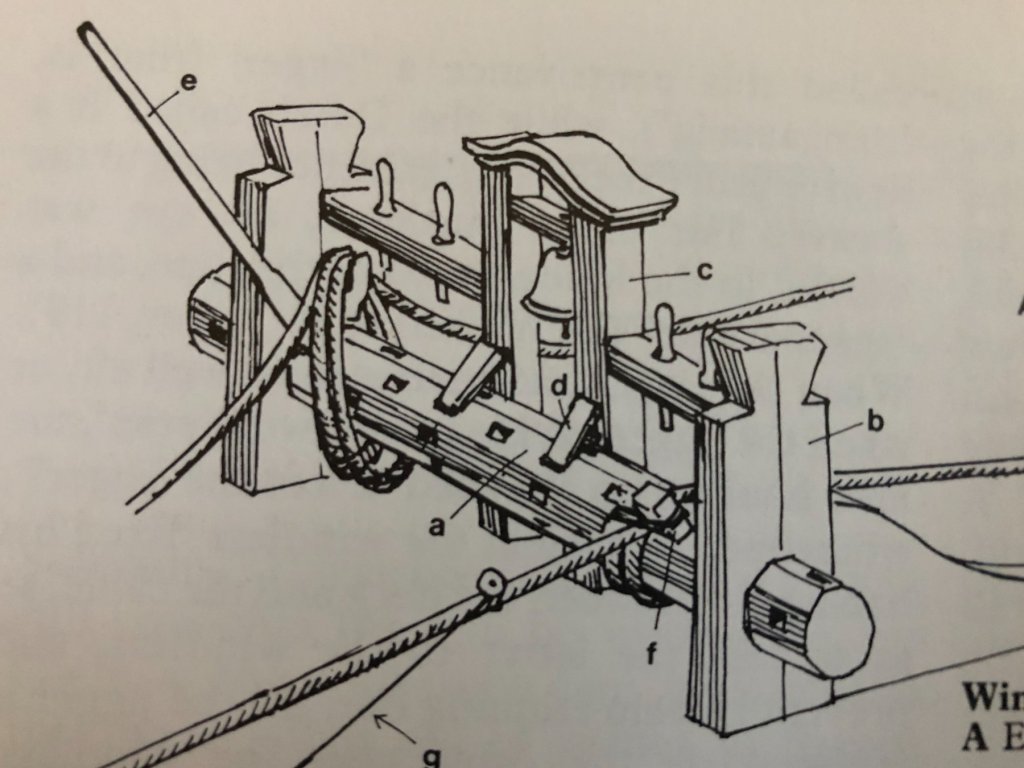
Vossiewulf, Very nice job with your detailing of the anchors and seizings. As far as working two anchors at once, I can only give you advice from what I’ve read in numerous captain logs and also documented in “Seamanship in the Age of Sail” by John Harland. Page 263. Working two anchors at the same time on one windlass would be too arduous and warping one cable at a time with a small crew on a Sloop or Cutter was taxing as it was. So one cable would be worked, then belayed with stoppers or on the bitts, then the other cable would be worked if setting two anchors. Below is a picture showing one of the cables being worked using a “Norman” in one of the pawl stops while the other cable is free of the windlass. I hope this helps. There is also a plethora of other information on securing the anchors etc.
- 714 replies
-
- 6
-
-
- lady nelson
- victory models
- (and 1 more)
-
Let’s not forget too, that when the chase guns were actually used “in a chase” they would have angled them as far forward as possible to get a shot off. So they would have been angled with the muzzle forward, rather than perpendicular to the port side. Which would have made unique circumstances for serving and handling as well.
- 574 replies
-
- 5
-
-
- cheerful
- Syren Ship Model Company
- (and 1 more)
-
Alan, was the fixative “matte”. It came out pretty matte for me, but if you use too much it will get more glossy. Also, I think the type of paper you use will change the overall effect a bit as well. If the tissue is too fine a texture, then, yes. It will look too smooth “like paper”. Once it is hung and ruffled like a flag it will look better. I'm glad you gave it a try and both can make good flags depending on the scale and how much you experiment. I agree, the painting method definitely takes more patience and skill. Something I lack. 😢 😀
-
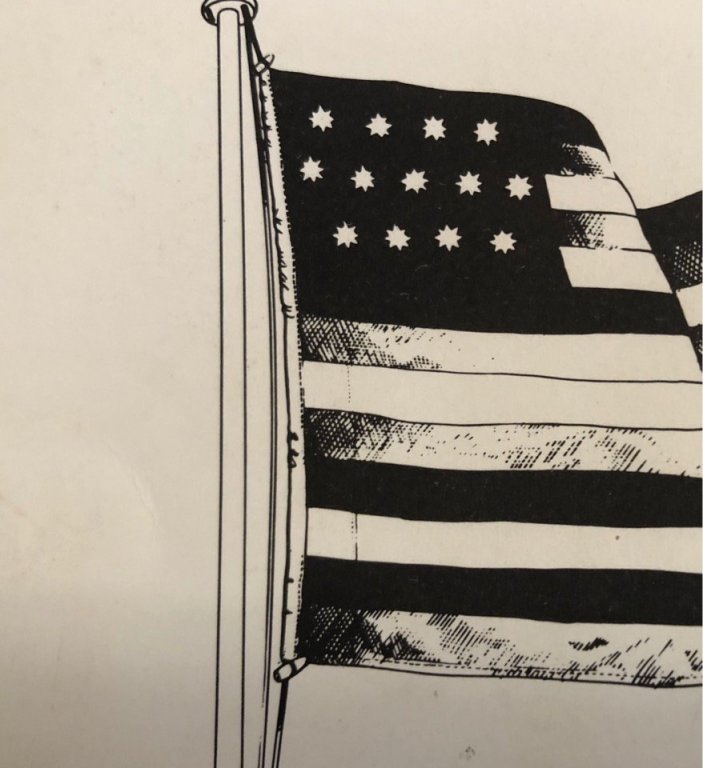
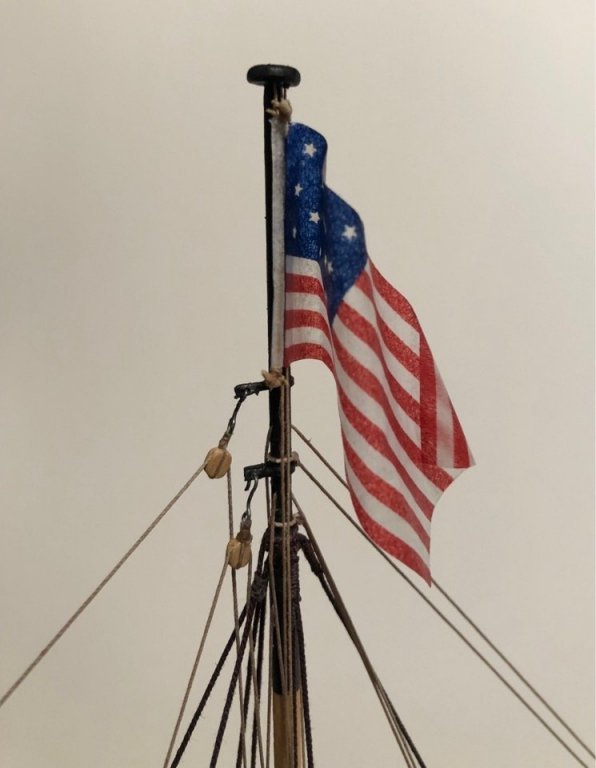
Grommet dots? I was under the impression in that time that they used toggles? It was difficult to find any definitive info on such a mundane detail, but Jean Boudroit has a representation in one of his books. I’ll be up at the Naval Academy this week and I’ll take a look at some of the period flags (war prizes) they have on display. Heres a partial picture of what I was referring to And this this is how I solved it. Its 1\48 scale. It’s not perfect but close enough for what I was trying to do. I hope that helps and doesn’t muddy the waters. 😀
-
Alan, Here’s a link to Chucks explanation. Cheerful Link And heres a link to where I show how I did it for my longboat. 18th century Longboat It was very easy and quick compared to the other time consuming things building a ship, and I don’t consider myself very computer literate. 😃
-
Not bad Alan. Freehand is tough. Have you tried the method Chuck does on the Cheerful build. Put tissue on a sheet of paper and print your flag on it. Then spray with some fixative. It comes out great in a fraction of the time.