Dowmer
-
Posts
378 -
Joined
-
Last visited
Content Type
Profiles
Forums
Gallery
Events
Everything posted by Dowmer
-
 Rob, just thinking out loud, but this exquisite model sitting in front of a window with all the UV light, will it damage it in the long term?
- 1,208 replies
-
- 2
-

-
- great republic
- clipper
- (and 1 more)
-
Masterful work as always Johann. Perhaps this has been answered before but I can’t find it in the volumes of pages, but what do you use for glue and once finished with an area, what to you use to treat the wood for a final finish (Tung oil, polycrylic etc). Thanks
-
Very interesting picture, especially how the deadeyes are turned in (secured). I’ve never seen that before.
-
Well, I’m sure Jack’s will look better, however, considering the originals were carved by hand (not machine) 250 years ago with crude instruments.....I’m still very impressed. Very beautiful.
- 1,784 replies
-
- 2
-
-
- winchelsea
- Syren Ship Model Company
- (and 1 more)
-
Rob, you have to keep the home fires burning. Sounds like you are taking good care of here. We will be waiting patiently for your GR updates. Have a great Xmas recharge.
- 1,208 replies
-
- 2
-
-
- great republic
- clipper
- (and 1 more)
-
Chuck, time and again you have tried to replicate the original model. Why not do that here? I like the slate colored roof of the original and is probably period correct.
- 1,784 replies
-
- 4
-
-
- winchelsea
- Syren Ship Model Company
- (and 1 more)
-
US Brig Syren by Gahm - Model Shipways
Dowmer replied to Gahm's topic in - Kit build logs for subjects built from 1801 - 1850
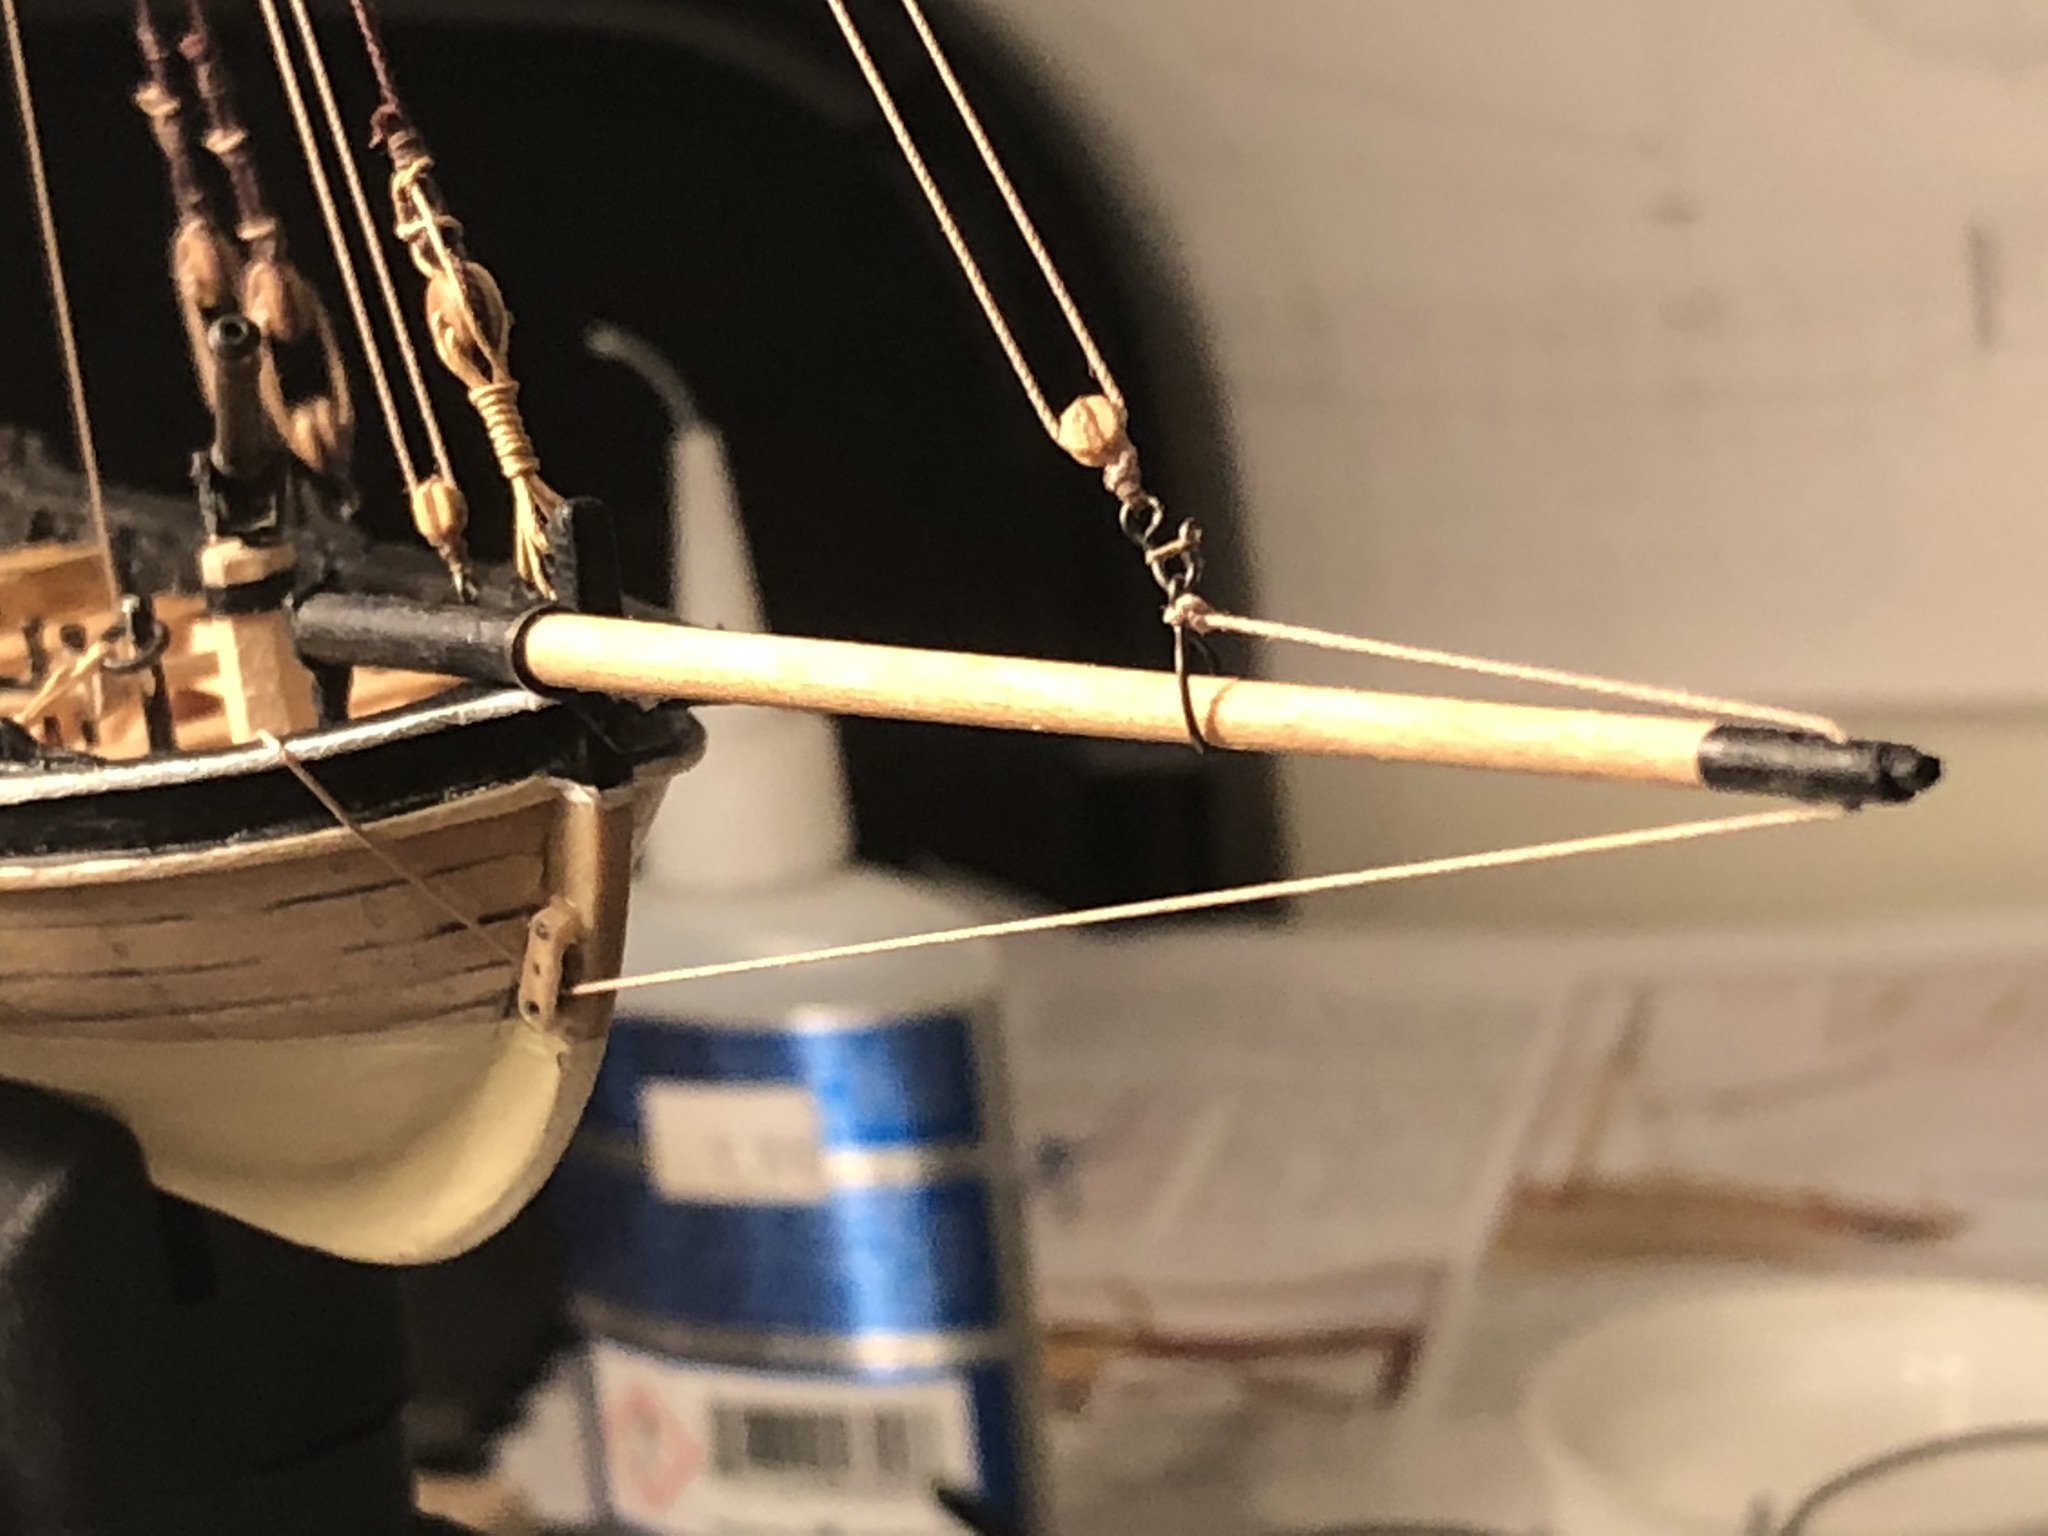
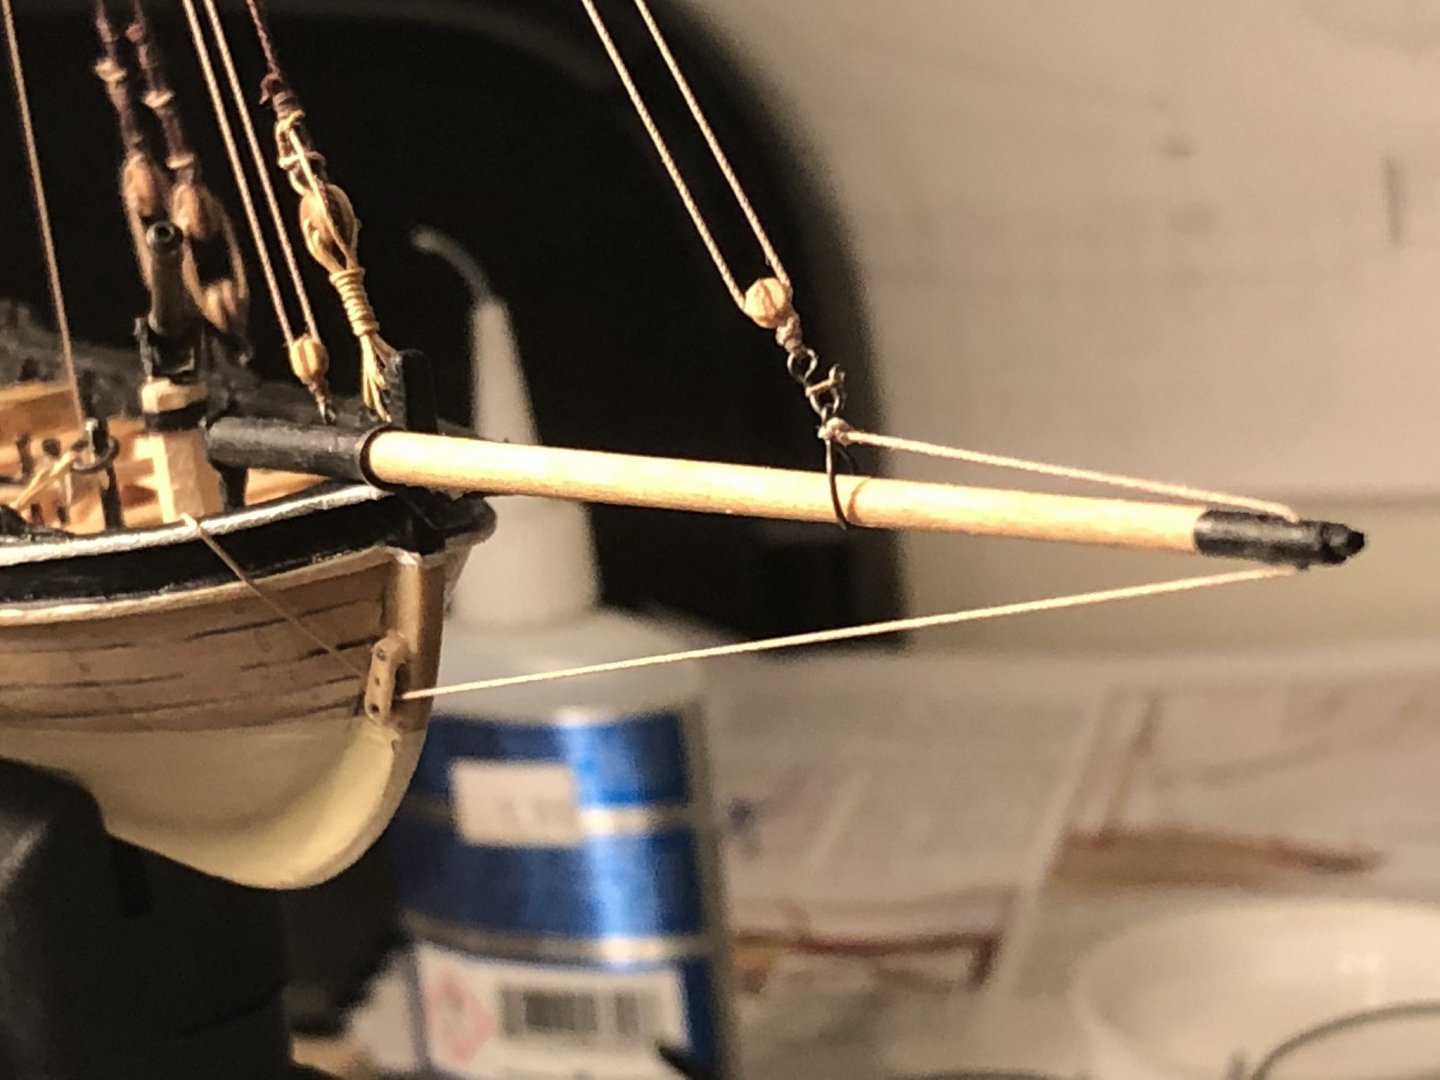
Frank, They rigged tackles from the yard arms and stays that facilitated getting the boats or cargo over the side. -
Johann, Seeing your fine execution of details, I have no doubt you could replicate the mousing. I was noticing the same thing, but Bob was quicker to comment. Below is my amateurish and feeble attempt at the same scale on a long boat. I’m sure yours would be much better. cheers
-
Joe, one of the things I’ve found that helps me with “cutting” moldings is if you are scraping a 1/16” molding to cut a 1/16” slot into the scraper first. That will channel the strip consistently, then cut the profile into the bottom of the slot. The depth of the slot you cut obviously controls the depth of the profile. I hope that helps. I typically use an Exacto blade for the scraper. I can then fit it into a handle to use. For cutting I use a thin abrasive cutting wheel in the Dremel then finish with fine Swiss files if needed. There are many ways of accomplishing the task, this is the one that works for me. Here’s a pic of one I used many years ago.

- 607 replies
-
- 9
-
-
- winchelsea
- Syren Ship Model Company
- (and 1 more)
-
Mike, one of the questions I always had was, “Do the mouldings sit on top of the planking or do they sit on the frames like the planking?” I’ve seen various contemporary cross sections and they either don’t specify or show them sitting on the frames. thanks
- 607 replies
-
- 2
-
-
- winchelsea
- Syren Ship Model Company
- (and 1 more)
-
LOL, I was thinking the same thing......was that in a particular order? as afar as the mounting suggestion, I’ll throw my hat into the same ring on captive bolts with threaded rod for mounting. Looking nice Alan. cheers
-
Chuck, have you tried Tung oil on the AYC? I used it and love the warm yellow color.
- 1,784 replies
-
- 1
-
-
- winchelsea
- Syren Ship Model Company
- (and 1 more)
-
Chuck, I’m sure you’ve answered this before but what do you use for fairing the inboard timbers. Dremel for large removal areas, files, sanding sticks? I know there are lots of different ways but I’d be interested in your technique to get consistent and smooth curves and thickness etc. thanks
- 1,784 replies
-
- 1
-
-
- winchelsea
- Syren Ship Model Company
- (and 1 more)
-
Mark, sorry to hear about your situation. I wish you the best. Like everyone else has said before, we will be here when you are ready.
-
Thanks for being so open to other possibilities Chuck. I guess it’s a preference thing. I prefer the straight on look but it’s good to know it’s so easily remedied. BTW, I like the iPhone photos. Pretty good color and saturation, but then I’m not there to see the real colors. Beautiful anyway. 👍
- 1,784 replies
-
- 1
-
-
- winchelsea
- Syren Ship Model Company
- (and 1 more)
-
Actually, someone else mentioned it before. I only agreed. However, that is water under the proverbial bridge. I agree with your statement above and probably explains the head turn the best. It is what it is. Either way, it’s a beautiful model and I’m amazed at the quality which far exceeds anything else on the market. So Kudos and keep up the quality and offerings for us meager followers. 😀
- 1,784 replies
-
- 2
-
-
- winchelsea
- Syren Ship Model Company
- (and 1 more)
-
Very nice Chuck and Mike. You guys really know how to build an outstanding model. Chuck, the figurehead looks great and the resin casting is a pretty darn good match. One thing keeps bothering me however. The head of the figure is turned fairly hard to starboard, as if it’s looking at something on that side. Most figureheads Ive ever seen are looking forward. As if they are clearing the way for the ship or looking at the horizon. In one of your original contemporary pictures of the Winnie the head might have a slight angle but nothing as pronounced as this. It just looks a bit weird with the figure looking to the side like that. Just my .02 cents. Still beautiful work but since you have been so meticulous with every other detail I just wanted to point it out.
- 1,784 replies
-
- 1
-
-
- winchelsea
- Syren Ship Model Company
- (and 1 more)
-
Solid silver eyes? Why on earth would you do that? Either way, nice work Paul. 👍
-
Paul, the mahogany frames really have a beautiful color. It’s coming along nicely.
-
Beautiful work. What kind of wood do you use for the blocks?
- 306 replies
-
- 4
-
-
- schooner
- la jacinthe
- (and 1 more)
-
What happened?
-
I agree Chuck, the cedar has a bit more warm tone to it. A real joy to work with. But due to its softness, box is a much better choice for the moldings and carving. Lucky us that we can mix them since they are so close in color. 😁
- 1,784 replies
-
- 4
-
-
- winchelsea
- Syren Ship Model Company
- (and 1 more)
-
Nice job Chuck, Which brand and type of black paint are you using these days?
- 1,784 replies
-
- 3
-
-
- winchelsea
- Syren Ship Model Company
- (and 1 more)