HOLIDAY DONATION DRIVE - SUPPORT MSW - DO YOUR PART TO KEEP THIS GREAT FORUM GOING! (Only 13 donations so far - C'mon guys!)
×


src
-
Posts
2,300 -
Joined
-
Last visited
Content Type
Profiles
Forums
Gallery
Events
Everything posted by src
-
In need of Tips and Techniques for making Eyebolts
src replied to j21896's topic in Metal Work, Soldering and Metal Fittings
Those are some nice looking pliers Druxey. In the long run if you never have to buy another pair, they really are not all that expensive; you get what you pay for. Another good brand in Lindstrom. Sam -
In need of Tips and Techniques for making Eyebolts
src replied to j21896's topic in Metal Work, Soldering and Metal Fittings
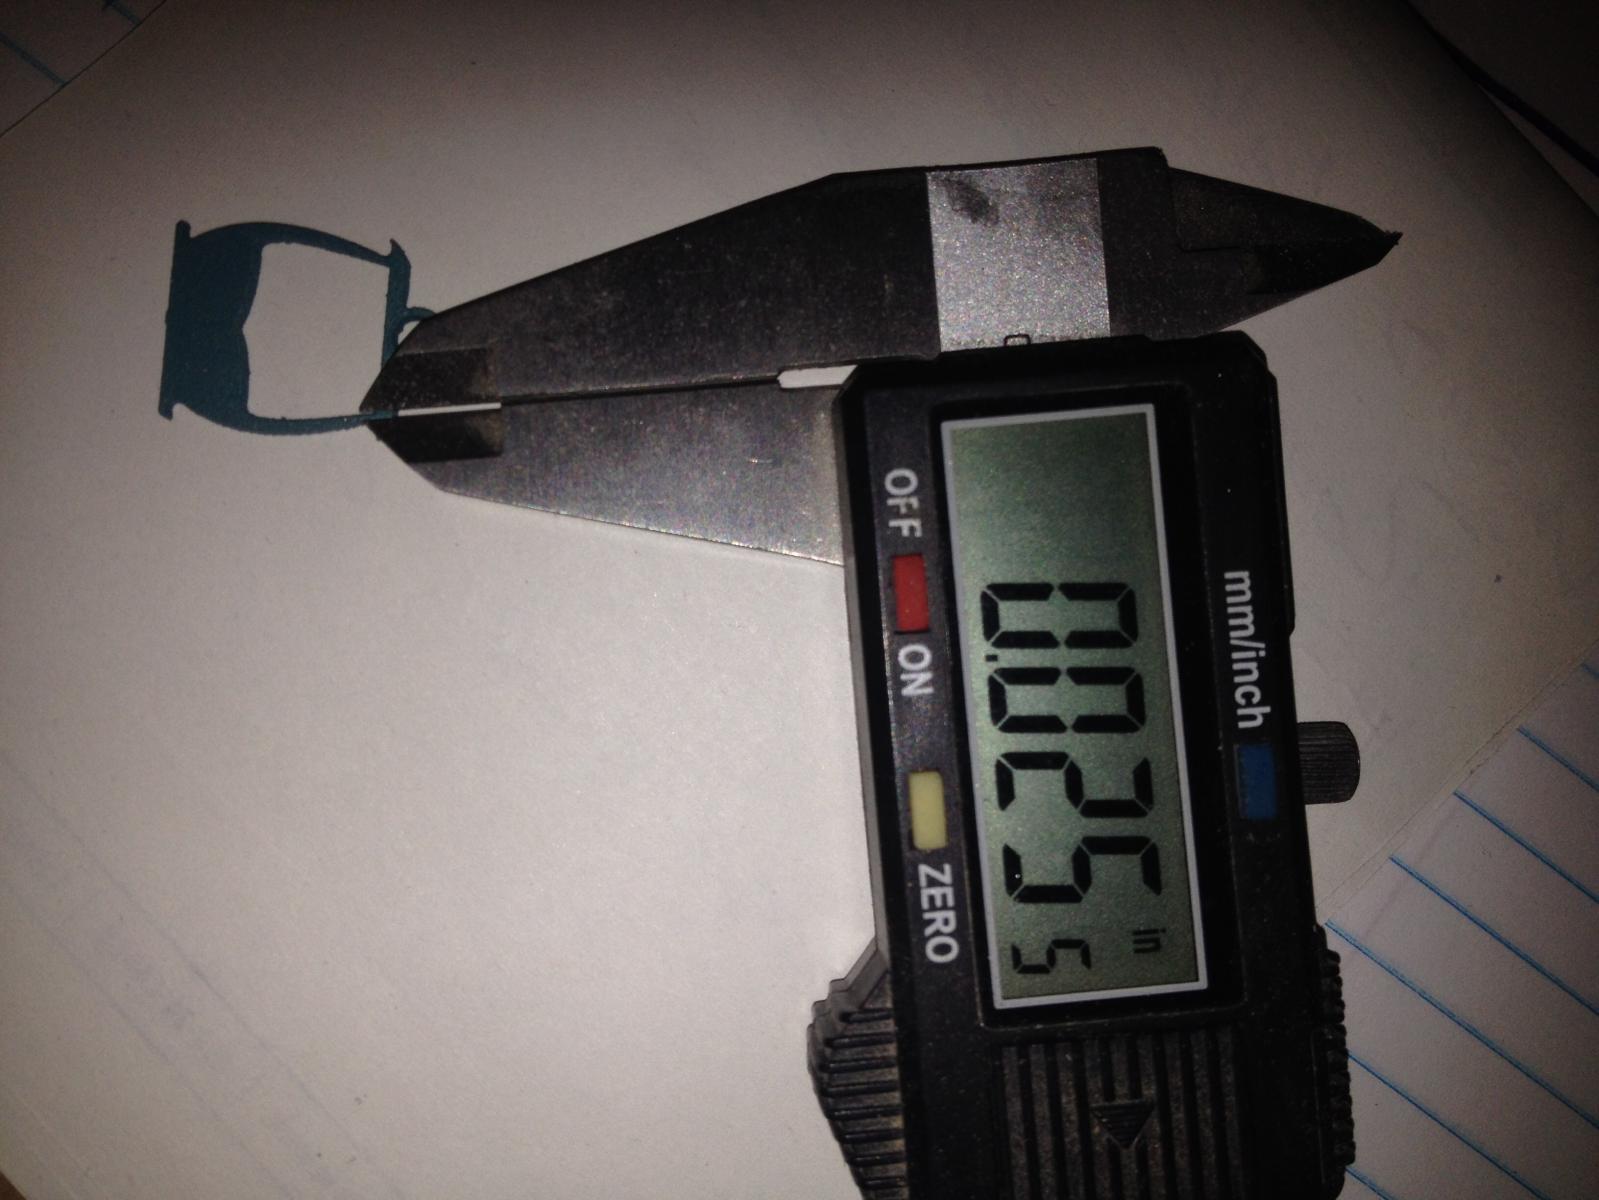
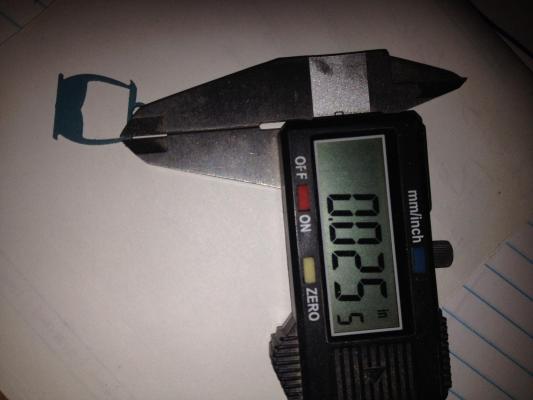
I dont know if I can approve of this method; where is the fiddly-ness, the cussing and gnashing of teeth. The hours of making eye bolts cut by better than 50%? What do I tell the better half when its time to clean house? "Gee honey, I have plenty of time for that, Chuck showed me a faster way to do something...." Thanks Chuck..... Kidding of course, this is great, I have better than 100 eye bolts to make at 1.25" (0.023 @ 1:51) I was seeing days of work ahead of me, now maybe I can do them all today. Thanks Chuck! Sam -
Your build hasnt slowed down, your 50 now. so your kit came with sheet sapelle? I am jealous, it would have made the 2d planking much better. I found I could only control the strips that came with the kit to a certain degree. Next build I will have wider planks to spile into . Looking forward to seeing what comes of you Sunday build fest. Sam
-
Ken, If I understand correctly, you want to take the grate in your picture and scale it down to 1/6 scale. Have you considered water jet? I need to double check but I believe they can cut to 0.01" accuracy. The place I work we just had some very small parts cut out and the edge on some of the parts was 1/32" the entire part was only 5/8x5/8". Something like your picture should be no problem even 1/2' to 5/8' thick. If you are in the Los Angeles are I can hook you up with a couple of real good places for water jet cutting. PM me if interested Sam
-
Muzzlehead, did some poking around and found this in the database here. Really helps explain the decking process, wish it was available when I did my deck. http://modelshipworldforum.com/resources/Framing_and_Planking/Deck_PlankingIIbuttshifts.pdf Sam
-
J, Happy birthday to a fellow Aquarian!! I will be 50 on Sunday. Nice work on the door btw. The hinges were actually easy. I just used som black tape cut to shape. Sam
-
Muzzlehead, My instructions didnt even give me that, just told me to run lengths. What I did was to base my plank lengths on a 16-18 foot max plank size. From there I determined my length. 100mm is 16 3/4 feet (16.73') I believe I went with 99mm for ease and cut some planks at 66 and 33mm to get a shift in planks. I do not believe this is a correct "3 plank shift" though. I plan on researching better for my next build. That is how I did it, if you want to have the correct plank shift drop into the Planking or Decking forum and ask. One of the "Planking Gods" will be sure to set you (us) straight. Looking forward to your solution. Sam
-
thats unfortunate, you would think in the interest of customer service they would. sam
-
I just thought of something while visiting Muzzleheads build, Try contacting Constructo for a instruction book. I had a lumber problem and they were very helpful. Sam
-
Muzzlehead, Welcome to the "Enterprise Guild!" It sounds like you have done some poking around already and know you will gets lots of help and encouragement here. I know I would not have the build I do today with out lots of help and encouragement from other builders. I dont remember my after deck being oversized, but I do have the newer kit. For your instructions, perhaps you could contact Constructo directly? I had a lumber problem and they were very helpfull, perhaps they will send you an instruction booklet. Its going to be fun following the two new Enterprise builds here. Sam
-
Now your building Rich!. Another builder here used a pickle fork and pencil for the same thing. Thats one of the many things I like about this site; if you dont like a technique, look around and you will find another that works for you. Sam
- 1,756 replies
-
- 1
-

-
- constitution
- constructo
- (and 1 more)
-
Thats unfortunate, well if you do order more maybe something better than mahogany? Sam
-
Yikes! My gudgeons are sweating!!
src replied to src's topic in Metal Work, Soldering and Metal Fittings
All, My apologies, I should have posted a follow up to this when I finished. I ended up scrubbing everything down with a nylon scrubby pad to bright brass and then washed with backing soda. after that I used some black paint with a brown tint to it, airbrushed it on and called it a day. Not 100% happy with it bit MUCH better than corroded green. I am still not positive what went wrong, guessing that I didnt get all the blacken it off or neutralized. Thanks everyone for your help and input. Sam
-
John, I have only planked one hull in my life so take it with a grain of salt. it just looks like in one picture it is starting to sweep upwards. Does this kit give you thin material to double plank? Sam
-
Jluebbert. First, congratulations for revisiting this kit, looking forward to seeing you finish her. You are so right about the sepellie, very brittle at times. Try to look at your grain, I had lengths that had fairly straight grain and then suddenly it would take a sharp turn or get squirrley. On mine that is where it tended to break. Several people here use ammonia to soak their planks in, I havent tried it yet but I hear good things. Check on a piece of scrap first, ammonia reacts with tannic acid which sapellie should have a fair amount as I believe it is related to mahogany. The ammonia may darken the wood. I have talked with other builders and they claim it doesnt, but its a good idea in my mind to test first. On your planking go to the database here and read the planking tutorials, there is a good one in the database and also a good one in the planking forums. The conversation between Leslie(?) and JackNastyface is a great lesson in planking. I will be following along, if you have questions about the instructions - or anything - I will be happy to help wherever I can. Sam Edit - Deck and door look good BTW. Edit #2. Check with some of the more experienced builders but I think your garboard plank may extend too far forward. I did the same thing you did and ended up with what I feel is too much upsweep. Just my 2 cents worth.
-
Jluebert, Thanks for the kind thoughts and visiting, always nice to see new faces. Wow three that closely together? Very sorry to hear that. I just looked at your project links and see you have joined the Enterprise builders club, welcome. I will stop by in a bit and visit. Happy to see my mistakes are helping another. Sjors, thank you!! How does Anja feel about you complimenting another persons stern??? I am continuing on with my carriages, yesterday I made two jigs to hold the sides at the correct angle to the centerline so I can notch for the trucks and "pivot thingy" that mounts the barrel. Capsquare? All my reference books are buried at the moment will have to look up the name later. Pictures to follow when there is something to show....sorry Sjors. Sam
-
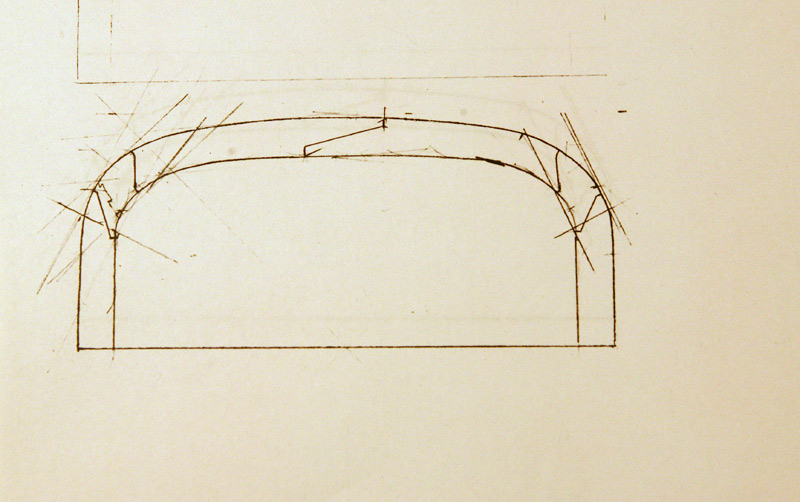
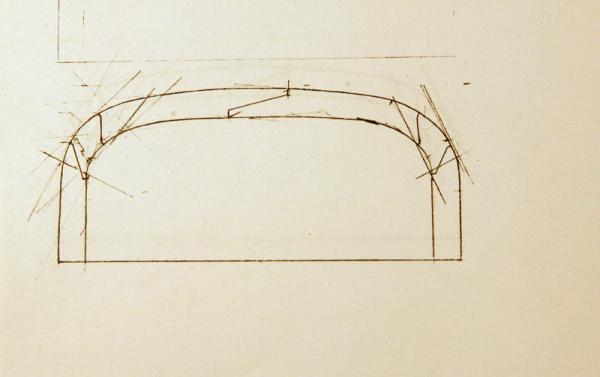
Robbyn, thank you!! We are pretty much on the same page there, I tried the artist matte medium, I dont think I used enough. If I thought I could pull the rings out without destroying everything else I would. Once I get more comfortable with seizing I may revisit this. Rich on the stern ring I traced out my shape to paper and then laid out my parts based on available material width. Once I had a layout that looked structurally sound (minimal short grain) and aesthetically pleasing to me I made several copies and cut out paper templates. I then used repositionable artist adhesive on the paper to stick to the boxwood. After that it was careful cutting with a freshly honed chisel. I left the parts slightly oversized on the outside, once everything was glued in place I filed to the transom. As far as the planking, I made treenails and used a matching drill bit. The tree ails were made with a Jim Byrnes draw plate and bamboo skewers inserted into the holes and clipped flush then sanded Sam

-
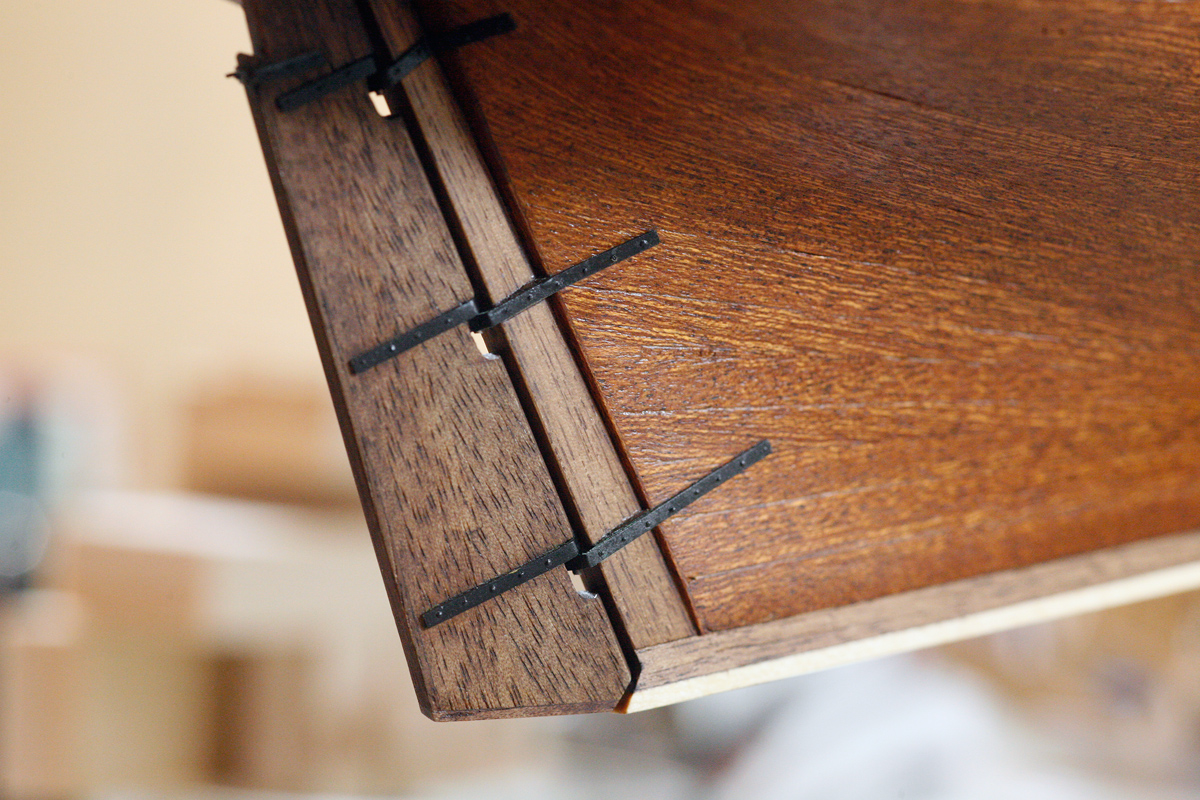
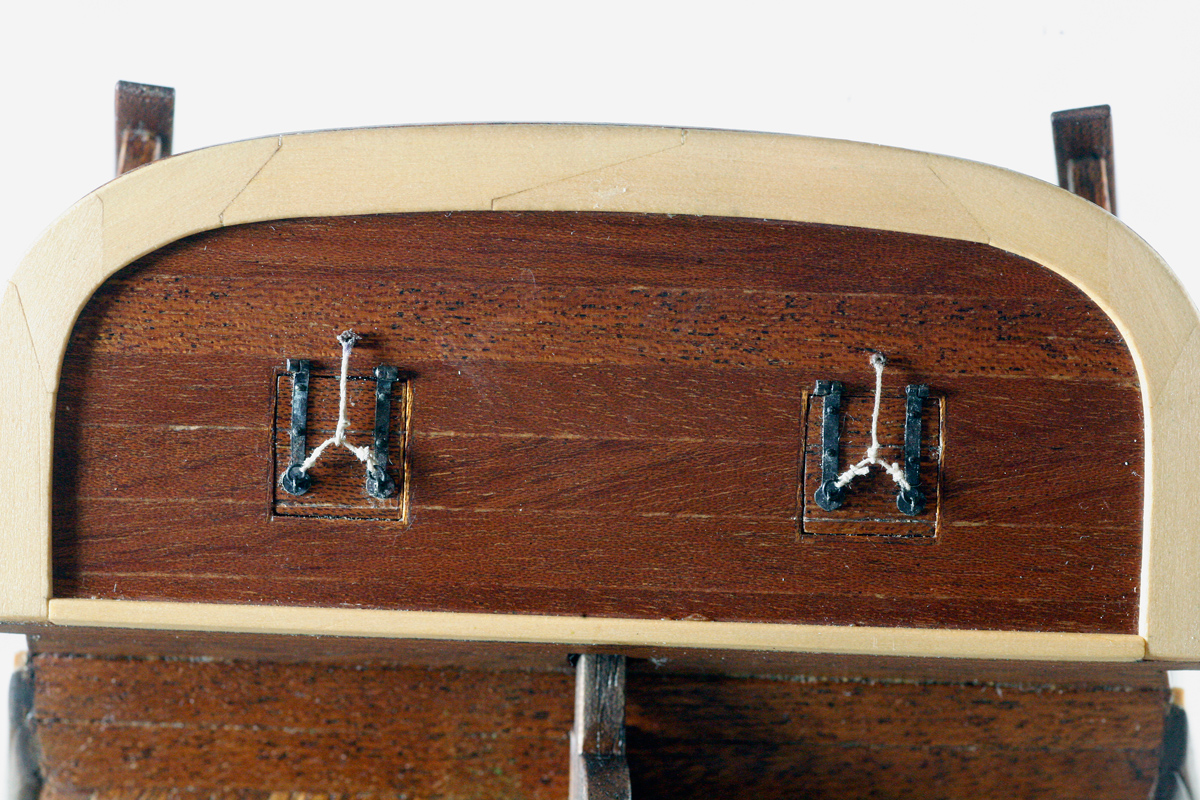
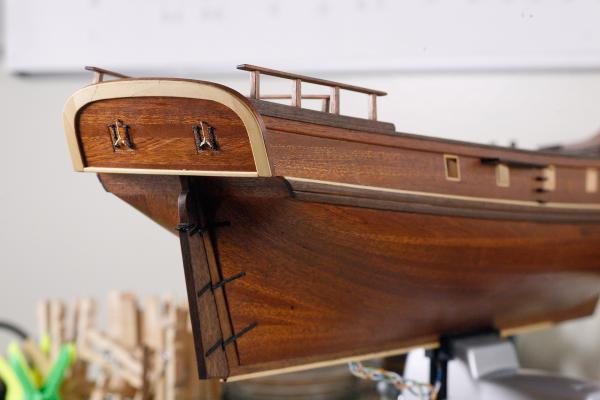
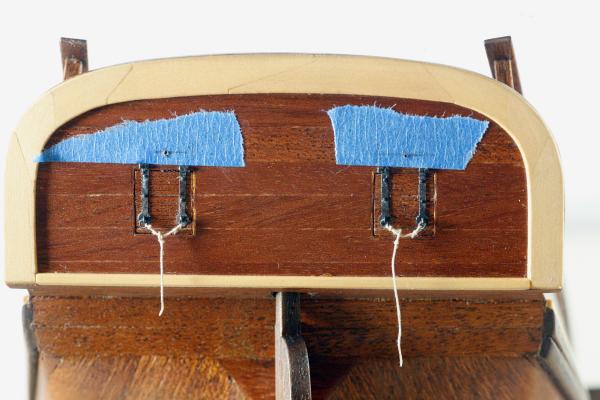
Rich, thanks for the kind words. The blond wood is boxwood from Hobby Mill. Lorcan (the cat) wasnt pleased with the material that came with the kit so she forced me to build my own. Mark, thanks for the condolances, they really work their way in dont they? He was a package deal with the Future Admiral and ended up adopting me also. I am not sure who misses him more, my better half or the cat; they were best friends. Not that I dont miss him. A bit of progress these last few days. I finally rigged the gun ports. I am not totally satisfied with the knots and seizing. If I had rigged them before I mounted the transom like I planned I think i could have done a better job. I am going to accept them for now. once I have done some more rigging I might go back and have another go at them. I started out with some tape to mark out the holes for the 'leather" tubes I made from rolled paper and painted glued the rope into the tube and inserted into the hole. They dont look bad, but I think when I have some more experience I might revisit these. The seizing could be better but I had trouble getting in there to work, tight squeeze between the ring and the transom. A better way would have been to seize the cross rope to the rings and then mount to the transom. Another lesson for the future, Make a plan and stick to it to the best of your ability, dont alter it without a good reason. Not bad at all from normal viewing distance. Ok back to gun carriages. Sam

-
Singidunum, Yes the God(dess) of cutting tools is a very demanding and jealous god, it only take a second of inattention. I had a trim router with a 1"dia morticing bit in it take a nibble out of my left ring finger. Like you I was extremely lucky and everything grew back more or less normal. You can only see it if I point it out. The guys at work had great fun in the days after asking me to "Give 'em a hand" and could I please help them "Finger this problem out" Life in a theming shop...... Sam Richard, that sounds like a great first project. Sam
-
Then you would have to drive through LA, we have 3 here, I would be happy to show them to you. Sam
-
Mark, Just discovered V2.0 here. Whew! Found a seat left, and there is fresh popcorn. I will be watching and learning like before. If you dont like driving in Portland there is a Rockler in San Francisco...... (ducks) I'll be quiet now and watch. Sam
-
Dont you love it when some other builder pushes you down "The Rabbit Hole"? Dont forget eating utensils, A captain and his crew need to eat. And the Rabbit Hole gets deeper...... Sam
- 188 replies
-
- 2
-
-
- latin caravel
- artesania latina
- (and 1 more)
-
ZyXuz, That is some great detail, Very nice. Sam
-
Rich, Looks good. In you previous post what Ocean is she sailing on? Looks like a tropical cruise? Gives a great sense of scale. She is bigger than I thought. Looking forward to seeing more. Sam
- 1,756 replies
-
- 1
-
-
- constitution
- constructo
- (and 1 more)
-
Vivian, getting caught up here. WOW! I am with the others, great job. I REALLY like the "on deck" pictures. I see those pictures on other builds and think I need to buy a little point and shoot, my SLR is just to big and clunky to get those kind of shots. May I put my vote in for the Red Dragon as your next build also? A unique build for a unique builder. When you get your saw, before you use it there is a topic in the tools forum on saw safety, if you have never used a circular saw before, may I strongly nudge you to read that post? You have talented fingers and none of us want to hear about you doing the "Owie Dance!" Sam
- 188 replies
-
- 1
-
-
- latin caravel
- artesania latina
- (and 1 more)