HOLIDAY DONATION DRIVE - SUPPORT MSW - DO YOUR PART TO KEEP THIS GREAT FORUM GOING! (Only 13 donations so far - C'mon guys!)
×


src
-
Posts
2,300 -
Joined
-
Last visited
Content Type
Profiles
Forums
Gallery
Events
Everything posted by src
-
Yes thanks Sam
-
Per I have never tried resistance soldering so I cant comment there, but has anybody looked into or used soldering pans? WWW.ottofrei.com/7-Rotating-Soldering-Pan-with-2-lbs-Black-Soldering-Grain.html I have the pad from MM and like it but I am wondering if this might work instead of the pad? Just a thought DrPer. Sam
-
Beyond great Ron, very impressive. Sam
-
Household Ammonia
src replied to Q A's Revenge's topic in Building, Framing, Planking and plating a ships hull and deck
Q, Be careful using ammonia on wood. Some woods have a high tannic acid content: mahogany, oak, cherry and walnut too I believe. The amonia reacts with the tannic acid and ages/stains the wood. I know we dont use oak here, but a lot of kits come with various species of Walnut or "Mahogany". Depending of how much ammonia and how long you soak for you could very easily darken your wood. Ammonia fuming was used extensively in the late 19th and early 20th centuries to color Art and Crafts/Mission style furniture. Basically what I am saying is test first. Sam -
I agree with John. I never tire of seeing your work. Sam
-
Slog, I think your anchors look just great. Sam
-
Wow Sjors!! NIce, the Rigging Gnomes are hard at work. You will two finished ships very soon, then what will you do? Not that I am all that knowledgeable ship wise, but I have never seen a sailing ship with a crows next on the bow like that. Is that a period construction detail or a regional detail? Sam
-
Ron, I love tall he all the little details your adding in. Curious, wouldnt there have been a leather "washer" involved also? I dont see one in the drawing you posted. Sam edit - I seriously seen to proof read my posts better..
-
Thanks Russ, I had a suspicion that was the case, but for some reason I was envisioning a "b" or "d" shaped rail and that looked to me to be weak. I should have seen the obvious "KISS" And no, I am not offering to smooch with you..... Sam
-
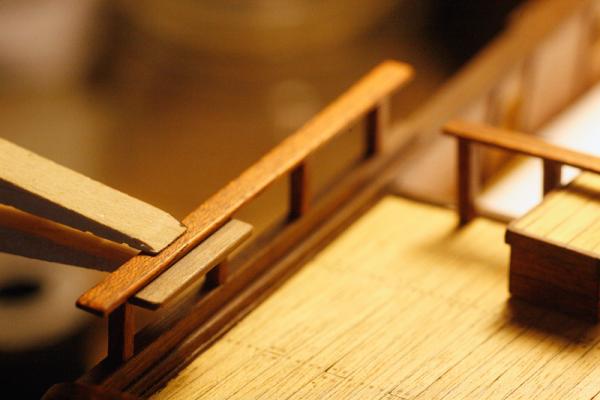
Russ, I thought so, next build Sjors, I will stop by later today and check it out, thanks Now, I am curious, the instructions call for the stern pin rails to be mounted under the poop rail, I dont have much choice but to do it that way. Is this correct or should they have been part of the poop rail? Sam
-
Nice and straight Russ, Good to see you getting some time on her. Sam
-
Russ, Robbyn, Thanks always appreciated. Sam Edit - Russ so more like this then? If so, too late to do anything about it now, there are .125x.125" holes in the deck where I morticed in. Oh well, live and learn. I REALLY need to stop relying on the instructions..... Sam
-
Bjoern, You cant go to far wrong with Daffi methods, I have long admired his work and dedication. I tried his method and didnt have the solder skills to pull it off his stropping method, this worked better for me: http://modelshipworld.com/index.php?/topic/1724-deadeye-straps/ If you are interested this is how melded the two techniques, Post 172 is the start: http://modelshipworld.com/index.php?/topic/113-enterprise-by-src-constructo-151/page-12?hl=%20enterprise%20%20src I had similar questions about the channels, this link has more information than I expected to get to my question: http://modelshipworld.com/index.php?/topic/2514-question-on-channels-and-chain-plates/ As far as gluing in the channels many builder here use brass or wood pins with 5 minute epoxy. Hope some of this helps Sam
-
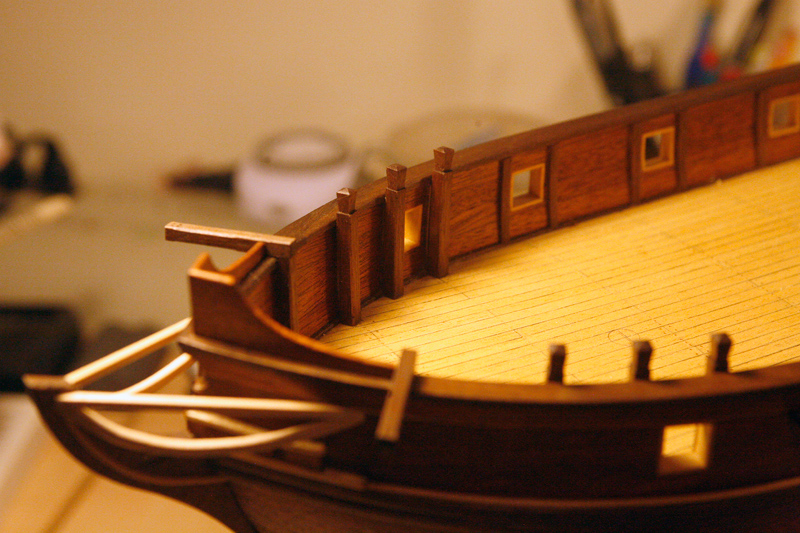
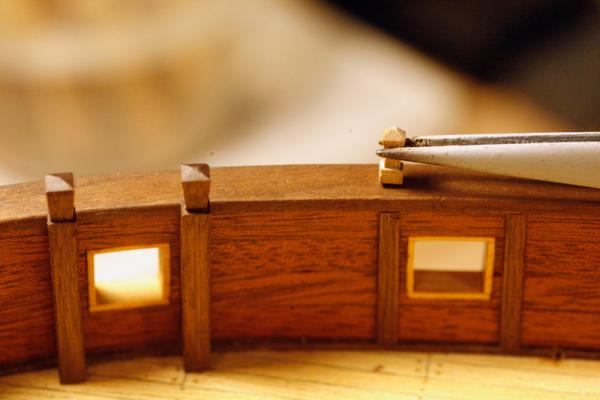
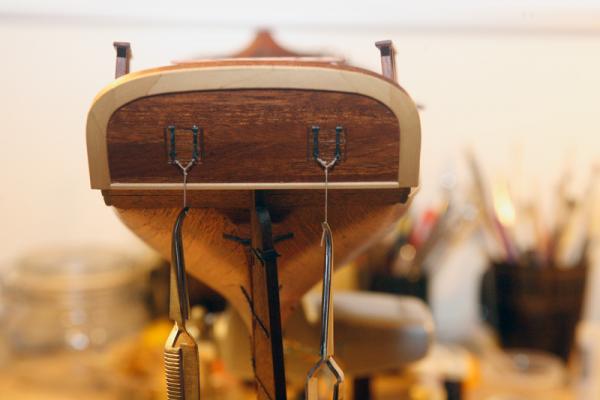
Small update - arent most of them any more? I finished up the second port cover rope, just have to make a tube for them and attach 'em. the Stb one is slightly shorter than the port, not sure if it bothers me enough to rip it out and do it a 5th (6th?) time. I am glad I only had two of these to do, then again by the time I finished 15 or 16 I would be an expert! Last weekend I started the bits. I set the angle at the top on the Proxon saw I bought weeks ago, it had been languishing in its box since I assembled it and was feeling lonely and left out. Figured I better put it to use before the FA decided it needed to be in the garage or the cat felt it was hers to sleep on. That made short work out of that part of the process. The pyramid shape at the top was done with careful marking and needle files as was the chamfer along the edges. The bases were morticed and pinned like the Catheads. Sorry, no pictures of the process, other than a couple of hours Saturday it was 10 minutes here and 15 minutes there. I am generally pleased with how they turned out. I wonder though, would these have been an extension of the framing? If so I should have notched them into the cap railing. Me thinks I'll accept them as they are and build differently next time. Sam

-
ZyXuz, Been quiet lately but following along as work allows. Paint looks good. Whats next? Sam
-
Sjors, Thanks for staying and Anja thanks for cleaning up; it must have been an interesting endeavor! I see you are back to practicing your "String Theory." She looks great, I will try not to PM you too much wen I get to the rigging stage myself. Sam
-
Mark, I dont think post count is important to most, I know it isnt to me. Keeping MSW alive an well however is. Looking forward to your next post. Sam
-
Ron, Really like your capstan. You are making me think I will need to change the kit supplied on my build with a scratched one. your photos will come in handy. Sam
-
Russ, Z, thanks, I did try a lighter btw, Not sure what law of thermodynamics I demonstrated, but it was mildly exciting. Looks like beeswax is in my future. Its gonna be a couple of days more than likely, I just finished a 20 hour shift, relaxing with an adult bevarage and MSW before crawling off to bed for a couple of hours. Sam
-
Robyn, Mark, thanks. Use the wax in a solid form or heat it? I have used beeswax cut with thinner for furniture I imagine it will soak in better that way. Will the wax work like rosin to help set knots? Sam
-
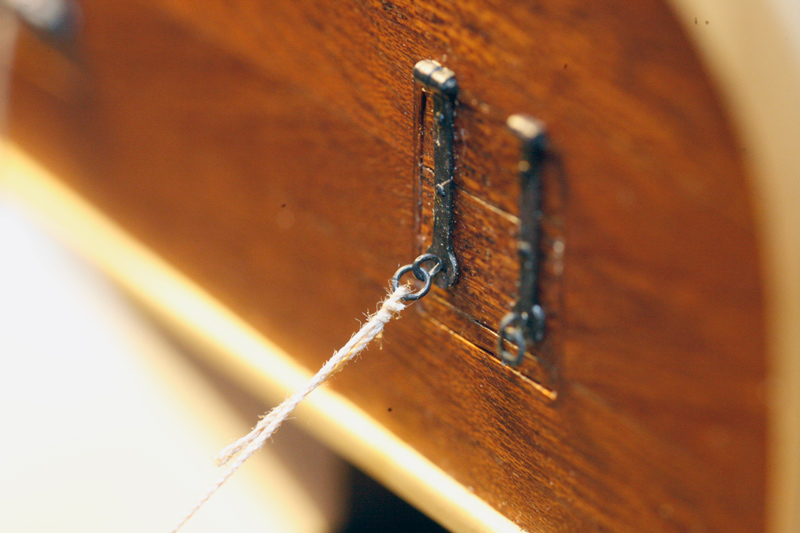
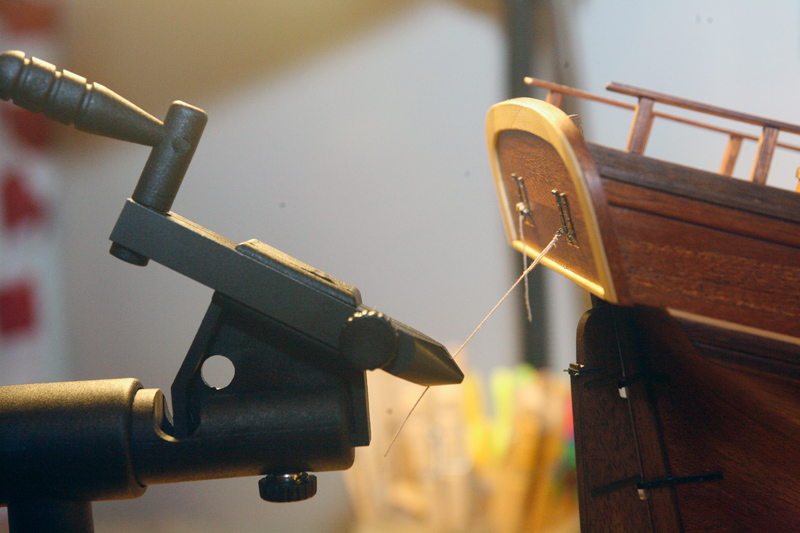
Harley, the video is the instructions, sorry, I didnt make that clear. I have yet to try it, but my plan is to clamp rings, hooks. blocks etc parallel to the axis and rotate, it works for flies so in my mind at lest it stands to reason it will work for these items also. That being said, I have been wrong before. Grant, that photo was taken on a one to one macro. IE; when you are at your closest focusing distance what you see in the view finder is life size, so you could say that is "extreme" macro. Just for he record in case there was any misunderstanding, the rope that came with the kit is nothing compared to Chucks rope. I cant imagine using kit rope in the future. Sam
-
Hi Grant, That is Chucks Syren rope. It is FAR better than the kit supplied and the fuzzies only really show up under a macro lens. And yes very fair price and great turn around. Harley, I read the instructions today - fancy that - and the head is adjustable so the rotating feature may work after all. Sam
-
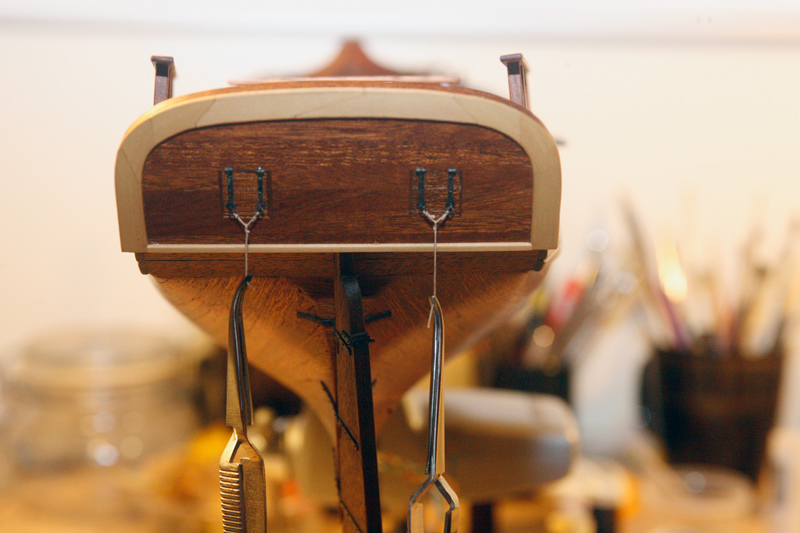
Harley, Had a few minutes last night to "play." this is what I came up with: There is lot of room for improvement here, but it was really nice to just clamp the rope and go rather than trying to find a way to use tweezers to hold it. Next time i will rig something like this off ship. I would have been so much easier. Ah well, first build and all.... Anybody have advice on getting rid of the fuzzies? EDIT- I think Mobbsie is correct here, basic is best. So far I am not seeing the advantage of the rotating feature - time will tell though. what would be great I think is a gimbal/ball joint to move the head around. Sam


-
John, Ron, Thanks. That is what I expected, but all I have here are drawings and they show darker seizings, I was assuming that was for illustration but wasnt sure. I am assuming that applies to all operable rigging? Thanks again Sam