Edwardkenway
-
Posts
3,033 -
Joined
-
Last visited
Content Type
Profiles
Forums
Gallery
Events
Everything posted by Edwardkenway
-
 With the weather bad and being at home for a few days I've been able to crack on with the starboard side deck. started at the bow again. I've noticed on the nibbing at the stern there is one more cut on the starboard then there is on the port. As all is glued now I'm going to leave it as is and hopefully once the deck is populated it won't be noticeable 😏 Thanks for all the likes, comments and looking in. Cheers till next time 😁
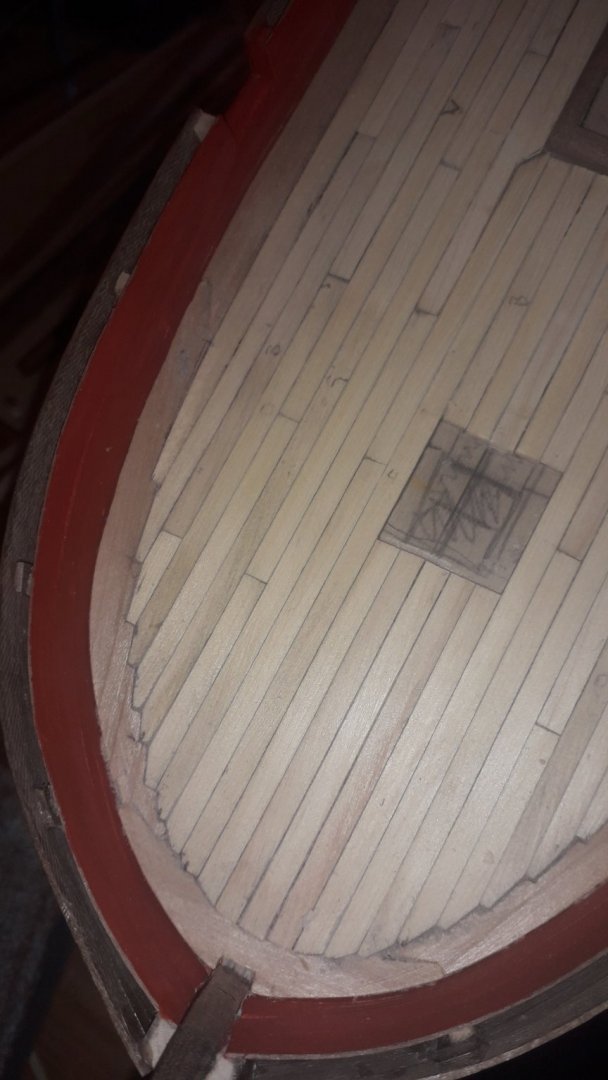


-
welcome to MSW
-
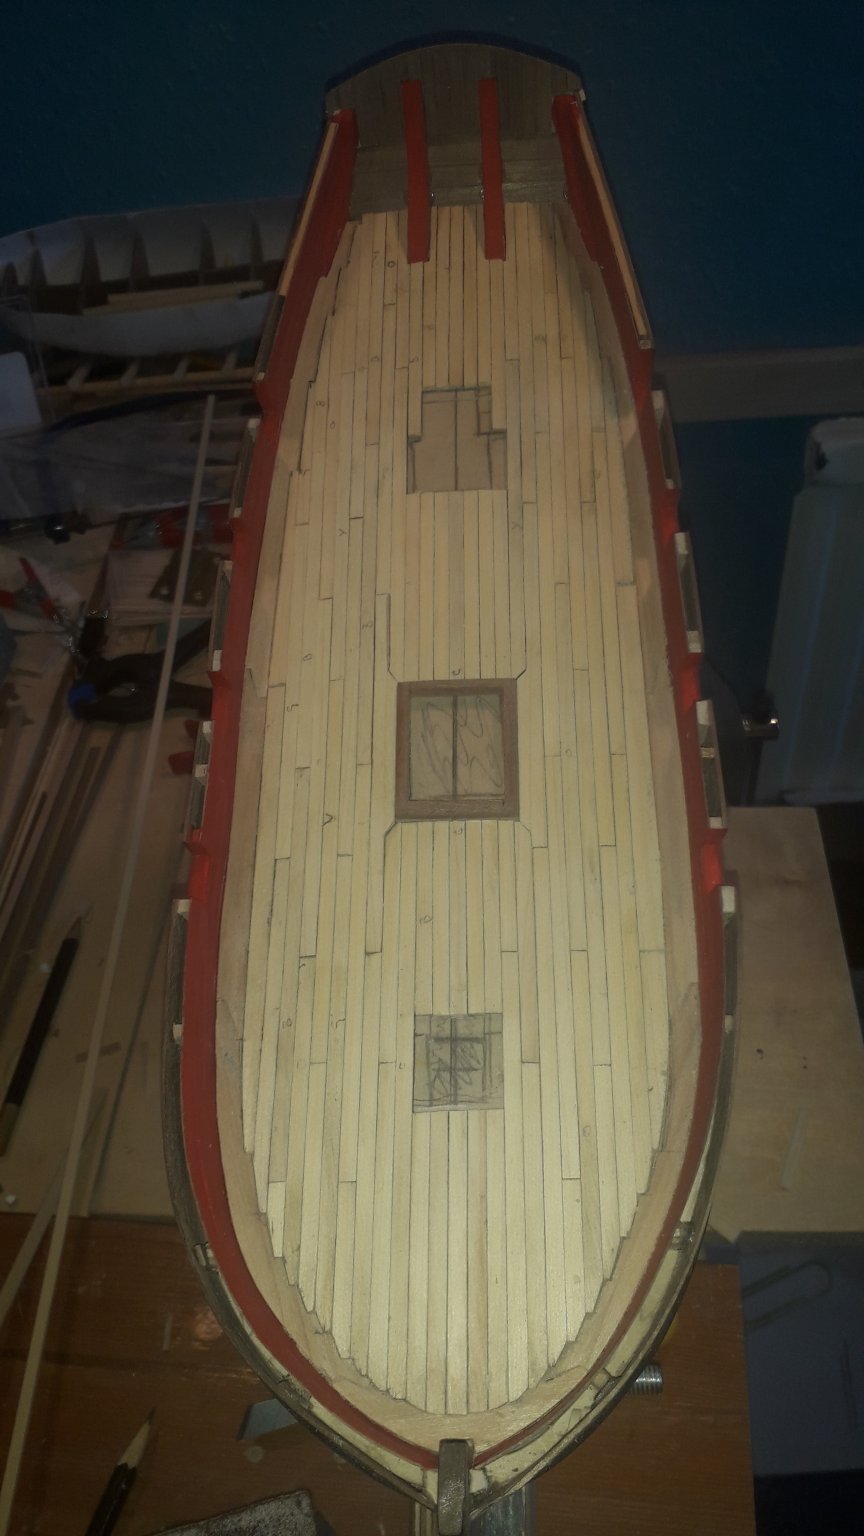
Thank you OC and Mugje. To all who looked in and the likes 👍thanks. So today saw the completion of the port side deck, the next task is the starboard side. Take no notice of the coamings as they are ones I made up for Triton and are not quite the right size! Only a couple of mm small but it sticks out like a sore thumb. Once I've finished on the starboard it will be getting a scrape and light sanding before a coat of varnish. Thanks till next time Cheers 😃👍


-
Just to add to the chamfer/bevel, I would say a bevel is a definite angle with sharp edges whereas a chamfer has softer edges. I'll get my coat 😬
-
Welcome to MSW, very nice powder horns, great work 😃
-
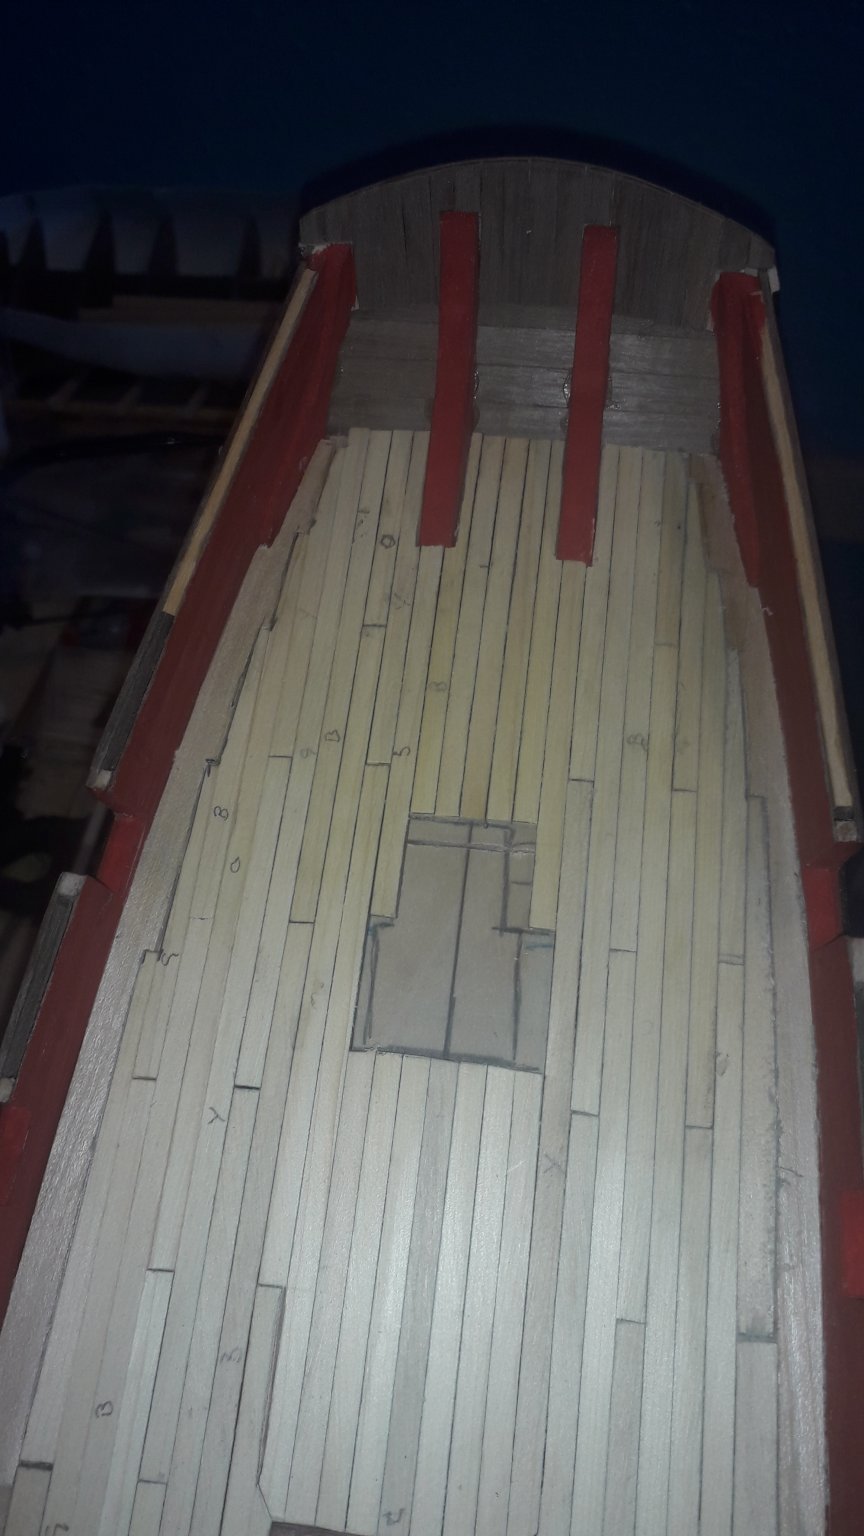
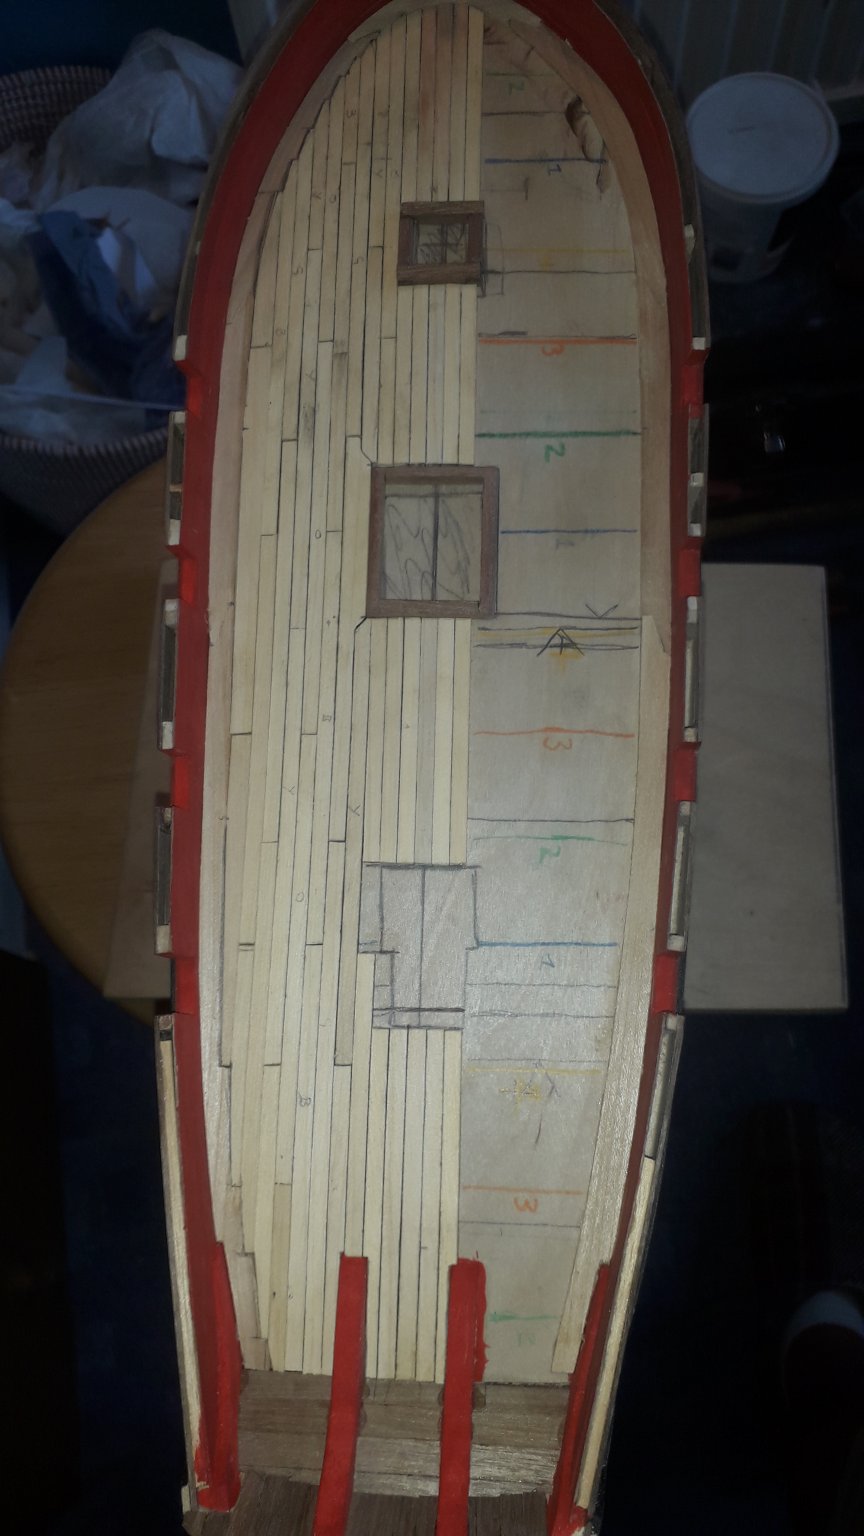
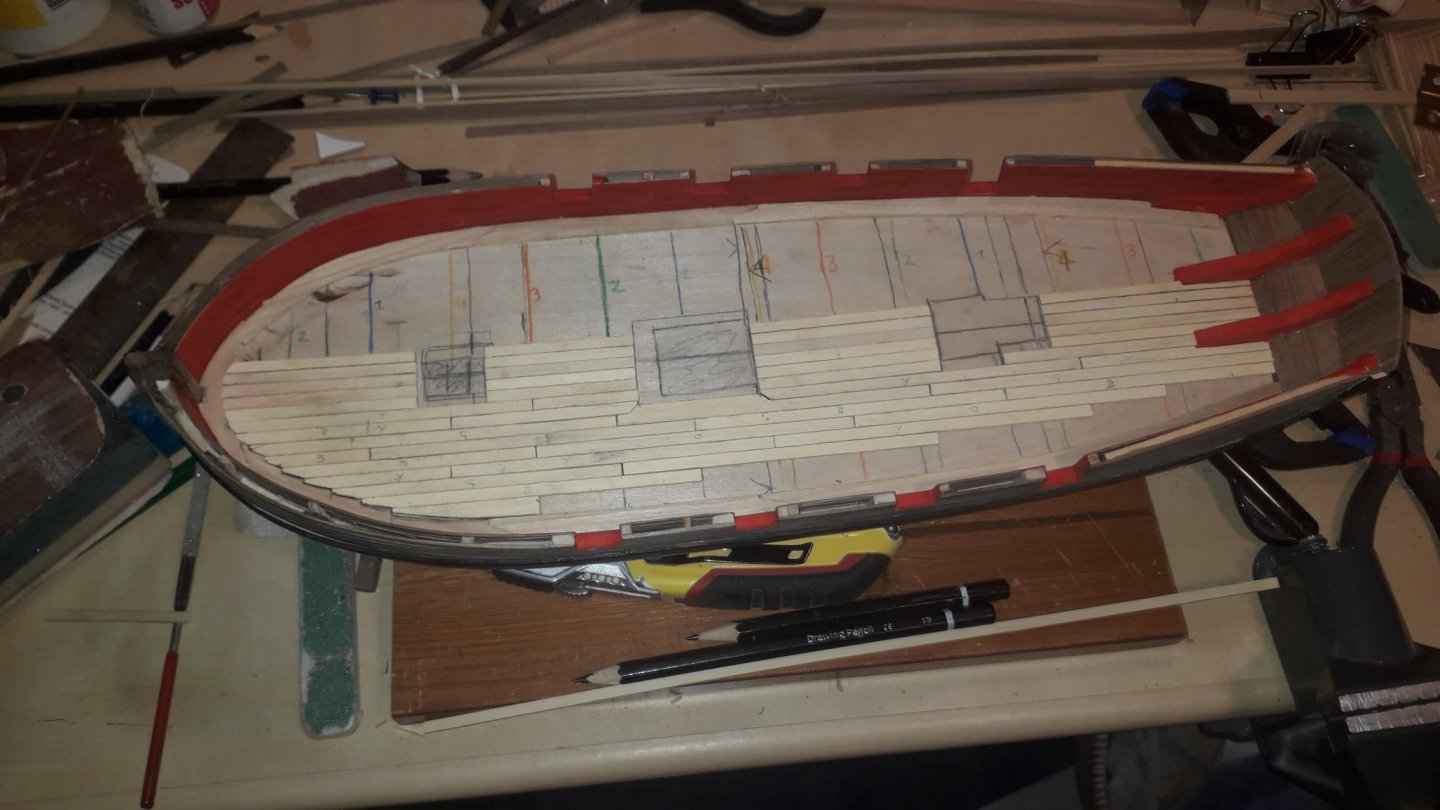
Thanks alot Tim and Derek. Got two or three hours at the bench tonight. Carried on with the nibbing/joggling, completed the port bow section. The coloured lines are solely for my benefit as I would totally mess up on the butt shift pattern if it's not marked on the false deck🙄 also did the fancy planking by the main hatch. Saw @mugje do this on his build, so since I'm trying new things, I'd give that an attempt as well. Lots of filing, happy that the Cedar deck planks are easy to shape. next time I'll fill in the port stern deck and maybe make the hatch coamings. They will have to be mahogany as I have some 10x3mm which I can rip down. Thanks all for the likes and comments, till next time. Cheers 😉👍

-
Very very nice planking, crisp and clean! Great job G😁
-
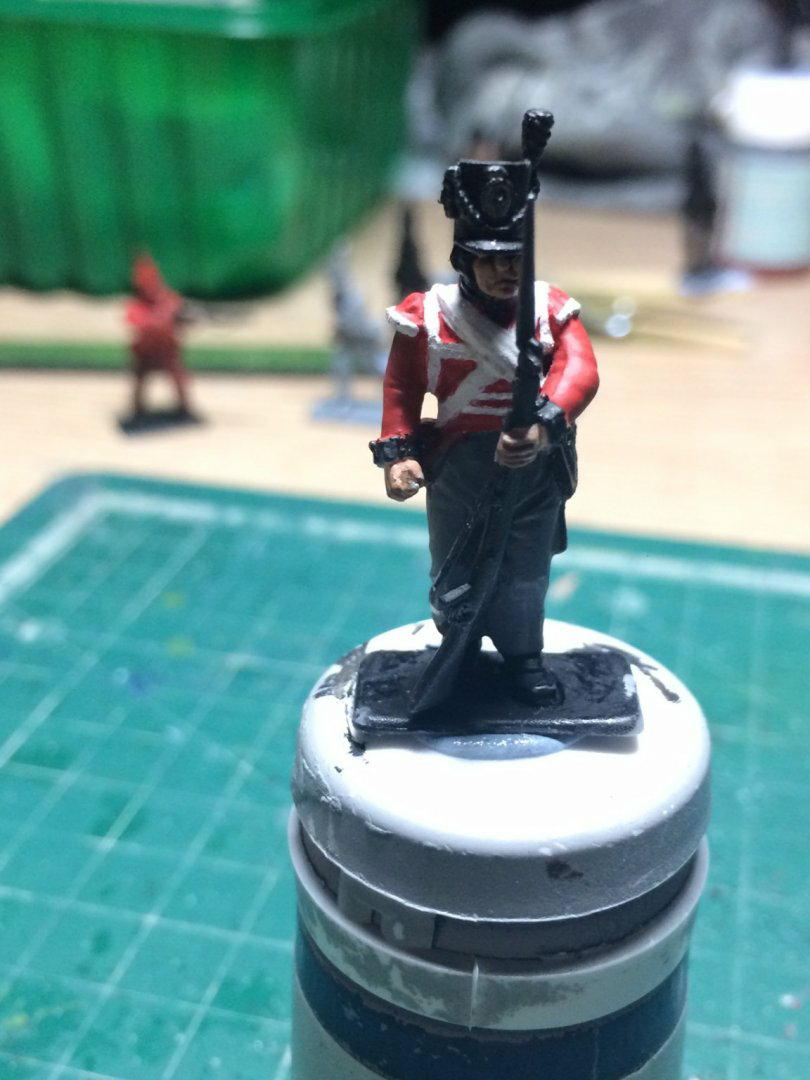
Looking at your French troops I now remember why I always used to let the French win my childhood battles, as they often did till they met Wellesley's army! Inspiring painting OC, makes me want to get back into wargaming and figure painting 😏
-
We KNEW you were building your forces up and now we are sure, all those tanks and other armour 😆 and adding to your naval might Manhassett looks good, plenty of shine with the varnish! Here's hoping you get some ice this winter 👍 Does the name have a meaning?
-
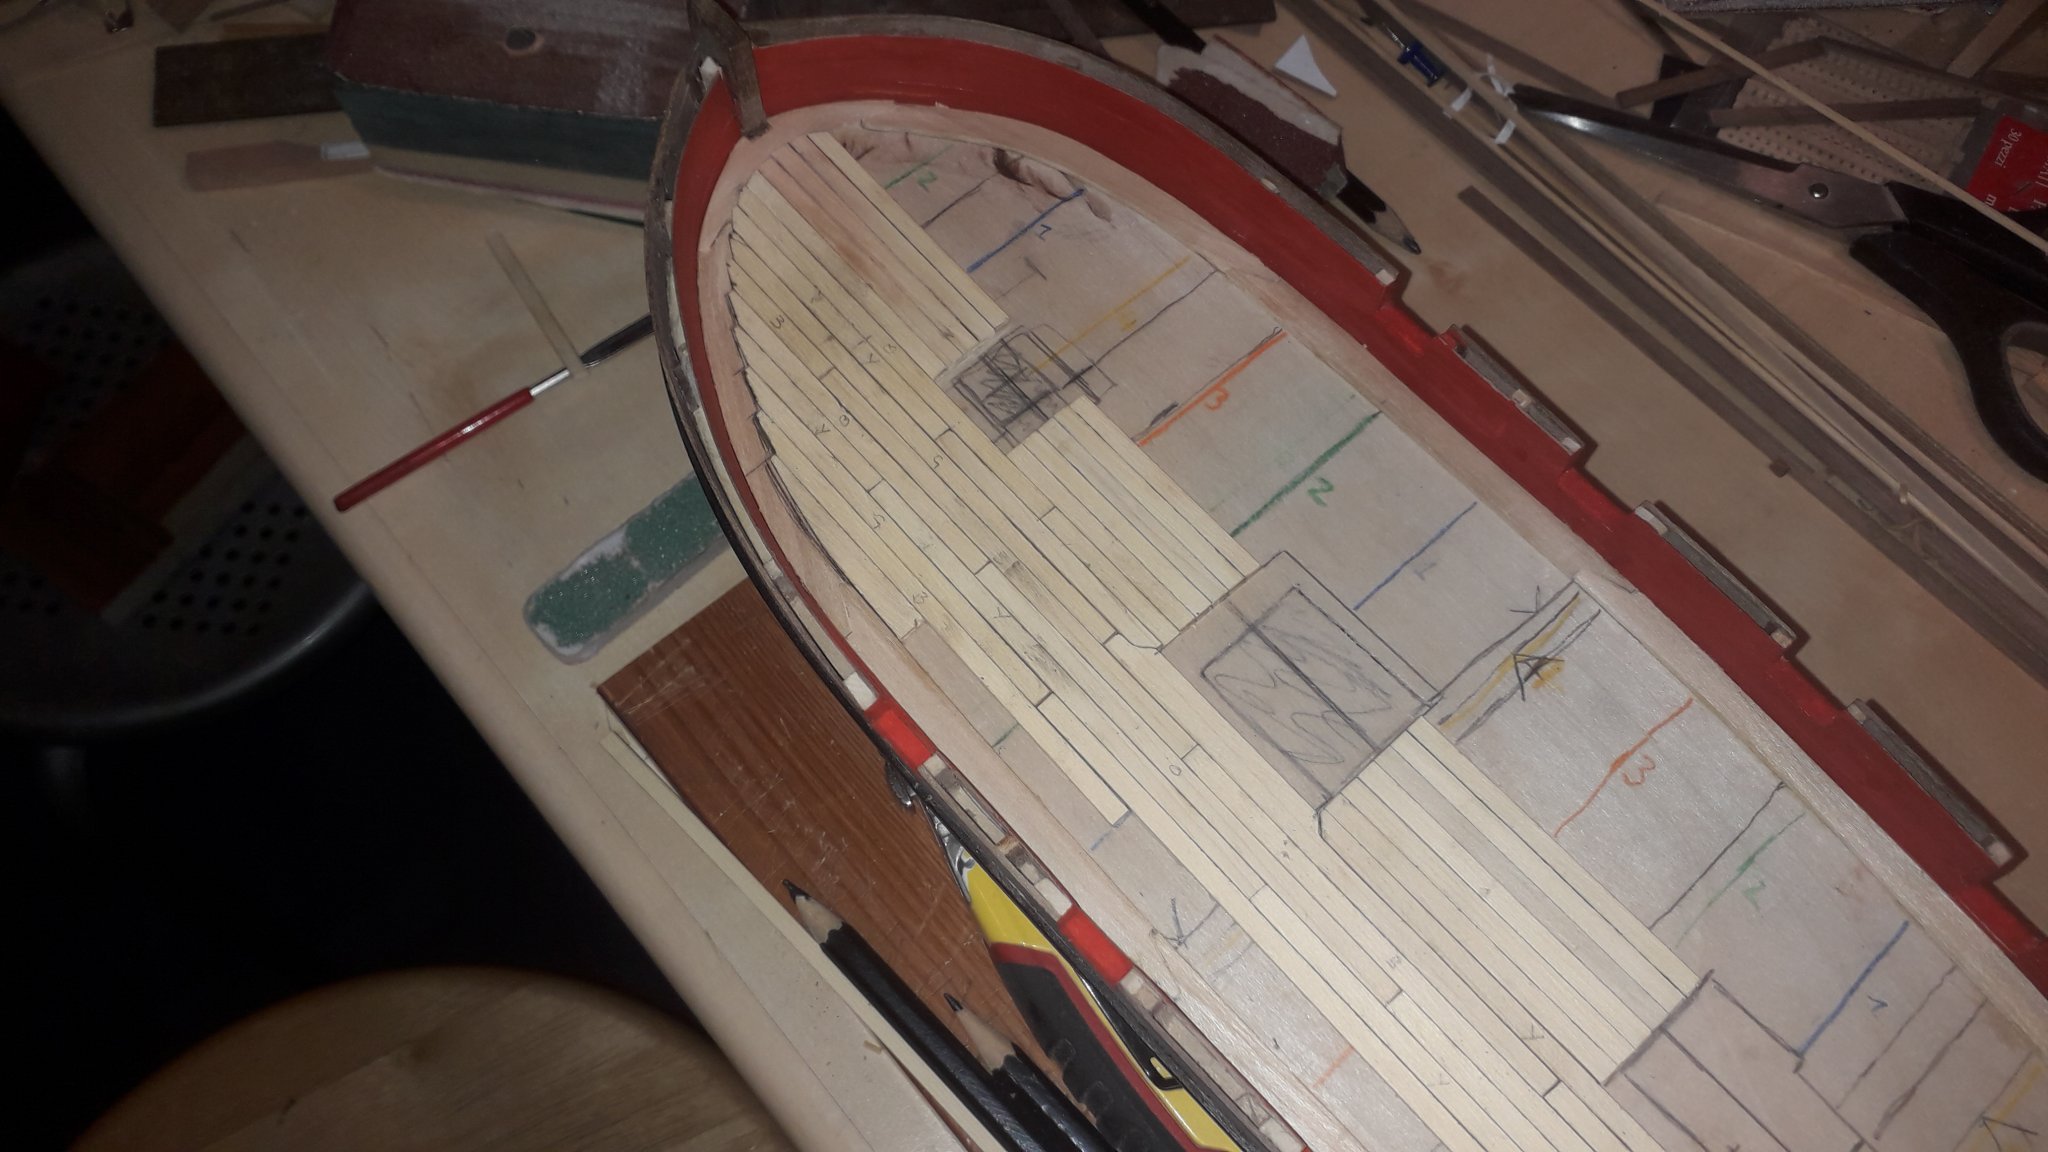
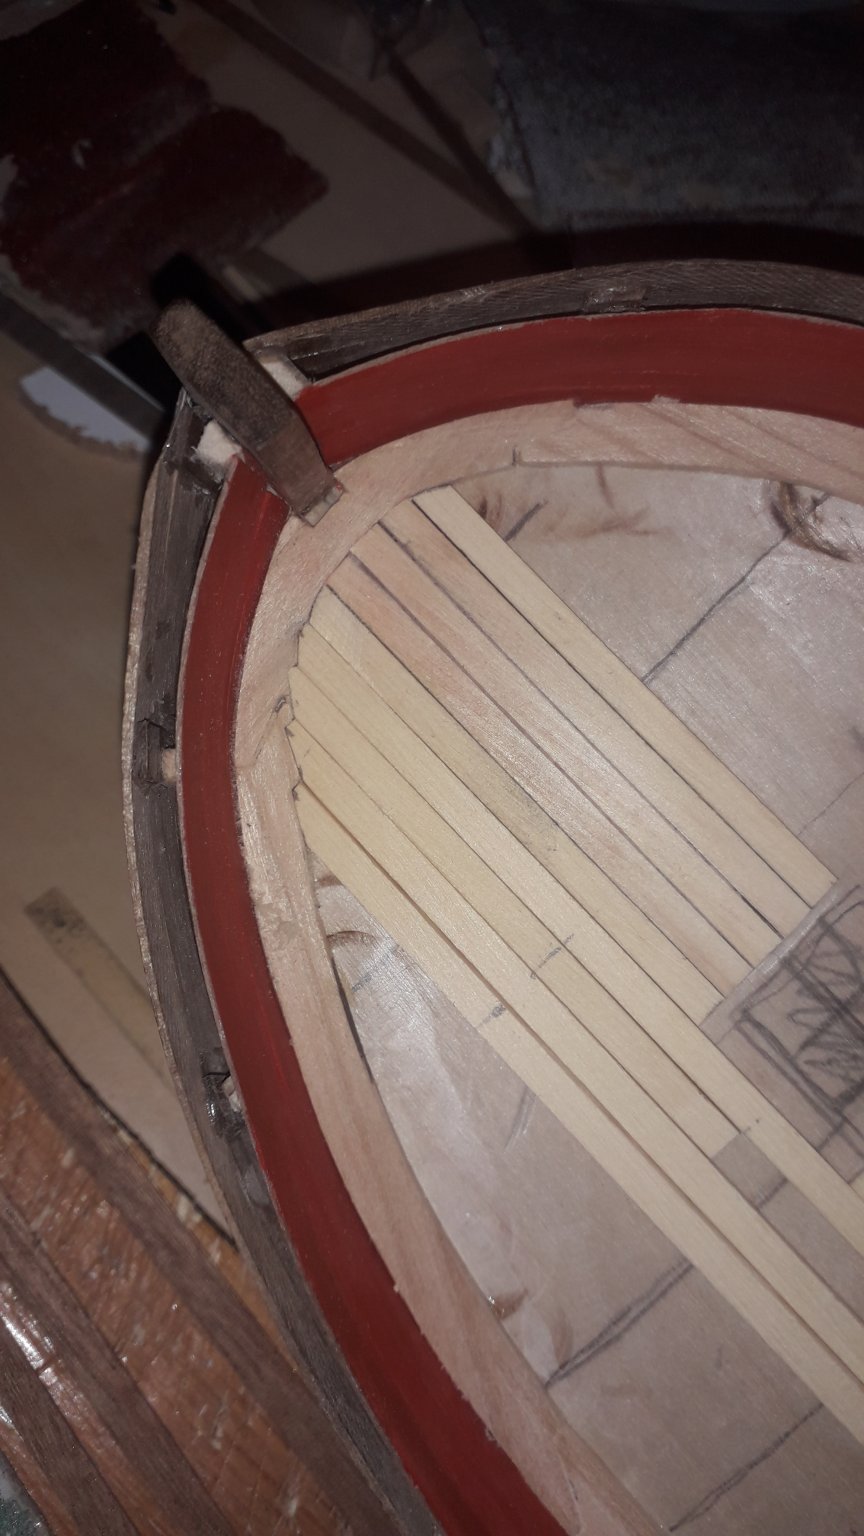
Thankyou, I have started with this method and upto now it seems to be working for me. Thank you Derek, I must admit it was your Speedy deck that decide me to give it a go, but don't worry I know you've got a lot on with Glenn's cannon rigging and spars so I won't be asking if you could do it for me😉 these planks are just placed and not glued, and I'm quite happy with the results as this is the first time I've tried this. Thanks to all who have stopped by and hit the button👍 Till next time, Cheers

-
Beautiful build Tony, your detail is superb and processes wonderfully explained. As Mark said, thanks.
- 124 replies
-
- 2
-

-
- longboat
- Chaloupe Armee En Guerre
- (and 1 more)
-
Yes, it is strange! I wonder if someone were to mail some to the USA privately, as a gift, wether customs would confiscate it as illegal or contraband, just a hypothetical "what if"
- 725 replies
-
- 1
-
-
- vanguard models
- speedy
- (and 1 more)
-
I fear you may be disappointed Glenn, as when looking at their boxwood pieces, it does have a note in the info: Castello boxwood is CITES listed and requires special licences for export. We regret that for practical reasons we are not able to supply this item to countries outside the EU Sorry to be the bearer of bad news 😬
- 725 replies
-
- 1
-
-
- vanguard models
- speedy
- (and 1 more)
-
Great but of kit Derek and it's only gone up £1 to £15.75 including VAT, I'll order one before they disappear.
- 725 replies
-
- 1
-
-
- vanguard models
- speedy
- (and 1 more)
-
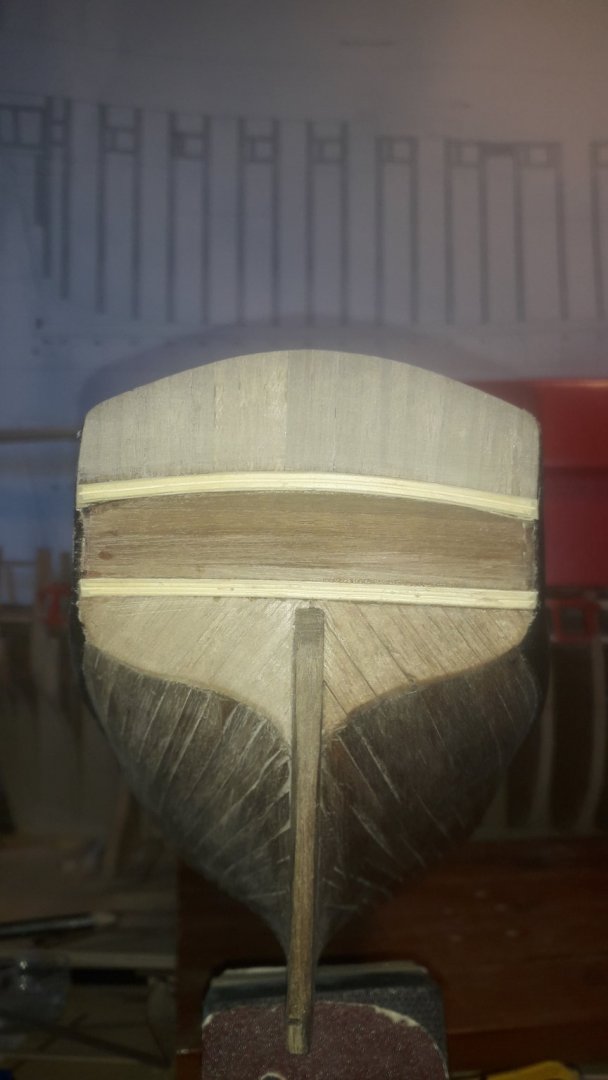
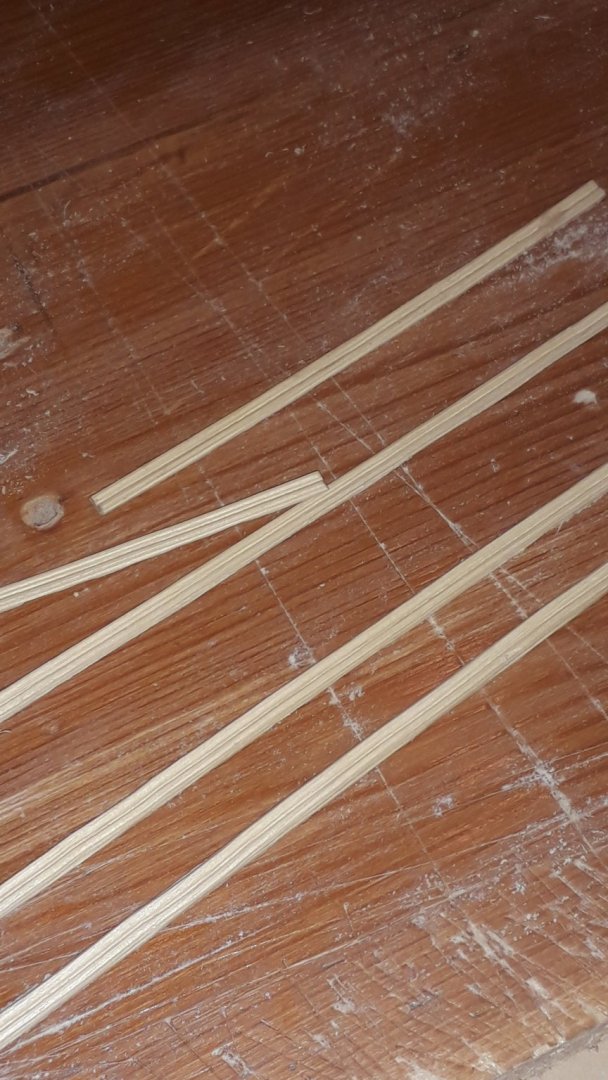
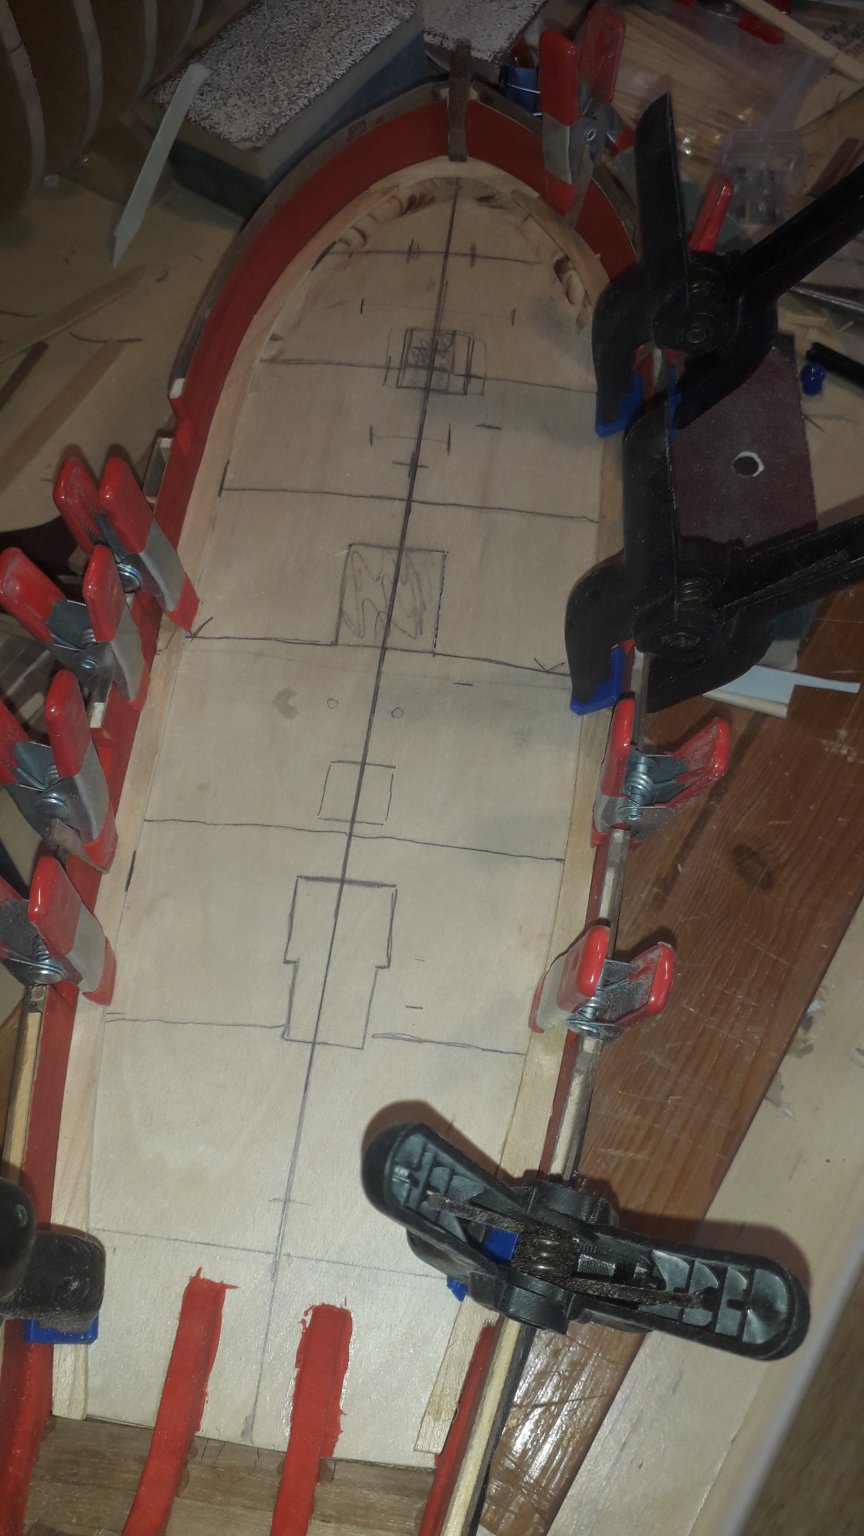
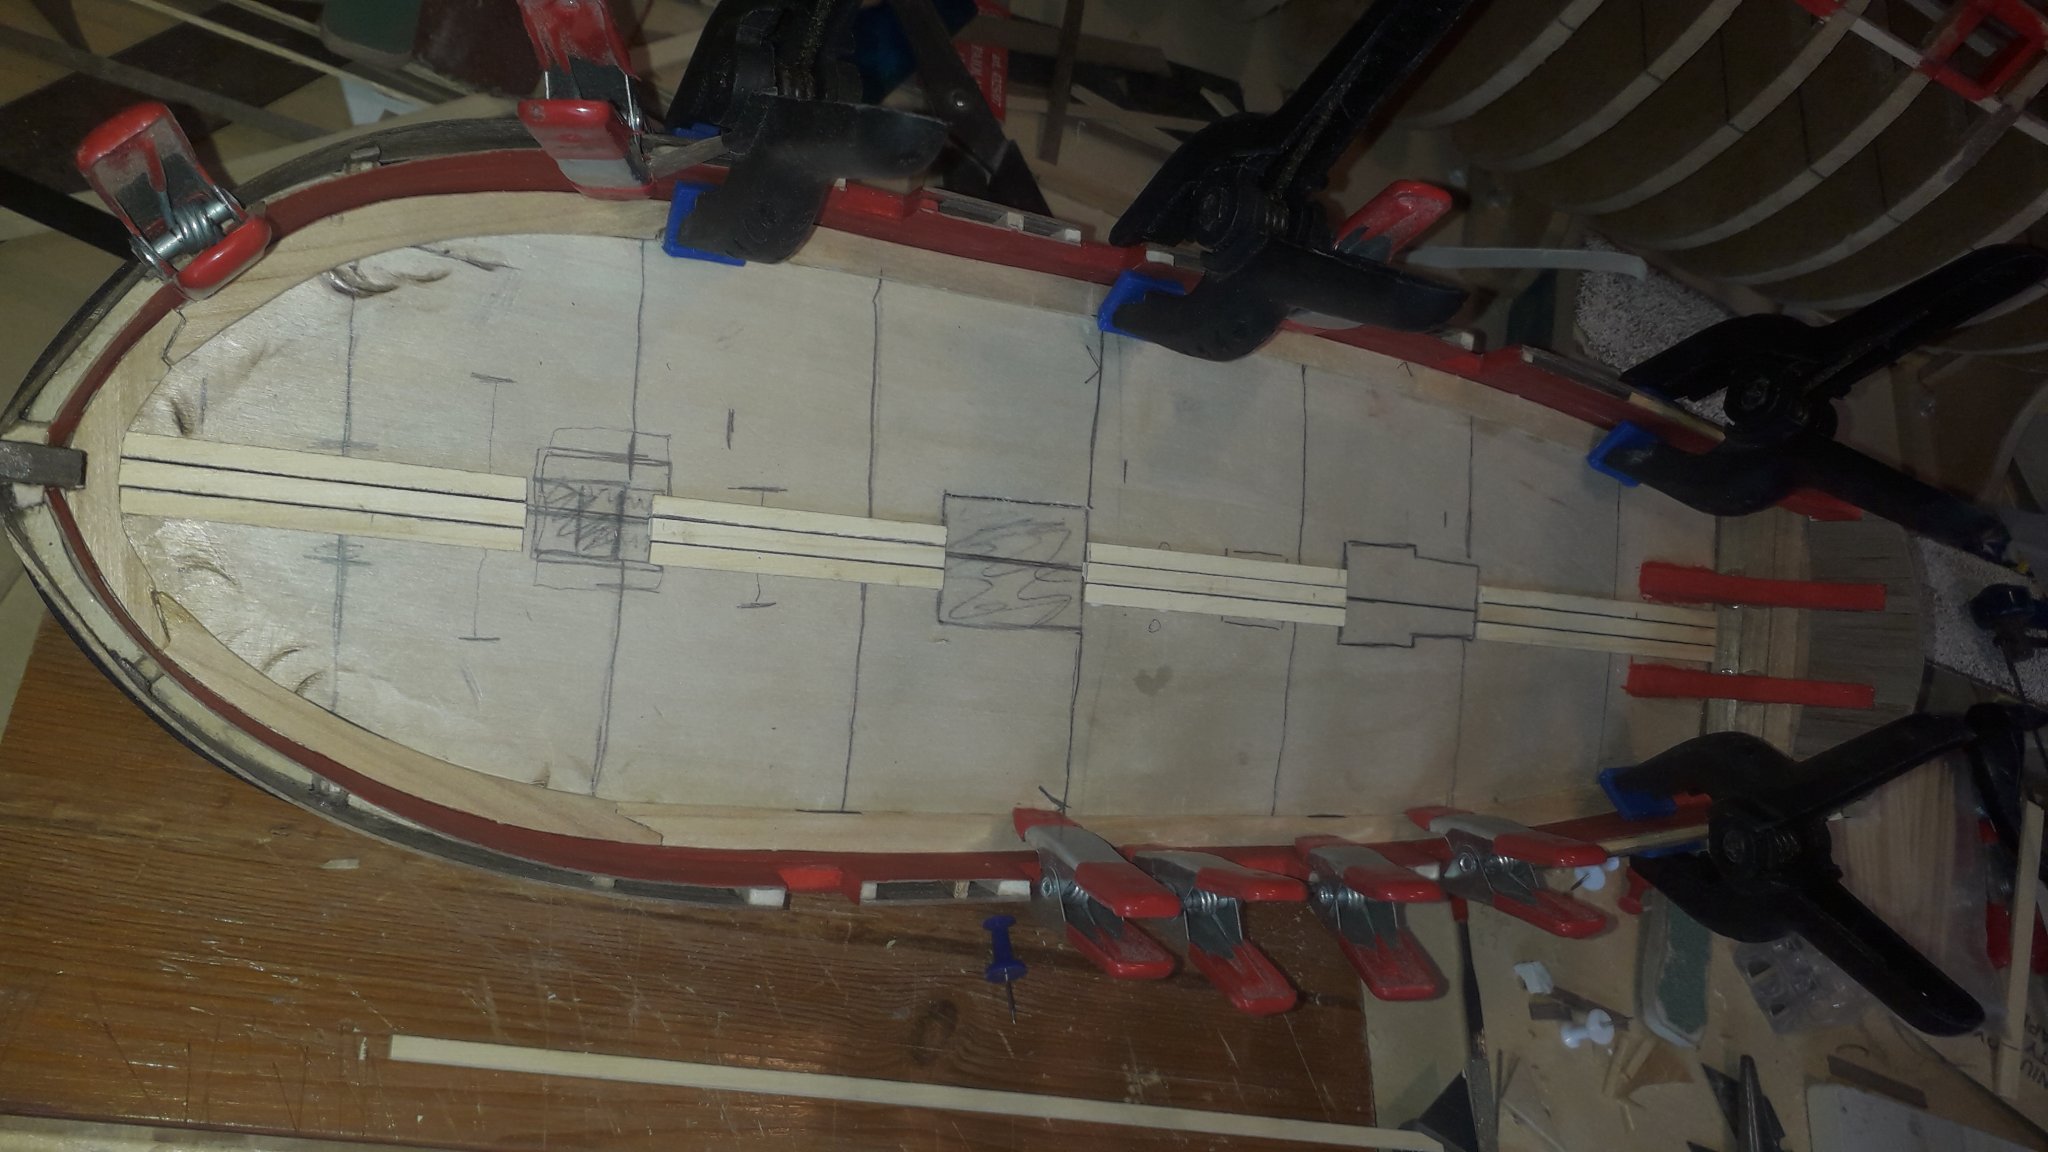
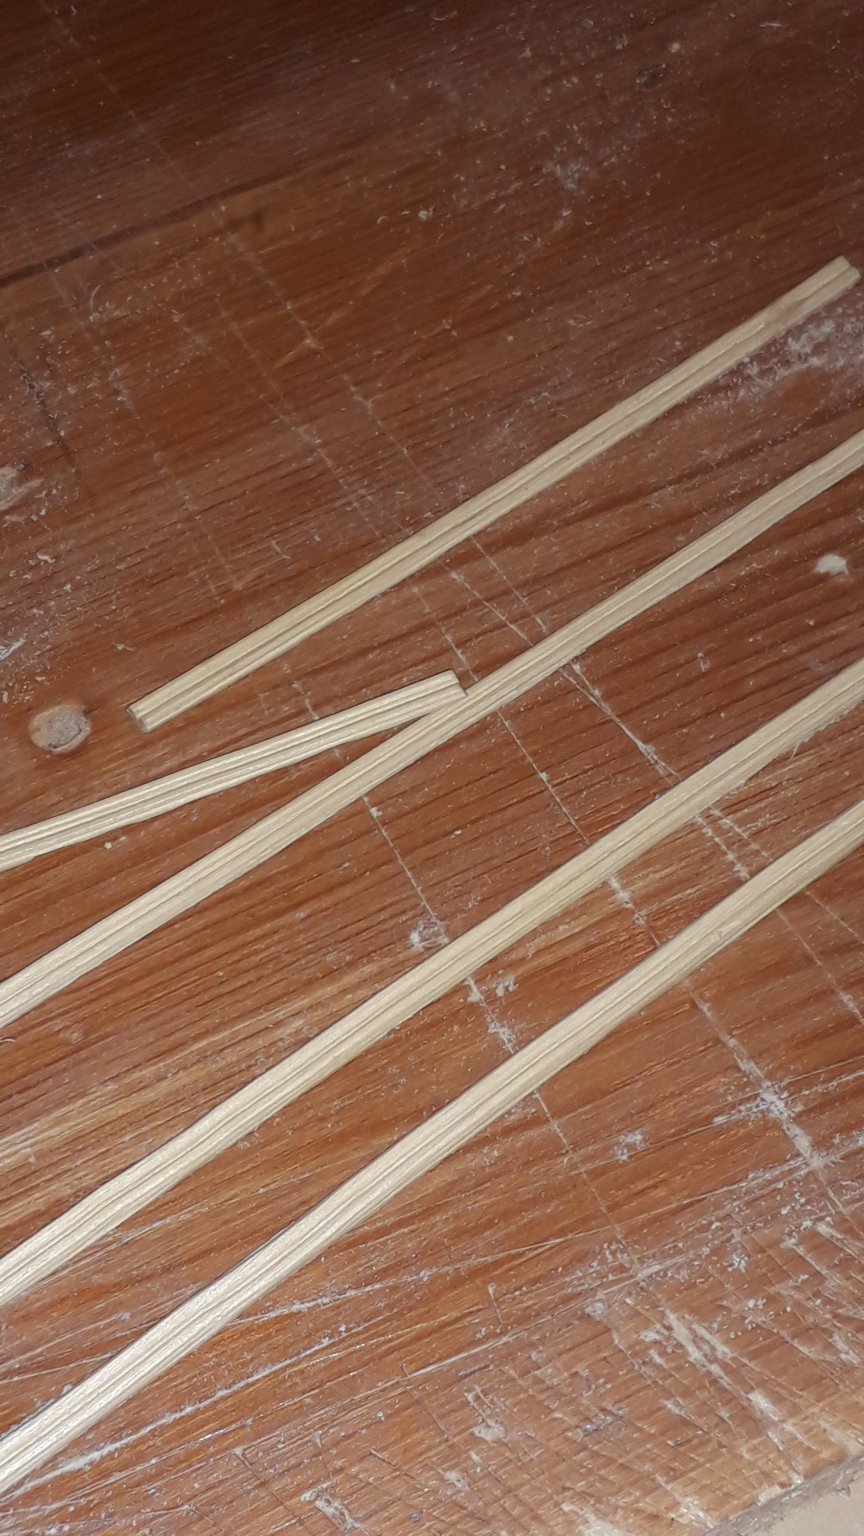
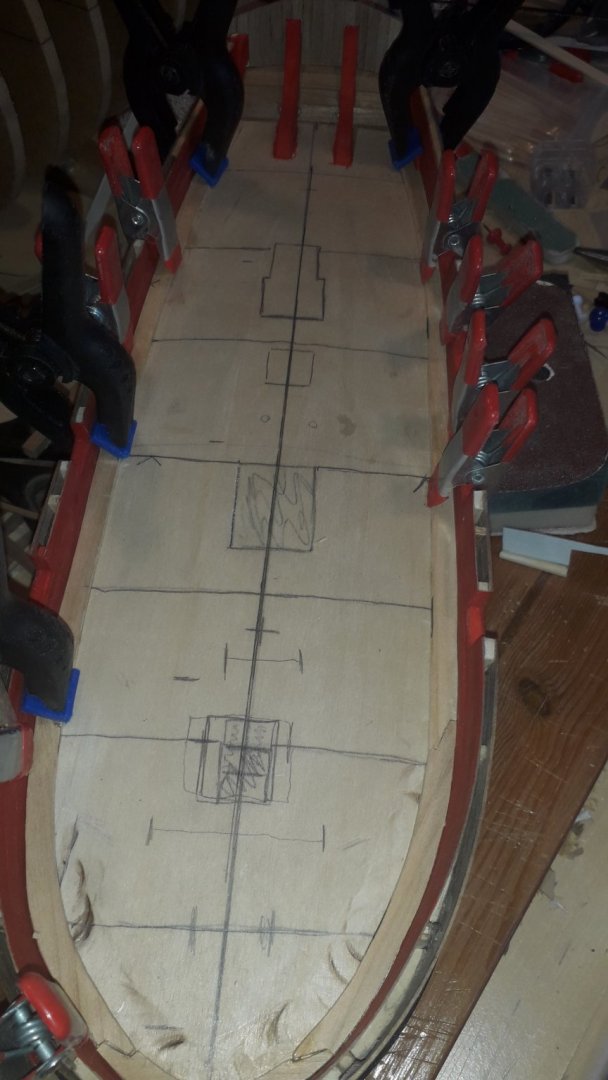
Good morning, started on the deck planking. When I did the Sherbourne deck I wanted to do a margin and nibbing? but was beyond my skill level and probably still is but I'm gonna try anyway. Starting with the margin I traced the outline of the deck and transferred it to some card and then cut into the different parts. These templates were then glued to some wood sheet(not a clue what it is) and cut them out after lots of sanding, filing and remakes, I got something I'm happy? with, and glued them down. To finish for now I've placed and glued the centre plank and one either side. Going to trawl through deck planking articles now to see if I can get some tips on nibbing or joggling. Thanks for looking in and hitting the like button. Cheers till next time 😉 Edit: sorry about the poor lighting on the photos.


-
Looking sharp OC, loving the cross belt and frogging detail 😁
-
This is something that I'm trying at the moment. I cut the profile into a 2mm thick old brass hinge and practiced on a piece of AYC. I found a thinner scraper tended to dig in! Anyway that's my pennies worth.
- 778 replies
-
- 5
-
-
- cheerful
- Syren Ship Model Company
- (and 1 more)
-
Great looking ship, and some lovely work gone into her! I've enjoyed reading your log up to date and if I can squeeze in at the back will be following its progress. The stern and quarter galleries look superb and the lights will give it that bit extra when finished.
-
Glenn, your patience and diligence has paid dividends, for the planking on Cheerful is amazing. With your detailed step by step posts, this log will be a go to source for future builds. Please keep them coming, I've learned lots and no doubt many others feel the same. Cheers 😏👍
- 778 replies
-
- 6
-
-
- cheerful
- Syren Ship Model Company
- (and 1 more)
-
For making the scraper for the mouldings as my files are quite chunky and I thought that the thin carbon cutting wheels would make it easier and with a bit more finesse.
-
Bad news on the specs OC, I don't know what kind of plastic they use for frames but glue don't work, it doesn't stick the frame, doesn't go off and then sticks to your nose😖. Good news on the top coat though 👍😁
-
That guest is part of the rigging crew, leave Pelican alone too long and she'll be festooned in silk rigging 😁👍 Mast tops are looking good, nice job😉
- 756 replies
-
- 6
-
-
- galleon
- golden hind
- (and 2 more)
-
Thank you. Thanks Jack! It's a poor thing though when you're scrabbling around for the knife/glue/pencil etc. and then the piece of wood you want is on the floor 🙄
-
I've been reading this thread with interest, as I'm going to be making my own planking strips soon. Unfortunately I don't have a Byrnes saw, but will be using a Proxxon fet, so I assume the method can be applied. The idea of a block to keep the wood steady instead of the hand is great. Thanks Glenn 👍
-
Thanks Mark, trouble is I feel at home here🤪. I've attempted to make some moulding trim, I filed the profile on an old brass hinge, passable but a little disc cutter would be a better tool to make the profiles. First pieces of trim fitted. I think I'll go and see what rotary tools are on offer at the local DIY stores. Thanks for the likes and comments 👍 Till next time cheers. Looking at the photos in this thread has made me think I really need to keep my bench tidier 🤔