


Dsmith20639
-
Posts
254 -
Joined
-
Last visited
Content Type
Profiles
Forums
Gallery
Events
Posts posted by Dsmith20639
-
-
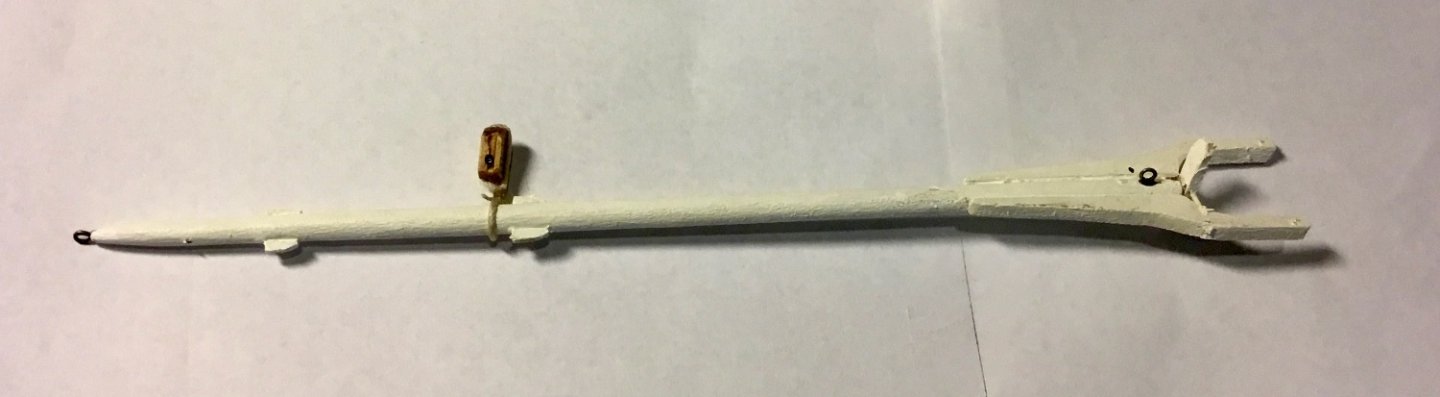
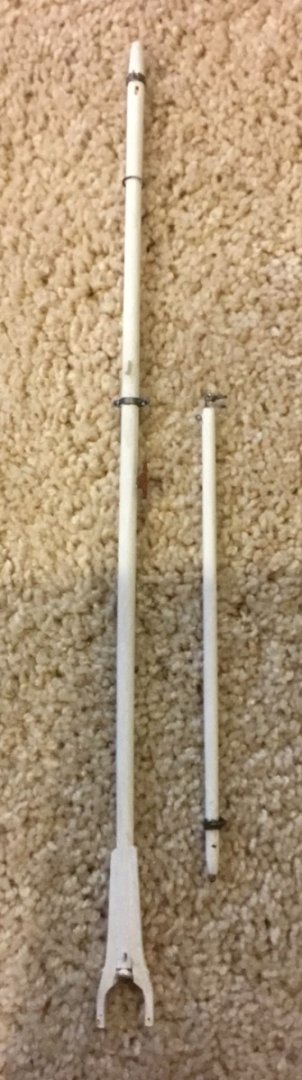
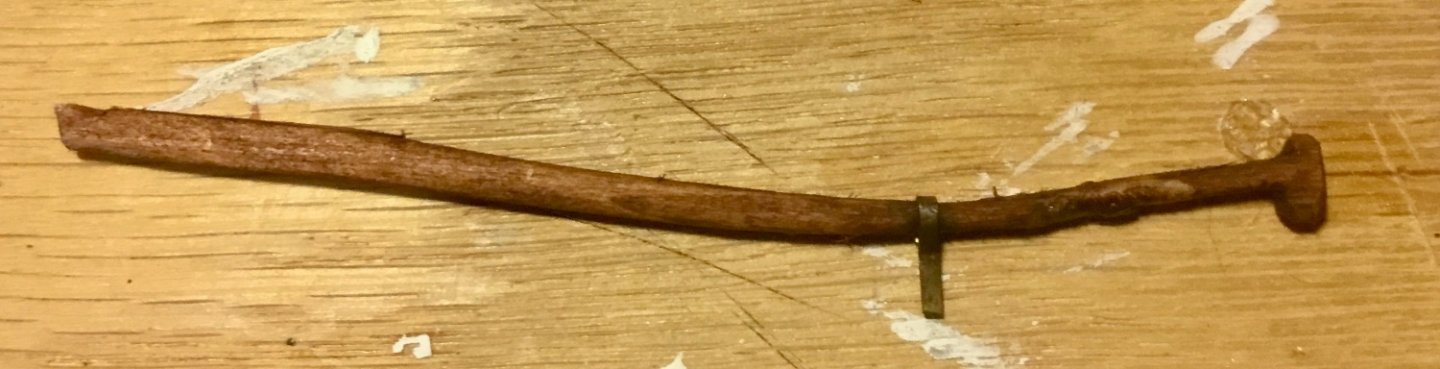
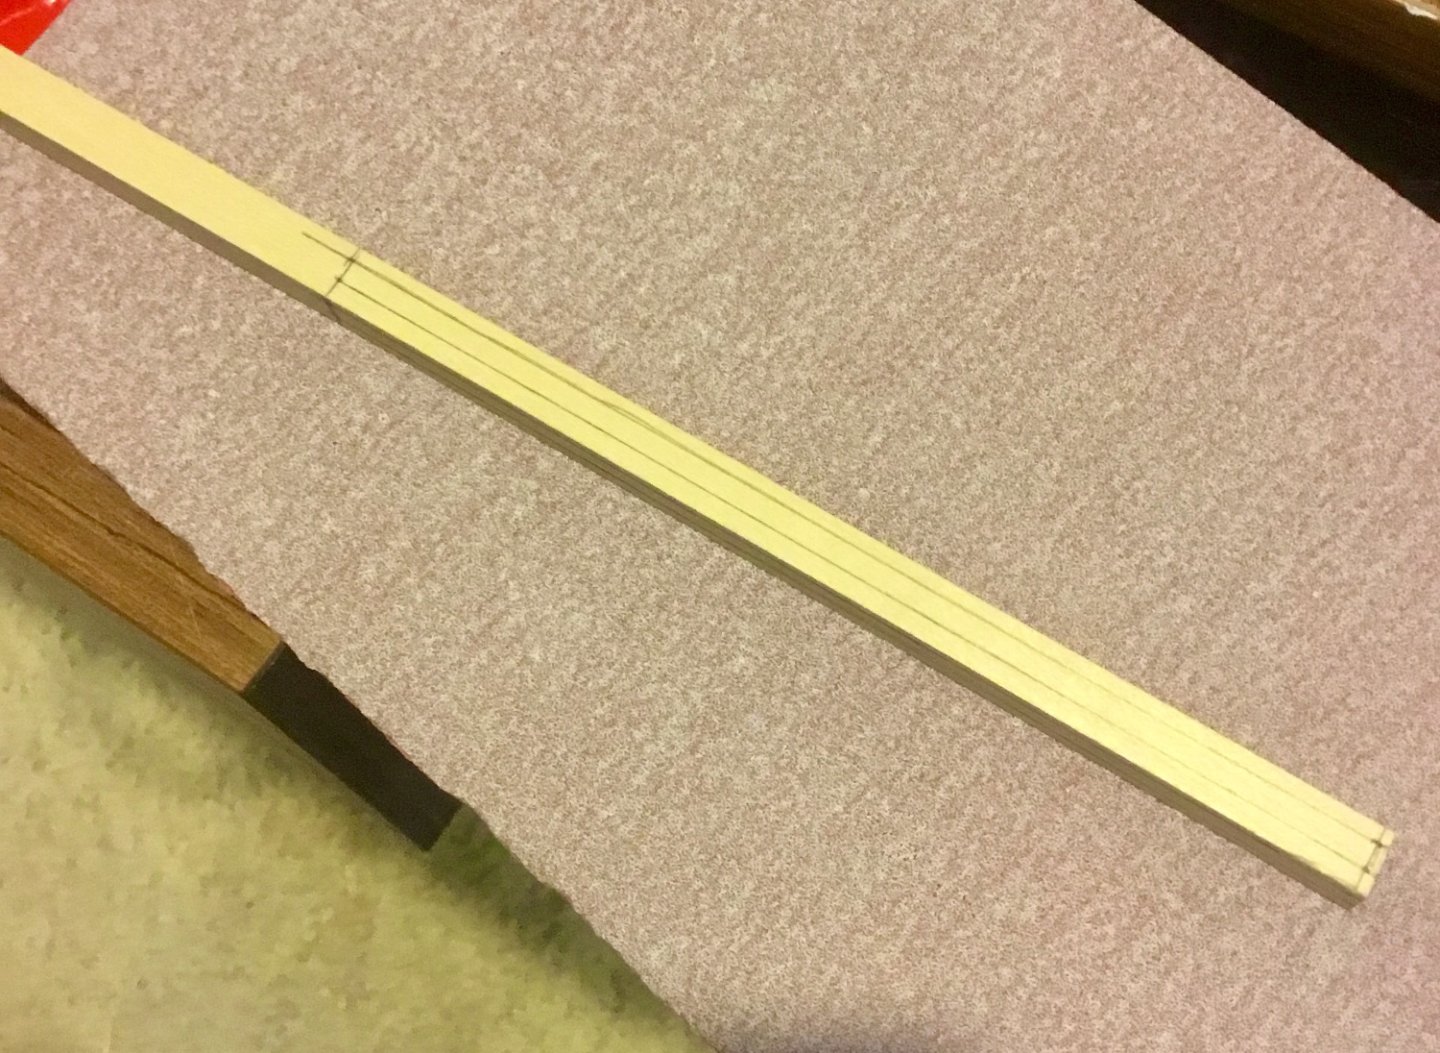
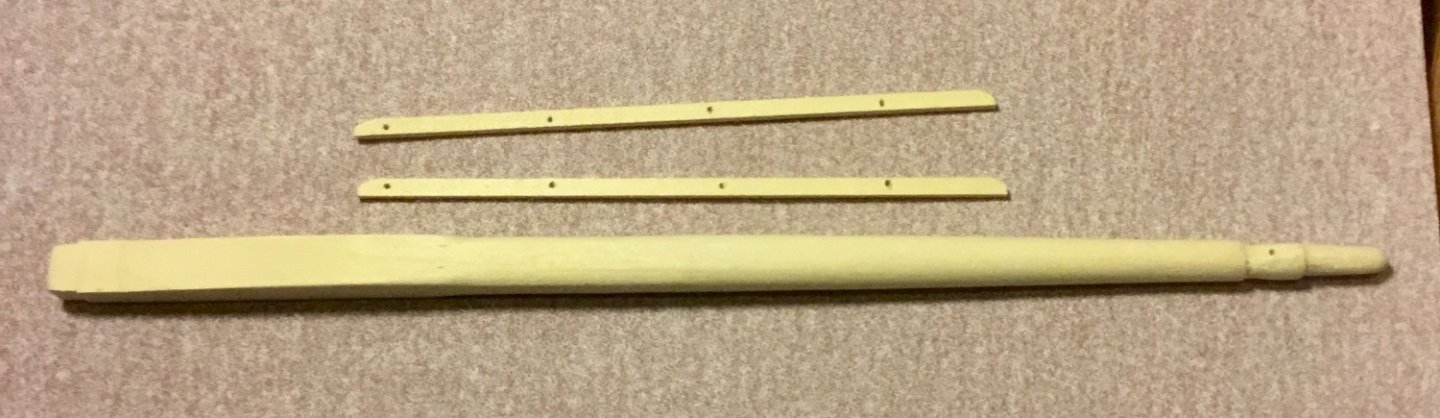
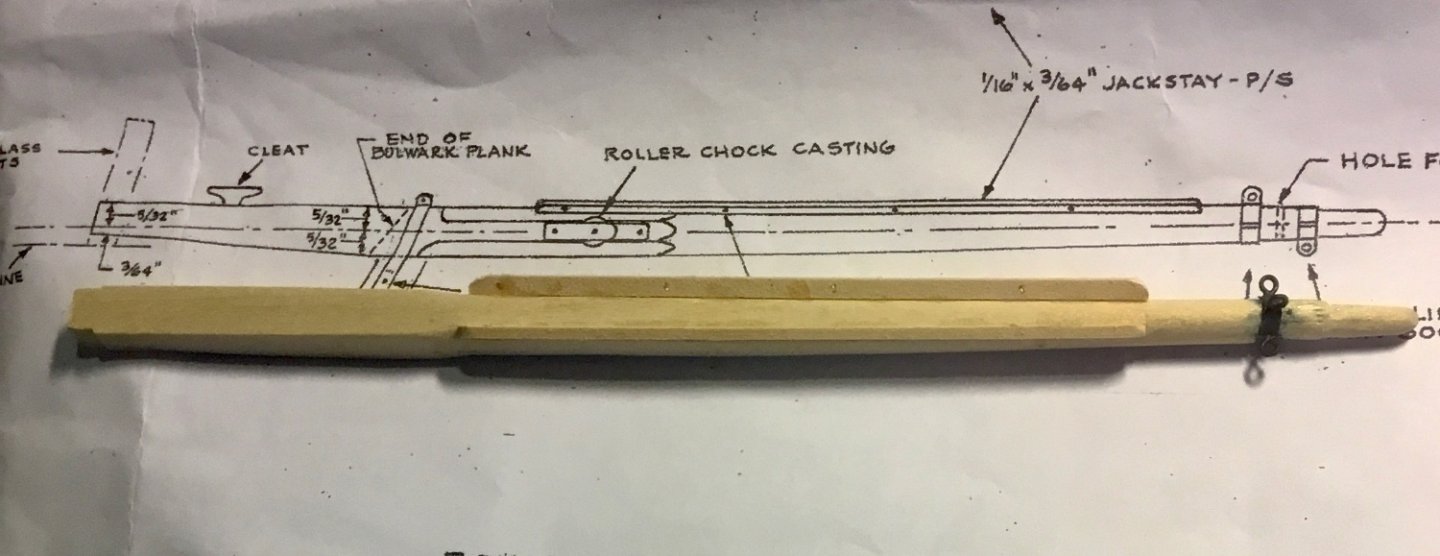
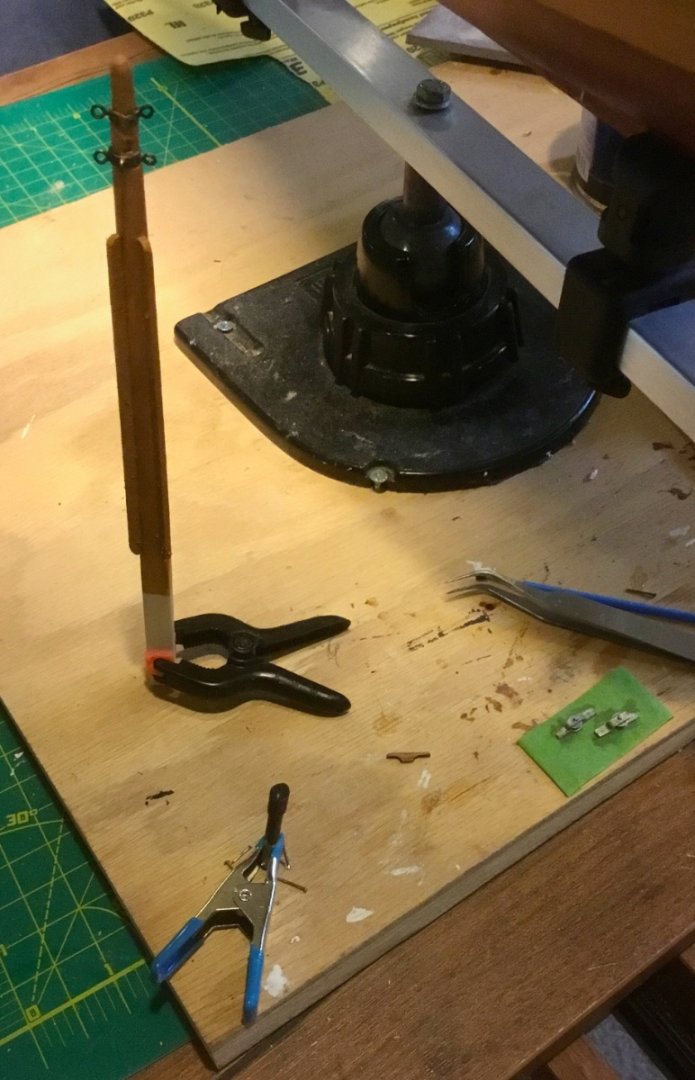
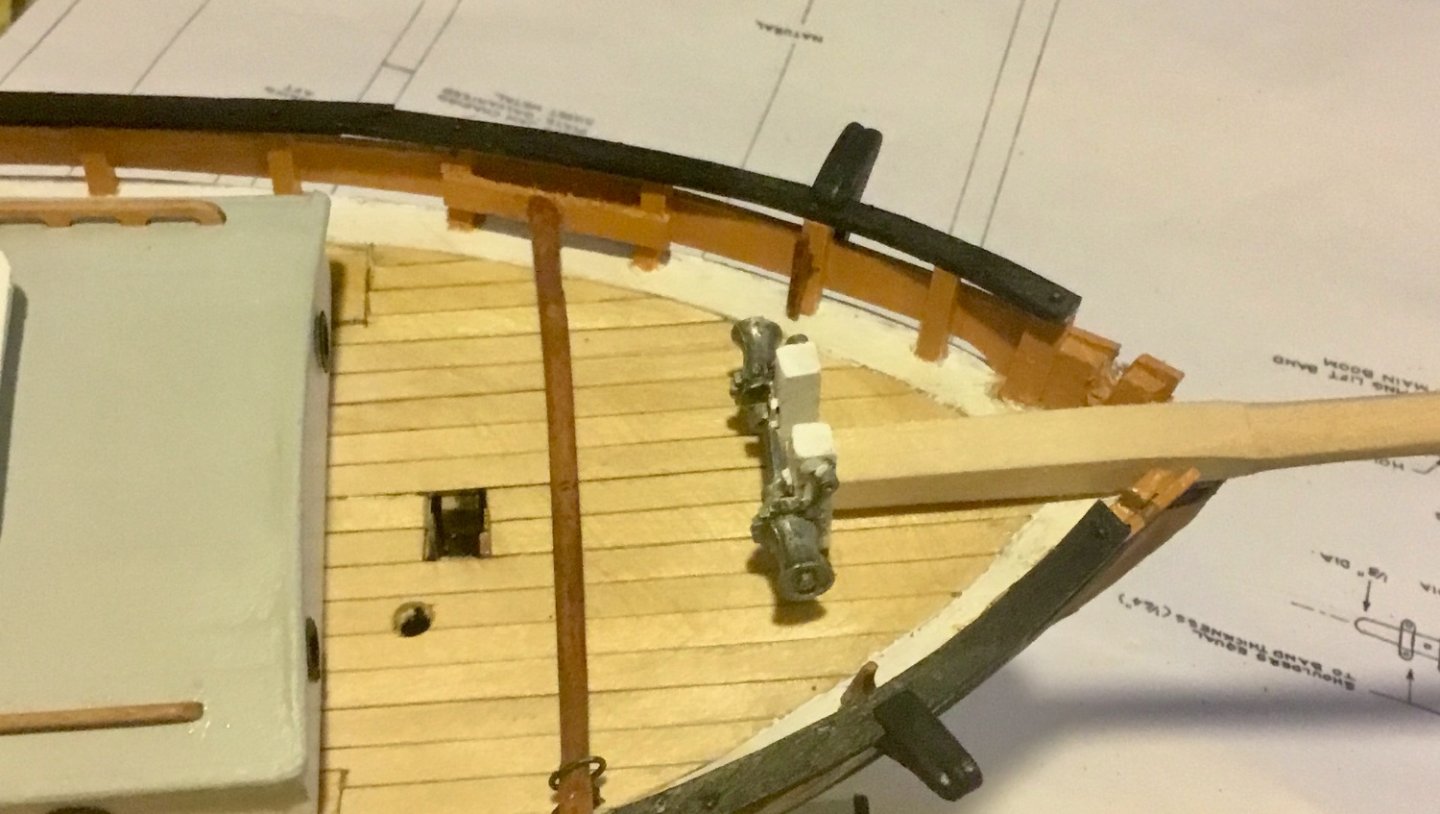
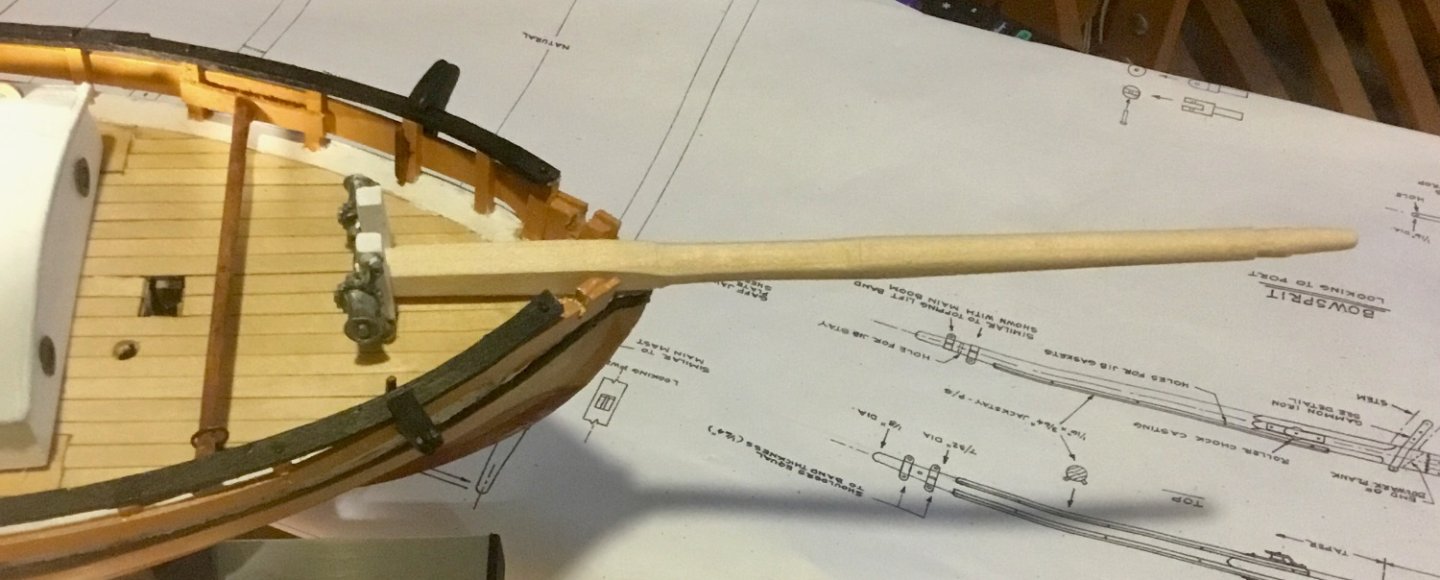
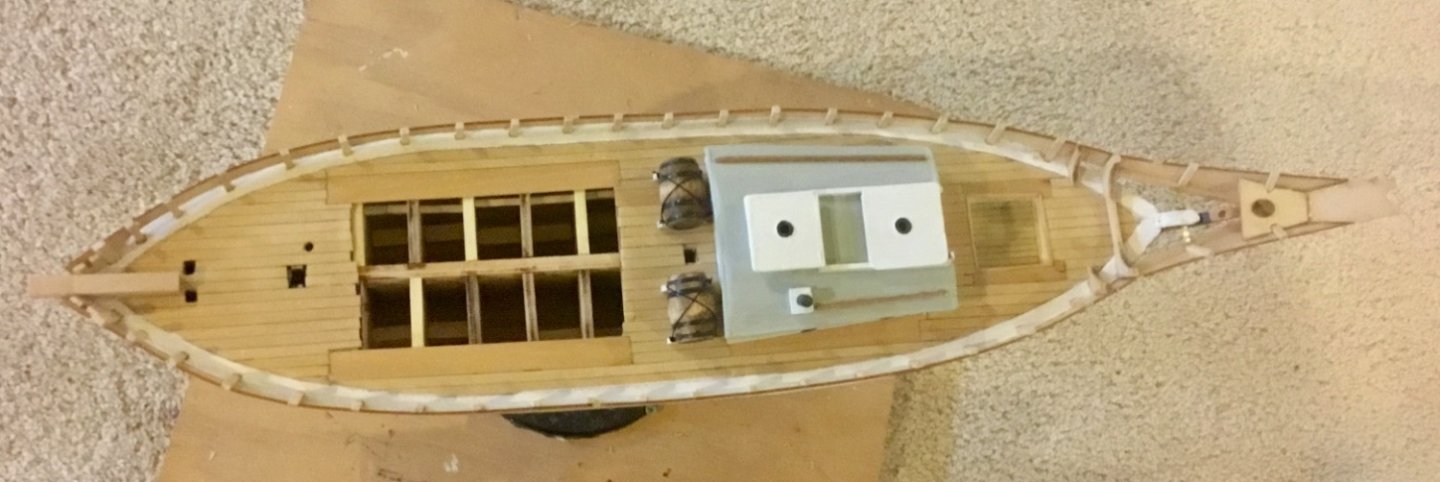
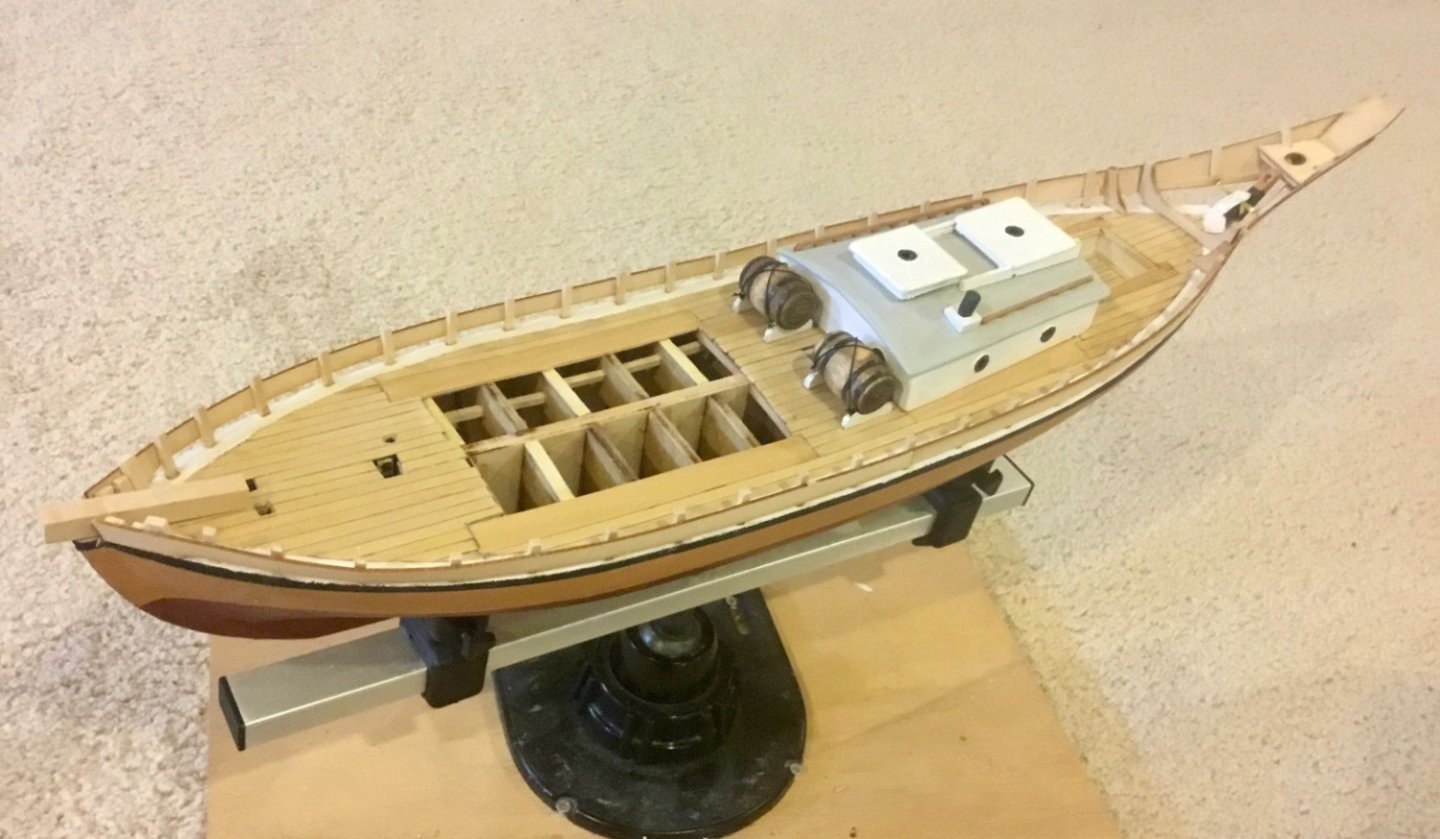
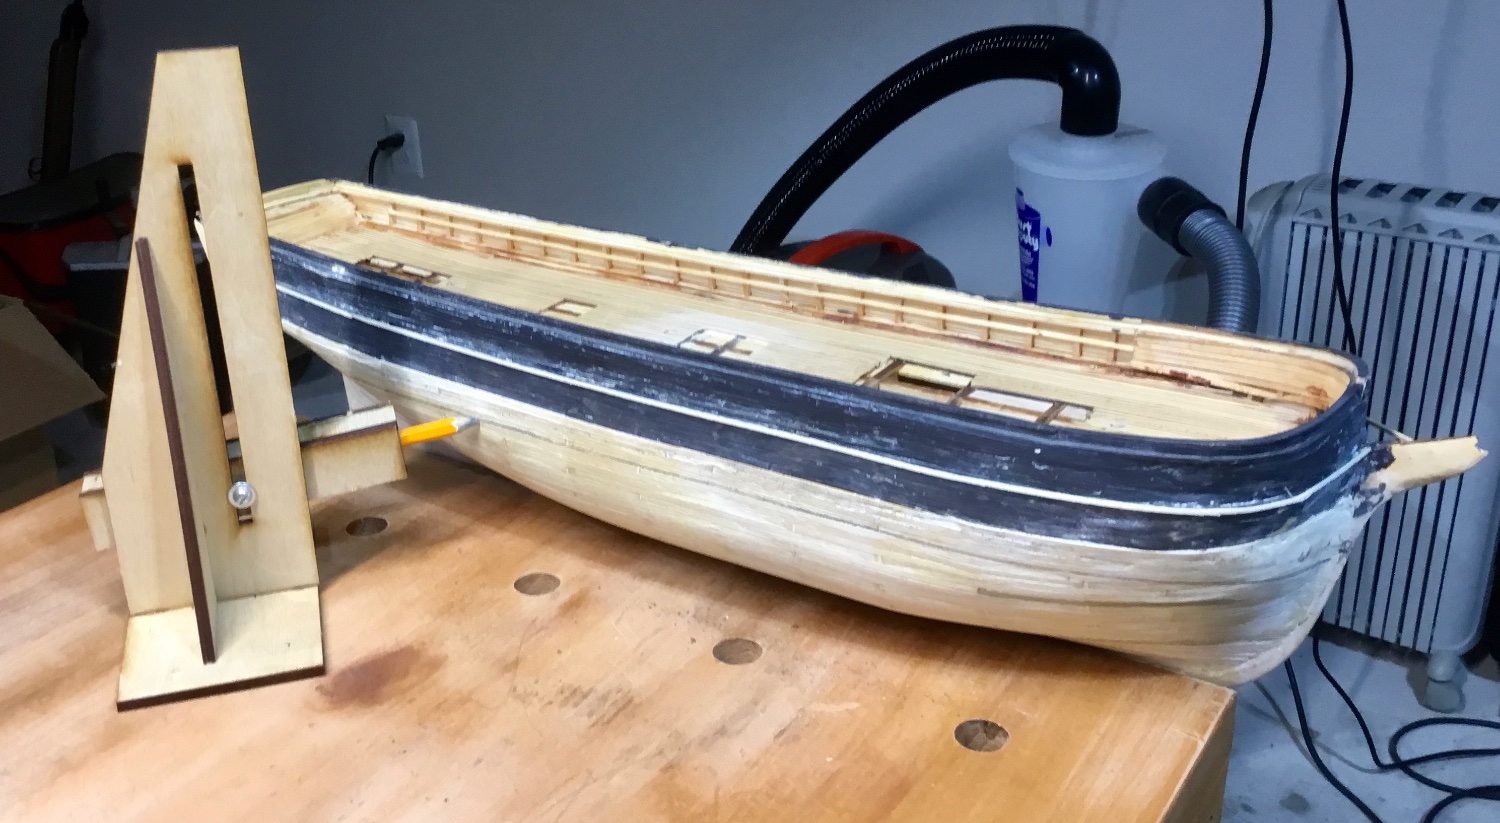
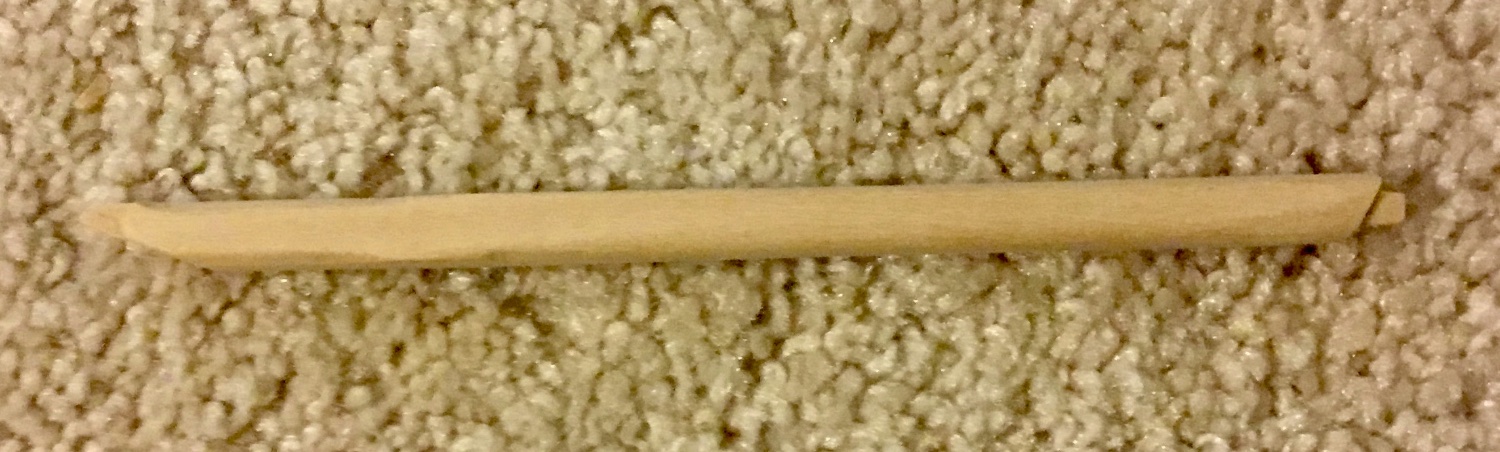
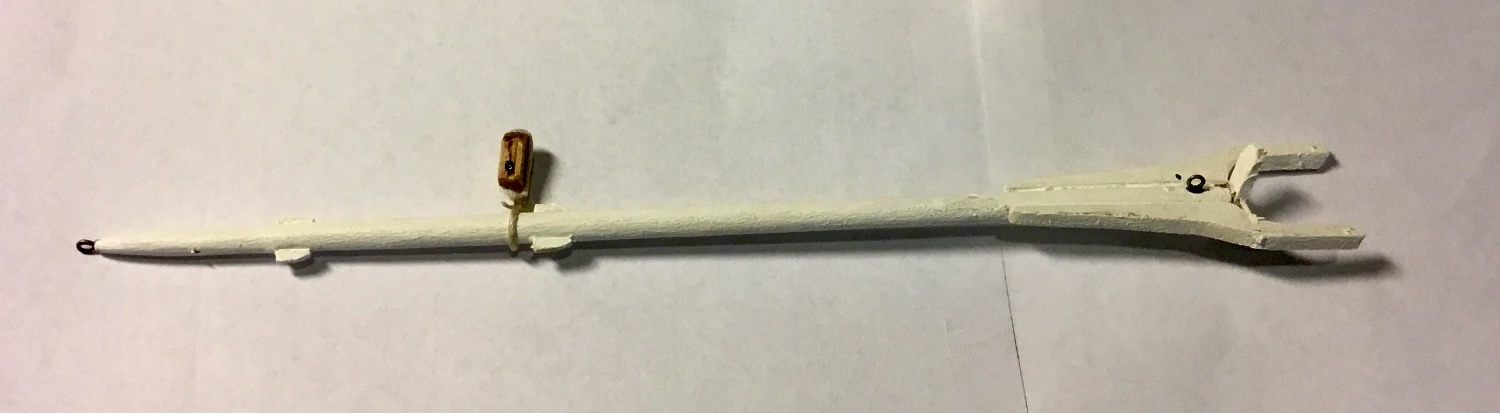
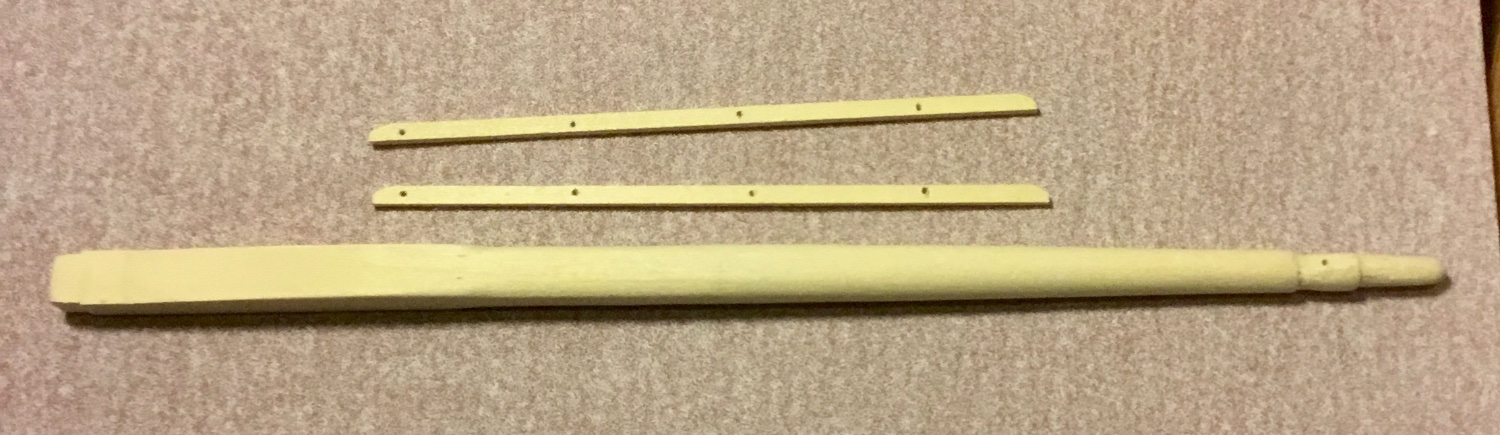
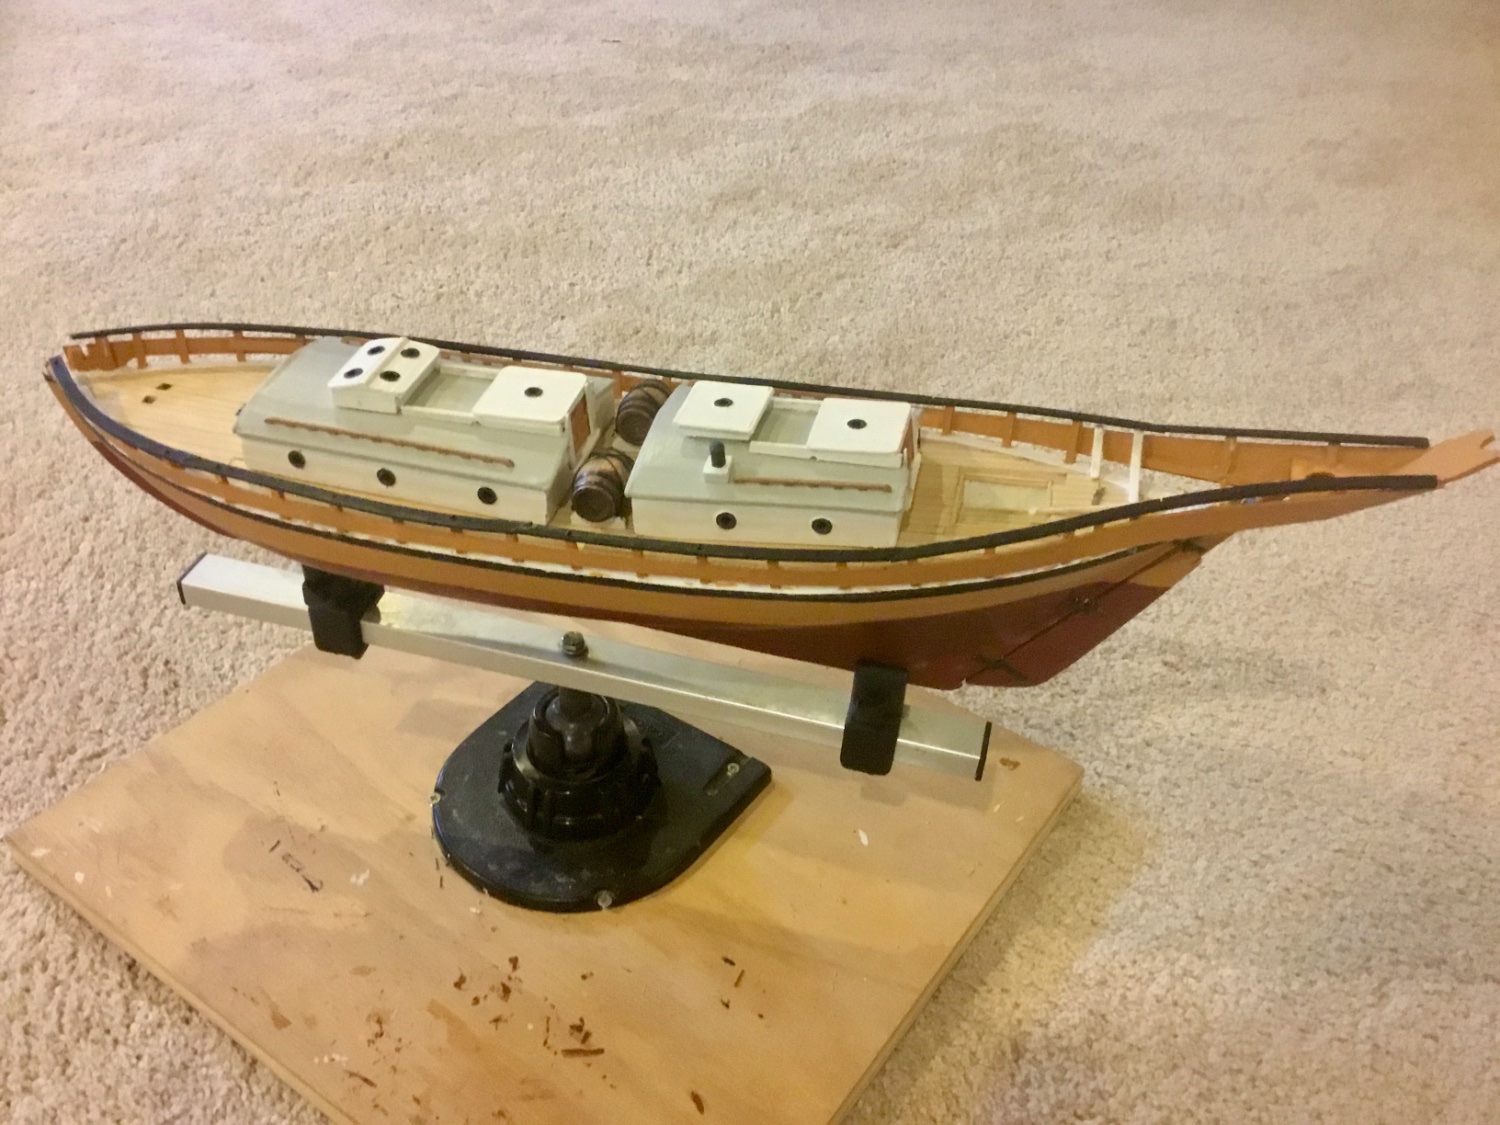
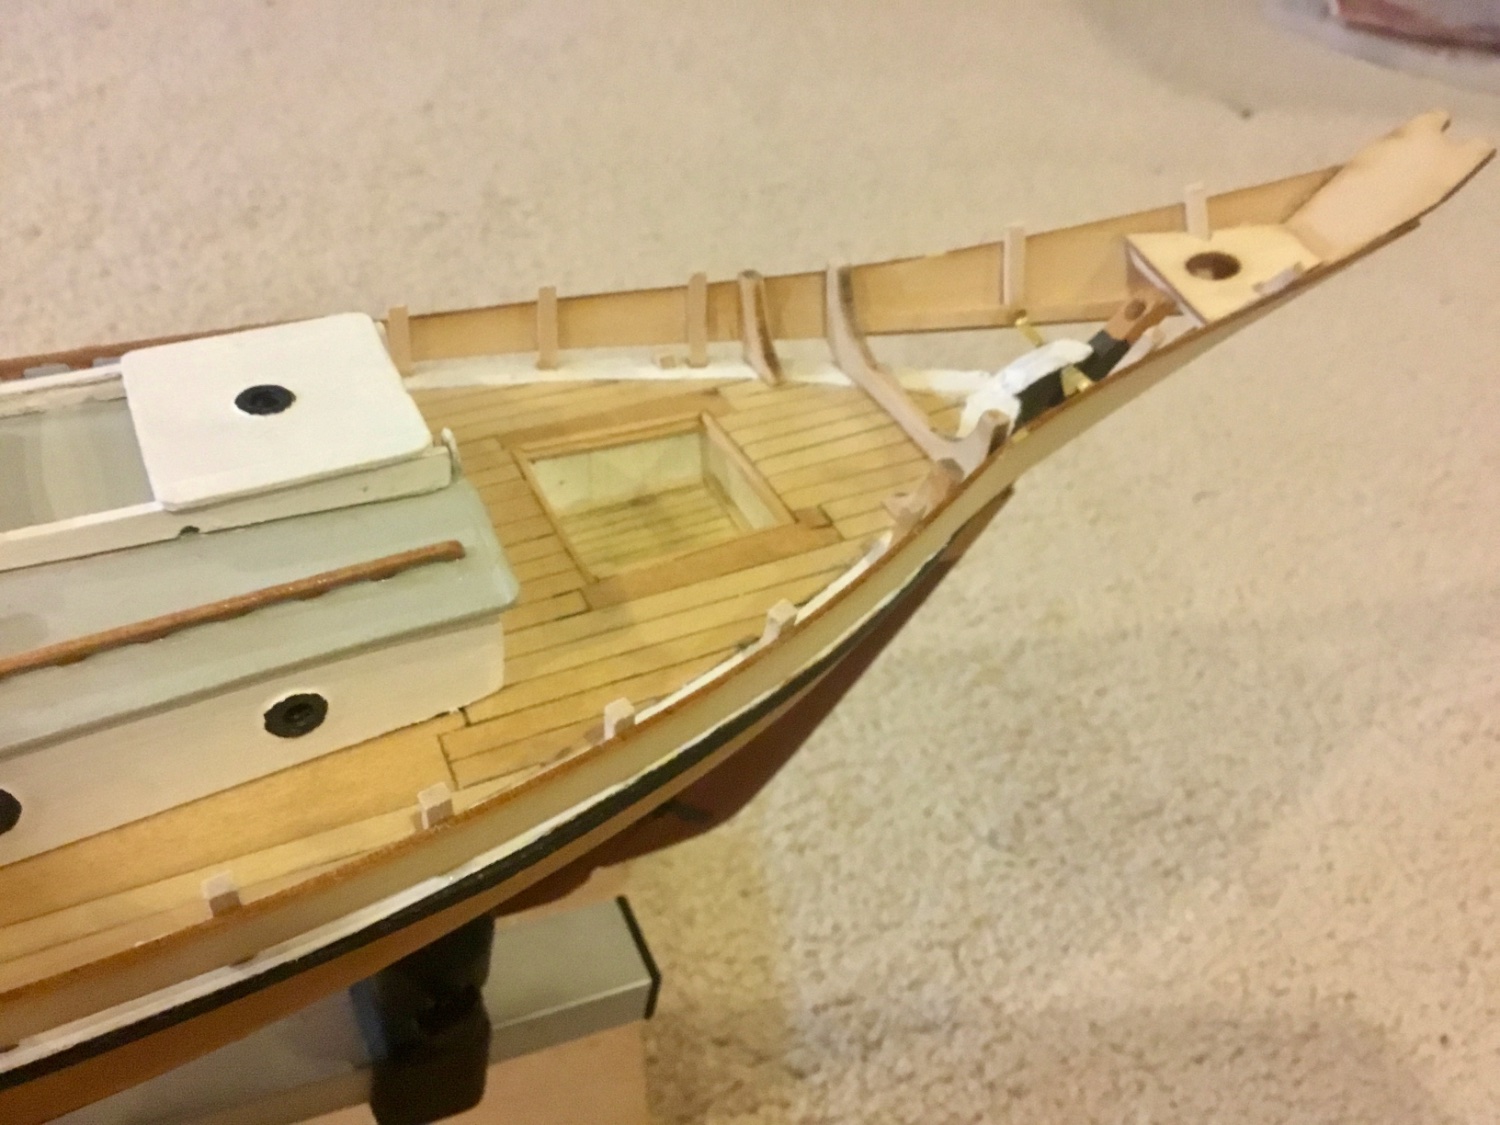
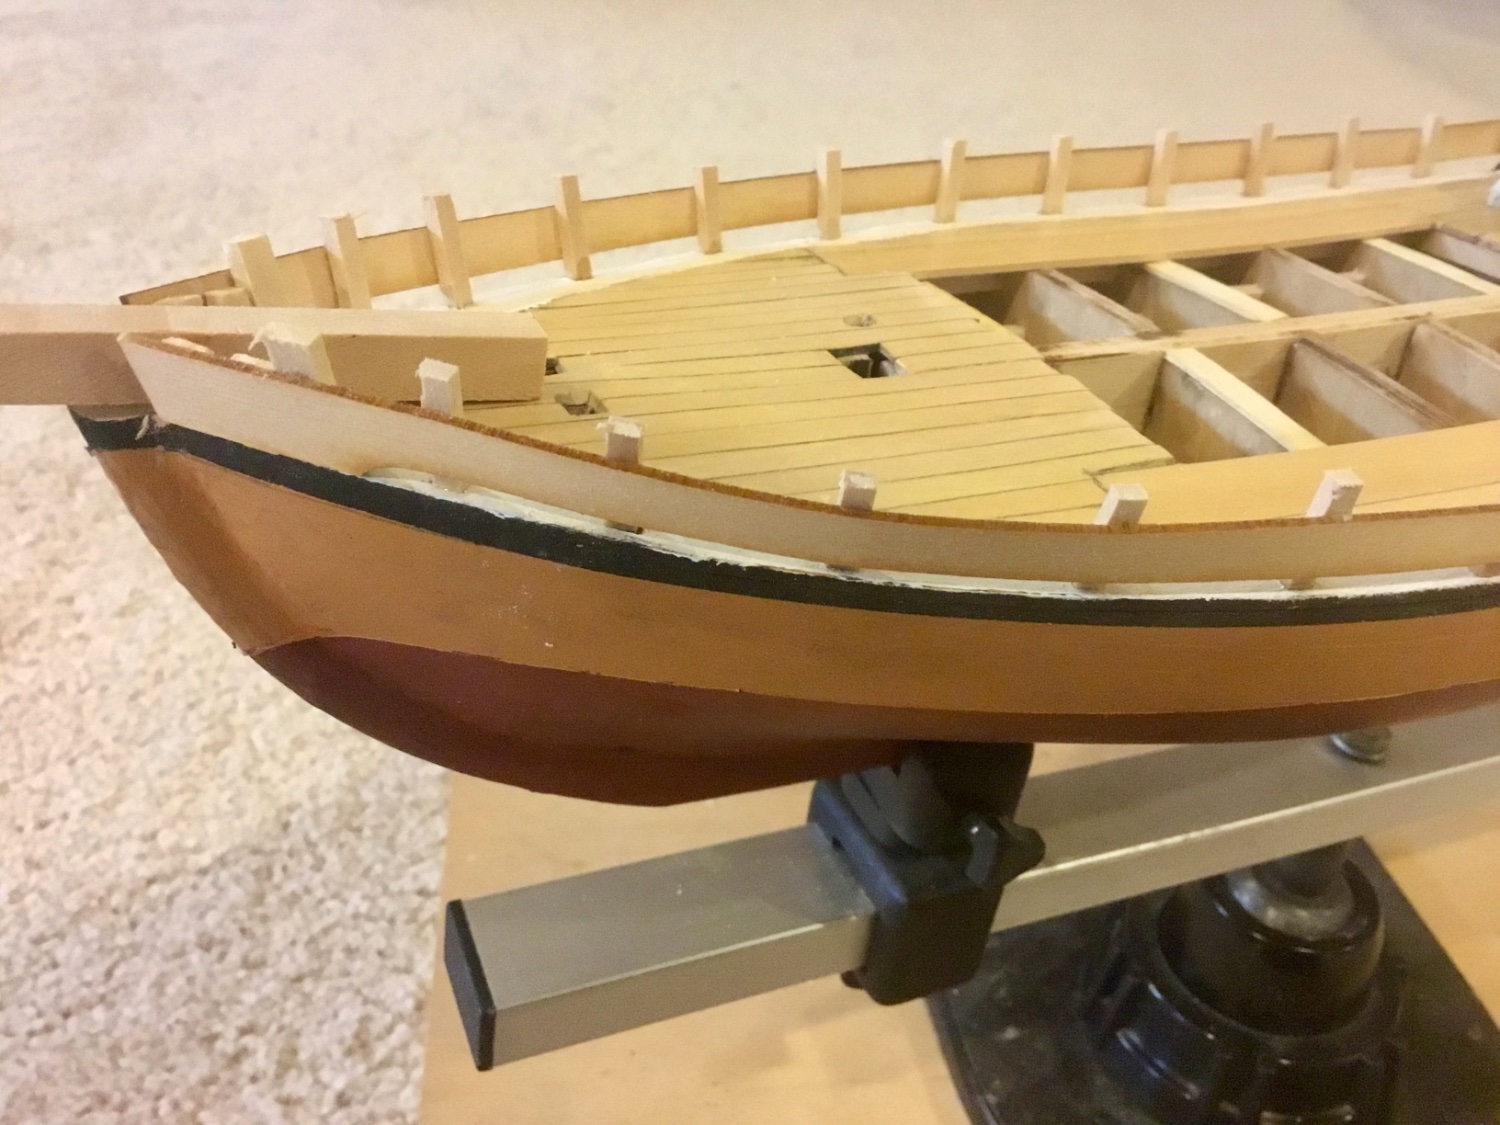
Finished planking the deck, sanded and applied two coats of wipe on poly. Drew the waterline and fabricated the bowsprit.


-
-
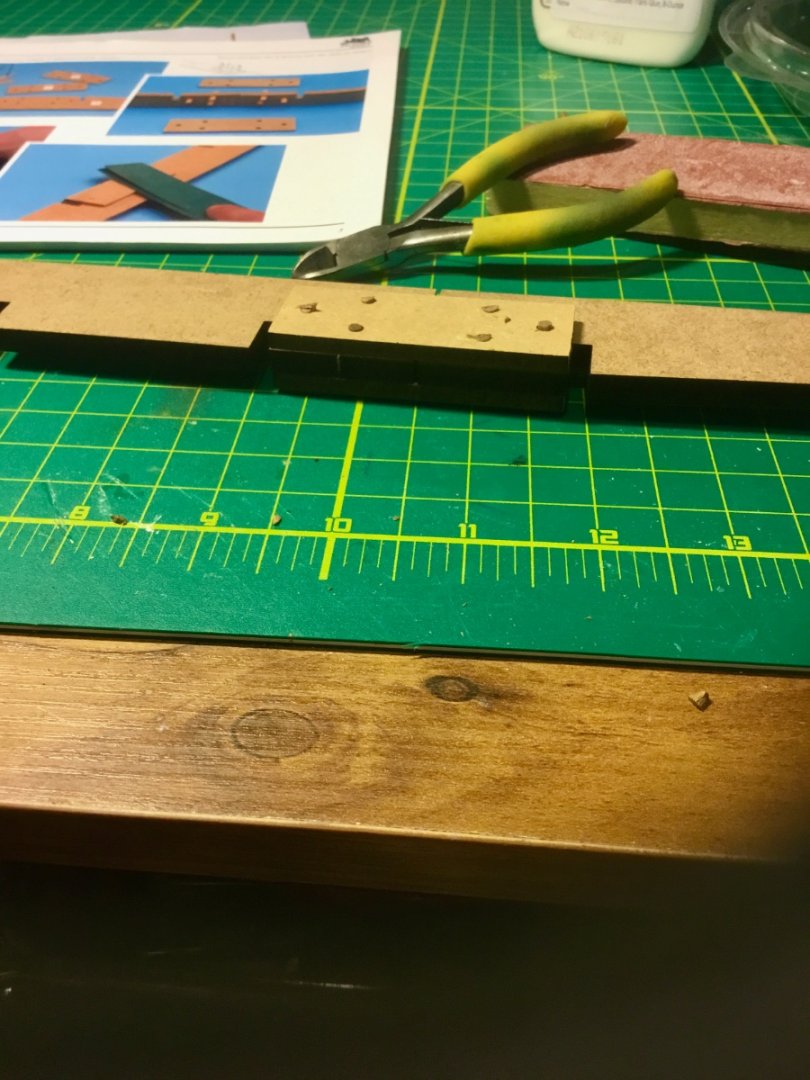
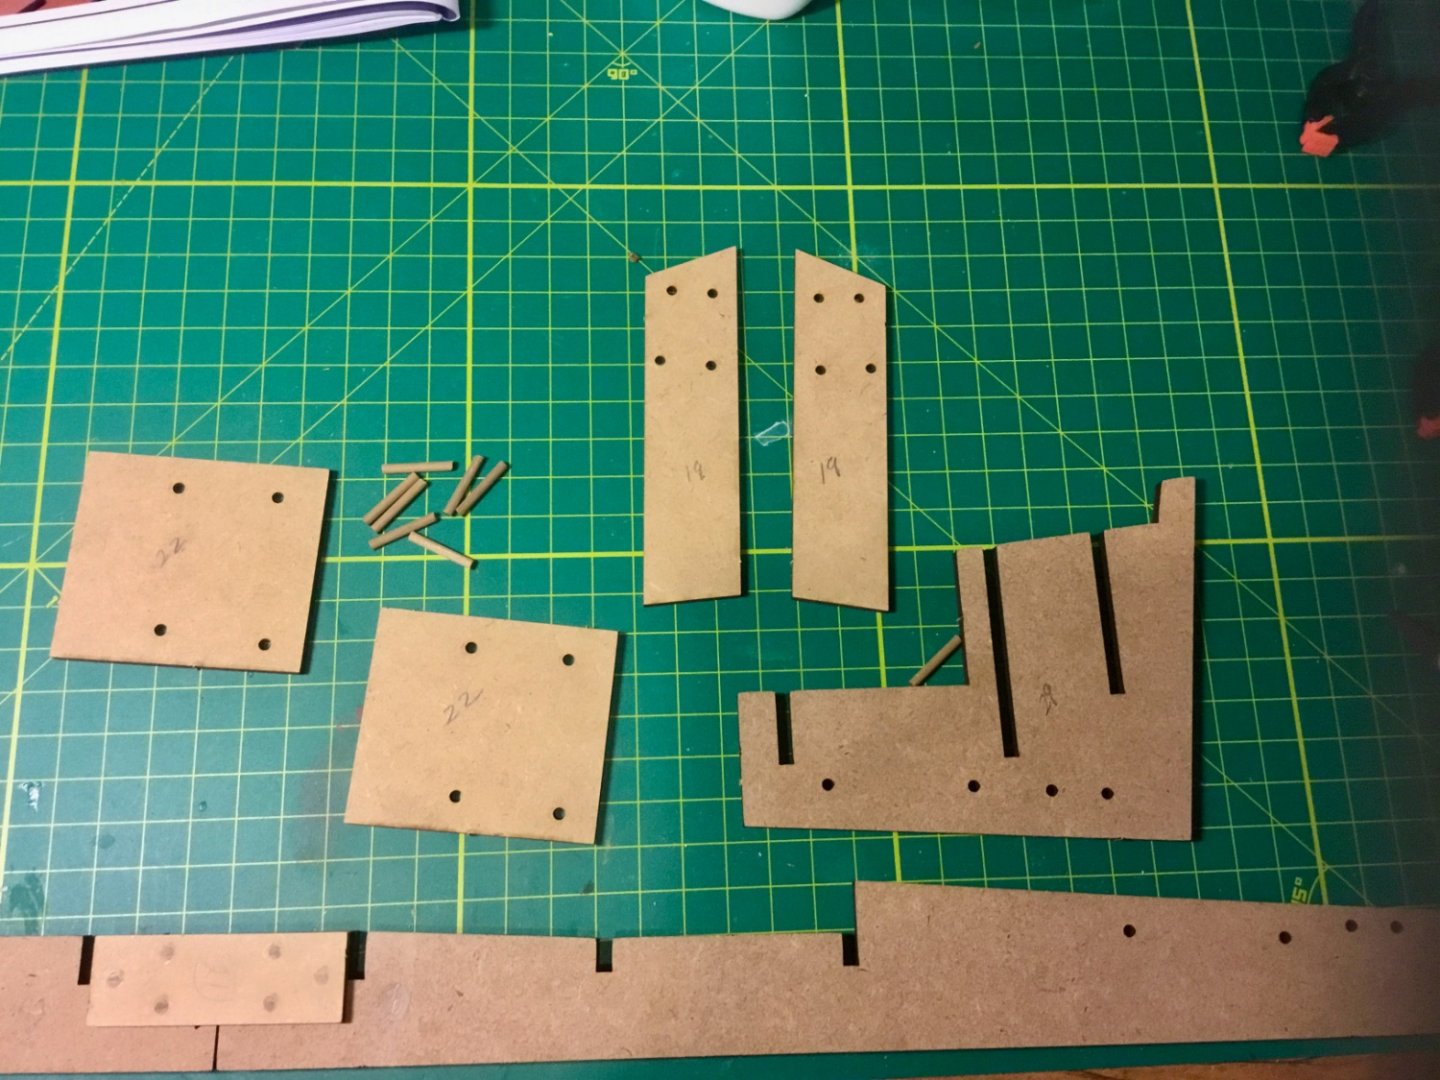
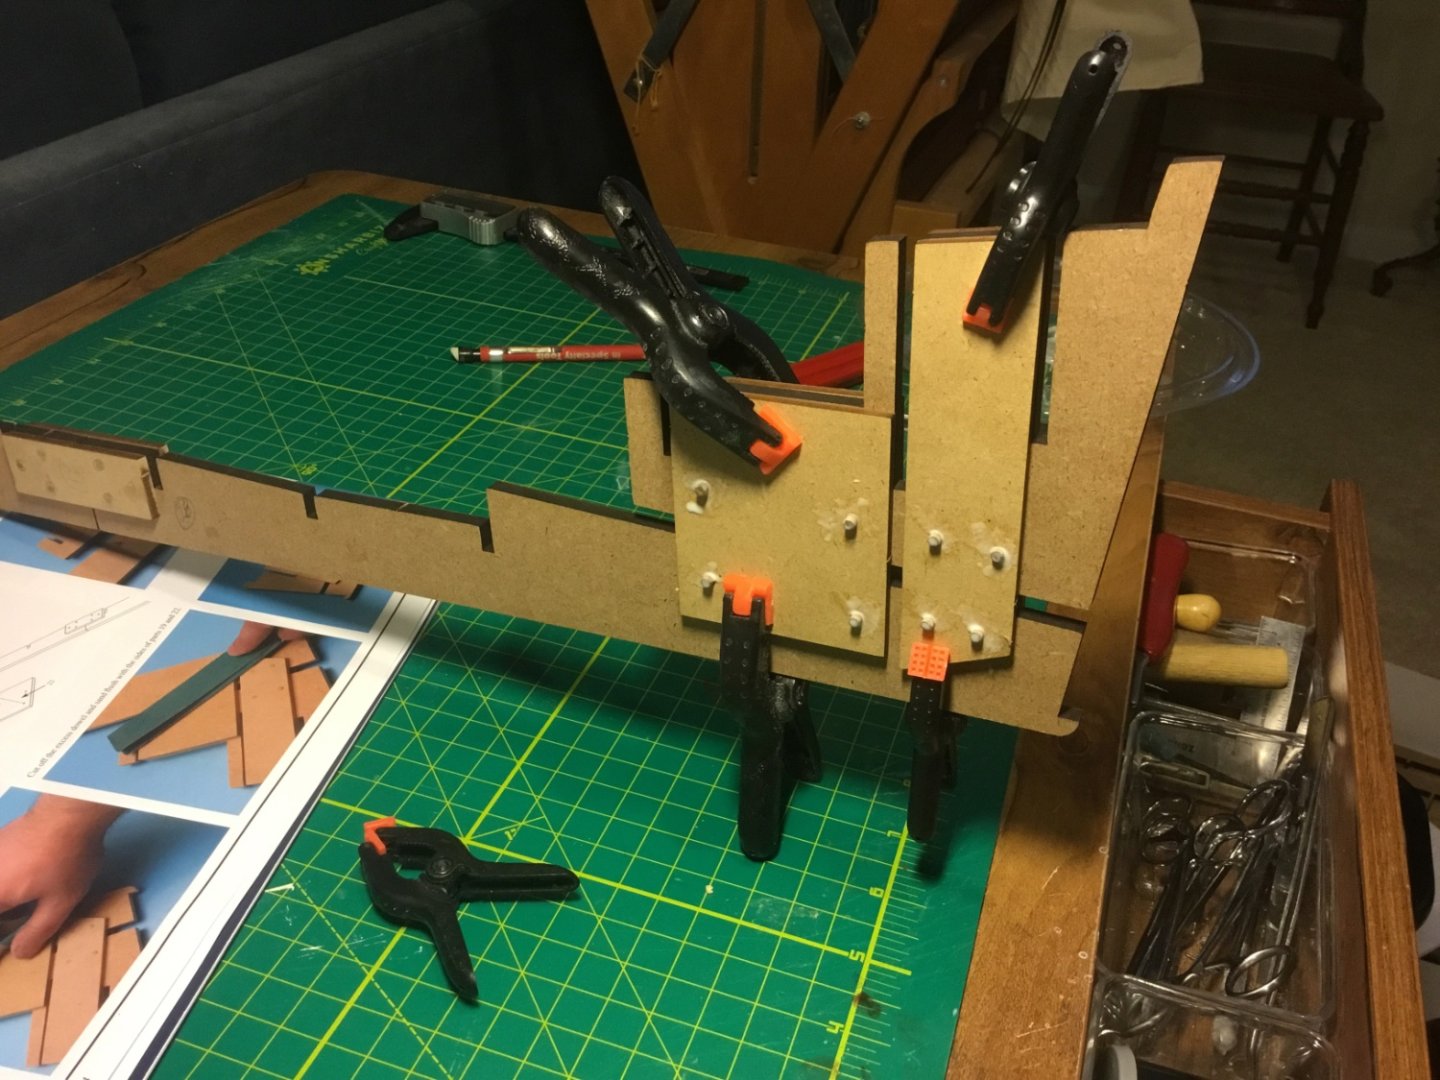
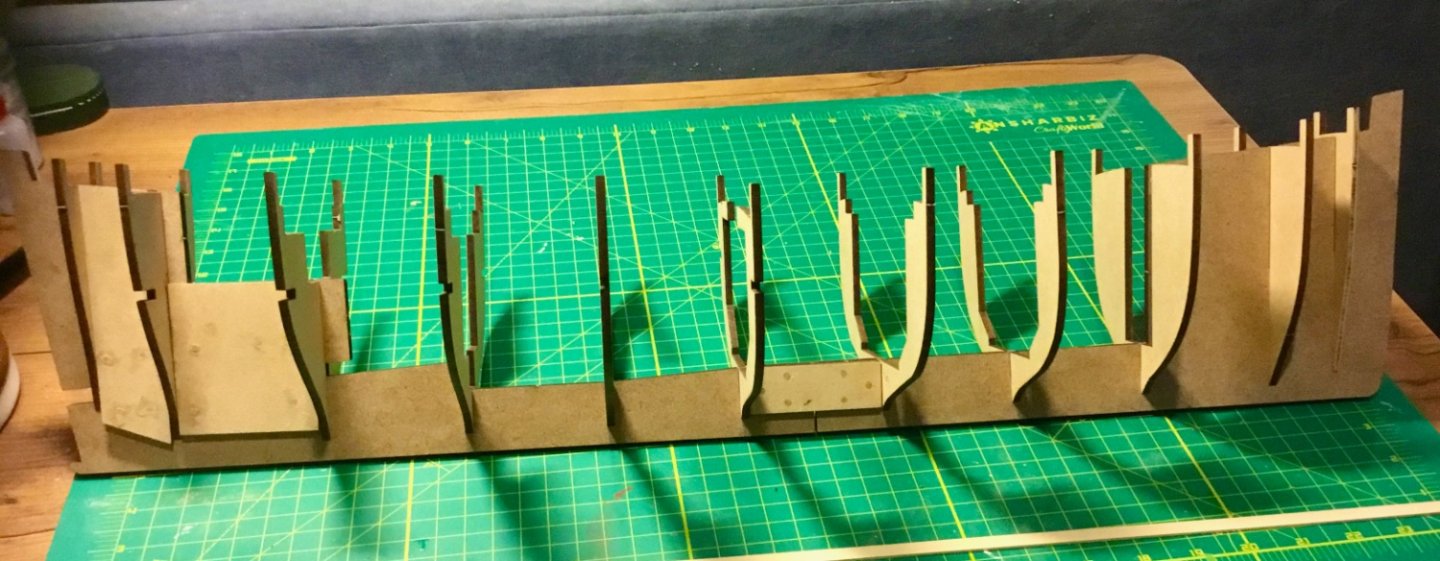
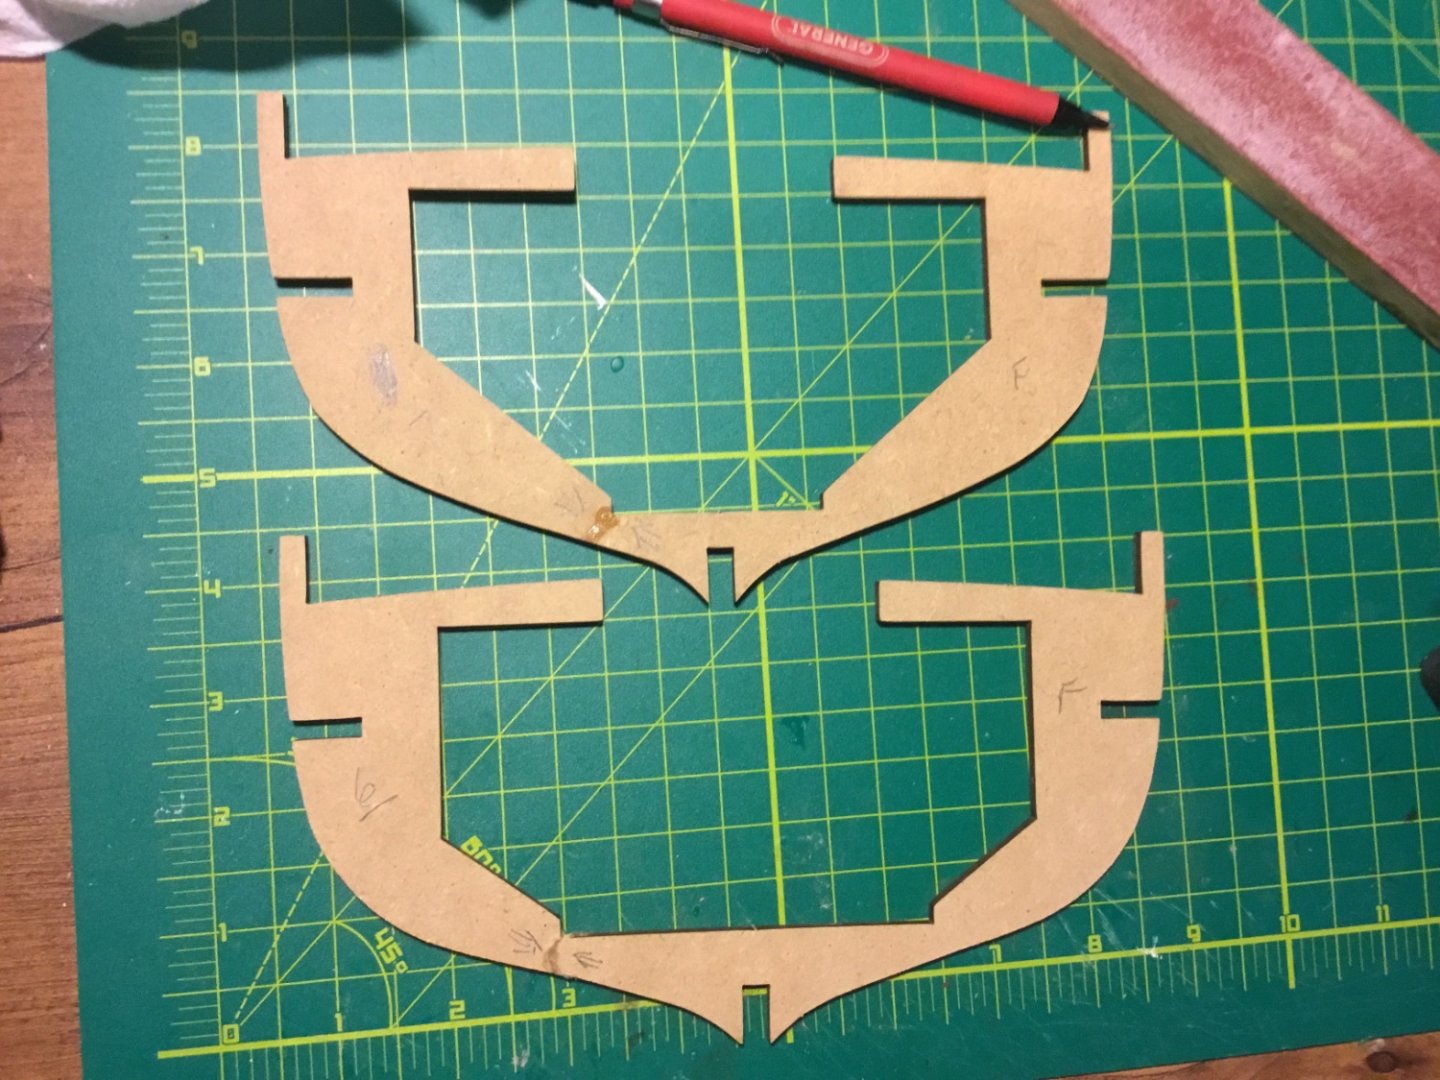
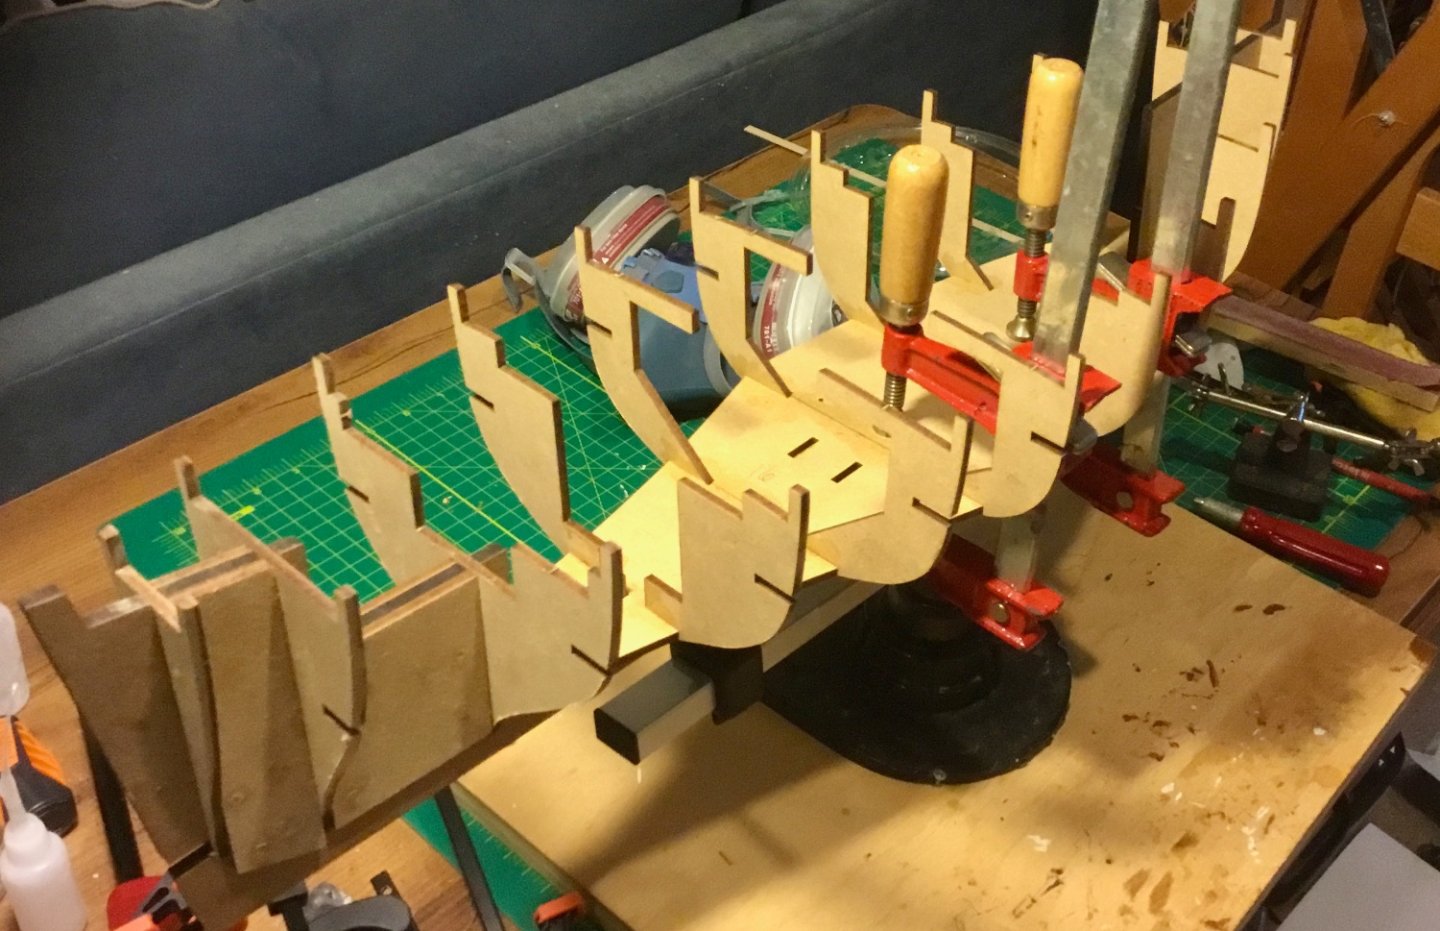
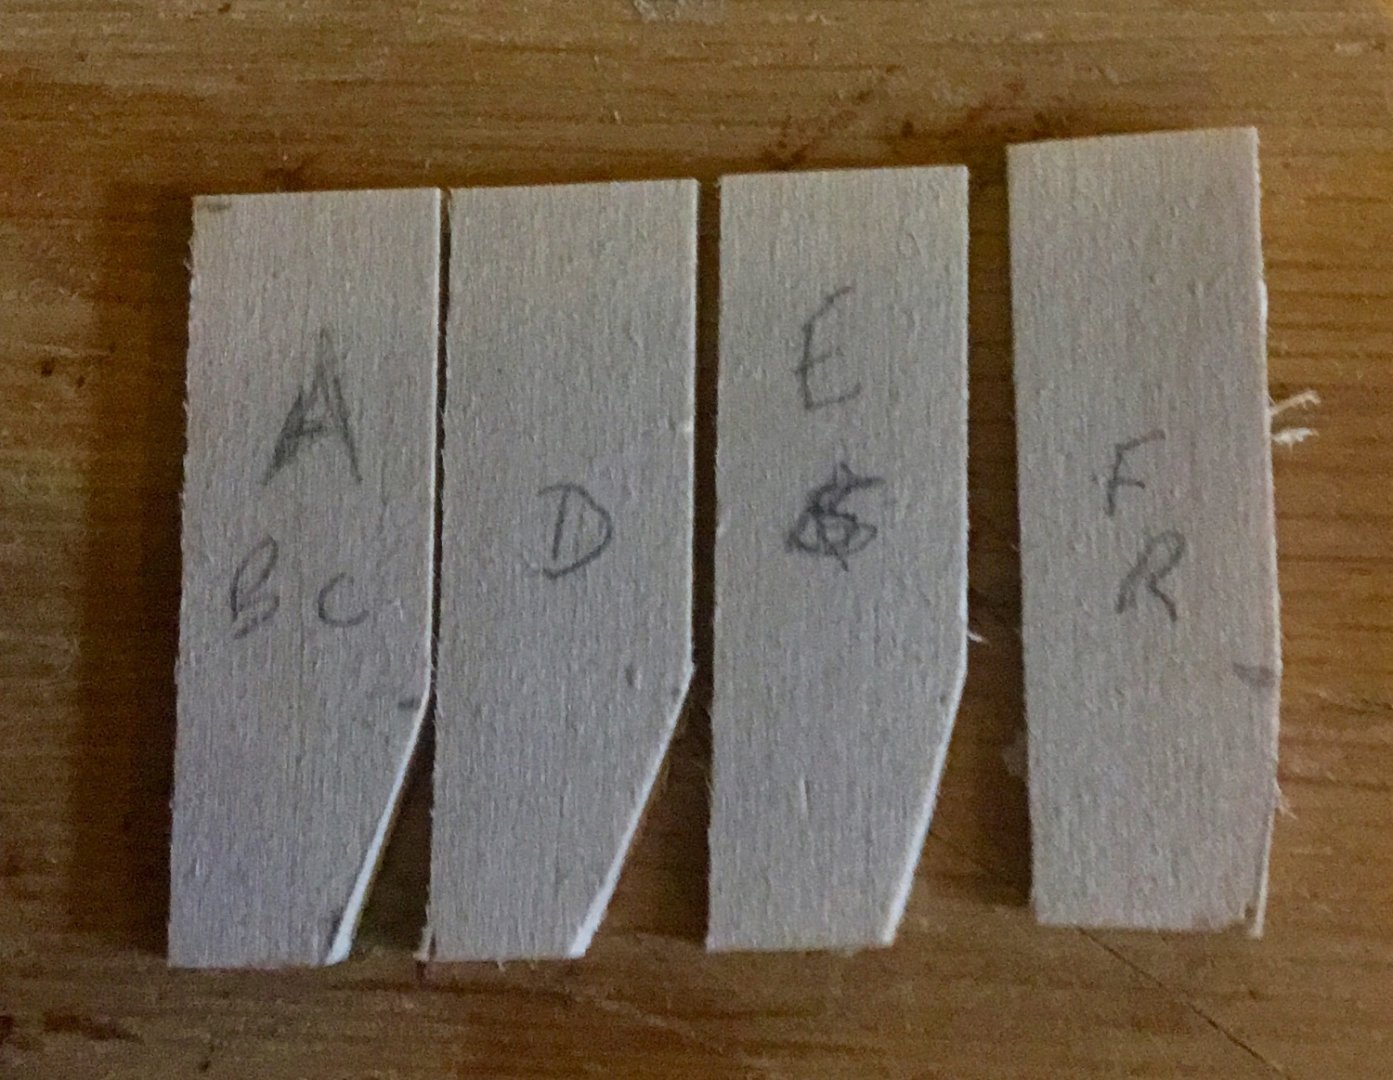
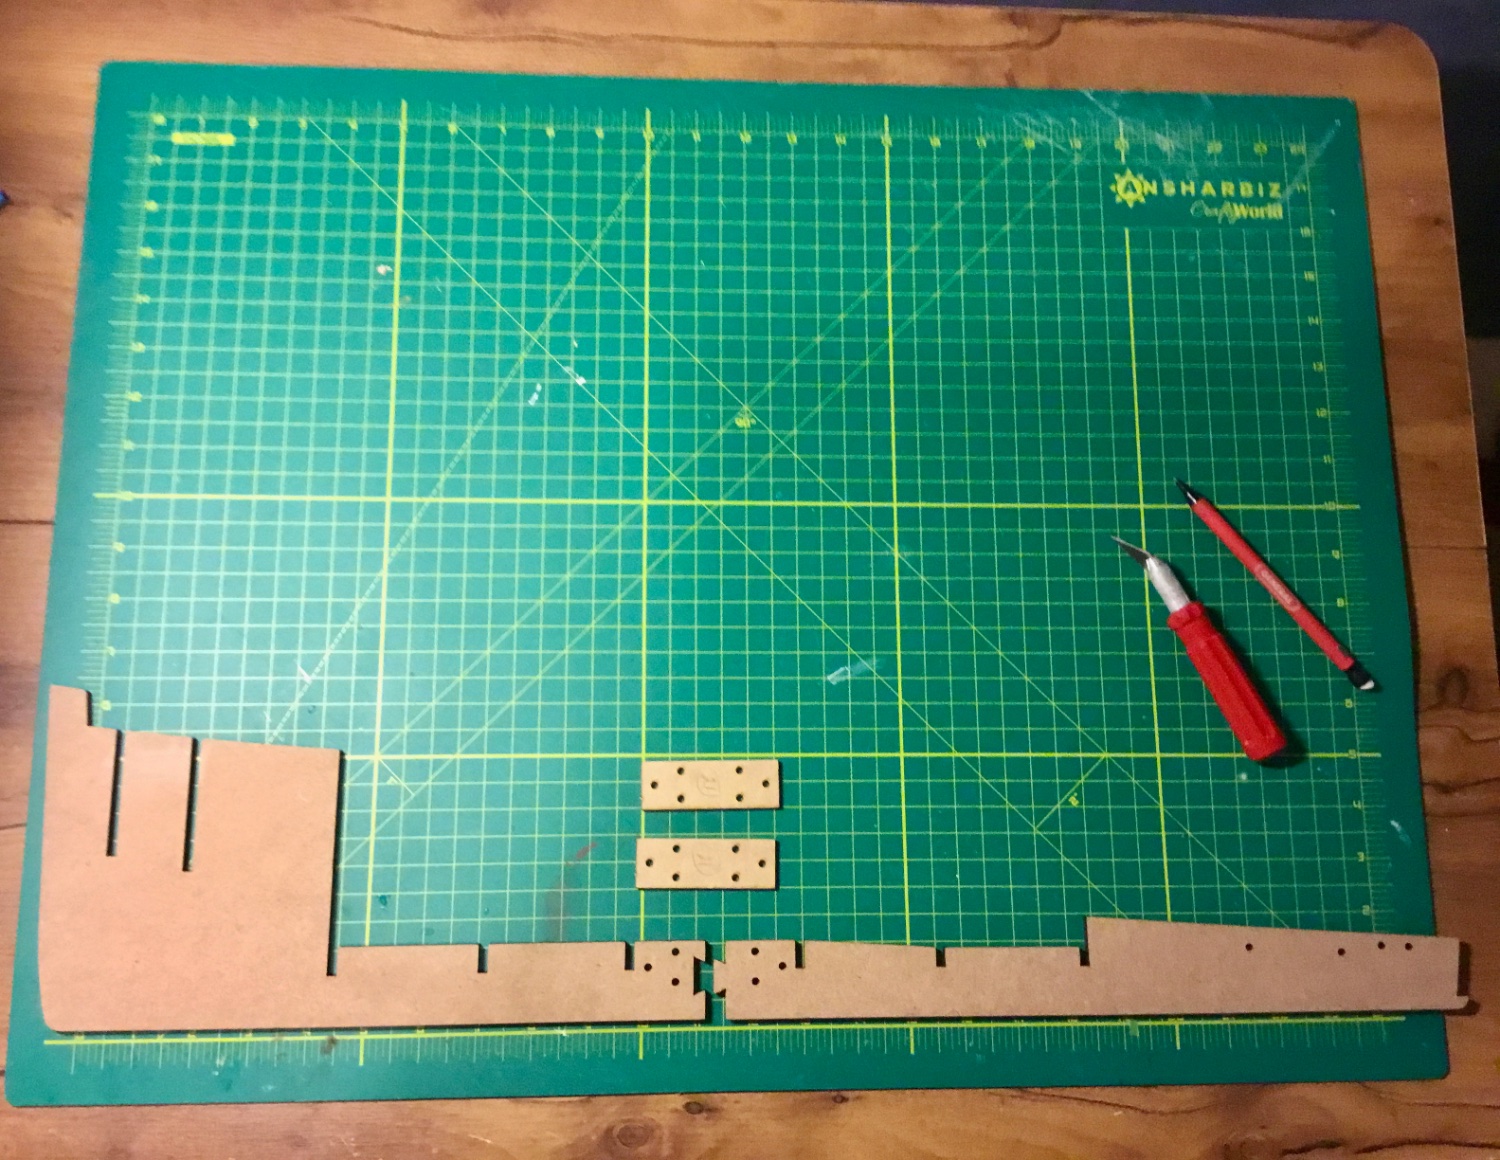
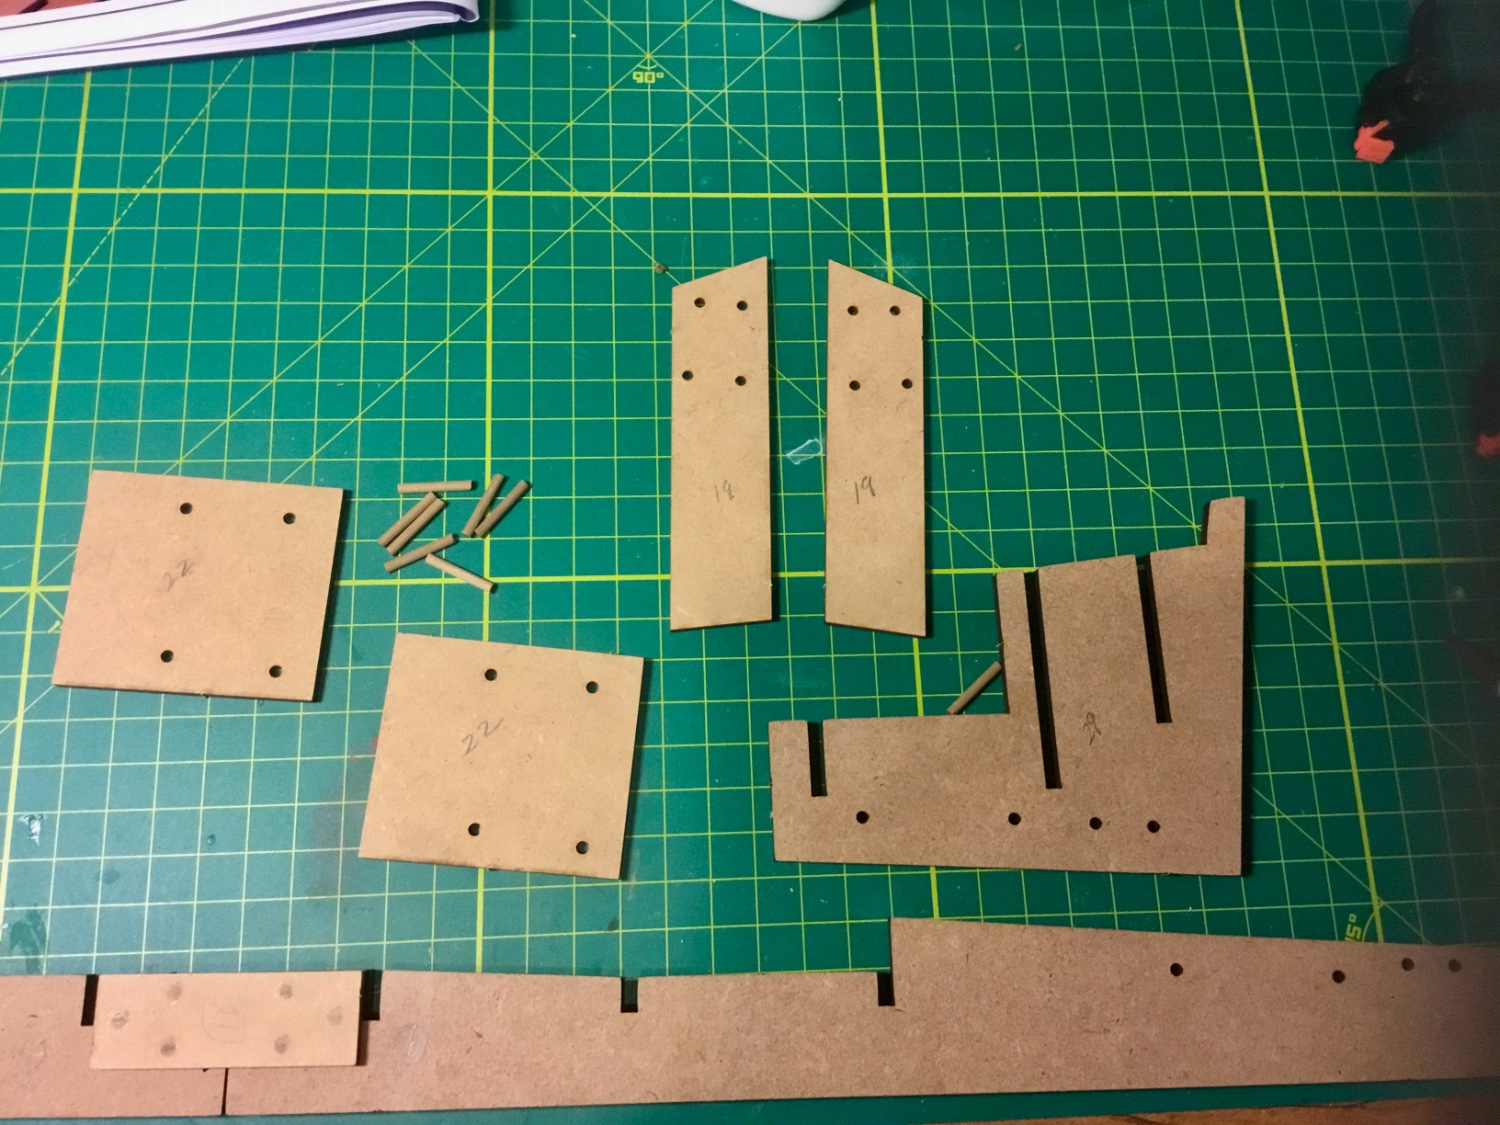
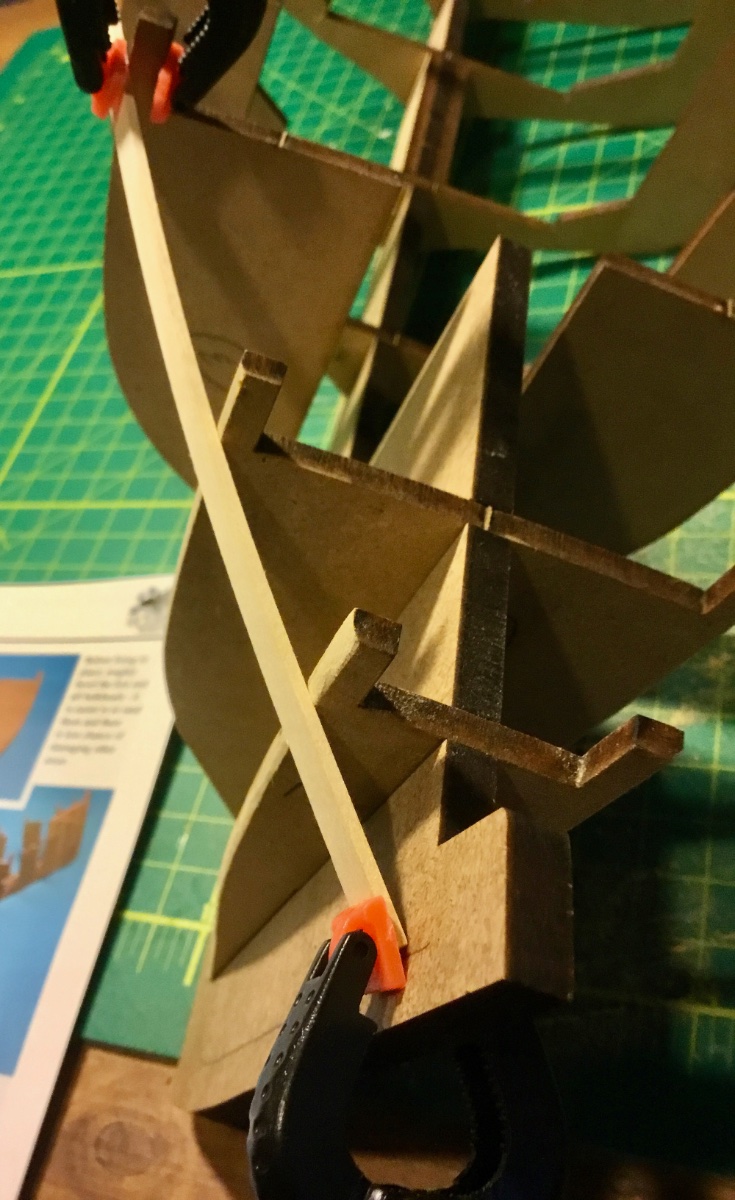
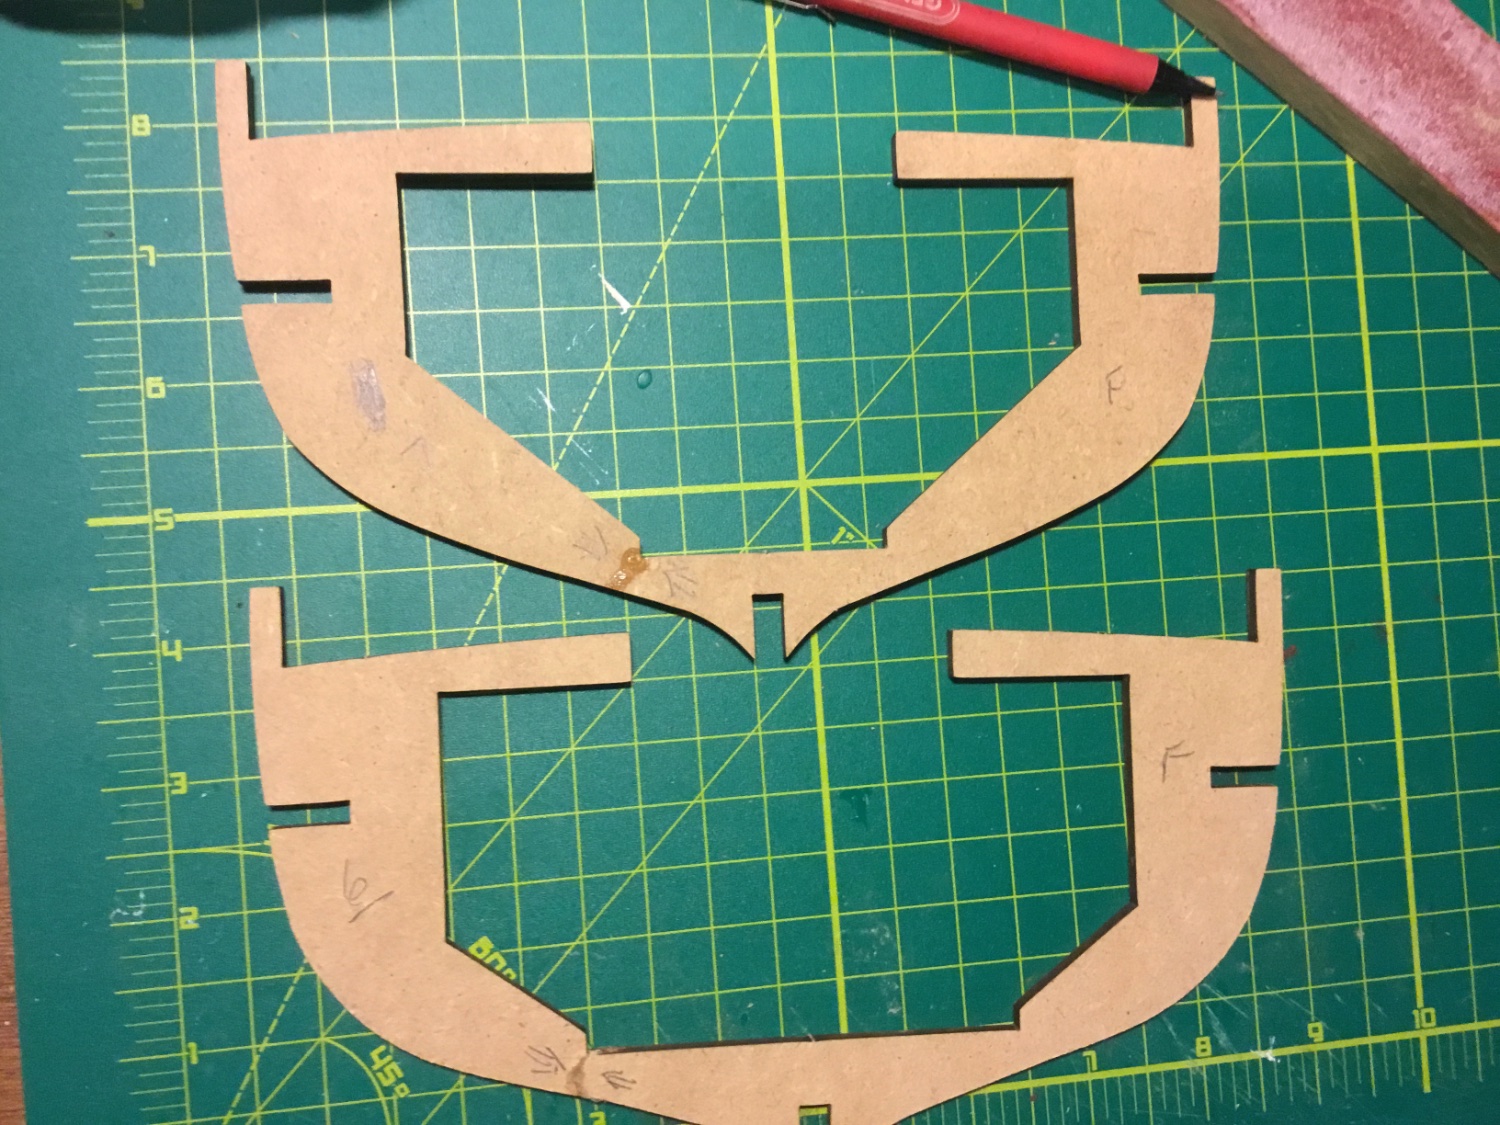
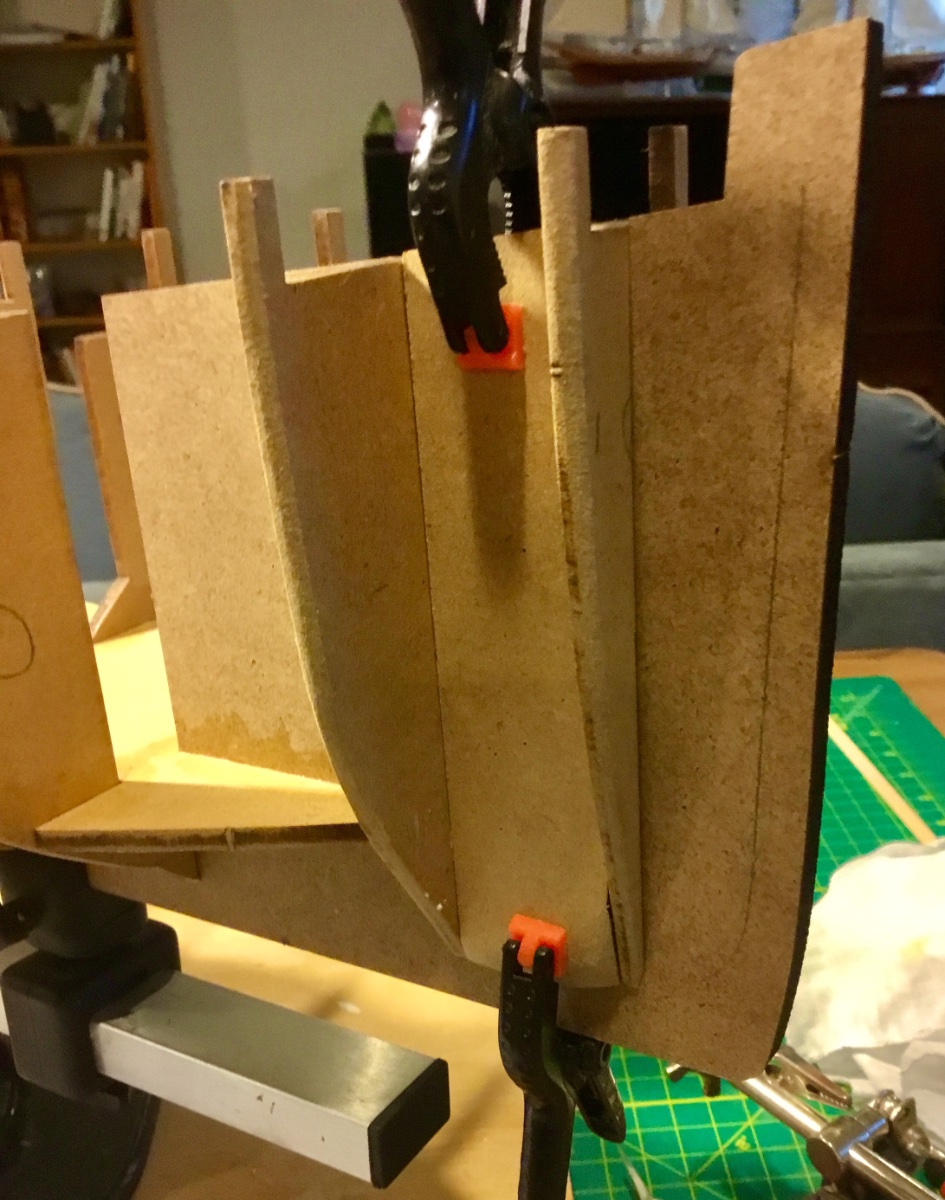
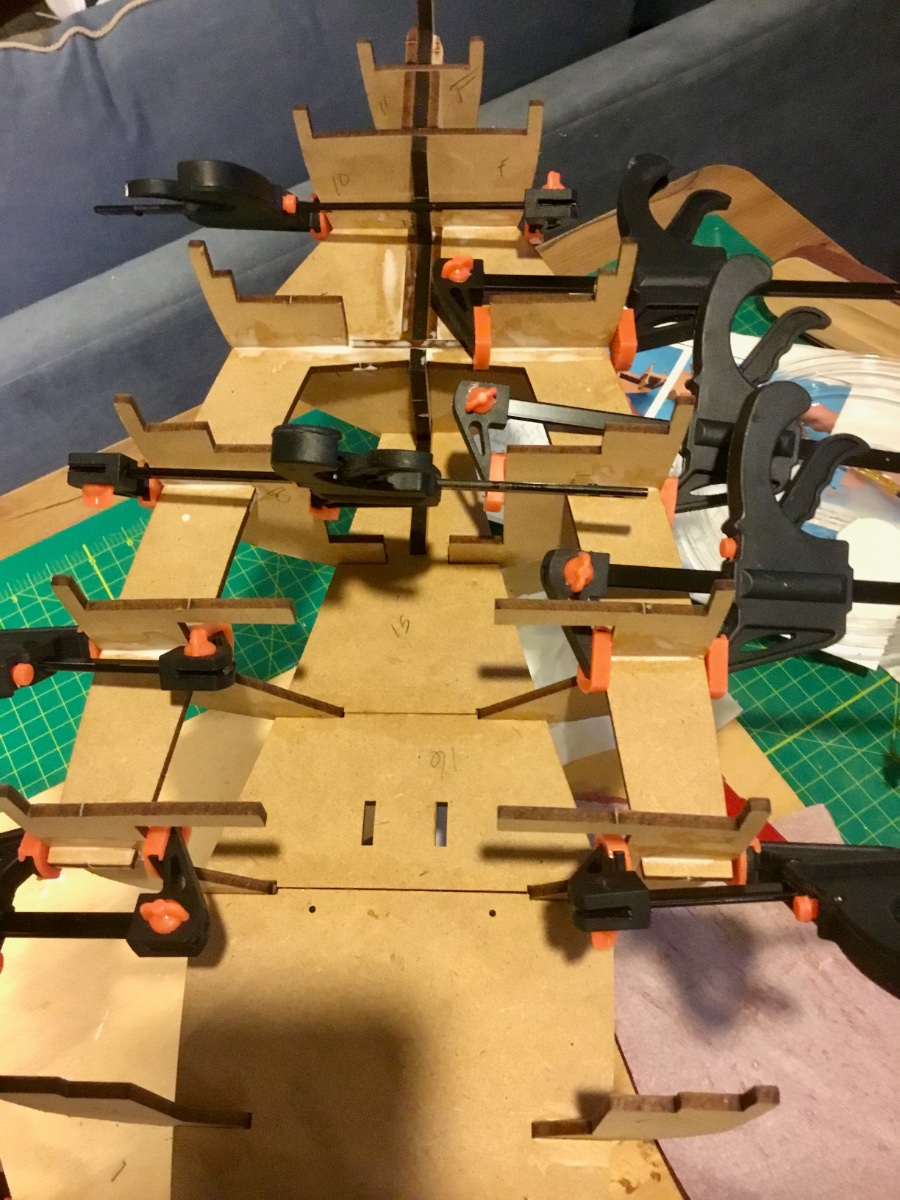
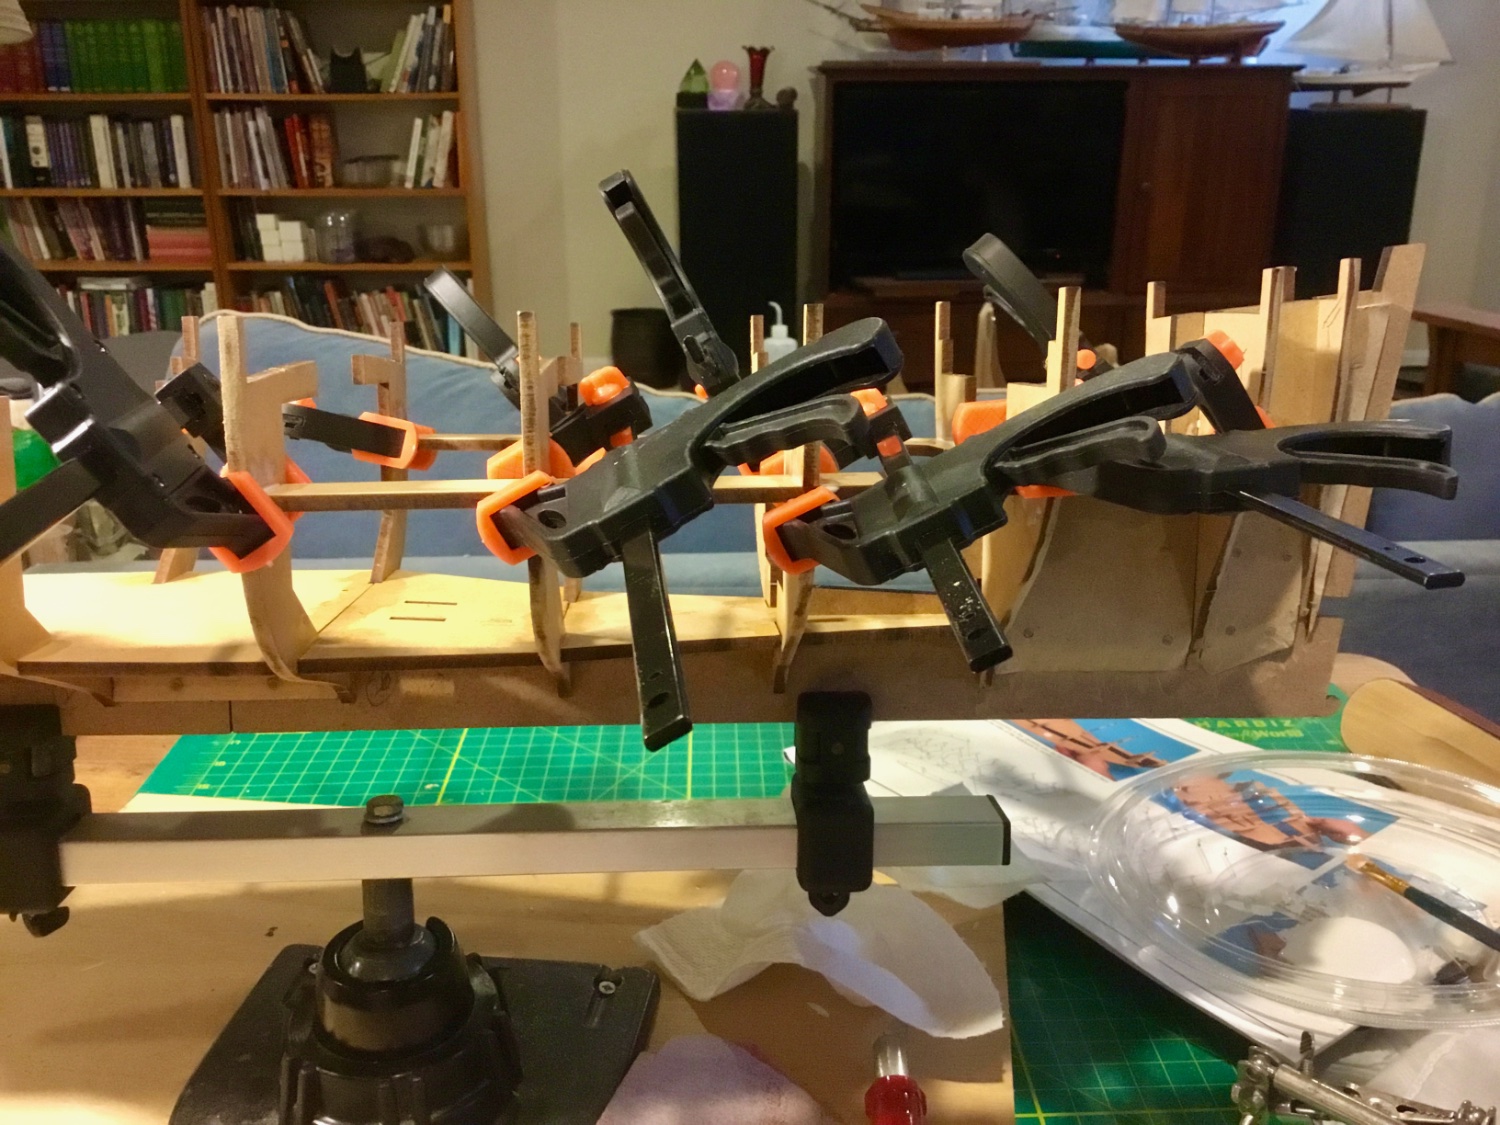
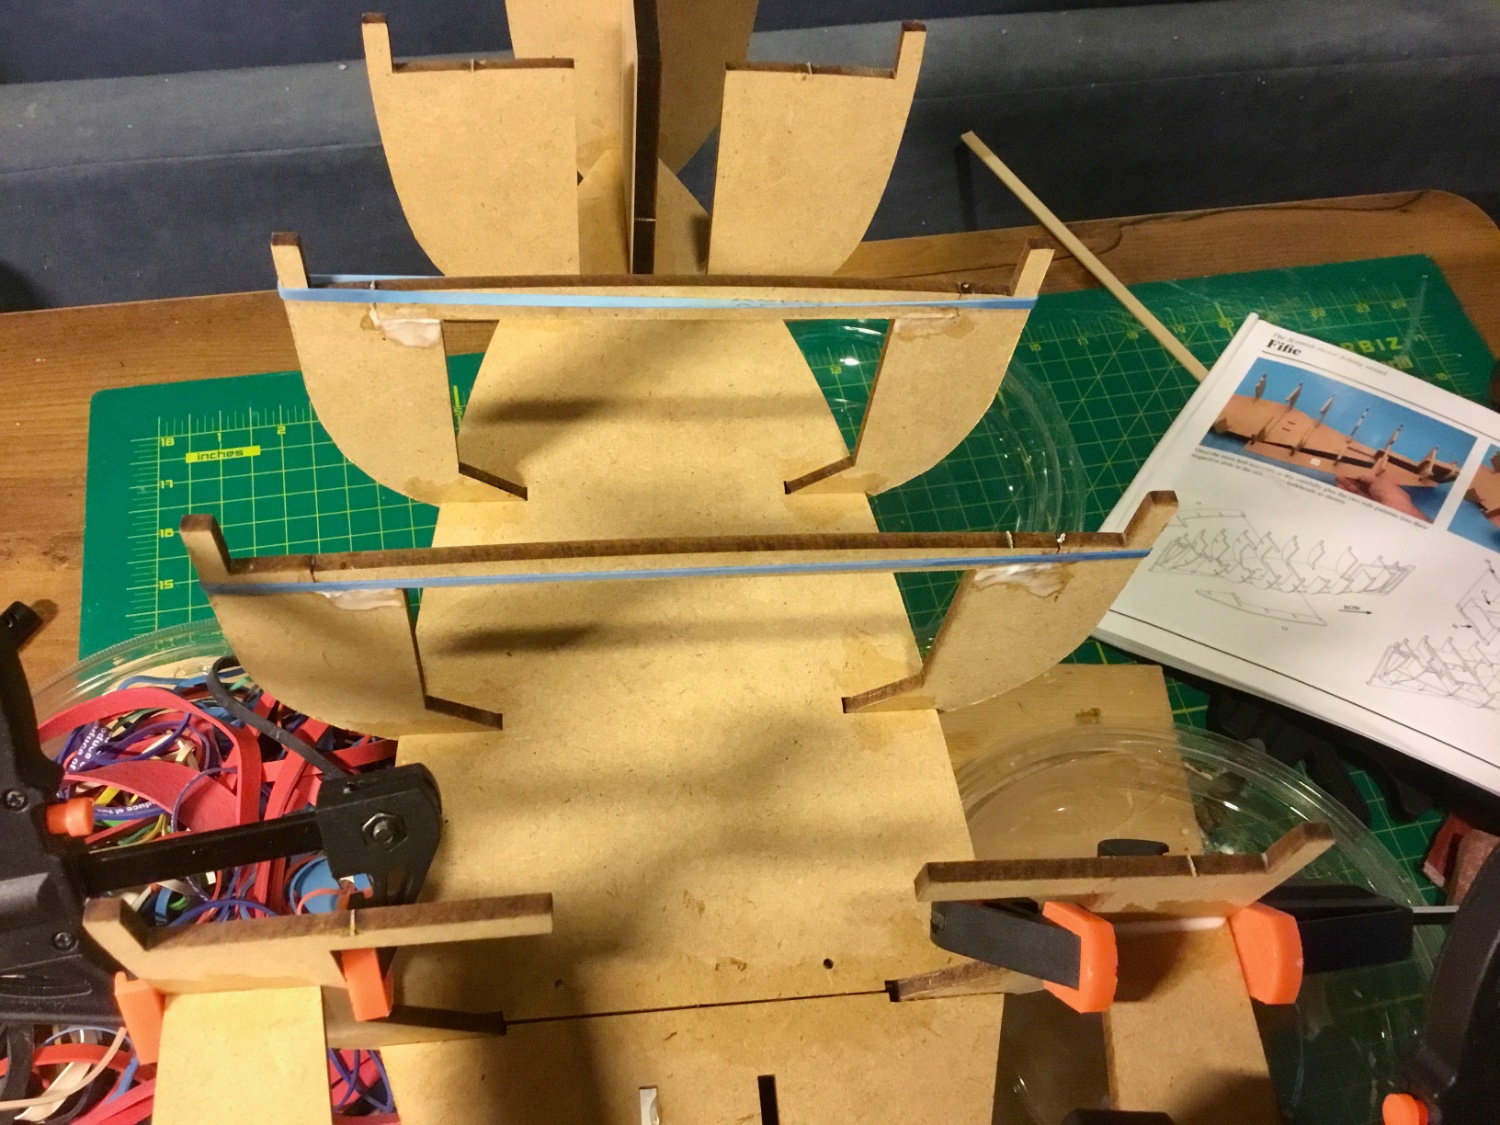
Began build of Fifie Scottish fishing vessel by Amati. MDF hull parts presented a few problems. Sanding of parts required use of a respirator and shop vacuum because of the fine dust. Somehow one bulkhead broke and another almost did even though I thought I was being very careful. Never had that problem with wood frames. Plans called for numbering parts before removing from laser cut sheets and rough beveling fore and aft bulkheads before installation. It would have been nice if Amati had used the laser to number the parts and indicate an approximate line for the beveling. I assembled the hull parts following the directions , and used a batten to fair the frames. Next up is to install the main deck panels and then begin the first level of planking.


- Prowler901, Paul Le Wol, DocRob and 5 others
-
 8
8
-
I have a similar history of attempts as you’ve experienced. Next time
I’m going to try your method.
Thanks for your post.
Don
-
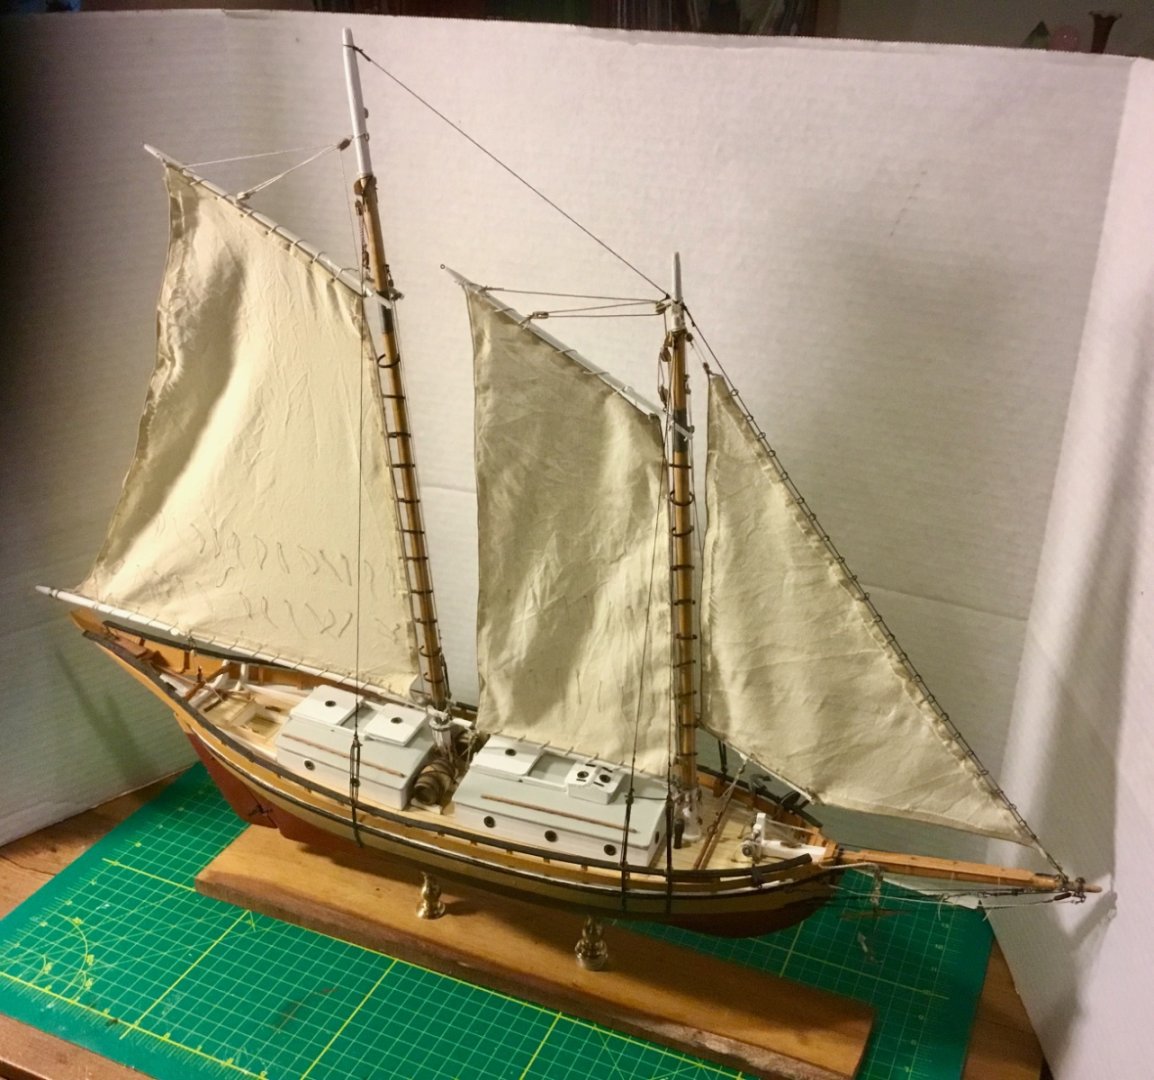
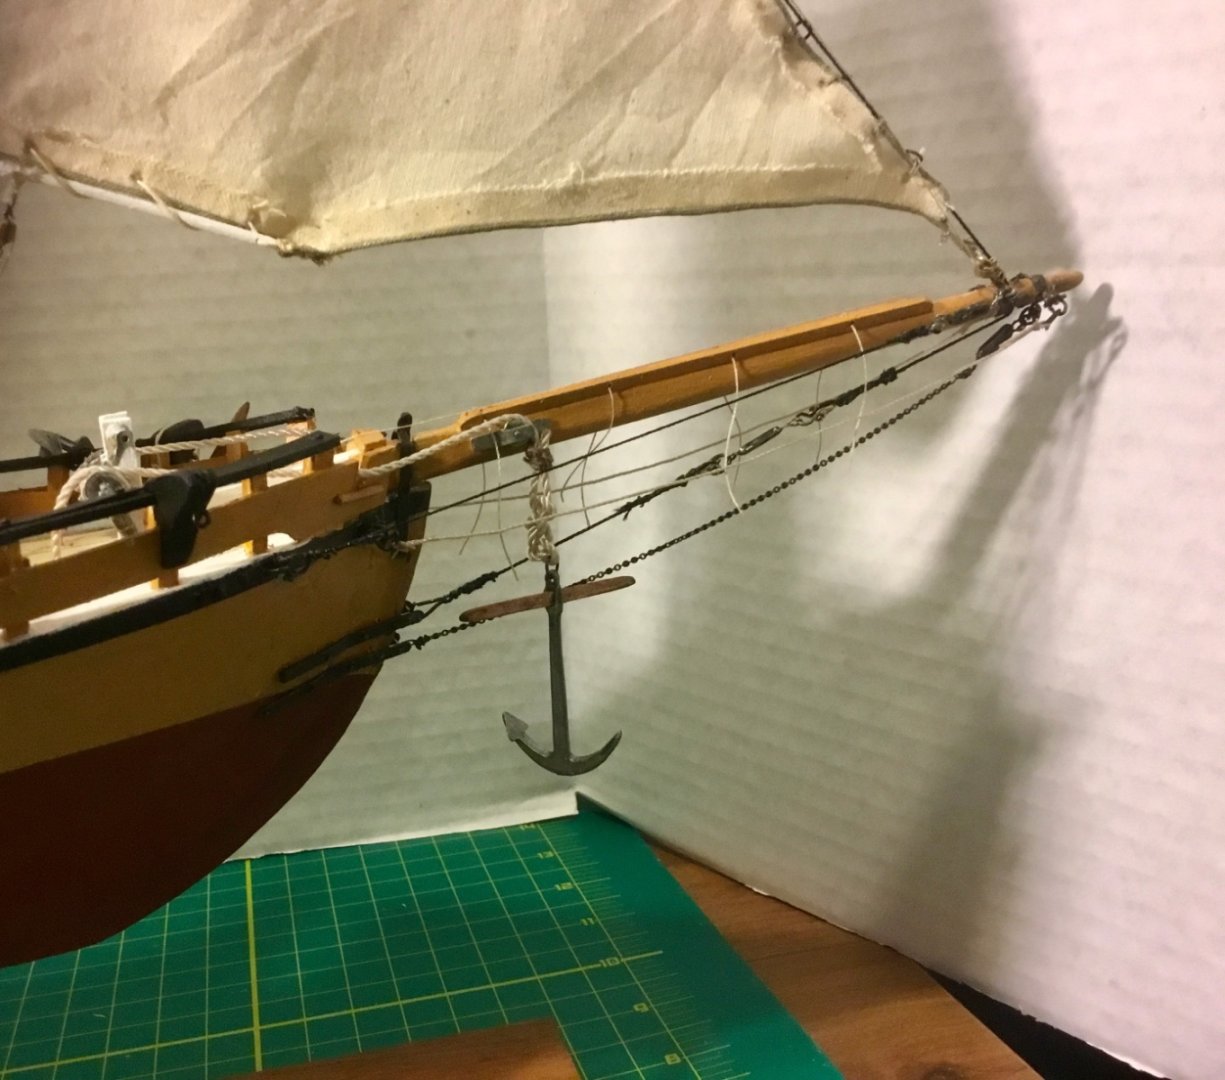
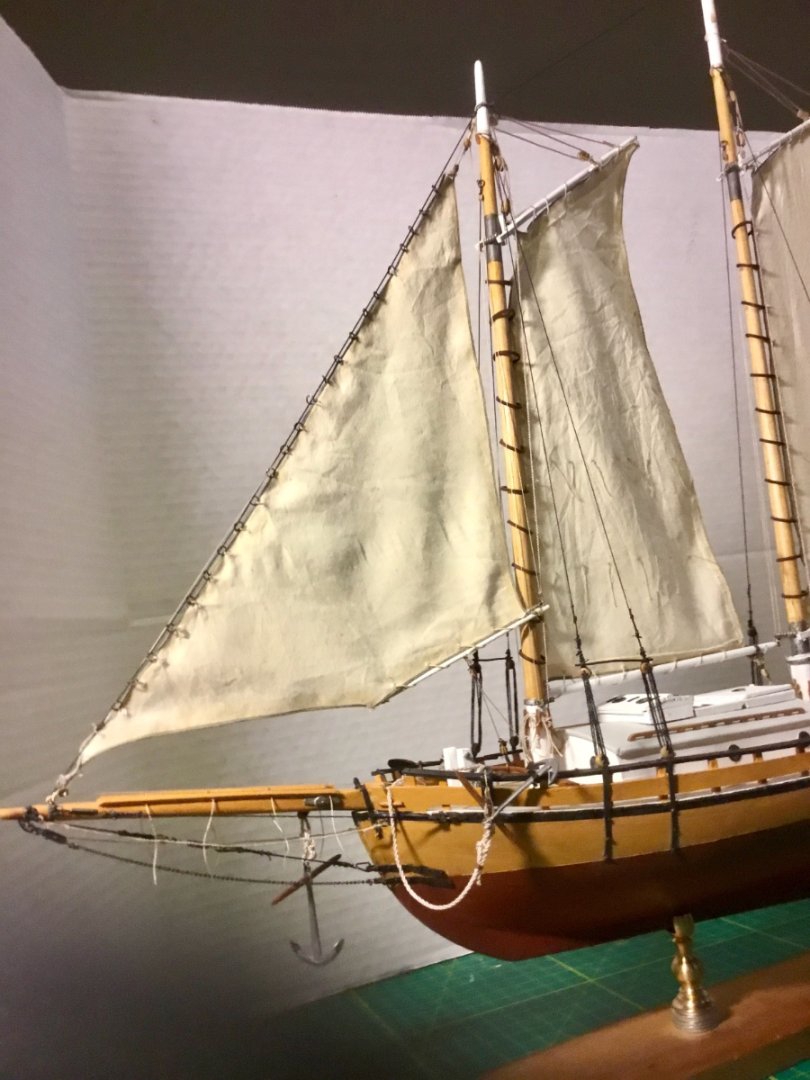
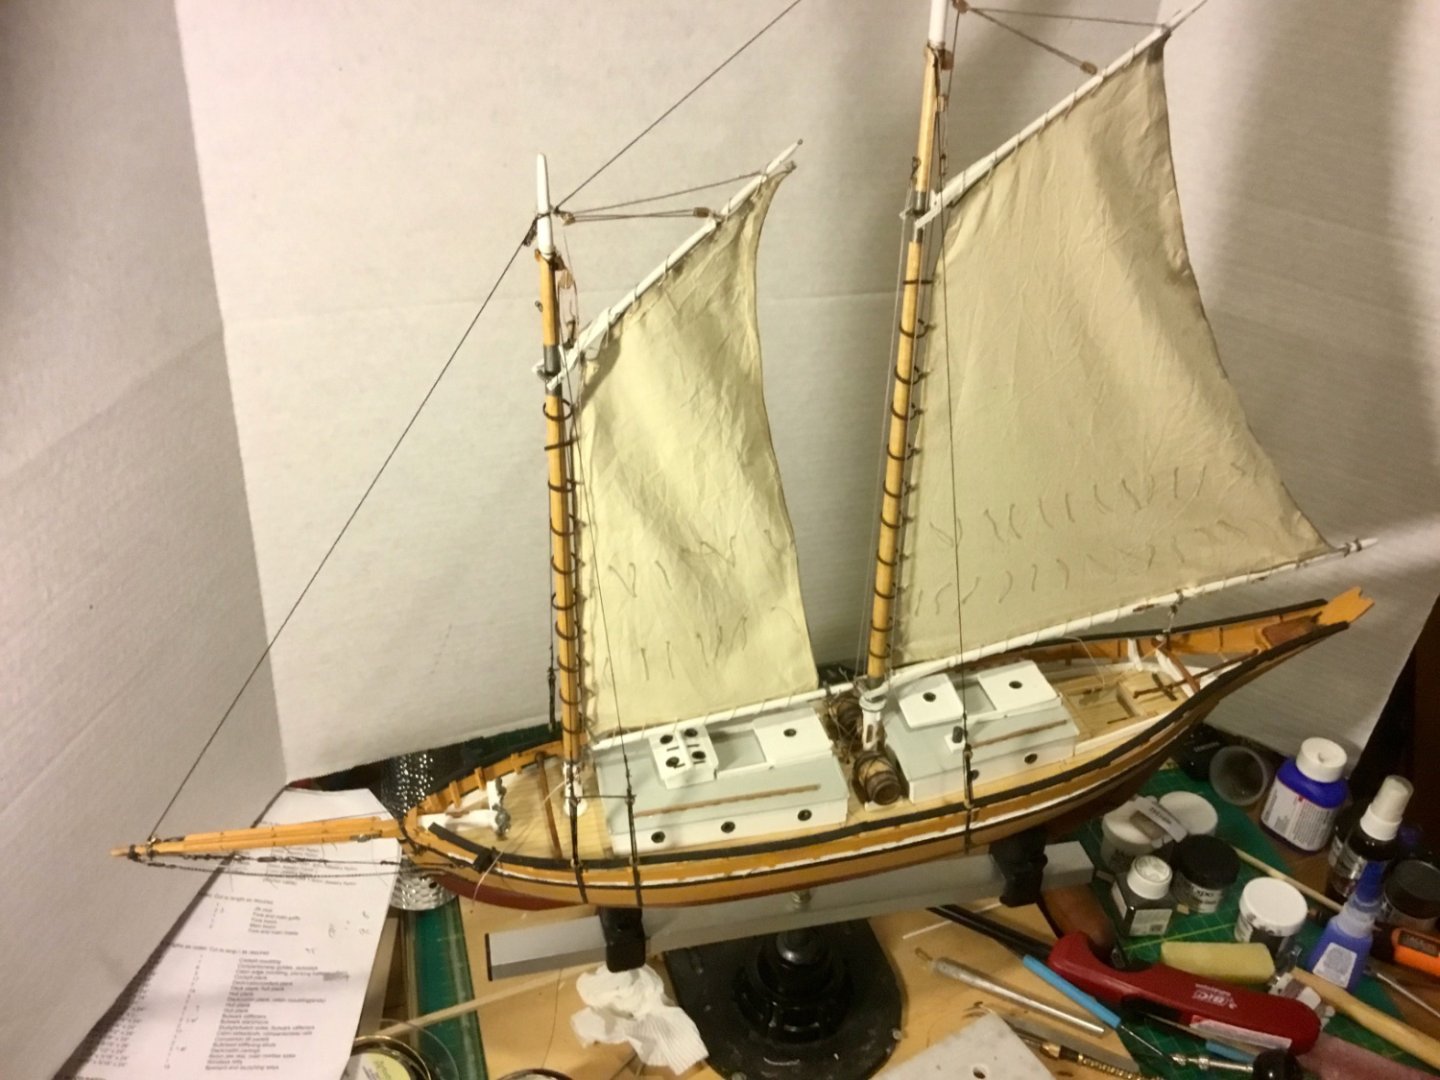
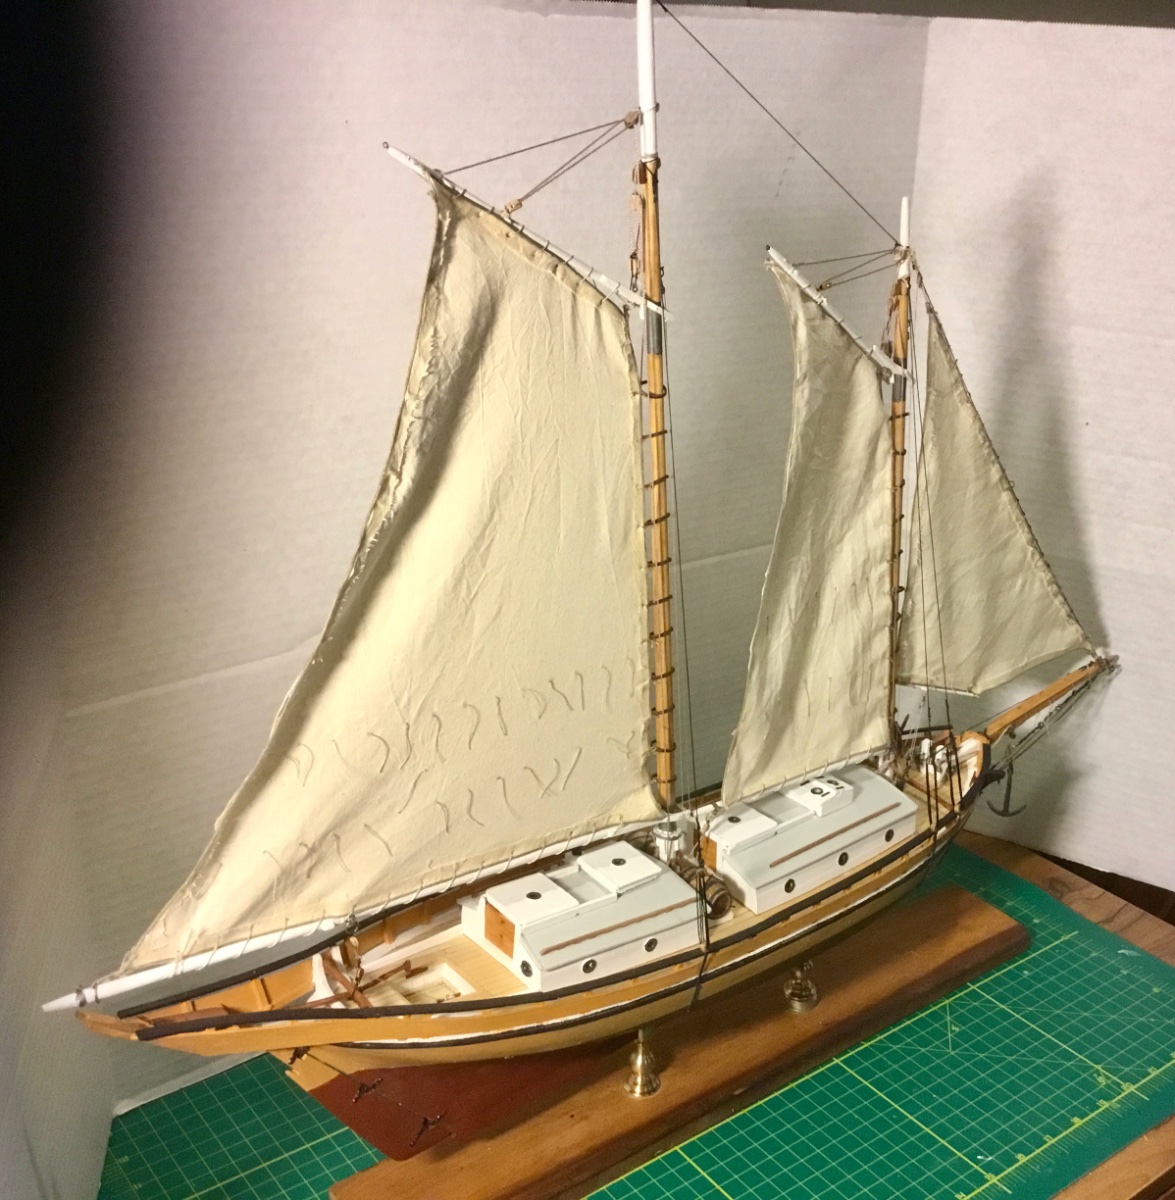
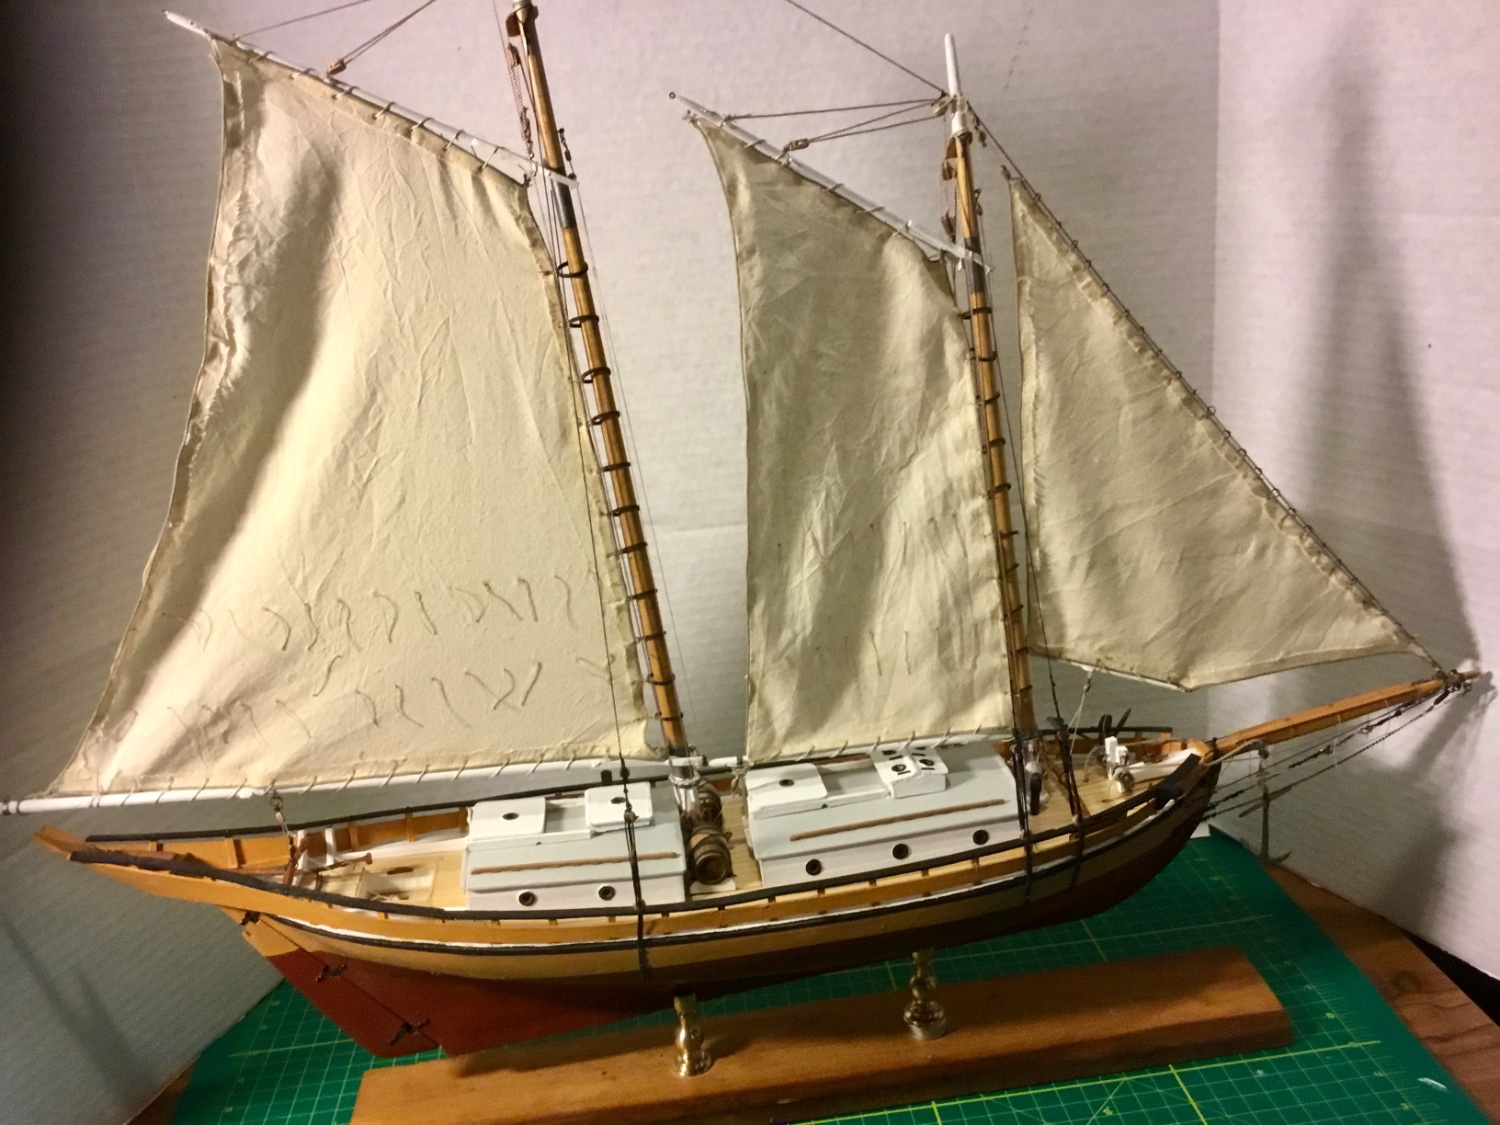
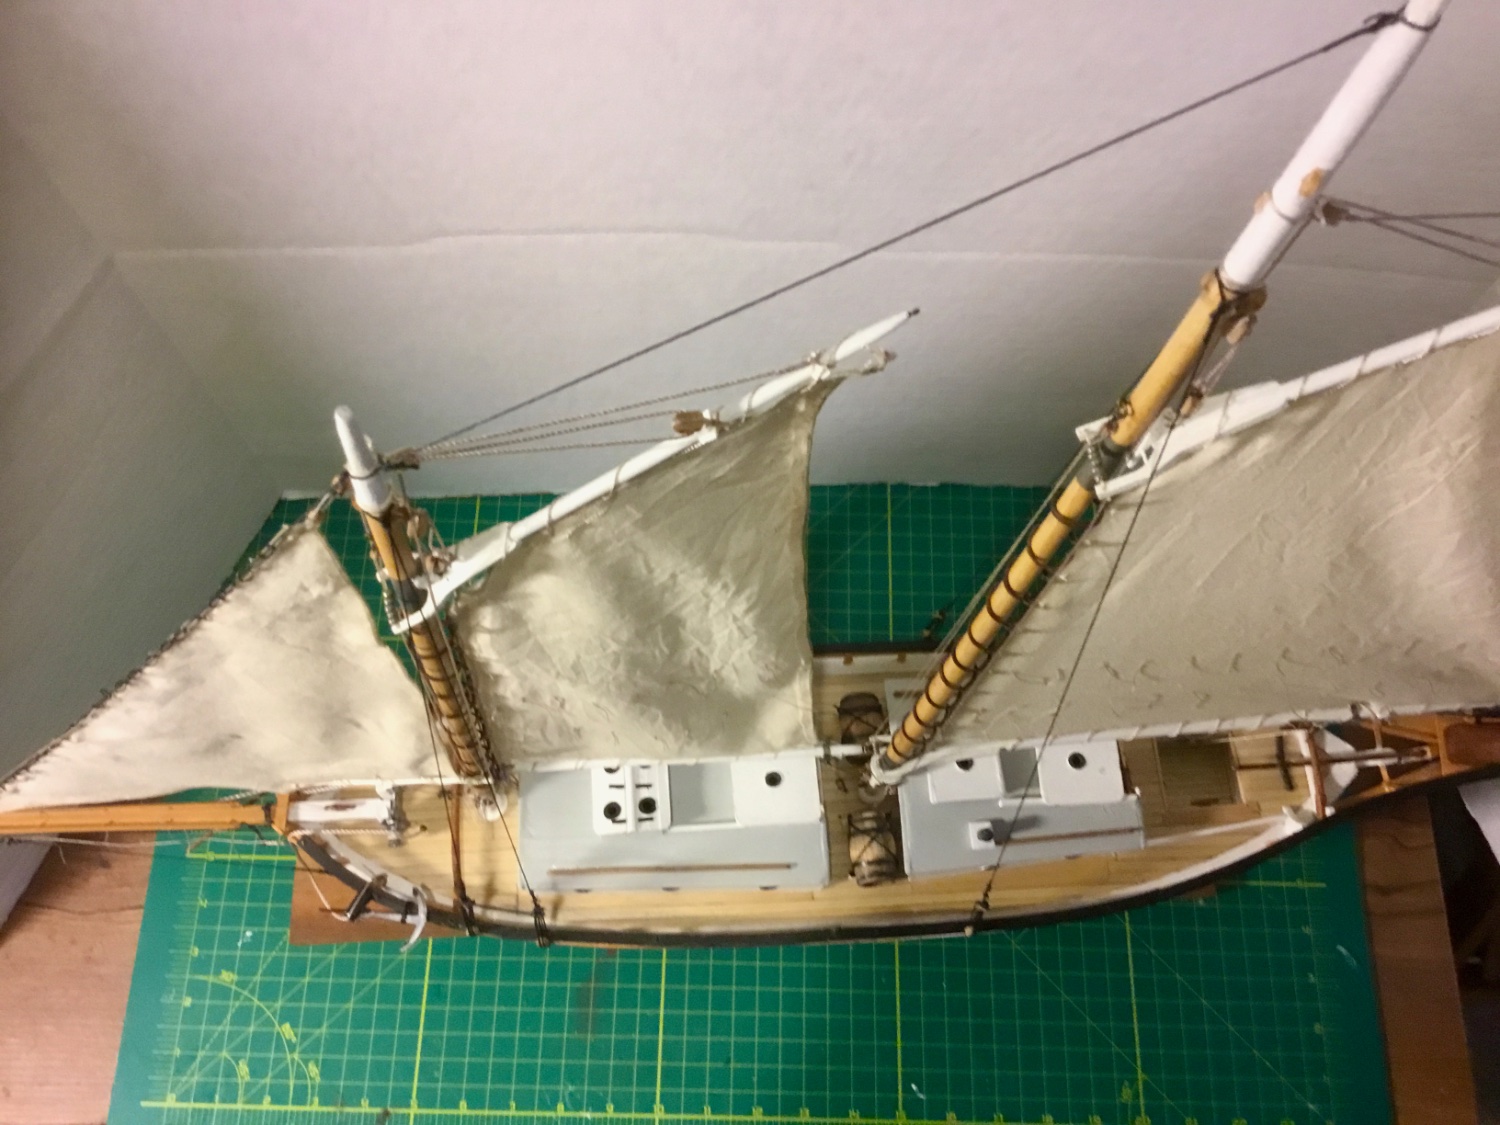
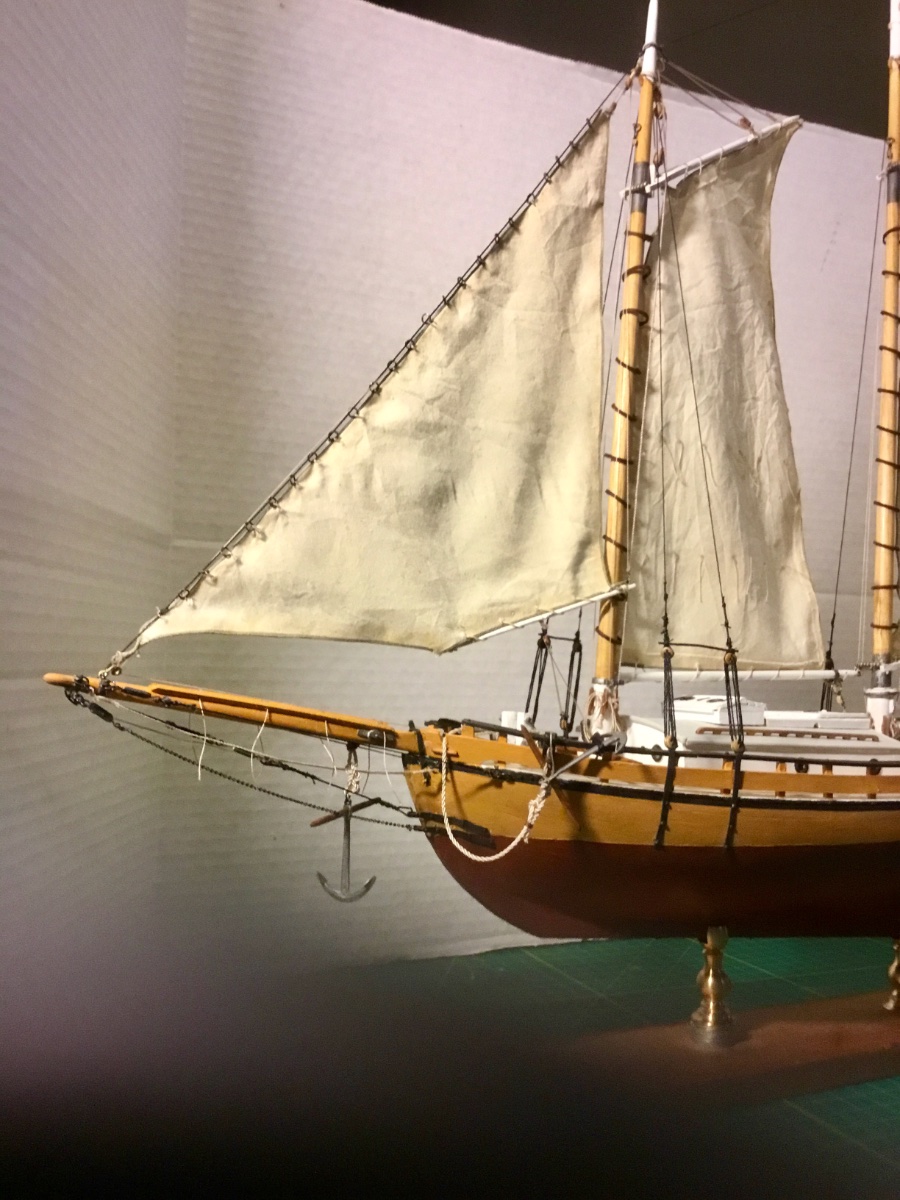
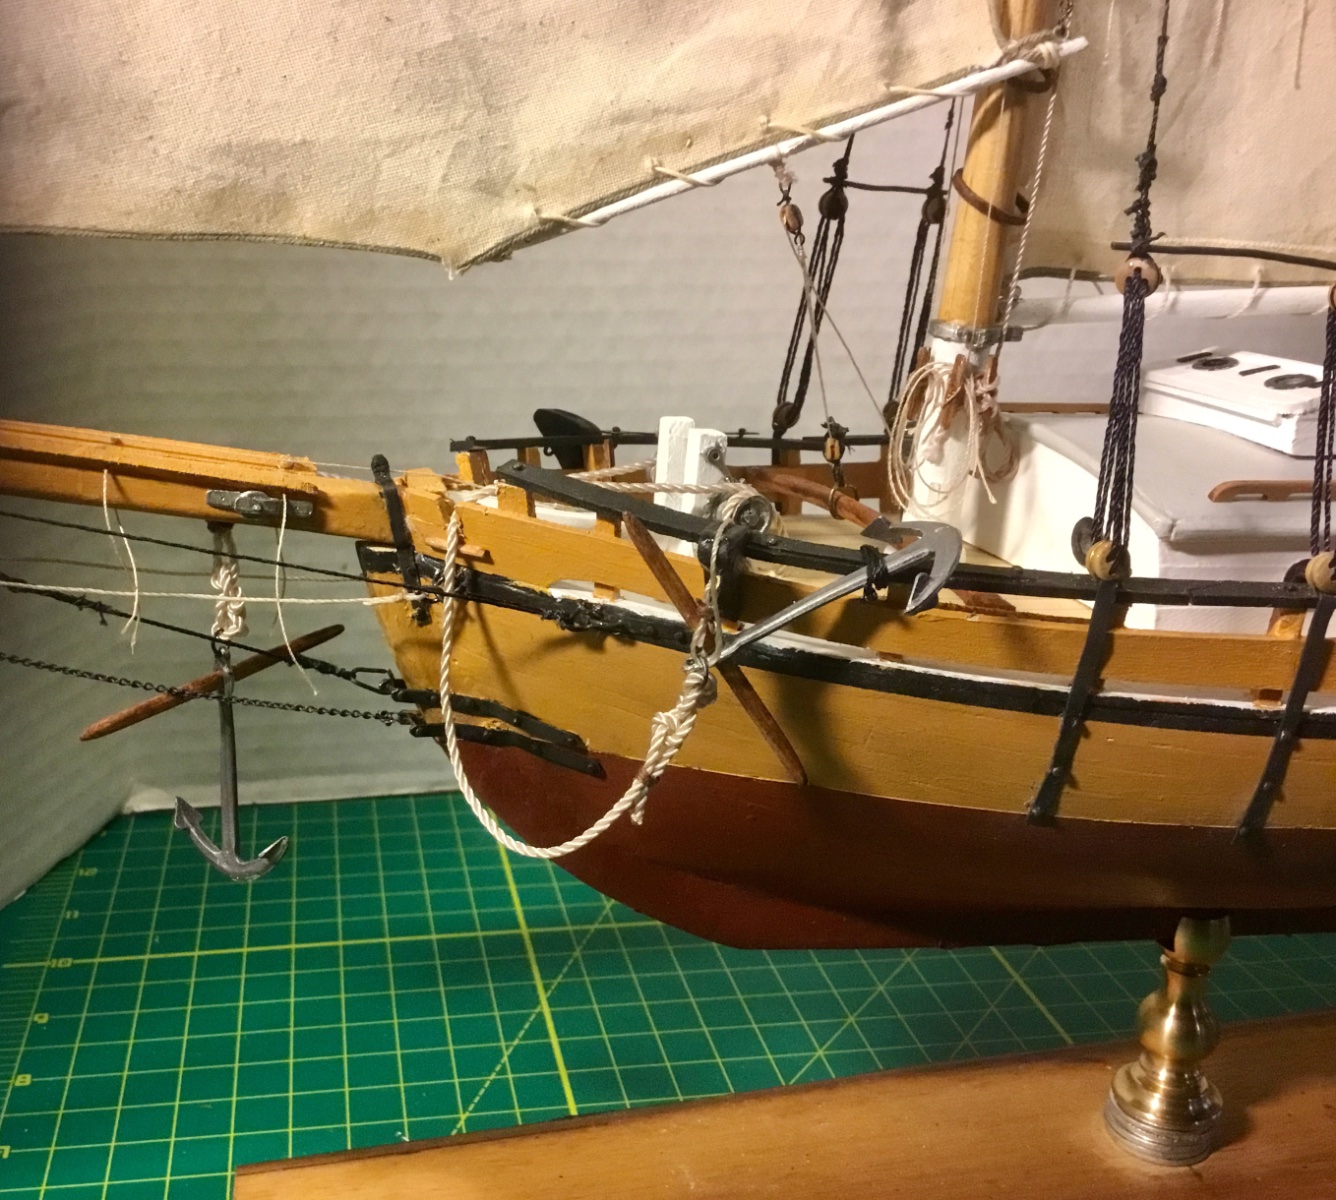
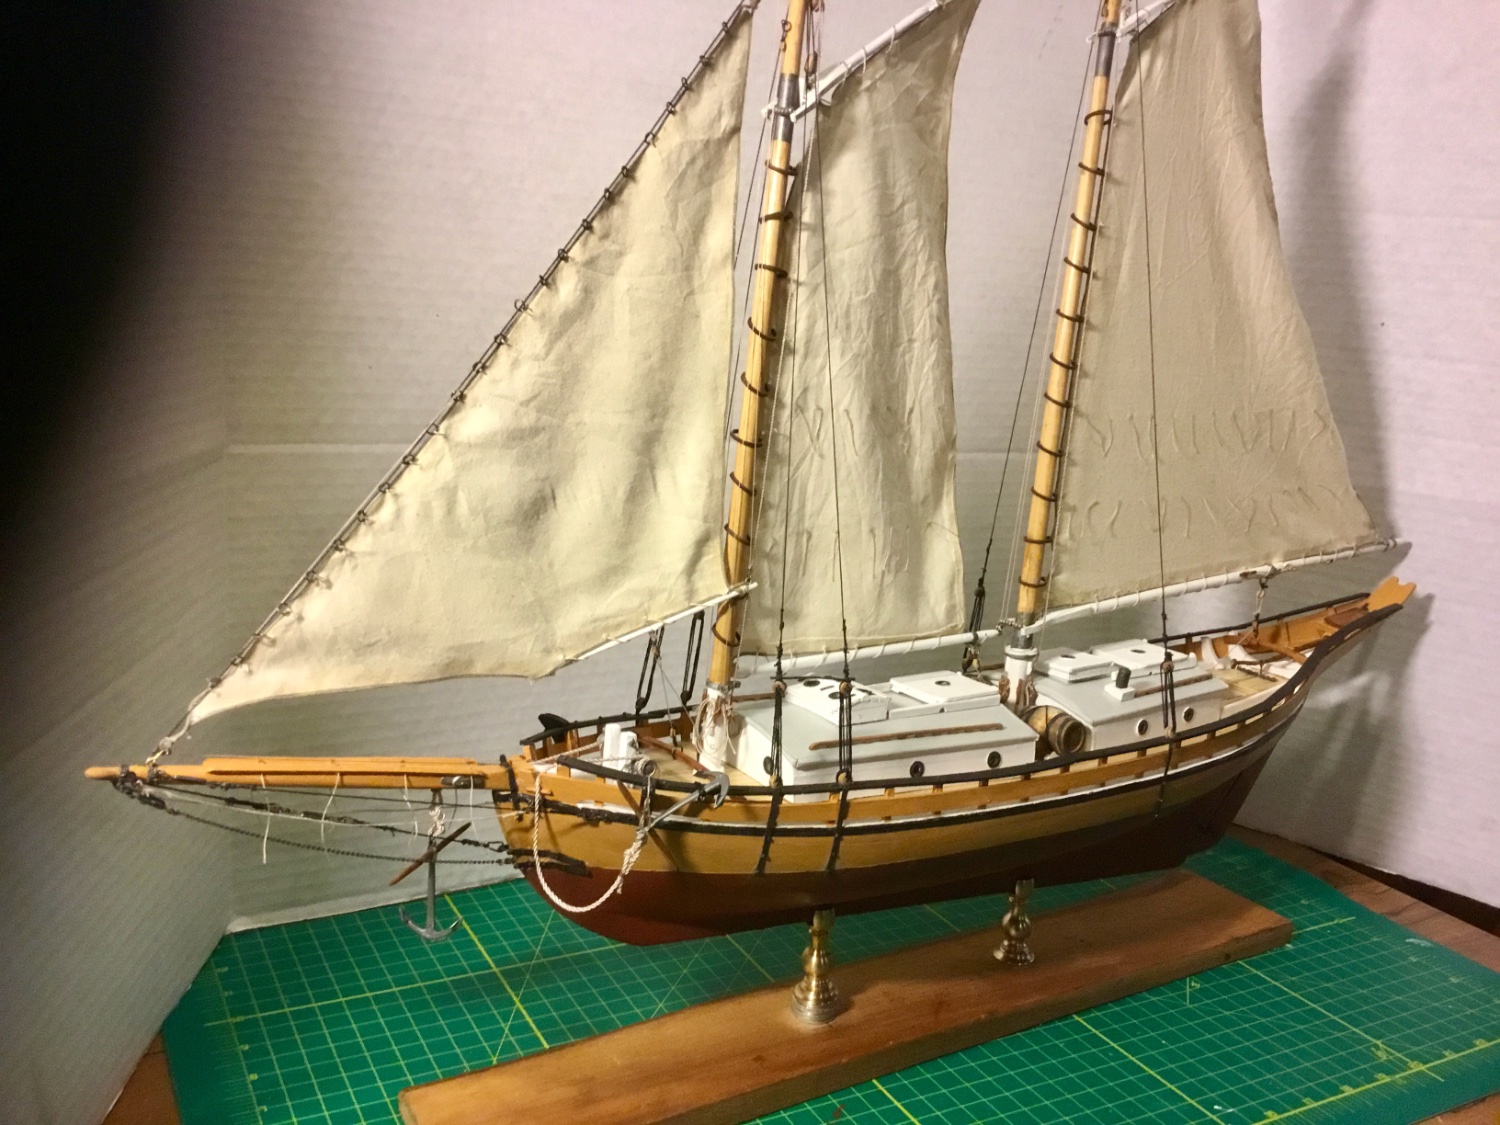
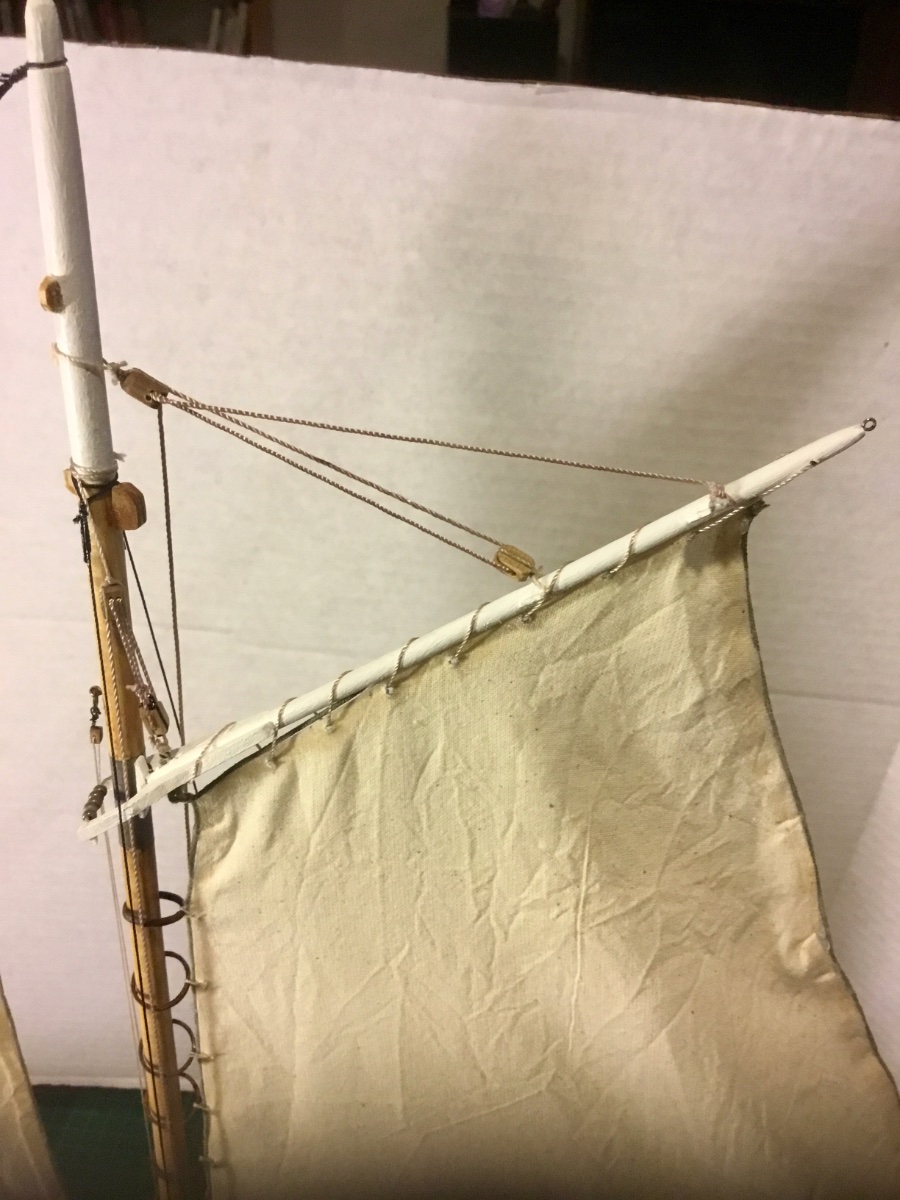
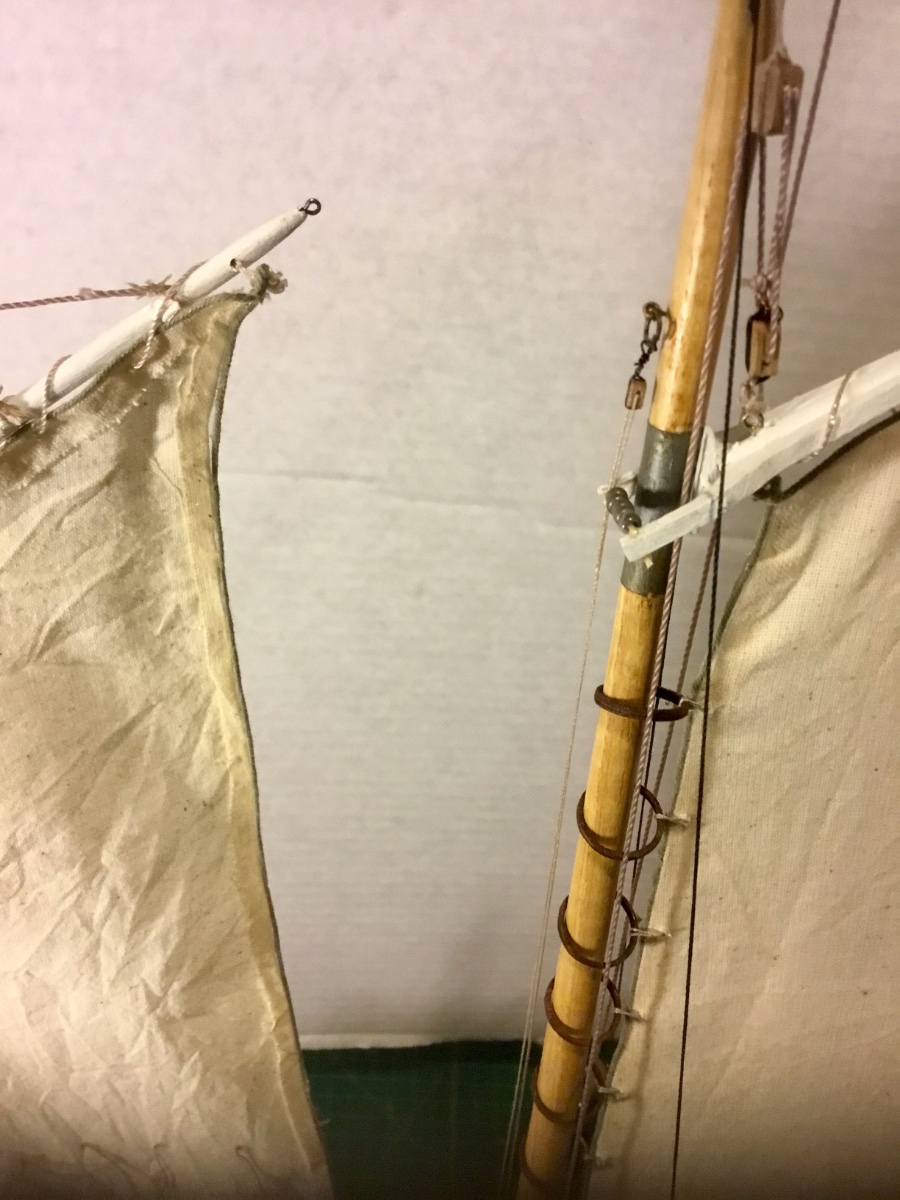
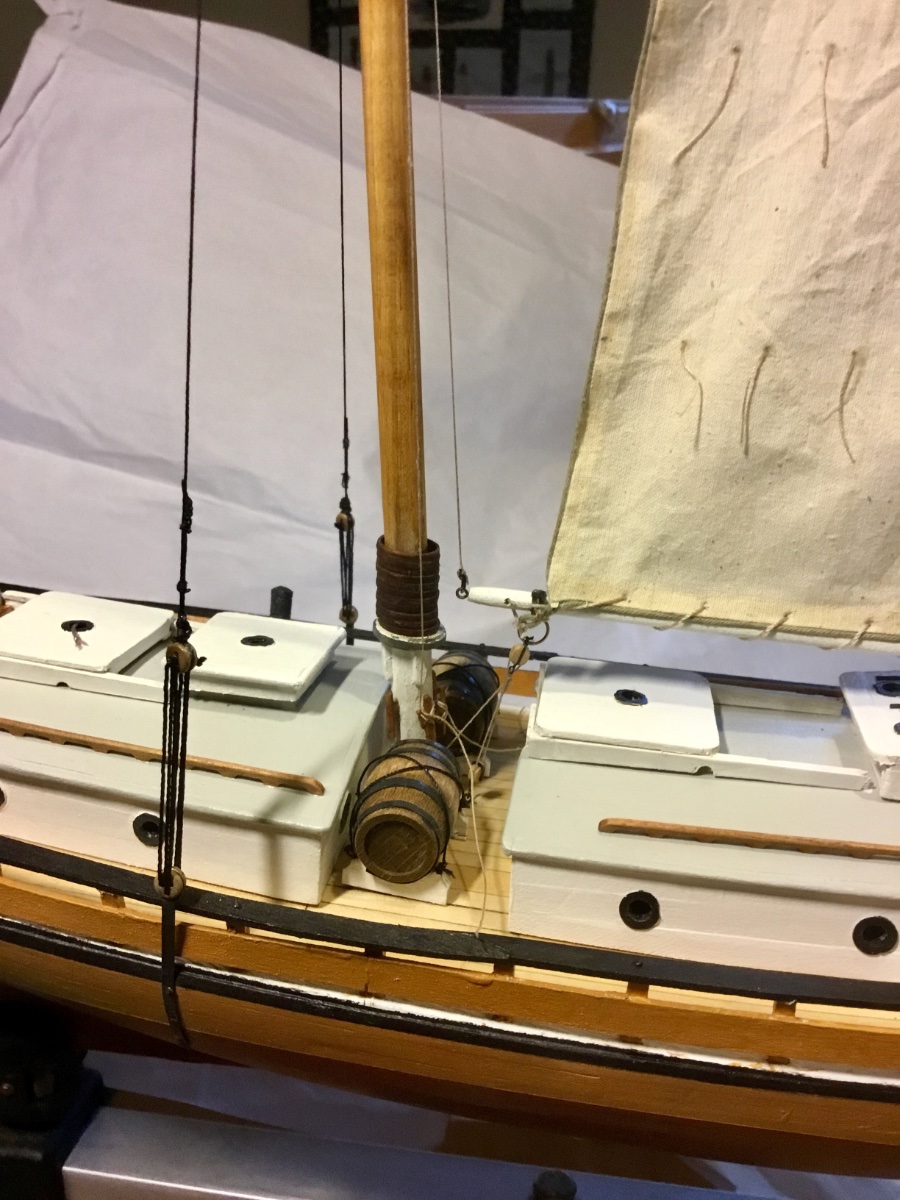
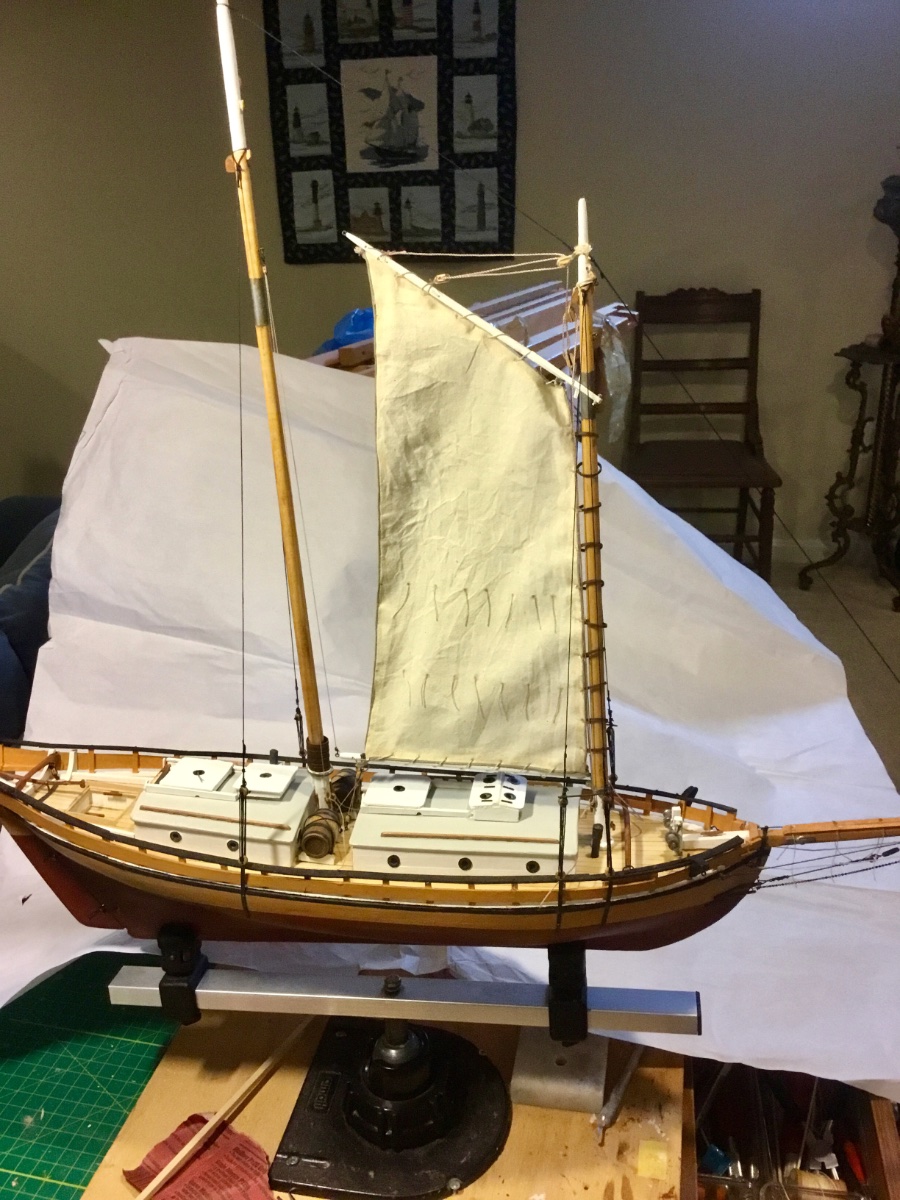
Installed jib sail and anchors, did some touch up, adjusted lines and mounted ship. Finally finished.


- Seventynet, wool132, Paul Le Wol and 1 other
-
4
-
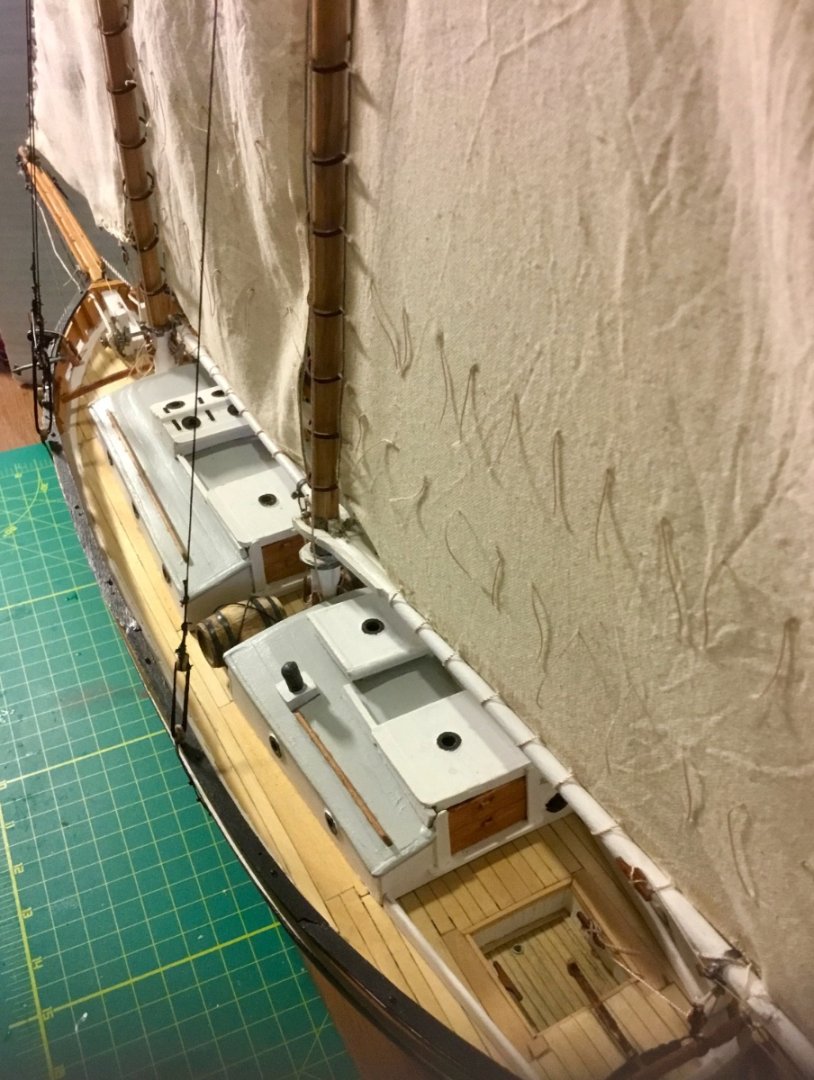
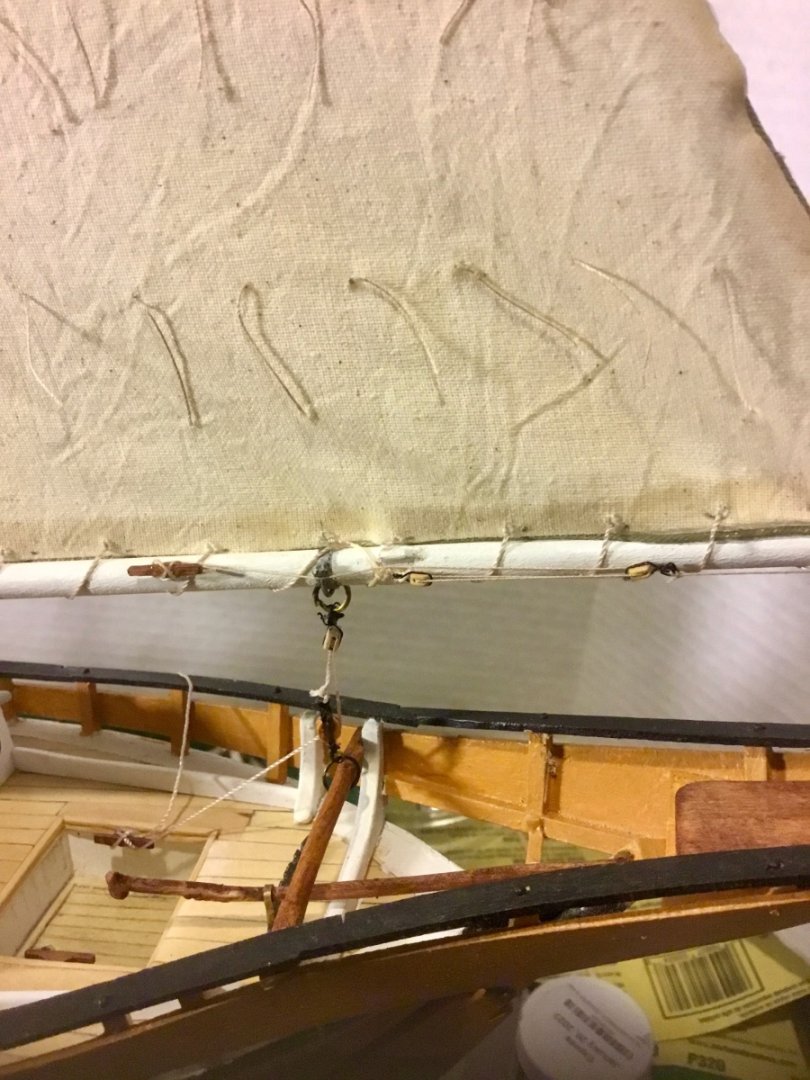
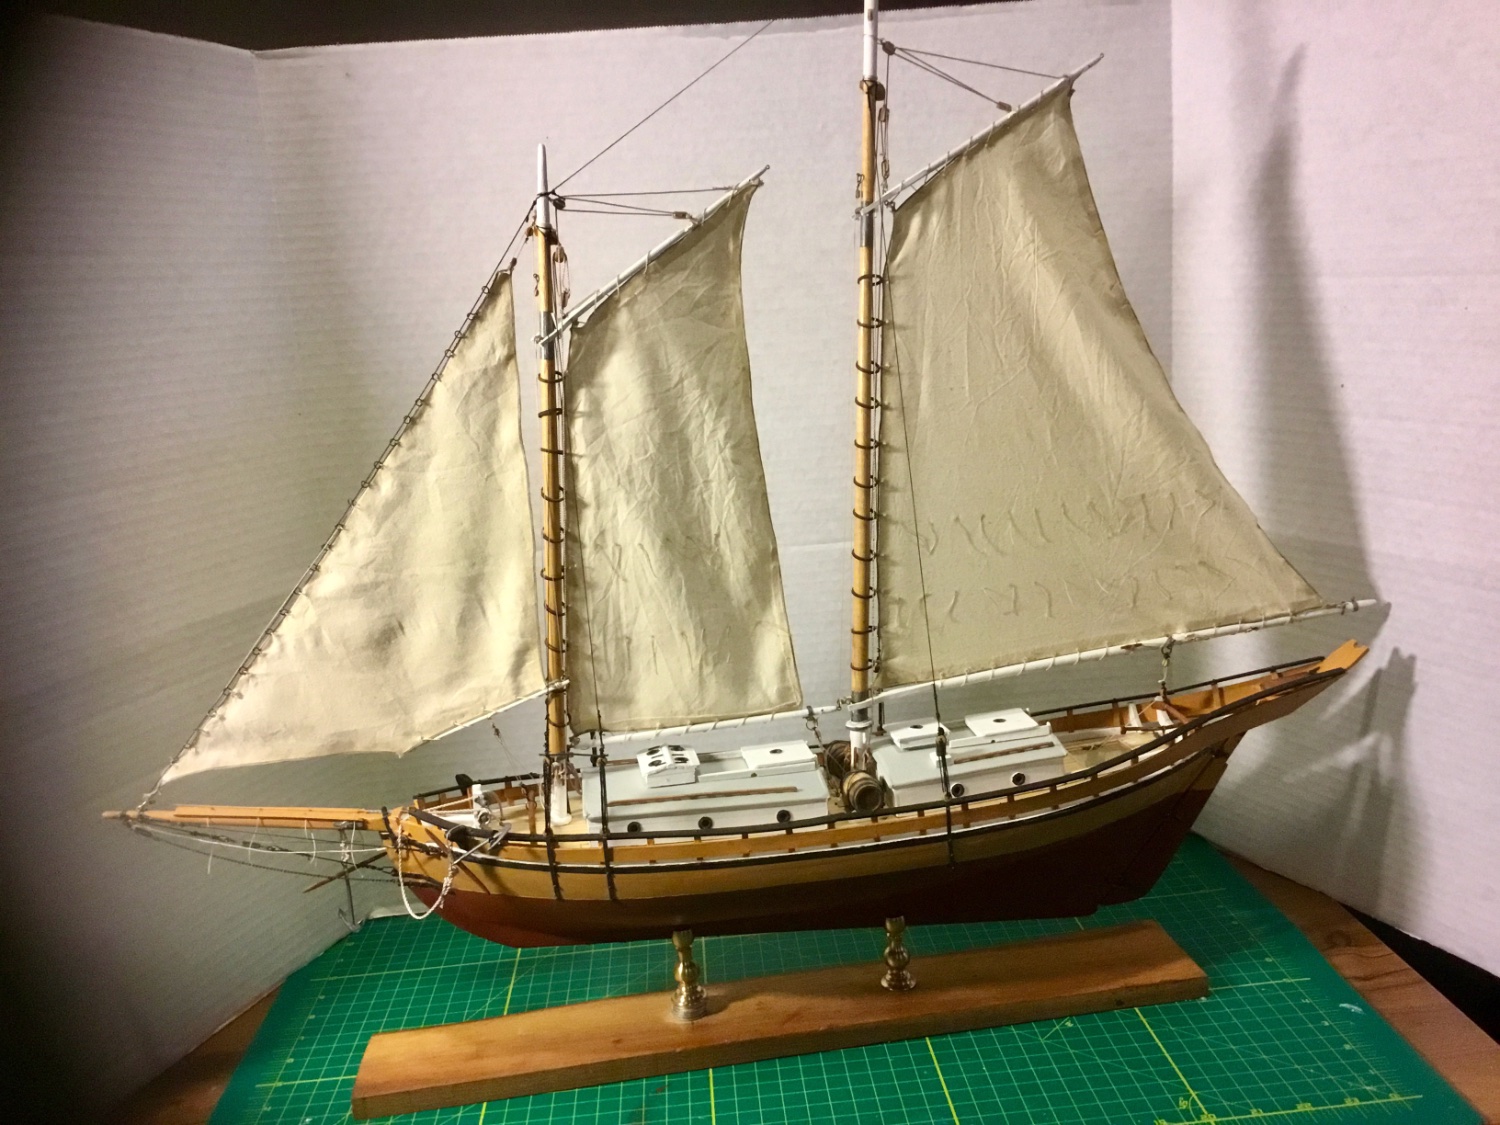
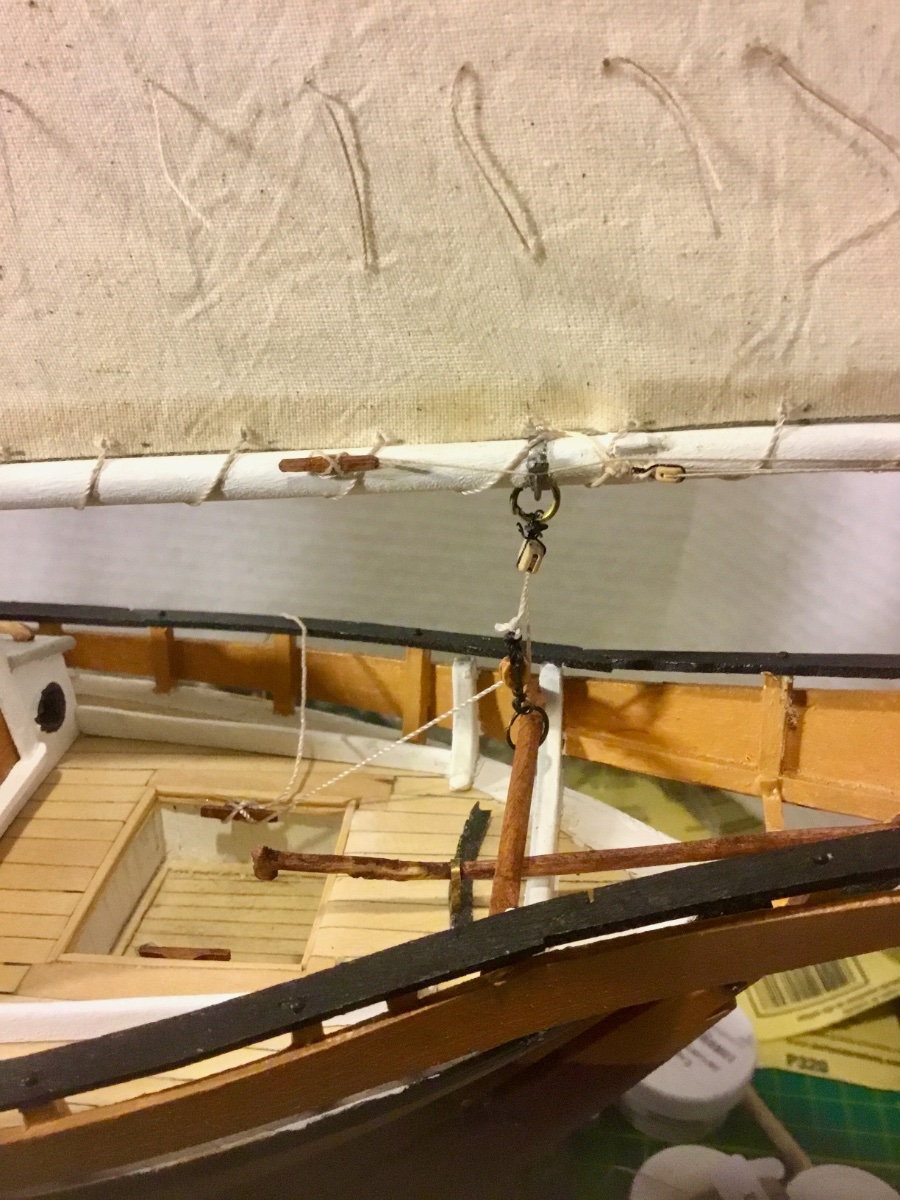
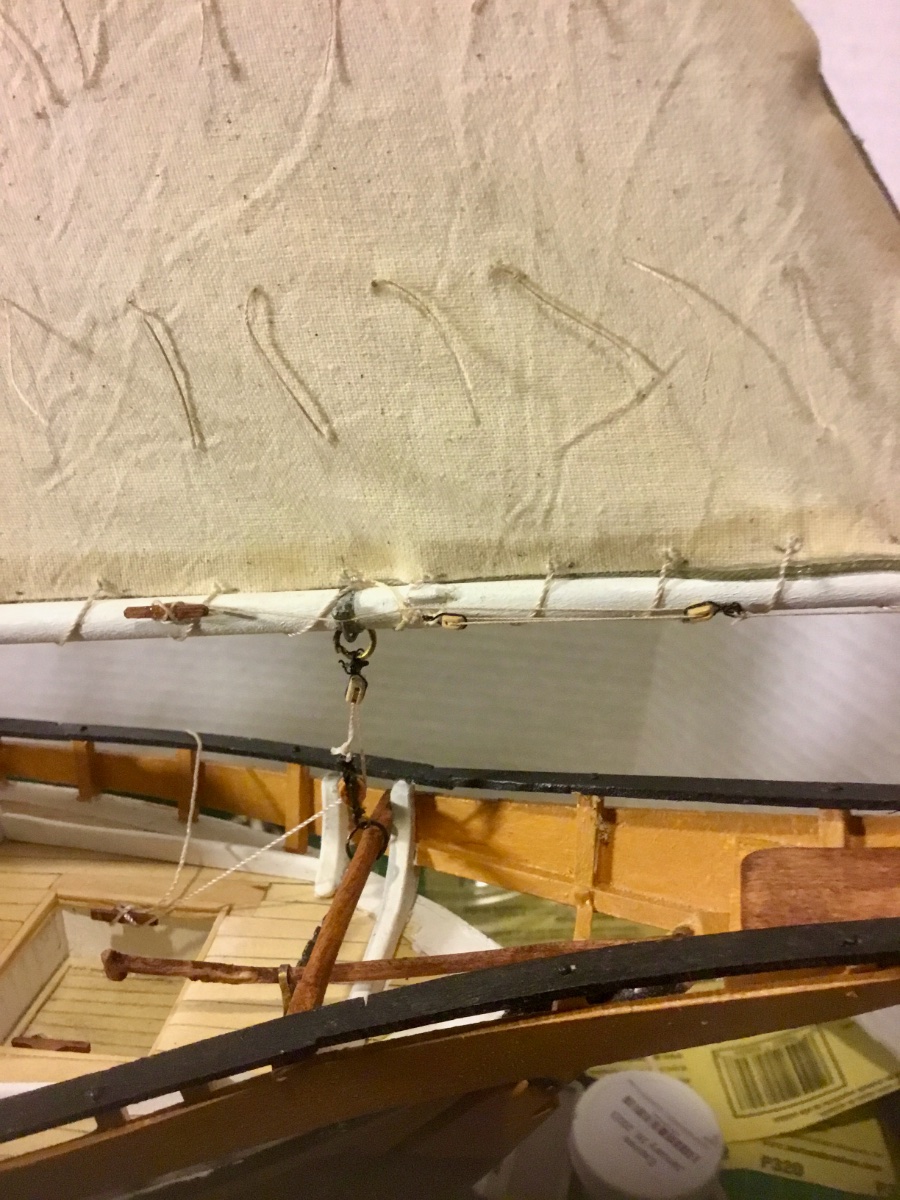
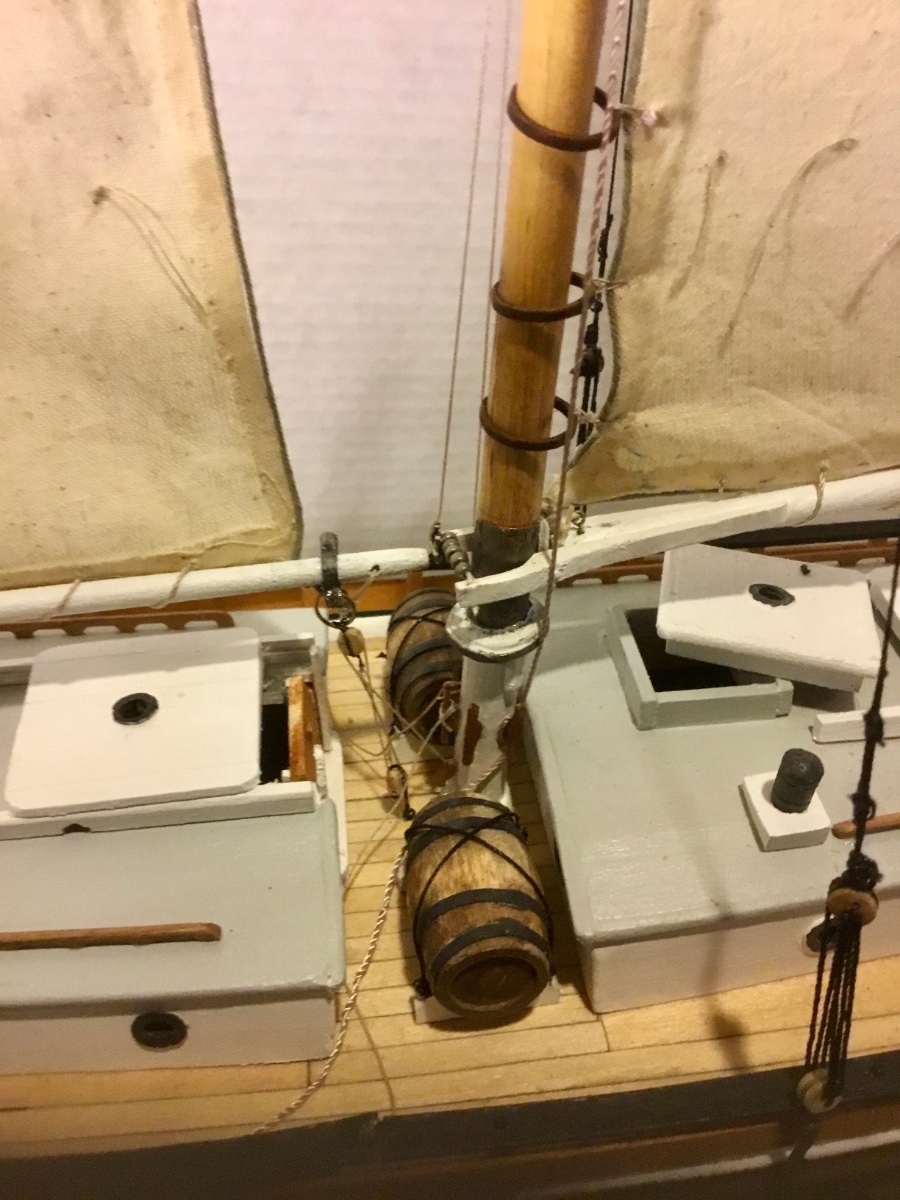
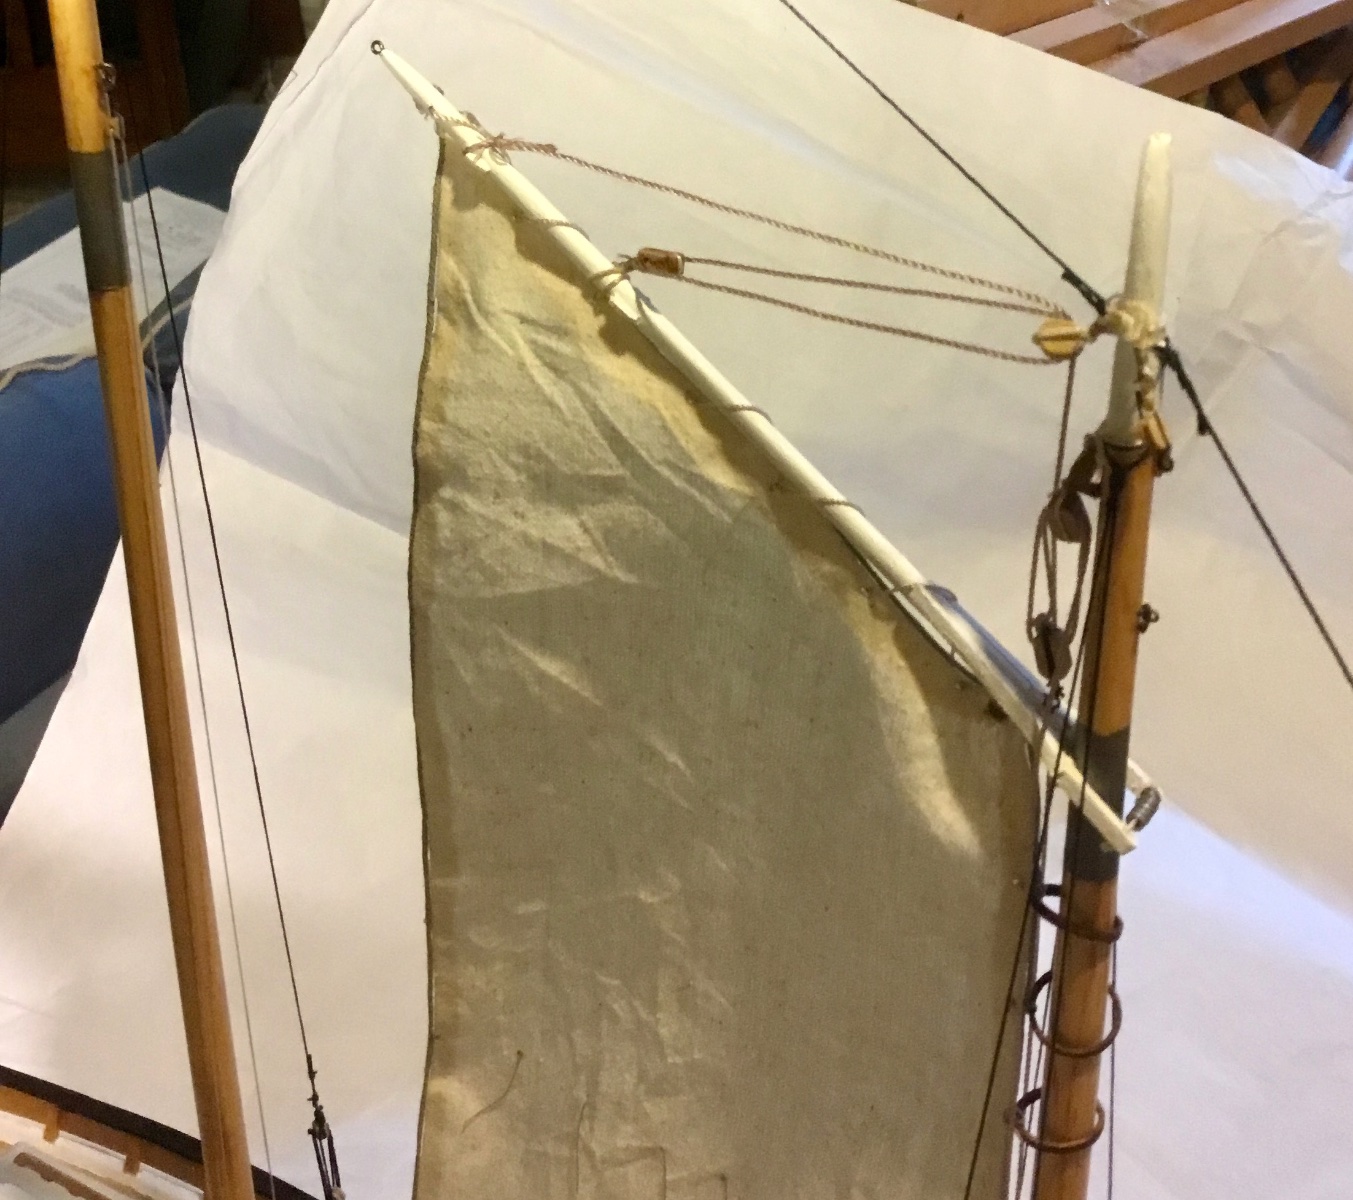
Completed installation of main sail and associated blocks and lines. Next up is the jib.


- Paul Le Wol, Prowler901, Seventynet and 1 other
-
4
-
-
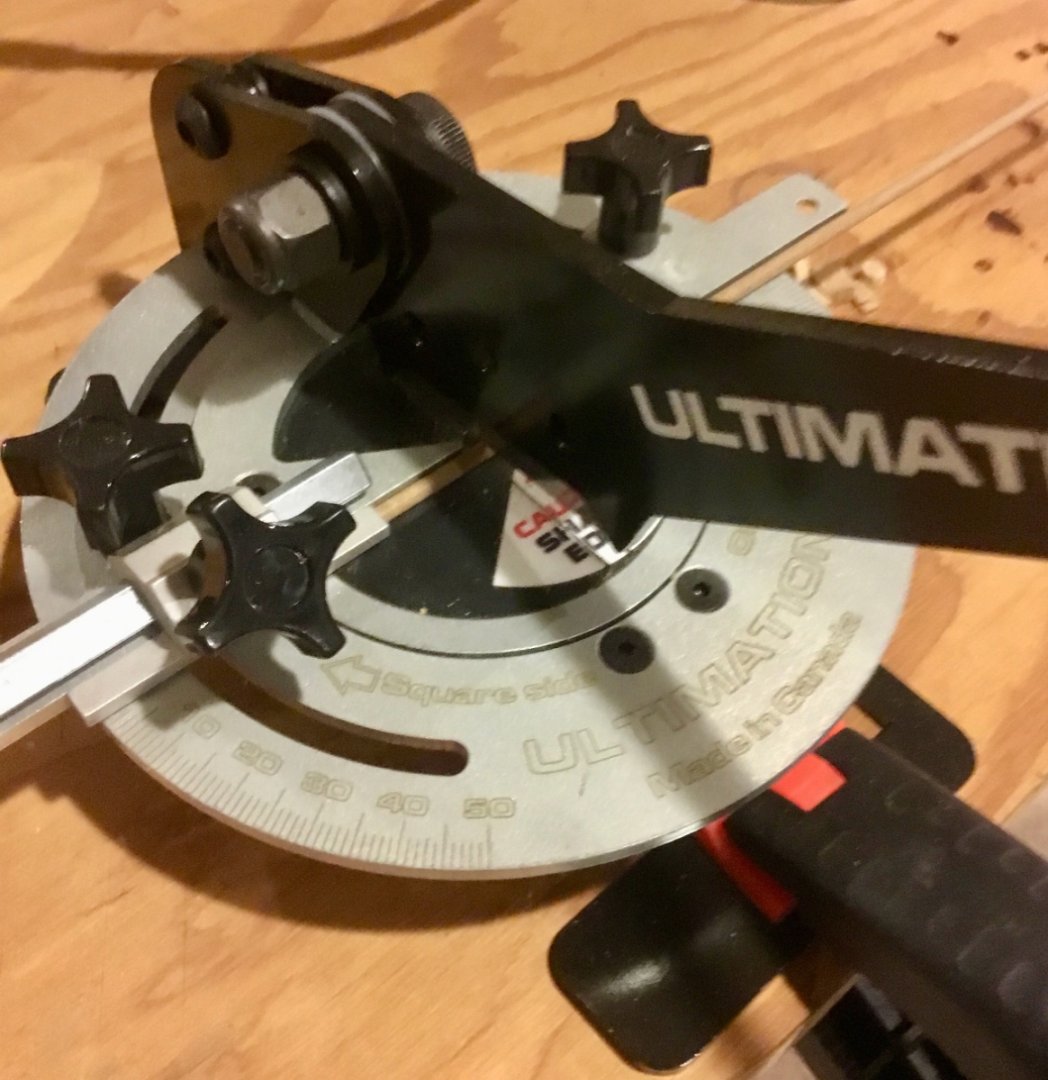
Unless your scratch building, doing other woodworking with it (such as making small boxes, etc.), or using it to replace the wood strips that came with your kit with something of better quality the Byrnes saw is a little bit of an overkill. Still, I personally couldn't resist buying one. But I still find my Ultimation or Chopper more convenient to work with 80% of the time.
-
I plan on making this my next build after I finish my pinky schooner Glad Tidings ; so I will be following your build with great interest. Will probably be 2 to 3 weeks behind you. Looks like you’re off to a great start.
-
Depends on your budget. I have both. The Ultimation has a longer handle for more leverage when making the cut. Is more accurate. Is better at making angled cuts, etc. However the Chopper does an adequate job and how often do you need to make angled cuts. I prefer the Ultimation but the Chopper did the job OK for the last 4 years I've had it.
- Ryland Craze, Canute and mtaylor
-
3
-
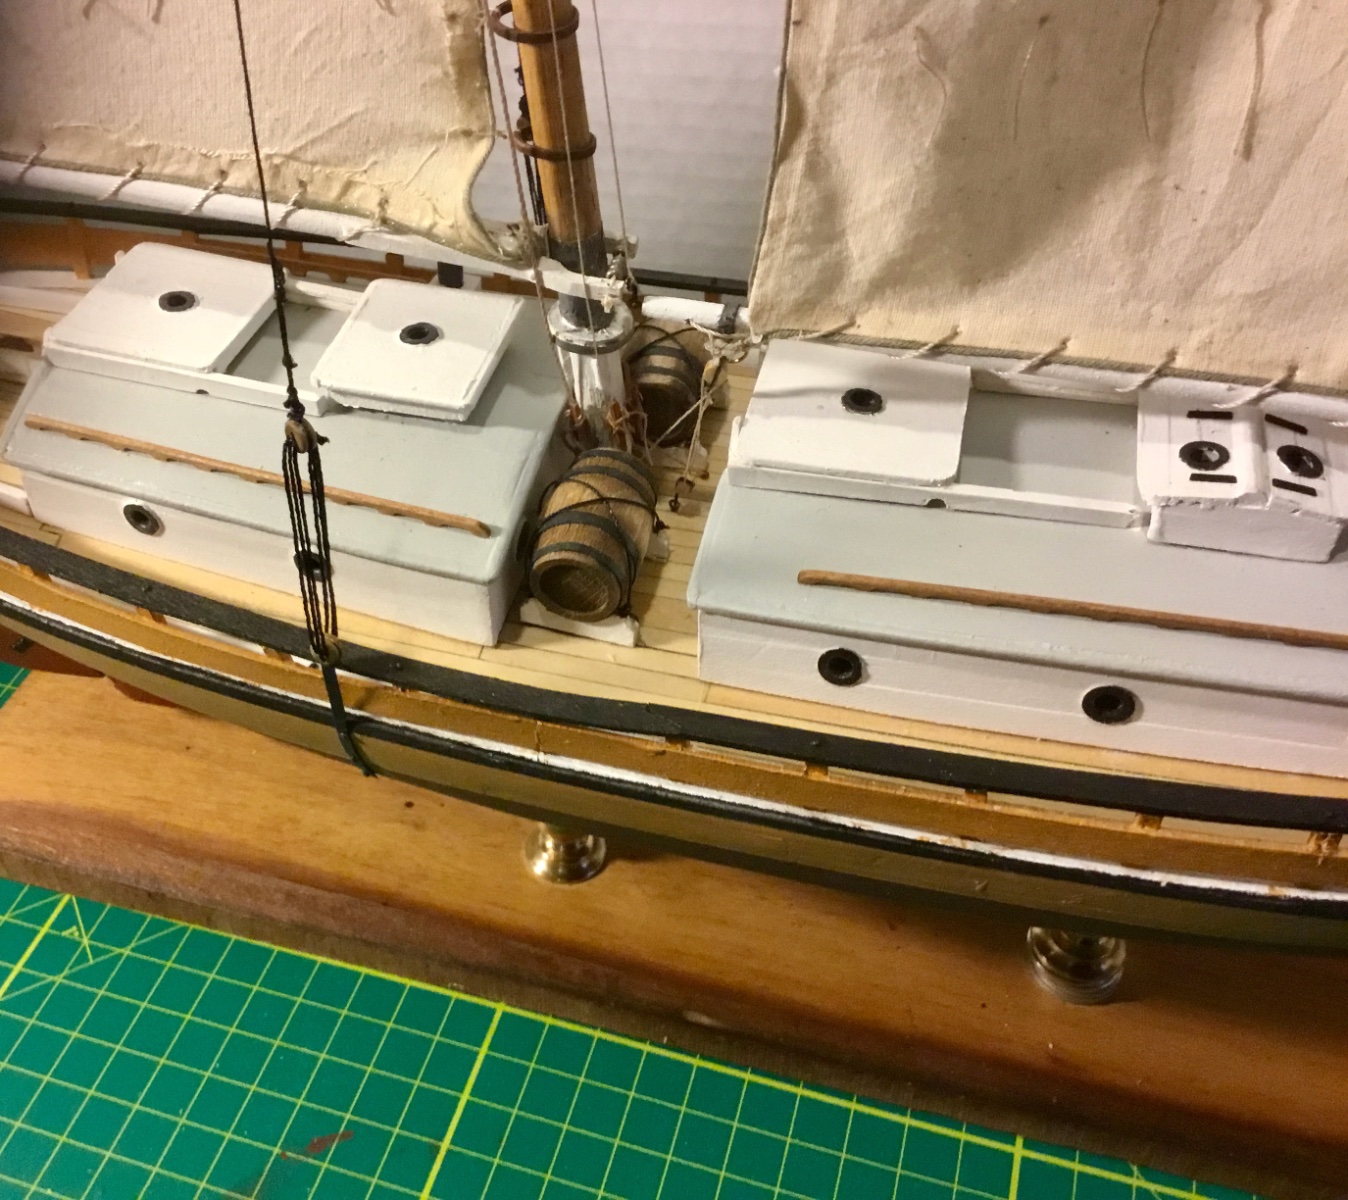
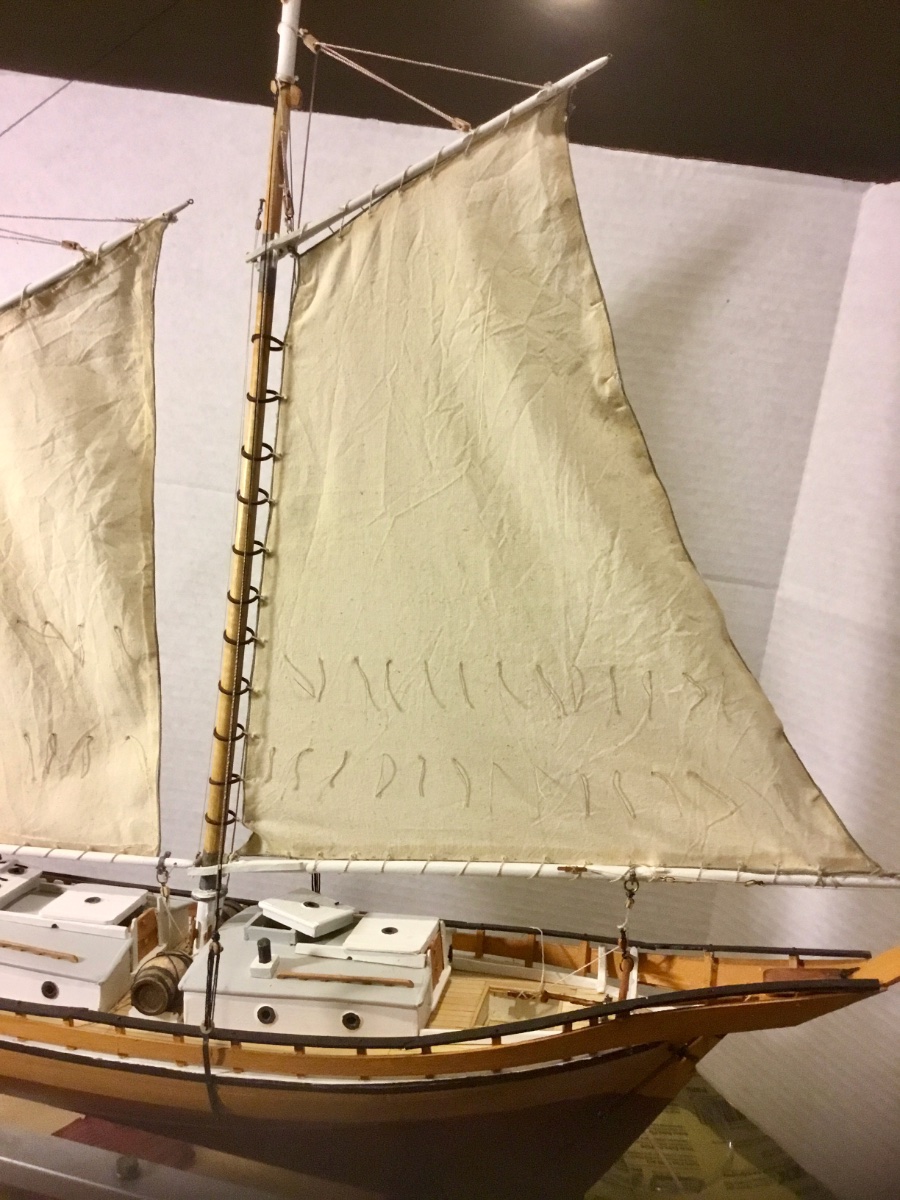
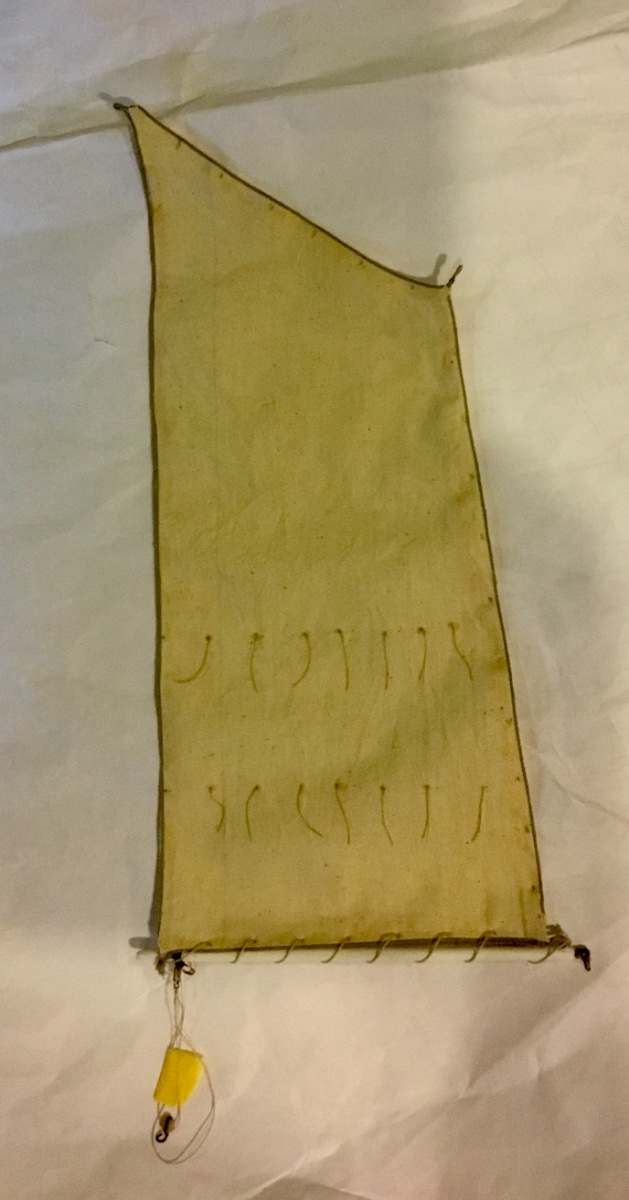
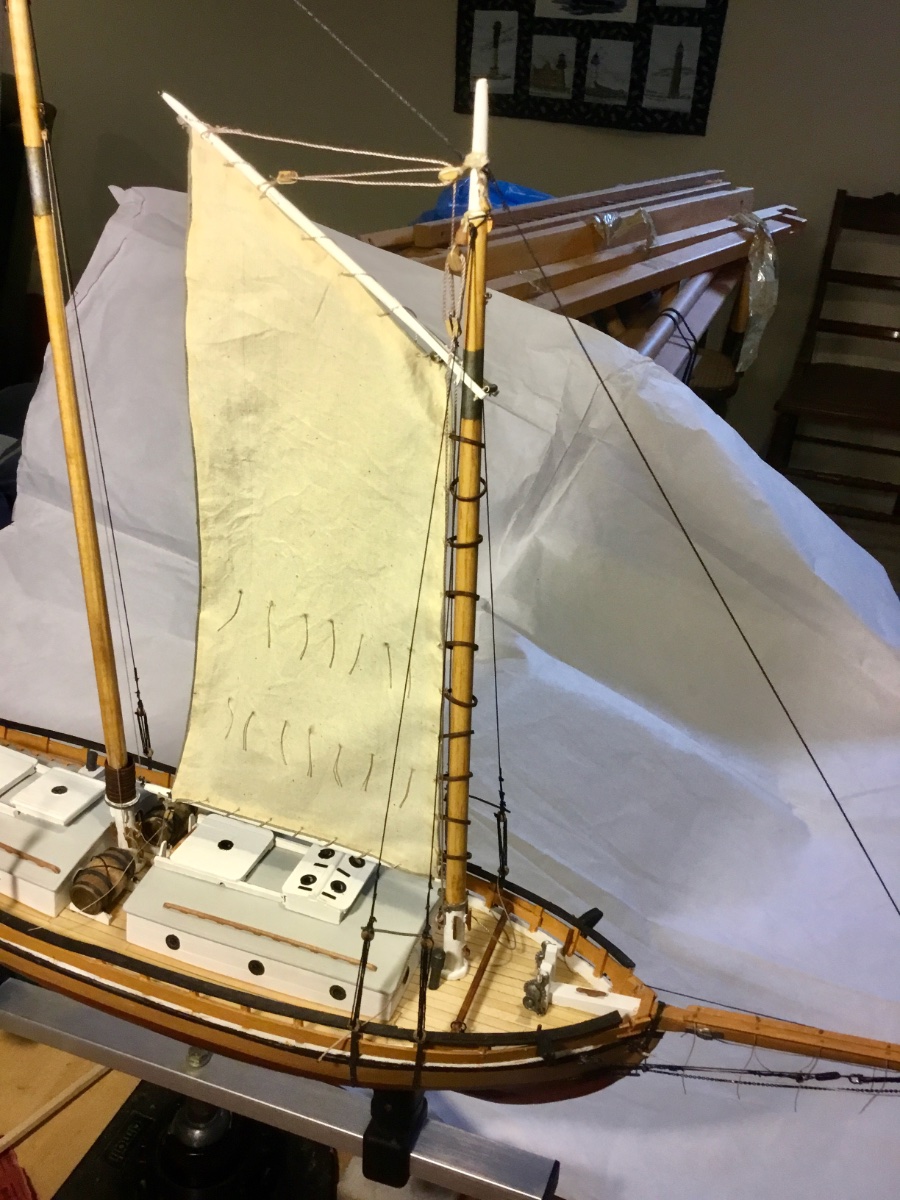
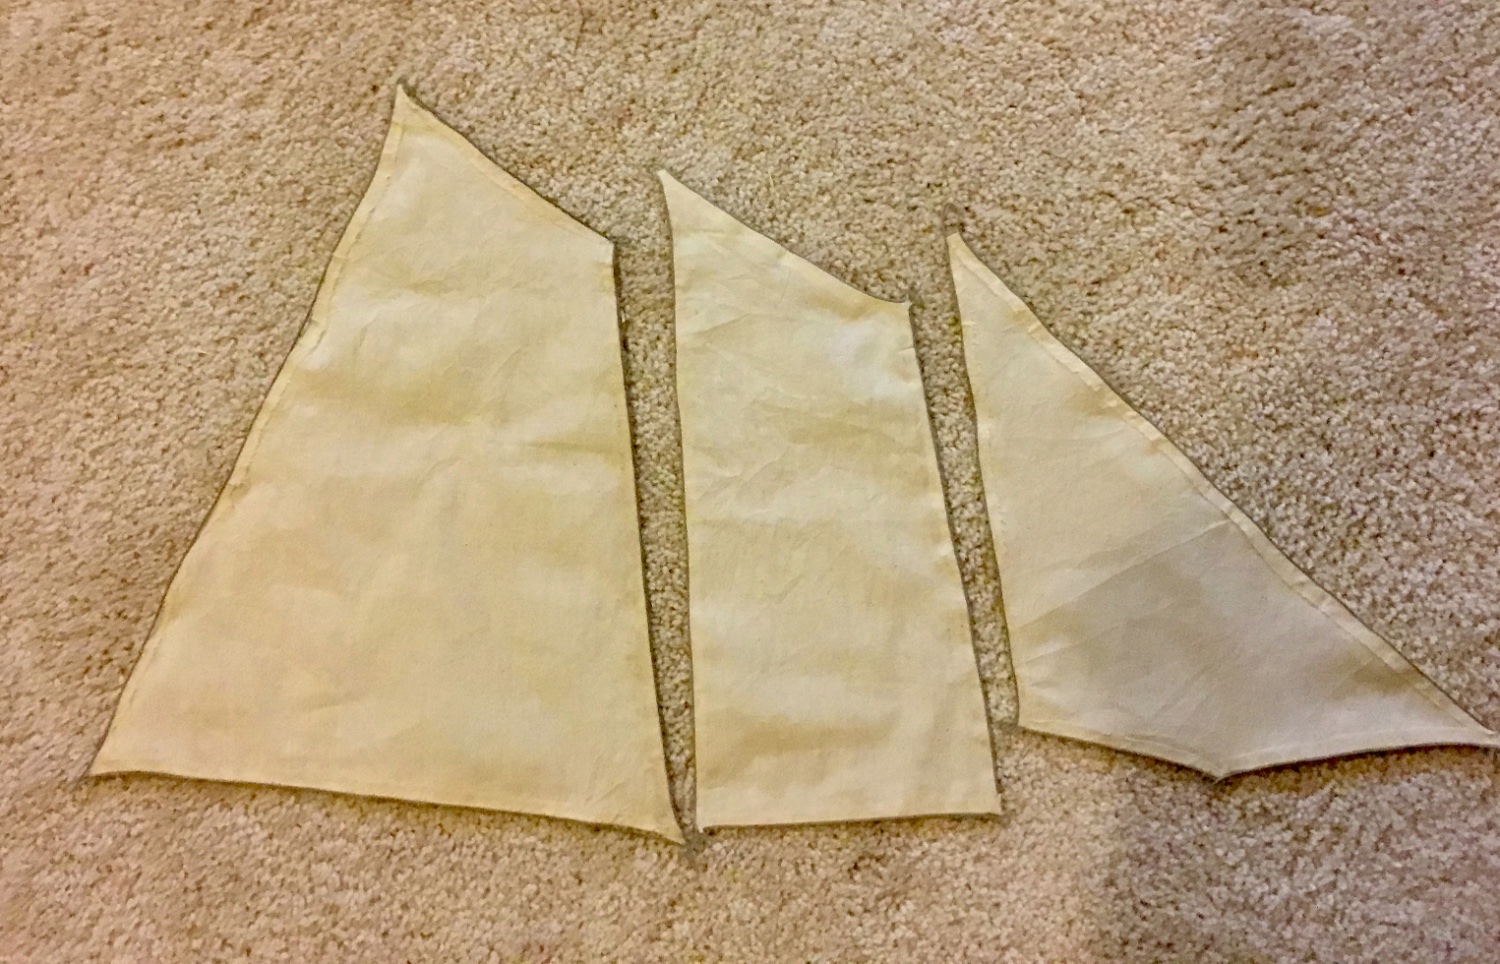
I created patterns for the sails from the plans and used sail cloth left over from a previous kit that I did not use. The Glad Tidings kit did not include sail cloth. I increased the dimensions of the sails to allow for the edge hems and cut out the sails using the patterns, some spray adhesive and my wife's sewing rotary cutter and mat. I used fabric glue to hem the sails and for attaching the bolt ropes. I began to attach blocks needed for the sails starting with the jib club and blocks on the fore mast and fore gaff.


- hamilton, yvesvidal, Paul Le Wol and 1 other
-
4
-
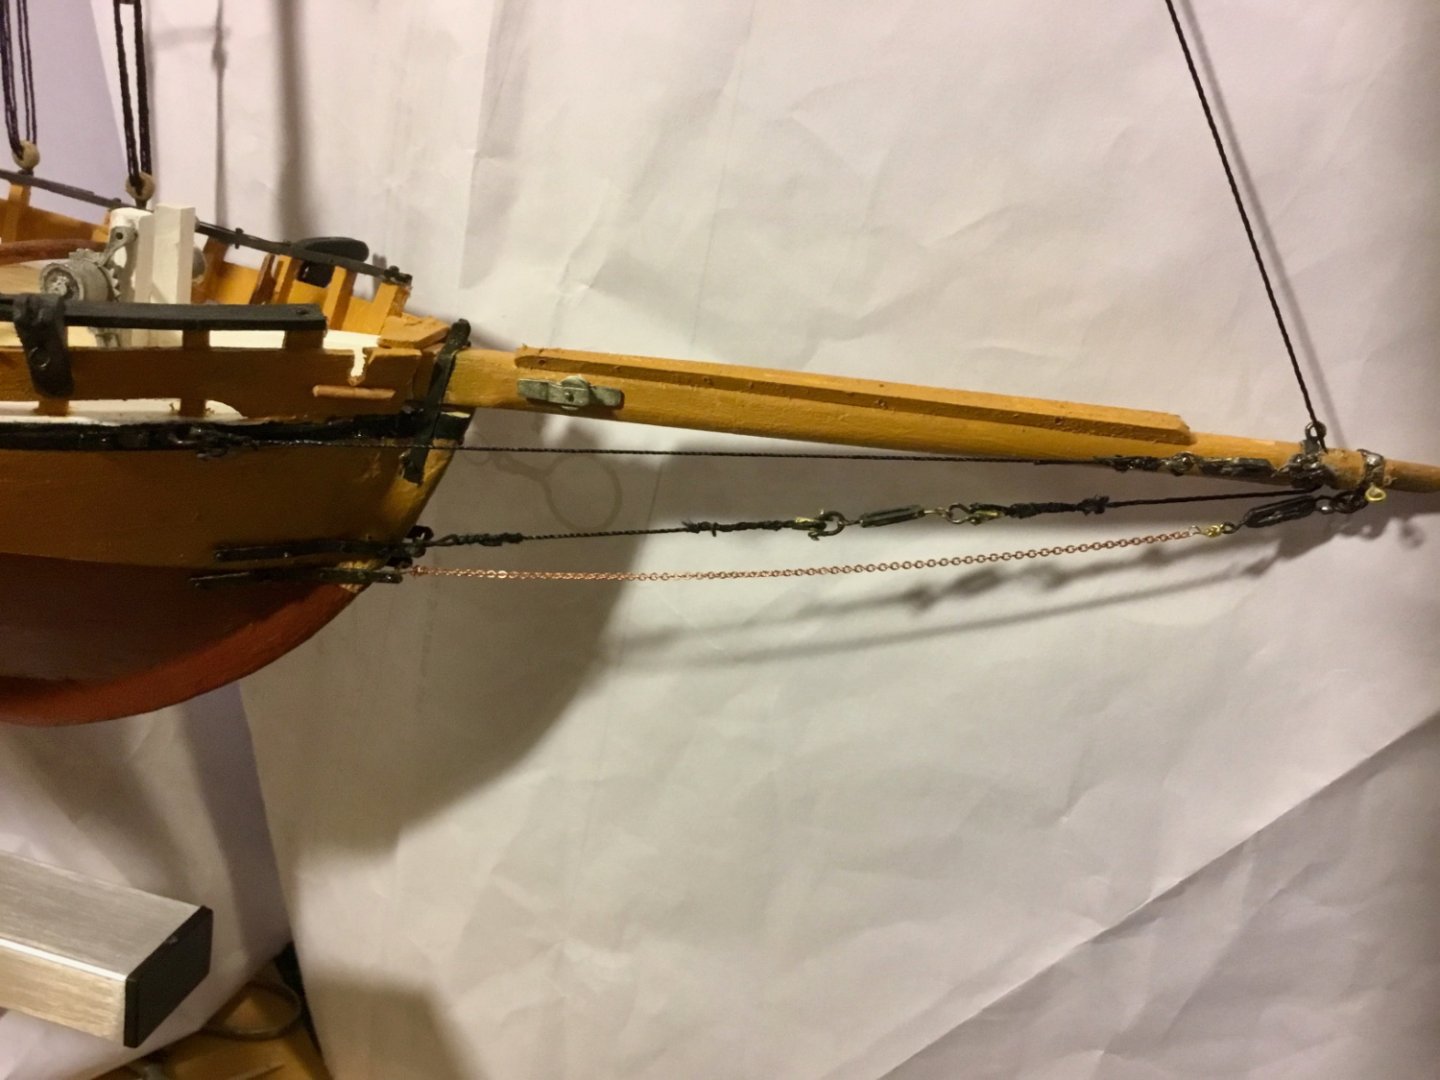
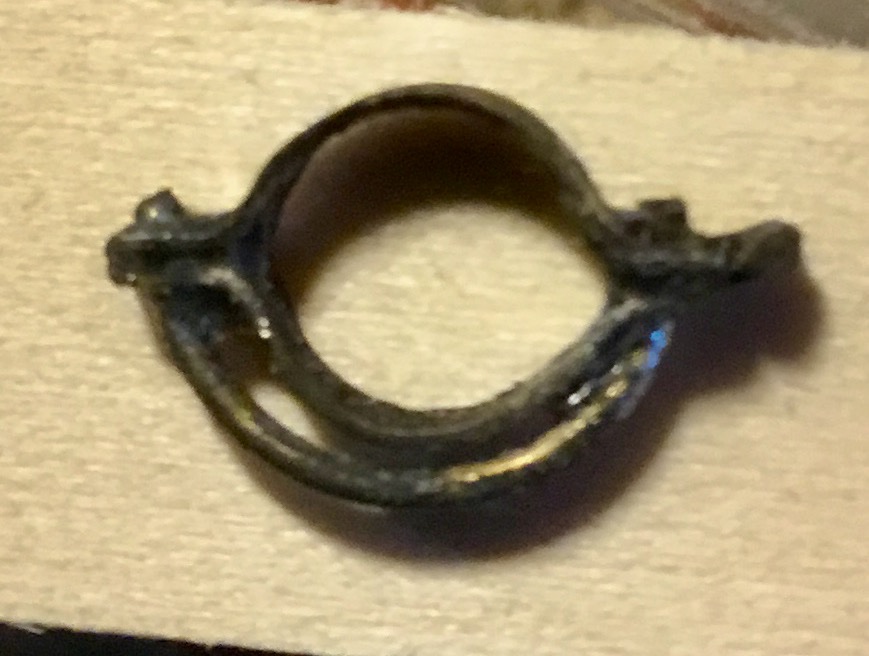
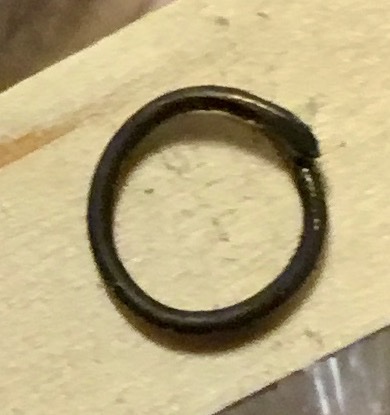
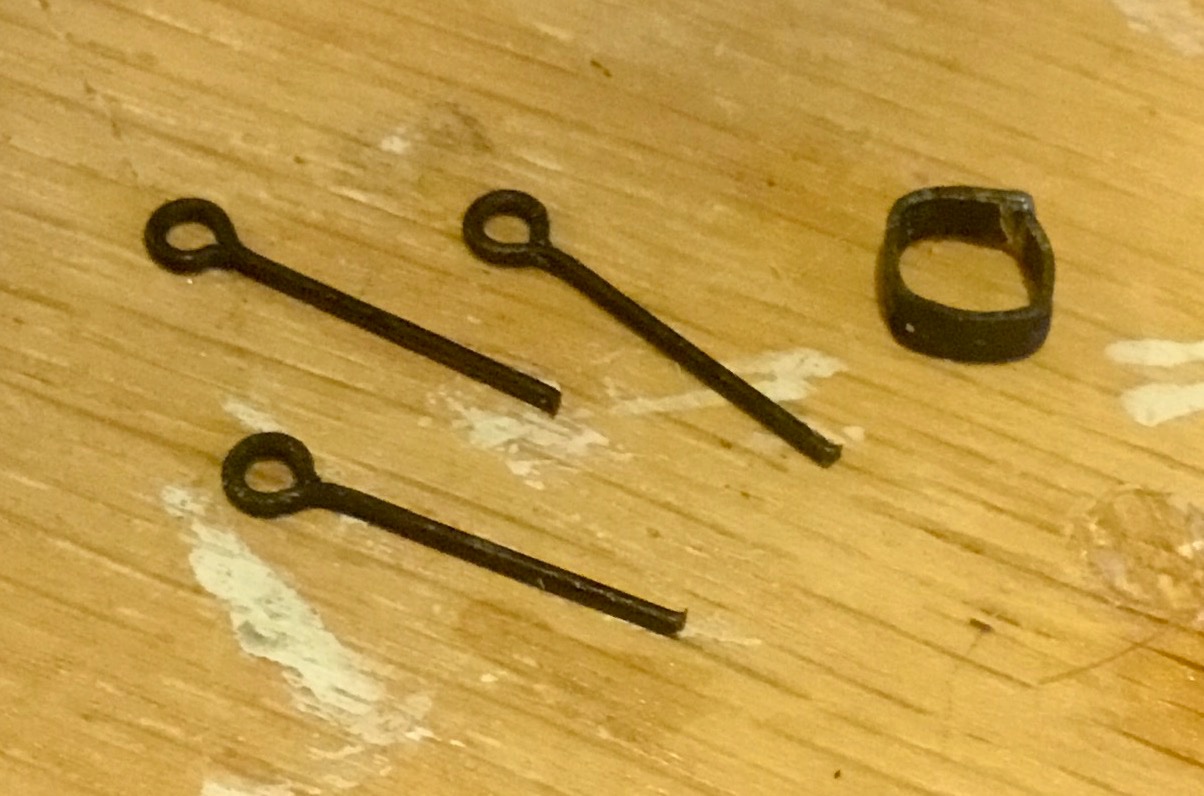
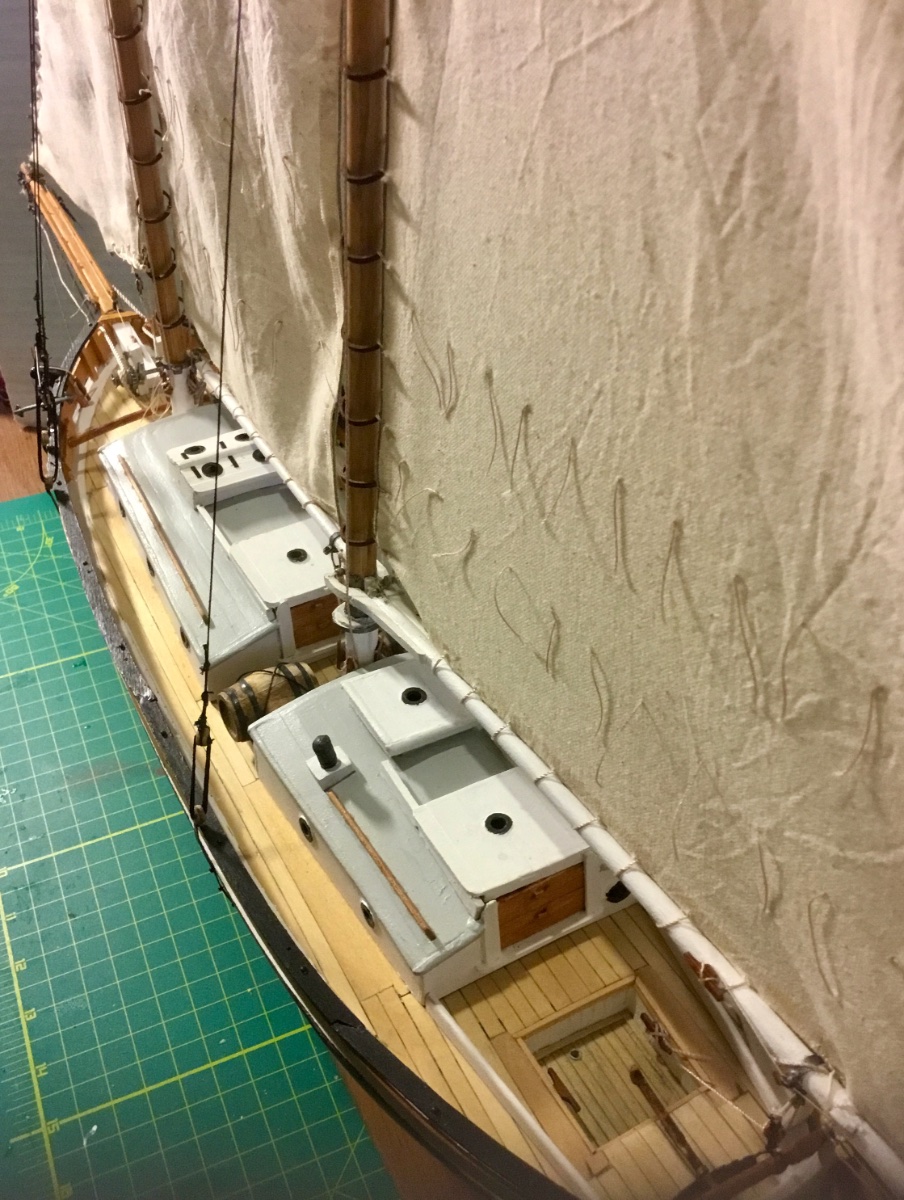
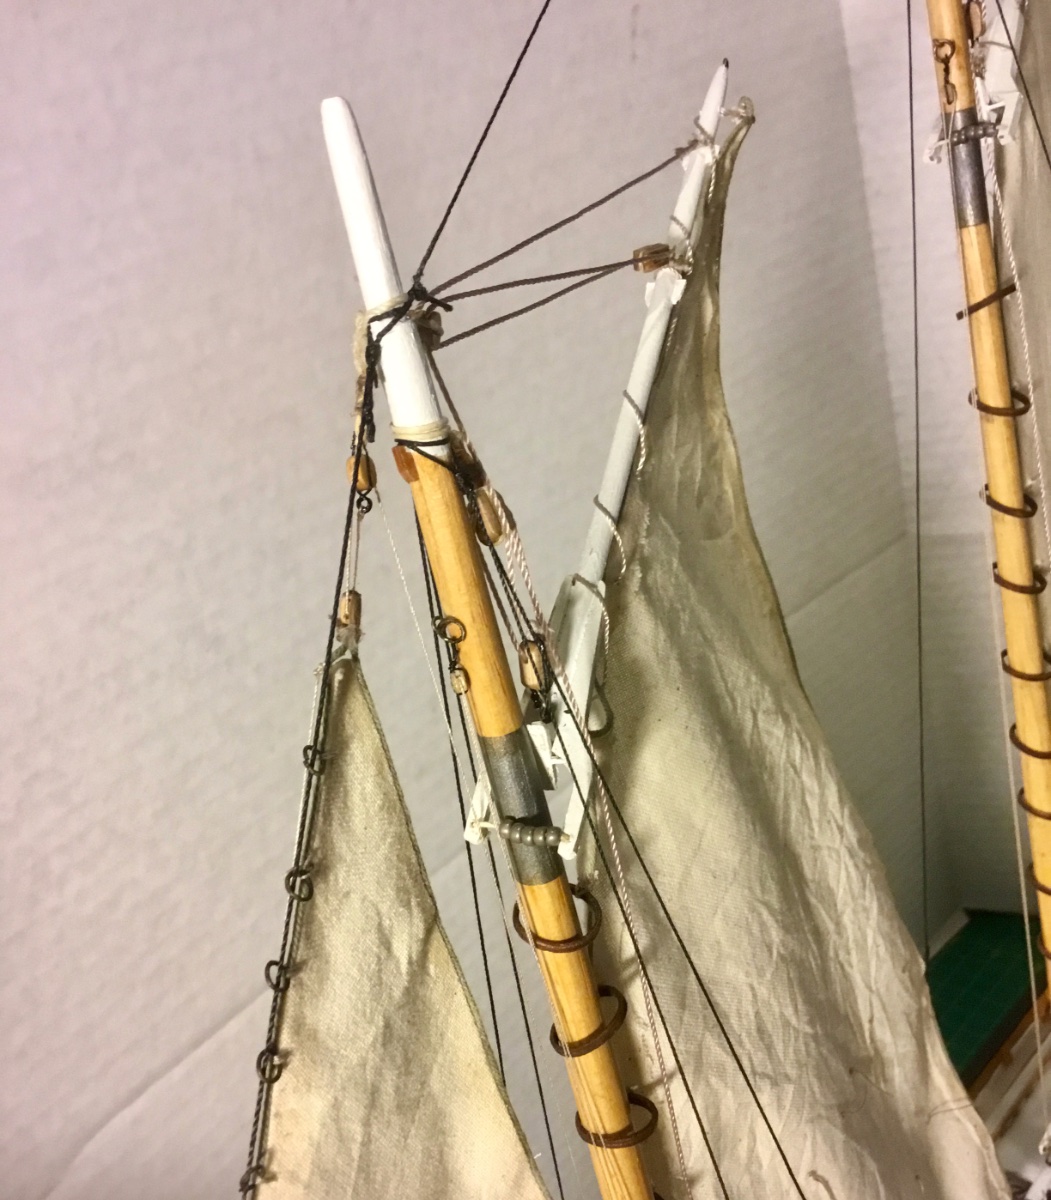
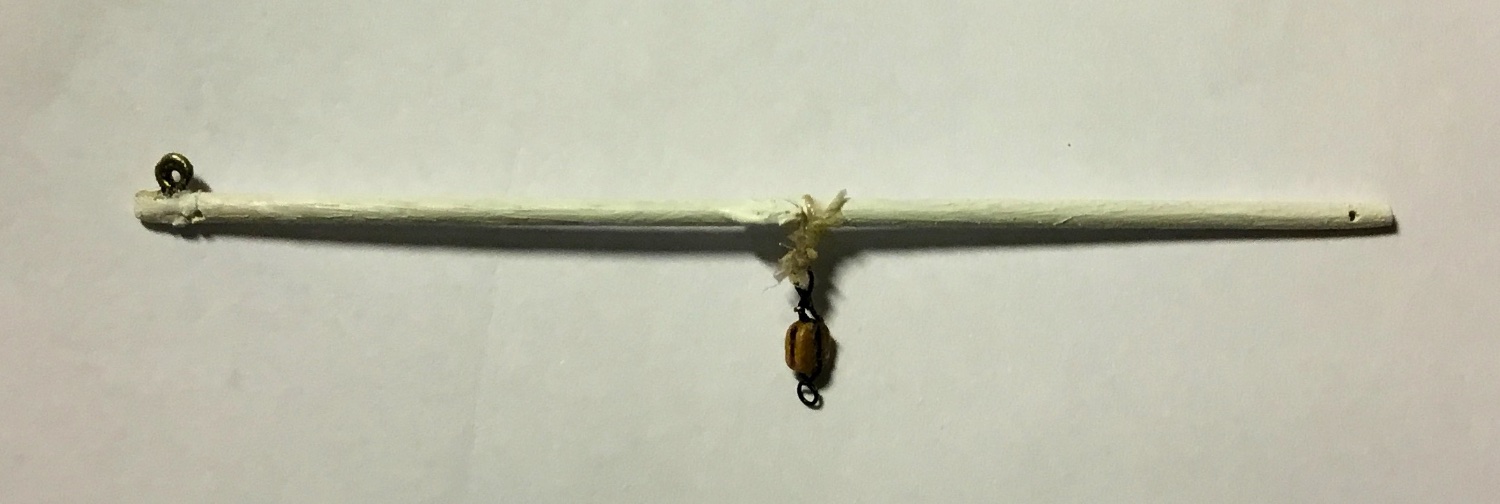
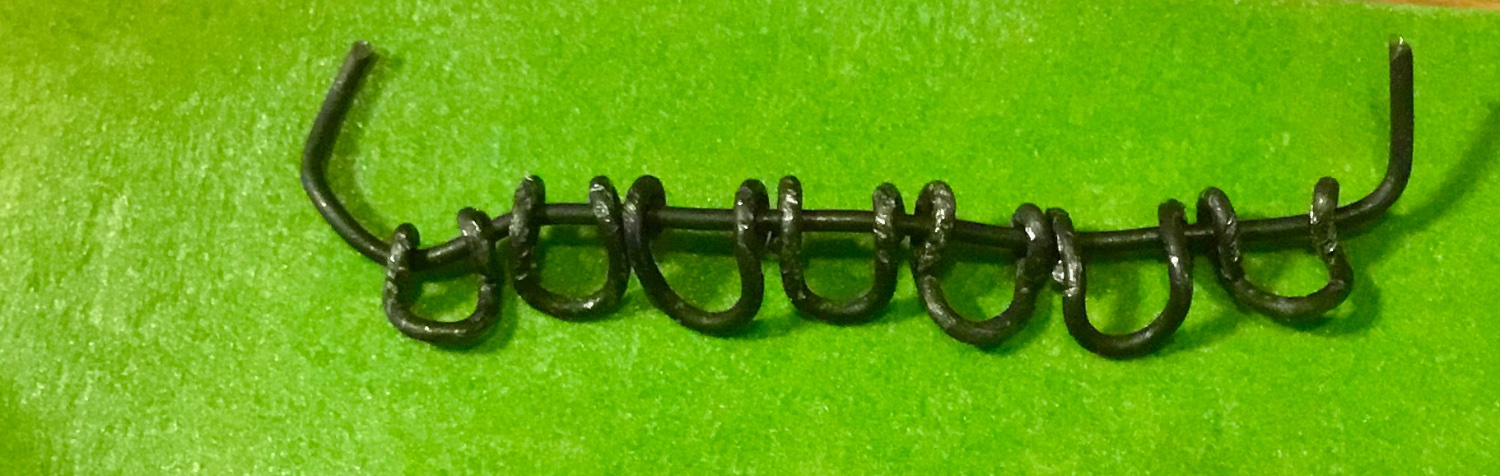
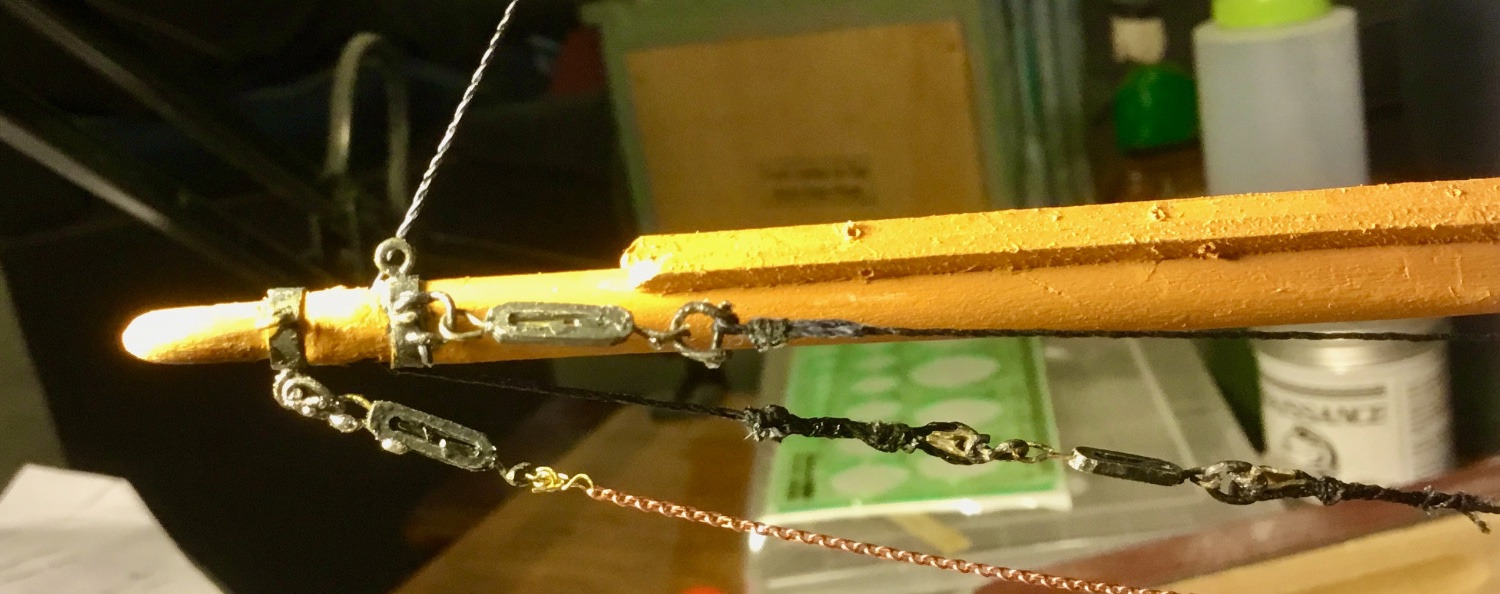
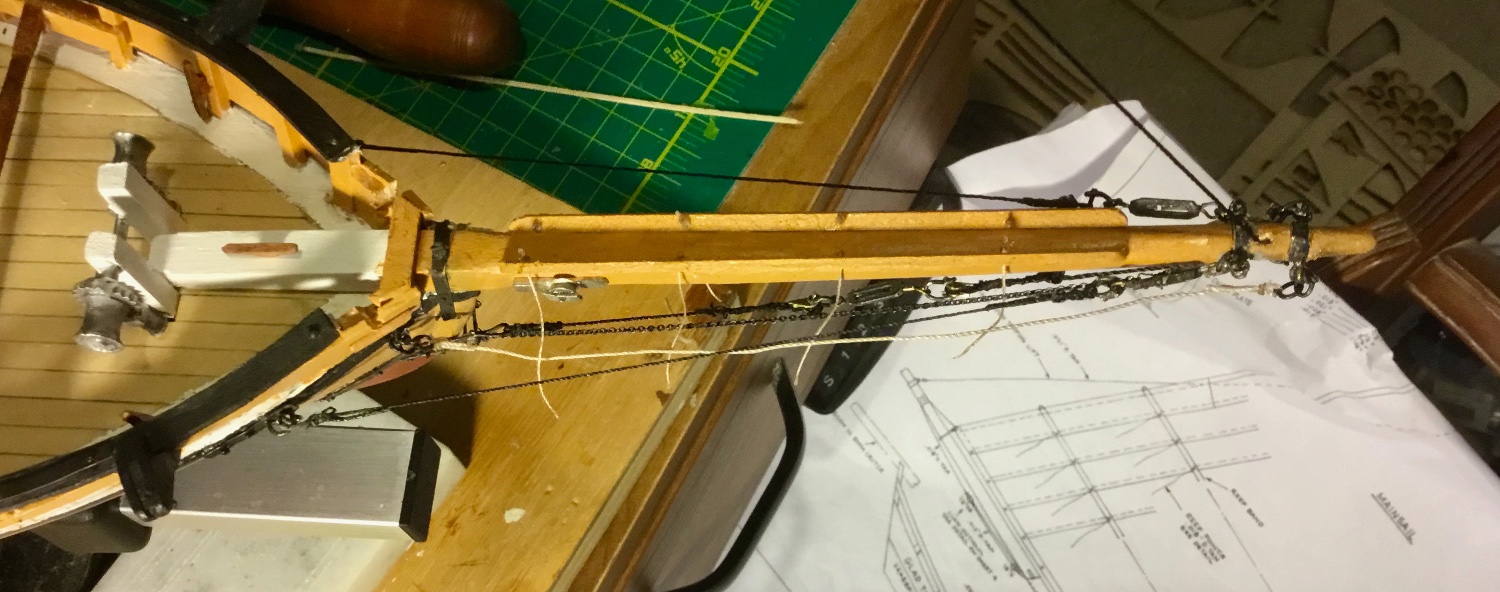
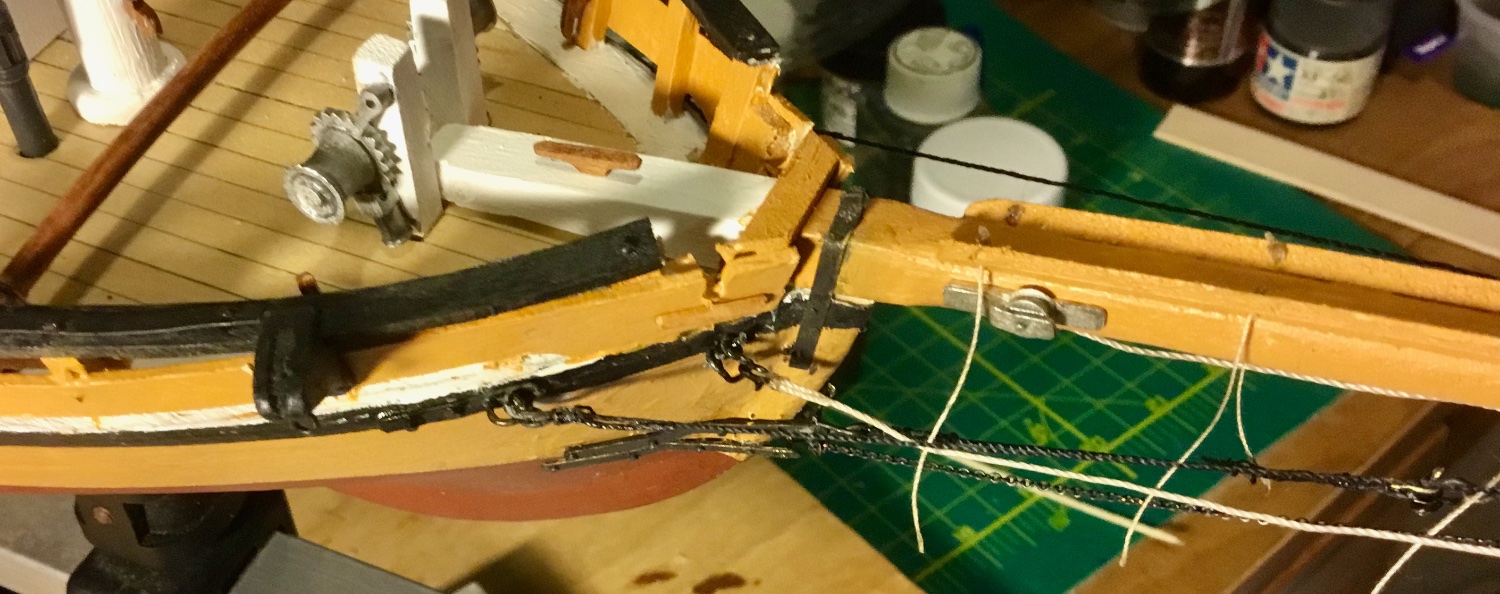
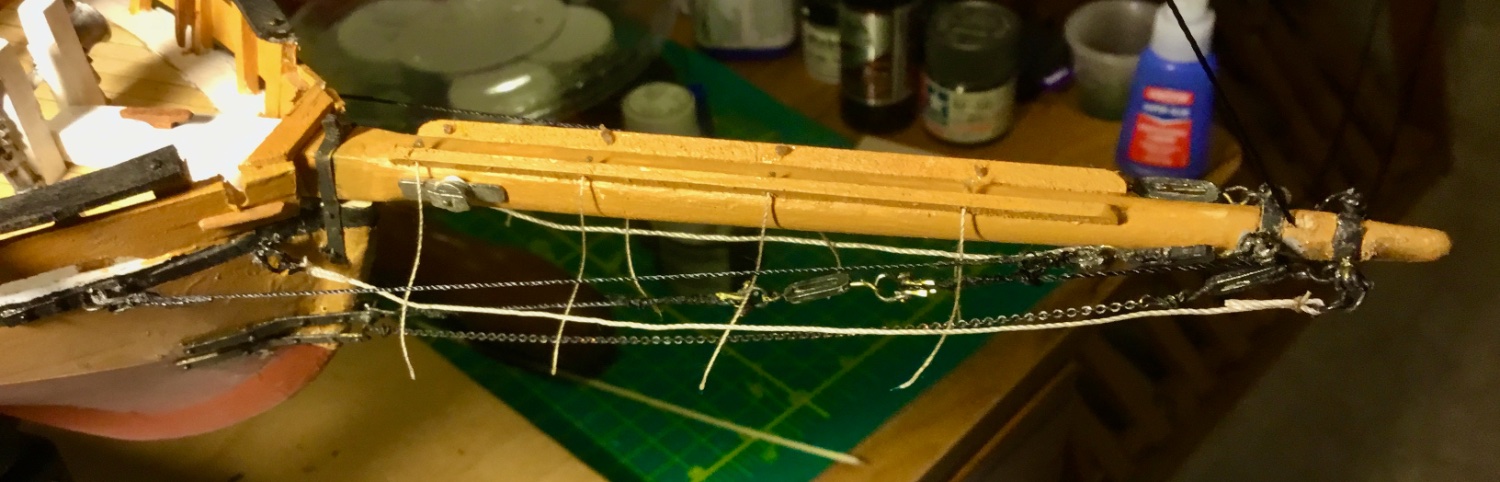
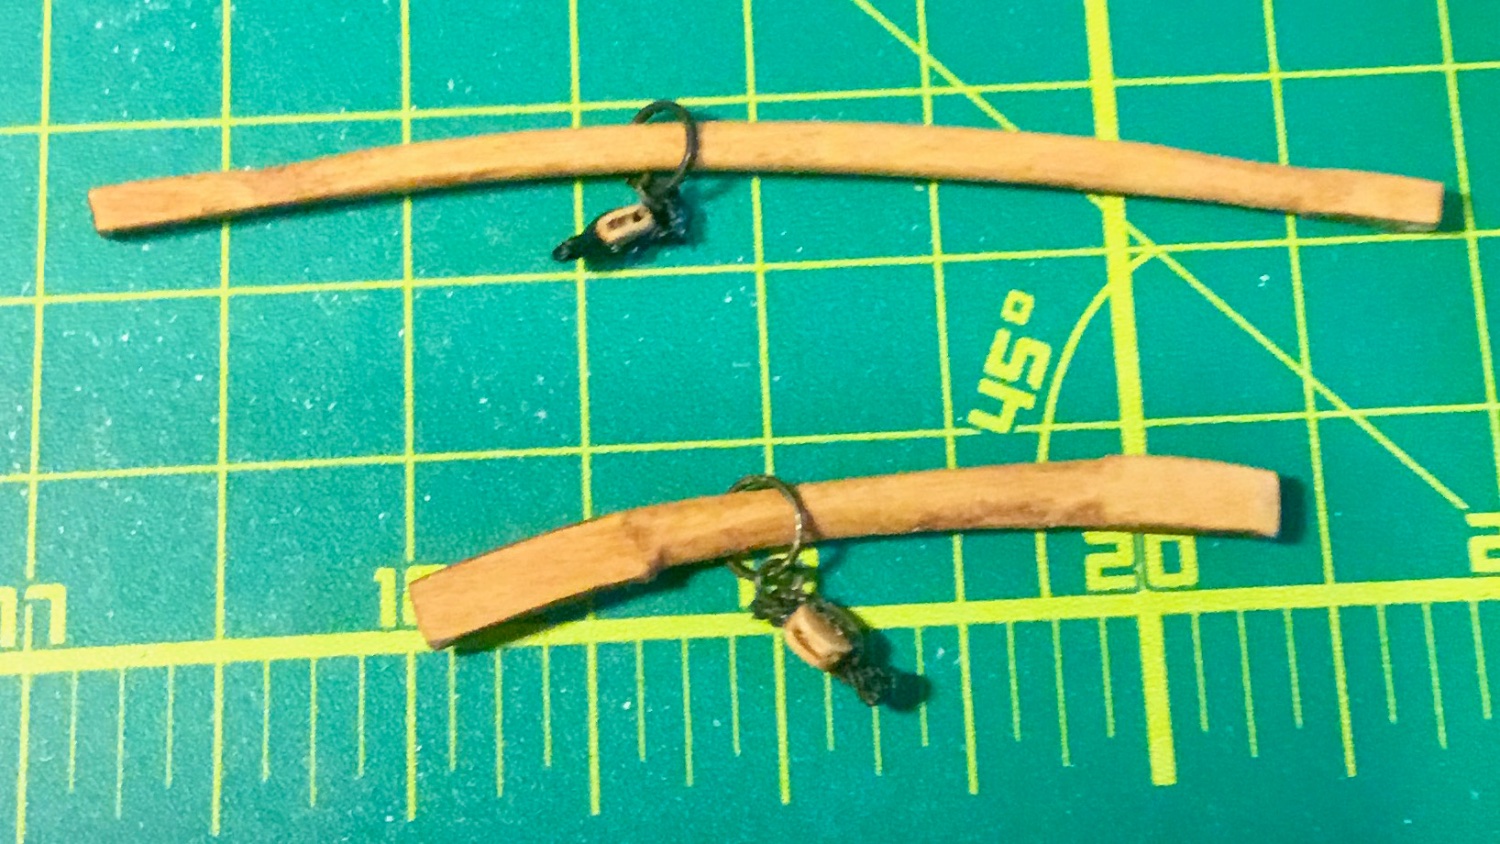
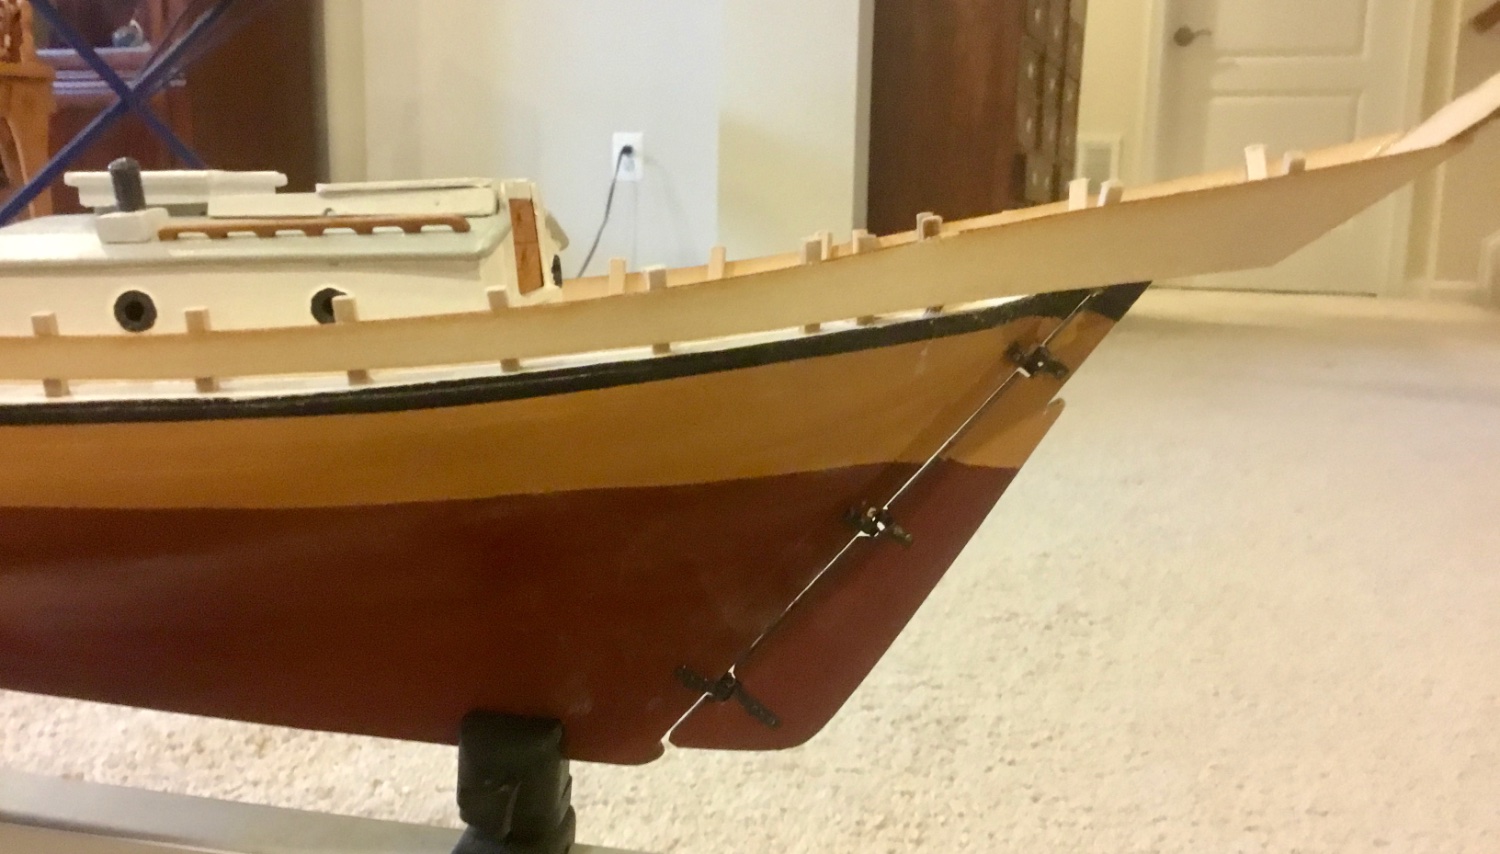
Completed the standing rigging. Spring stay, jib stay, inner and outer bobstays, bowsprit shrouds and footropes.
Needed to make several shackles. I tried to initially solder the shackle pins with little success and ended up securing the pins with some thick CA instead. Up next is making the sails.


- Tom E, Paul Le Wol, Prowler901 and 5 others
-
8
-
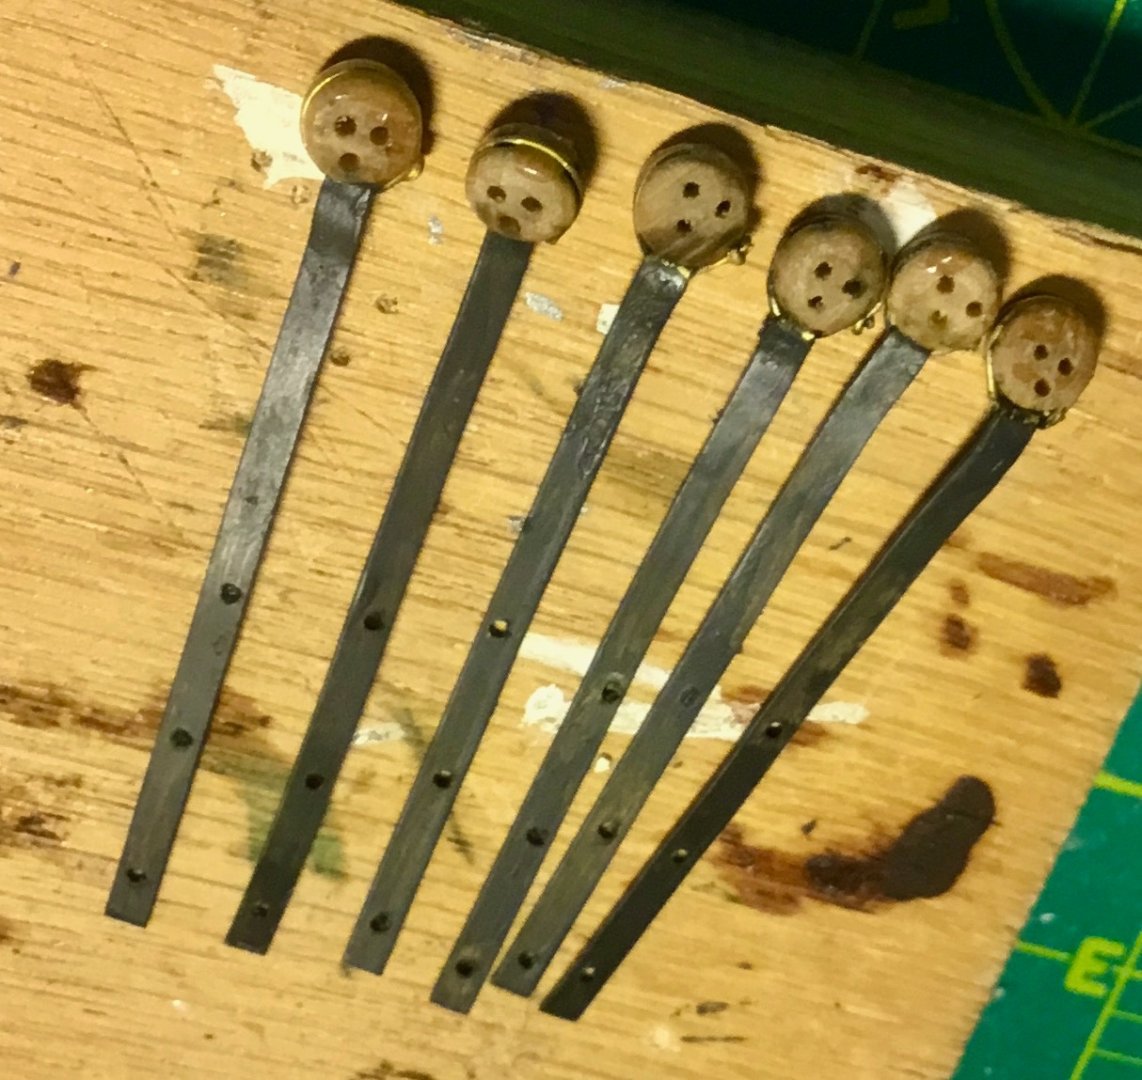
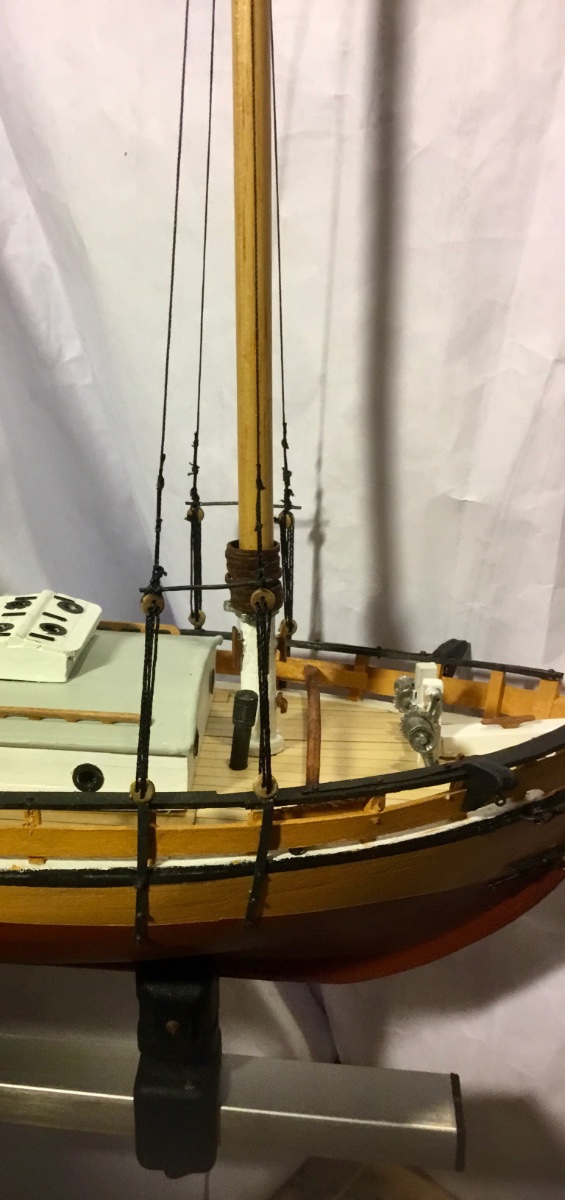
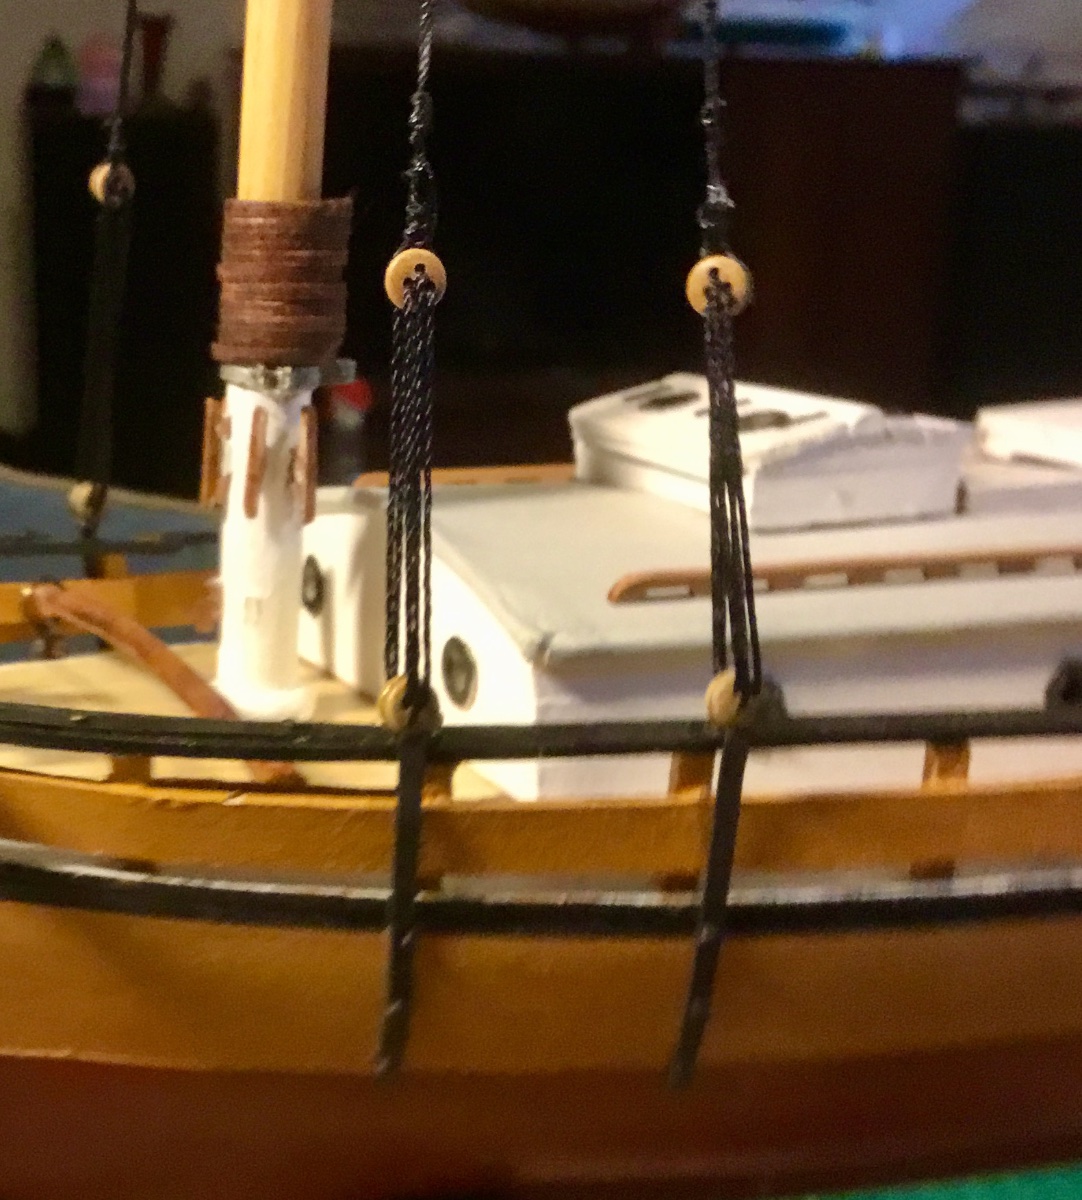
I installed the bobstay stem plates and the chain plates for both masts. I followed that up by adding the shrouds and lanyards for the fore mast.


- ccoyle, Paul Le Wol, Dave_E and 2 others
-
5
-
Thank you. I am also following your build. I used a low temperature soldering paste for parts of this build, but forming the small hinge pieces and drilling holes correctly on tiny parts is a problem for me. Watching Olha's videos makes it look so simple. I still need to create parts like shackles, thimbles, hooks, etc. for the rigging to come so I'll get more experience and hopefully not give up as quickly. Then the decision will come on whether to add sails or not.
- Paul Le Wol and Dave_E
-
2
-

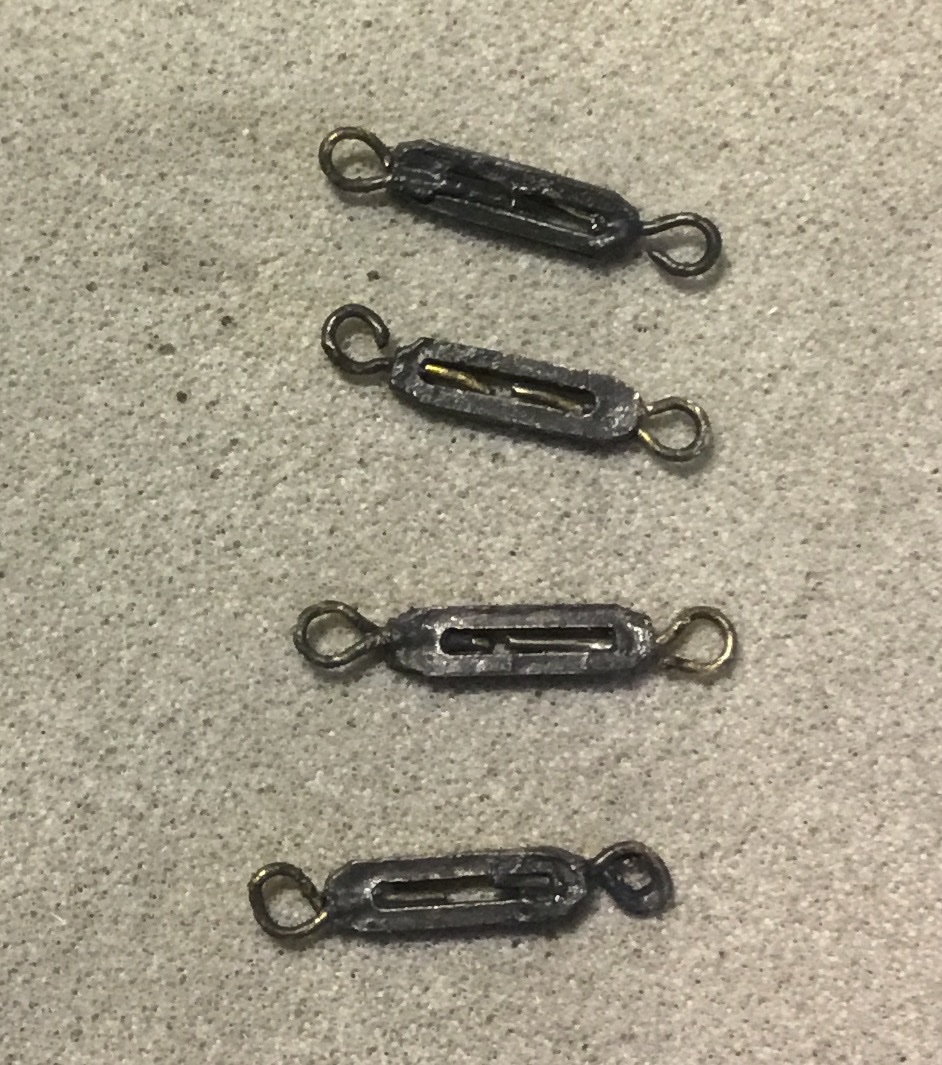
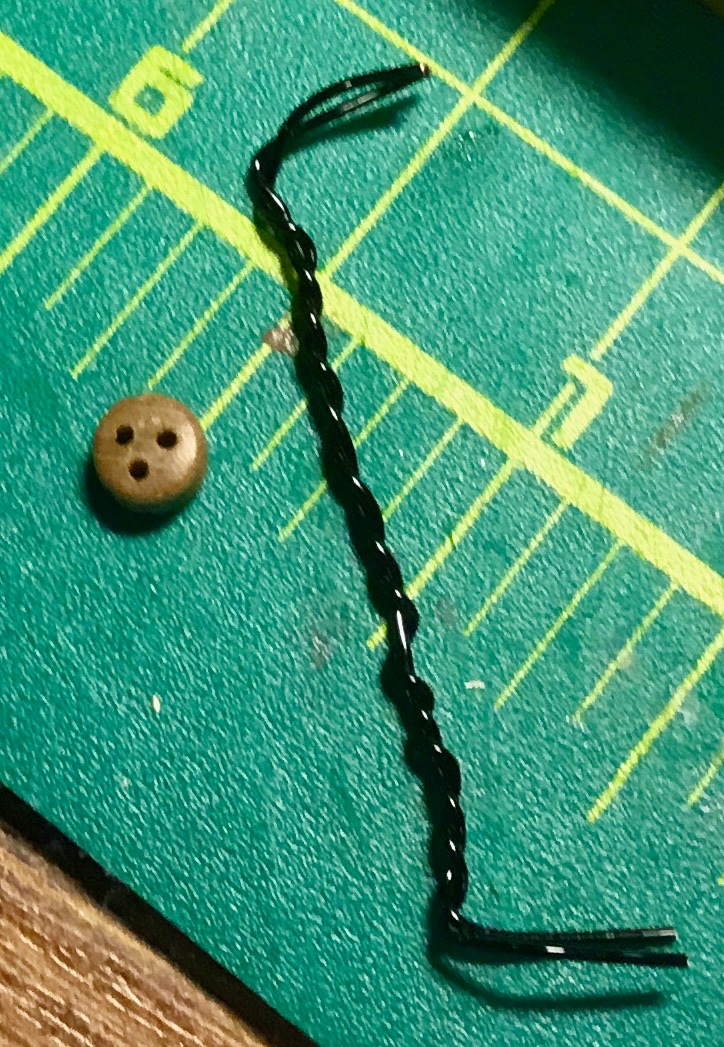
Completed the gaffs, assembled the turnbuckles. I made the chain plates and dead eye strops but my skills at metal work needs a lot more practice. I gave up and instead of fabricating a hinge I simply crimped the dead eye strops to the chain plates. I'll need to practice my soldering skills before I get to that point on my next build. I also had troubles making hinges for the skylight and the seat of comfort lid. I then made a wire fixture for spacing the deadeyes and made the bobstay stem plates.
-
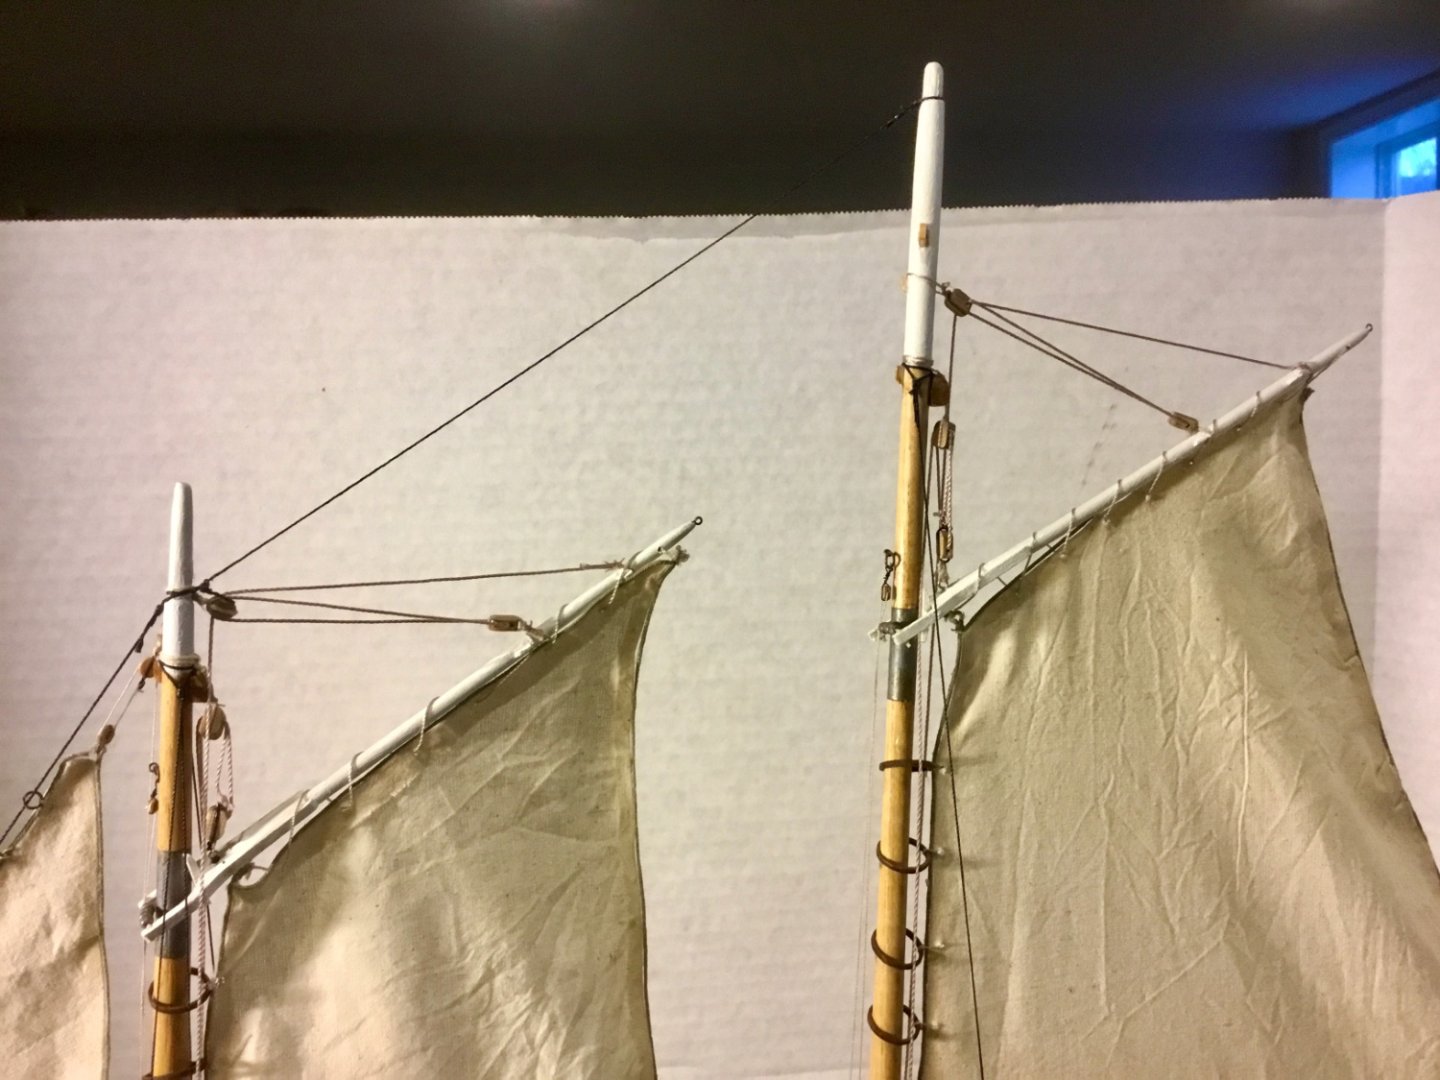
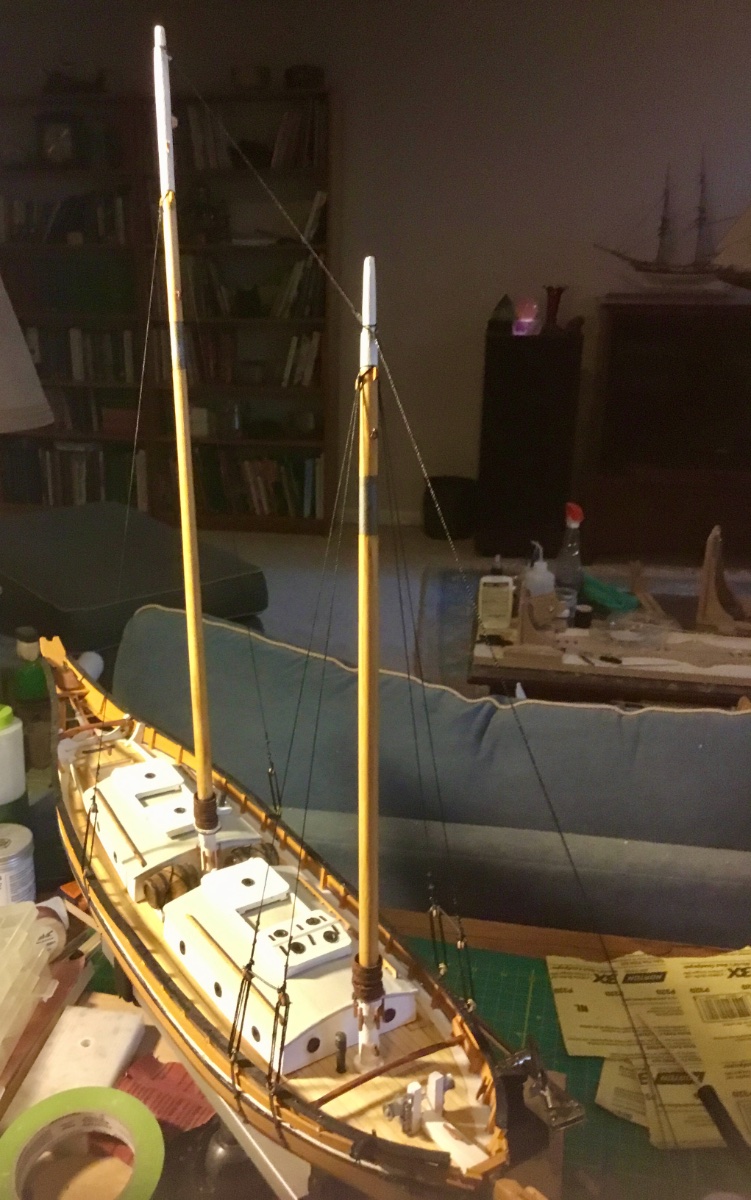
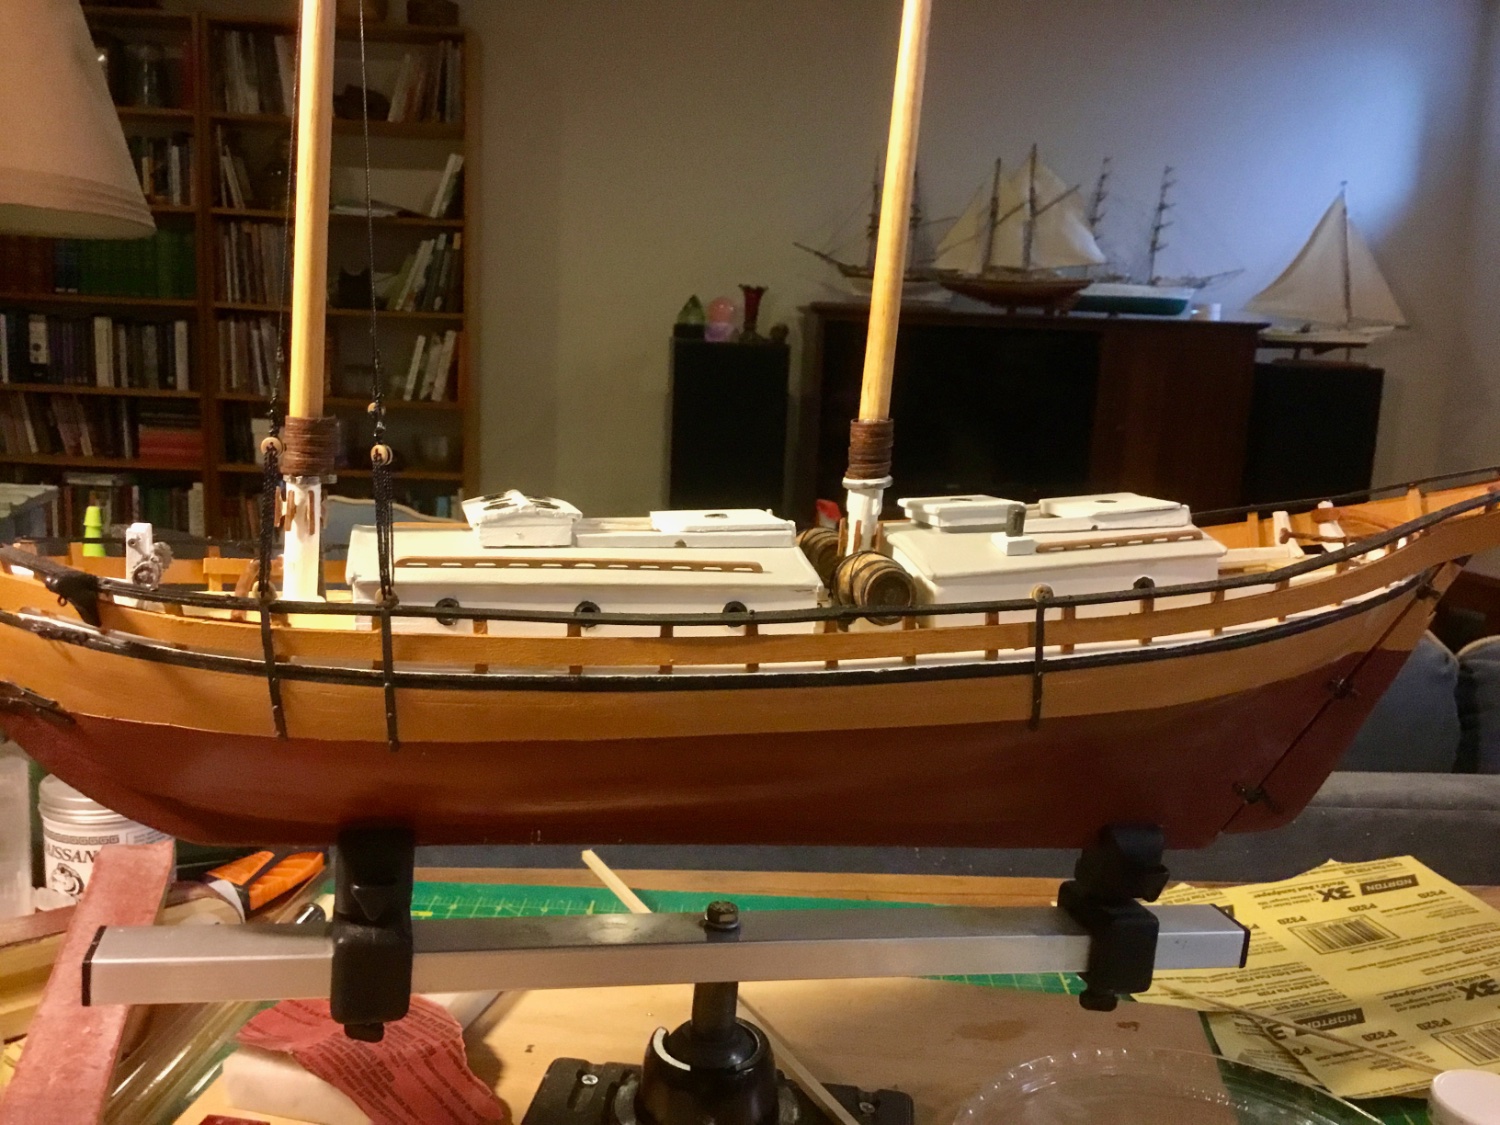
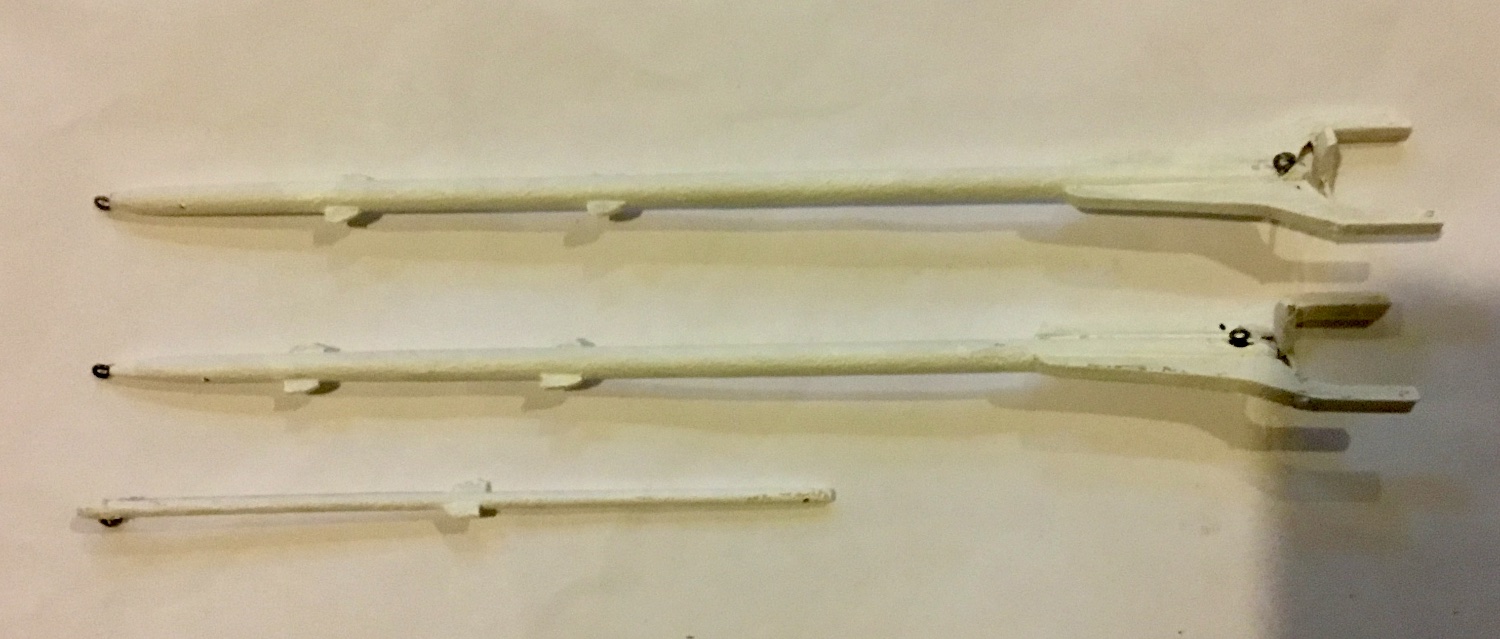
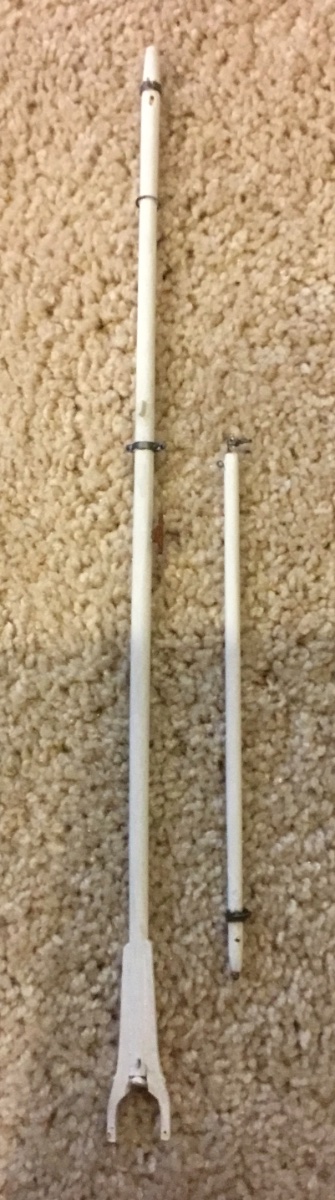
I completed the construction of the foremast and mainmast as well as their corresponding booms. Next up are the gaffs.


- Dave_E, Paul Le Wol and wool132
-
3
-
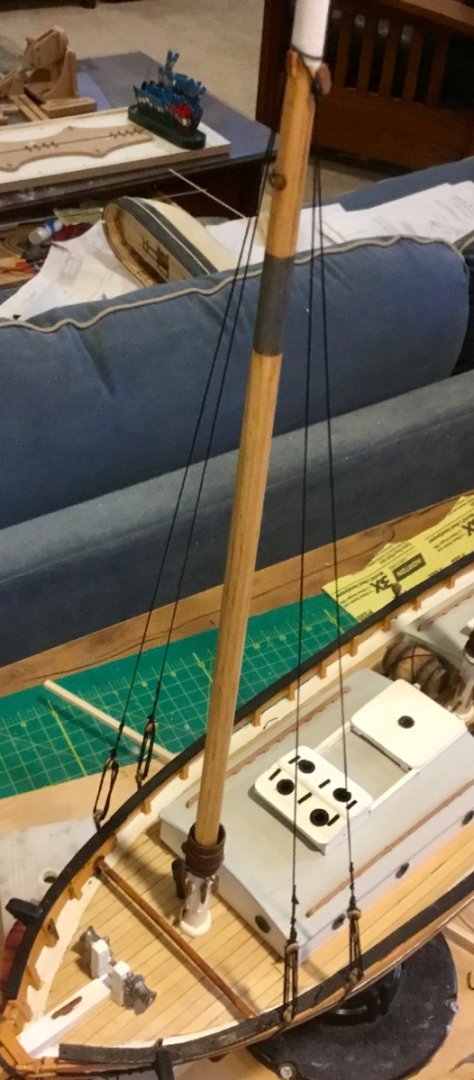
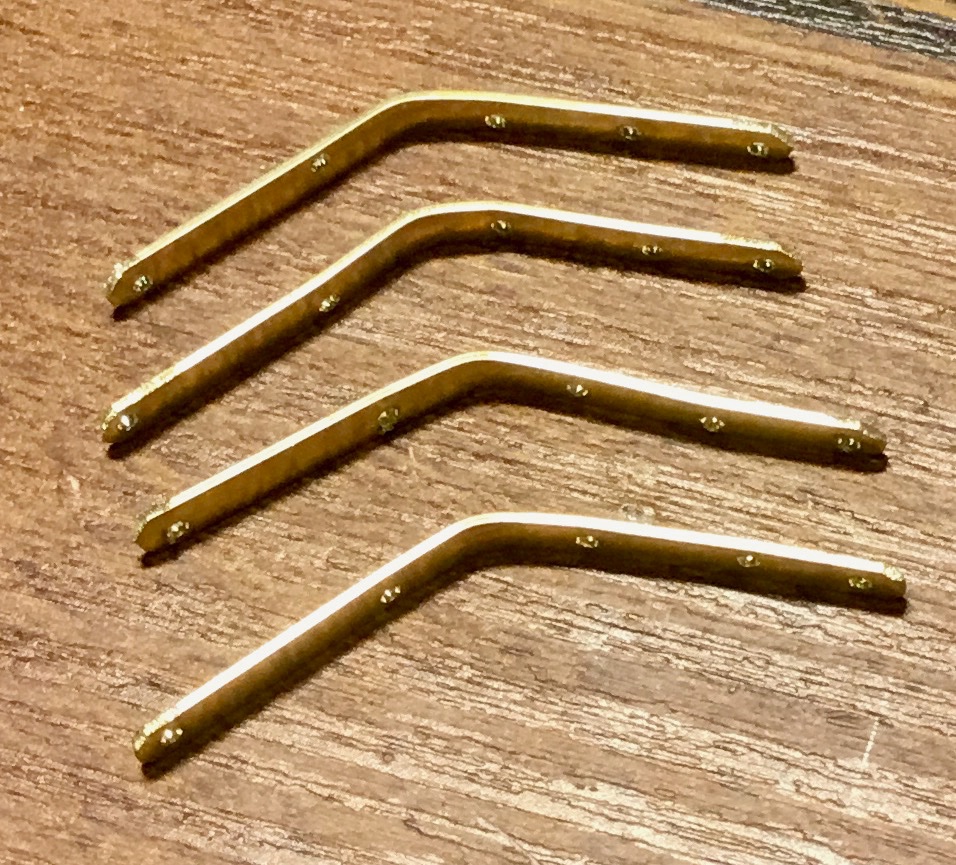
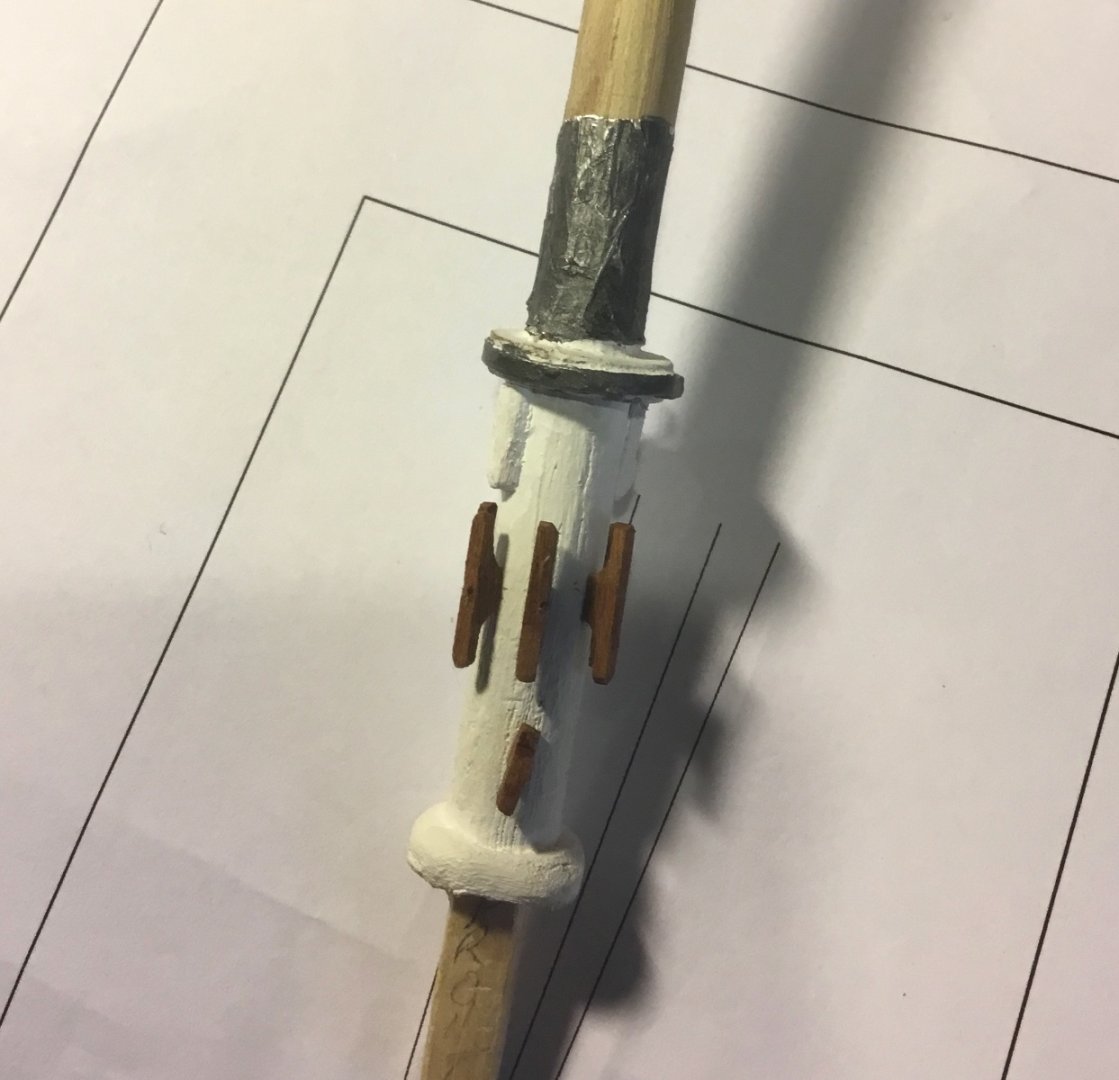
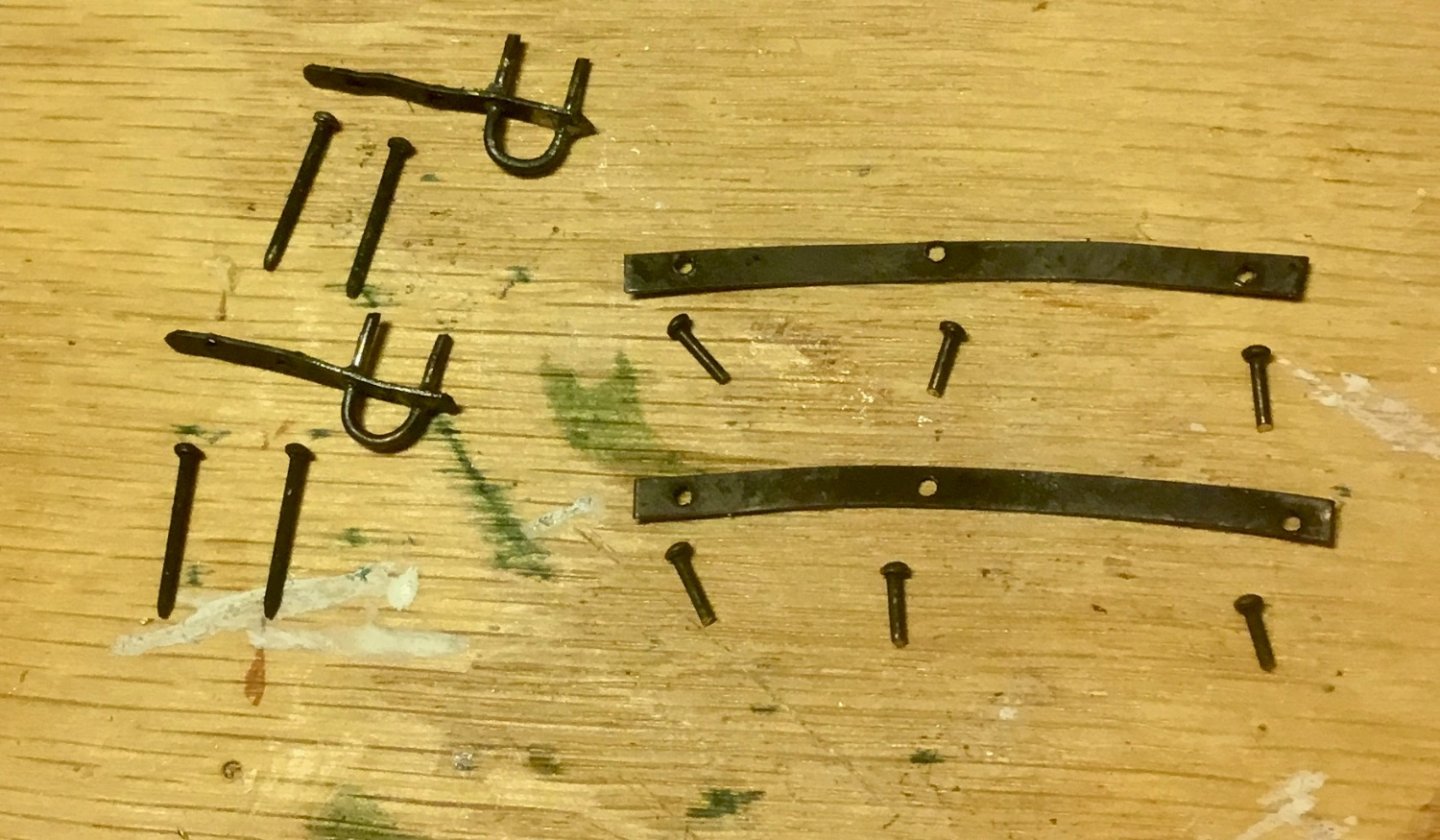
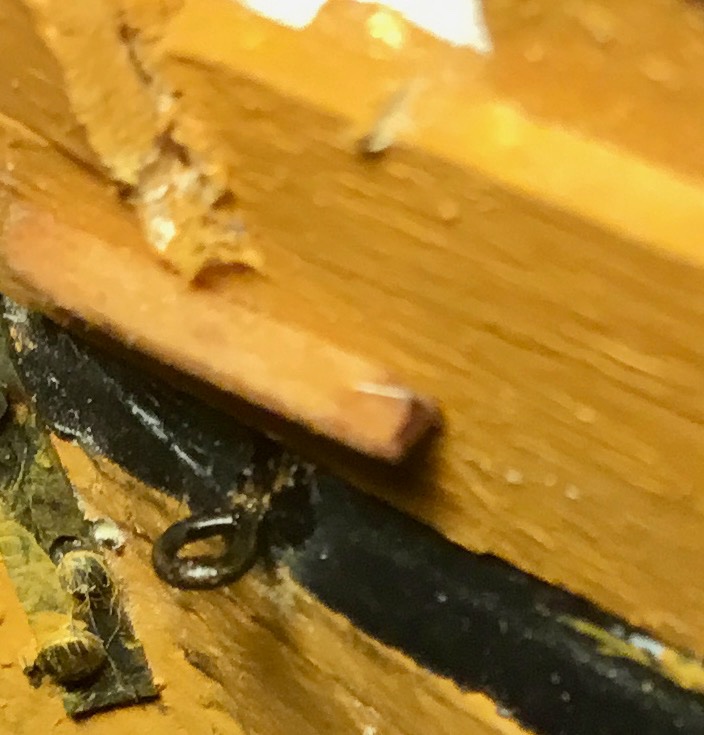
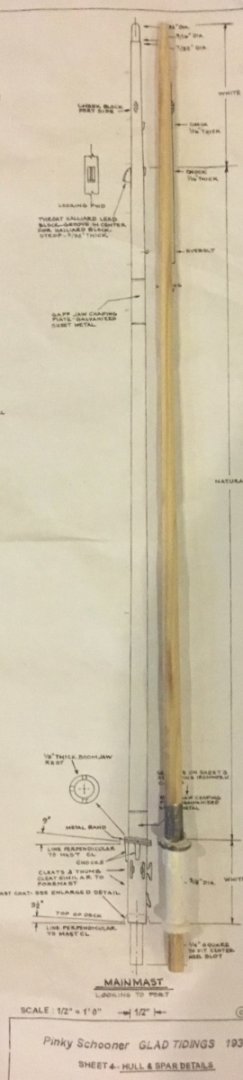
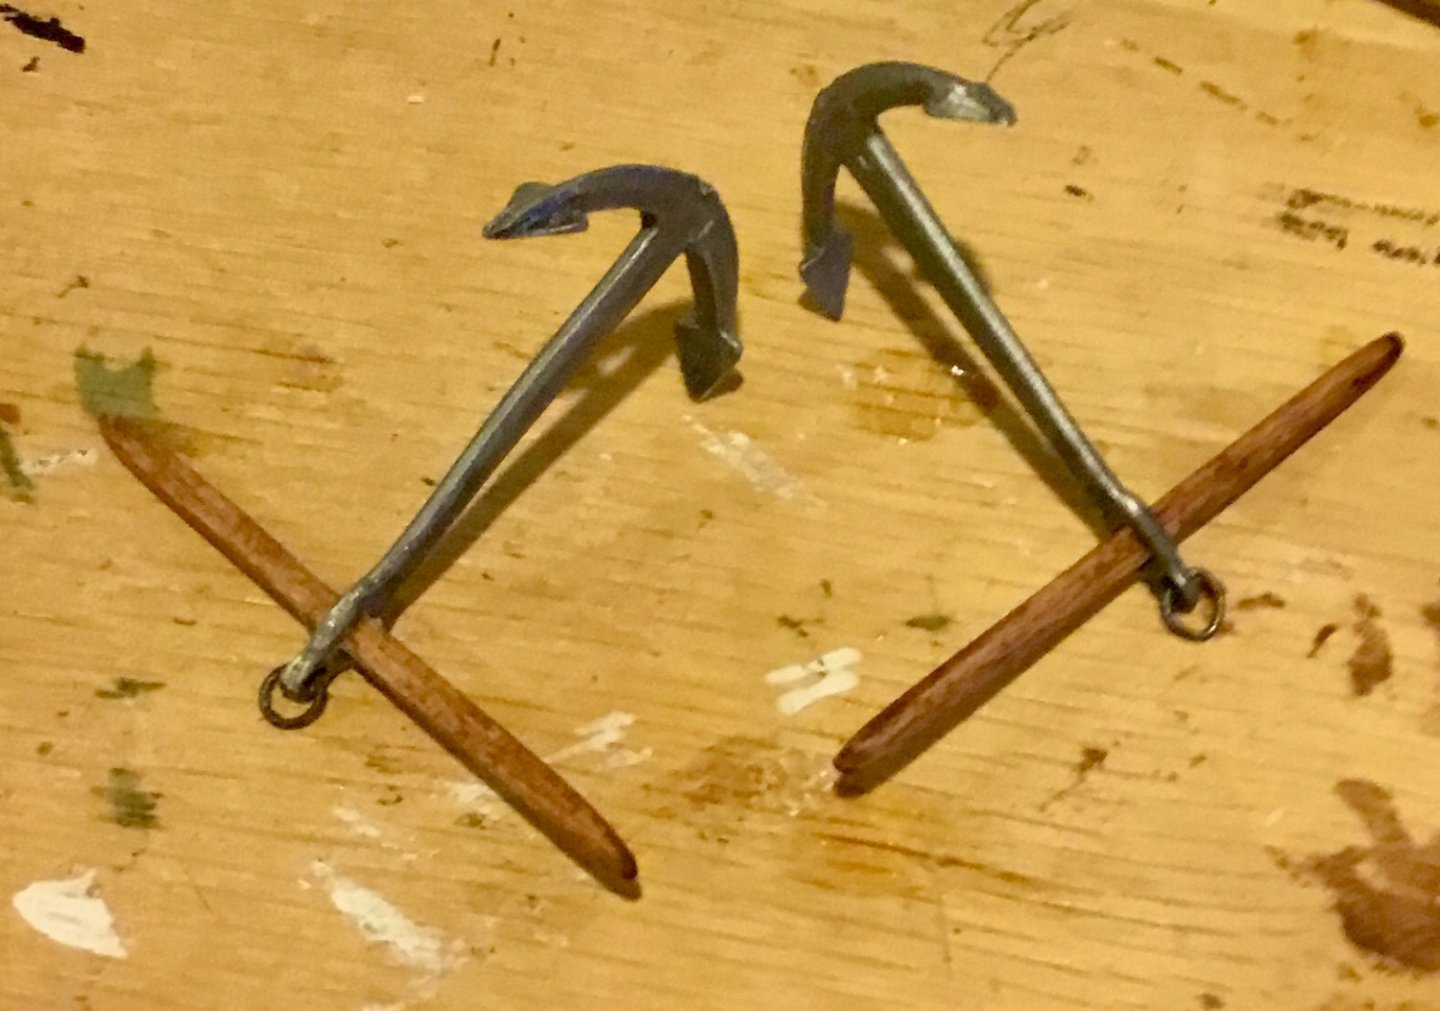
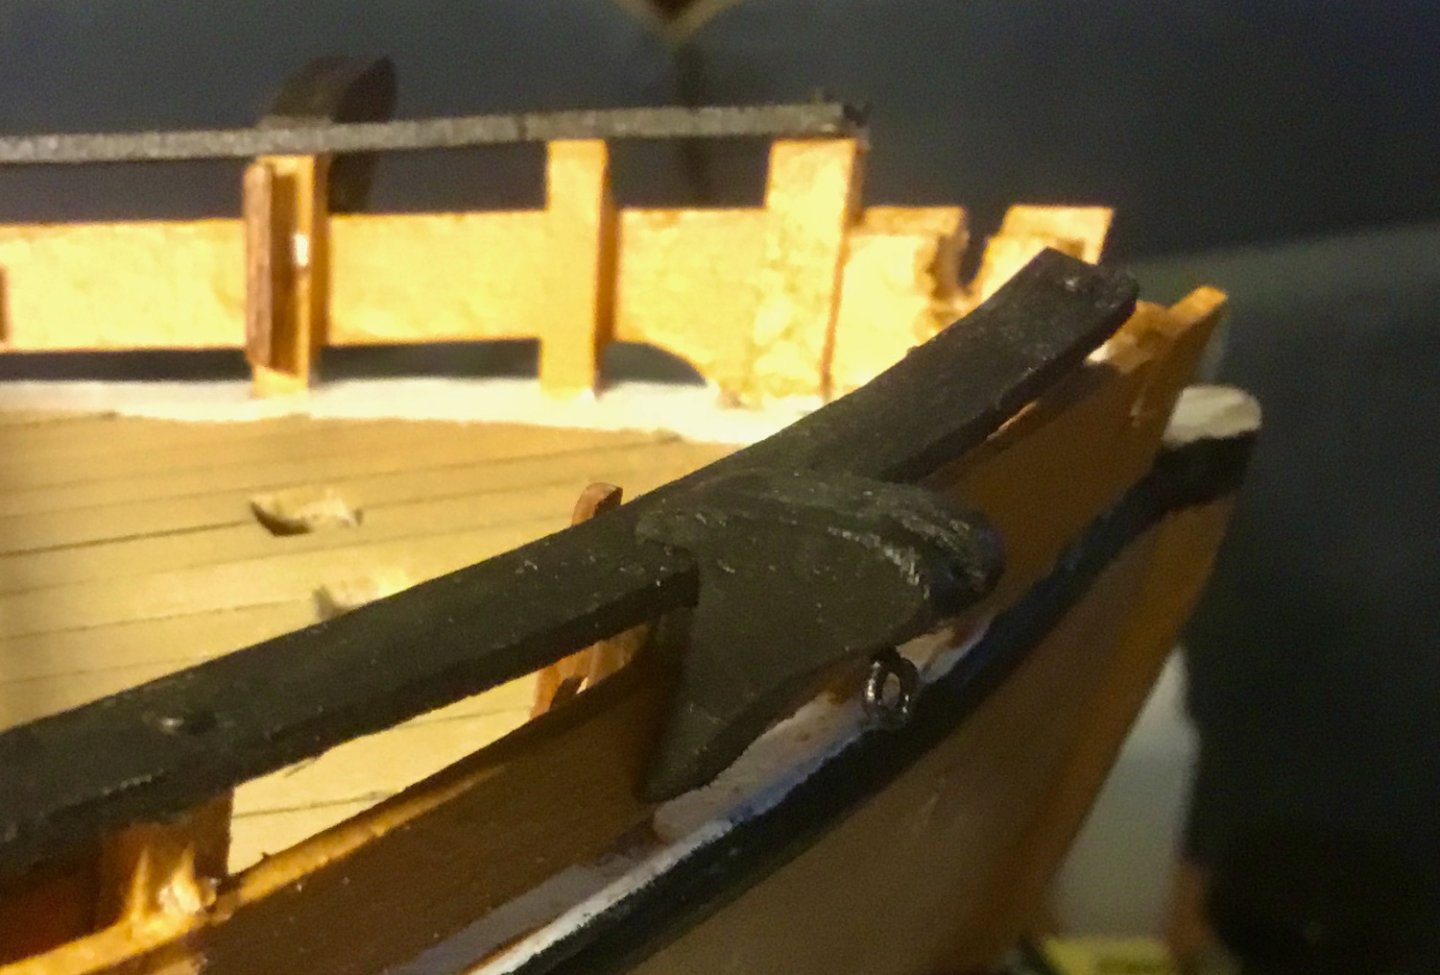
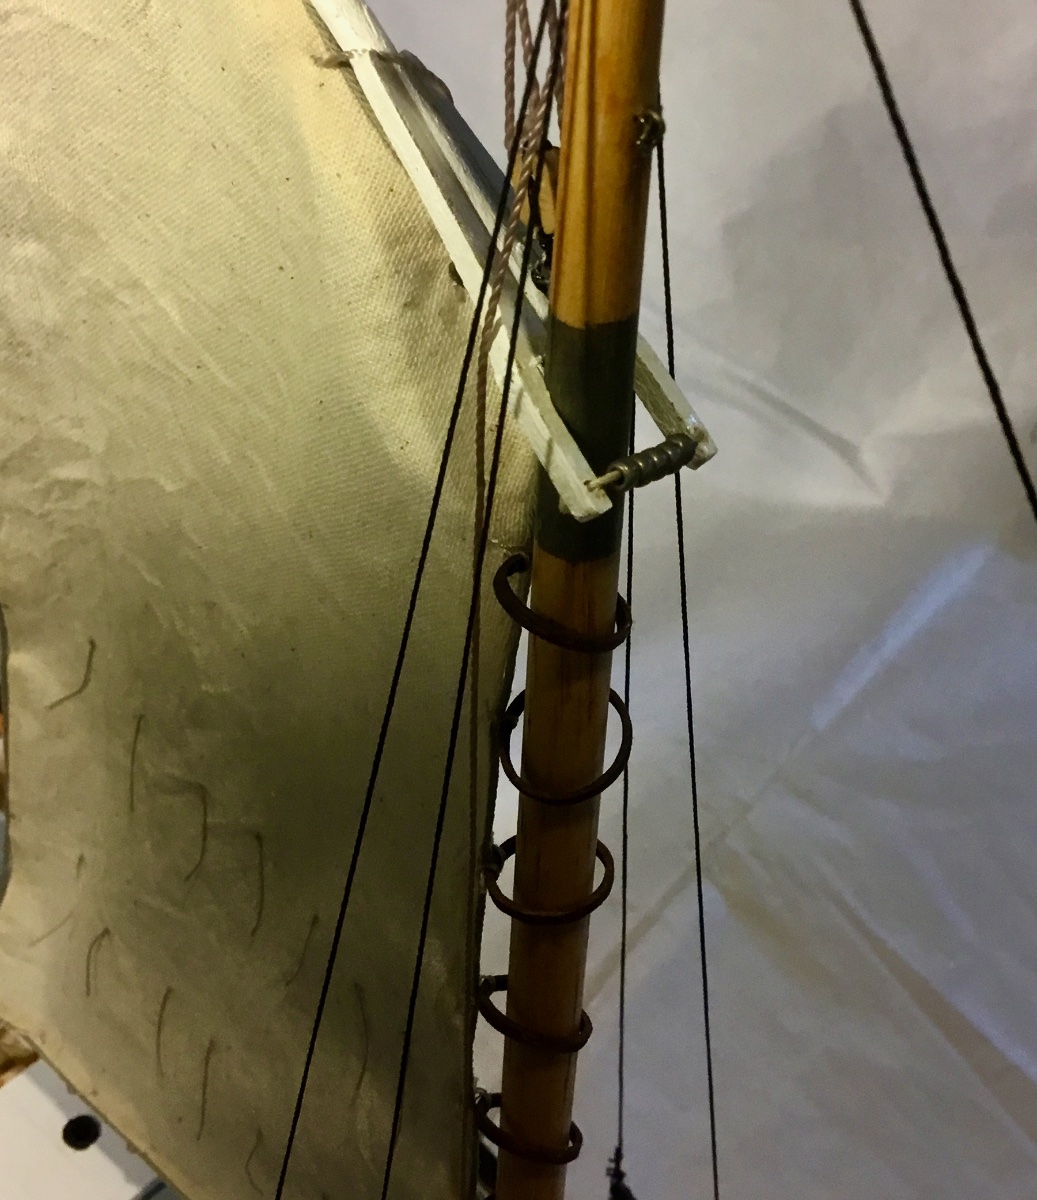
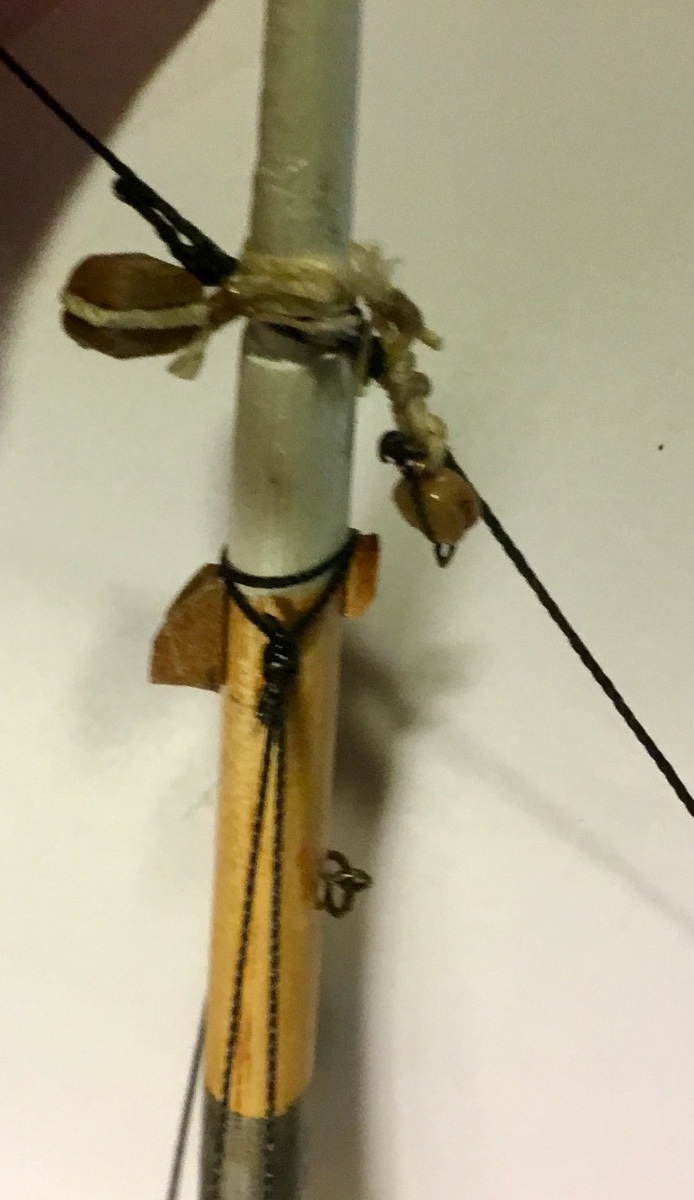
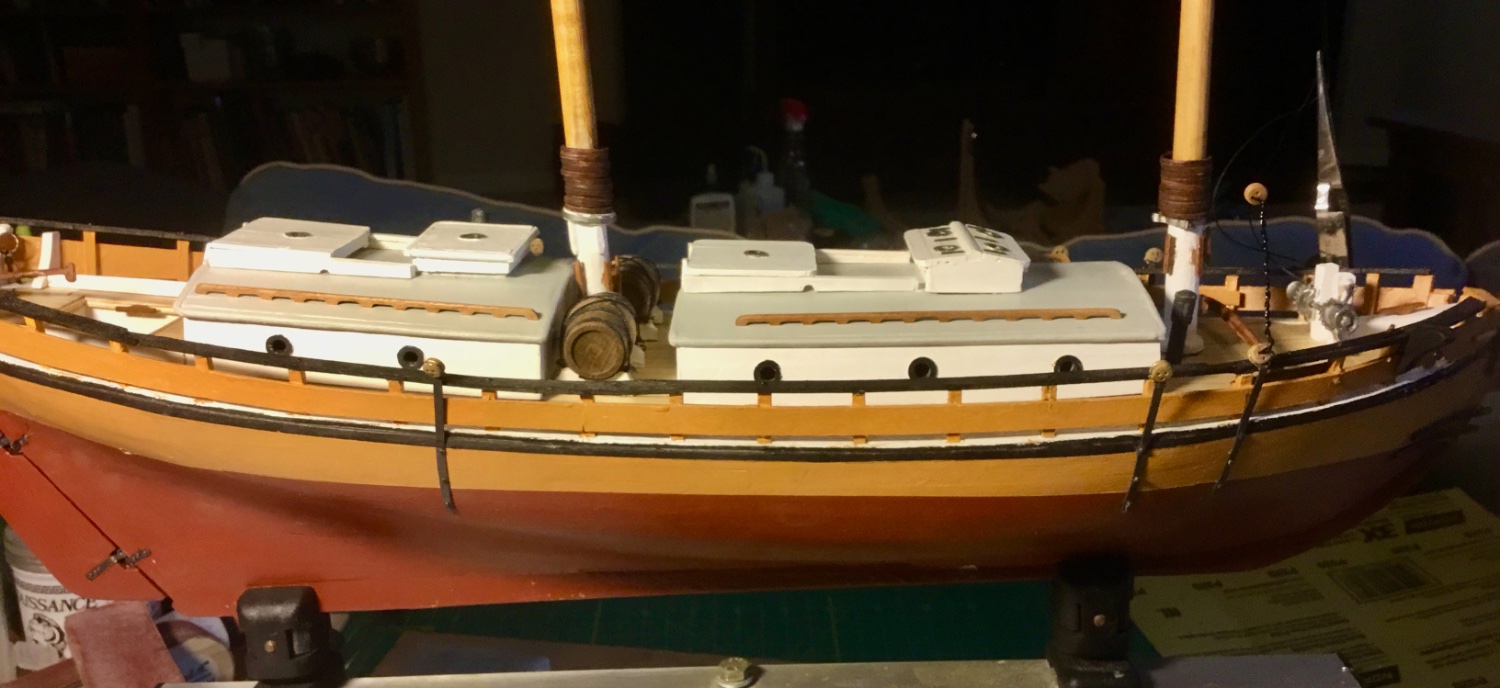
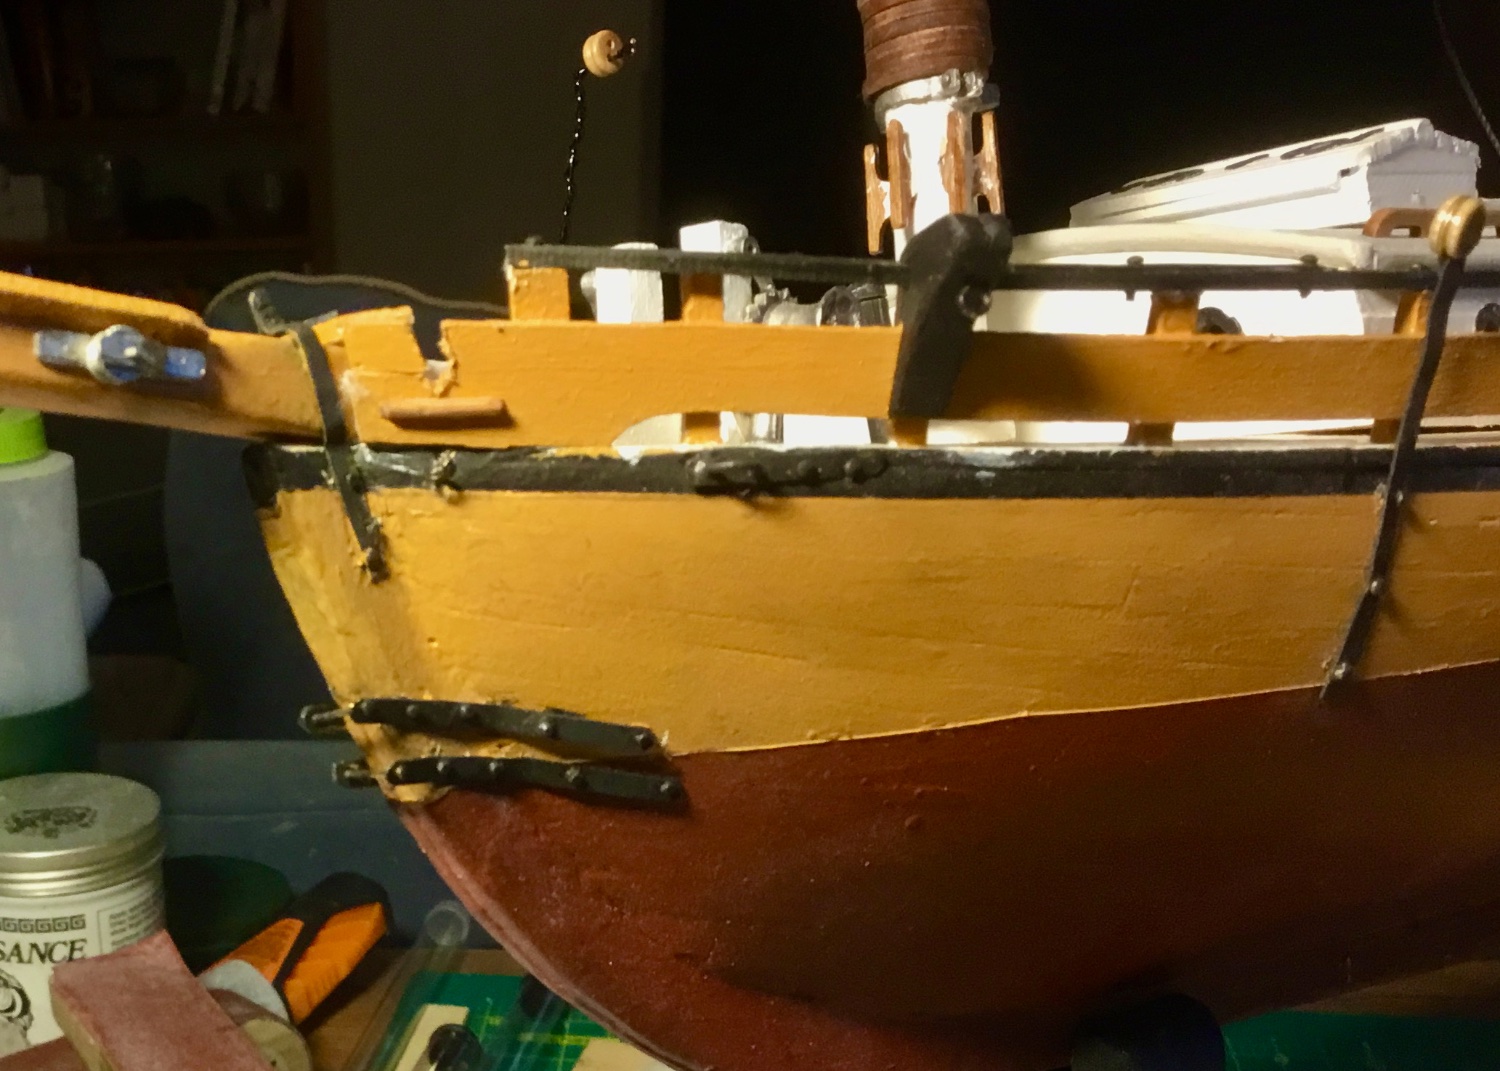
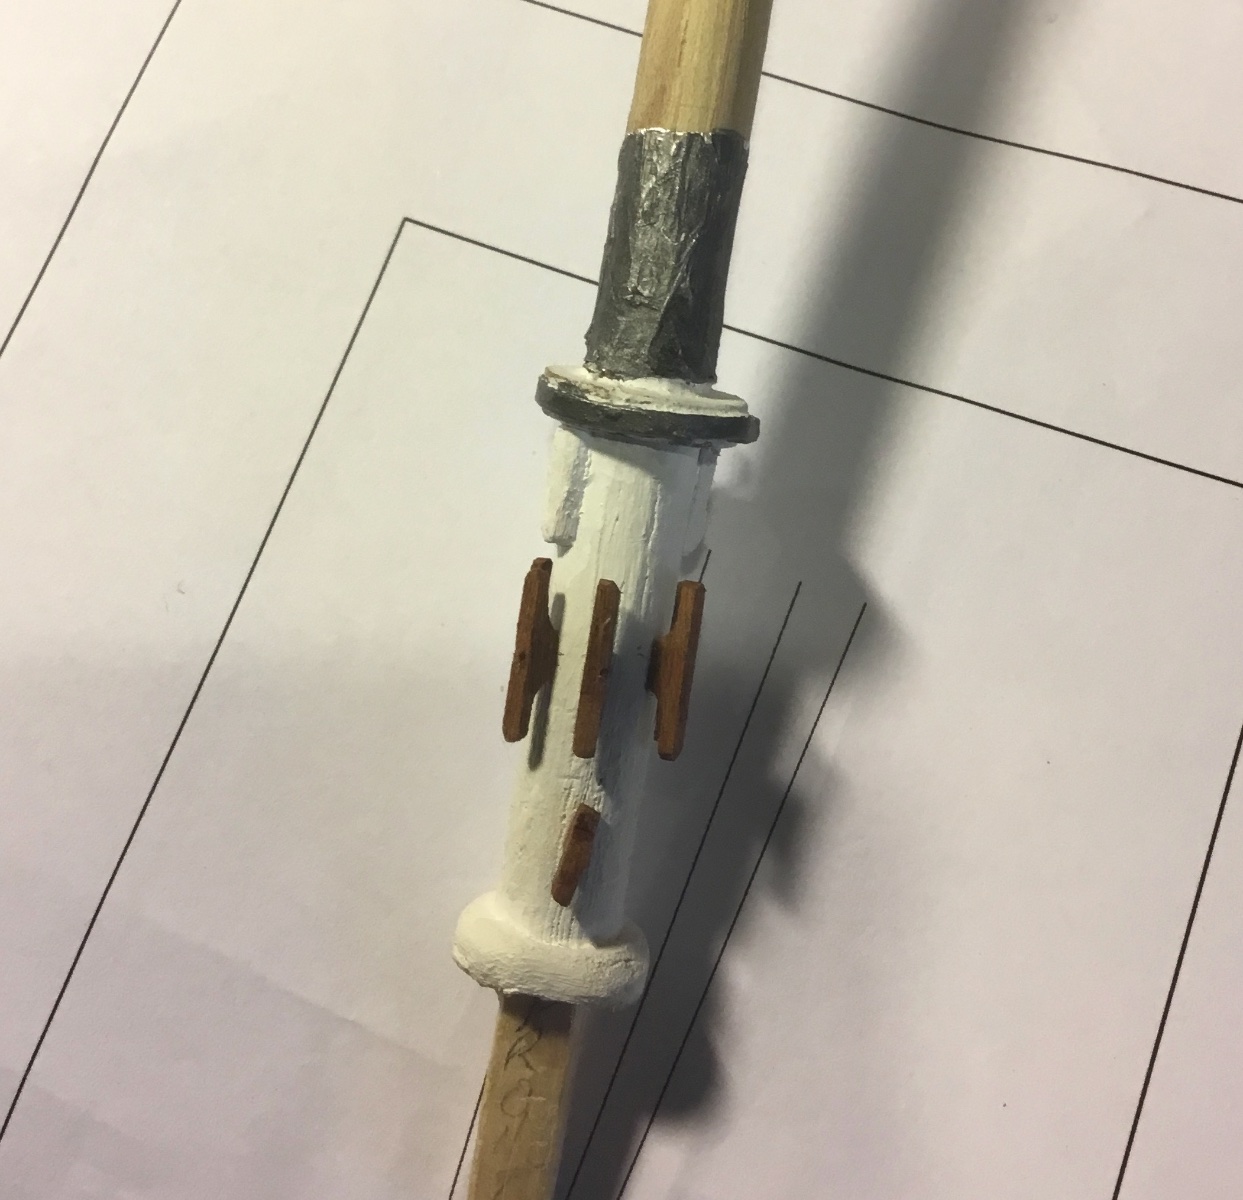
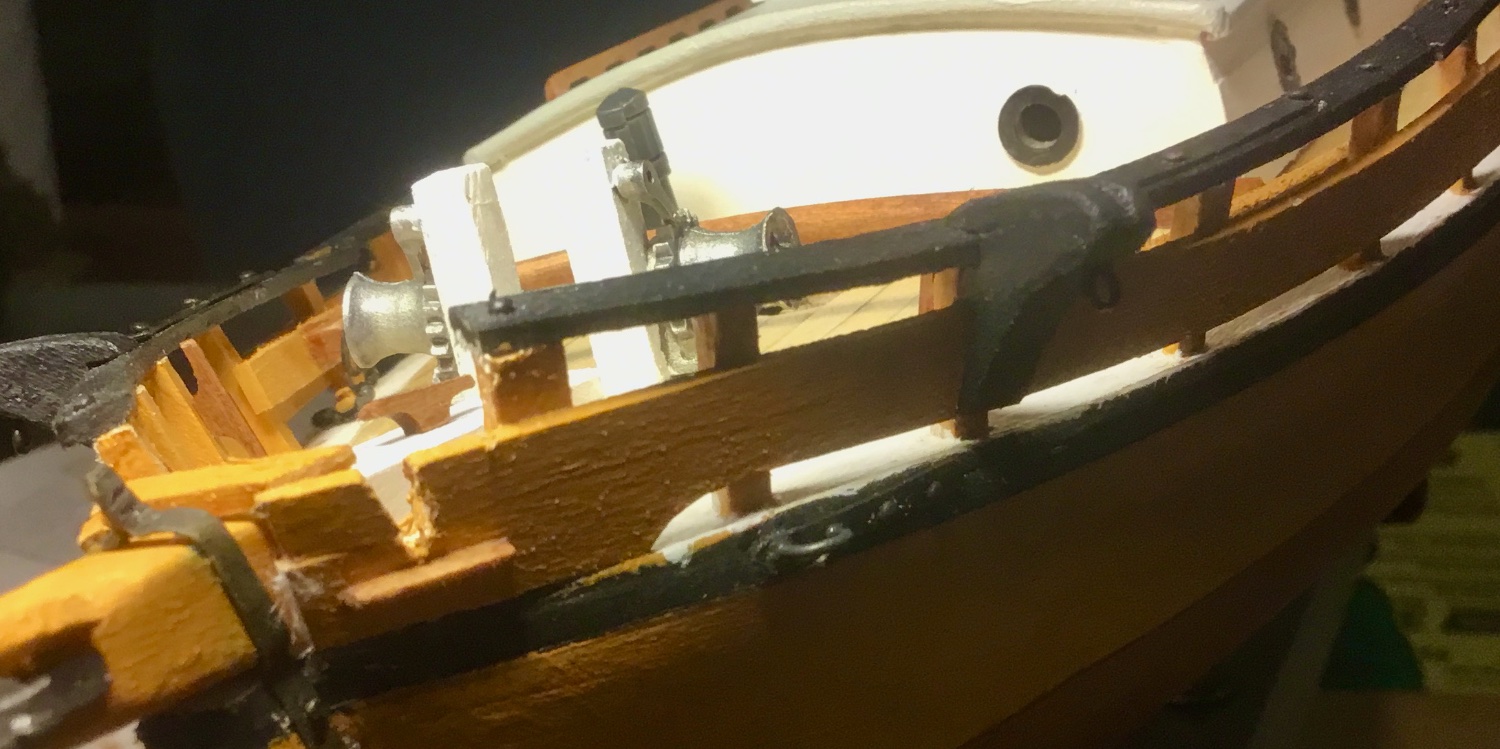
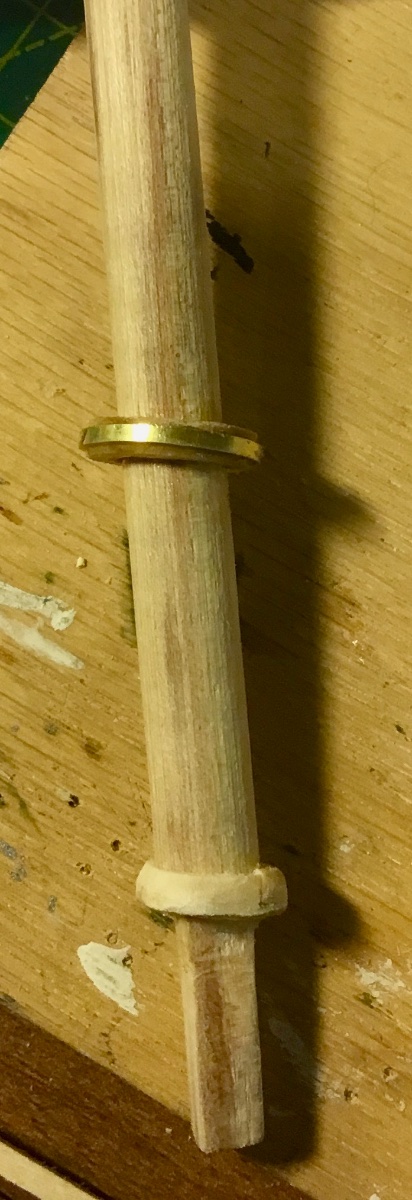
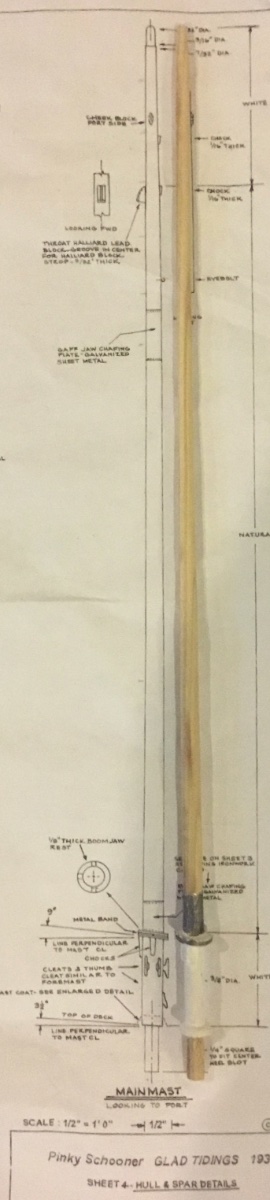
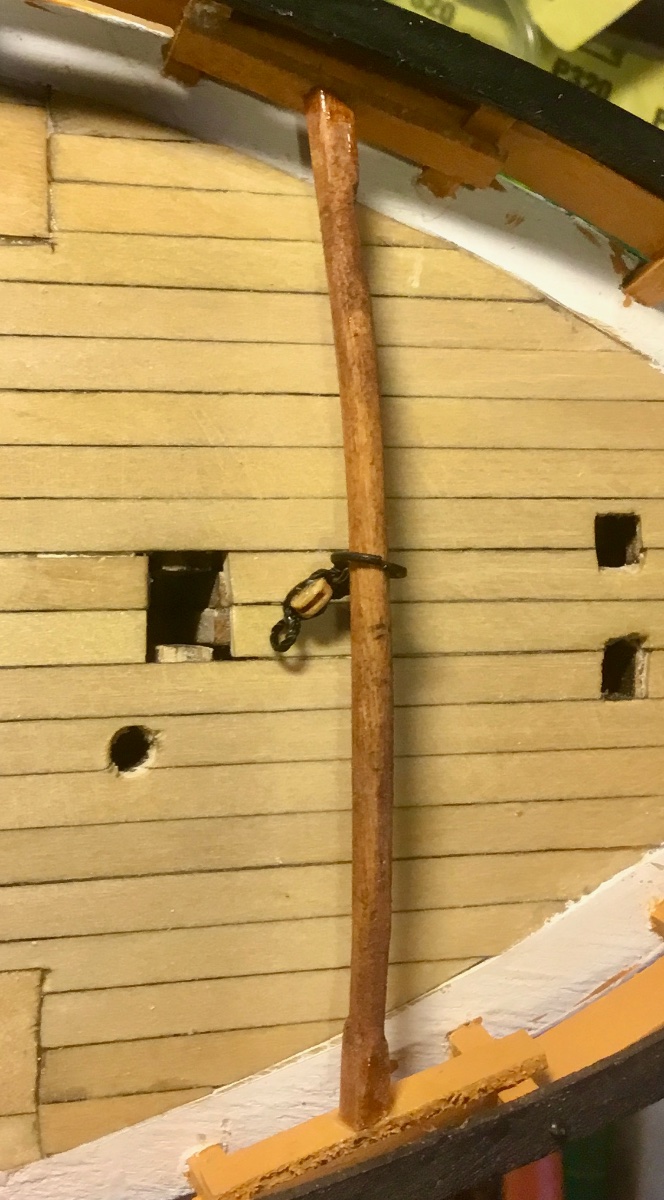
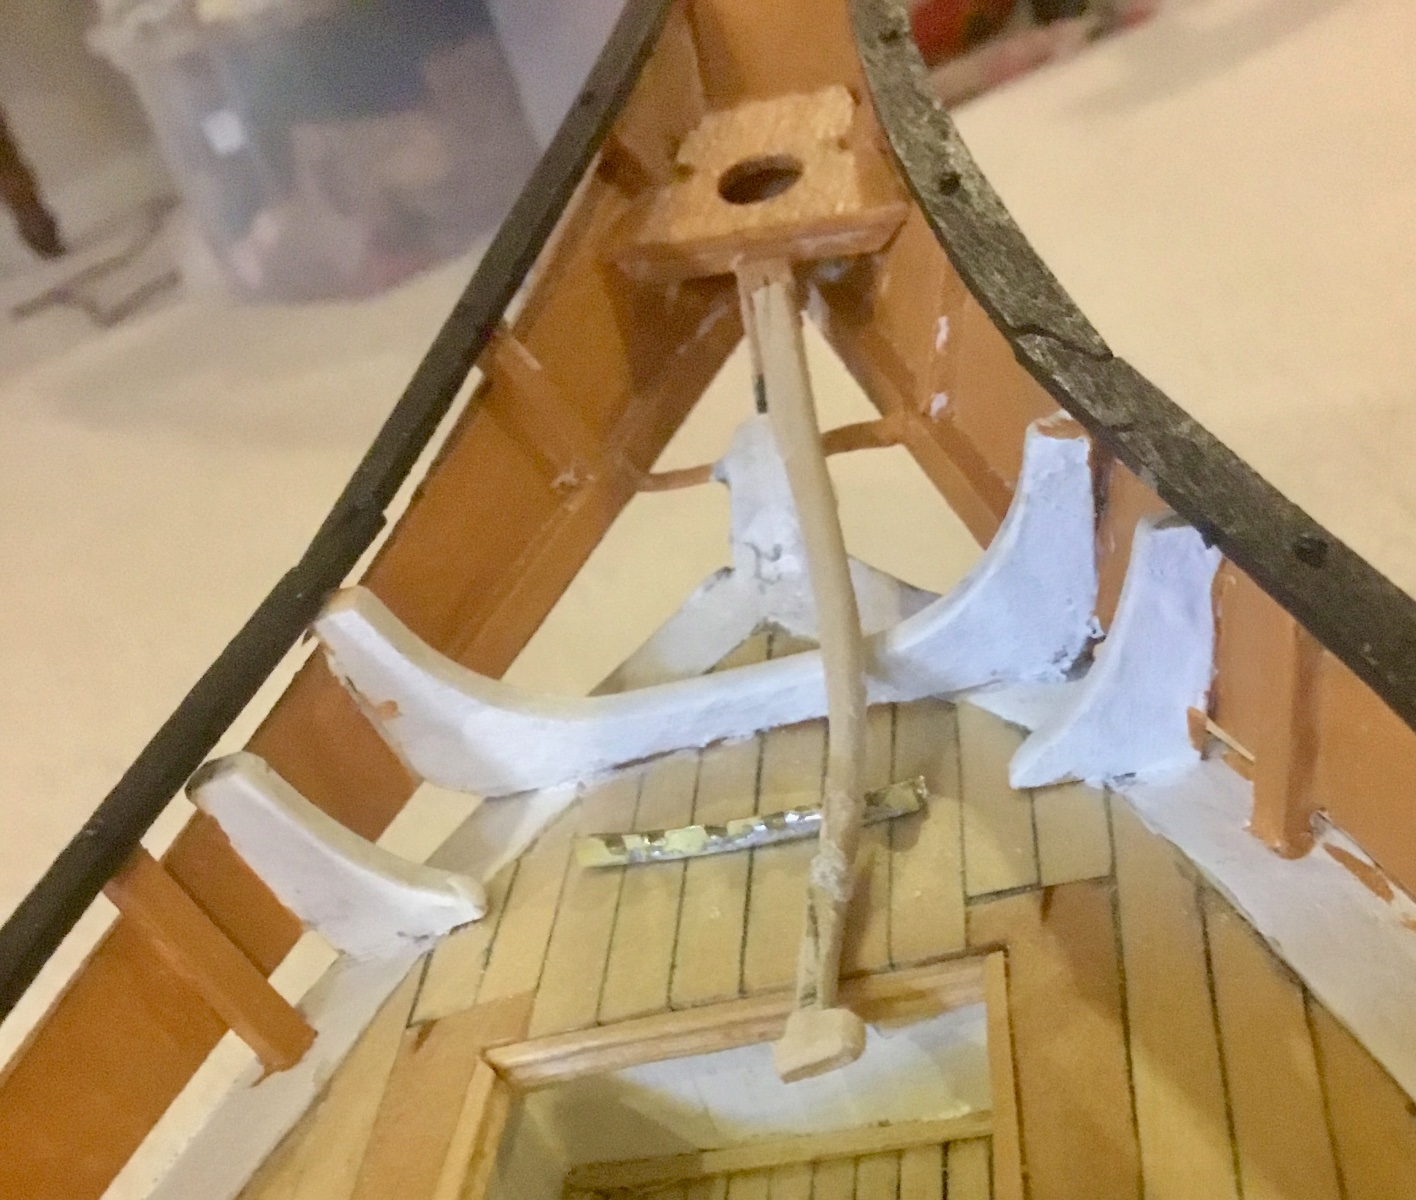
This was a slow week as I was disabled due to a back problem and was unable to work on the model for several days. However I was able to install the anchor chafing bars, bowsprit foot rope eyebolts, the foresheet eyebolt and the bowsprit shroud plates. I then began work on the masts starting with the main mast. I cut the heel of the mast to a square to fit the mortise in the keel, tapered the mast and added the boom jaw rest with its support chocks and fabricated the mast coat, then I painted the lower part of the main mast white. I also began work on the anchors.


-
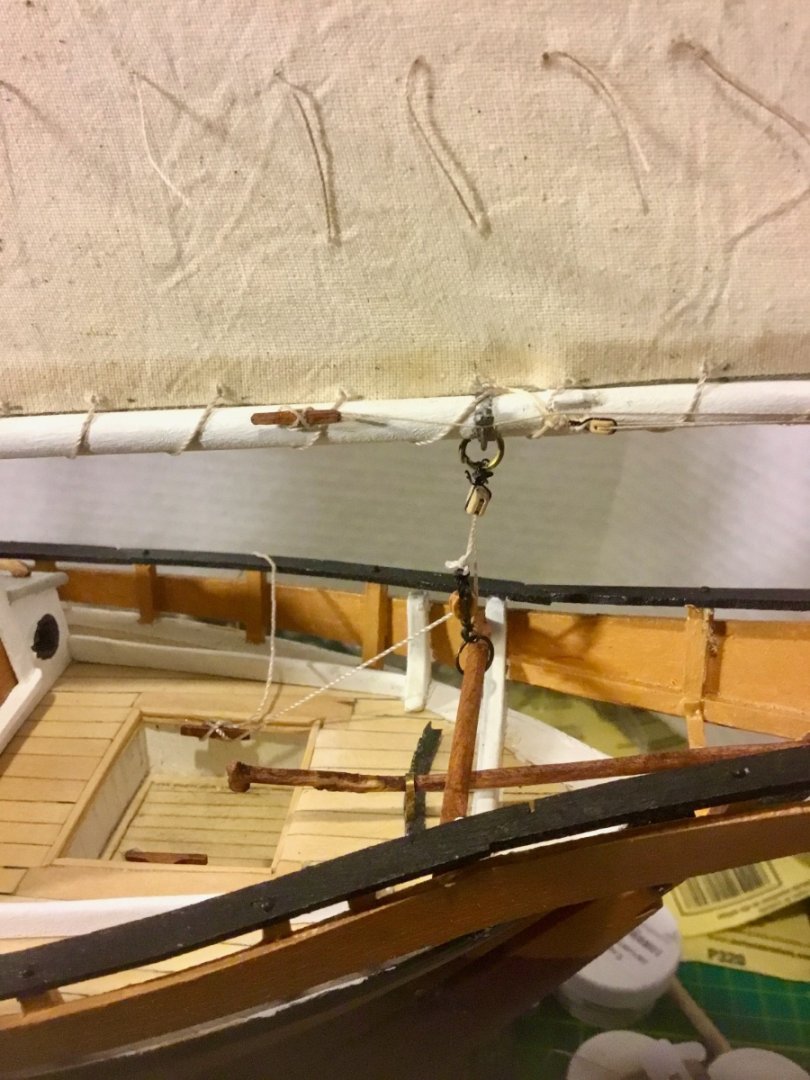
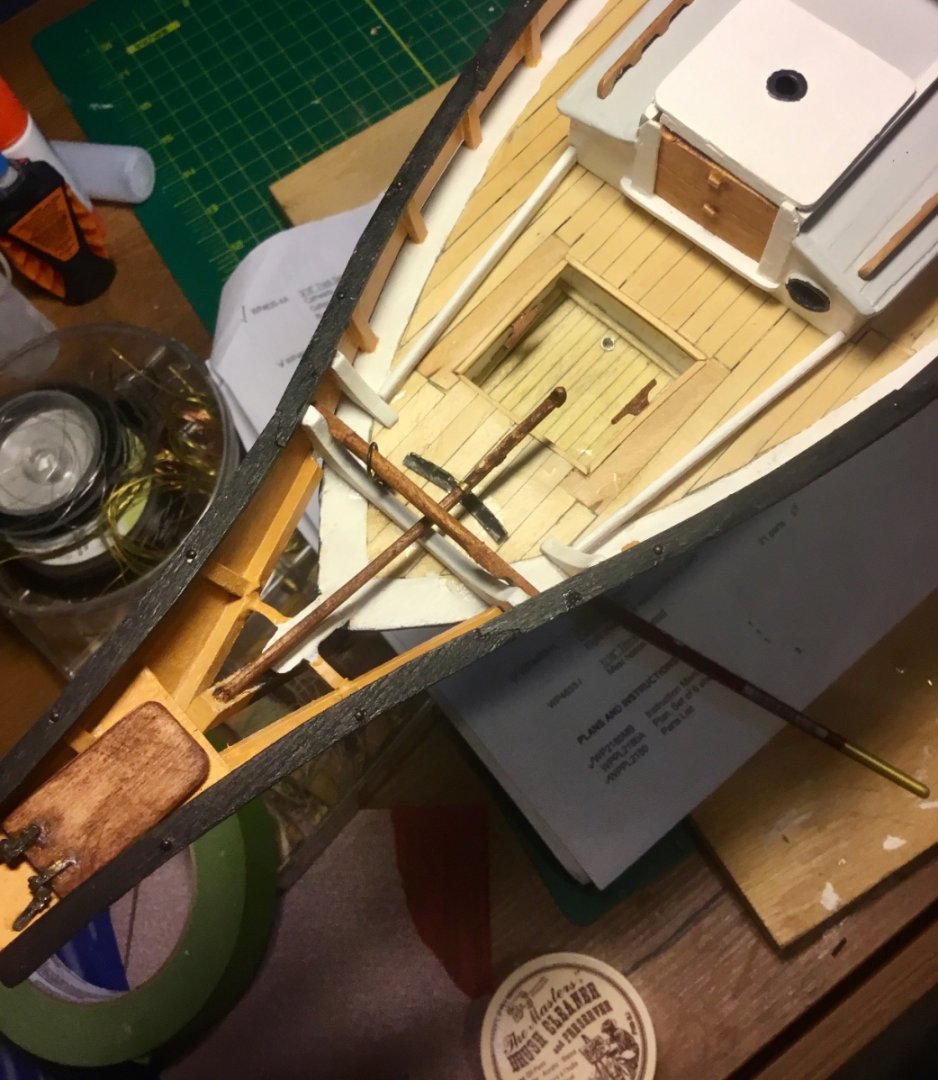
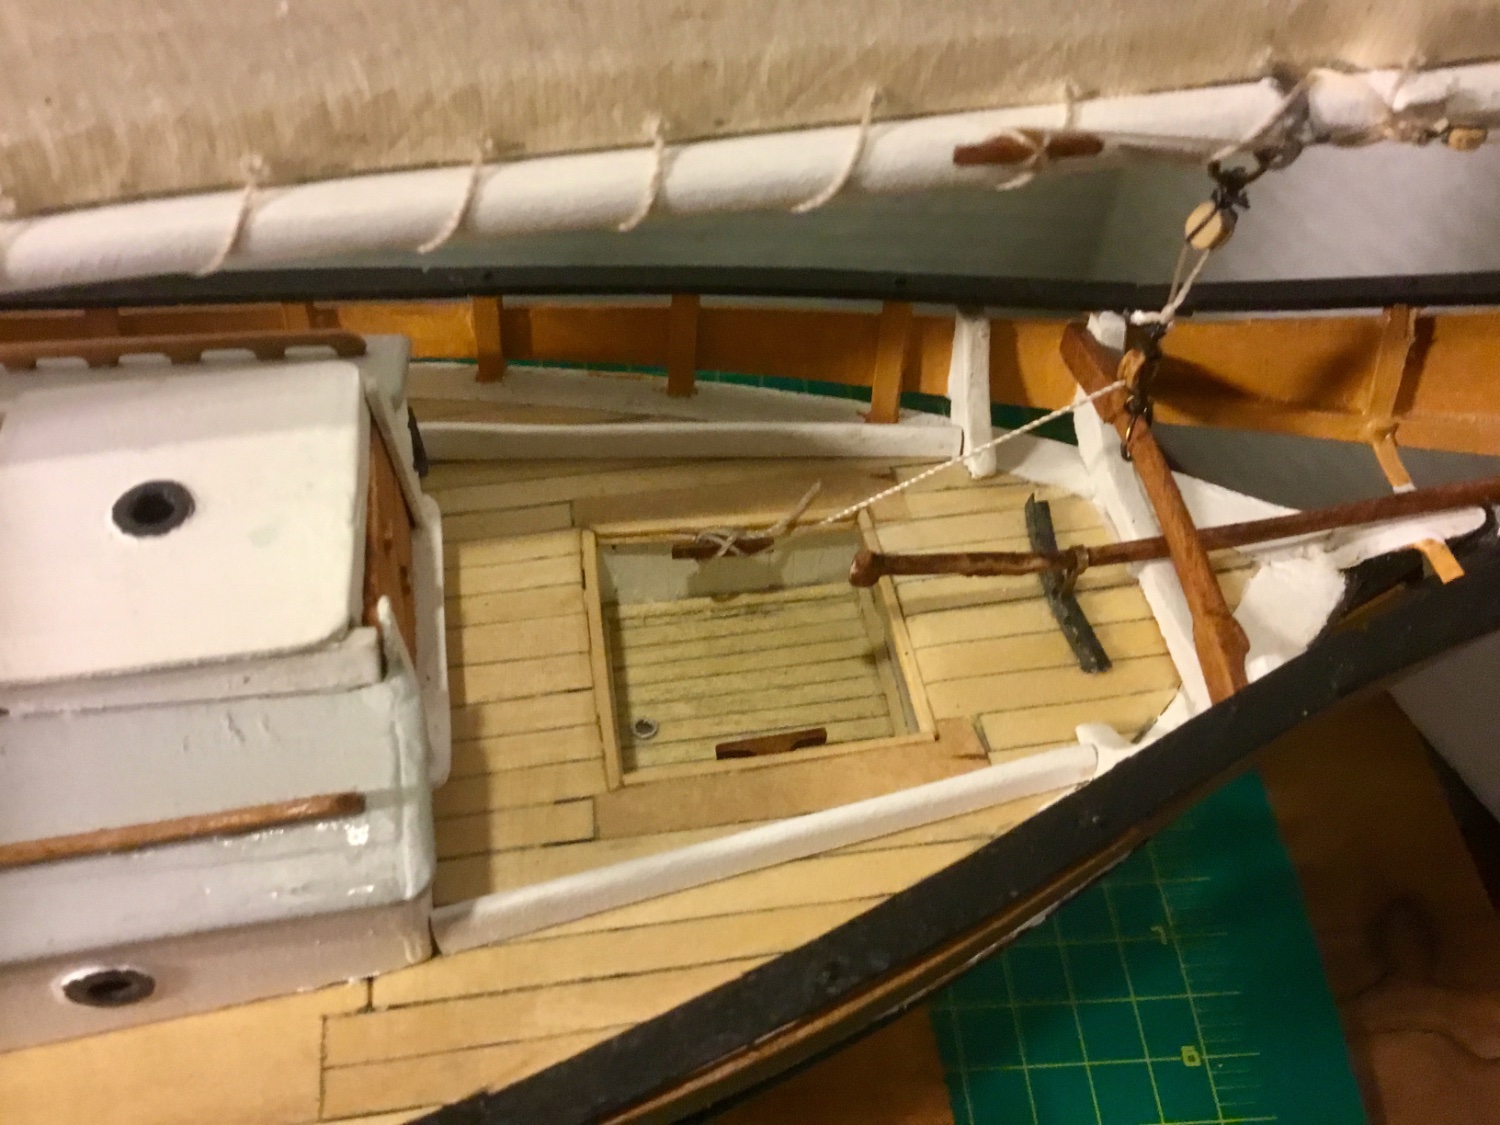
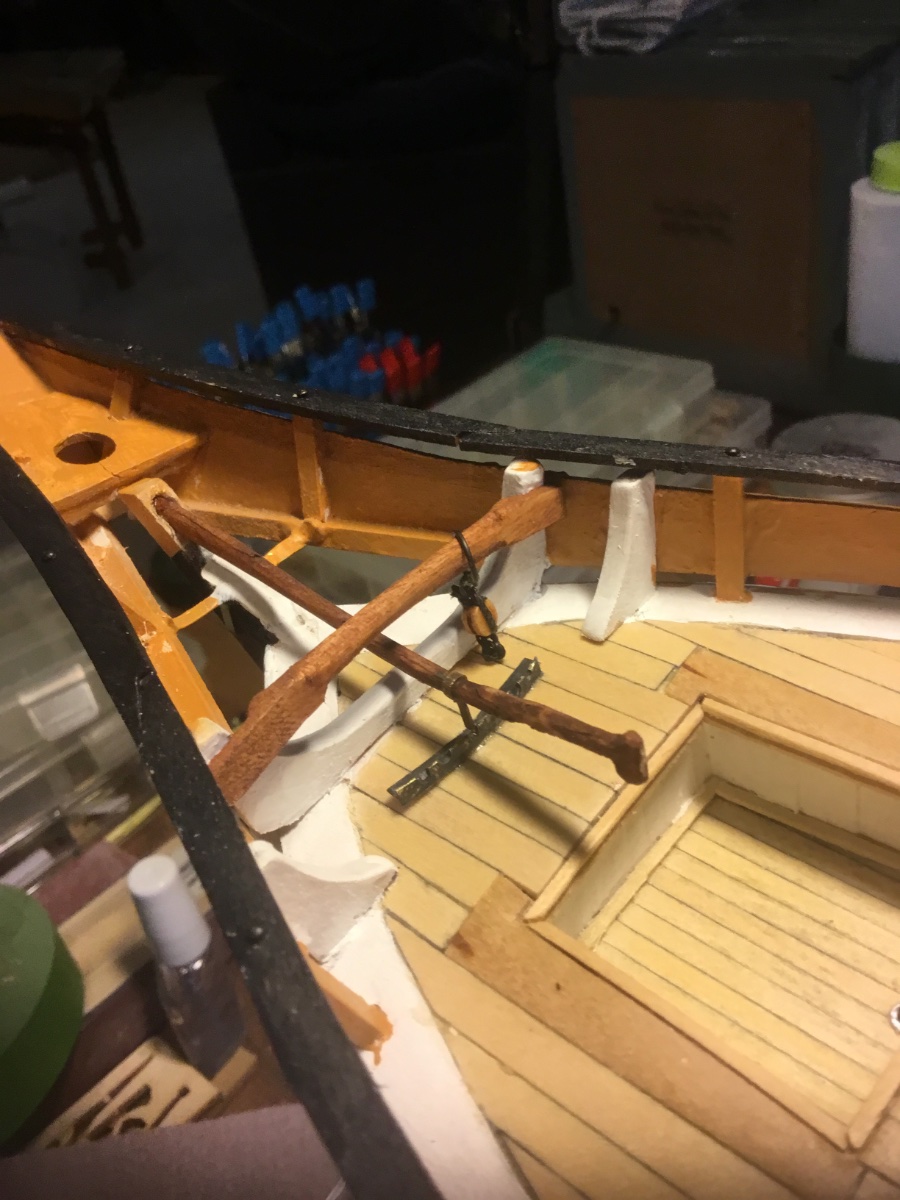
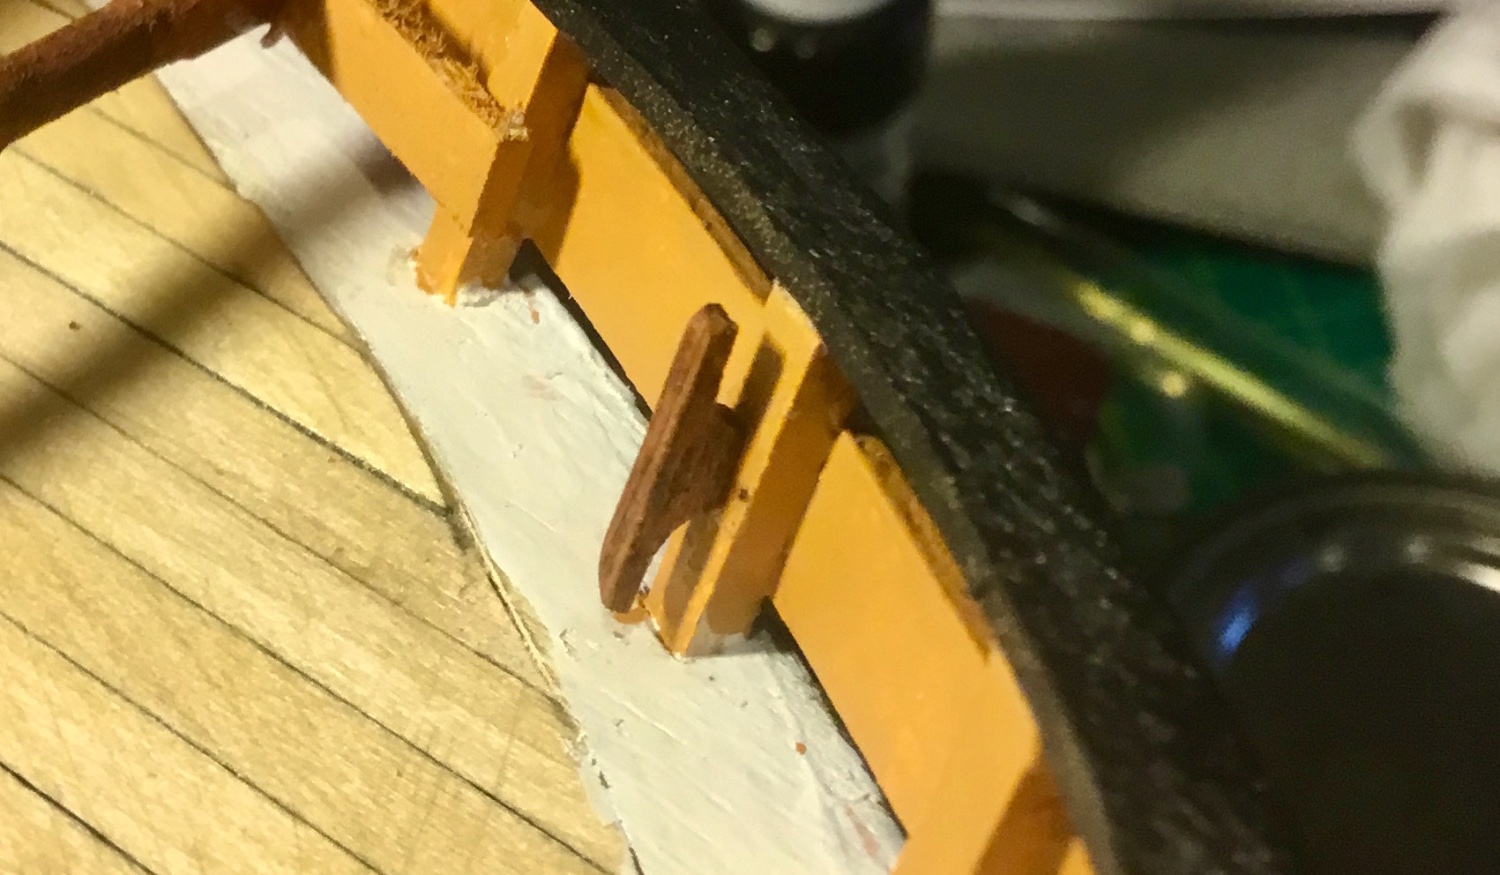
Installed the tiller comb and tiller.
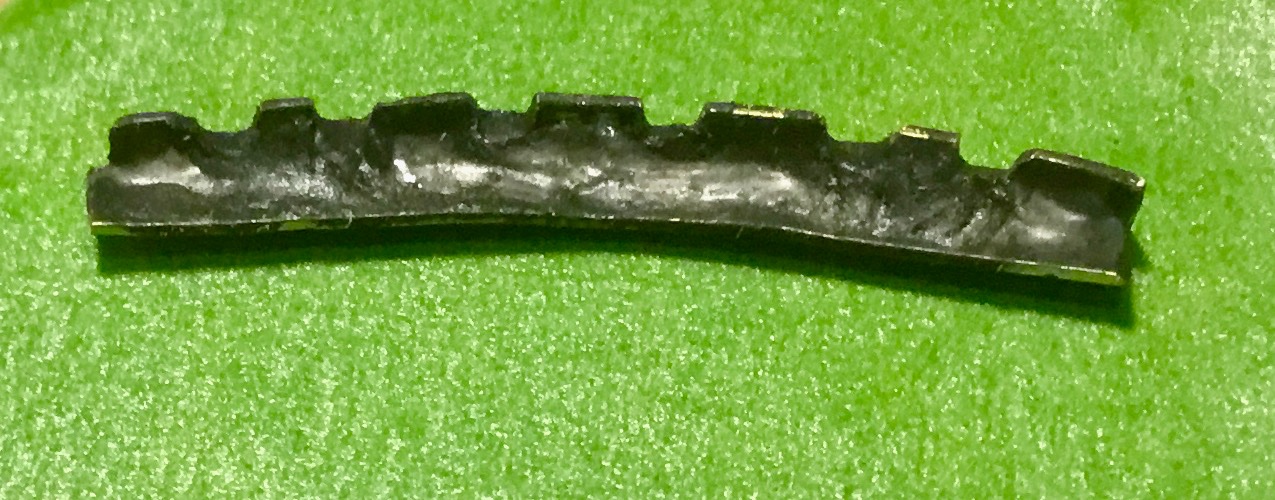
Main sheet horse and tackle.

Jib sheet horse and tackle.

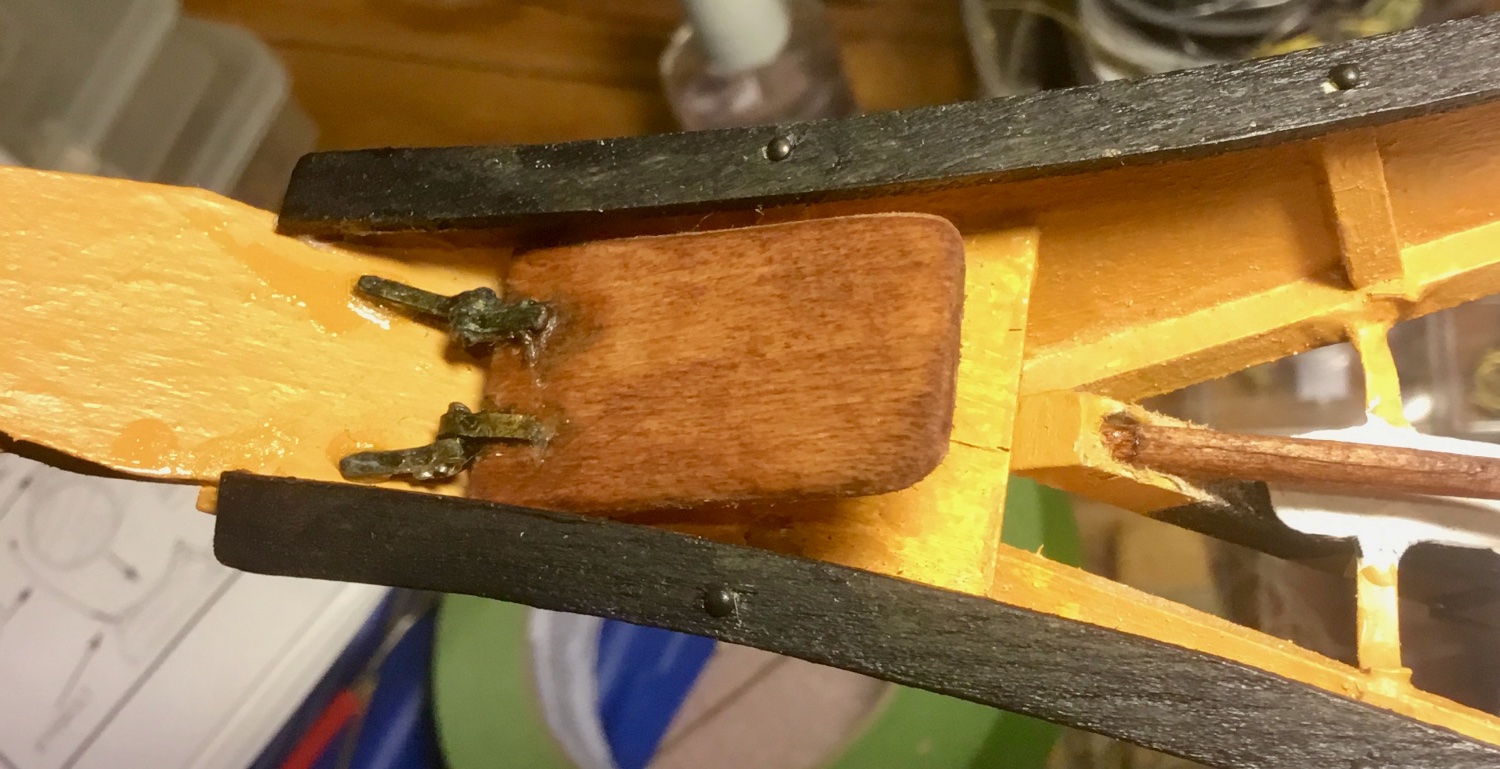
Touched up rudder pintles and gudgeons and added scupper pipe.
\

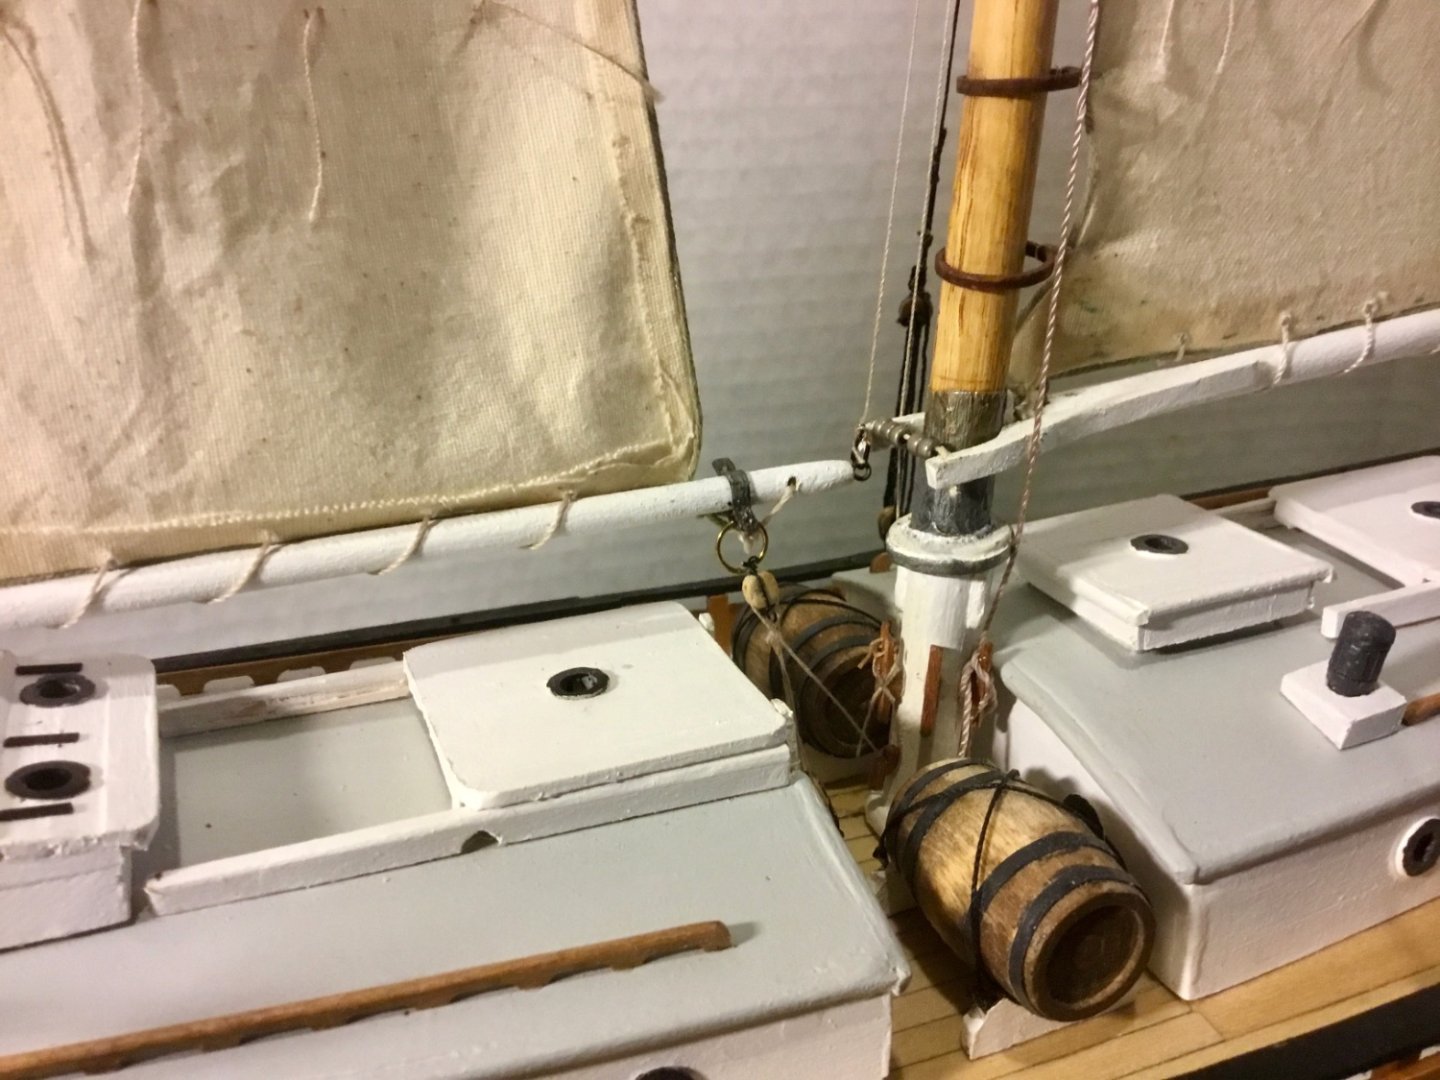
Added skylight hinges.
Seat of ease cover.

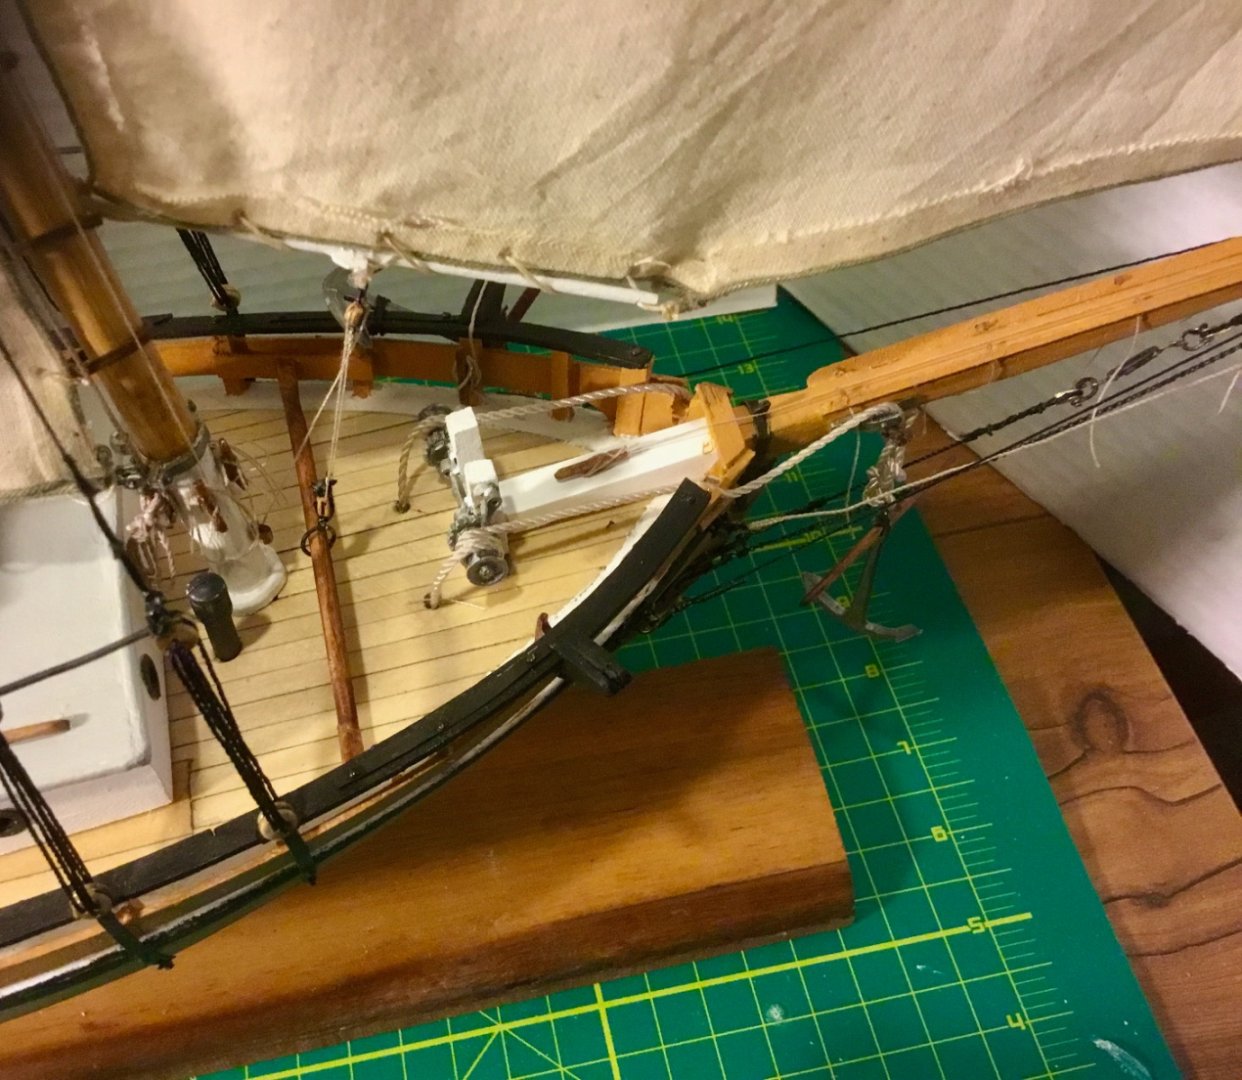
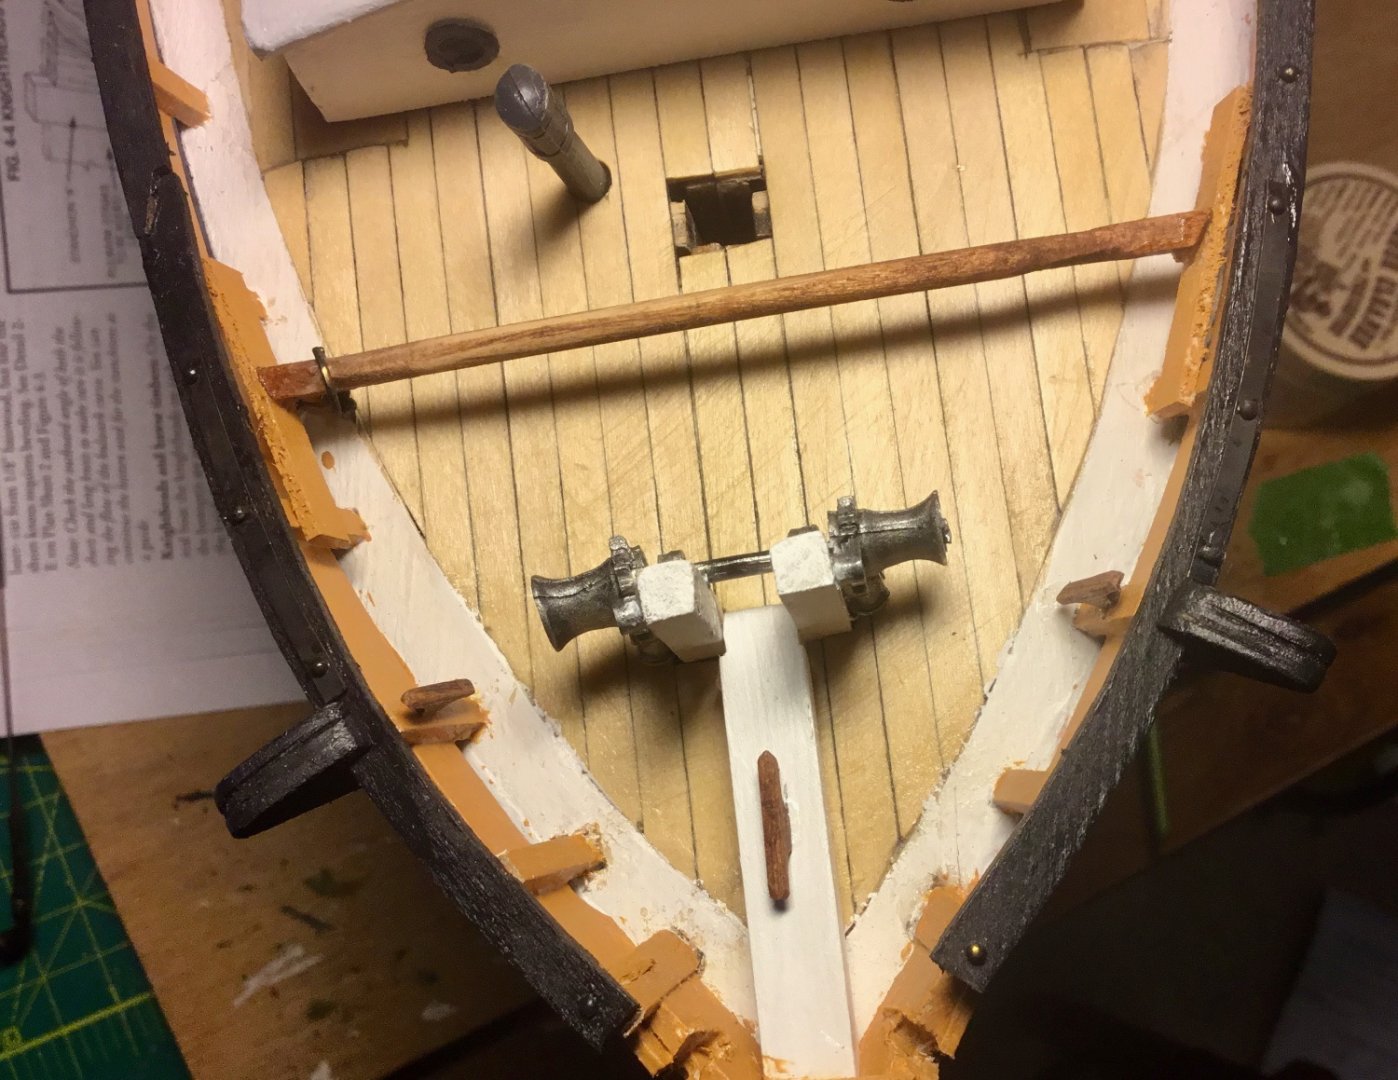
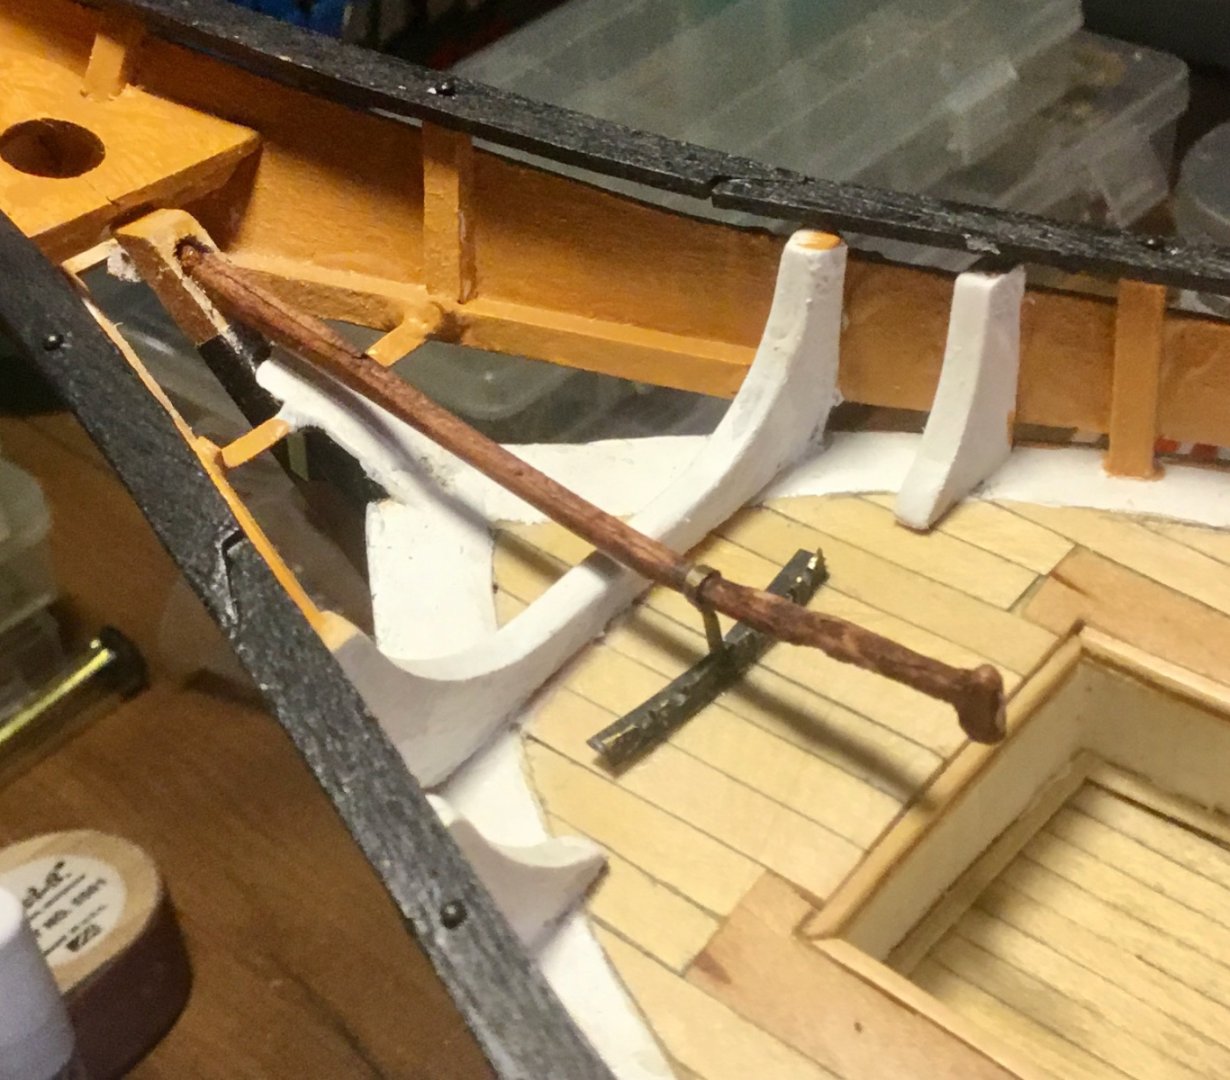
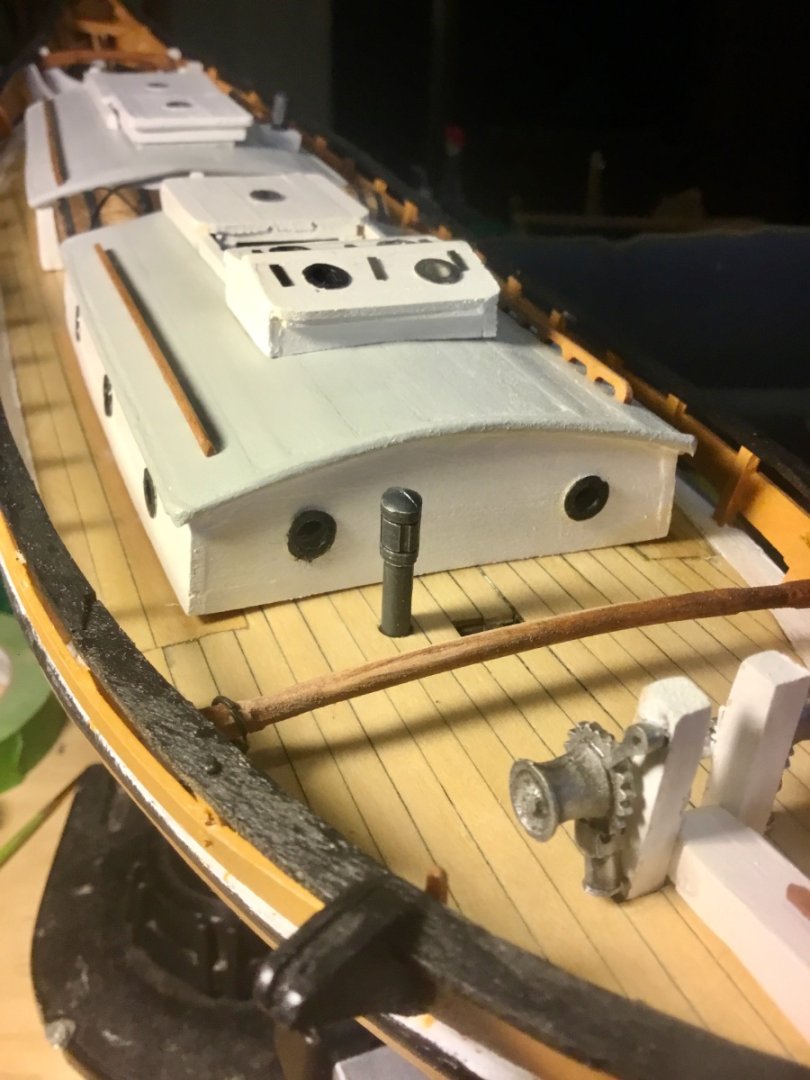
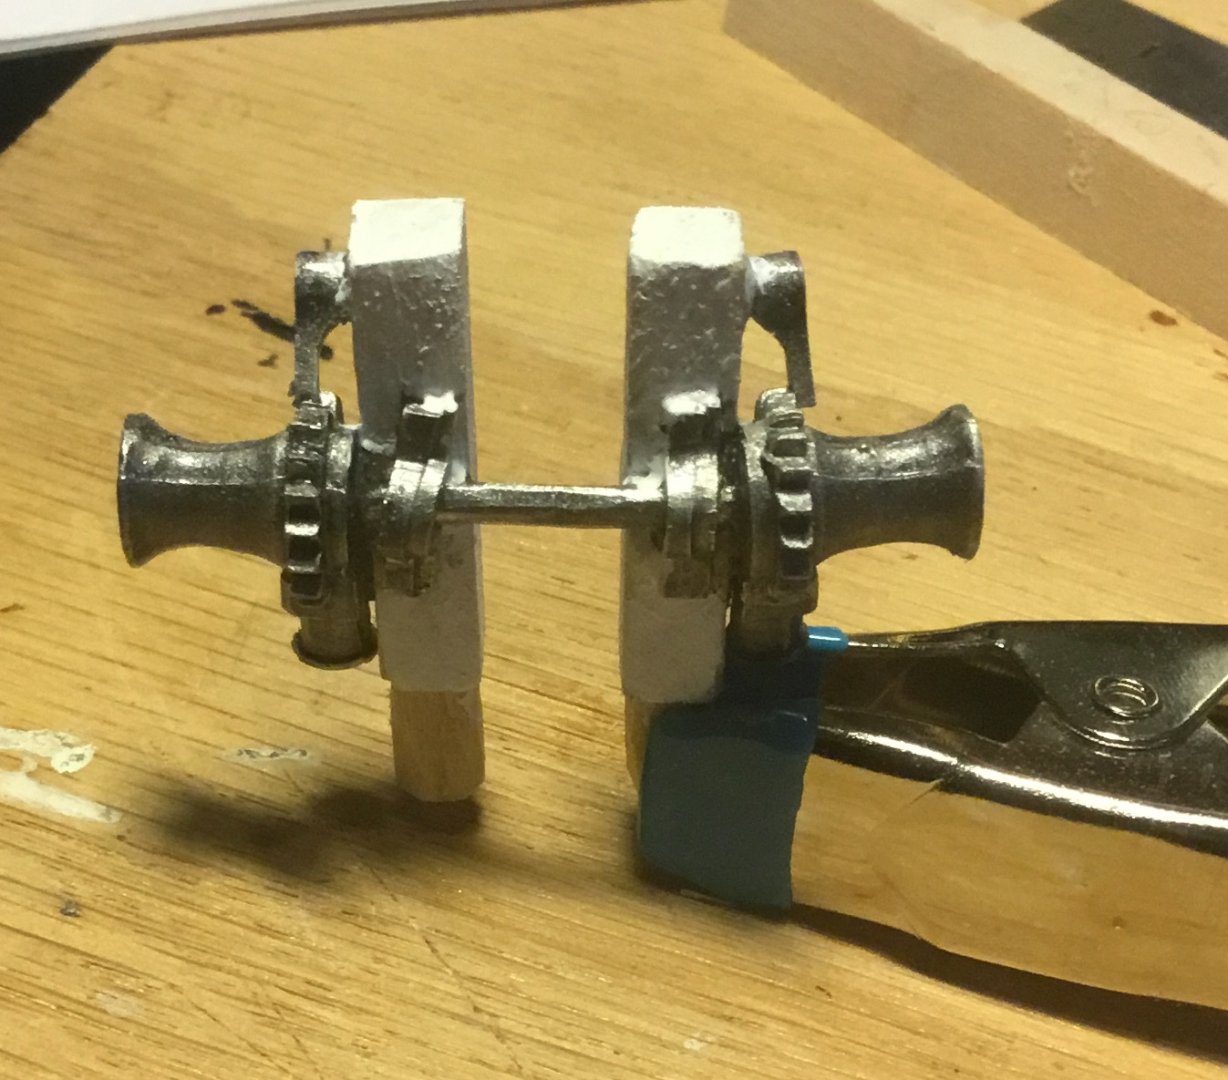
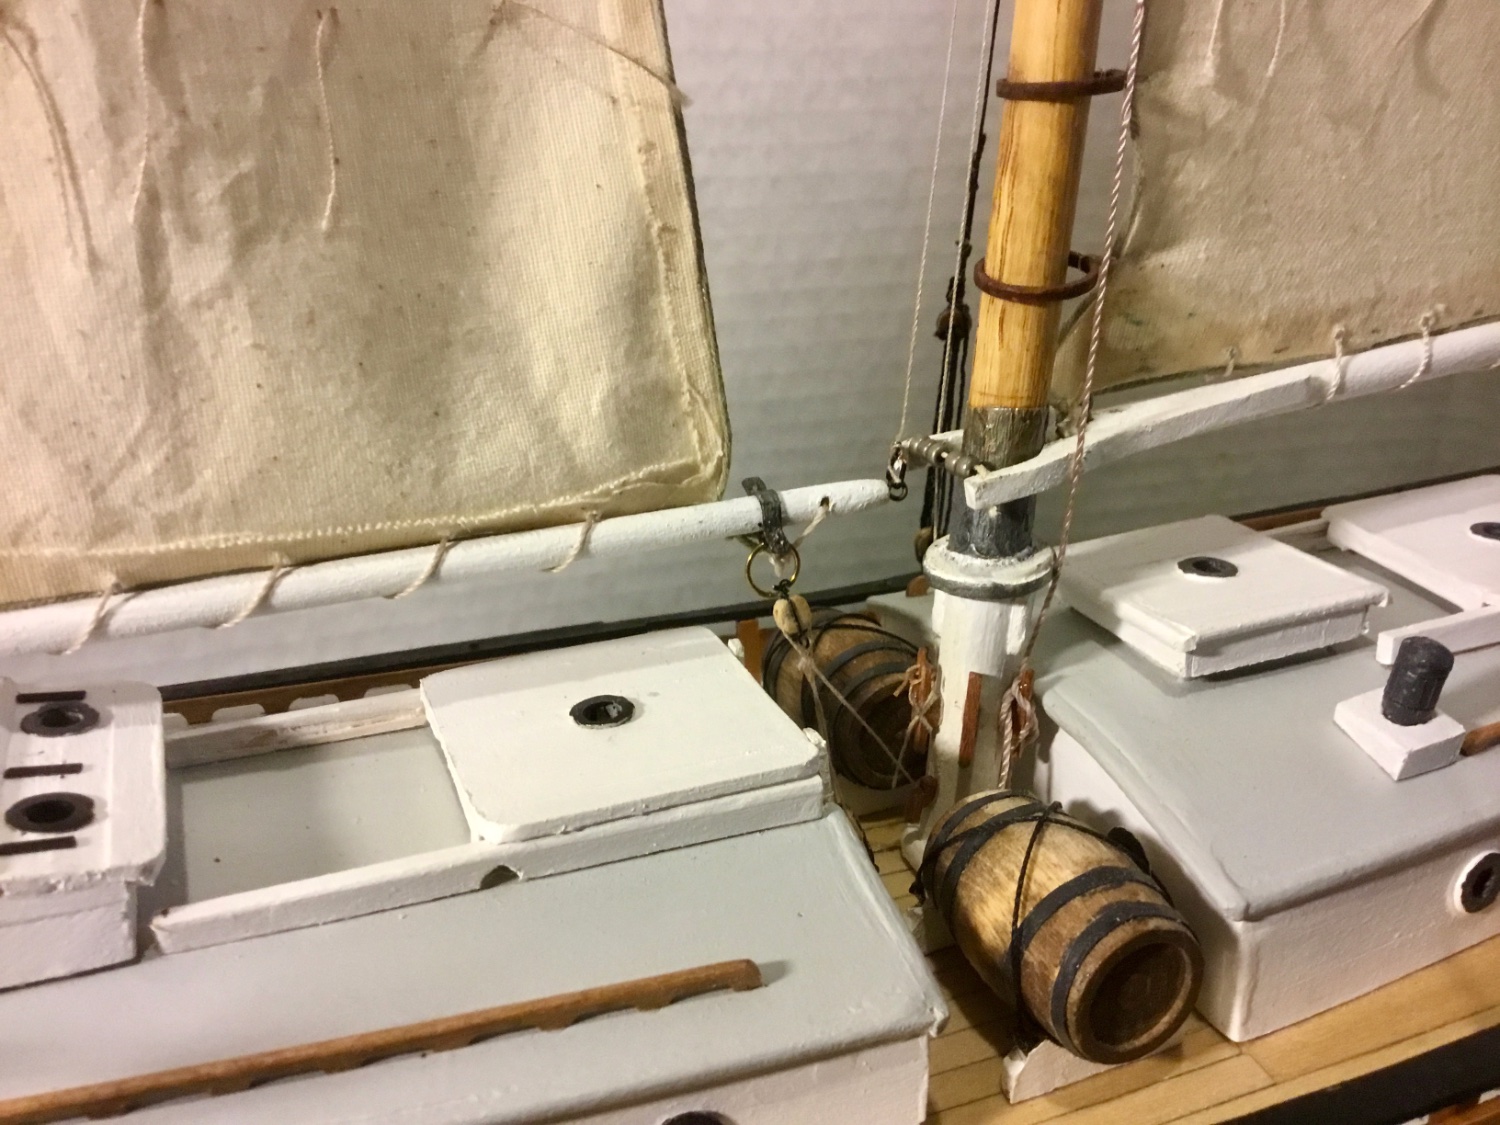
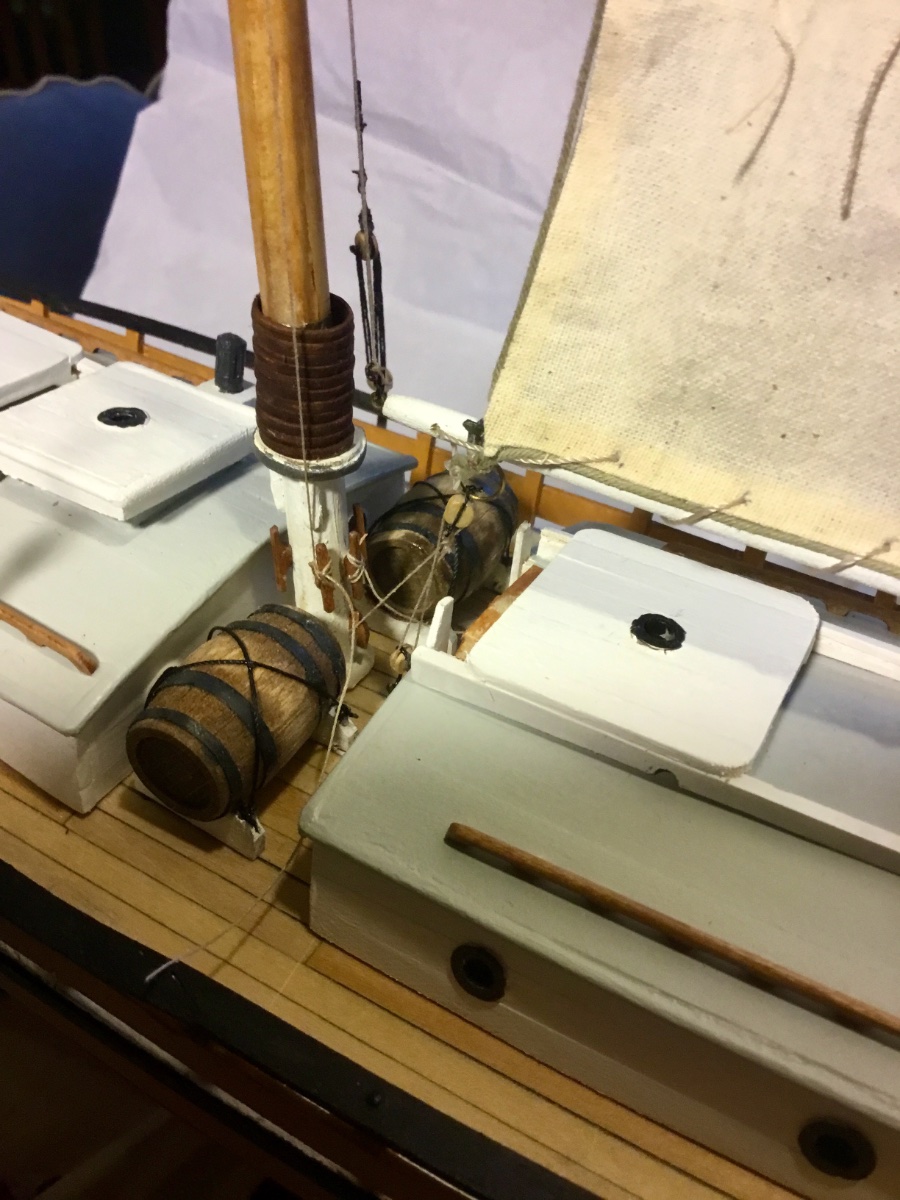
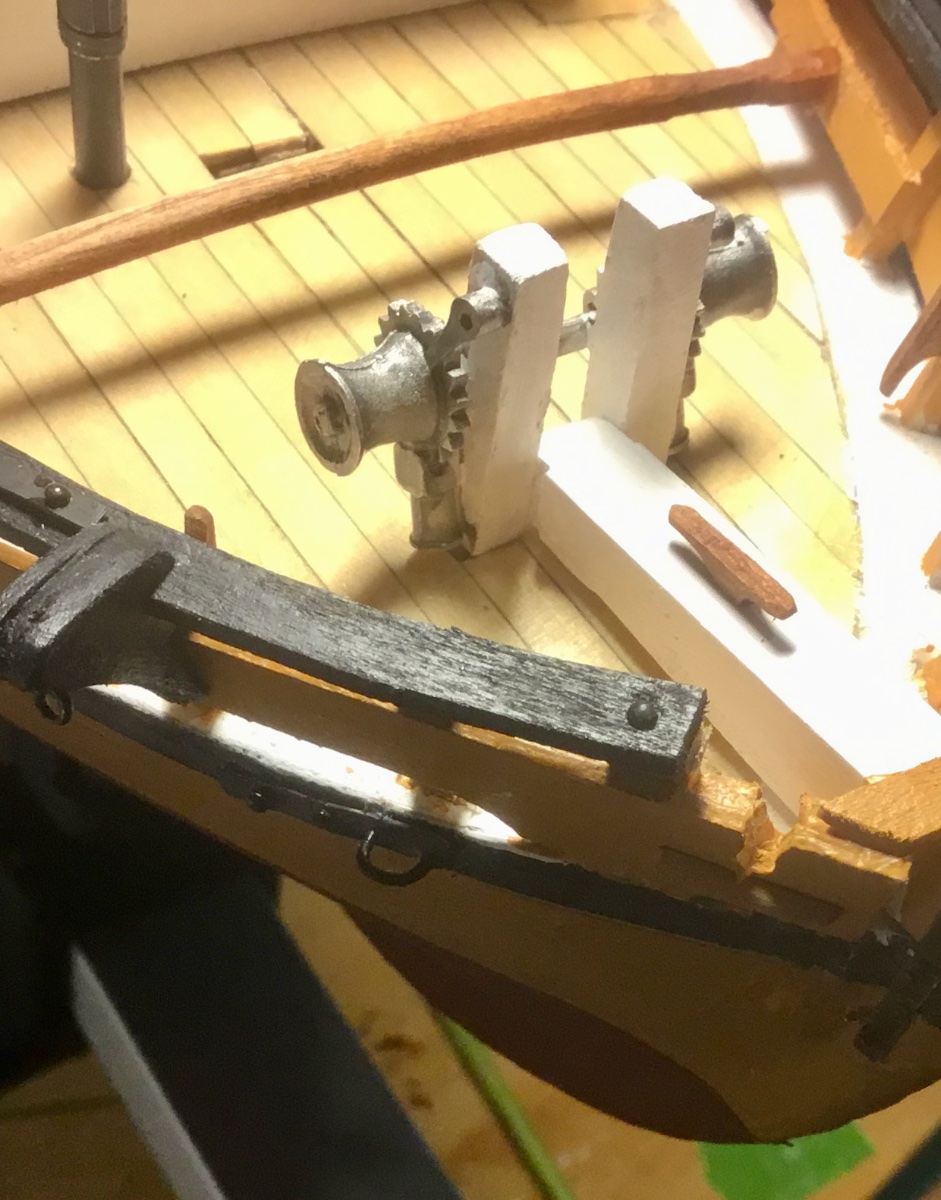
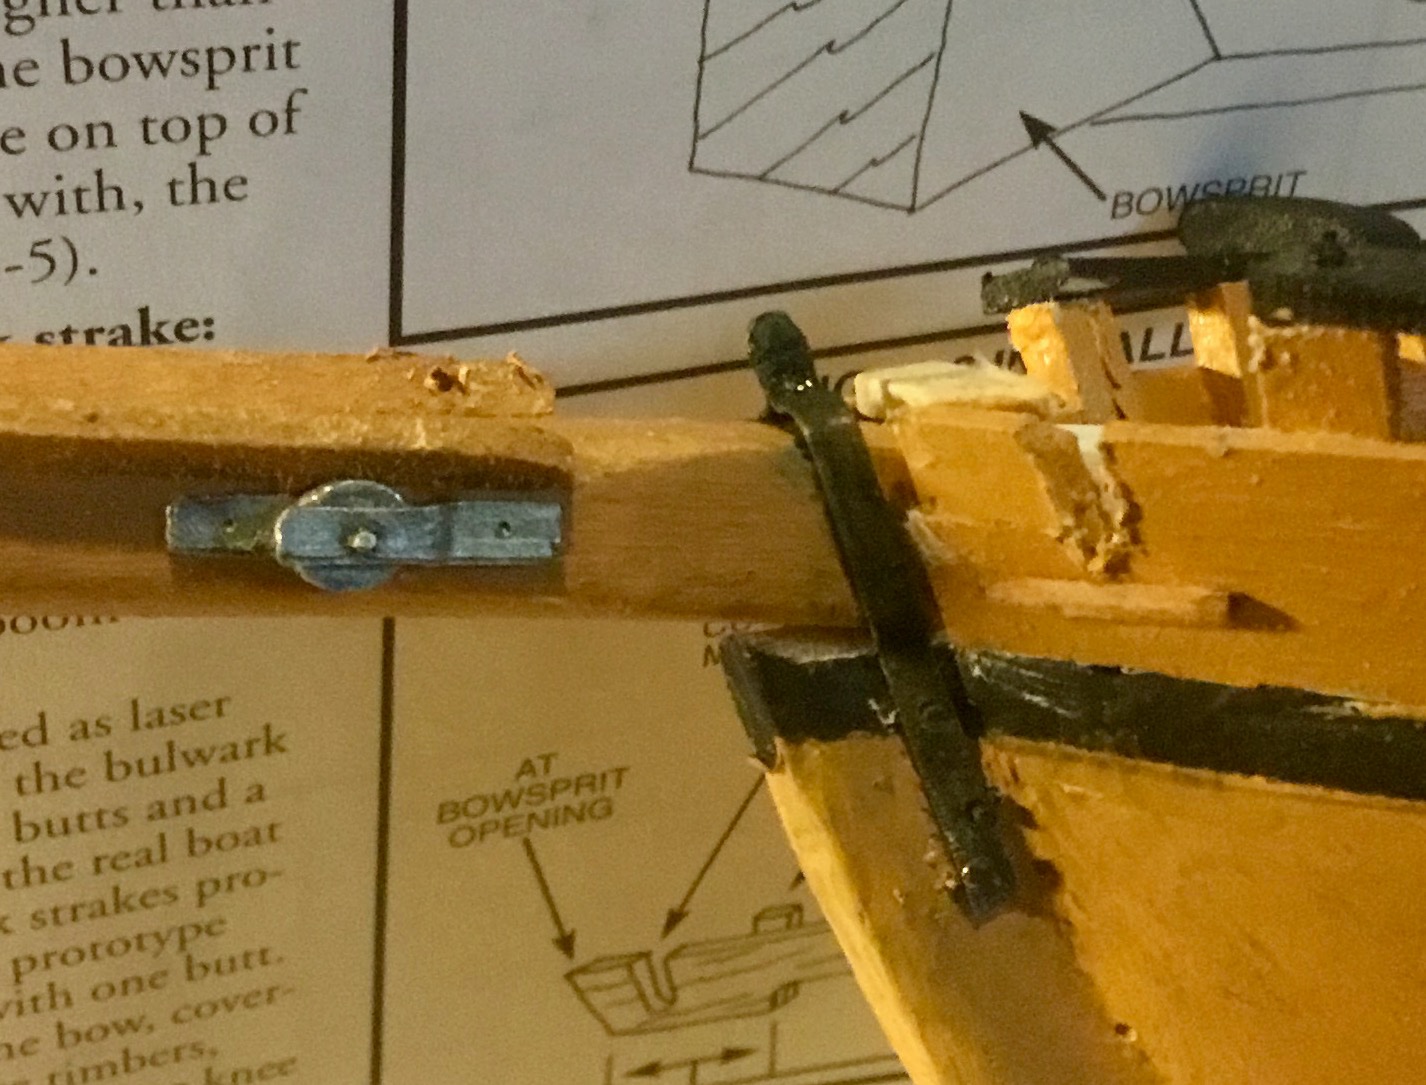
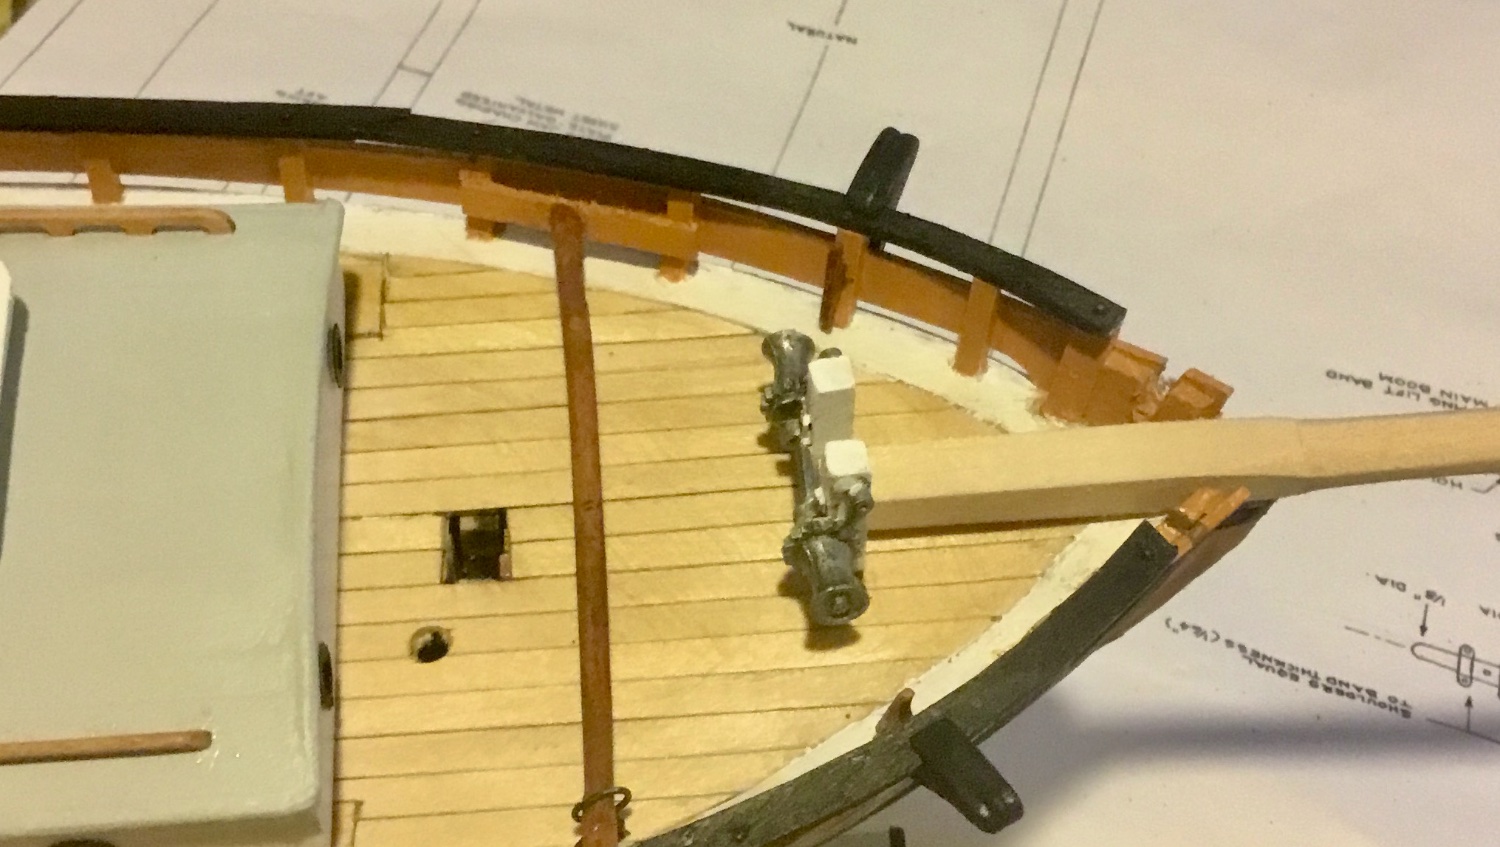
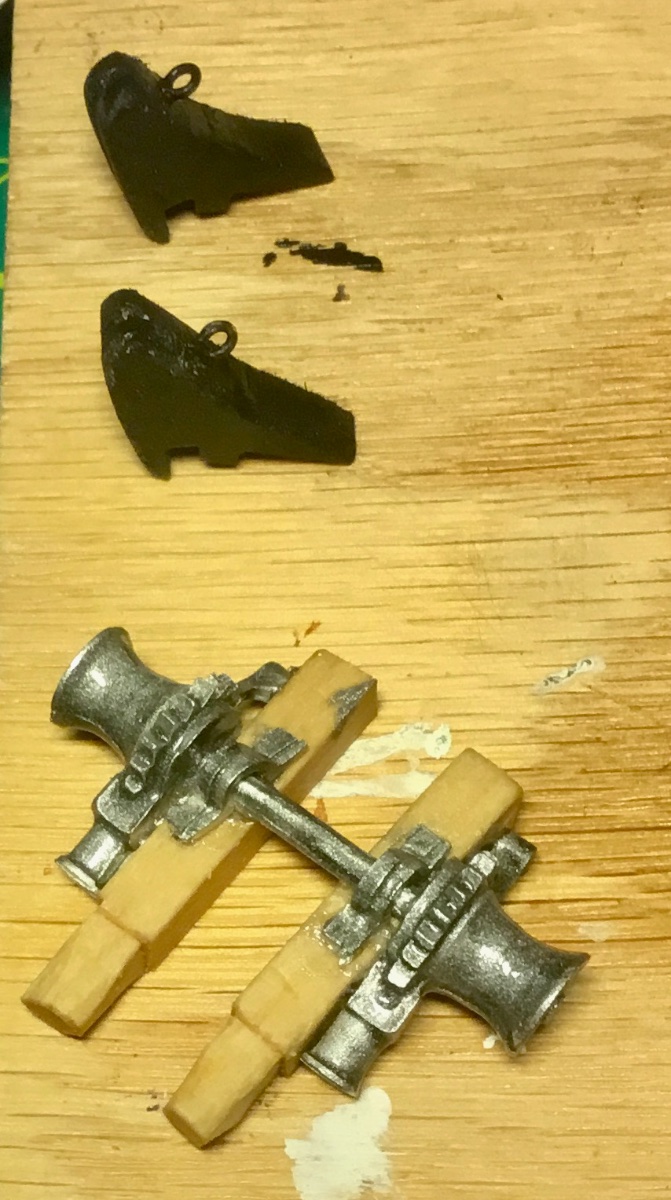
Windlass and bitts, catheads and cathead cleats, bowsprit and

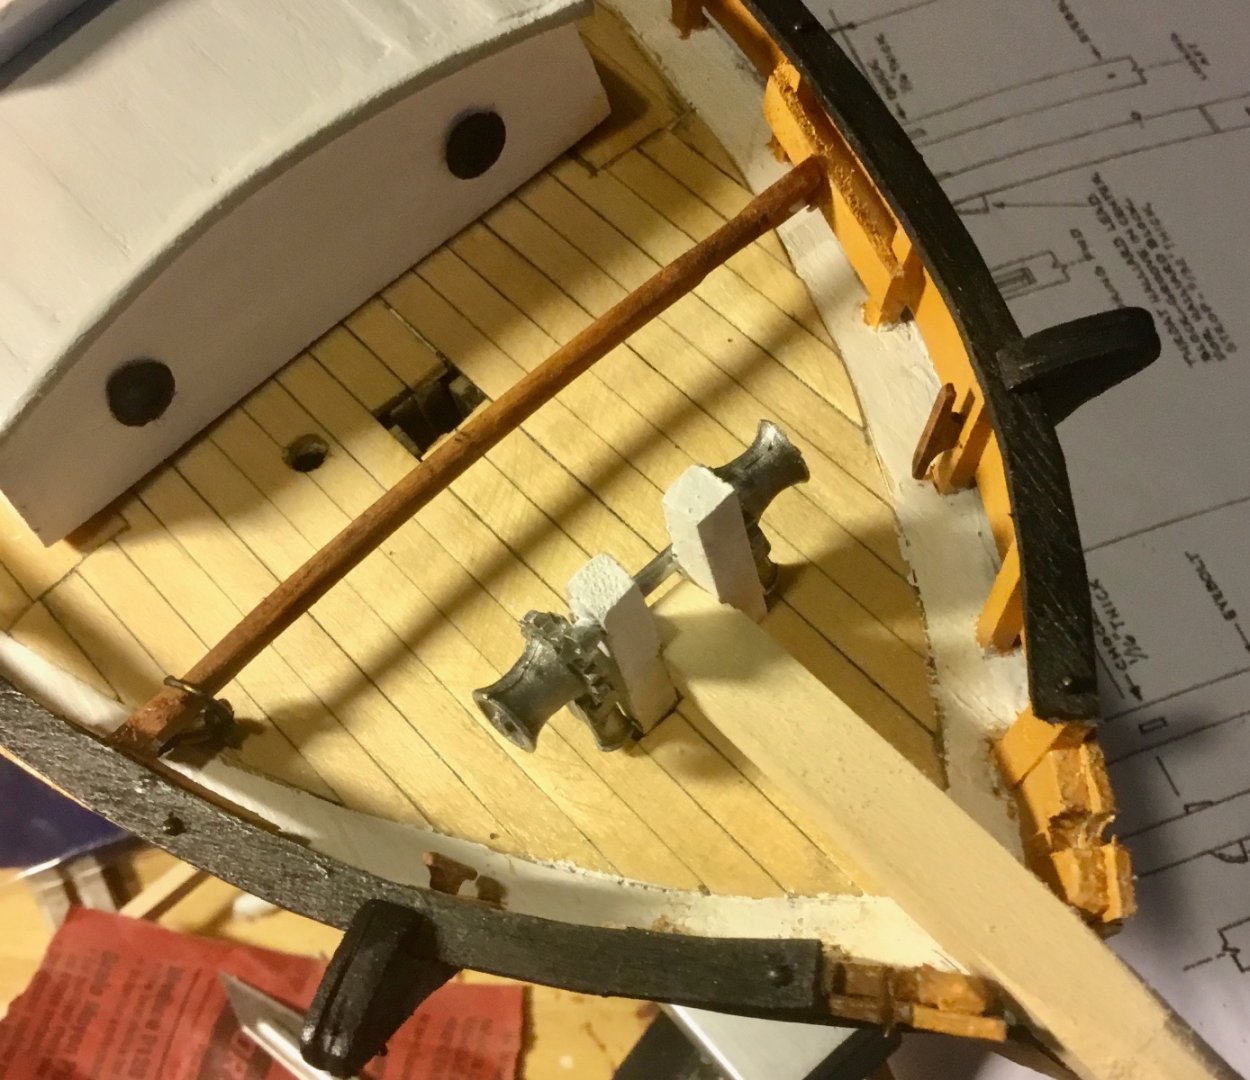

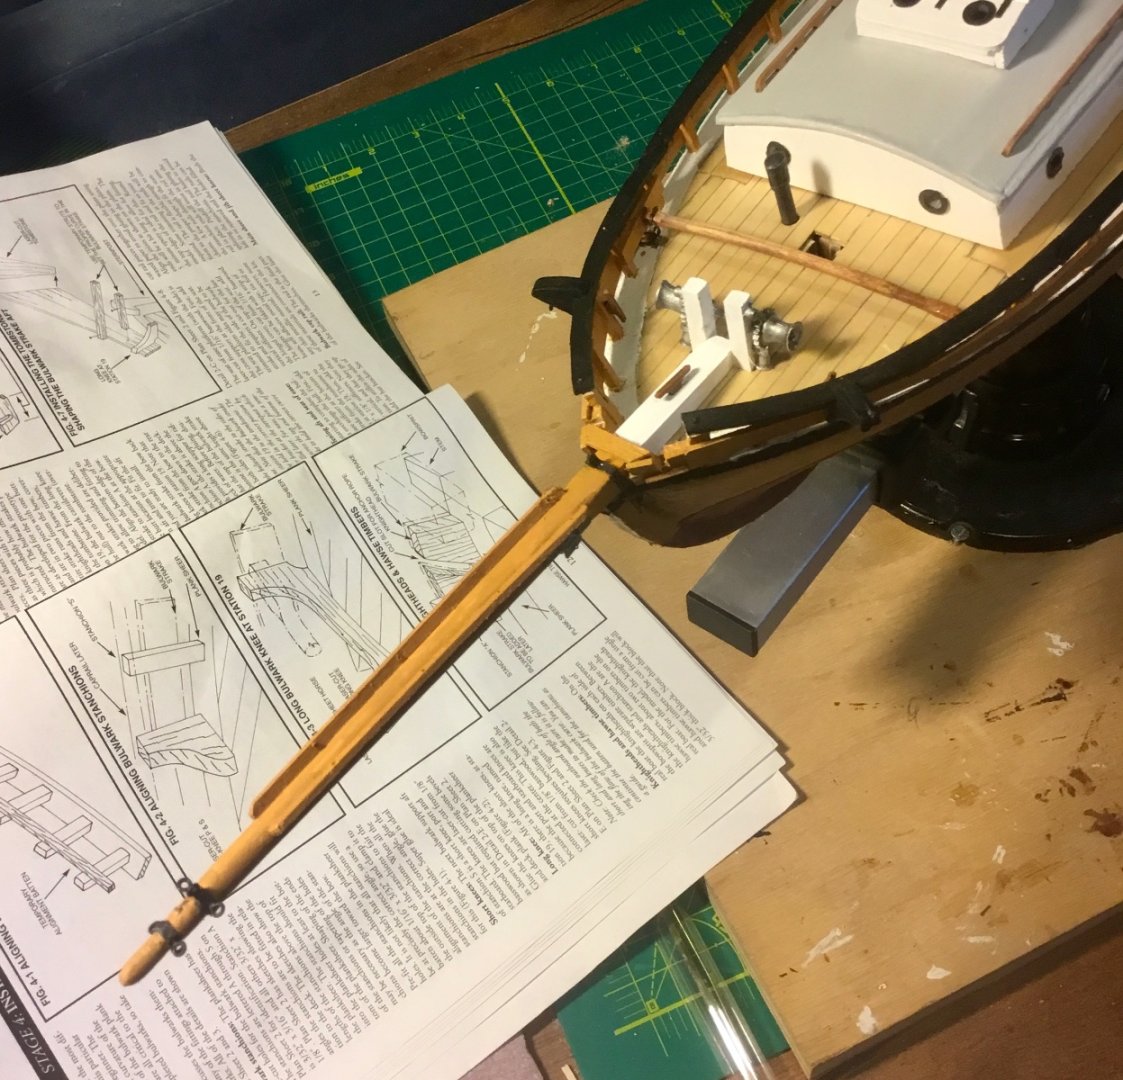 fittings including gammon iron and cabin heater stack.

- Paul Le Wol, Dave_E, BobG and 2 others
-
5
-
-
I was able to fill in all the fields and completed an order after filling in all the fields , but it never asked for payment. I then got a confirmation email for the order. Will I receive another email or phone call for payment? Who knows? Web site needs some work if he wants to make sales.
Ship model and construction is interesting.
-
-
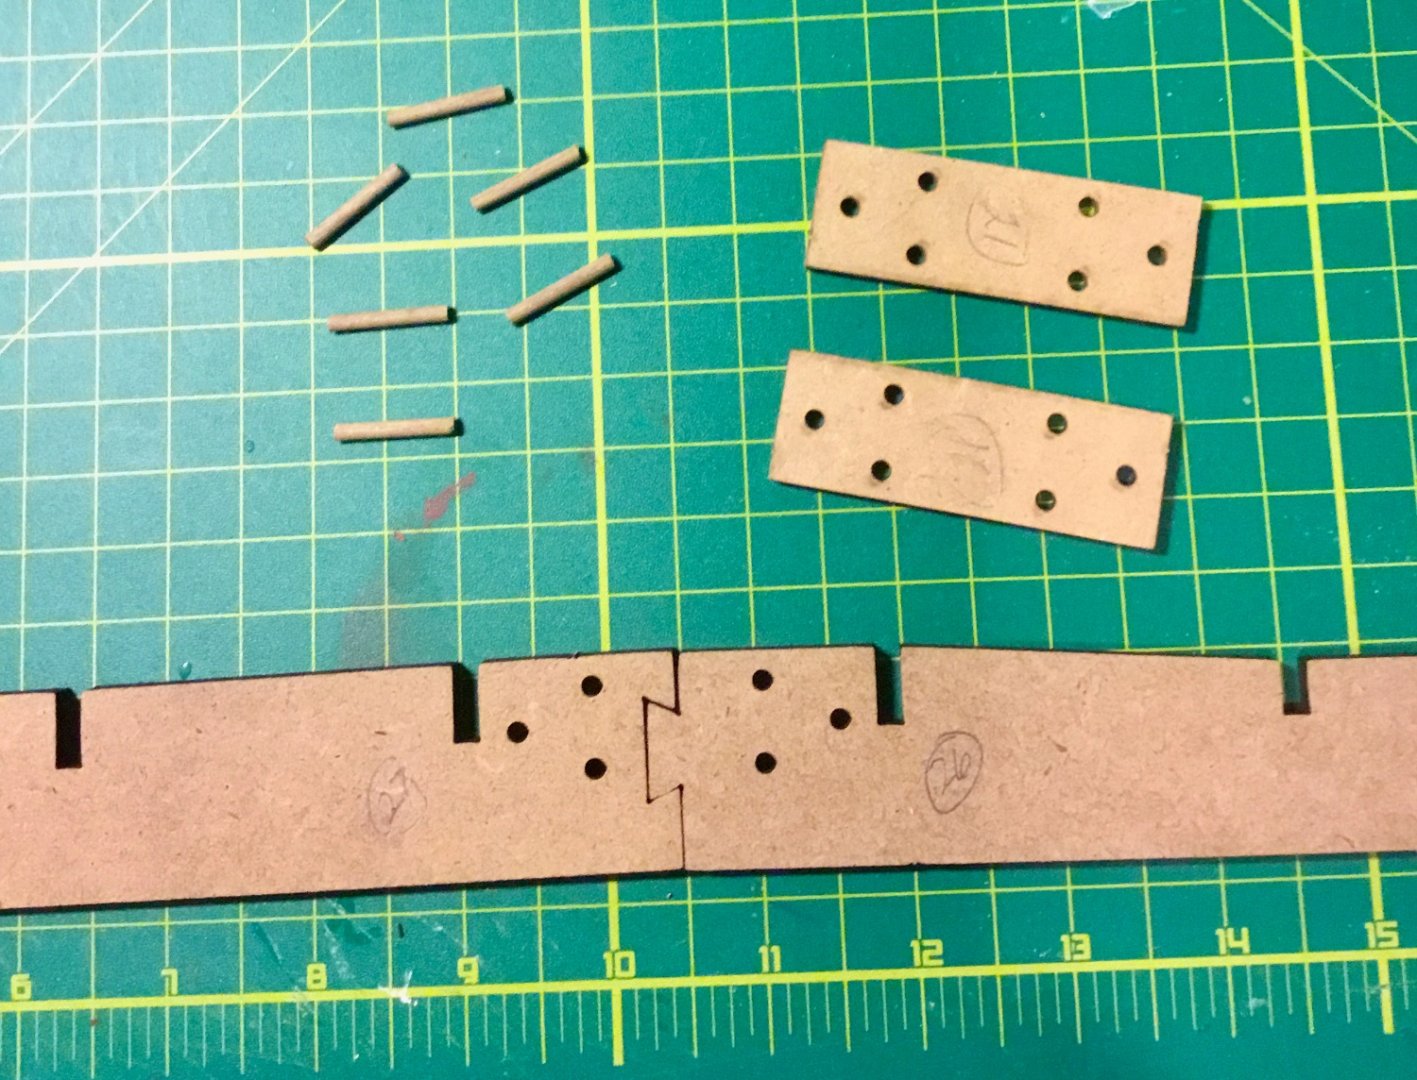
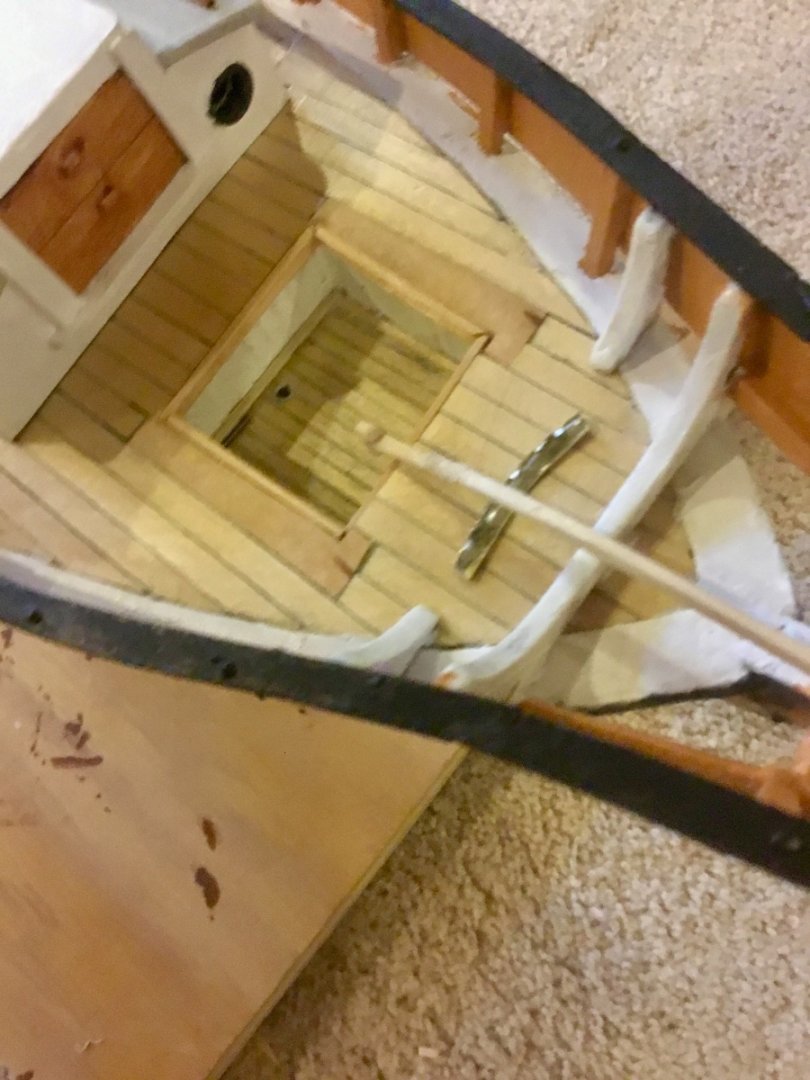
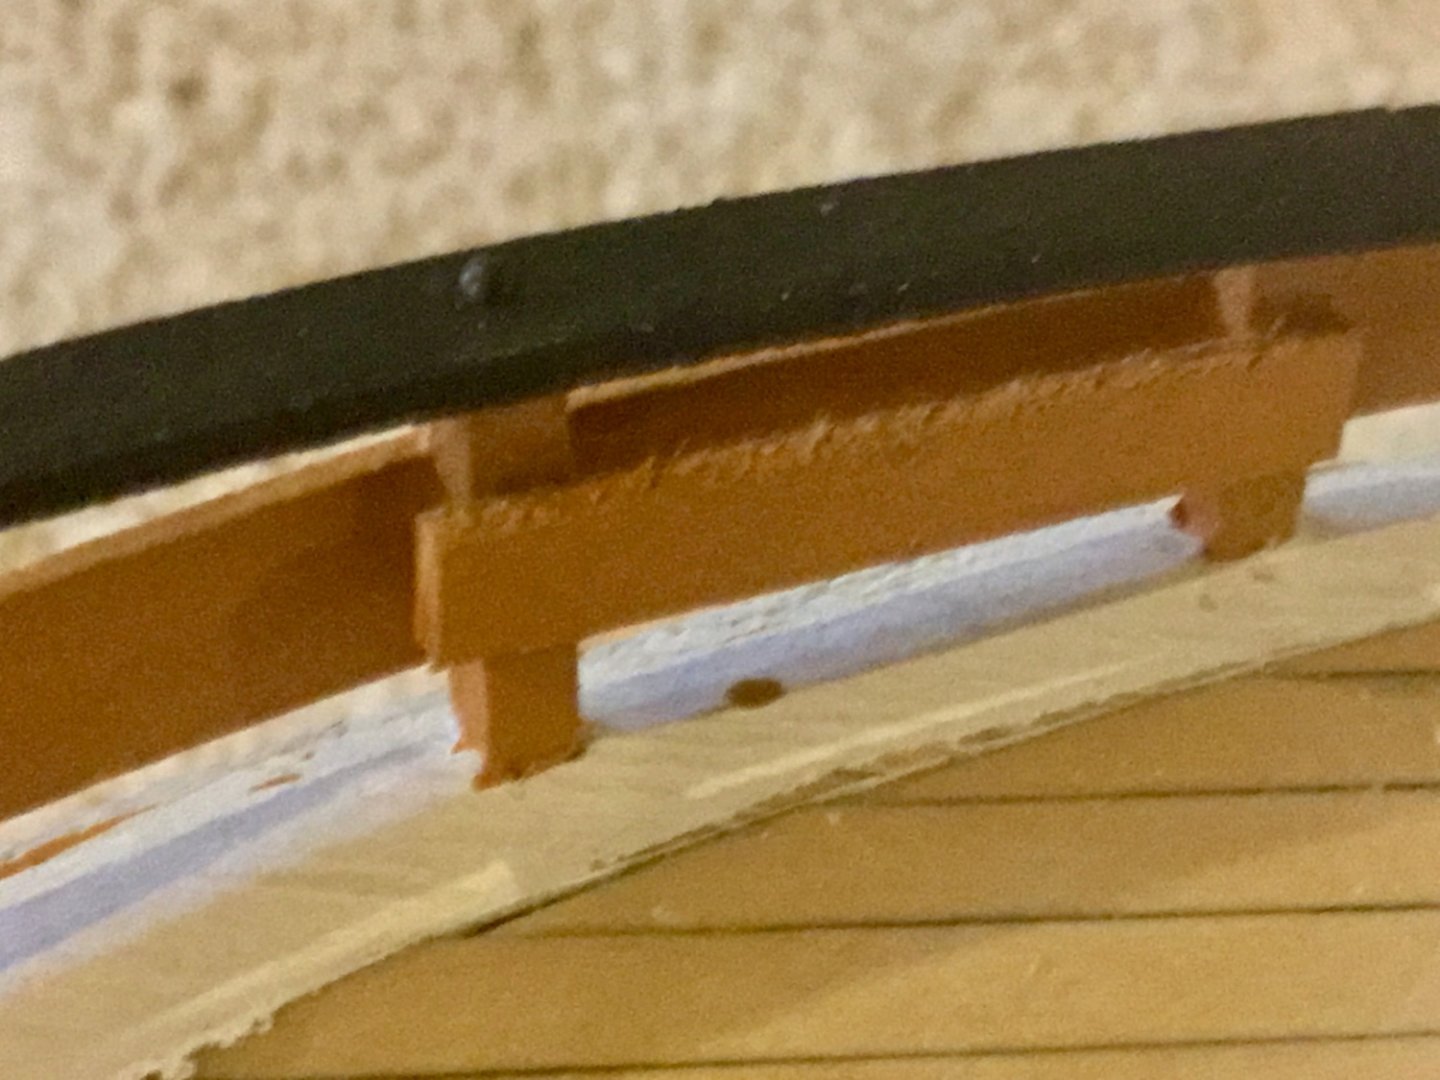
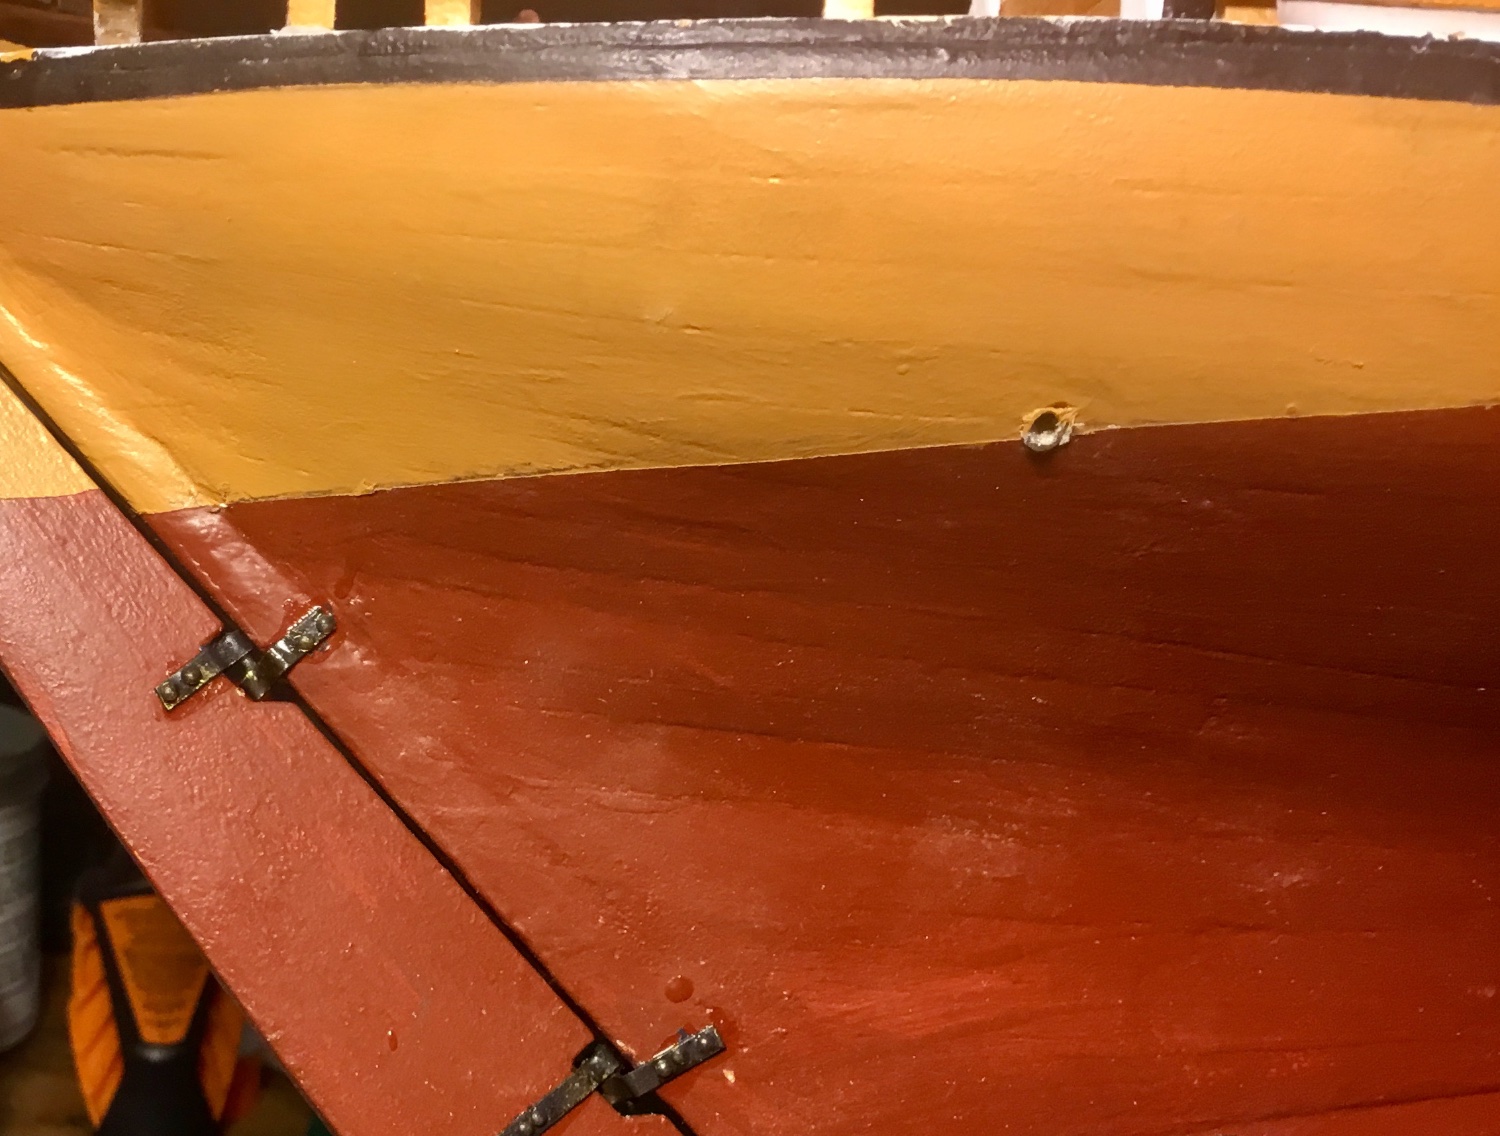
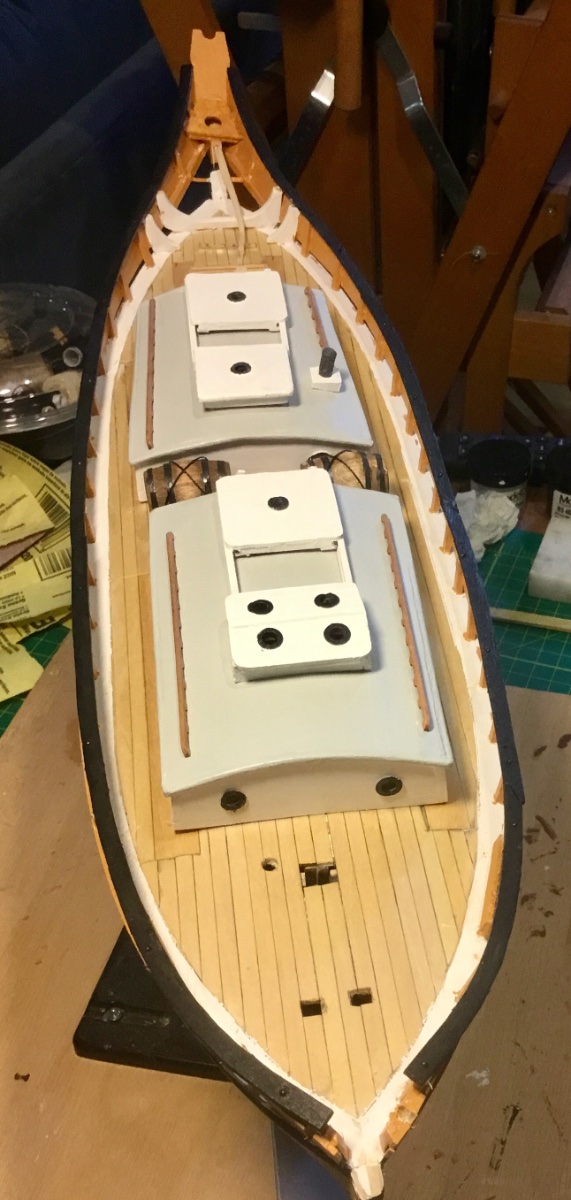
I glued the bulwarks stanchions and knight heads in place using patterns cut at approximate angles and then installed the short and long knees. I then added the bulwarks gluing them in place along with the tombstone and its associated support timbers and the seat of ease.
I then cut the stanchions to length and applied paint. After that I painted the underside and edges of the cap rail parts then glued and pinned them in place on the stanchions. Finally I painted the tops of the cap rails. Some minor touch up of the painting still needs to be done.
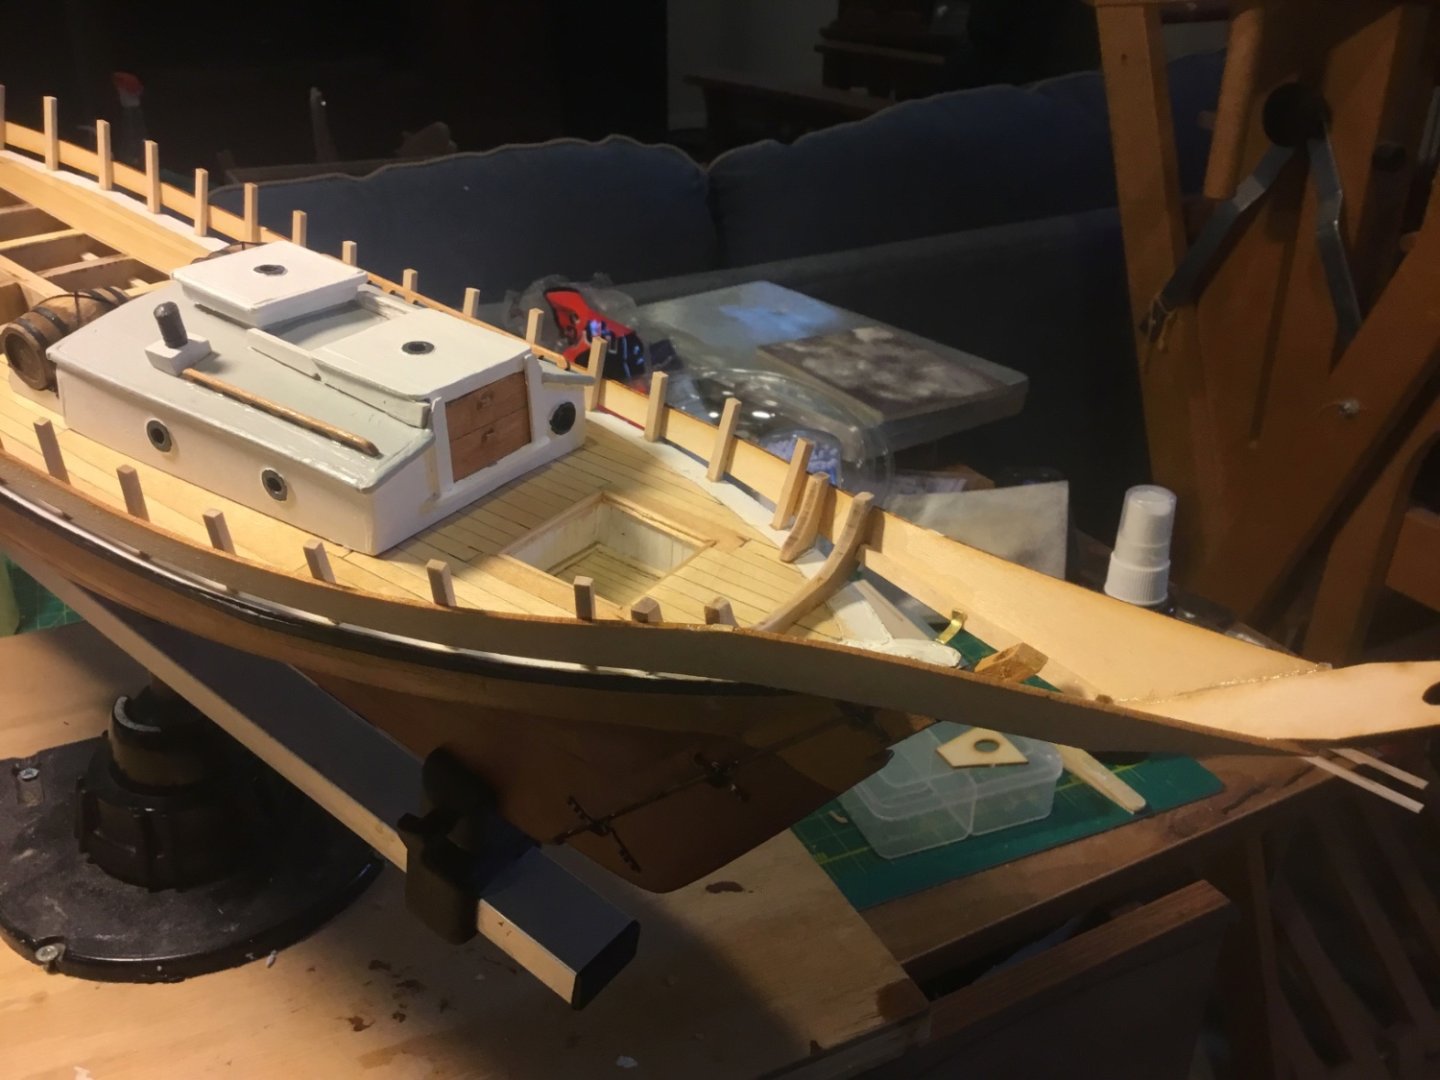
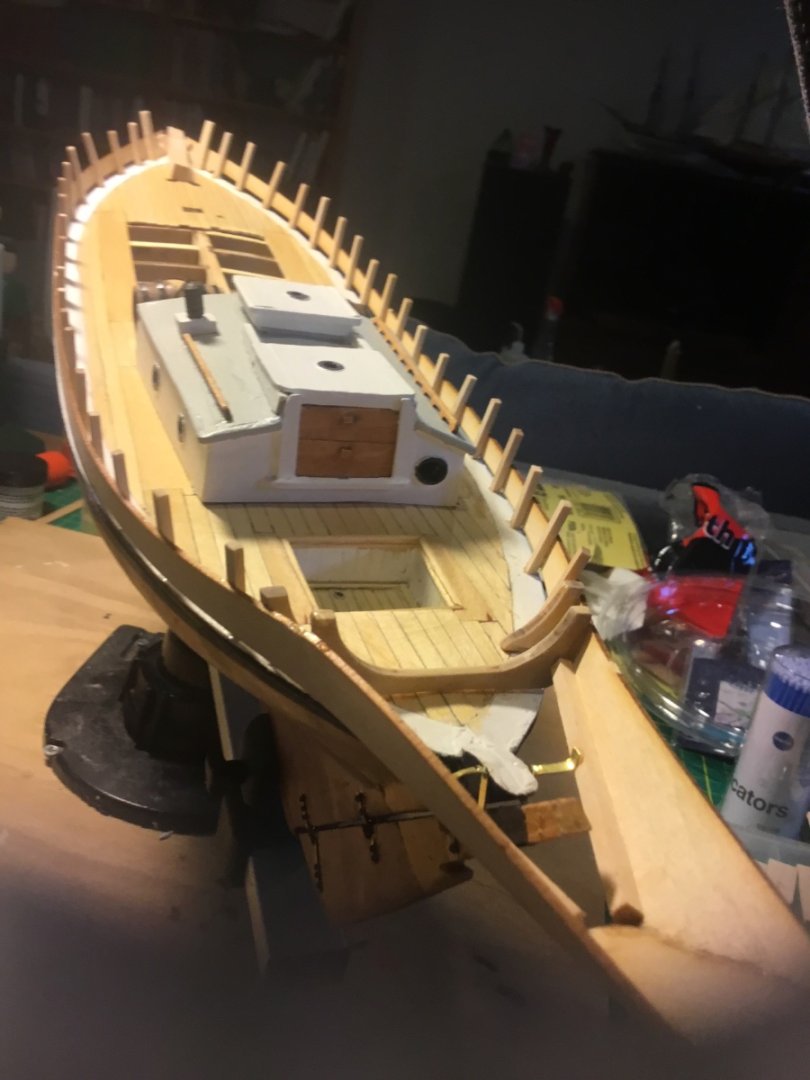


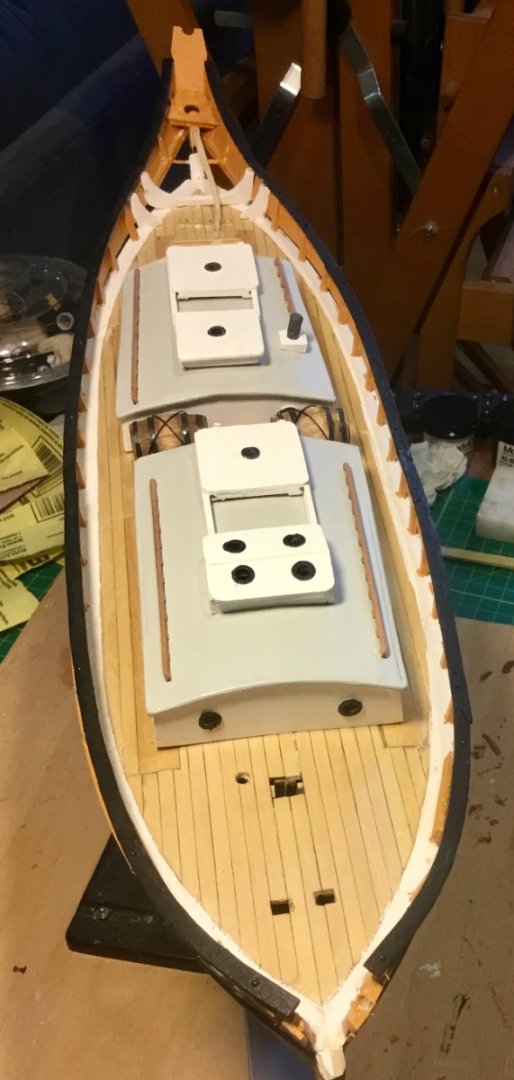
I made the tiller comb and began to remake the tiller as some how I lost it. I used the empty laser cut sheet as a pattern to make a new tiller. I still need to fine tune and stain the tiller and paint the tiller comb before installation. I also shaped and stained the main sheet and jib sheet horses and created their respective traveler rings and tackles so the tackles can be put in place before gluing the horses in place. Easier to do it now than later. I think the stain I used is too light so I will probably restain with something a little darker. I also added and painted the jib sheet horse support planks.


- ccoyle, Paul Le Wol, BobG and 3 others
-
6
-
I thought the Captain John Smith's shallop kit on Pavel's site look interesting. Check out the step 1 build video on YouTube. But shipping was over $30 to the states. Not so sure about the staining with an air brush vs traditional ways of finishing.
-
I believe the MS1447 kit is an older kit version. The current MS2130 kit instructions should be helpful if not exactly the same except for the scale differences.
- thibaultron and mtaylor
-
2


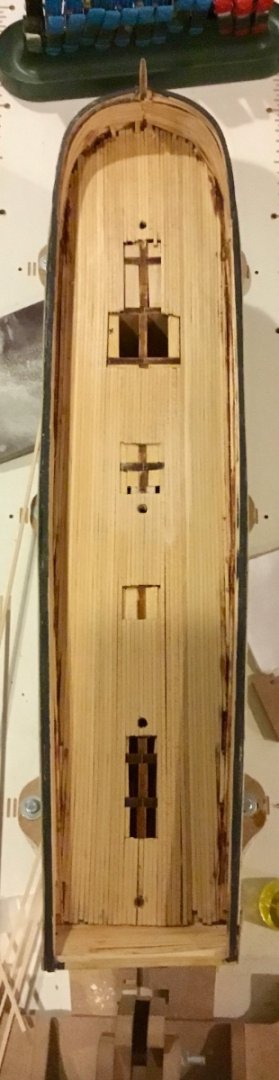
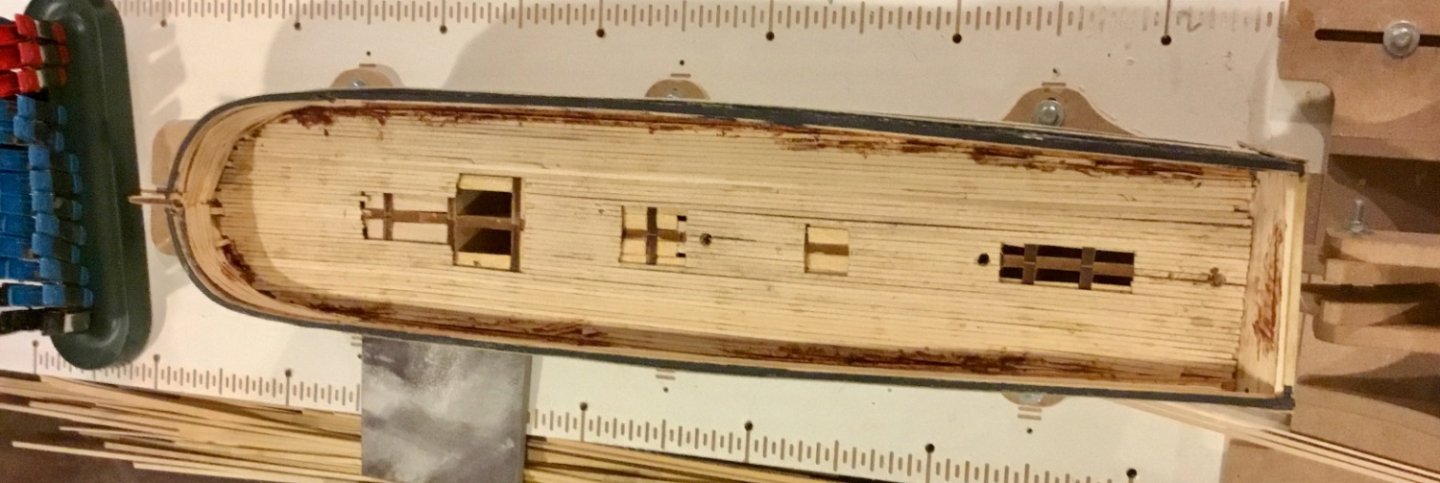
Fifie by Dsmith20639 - FINISHED - Amati - 1/32 scale
in - Kit build logs for subjects built from 1901 - Present Day
Posted
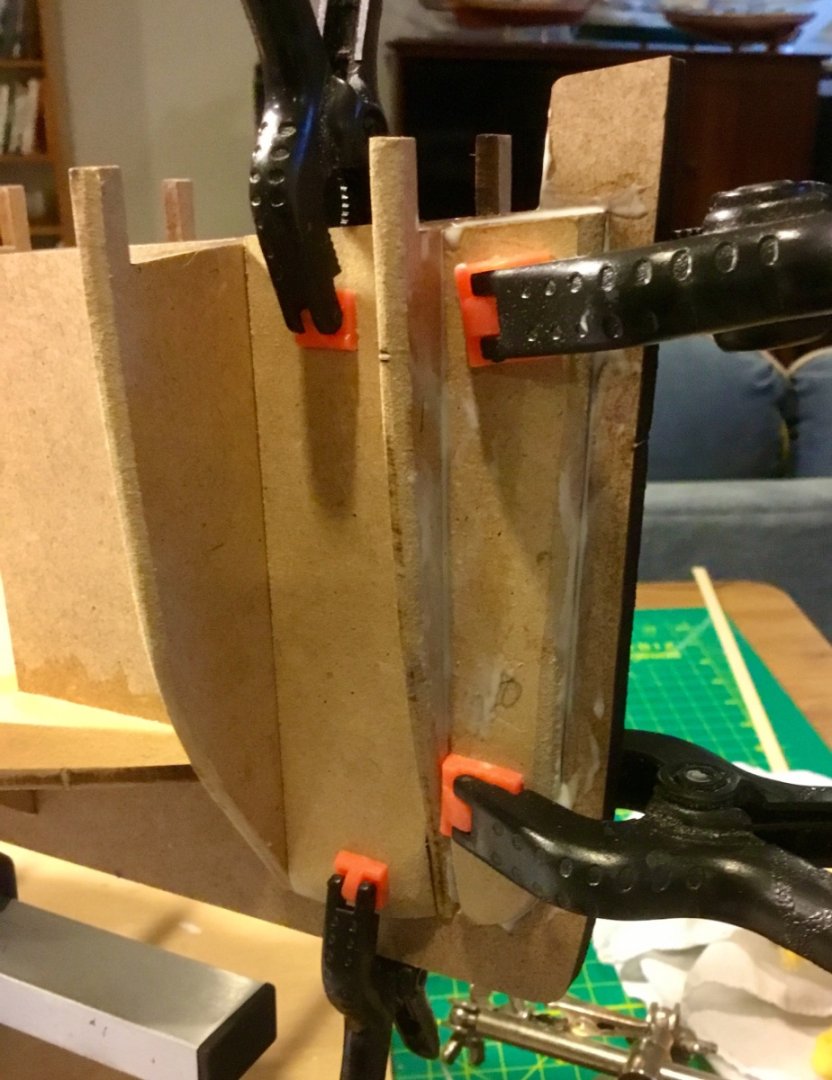
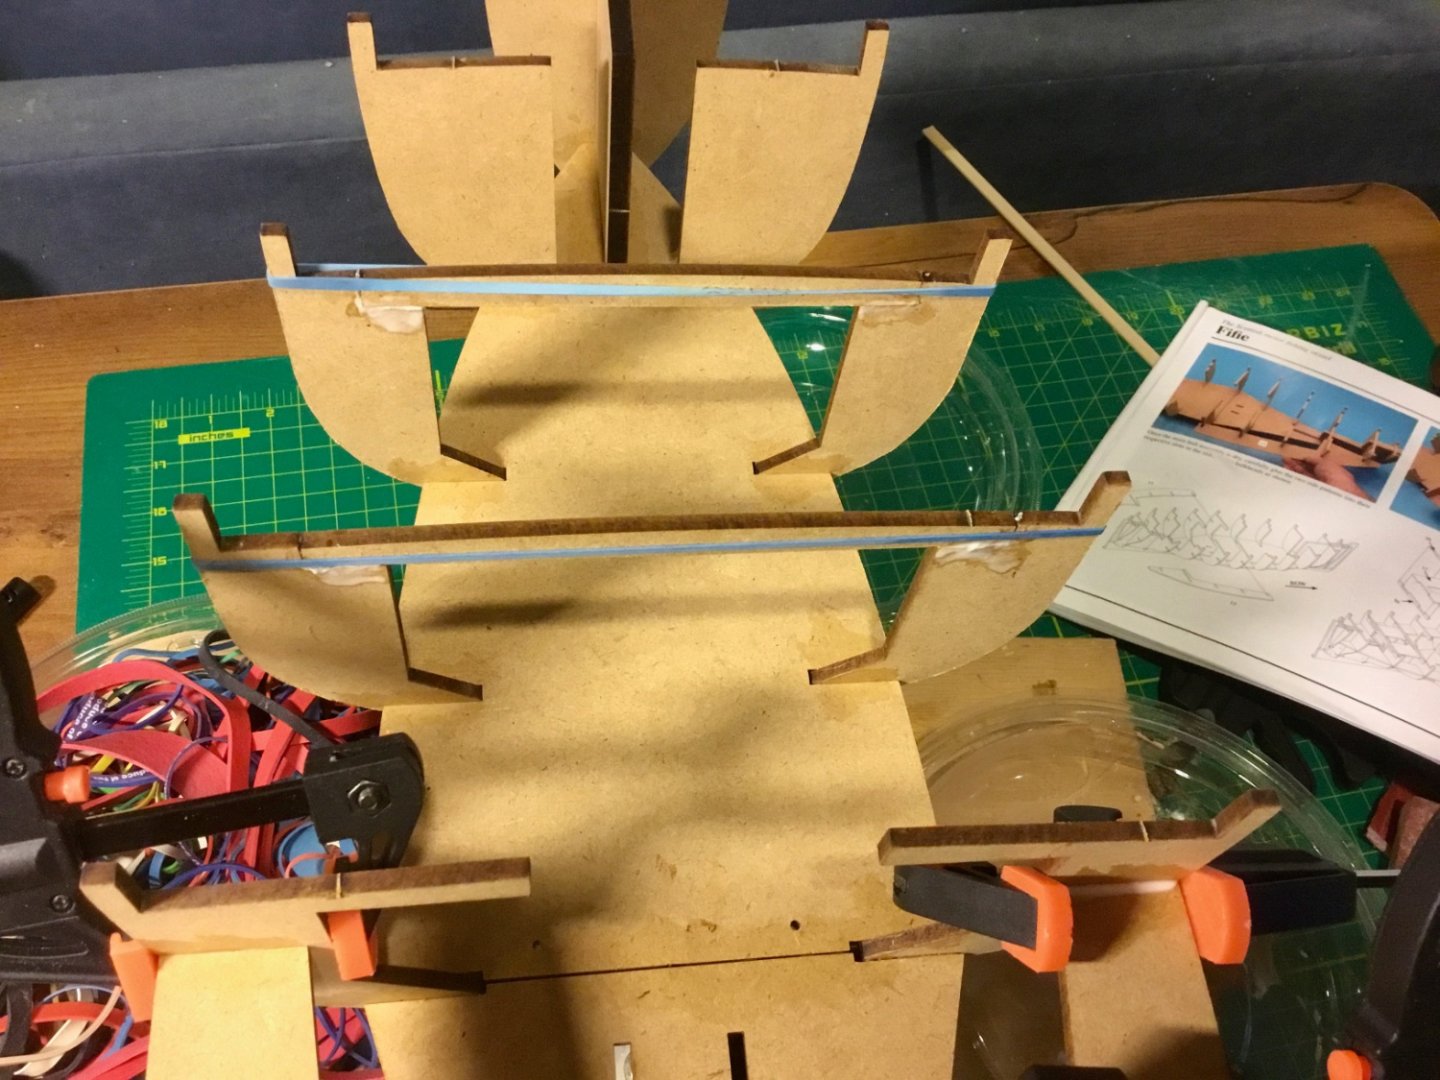
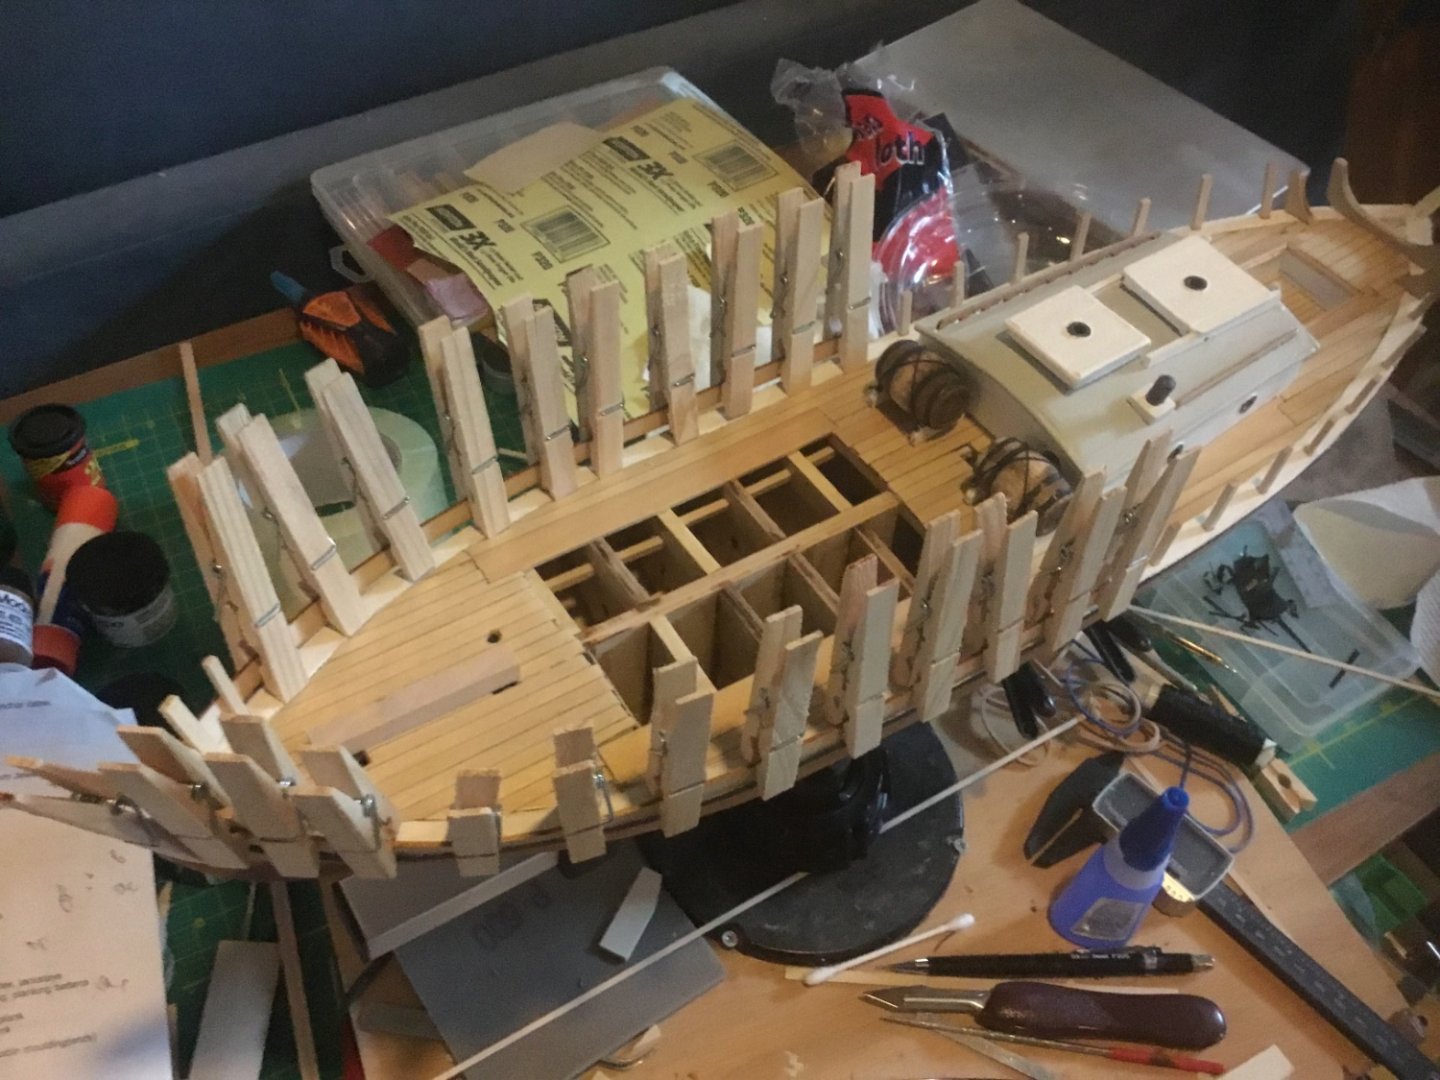
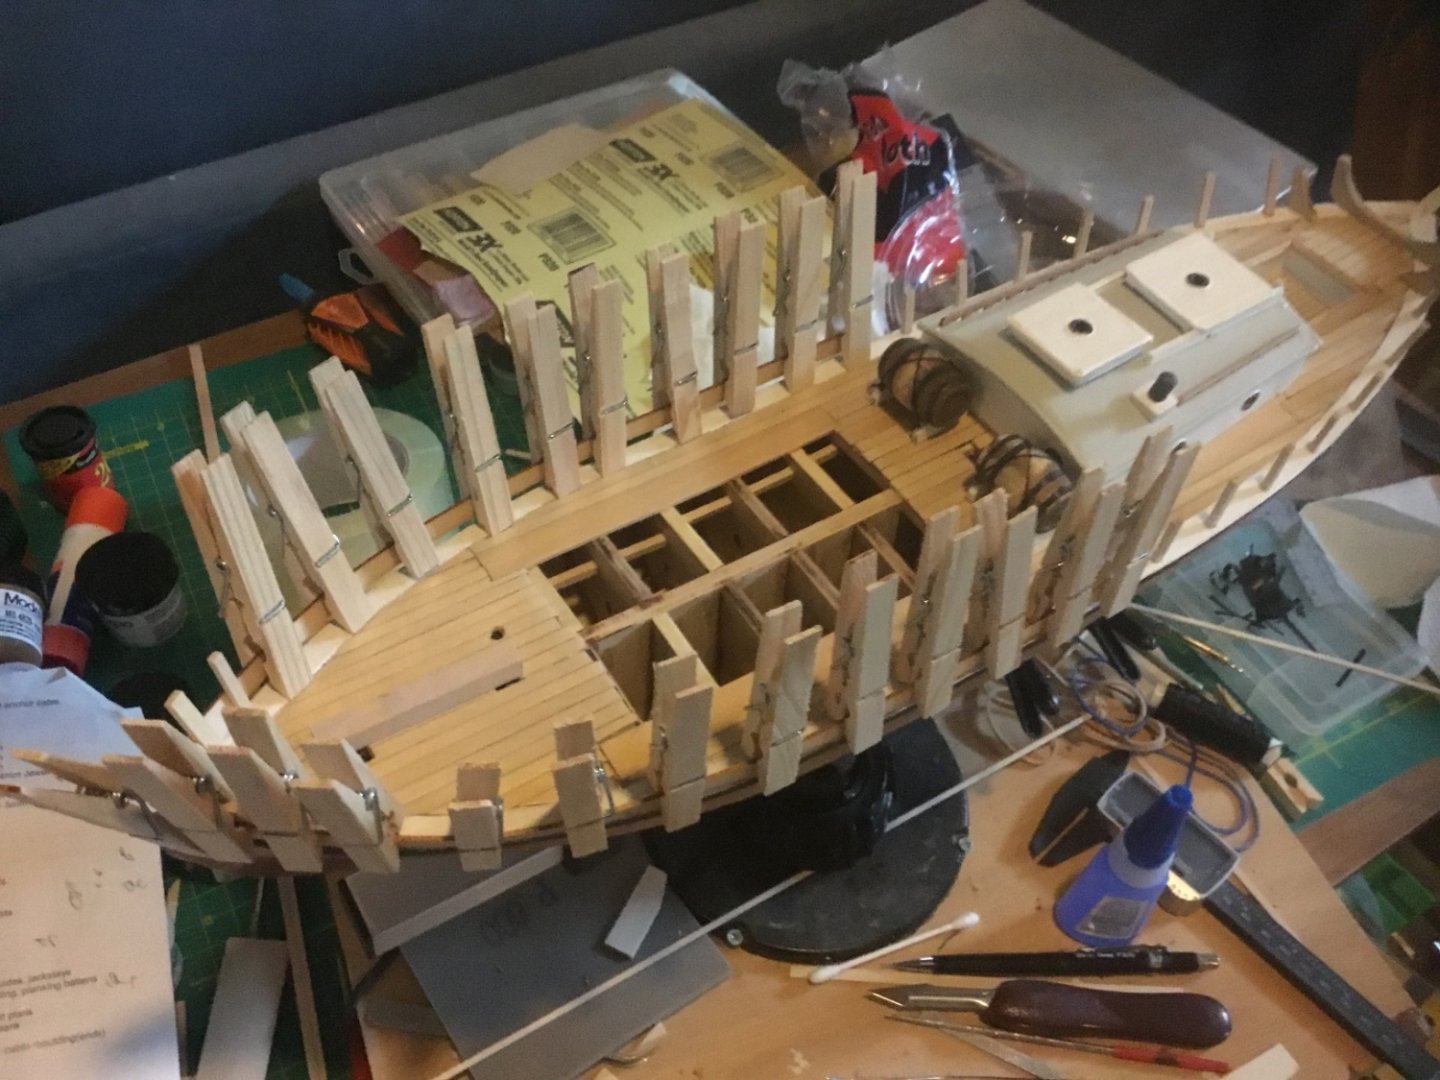
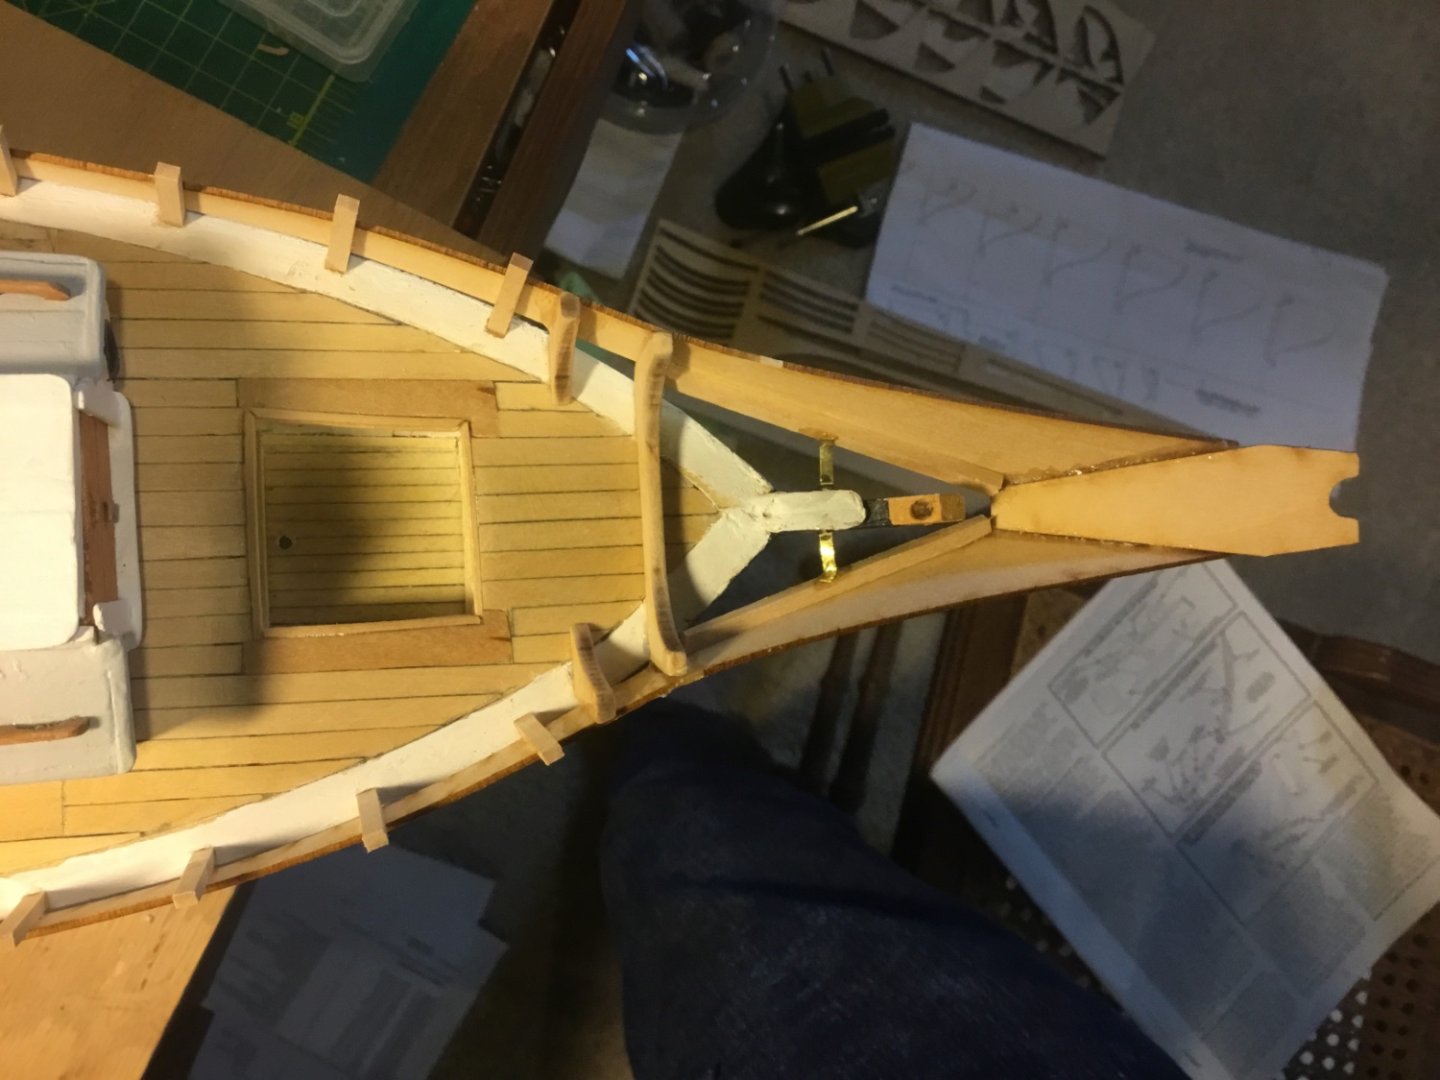
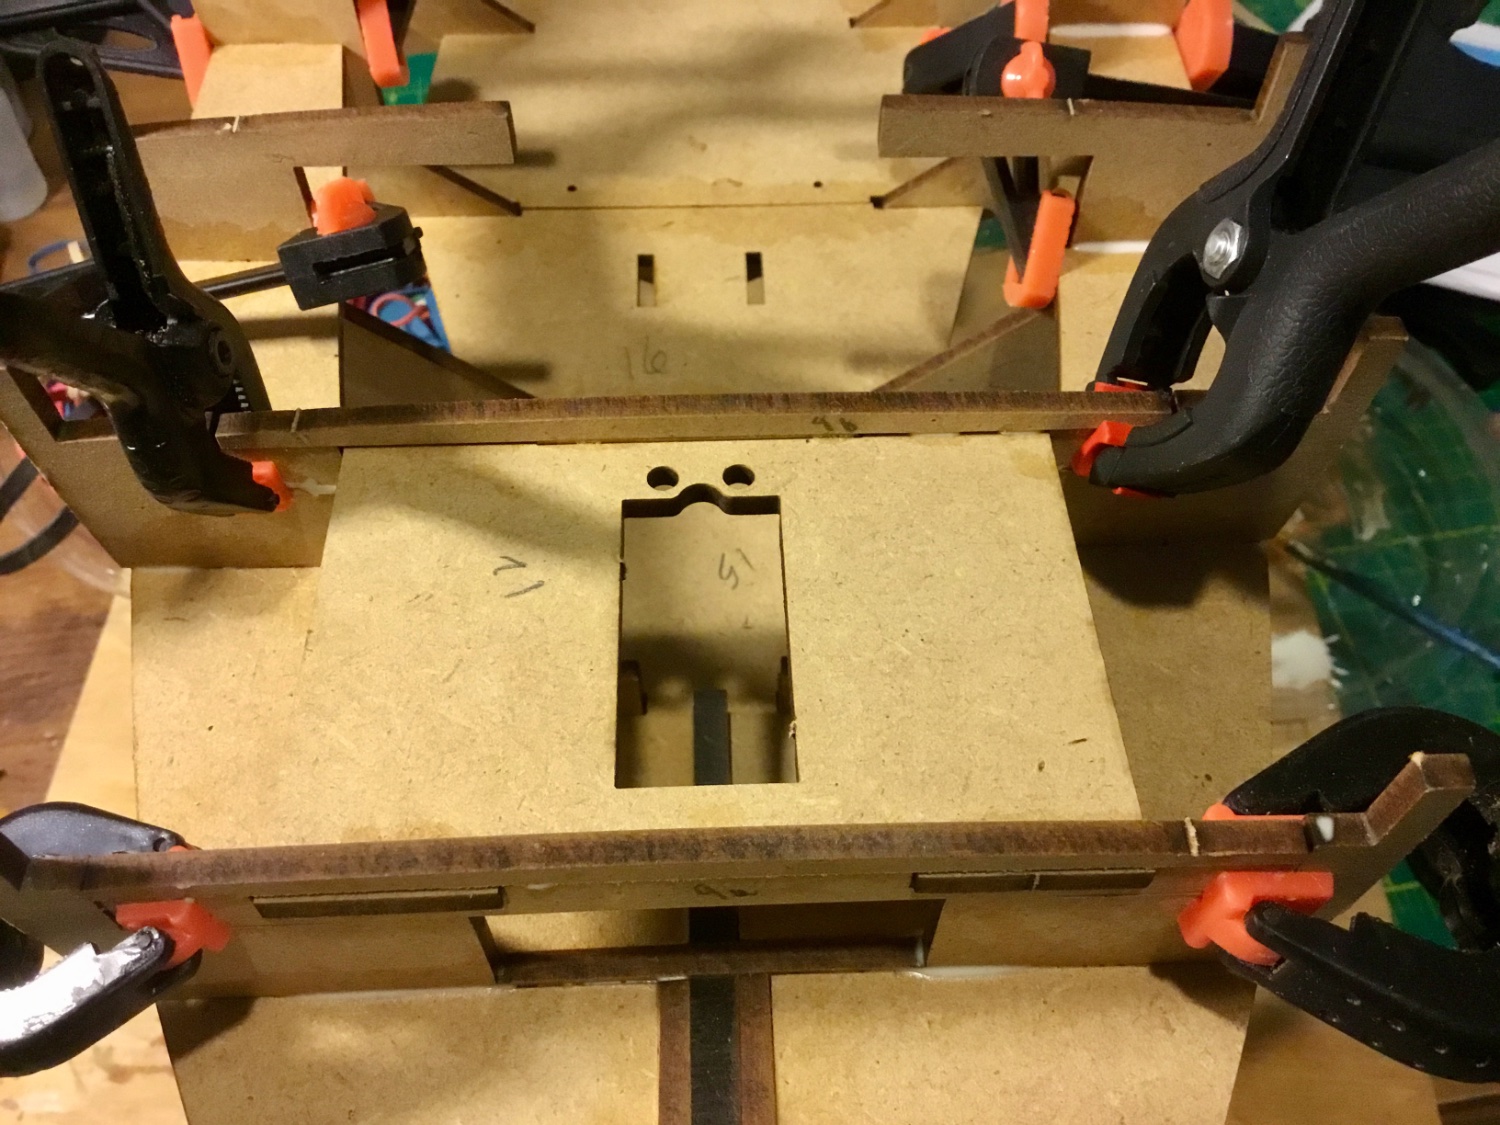
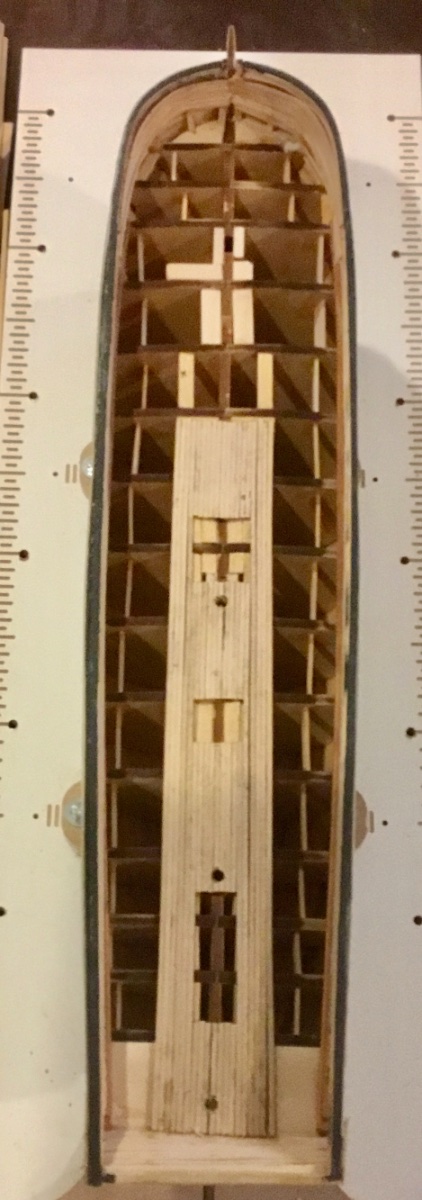
Installed deck panels. Added top two strakes of hull planking by glueing the second plank down from the shear line first and then only edge glueing the top plank in place to the second plank to facilitate the ease of removing the bulkhead extensions later in the build. Took measurements of the bulkhead lengths remaining and determine that I would need 23 strakes to complete each hull side using the 7mmm planks provided. I then lined off the hull into 3 belts of approximately 8, 8, and 7 strakes by applying two runs of thread across the bulkheads from stem to stern.