cog
-
Posts
8,764 -
Joined
Content Type
Profiles
Forums
Gallery
Events
Everything posted by cog
-

Fokker Dr.I triplane by cog - multiple - 1:72 - PLASTIC
cog replied to cog's topic in Non-ship/categorised builds
Thanks, Jack. I should be fluent in it I suppose, had quite some practice by now -
Fokker Dr.I triplane by cog - multiple - 1:72 - PLASTIC
cog replied to cog's topic in Non-ship/categorised builds
Must have been limited to the States. The good products you always keep to yourselves -
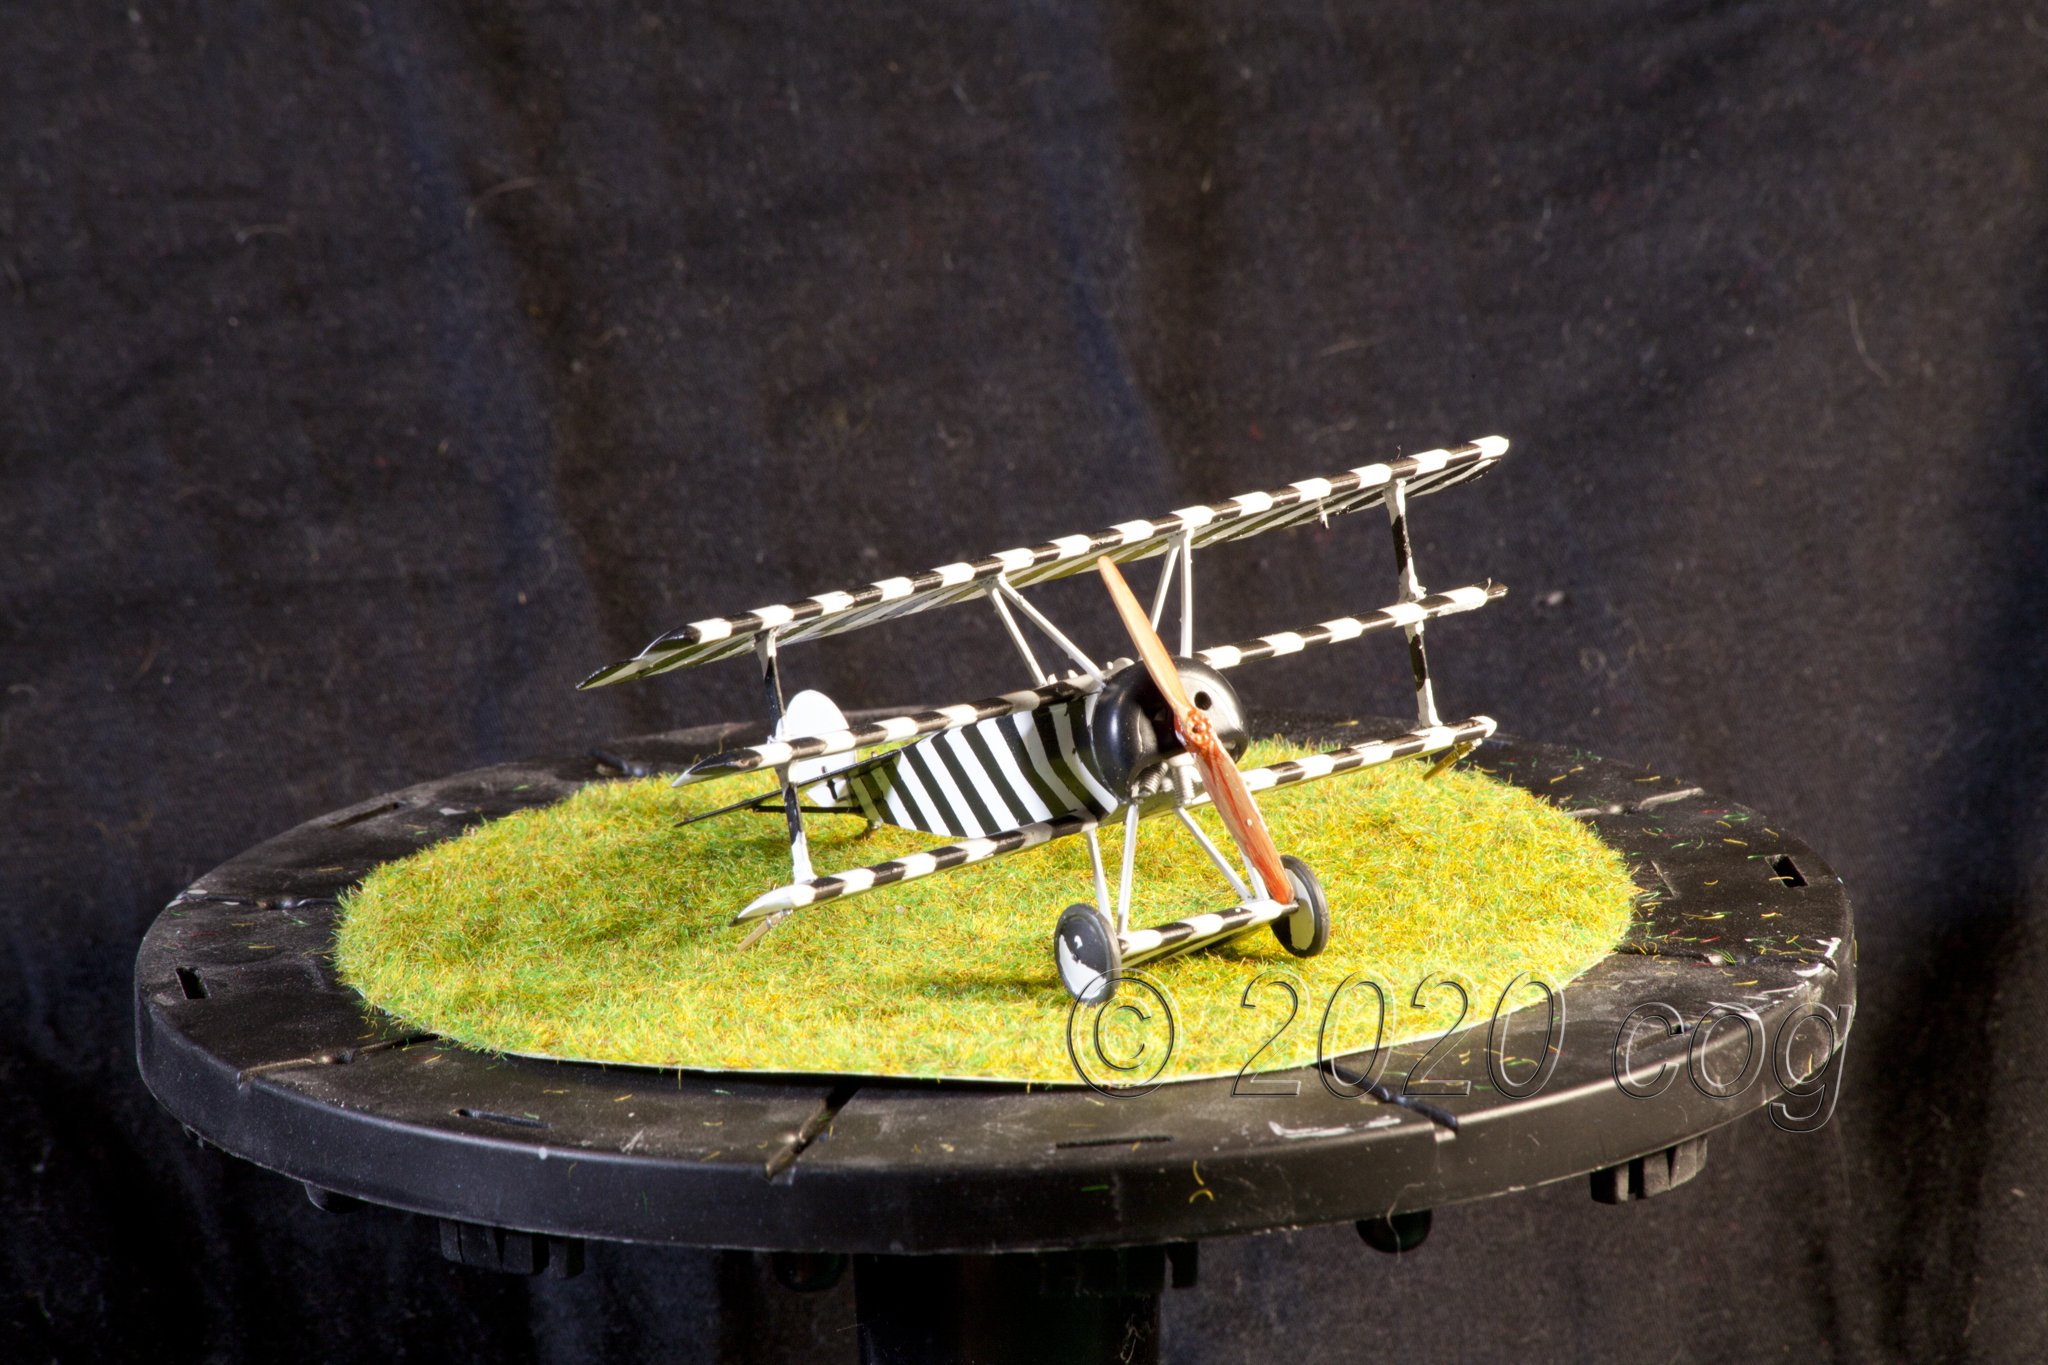
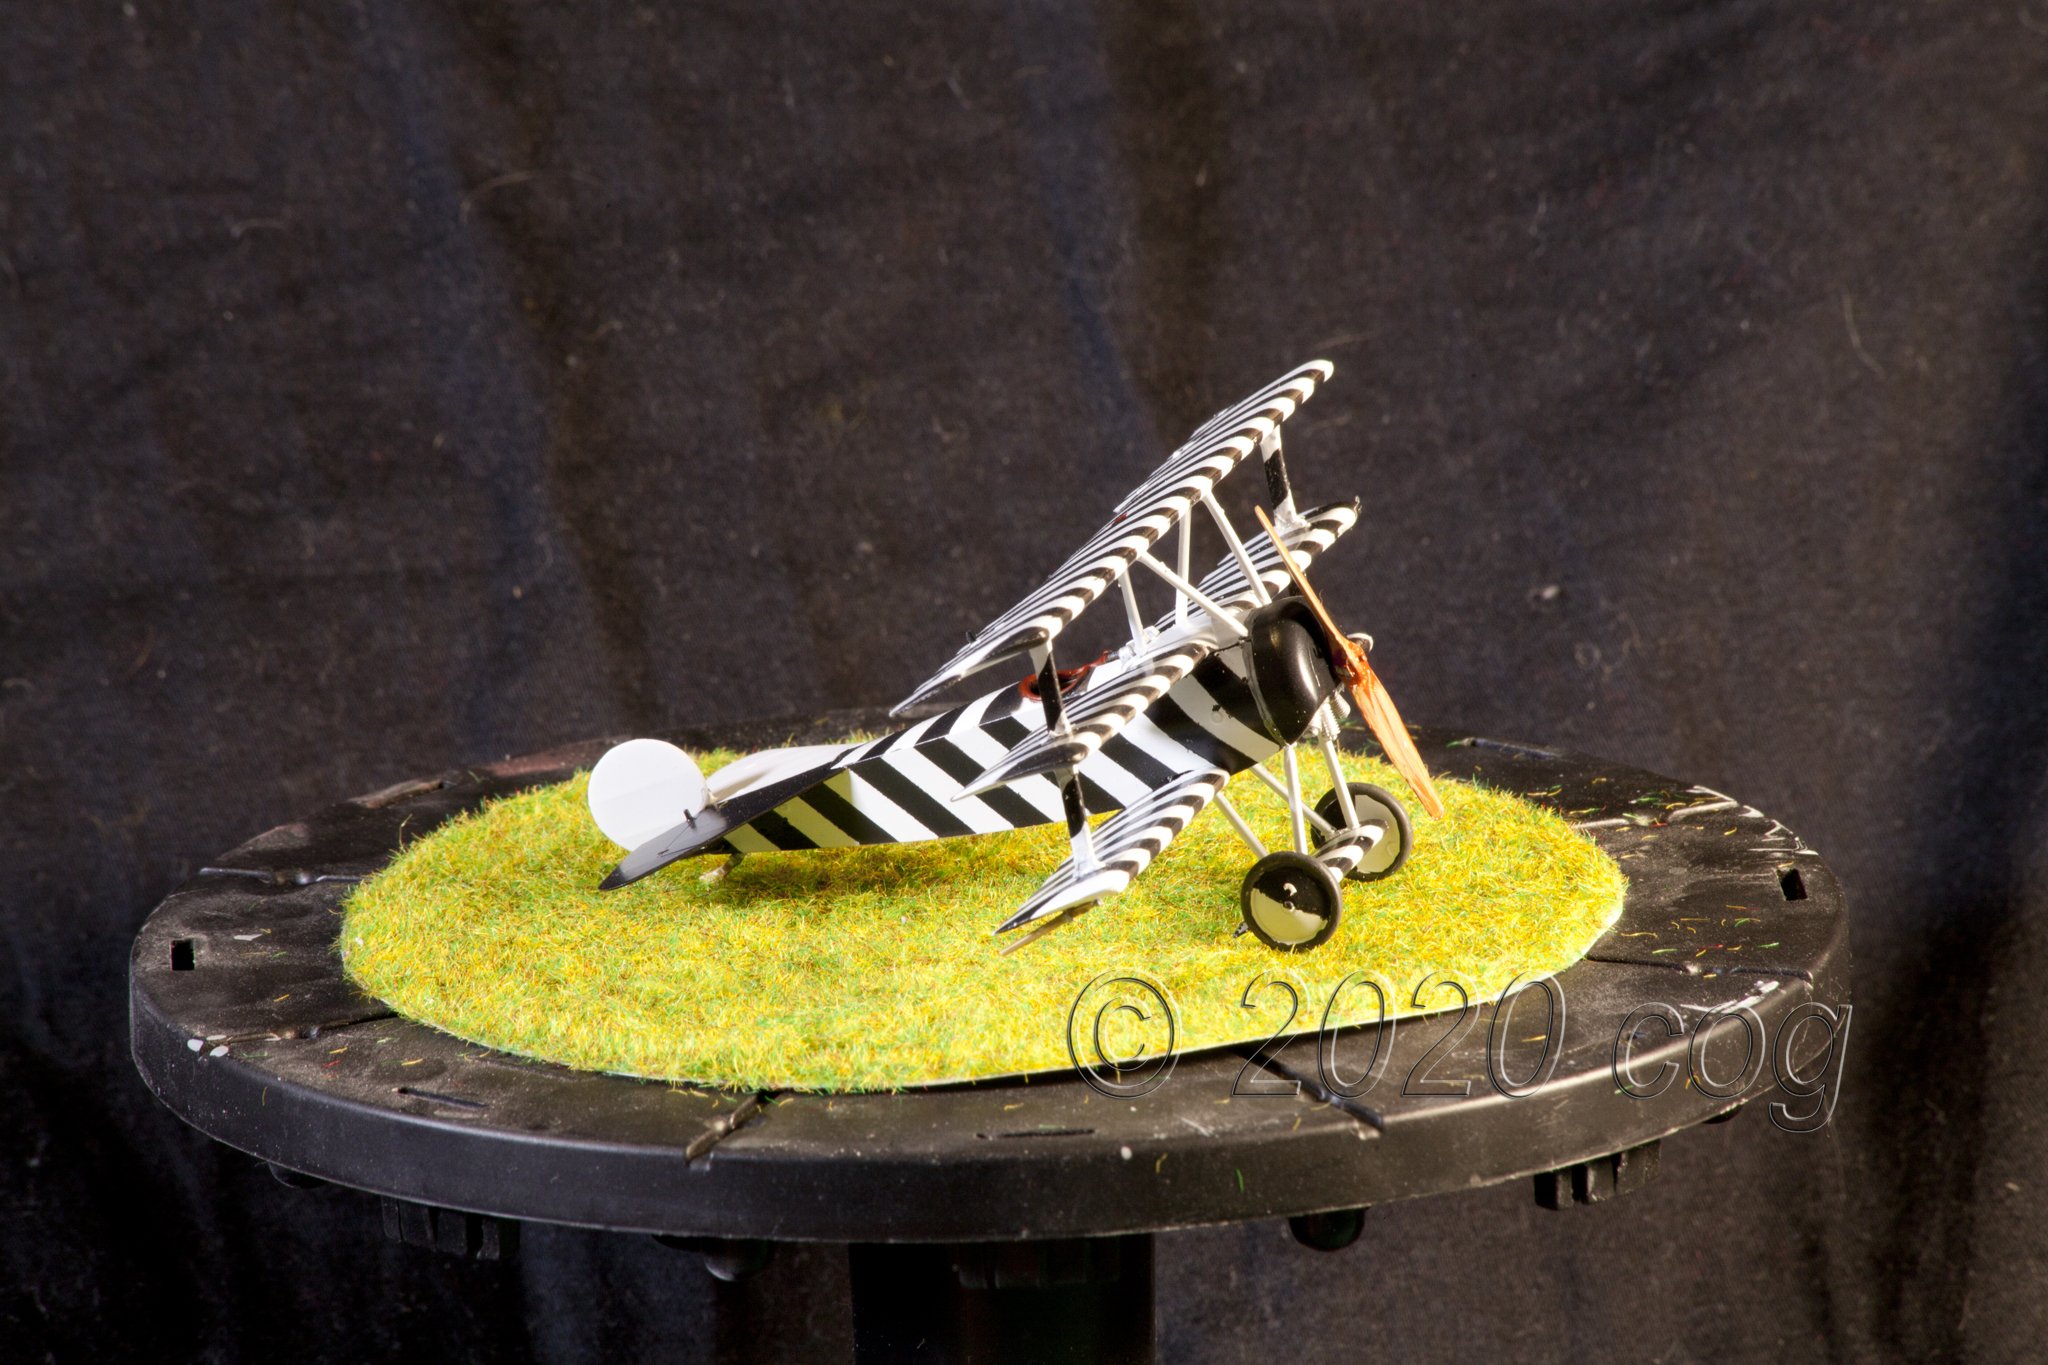
Fokker Dr.I triplane by cog - multiple - 1:72 - PLASTIC
cog replied to cog's topic in Non-ship/categorised builds
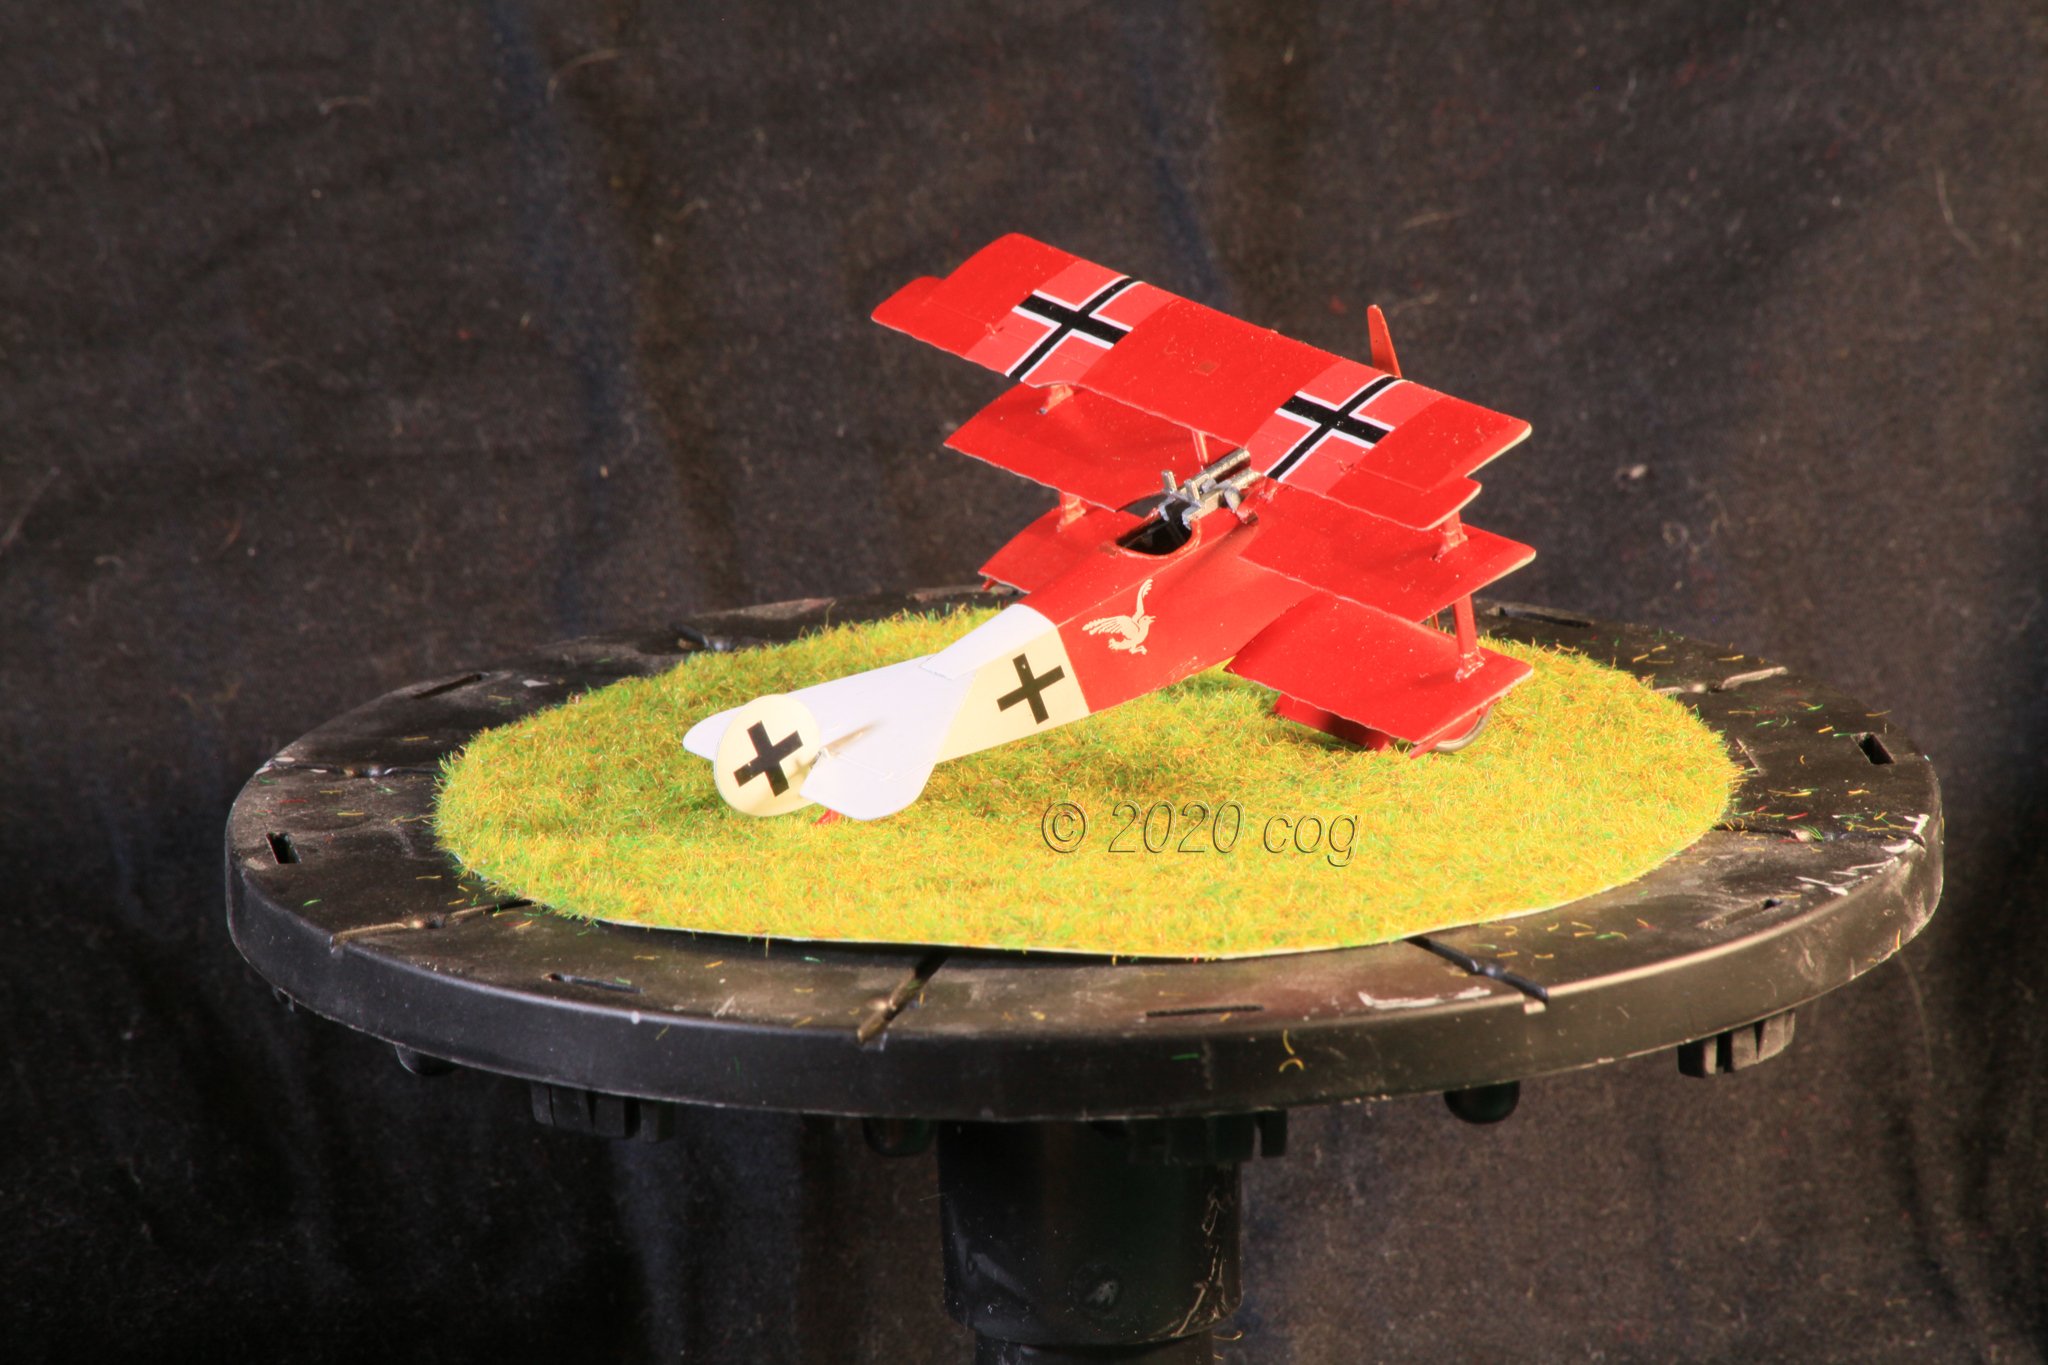
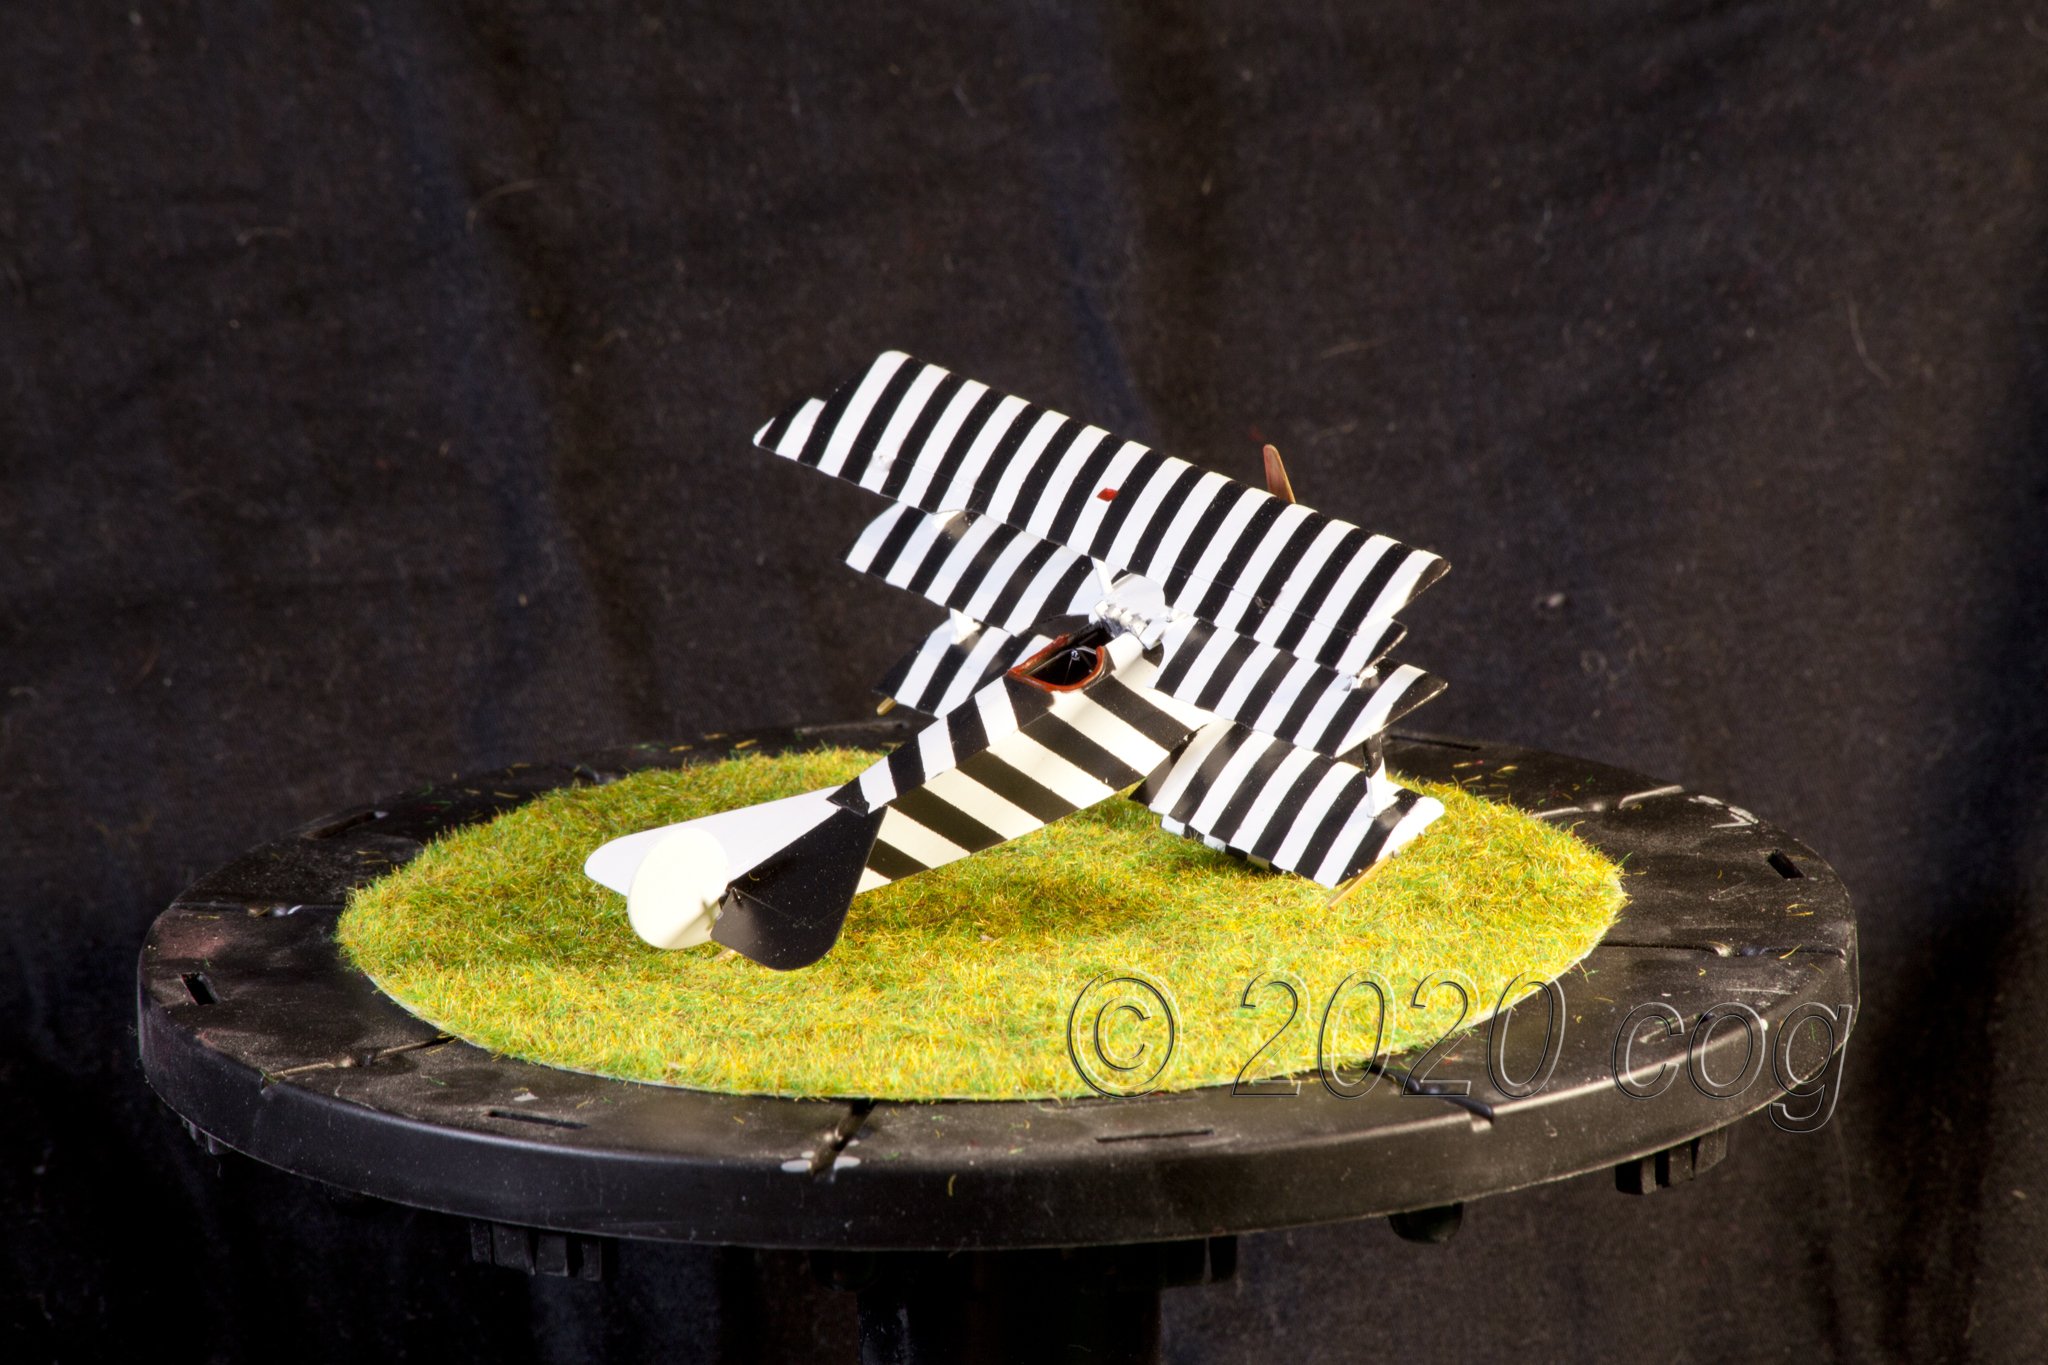
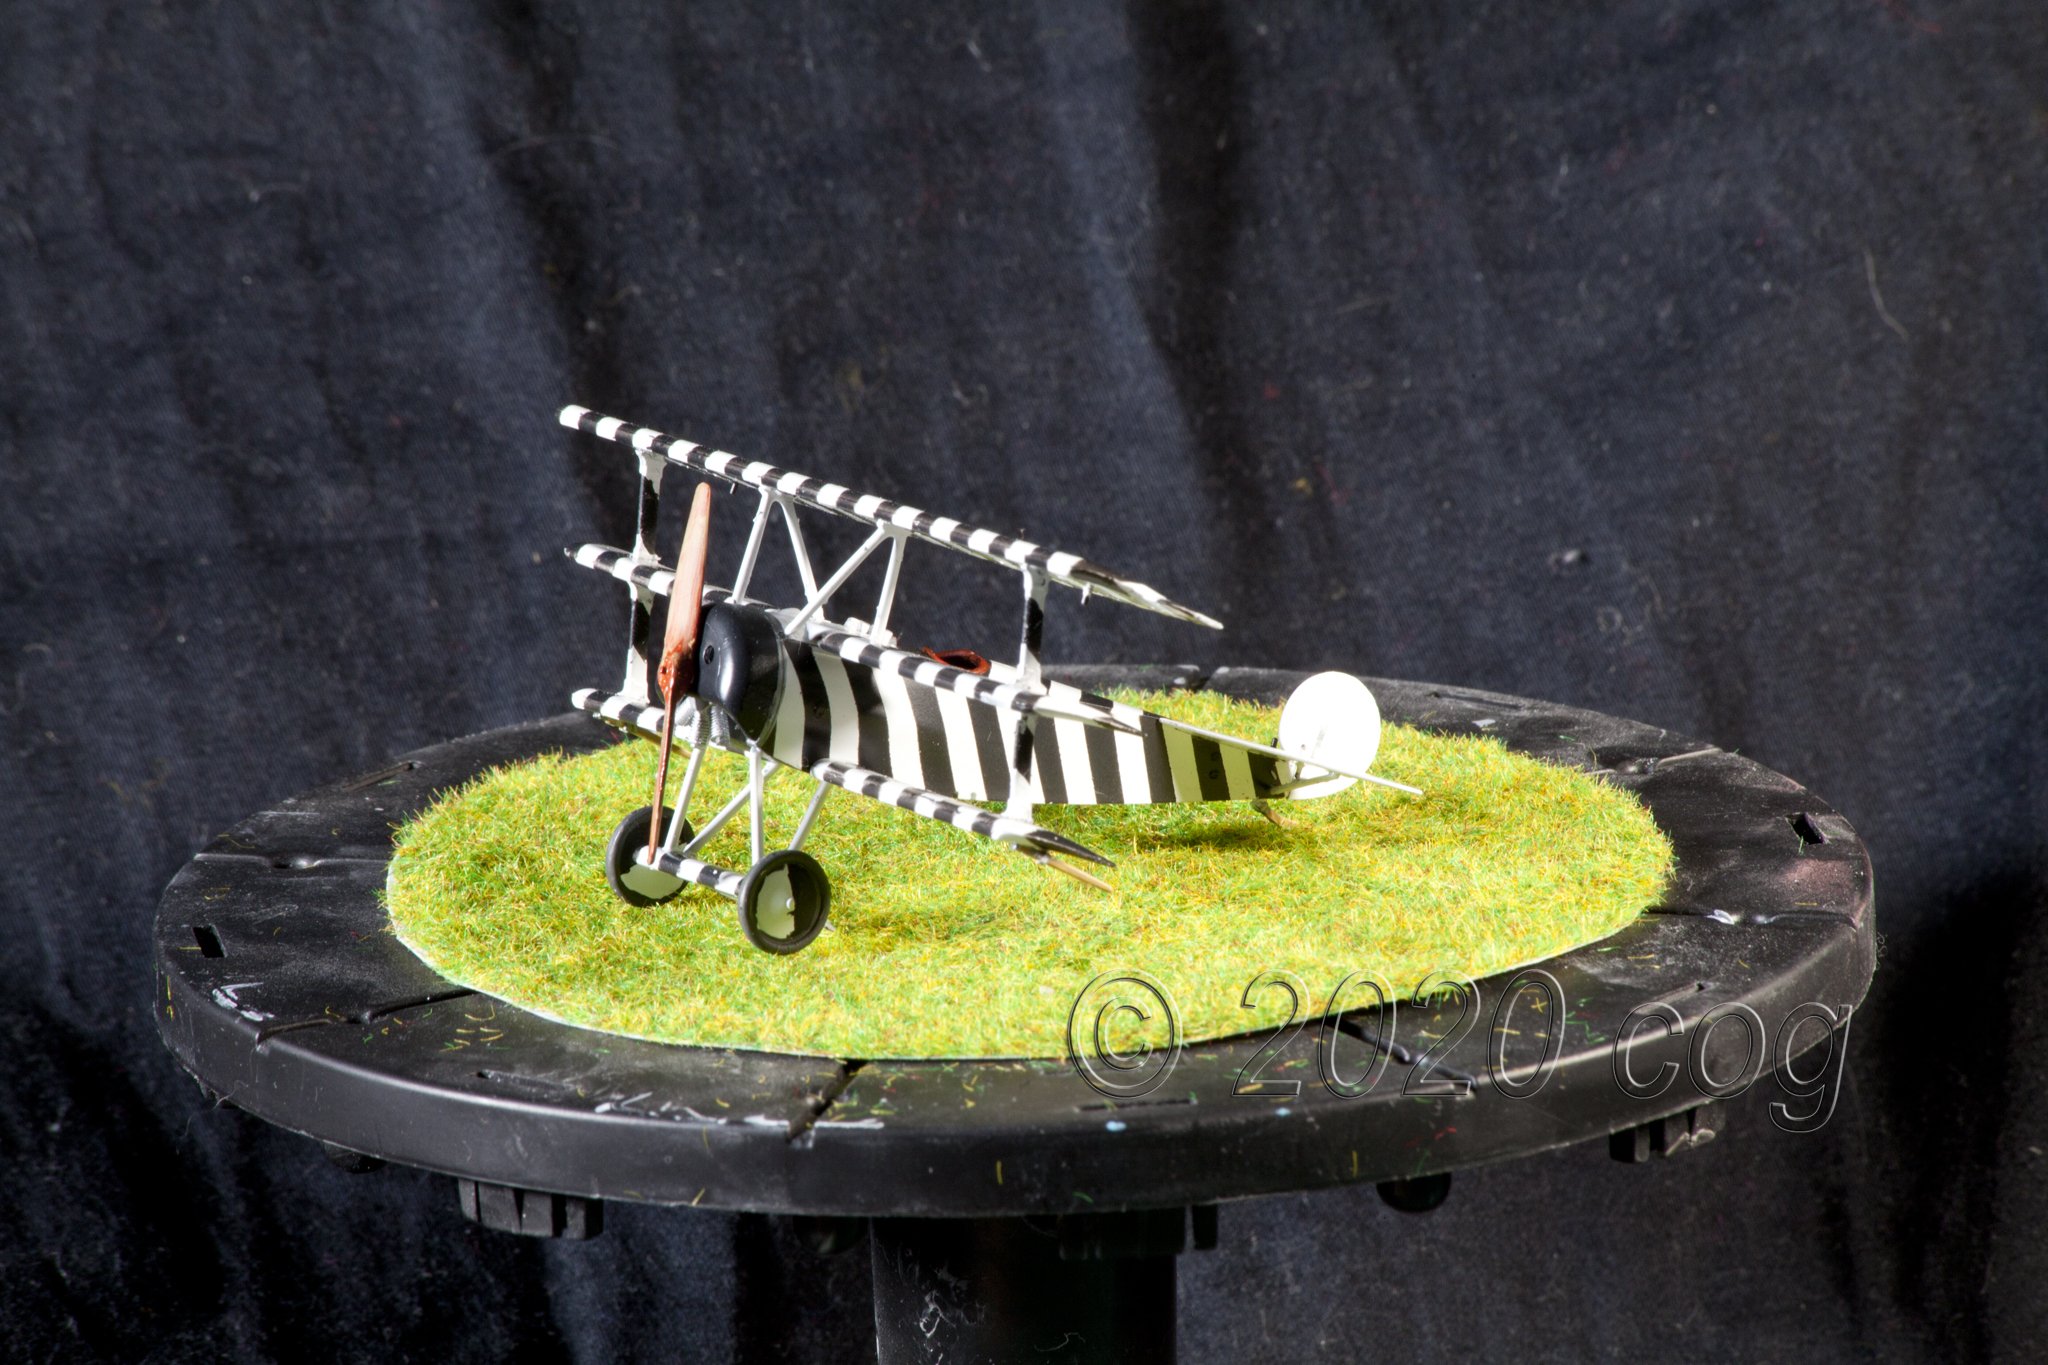
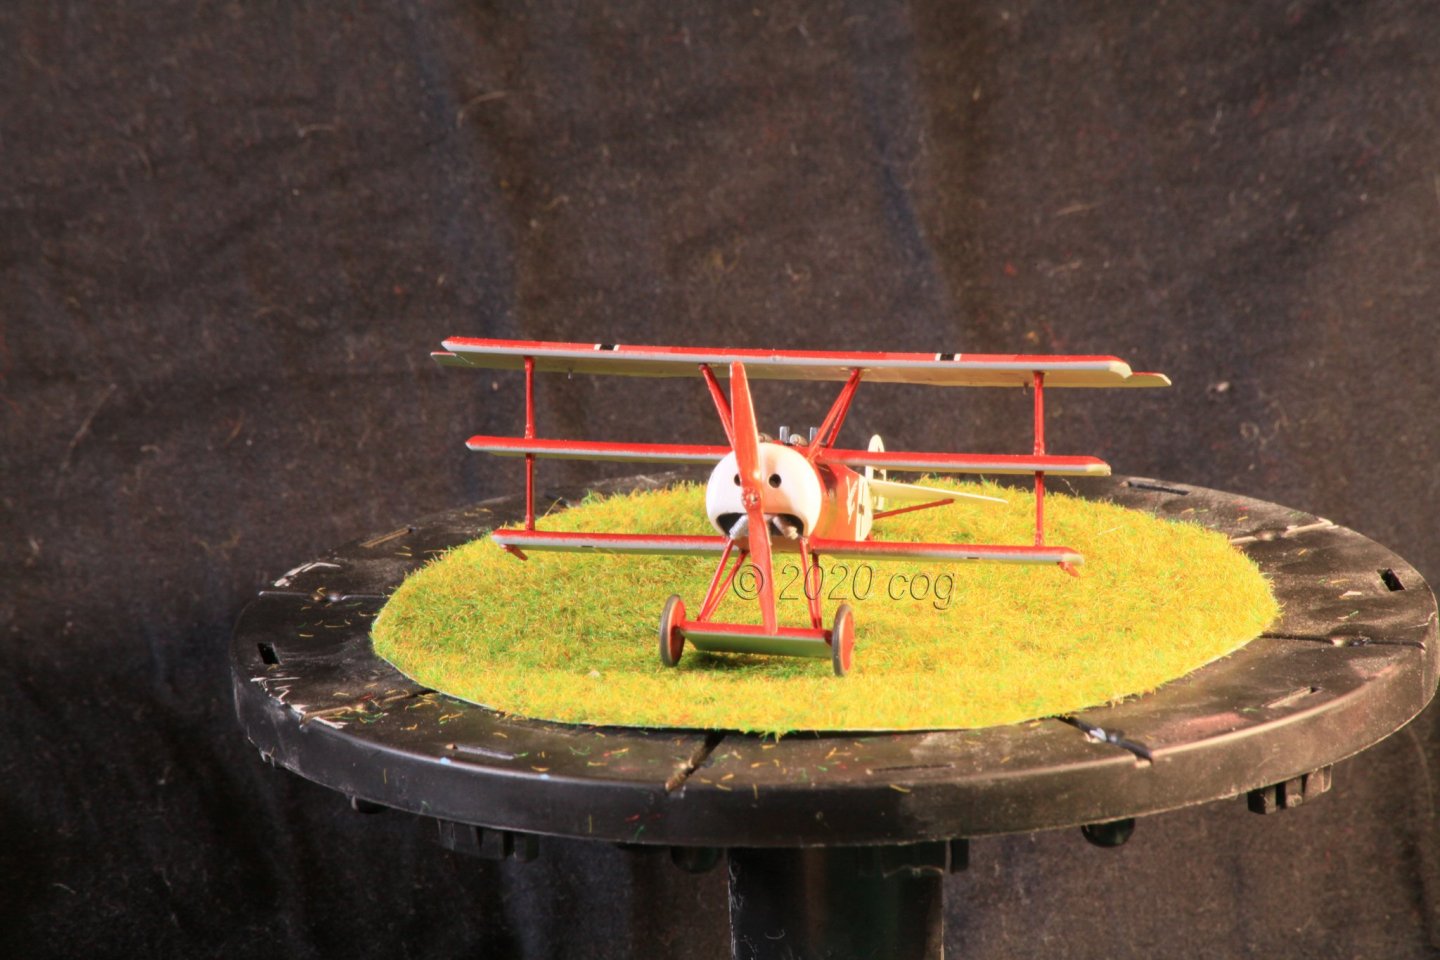
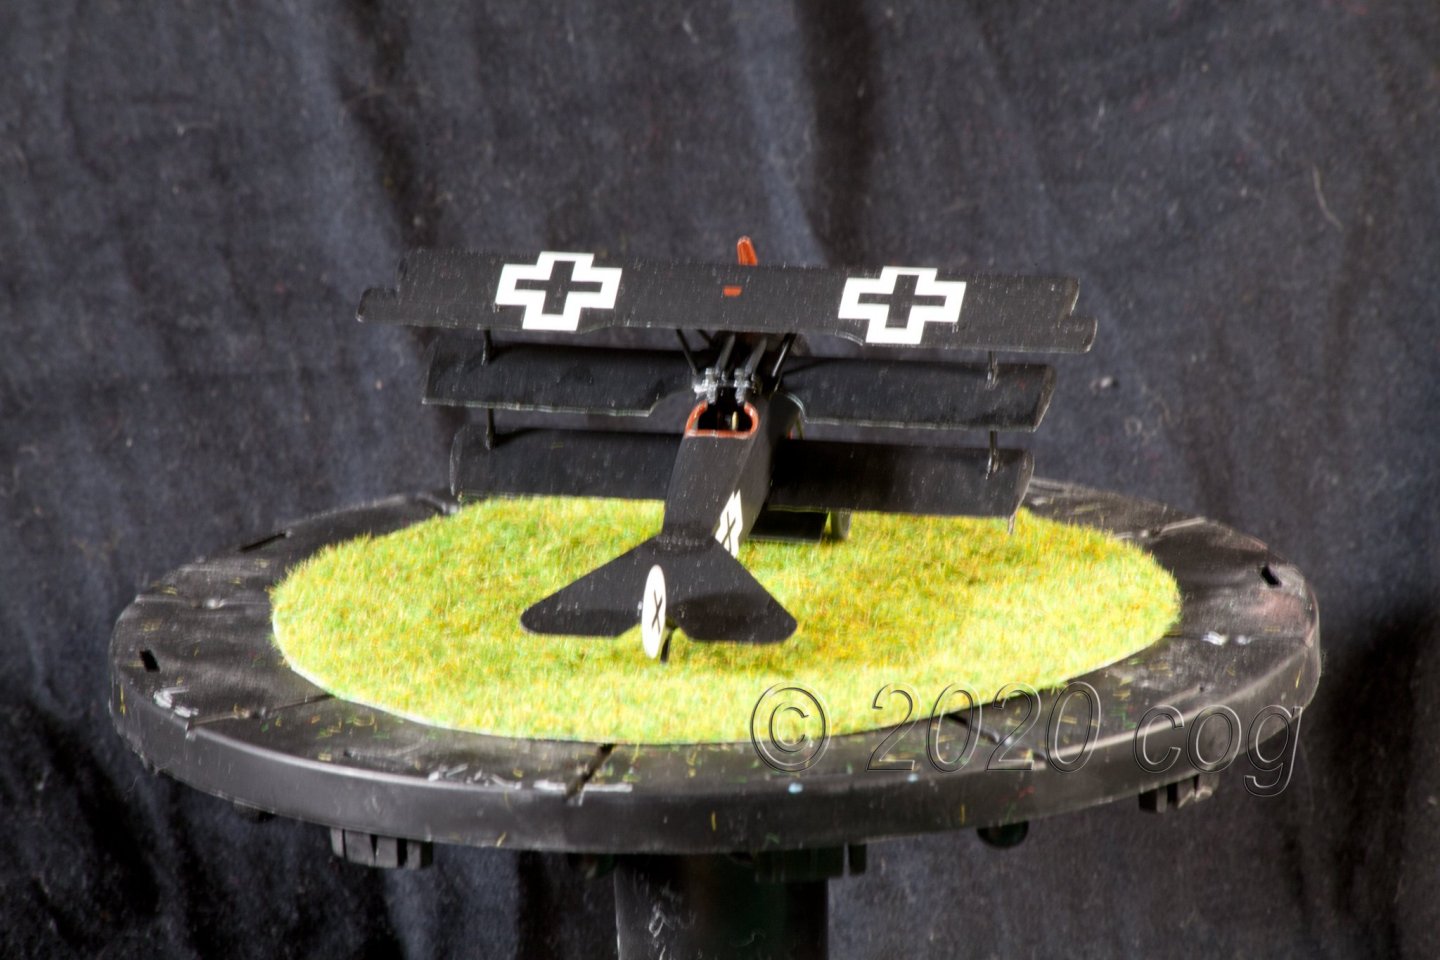
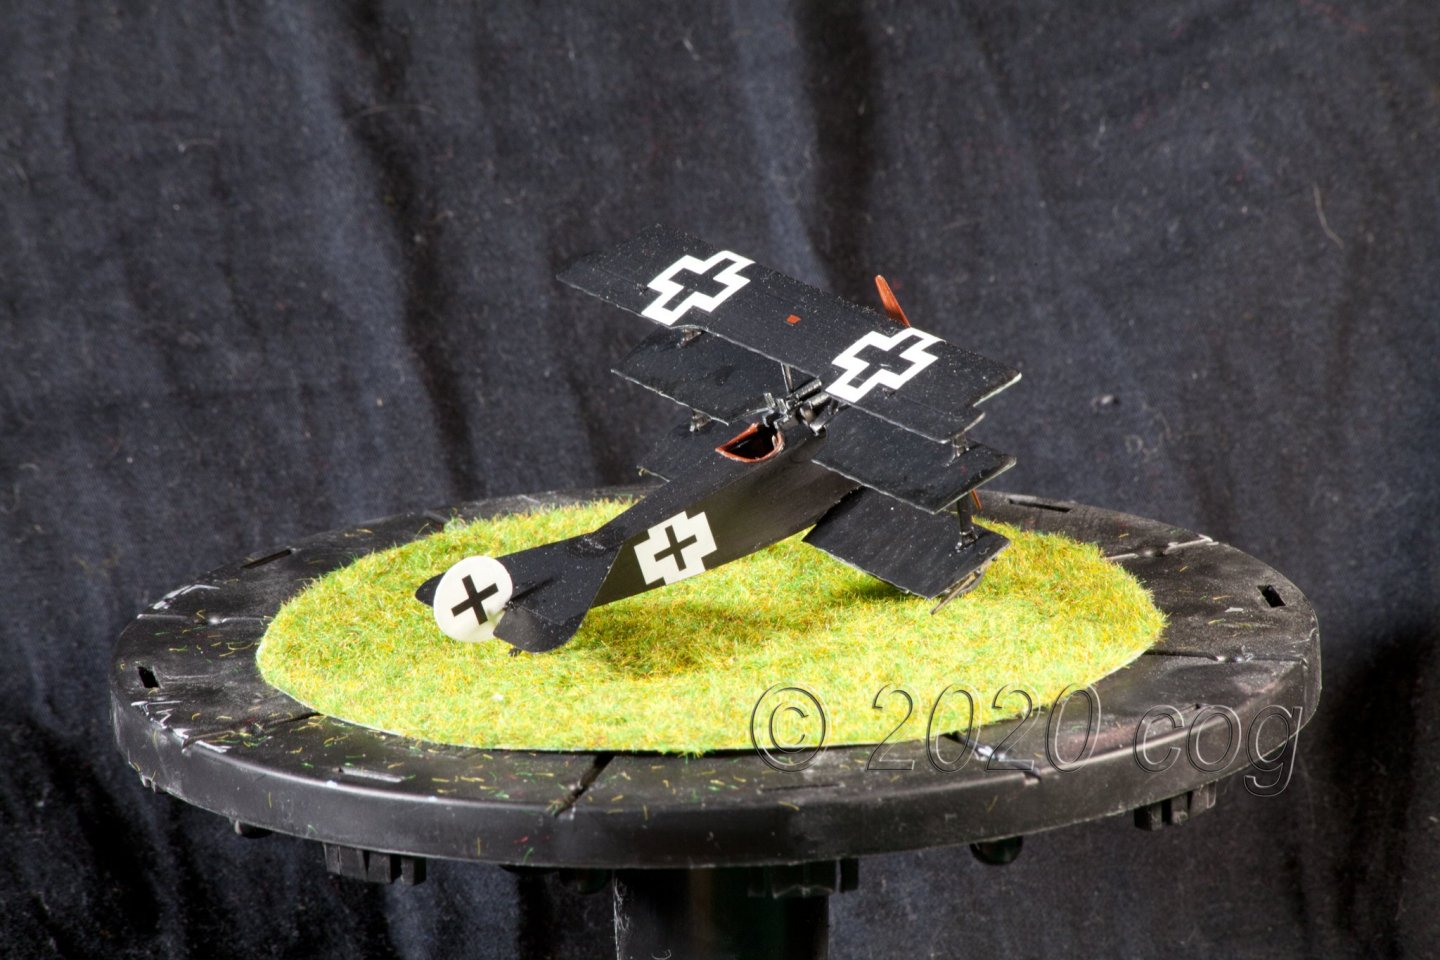
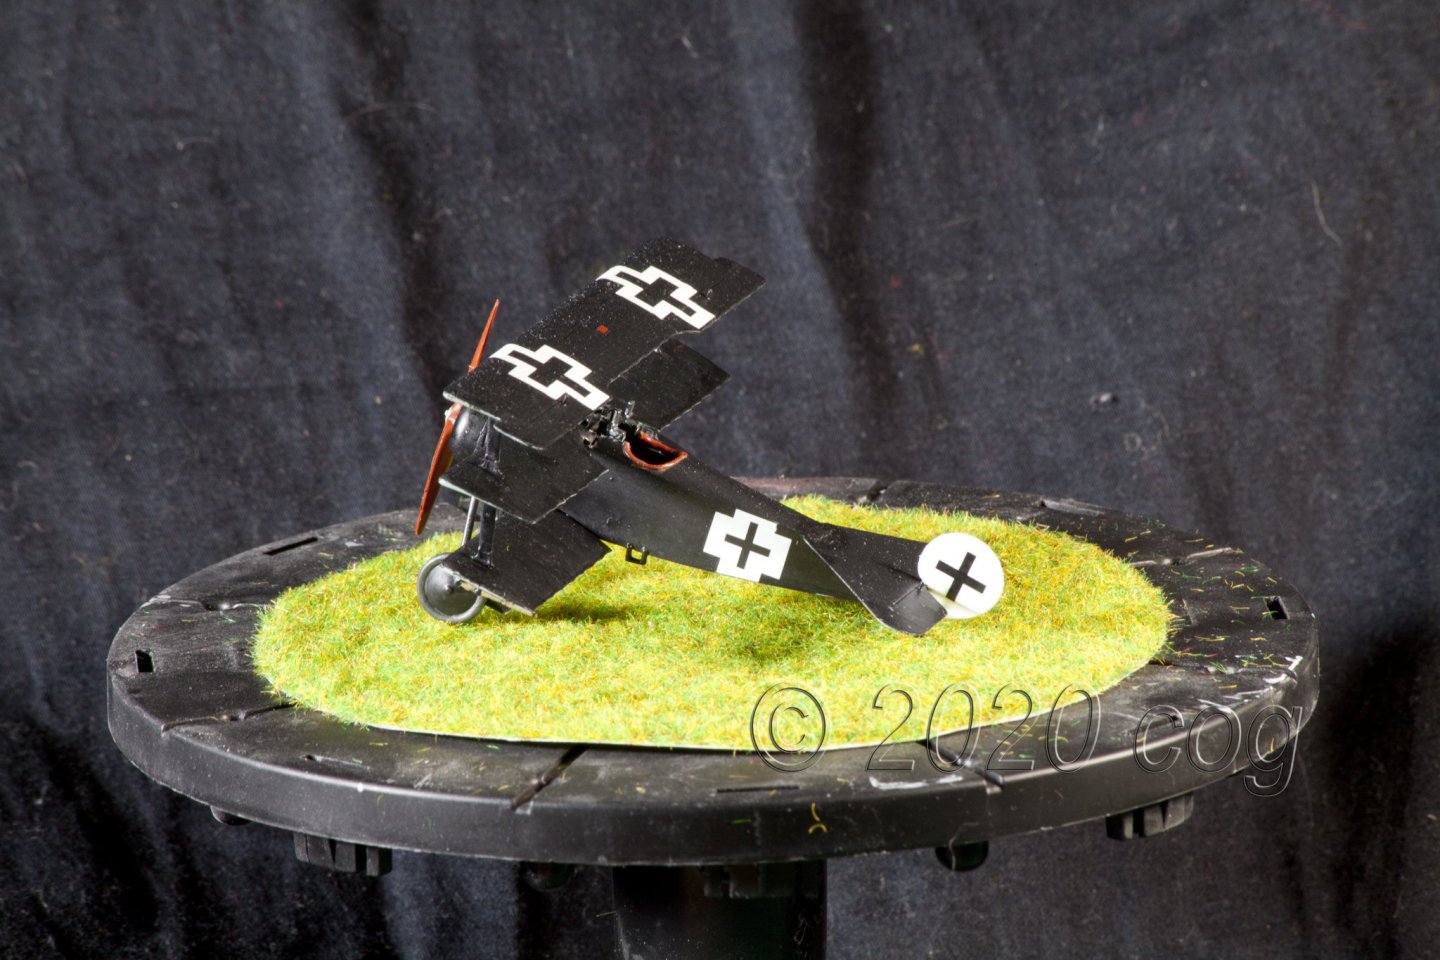
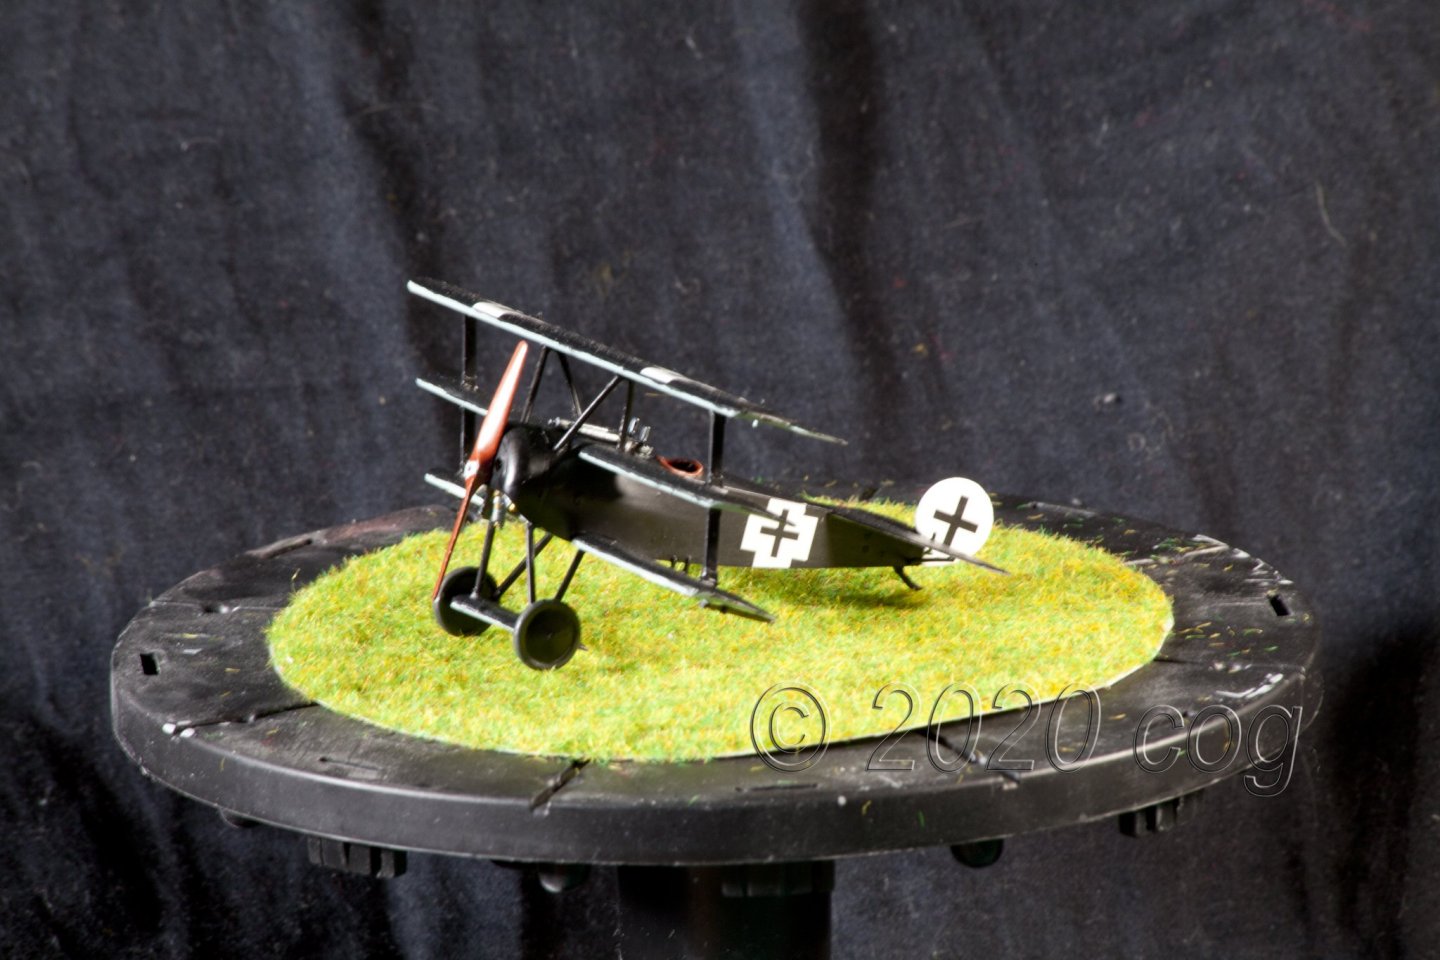
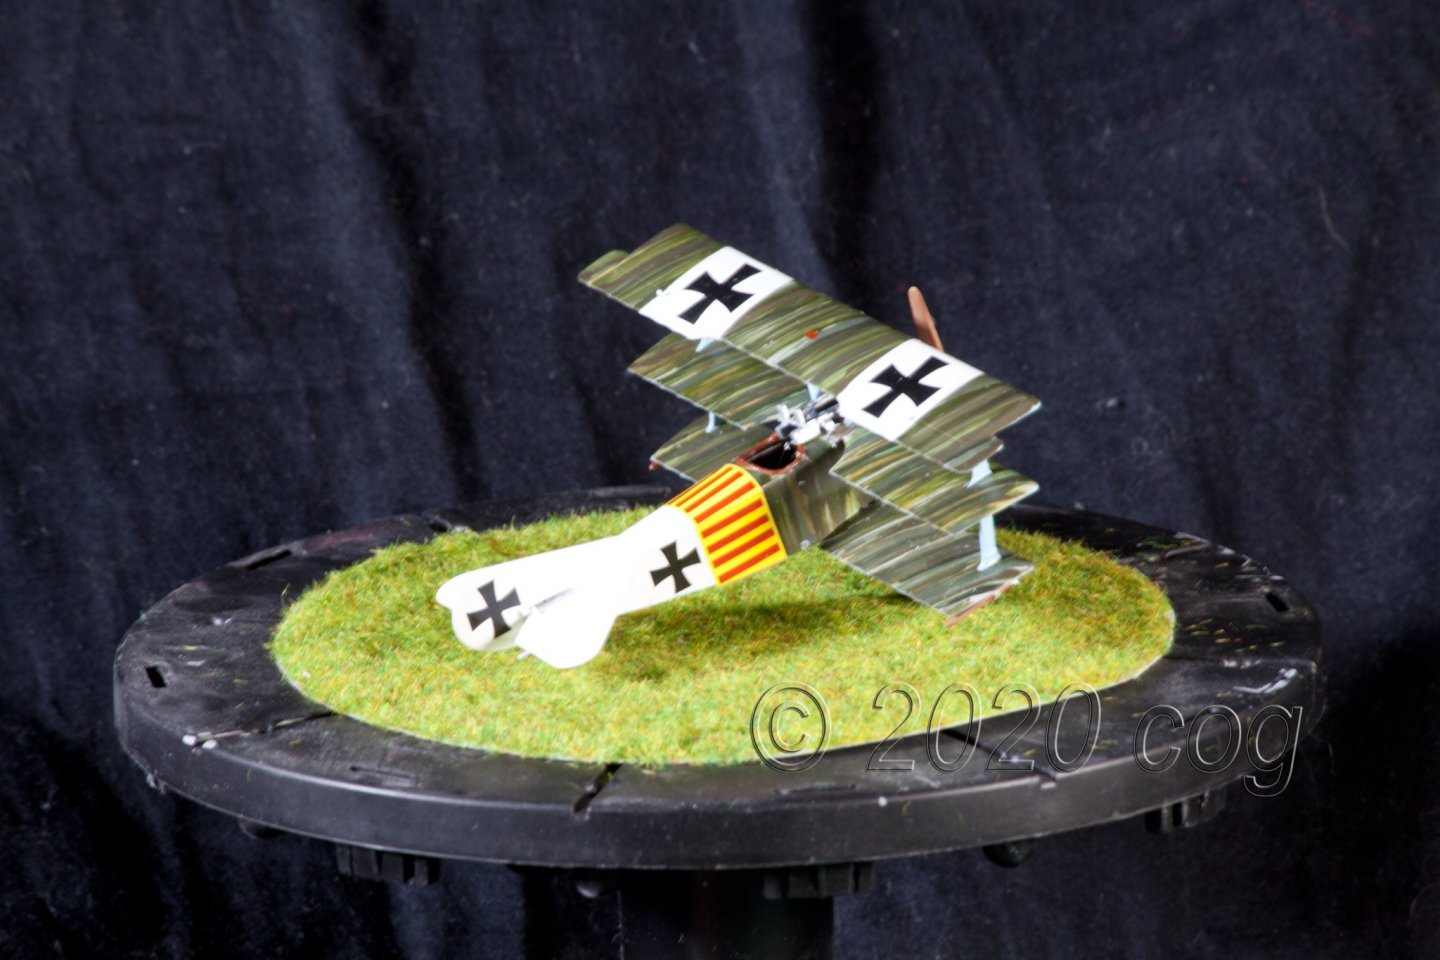
Ltn.d.r. R. Geunter von Beuren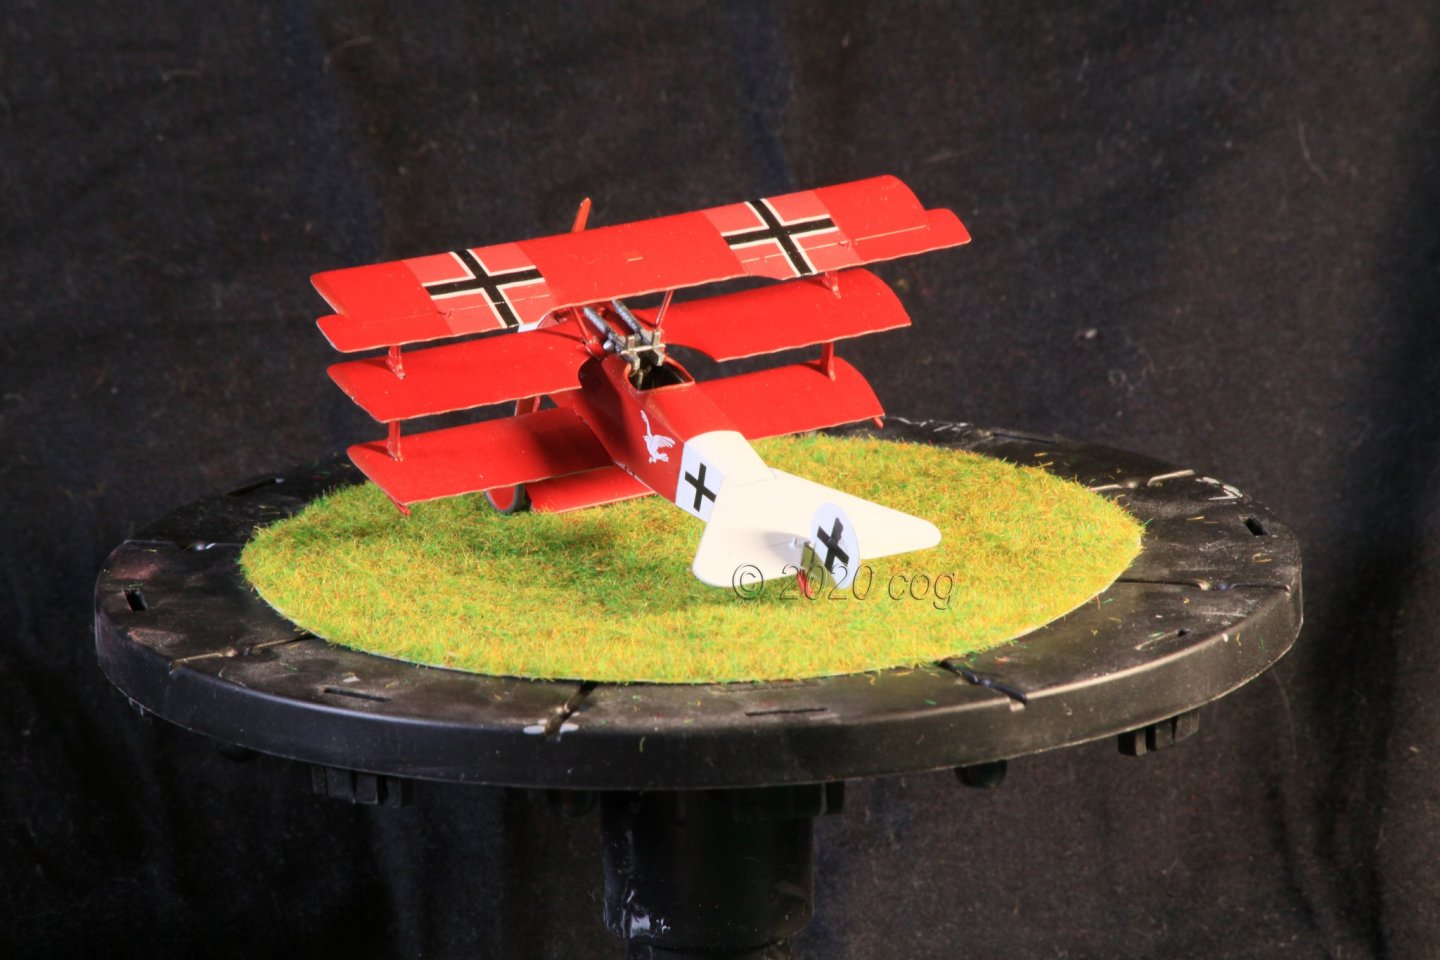


- 110 replies
-
- 13
-

-
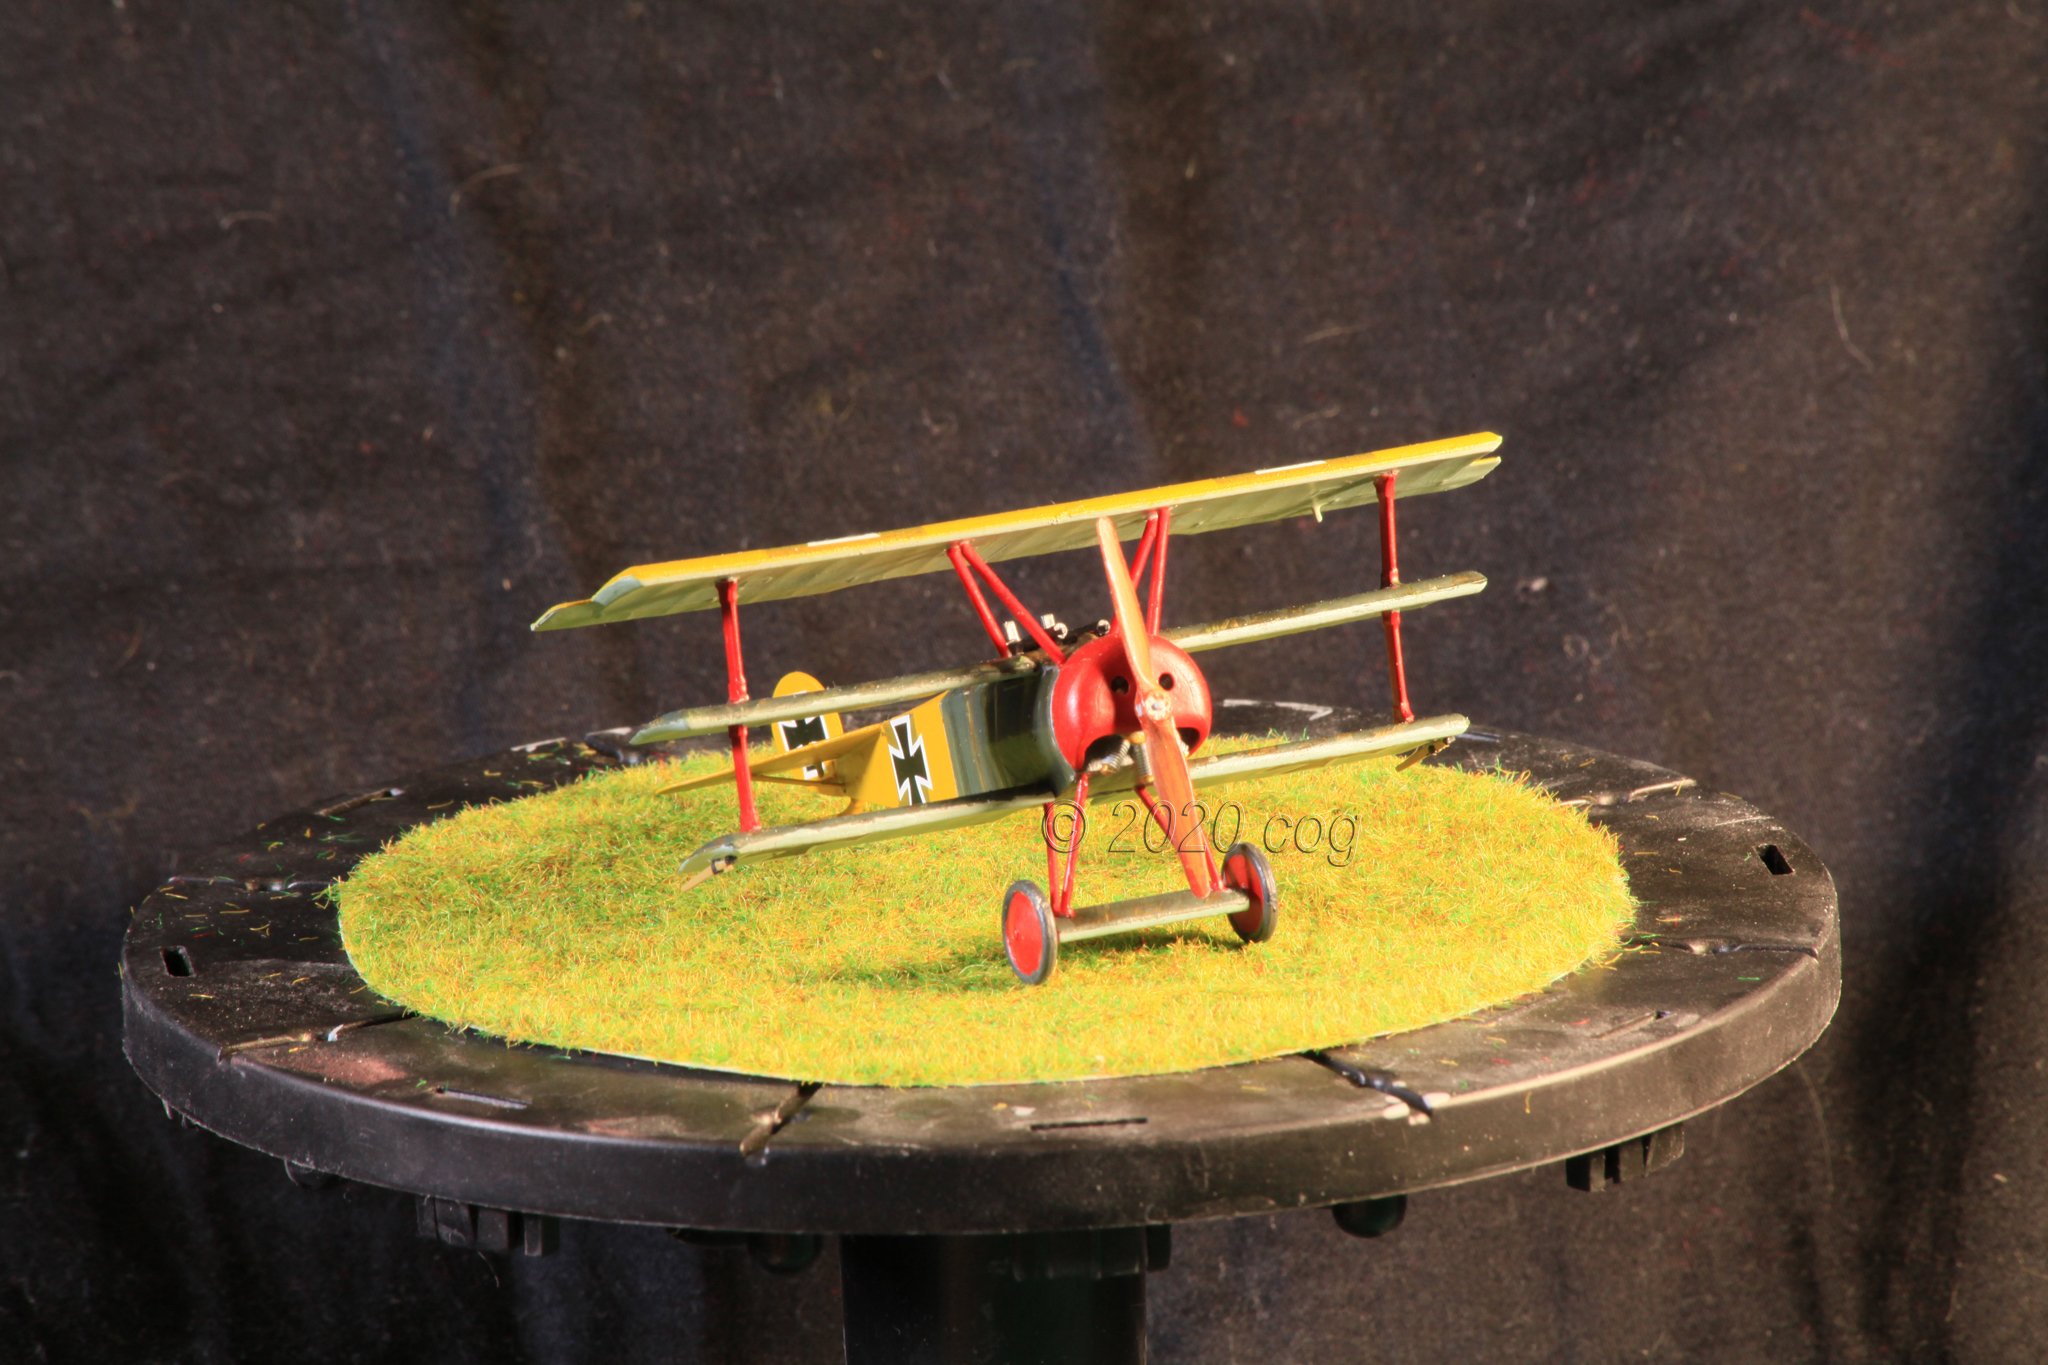
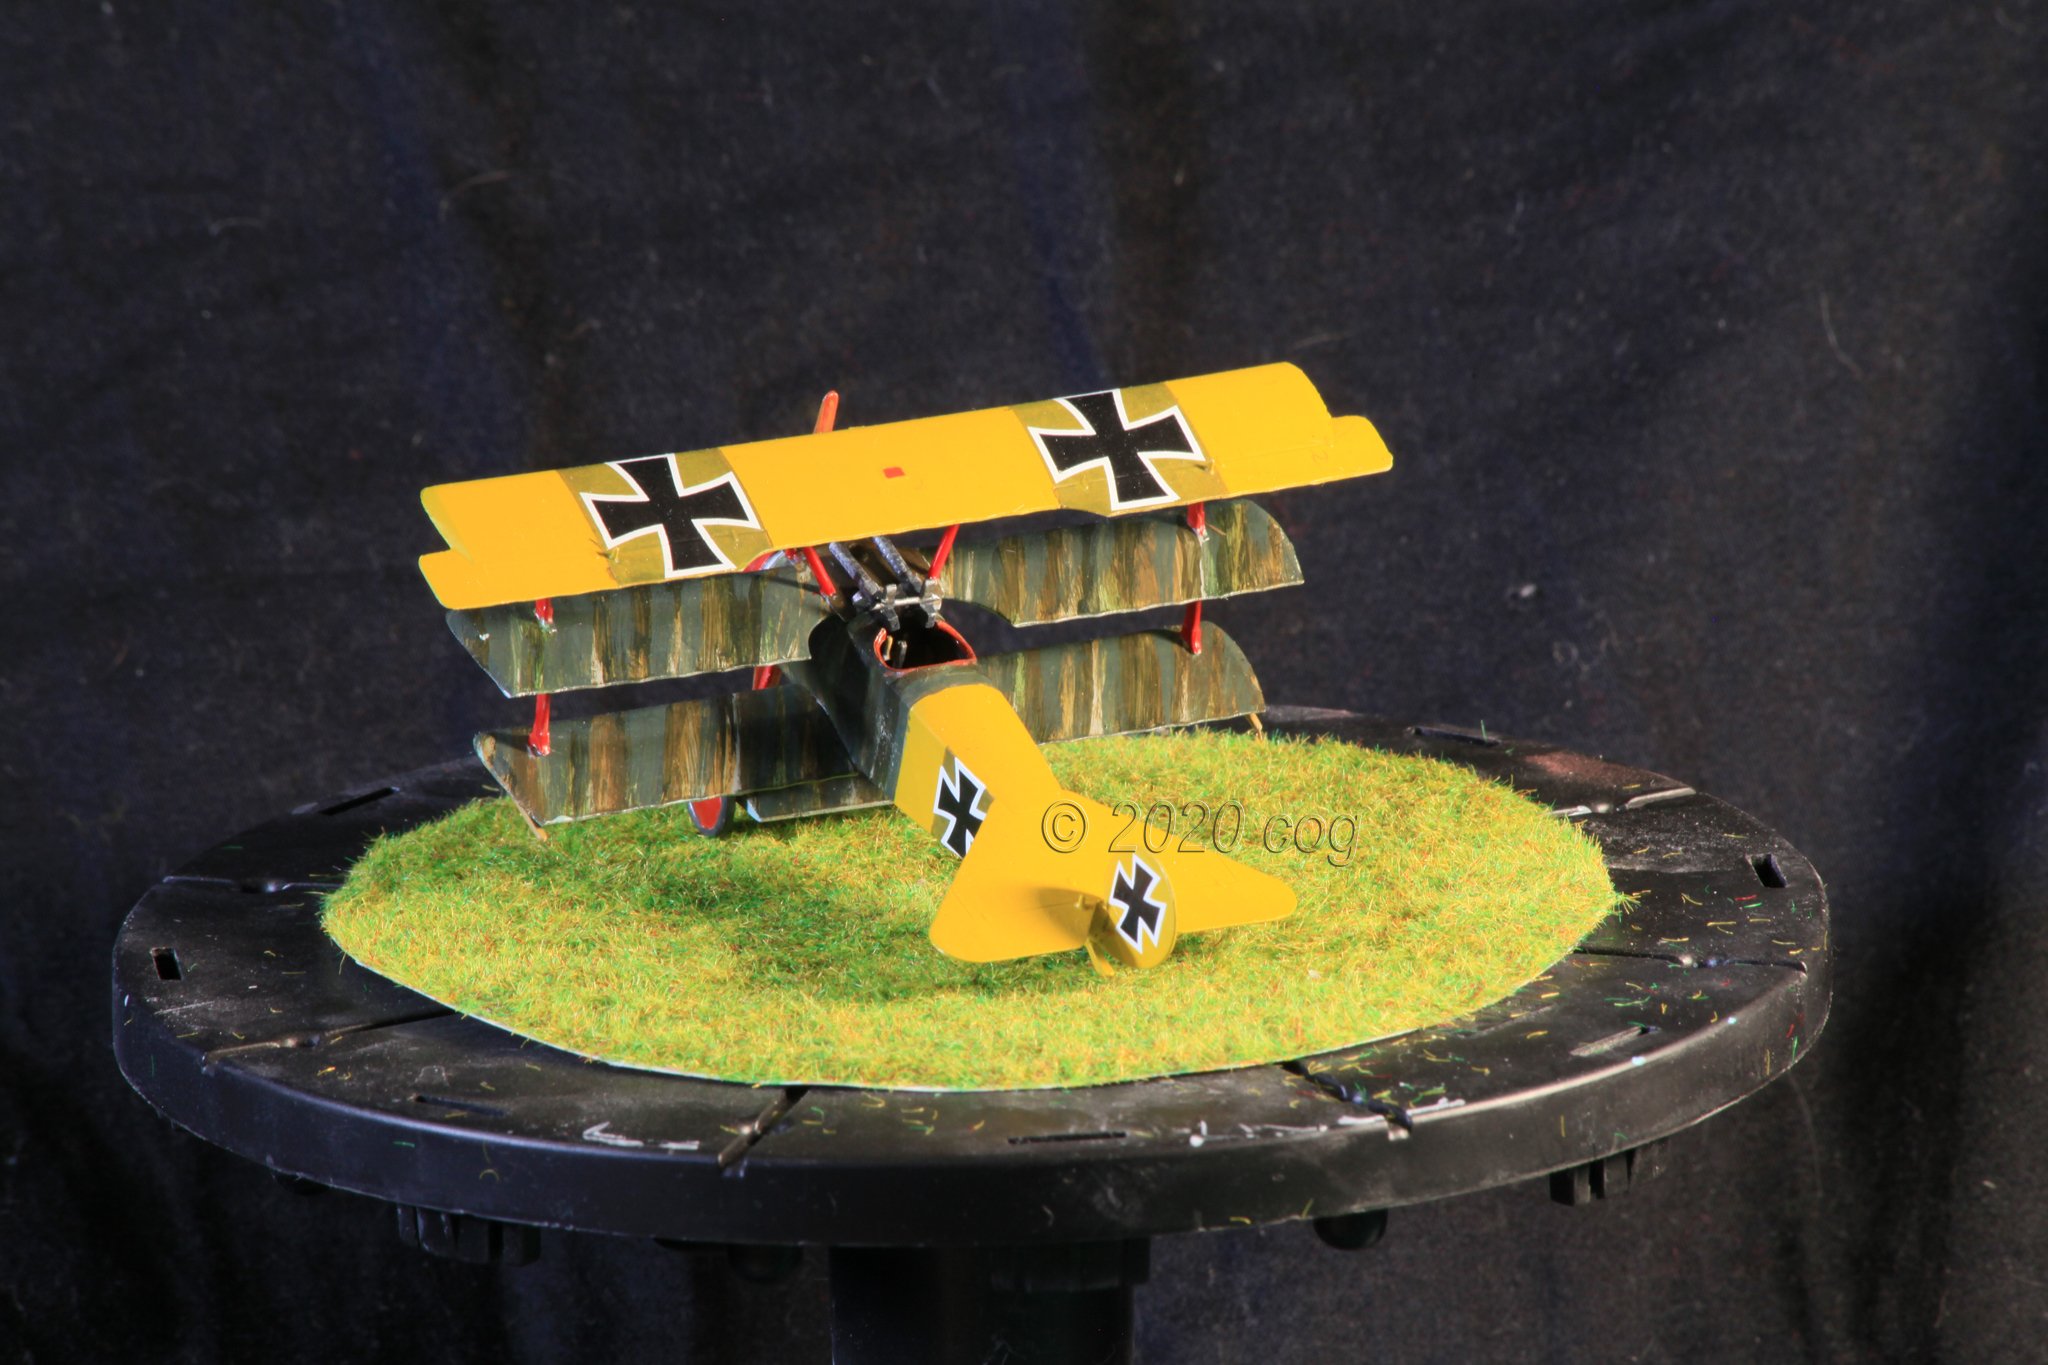
Fokker Dr.I triplane by cog - multiple - 1:72 - PLASTIC
cog replied to cog's topic in Non-ship/categorised builds
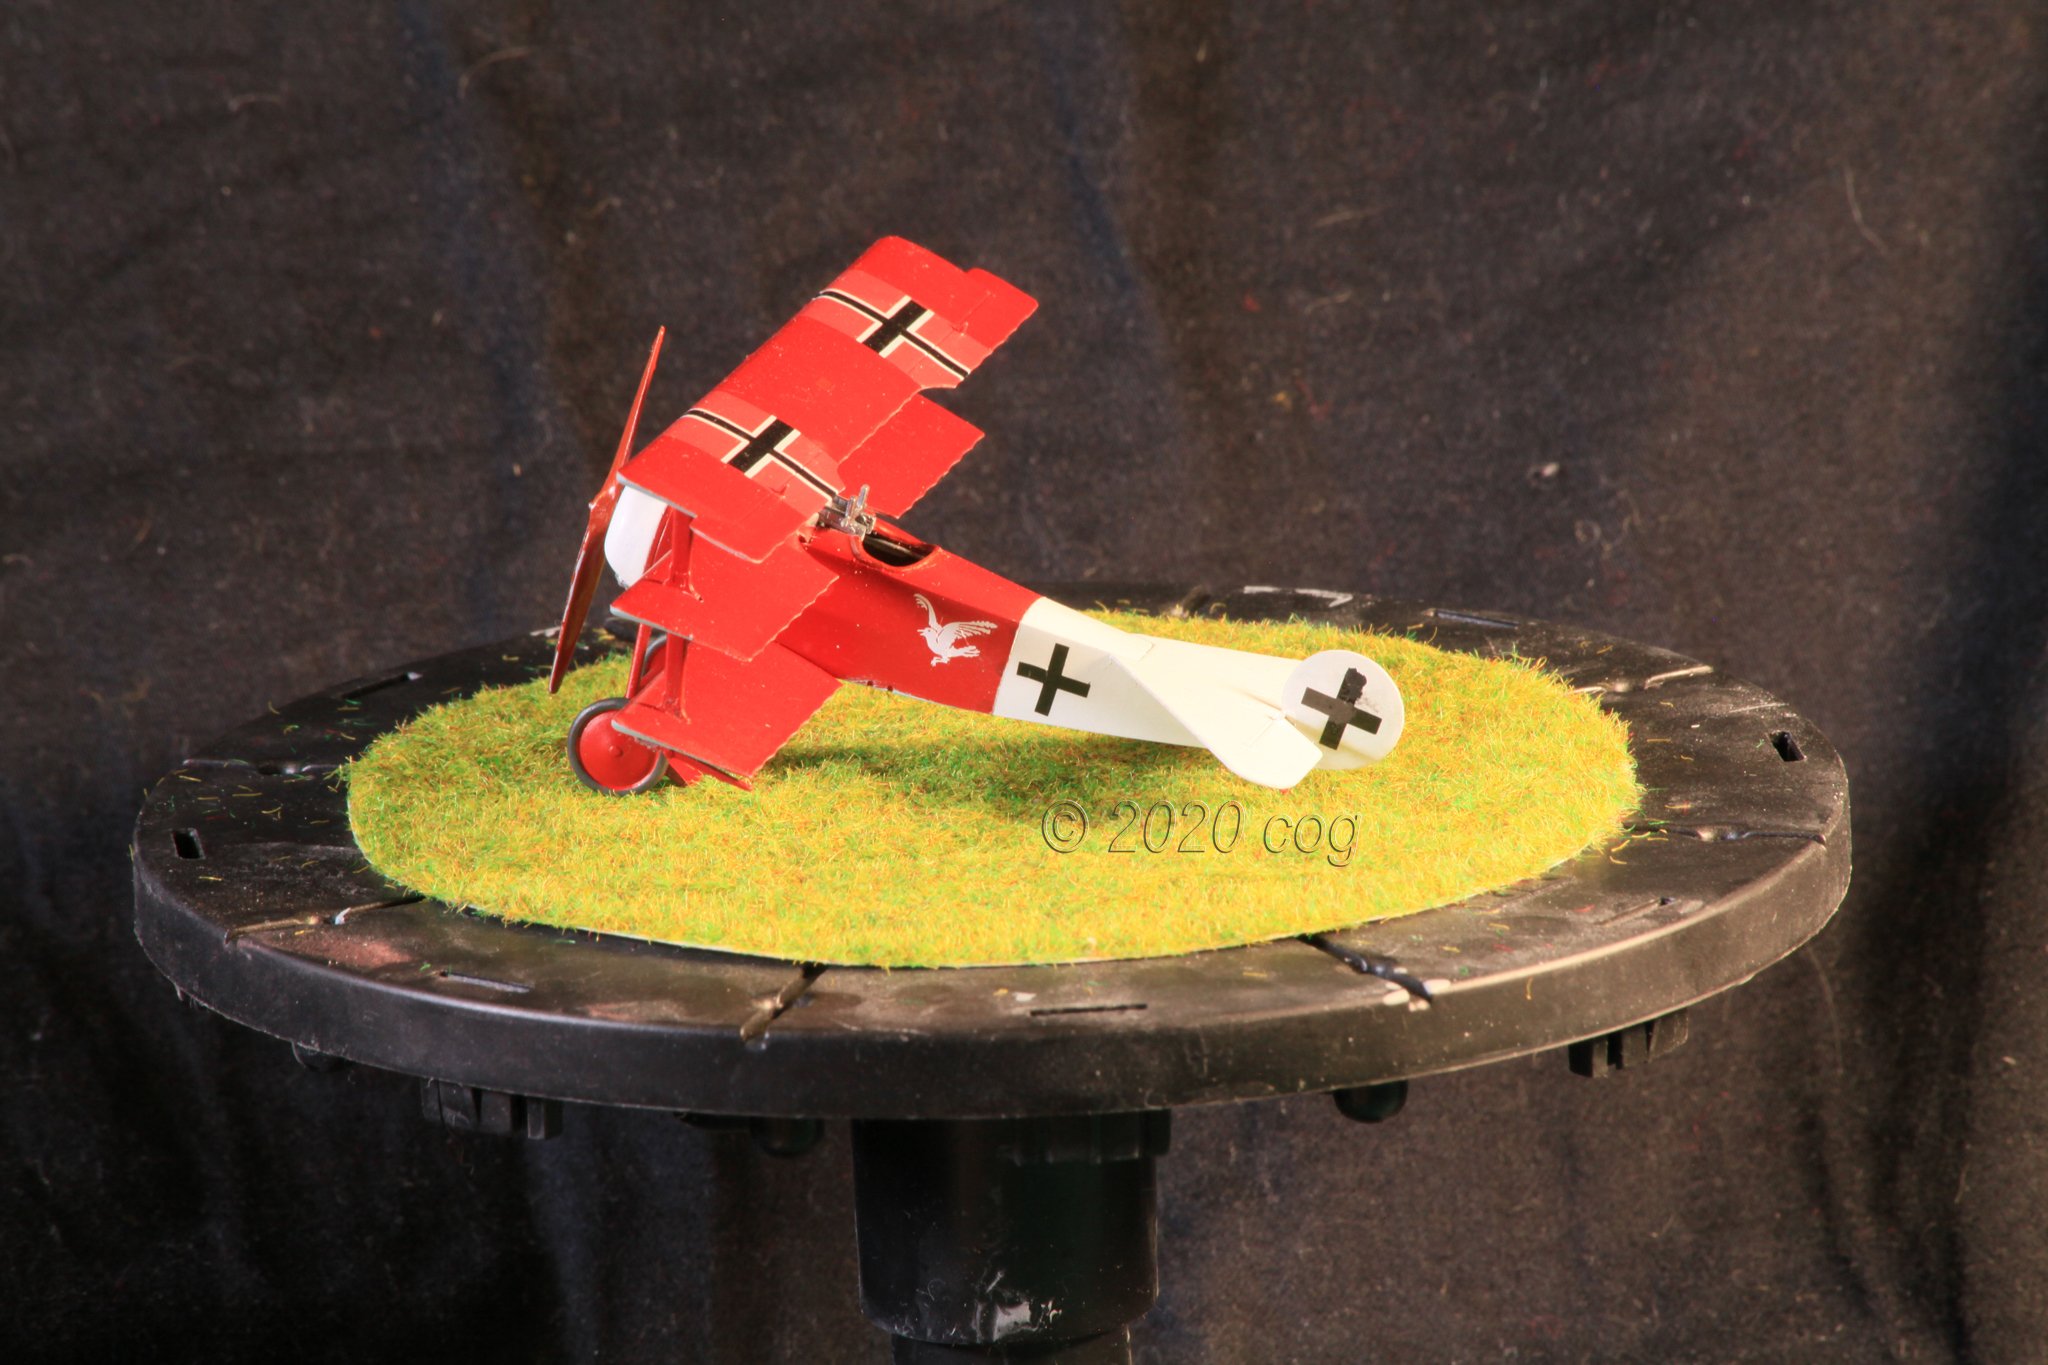
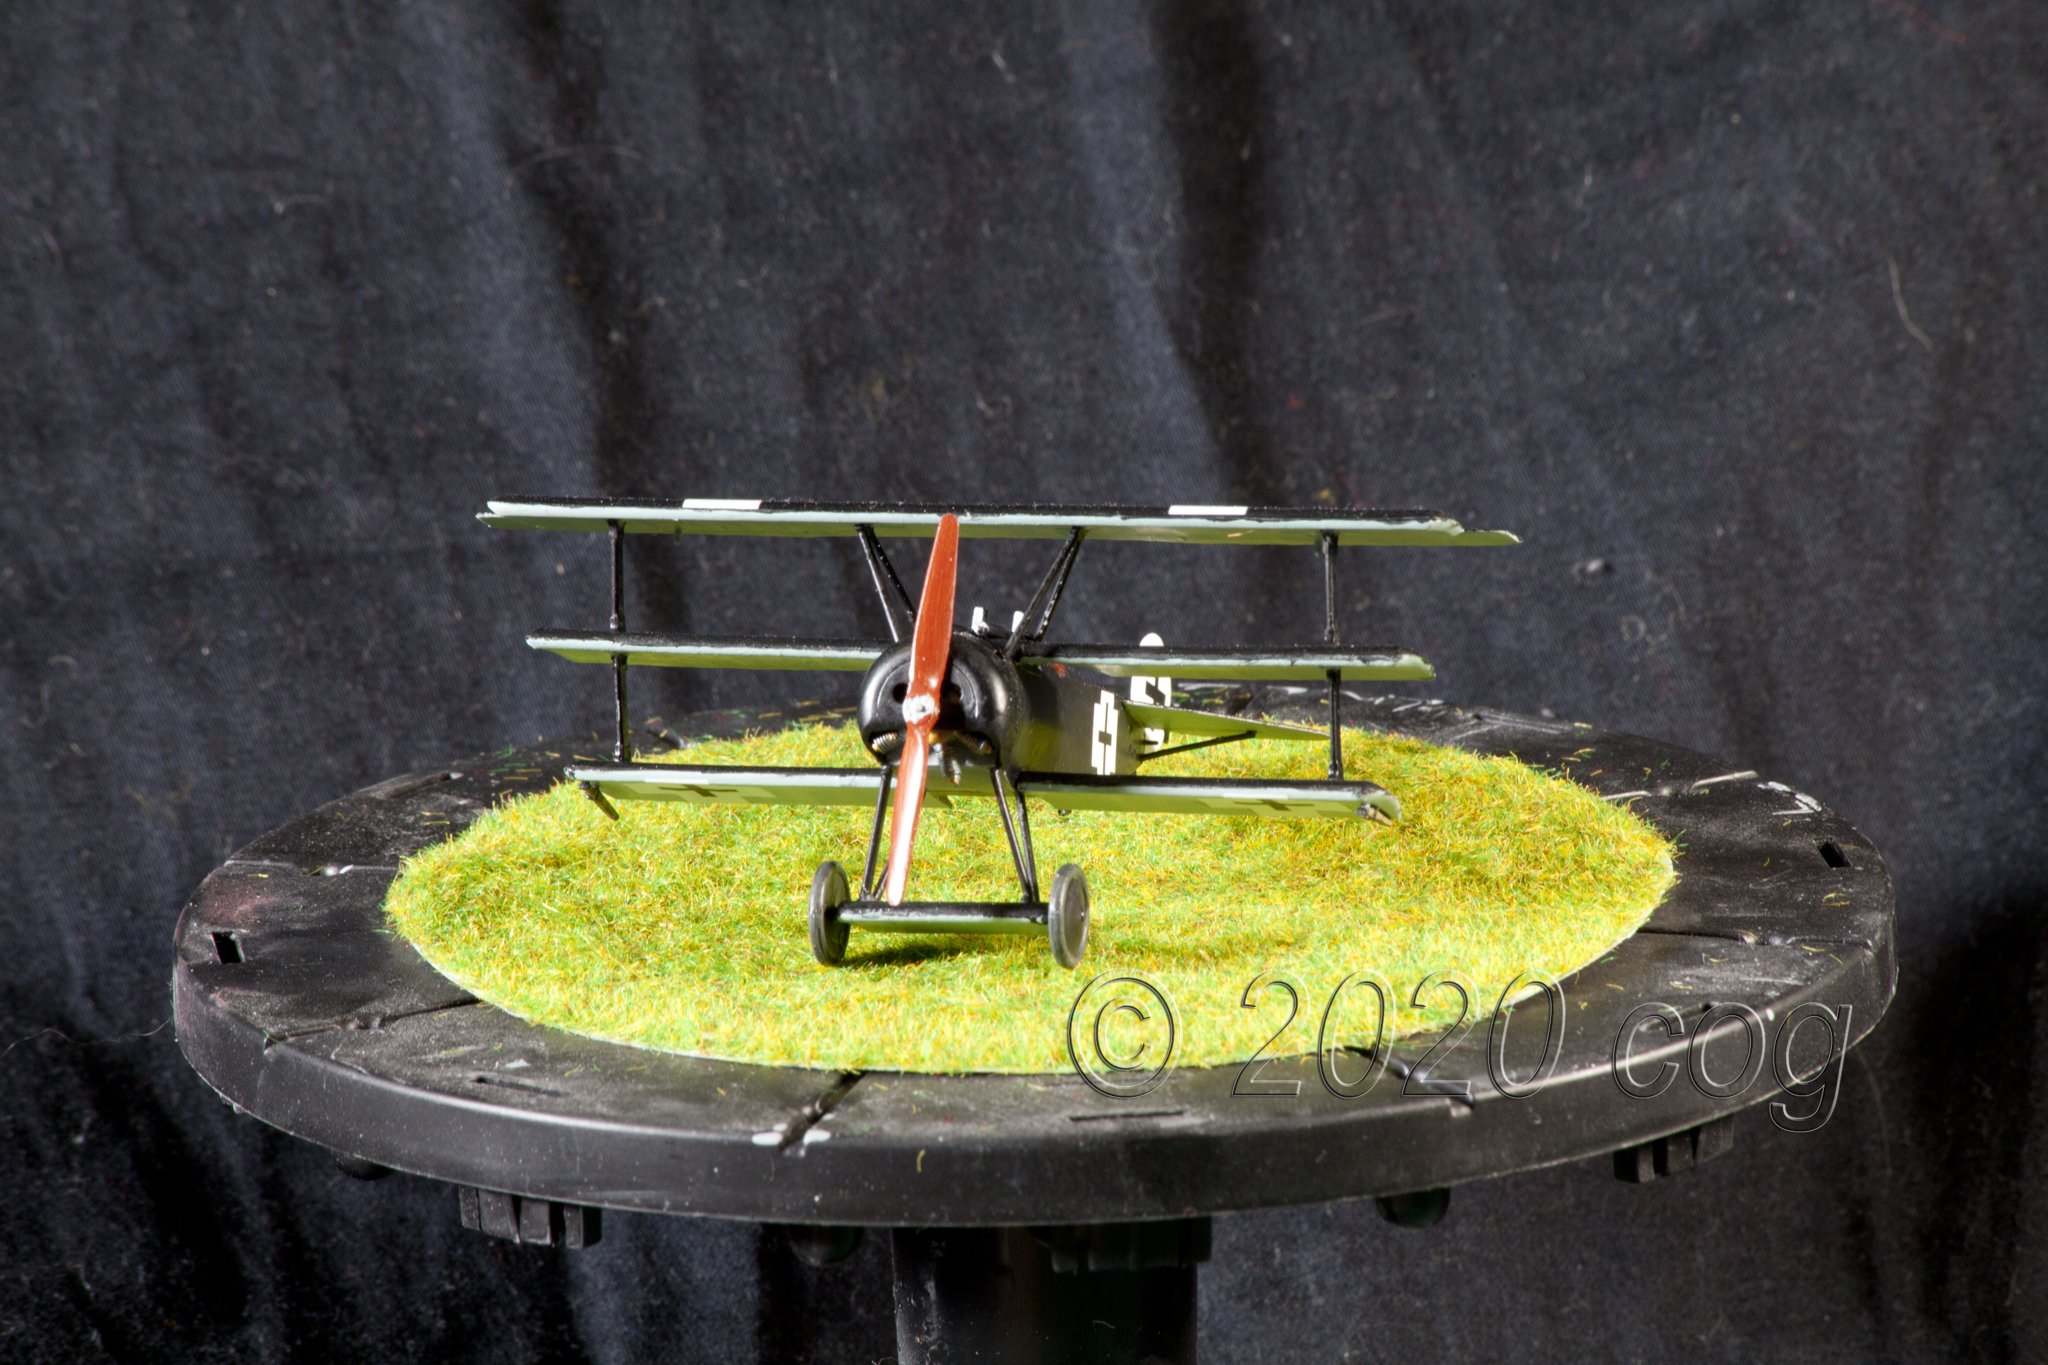
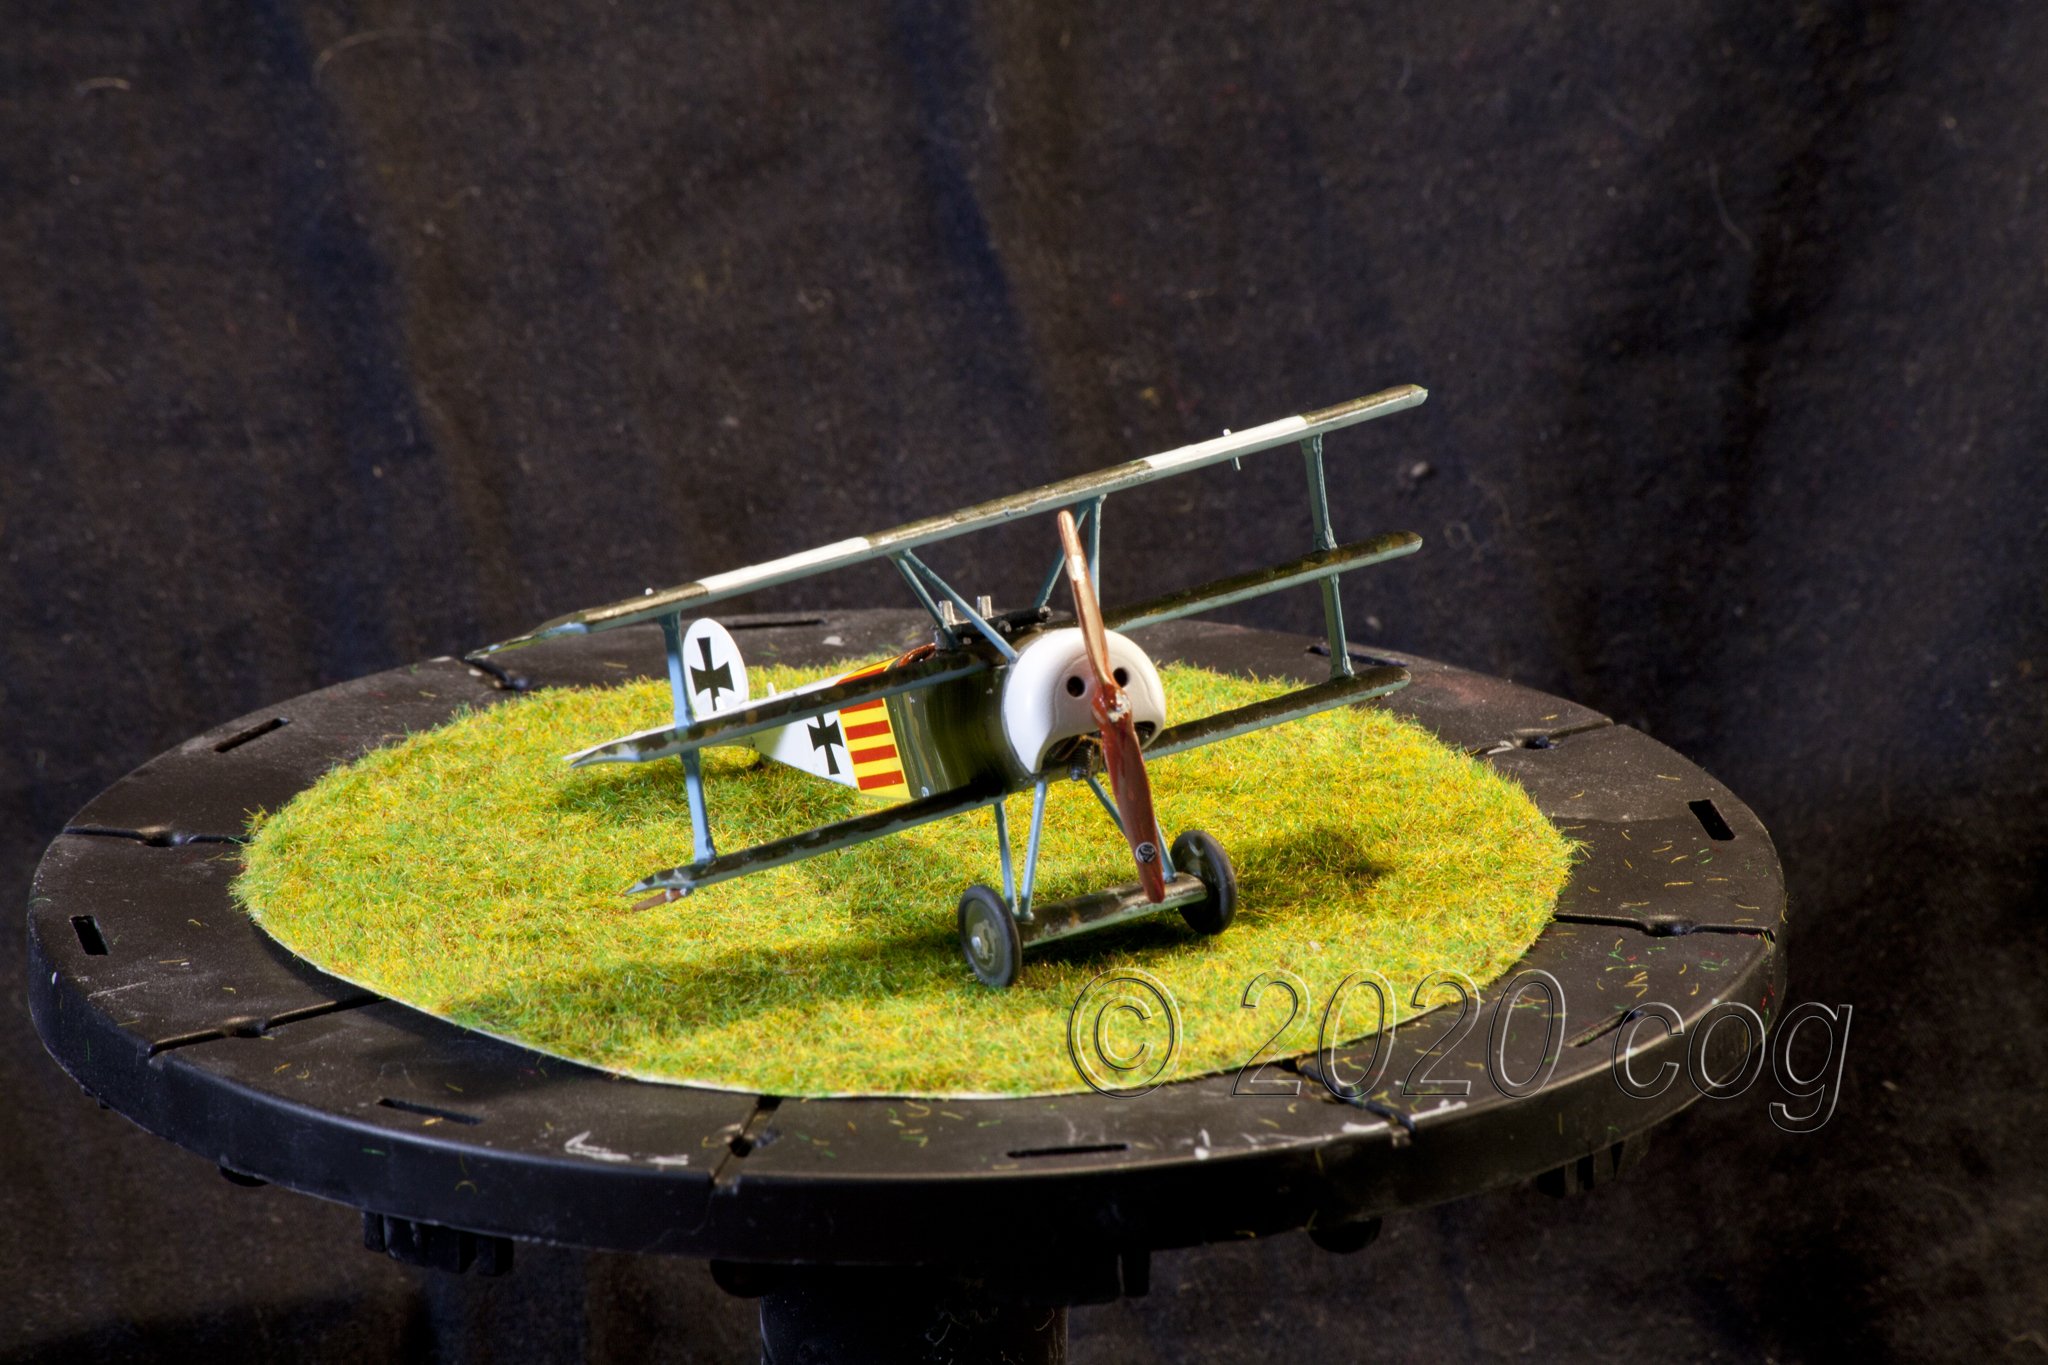
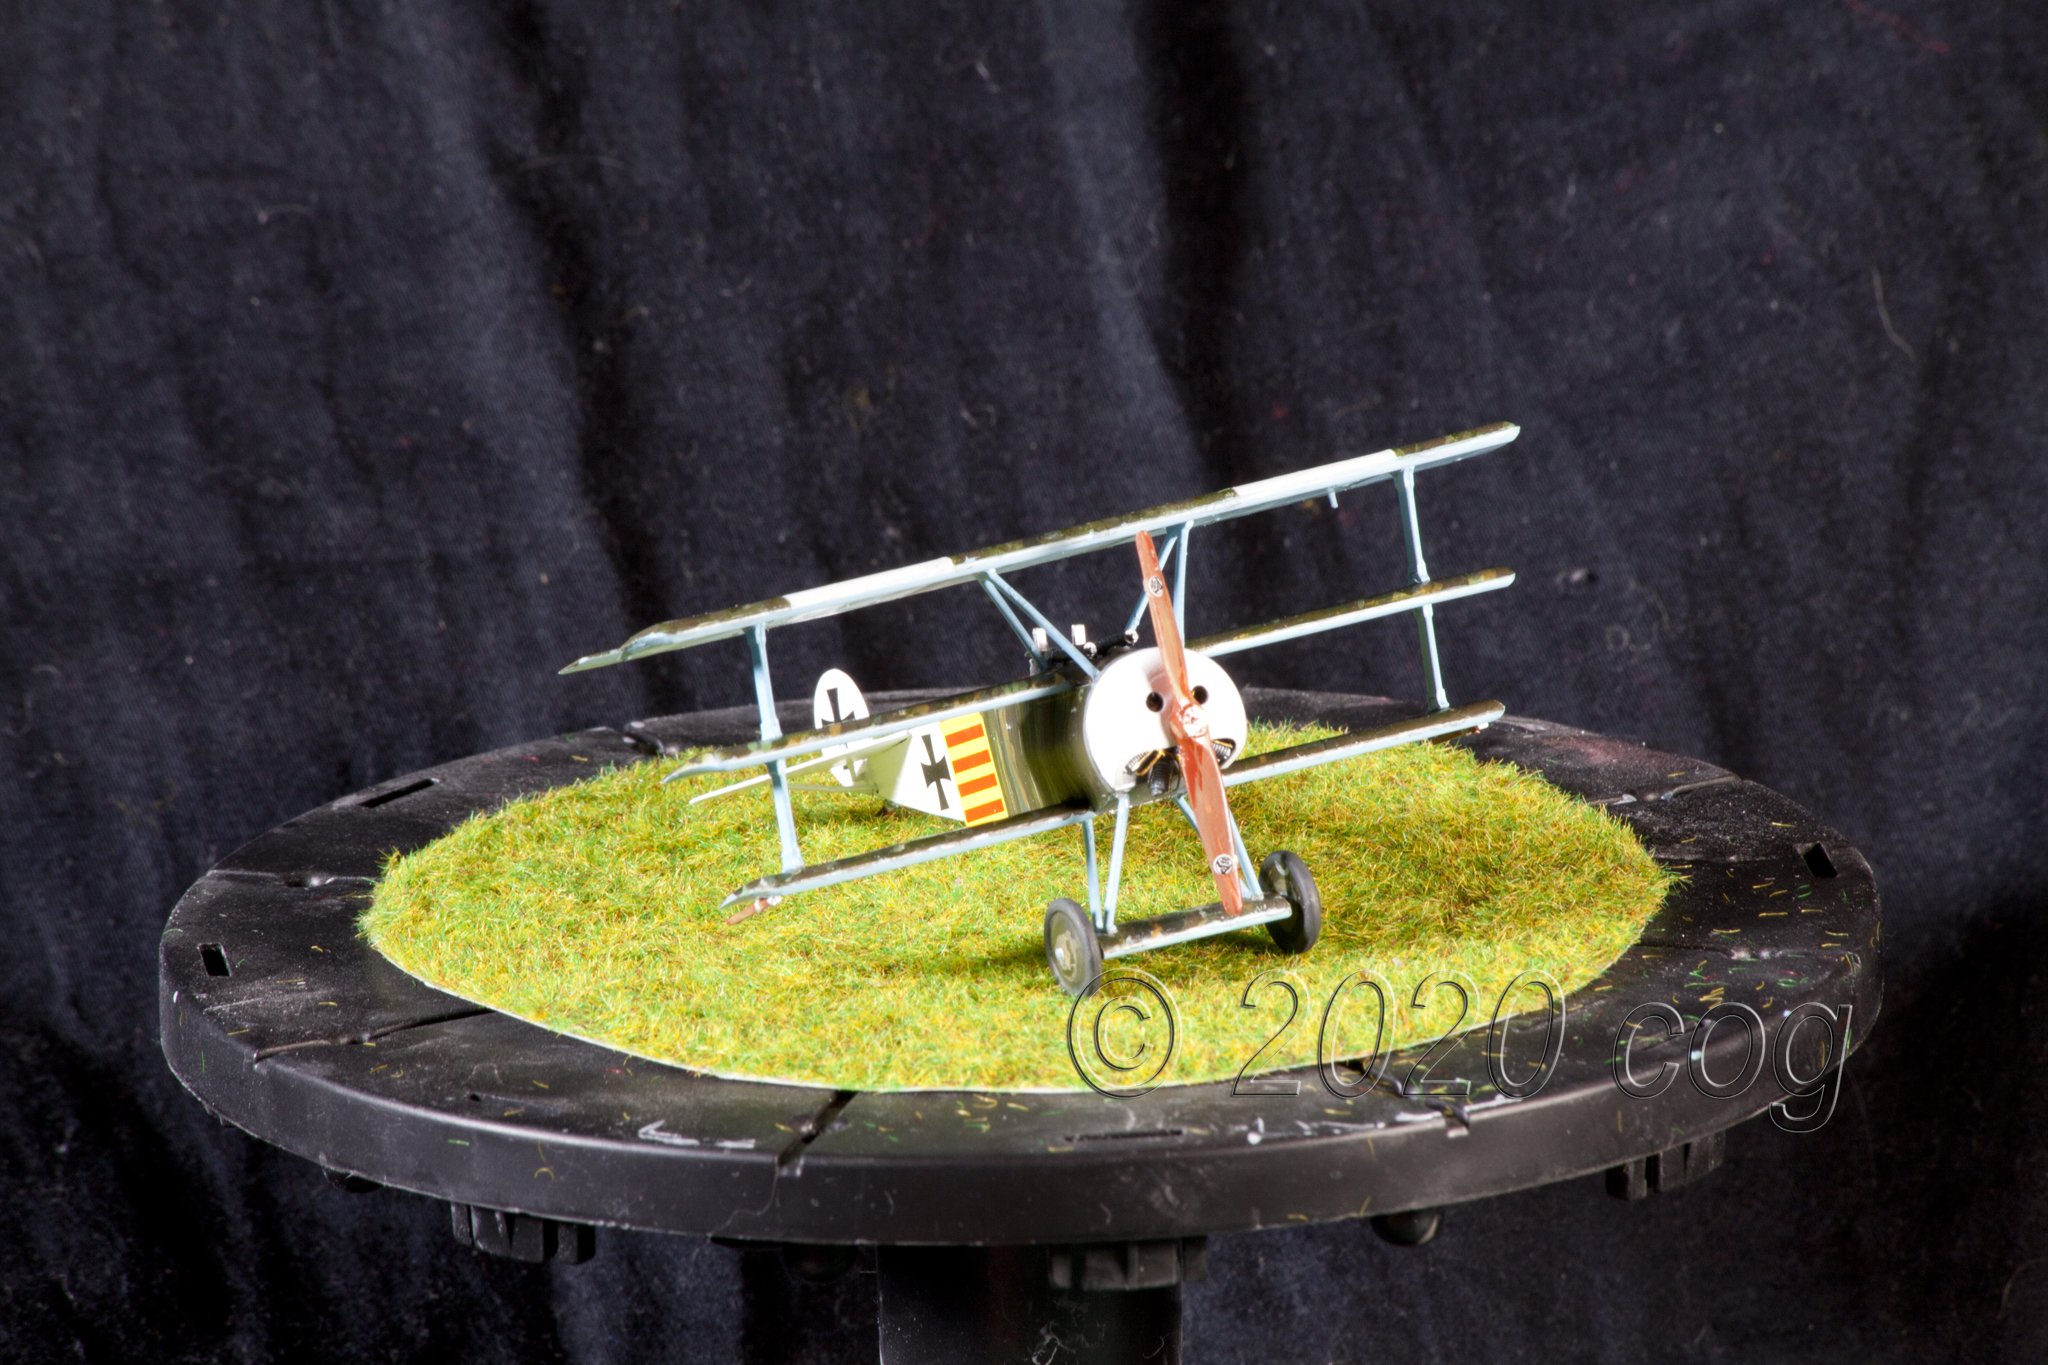
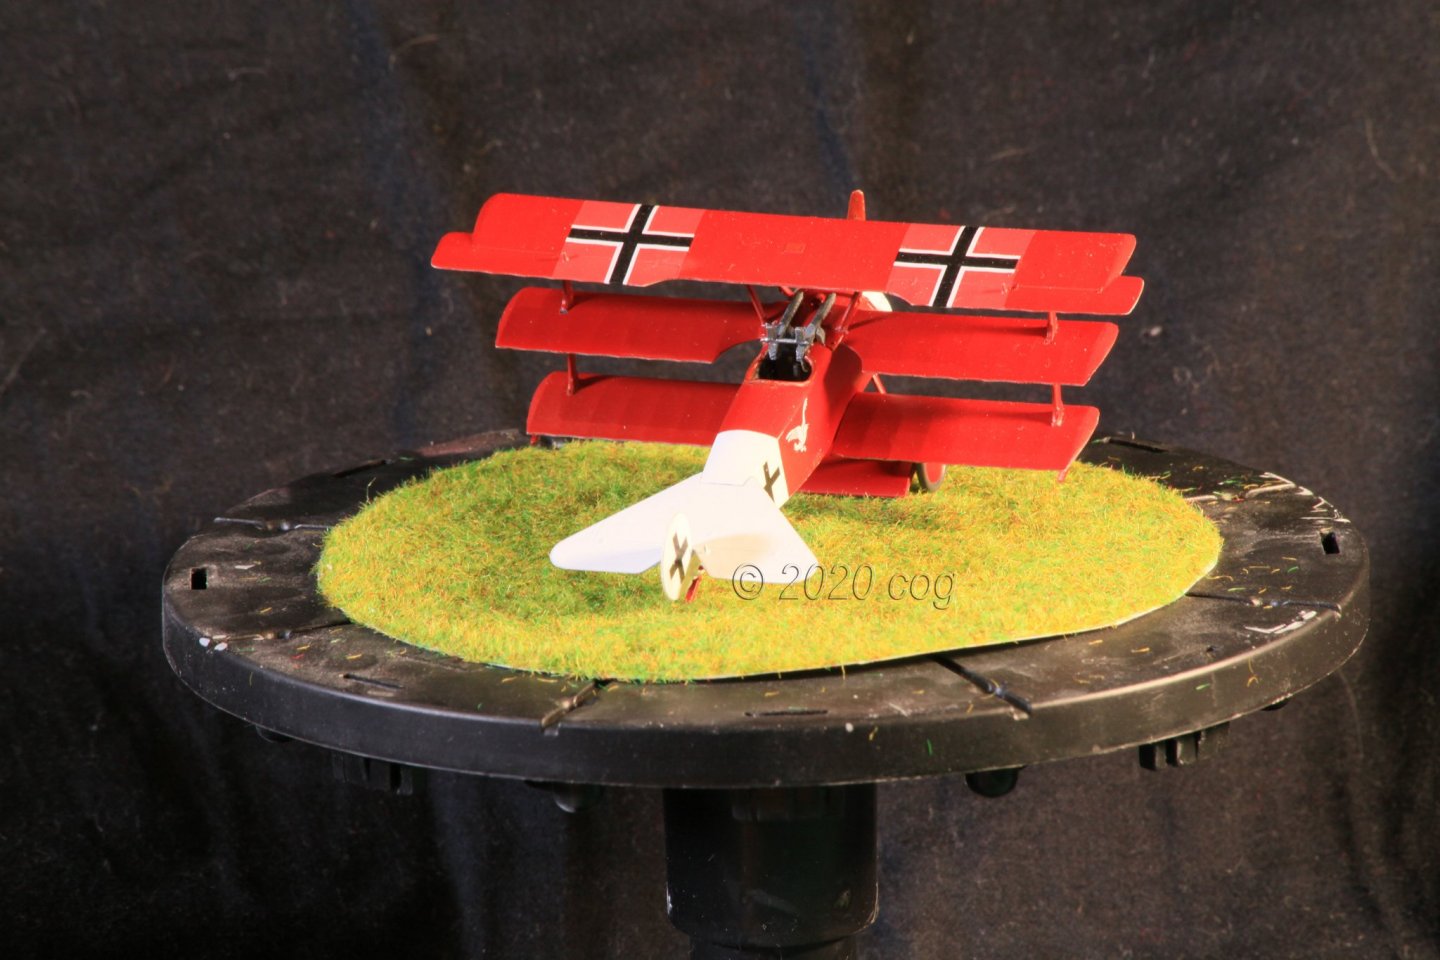
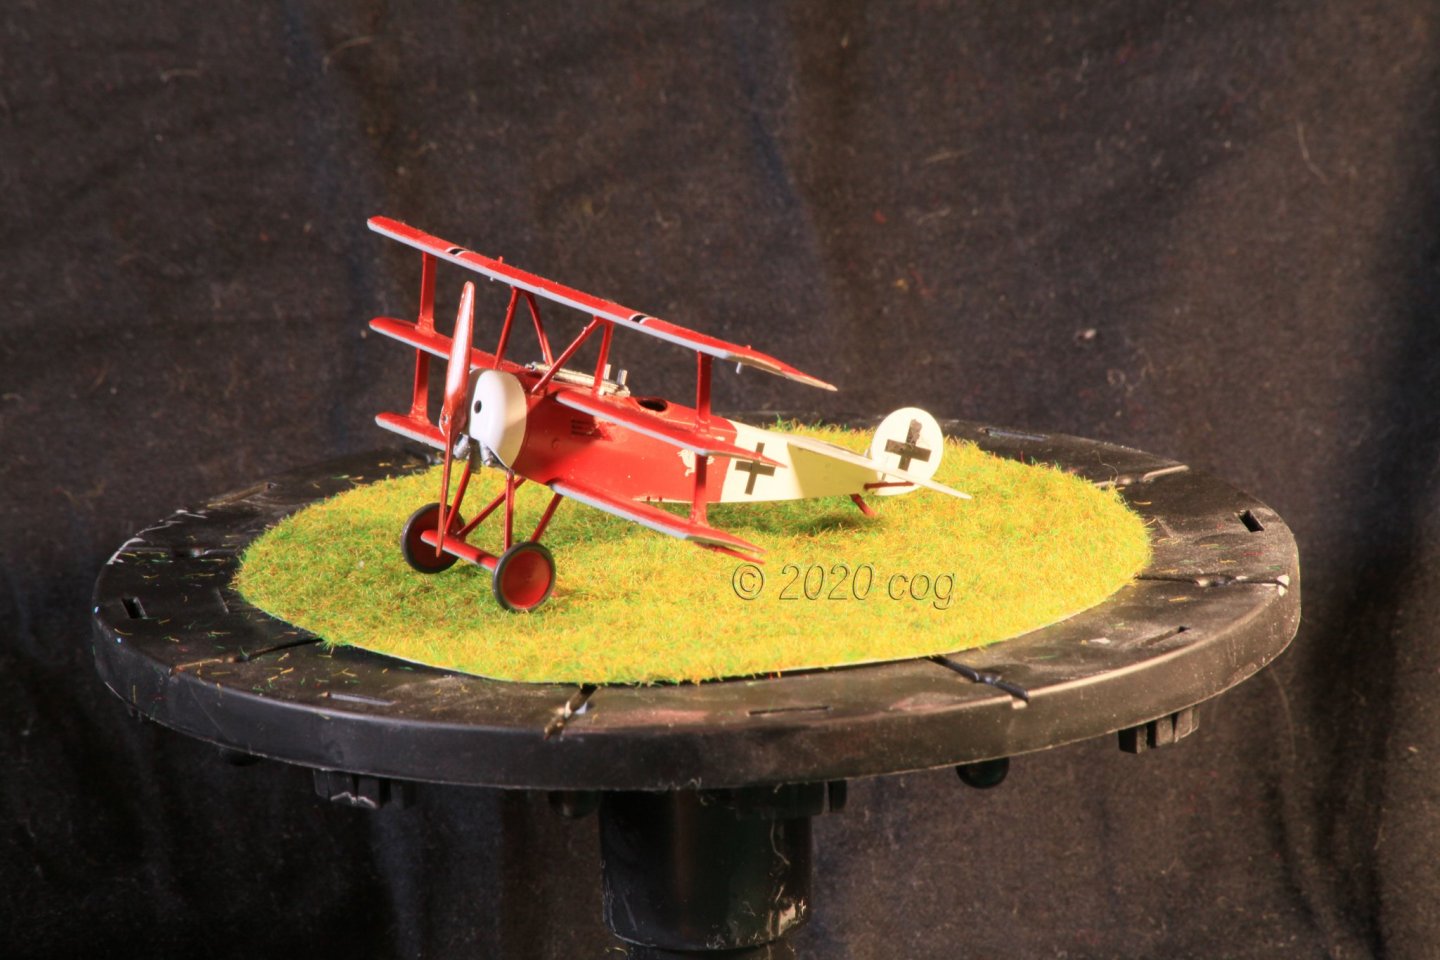
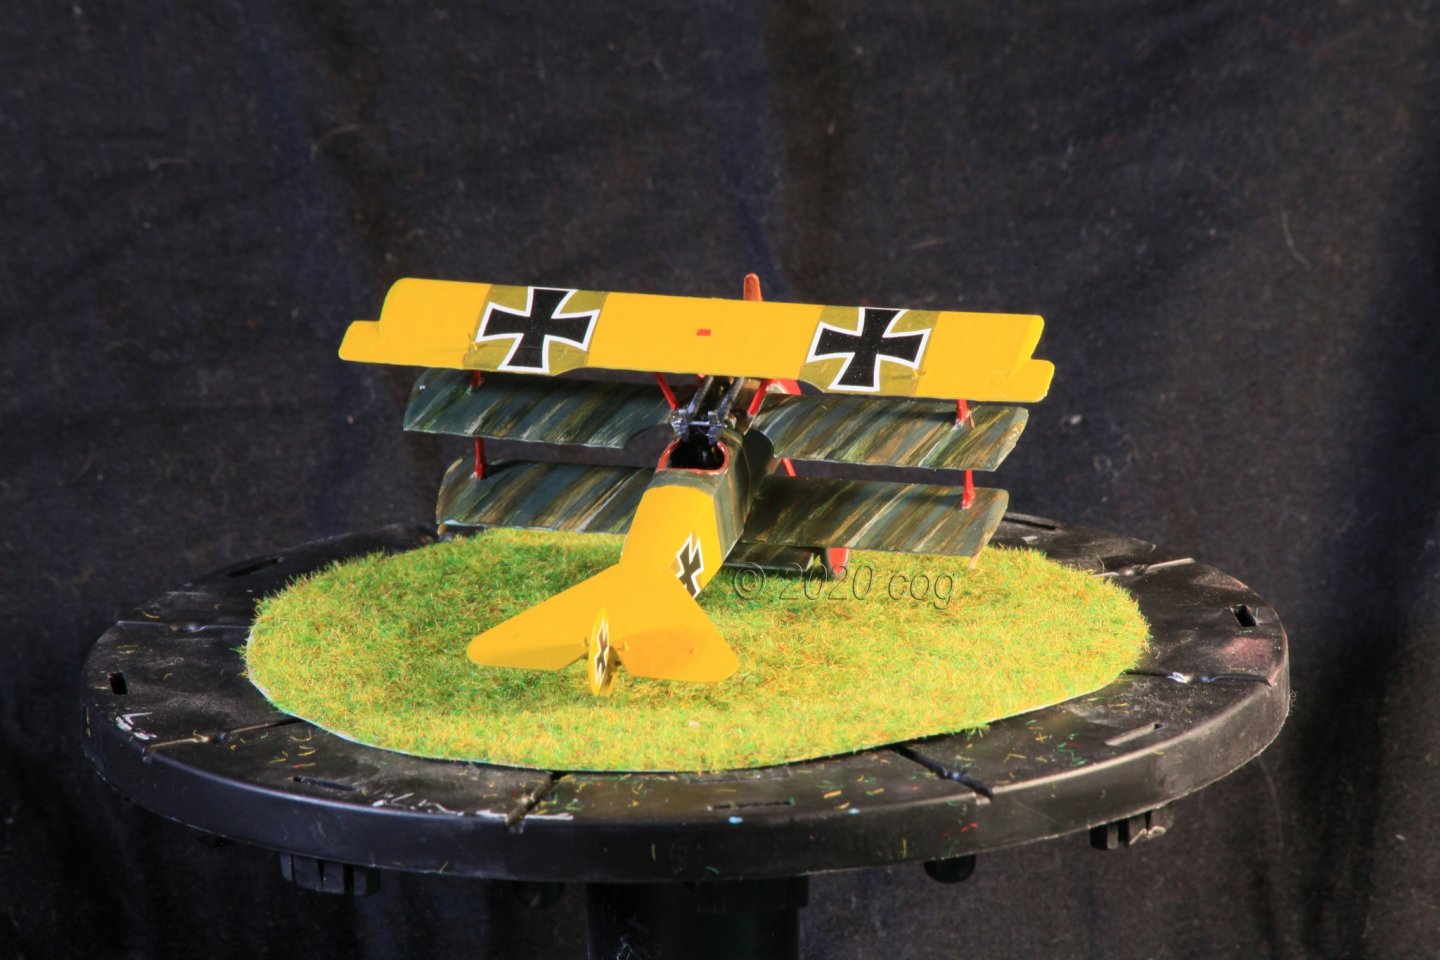
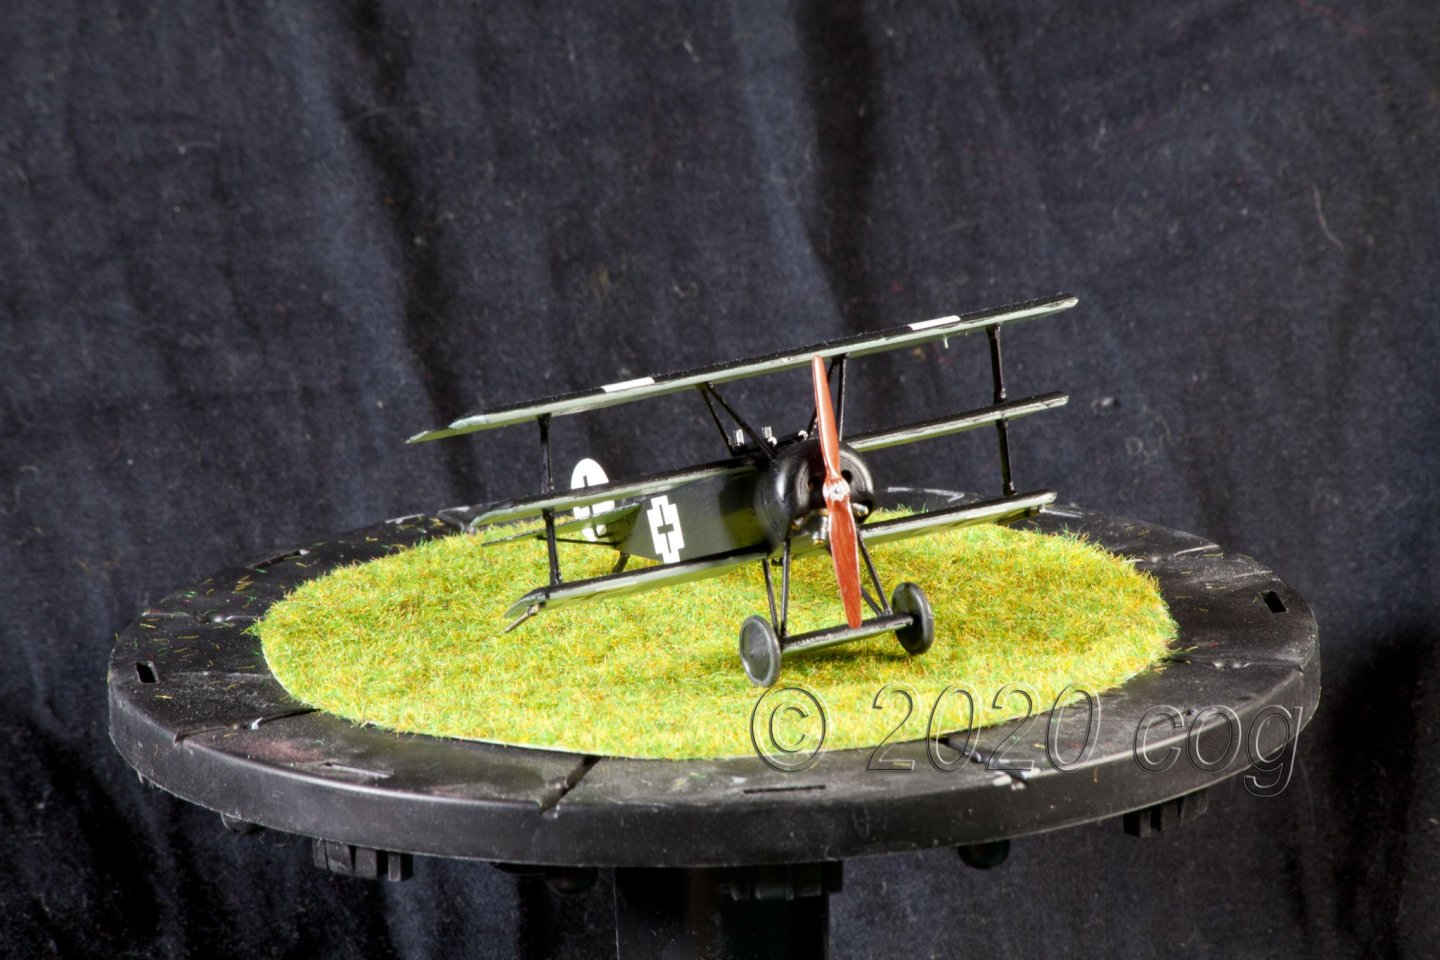
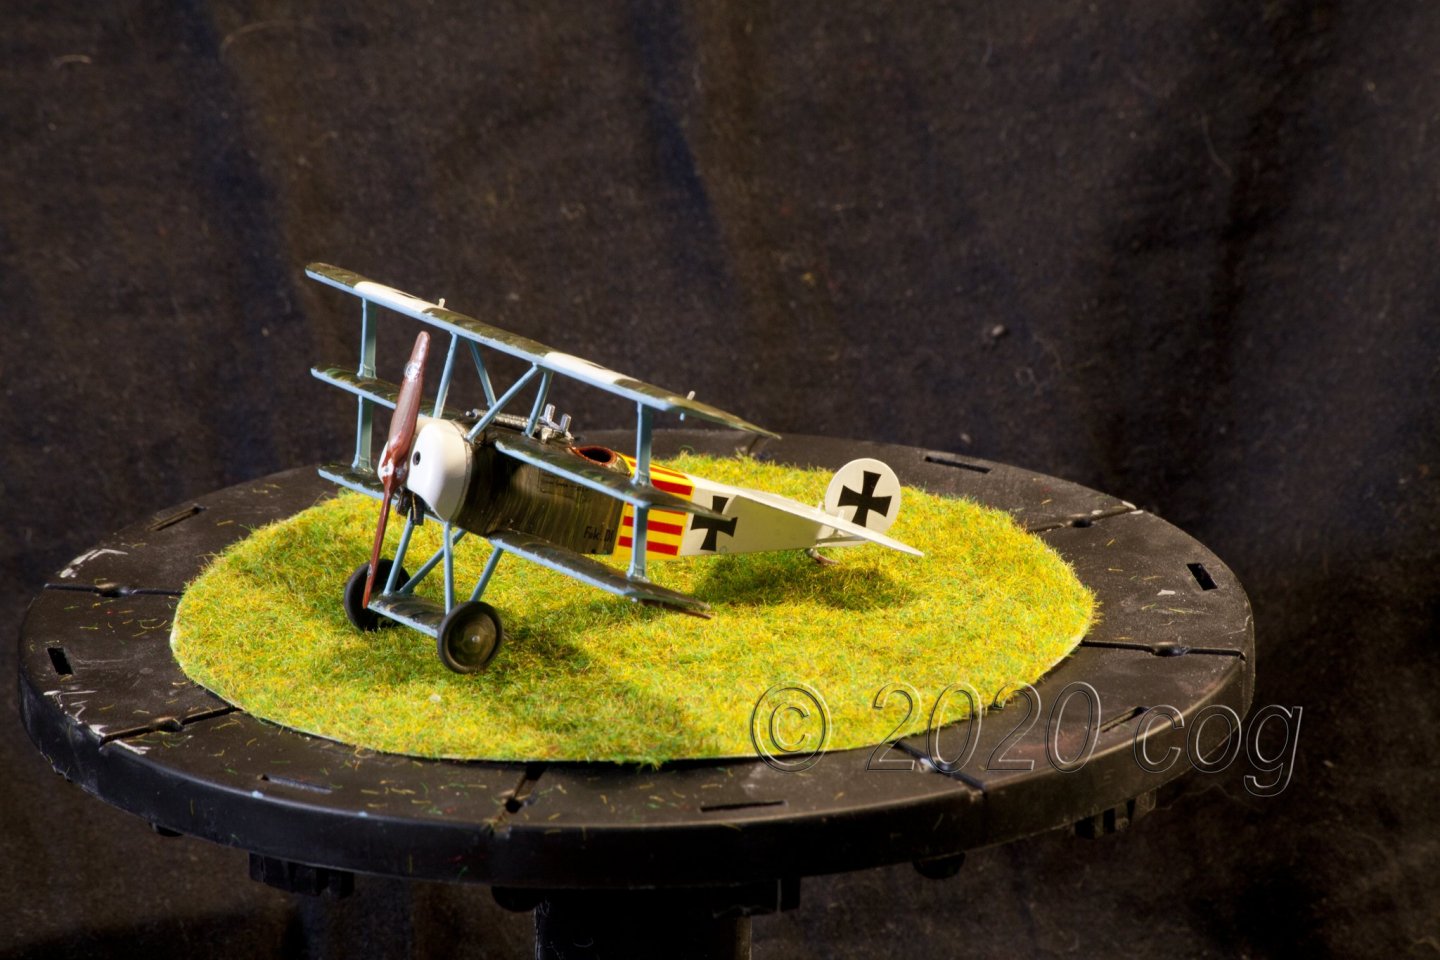
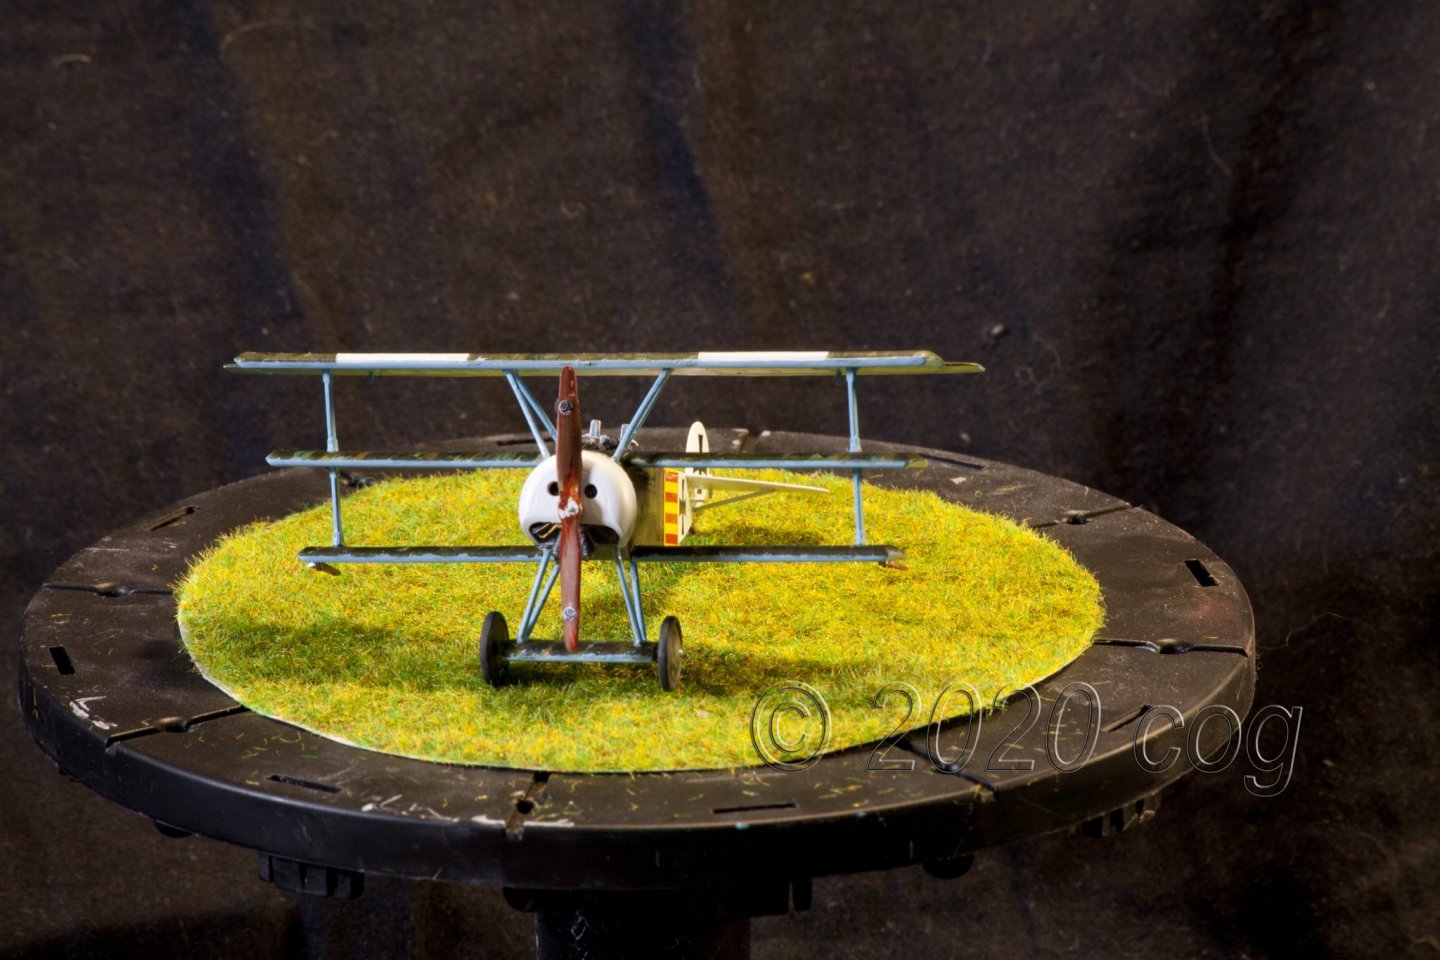
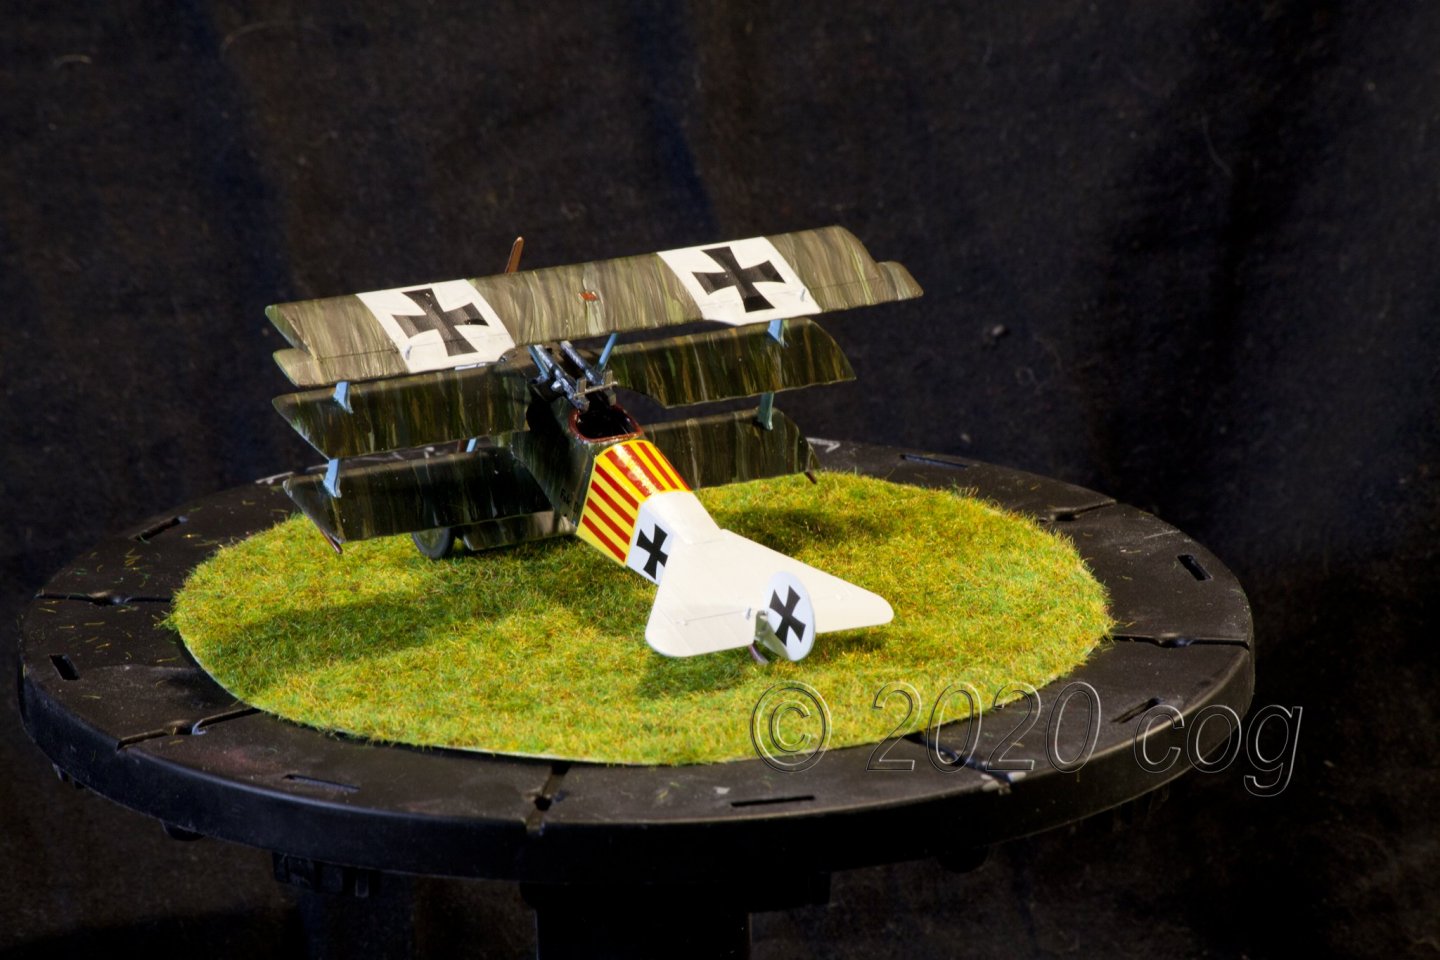
Ltn. Lothar von Richthofen Jasta 11 The yellow turned out a bit odd, should have been more like yellow ochre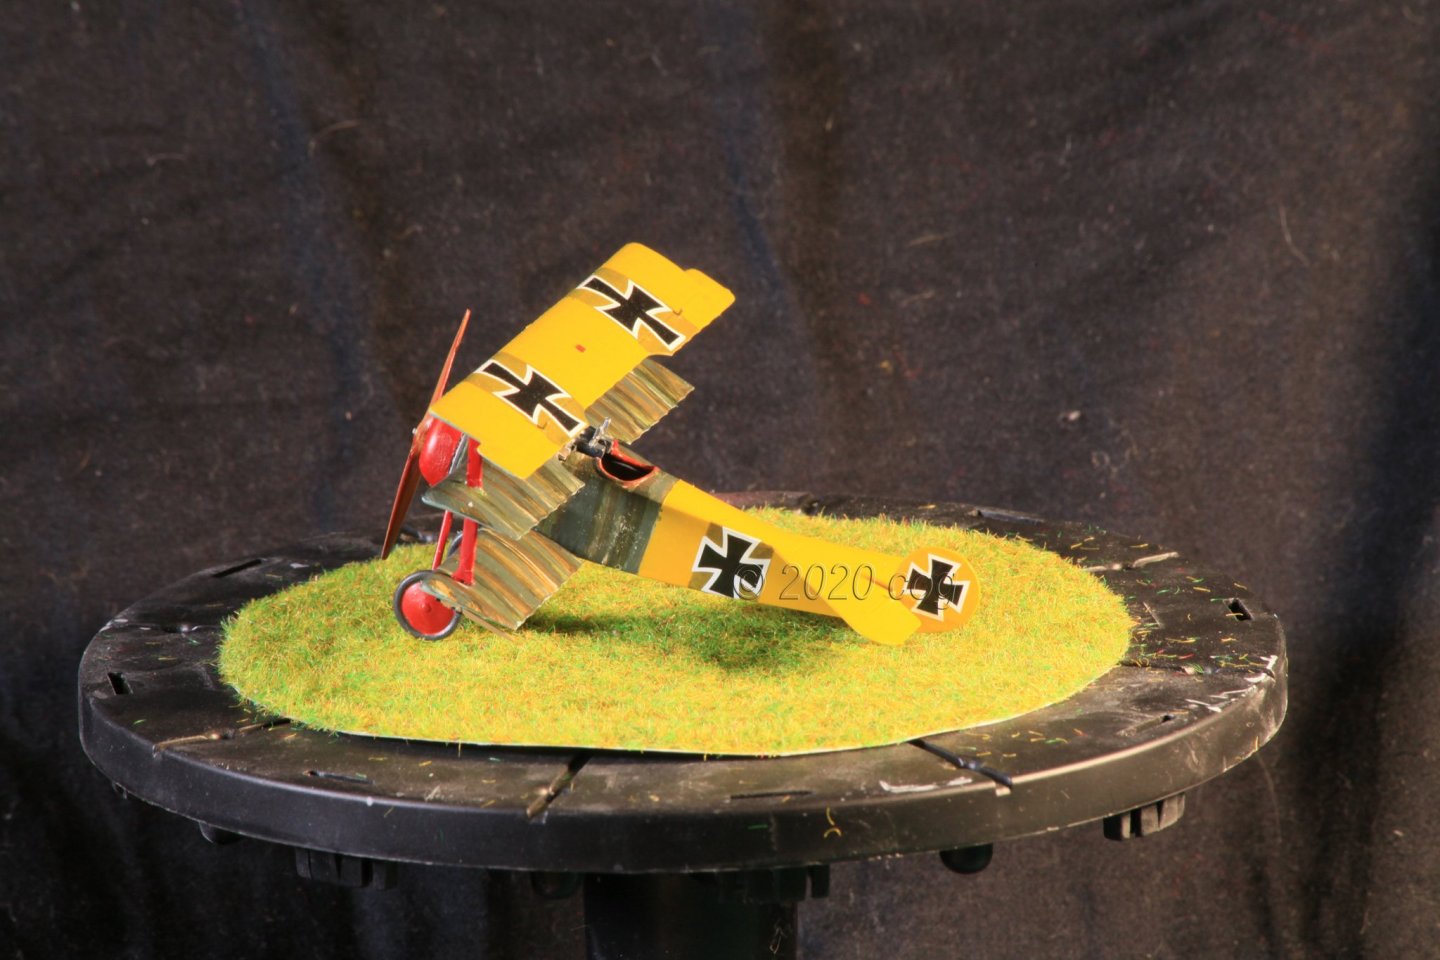


- 110 replies
-
- 10
-
-
Fokker Dr.I triplane by cog - multiple - 1:72 - PLASTIC
cog replied to cog's topic in Non-ship/categorised builds
No ity's the flying French cruiser Gloire Thanks Ken. Never knew gems could fly, you learn something new every day at MSW Must have been, on of those photographs even fool my eyes (3rd one) Thanks, explain the pocket microscope action to me. Tried it with mine, but it doesn't work on the screen I've got Much apreciated Mark Enough margin for error, you just do not see it as readily as at a larger scal -
Fokker Dr.I triplane by cog - multiple - 1:72 - PLASTIC
cog replied to cog's topic in Non-ship/categorised builds
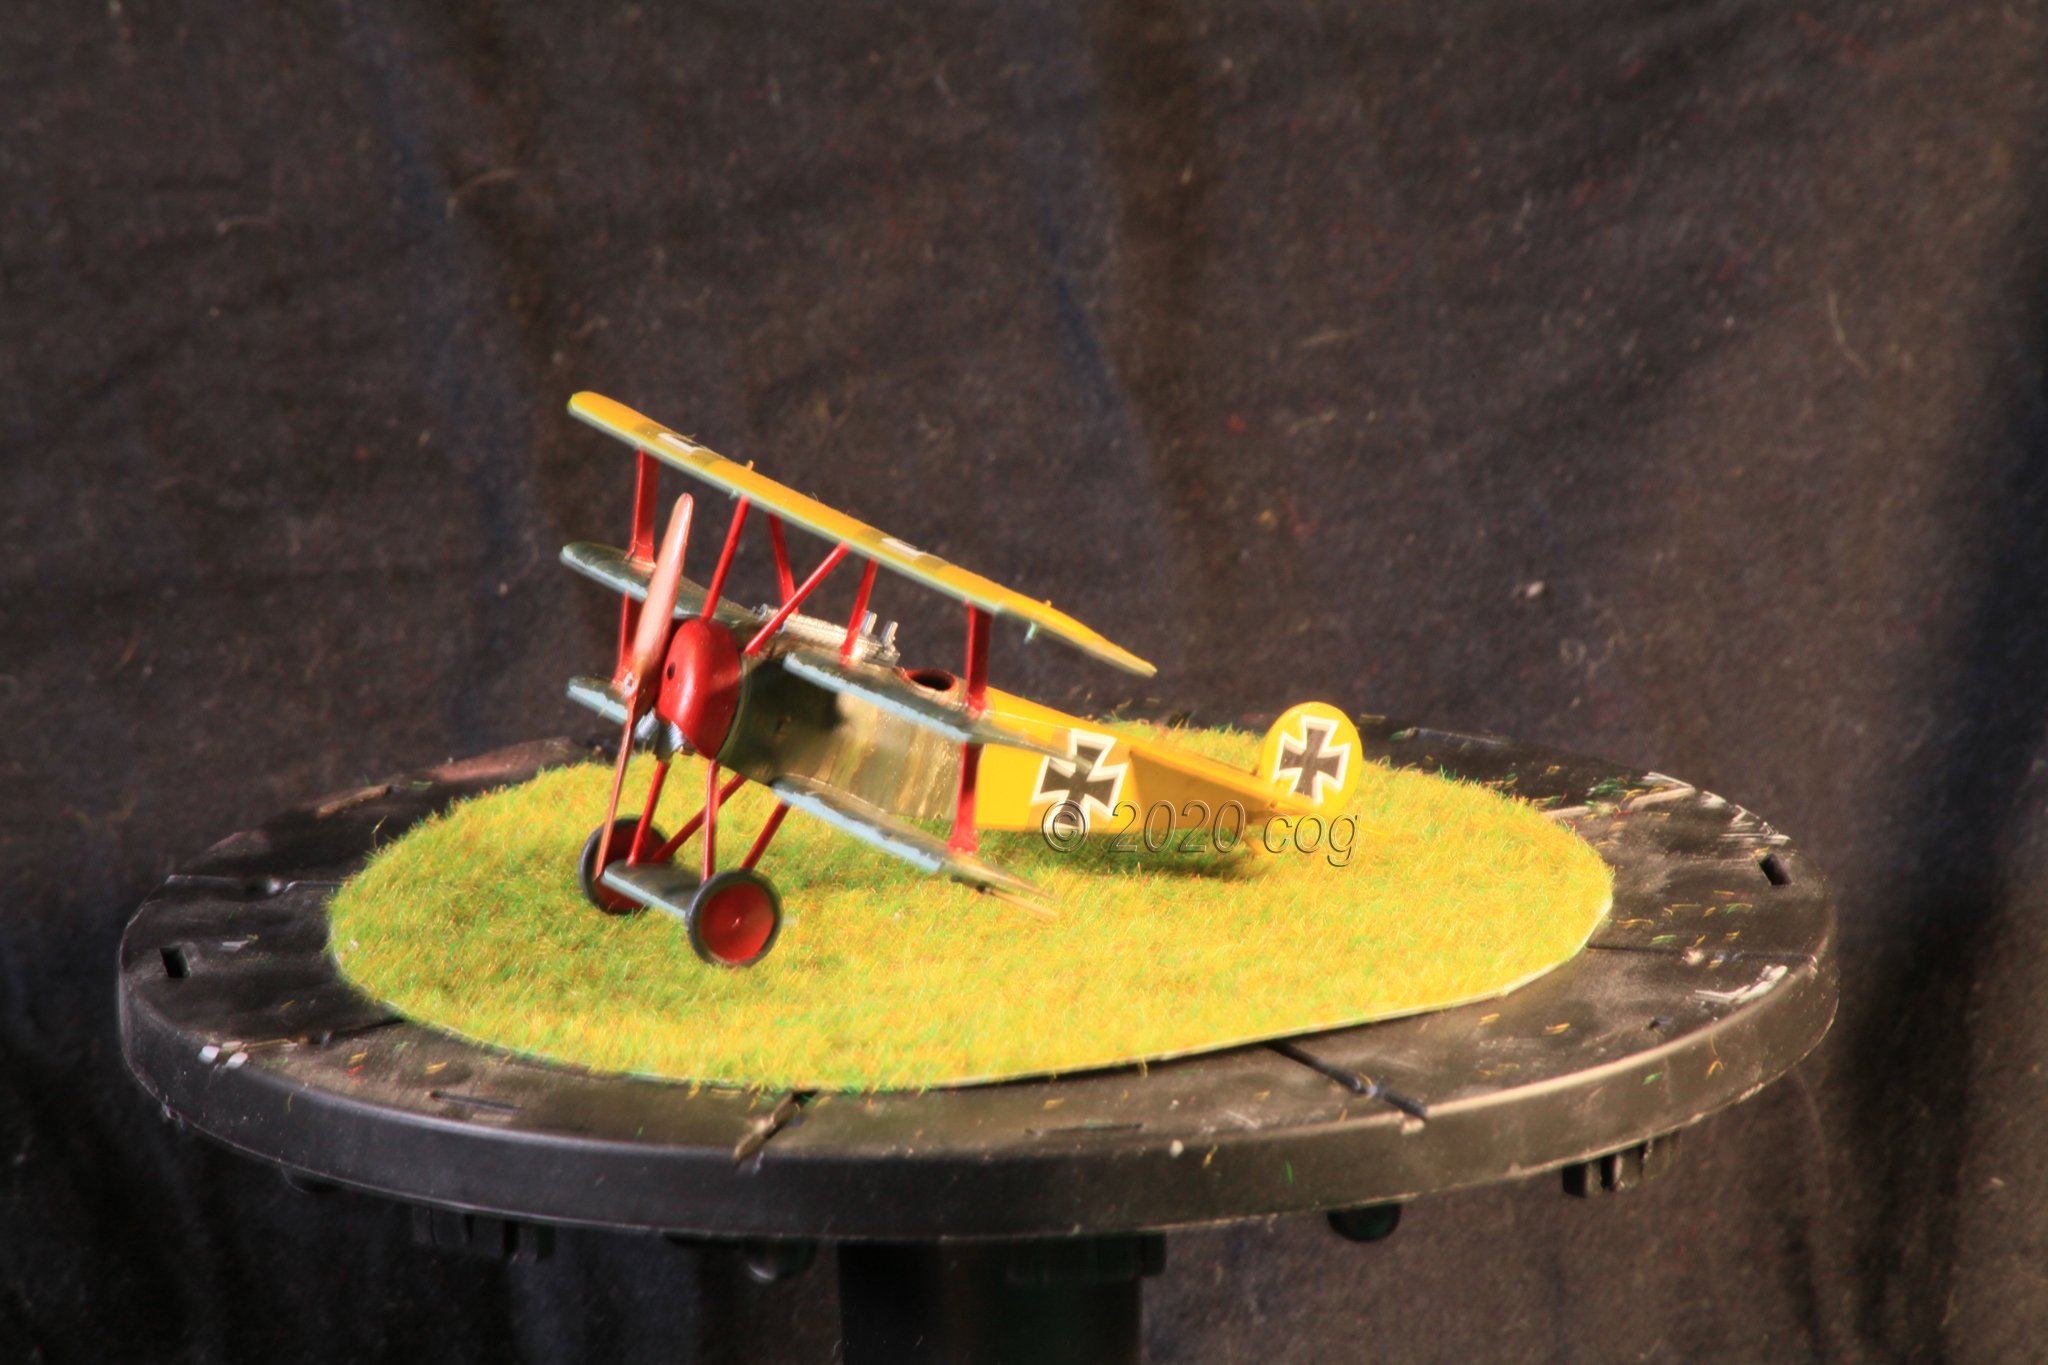
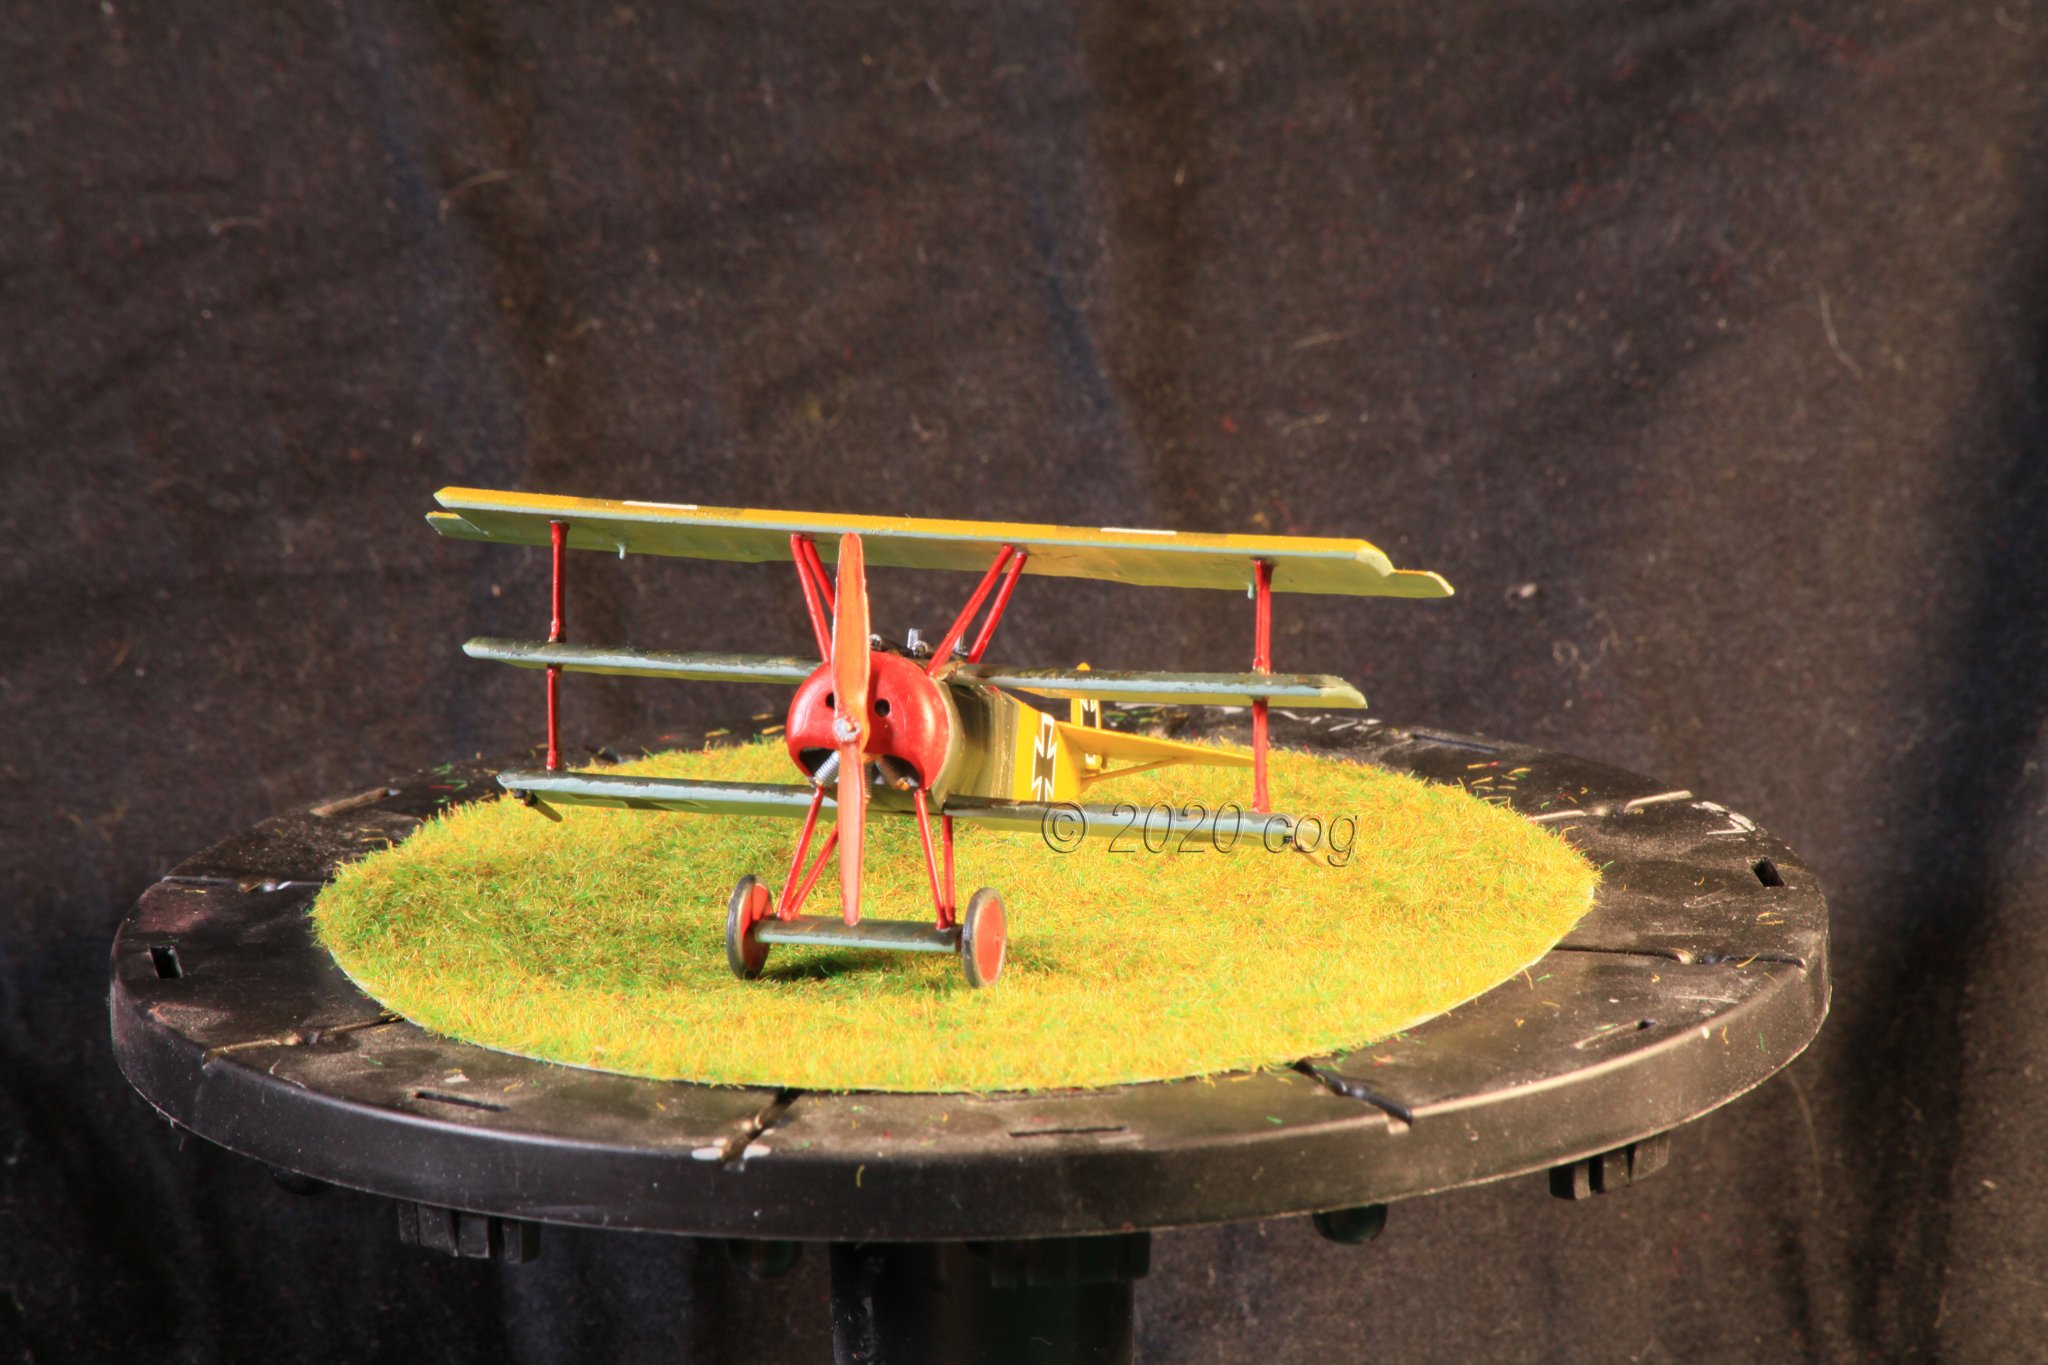
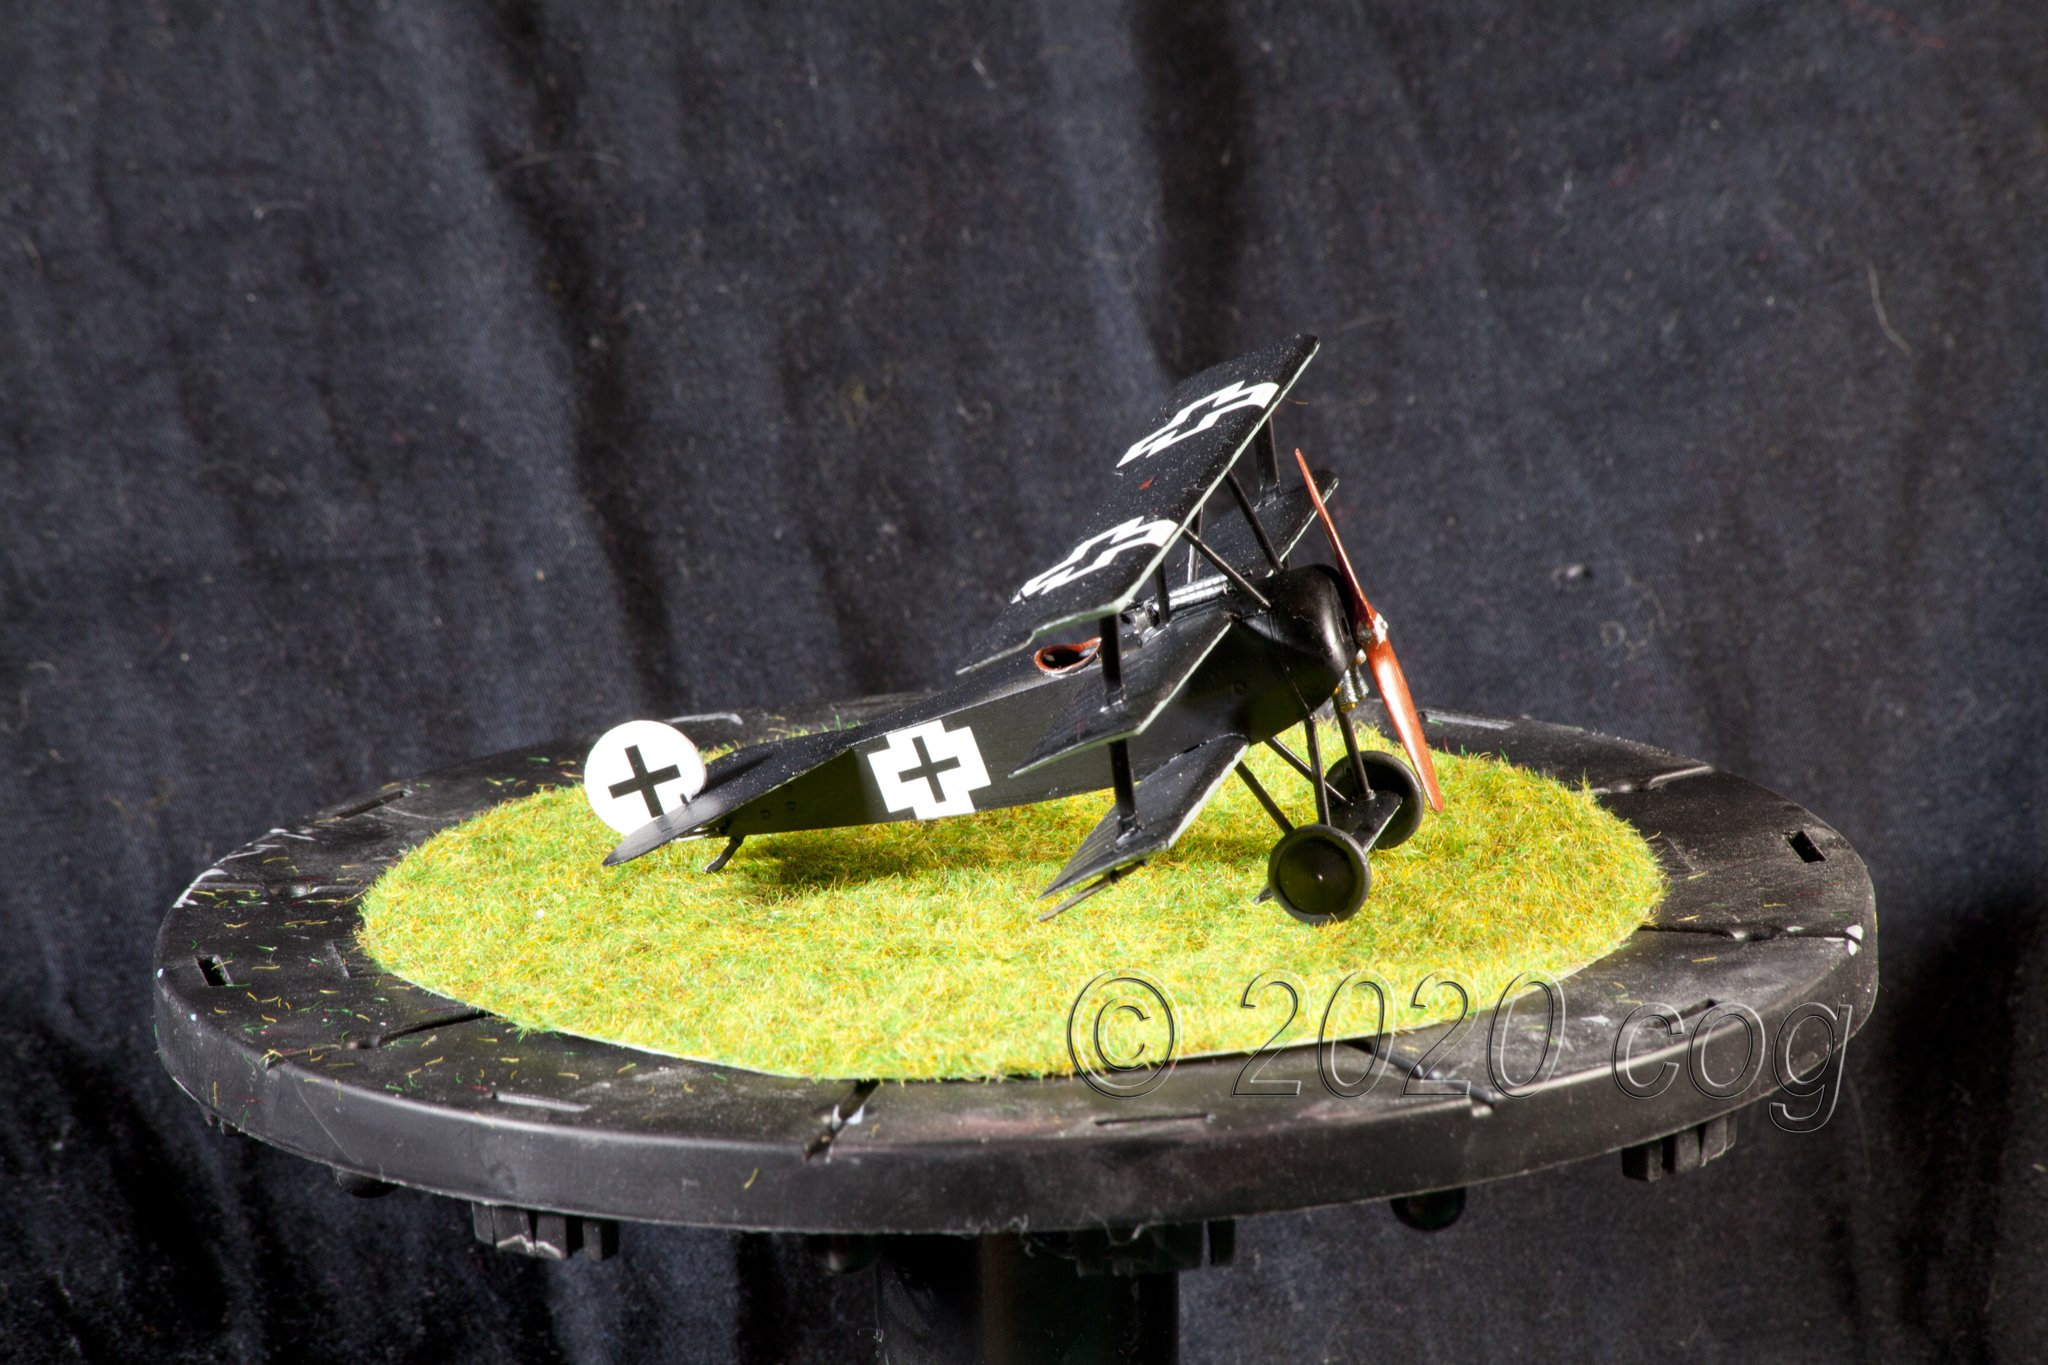
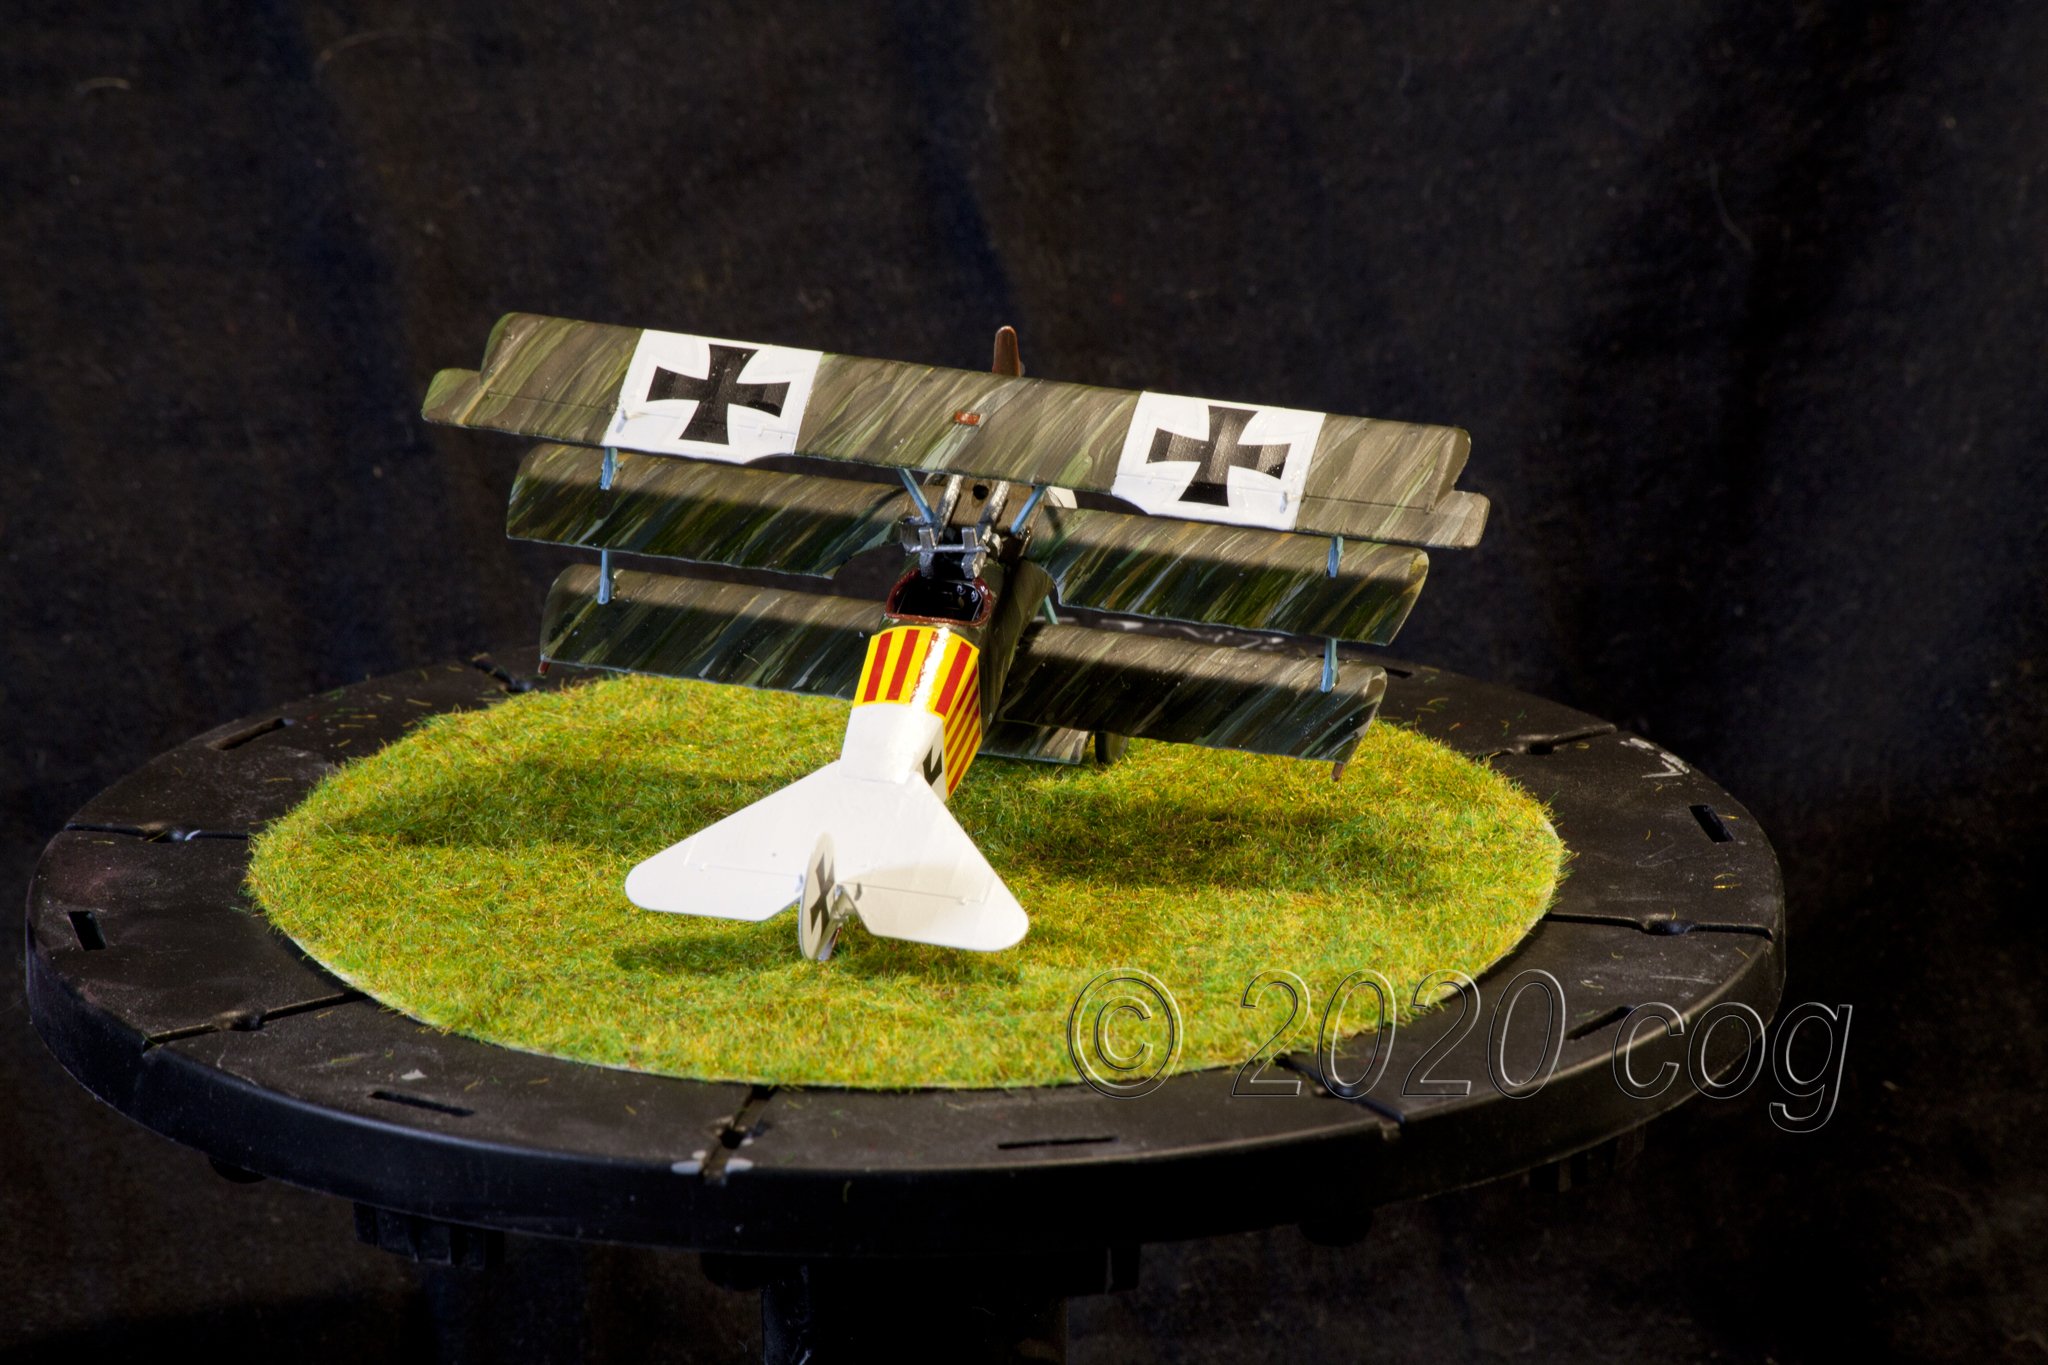
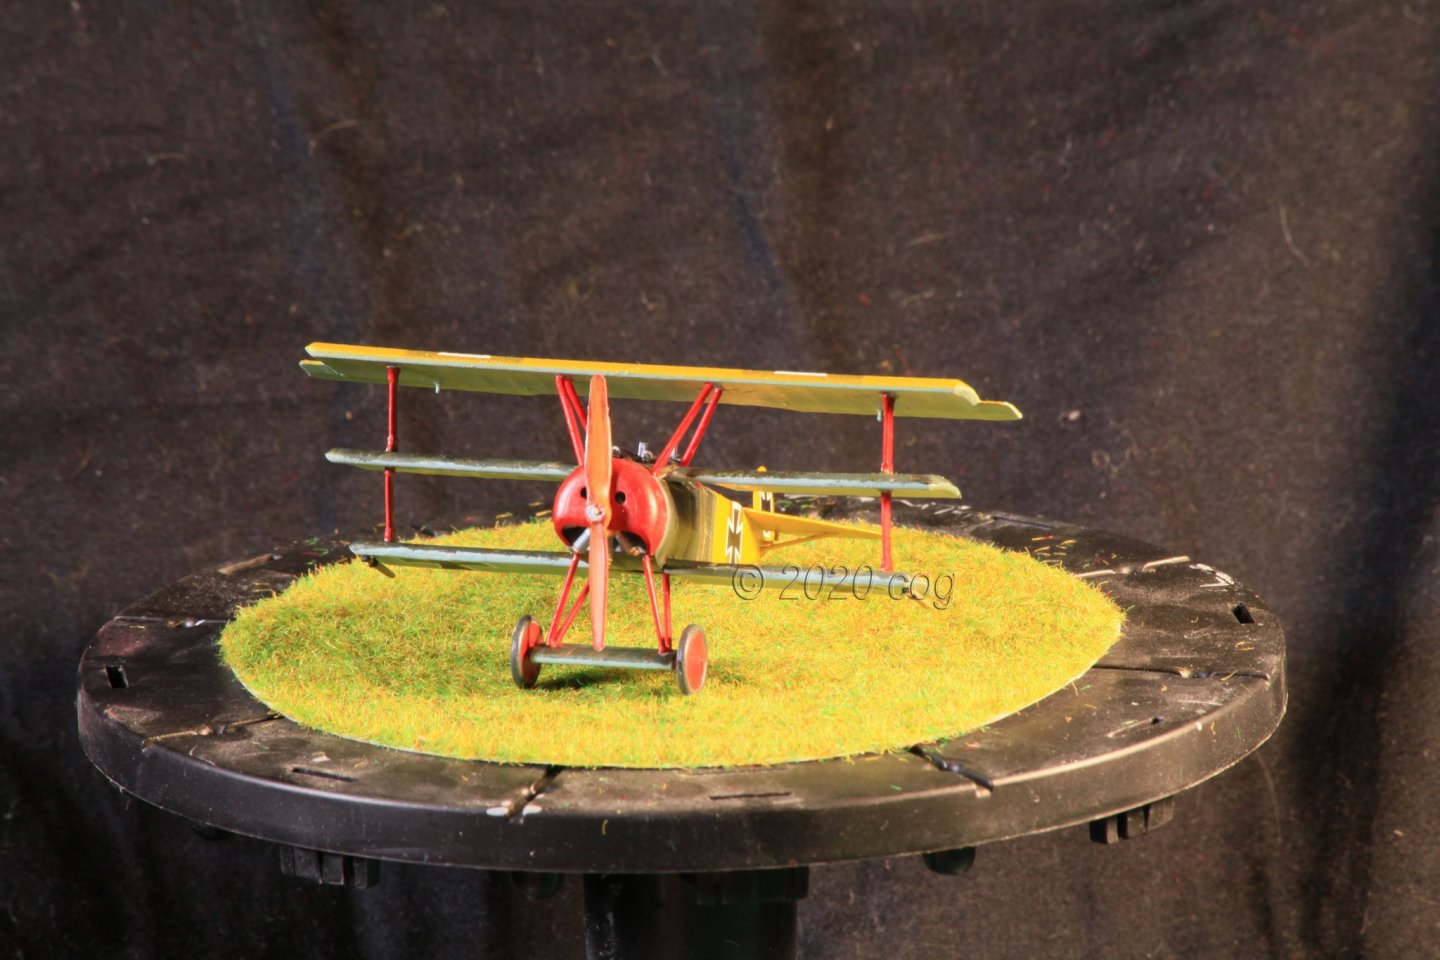
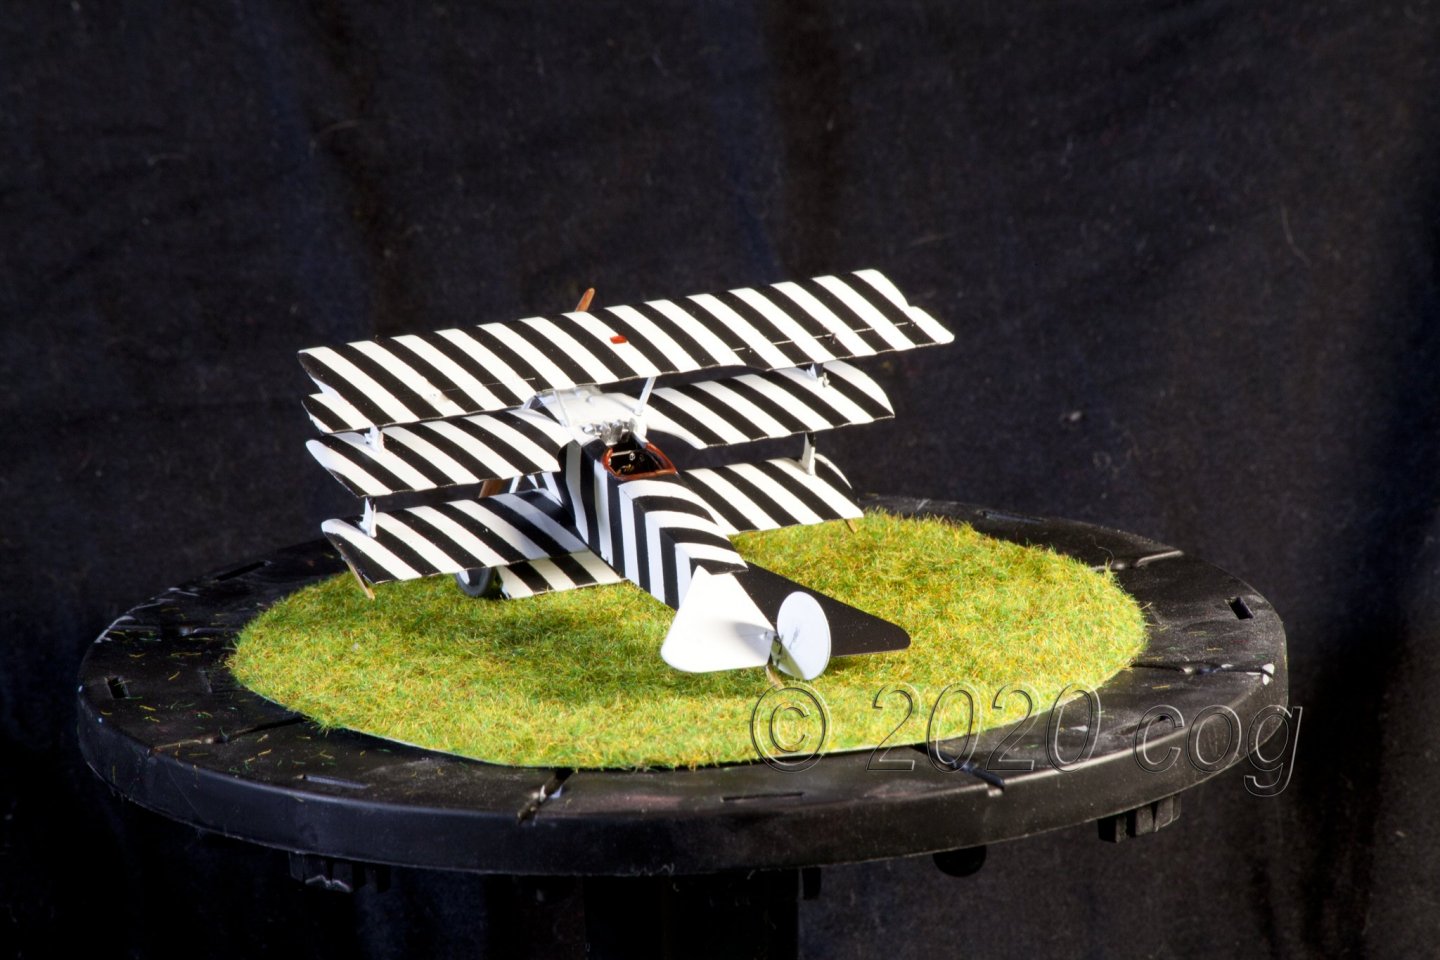
Well, this one was worse. The missing photographs ... I just couldn't get them right. Changed lighting, changed ISO, changed image format, changed about all the logical things I could think of (naturally that is very limited, considering my brain's capacity ) No exisiting camouflage. Used the pattern from the Fokker VII from Ltn. Hans Kirschstein, Jasta 6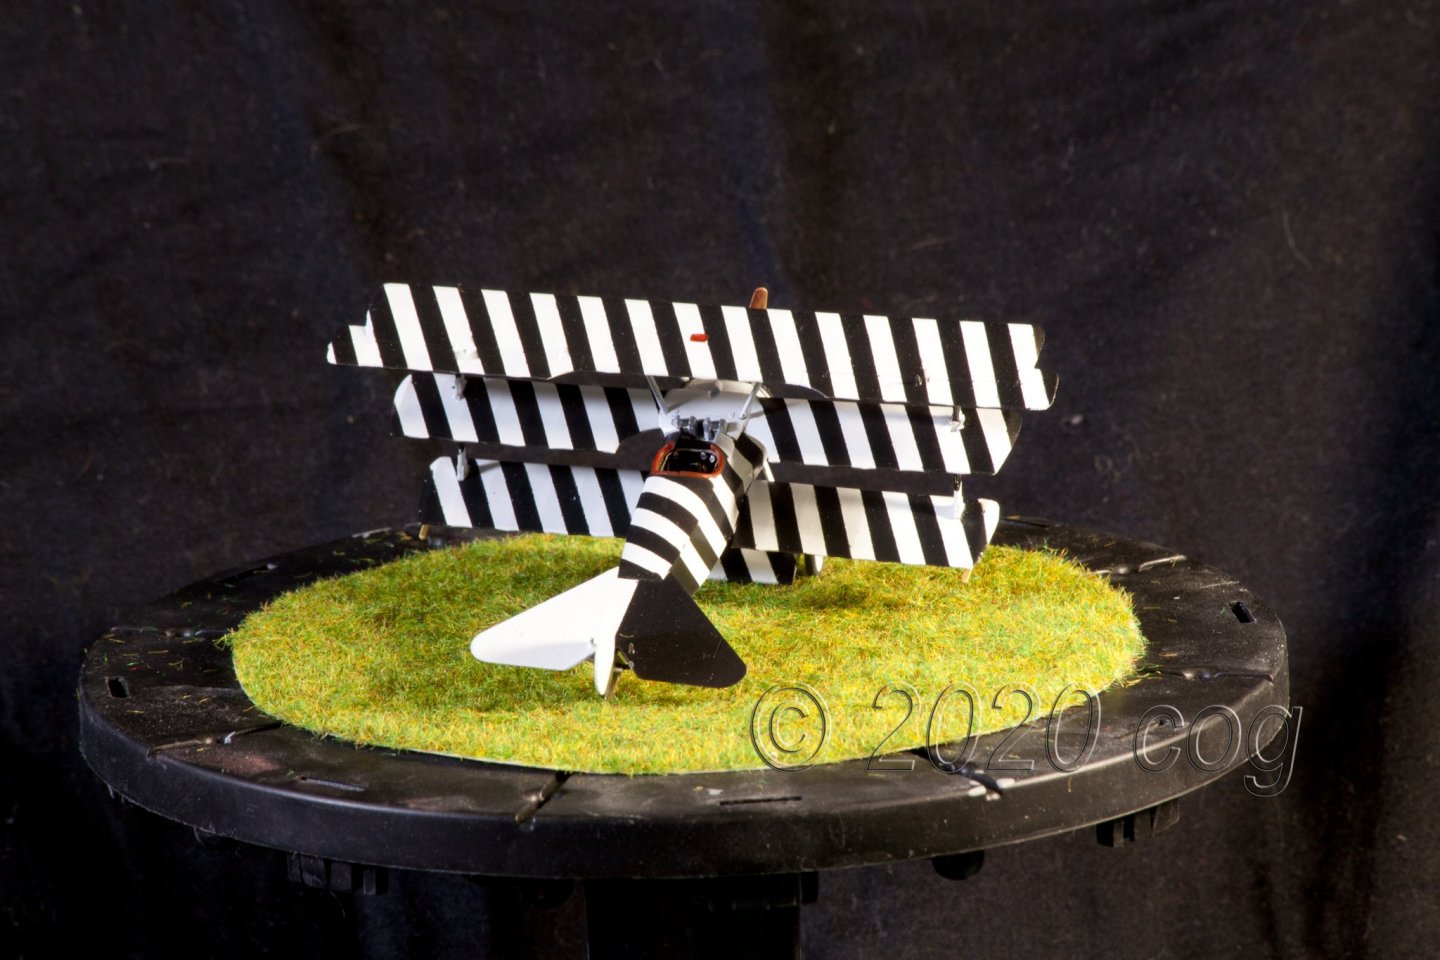


-
Fokker Dr.I triplane by cog - multiple - 1:72 - PLASTIC
cog replied to cog's topic in Non-ship/categorised builds
Oh gents, I do have a Sopwith Camel ... slightly out of scale (1/32) but never the less a Sopwith from Wingnut Wings, "hidden" in my stack of kits. Unfortunately discontinued at Eduard in 1/72, but then again, who did see Fly boys? There is a Nieuport in the proper scale -
Fokker Dr.I triplane by cog - multiple - 1:72 - PLASTIC
cog replied to cog's topic in Non-ship/categorised builds
And the next. A pain to shoot ... three tries, but there is worse, even if you can't imagine what could be ... Always room for you, Lou

-
Fokker Dr.I triplane by cog - multiple - 1:72 - PLASTIC
cog replied to cog's topic in Non-ship/categorised builds
OC, I added the measurements to the first post, and you are right: Wingspan 10cm 4" Thank you gents, that is most kind of you. It seems I'll be taking photographs for some time. I cannot seem to get a series of eight where all photographs are acceptable. Lets start with the last Fokker I built ..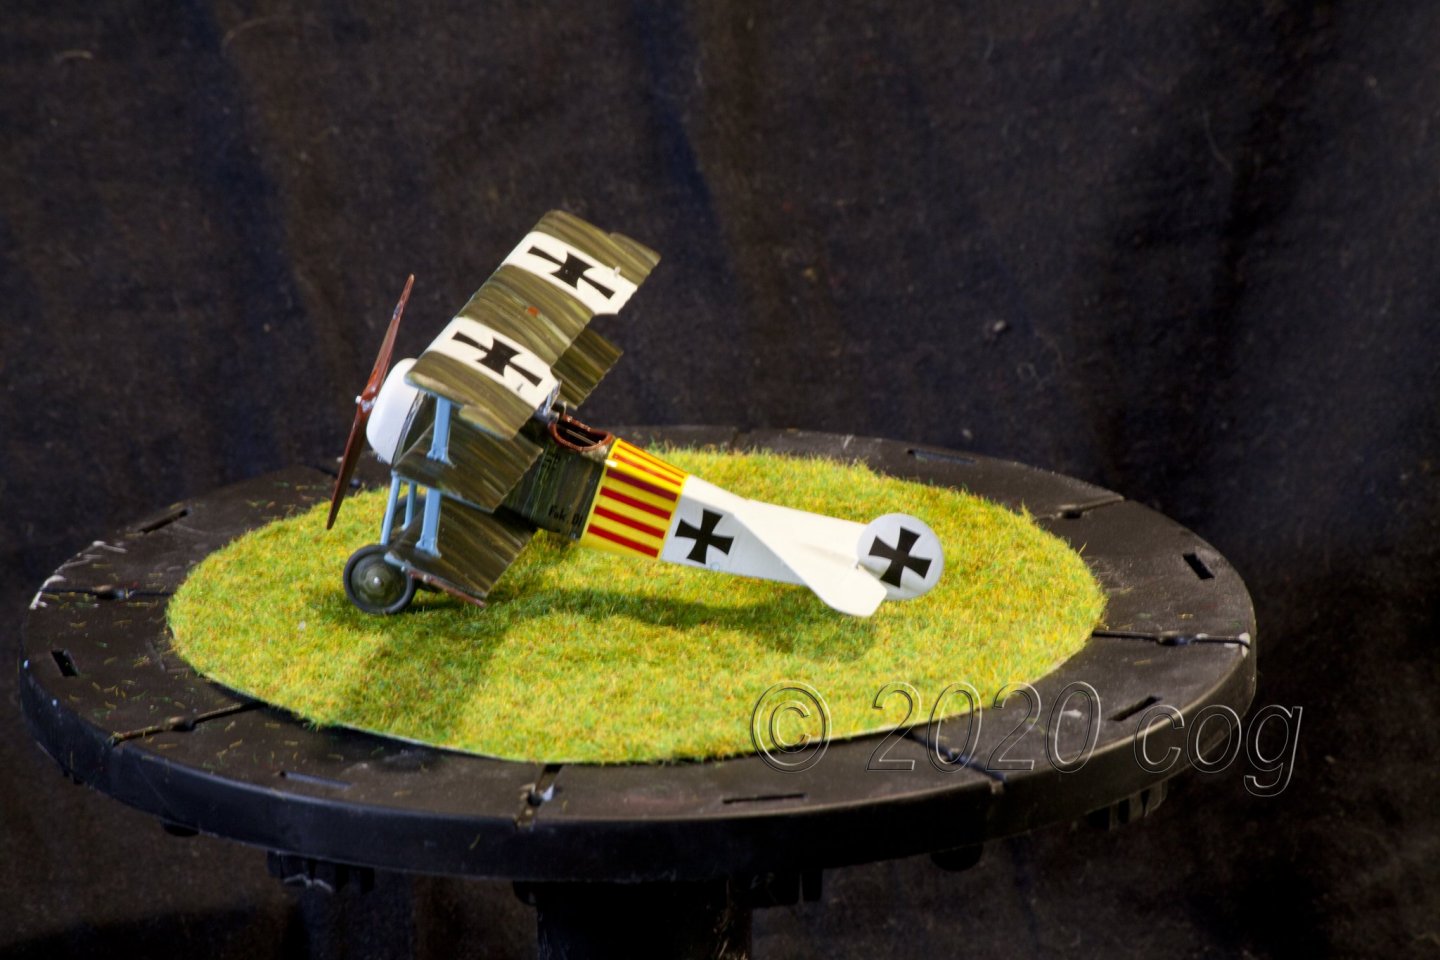


- 110 replies
-
- 12
-
-
HMCSS Victoria 1855 by BANYAN - 1:72
cog replied to BANYAN's topic in - Build logs for subjects built 1851 - 1900
Marvelous result, pat. All the time invested worth- 1,018 replies
-
- 4
-
-
- gun dispatch vessel
- victoria
- (and 2 more)
-
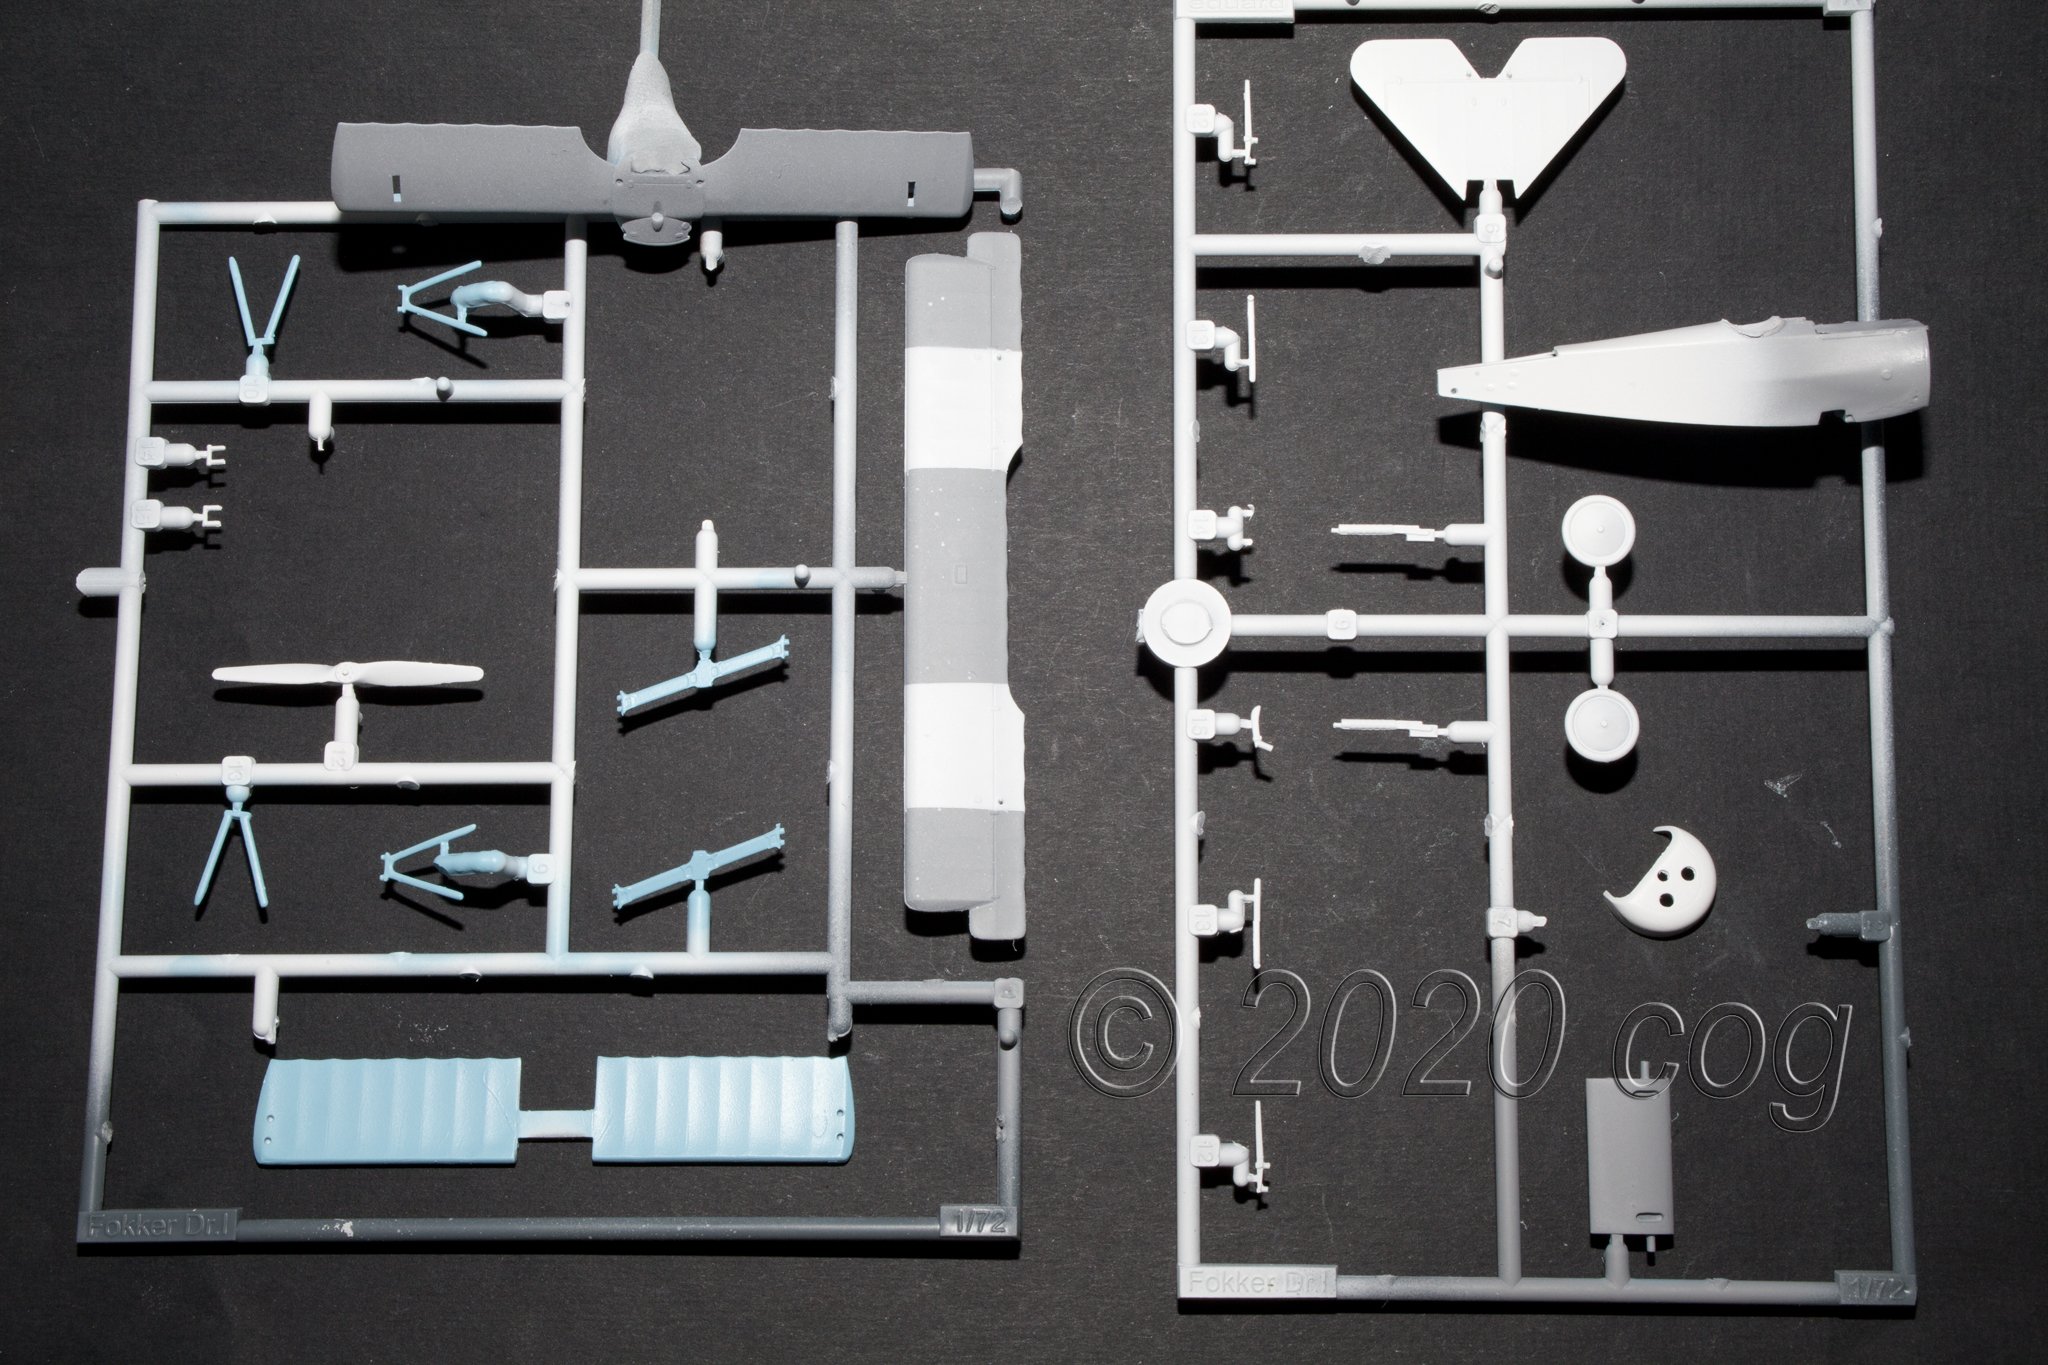
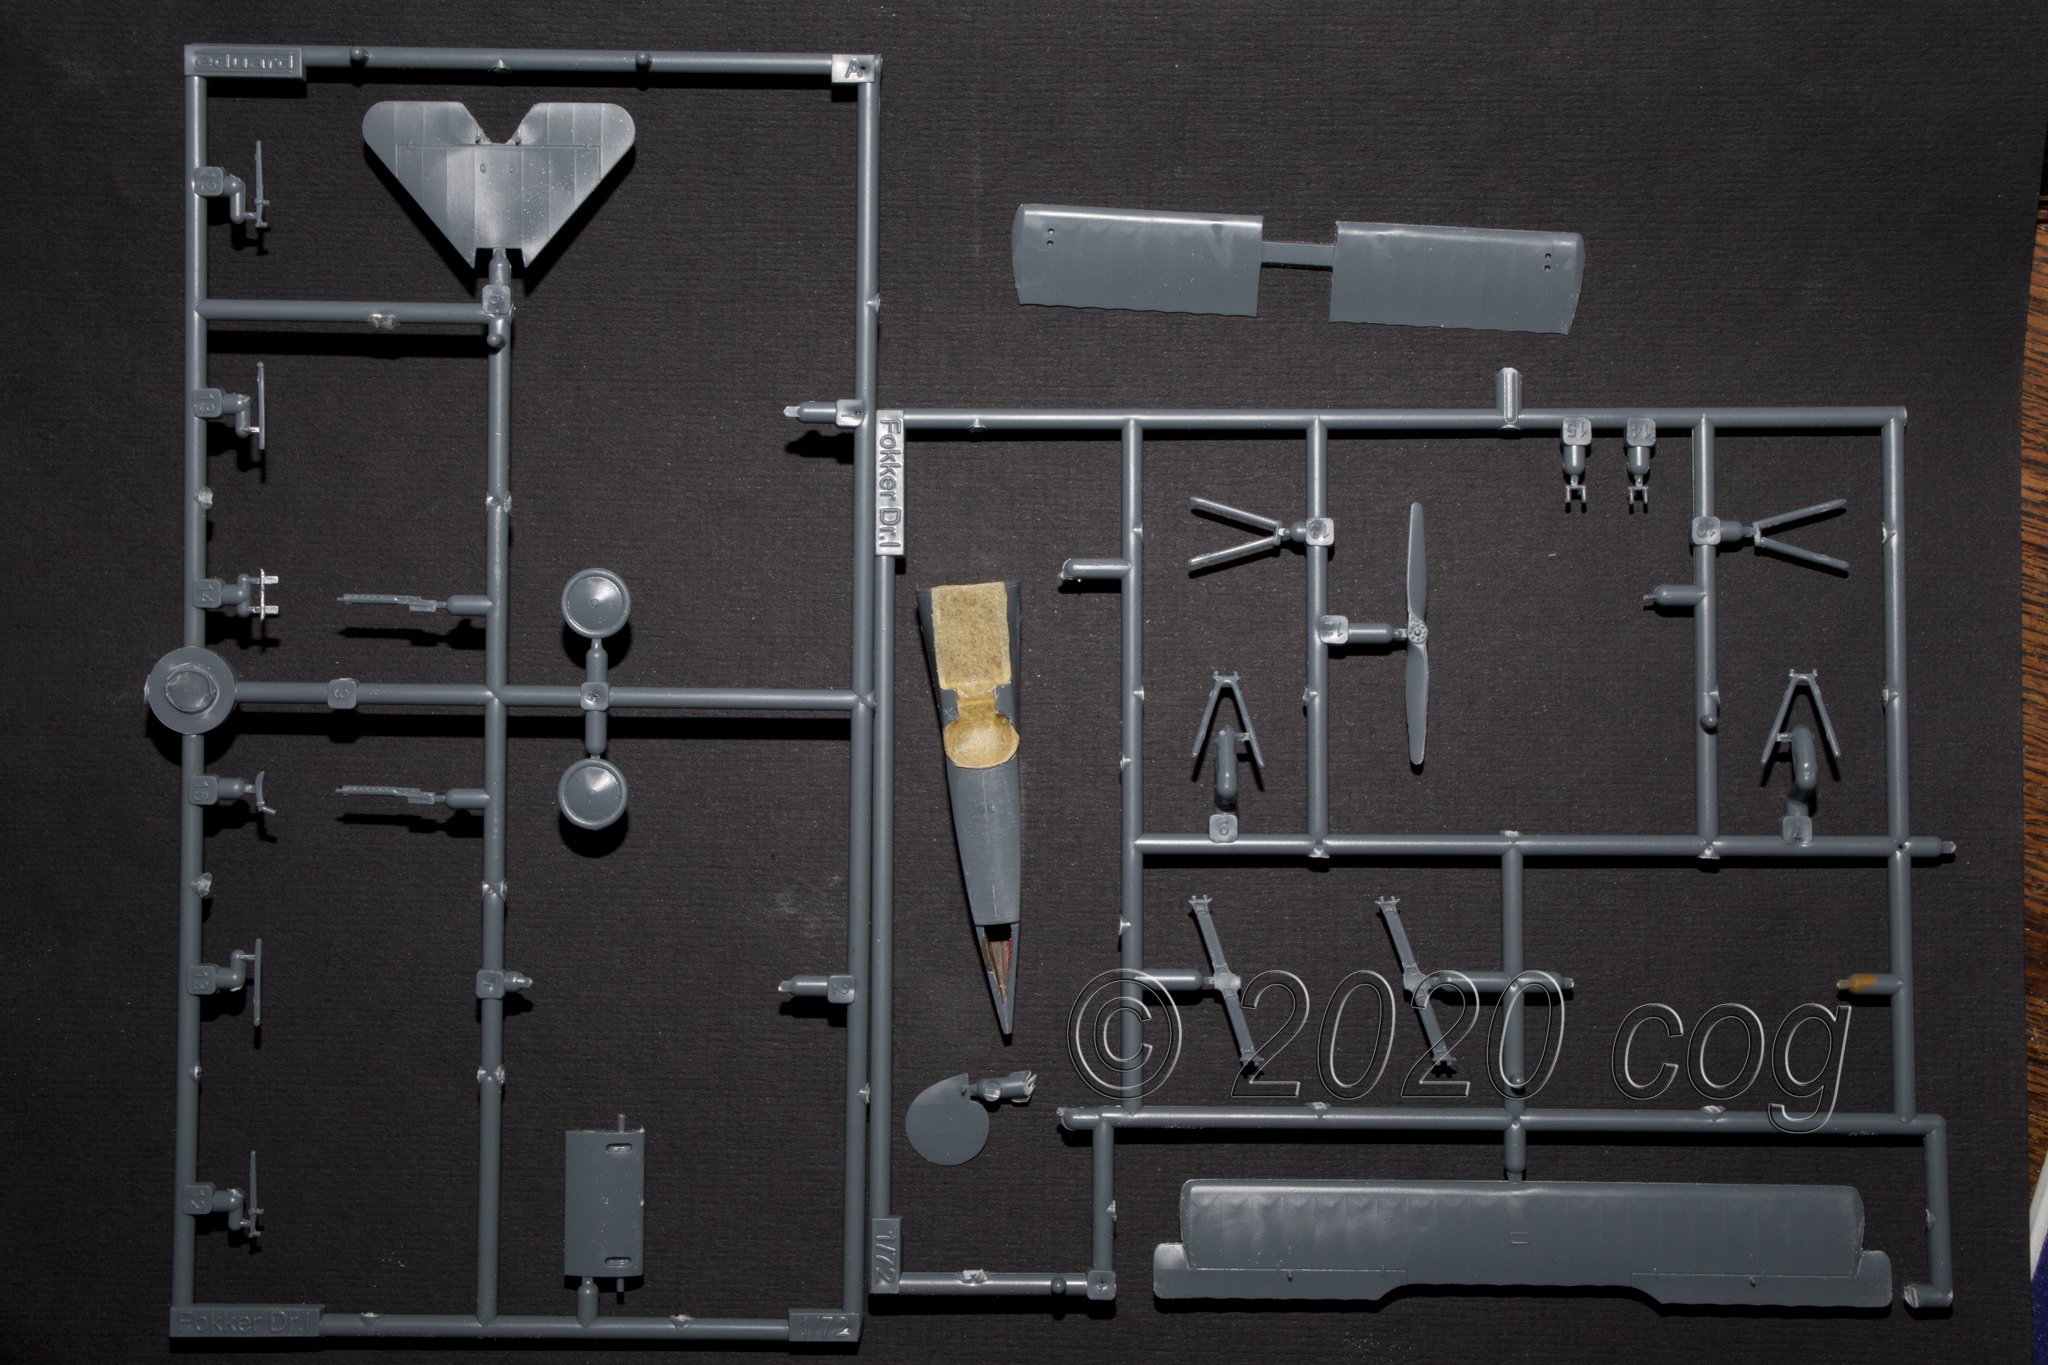
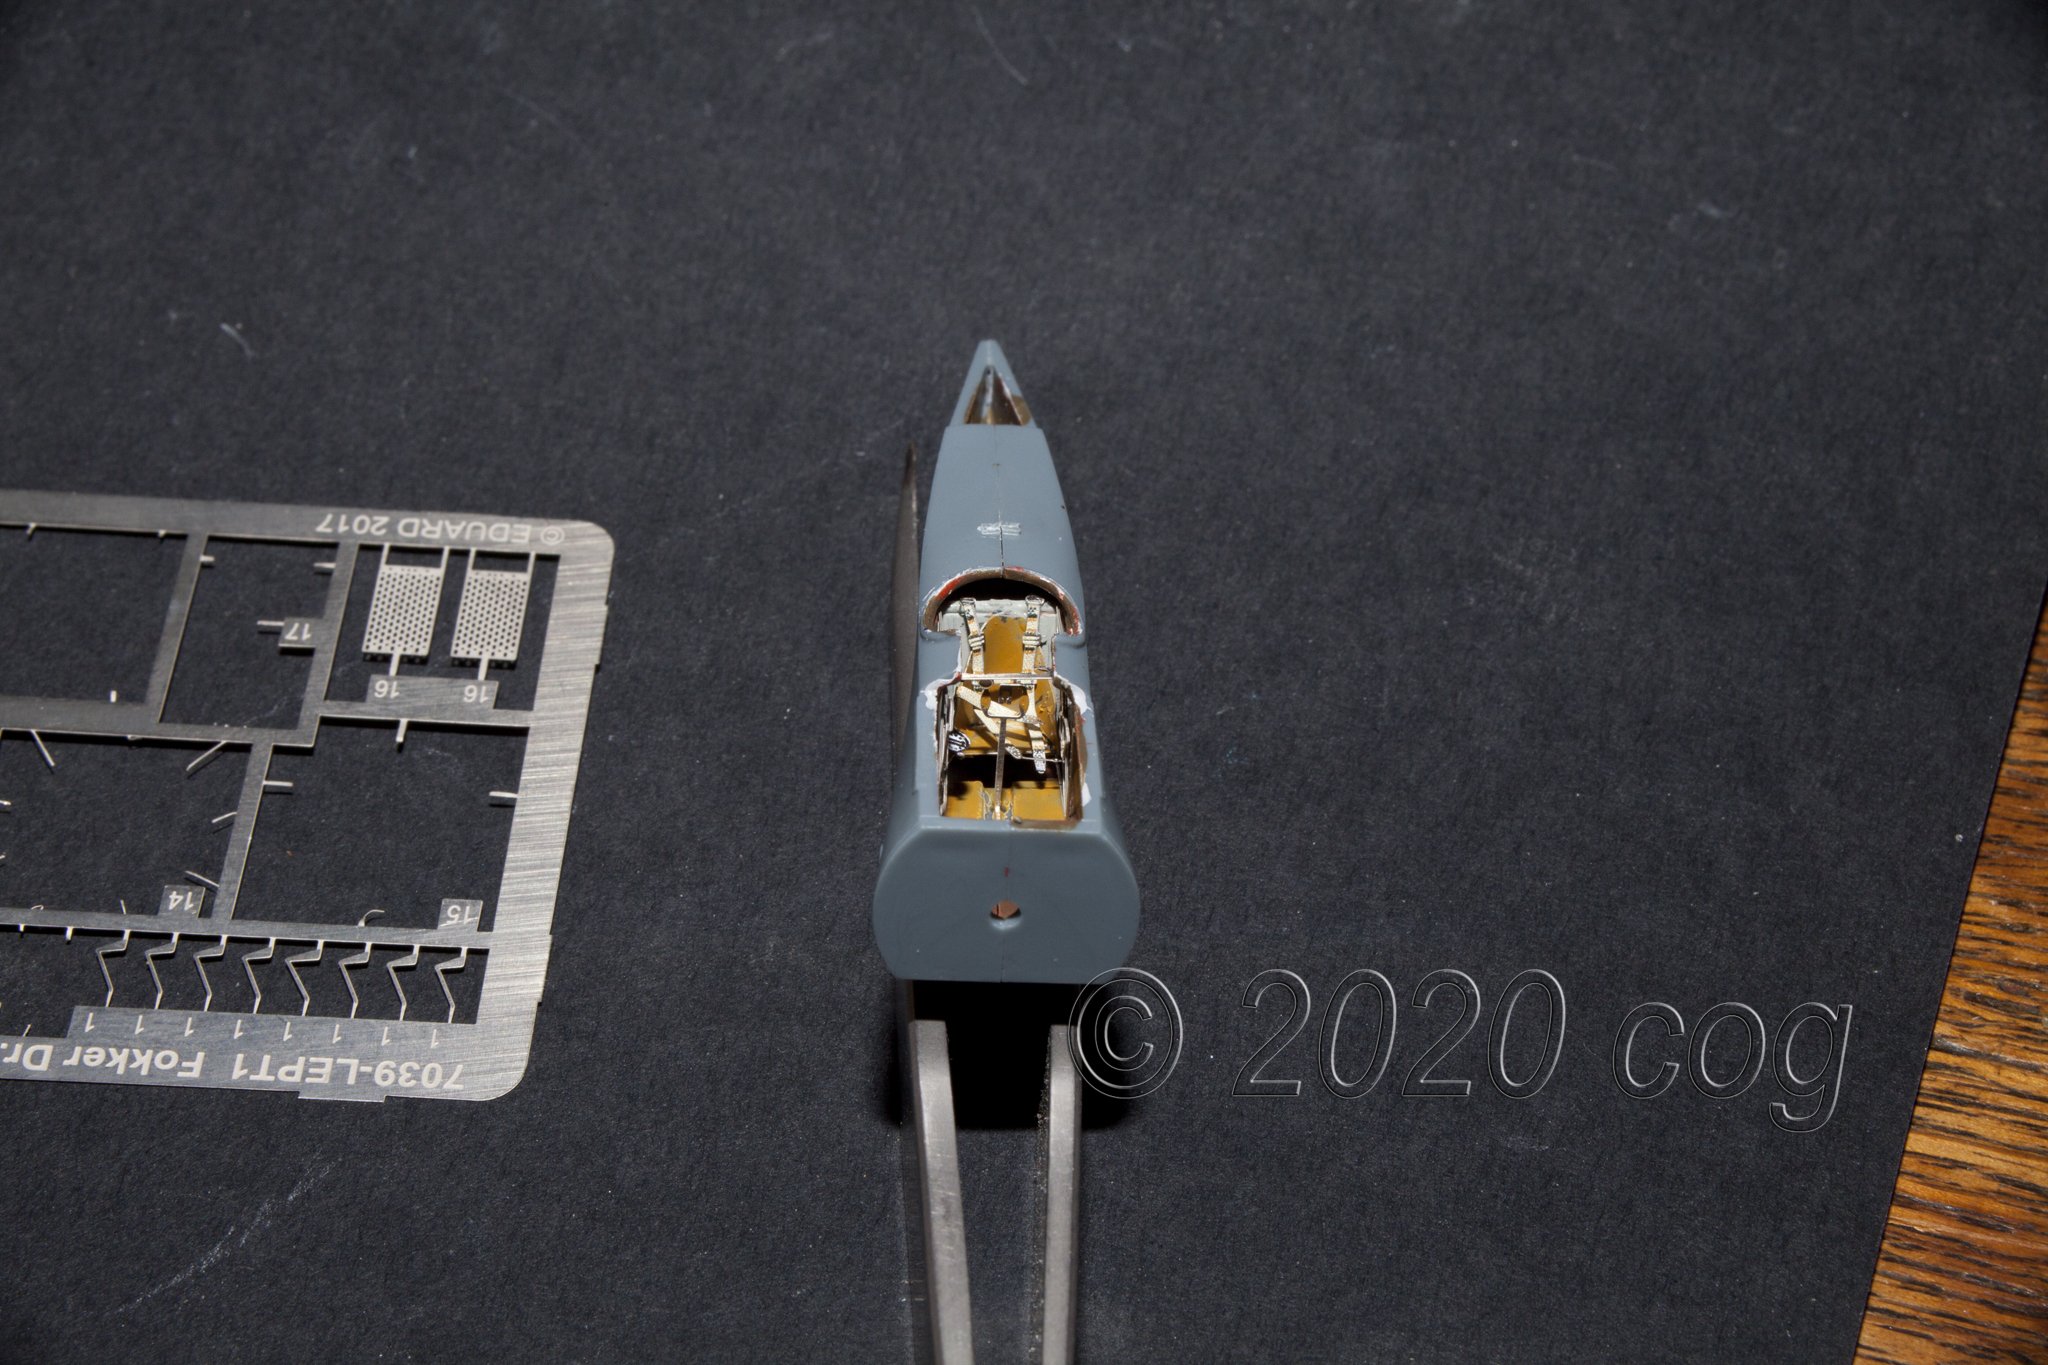
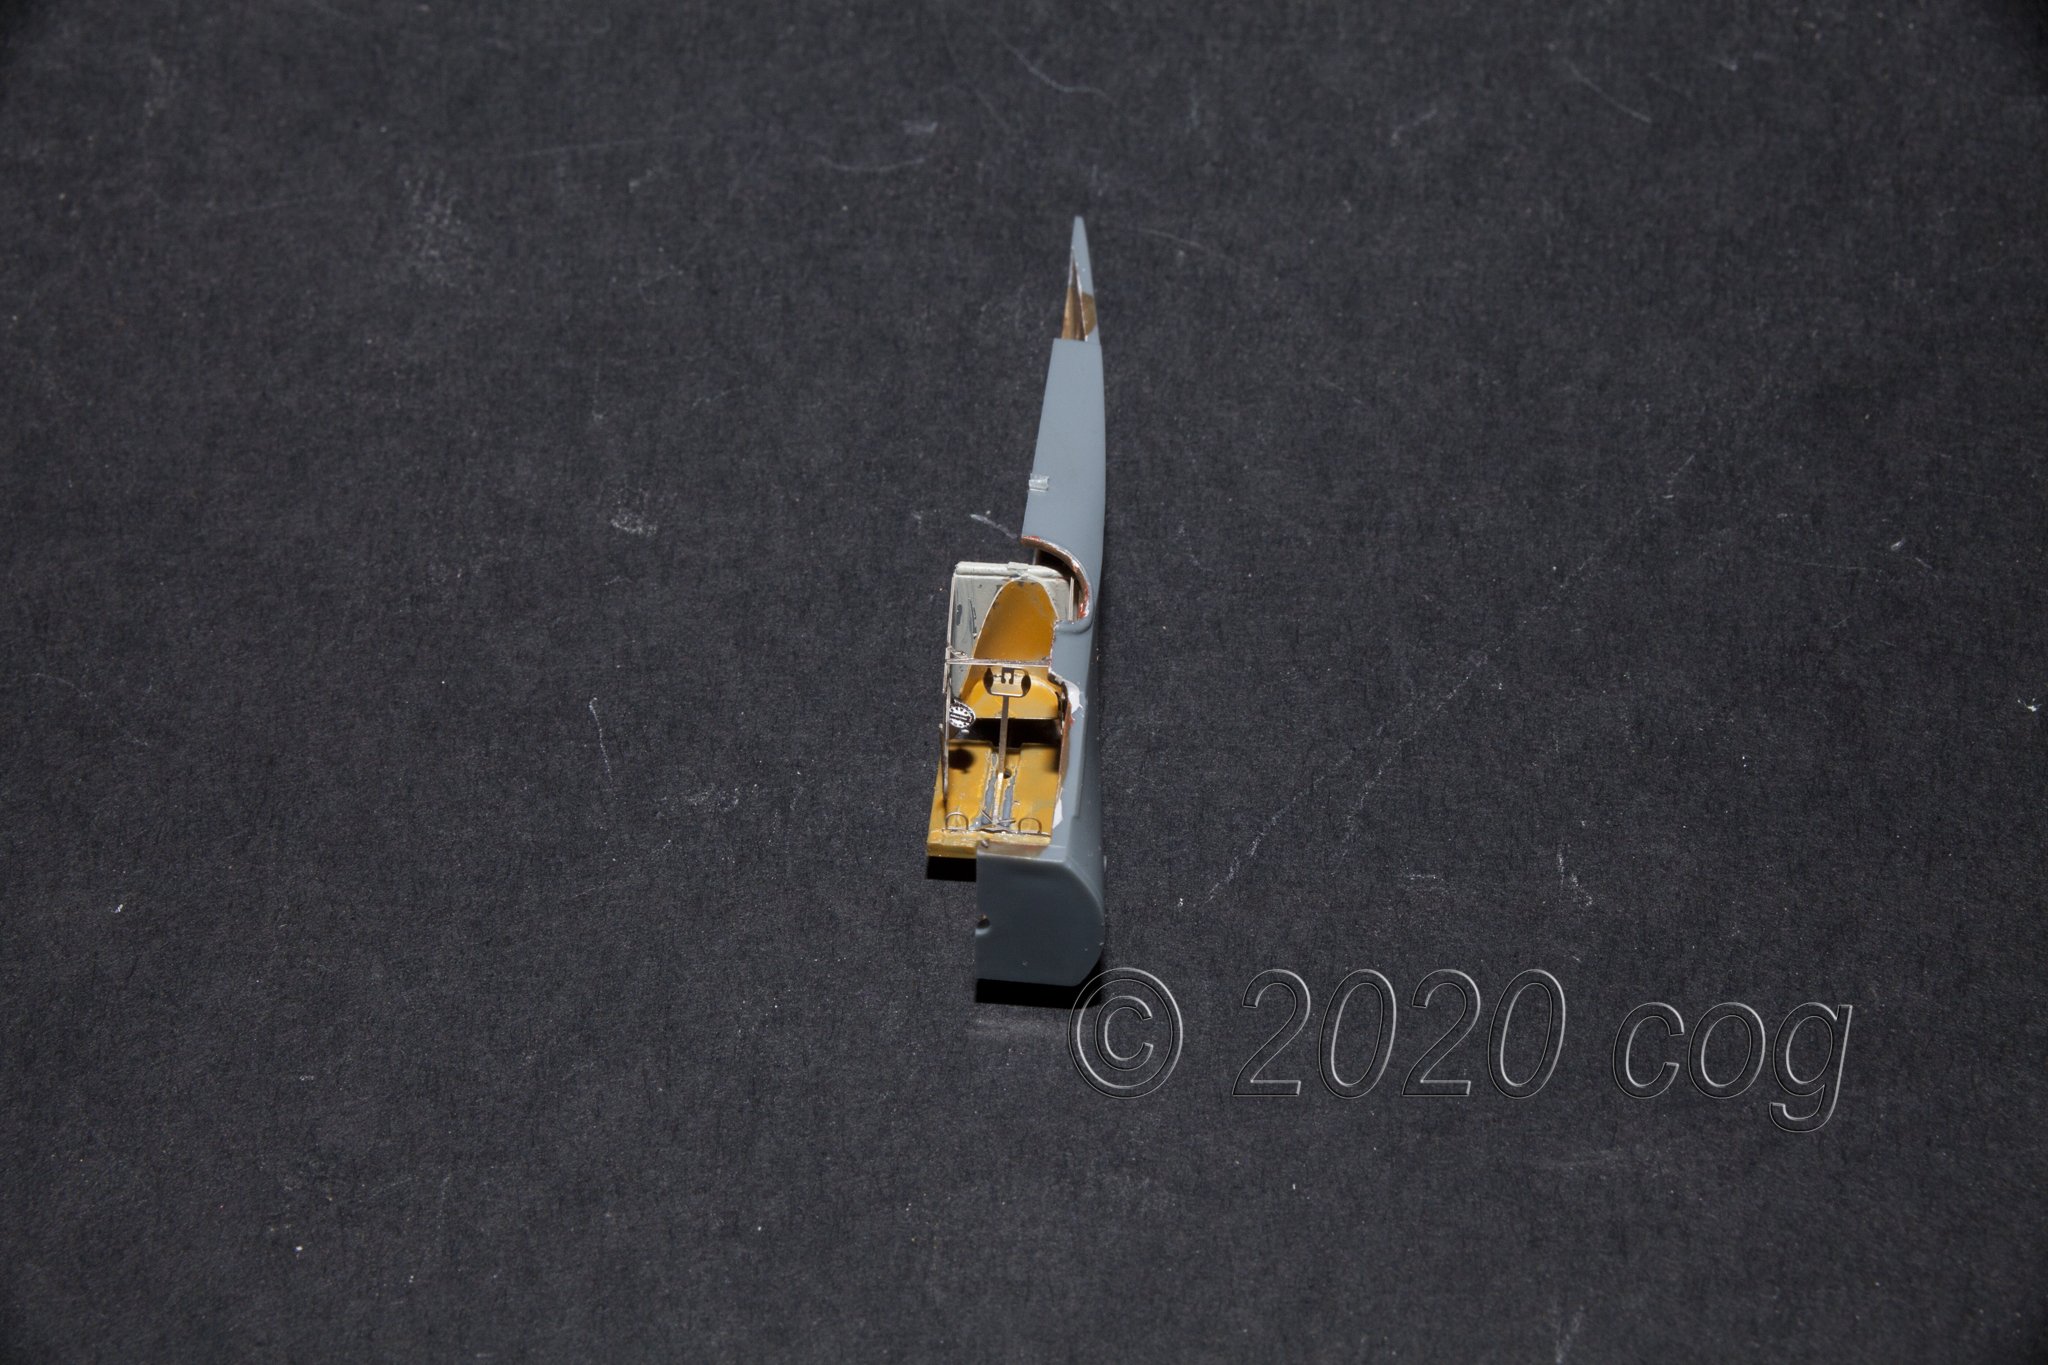
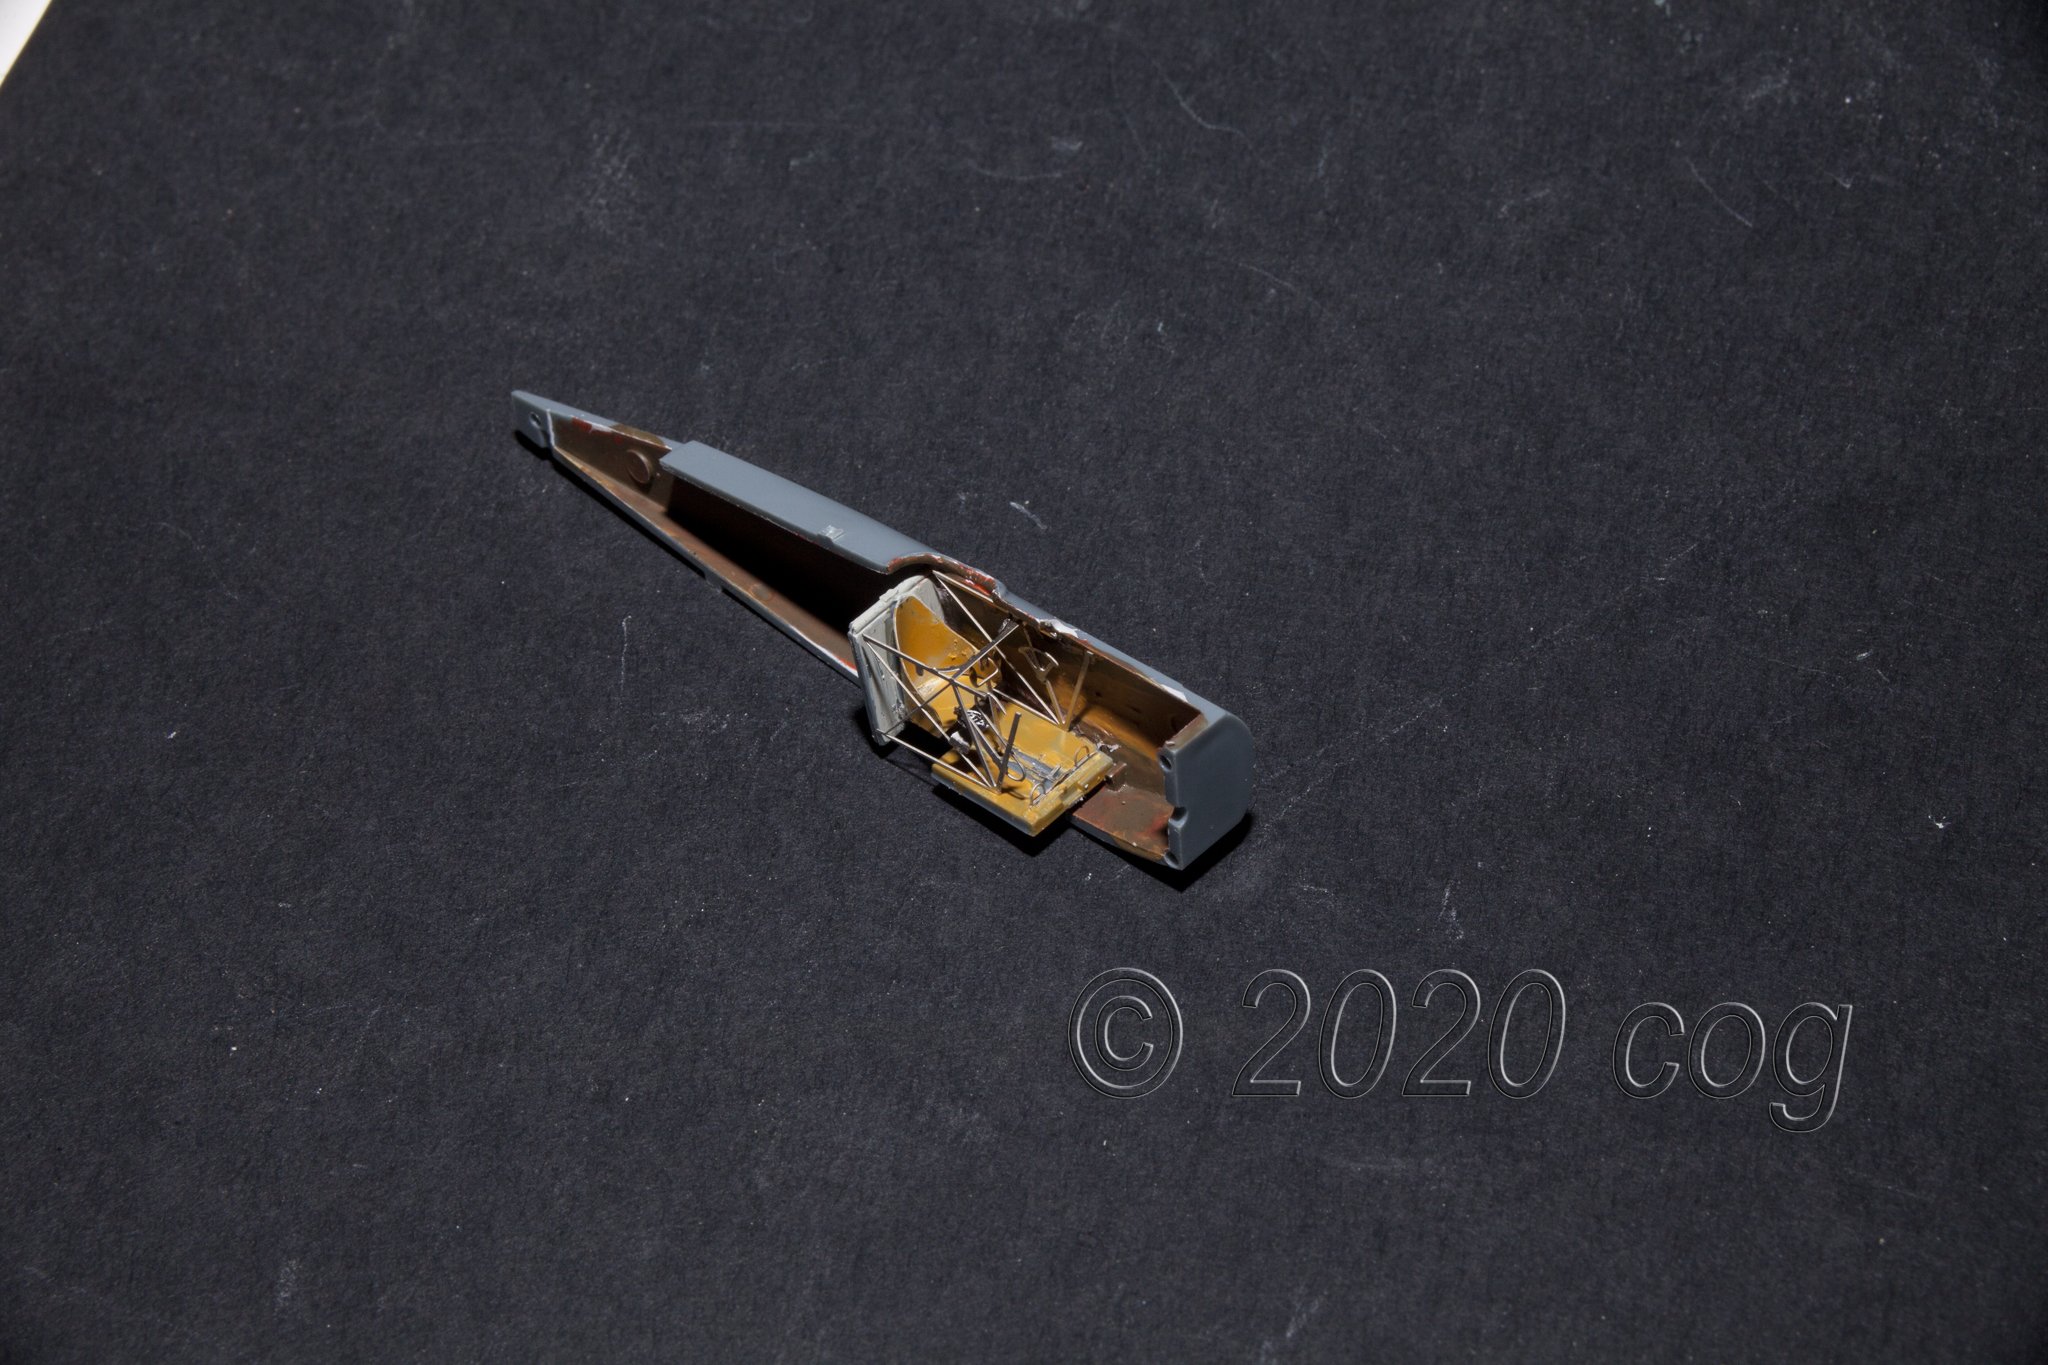
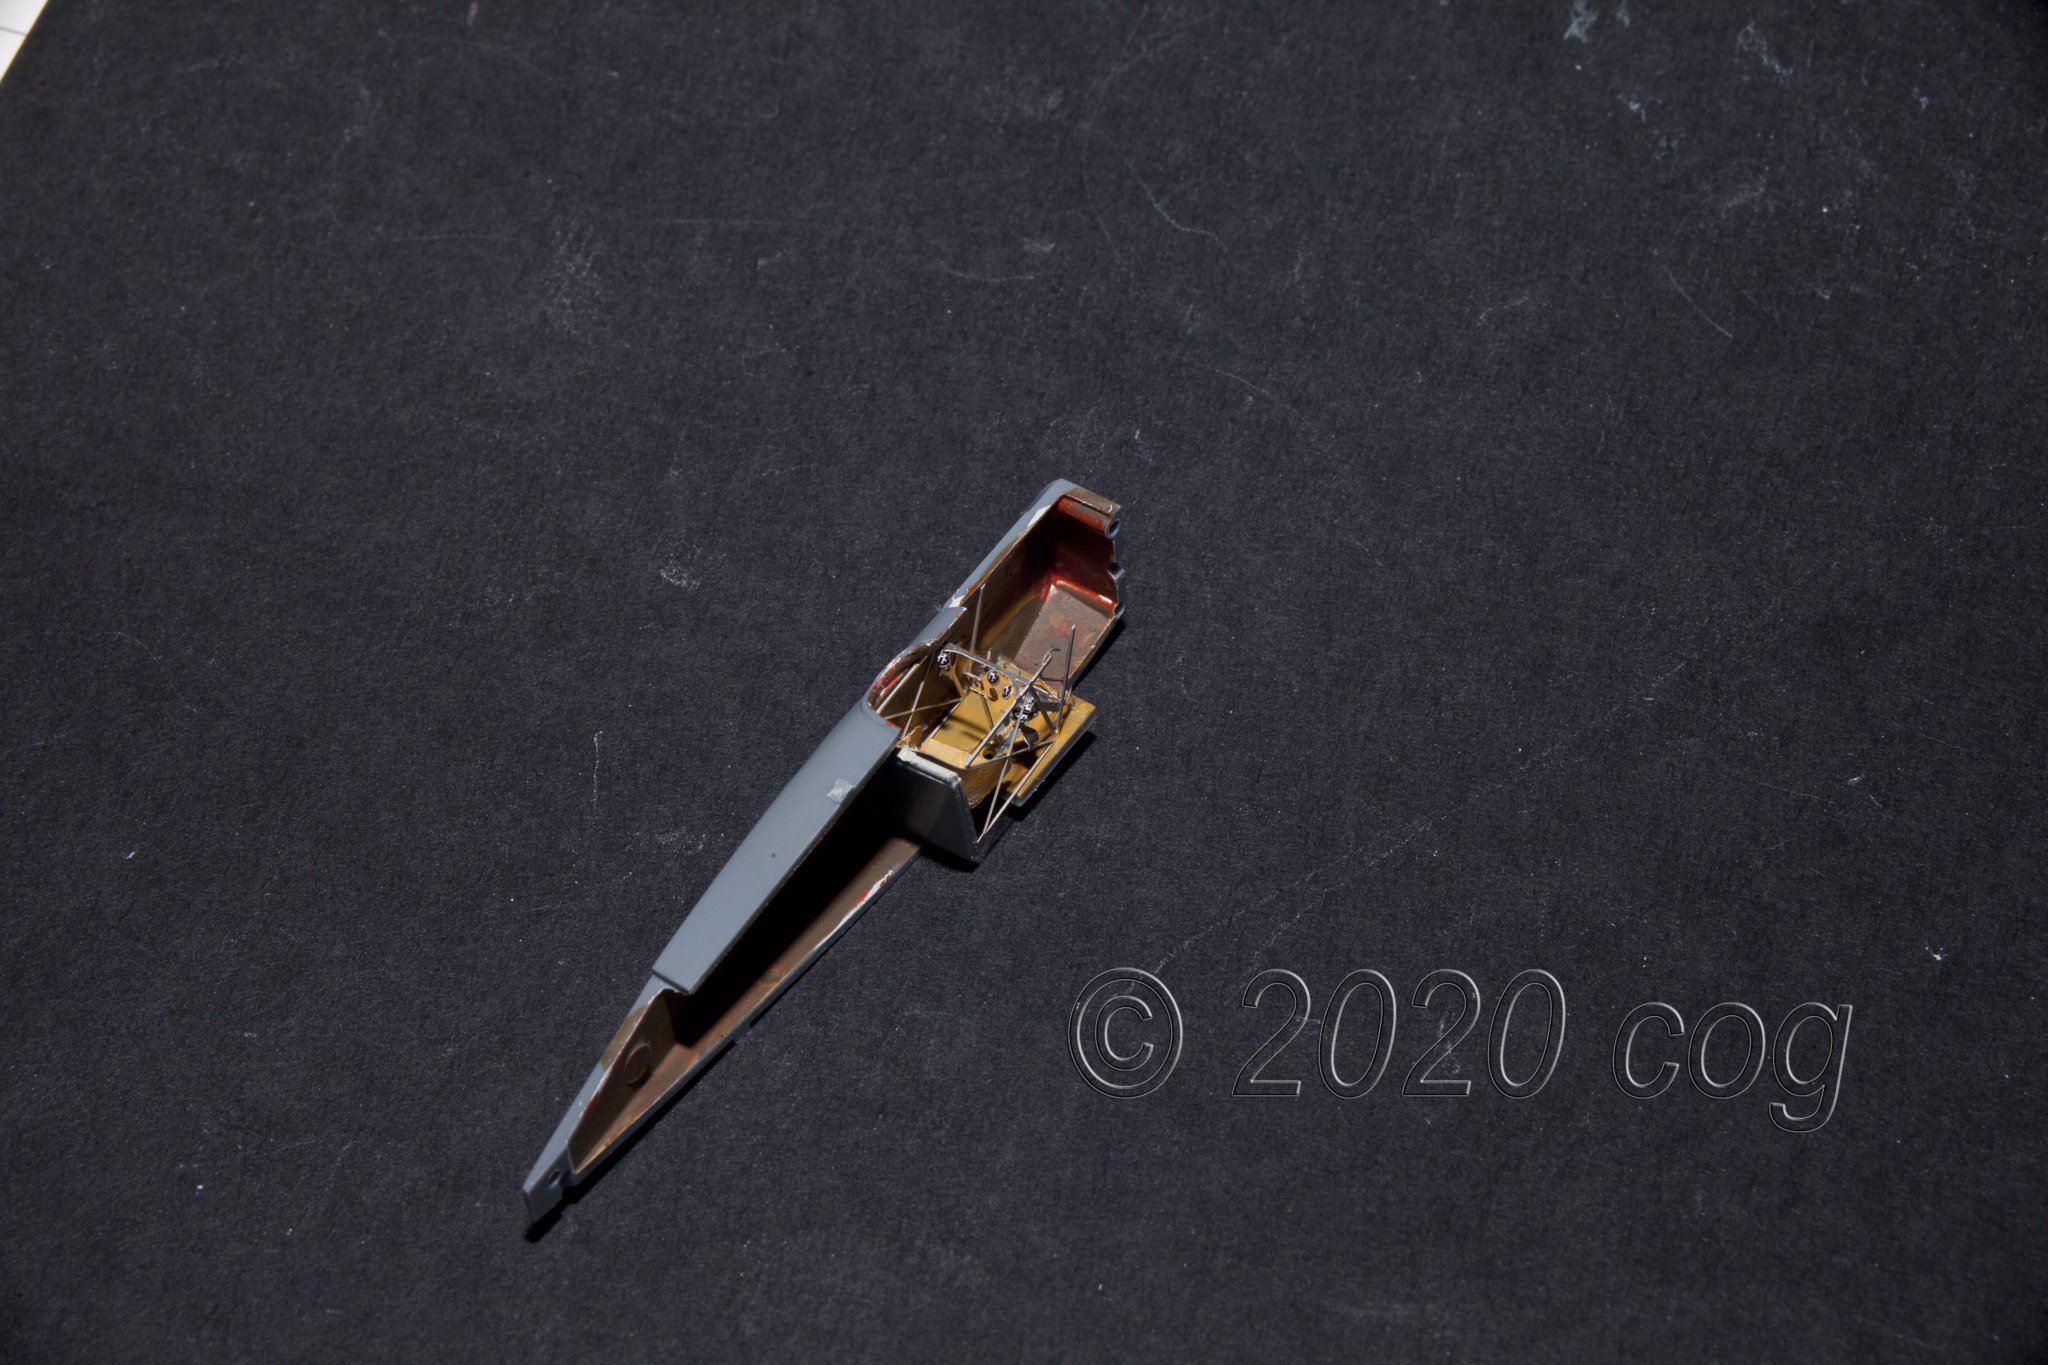
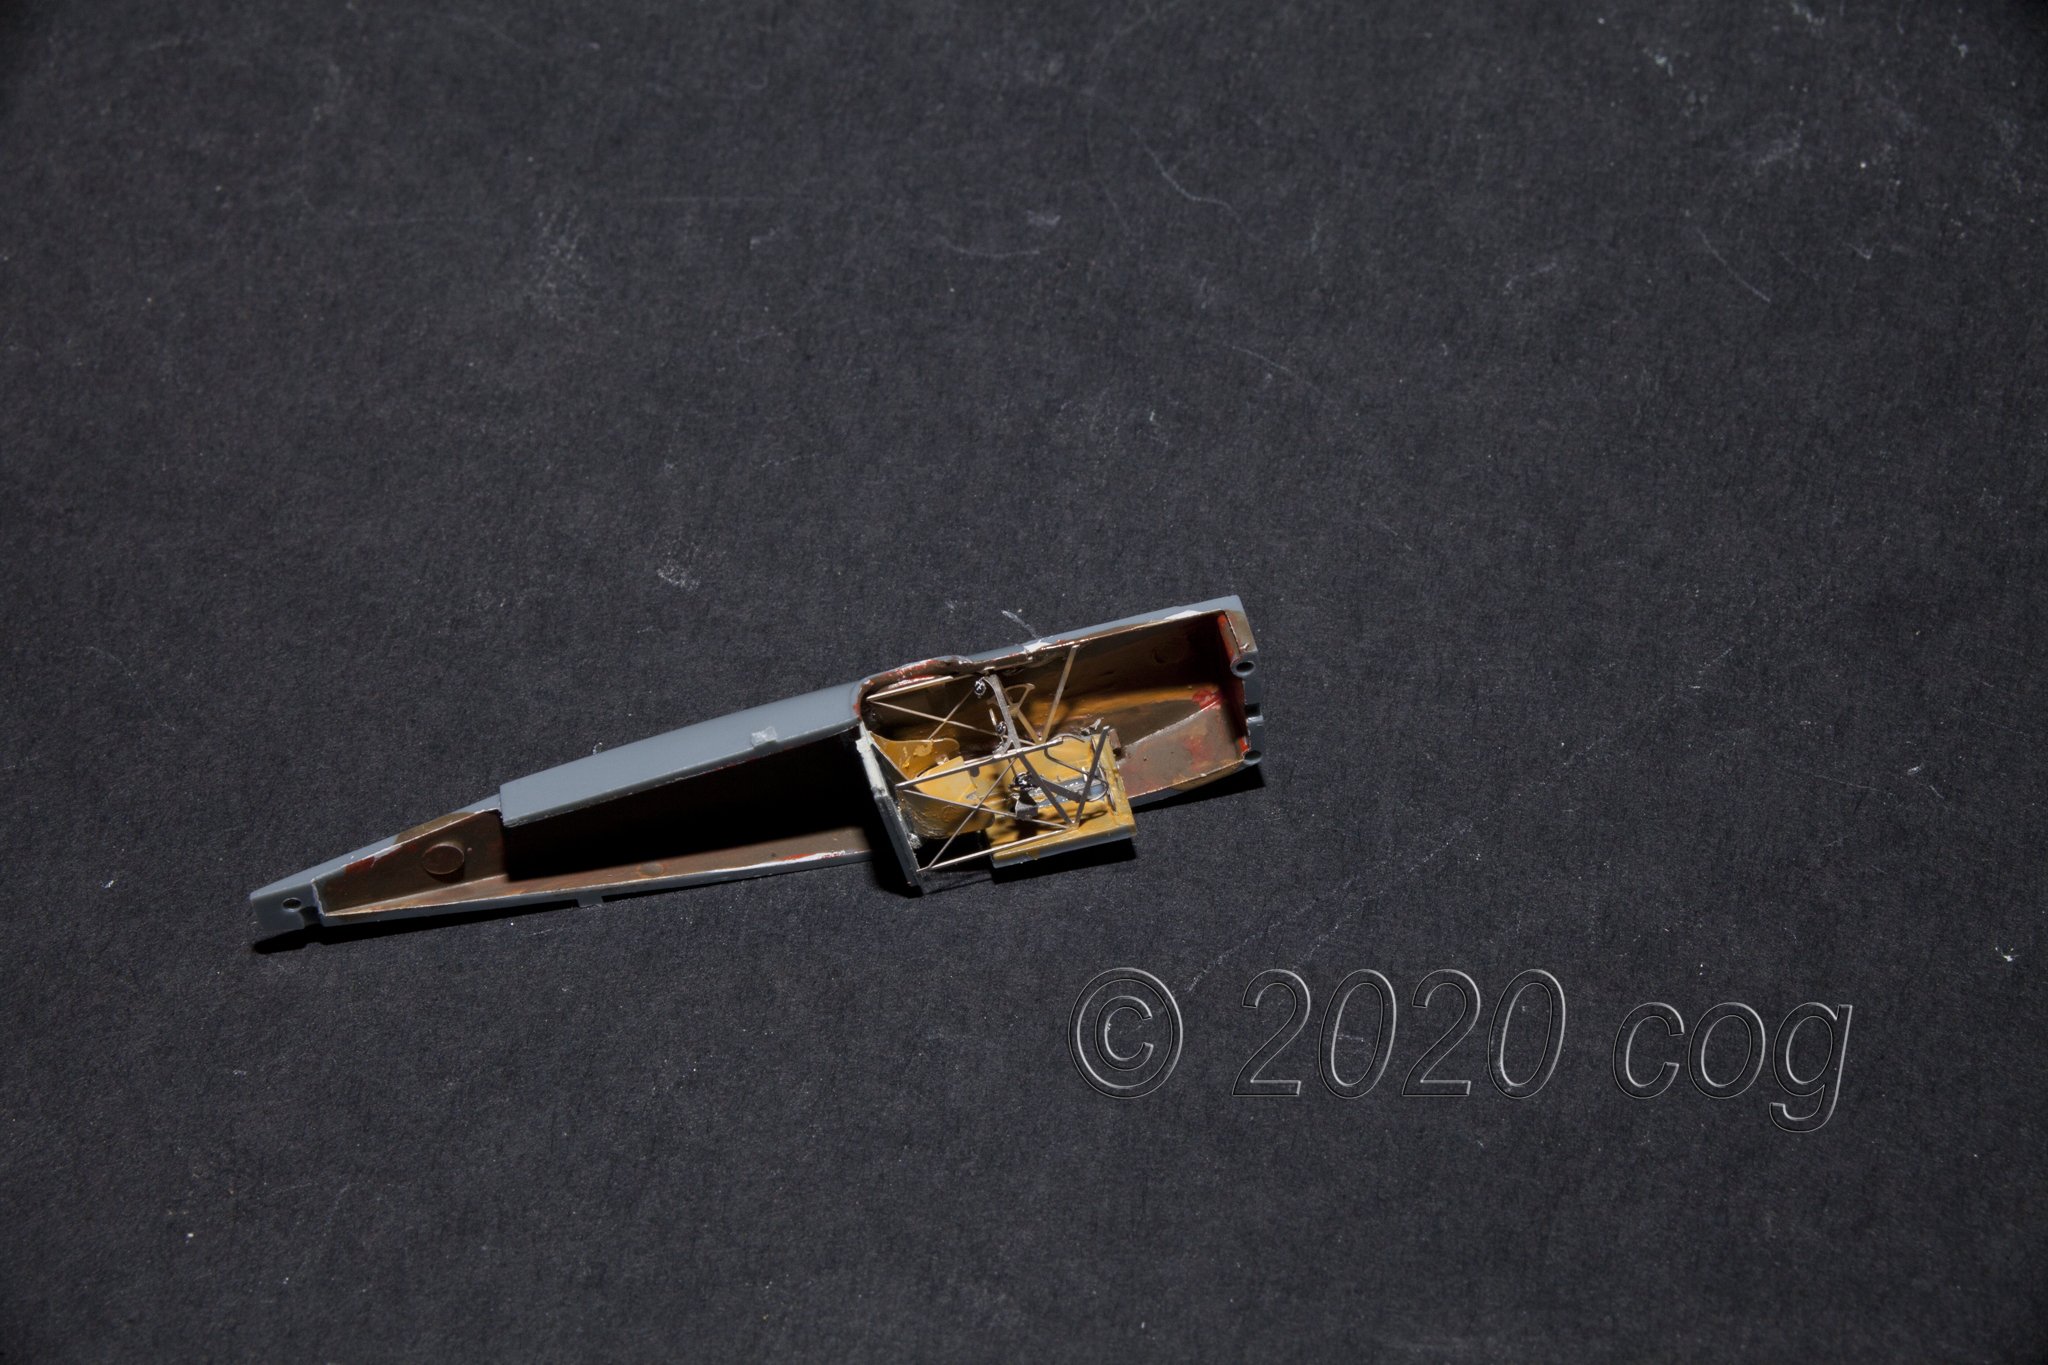
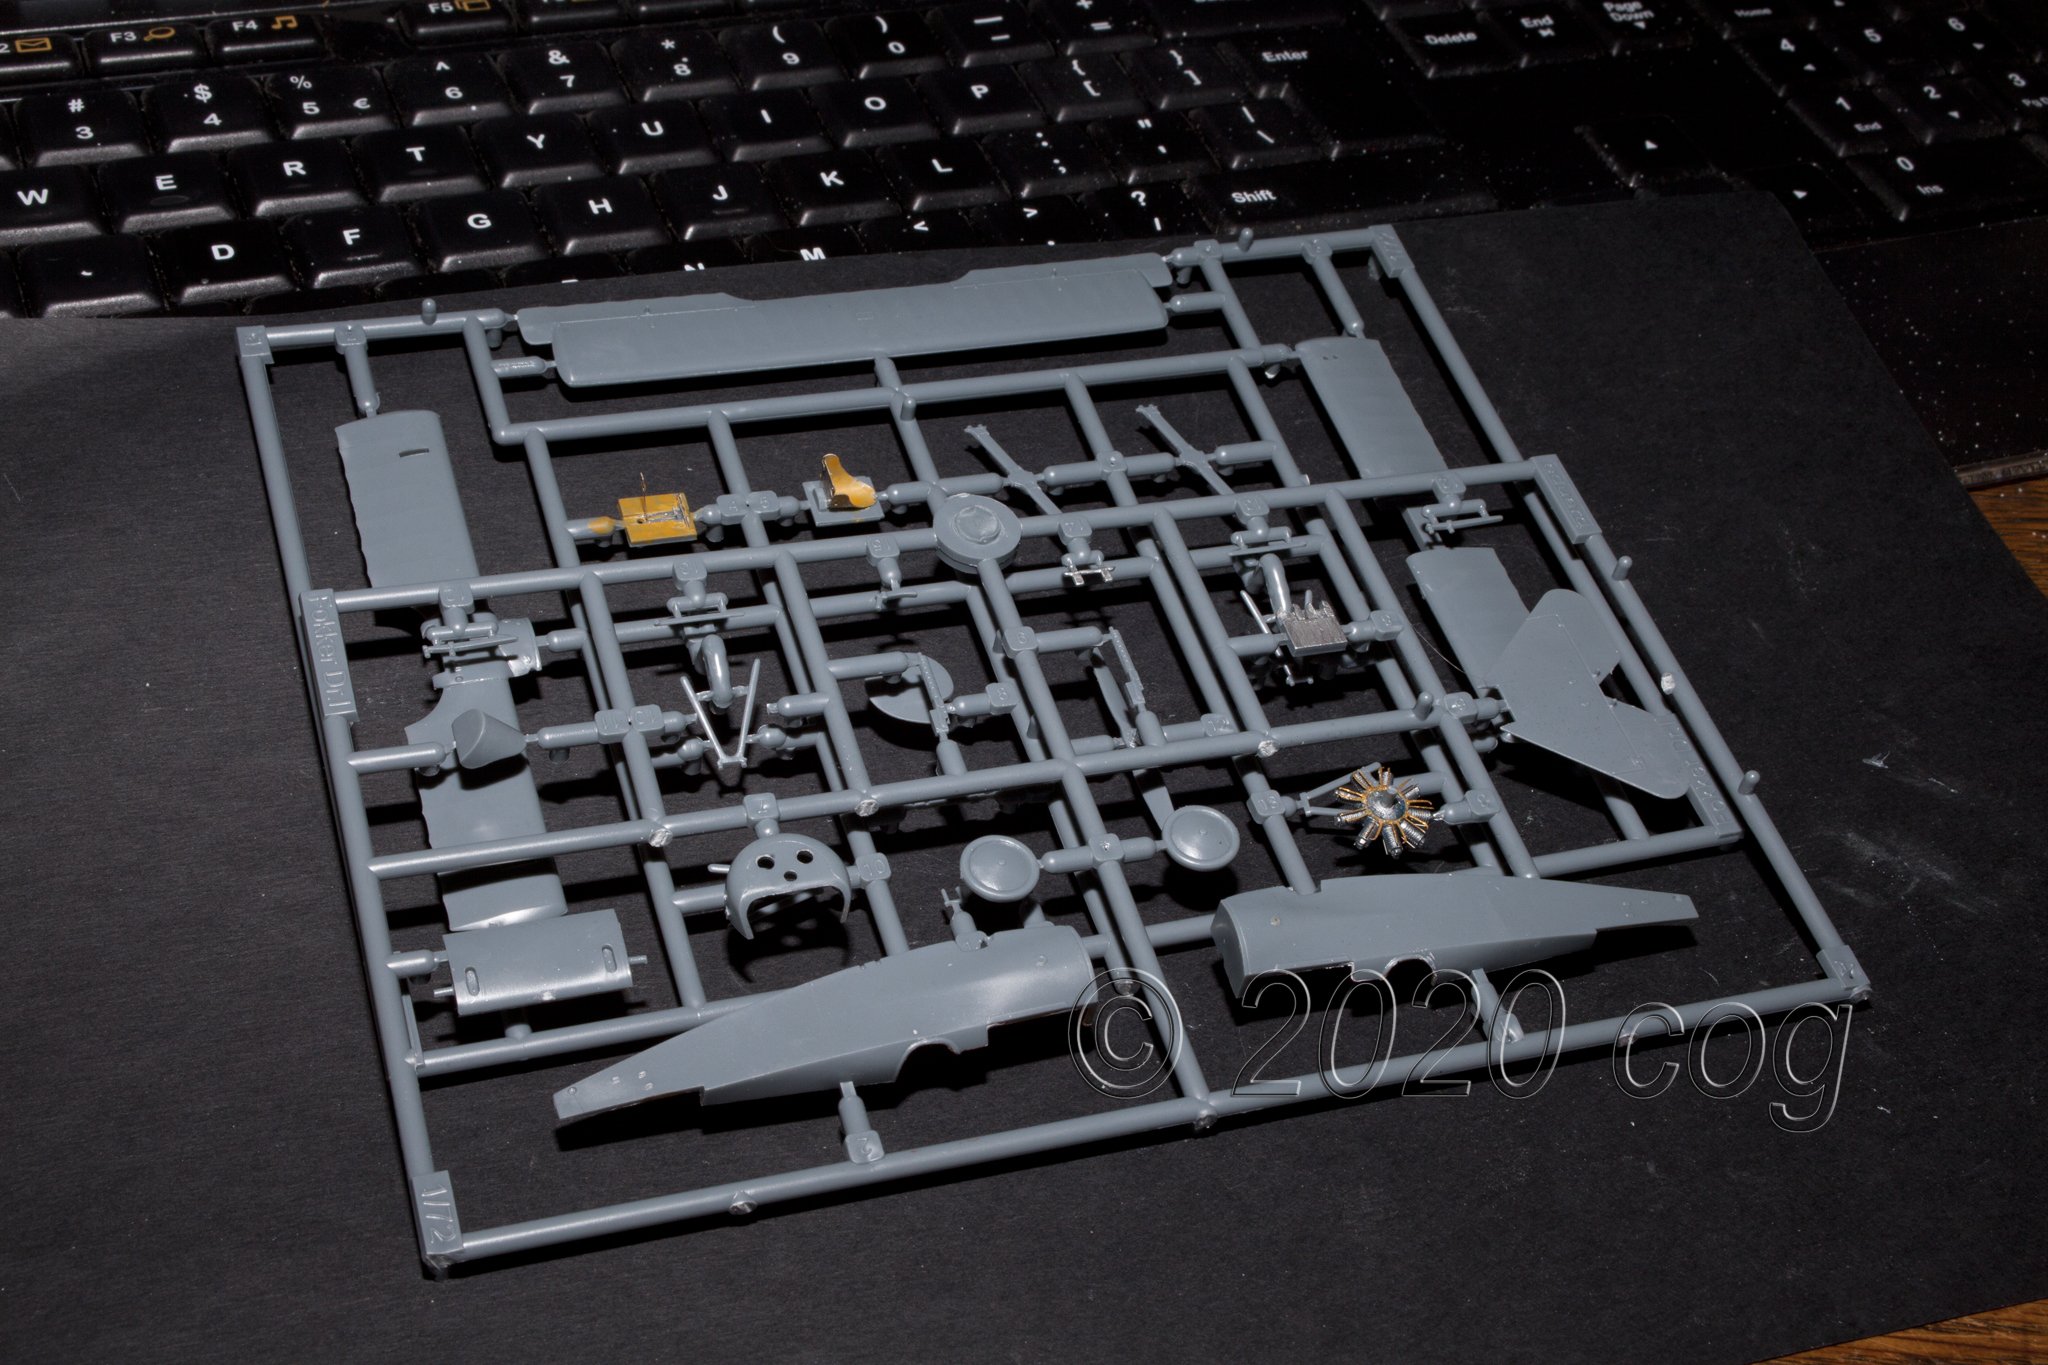
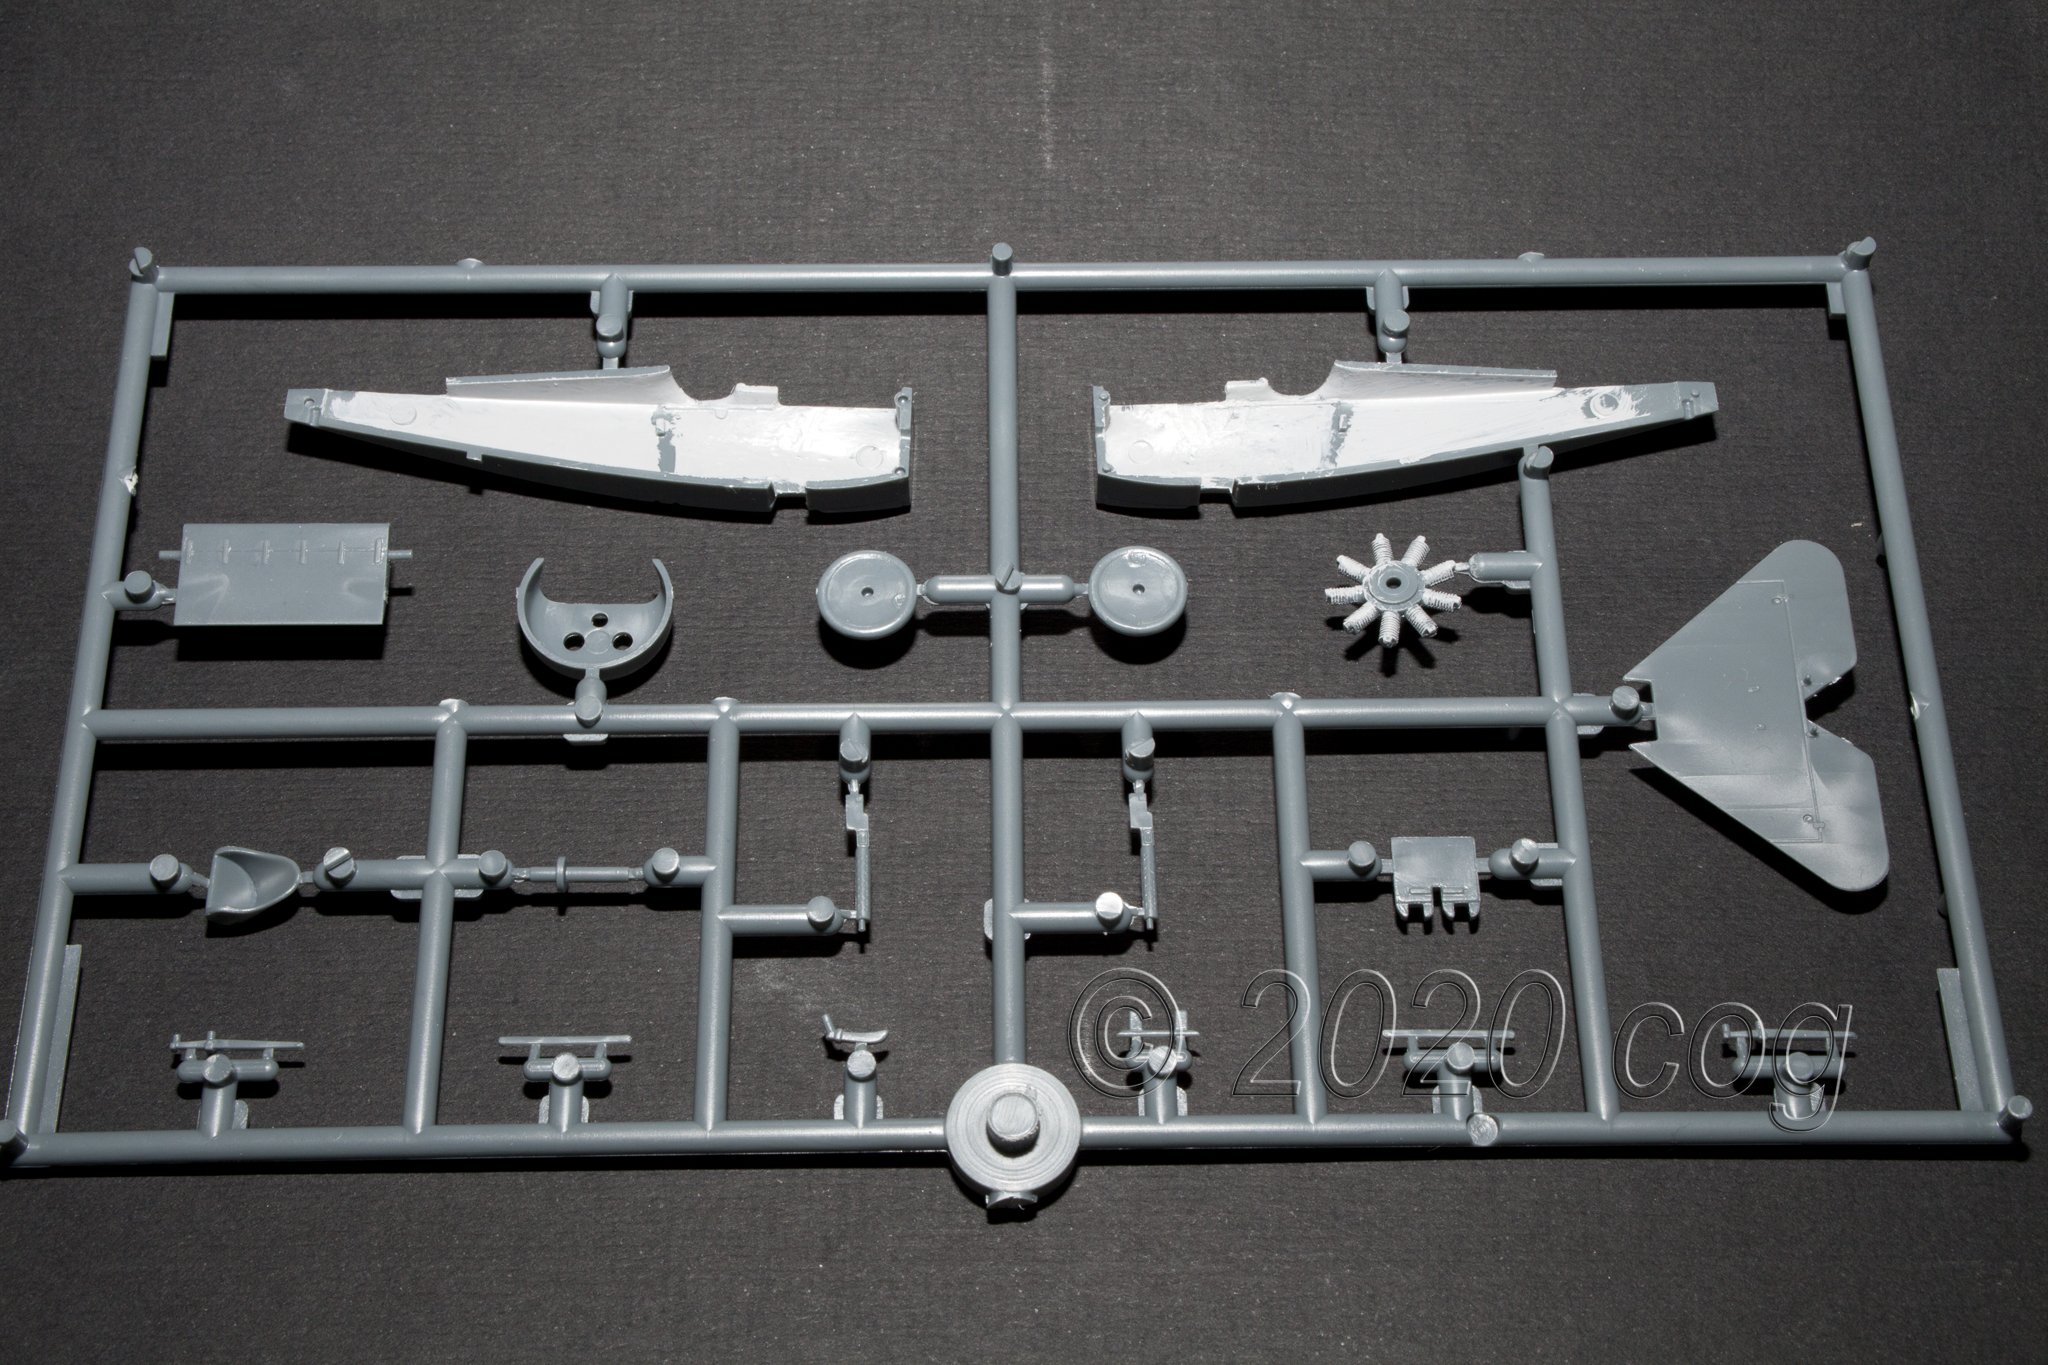
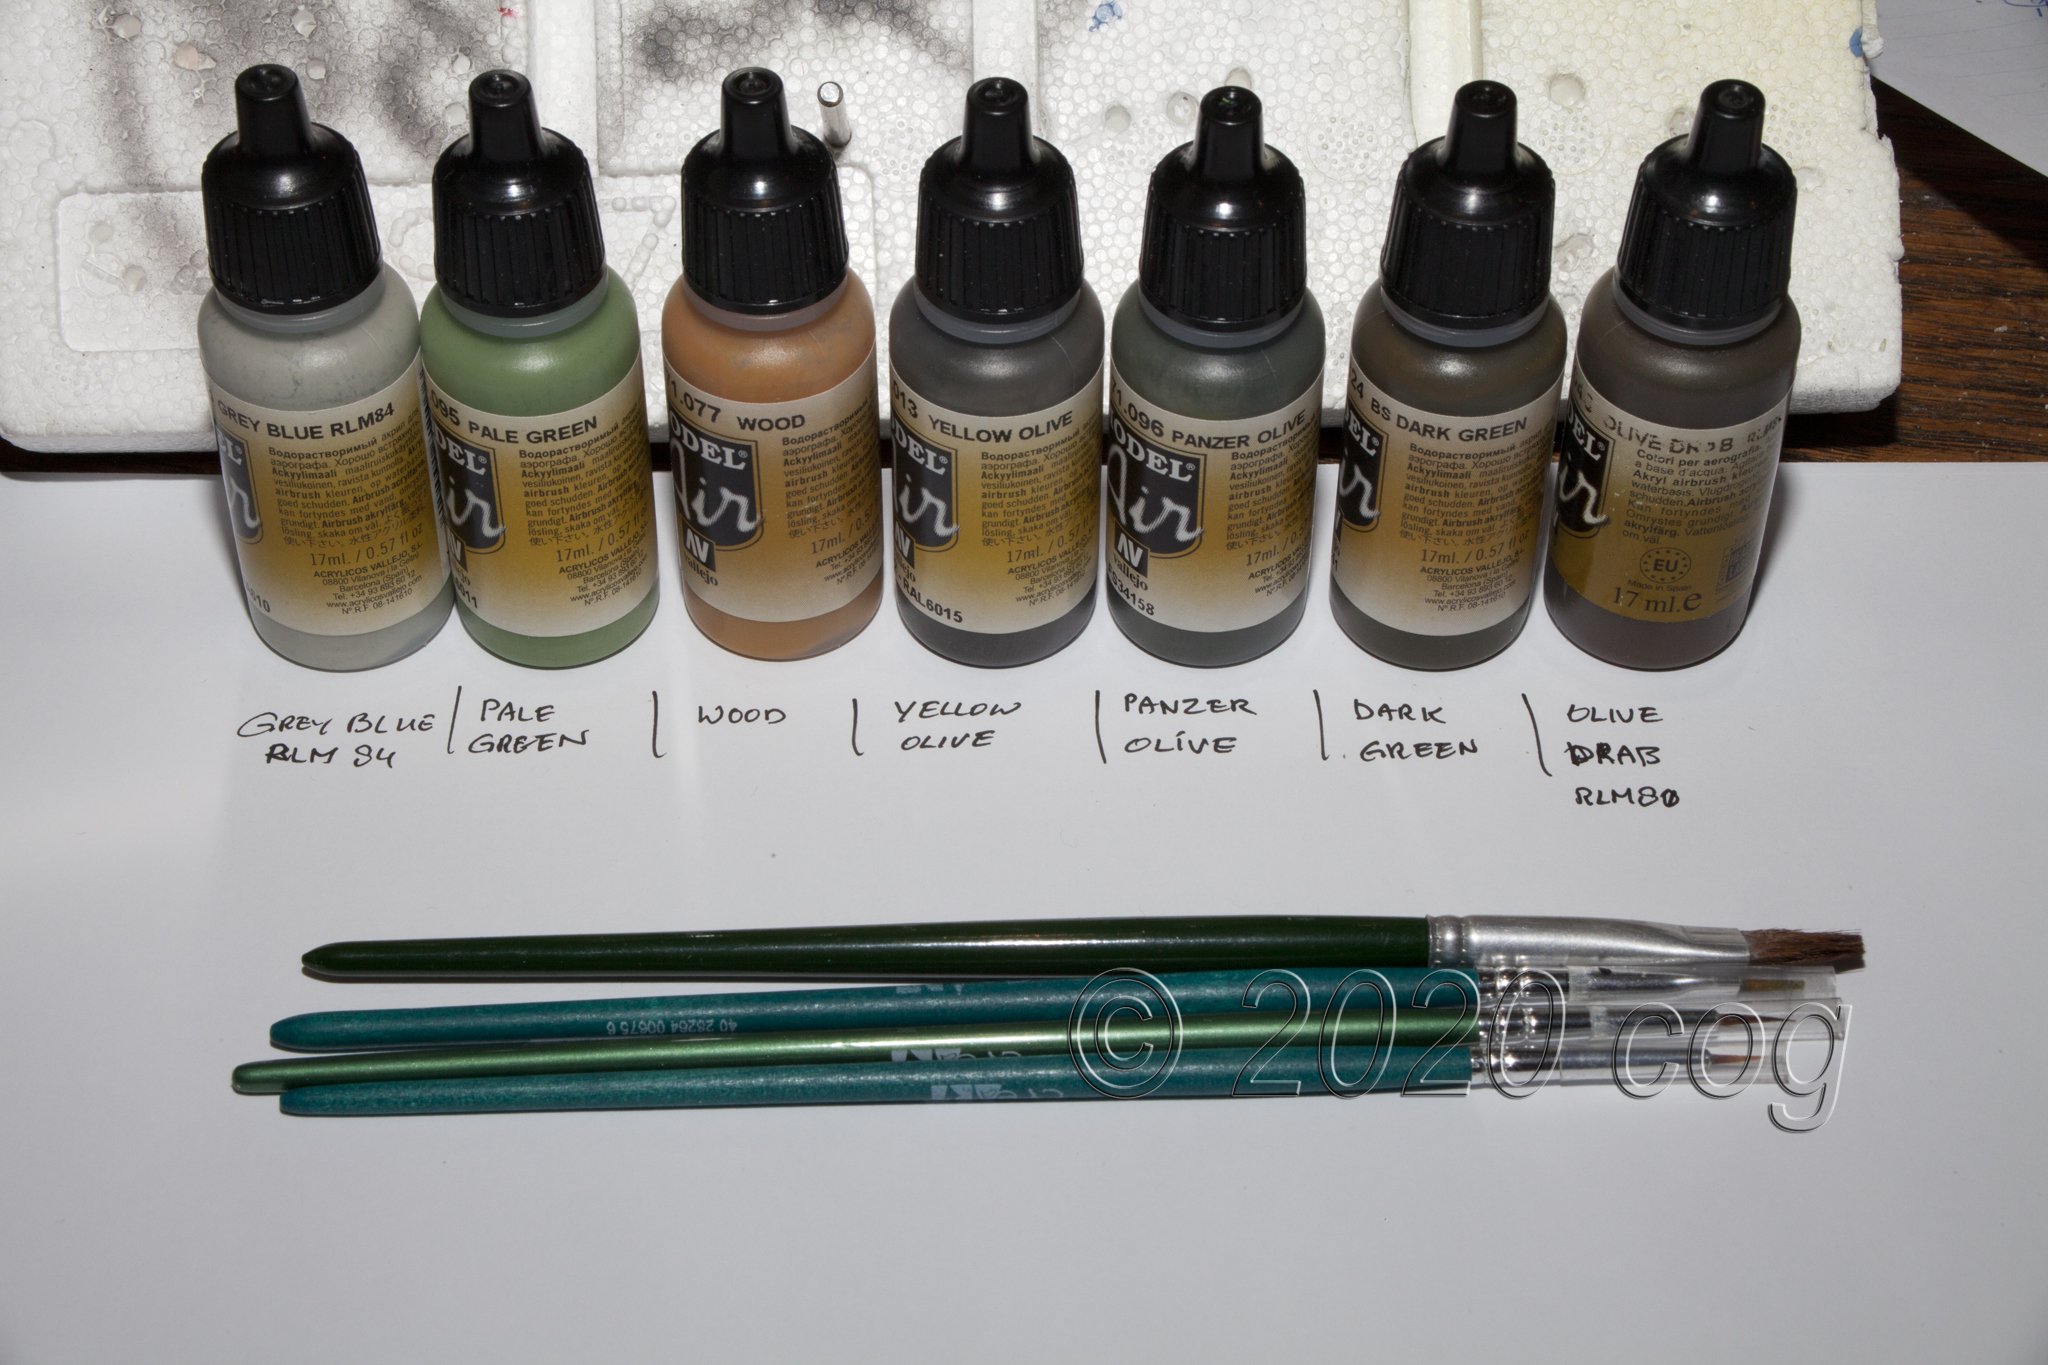
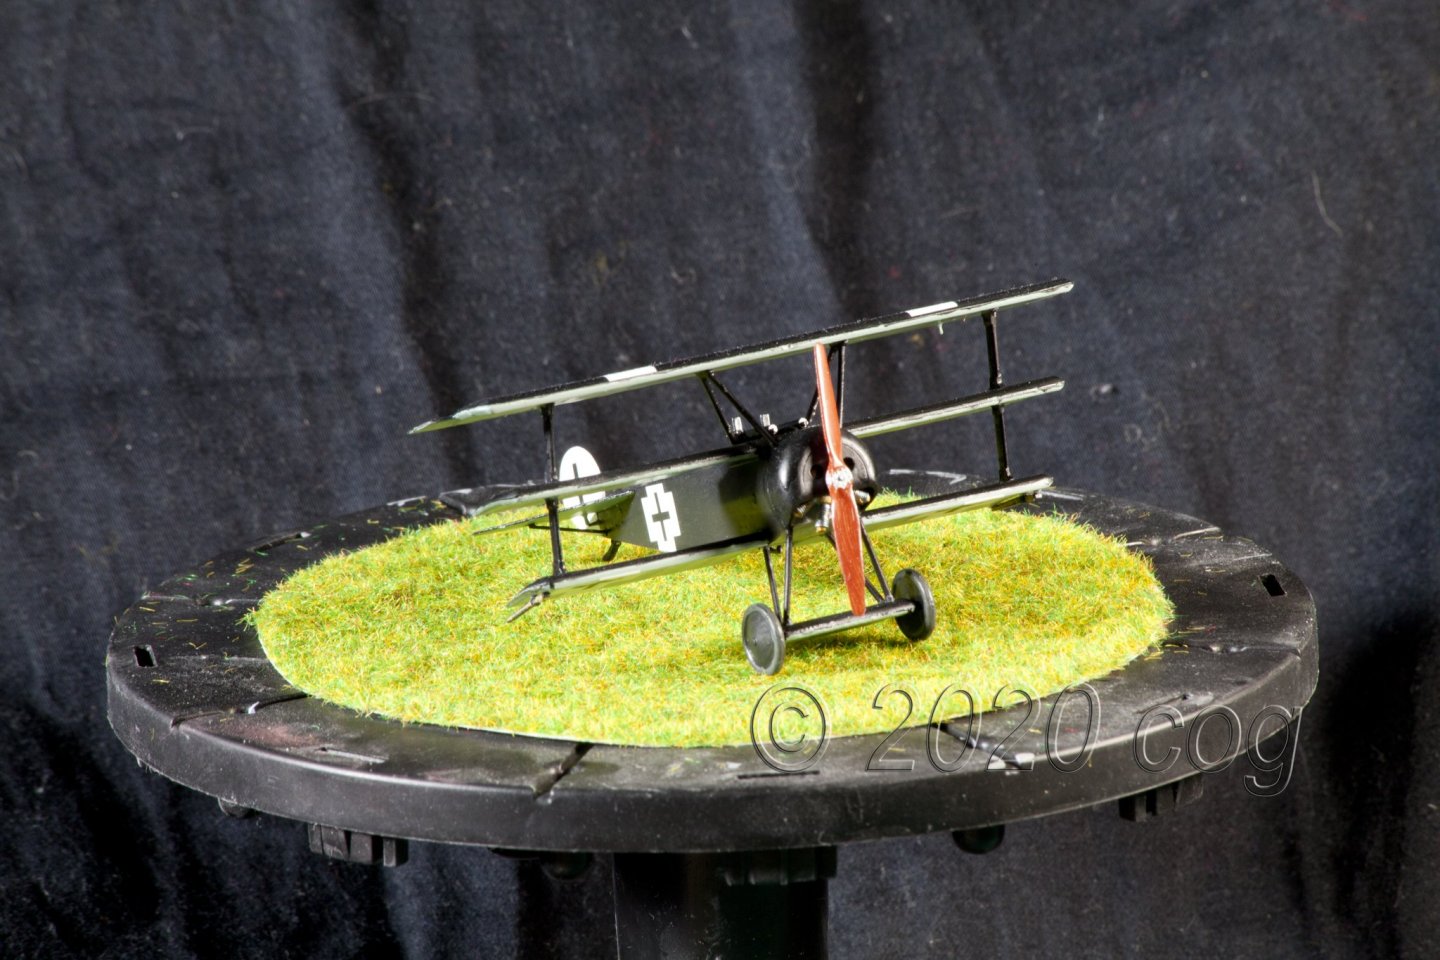
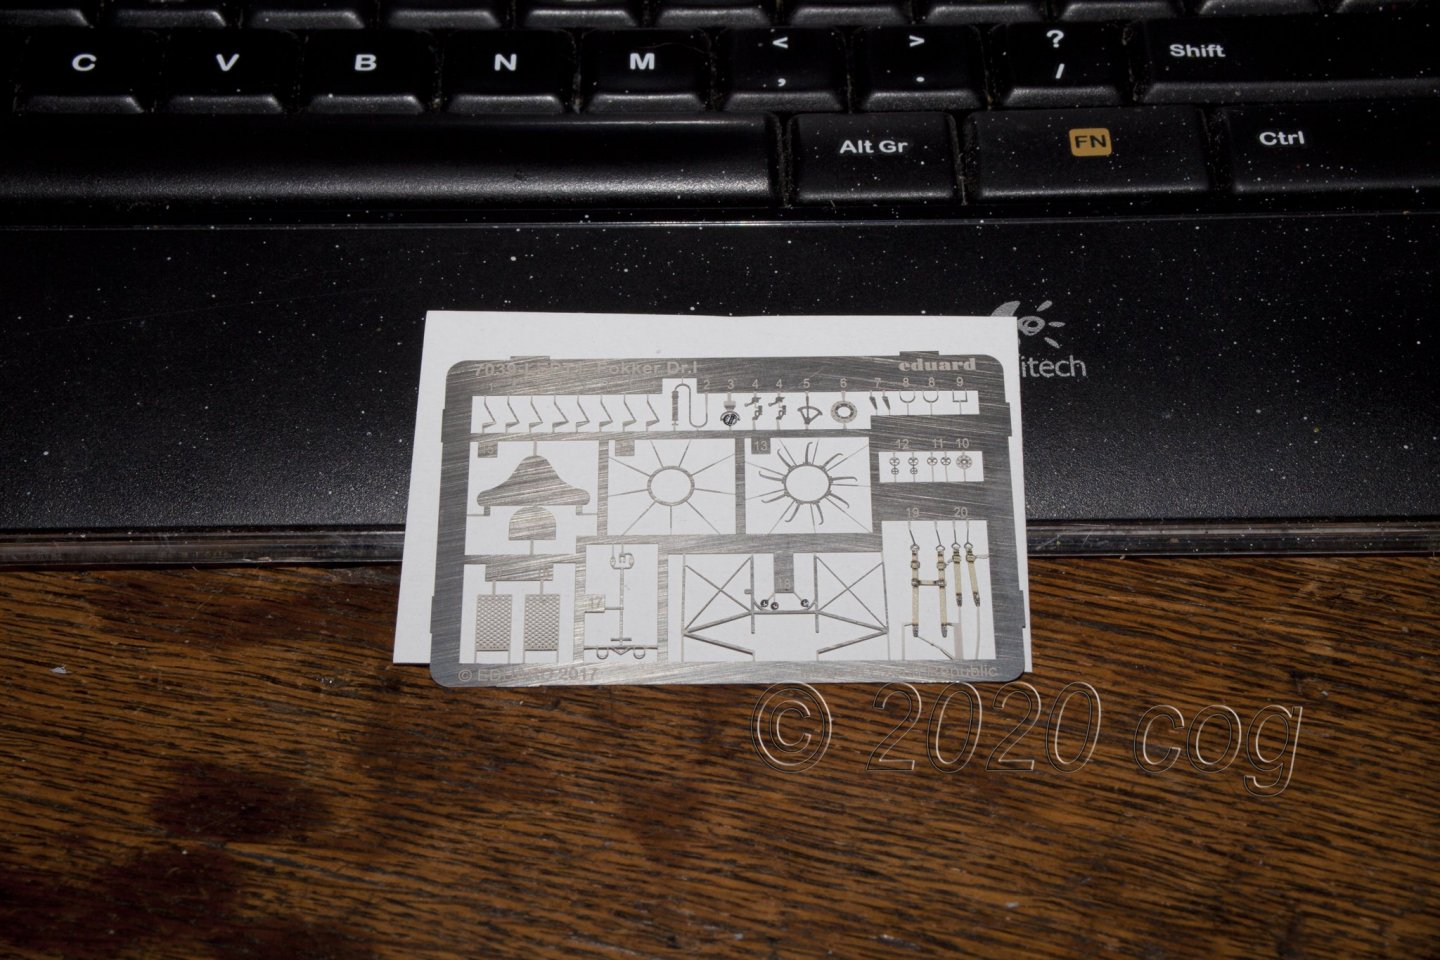
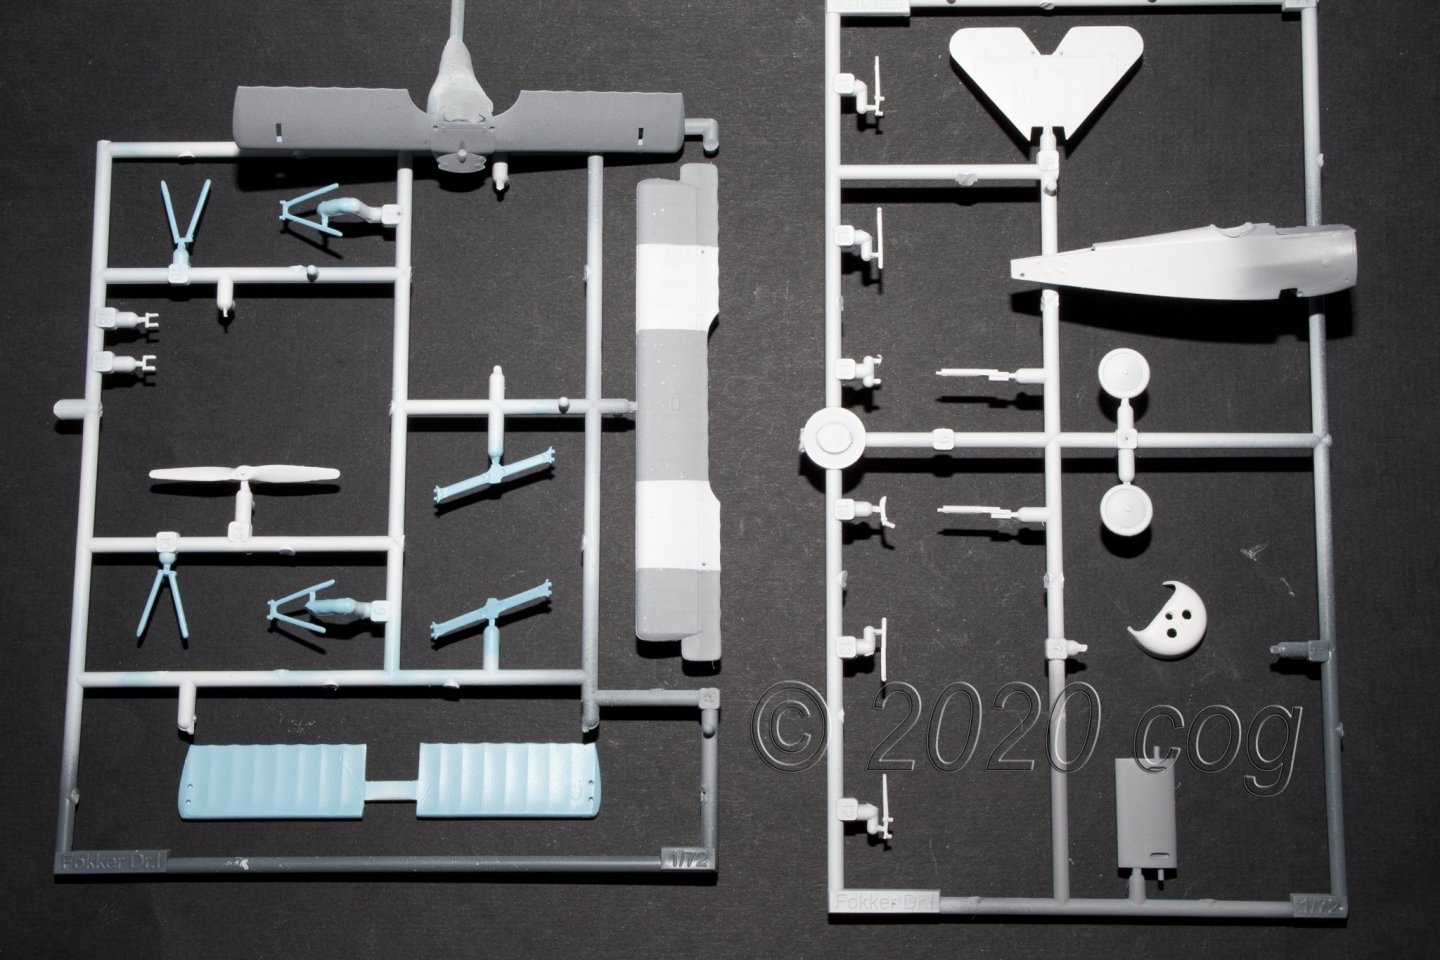
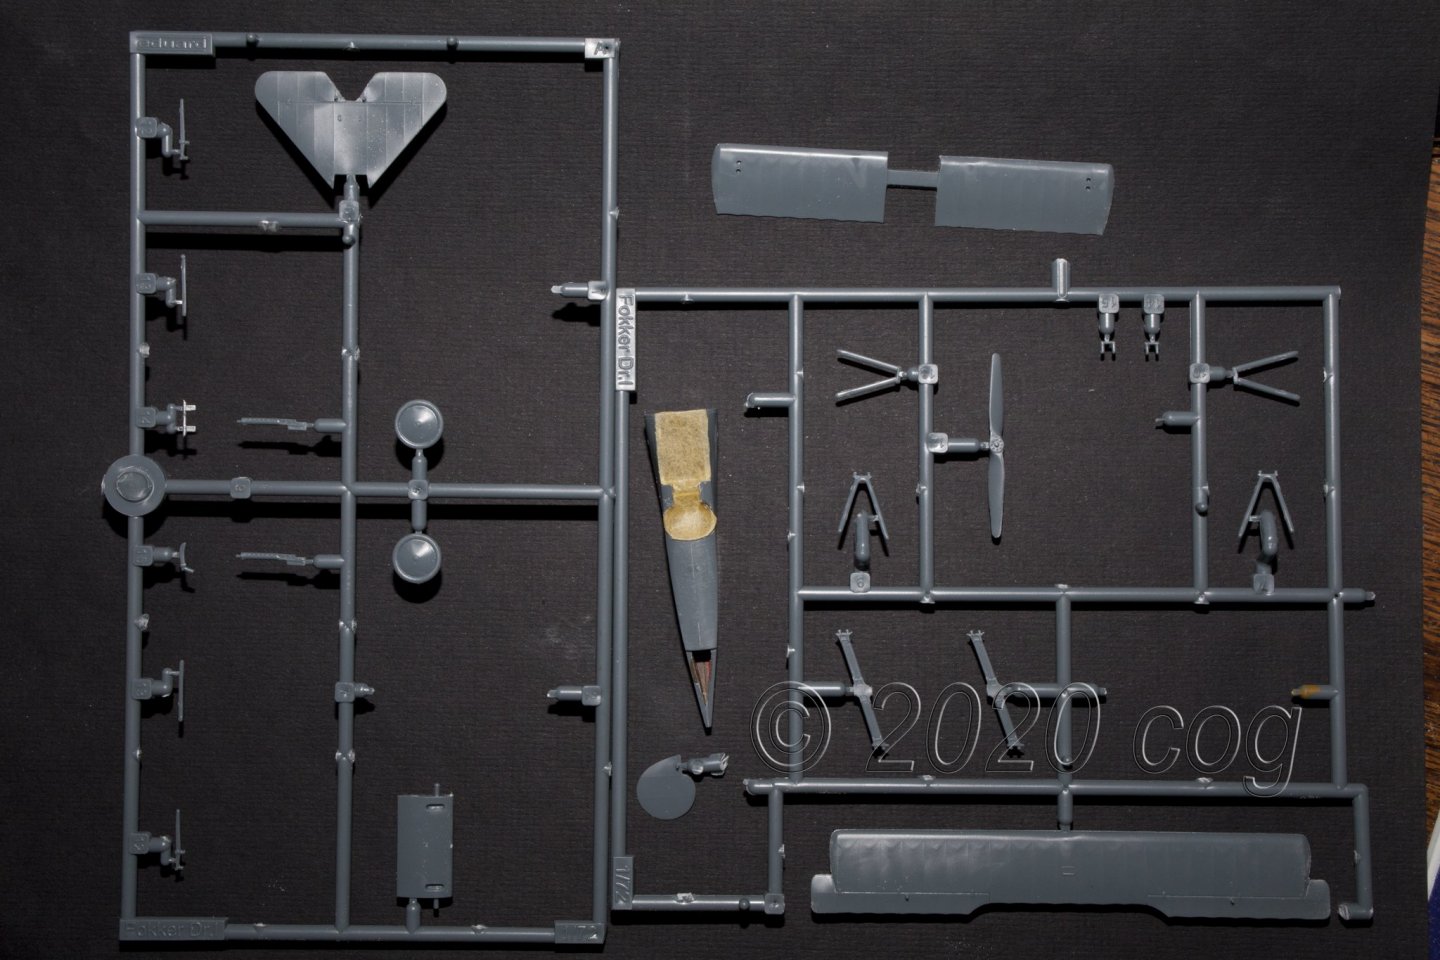
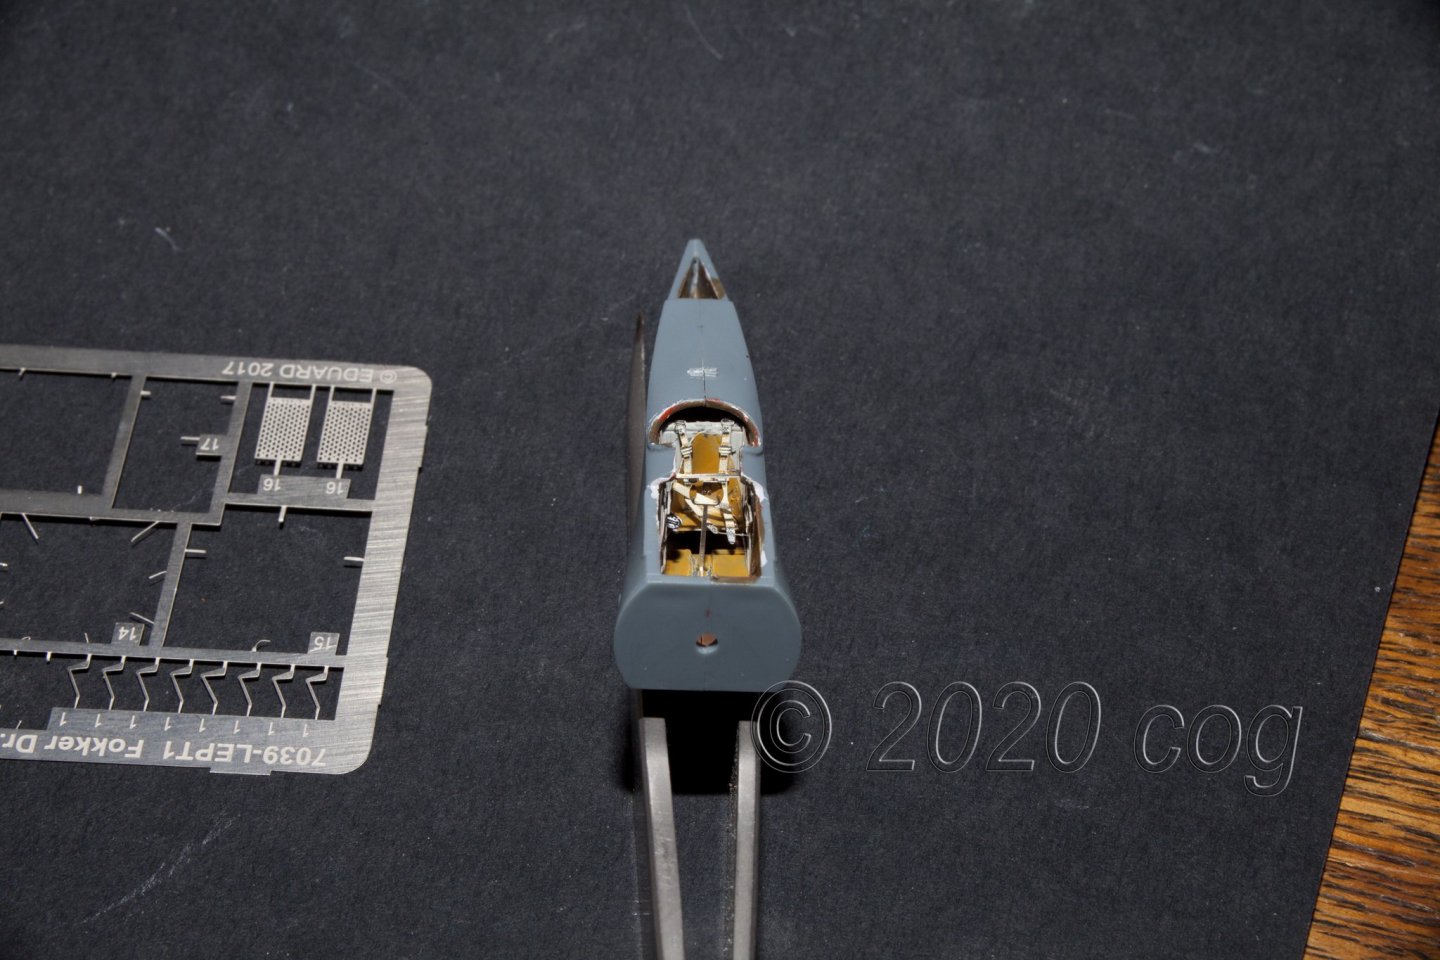
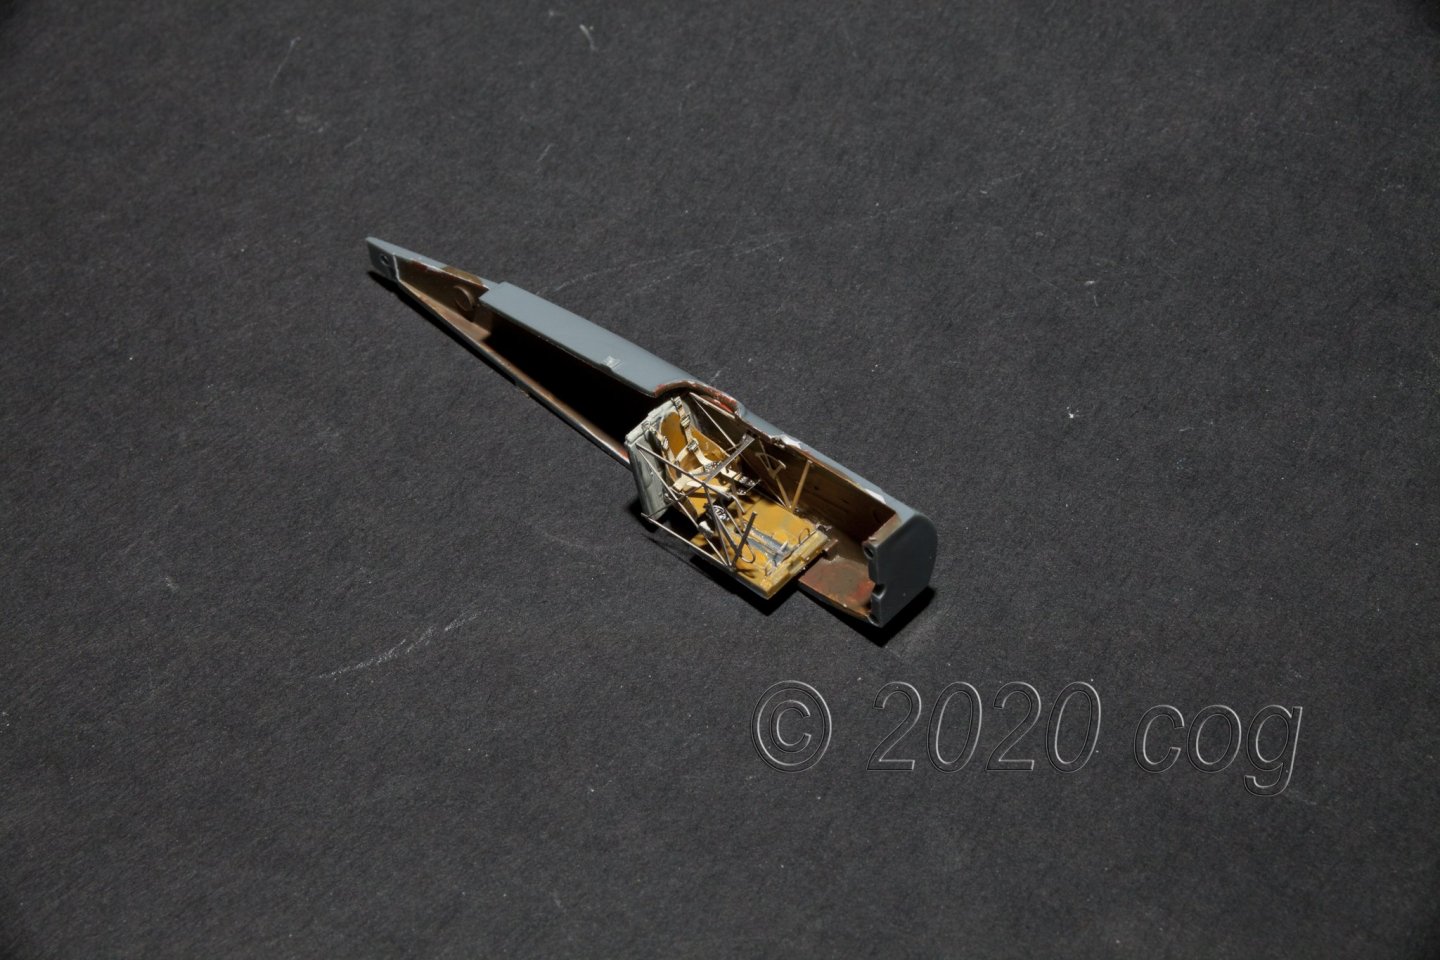
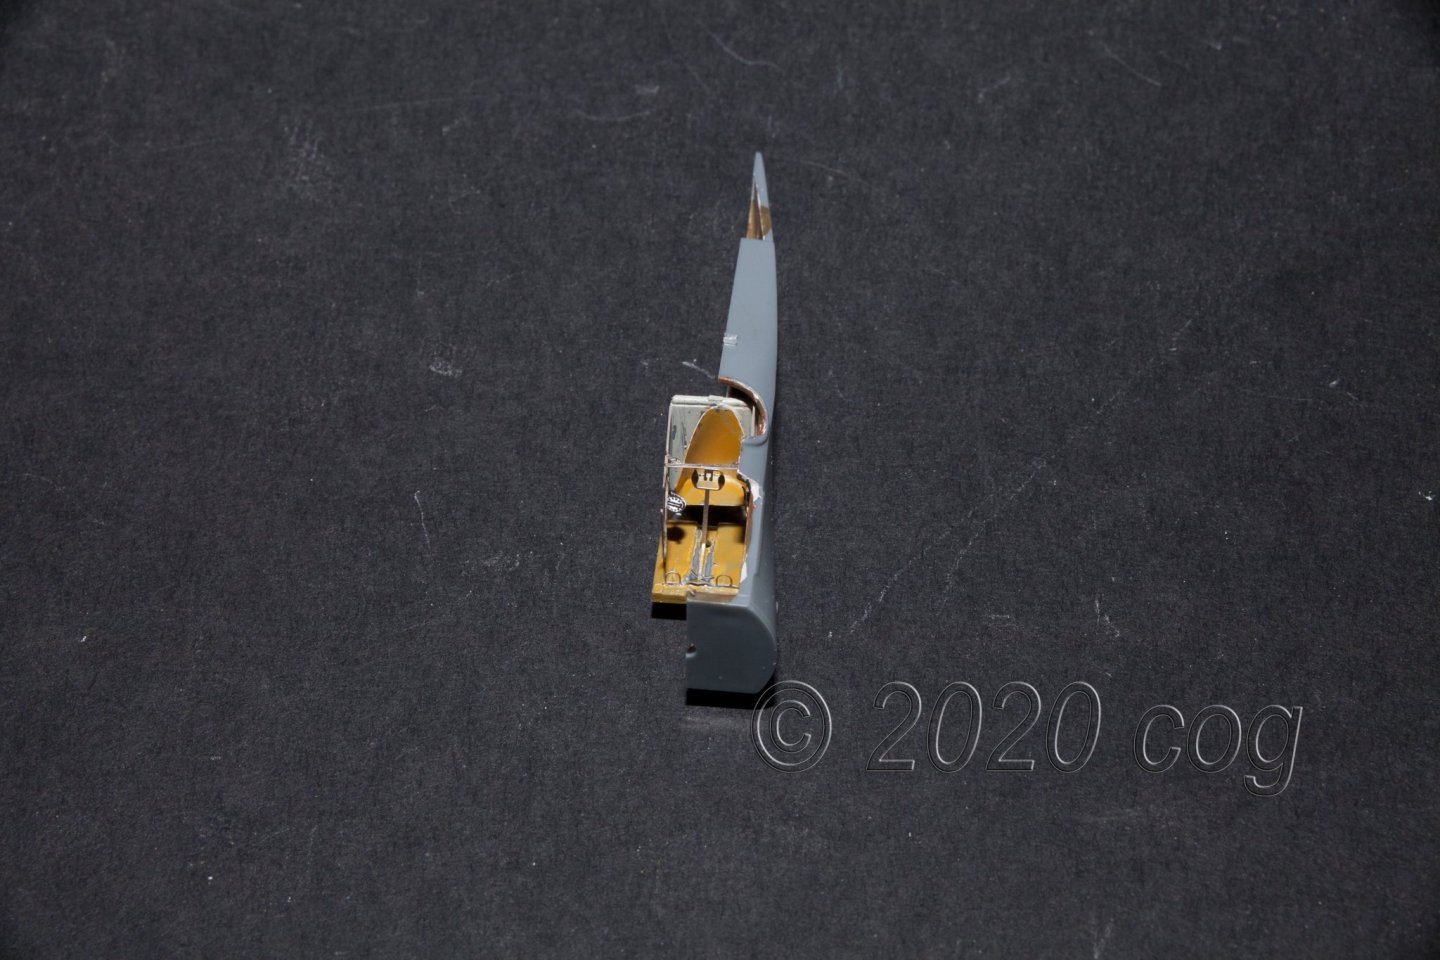
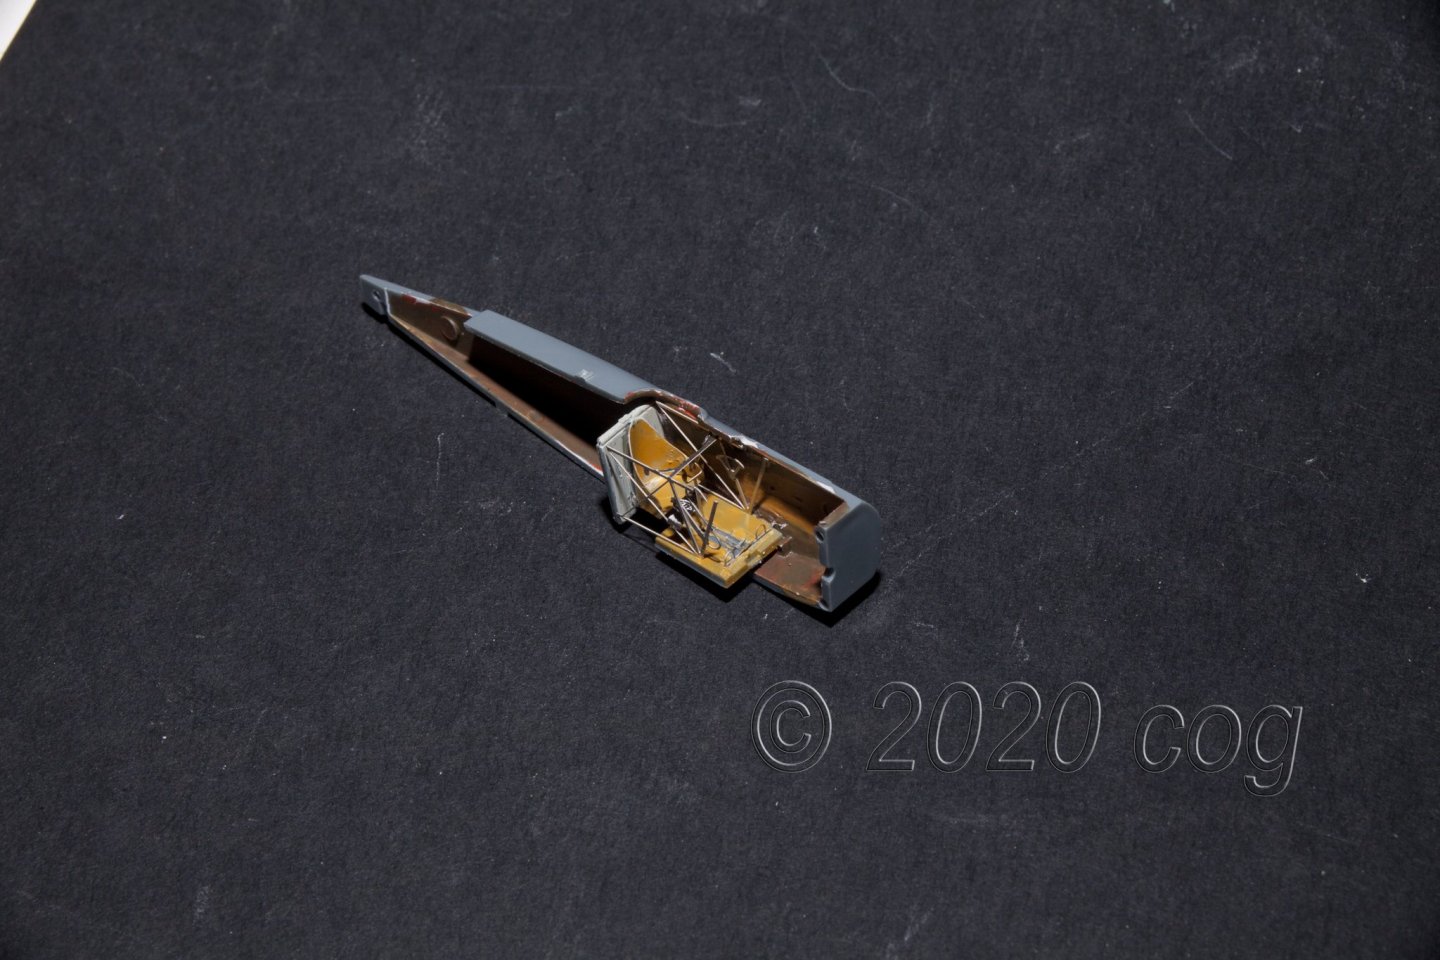
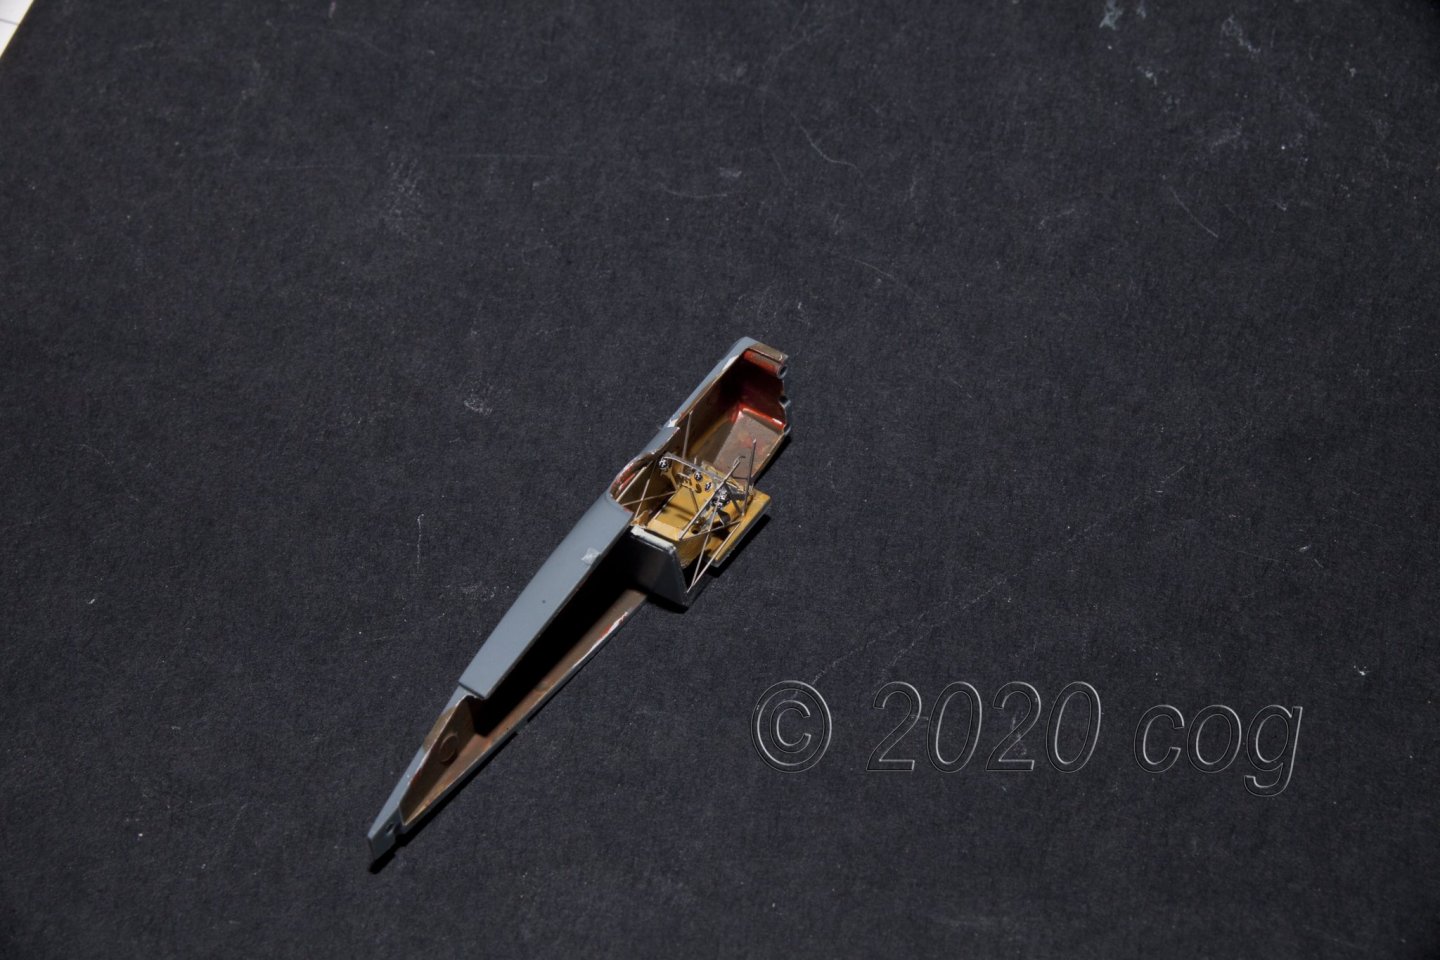
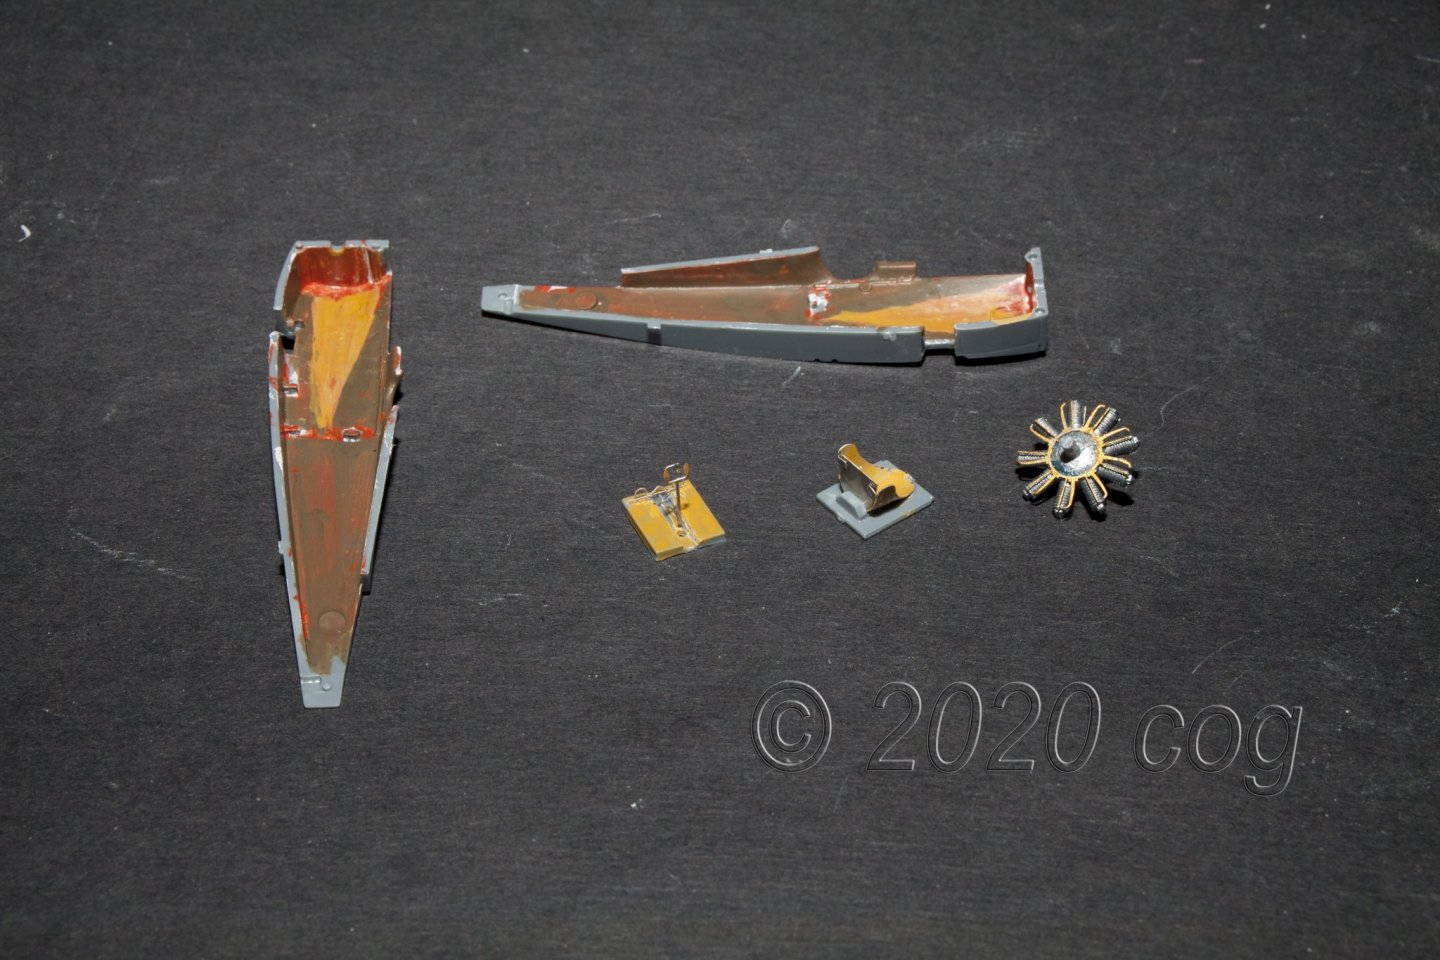
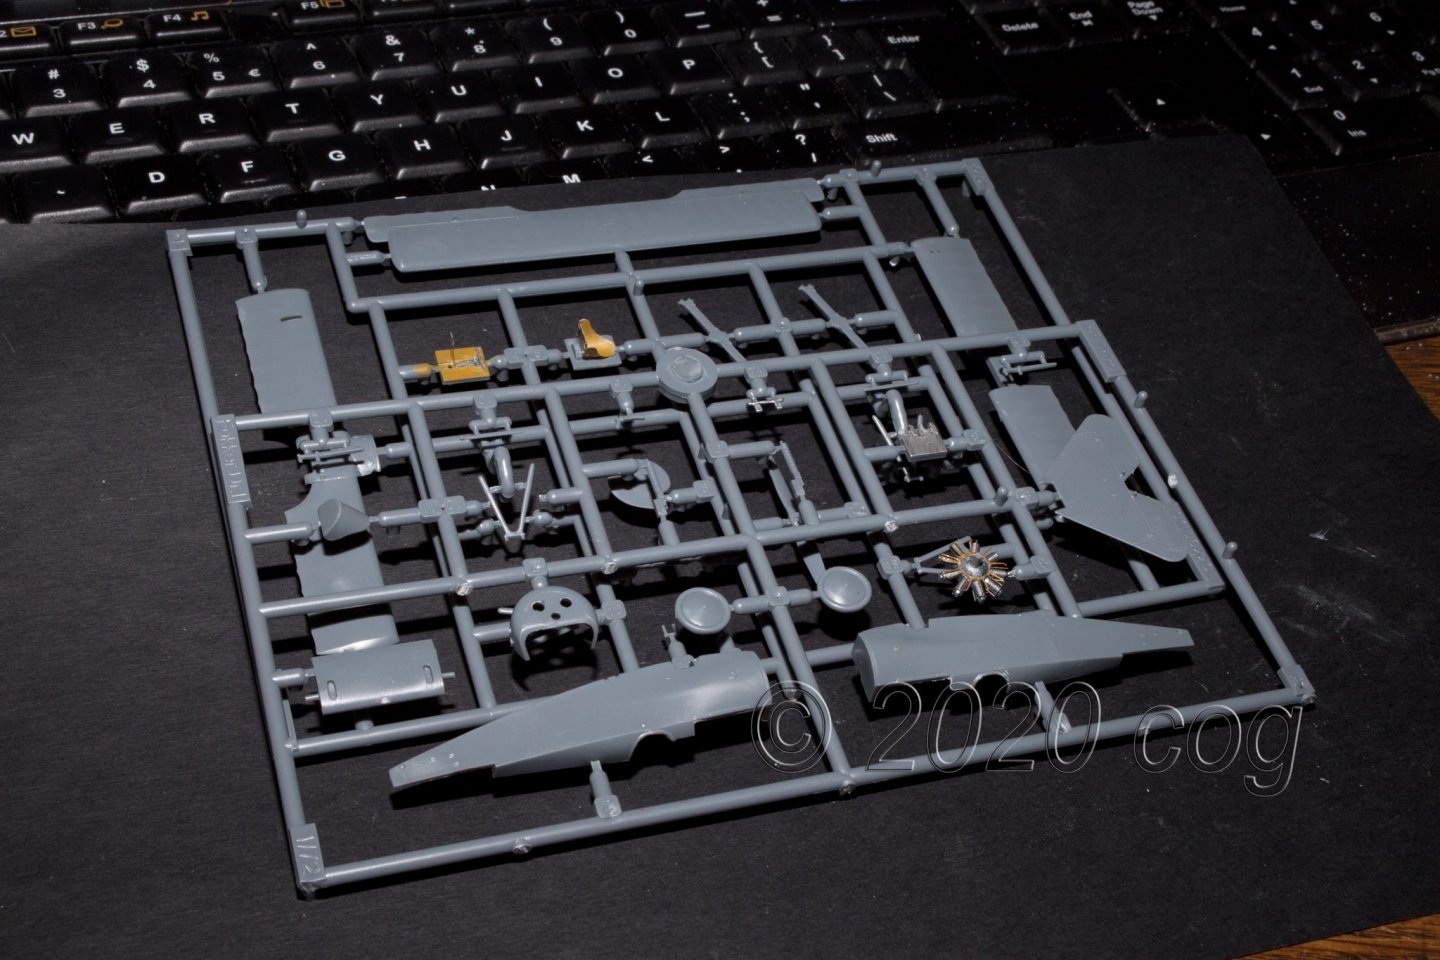
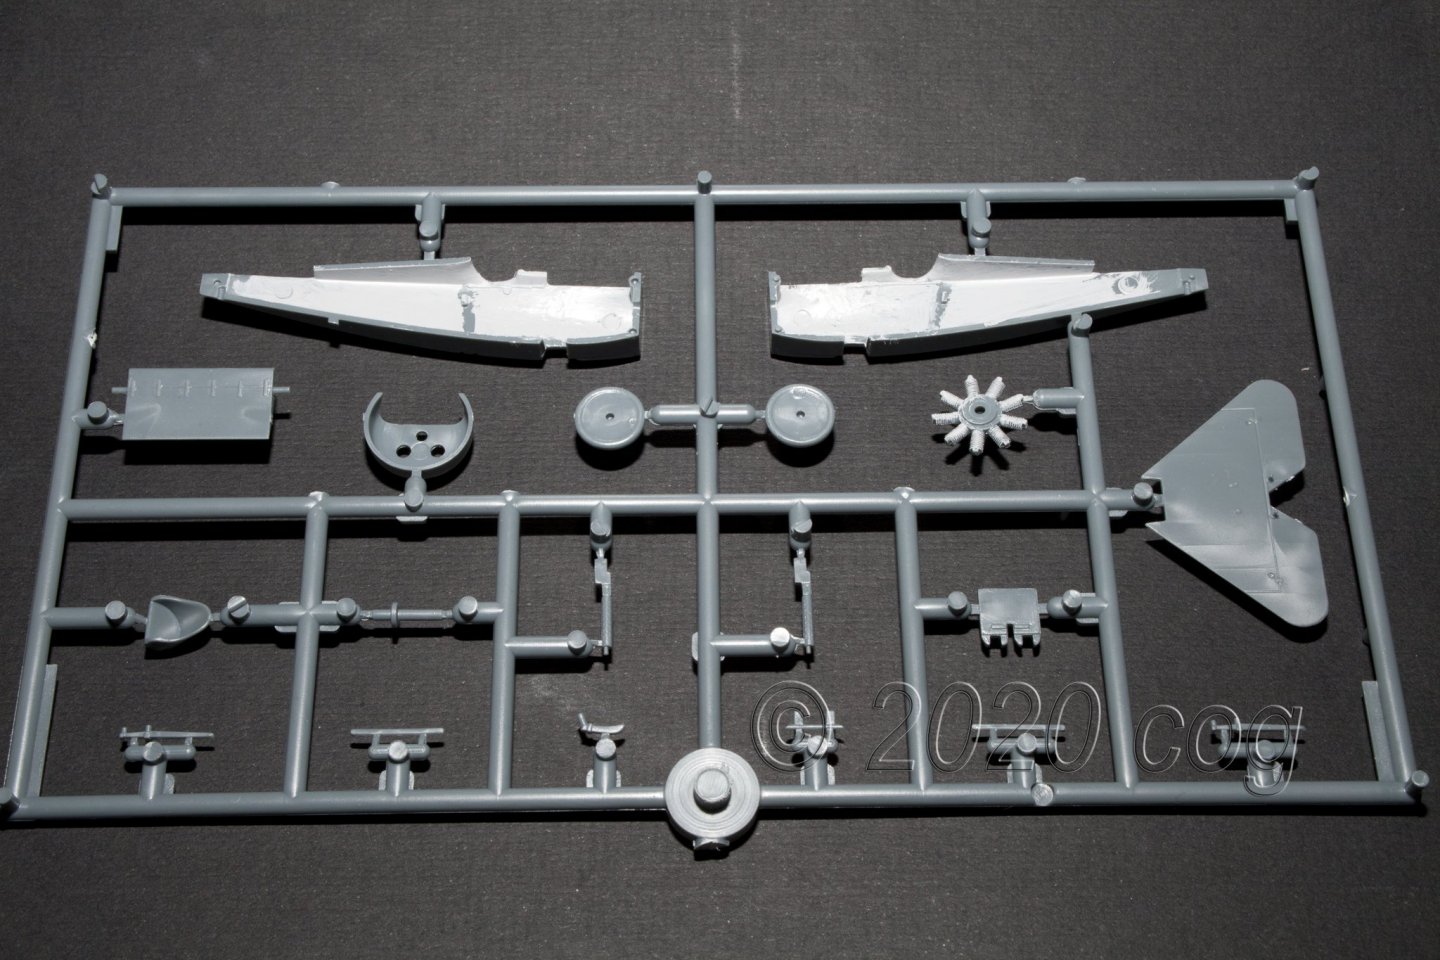
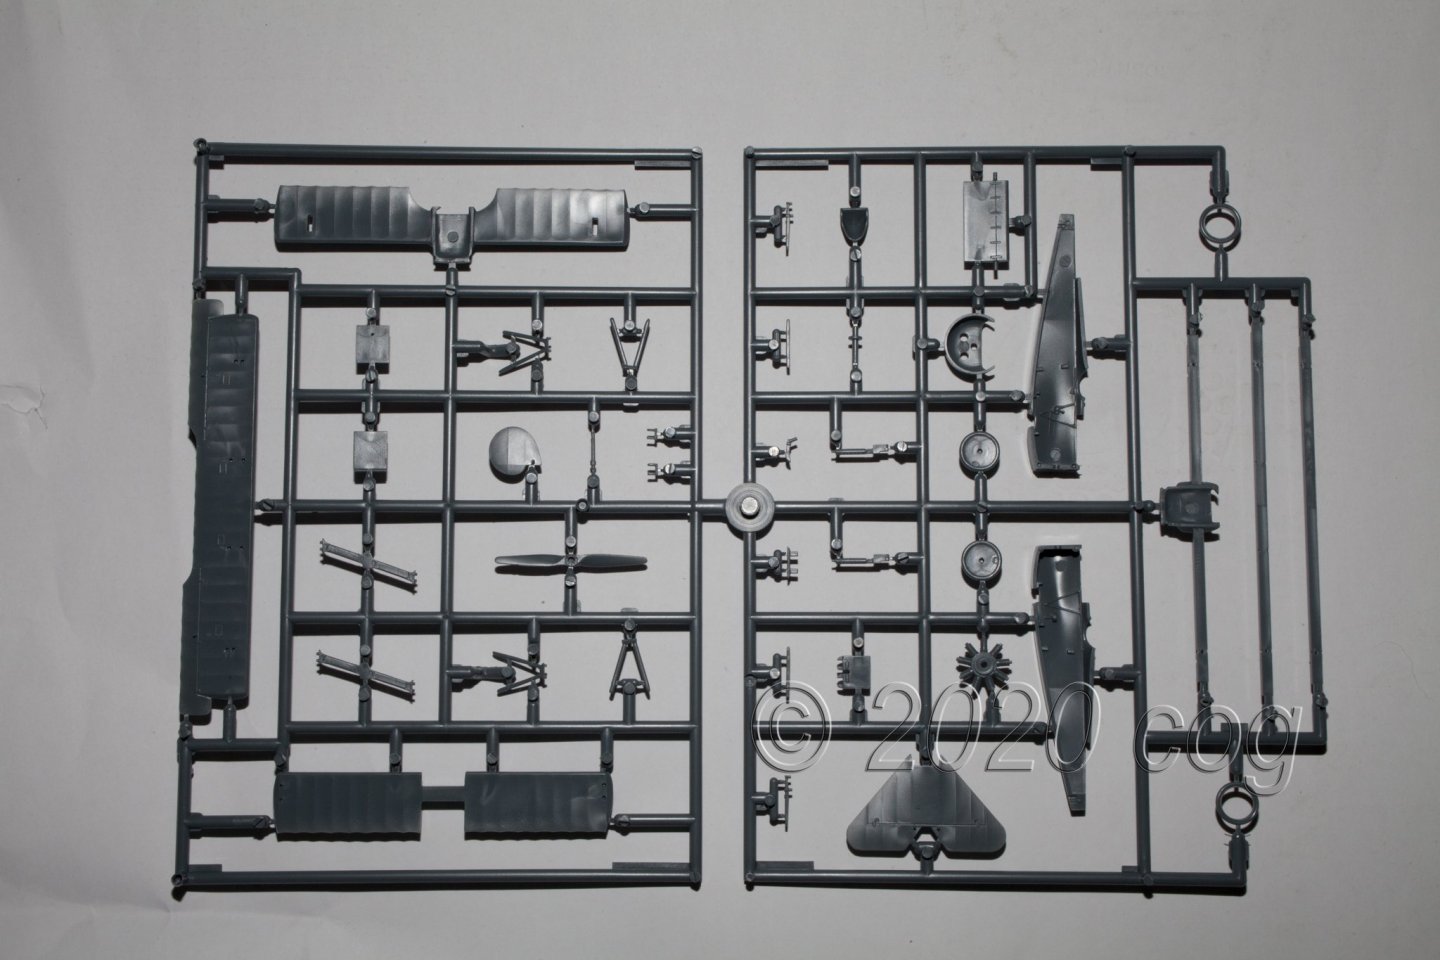
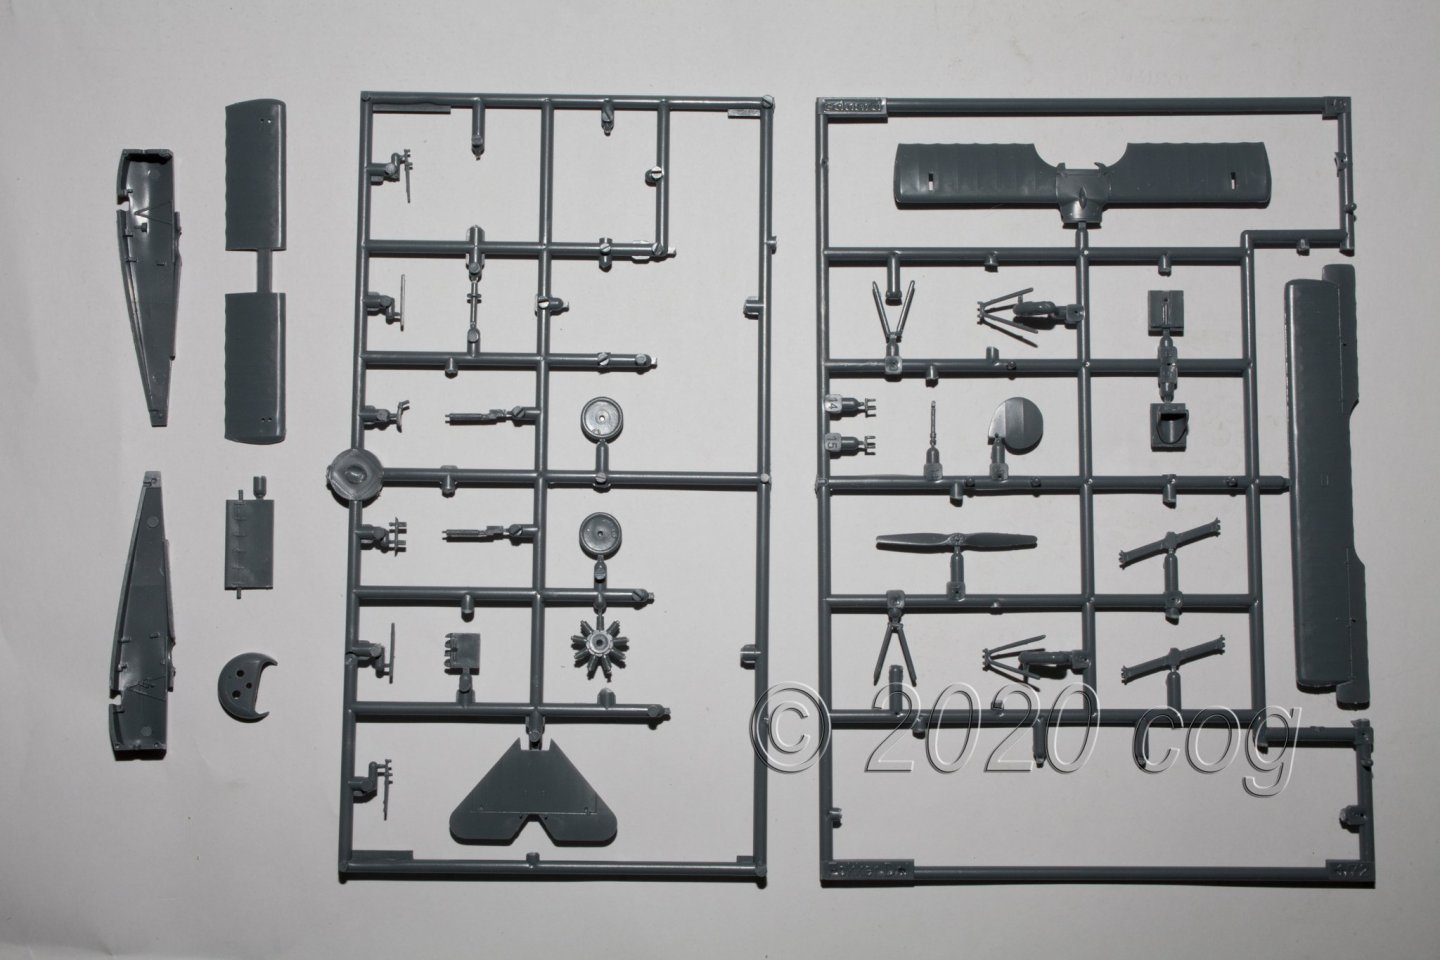
Here goes, first I'll walk you through the building of a single Fokker Dr I - Eduard Profipack. In the mean time I have already built 9, so I'm on my way to a reasonable JASTA (Jagdstaffel) as the Germans would say. I have used multiple brands - Revell, Eduard, Roden - and from some different kits. Considering the number of airplanes I'll be building, it is worth to find the cheapest kits and bash if necessary. Overall dimensions: Width wing tip to tip 10 cm - 4" Length nose of the prop to the tail 7.5 cm - 3" Height wheels to upper wing 4 cm - 1 5/8" Basic kit parts for the Eduard ProfiPack - as OC has written, the manufacturer delivers very nice kits to work with I start to cut off all excess parts, and split the main sprue in two pieces, which facilitates handling when airbrushing. After that, I remove as much attachment points as possible and sand any irregularities down. Some parts can be painted off the sprue and are taken off Prepare for some preliminairy work The "cockpit" must be prepared before priming the fuselage, since the example is a Profipack, I got some PE thrown in, which, at this scale, hardly shows, some close ups ... Prep for priming Priming in white and grey, as the airplane will be camouflage green and white, from above, and baby blue and white viewed from below Painting the wings. Someone asked me if I could show it, well I tried, it ain't easy to make a video whilst painting Paint and brushes used https://youtu.be/kKYMGta6-CE Next ... tomorrow. Some shooting to be done


- 110 replies
-
- 11
-
-
Even those need time to do so. It takes me nearly three days to have it up and running the wy I want and need it Lovely pumps by the way
- 756 replies
-
- 2
-
-
- galleon
- golden hind
- (and 2 more)
-
great diorama Jack!
-
j.guydal, do you have a buildog somewhere ?
-
Your model turned out lovely. It turned out to be an eventful trip, quite educational. Thank you for sharing
- 124 replies
-
- 2
-
-
- longboat
- Chaloupe Armee En Guerre
- (and 1 more)
-
You don't have a shed of some sort, or a large enough basement?
-
Lovely detail and a well made "module". I have to say those men look like convicts in their "uniforms"
-
Art, Only use it on bare plastic, once painted/primed it will mess up te paint on the seems where you've used it. It is a nice glue. Sets fast, you can put the parts together and just tip the seem, and ready. The capillary action of the glue is very nice to work with, once you have the hang of it, you glue the parts together in no time. I use for my plastic kits a number of glues. Just for plain plastic and CA mainly for the PE in the detailup sets. If you can get the kit aty that price, could you get me one too, and ship it to Europe <lol> Just pulling your leg, but that's a bargain, even when incomplete. Detailup sets make these kits more fun, and you'll probably would have replaced the lost items with the parts from the set anyway. On the other hand, there is always the possibility of scratch building parts ... look forward to your build
-
Art, It looks harder than it really is. Patience and perseverance is all it takes. With a little help from your mates, I mean building advice. But hey, what are you here at MSW for!?
-
Lovely jig you made to split the leather at such tickness, I should say "thinness"
-
Did the Germans have a broadcast special on the BBC? Very super detailed build, Yves. All the lovely crisp scratch built items ... c'est superbe!
-
HMCSS Victoria 1855 by BANYAN - 1:72
cog replied to BANYAN's topic in - Build logs for subjects built 1851 - 1900
Deck furniture's numbers growing steadily. You keep on making such very lovely detailed parts. Well done- 1,018 replies
-
- 5
-
-
- gun dispatch vessel
- victoria
- (and 2 more)