Mahuna
-
Posts
1,504 -
Joined
-
Last visited
Content Type
Profiles
Forums
Gallery
Events
Everything posted by Mahuna
-
This link should help. http://www.sawbird.com/scroll_saw_blades.htm Frank
-
 Madrone and African Pear are very similar to Swiss Pear and are available through Woodworker's Source. Castello and Pau Marfim (also called Guatambu) are very similar to Boxwood. All of these woods are hard, have tight grain, and will mill very nicely. I also have found some Poplar that is almost pure white and is a nice wood to work with. Similar to basswood but harder. Frank
 -
Which compressor?
Mahuna replied to NMBROOK's topic in Painting, finishing and weathering products and techniques
Hi Nigel: I've had a Silentaire compressor for over 15 years and am very happy with it. They're super quiet and can put out the king of pressure you want. I have a two-station manifold on mine and it has been used by two people at the same time with no pressure issues. They're not cheap, but as usual you get what you pay for. http://www.silentaire.com/silentaire/supersilent.asp Frank -
Looking real good Brian. I can see you hosting some of our meetings soon. Now it's time to go to Ikea and get some storage cabinets to organize the small stuff. Frank
- 831 replies
-
- 1
-

-
- Armed Virginia Sloop
- Model Shipways
- (and 1 more)
-
Looking good Brian. I'm sure the little parts that get dropped will be bouncing all over. And lots of room for new tools. Frank
- 831 replies
-
- 1
-
-
- Armed Virginia Sloop
- Model Shipways
- (and 1 more)
-
Hi Bob - I'll be following with the rest of your fans. Frank
-
Hi Ed: Just received notice from Seawatch Books that they are hoping to publish Young America sometime in the fall - this news is a great Christmas present and I thank you! I'll be looking forward to it. Happy Holidays! Frank
- 3,618 replies
-
- 3
-
-
- young america
- clipper
- (and 1 more)
-
Constructing a rope from strands - selecting strand sizes
Mahuna replied to lehmann's topic in Masting, rigging and sails
I use the Bombay brown and black from Hobby Lobby, and use Liquitex raw sienna and black - all are acrylic inks. I don't think the brand makes much difference if you find colors you want. Frank -
Constructing a rope from strands - selecting strand sizes
Mahuna replied to lehmann's topic in Masting, rigging and sails
Dave: I don't dye big batches of rope yet. So far I've only done a few strands at a time. That being said, I use an eye dropper to measure the proportions of the ink into a small jar big enough to take a coil of rope, then add an amount of isopropyl alcohol equal to the total amount of ink, mixing everything with a small stick. I wind the rope into a loose coil, submerge it in the ink for 5 minutes, then uncoil it and draw it through a paper towel to remove the excess moisture. Hang to dry. Bruce: You caught me! I meant to type Cordonnet. Here's a link to a source: http://store.knitting-warehouse.com/crochet-thread-dmc-cordonnet-cotton.html Frank -
Constructing a rope from strands - selecting strand sizes
Mahuna replied to lehmann's topic in Masting, rigging and sails
Hi Bruce: You can measure the diameter of thread or made rope by the following: 1. Make a measuring stick by cutting a 1/2 inch slot in a straight piece of wood. 2. Wind the rope tightly around the measuring stick, staying within the ½ inch slot. 3. Make sure the winds of the rope are snug against each other without overlapping. 4. Count the number of turns as you wind it. 5. The diameter is calculated with the following formula: Diameter = 1 / (# of Turns * 2) I use DMC Cebelia thread, and it is graded by size (10 is largest, 100 is smallest), and made up the attached chart by making and measuring rope. Hope this helps, Happy Holidays Frank RIGGING COLORS and SIZES.pdf -
Hi Adriaan I have the Excalibur 16 inch and couldn't be happier with it. I don't think a larger bed is required for ship modeling, so a little money can be saved with the 16 inch. It's very smooth, quiet, and virtually vibration-free, and the body tilts, not the table. Blade changing and tensioning is very simple. I've found with power tools we need to get the best we can afford - otherwise we'll likely spend more money replacing a 'bargain' choice. Frank
-
Hi Brian Excellent planking - looking forward to seeing it in real life. Frank
- 831 replies
-
- 1
-
-
- Armed Virginia Sloop
- Model Shipways
- (and 1 more)
-
Hi Rich: Your last post reminds me of what we used to say in my old job "if you don't want to take the time to do it right, you'll need to spend time doing it over". Frank
- 1,756 replies
-
- 3
-
-
- constitution
- constructo
- (and 1 more)
-
Hi Brian: For close sanding, as in the rabbet, I use a sanding stick made by gluing sandpaper onto a popsicle stick, then trim the end of the stick to the shape and size I need. Frank
- 831 replies
-
- 1
-
-
- Armed Virginia Sloop
- Model Shipways
- (and 1 more)
-
Very nice work Rich! It seems to be going pretty quickly. Frank
- 1,756 replies
-
- 2
-
-
- constitution
- constructo
- (and 1 more)
-
Hi Brian Which one is mine? Frank
-
Before you buy anything, I would recommend you spend some time on this site - should clarify a lot of questions. http://howtoairbrush.com/airbrush-intro/ I'd also suggest s double-action airbrush - allows separate control over air and paint, which provides a much more controlled painting. I use Badger and Iwata, and am very happy with both, but if you're only going to paint hulls and other broad surfaces you don't need to spend what an Iwata would cost. I recommend staying away from Paasche - I've heard of problems learning to use them properly. The open cups aren't really an issue - you'll need to keep the airbrush upright anyway. Frank
-
I also learned about Zip Seizings from Hubert's web site, and coincidentally will be giving a demo/workshop tomorrow for our newly formed Ship Modeler's club in the Phoenix area. Hubert had a lot of great ideas and put in the time to document them, including lots of videos. His site was a great help to me when I started ship modeling a couple of years ago. Frank
-
Mayflower by SawdustDave - Finished
Mahuna replied to SawdustDave's topic in - Build logs for subjects built 1751 - 1800
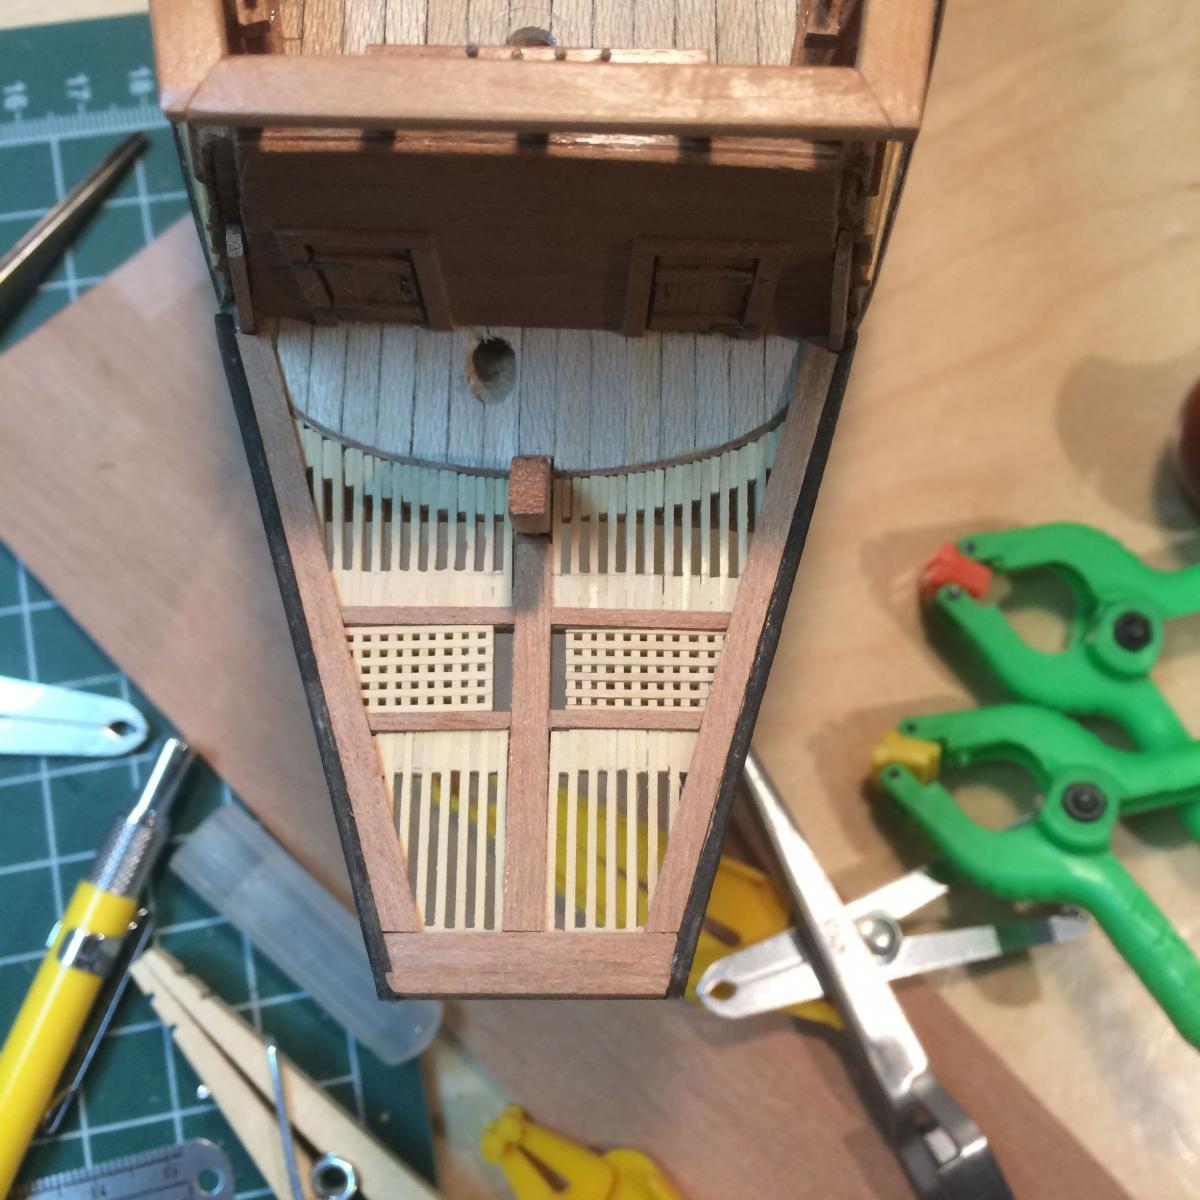
Hi Dave - hope you had a great Thanksgiving. I'd like to see the way you did the gammoning if you get a chance. The gammoning slot in the stem knee looks like it's really hard to get to once the beak head is built out, and I'm interested in how you approached it. I've made removable gratings that (hopefully) will enable me to get to the gammoning slot when the time comes. The rest of the decking in the beak head are slats, trying to simulate the way open spaces were decked over in the 1500-1600 timeframe. I've tried to design my own beak head, since I wasn't happy with the way the plans had us doing it. My next step is to finish planking the walls of the beak head and to install the stanchions in the beak head. Rigging will likely start in a few weeks. Frank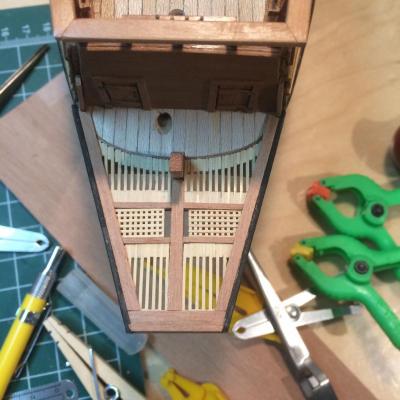
-
Hi Bob: We just got back from vacation, and I'm looking forward to seeing the finished Lettie in person. I'll be in touch and we can work out a date. Great job! Frank
-
Hi Brian: I have both Badger and Iwata airbrushes. Why don't you plan to stick around for a while after the 11/29 meeting and we can look at both - maybe even spray a little paint around. Frank
- 831 replies
-
- 1
-
-
- Armed Virginia Sloop
- Model Shipways
- (and 1 more)
-
You'll need to be very thorough in getting the metal 'dust' from the steel wool off after buffing. It can show up later in paint and other finishes.
-
Hi Brian: Here's a post I made about the saw. I agree - it's a very useful tool. http://modelshipworld.com/index.php/topic/8156-micro-combo-saw-from-unique-master-models/ Frank
-
I found a very interesting book on Alibris - "The Way of a Ship - a square-rigger voyage in the last days of sail" by Derek Lundy. It's the story of the author's great-great uncle and his journey from Liverpool to the west coast of North America, around Cape Horn in 1885, as a member of the crew of a four-masted barque. This is the synopsis from Alibris: "Based partly on the experiences of his great great uncle, an Irish sailor, Lundy recreates the voyage of a merchant sailing ship around Cape Horn in the 1880s. His masterful account reminds readers what Melville and Conrad expressed so well: that the sea voyage is an overarching metaphor for life itself. Photos & illustrations throughout." (my paperback copy had no photos). Interestingly there are 10 copies listed, each at $0.99 - well worth it. Frank