

.jpeg.7d7eba14c97a2e1d9f79cd2c97f6424a.jpeg)
EricWilliamMarshall
-
Posts
985 -
Joined
-
Last visited
Content Type
Profiles
Forums
Gallery
Events
Posts posted by EricWilliamMarshall
-
-
-
18 hours ago, DelF said:
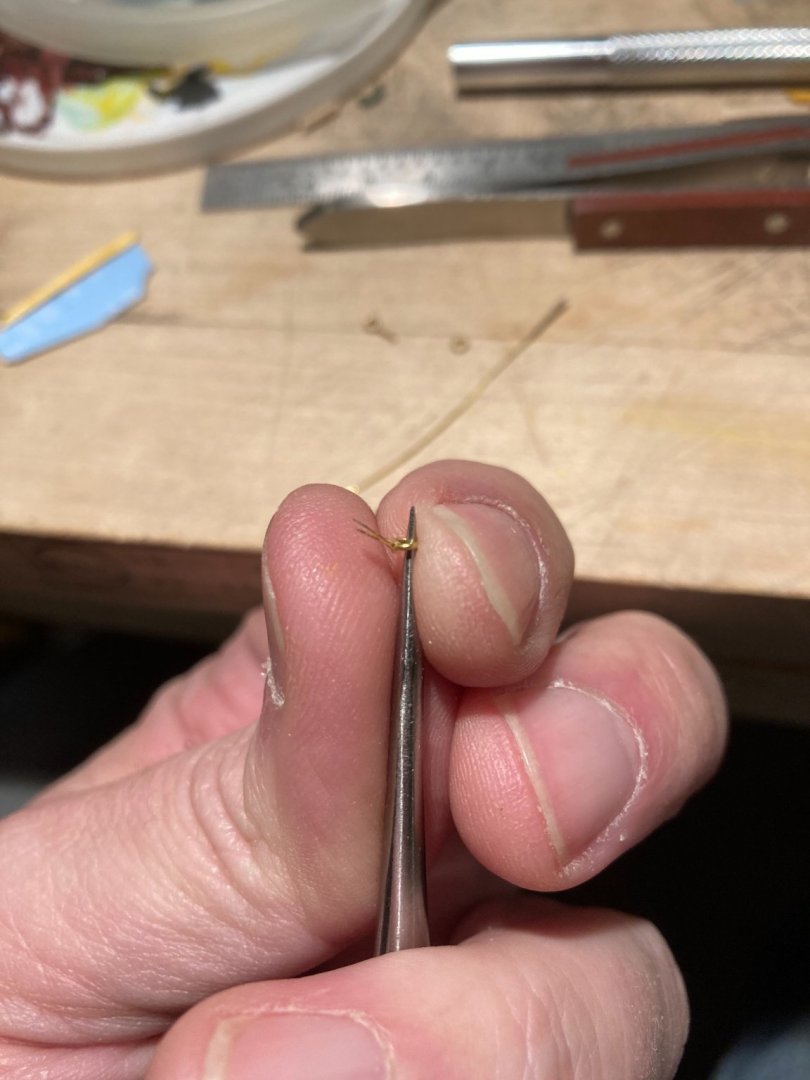
like the way you've bent wire round the ring
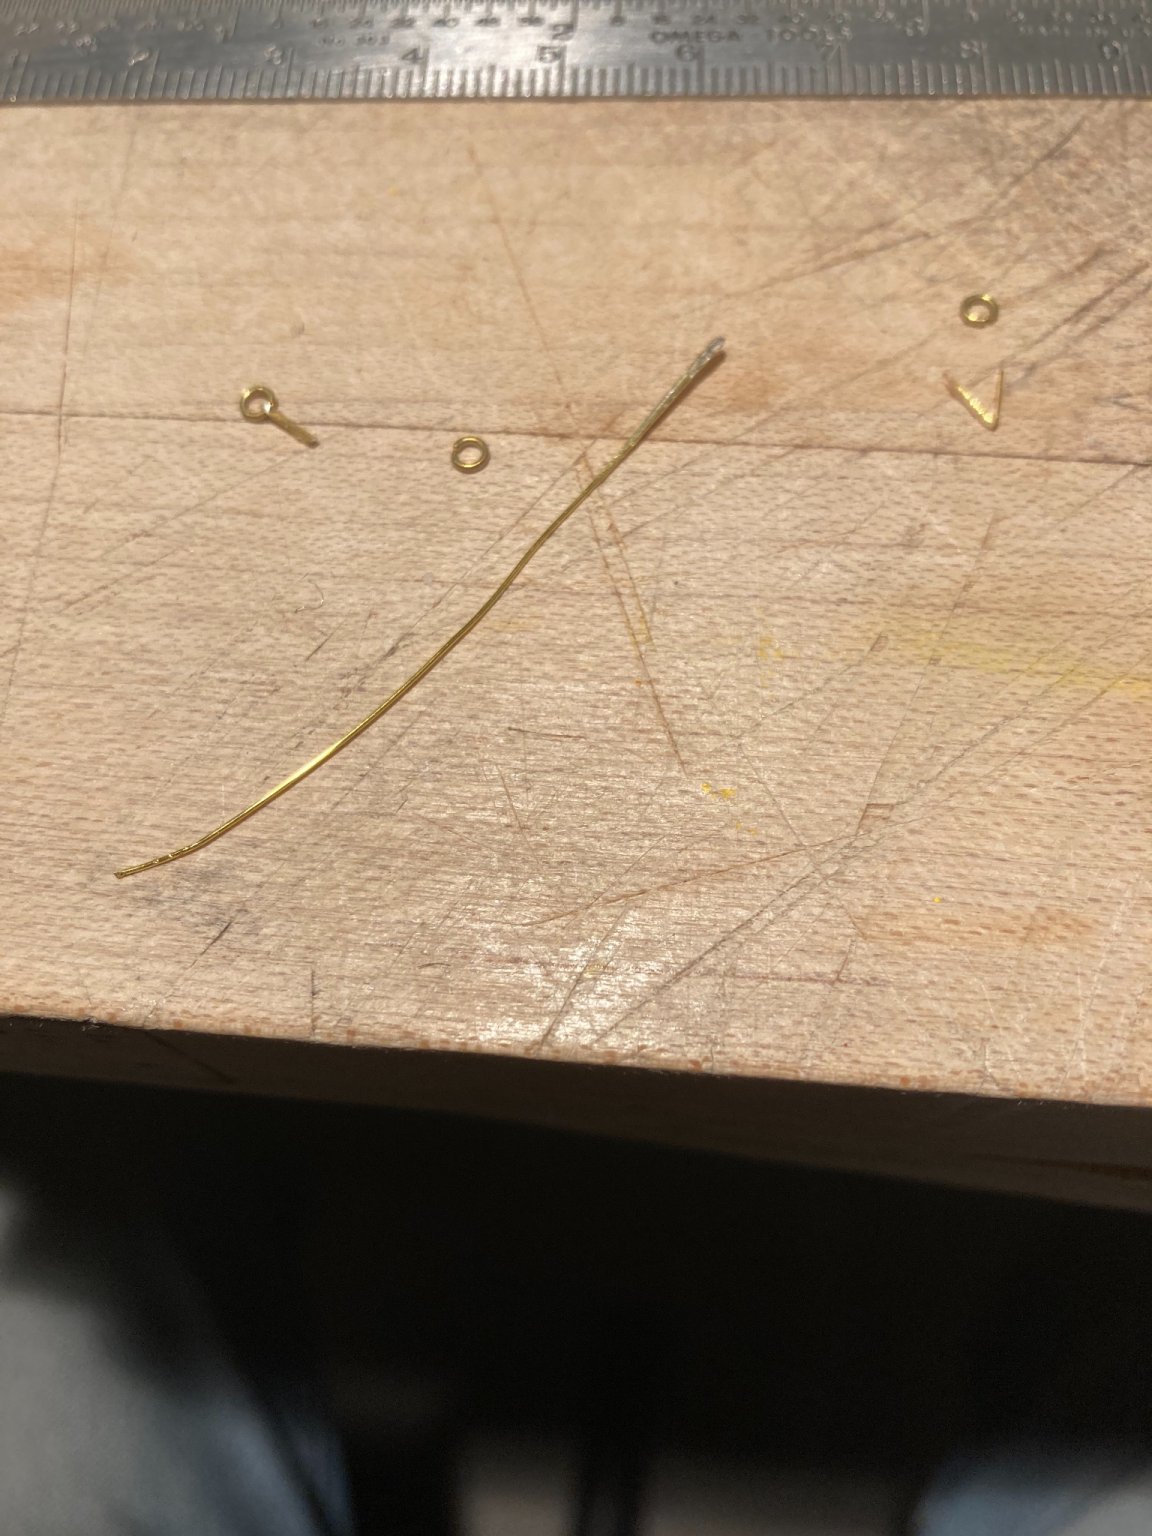
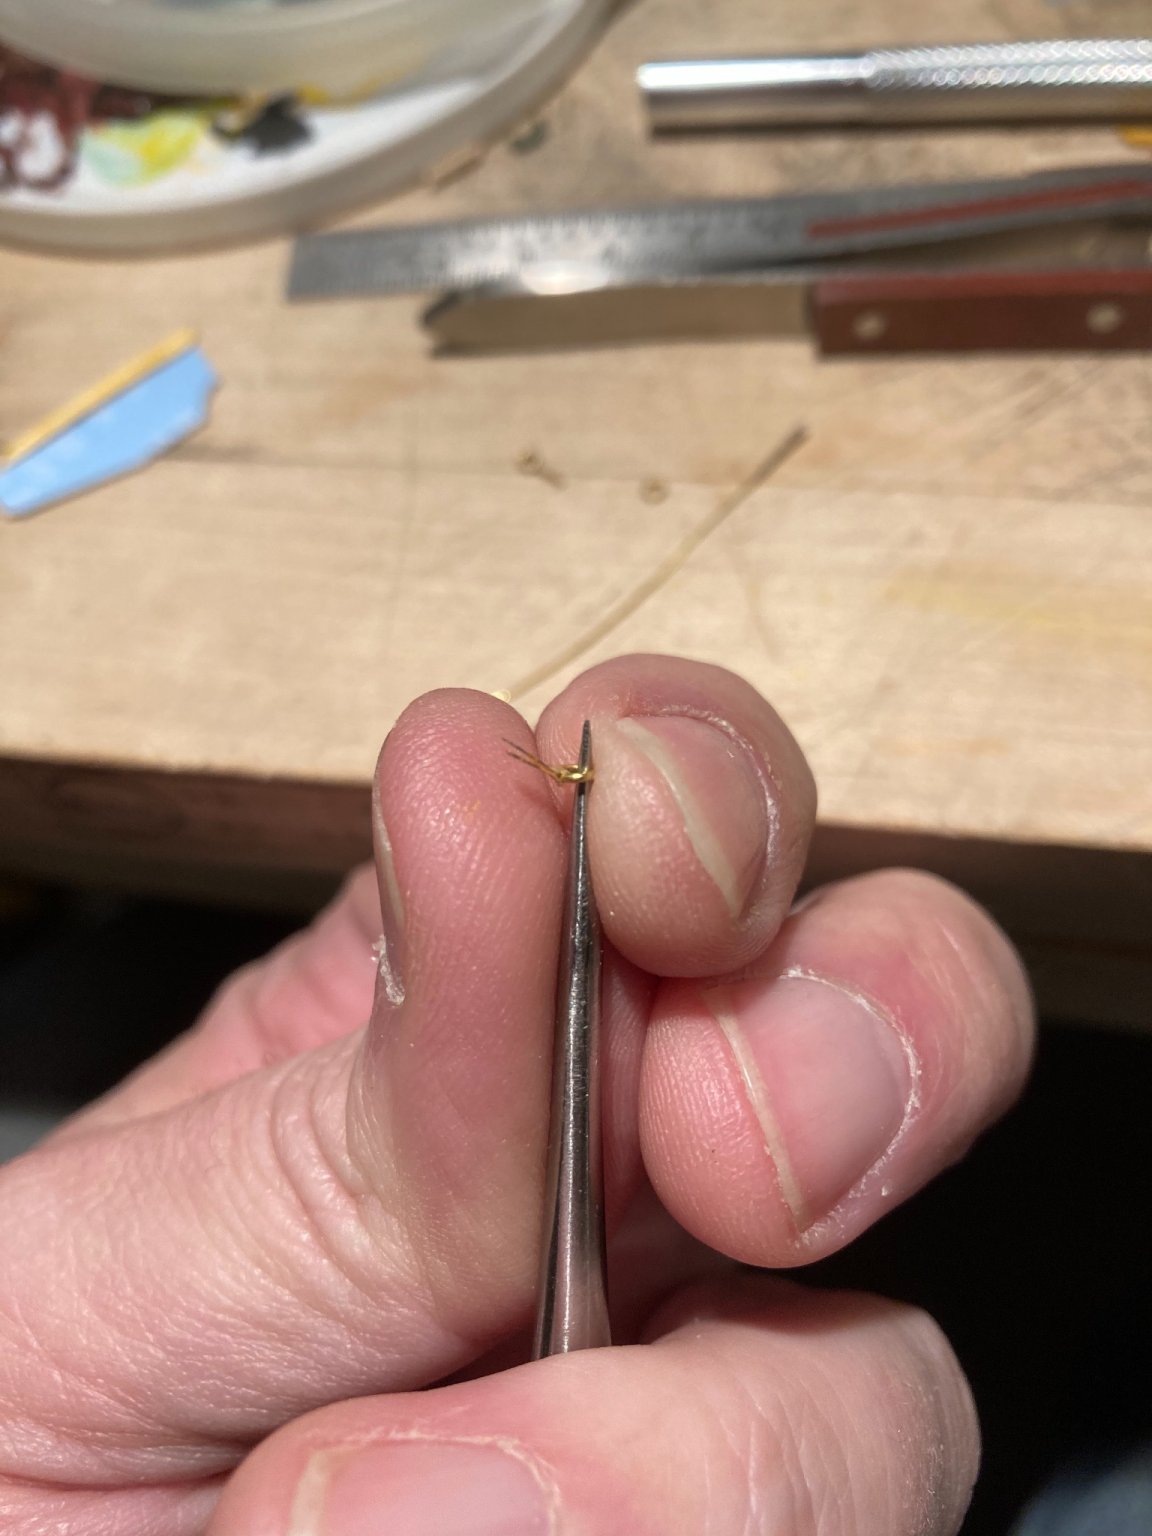
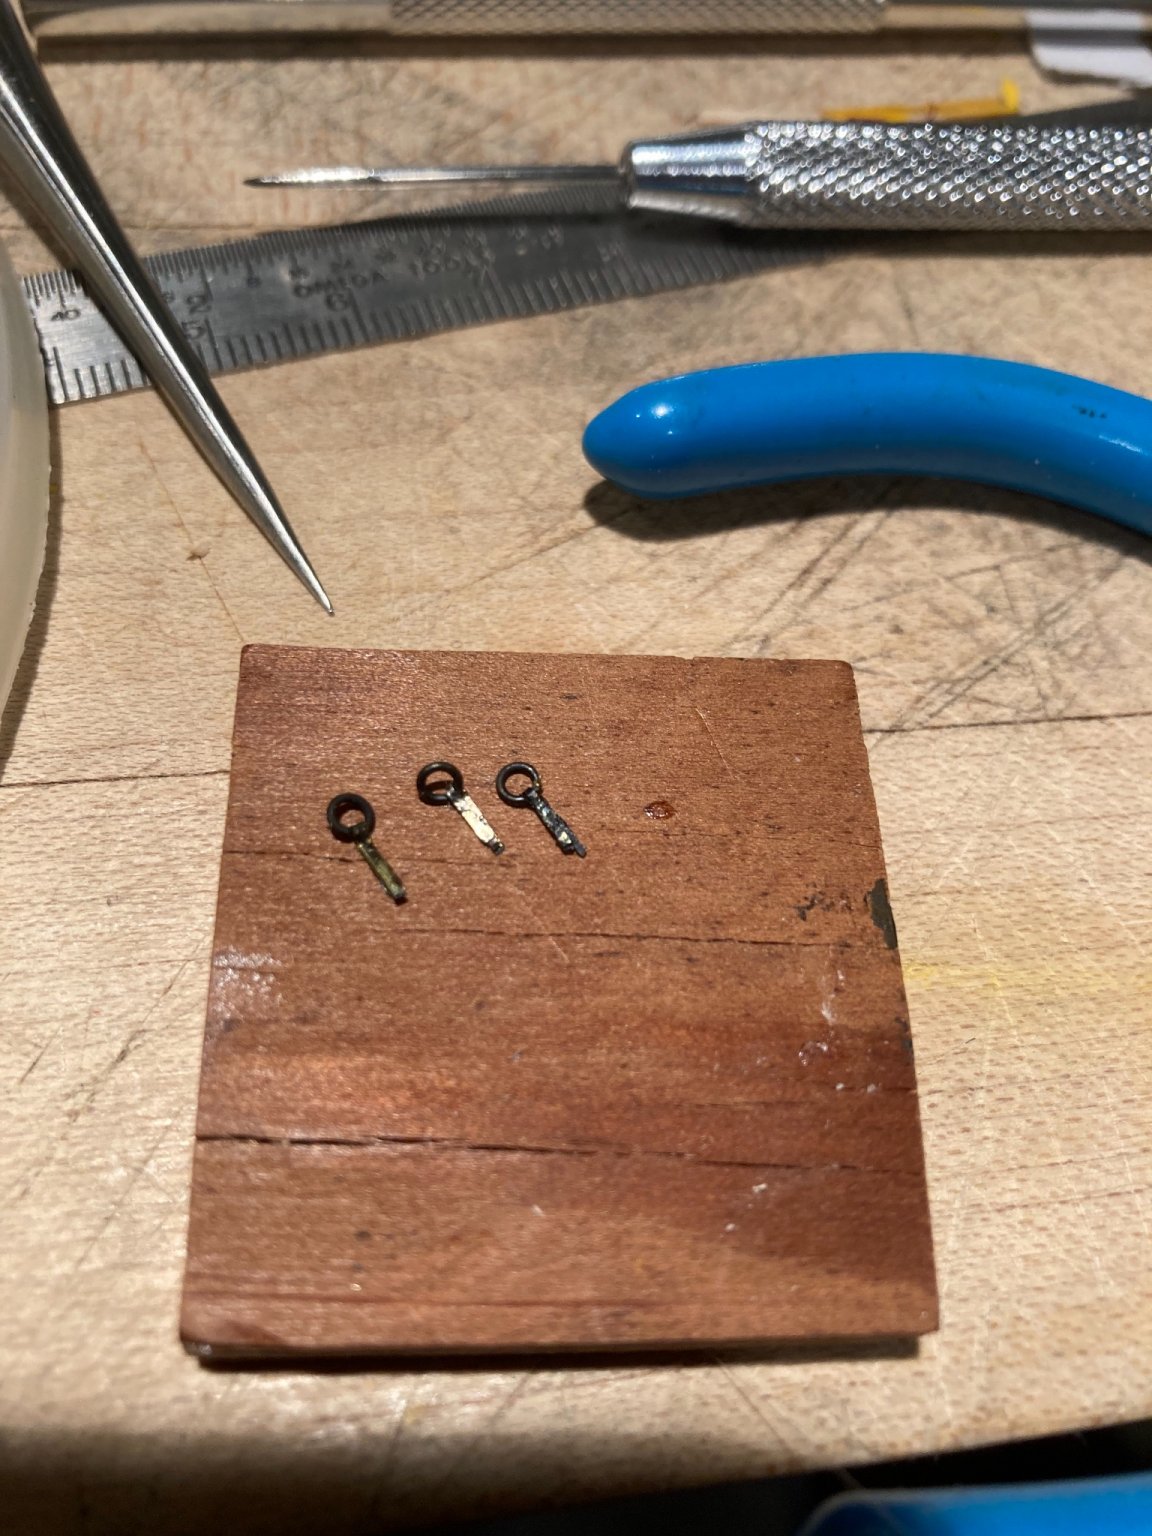
As always, thank you for your kind words. I found just bending my tiny strip over the ring wasn’t snug and the strip poked into the center of the ring. I’m not sure how others approach this, but used a slender awl inside the ring to force the strip to the edge of the ring and then used needle nose pliers to crimp the the strip. It gives a nice effect, even if my photography doesn’t display that. It is a quick operation. Thanks for noticing!
-
Thanks for the kind words!
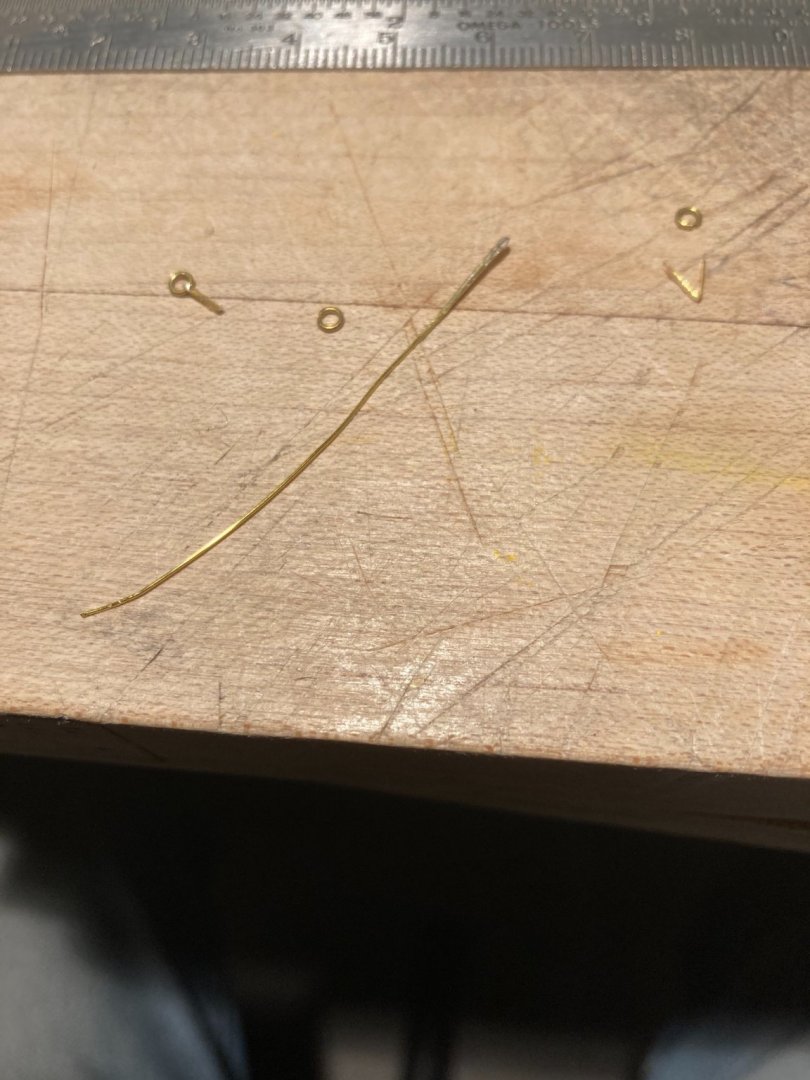
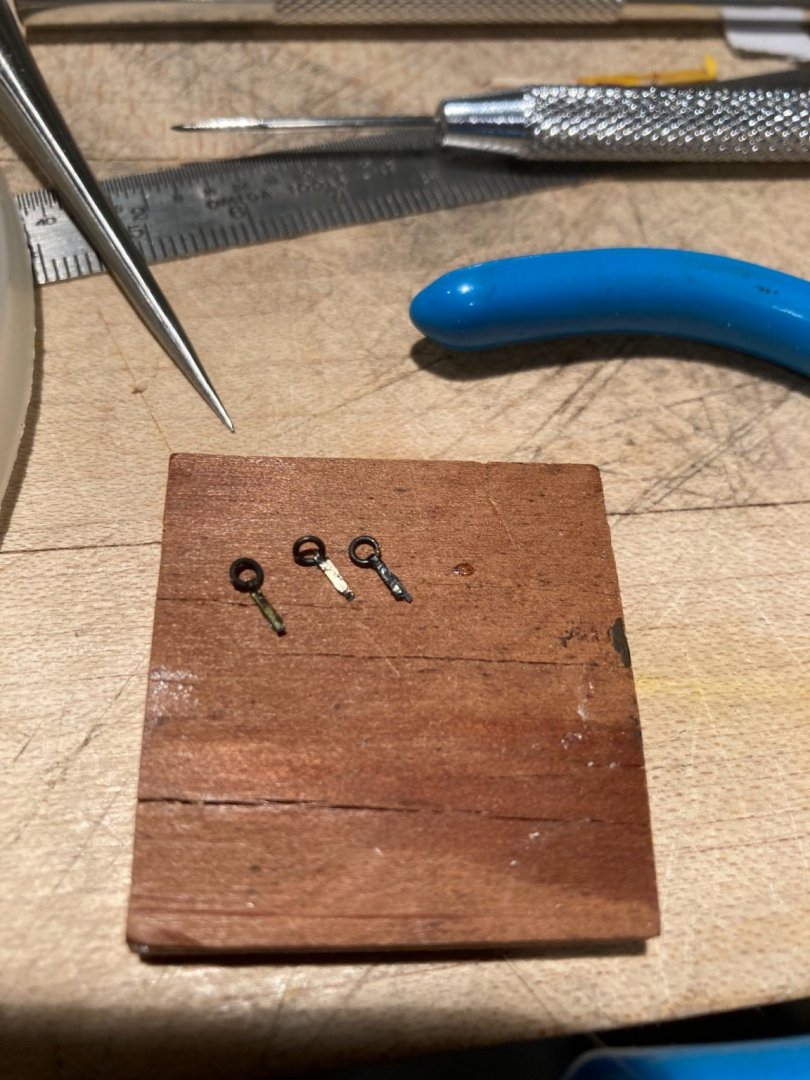
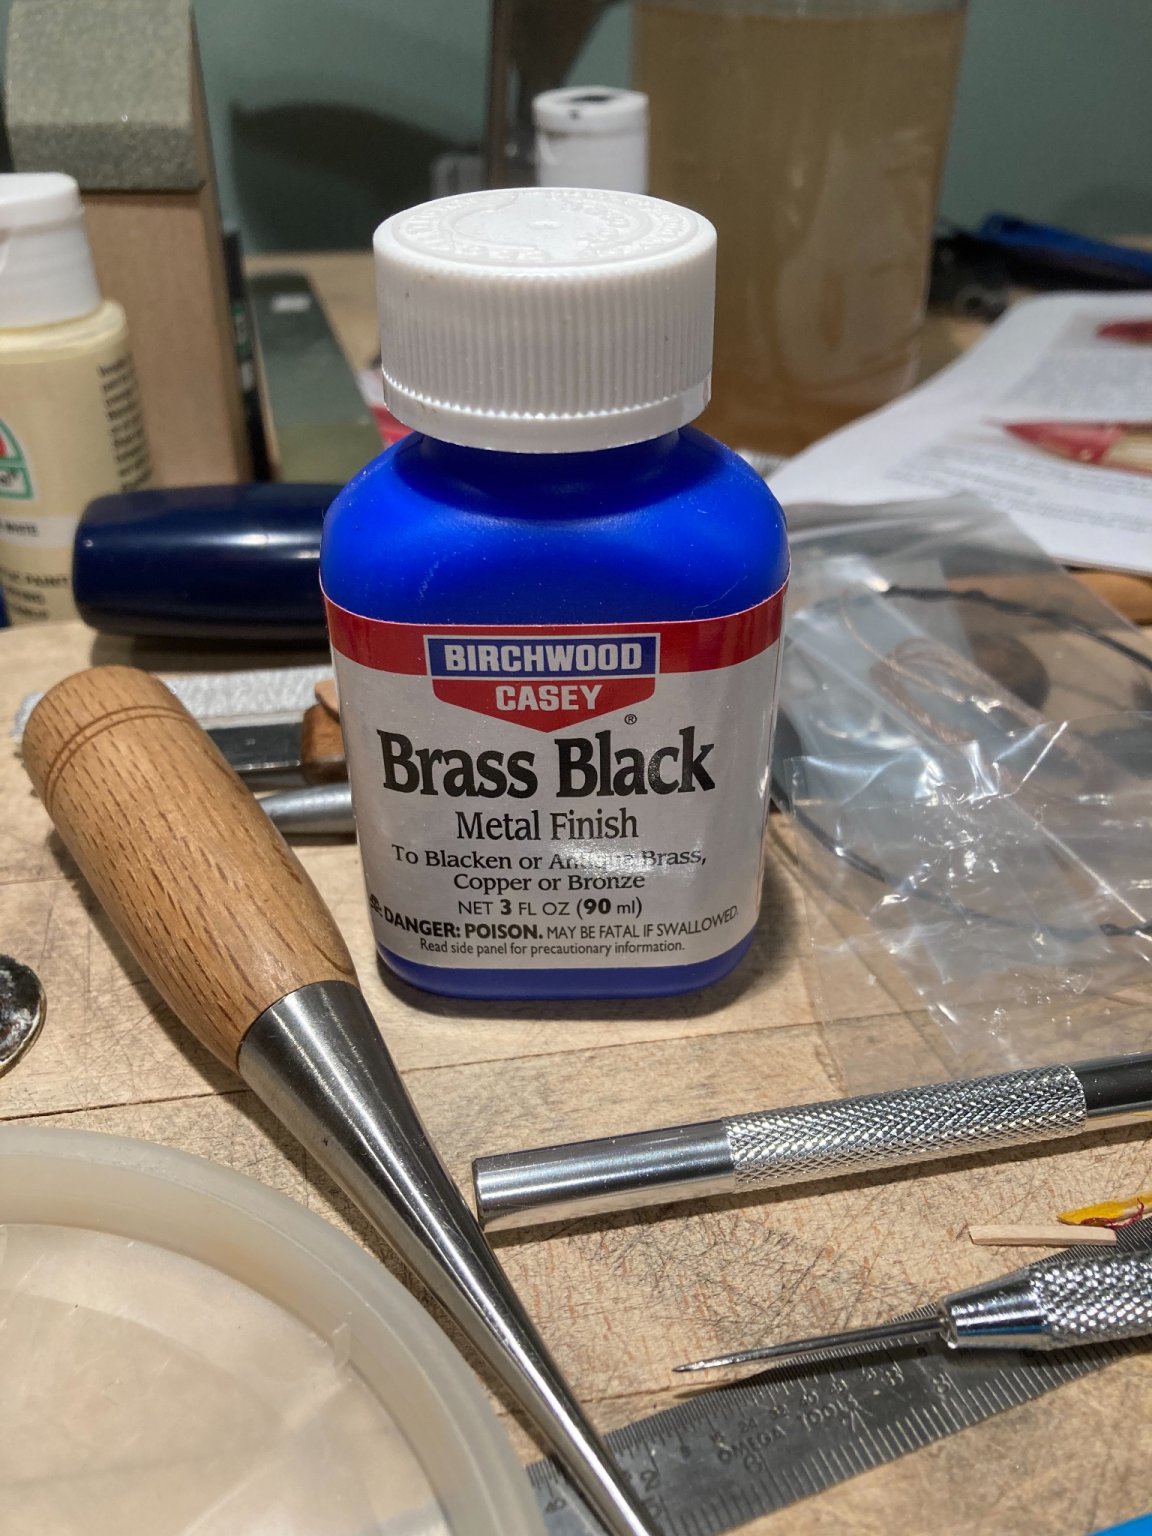
I flatten some brass wire and bent it around the supplied rings. I then chemically blacken them and when dry I attached them.


- Edwardkenway, Jack12477, DelF and 1 other
-
 4
4
-
After looking at the model above, I thought I would add another panel as well.

-
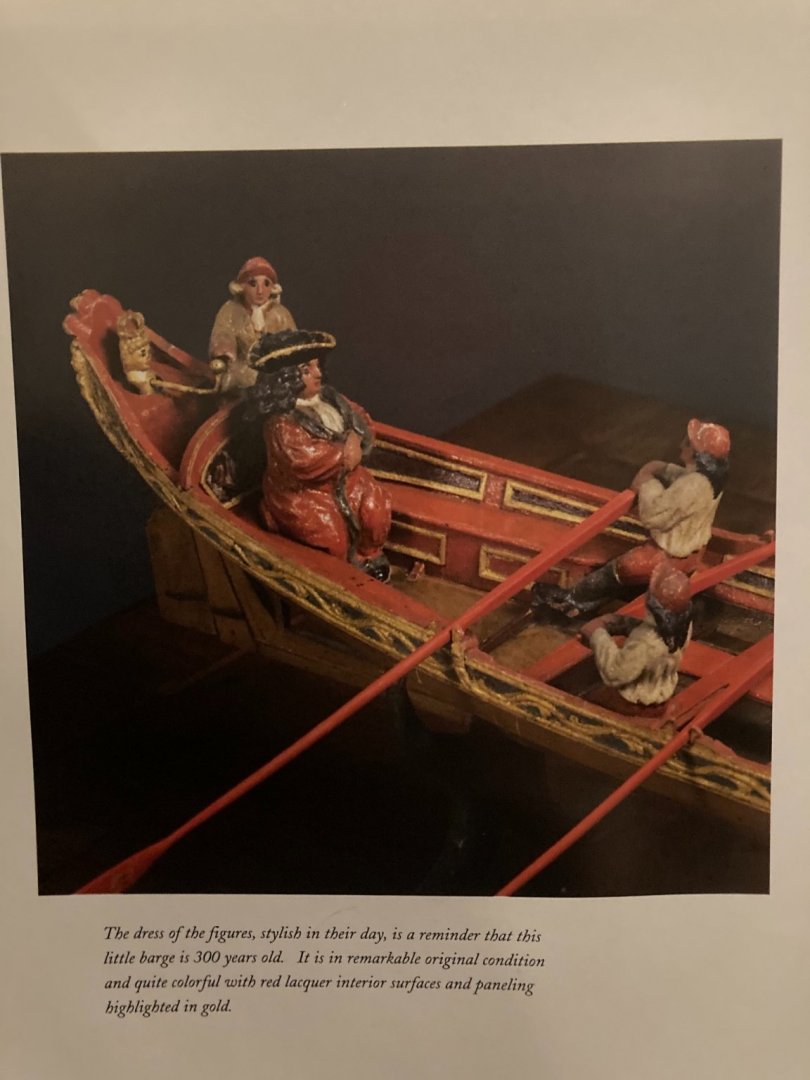
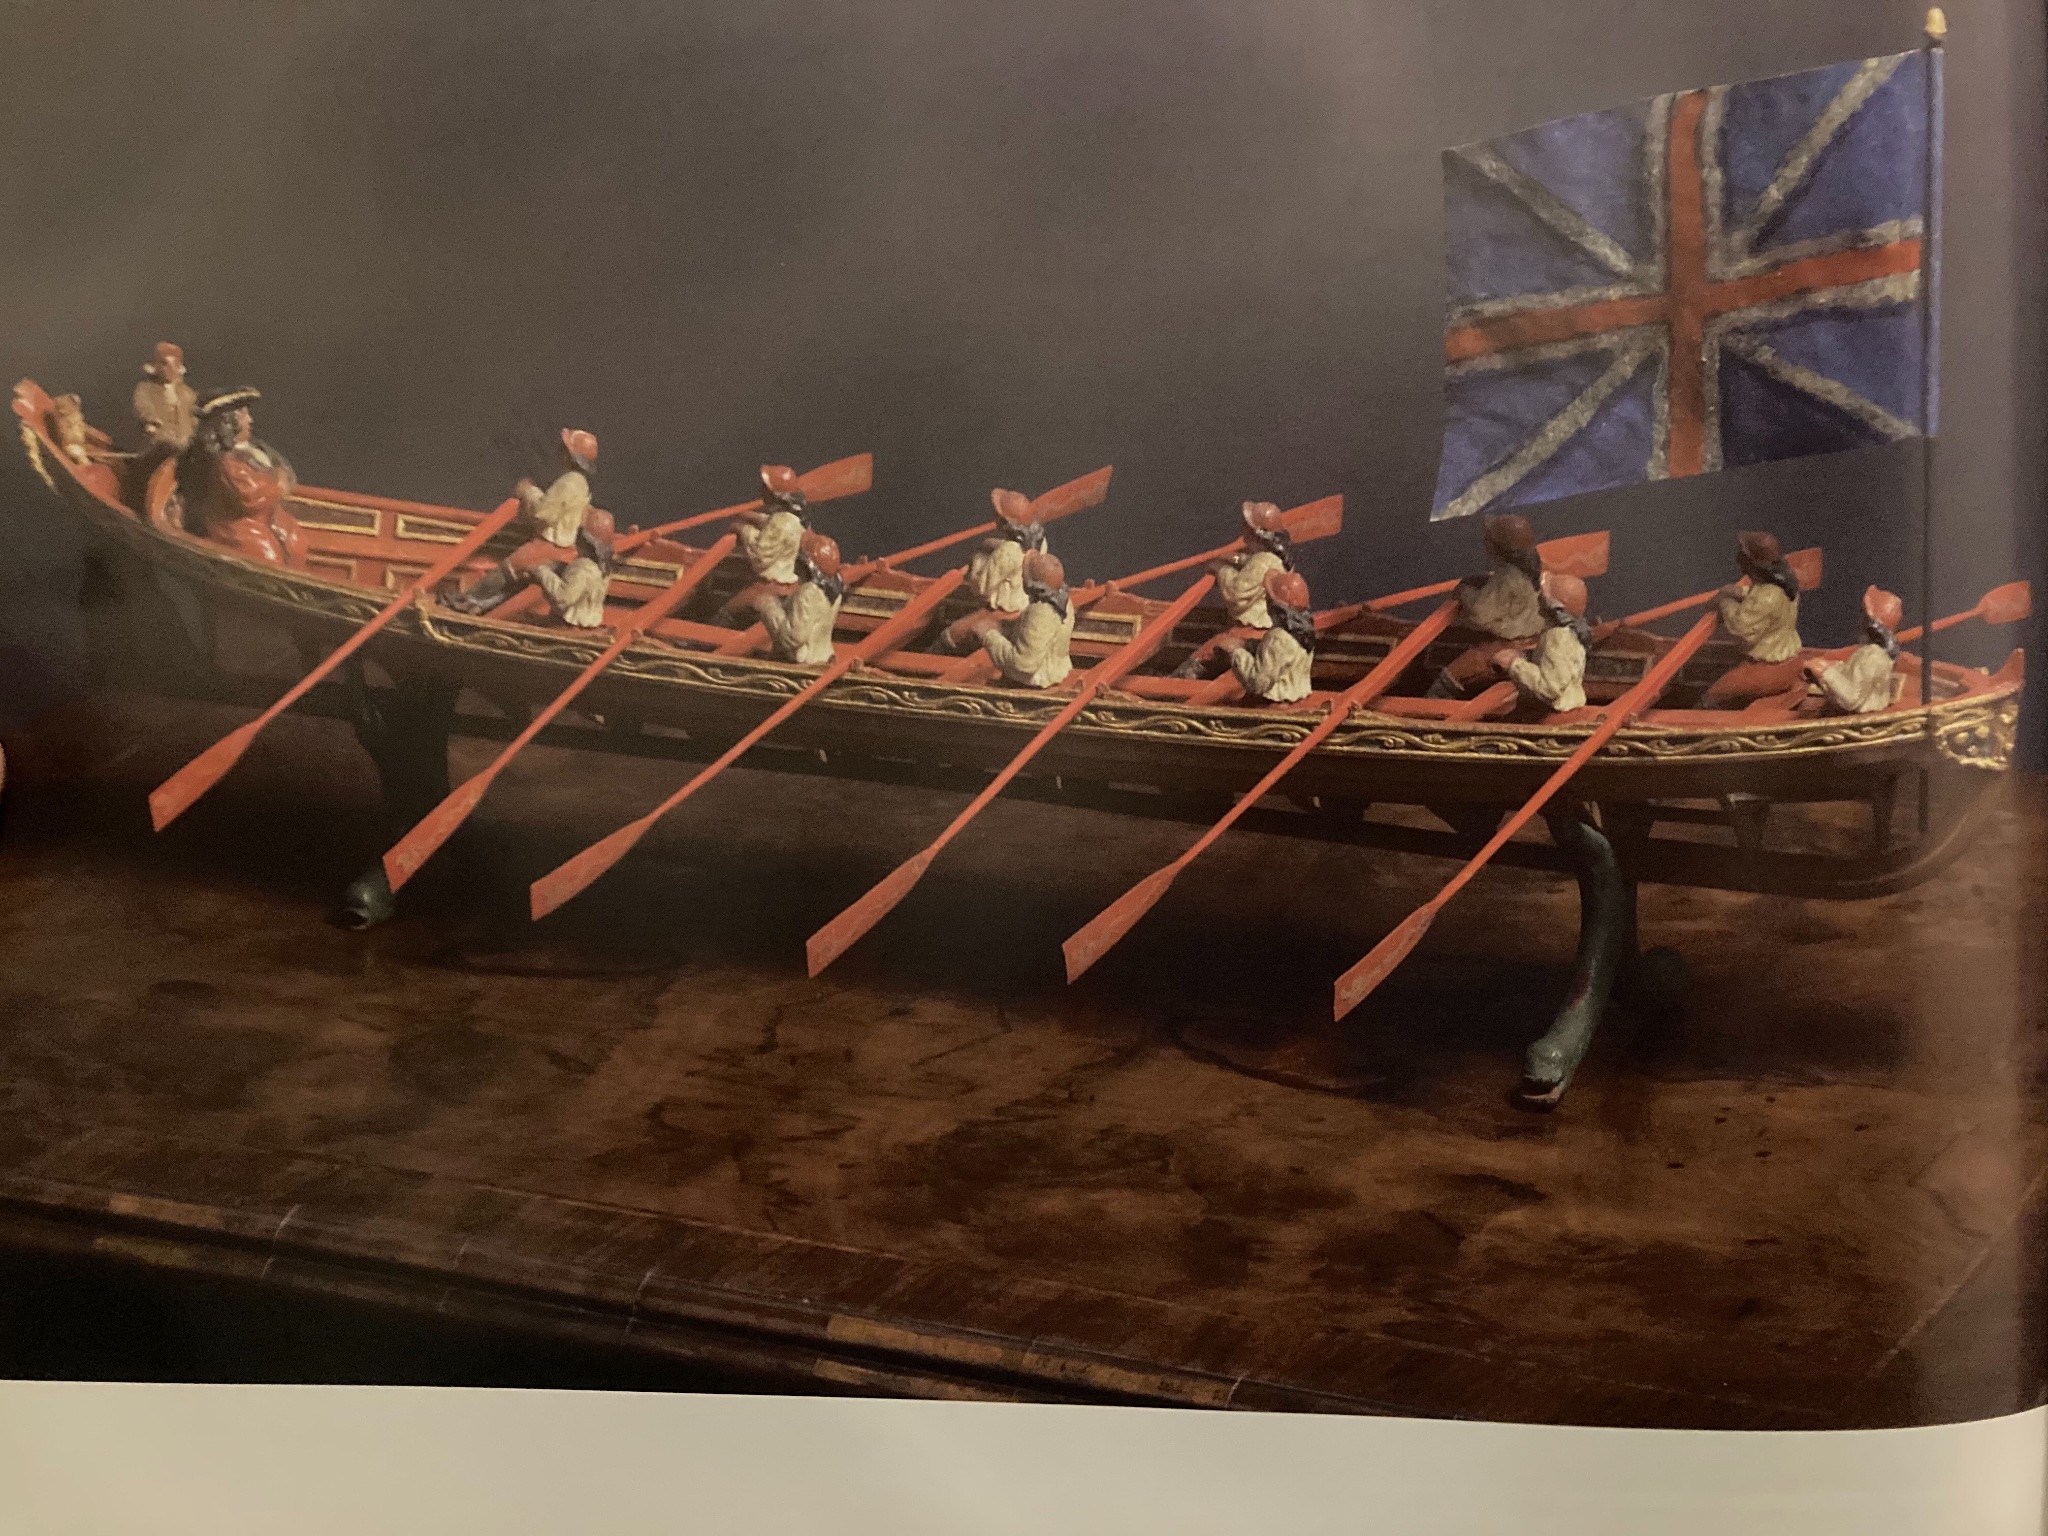
On 9/11/2017 at 9:47 AM, Blue Ensign said:
There's a lot more to this oar and thole business than you might first think.
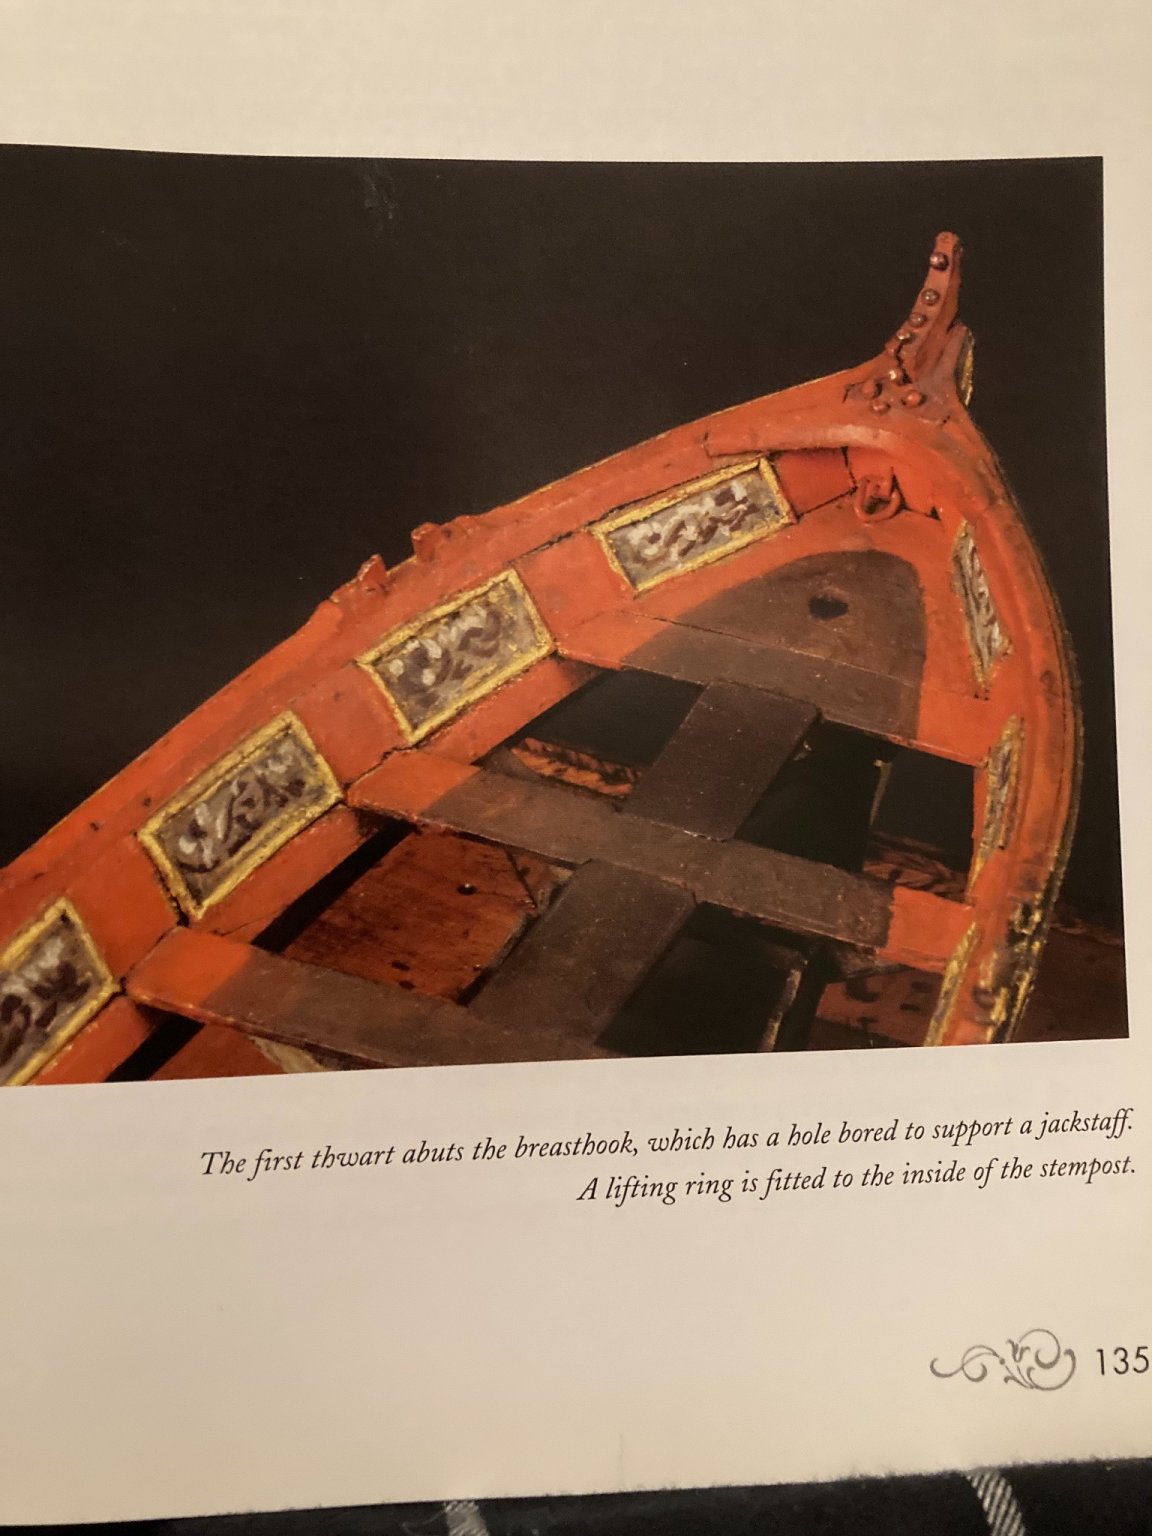
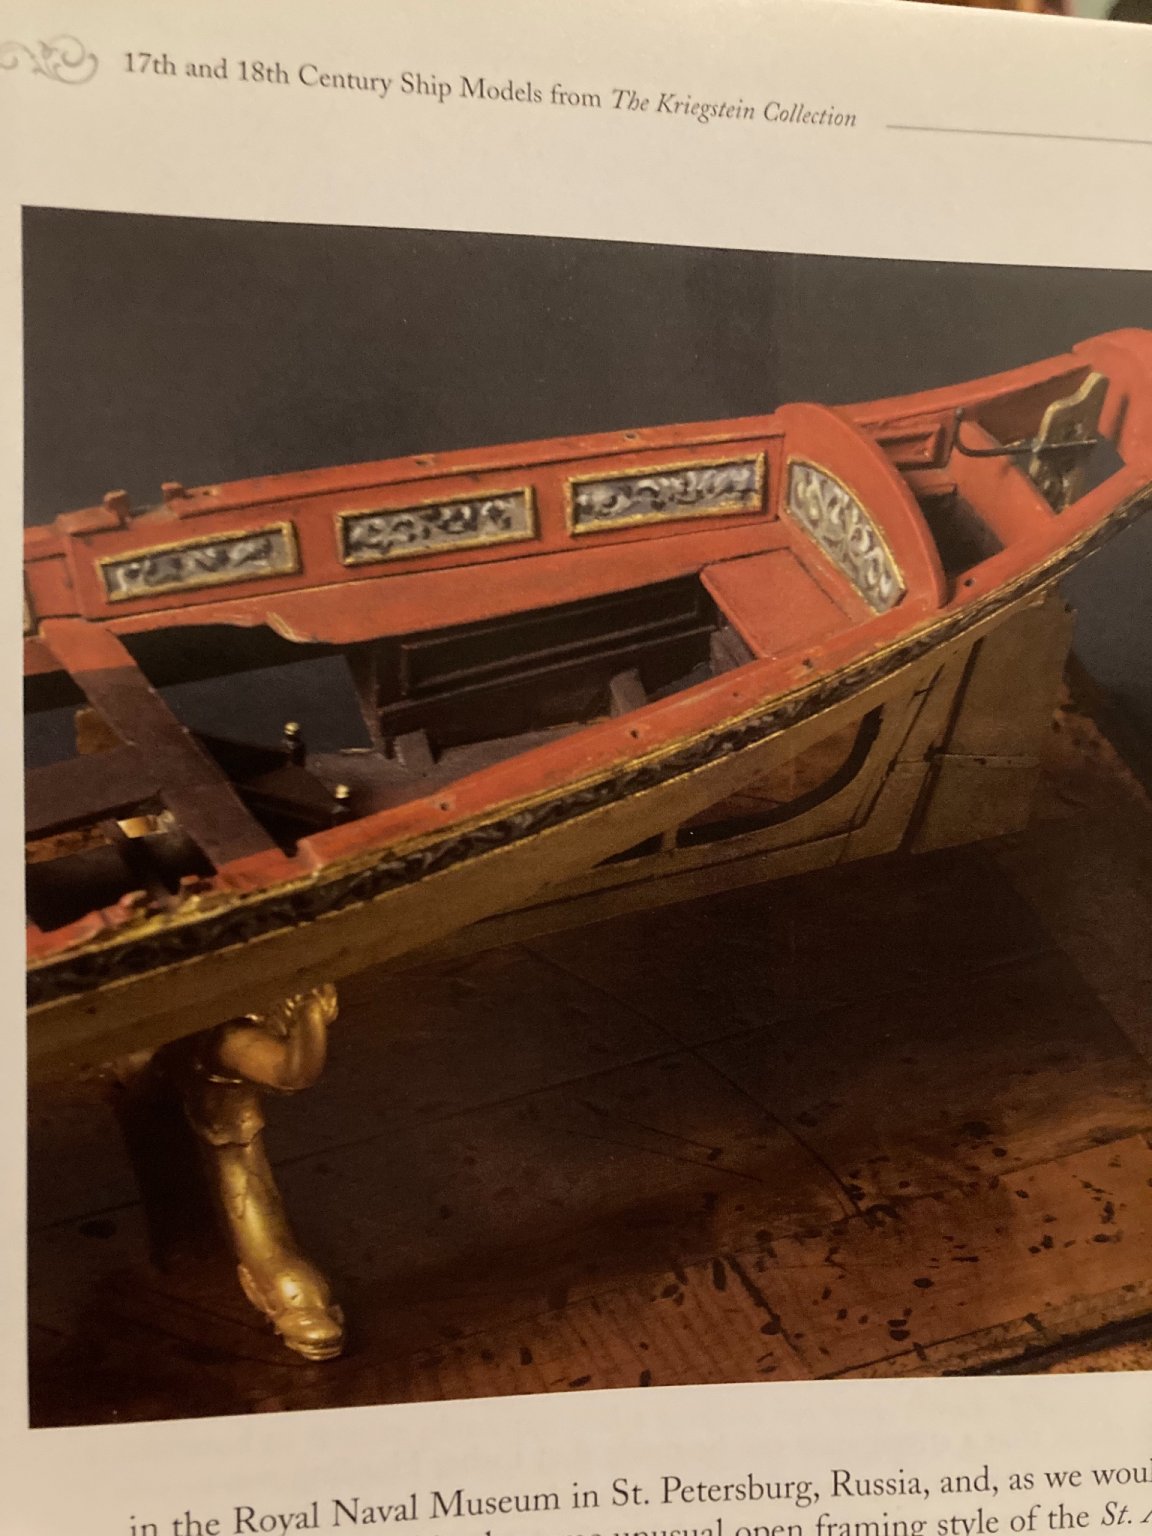
I came across this image of a model from the Kriegstein collection (their rights reserved), that support your insights.

- oneslim, GrandpaPhil, Blue Ensign and 1 other
-
4
-
4 hours ago, Ryland Craze said:
Grandpa's Cabinets
The same fellow mentioned his pleasure with Grandpa’s Cabinets also mentioned that they are in Florida. Someone else suggested getting anti-glare glass/plexi/etc.
- VTHokiEE and Old Collingwood
-
2
-
Thanks for sharing! She looks great, Your blog prompted me to go find one for myself!
-
On 1/25/2021 at 11:48 AM, Gaetan Bordeleau said:
- different blade shapes
- sharpening: water stone, truing stone, leather strop
- type of steel
-detail knife fabrication
-testing different blade shapes
-sharpening test
- buffering
- hand sharpening
- knife handle
I would add to the list:
-use
Some activities have slightly different needs - furniture mortises are hard on a chisel (due to prying and hammering) vs. model building vs. recessed carving (where limited access and rotating motion are primary).
If one wishes, these three use are best served by different setups (i.e. thickness of blade, angle of sharpening, handles, etc.) but most folks will do fine with just one setup.
Similar to model building, there are many paths and they all work well enough. Most of the folks here won't use these tools enough to worry about these details generally (and the first system that gets the tool sharp will be deemed the winner, since using a sharp tool is delightful!).
I also have found personally, once I found a set up I liked, I adjusted my work to match. For example, I drill out mortises and then pare them instead of hammering away on my rather thin setup. -
2 hours ago, Egilman said:
I understand the overheated wallet syndrome we sometimes are afflicted with....
amen - you are not alone. <just saying for a friend
") >
>
-
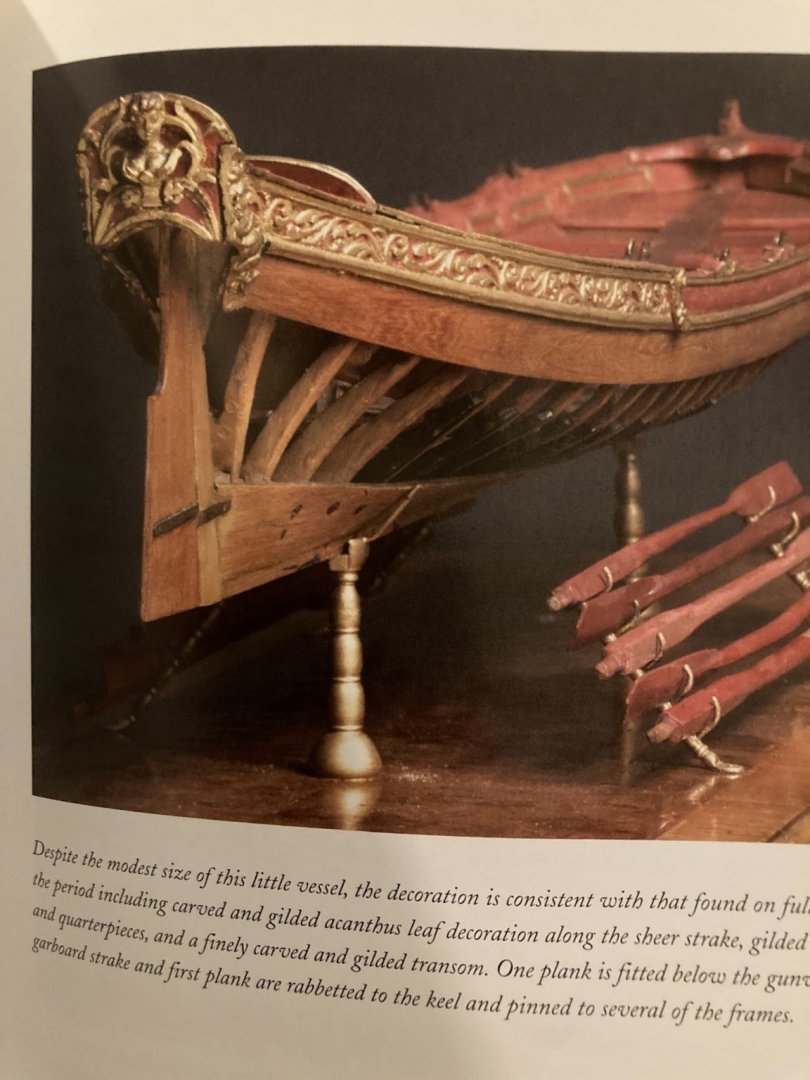
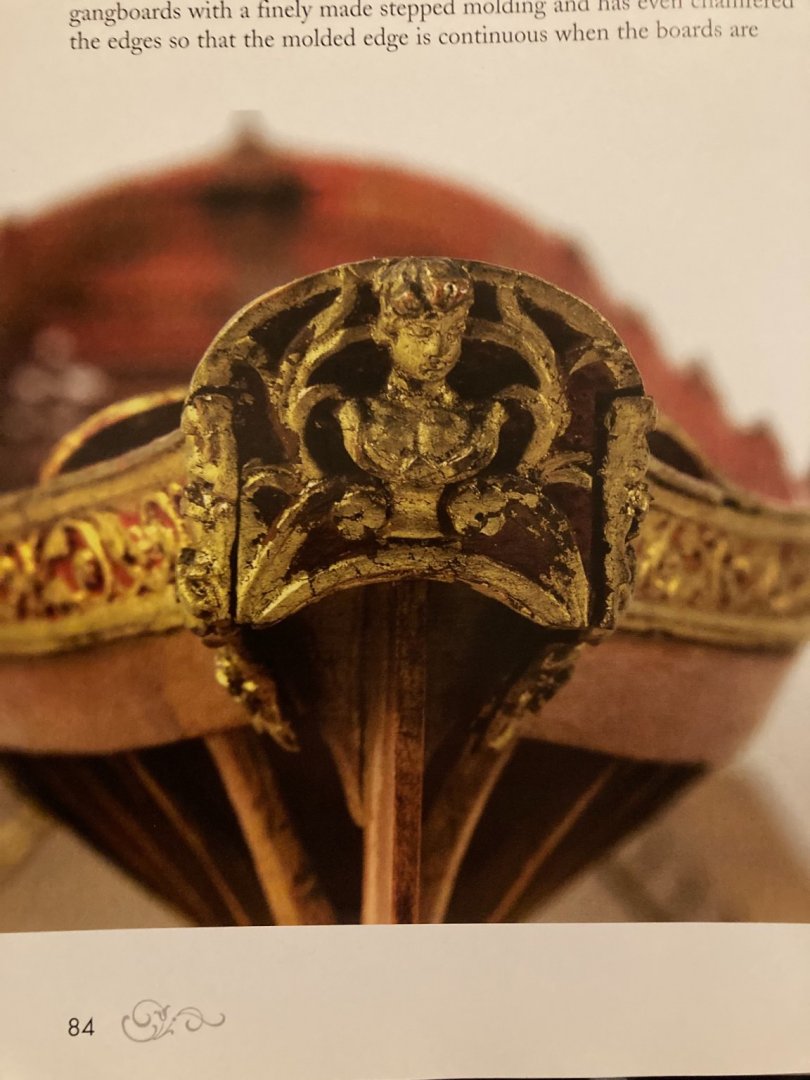
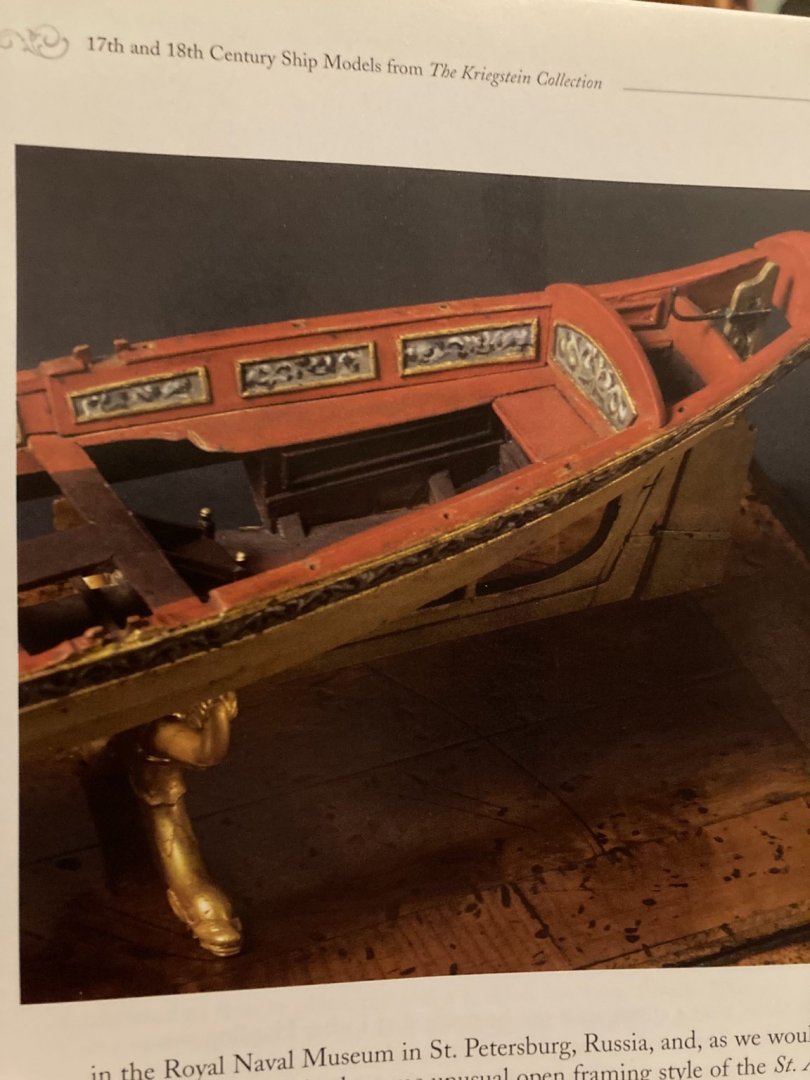
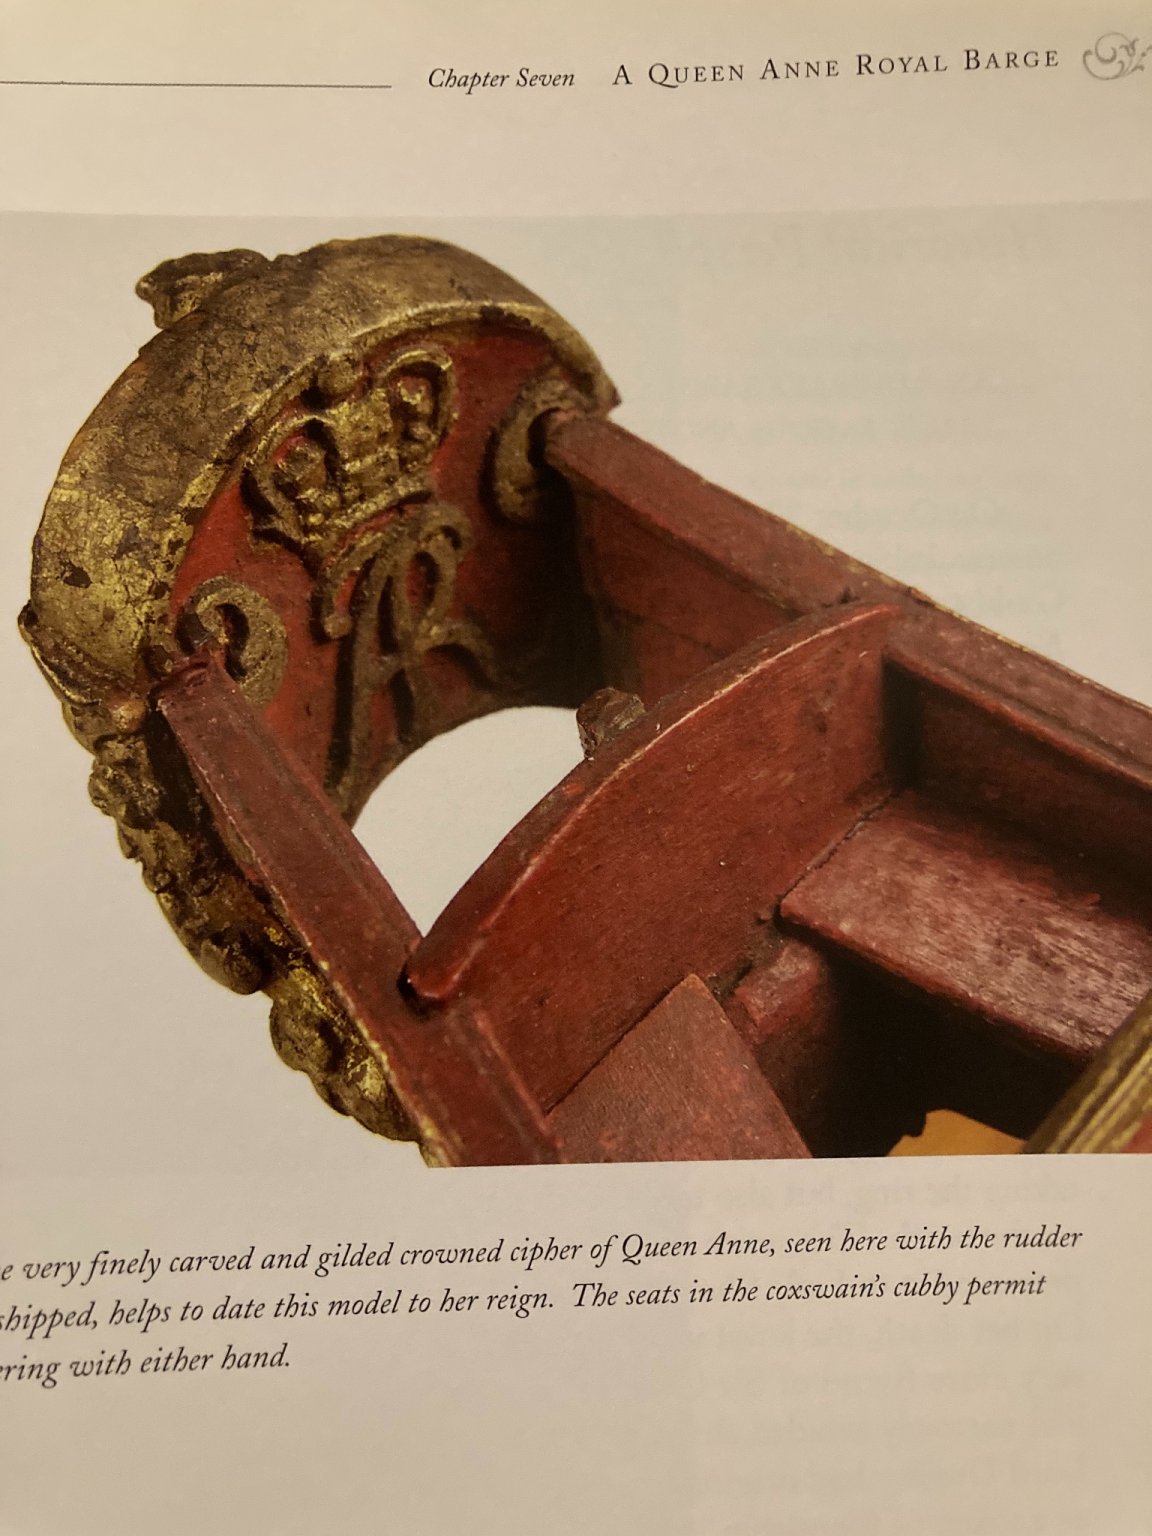
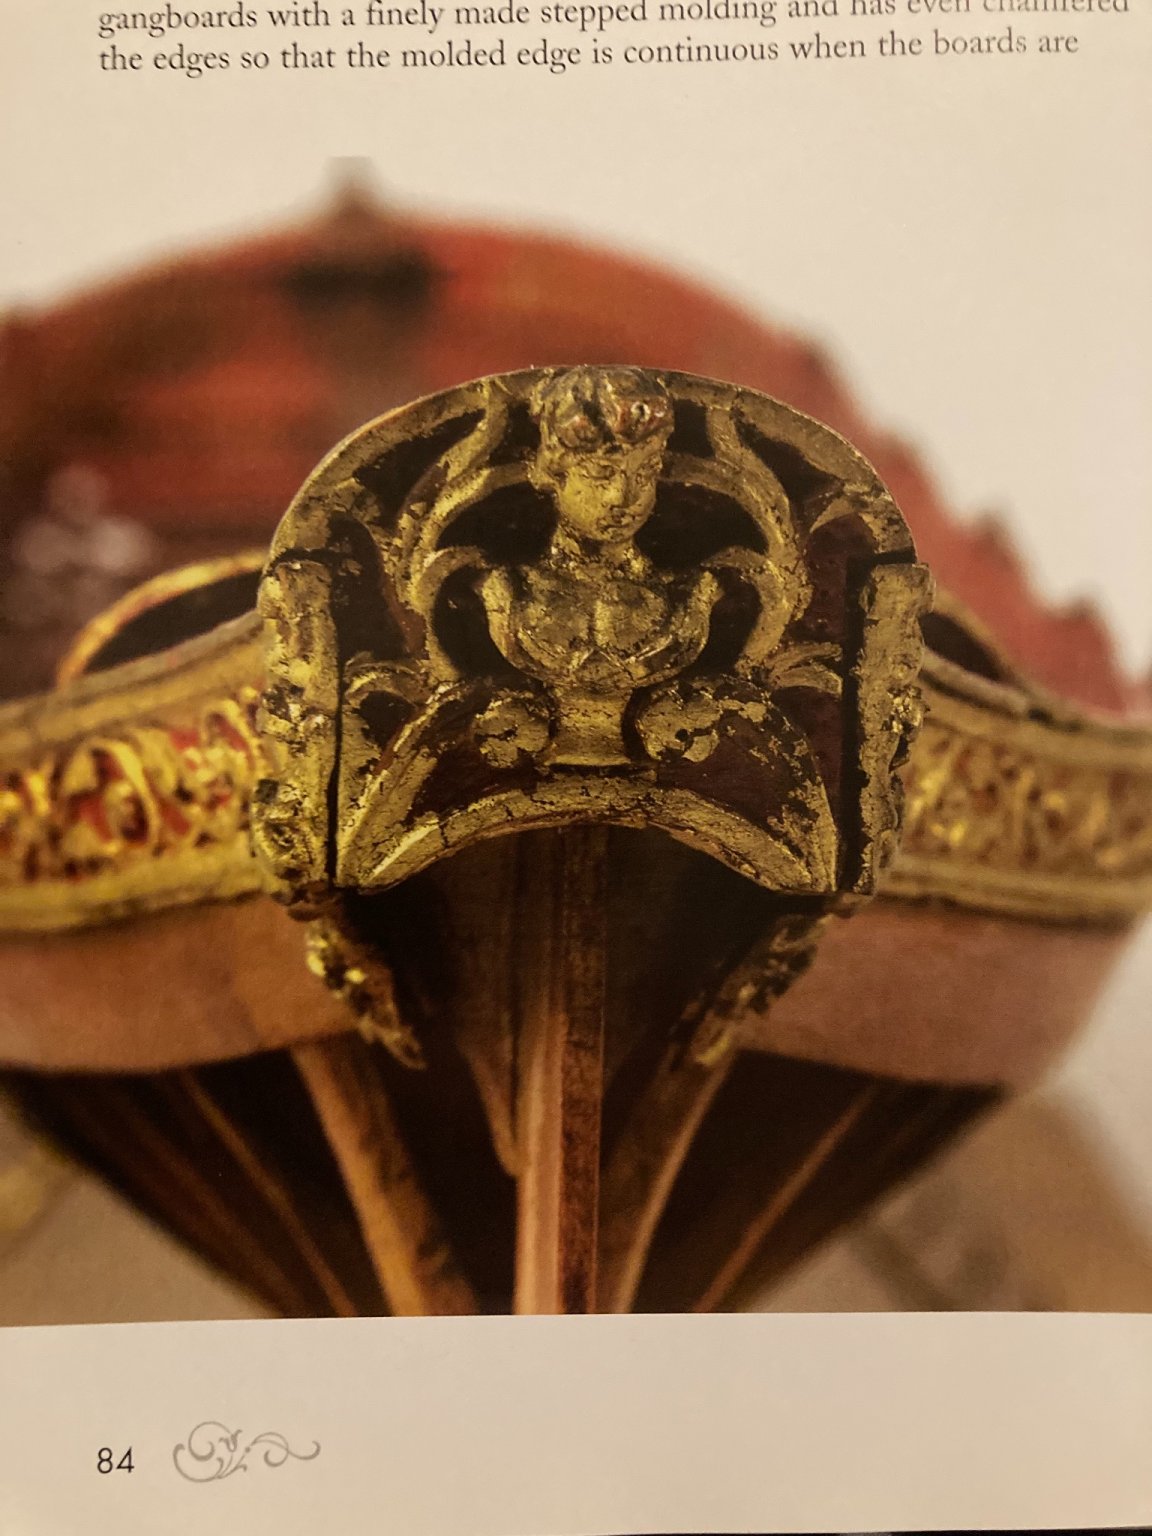
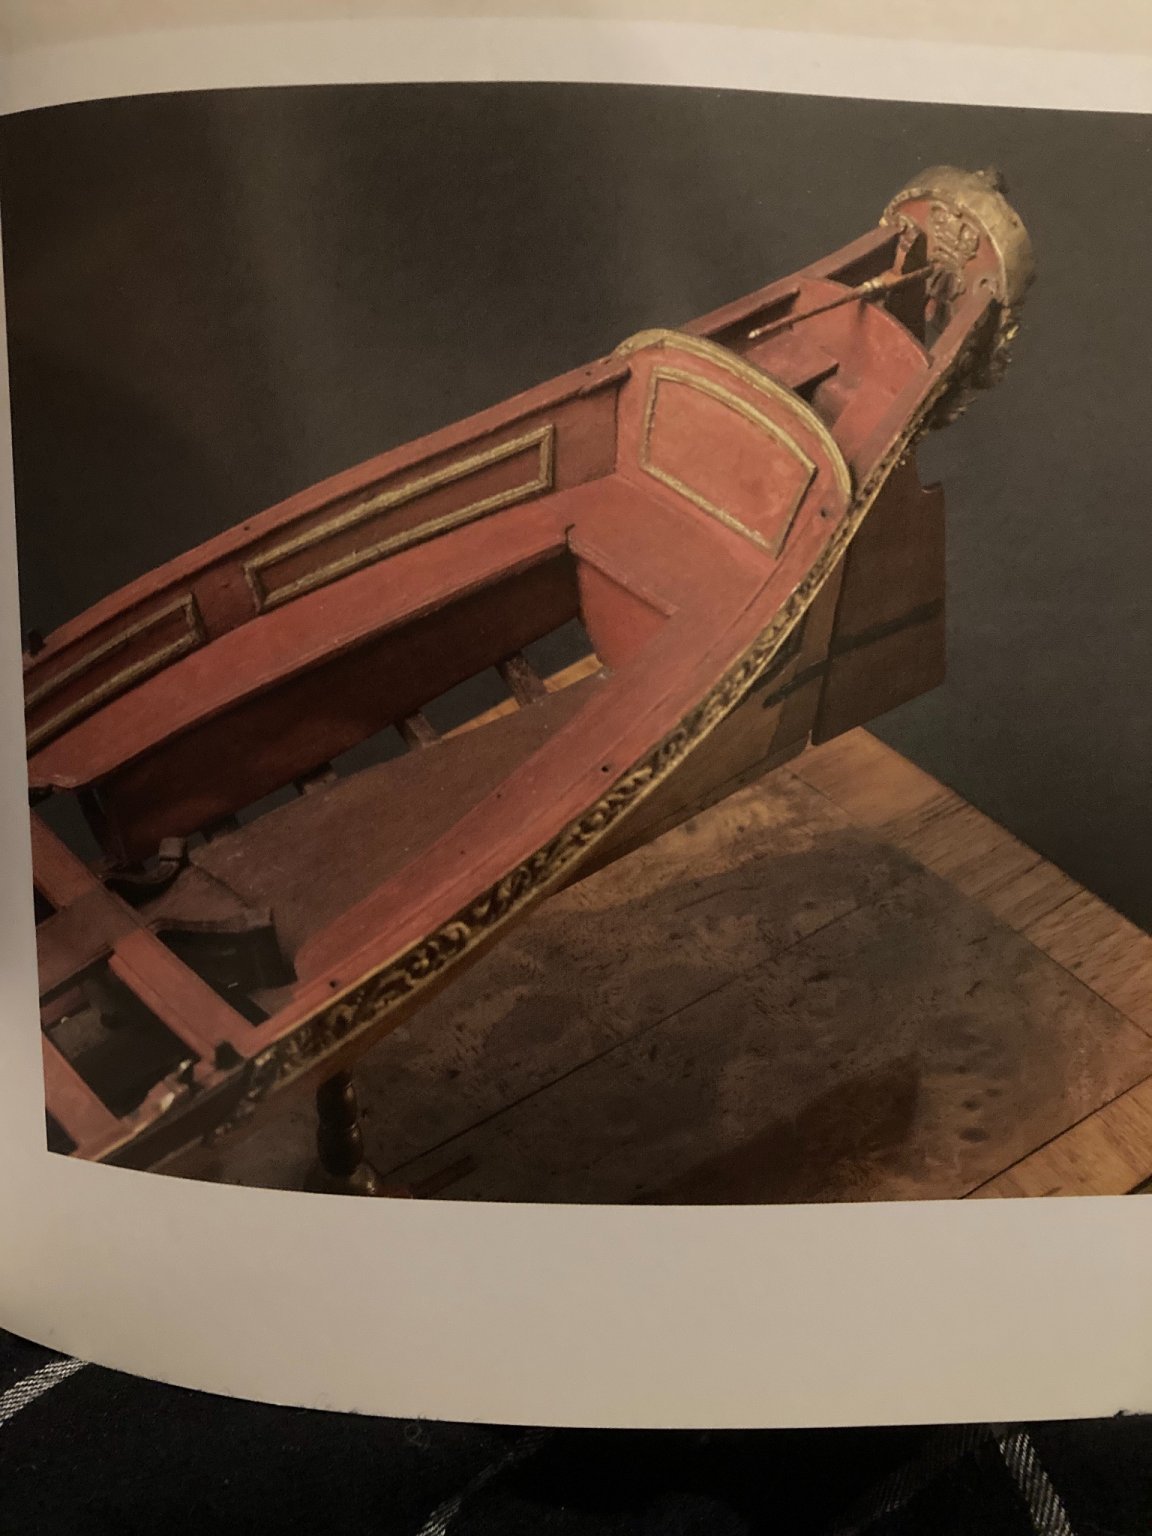
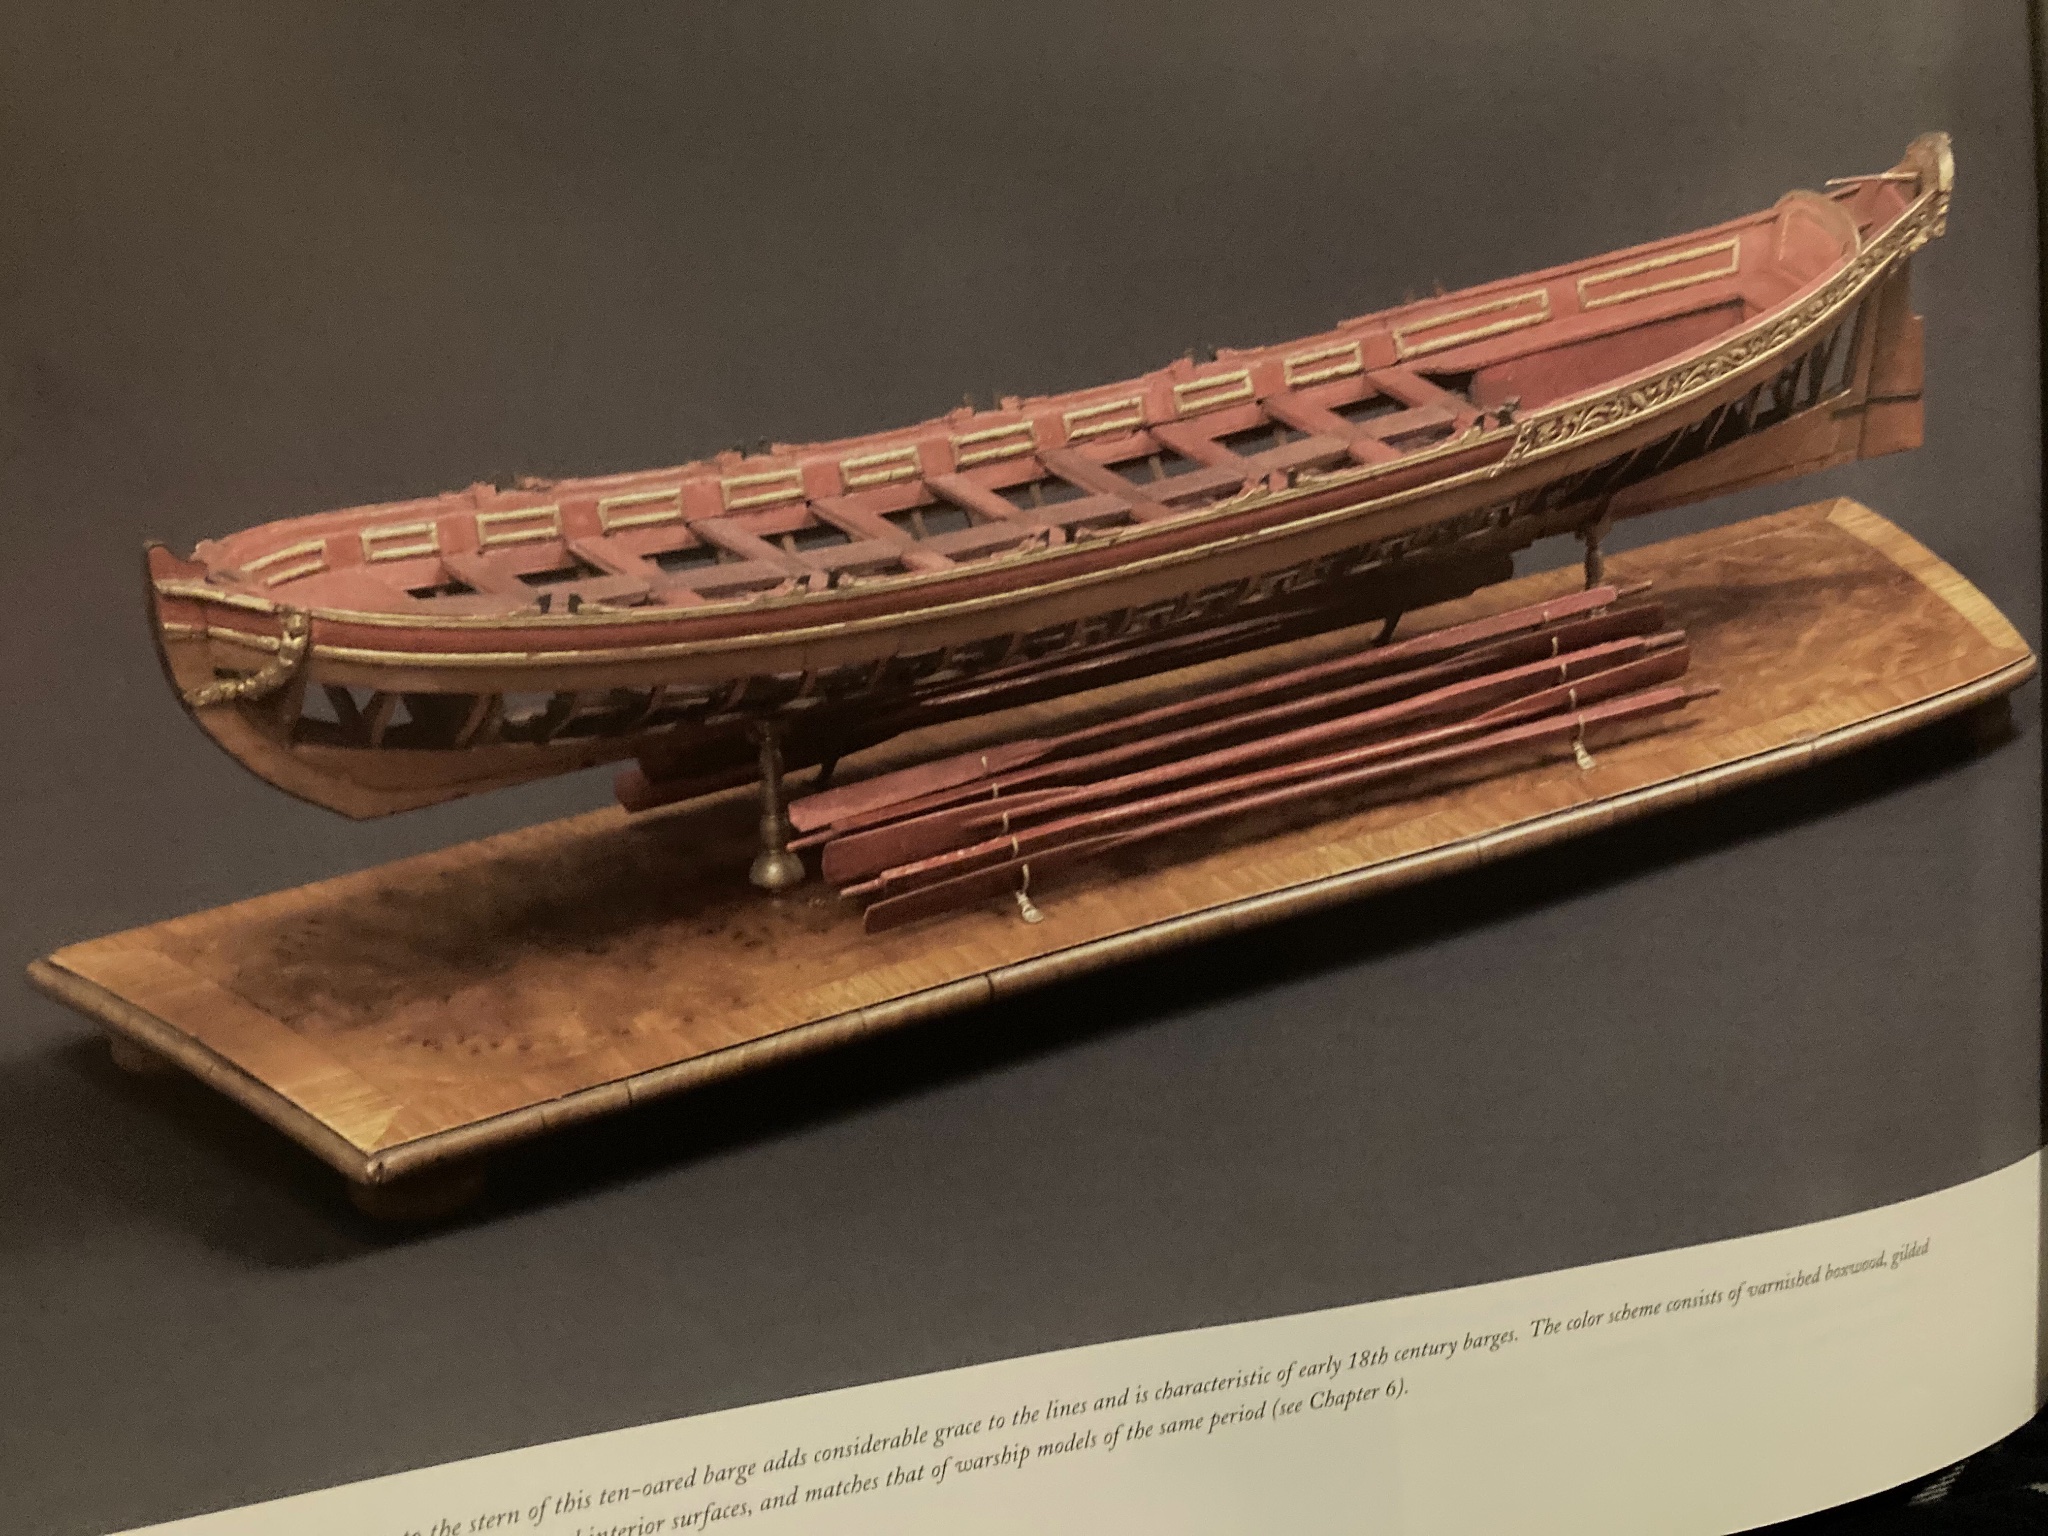
I found a few interesting images of similar period/contemporary models in Kriegstein Collection’s book by the Kriegstein brothers. Obviously all rights reserved regarding their book and images.


- bruce d, Duanelaker, Edwardkenway and 2 others
-
5
-
She is looking quite impressive!
-
-
-
FYI from another Jersey modeler. There is a NJ ship model club: http://www.shipmodelsocietyofnewjersey.org/ . Also one in Philly: https://www.philadelphiashipmodelsociety.com/
Welcome aboard! -
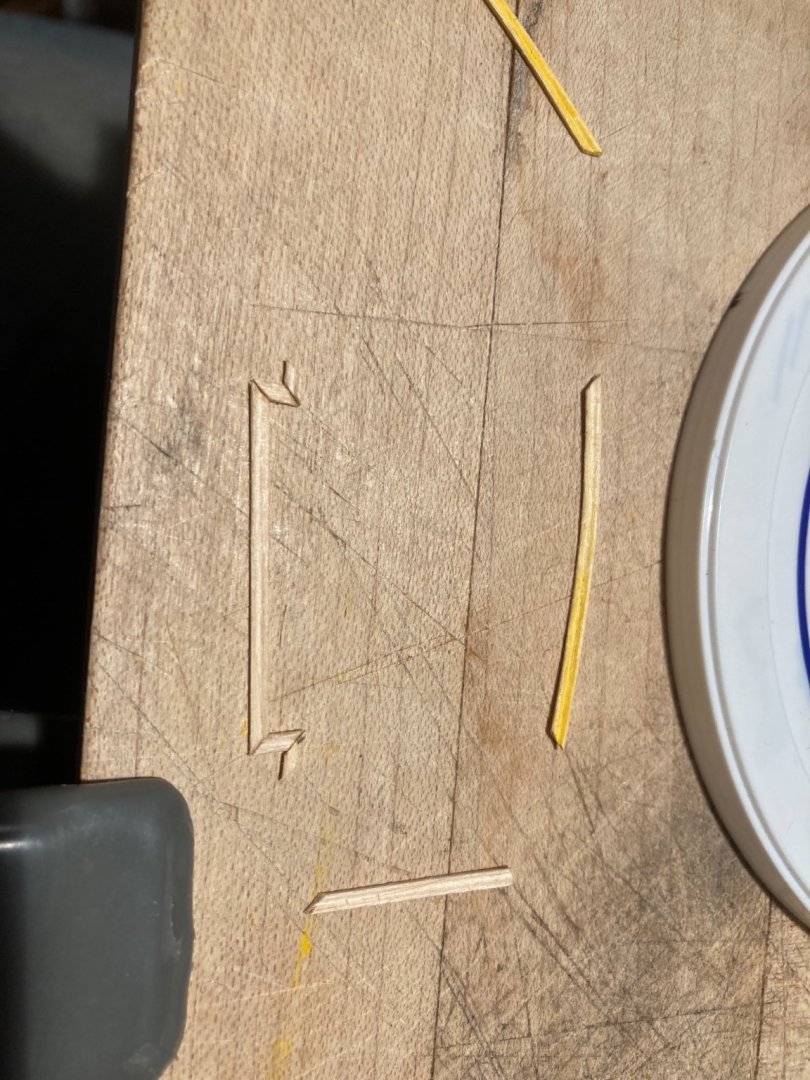
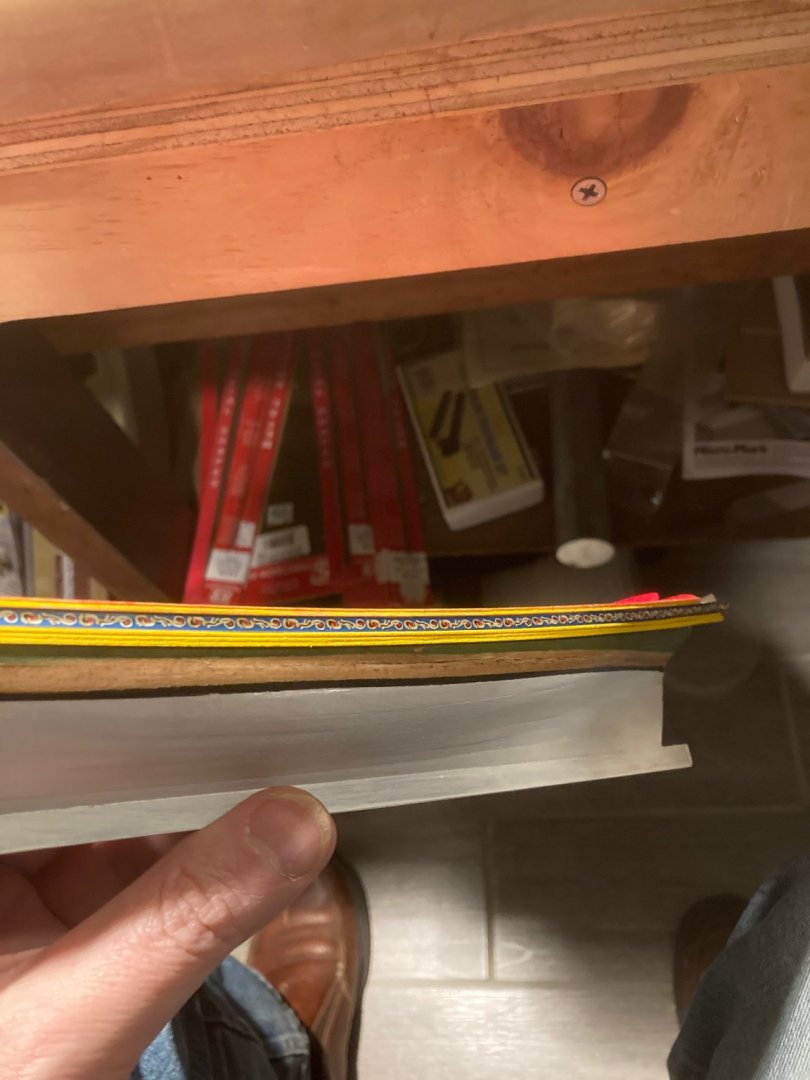
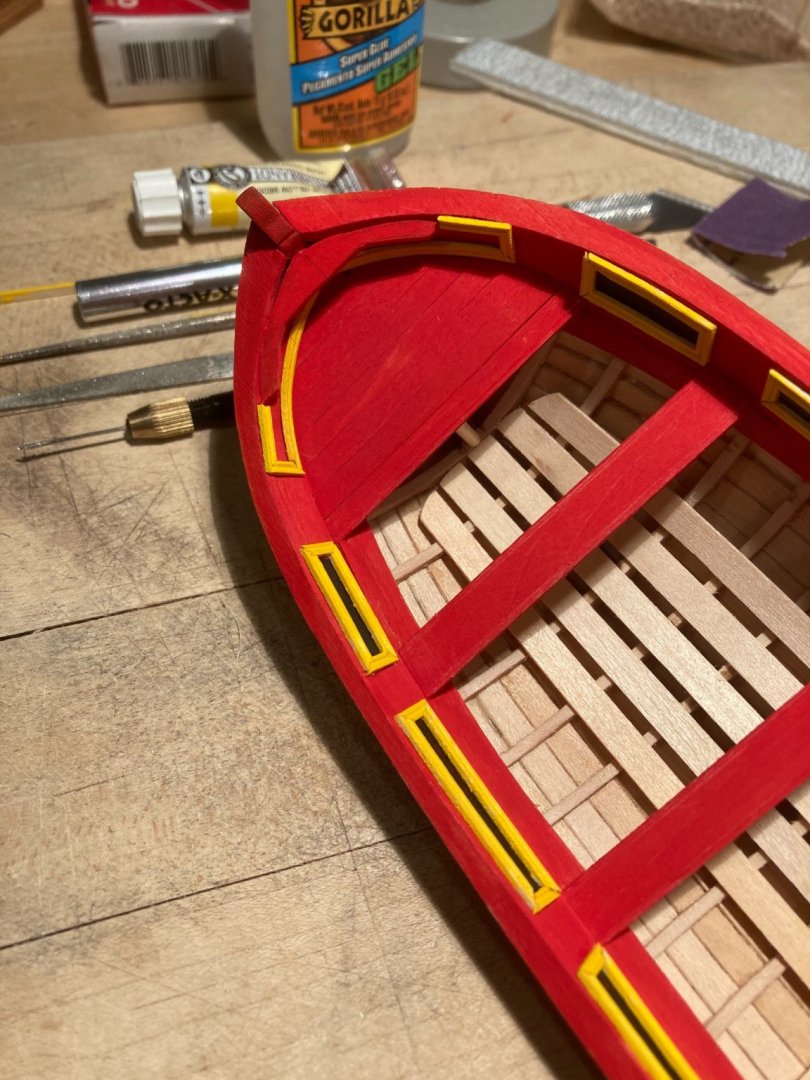
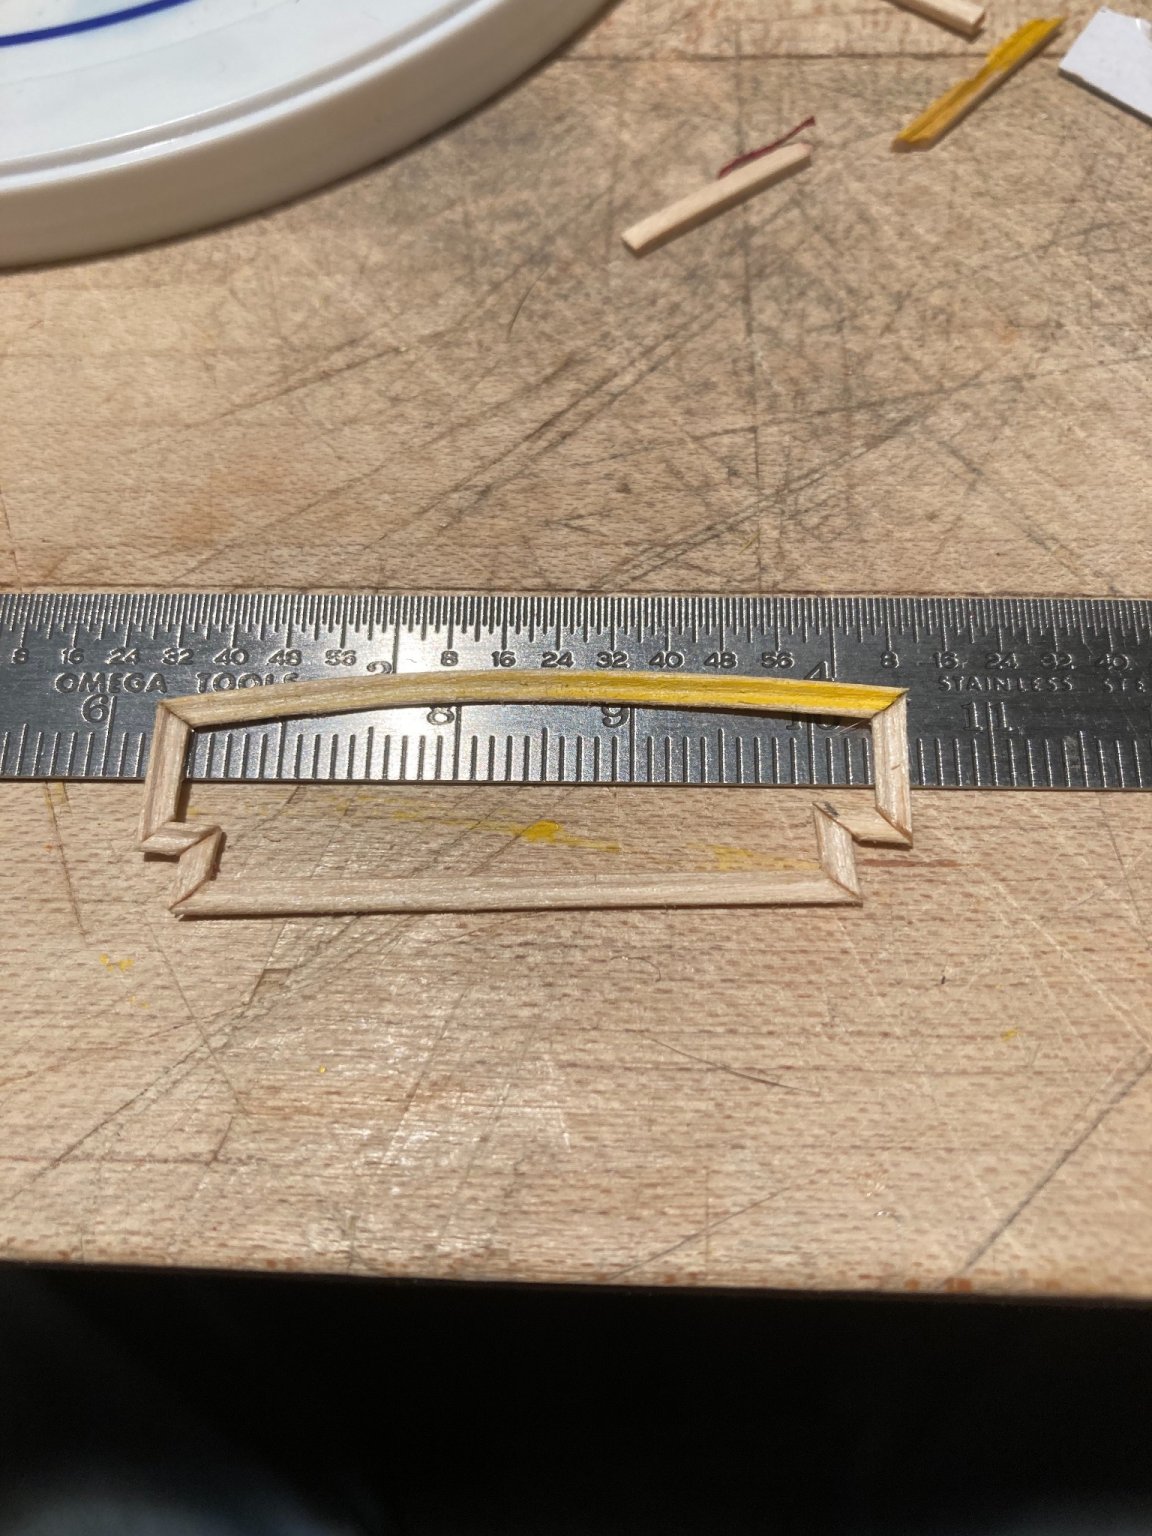
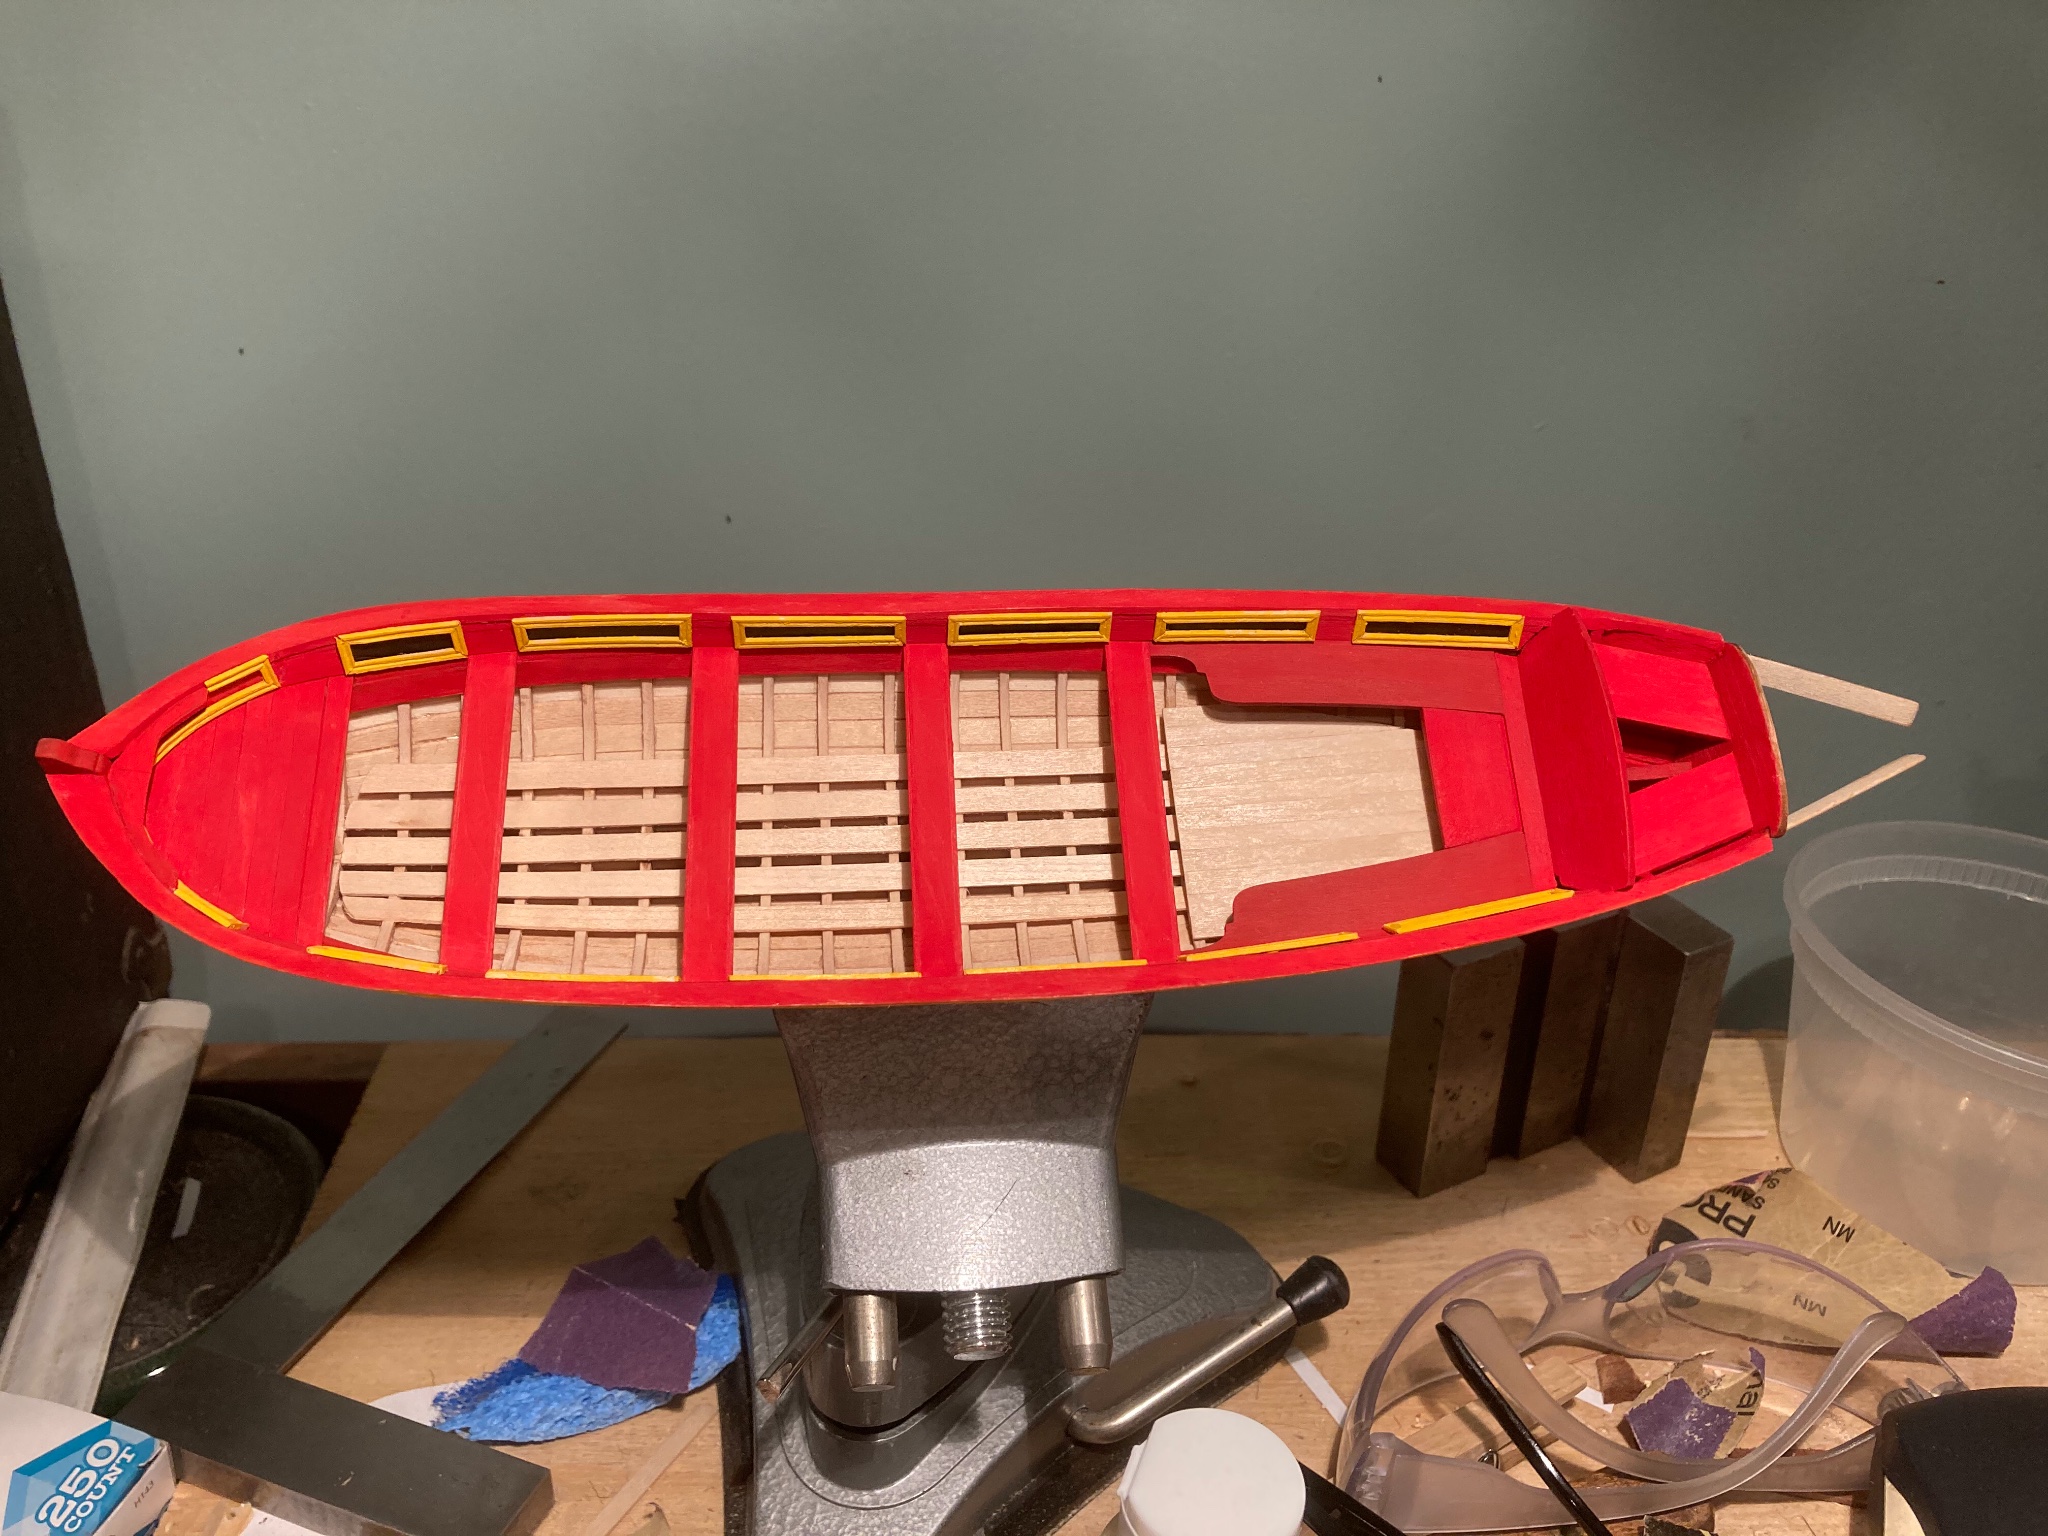
I made some more moldings and I think I have the hang of it finally. But have to work very slow to get reasonable results. My brass scraper is a tad wider than some of strips of wood and that is 'dangerous' to the out come unless I'm slow. I painted the moldings and applied them. I used a different pattern than suggested in the kit for the lower molding but in keeping with molding of the 18th century. (It is a poor rip-off from Chippendale's design book.) My heat bending wasn't as smooth as before for the moldings and I broke one trying to sand it. I simply applied them as two parts with extra care to knit together the ripped fibers. You can see my expensive palettes in the first shot as well as my glue applicator - a pin mounted in a long pin vise.


- DelF, Ryland Craze, Bill Brown and 7 others
-
10
-
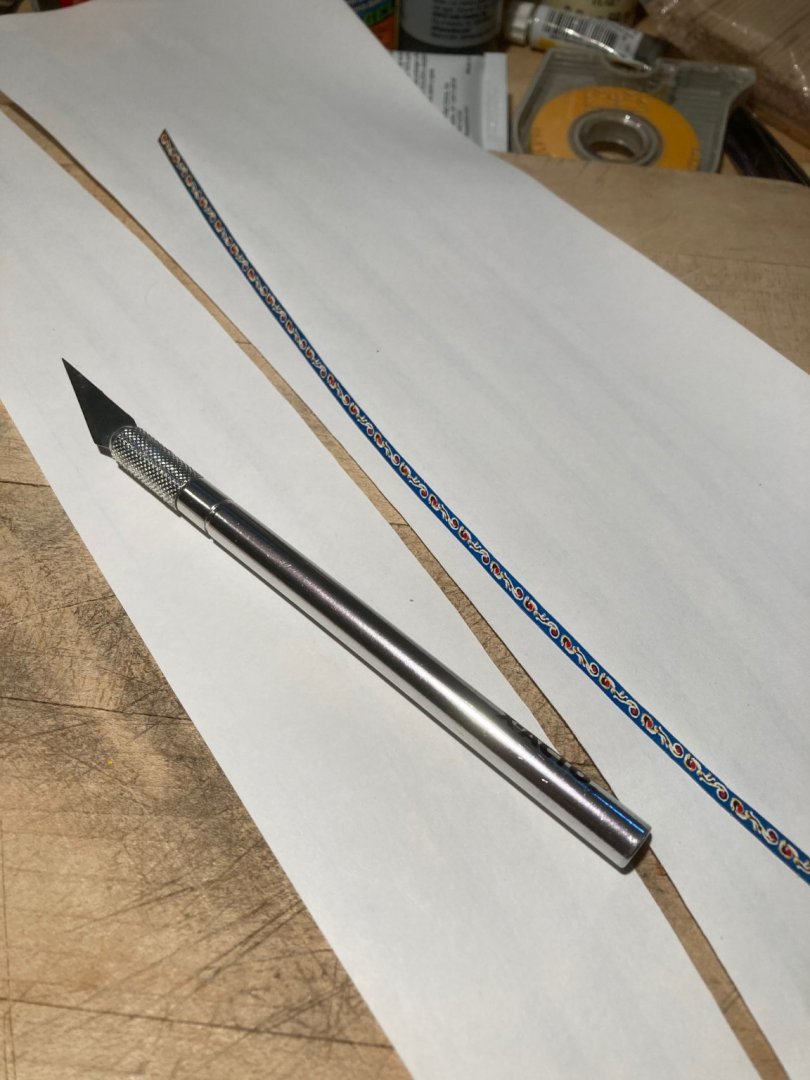
I also spent time with the printed frieze. I sprayed it with hair spray since I didn't have the recommended varnish. I used an #11 blade to cut the shape out. I used some white glue - I poured it on to my 'pallet' - a plastic yogurt lid and added a little water so it was thinner but still tacky. I used a watercolor brush to apply the glue to the boat's surface and then applied the paper starting at the bow and working to the rear, ensuring there were no wrinkles.
- Ryland Craze, GuntherMT and bruce d
-
3
-
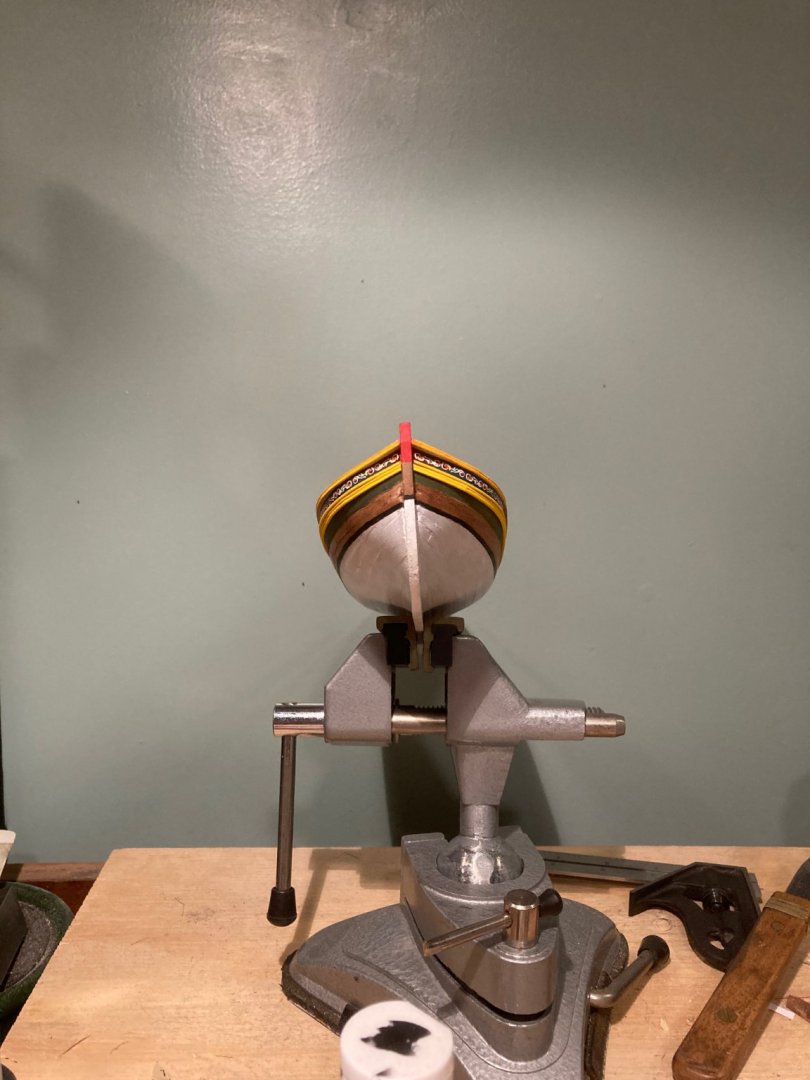
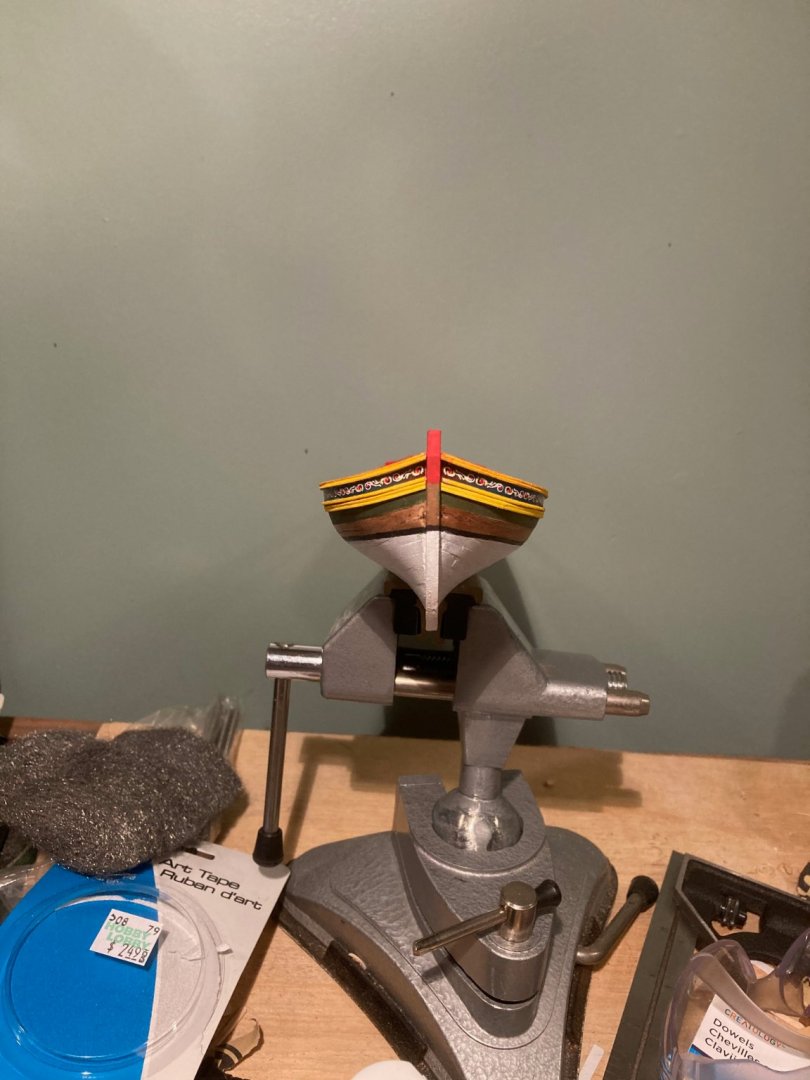
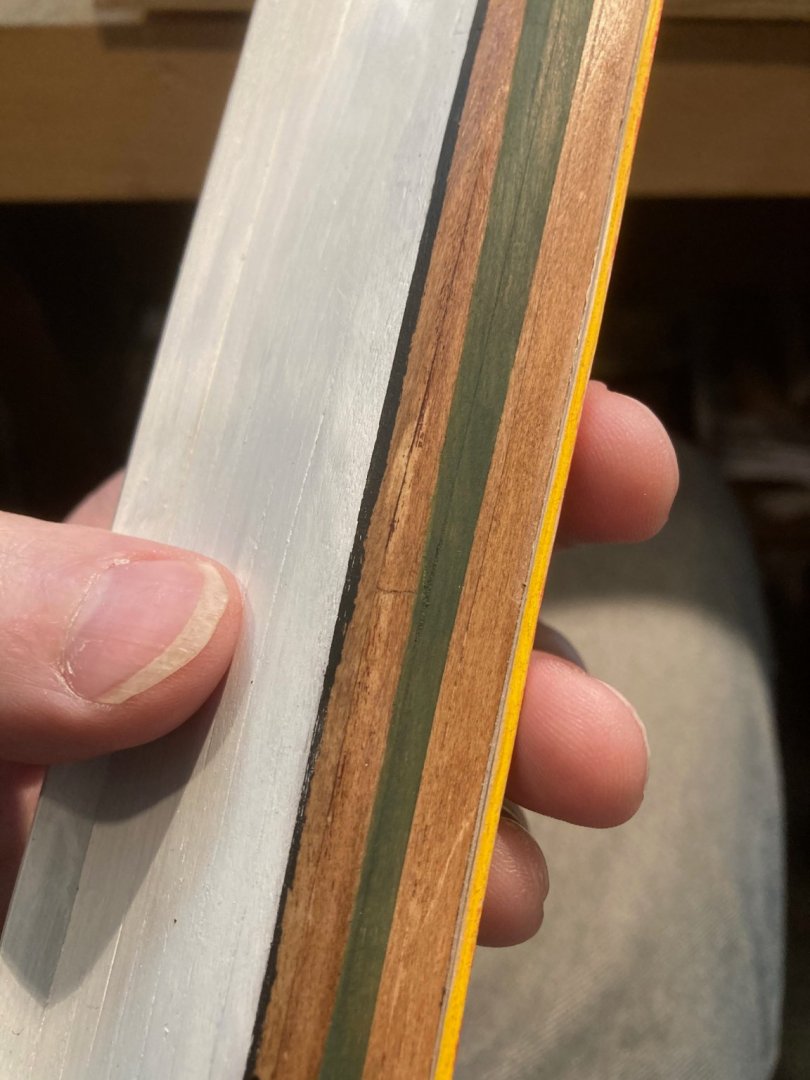
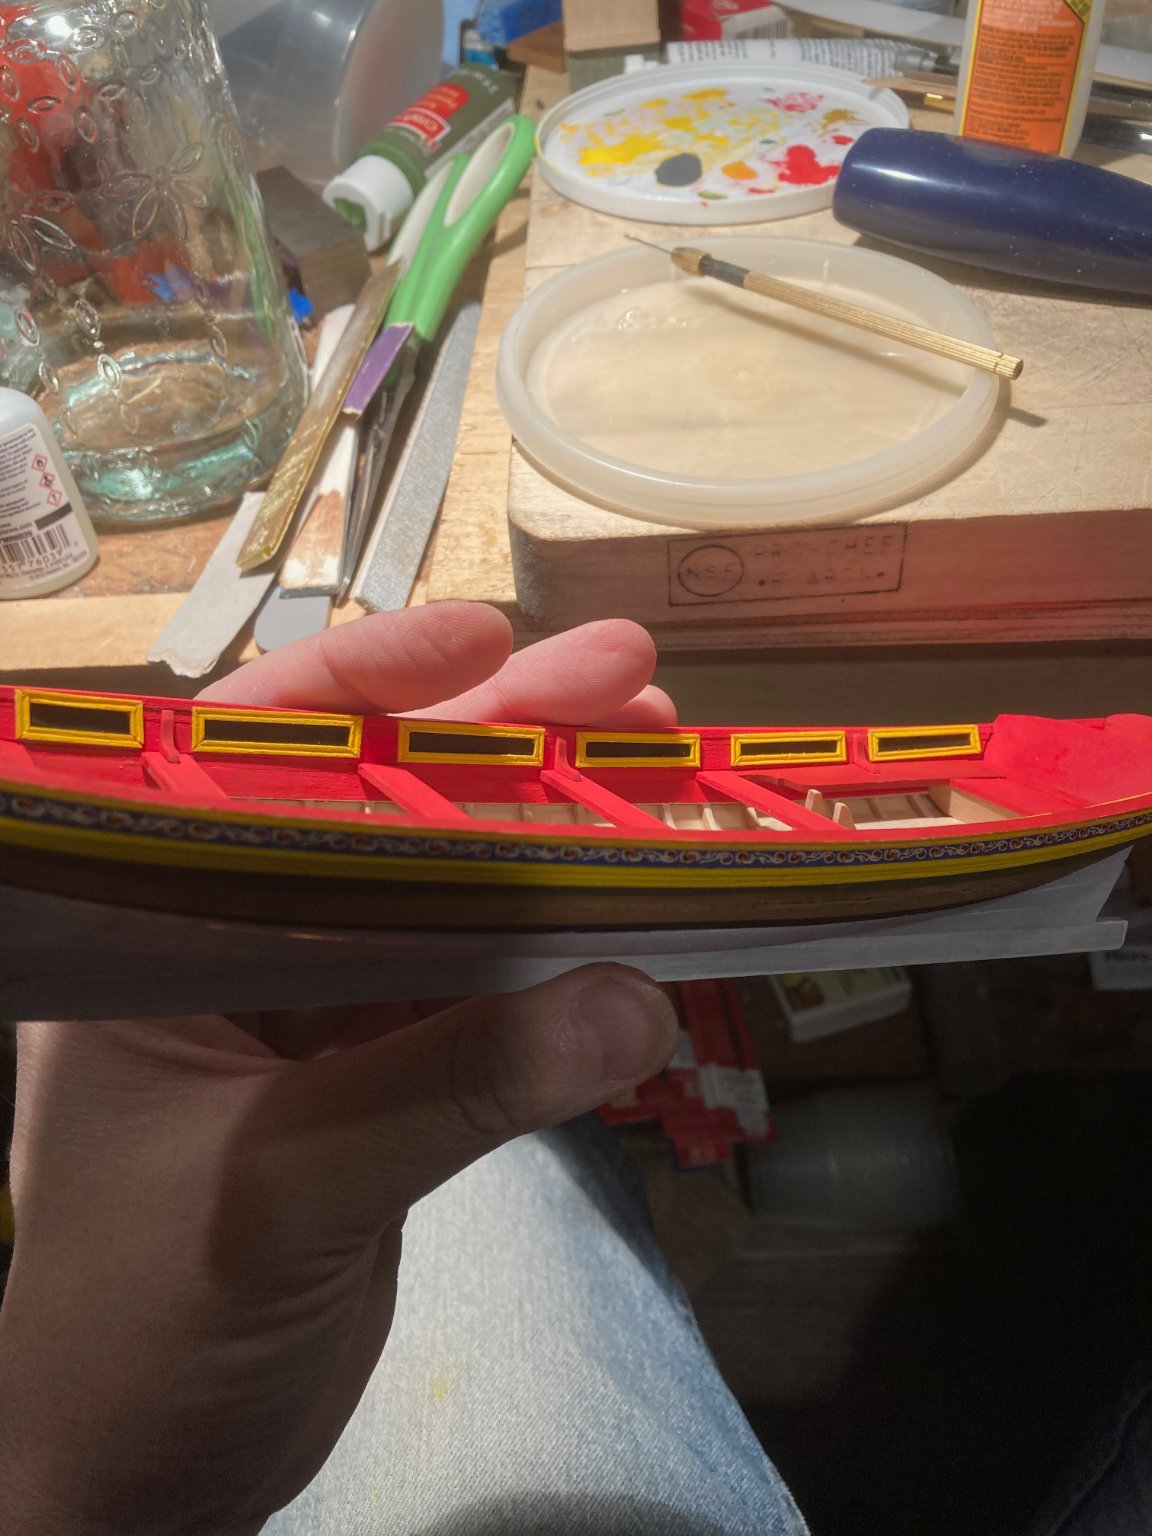
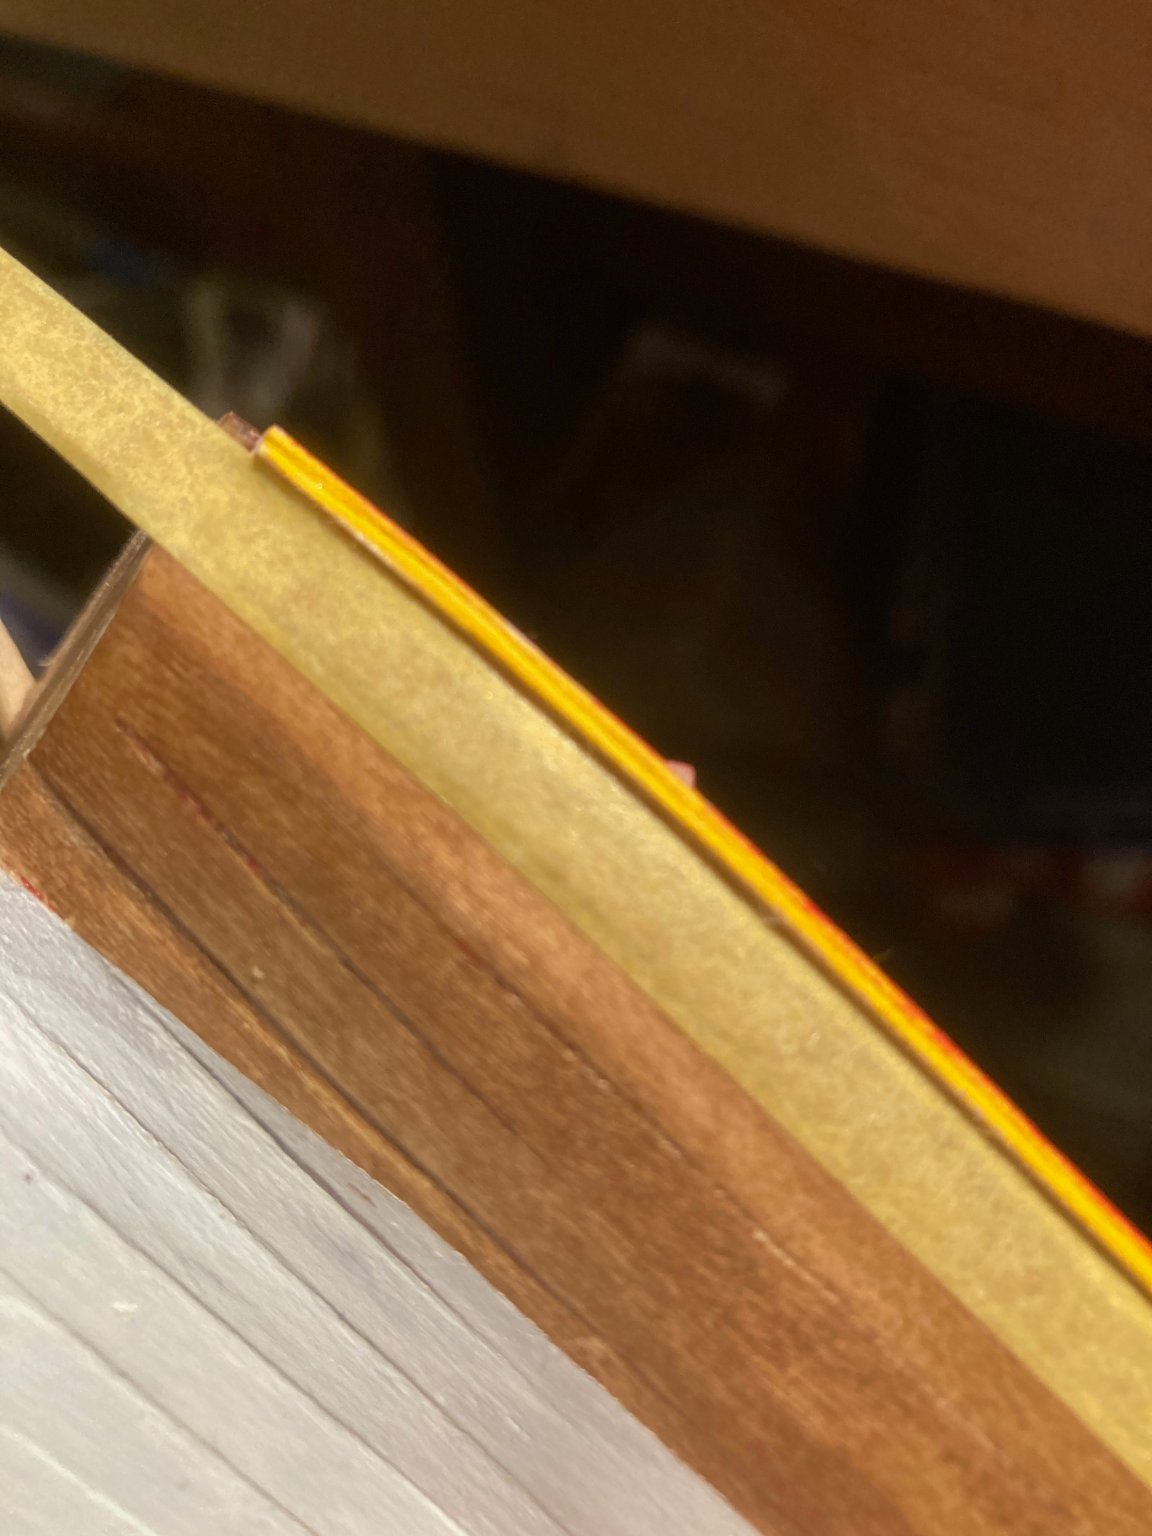
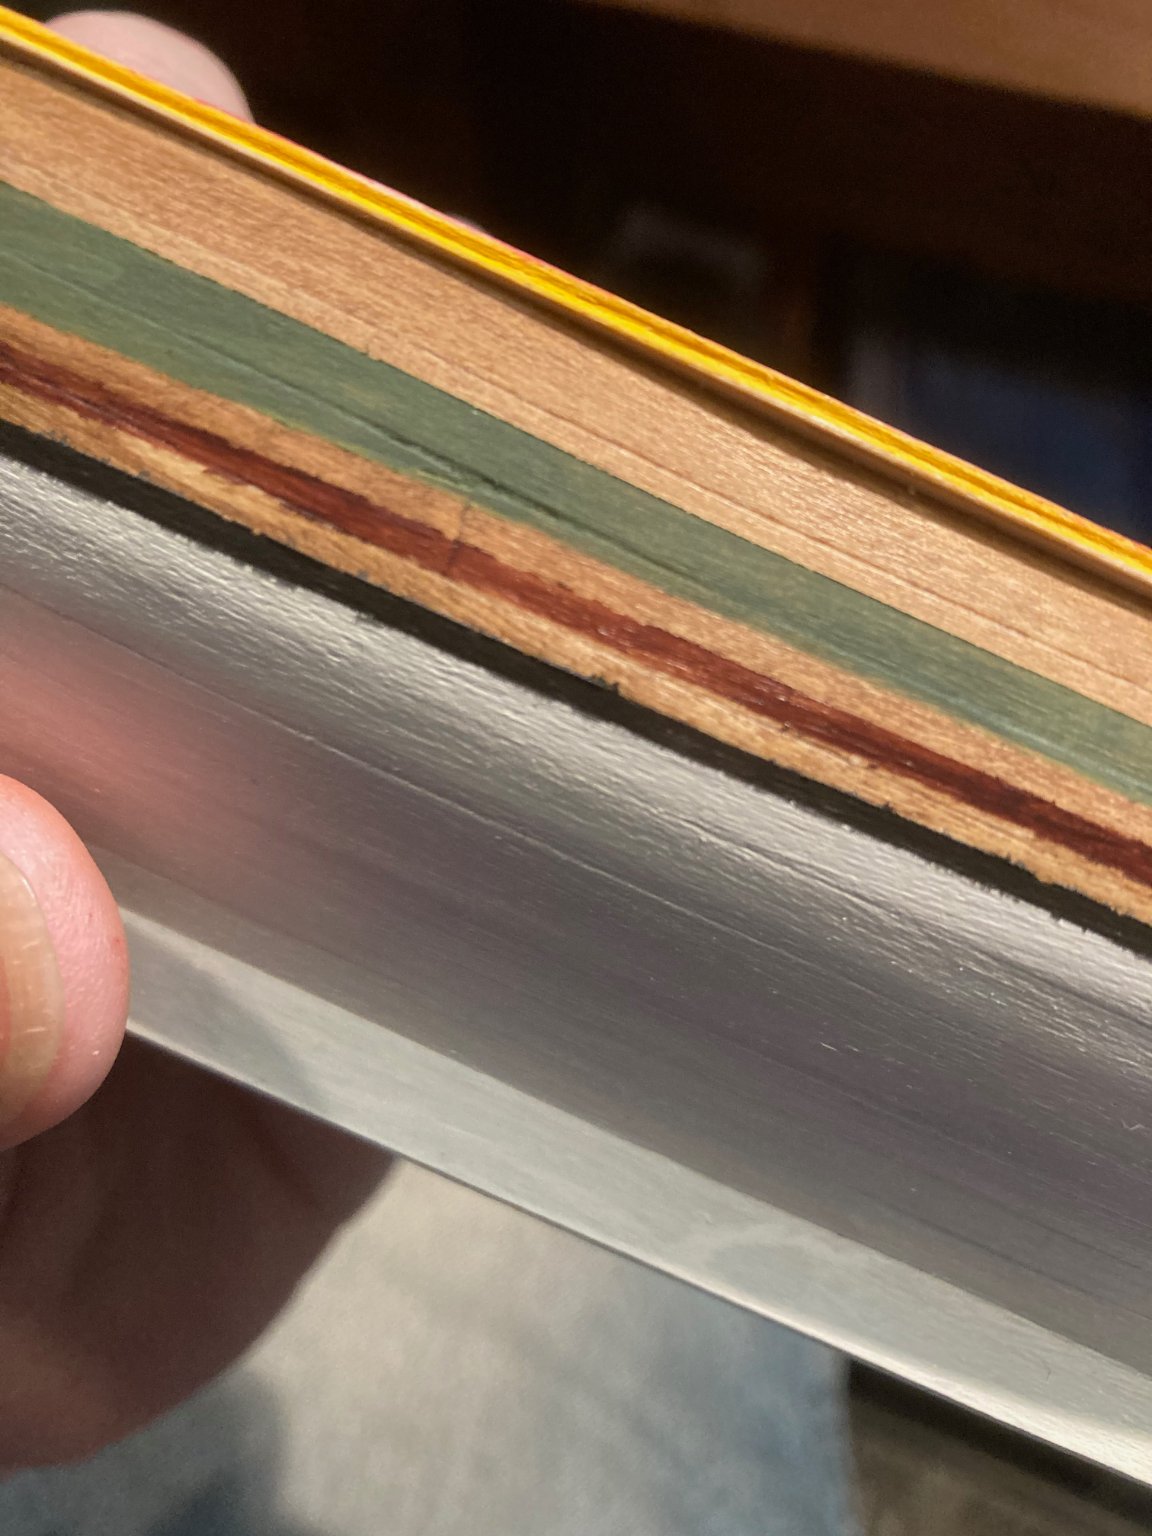
I spent some time working on the 'outside' while I dig up some of the recommended wire for the interior. I added tape for painting the stripes and picked some colors. I had a minor set back. I had some bleed through and I didn't like the stripping once viewed on the boat. I used an #11 blade to remove the bleeding and I used my finger nail and some rough cotton to remove the maroon/brown stripe. In removing the brown stripe, which removed a bit of the black. I repainted the black free hand.


- Ryland Craze, Edwardkenway, bruce d and 2 others
-
5
-
@Tigersteve Thanks for the heads up! I had tacked it in but it wouldn't release. So I'm still thinking about that.
-
-
In my humble opinion, there isn’t much difference between either regarding cutting surface. Most important is being sharp. Sharp trumps most things!
So what ever gets you to sharp easiest is the first goal.
Then later, what gets you to sharp the quickest is the next goal.
Personally, I use water stones free hand but it takes a while to become comfortable with that approach.
-
I don’t use the micro-bevel myself. I have nothing against and I believe might a tab more forgiving to sharpen (folks new to free-hand sharpening might roll a bit and create a curved surface instead of flat and a micro-bevel can be added to either just fine). I personally fine having both sides of the chisel flat most useful but this is also a side effect of how I have learned to use the chisel. Most folks coming from the x-acto world wouldn’t notice the difference.
-
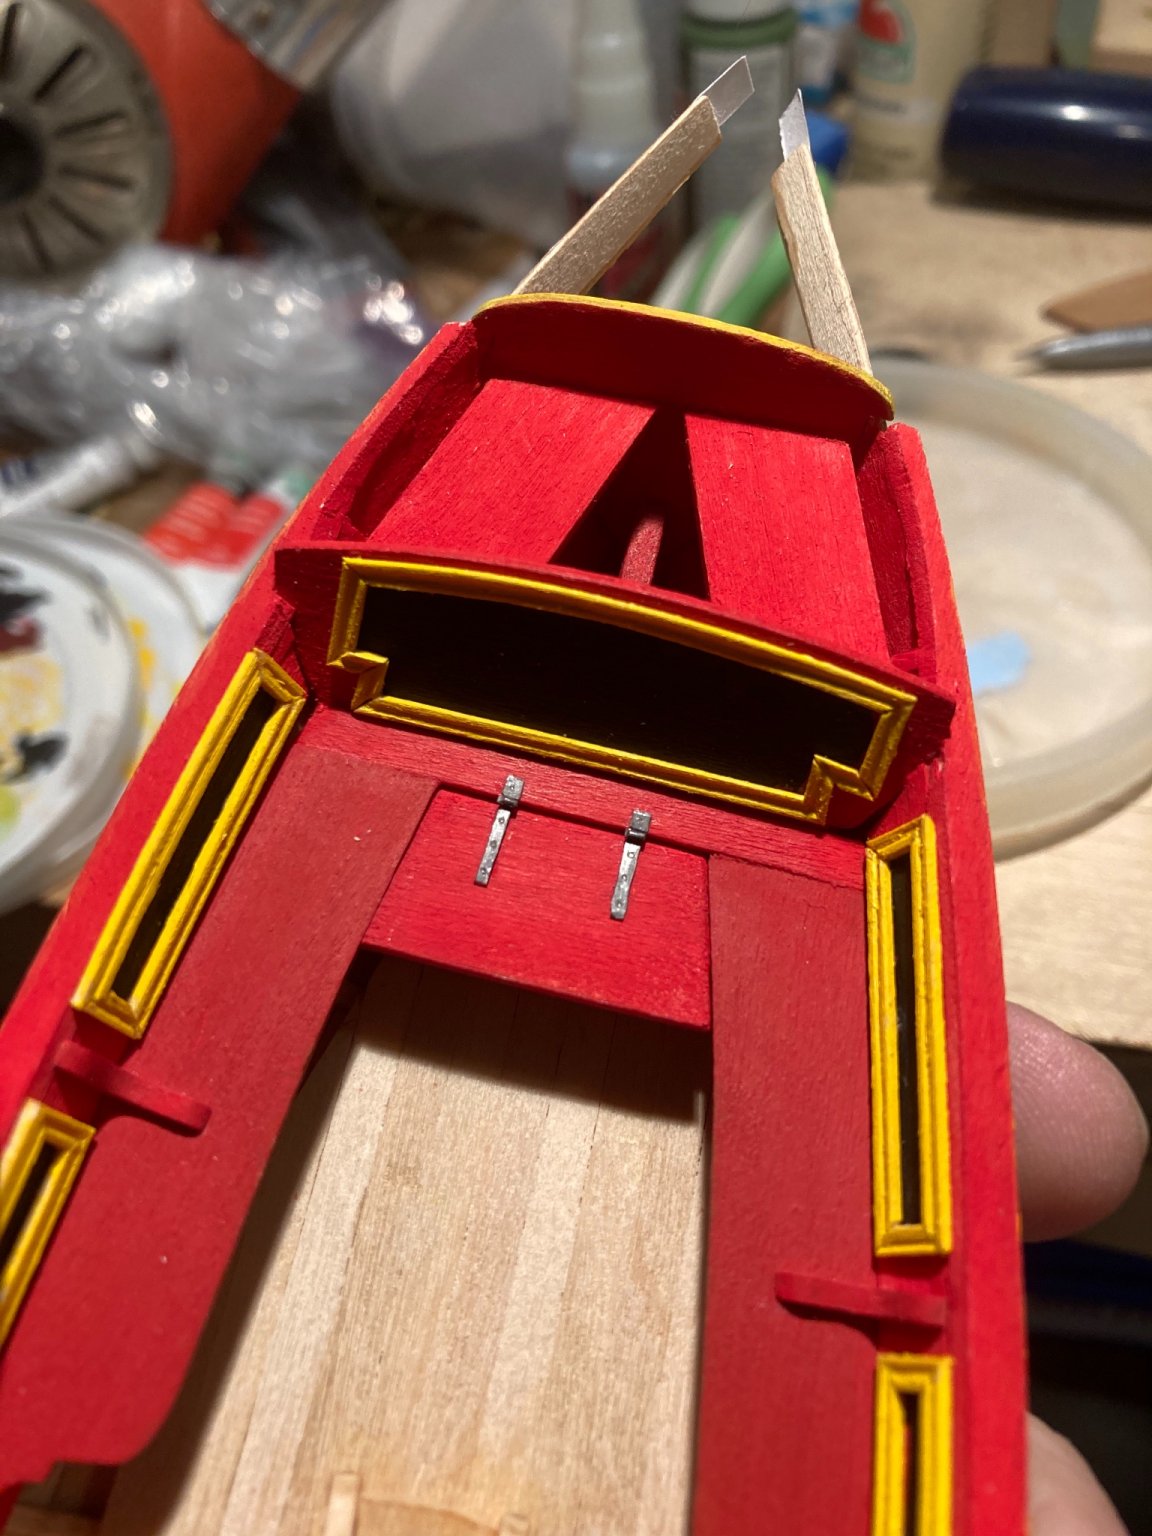
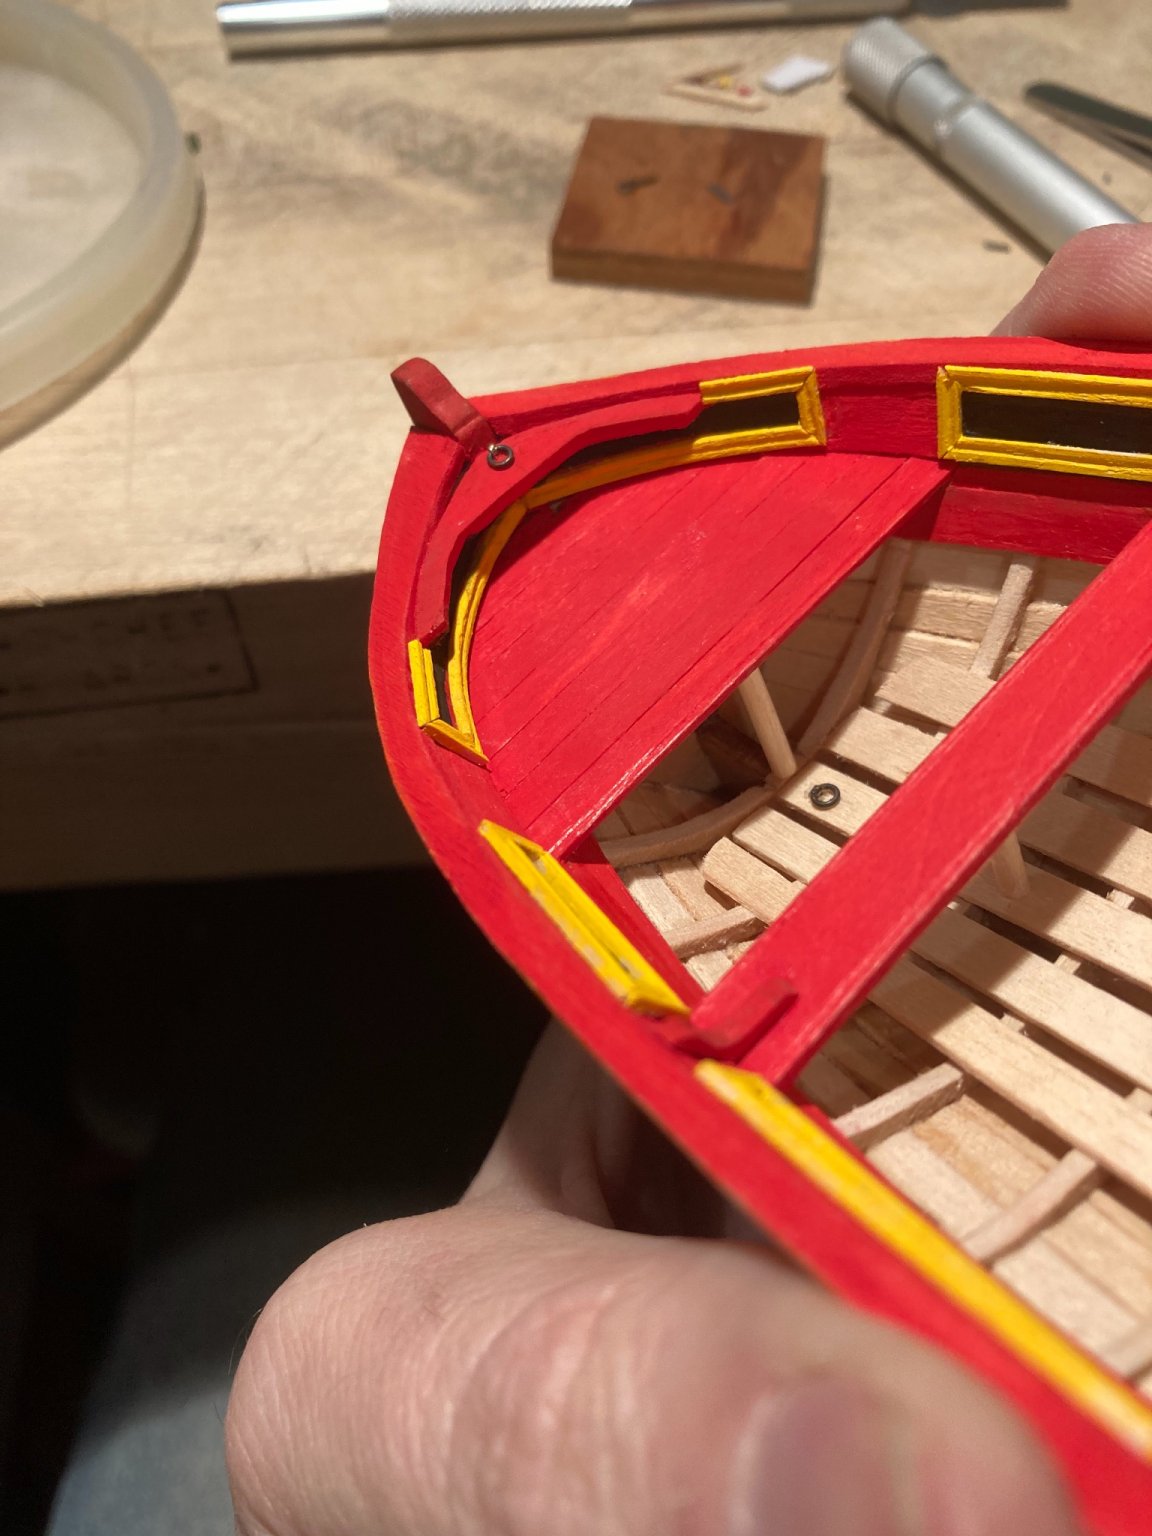
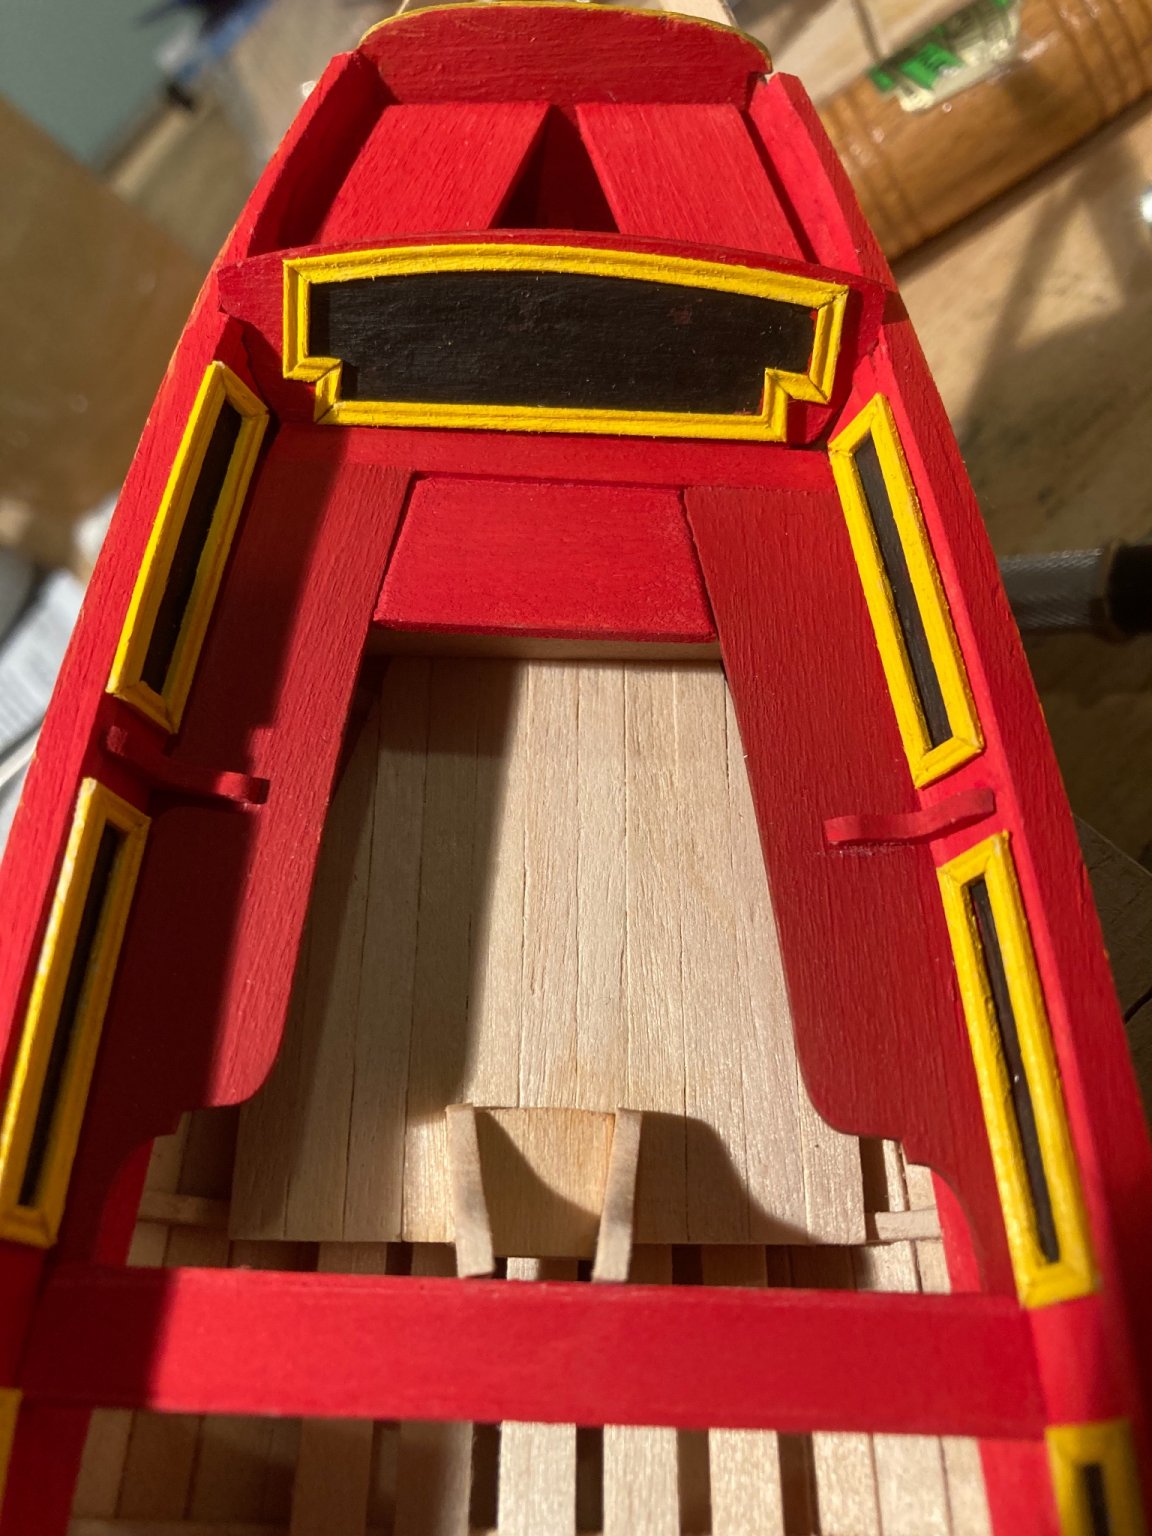
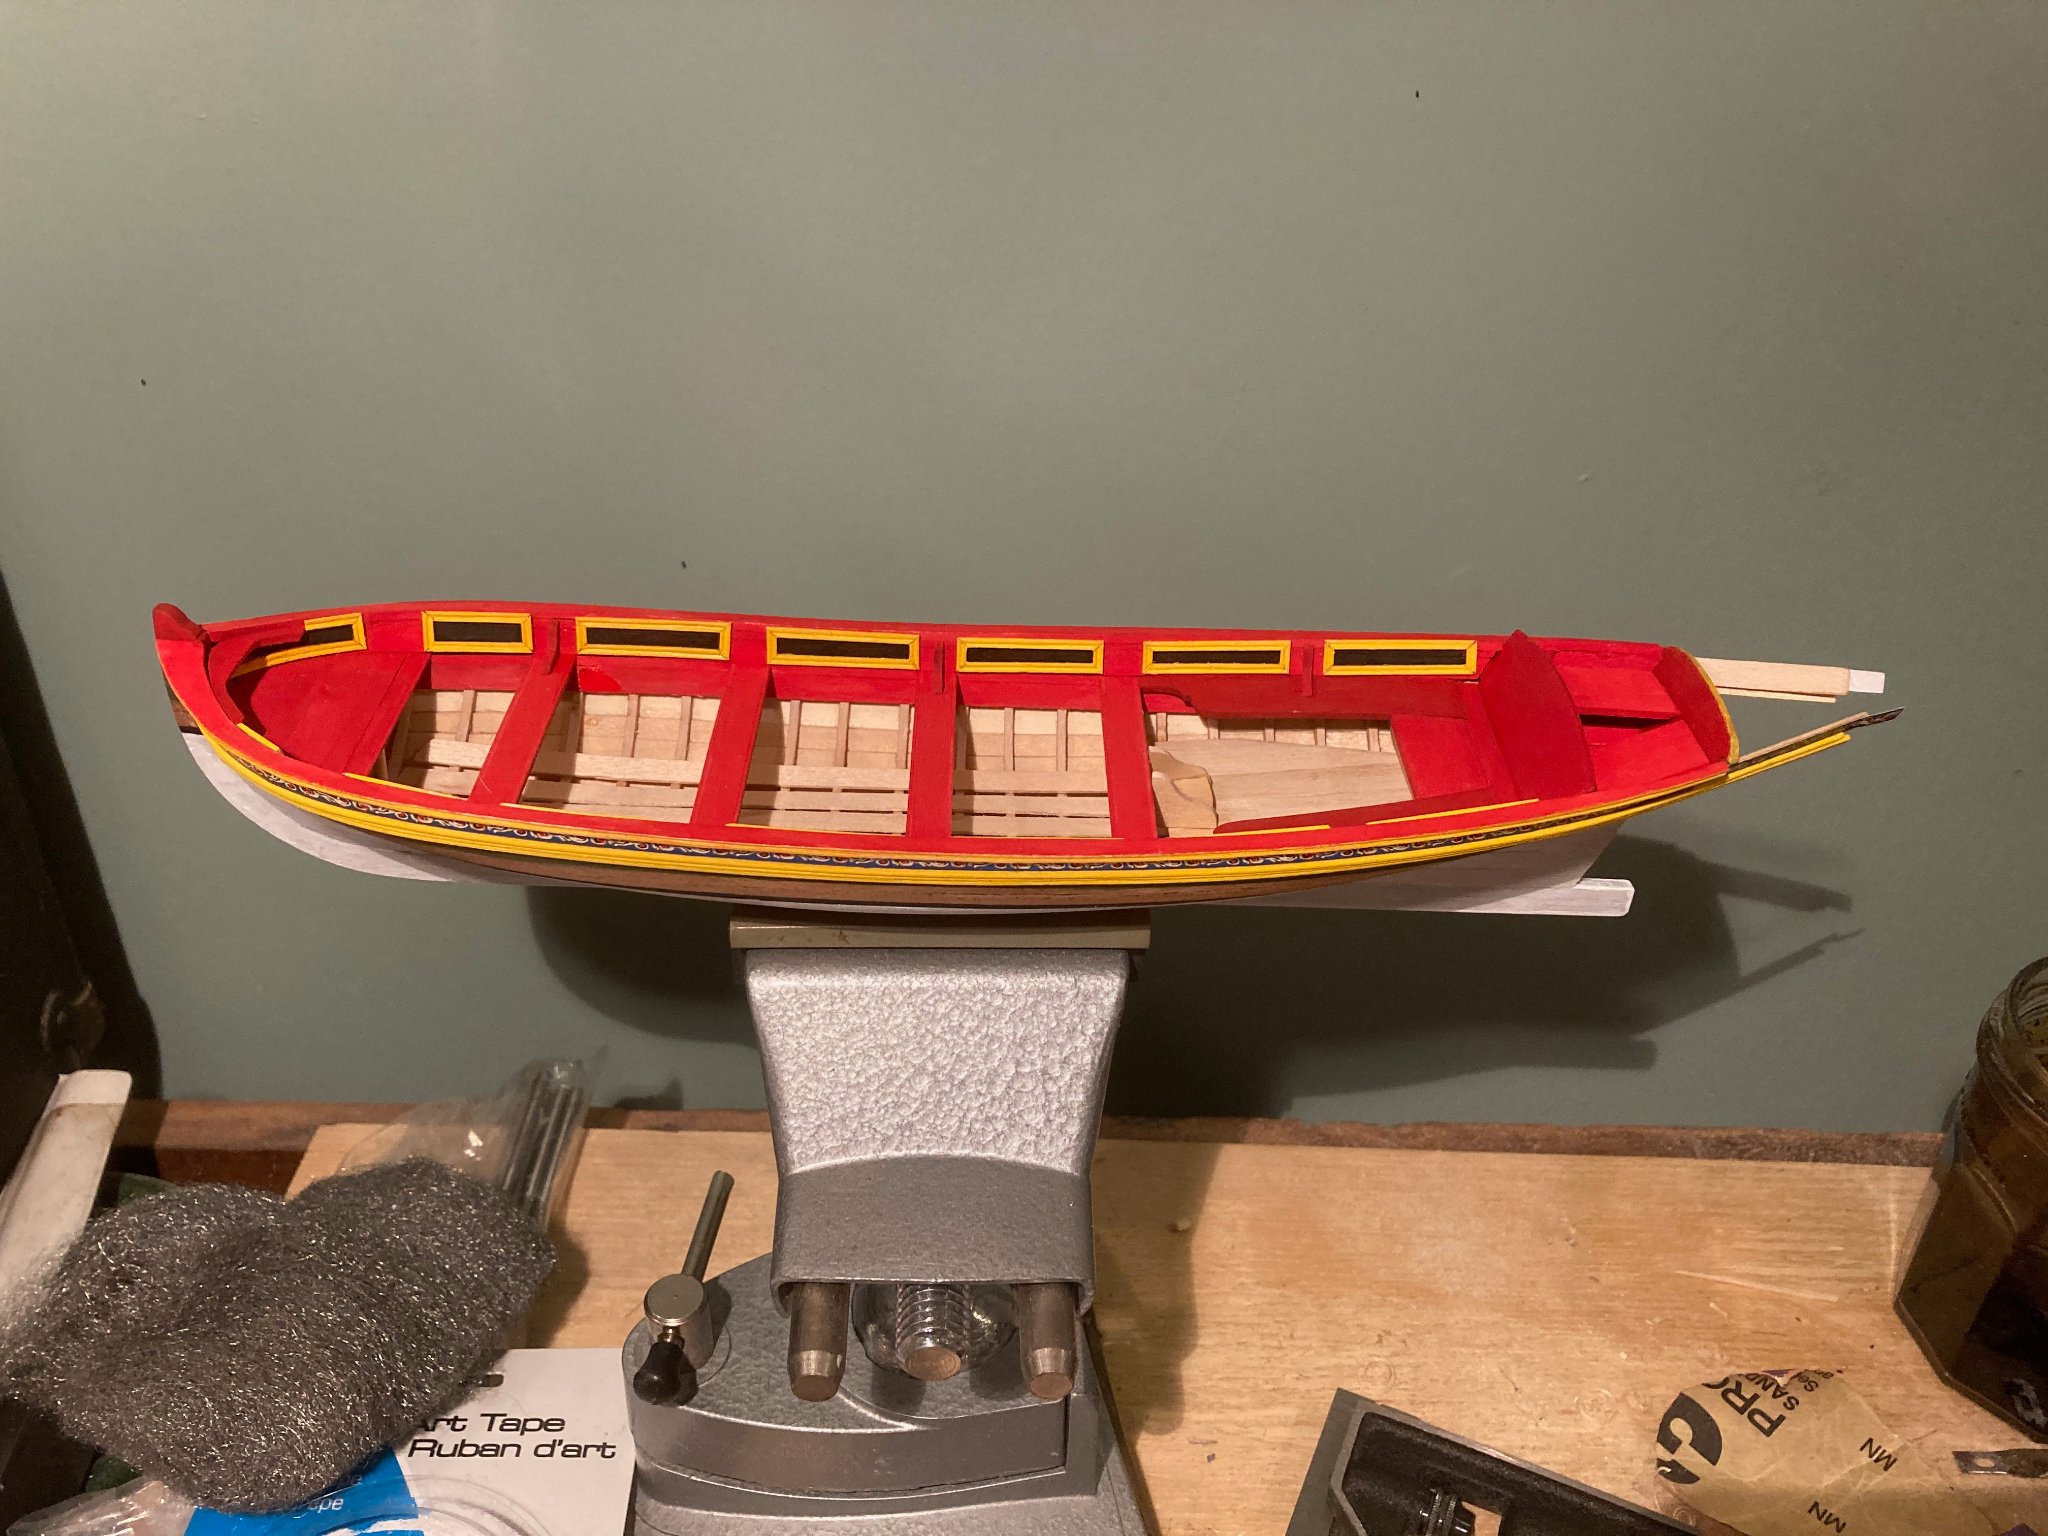
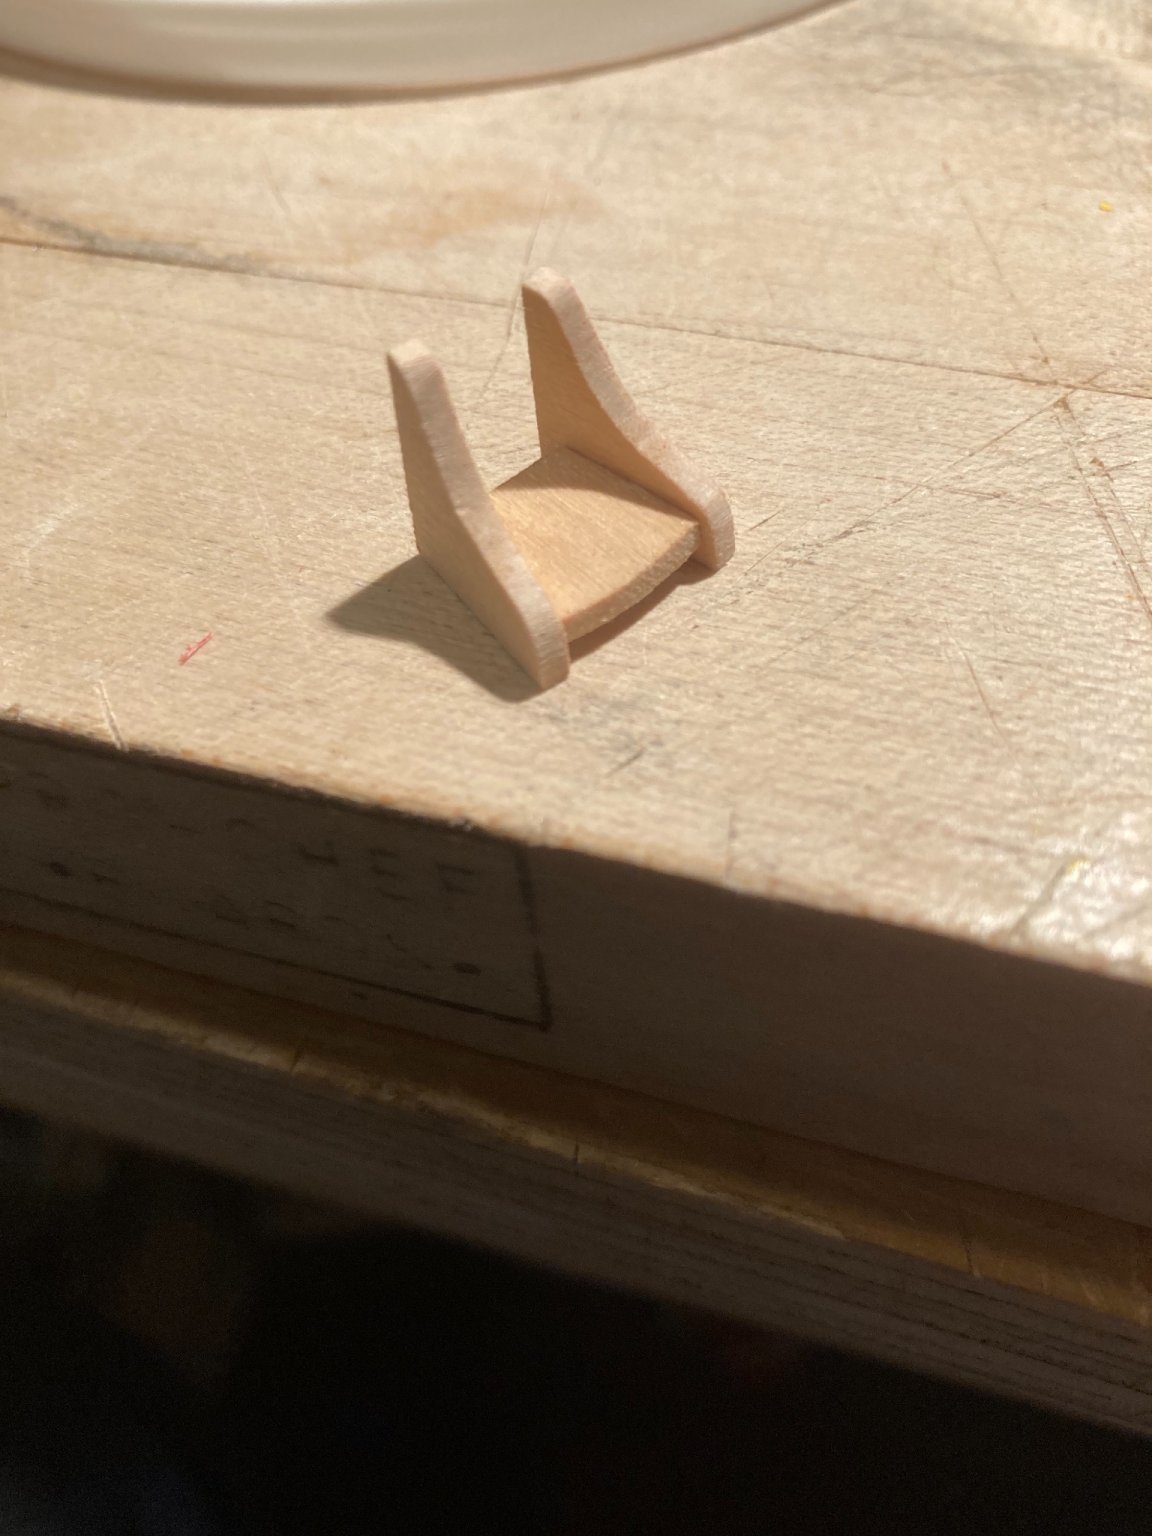
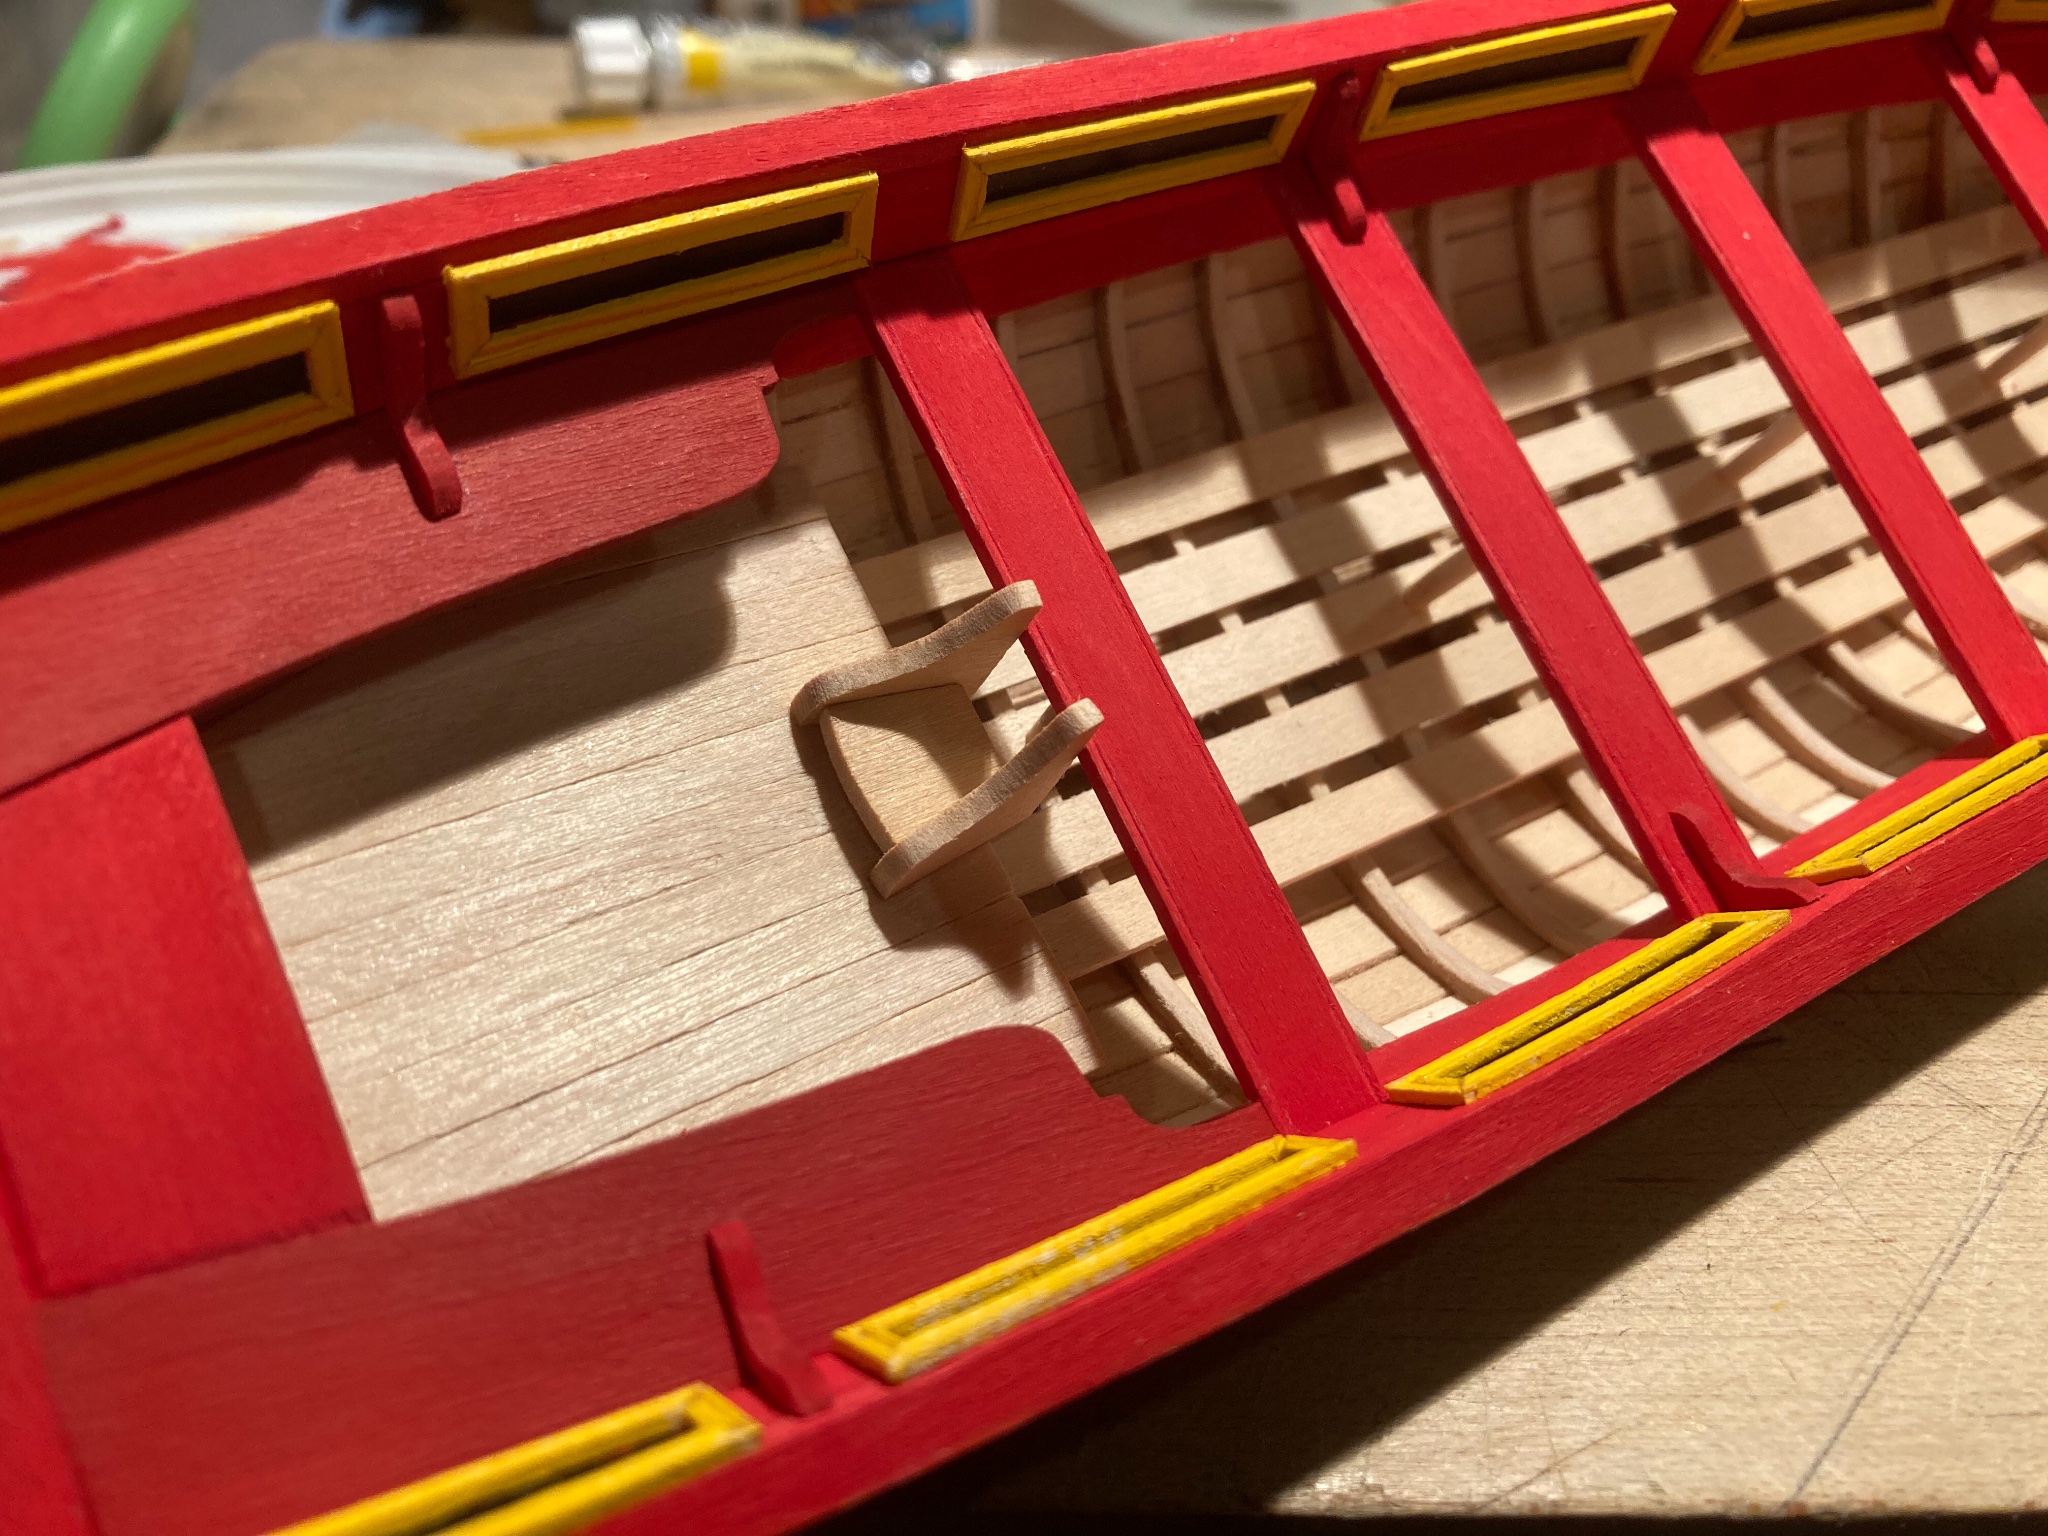
I also added the officer’s steps and the knees.


- GuntherMT, michael mott, DelF and 3 others
-
6
-
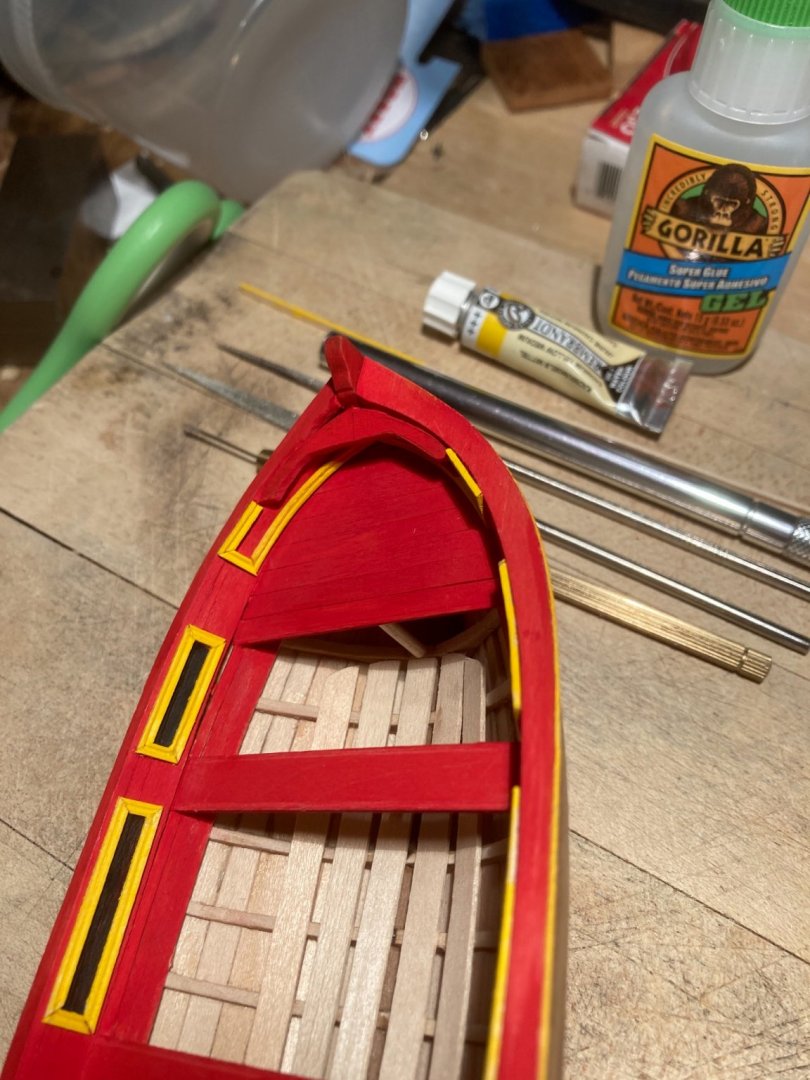
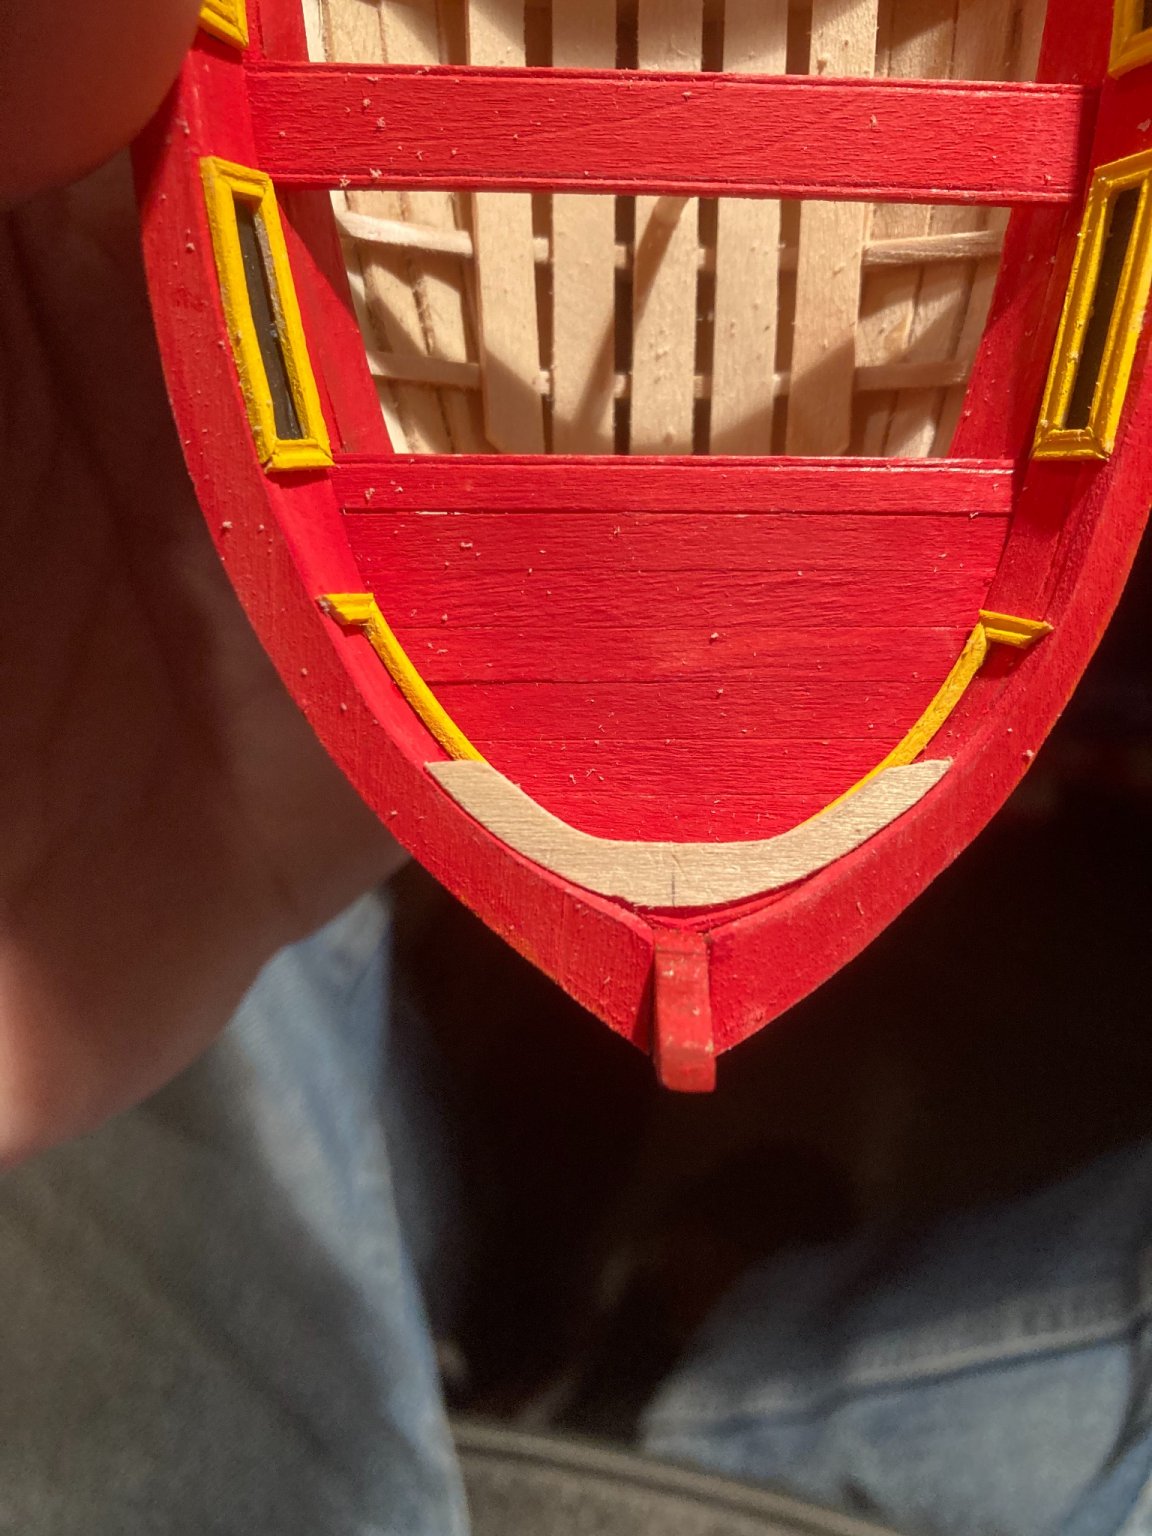
At this point, after I added the remaining molding, I realized I needed to add some matching black paint. Luckily, a 000 brush and a steady hand did the trick.


- Ryland Craze, DelF, VTHokiEE and 3 others
-
6
-
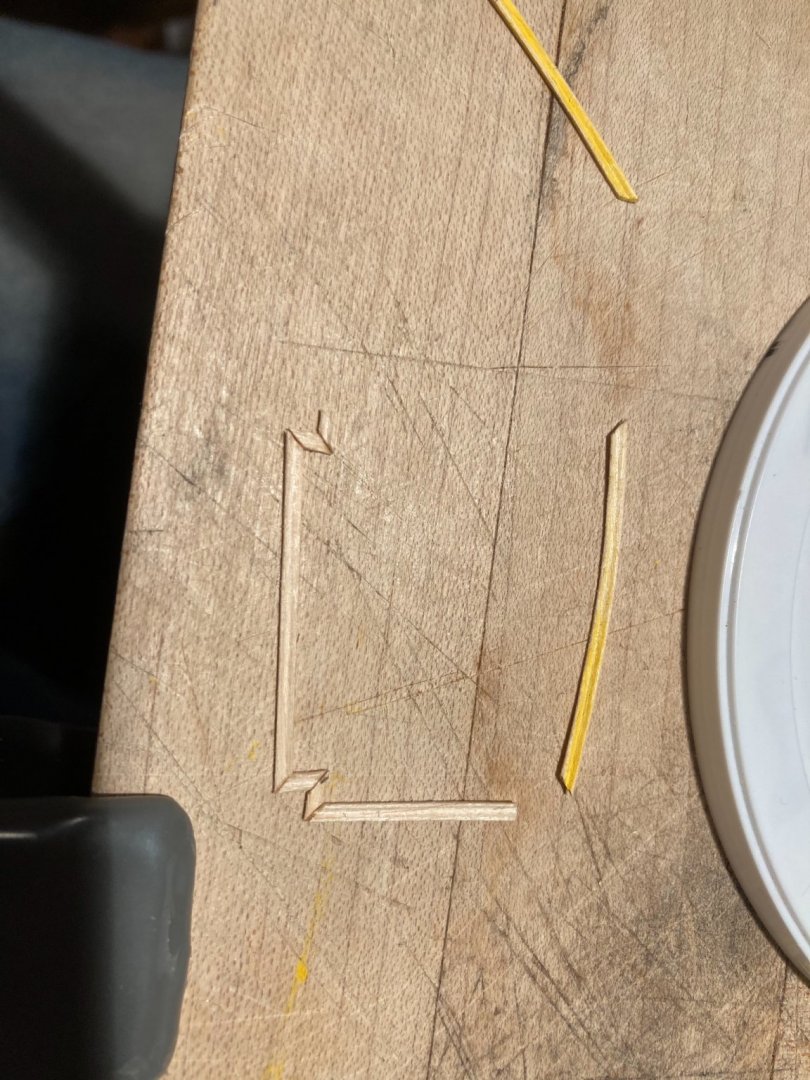
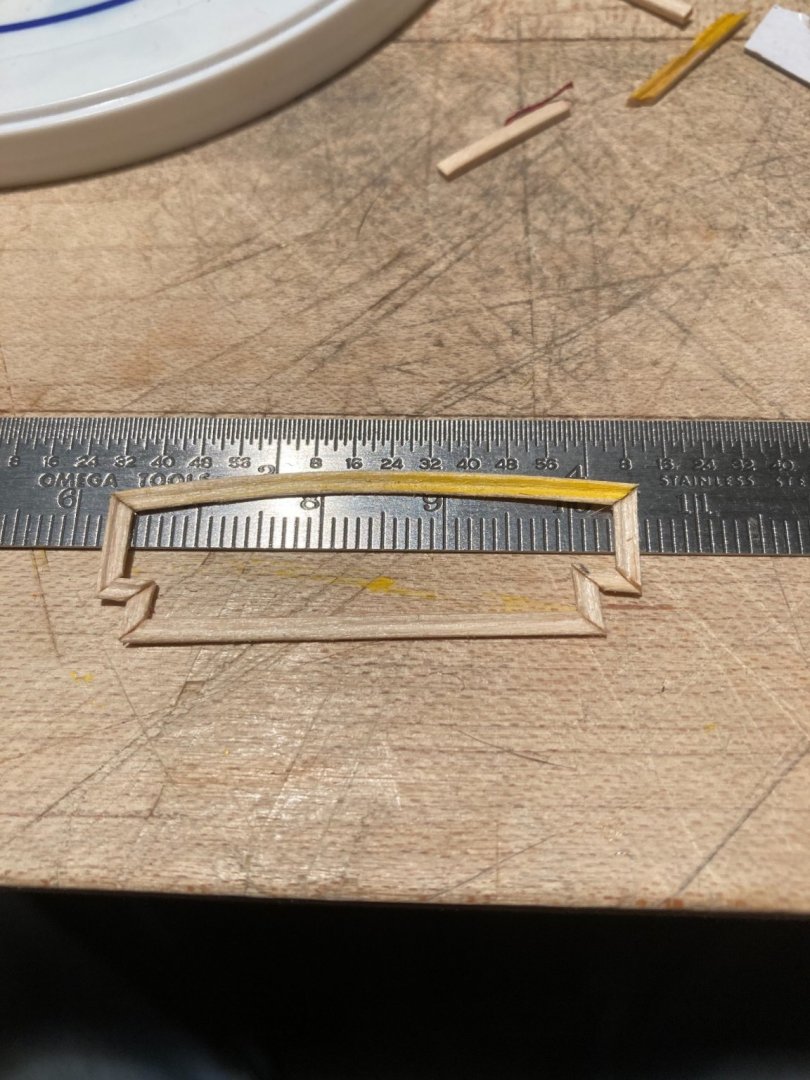
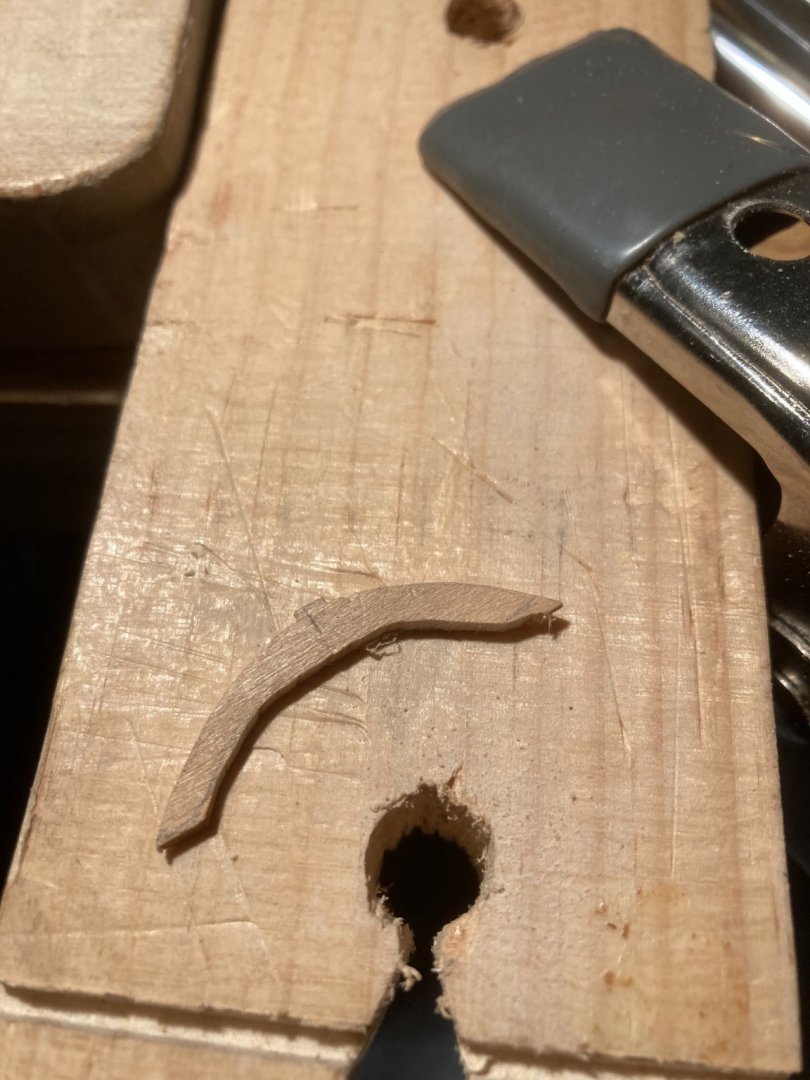
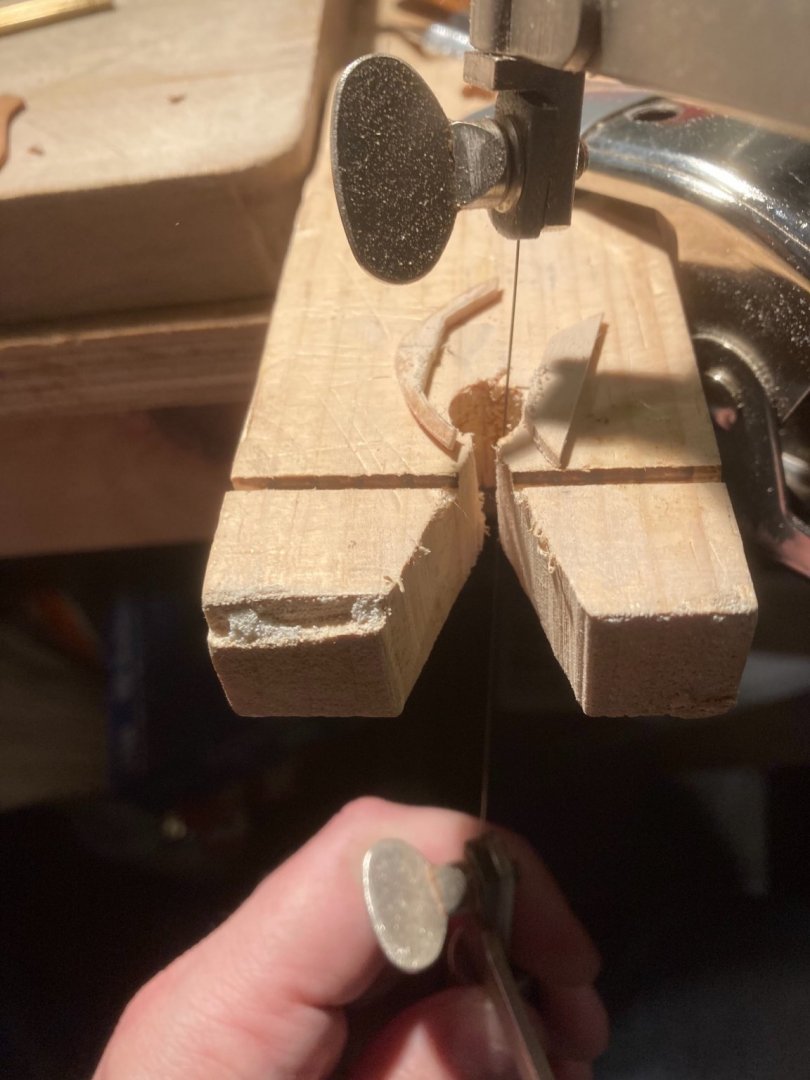
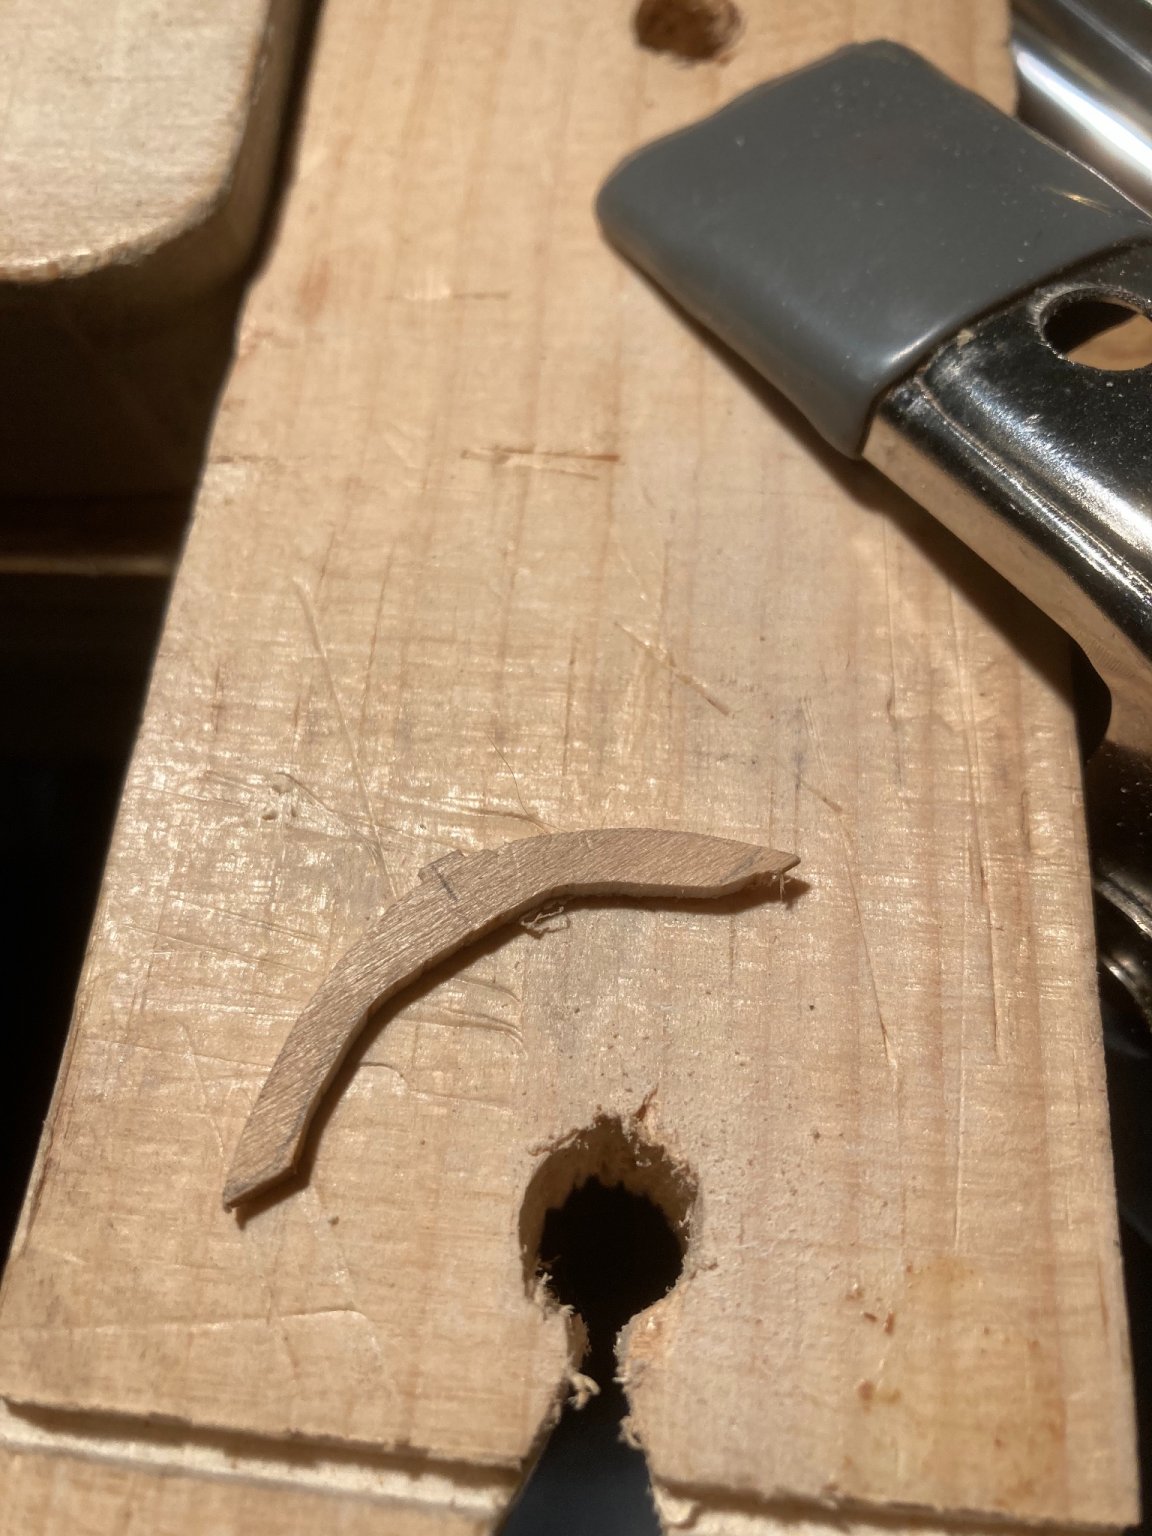
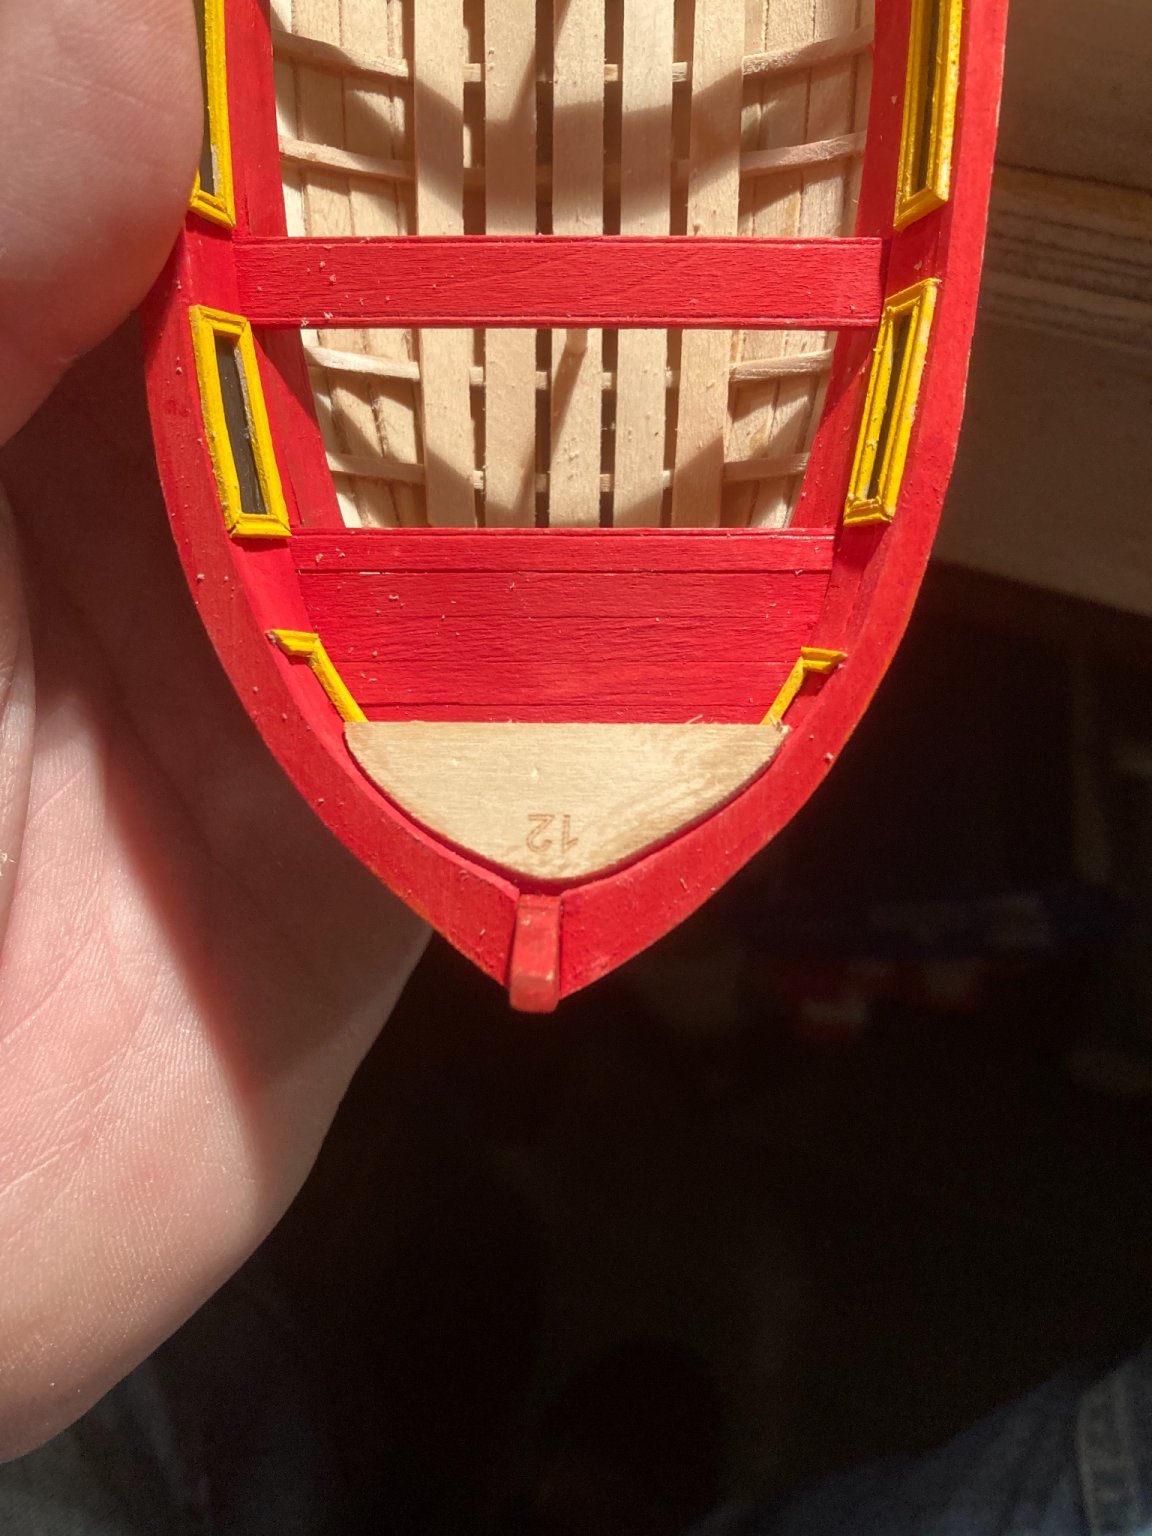
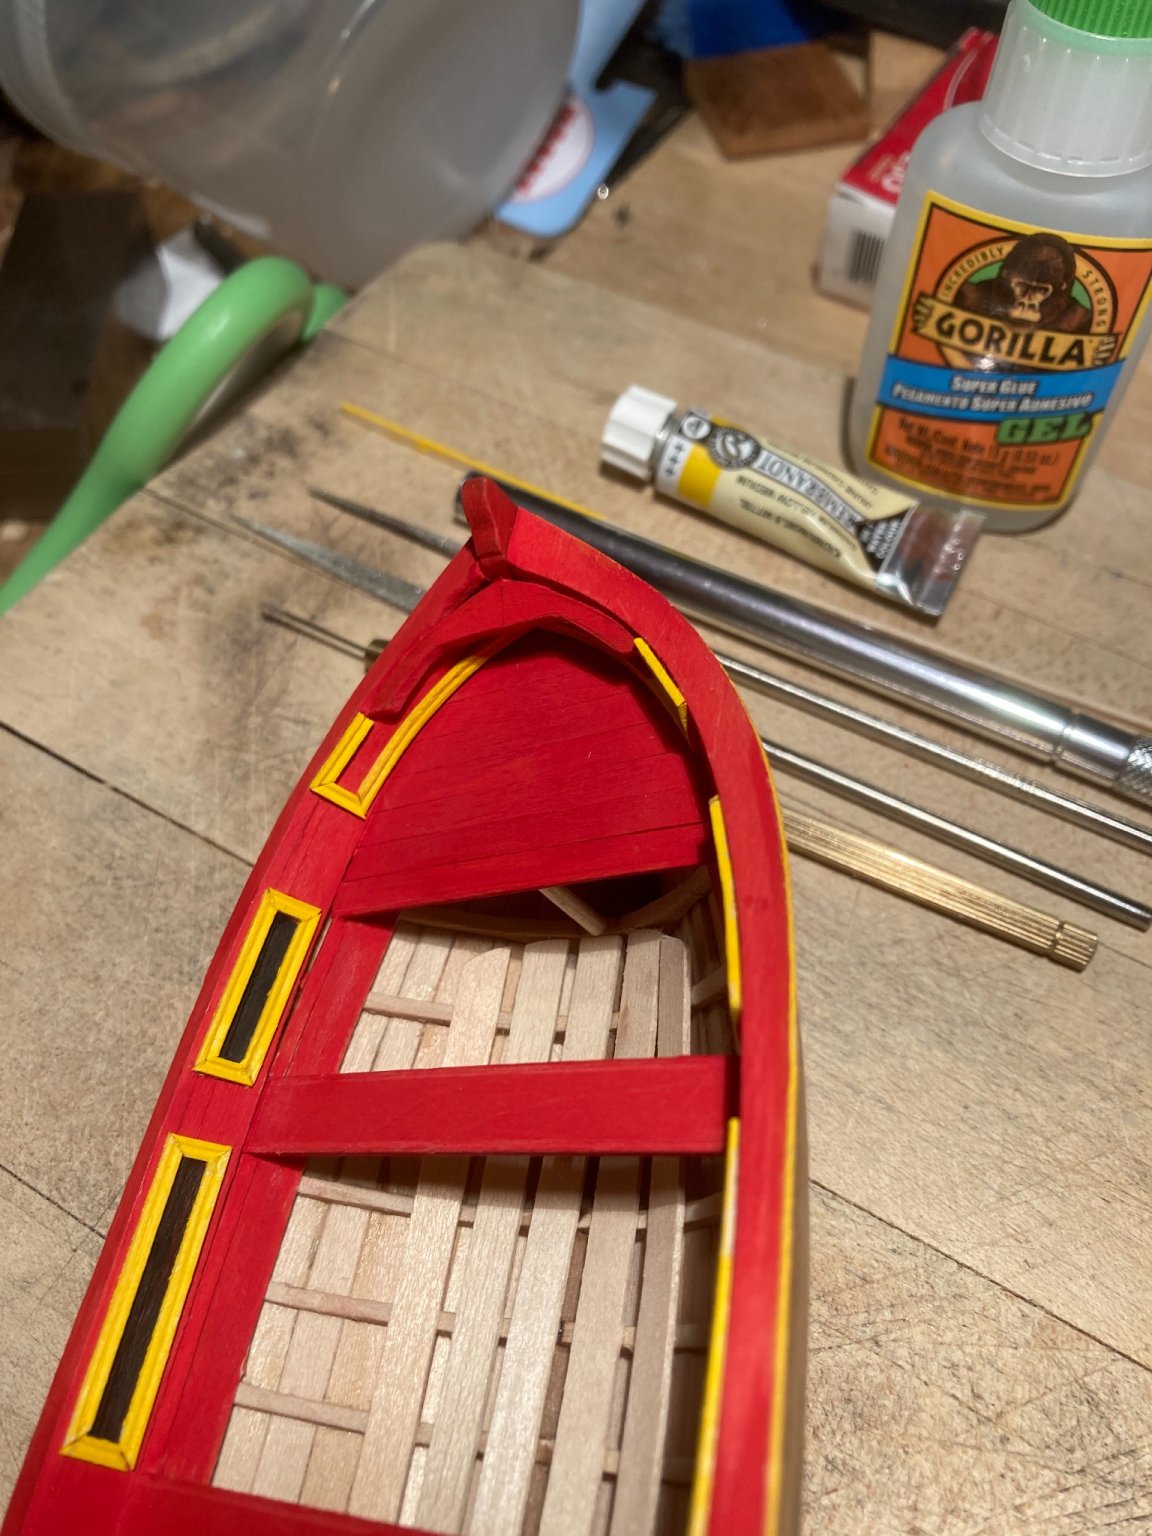
I made a piece for the bow (I’m not sure of the name of such a part!) but I didn’t like it so I redid it. Cut with a jeweler’s saw, filed, glued and then painted.


- DelF, bruce d, Ryland Craze and 1 other
-
4


Building a Medieval fortress - by Waitoa - Del Prado 1/87
in Non-ship/categorised builds
Posted
Rock on! <eyeing the strat on the left>