-
Posts
985 -
Joined
-
Last visited
Content Type
Profiles
Forums
Gallery
Events
Posts posted by EricWilliamMarshall
-
-
On 12/30/2019 at 11:01 AM, Duanelaker said:
do you which ones are newer?
The yellow box is the older. The build is looking great! How did you decide to make the oar handles?
-
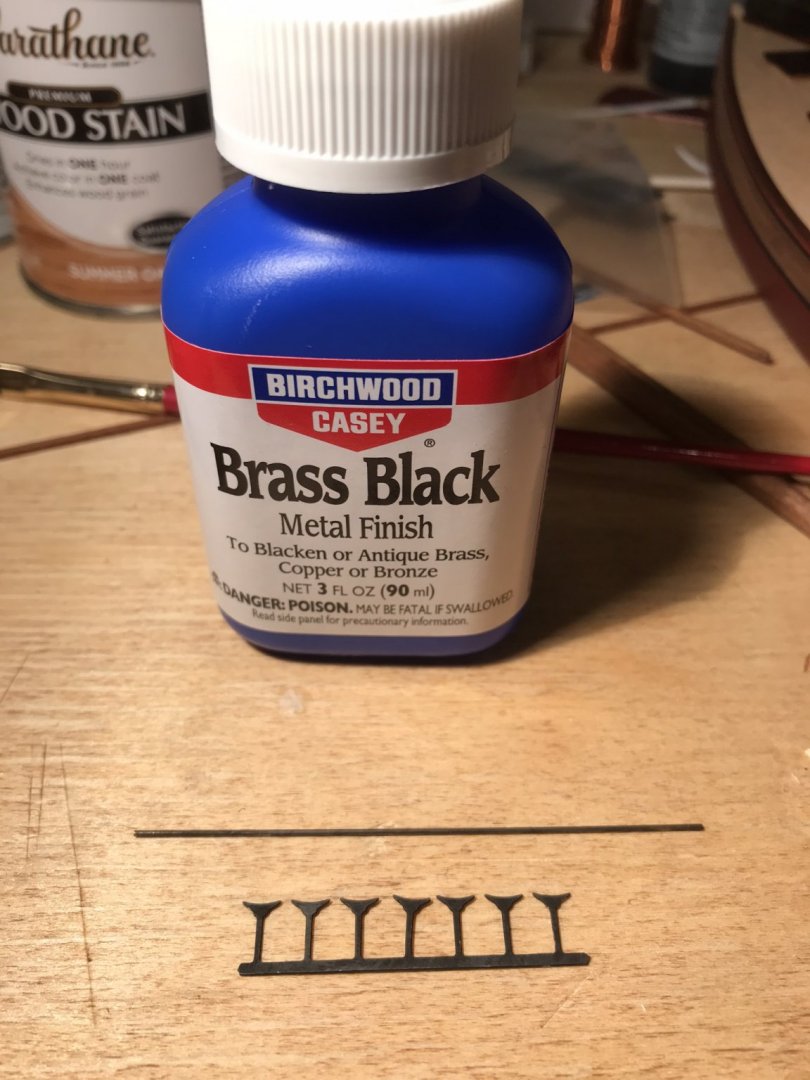
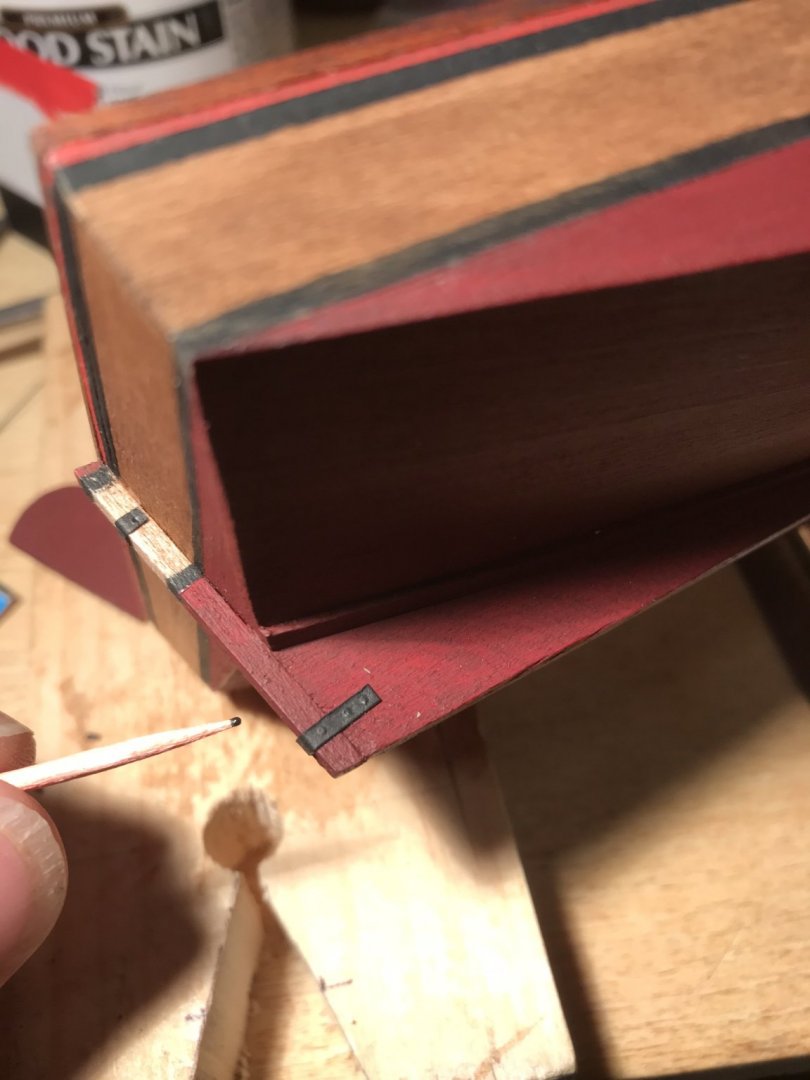
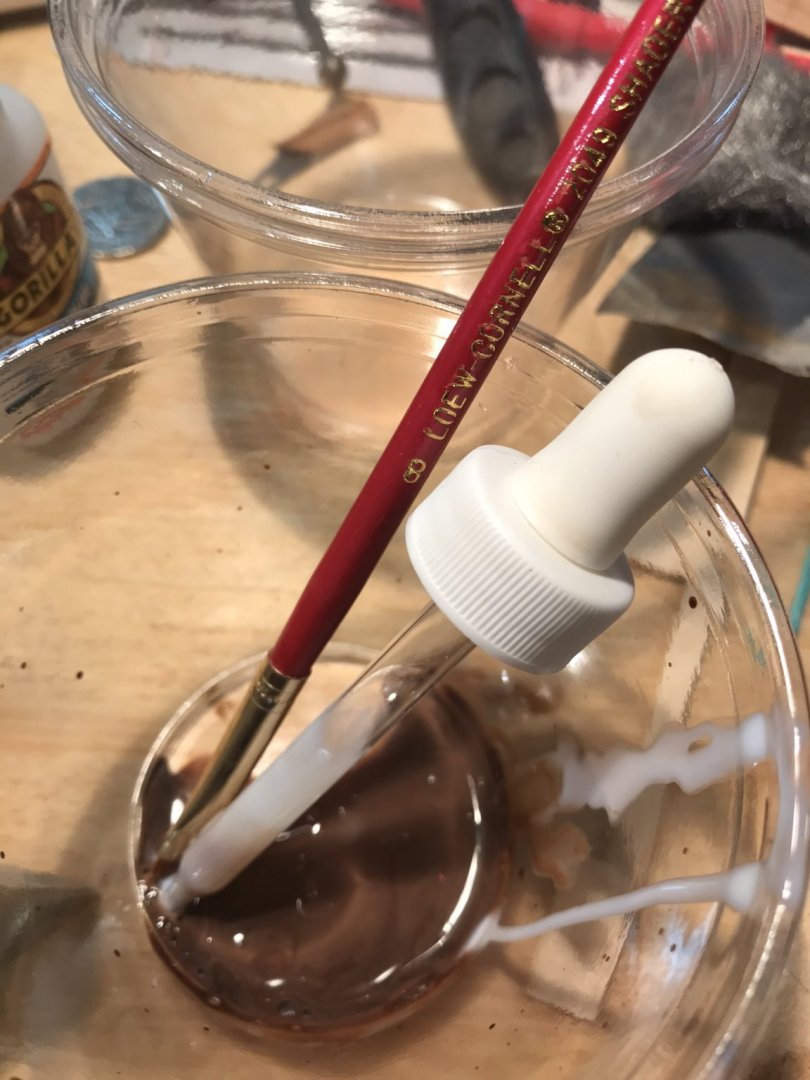
In light of VTHokiEE‘s experience with the cleats on his flattie, I ordered some brass black to see if I could learn to use that on the cleats. I cleaned the with steel wool and vinegar. I found that the brass black didn’t work well brushed on but if the brass was immersed in the liquid, all was well.
- Retired guy, thibaultron, RickyGene and 3 others
-
 6
6
-
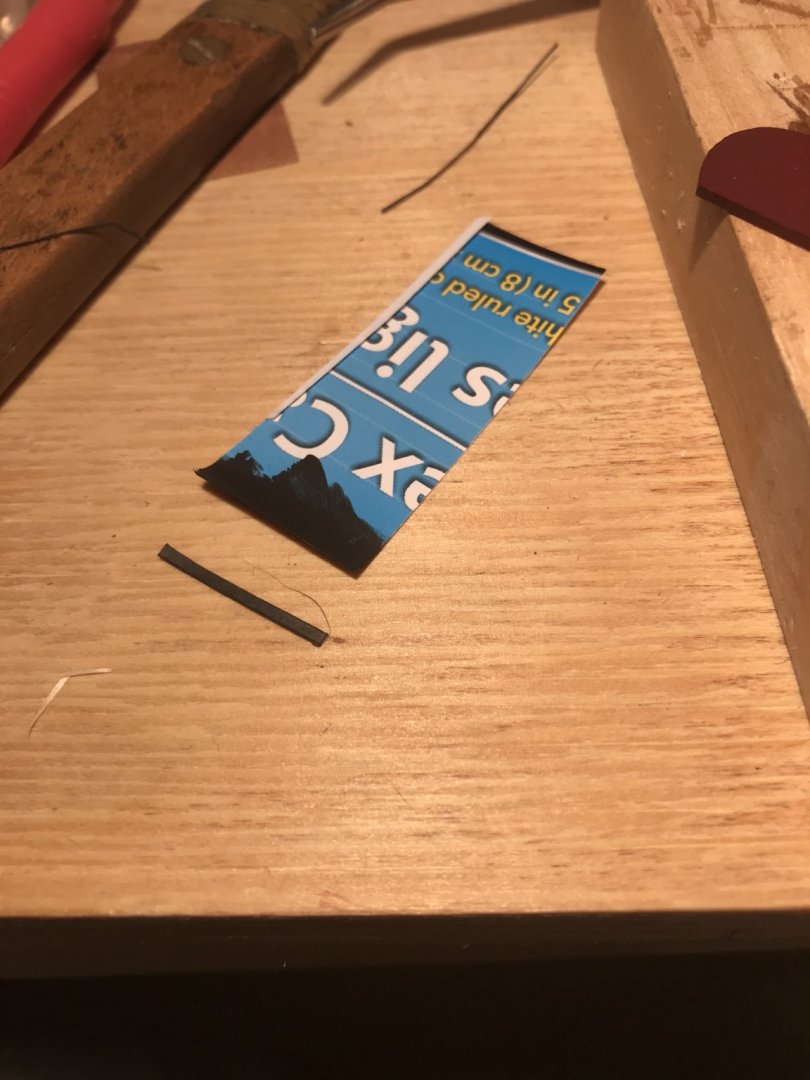
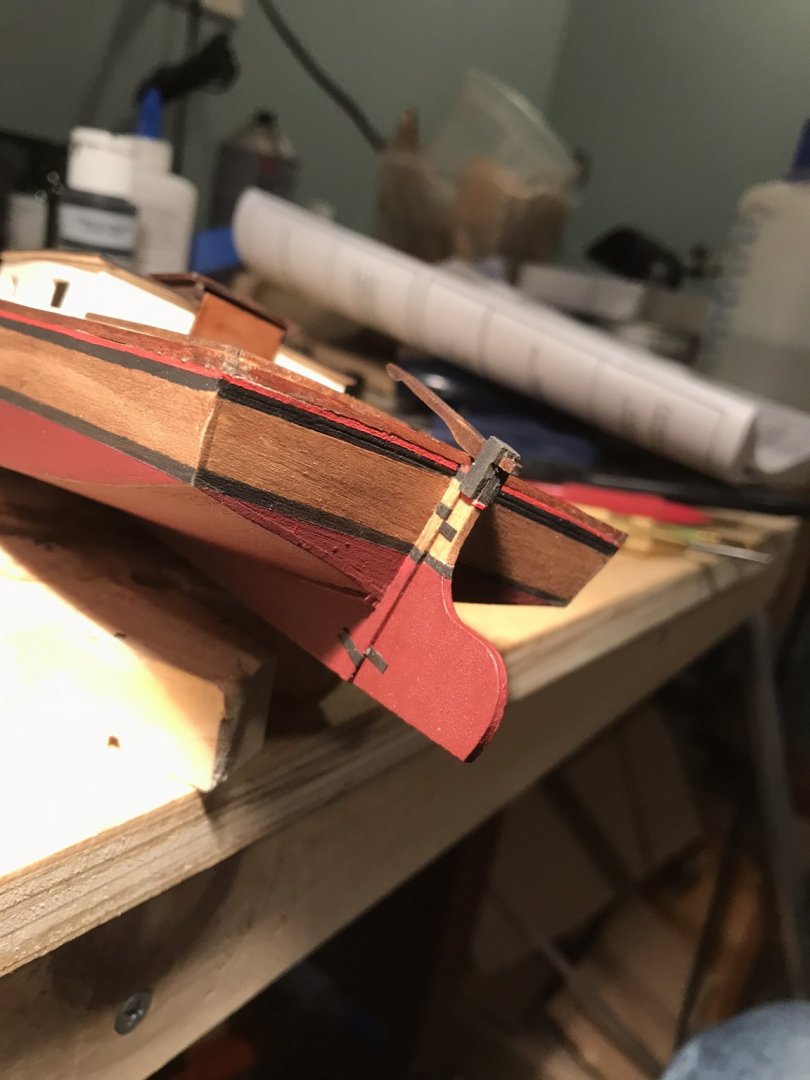
As per ccoyle’s and GrandpaPhil’s suggestions, I created a bit of non-metal frippery to act as the metal work for the tiller. I used an index card painted black (with a little brown mixed in), cut into thin ribbons. These were cut length and glued on. I then used an awl to indent slight marks where I wished to show bolts and added a drop of paint to create the suggestion of a bolt.
-
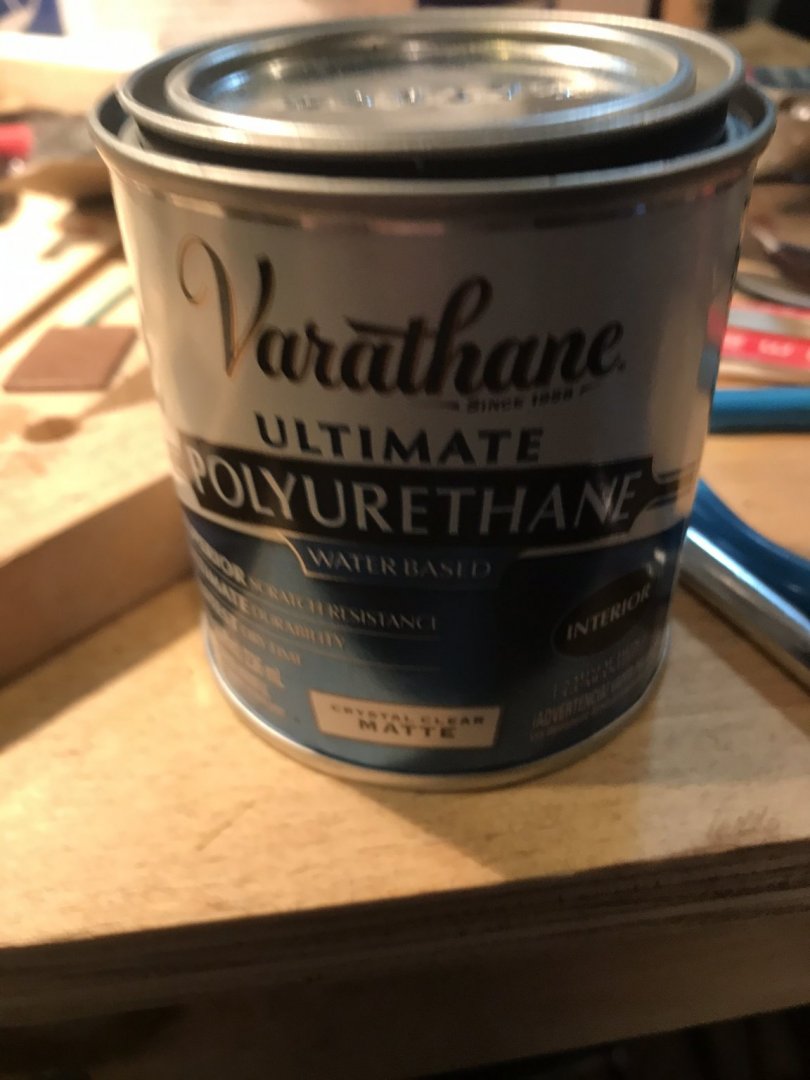
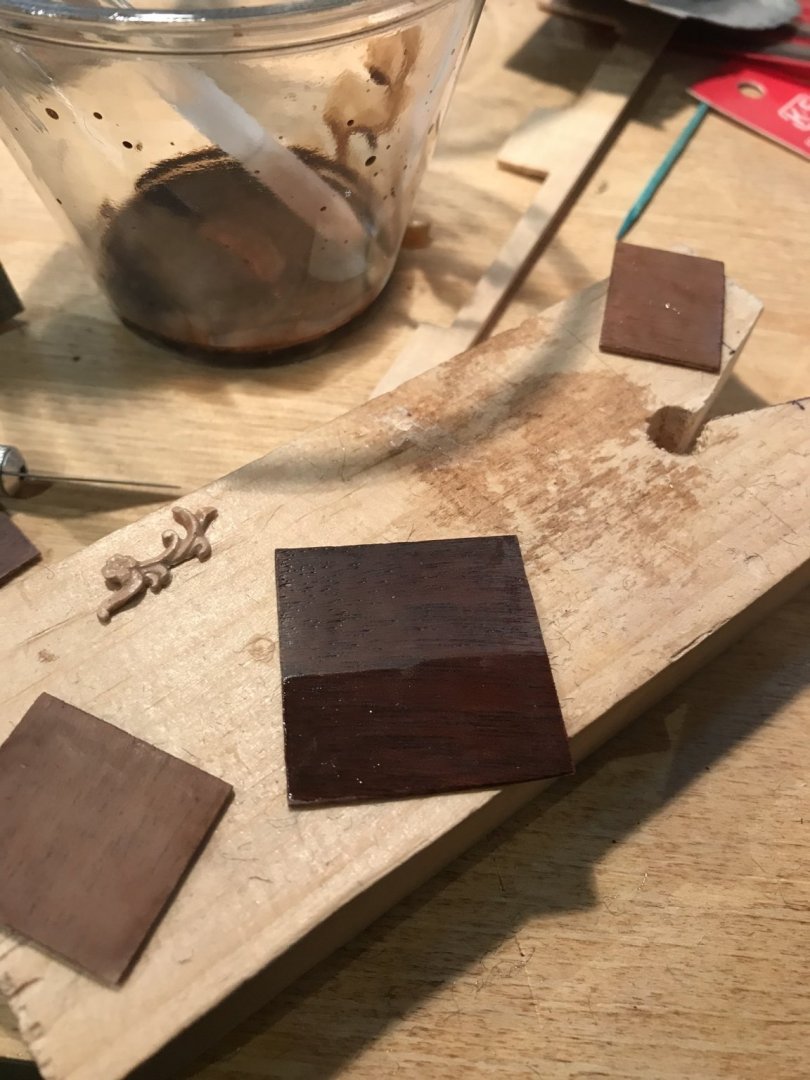
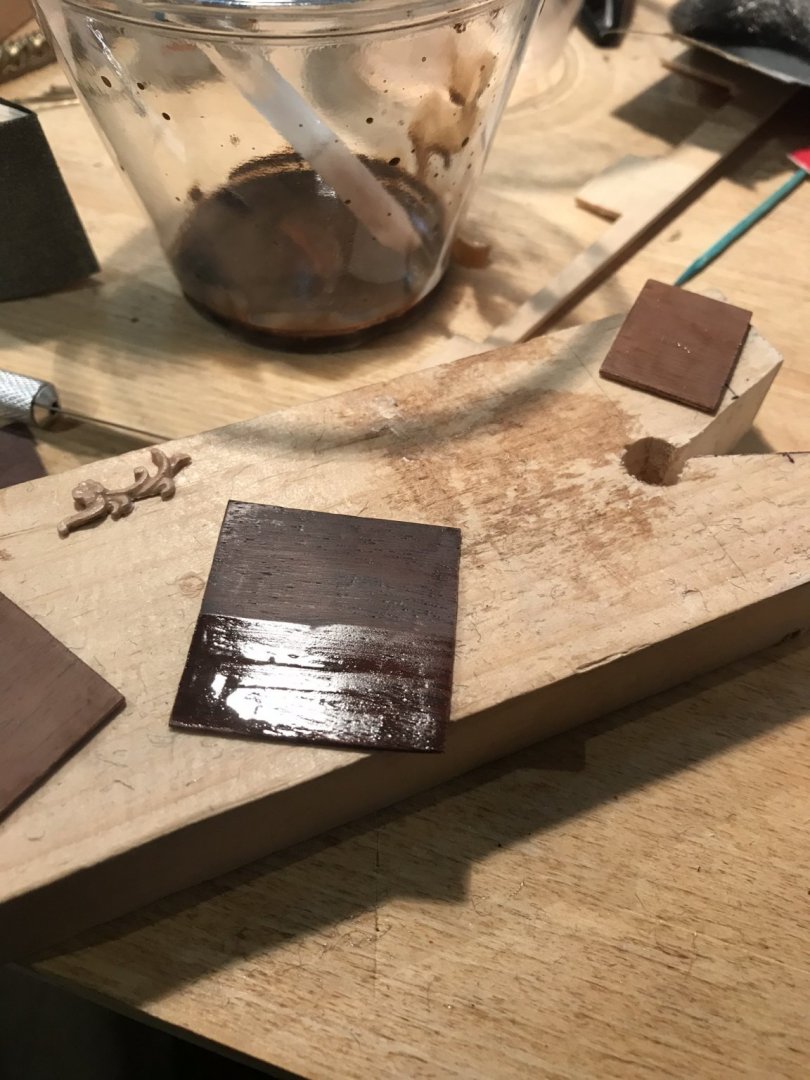
I also found the polyurethane I’m using comes in a “crystal clear” version, which should solve the cloudy finish I mentioned earlier.
-
- VTHokiEE, GrandpaPhil, Retired guy and 1 other
-
 4
4
-
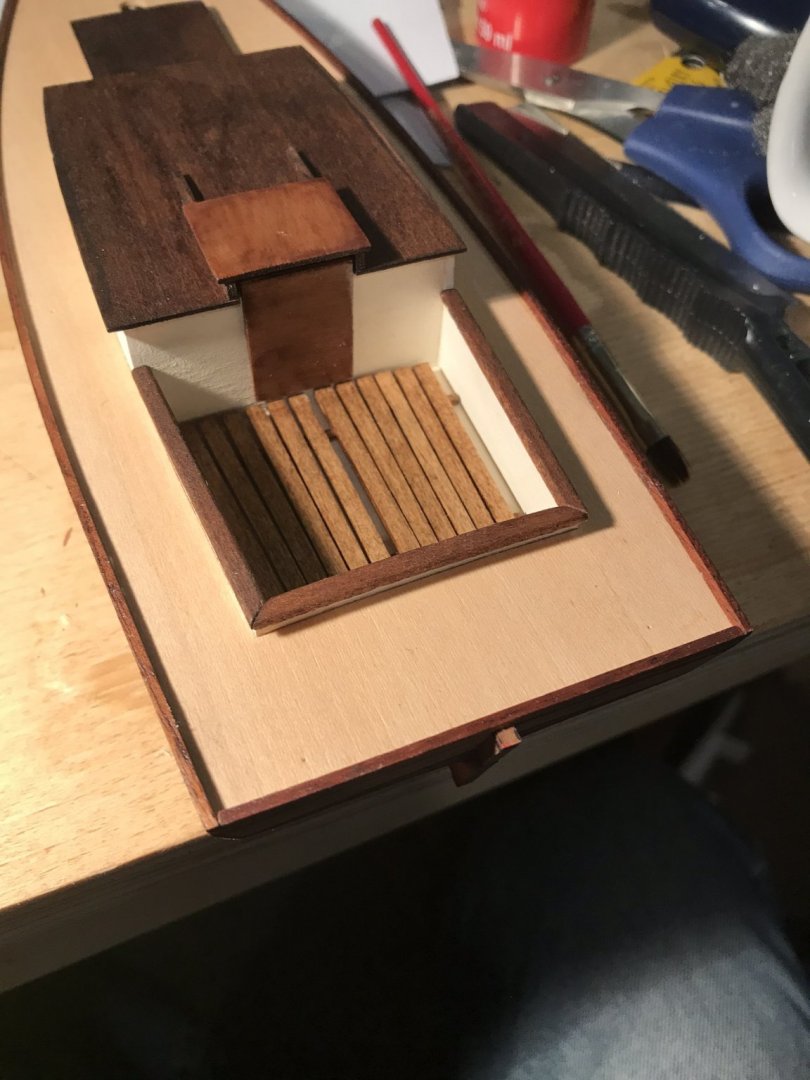
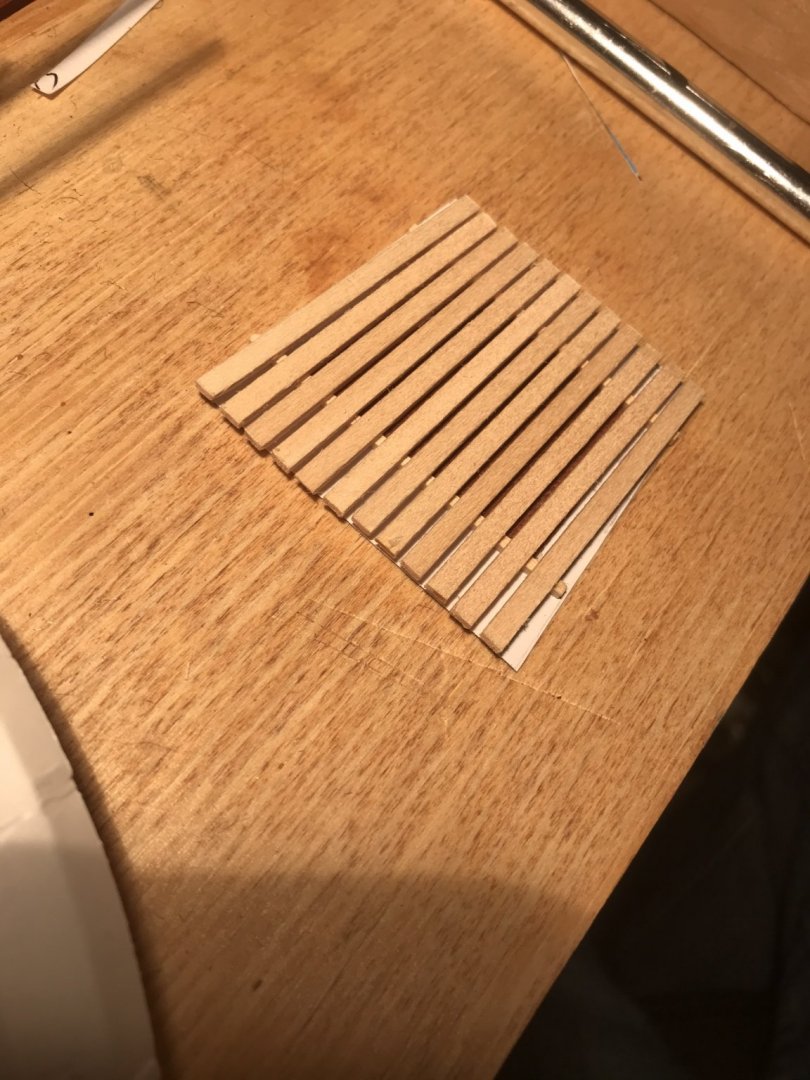
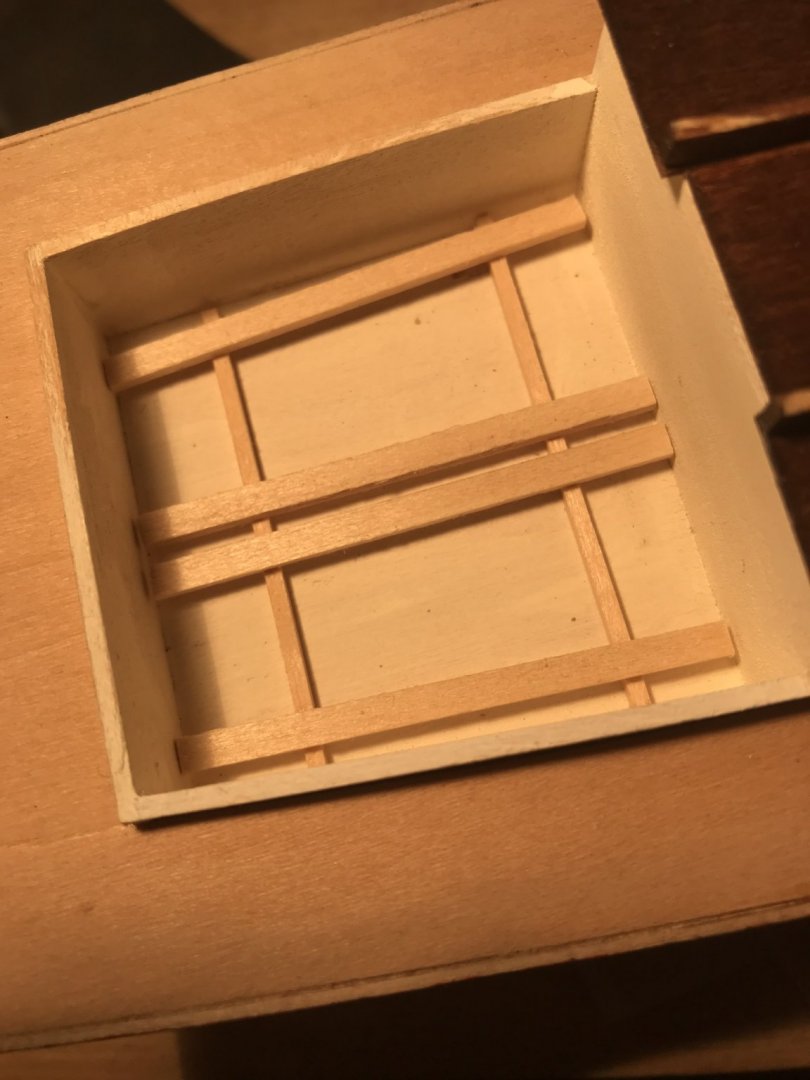
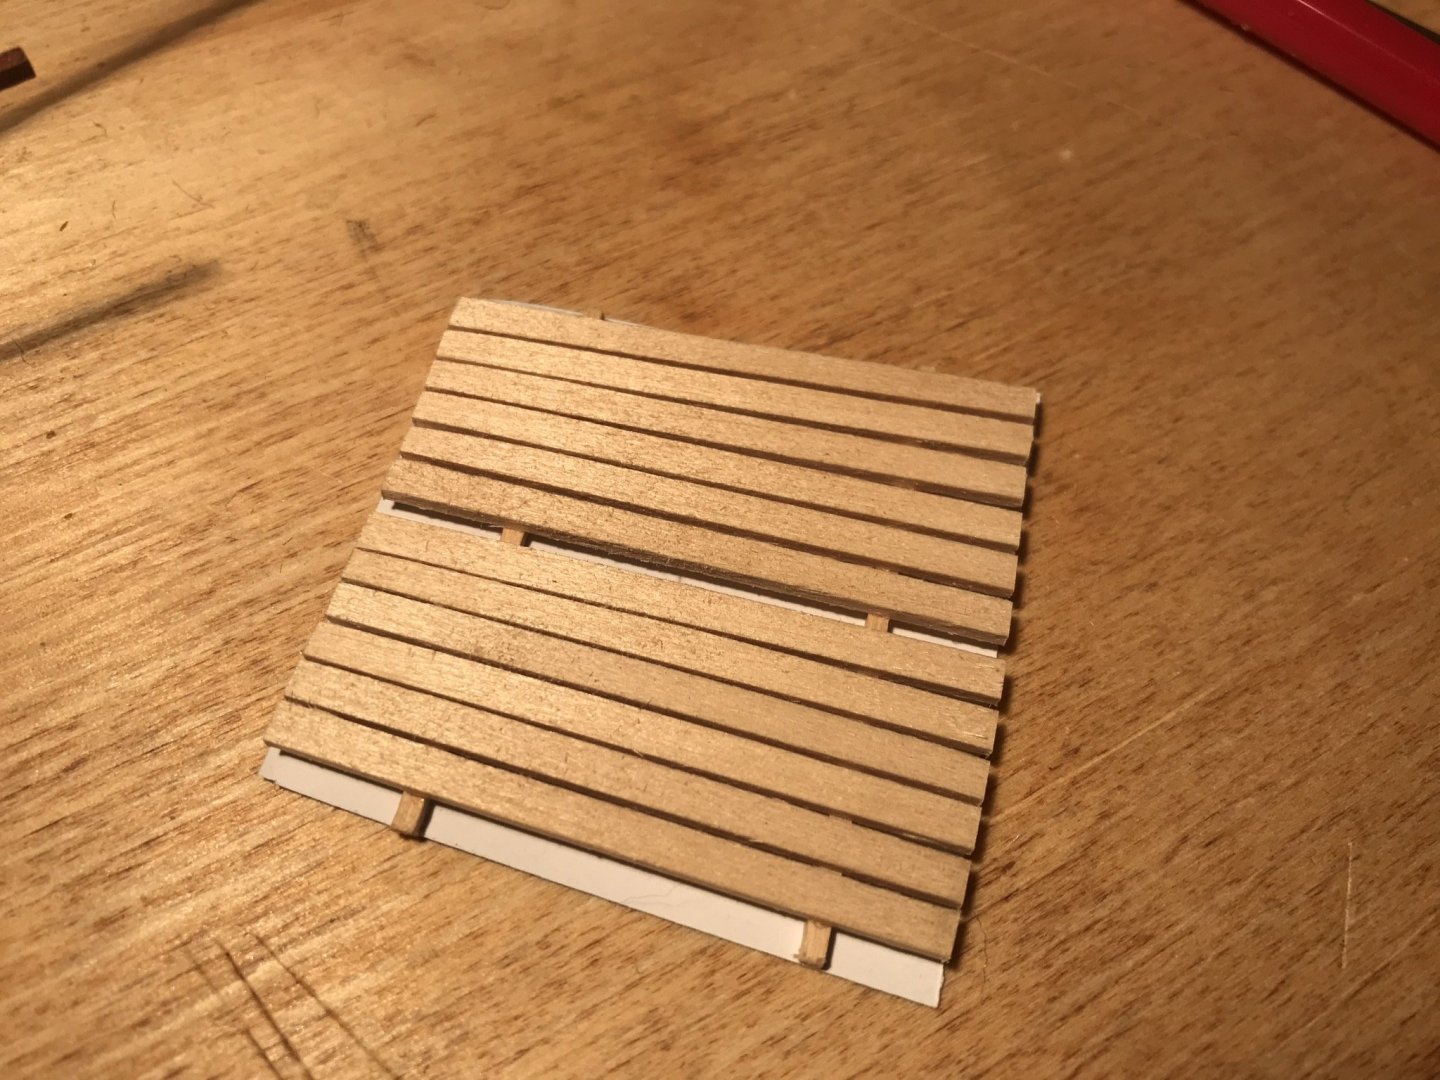
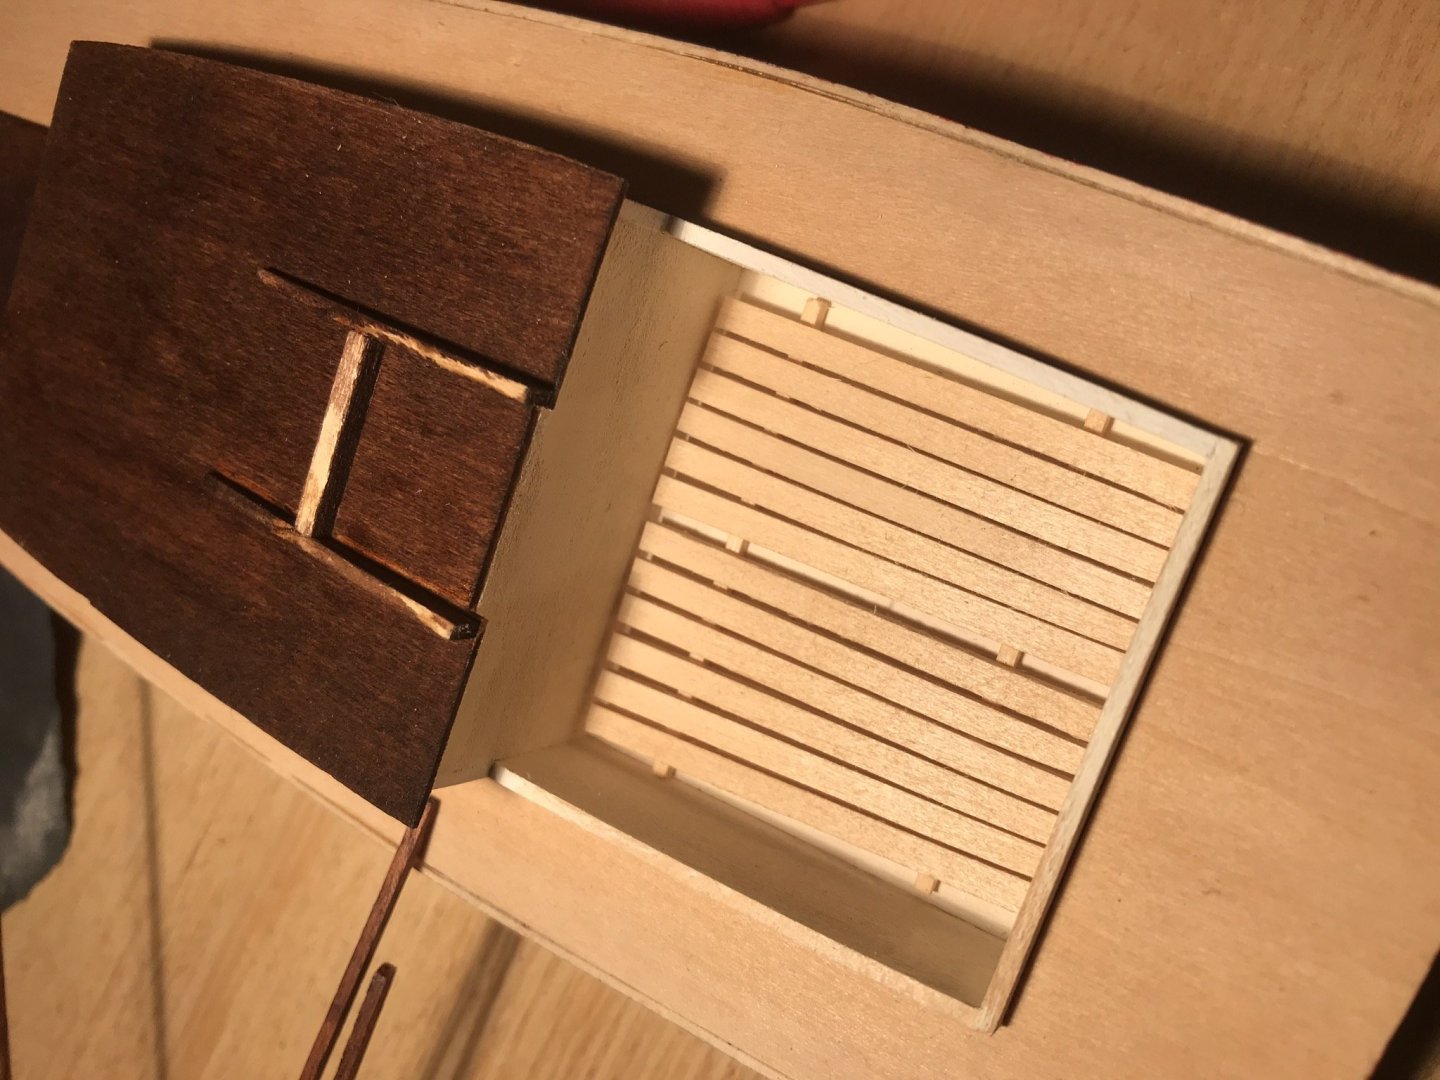
A few of images of similar flattie models show a grating in the rear, so I thought I’d give it a try. The others are parallel rails and thought I would try to splay the rails slightly to match the surrounding trapezoidal space. That was a bit trickier than first glance would suggest. I cut a piece of paper as pattern and folding the pattern gave me the center line to work with. I set the rails on a bit of tape. I could adjust the position to my liking that way and then glue the cross rails. Later oak oil based polyurethane was brushed on.
-
Druxey, I have ordered a handful of Dockyard mini chisels to play with (or more accurately, to see if I can sharpen and then play with them!)
Thanks Chuck, druxey, reklein, and everyone else again for taking the time to take a peek and comments!
- mtaylor and Duanelaker
-
 2
2
-
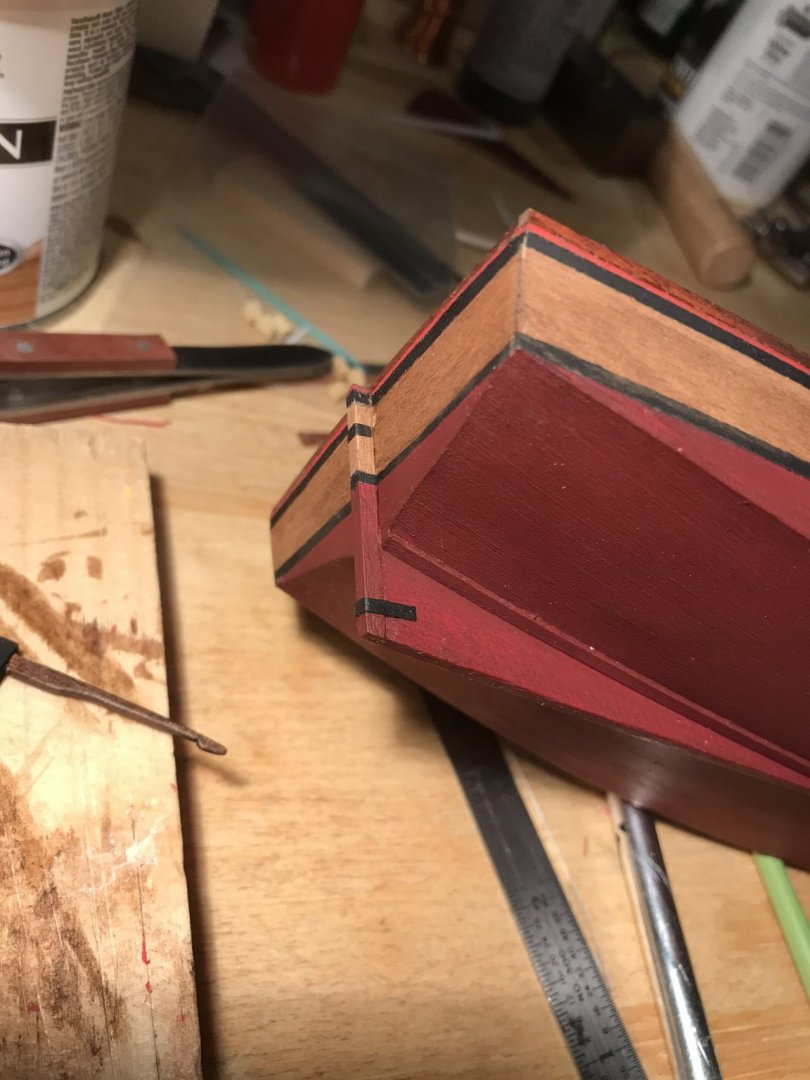
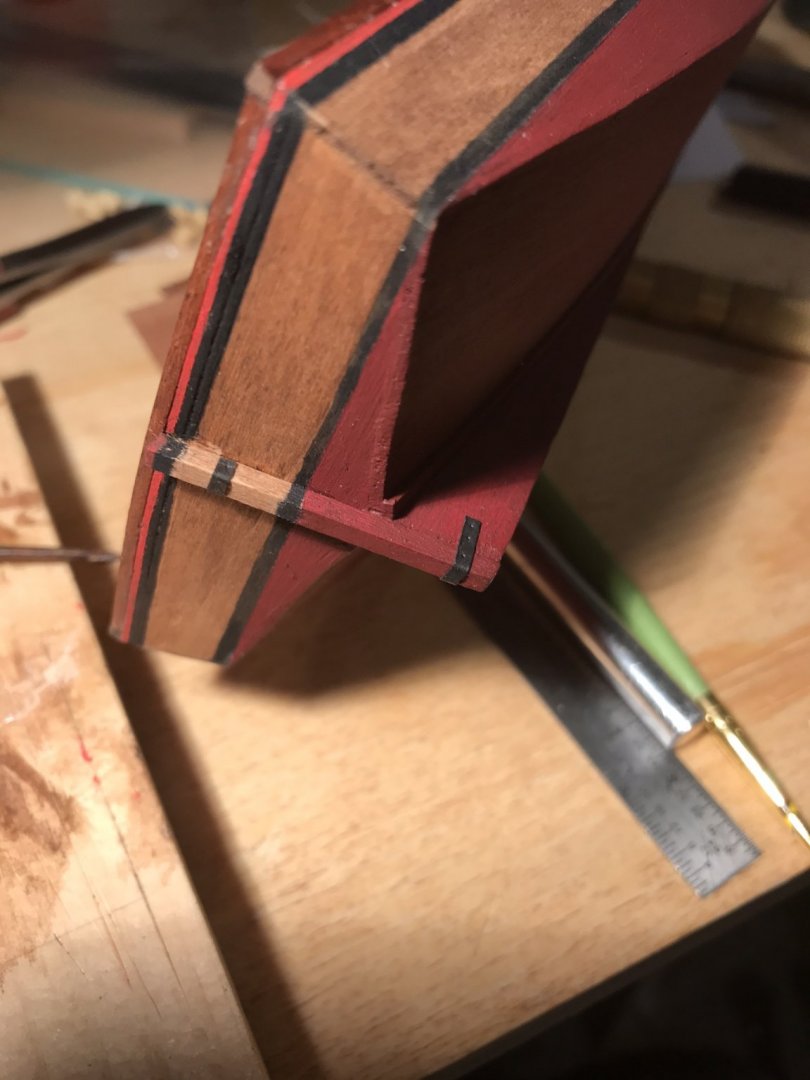
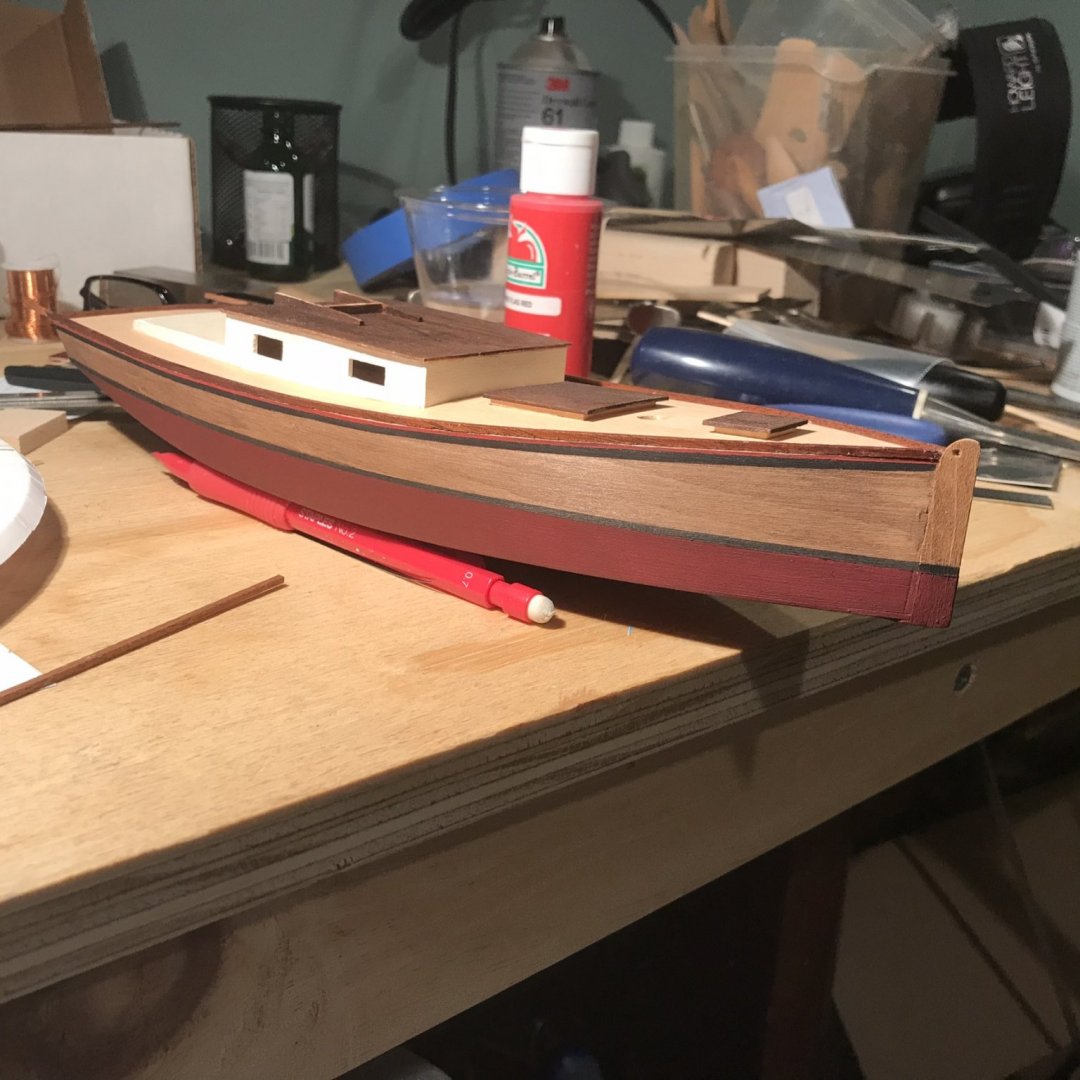
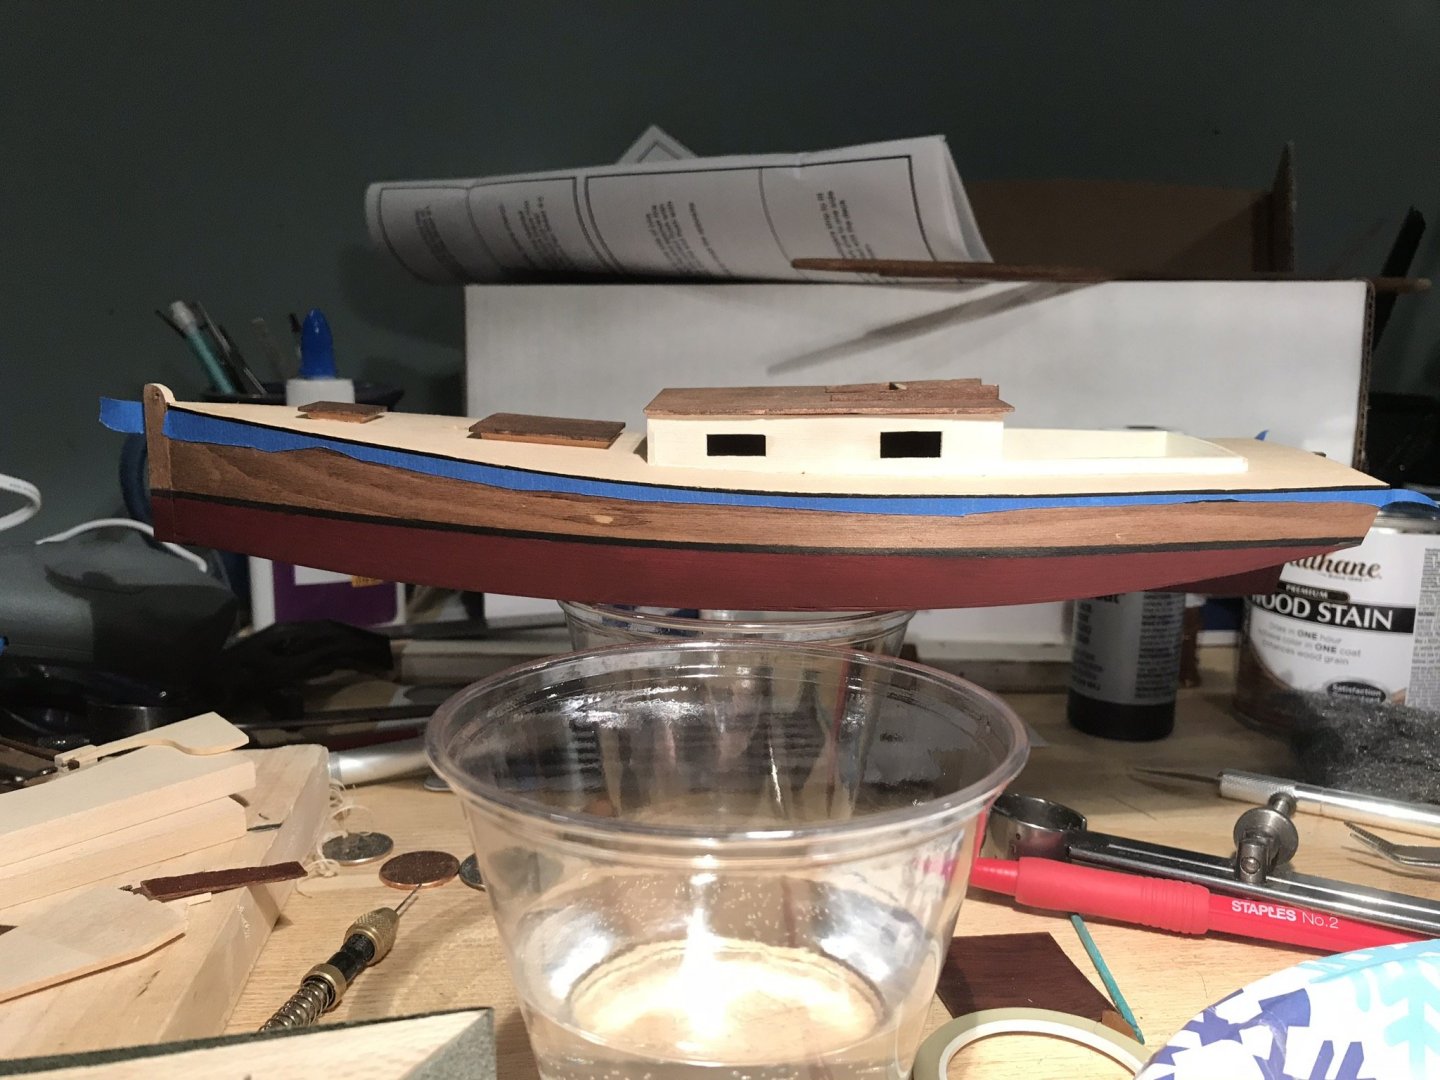
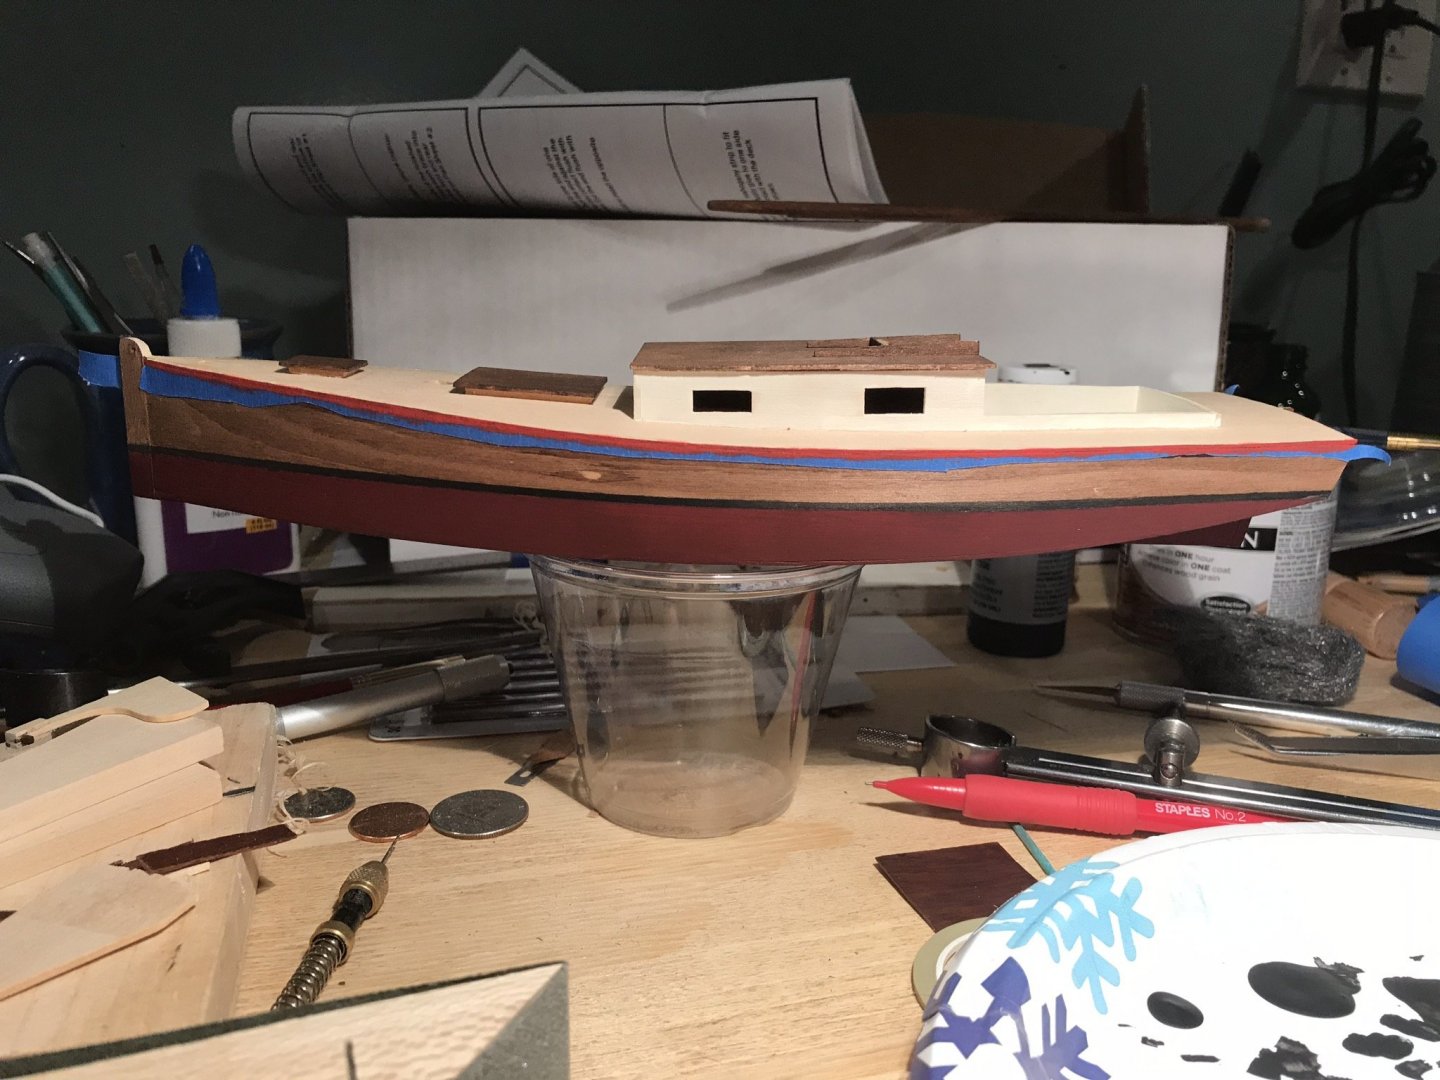
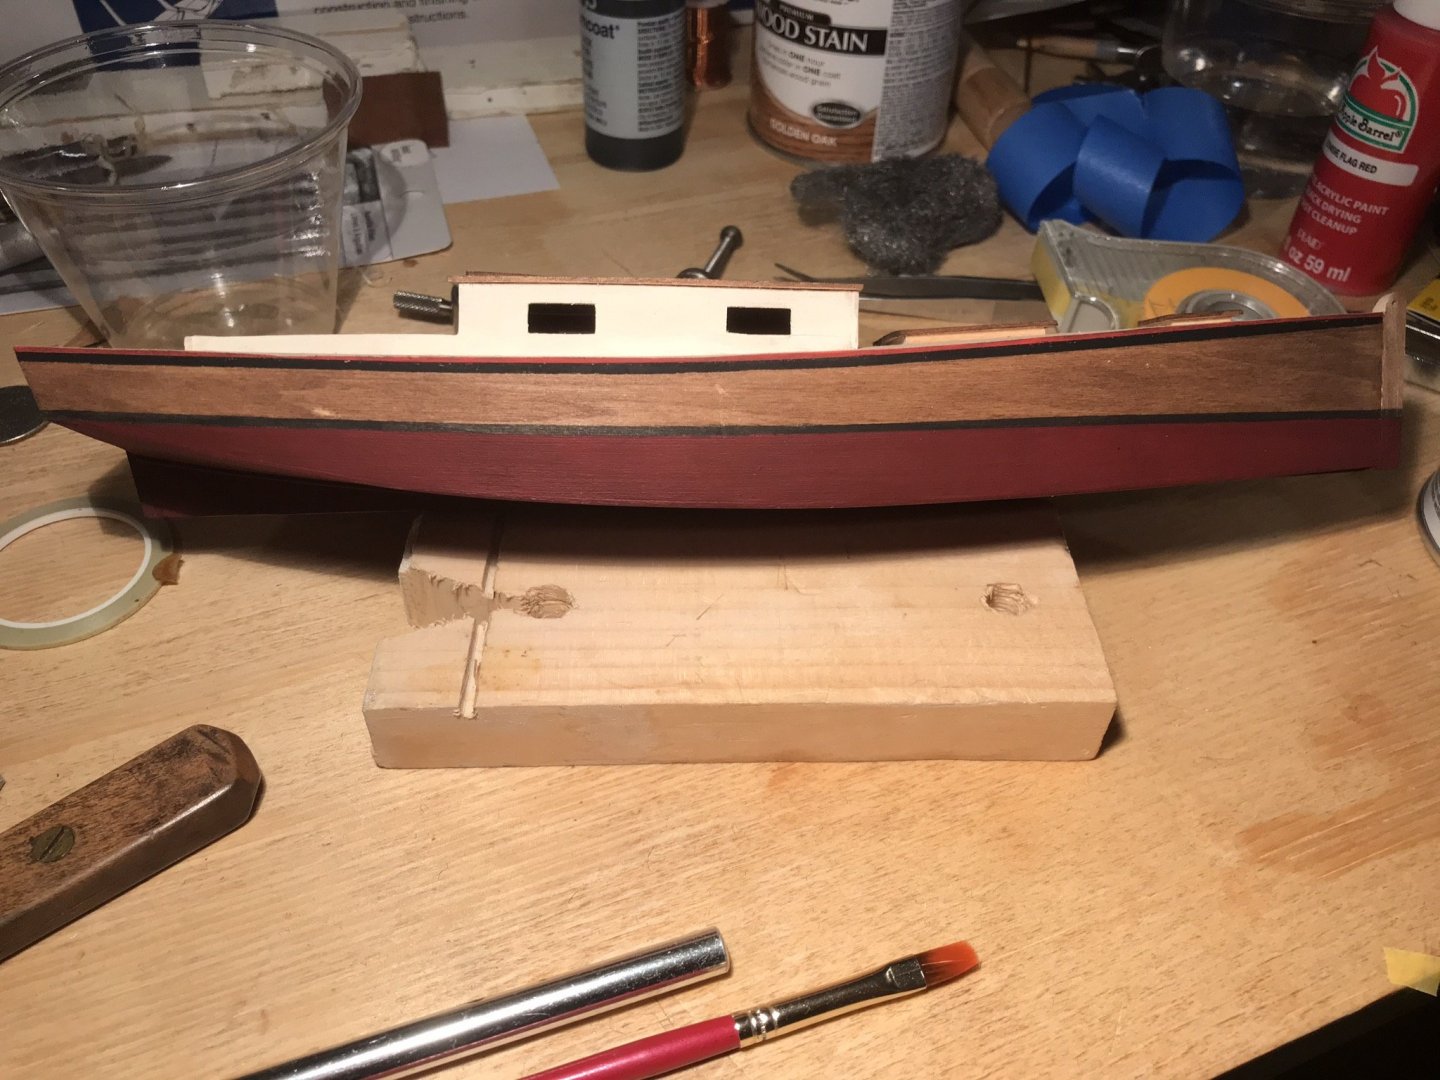
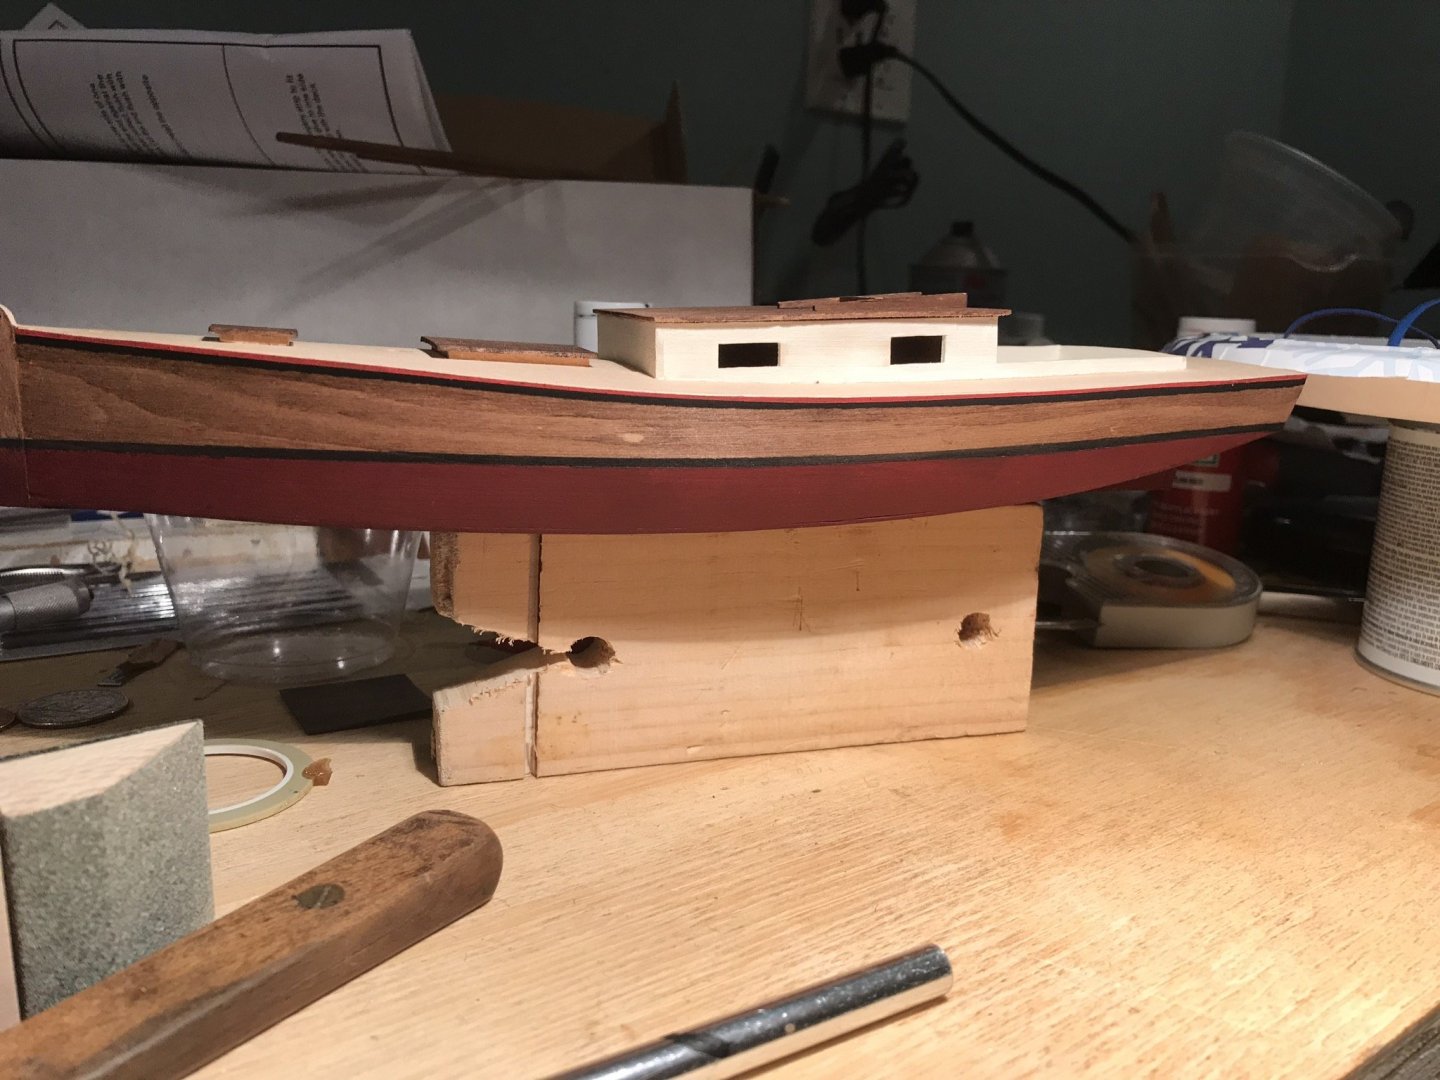
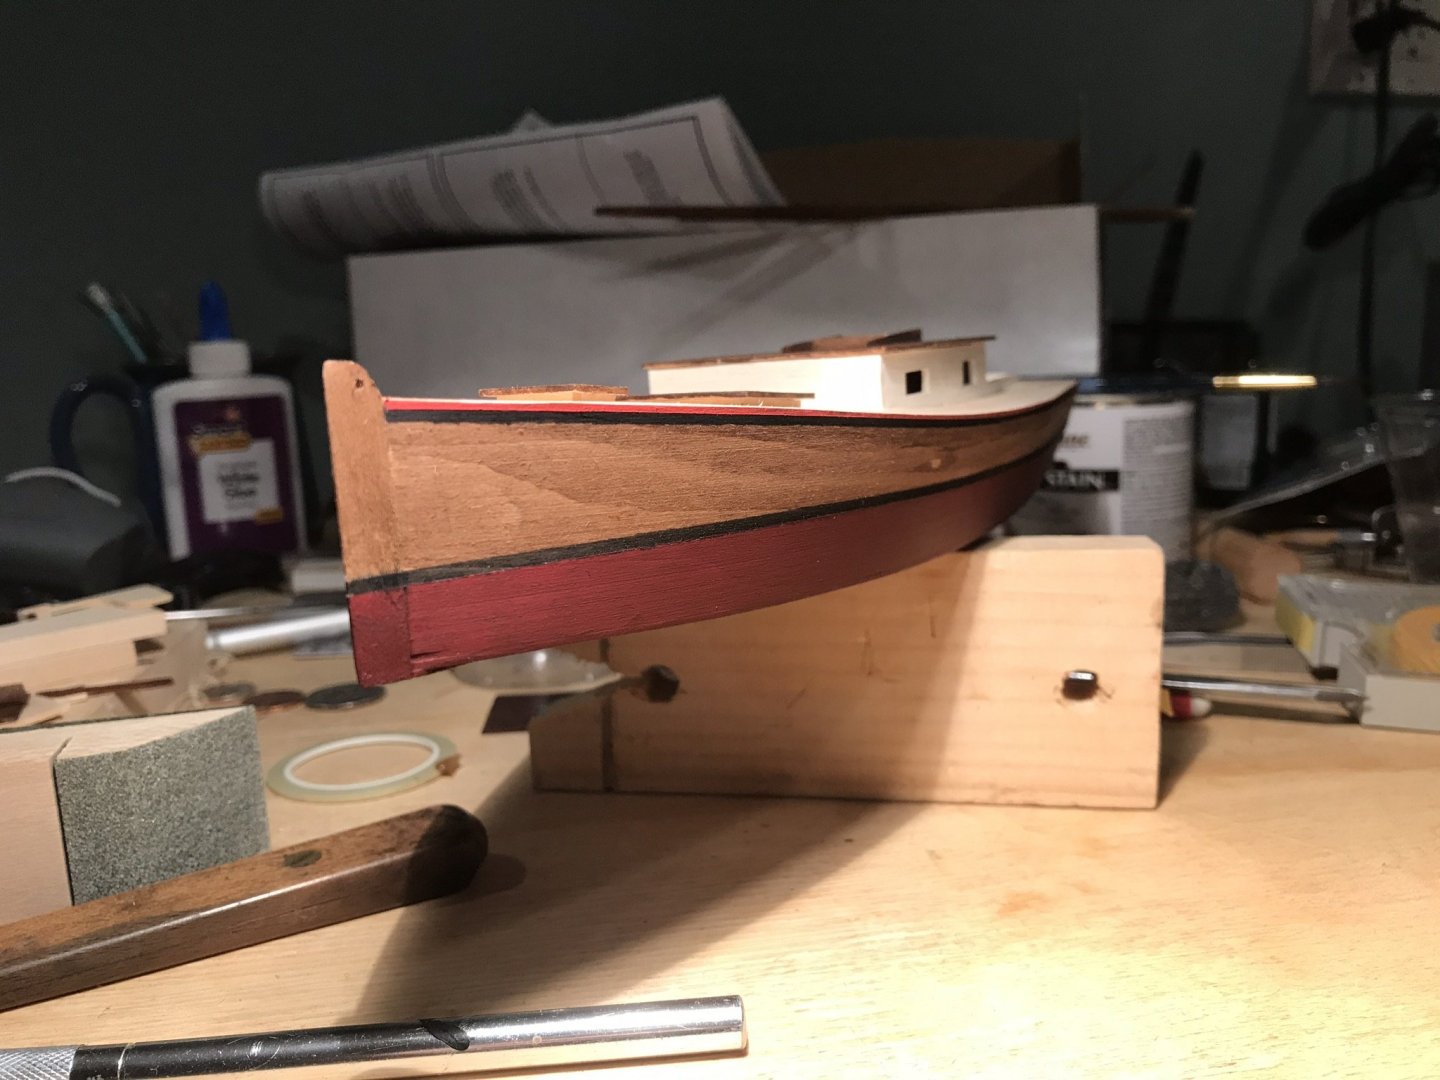
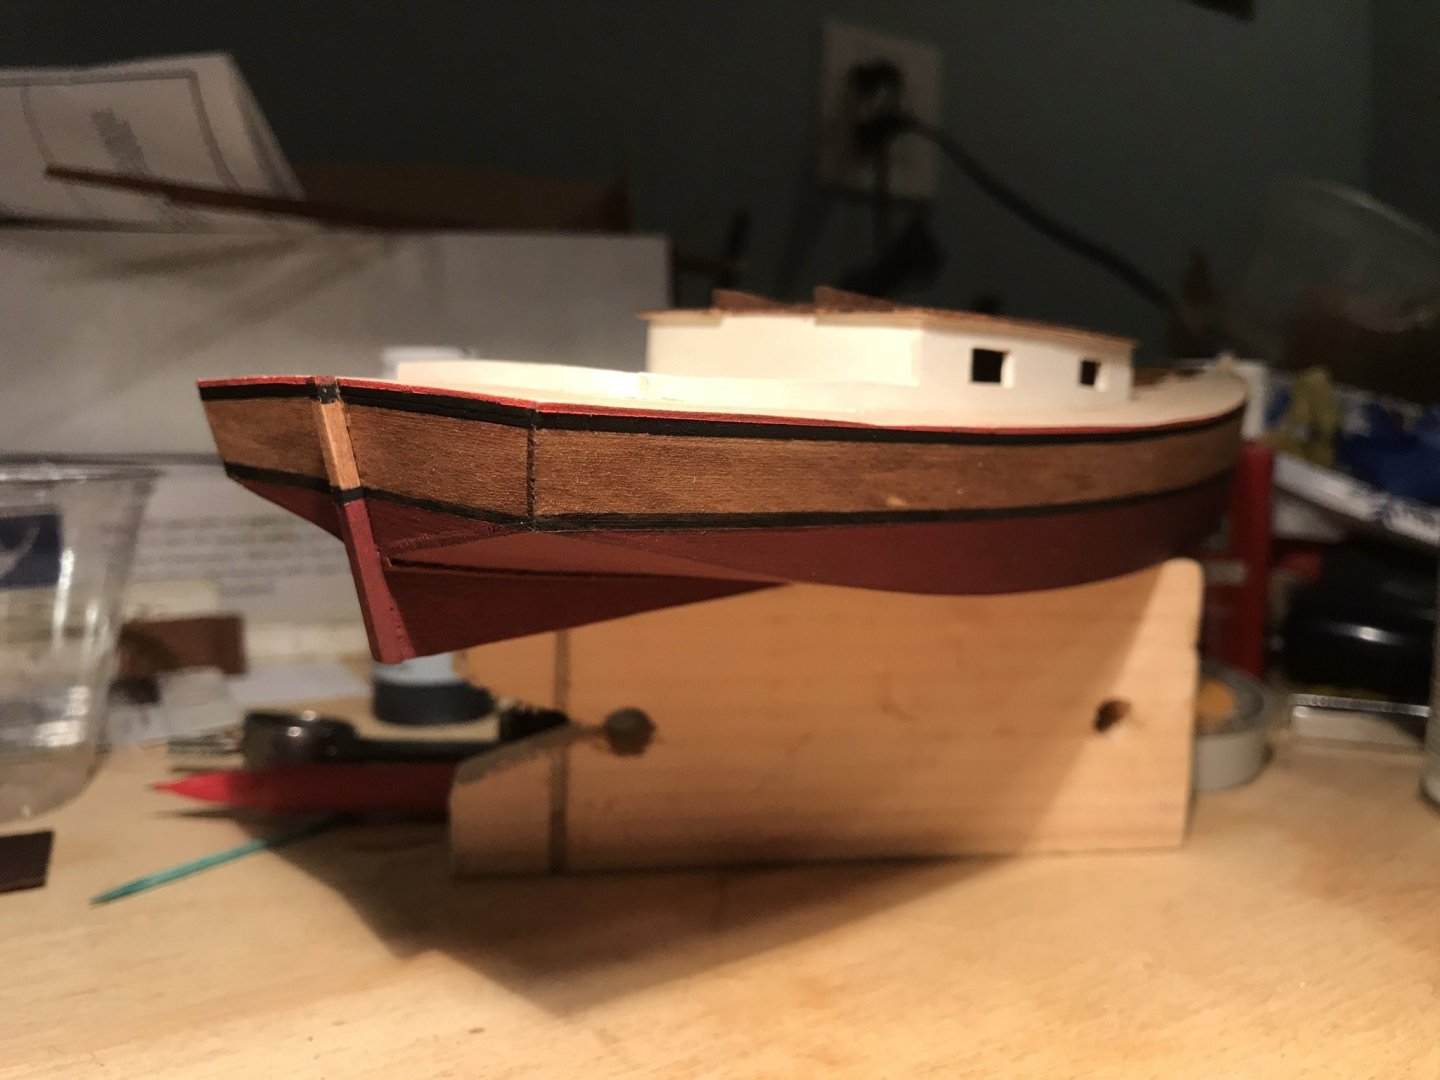
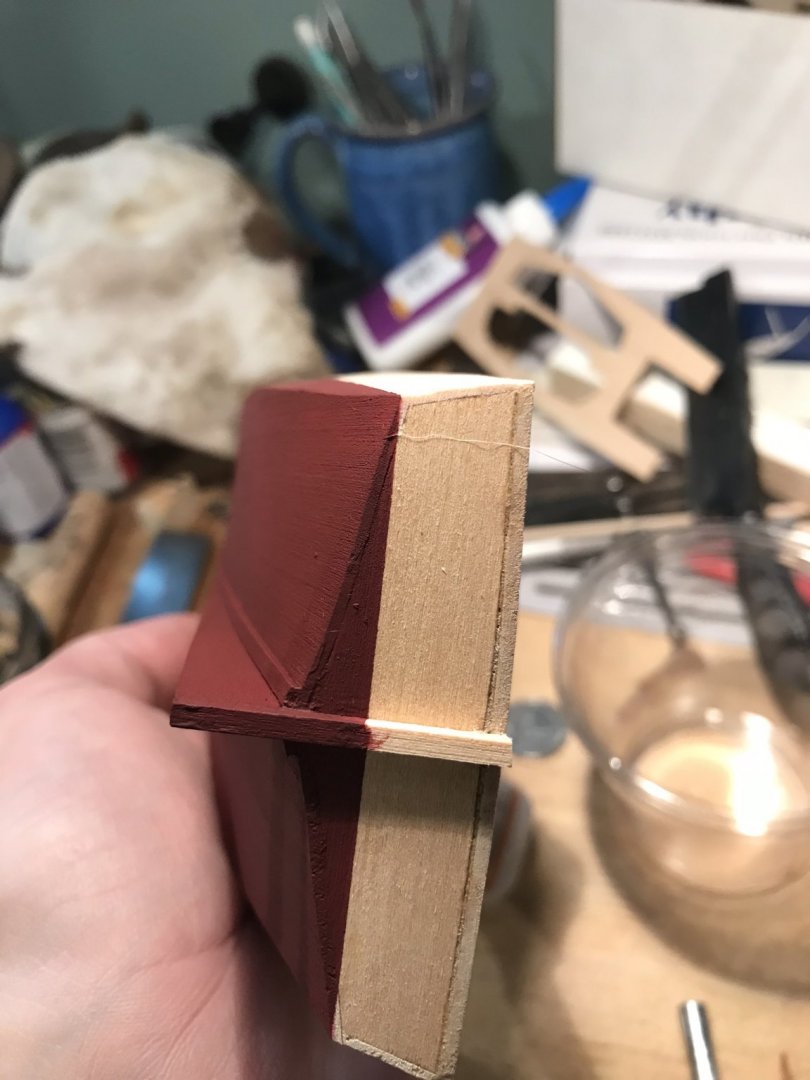
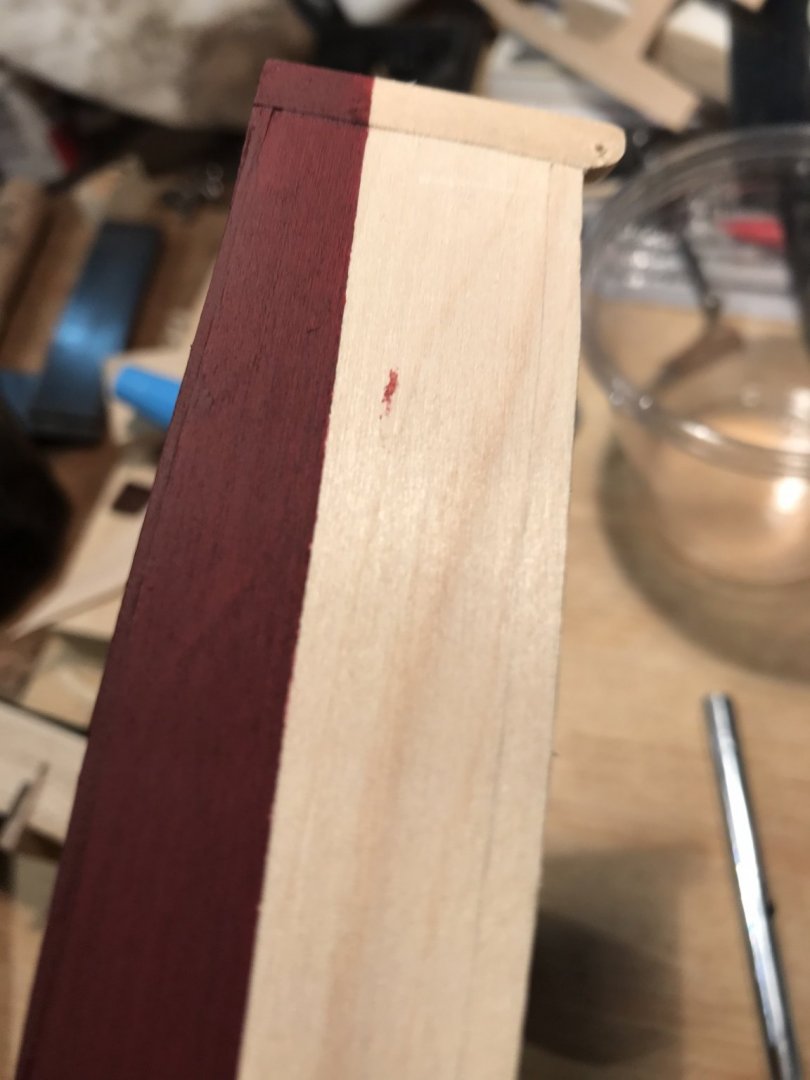
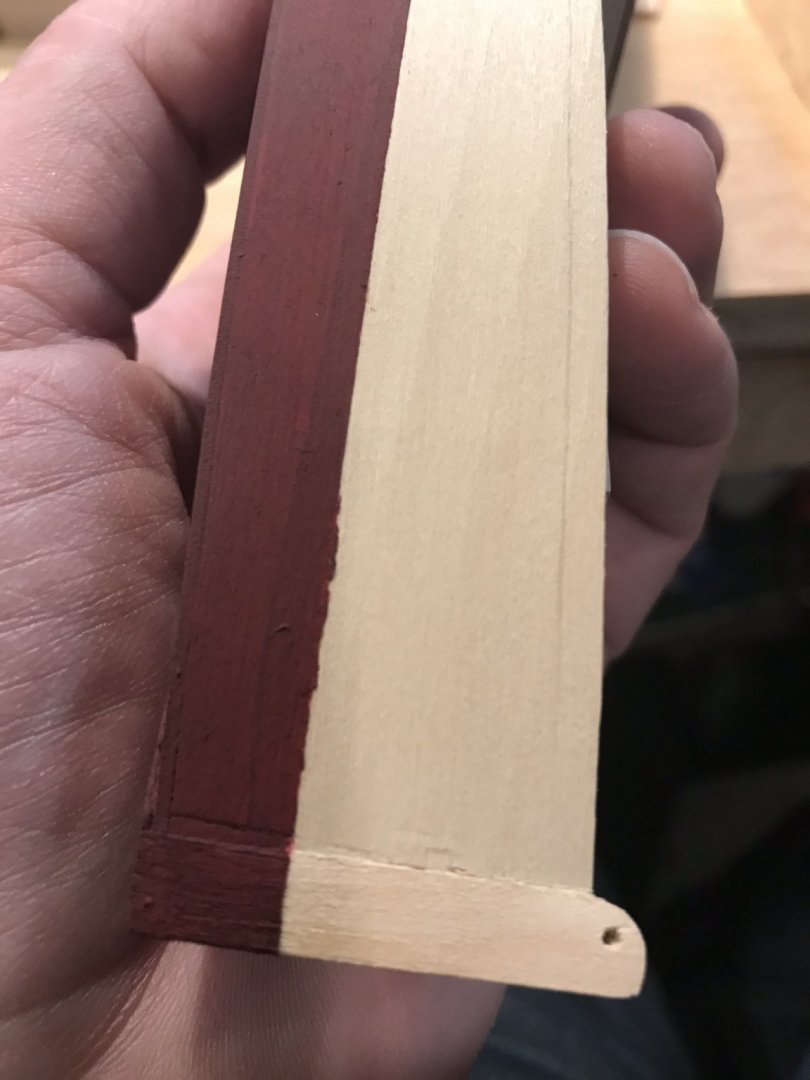
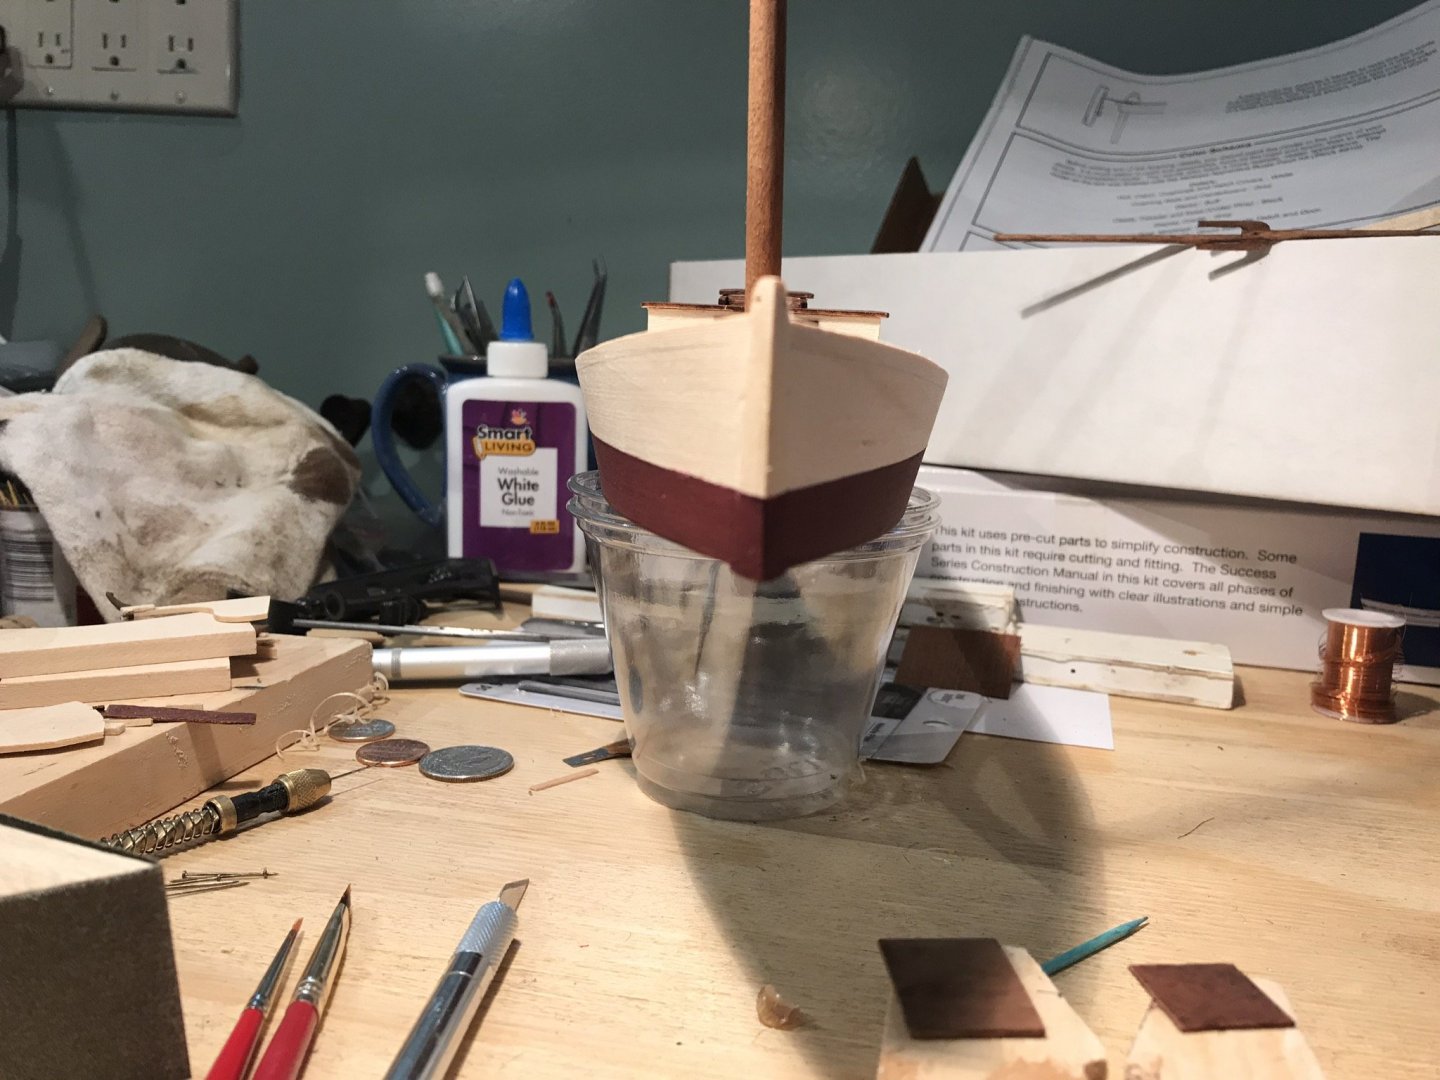
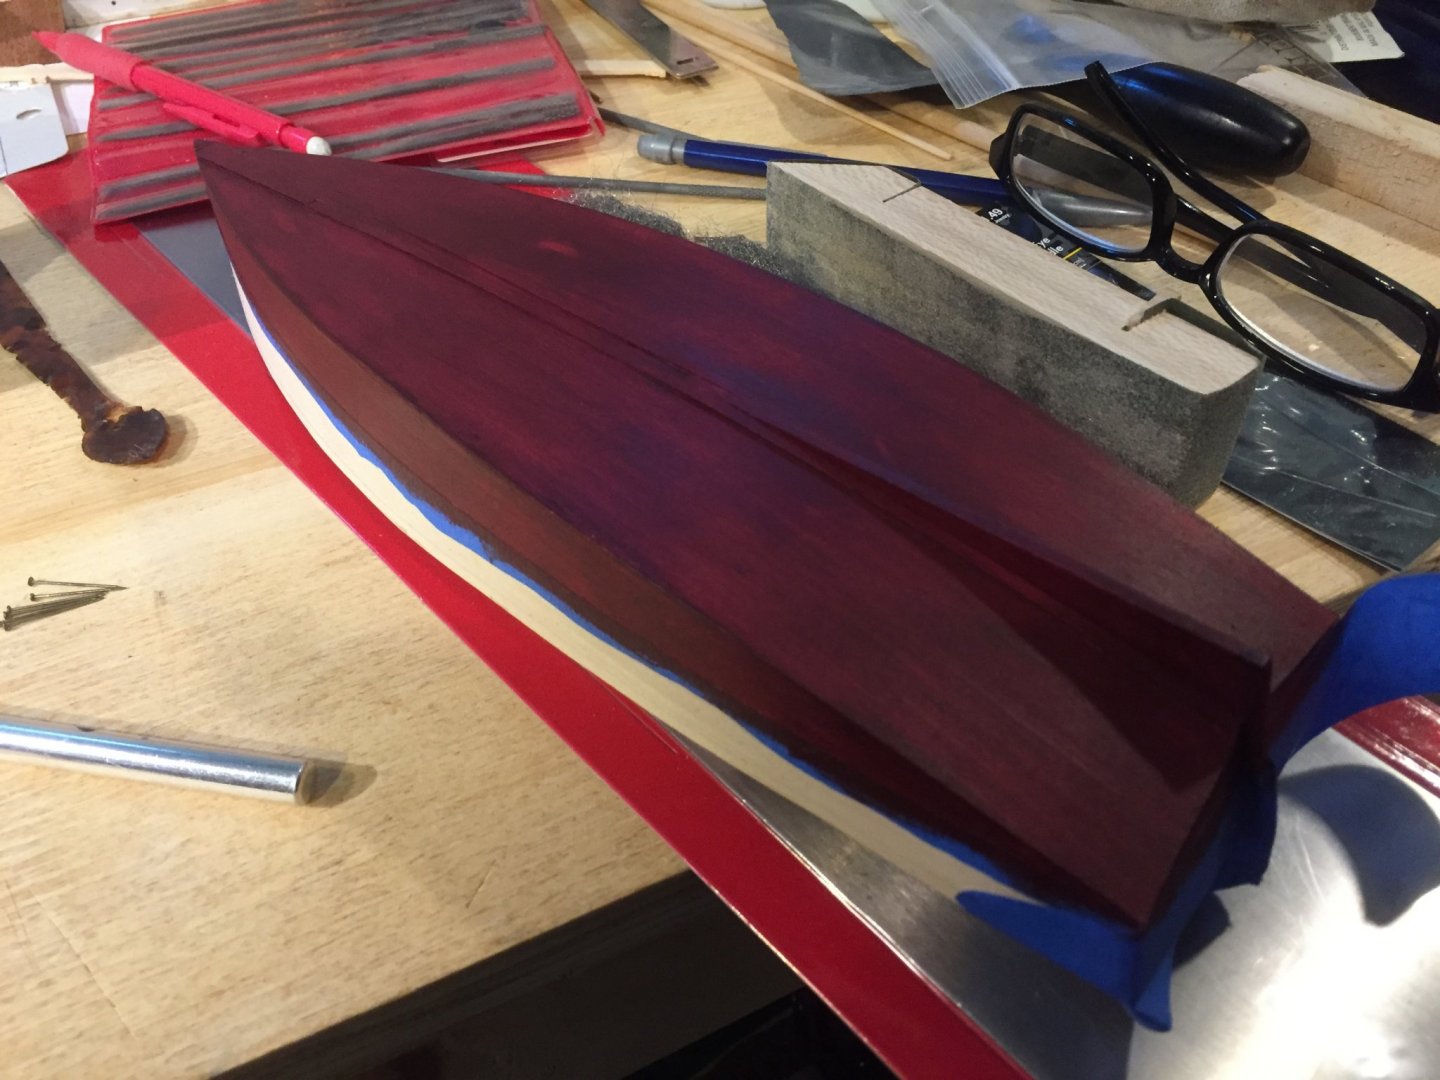
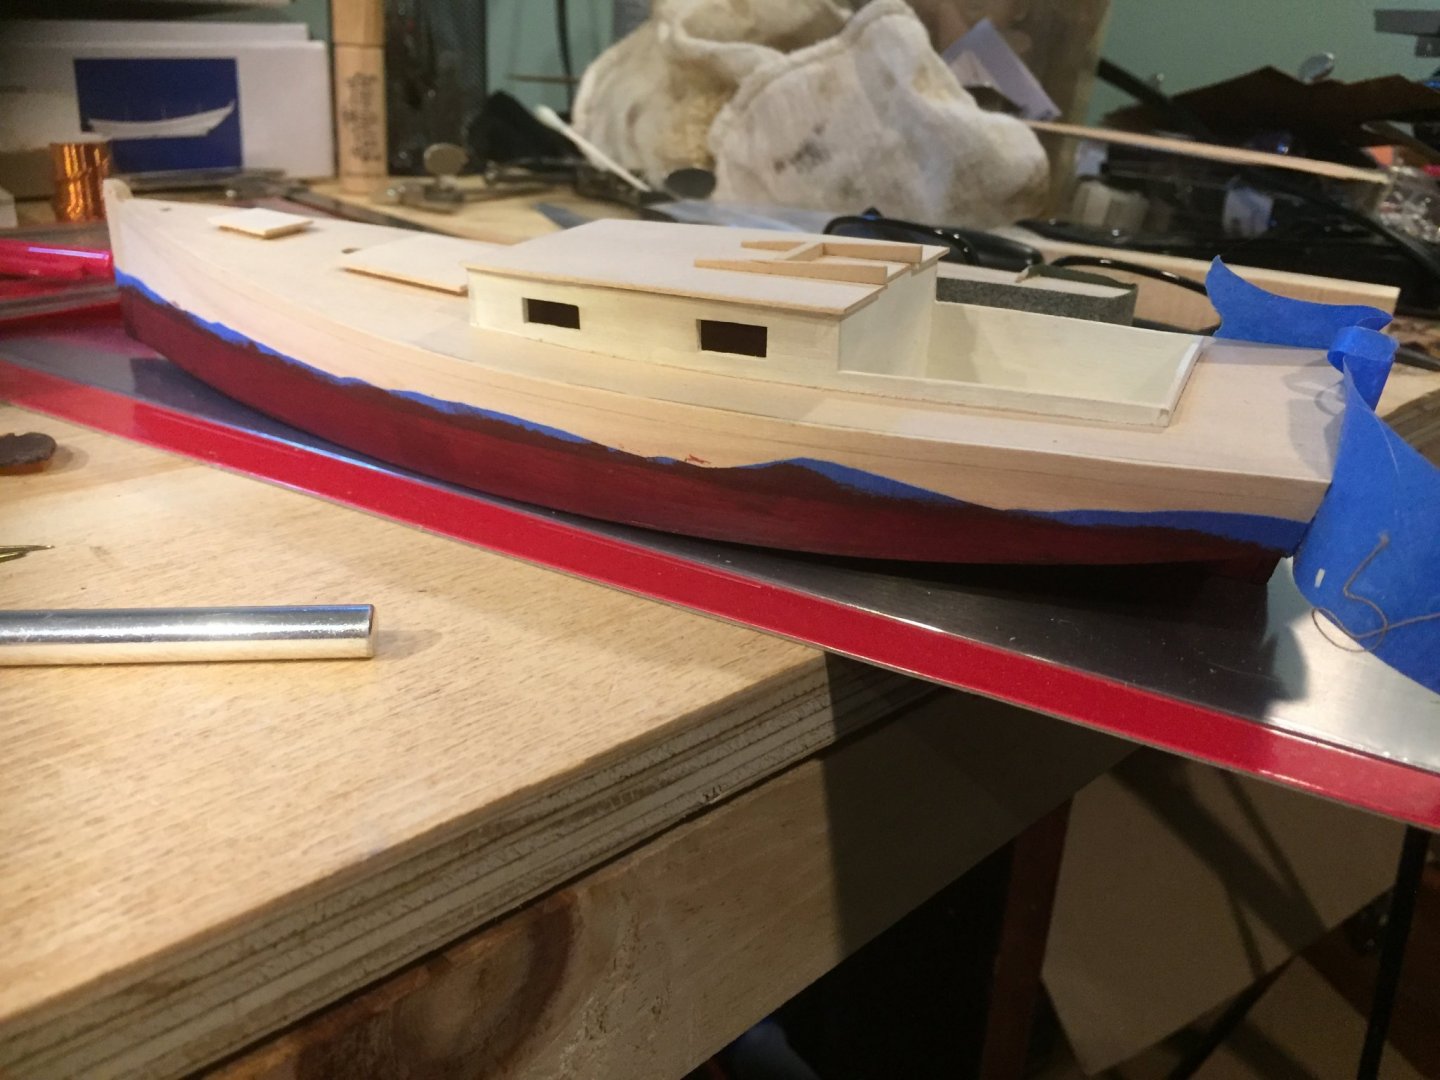
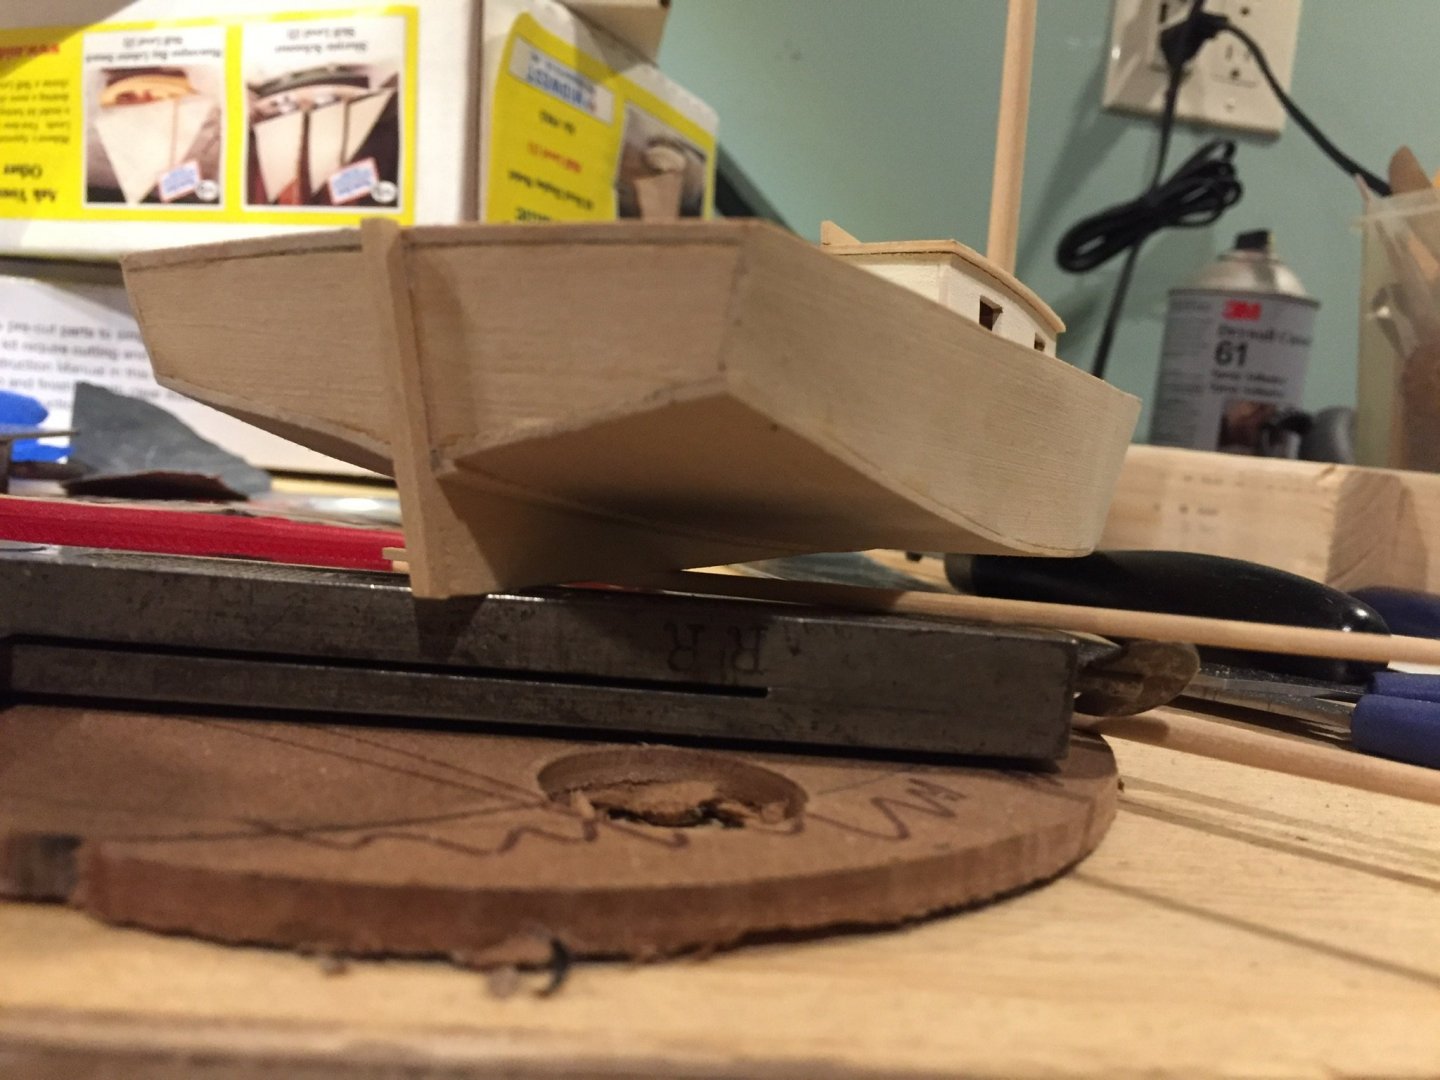
I scraped away the red from the above tape line. More paint and stain! The middle black stripe bled terribly, so I scraped it with exacto blade back until it looked reasonable. Then I applied water based stain to the hull.
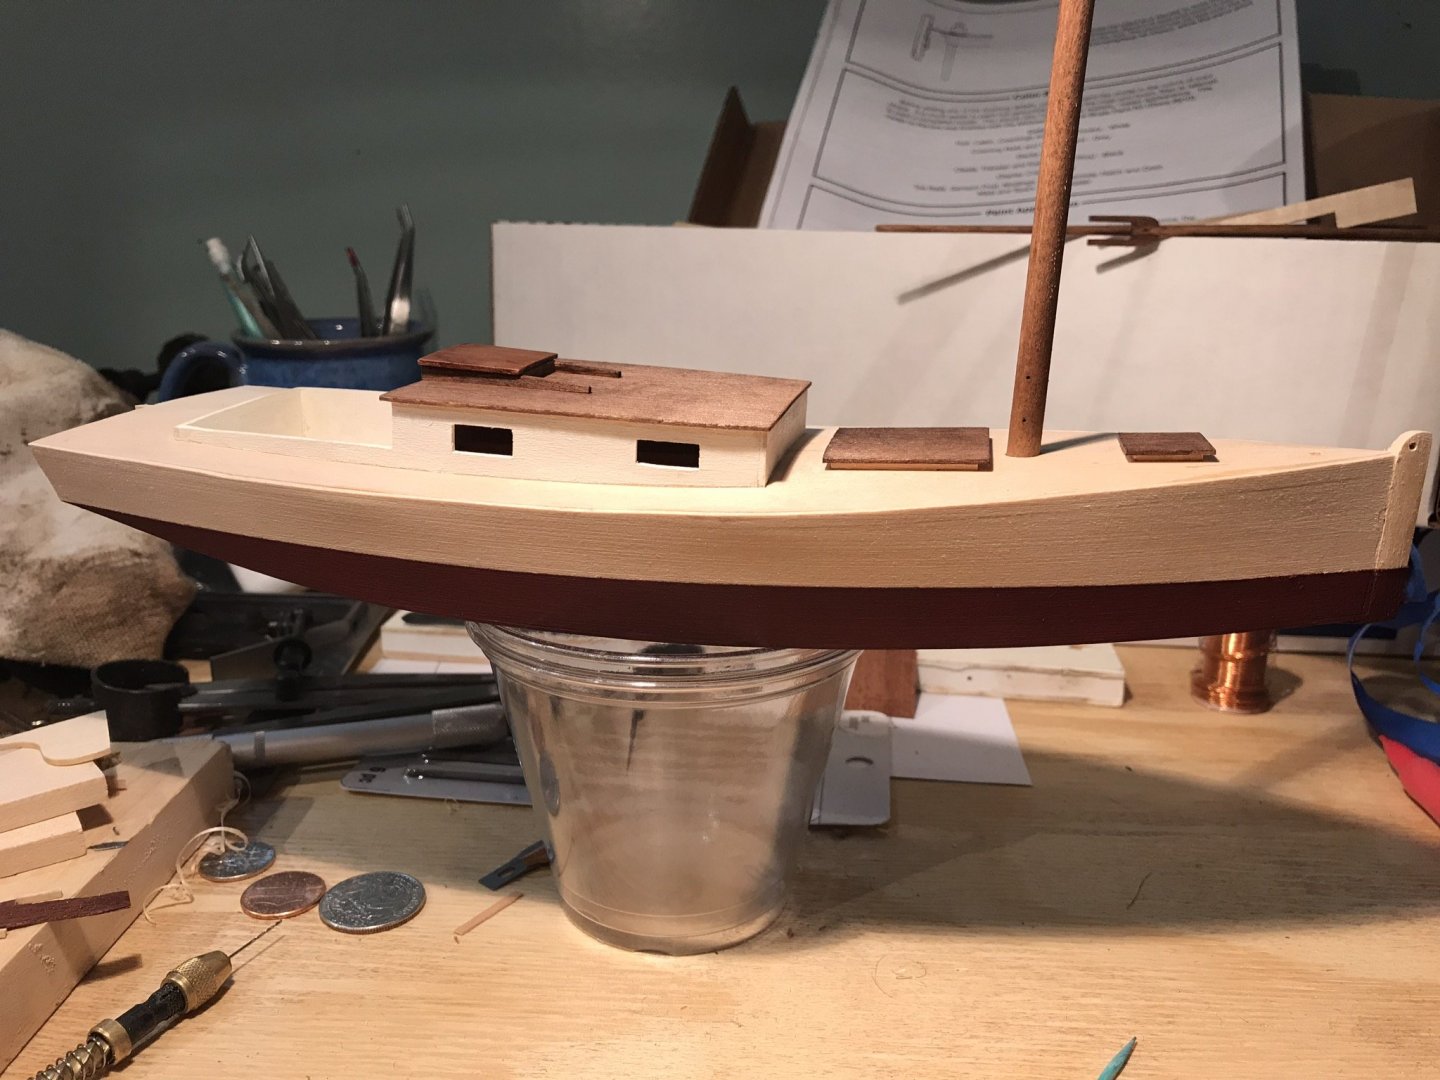
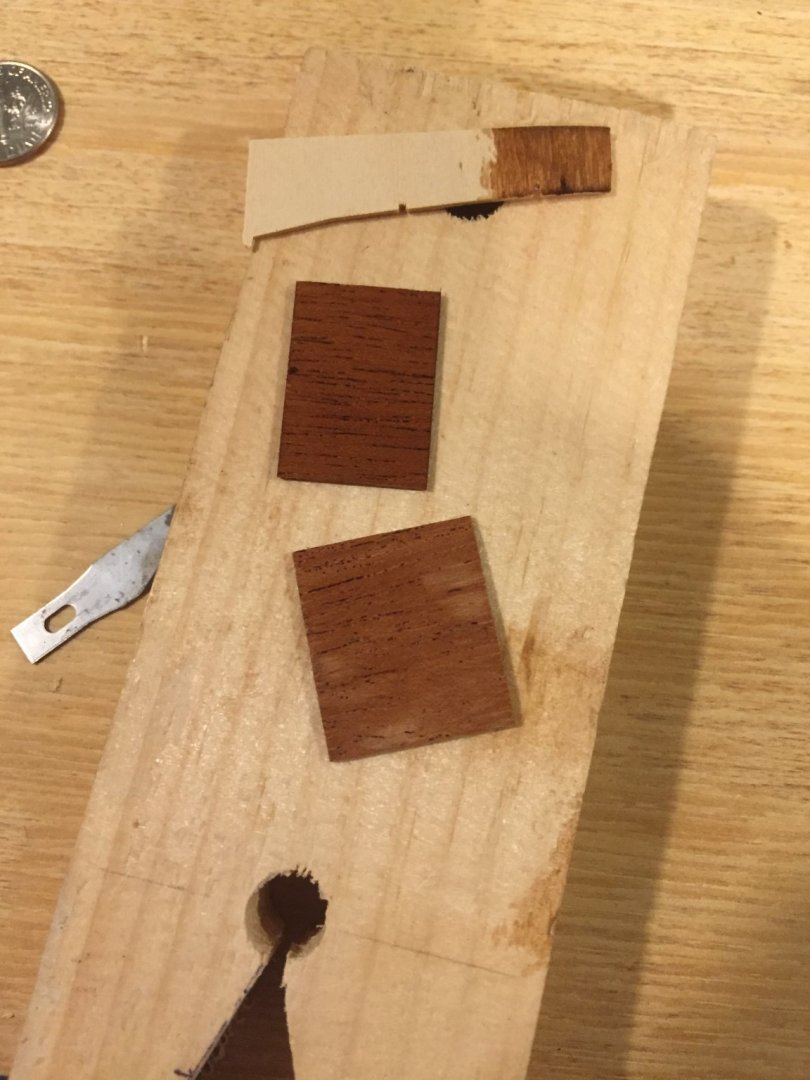
And added two more stripes - masked with tape and applied by brush. The bright red took several coats. I had made hatch covers in mahogany and applied polyurethane. But the bass wood hatches looked just as good, so no change there.
- Retired guy, KevinR, ccoyle and 4 others
-
 7
7
-
- VTHokiEE, ccoyle, thibaultron and 3 others
-
 6
6
-
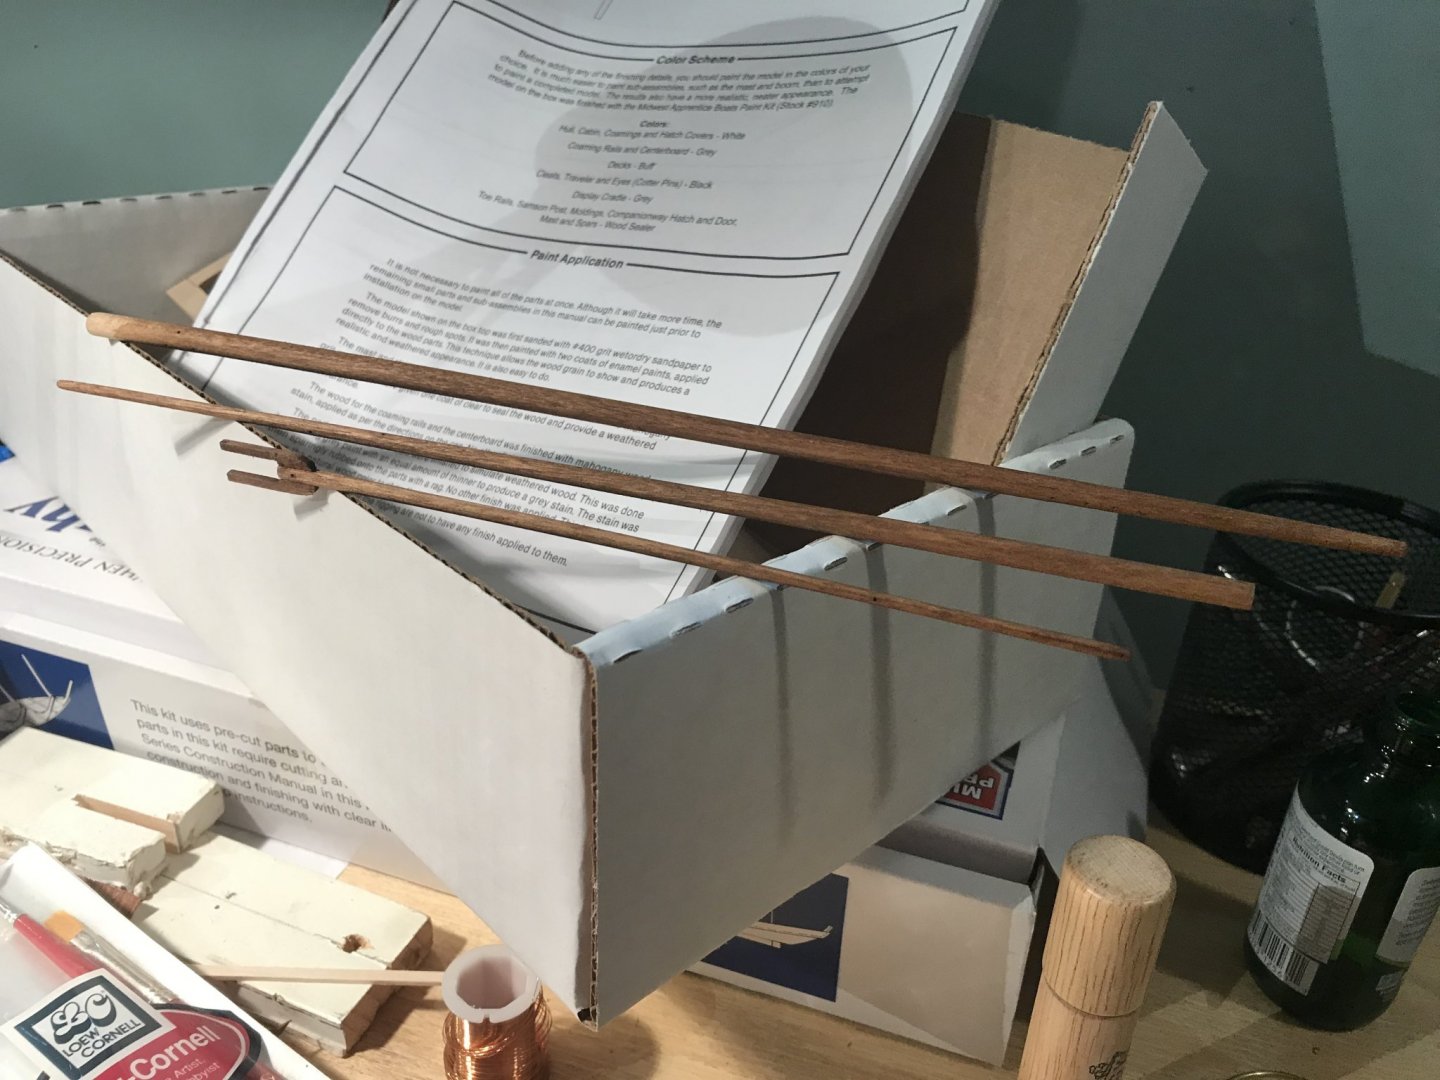
Stained with water soluble stain and coated the masts with the aforementioned polyurethane.
The cloudiness of the polyurethane isn’t an issue if you aren’t trying to fill the pores of the wood grain. So out of efficiency, and desire for a common look (and laziness), I’m sticking with the polyurethane on this build.
- thibaultron and GrandpaPhil
-
 2
2
-
-
- Retired guy, Duanelaker, GrandpaPhil and 1 other
-
 4
4
-
Are there great books on Chesapeake Bay workboats? I’m curious what are the canonical readings for modelers of boats and ships from this part of the world. Thanks again for everyone’s support and help!
-
I couldn’t get the gap between the rudder and transom as close as I like, so I’m passing on the brass hinge (this time). I may try ccoyle’s suggestion or just follow the instructions- this model is an ‘idealized’ renderingalready.; i.e. light on details.
- thibaultron and catopower
-
 2
2
-
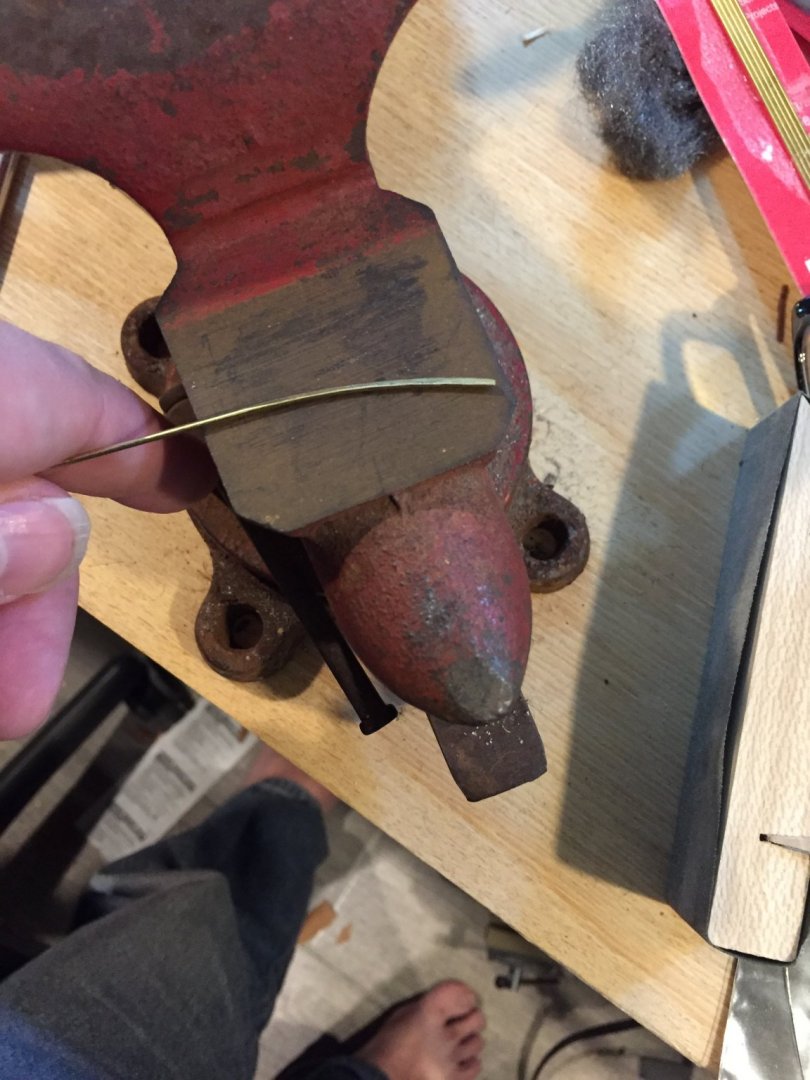
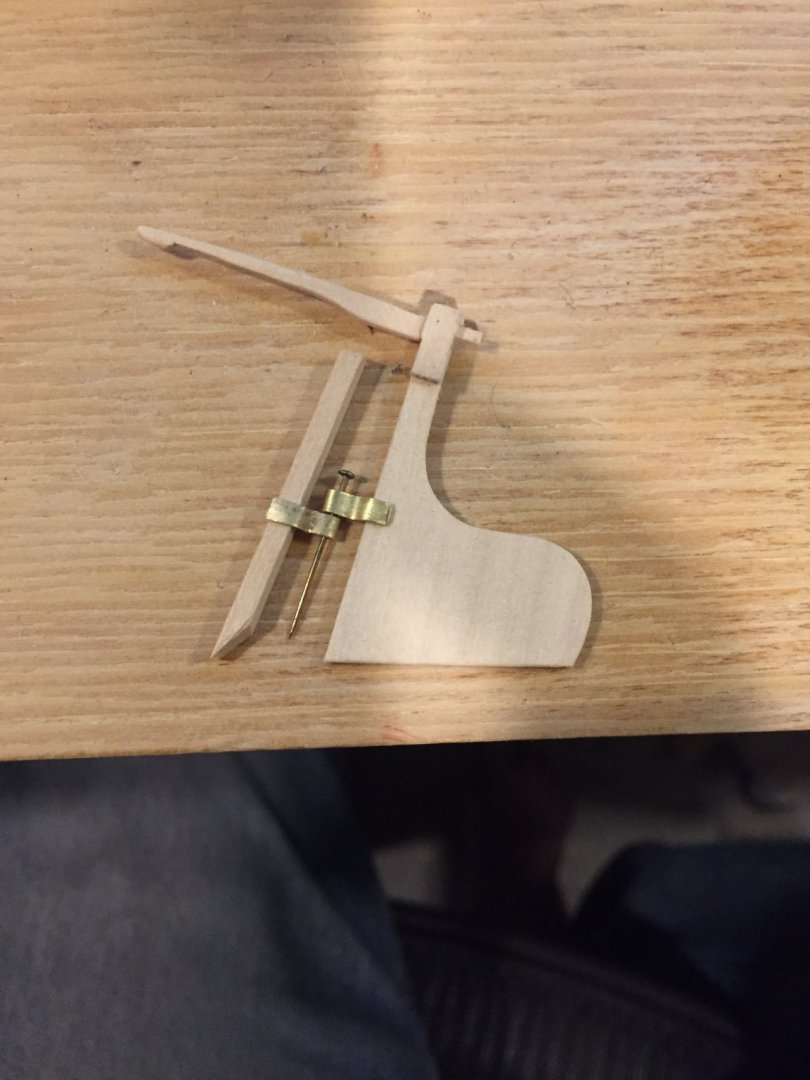
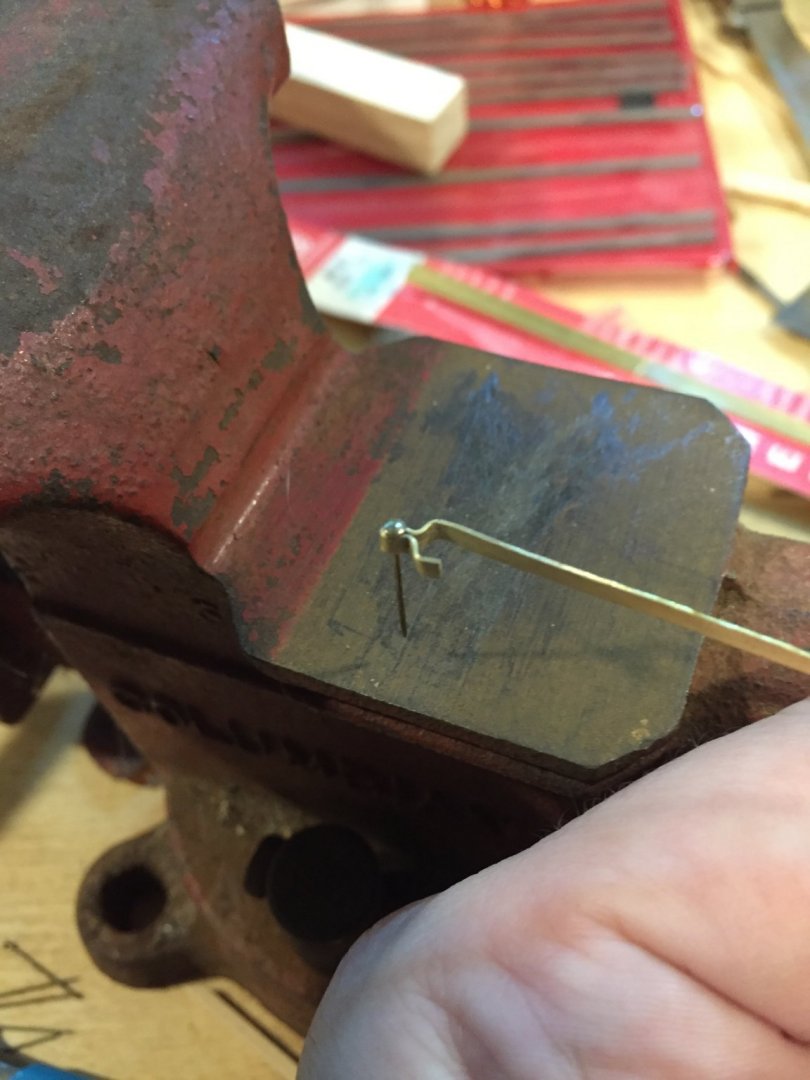
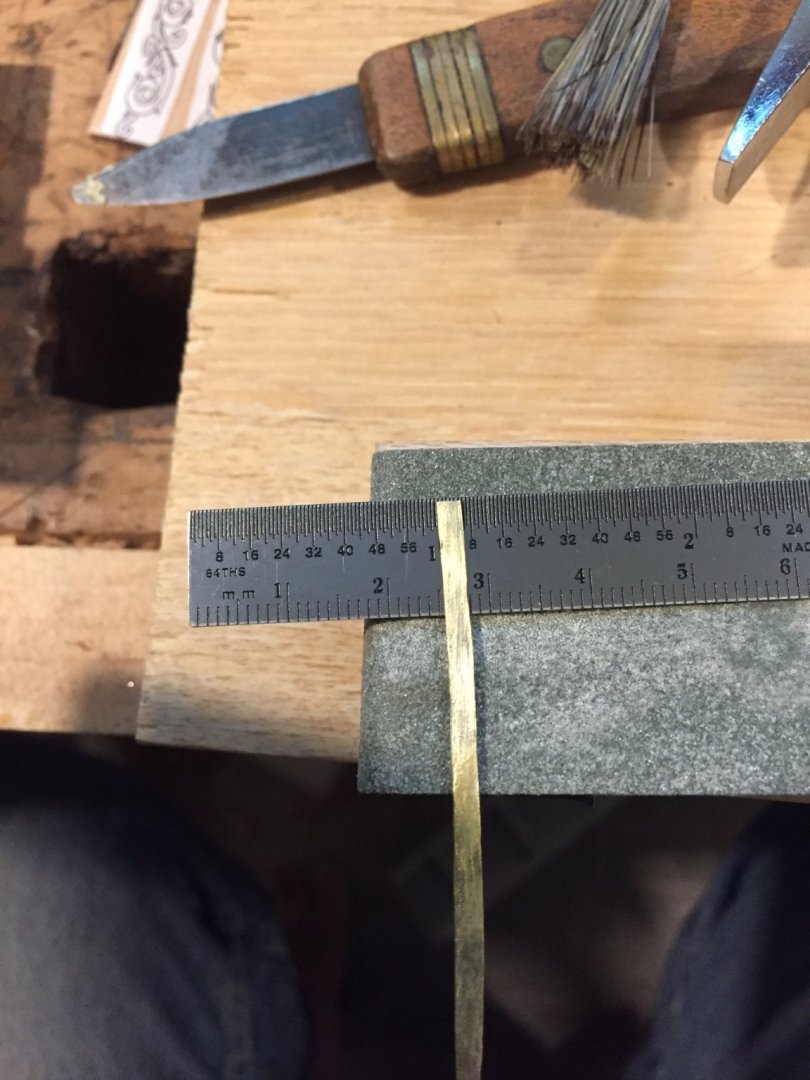
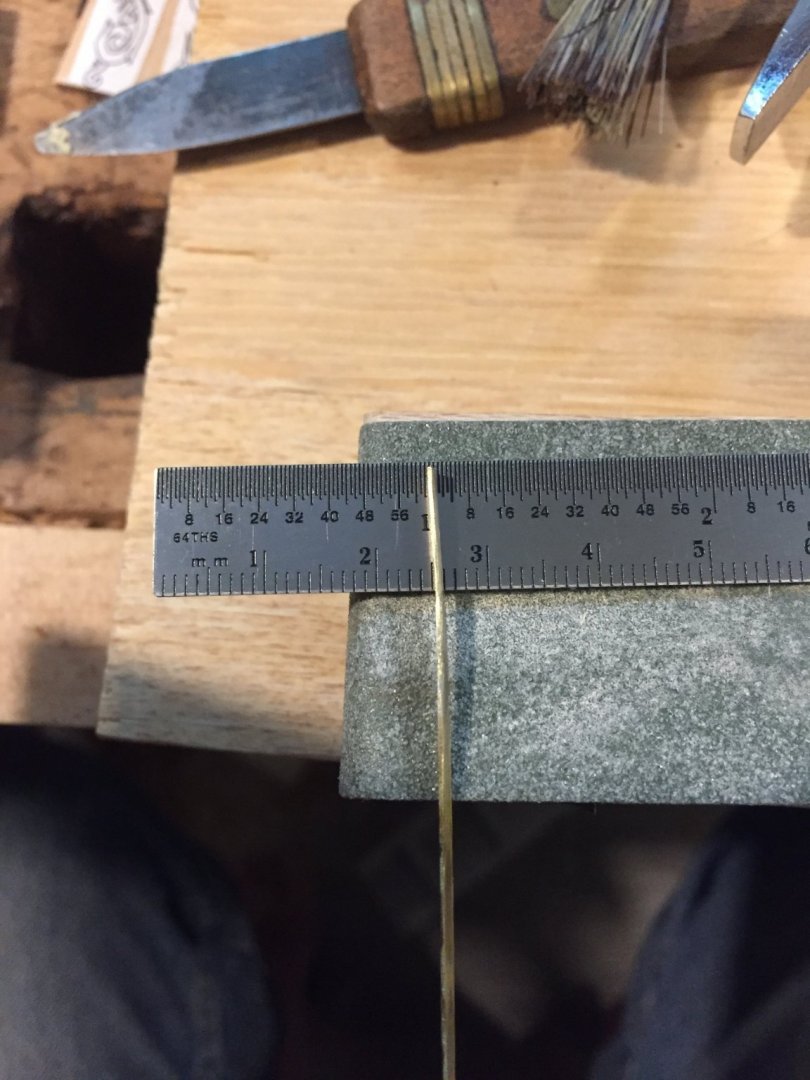
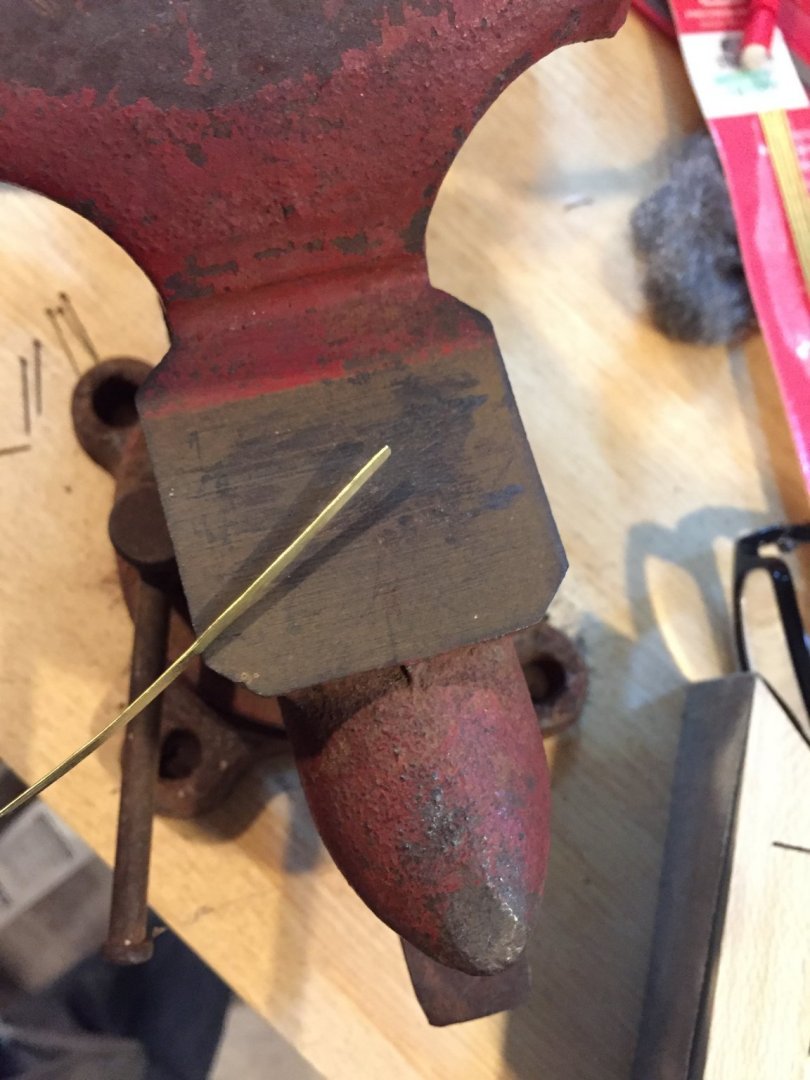
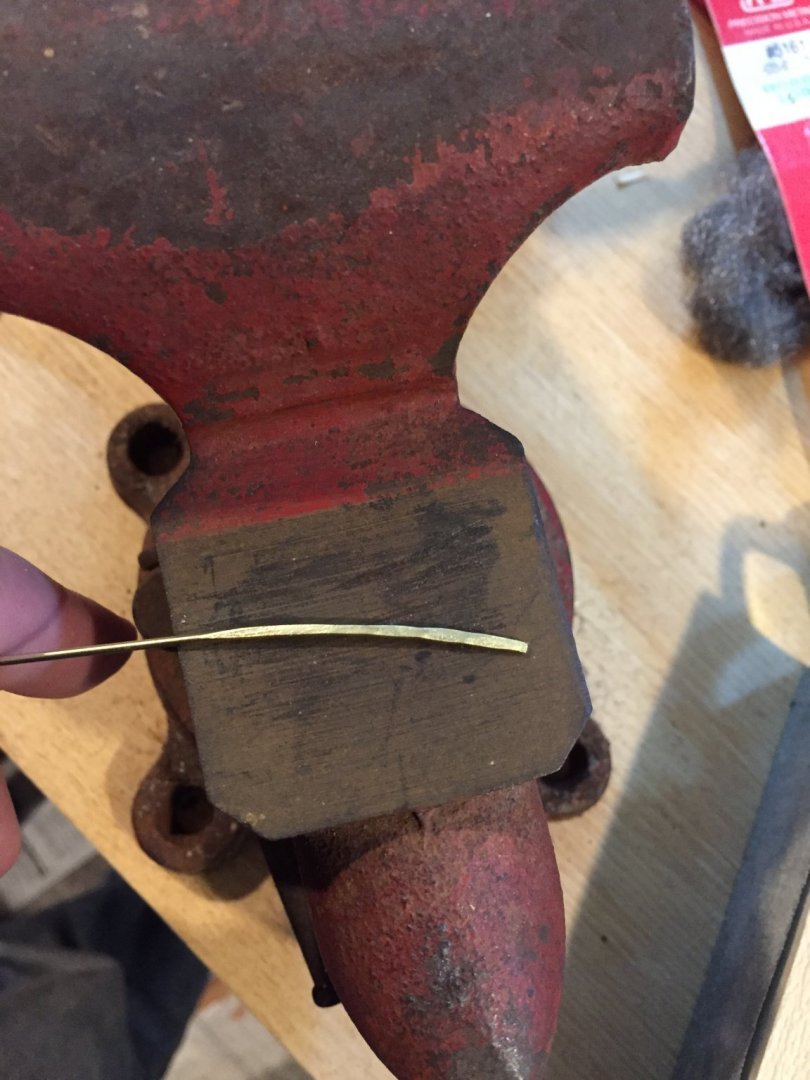
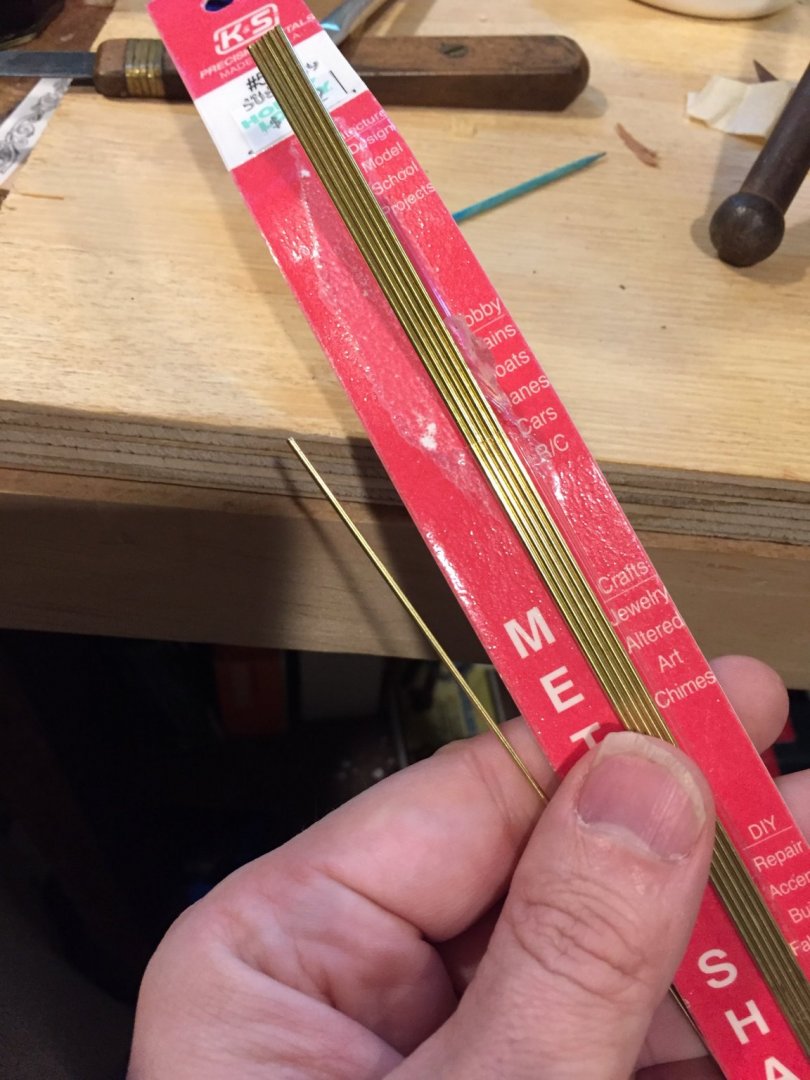
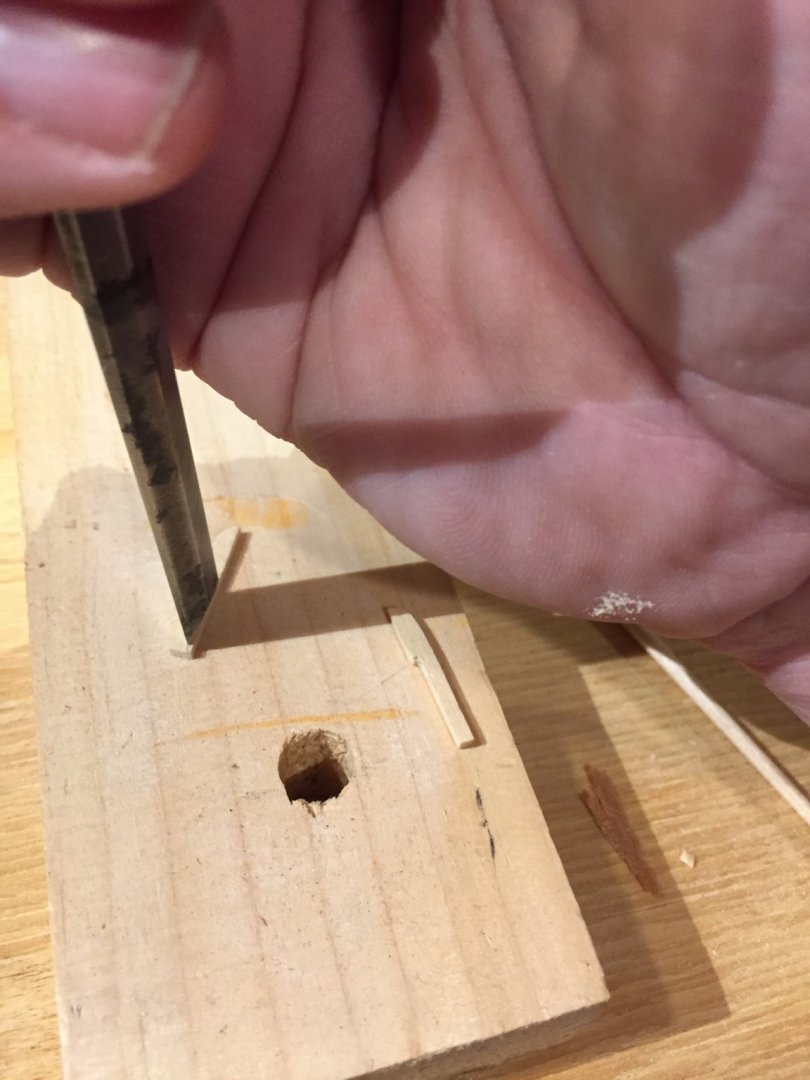
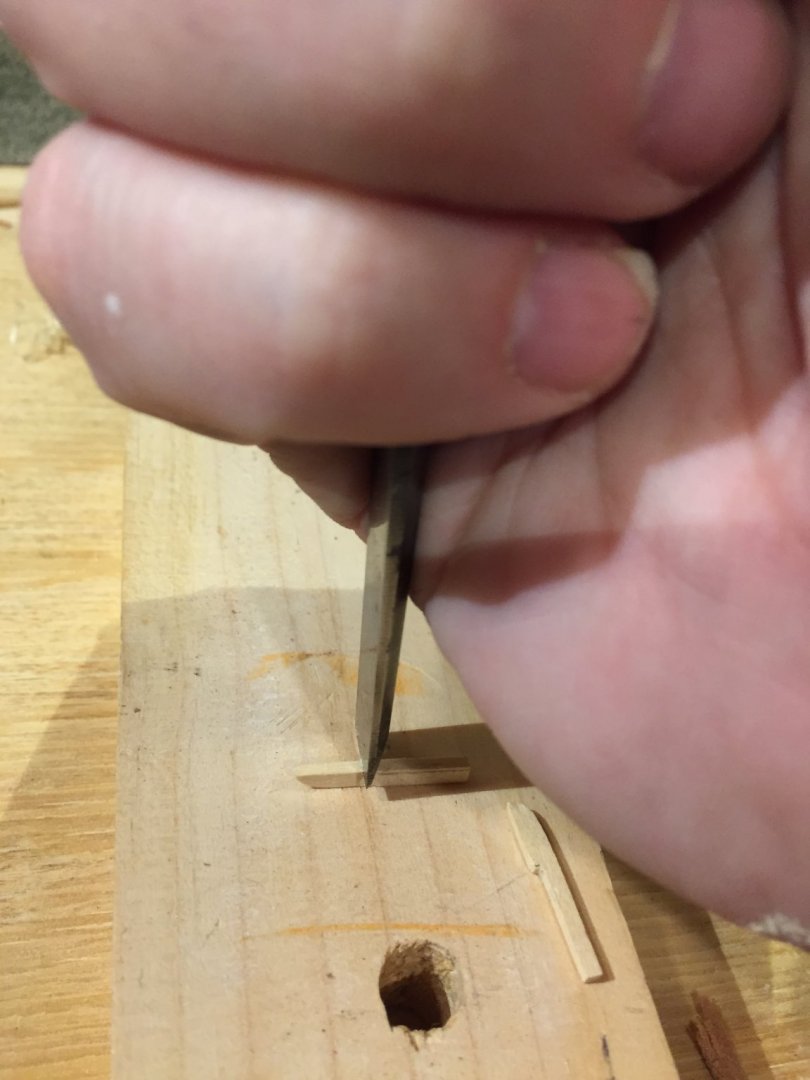
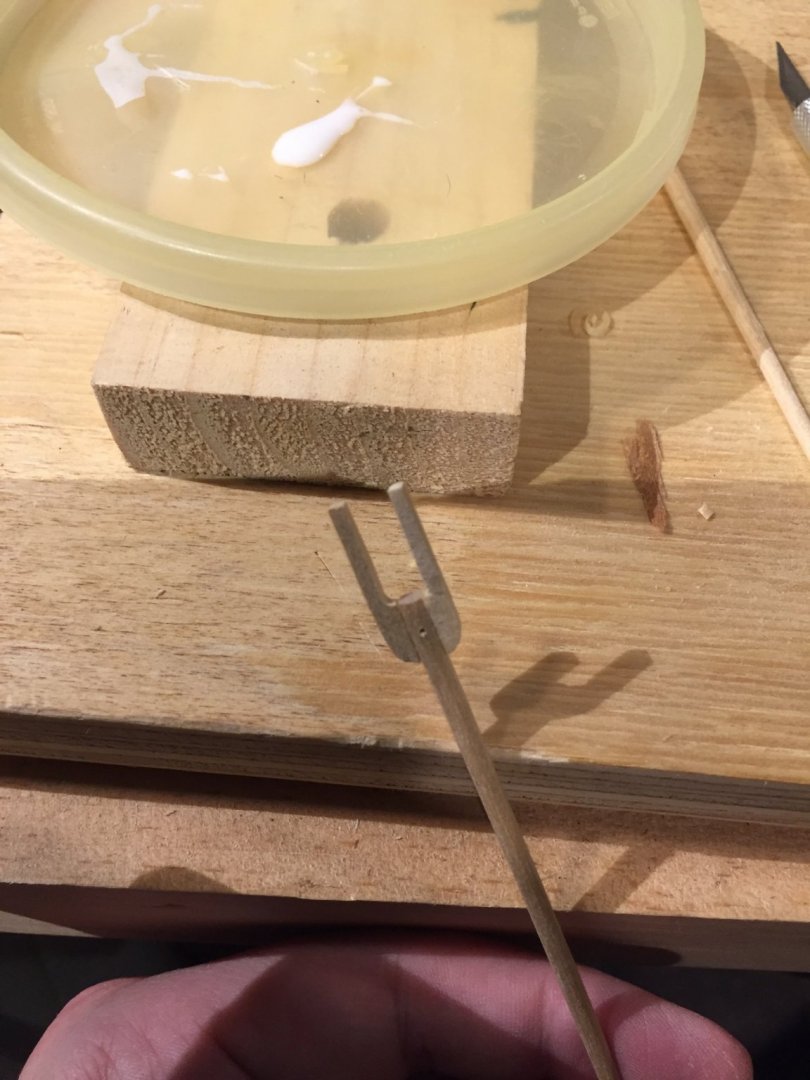
Having chewed on the info dump from VTHokiEE, I figured I just try. I couldn’t find any brass strips but I did I find thin rod. I hammered it flat and and used small needle nose pliers to bend it. I found the order of bends is important- you can find yourself “painted into a corner” and not be able to continue (at least with my large tools). I also discover that after hammering the brass, the metal needs to be annealed or the bends will break the metal. For annealing, I used the flames of our gas stove and then a cup of water - that worked well.
- GrandpaPhil, CapnMac82, Retired guy and 2 others
-
 5
5
-
For others who my find this thread (and for David): the book, by Lankford, mentioned by Kevin is available for free as a pdf at the Model Expo site, as part of the information about the kit.
Kit information: https://modelexpo-online.com/Model-Shipways-WILLIE-BENNETT-SKIPJACK-132-SCALE_p_1015.html
Book pdf link: https://modelexpo-online.com/assets/images/documents/MS2032-Willie_L_Bennett-Instructions-web.pdf
-
-
- Duanelaker, catopower, GrandpaPhil and 2 others
-
 5
5
-
Any suggestions for the metal work to attach the rudder? What thickness of brass and what favorite tools or methods?
-
-
Thank you thiaultron for the info! As an aside, I was looking at your build log; wow, you dig deep! That is quite the mountain of research!
-
Balsa filler was ordered and will arrive shortly! As for paint, I’m not sure yet. It’s strange; there aren’t many actual boats to peek at. I also realized I could have planked the deck earlier. Oh well.
- thibaultron and Duanelaker
-
 2
2
-
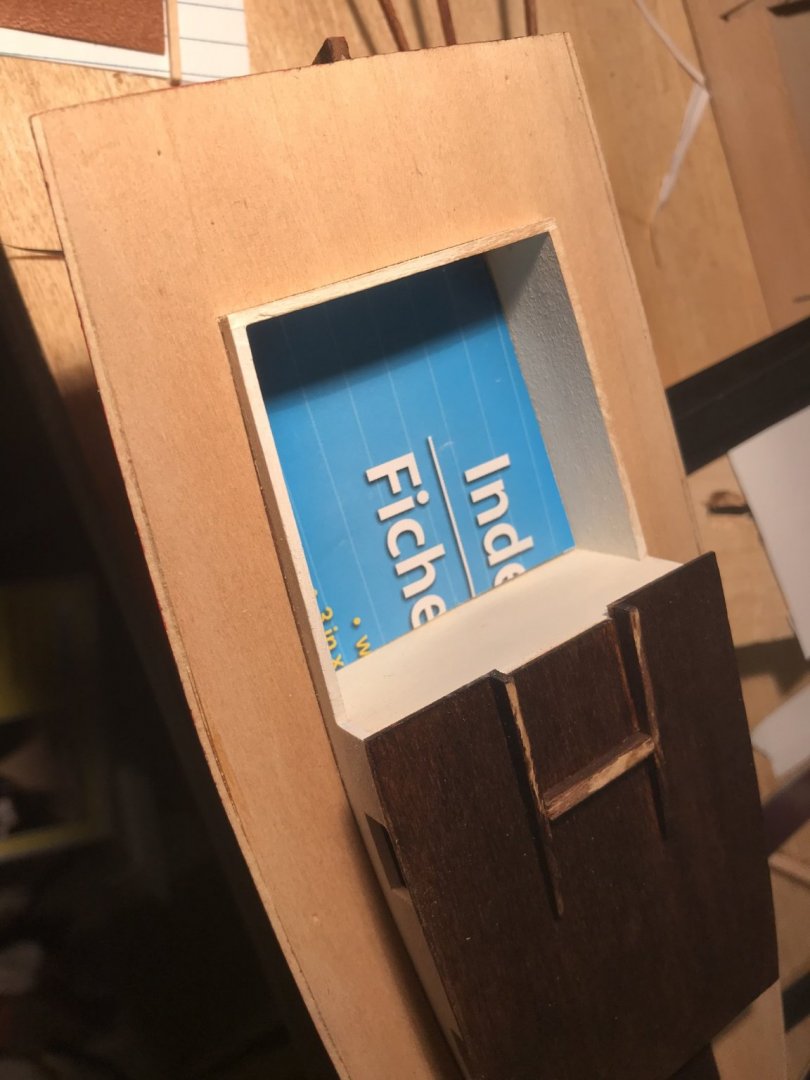
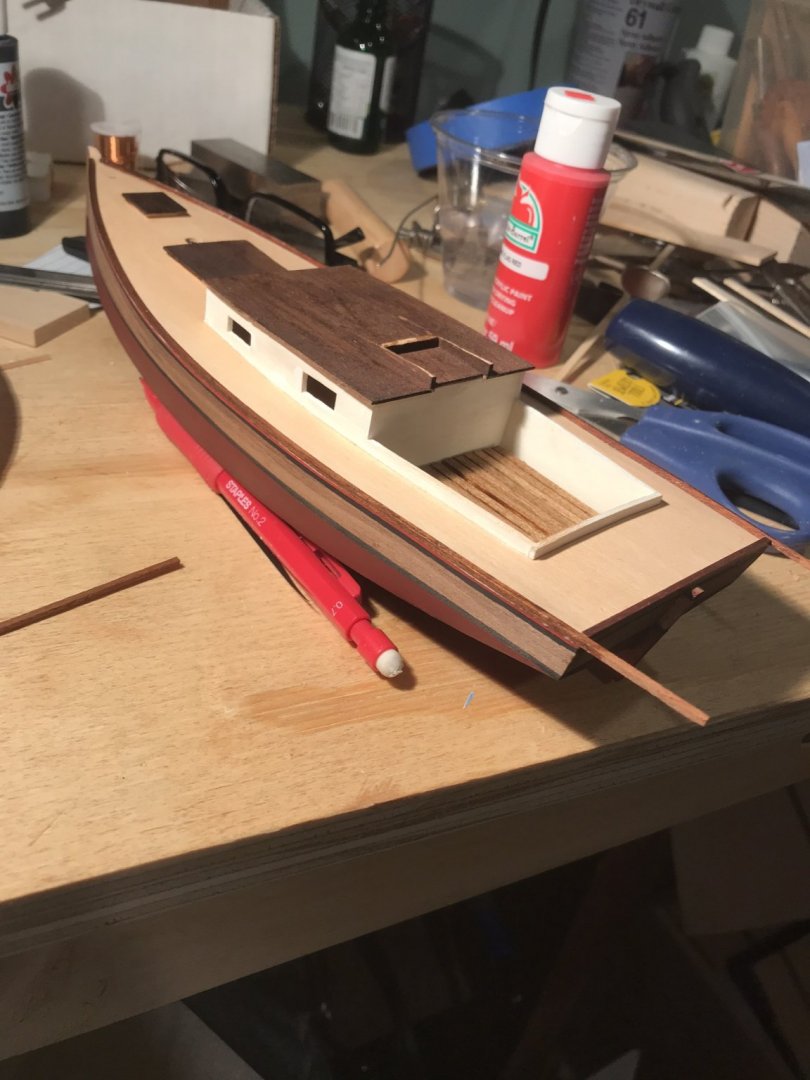
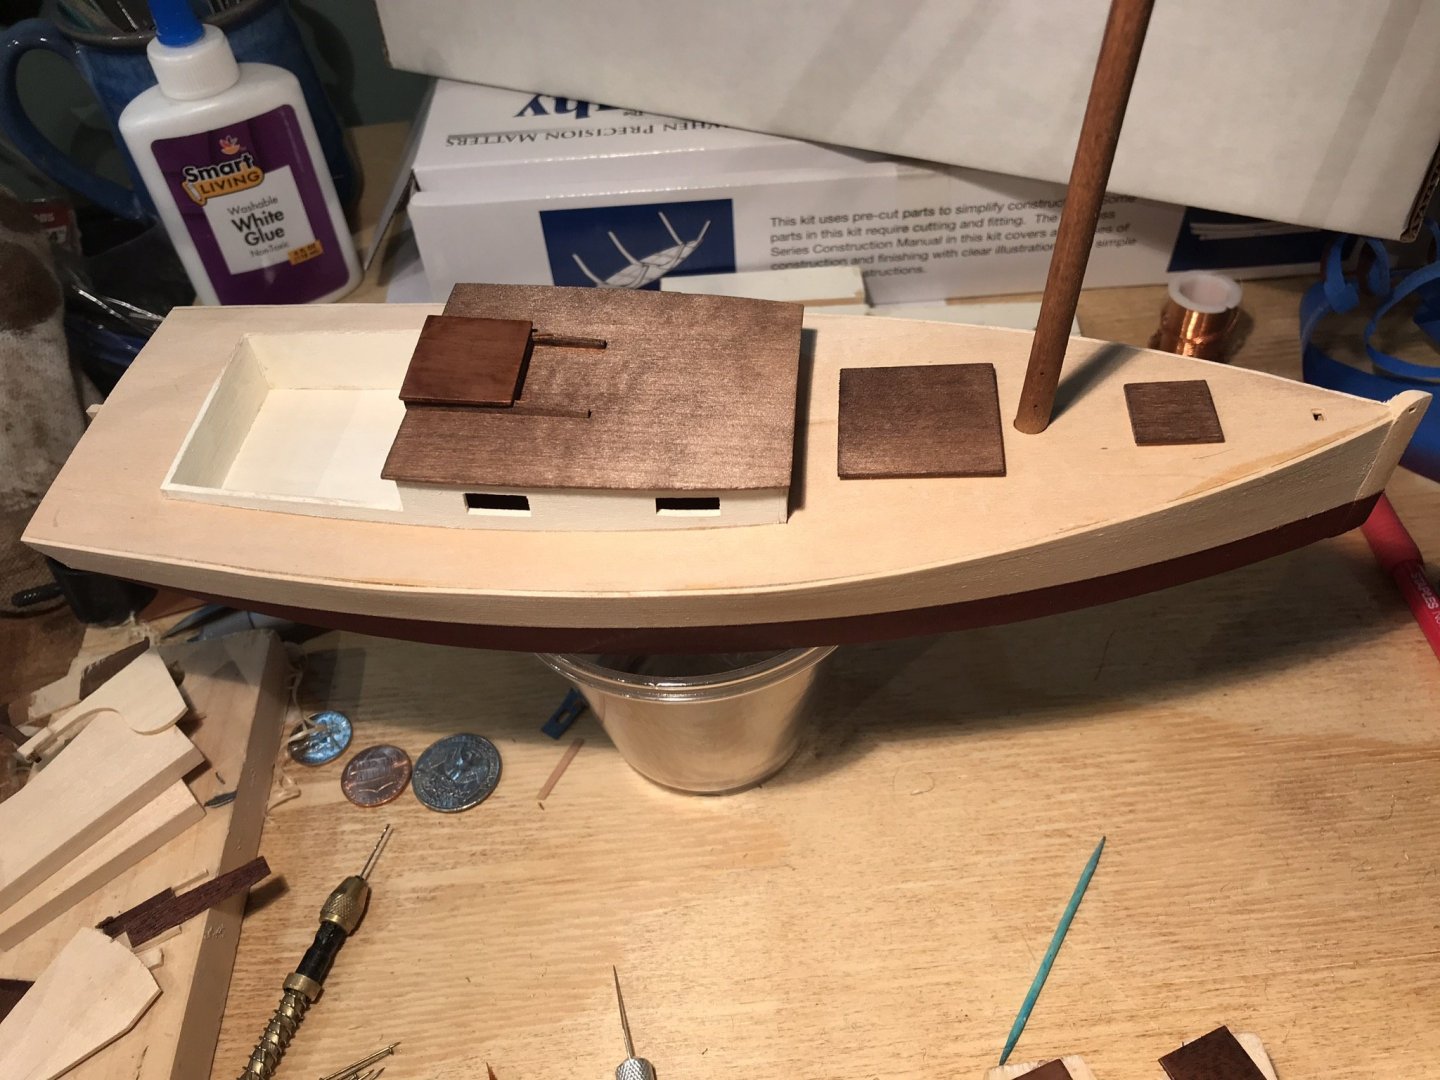
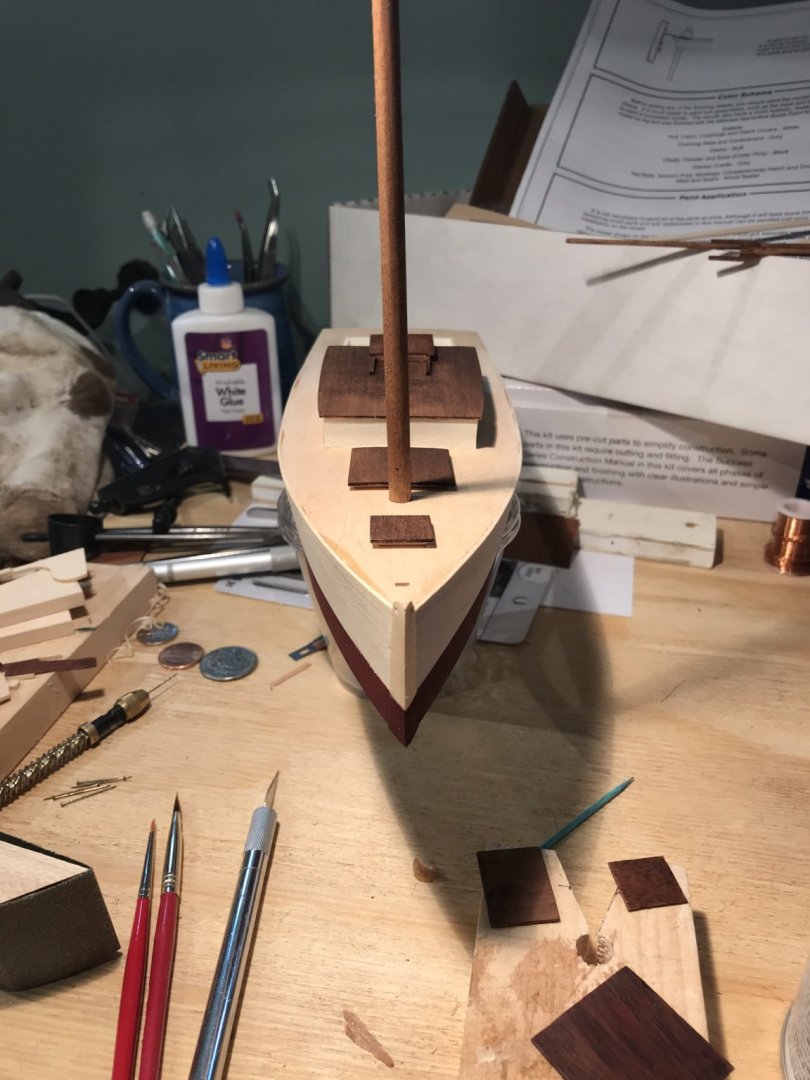
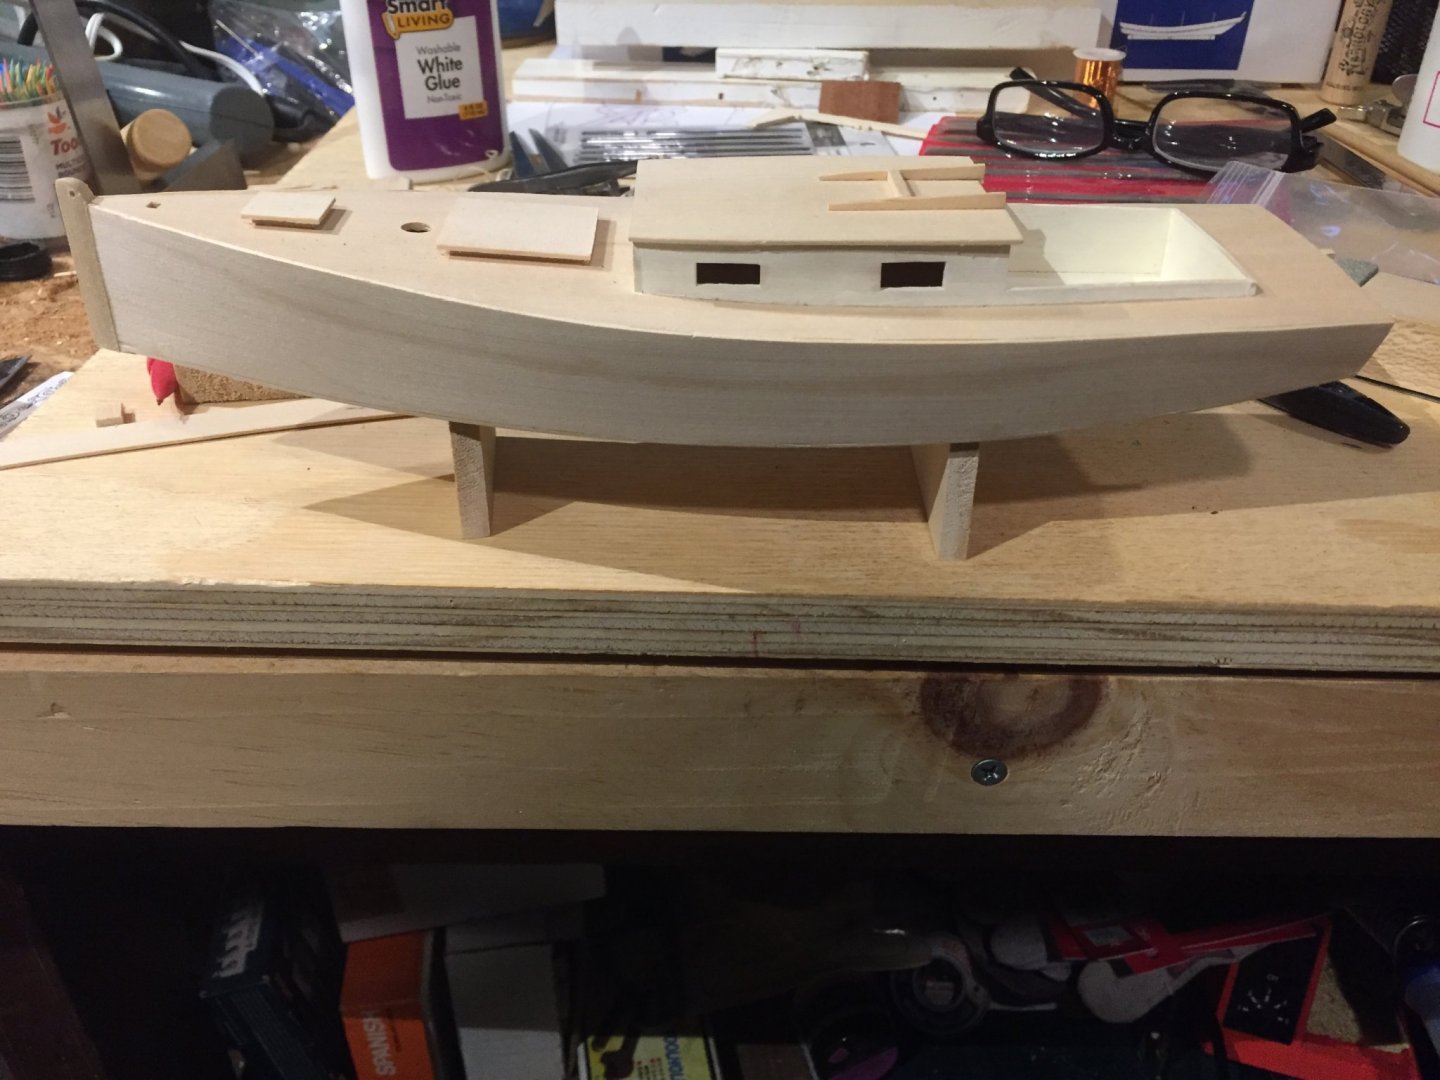
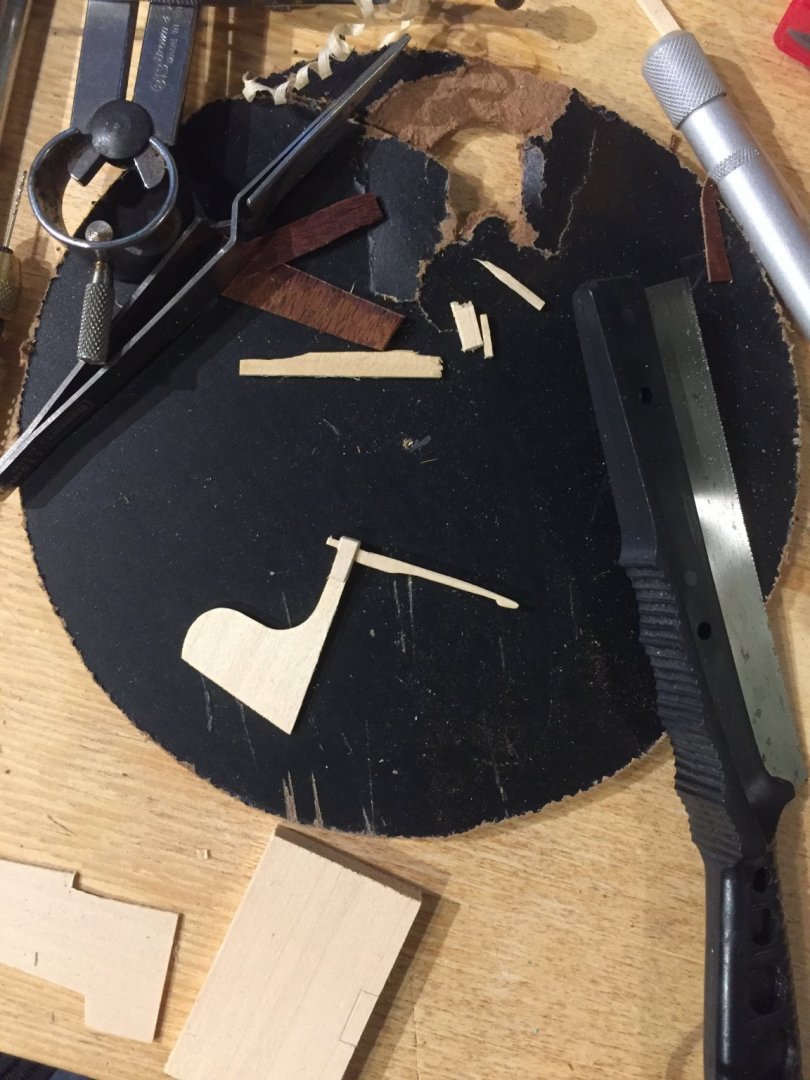
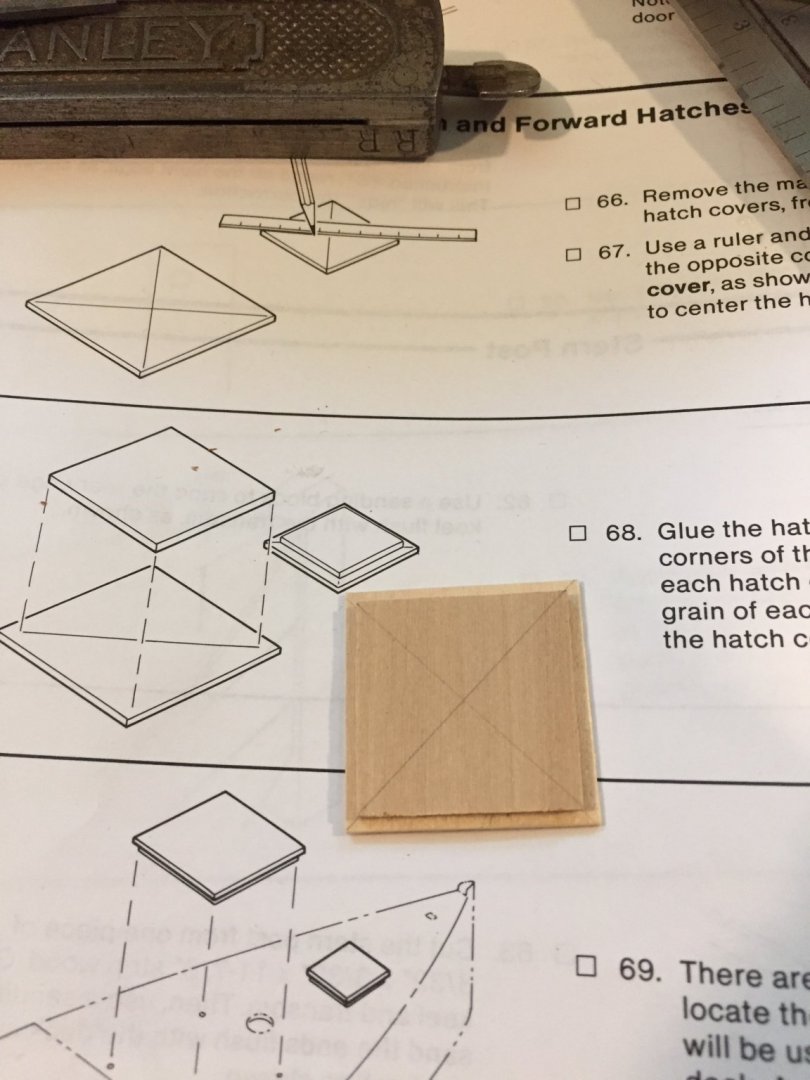
I had a bit of time in ‘ye olde shipyard’ (actually a new location for me). Hatches and the start of the mast, gaff and boom.
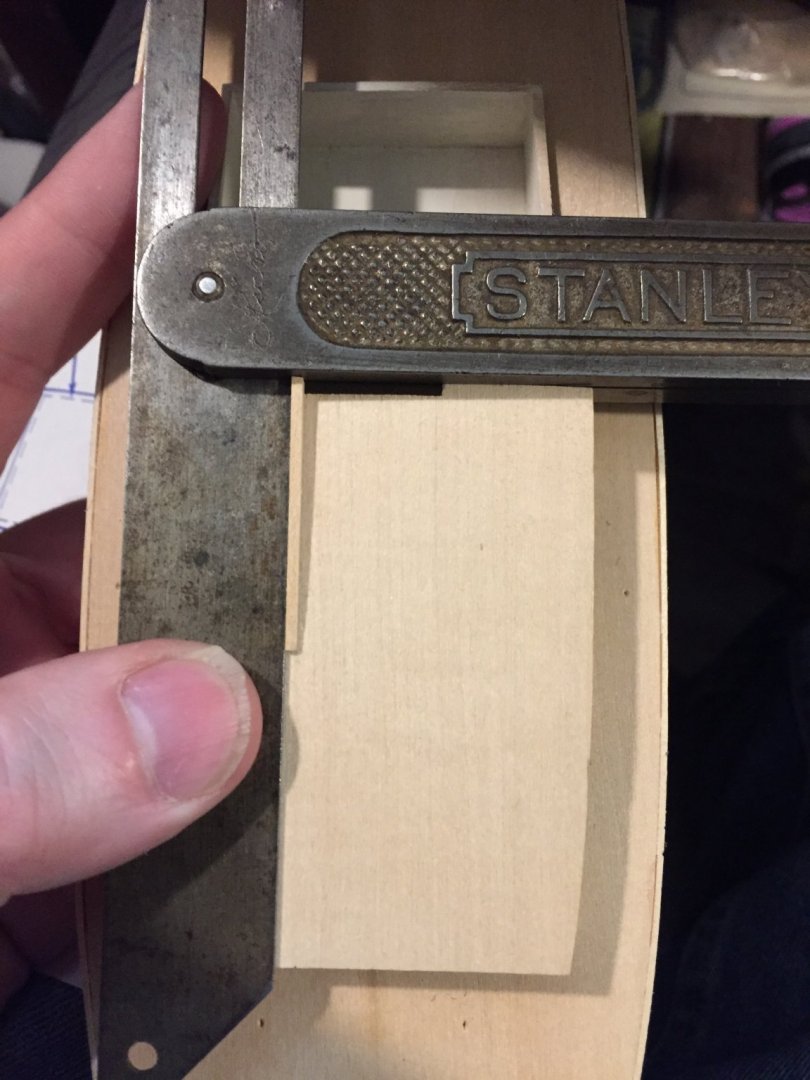
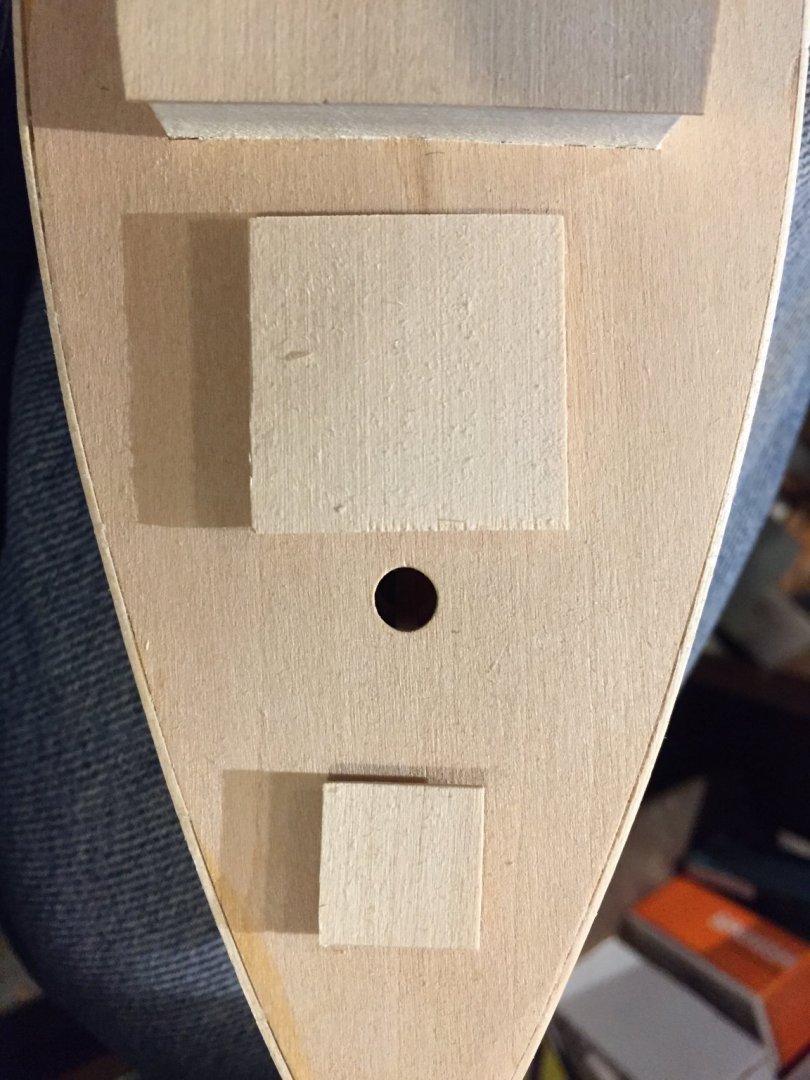
I had to retry the hatch placement, as they shifted, after my initial placement (as shown in the photo below).For the mast, I puzzled over plans which show slightly different shapes for the mast and other bits (the side view not matching the top-down view). Also my mast didn’t as deep as seems the instructions believed it ought to.
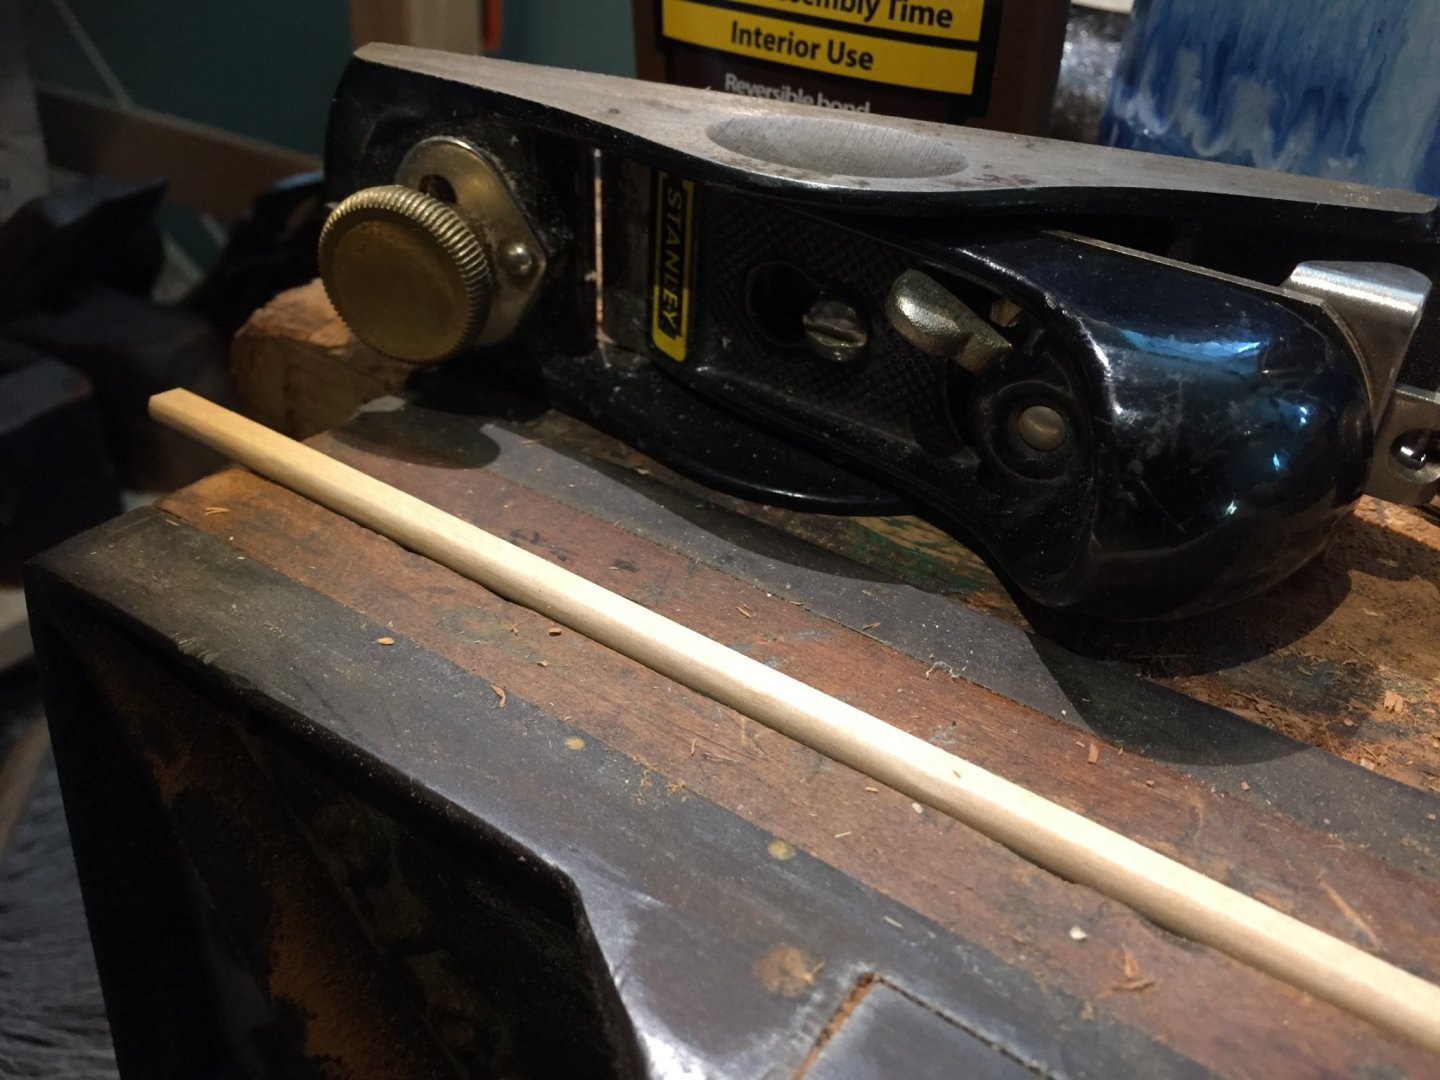
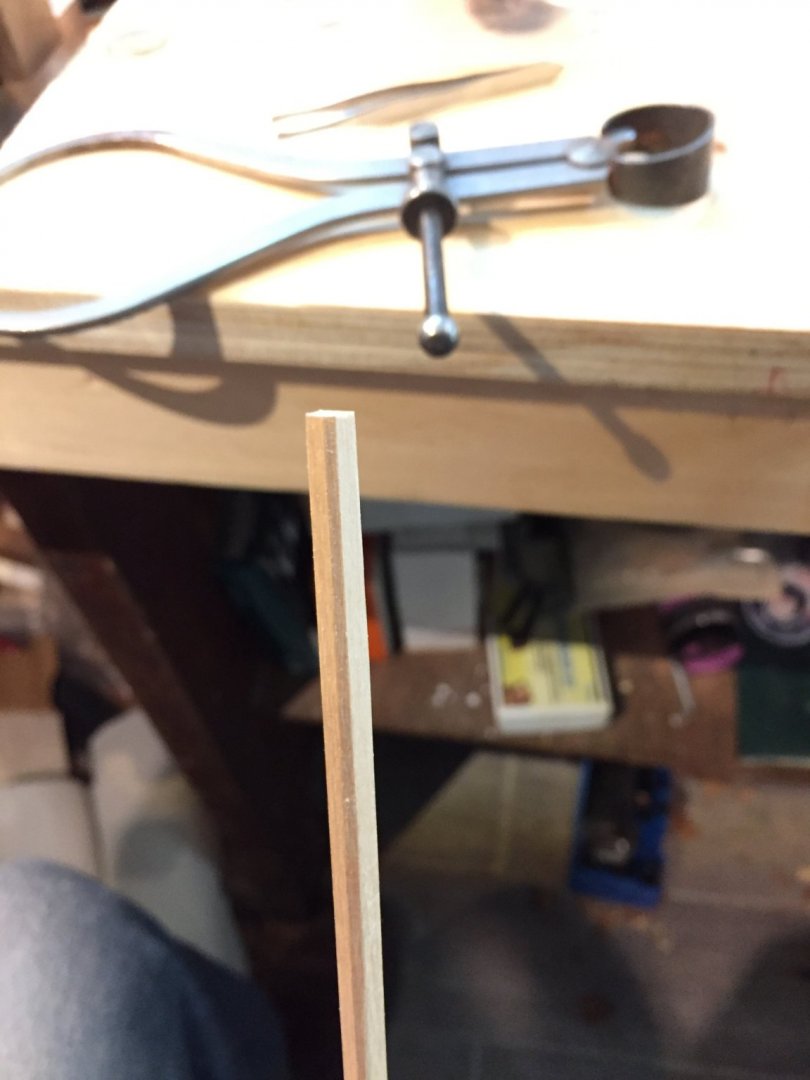
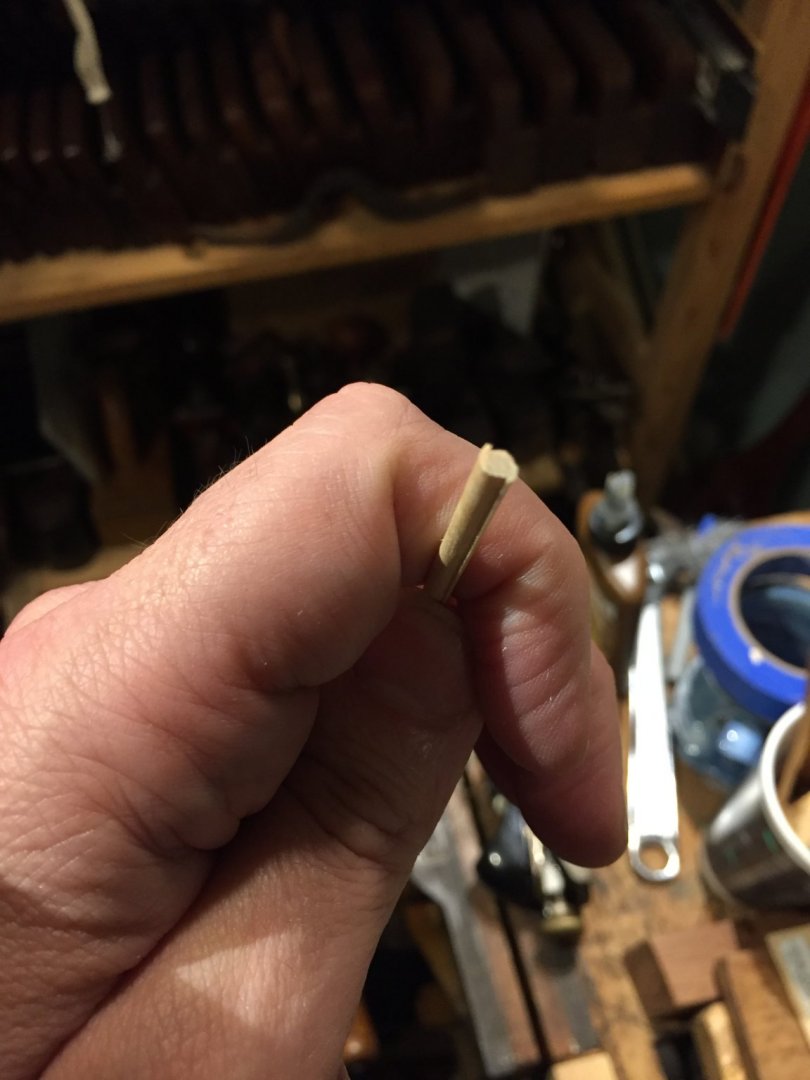
I used a block plane to trim the dowels and then 120 grit sandpaper. The dowels had seams! I haven’t seen that before. I trimmed down four faces first, and then eight and then the sandpaper In hindsight, I should have drilled the required holes at this stage before continuing. That would have guaranteed the proper exit of my holes. Next time! I was very close but it could be better.
I mixed a bit of saw dust with white glue together to fill the gaps in my tramson with some success. Little by little!
- Edwardkenway, catopower, Duanelaker and 4 others
-
 7
7
-
- Blue Pilot, Retired guy, Duanelaker and 3 others
-
 6
6


.thumb.jpeg.fc5d633a7b34428fcf19419a73d56d55.jpeg)
Chesapeake Bay Flattie by EricWilliamMarshall - FINISHED - Midwest Products - Scale 1:32 - SMALL
in - Kit build logs for subjects built from 1851 - 1900
Posted
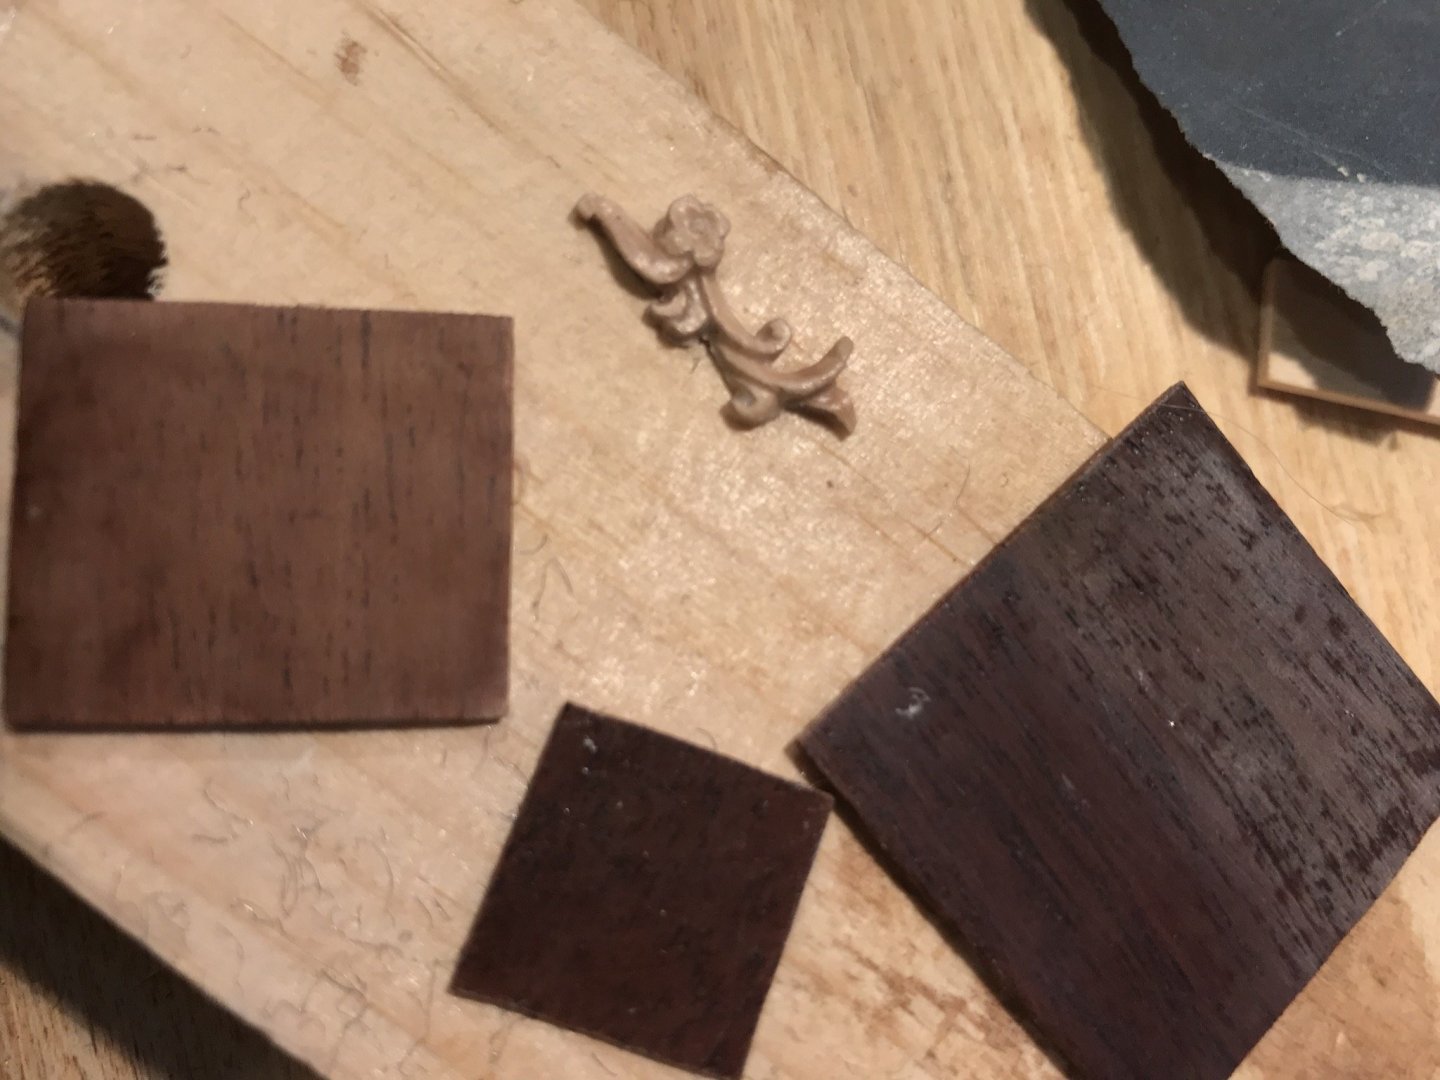
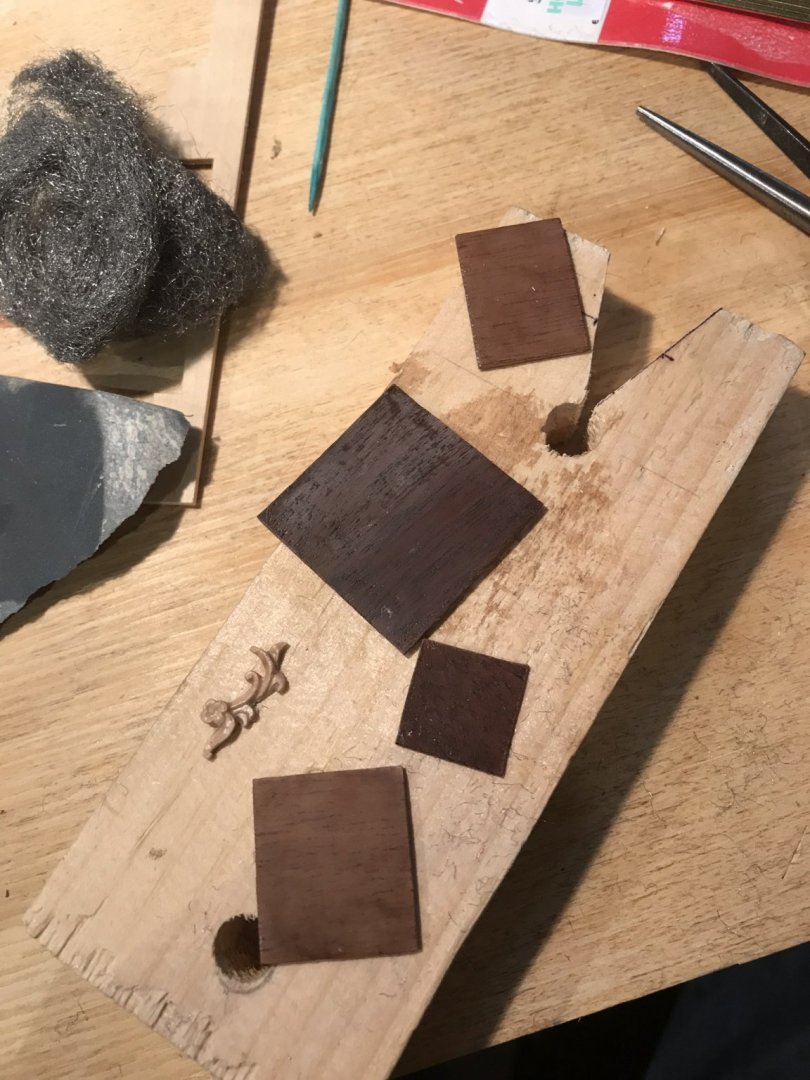
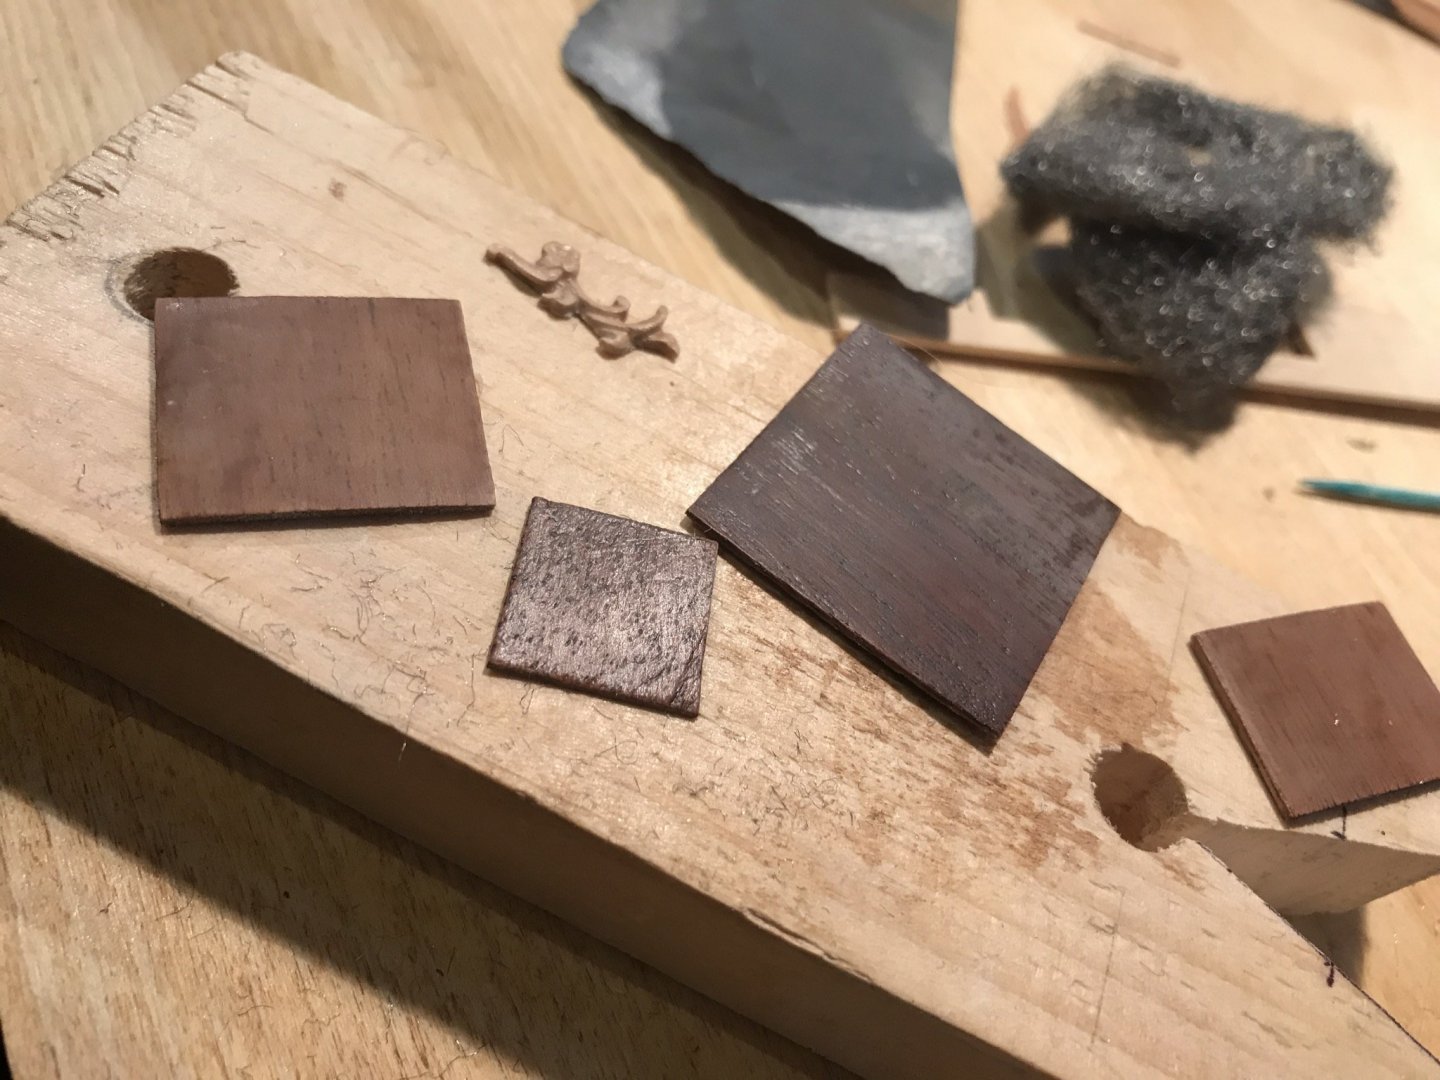
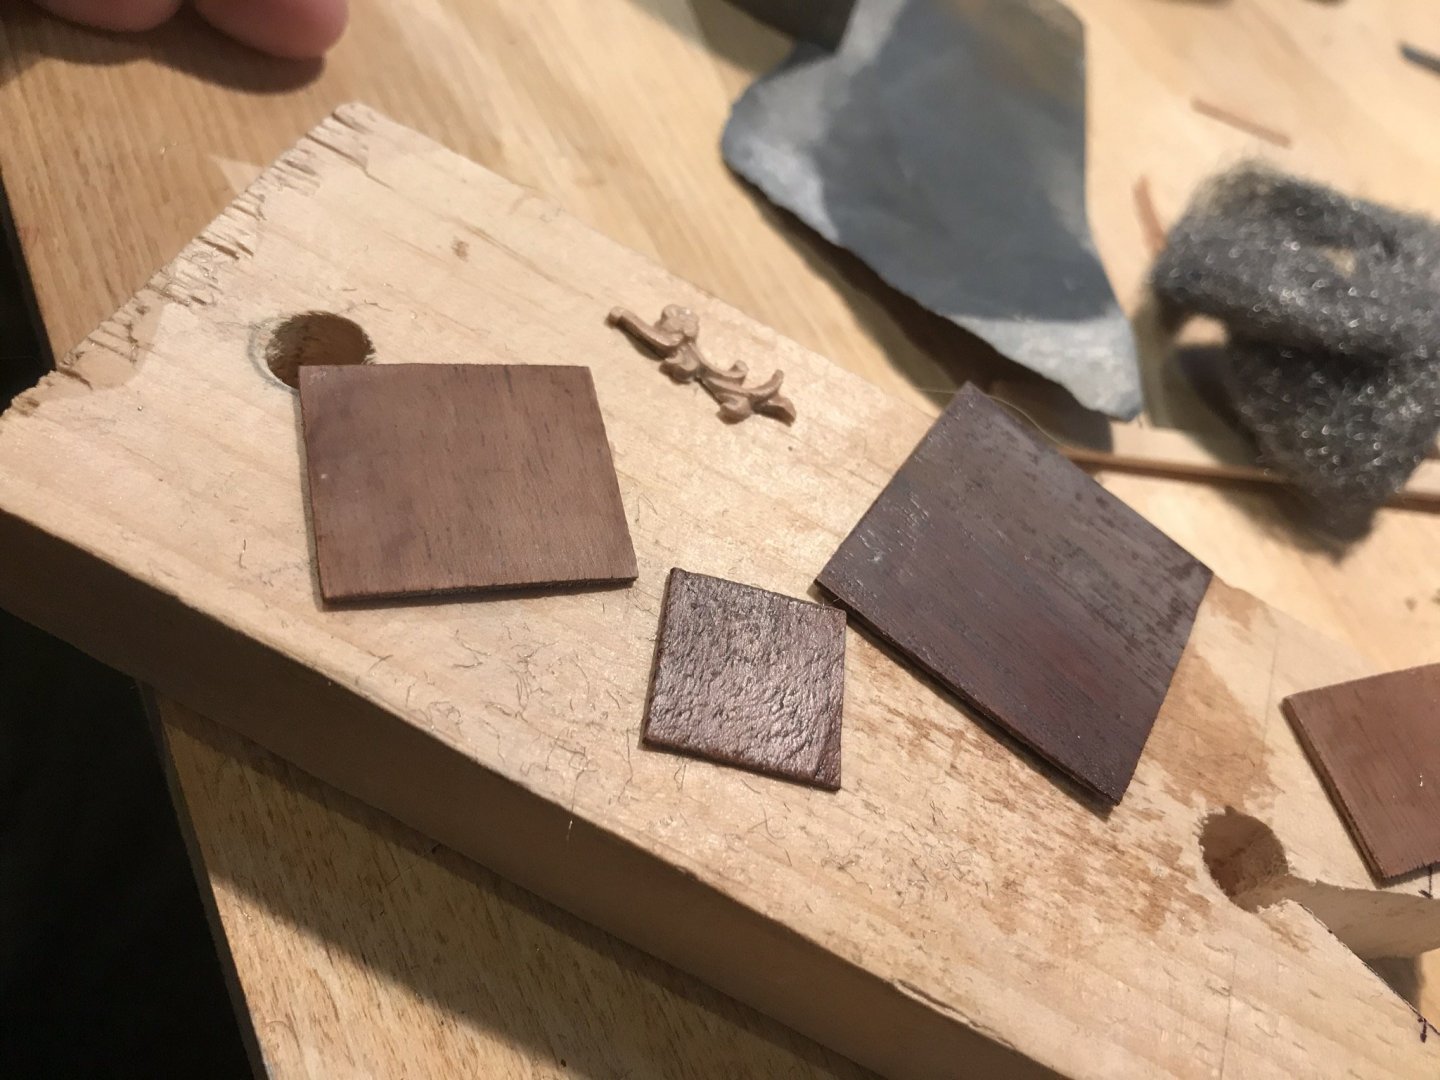
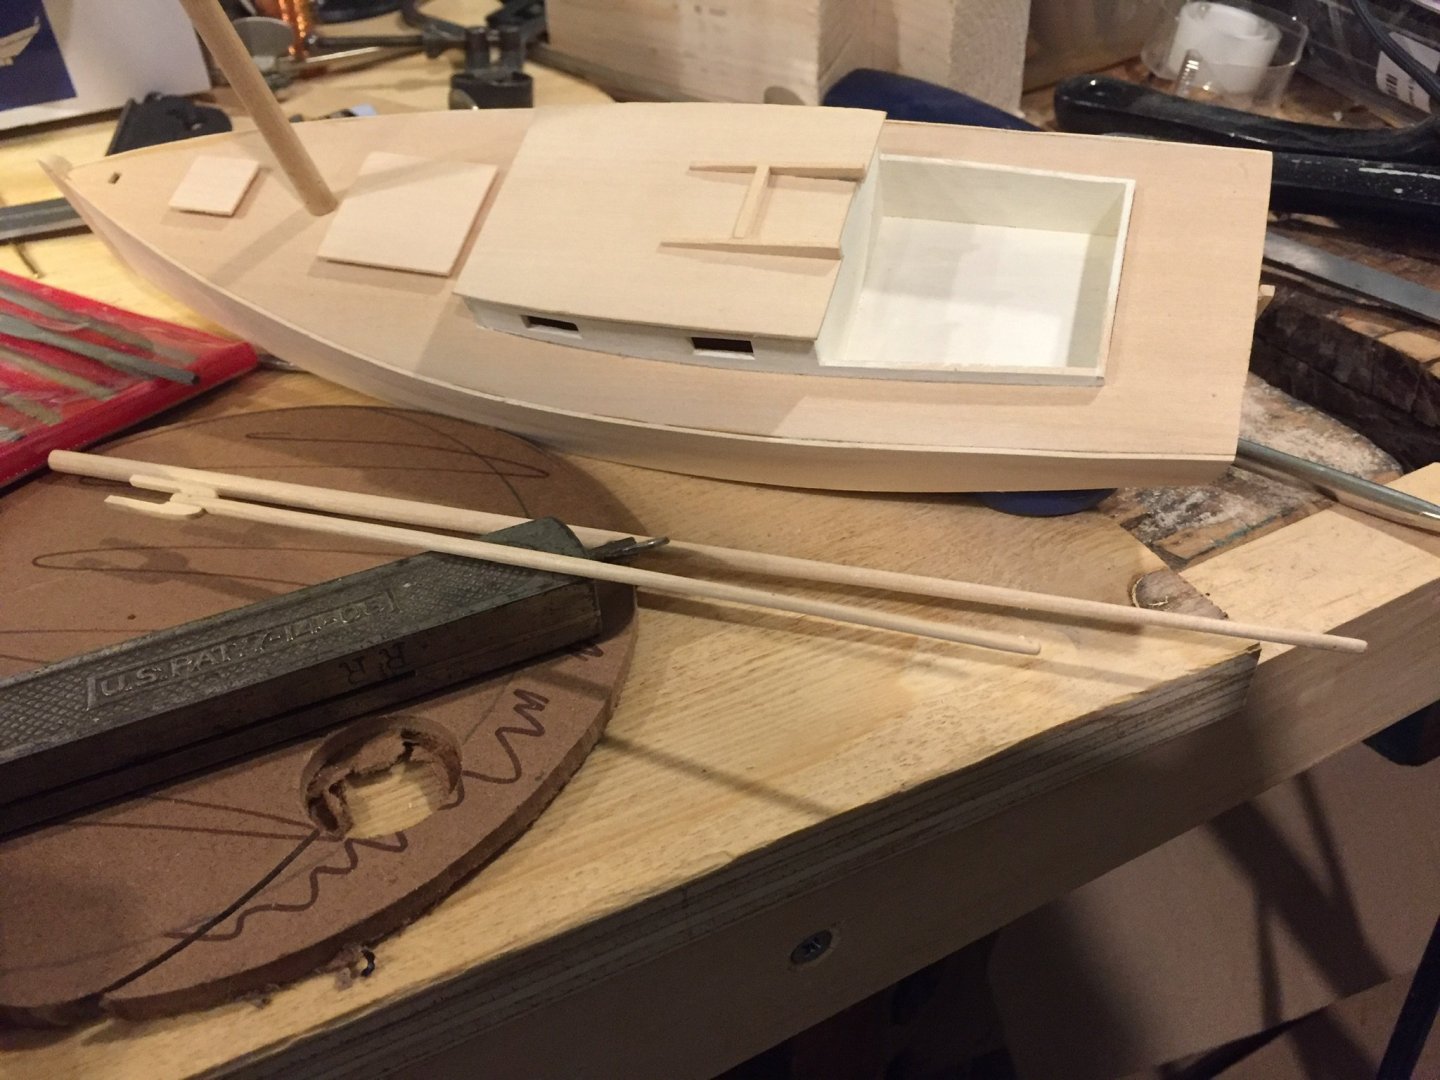
I started on the metal bits and blocks. Note to self: find a pair of needle noosed pliers with smooth jaws.