


realworkingsailor
-
Posts
3,091 -
Joined
-
Last visited
Content Type
Profiles
Forums
Gallery
Events
Posts posted by realworkingsailor
-
-
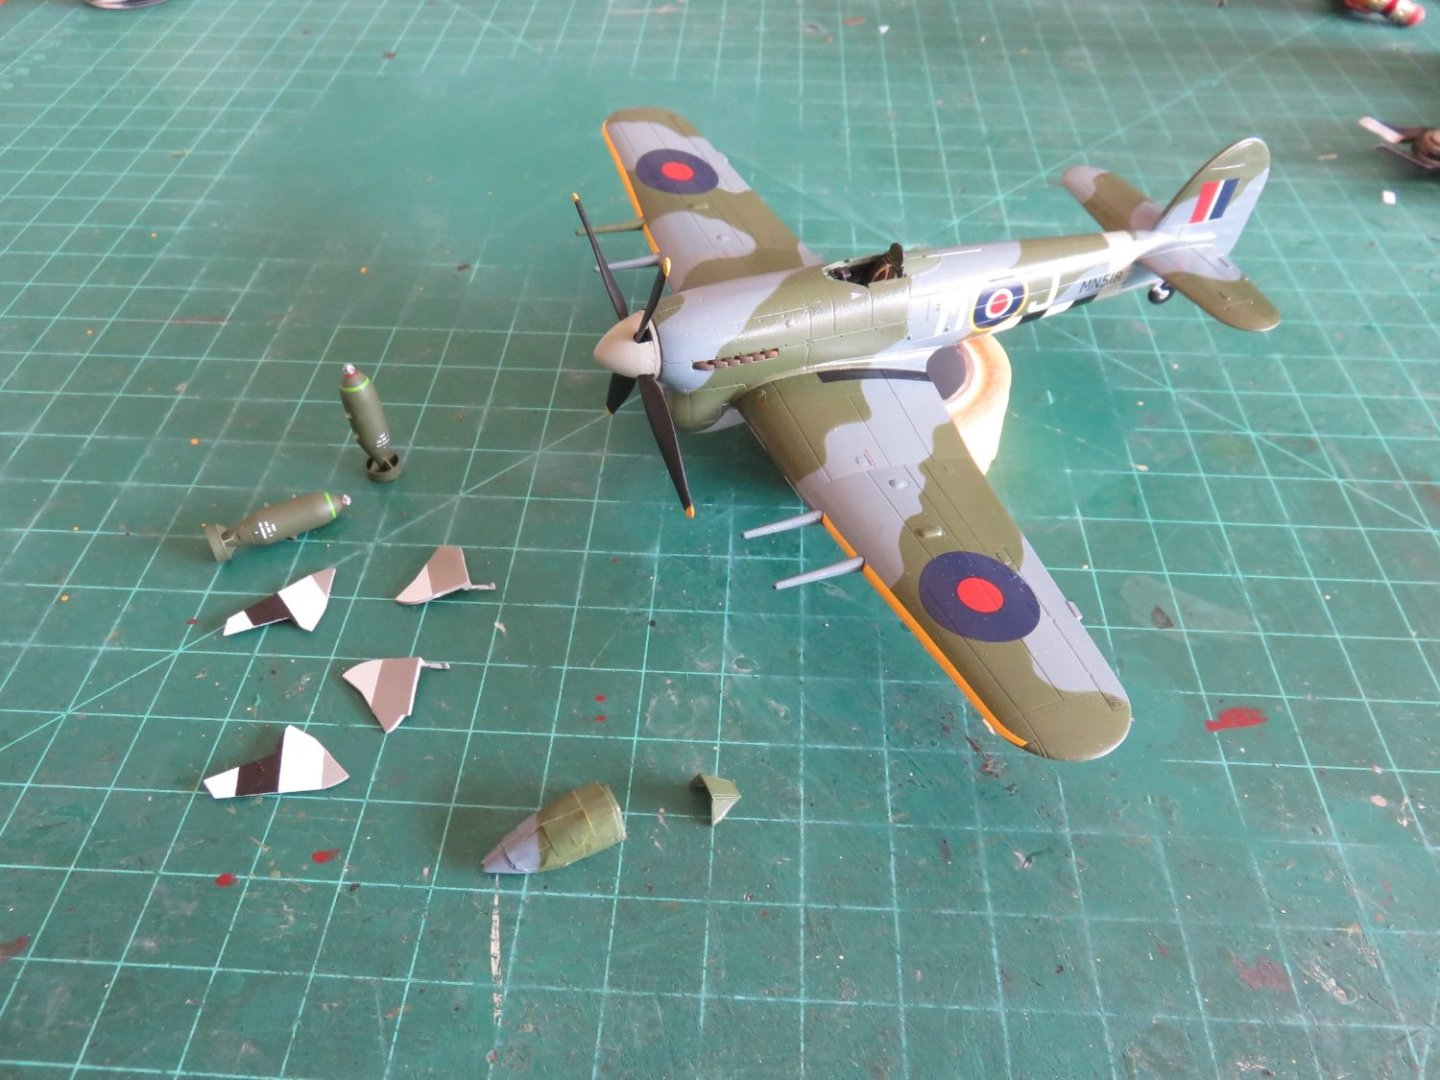
As promised, a more thorough update.
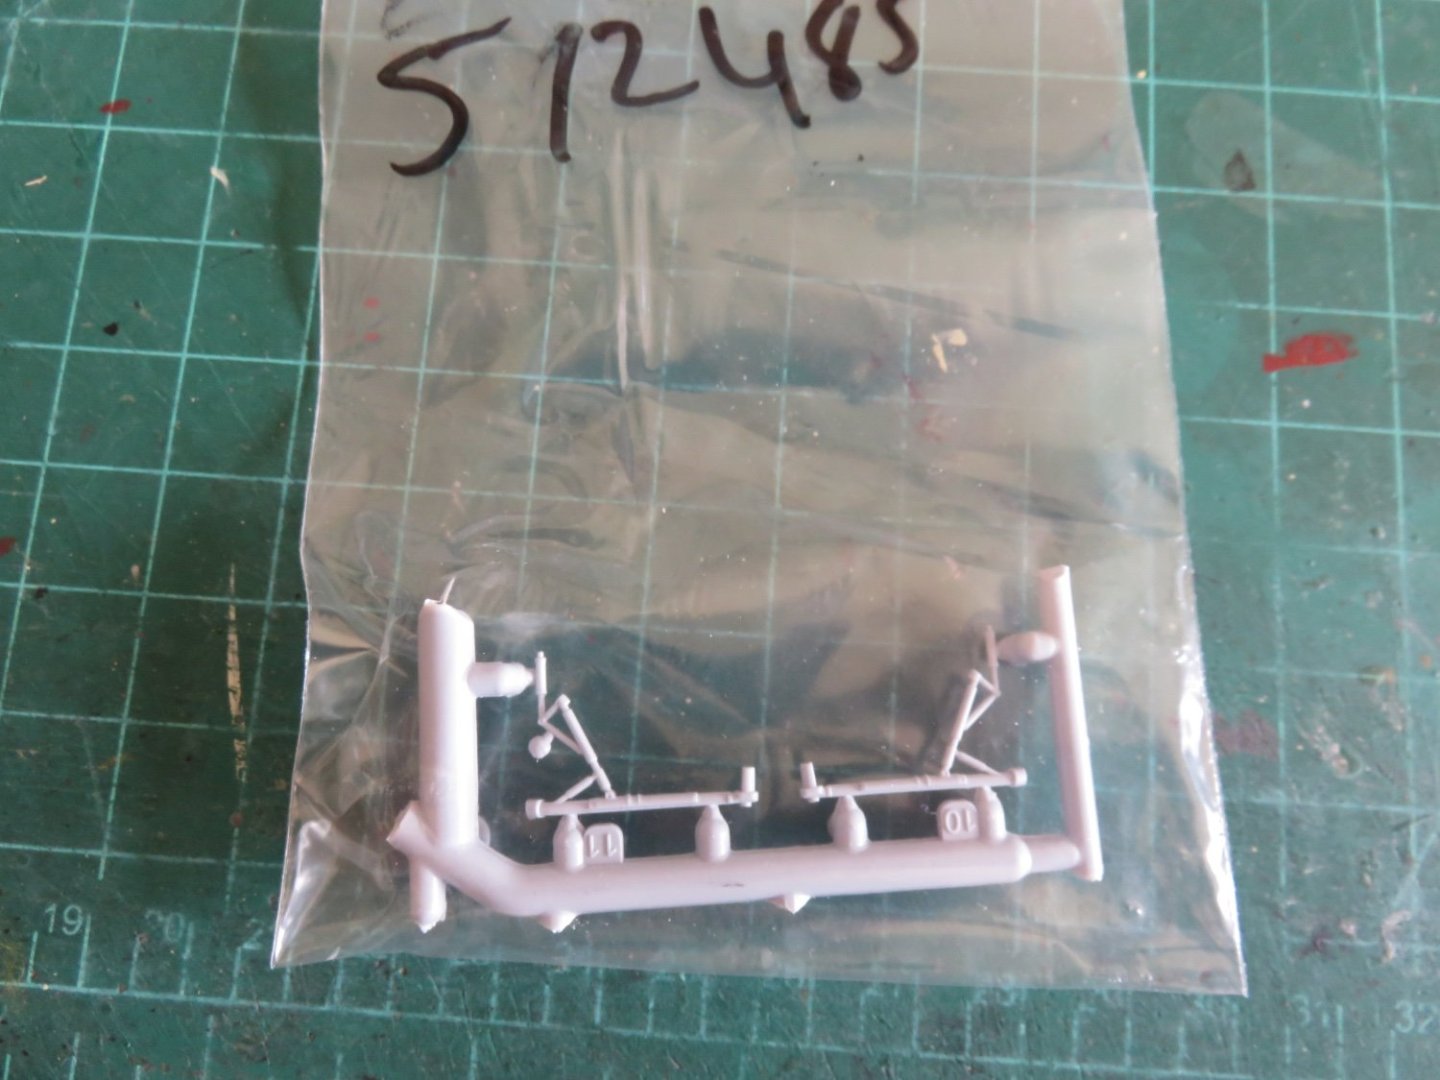
The replacement landing gear legs arrived unbroken and properly moulded (no short shots), and very well packaged (Thanks Airfix!). I quickly had them cleaned up and painted. Following which all of the underbody components could be added
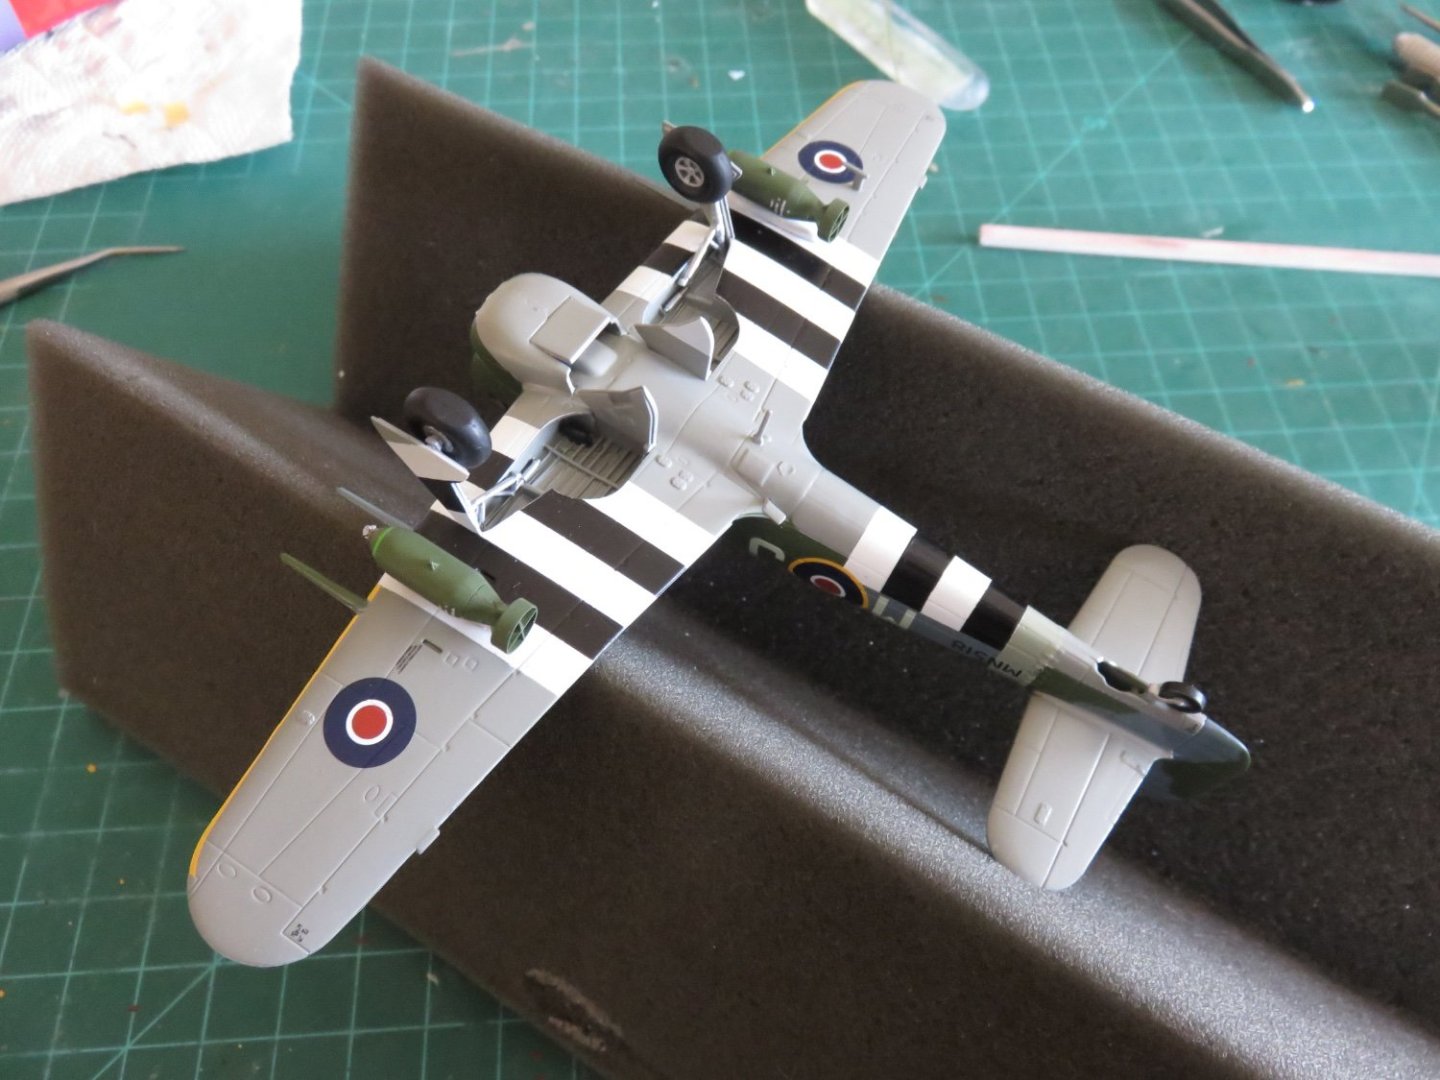
The landing gear is a little spindlier than on other models as there are no bracing struts, and, coupled with those massive wheels and tires, care must be taken not to inadvertently snap anything. I would have liked if the landing gear doors actually glued to the underside of the wing (it would have added a modicum of support), but by design there's a tiny sliver of a gap, so unfortunately not.
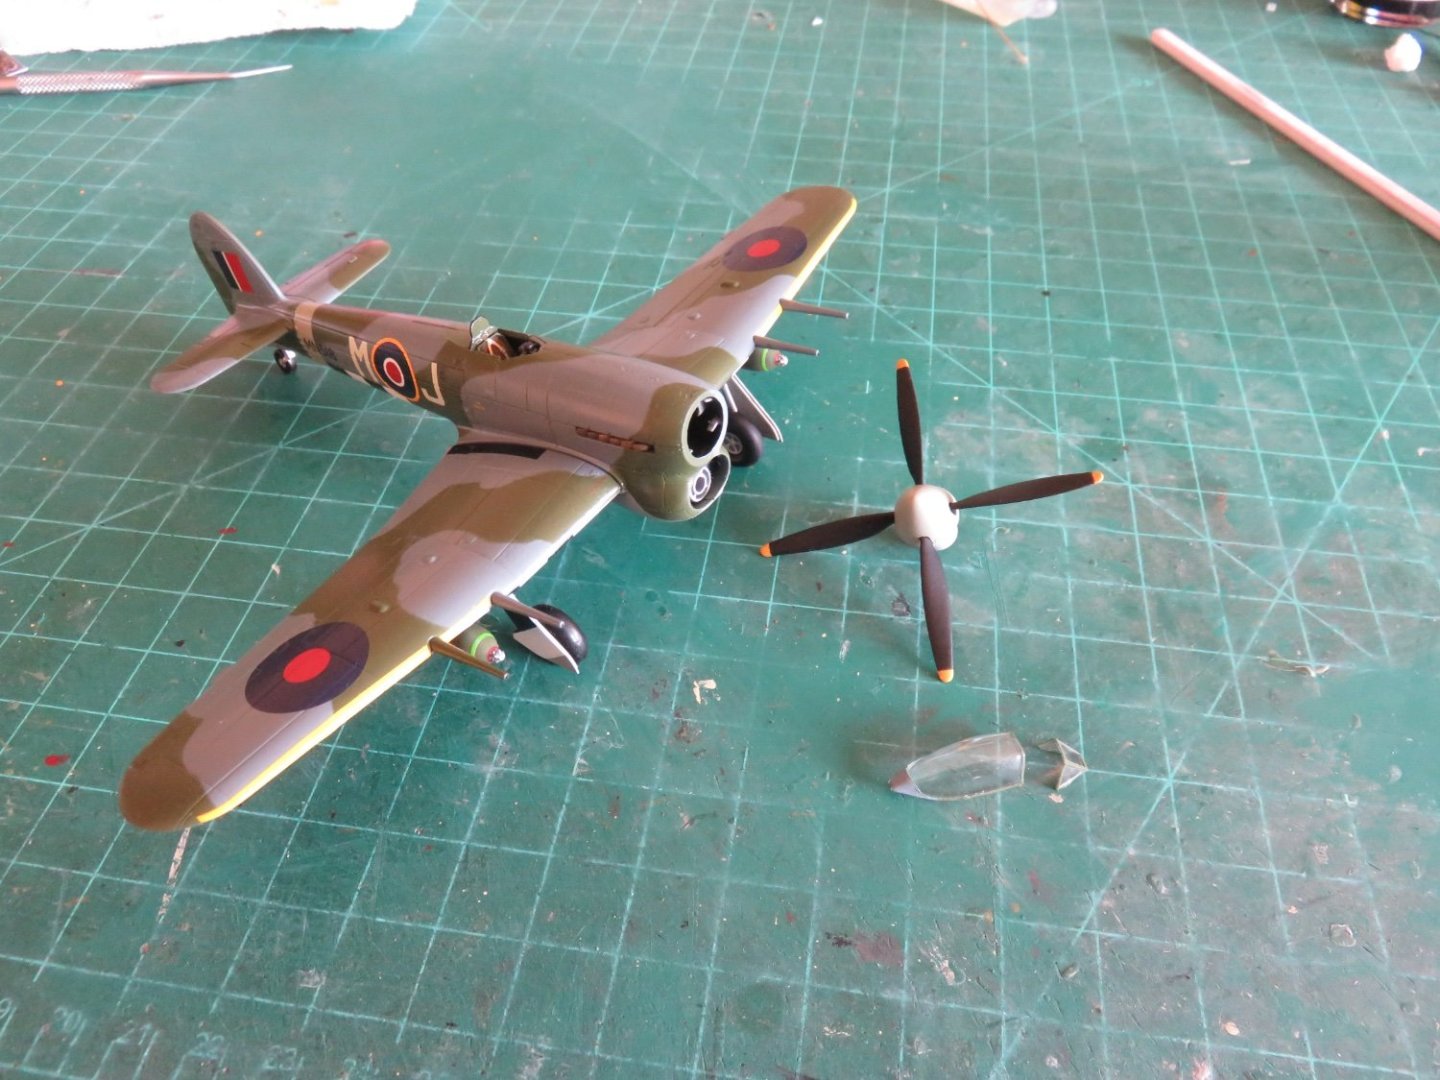
All that remains to be done is to add a sealer coat of Dullcote and add the propellor and canopy (open, this time, to see the cockpit). The end is drawing near on this build, but I am planning to add a decent amount of weathering. Even though this is the Wing Commander's airplane, I'm sure in the hot and hectic summer of 1944, cleanliness took somewhat of a backseat to the operational requirements of the moment. Some photo's I've seen of regular squadron assigned airplanes look like they've been royally run through the wringer.
Andy
- Dave_E, Edwardkenway, AJohnson and 8 others
-
 11
11
-
-
Thanks, everyone, for all your patience! I received a small package in the mail today, and I’m pleased to report that my replacement parts have arrived safely!! I can now resume my build and see it to completion!
Overall I am pleased with Airfix’s response. I would suggest that anyone else with kit issues shouldn’t hesitate to contact them, just be patient.
On with the build!! 😁
Andy
-
If you can find a copy, “Sloop of War, 1650-1763” by Ian McLaughlan is a great resource.
Andy- Dan DSilva, thibaultron, tlevine and 3 others
-
5
-
 1
1
-
57 minutes ago, CDW said:
I am building the S.2D model as was stationed aboard Ark Royal. The kit provides the option for an open or closed bomb bay. There are lots of interesting details to see inside the bomb bay, but I am not sure whether an open bomb bay would be appropriate for the version I'm building. I don't intend to place bombs inside it but would like to leave it open so the details can be seen. What's your opinion/knowledge of it. Should I leave it opened or close it?
If you’re looking for random opinions, (and mine can get very random if needed 🤪), I’d say leave it open, bombs or not. You could display them beside the model on a bomb trolley or something, if you felt.
For my Wellington, I’m very happy I left the bomb bay open and would have done so even if I didn’t get the aftermarket PE.Appropriate or not, showing off some of the “guts” can make for a nice interesting model.
Andy
-
As an alternative to rubber, have you considered using something else?
Have a look through Michael Mott’s pilot cutter build. He made some nice scale seating using pigskin:
Even some kind of appropriate coloured simulated leather might work, stretched over a wooden mould of your motorcycle seat.Andy
- FriedClams, Egilman, Canute and 3 others
-
6
-
12 minutes ago, Egilman said:
More like tempting god in this case, (or the Admiral, if she finds out first)
And if she finds out, tell her it could be worse:
🤭😁
Andy
-
24 minutes ago, Egilman said:
I just grabbed Sunwards last G1, resistance was futile.....
5 minutes ago, mtaylor said:Resistance is always futile. Should be Law of the Universe. To which.... Give in to temptation as it may not cross your path again.
This ain’t Alcoholics Anonymous, we’re all enablers of this shared addiction… no point trying to fight it… sit back, relax and enjoy the online shopping! 🤪😁Andy
-
44 minutes ago, CDW said:
Don't wait too long, or else who knows when you'll find one. Recently, a batch of WnW kits hit the market here in the USA. They were hidden away in some warehouse on NZ, supposedly. Did they show up in Australia, too? There are the early Gotha models with a similar wing/fuselage configuration as the Handley, one on weel landing gear and one on floats. The later model Gotha's had a more convention wing/fuselage arrangement.
I know where a few of them are hiding:https://www.sunwardhobbies.ca/wingnut-wings-32053/
https://www.sunwardhobbies.ca/wingnut-wings-32045
(Three of the first and one of the second)
And a couple more here:
https://wheelswingshobbies.com/aircraft/wingnut-wings/
Pricey though….Andy
- Old Collingwood, Egilman, mtaylor and 2 others
-
5
-
5 minutes ago, CDW said:
This makes sense. The German Gotha bomber was built similarly.
@RGL, just found your log. Happily following along.
I did a little further reading, apparently there was also an aerodynamic advantage in that the upper surfaces of both wings were uninterrupted. This allowed a slightly reduced wingspan, without a comparative resulting loss of lift.
Andy
- mtaylor, Edwardkenway, AJohnson and 5 others
-
8
-
I think Shipman is right, according to this website, it was an oil tank.
Found a prototype photo too:
Andy- Old Collingwood, yvesvidal, FriedClams and 6 others
-
7
-
2
-
8 hours ago, CDW said:
Trying to decide whether to pose the speed brake opened or closed. Photos of it on the tarmac shows it both ways.
Is there any way you could make it moveable? Or does the assembly preclude that possibility?Andy
- Egilman, Jack12477, FriedClams and 5 others
-
8
-
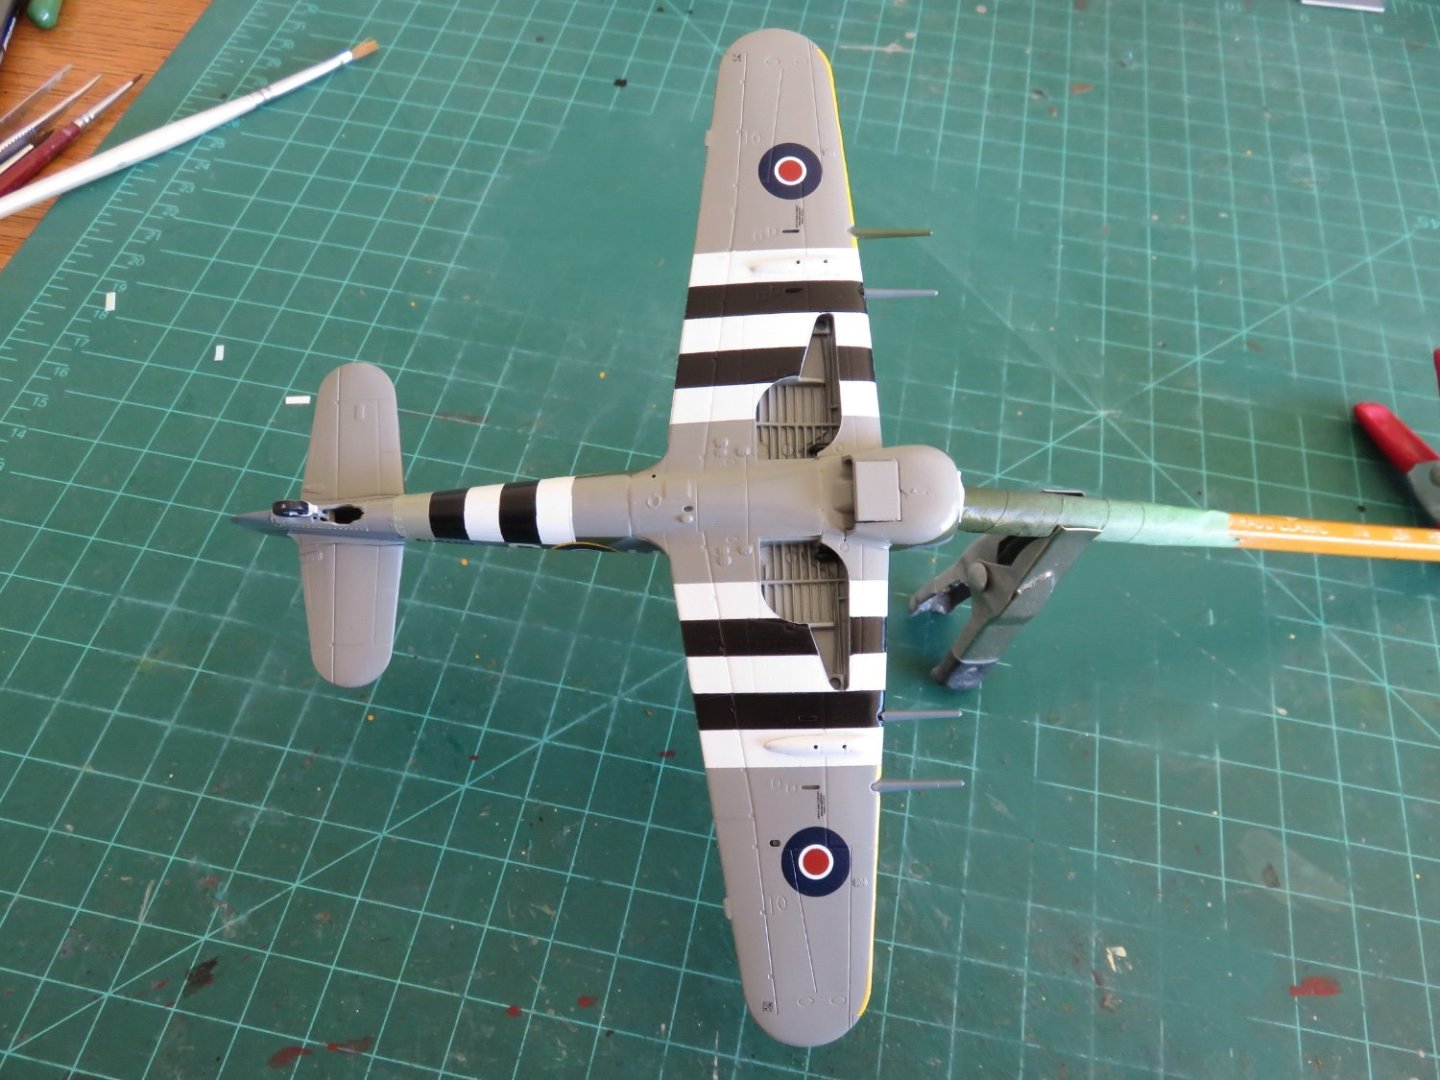
Thanks for all the likes and kind comments!
One small update for today, I have finished painting the landing gear doors.
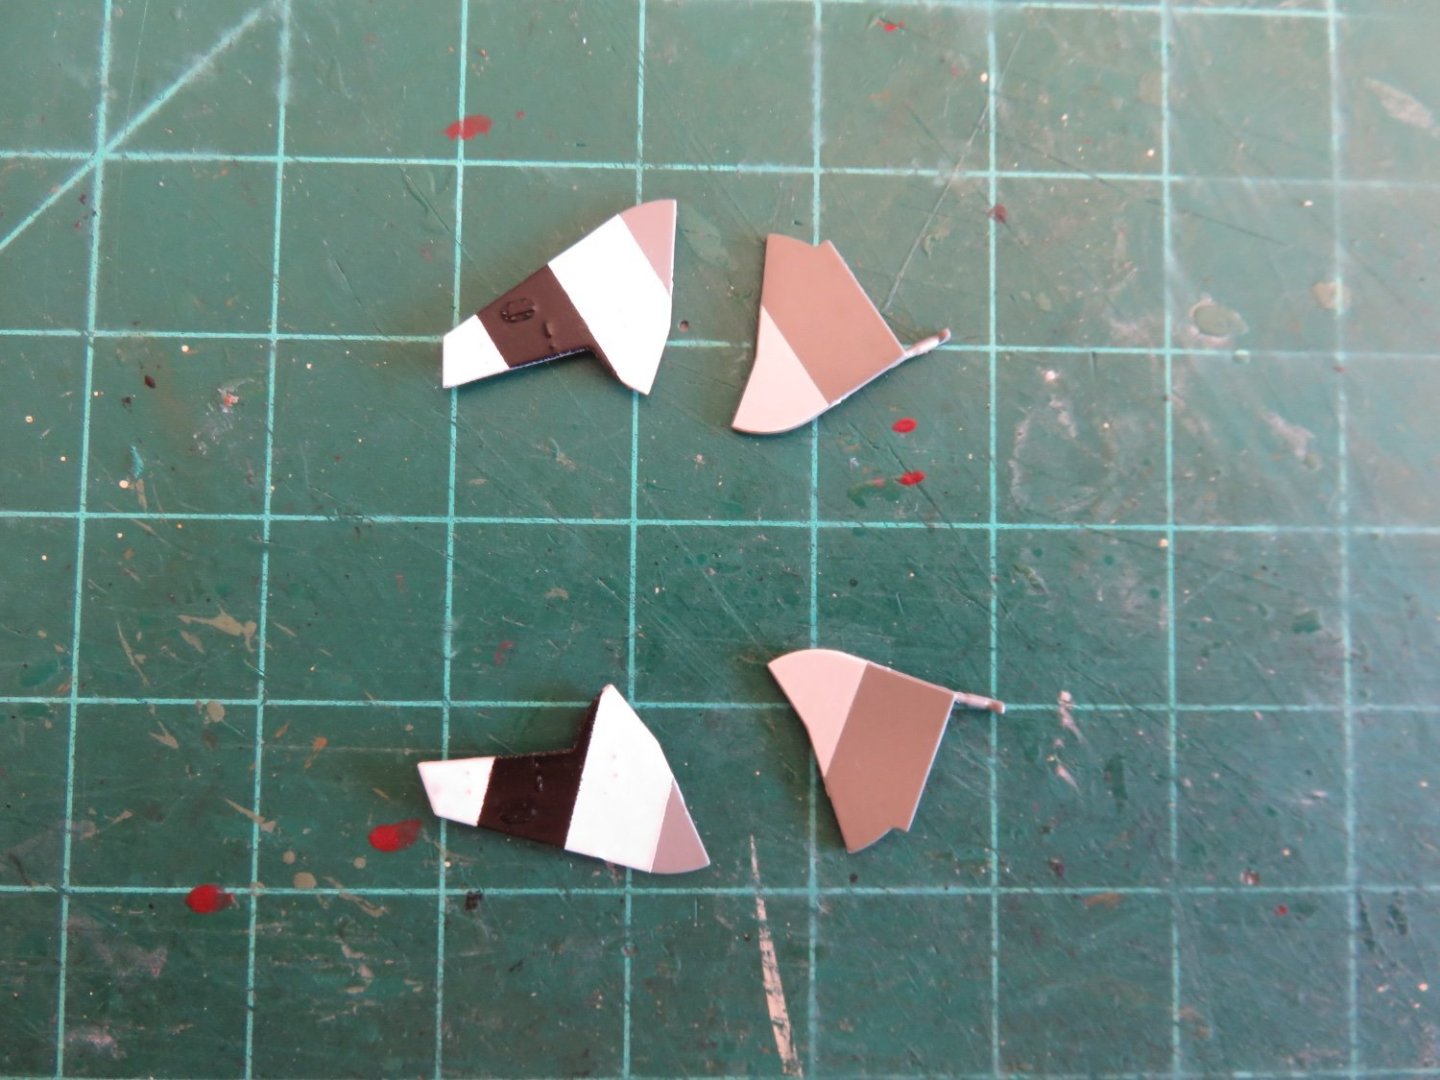
Once again, I strayed away from using the supplied decals on the main doors and painted them on as I did for the fuselage stripes. Apparently the ground crew of the kit supplied scheme made a small error when they applied the invasion stripes (see if you can guess what it is 🤔):

I've also installed the engine exhaust pipes. They were painted with Humbrol gunmetal followed by a wash of Floquil rust to give a nice burnt metal look.
This gets me just about as far as I can go. My usual next step is to paint and attach the landing gear, followed by the last little parts like the arial, pitot tube, etc (any items that would be at risk of damage should an accidental belly landing occur). Until my replacement parts arrive (which I'm really not expecting until the end of this week at the very earliest), I will have to be content to sit and wait. Oh Well....
Andy
- Egilman, Edwardkenway, Canute and 6 others
-
9
-
7 hours ago, Egilman said:
Hey brother, I do have Profile Publications #81, The Hawker Typhoon....
Probably the best reference I have available.... I'll see if I can post it... I also have Wydawnicta Militaria's volume on the typhoon as well... (but it is in polish)
You have a PN brother...
Well received, thank you so much!
Andy
- Canute, mtaylor, Edwardkenway and 2 others
-
5
-
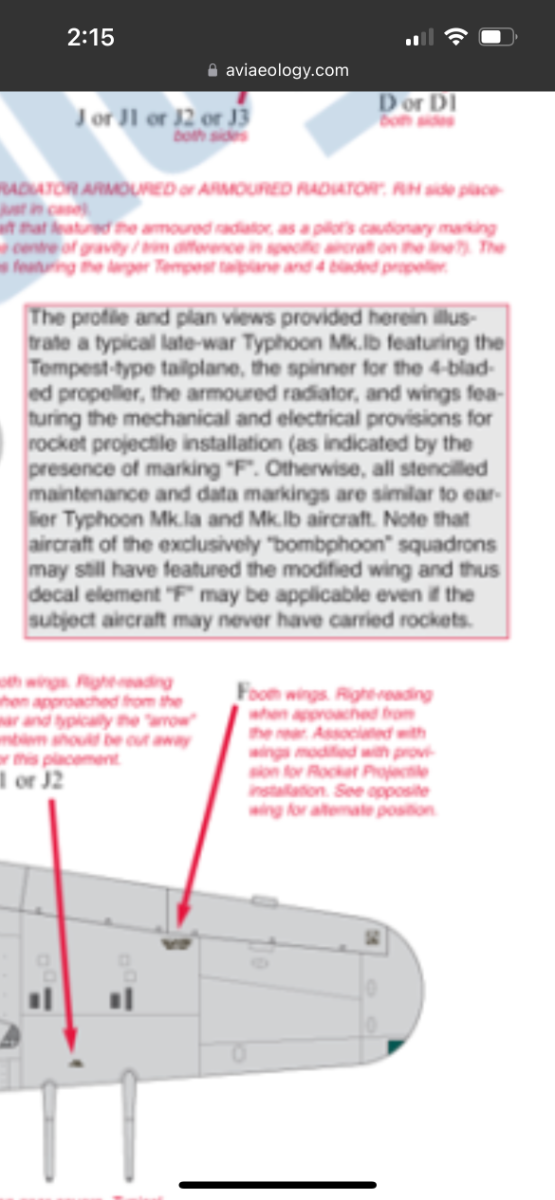
I’ve been doing as much digging on my own as I can, the only real reference that I can find is from a decal company called aviaeology. In their aircraft stencil set for the Typhoon, they are ambivalent on the status of that particular stencil. From what they say, definitely present in rocket Typhoons, maybe/maybe not for bombphoons…

In all honesty it’s enough ambiguity for me to leave things as they are, but my curiosity is still piqued…
Andy
- Jack12477, Landlubber Mike, Egilman and 5 others
-
8
-
1 hour ago, Egilman said:
All Typhoons had the capability of firing rockets, they were designed from the start as tank busters, ground support aircraft.....
Yes and no.
Designed at the outset as a pure fighter (the prototype Typhoon was equipped with 12 .303 brownings), there were performance issues that ultimately made it lacklustre in that role.
In the fighter-bomber role, while the Typhoon could carry either bombs or rockets (and were initially designed to be interchangeable), the skills needed to effectively deliver each type of munition were different. The British found it was more efficient and effective for each squadron or wing to specialize in one or the other. All of 143 wing (RCAF) airplanes were bomb carriers from the outset of their transfer to Britain.
So I think my question still stands, would that stencil have still been applied to an airplane that, while capable, would not, foreseeably, have been equipped with rockets?
I doubt the factories would have applied anything. I think any fitting out would have been done at the various maintenance units, in preparation for whatever frontline unit the aircraft was destined for.
Andy
- Edwardkenway, mtaylor, CDW and 3 others
-
6
-
Thanks again everyone!
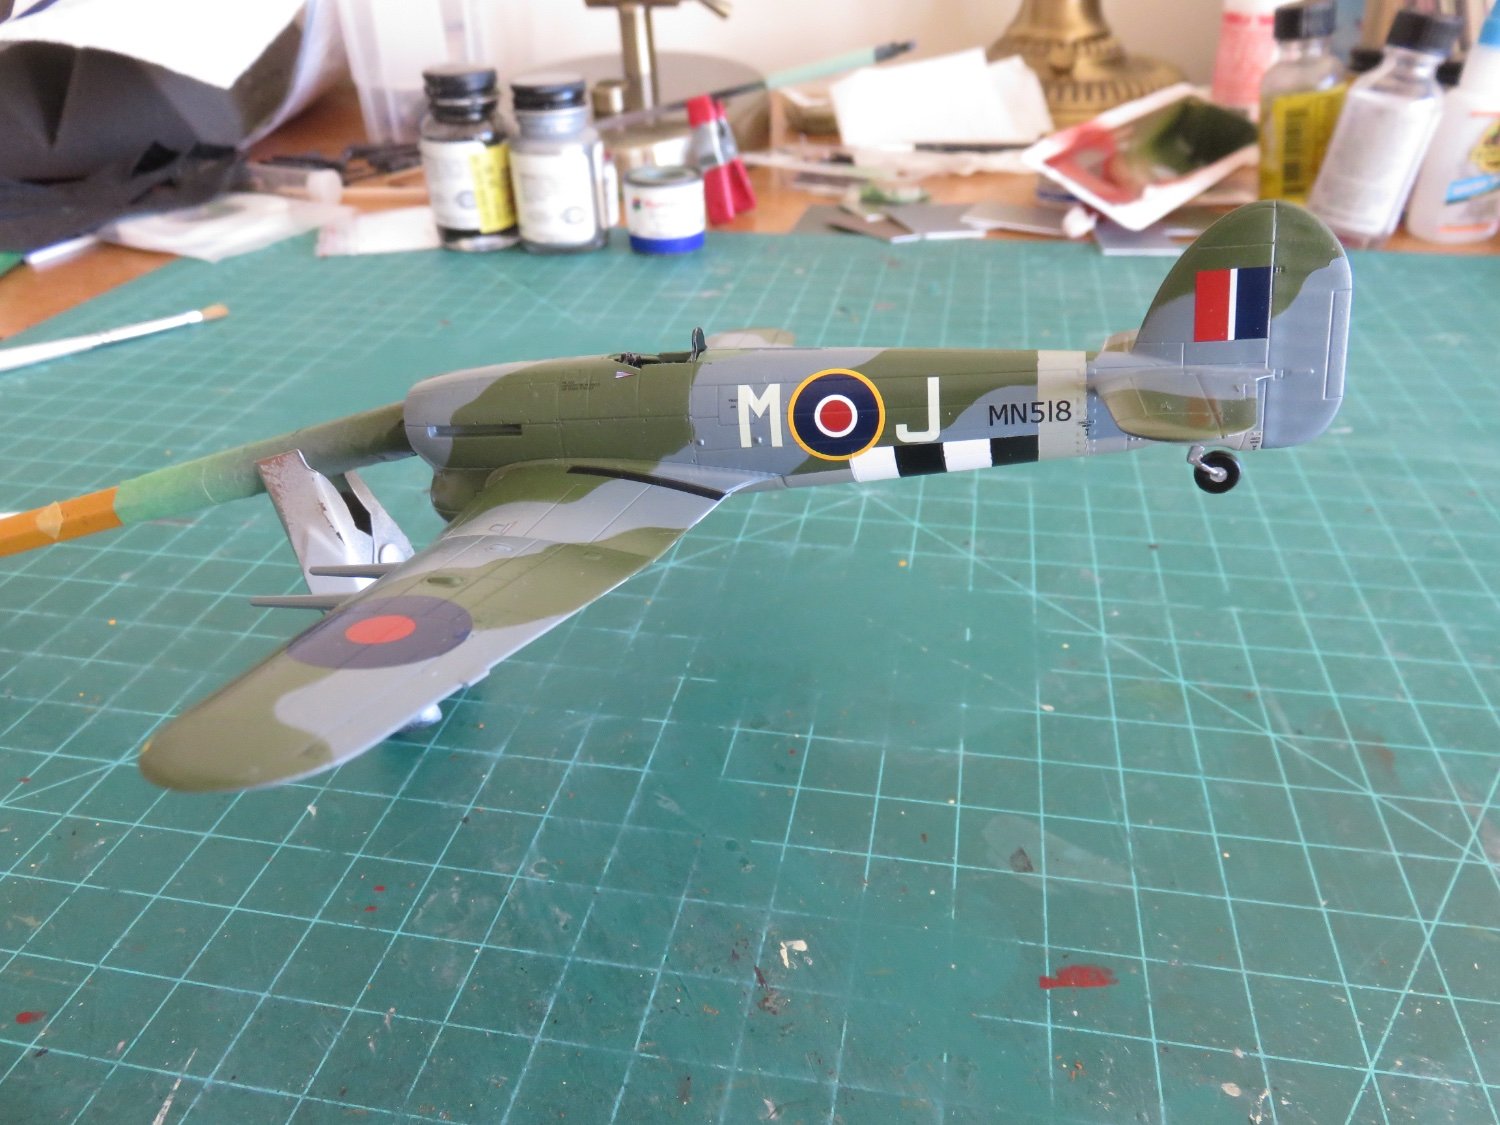
The lettering is tentatively finished.

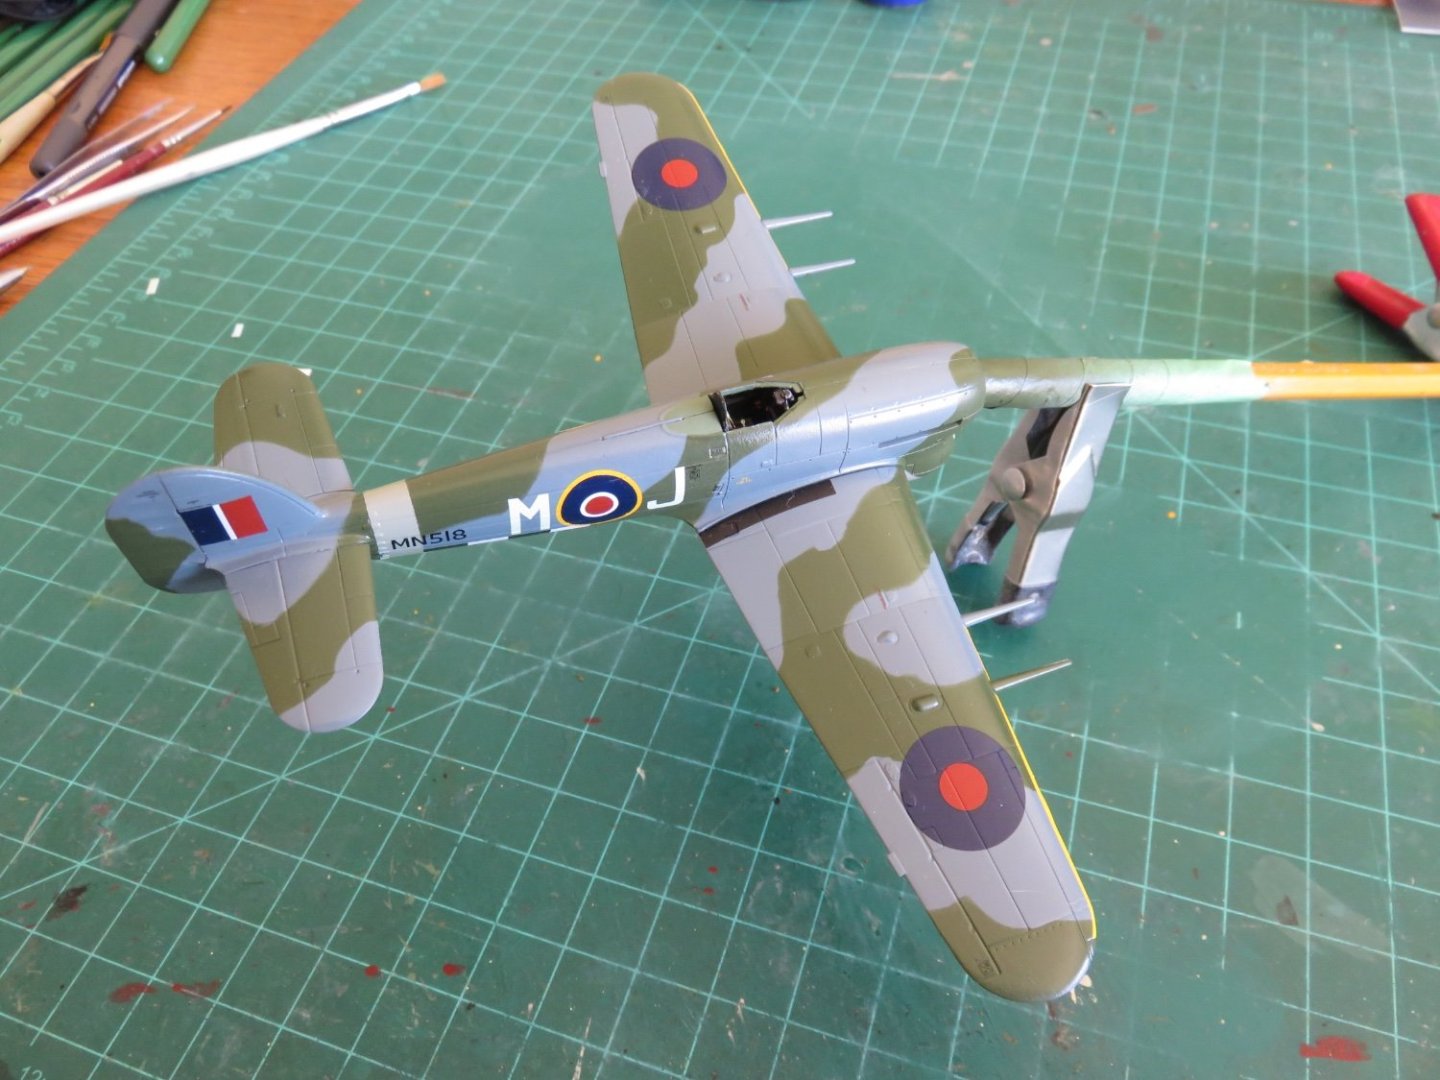
As I did with my Hurricane, I laser printed the registration number on blank decal paper. As long as I keep choosing to model airplanes with black painted numbers, I can do this as many times as I like. The font is about as close as I could get and the "1" in 518 is actually a lower case "L", but overall I'm happy.
The only spot where I have questions is the stencil located inboard of the underside roundels. It reads "Check Firing Contacts Before Connecting Leads". After I had applied them and figured out what they said, it got me wondering if these stencils are specific to rocket firing Typhoons or were they applied to all Typhoons, regardless. If anyone has information, please let me know. I haven't sealed the decals yet, so removal is still easy.
Andy
-
7 minutes ago, Kevin said:
from the photo she looks quite cleans so possibly flooding up, and caught by the gusting winds
Possibly painted while in the dock. Surprisingly, with the right amount of labour a large ship can be fully sandblasted and painted in a remarkably short period of time (about a week).
If the ship was in any way waterborne at the time, it shouldn’t have toppled like that, unless something serious was done to alter the CG of the ship. Most, if not all, commercial dry docks don’t use the old methods where there’s only a single row of blocks under the keel and shoring beams to hold the ship up. Although there are still more blocks down the centreline, there are typically one or more rows of blocks on each side, depending on how wide the ship is.
Submarines are, of course, the exception as they usually don’t have flat bottoms…. 😁
Andy
- Keith Black, mtaylor, thibaultron and 1 other
-
4
-
I doubt the ship was dry docked for that amount of time. That would cost a fortune, and cost the commercial shipyard a lot of lost business having a dock occupied for that amount of time. Tied up at a lay-by berth is what they’re referring to.
Modern dock supports are steel with wood bolsters bolted in place on top.
I did read that there were high winds at the time the ship was knocked off the blocks so it’s possible that either the blocks were not in the right place, or the ship shifted during the pump out and didn’t land correctly on the blocks. I wouldn’t speculate any further until the MAIB or whichever investigation authority is overseeing this incident, publishes its report.Andy
- Keith Black, trippwj, leclaire and 7 others
-
10
-
40 minutes ago, CDW said:
Andy
One of my favorite modelers to watch and learn from is a guy named Greg, from the UK (Gregs Models on YouTube). Many times, I have watched him scan/copy his decal sheets then print a black and white copy which he uses to cut his own masking to paint his markings instead of using decals. His finished work is always superb. I believe you are right on the money about painting vs decals particularly when it comes to large stripes but it's also true of national insignias and ID numbers. often the national marking decals are not colored properly and need correction.
I love the results you got painting on your stripes.
Thanks! I’ll have a look at his work. I’m sure I’ve already stumbled across a video or two of his (YouTube rabbit holes), I’ll pay closer attention.
I think there’s also a factor of scale to consider as well, when it comes to painting or decalling markings. I think if I was working in 1:48 or larger, I’d definitely give it a shot.
Although there’s still no guarantee that the paint I might be using is the correct colour either! 😜Andy
-
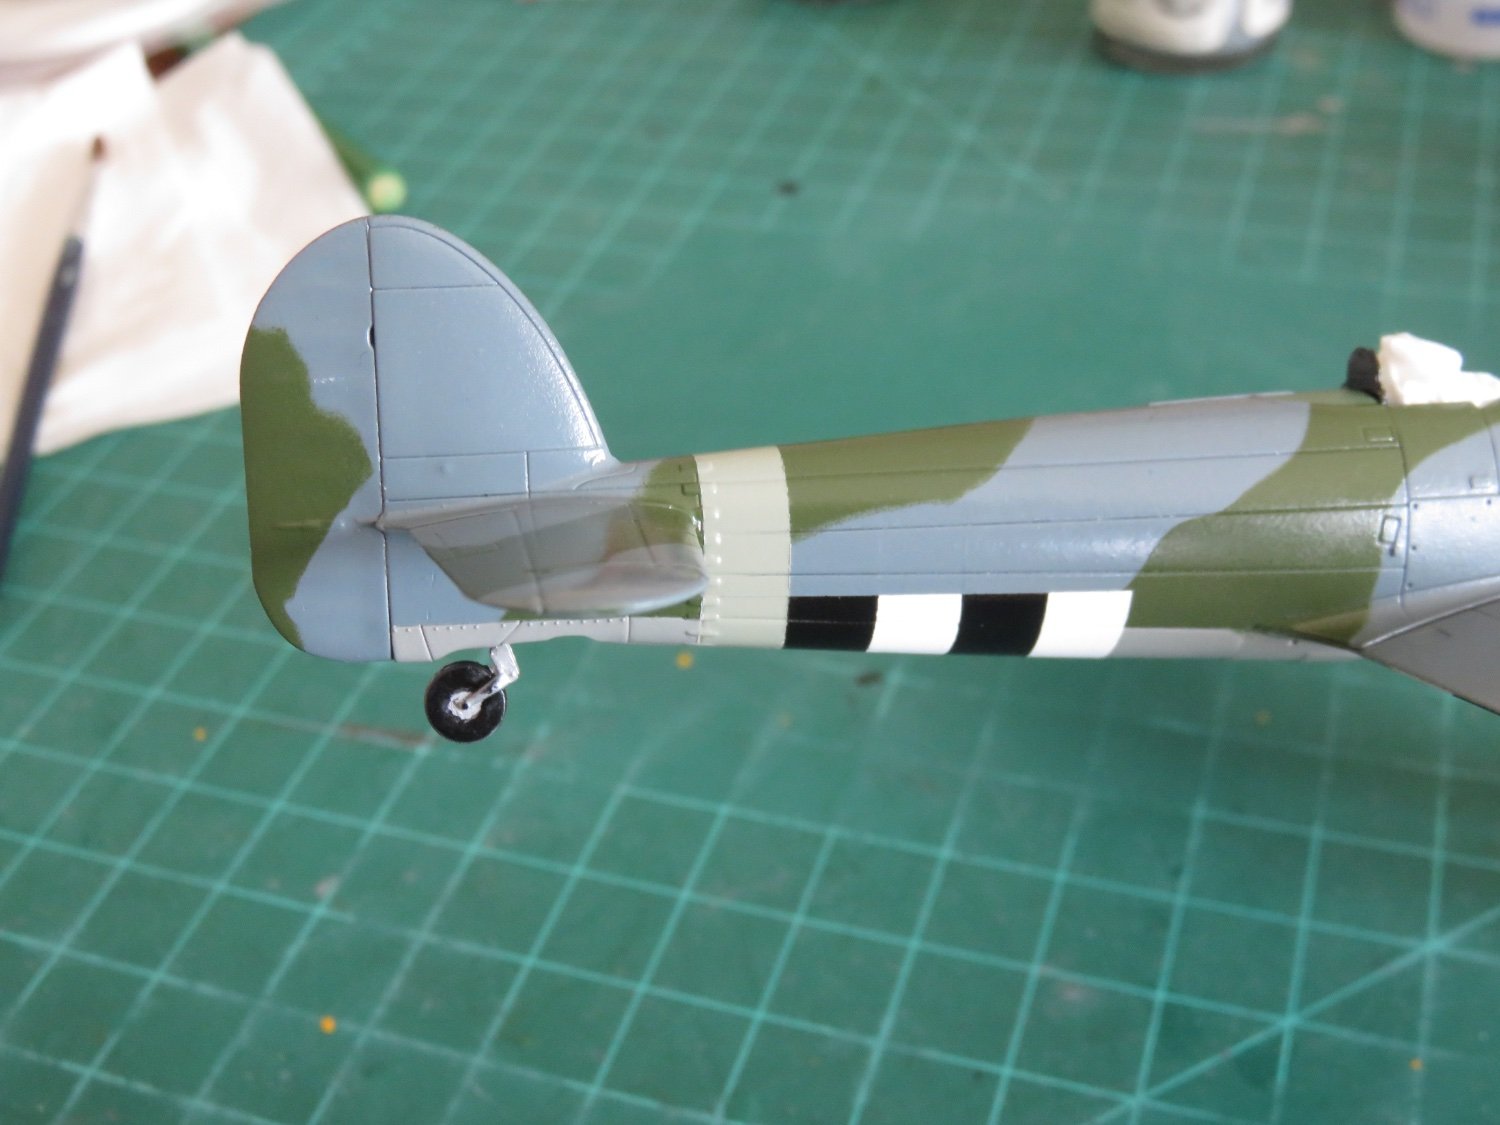
A minor setback, and a lesson learned.
Yesterday afternoon I was all ready to begin applying the decals and lettering. My intention was to first start with the sky coloured band at the tail. Well, I was not at all happy with the kit supplied decal, firstly because it had to be cut free from the invasion stripes portion, and secondly, because it simply refused to wrap neatly around the tail. It was like playing wrinkle whack-a-mole. There was no amount of setting solution that would ever make that decal comply with the instructions is was being given. So rather than get overly frustrated I decided to go with plan "B": mask off the area and paint it. Properly.

And boy, am I glad I went that route. Lesson learned, don't waste time with large stripe decals if you have the option to paint instead. This also reinforced my earlier decision to paint the invasion stripes.
One thing I've found with Cartograf decals, while their printing is nice, the decal film can vary in thickness considerably. On my Wellington build, the decal film was thicker, so the decals were fairly robust, and didn't distort when applied. The film for the decals supplied with my Typhoon kit is considerably thinner. This isn't normal a problem for smaller decals, but for larger ones this can be a problem, as the decals will be easier to tear or distort or some miserable combination of the two. The supplied decals for my Hurricane build also had very thin film (hence the issue with the registration number balling up into a mess). For my Defiant build, the film thickness was somewhere in the middle, not as thick as the Wellington decals, but slightly thicker than for the Hurricane, or Typhoon.
I should add that since my little detour, I've resumed applying the lettering and have not run into any further issues or, at least, I'm ready for any issues that my crop up and I can plan ahead for dealing with them.
Andy
-
12 hours ago, Dr PR said:
However, I have looked with envy at the fine detailed brass scale locomotives that some folks have made. These have no solder "stain" on the visible brass parts. I wondered how they did this, since much of my work has visible solder at the joints. For things that will be painted this is not a concern, but I still wanted to learn how to solder without any visible solder.
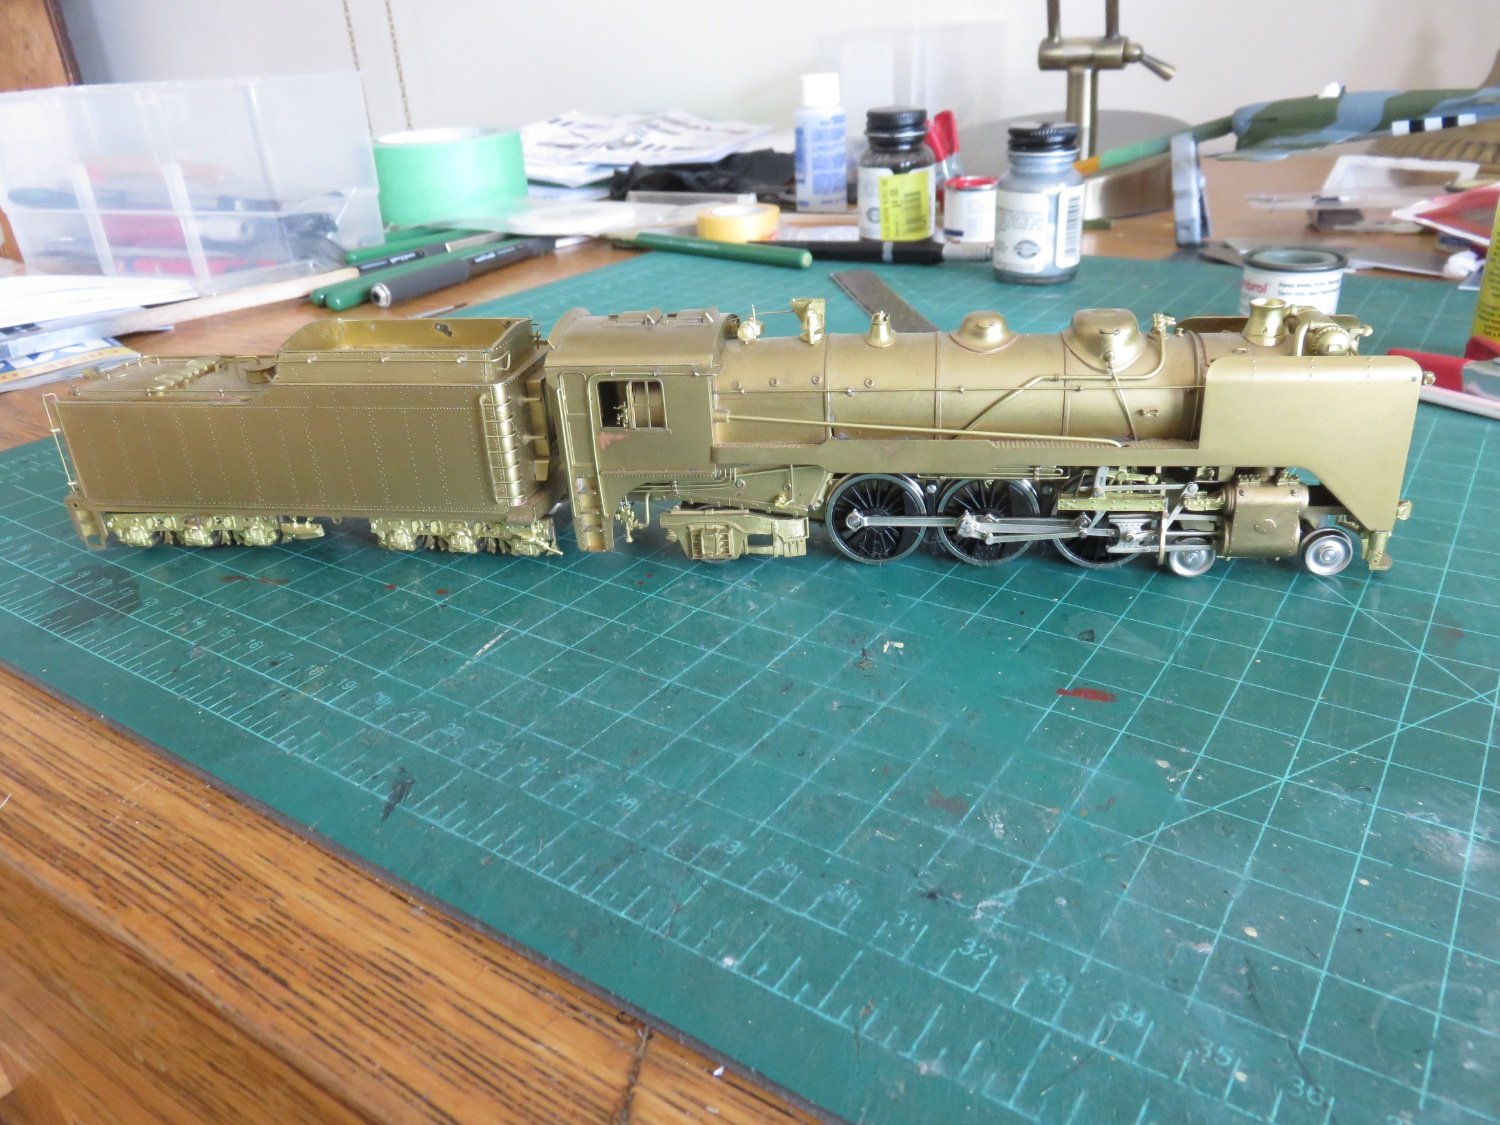
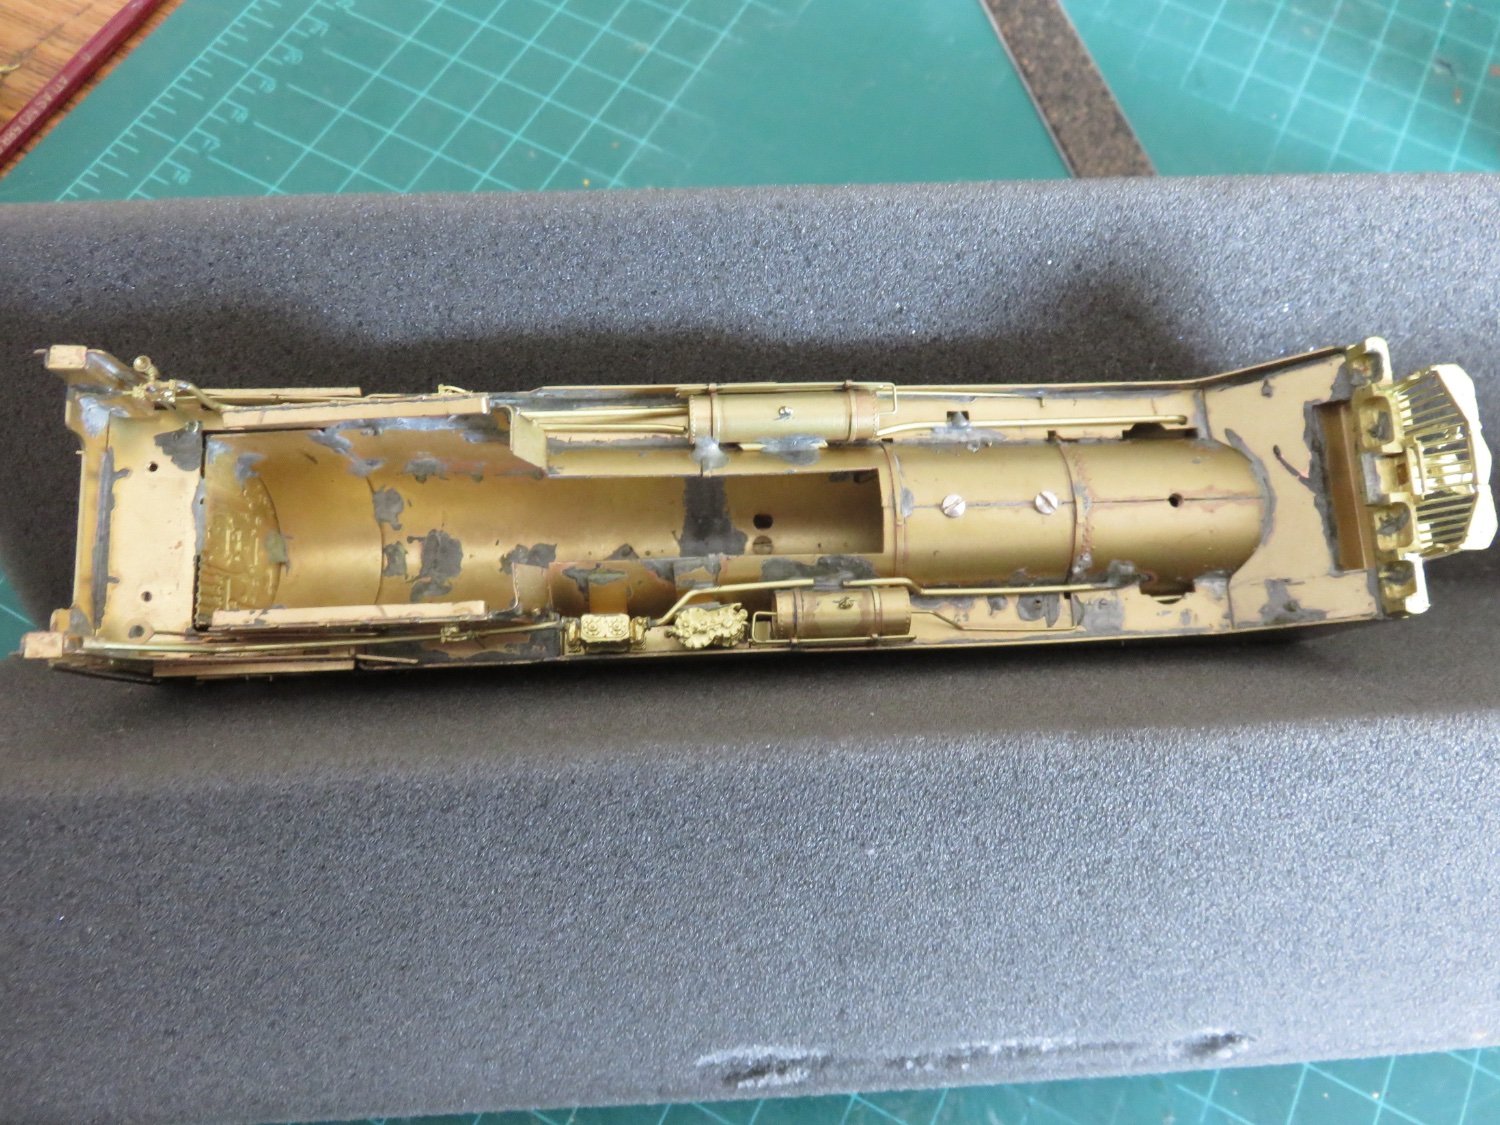
If I may, one of my other hobbies is collecting brass model locomotives, so I may be able to provide some insight. Pretty much all brass model trains available are hand assembled, even commercially made ones. Generally the production runs are very small (a few hundred units of a given type), so the industry does not lend itself to expensive tooling and mechanization. The only fundamental difference between a brass locomotive kit (or scratch build), and a "factory" assembled model is the box it comes in.

Pretty much all of the solder joints are located in areas that are largely invisible, so that a causal observer wouldn't see them. (There is a little tarnish and staining on this model as its previous owner suffered a house fire and the model was subject to the liberal application of water that fire departments are rightfully well known for), it's otherwise in good mechanical condition. The model was built by Samhongsa in Korea and imported by Van Hobbies (who had a working relationship with Pacific Fast Mail).
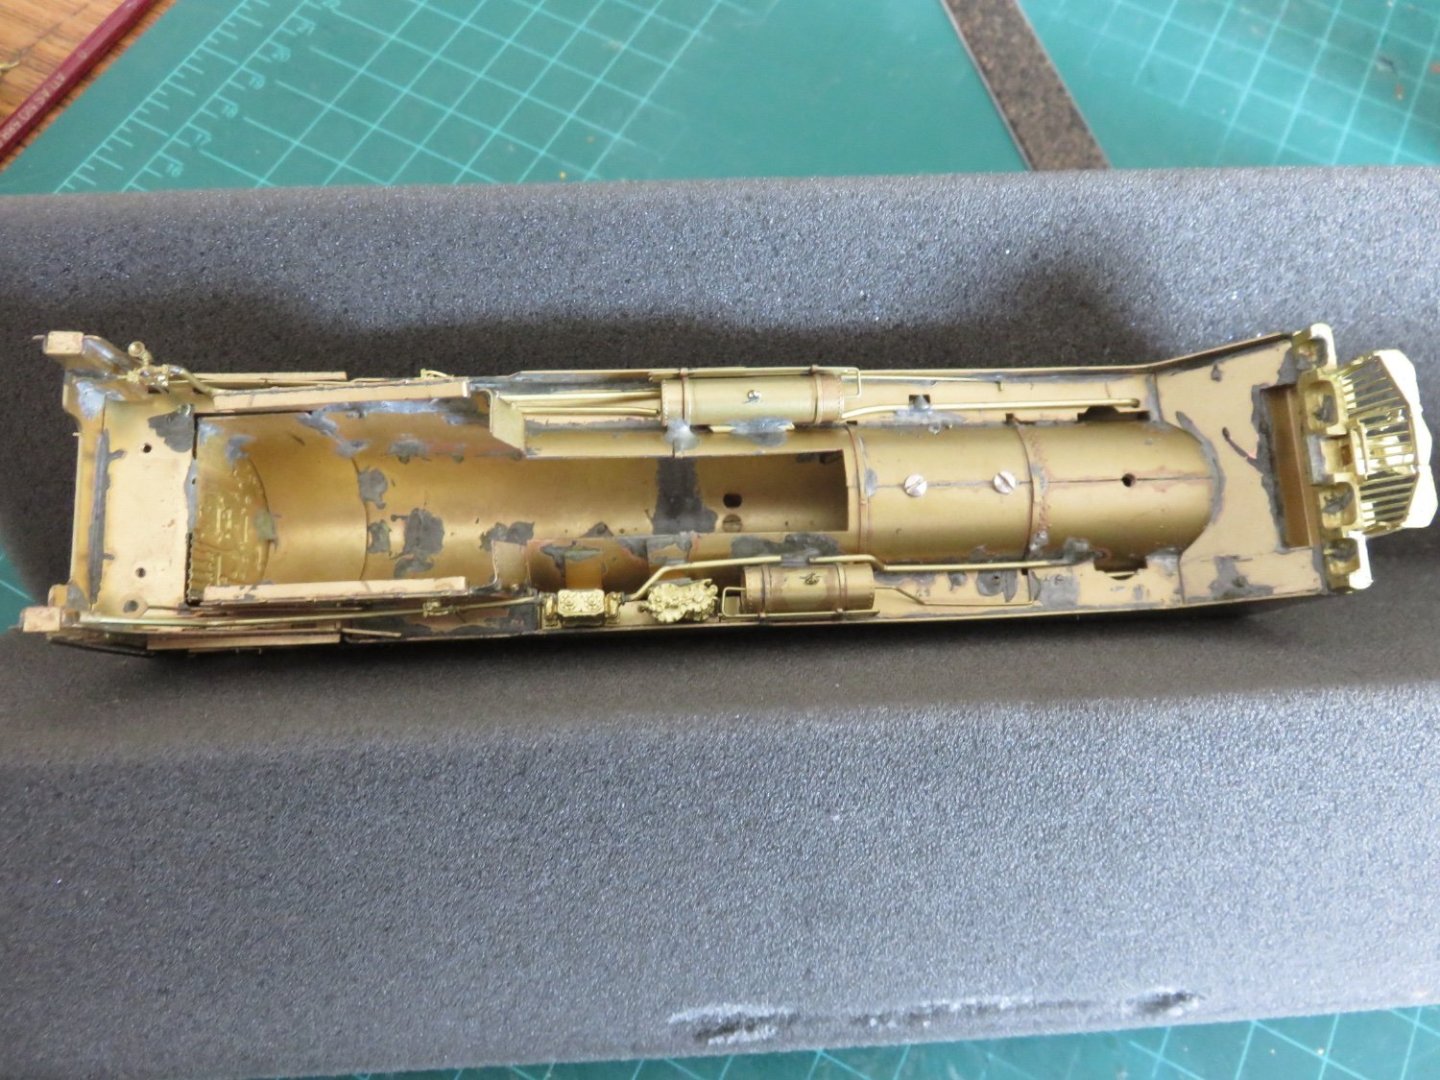
After removing the three screws that hold the shell to the frame, you can see the underside, and interior is quite mottled with solder joints.

Adding to an earlier post about soldering multiple details, in most brass train models, multiple different solders are used with different melt temperatures. Starting with the highest temperature solder and working down to the lowest (although it's worth noting that in the above model, none of the solder will melt with your typical OTC hardware store soldering iron. To perform any repairs, generally a resistance soldering iron is needed, at the very least.
Andy
- JKC27, mtaylor, FlyingFish and 7 others
-
10
-
10 minutes ago, CDW said:
Does Airfix have a North American customer service center like Tamiya does, or do the replacement parts come out of GB? Either way, it's good news. In the past, I have requested to buy replacement decals for Tamiya kits I owned where the decals were ruined due to my own issues, but they replaced them for free. Was really surprised by that.
It doesn’t look like it, they have a web storefront in $US through their parent company (Hornby Hobbies), the only customer support I found was just helpful tips and suggestions, as well as the usual returns information. The technical support and spares is all in their UK “Airfix” storefront. I suspect if you dug around on the “US” website, you’d just end up there anyway.
Andy
-
Thanks Mike!
Yeah, it’s really nice that Airfix does stand behind their products. Gives me confidence in buying their products in the future.
I can now stop staring at the mailbox hoping that maybe something might show up, and start staring at the mailbox knowing that maybe something might show up! 🤪Andy


Hawker Typhoon Mk 1b by Realworkingsailor - FINISHED - Airfix - 1/72
in Non-ship/categorised builds
Posted
This propaganda photo was taken in Holland later in the war. Things didn’t get any better:
Looks like the seals on the landing gear door hydraulics are leaking. I’d swear that is rust on the wing lower leading edge, but it could just be the mud on the upper surface dripping down. There appears to be brake shoe residue on the inside of the starboard wheel bay door, and the lettering on the fuselage side looks yellowed, and thoroughly grime covered. Paint chipping and wearing off all over…
Andy