


John Ruy
-
Posts
1,260 -
Joined
-
Last visited
Content Type
Profiles
Forums
Gallery
Events
Posts posted by John Ruy
-
-
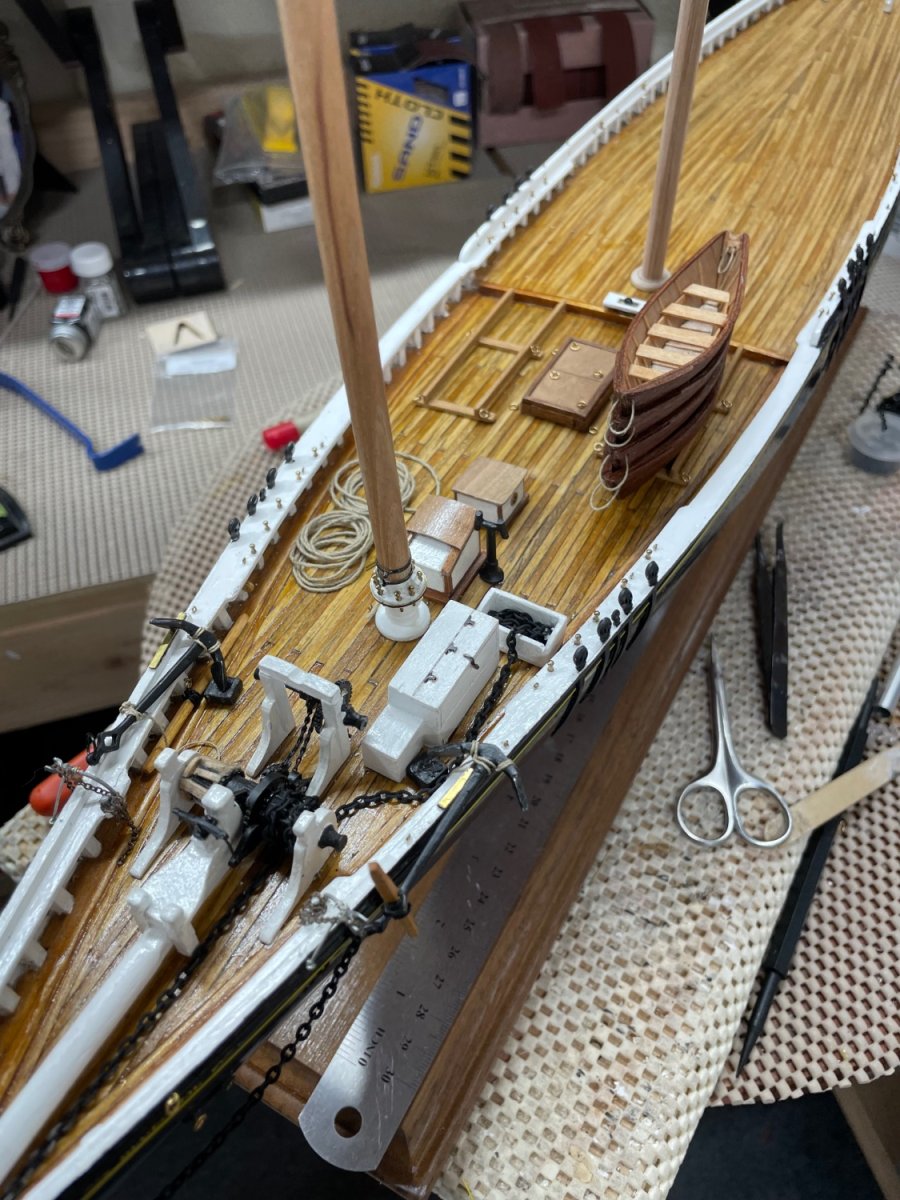
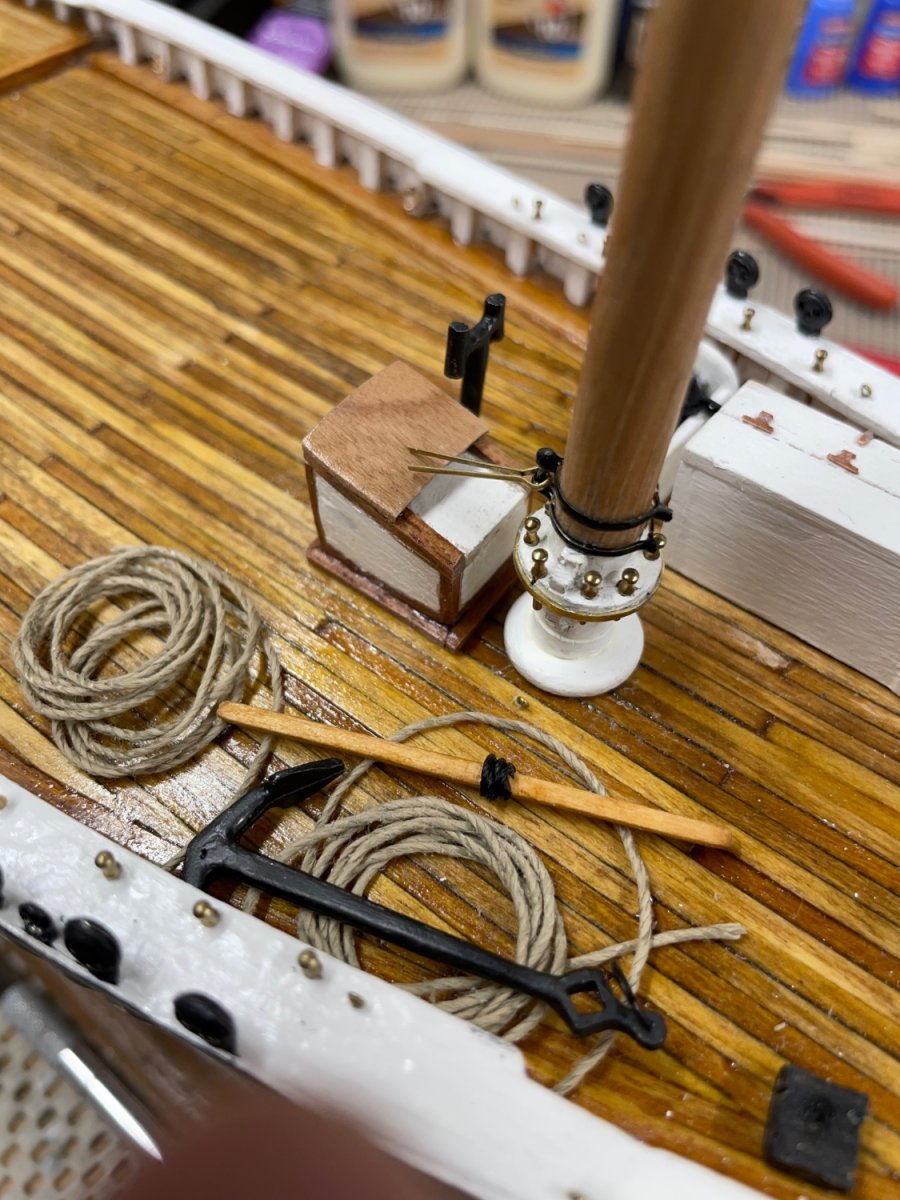
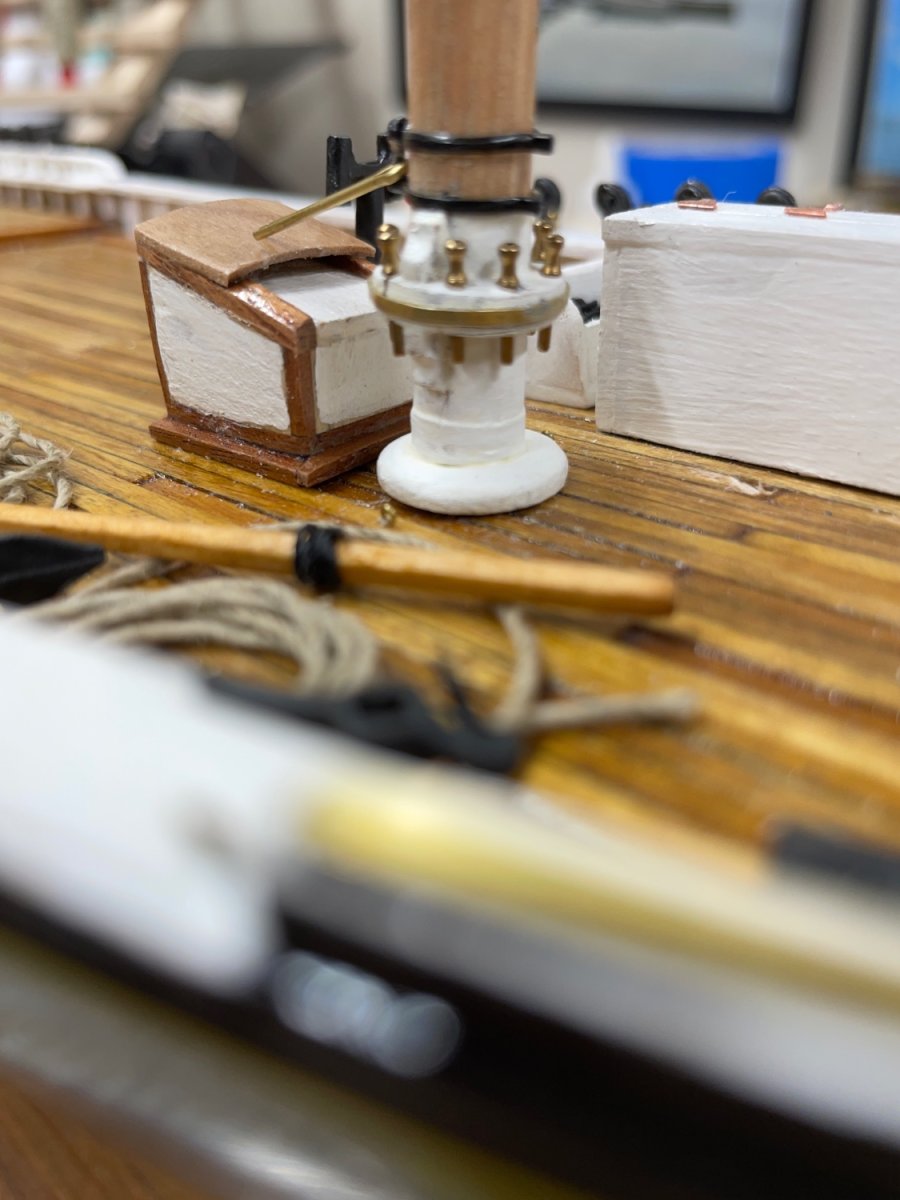
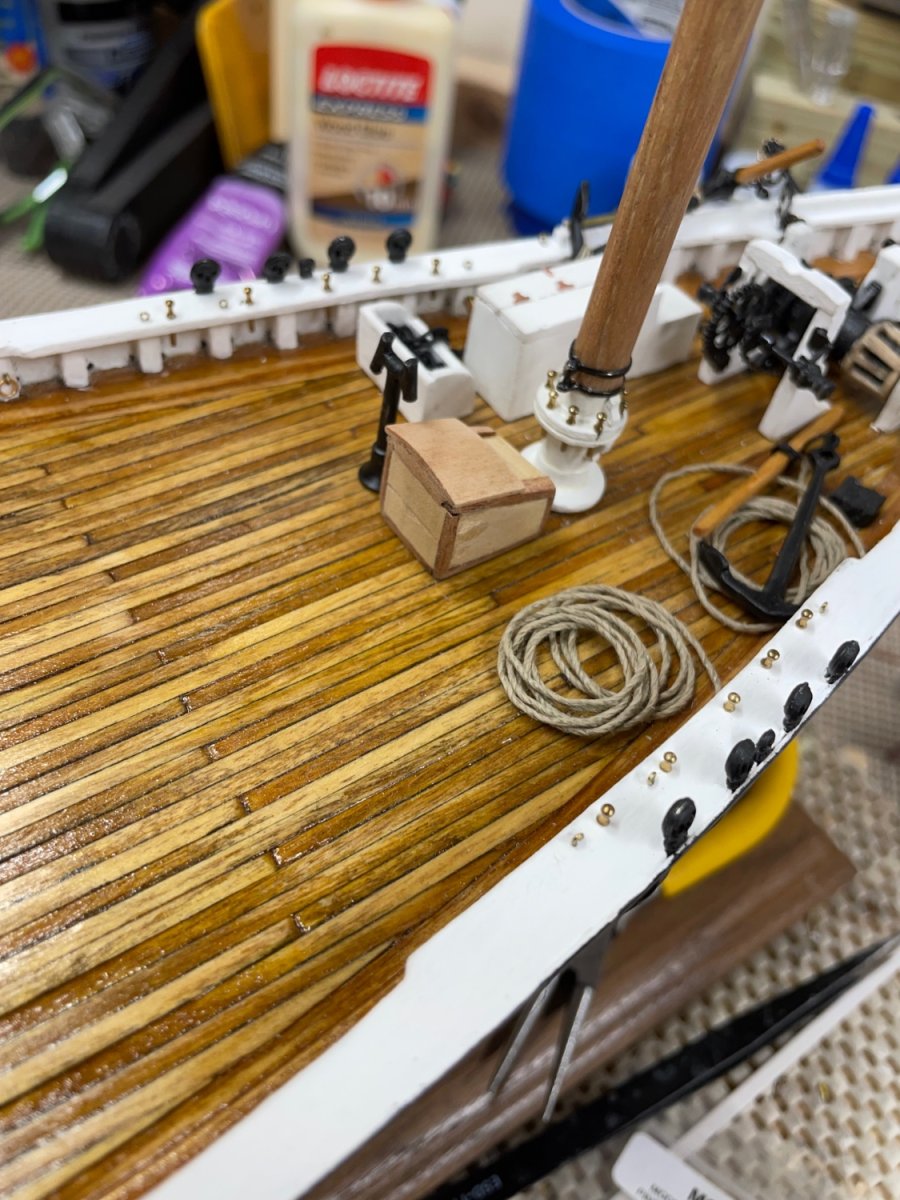
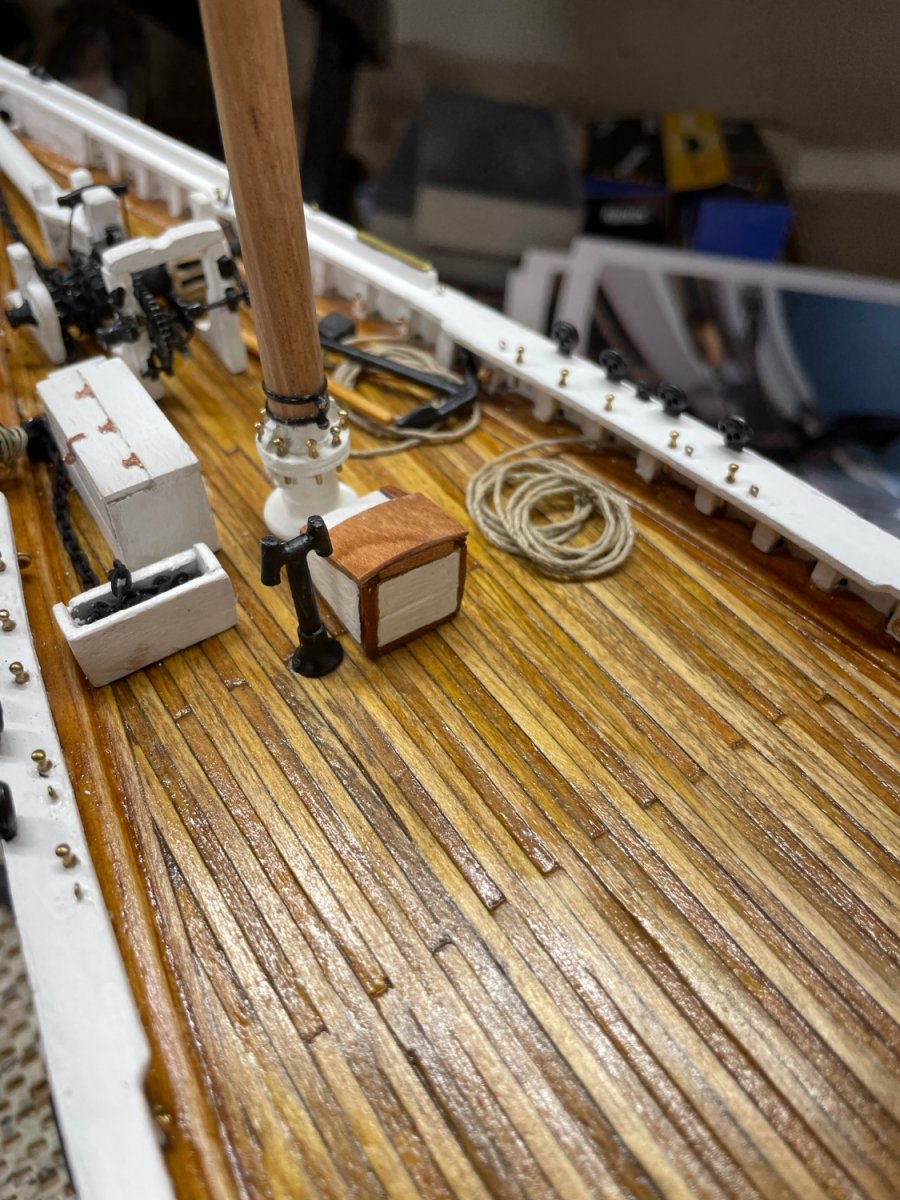
Main Mast and Fife Rail…
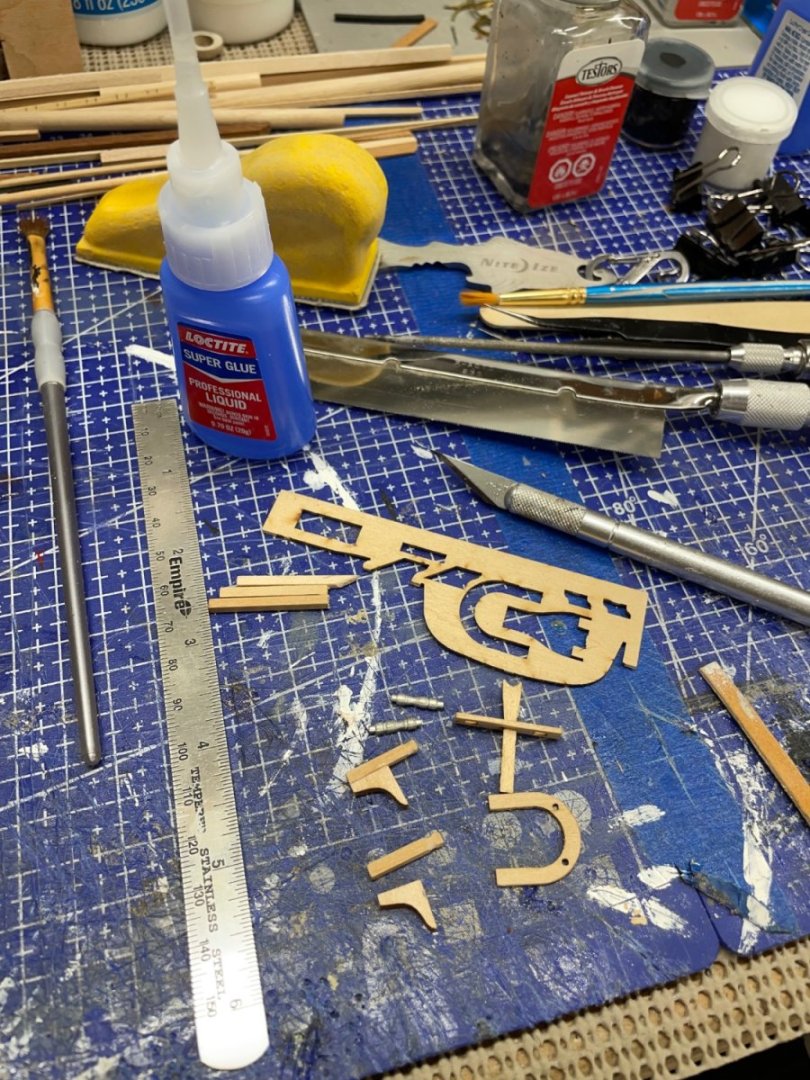
Laser cut parts for the Fife Rail.
Did someone say “tedious”?
Repaired…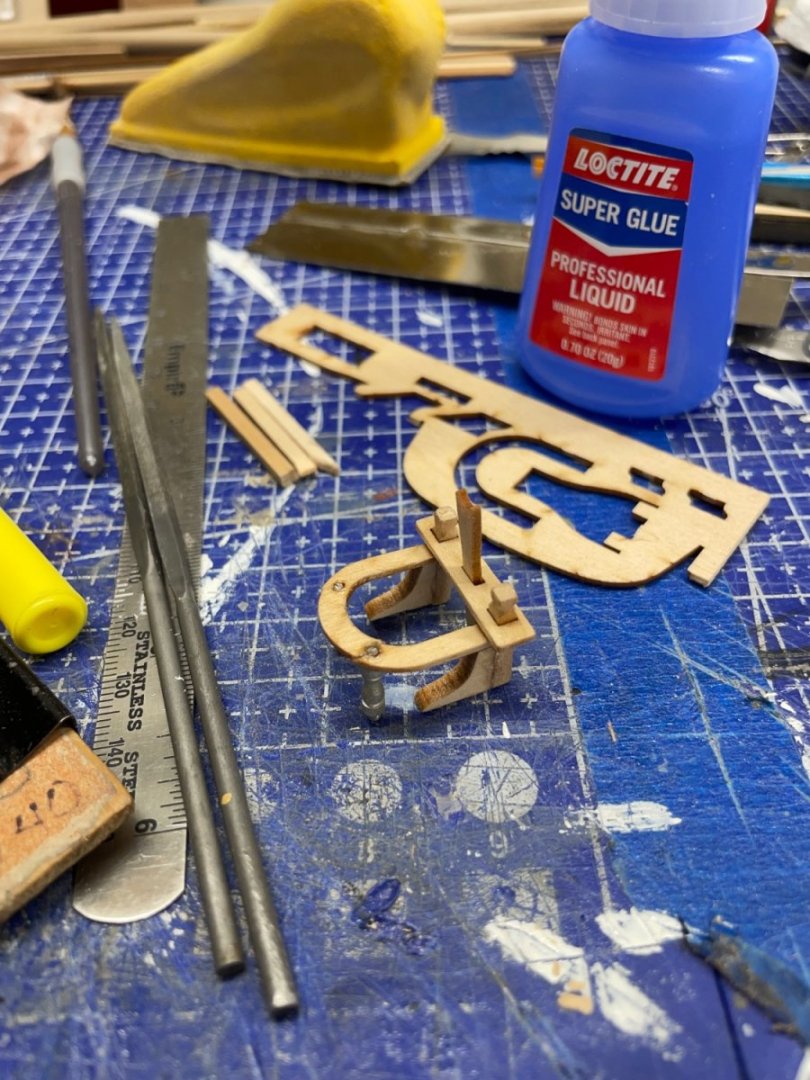
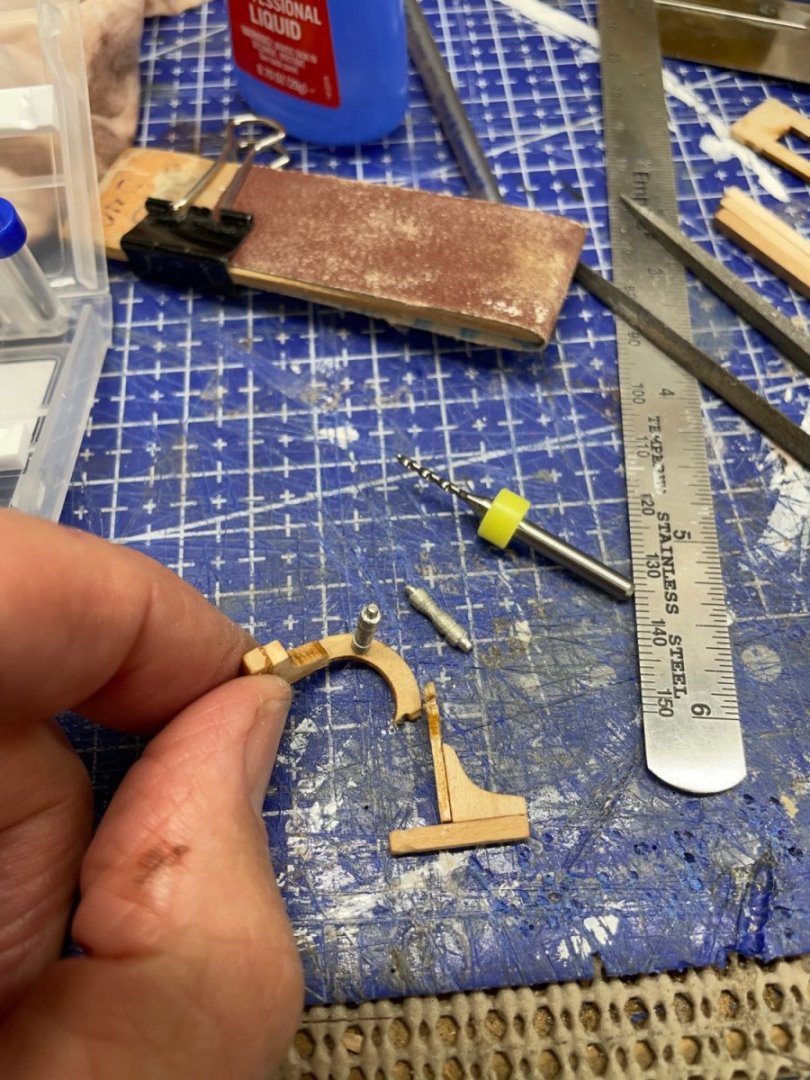
Next step, repair the knees.
NOTE: Knees were on up side down. 😬
Love my new micro drill bits…

Knees look better. 😆
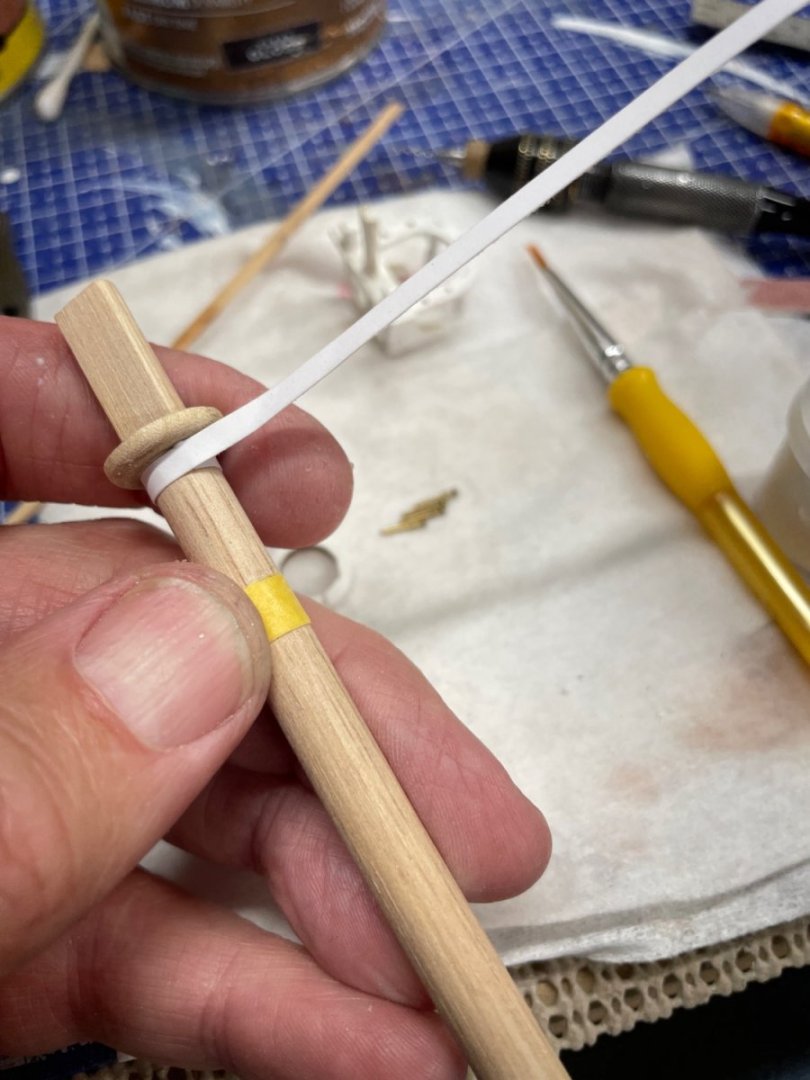
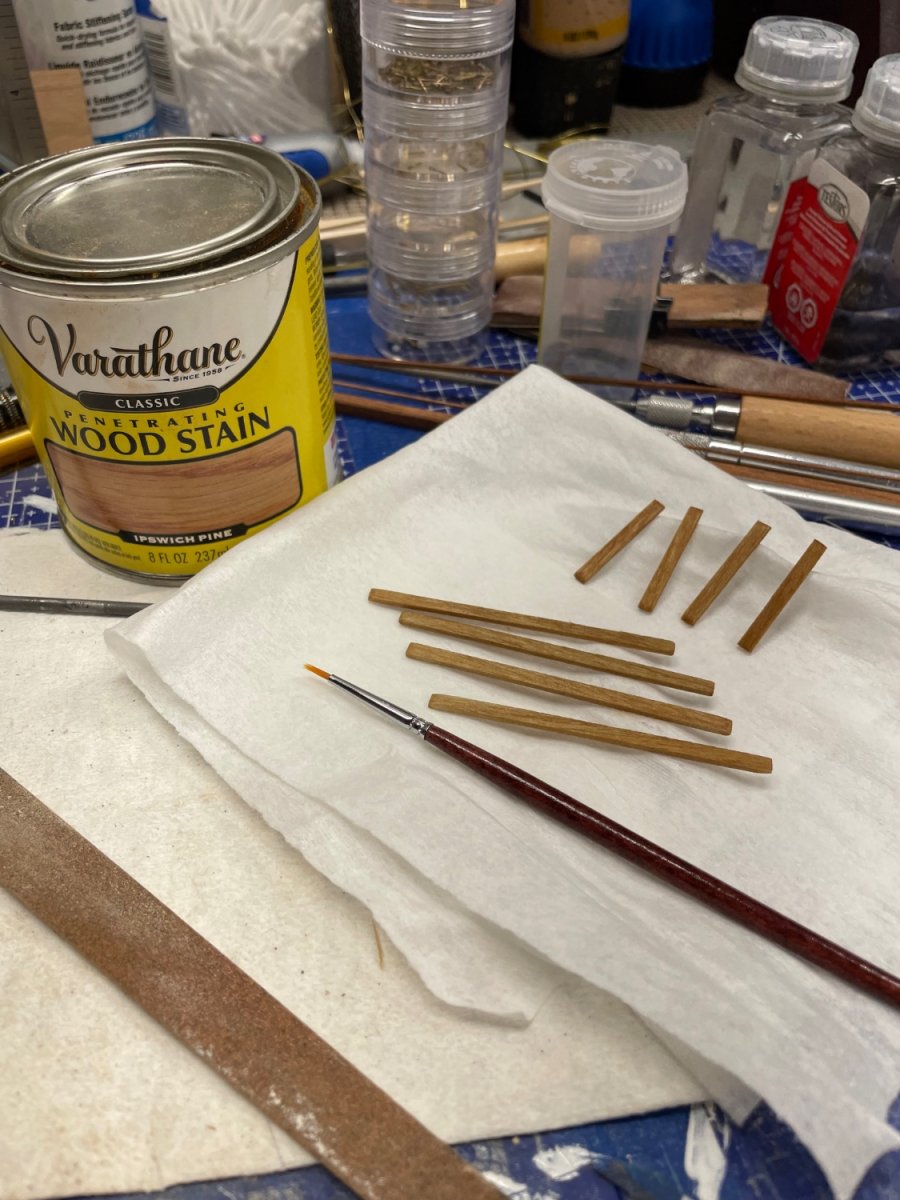
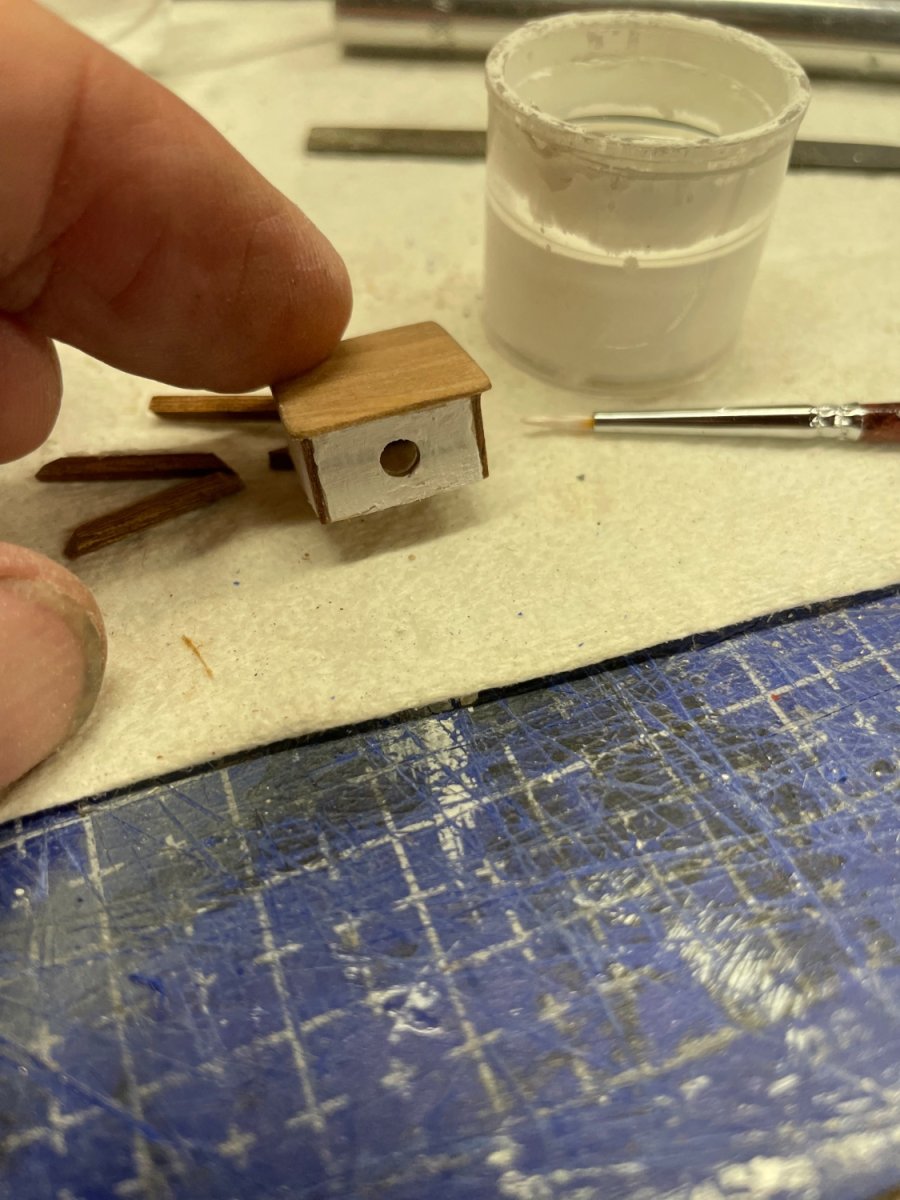
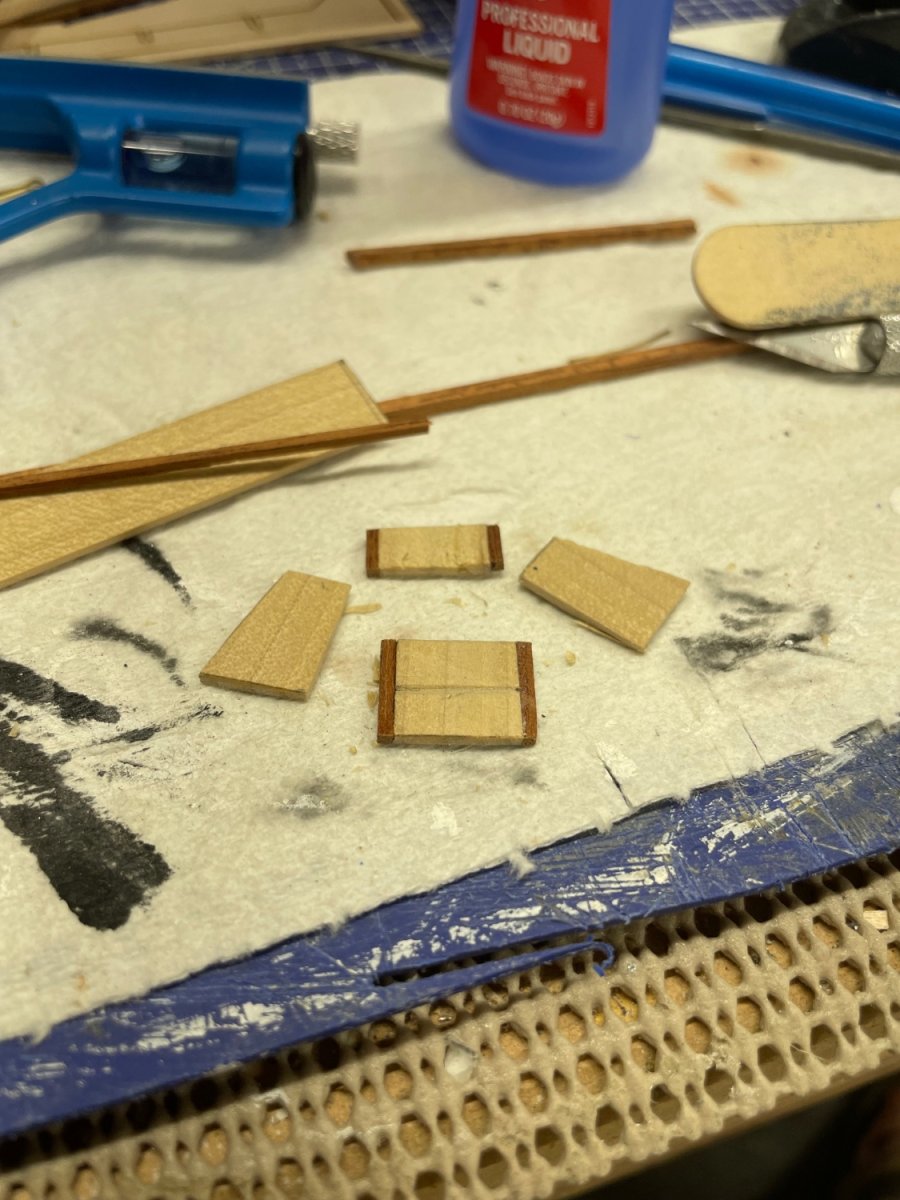
Used paper strip for mast coat.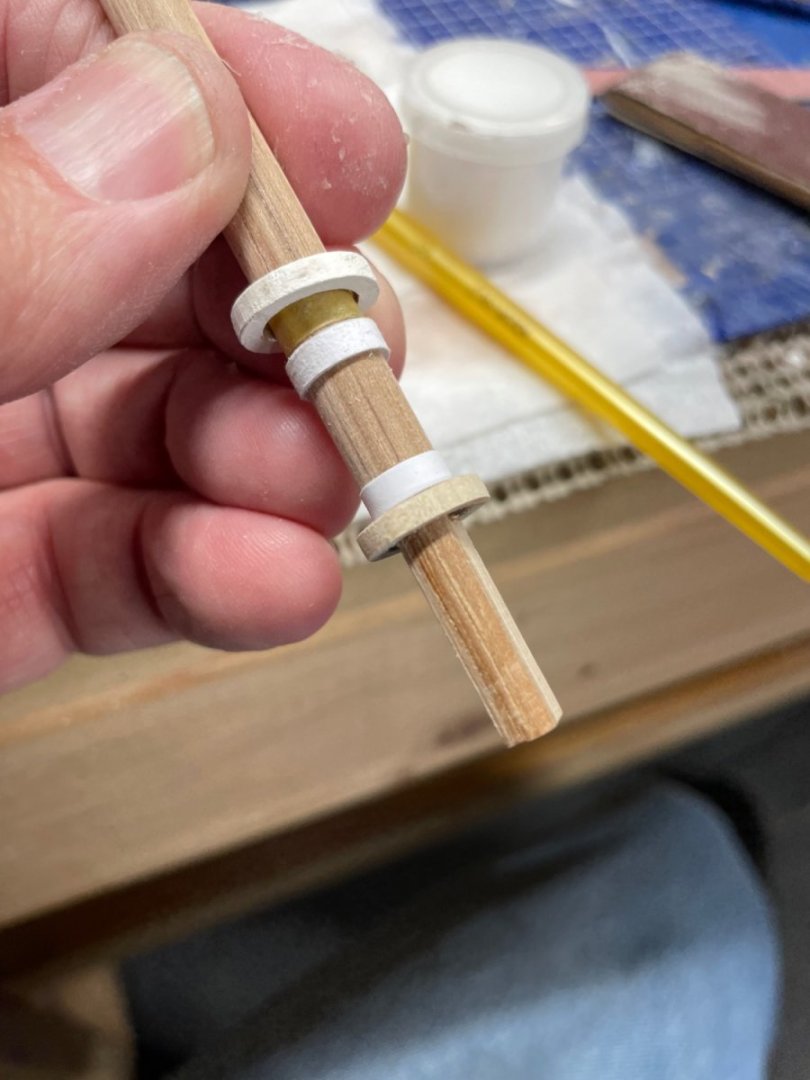
Laser cut Boom Rest needed a bushing to fit the mast. Again, paper strip…
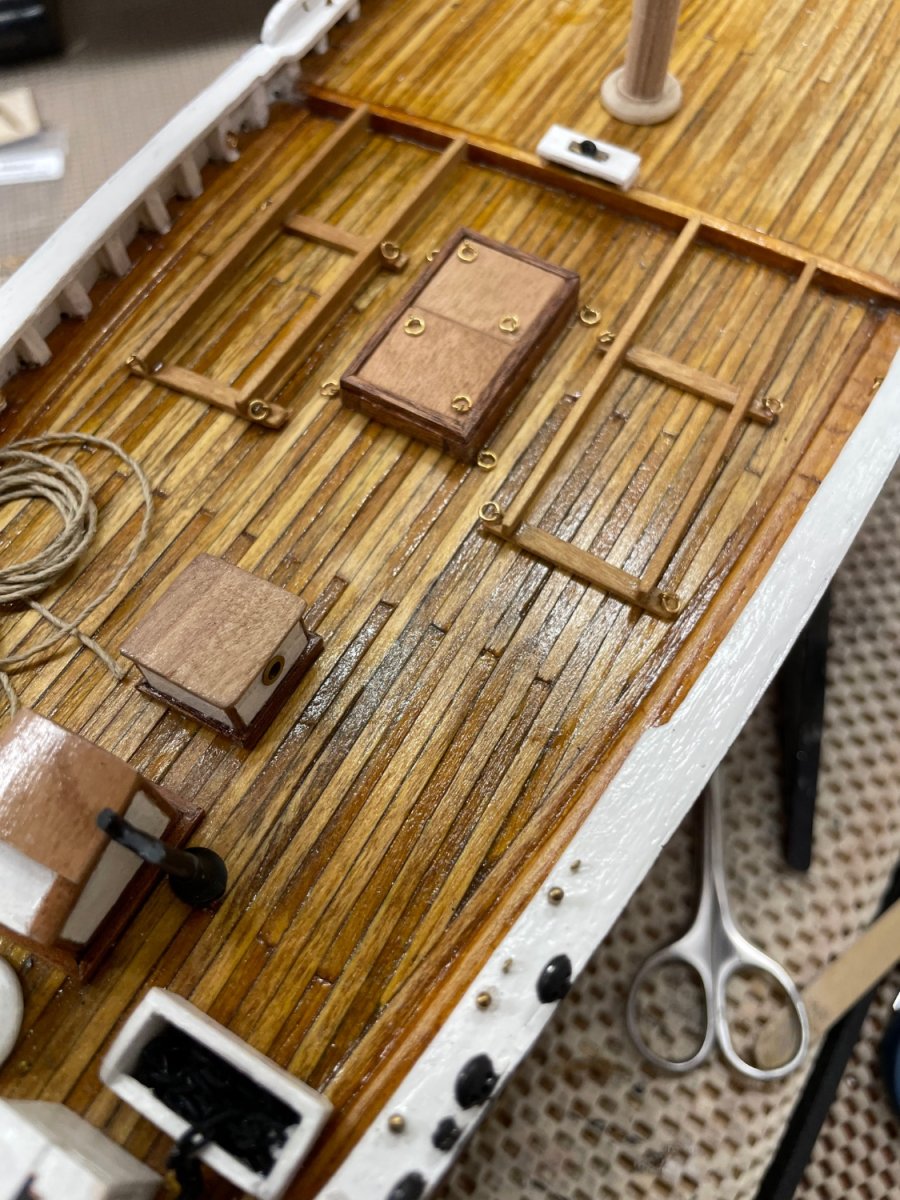
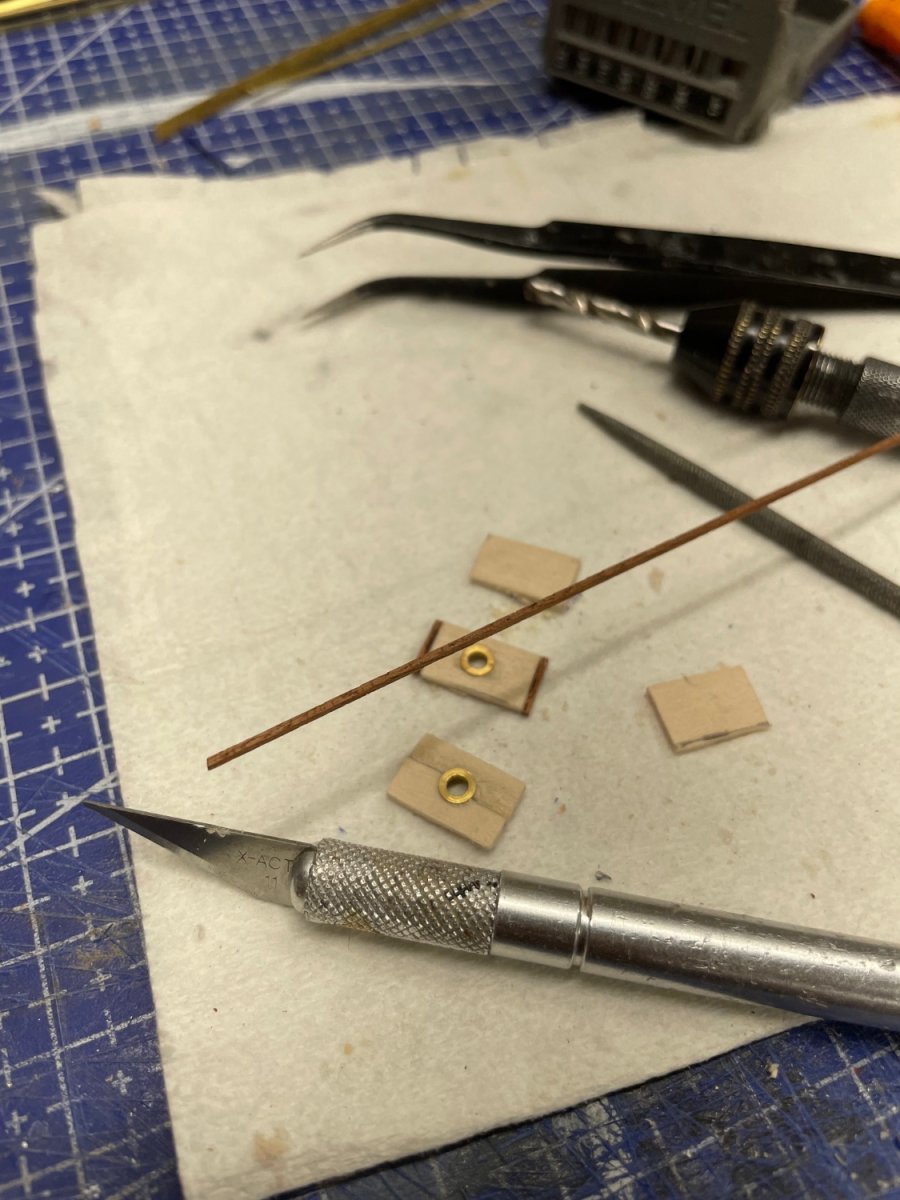
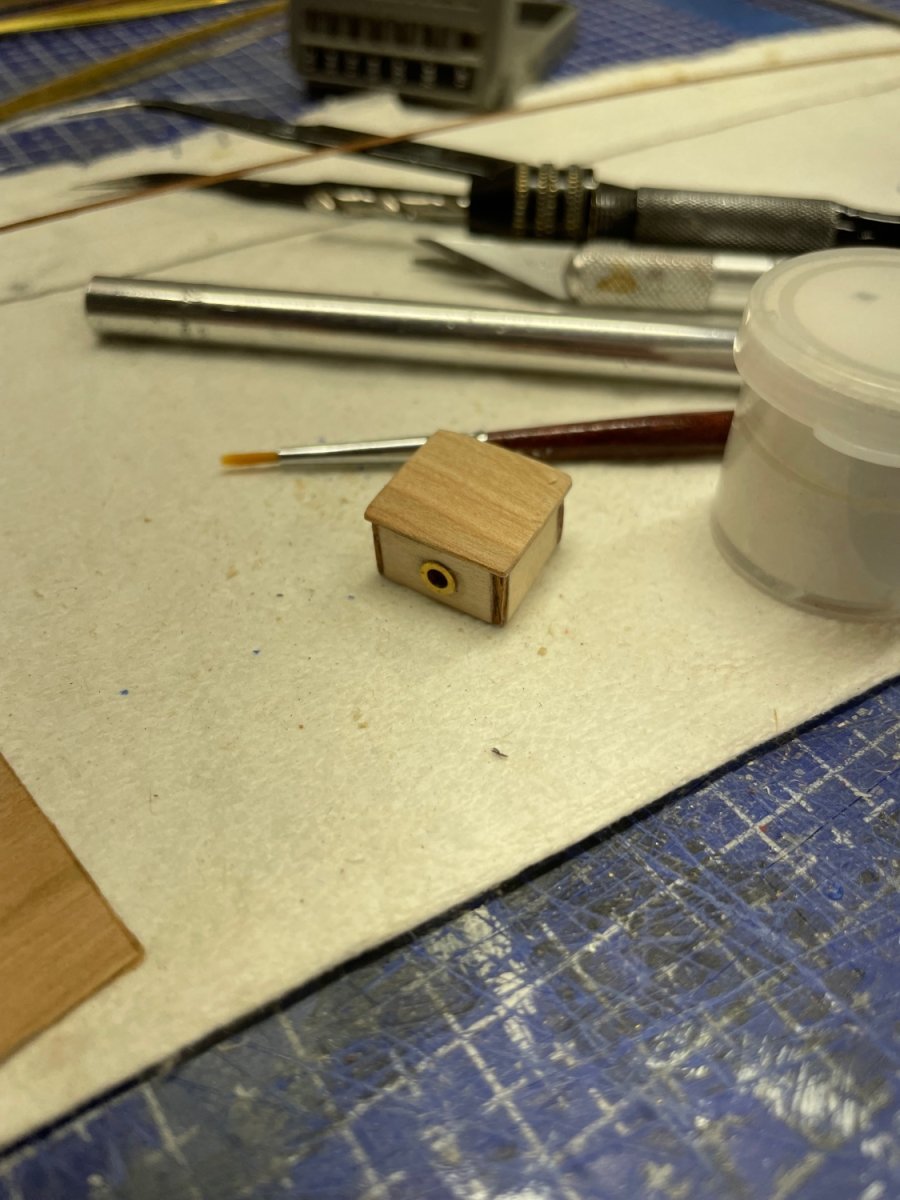
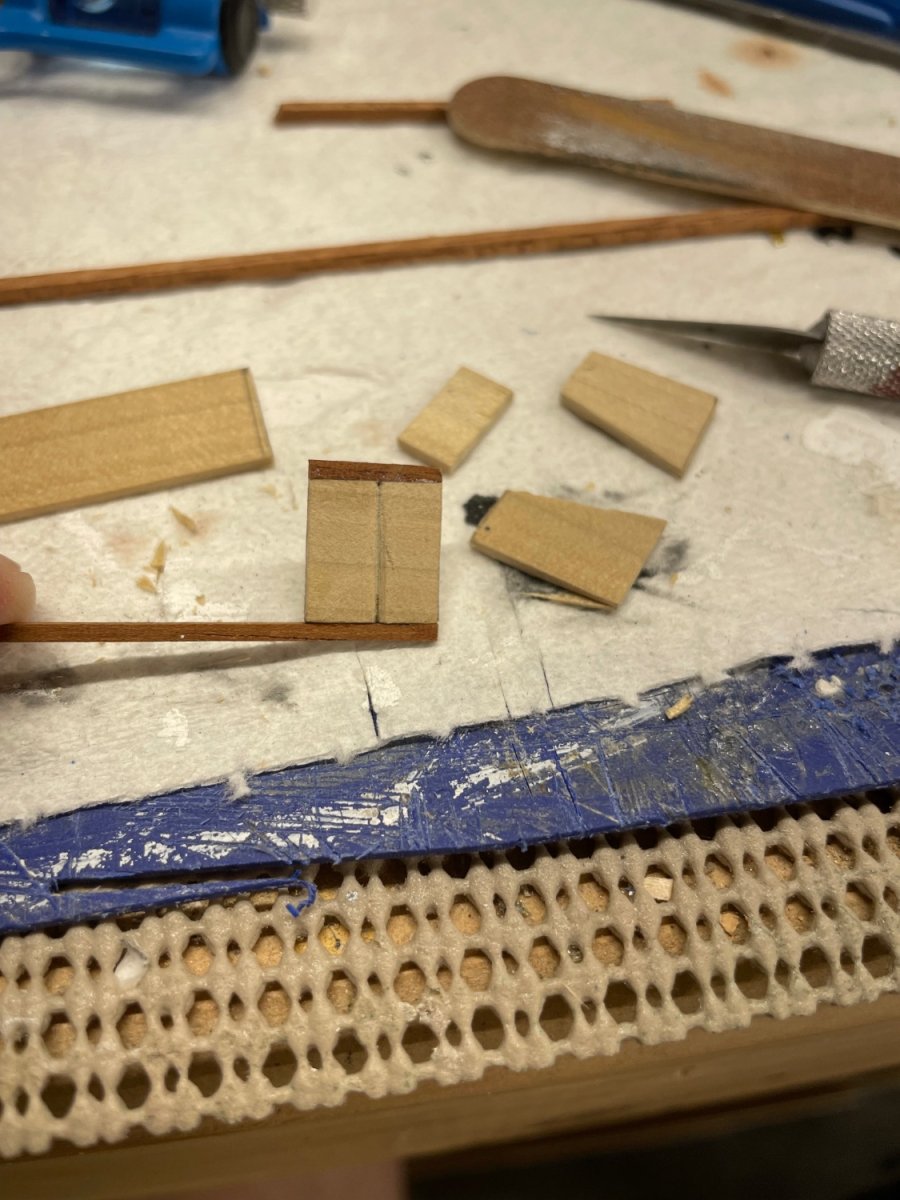
Snatch Blocks… More “tedious” detail.

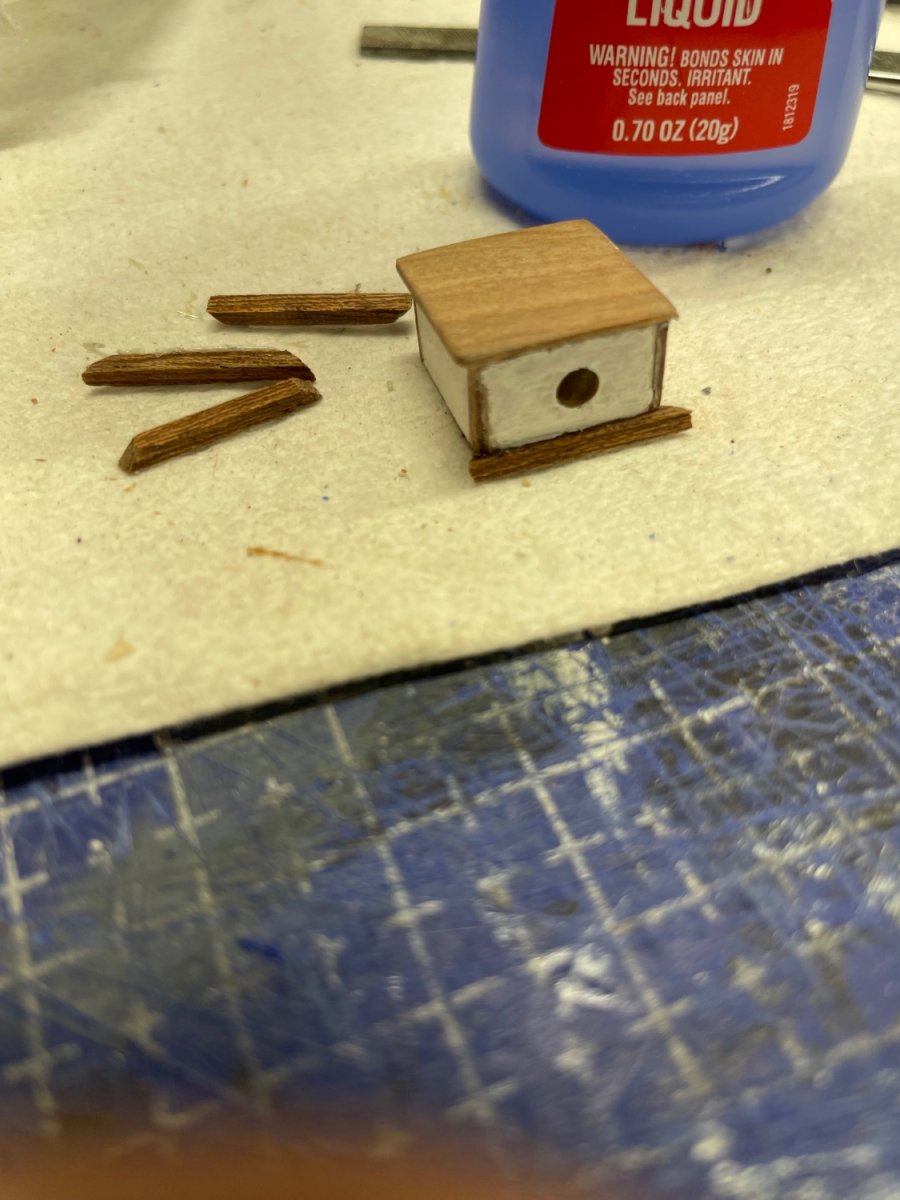
Chocks for Boom Rest.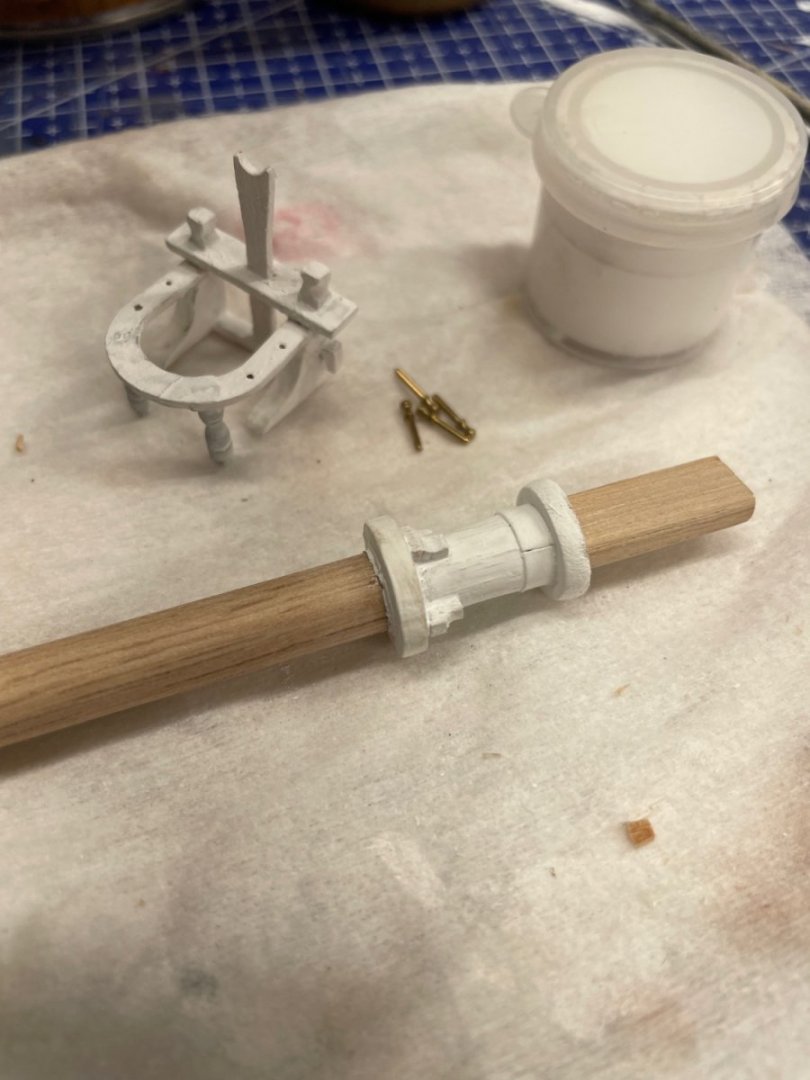
Paint White with Semi Gloss Poly.
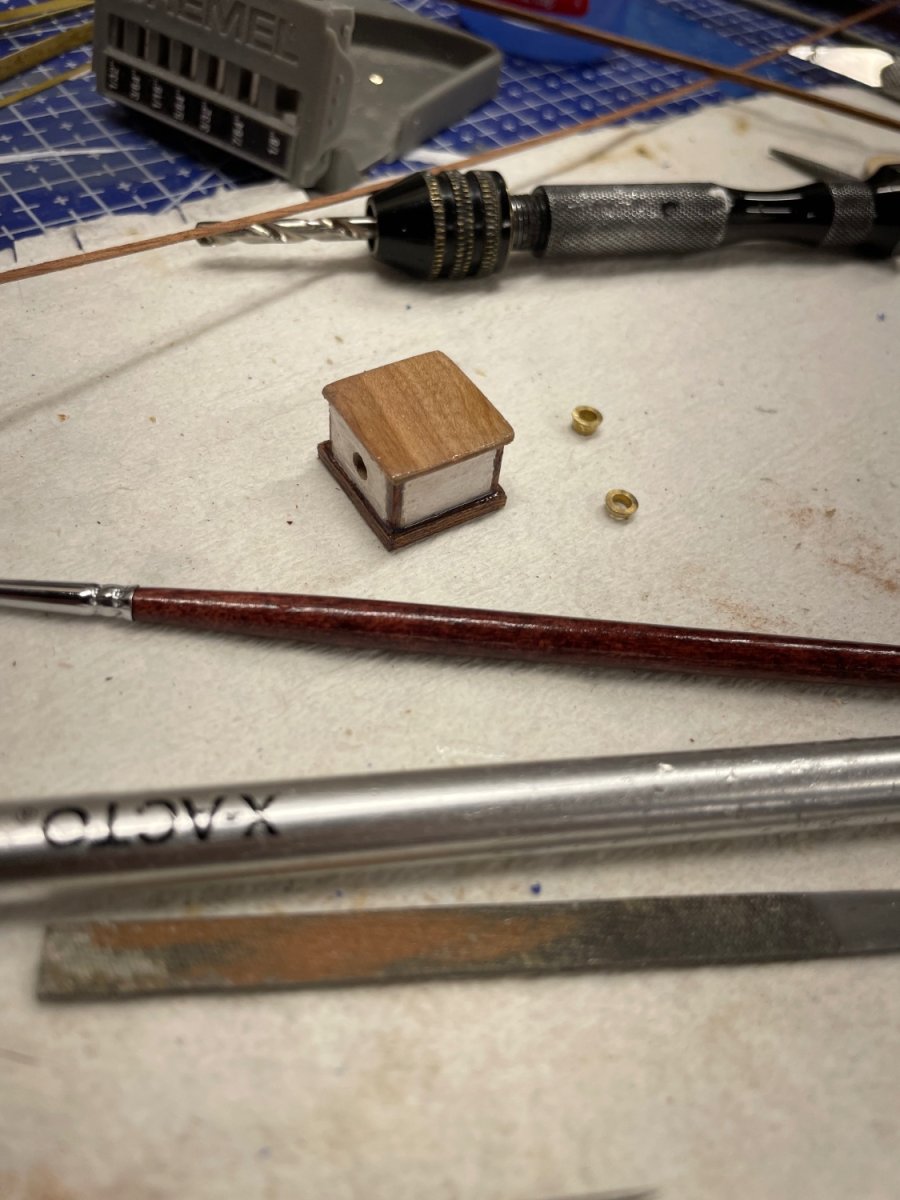
Galvanized Metal Chafing Peace for Main Boom Jaws.
Completed Main Mast Fife Rail.
Next up, another Hatch and Pumps.
Cheers 🍻 -
8 hours ago, GGibson said:
Oh wow. Actually, didn't think about that! 😄 Save me some work when I get to that point! 👍🤣🤣
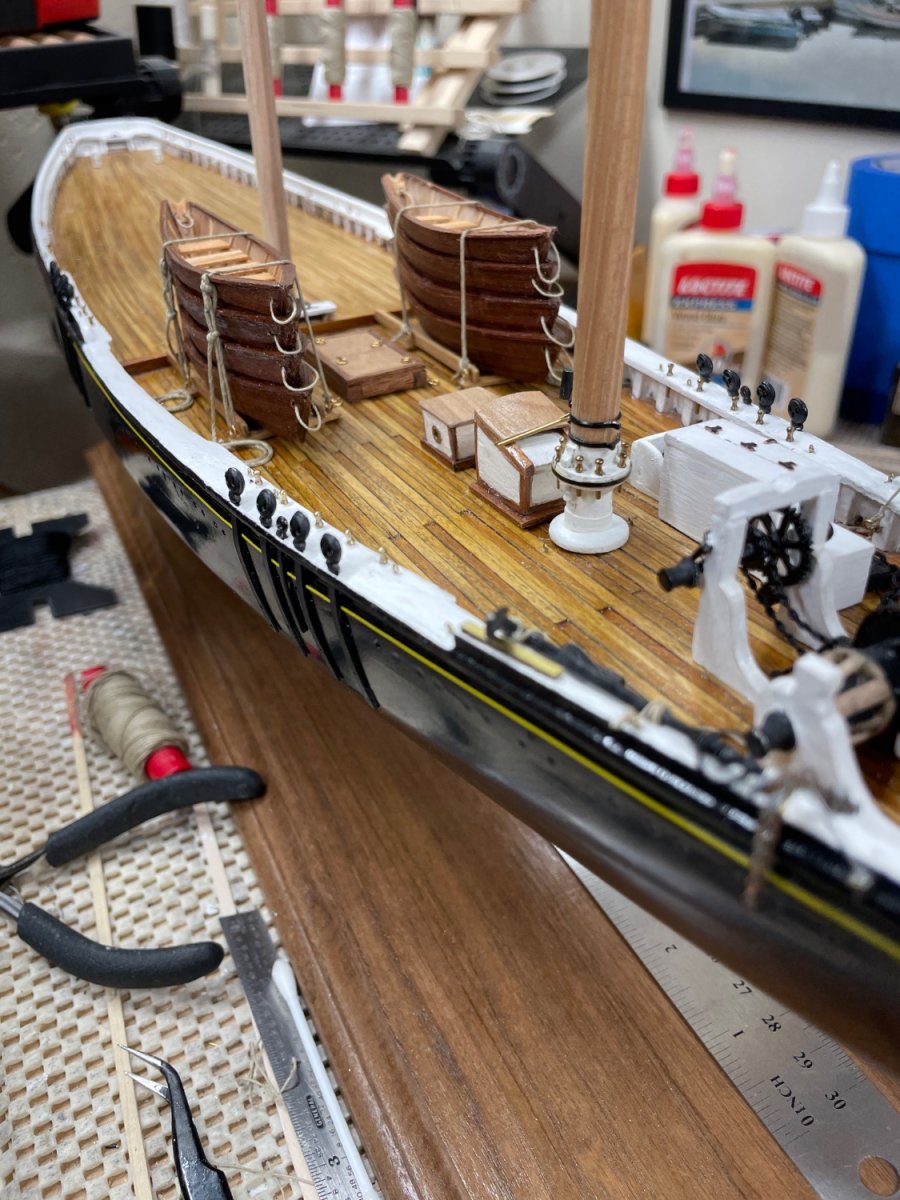
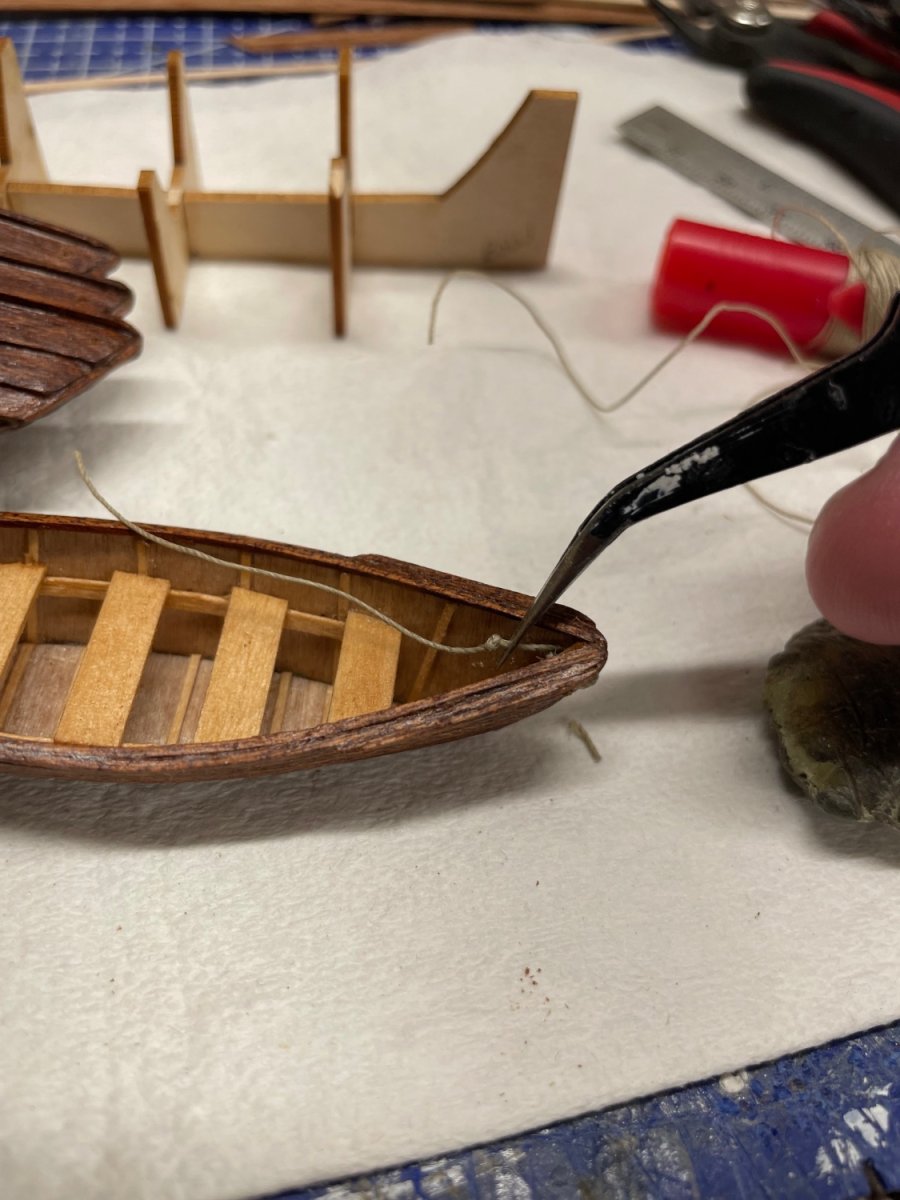
Yes, when the Dories were stowed they removed the Thwarts and Oars so the Dories could nest in a stack and then placed them in the last Dory to be stacked. No need to build more than can be seen. 👍
- Cathead, Knocklouder, GGibson and 1 other
-
 4
4
-
-
2 hours ago, MrBlueJacket said:
Did you actually fit out all 8, only to cover up 6 of them? Awesome!
Nic
Only the two on top have been fitted inboard. I’m not that crazy. 😜 I do still have Sixteen pairs of oars to carve out and stow in the top of the Dories.
John
- bhermann, Cathead, Knocklouder and 1 other
-
4
-
-
-
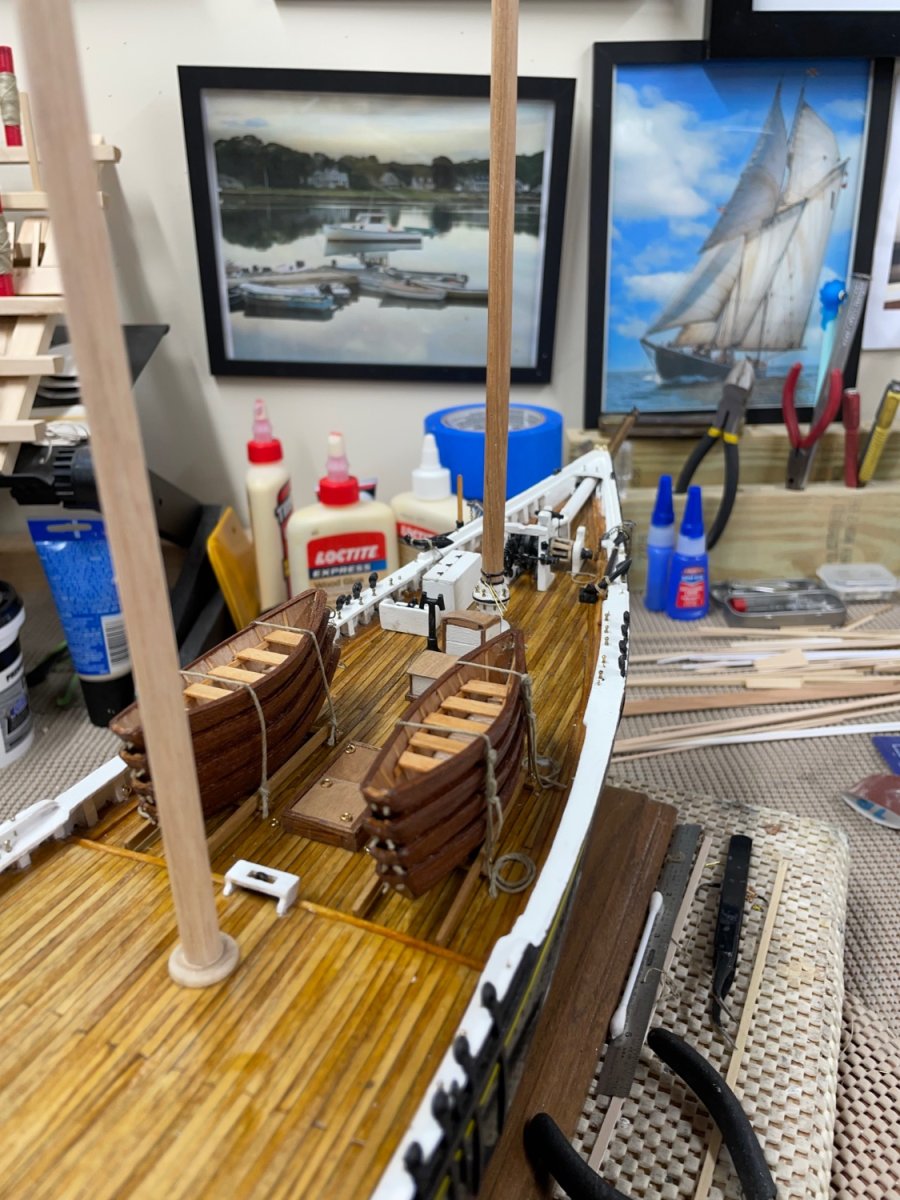
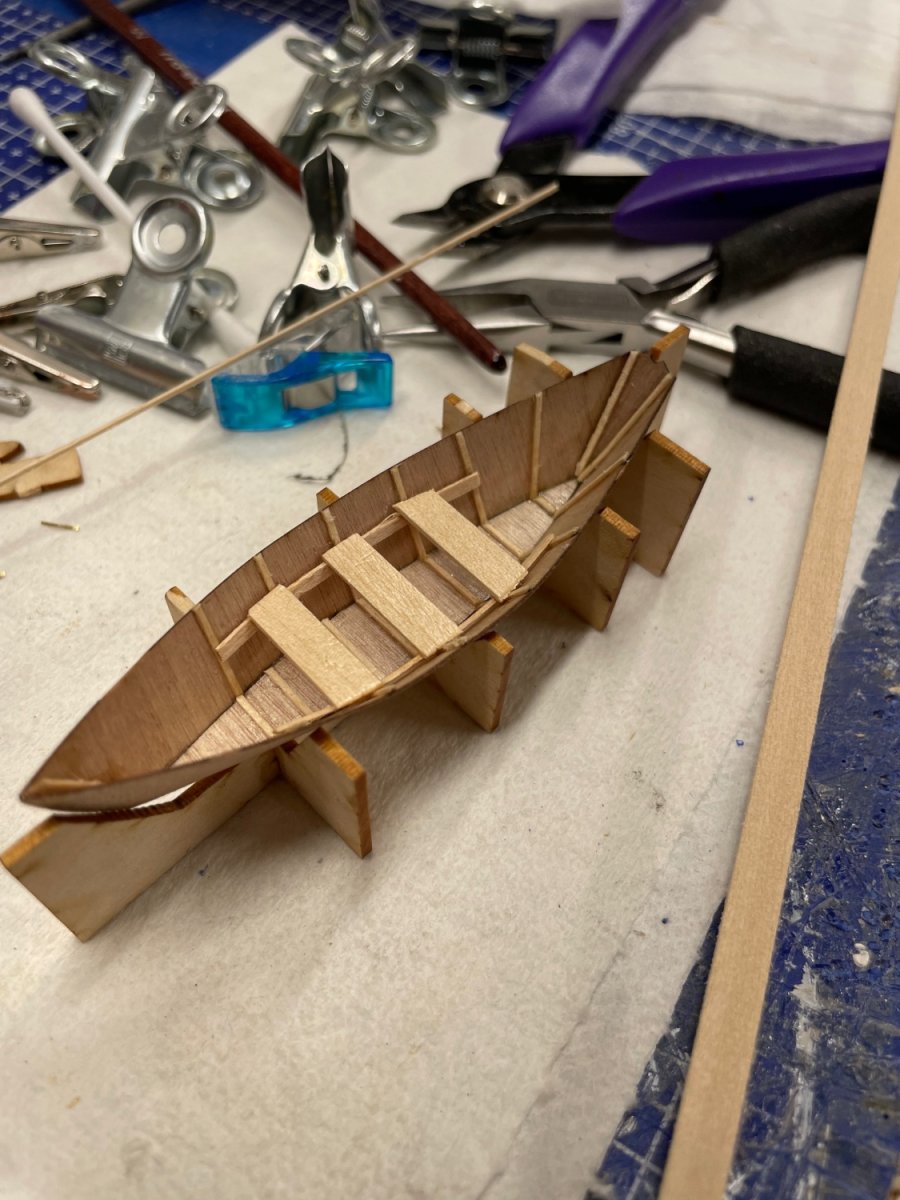
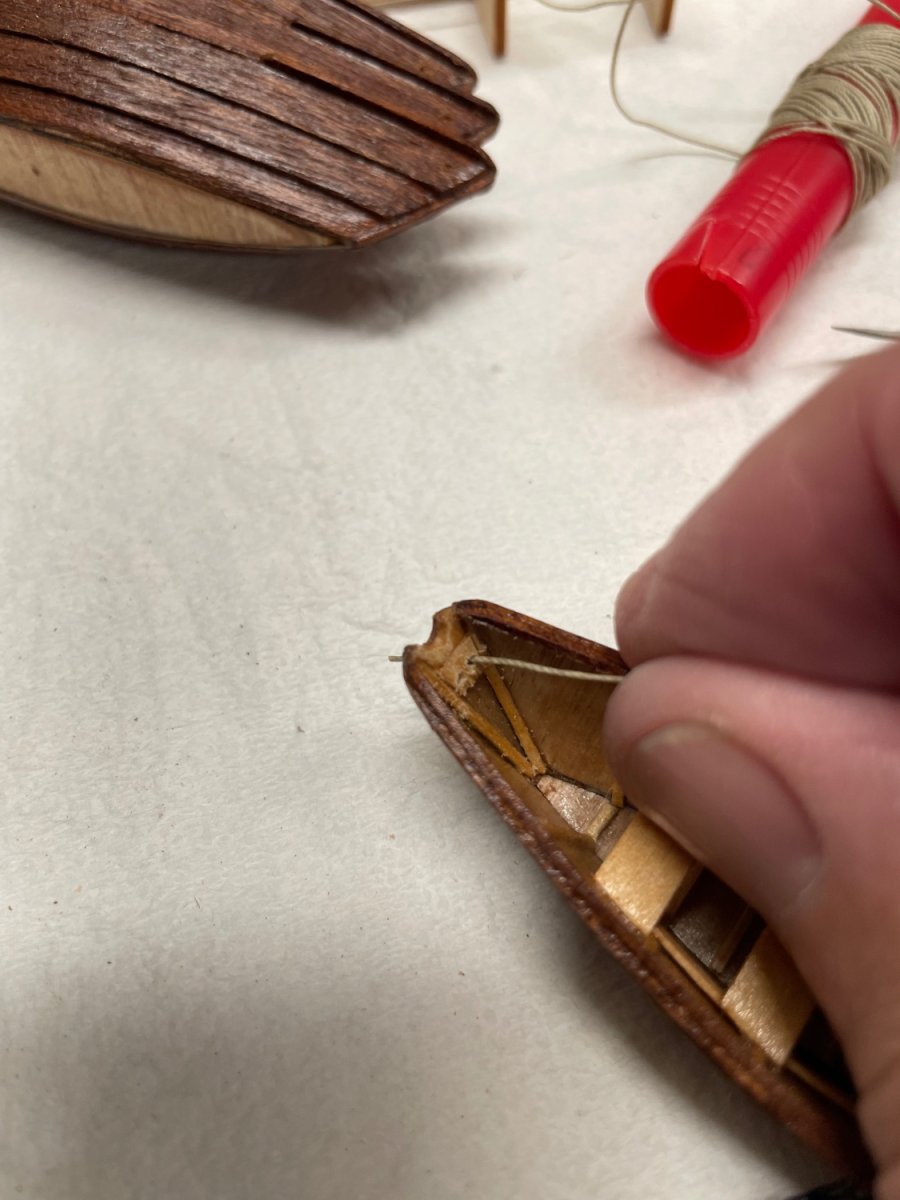
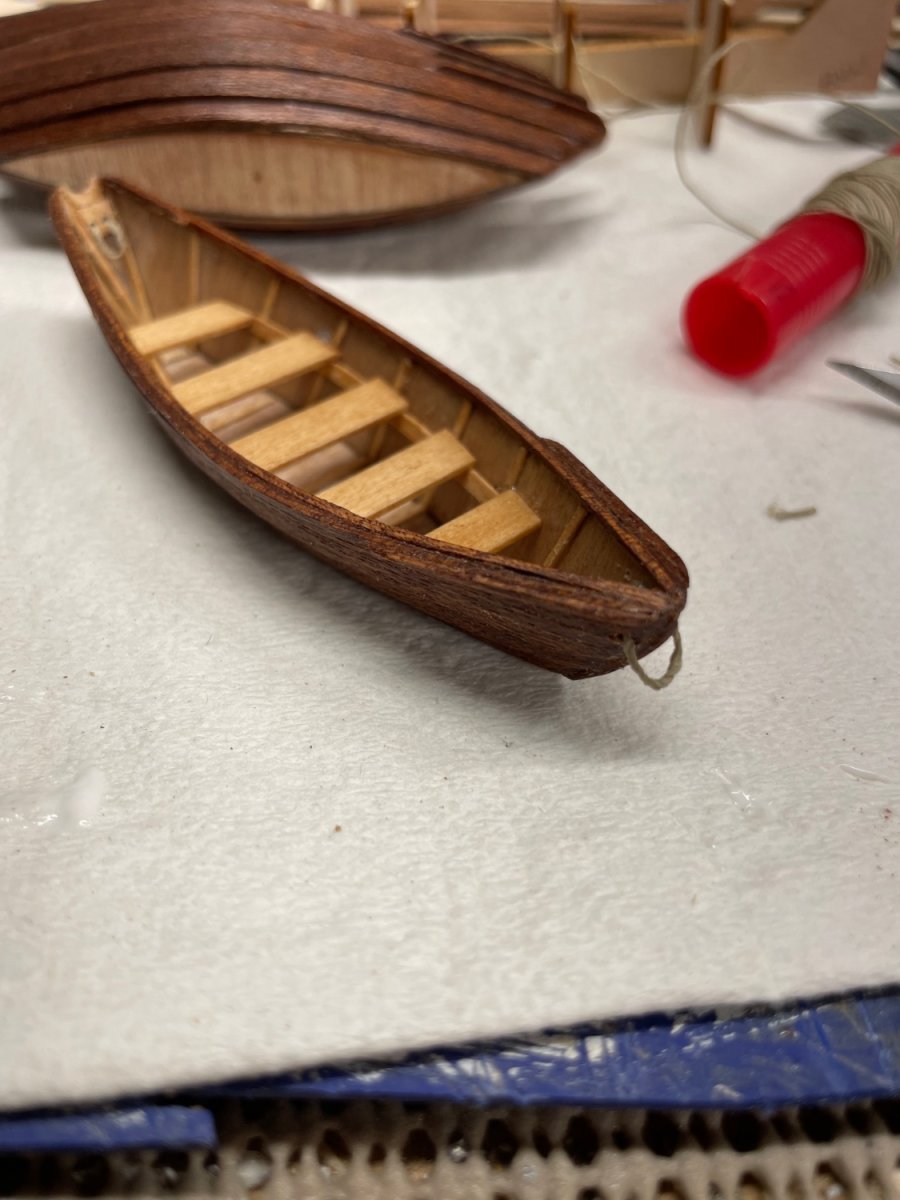
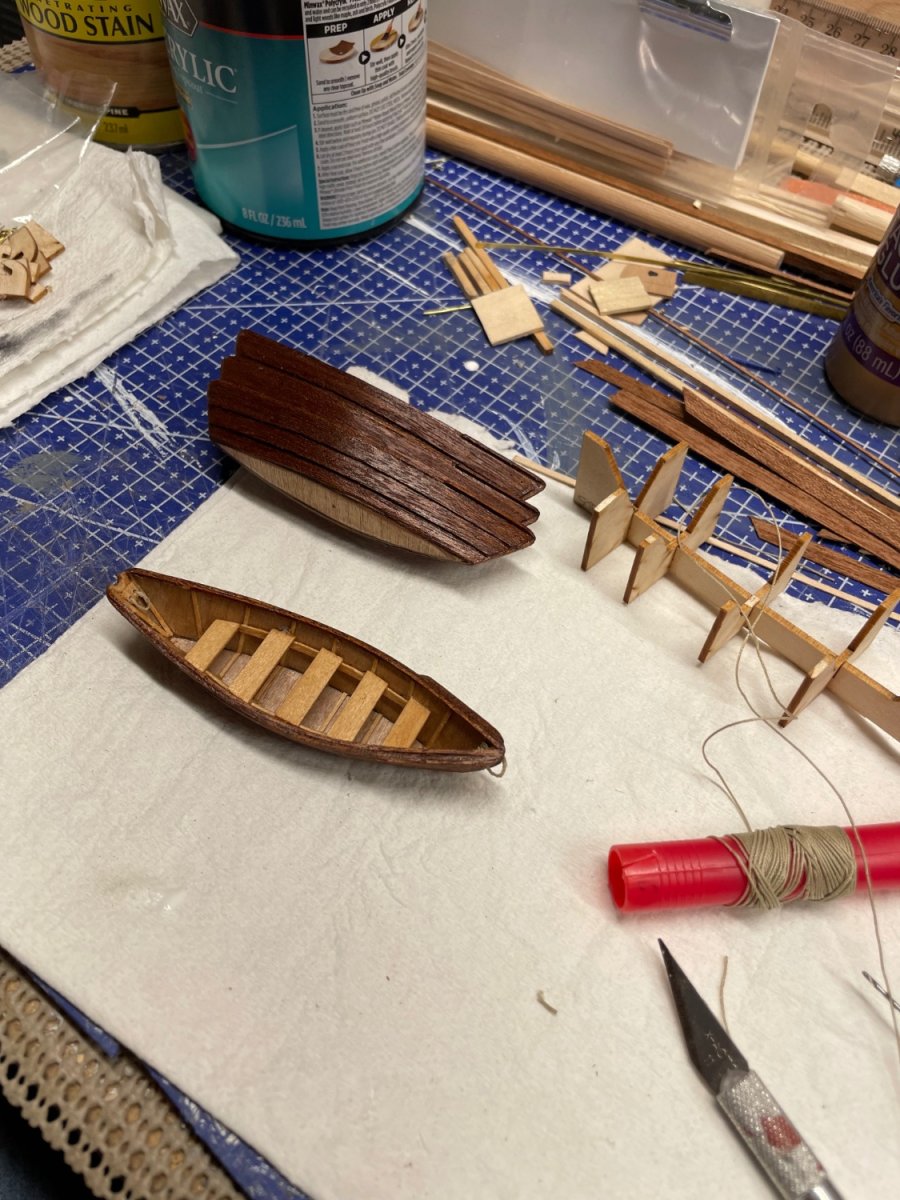
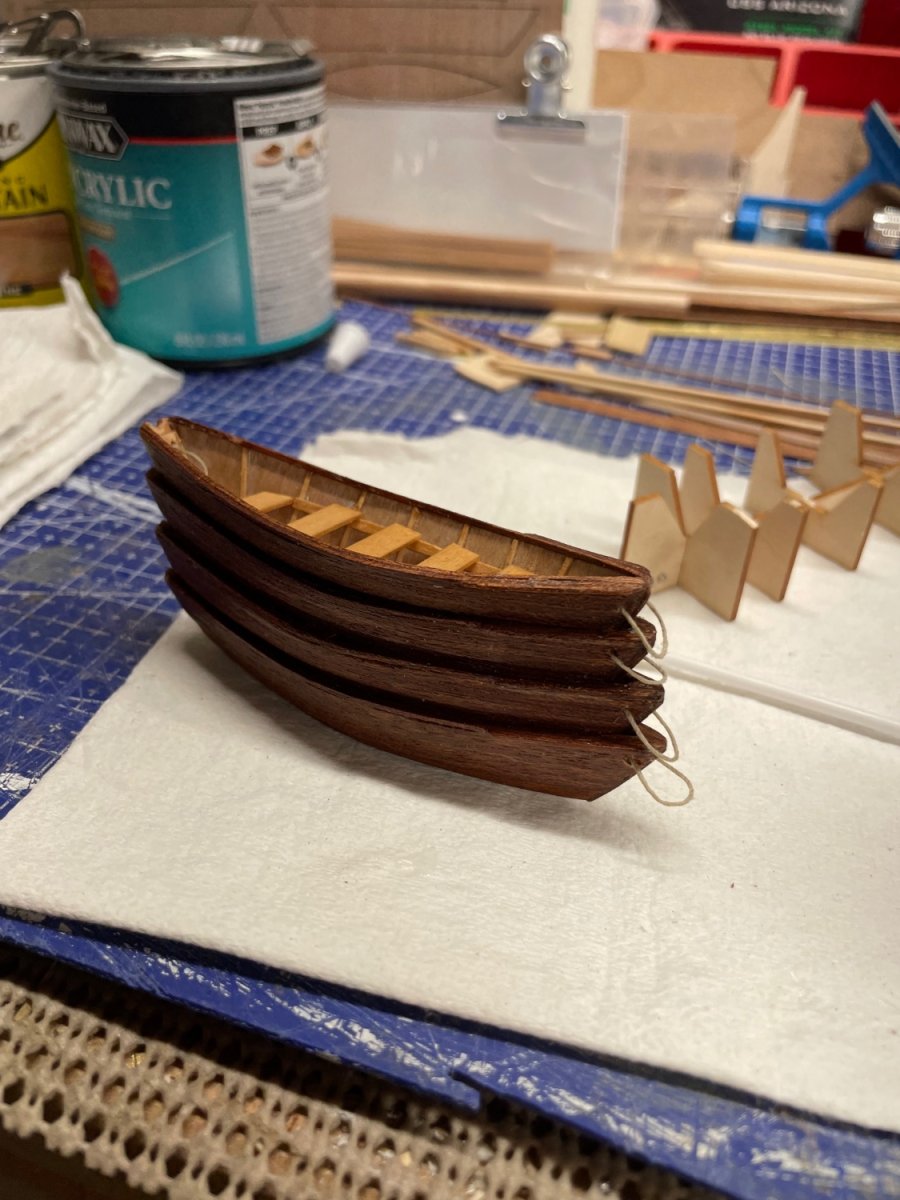
Dory Kids…


Up next Dories x 8!Cheers🍻
- GGibson, MajorChaos, Knocklouder and 6 others
-
9
-
-
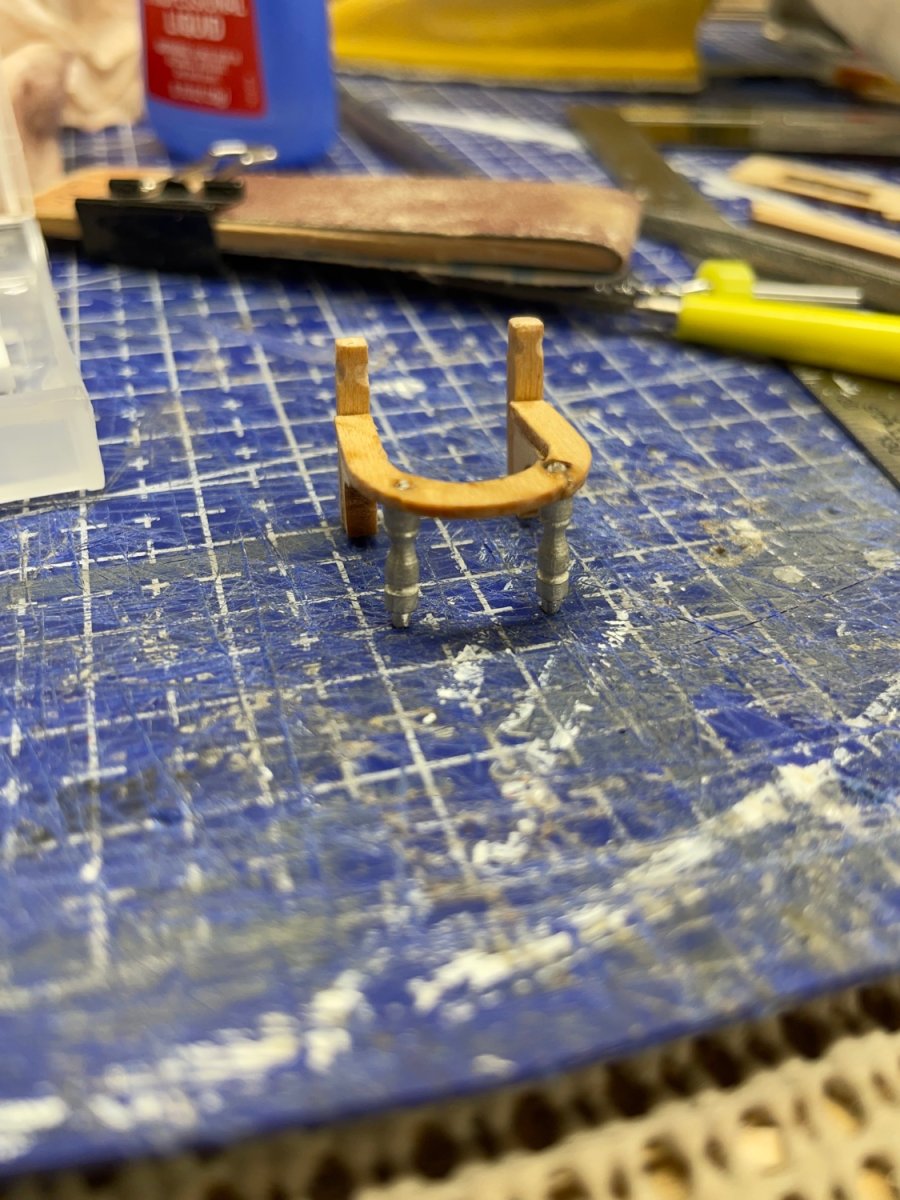
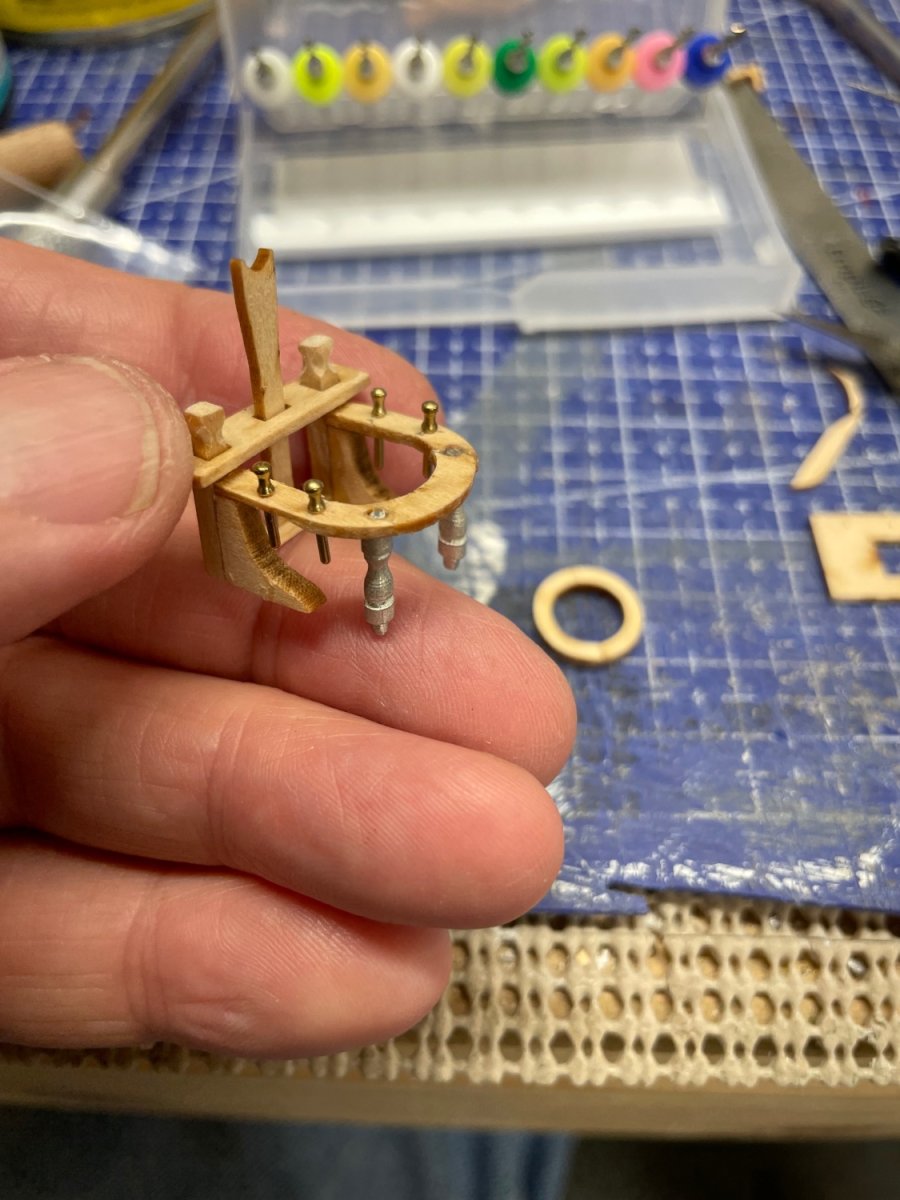
Cathead remake…
Below are photos of the Catheads on the Bluenose replica Bluenose II.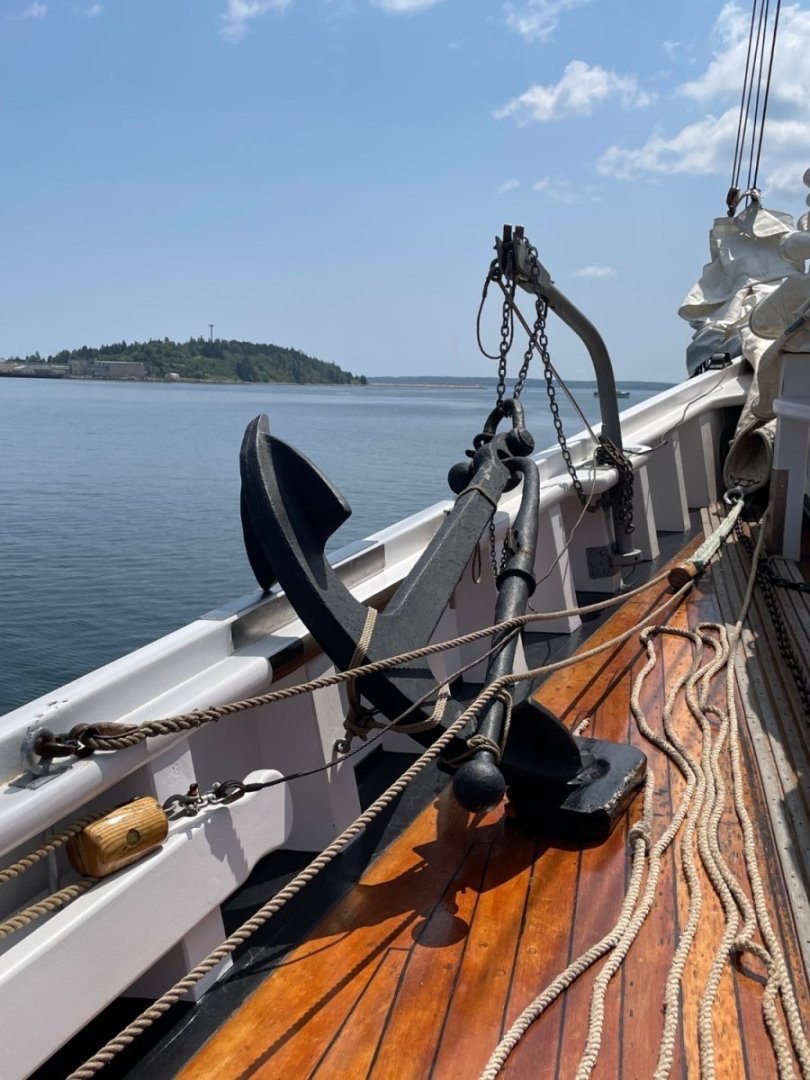
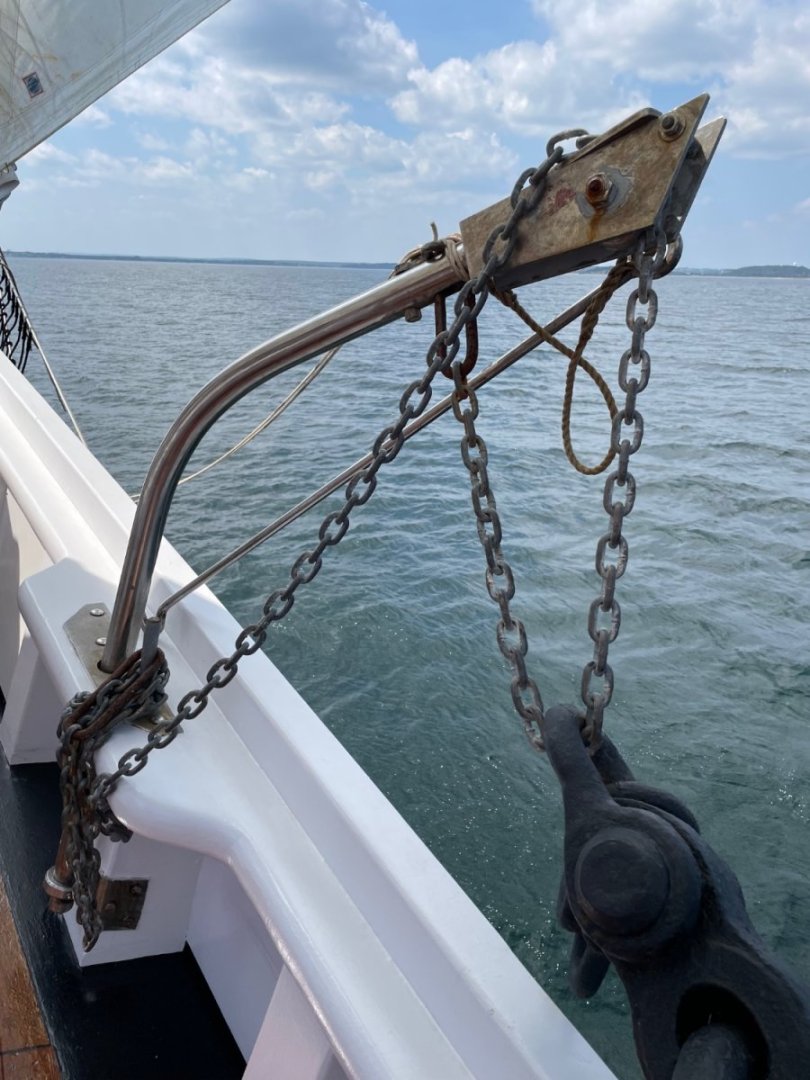
After being in Nova Scotia and seeing the Bluenose II, I decided I needed to rework the Catheads. The MS kit supplied metal parts for the Catheads were just too small to look correct to me. Here is a photo of the kit supplied parts.
I replaced the parts with my own build of the Catheads.
Brass needed to be painted to look galvanized. I used Testor’s Flat Aluminum Enamel.

I’m much happier with Cathead version 2.0. Cheers 🍻 -
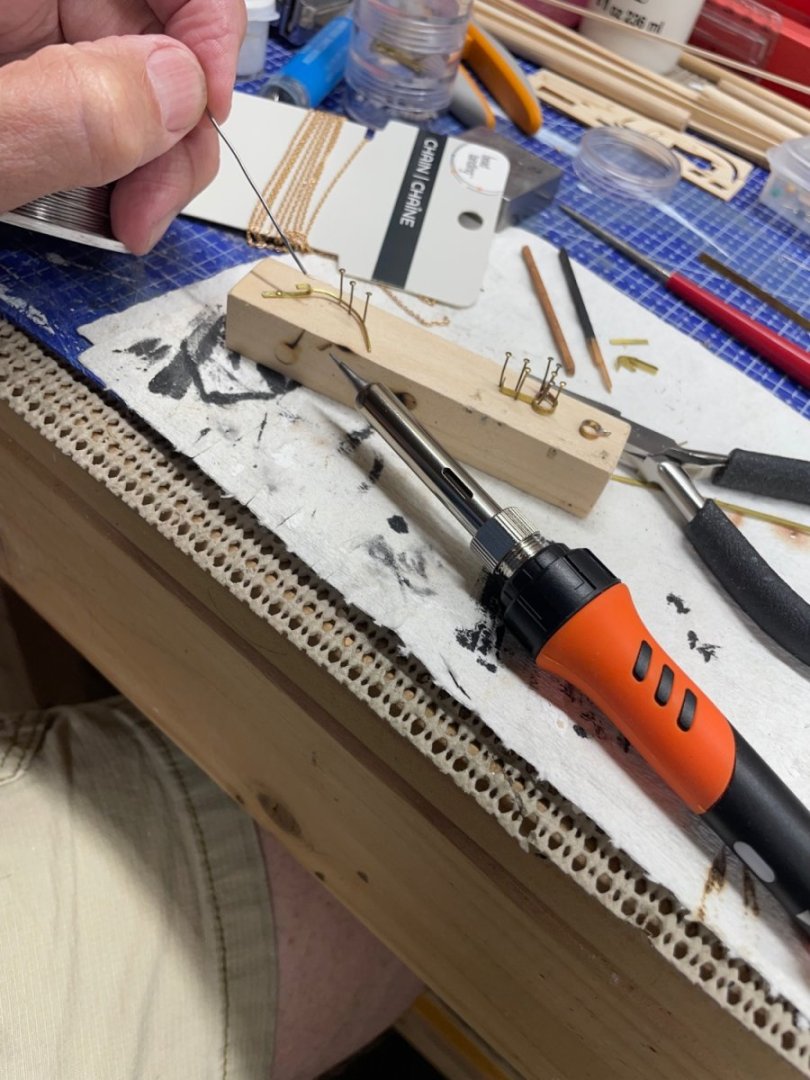
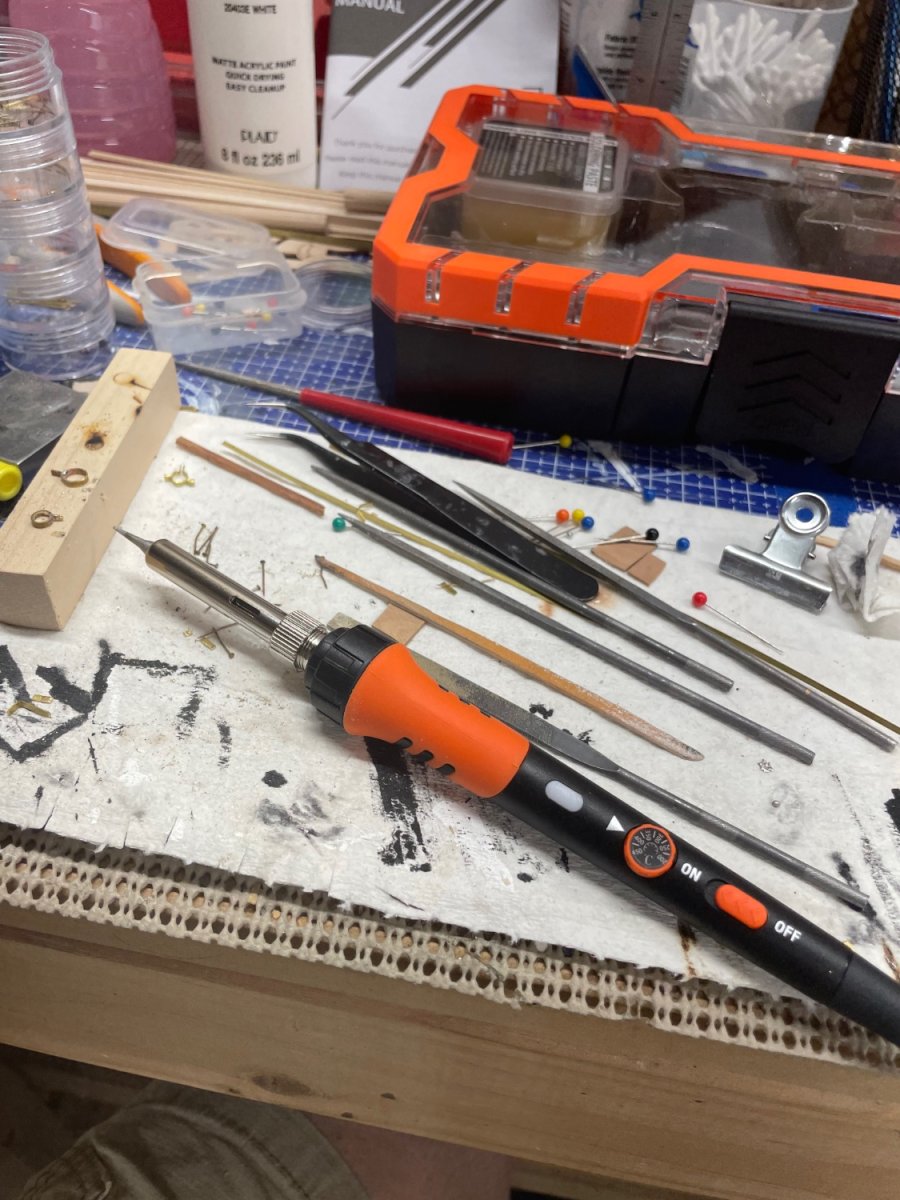
The right tools can make all the difference in the struggles. 😜
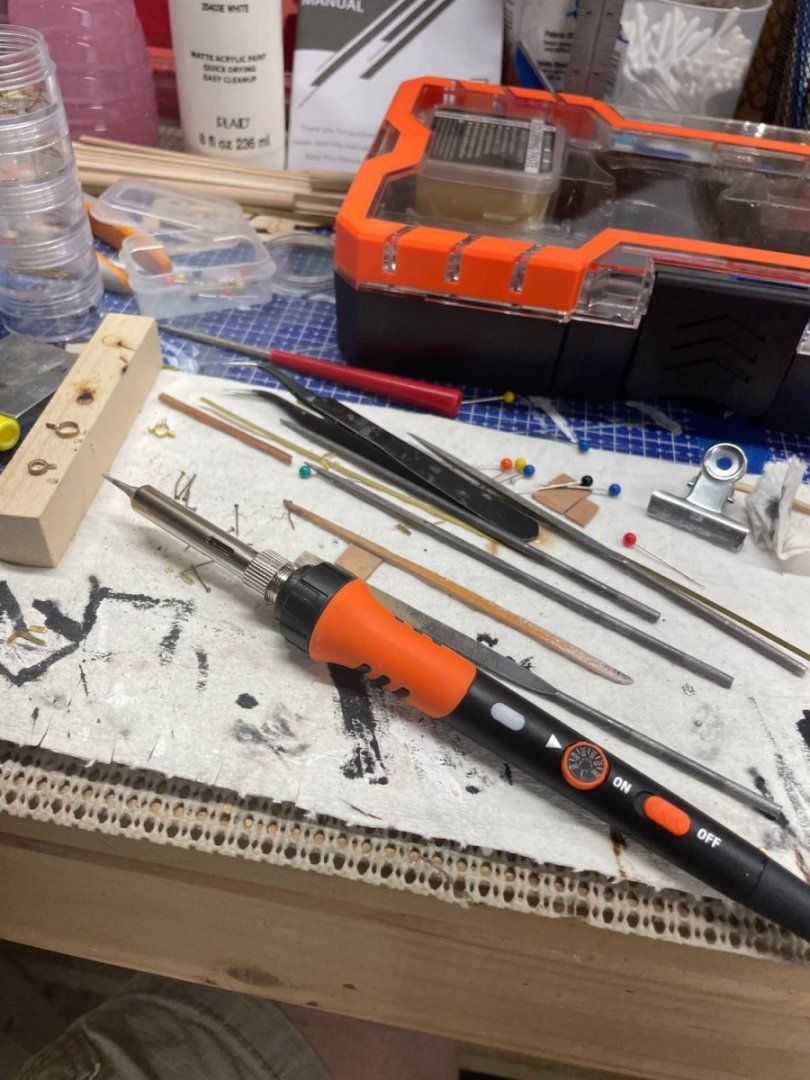

Soldering Iron Premium Kit, 60W Soldering Gun with Ceramic Heater, 12-in-1 Soldering Tool, Adjustable Temperature 200 to 450°C, Includes Soldering Iron Tip, Solder Wire, Pump and Paste https://a.co/d/70GVtiS
Cheers 🍻
-
-
An eBay search will yield many choices. Good prices🍻
-
40 minutes ago, GGibson said:
Nice, John! I am horrible at soldering. Can you do 34 of 'em? <shrug> 😉
You’ll get the hang of it, I did. I only post the success, plenty of fails before I got it right. LOL 😆
- GGibson and bobandlucy
-
1
-
 1
1
-
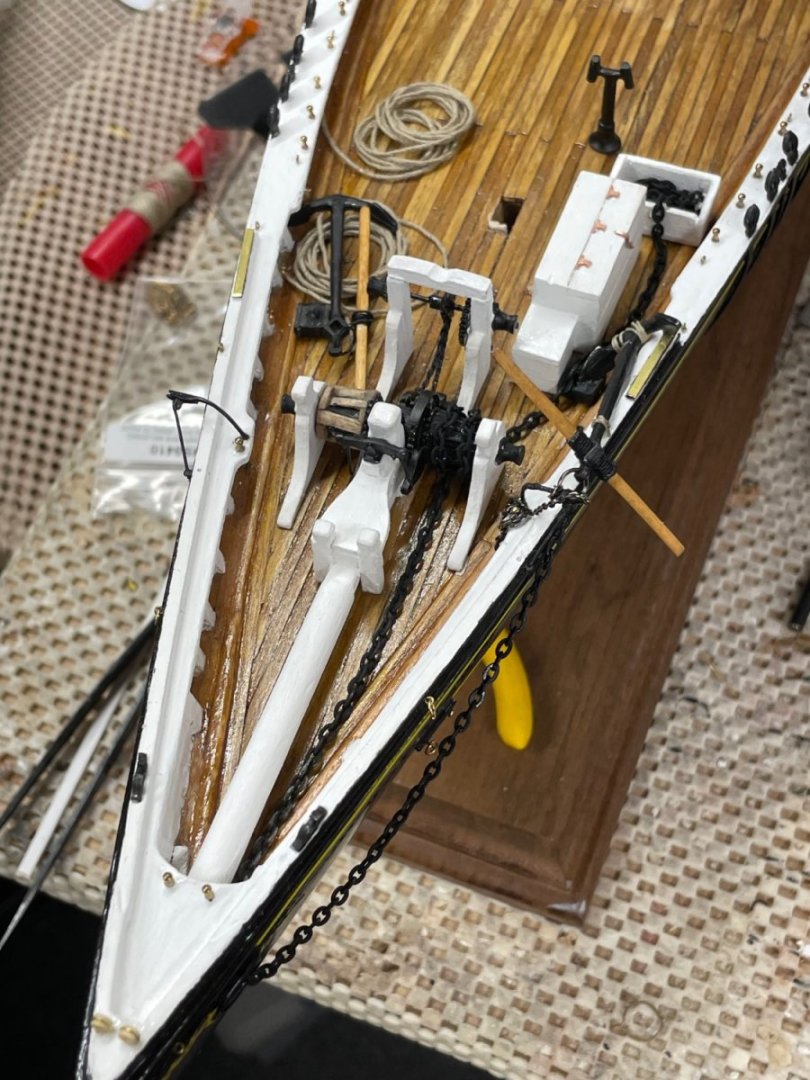
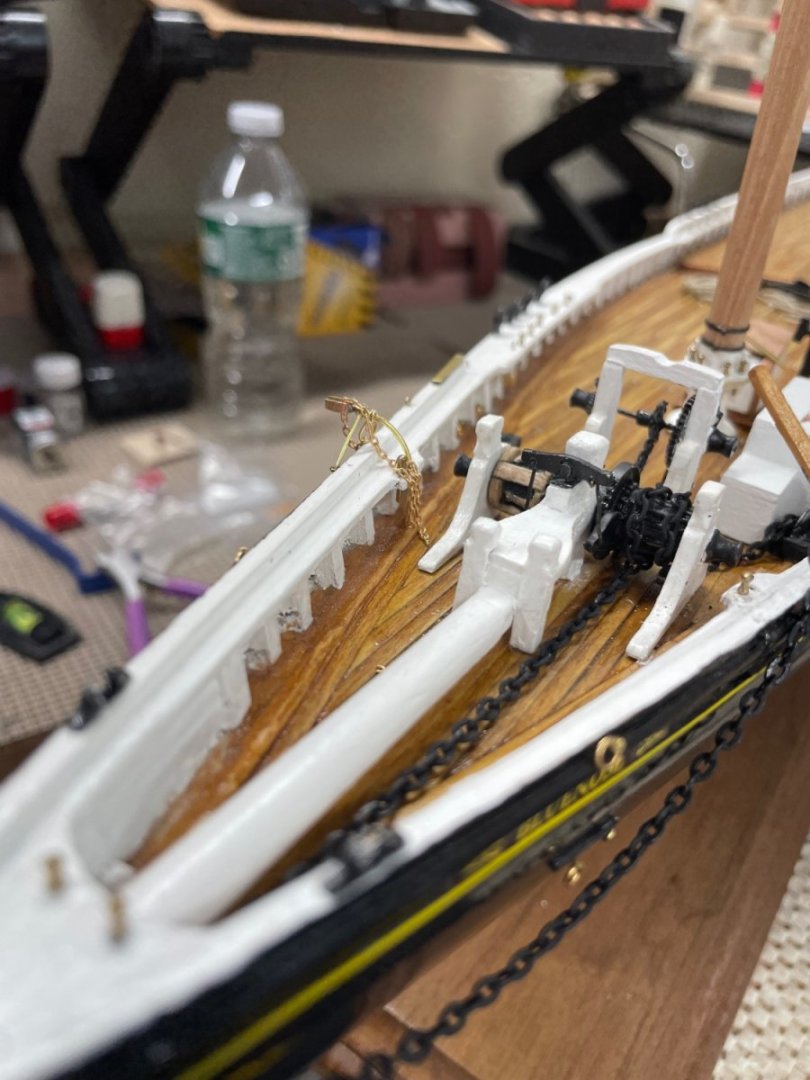
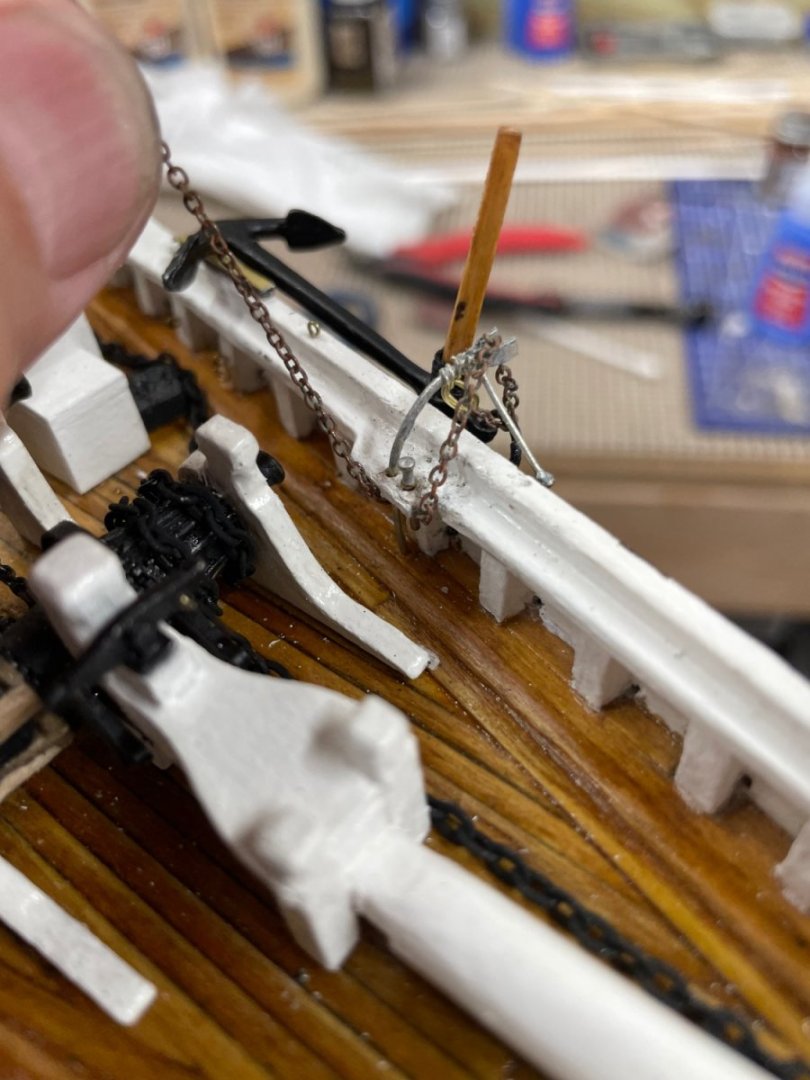
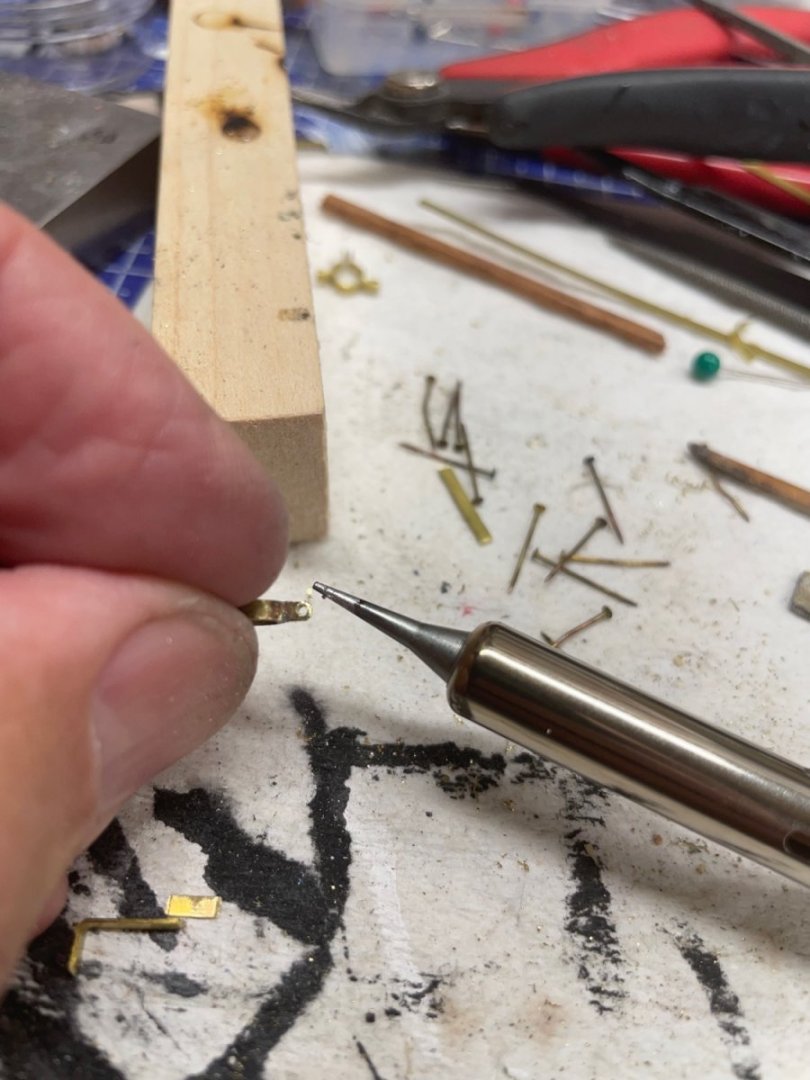
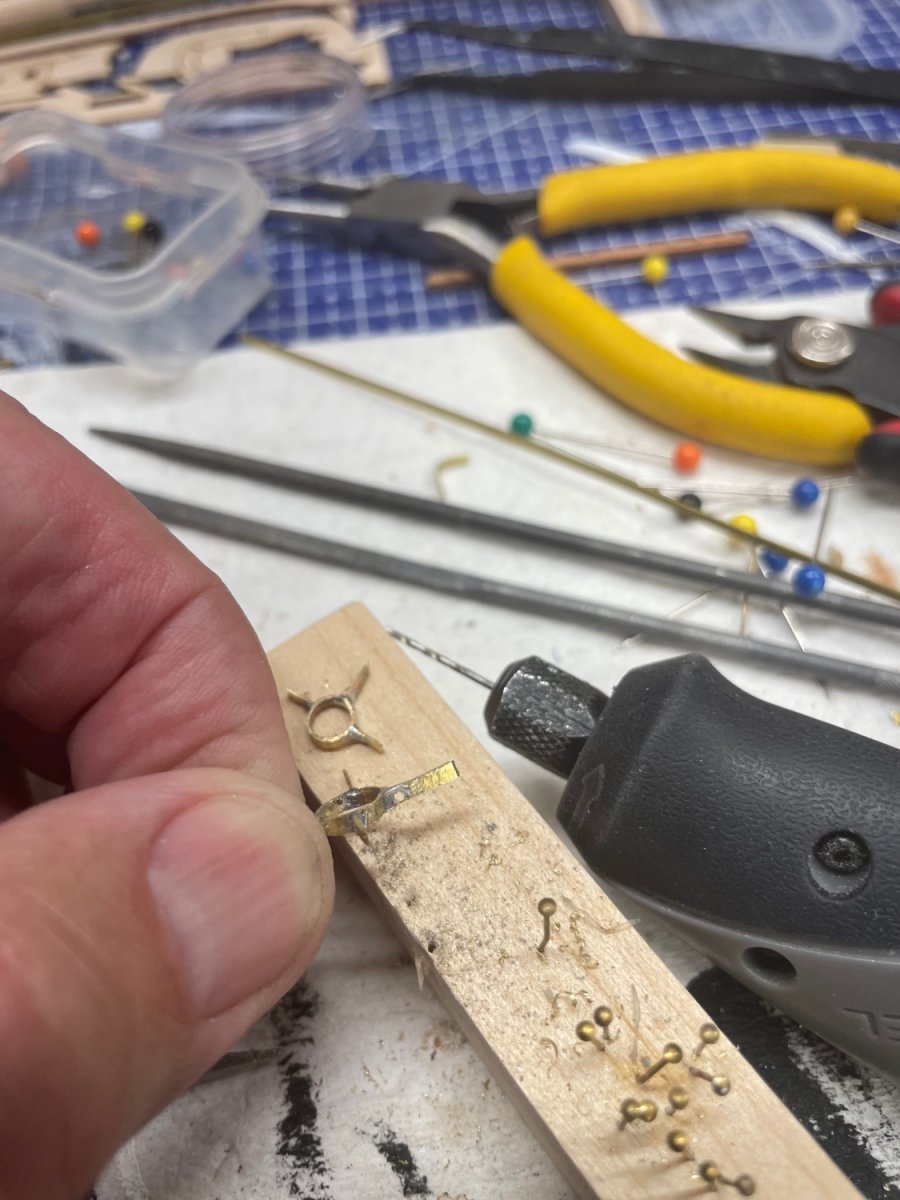
Eye Bands…
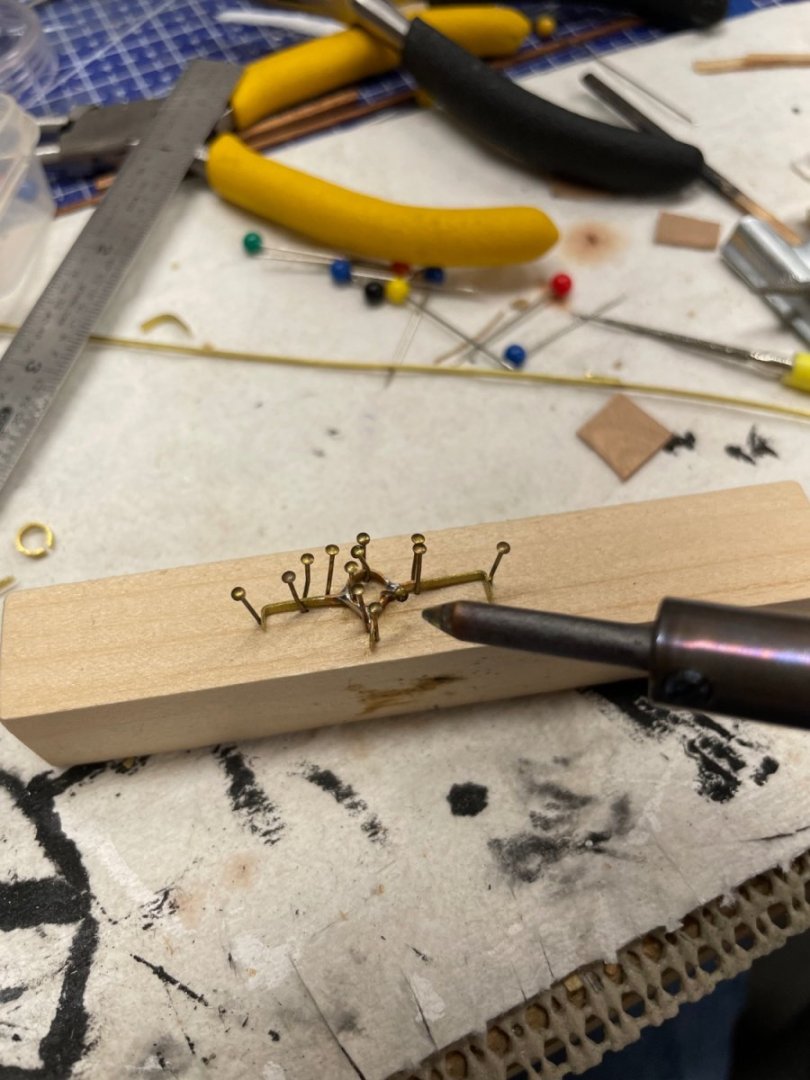
Using kit supplied brass strip and brass nails, jigged up eye band per instructions and soldered.
Note to self: buy a smaller tipped soldering iron.

Drill eyes before trimming tabs.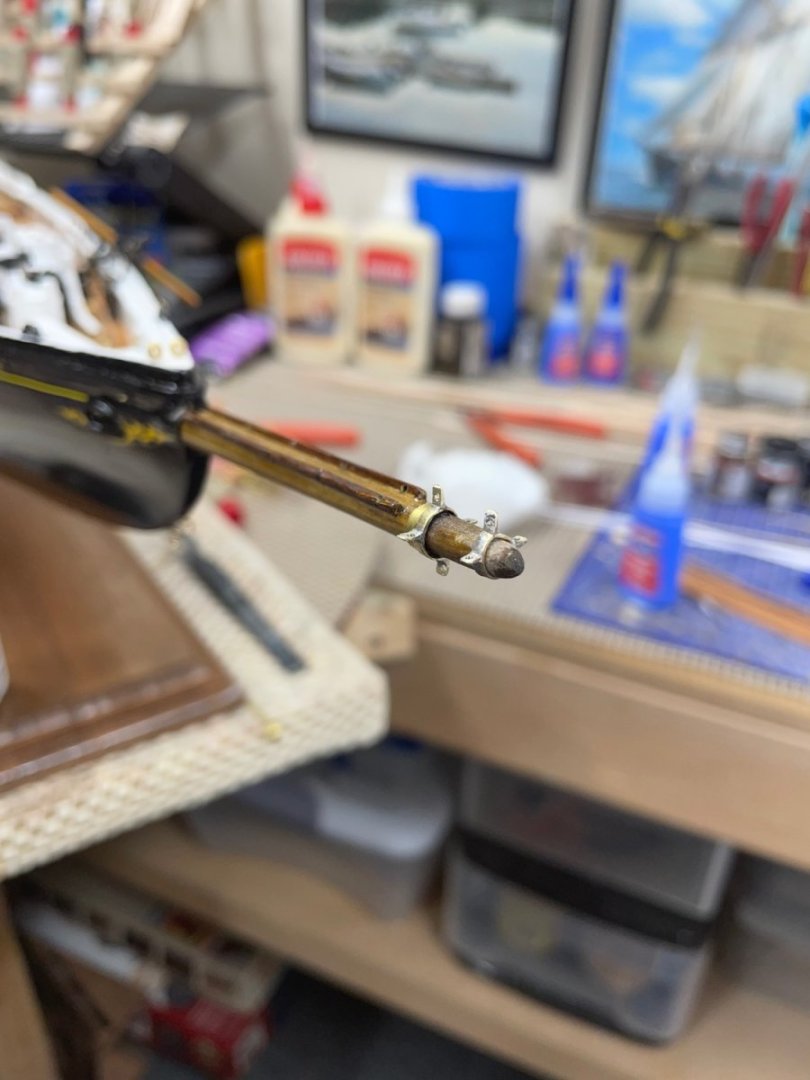
Eye Bands fitted. Easy? NOT!
Paint flat black to represent iron. 2 of 17 eye bands completed.
Should get easier with practice. New soldering kit order.
Cheers 🍻
-
5 hours ago, Dr PR said:
This build has been a learning experience!
Phil,
Following your build log has been a true learning experience. Thank you for documenting the details of your thought processes as well as your construction techniques. Awesome! 😎
-
-
2 hours ago, Knocklouder said:
The wheel looks good from four to five feet lol it'll do, lol. I have decided on how I think I want my Pegasus to look so here goes we will see. I can always repaint it. Lol

Your wheel holds up to photo magnification. 👍 As for the yellow you may want to try a poly sealer semi gloss to brighten up the tone. Looks good. 👍
- mtaylor, Dave_E, Glen McGuire and 2 others
-
5
-
-
-
-
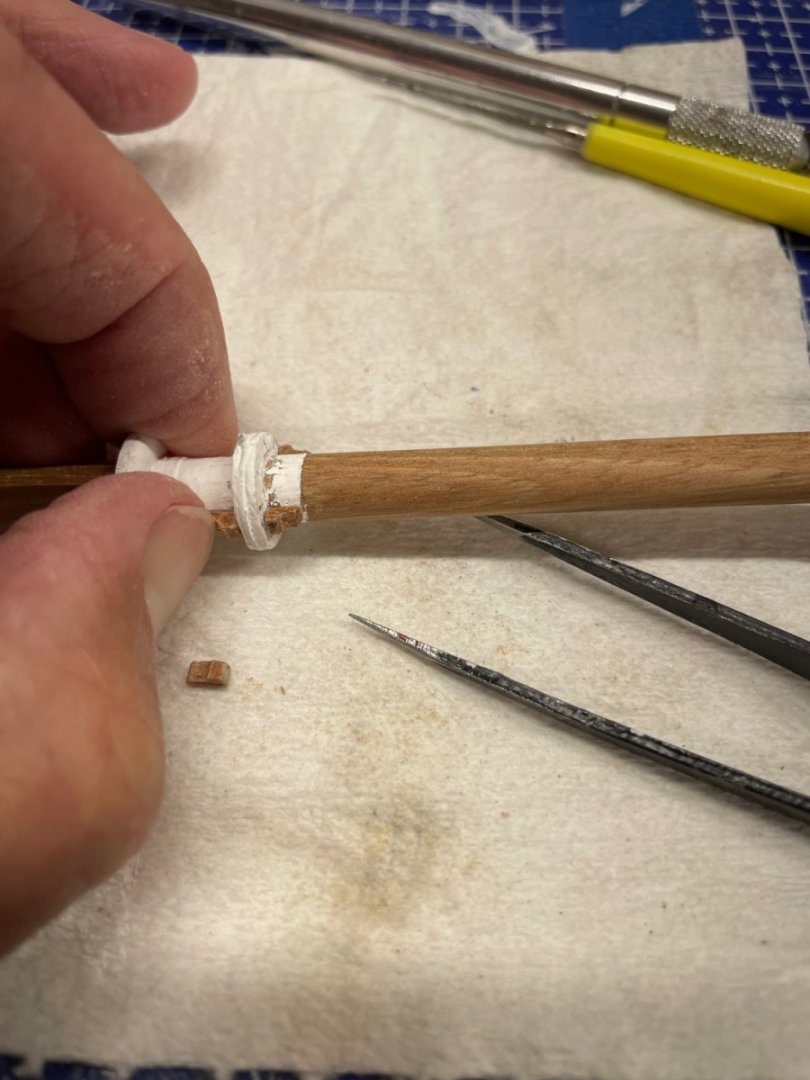
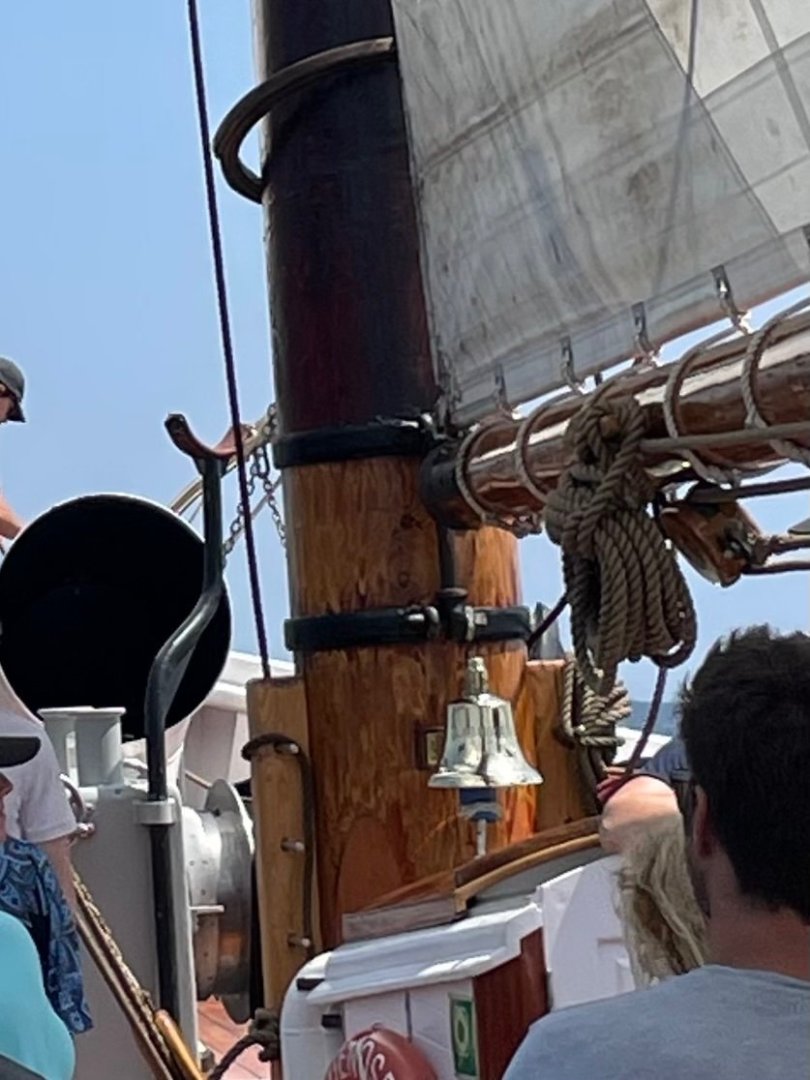
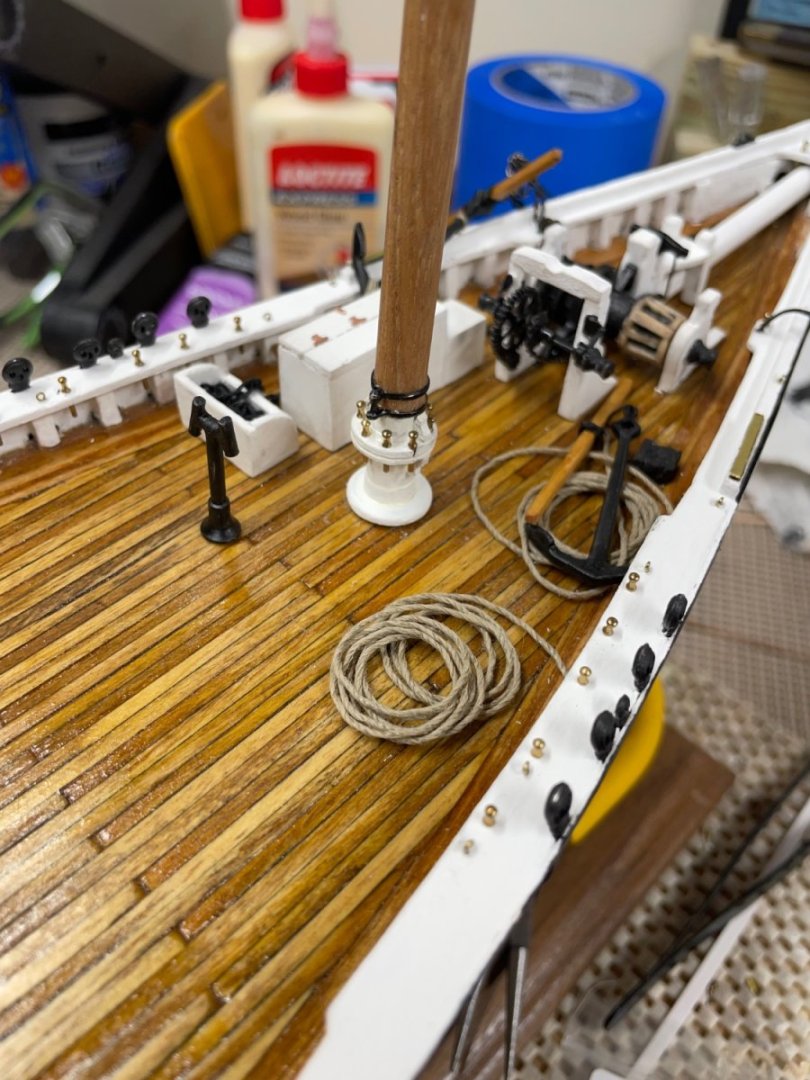
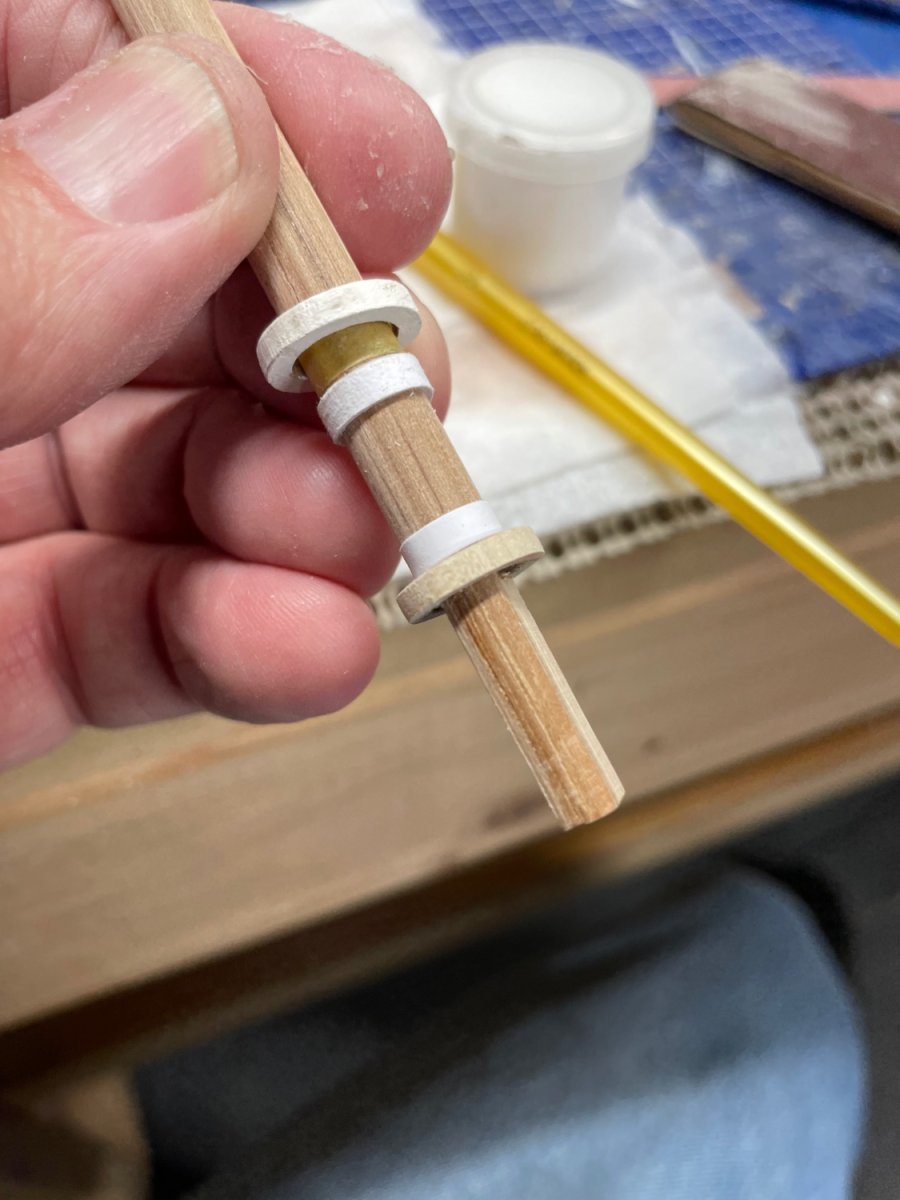
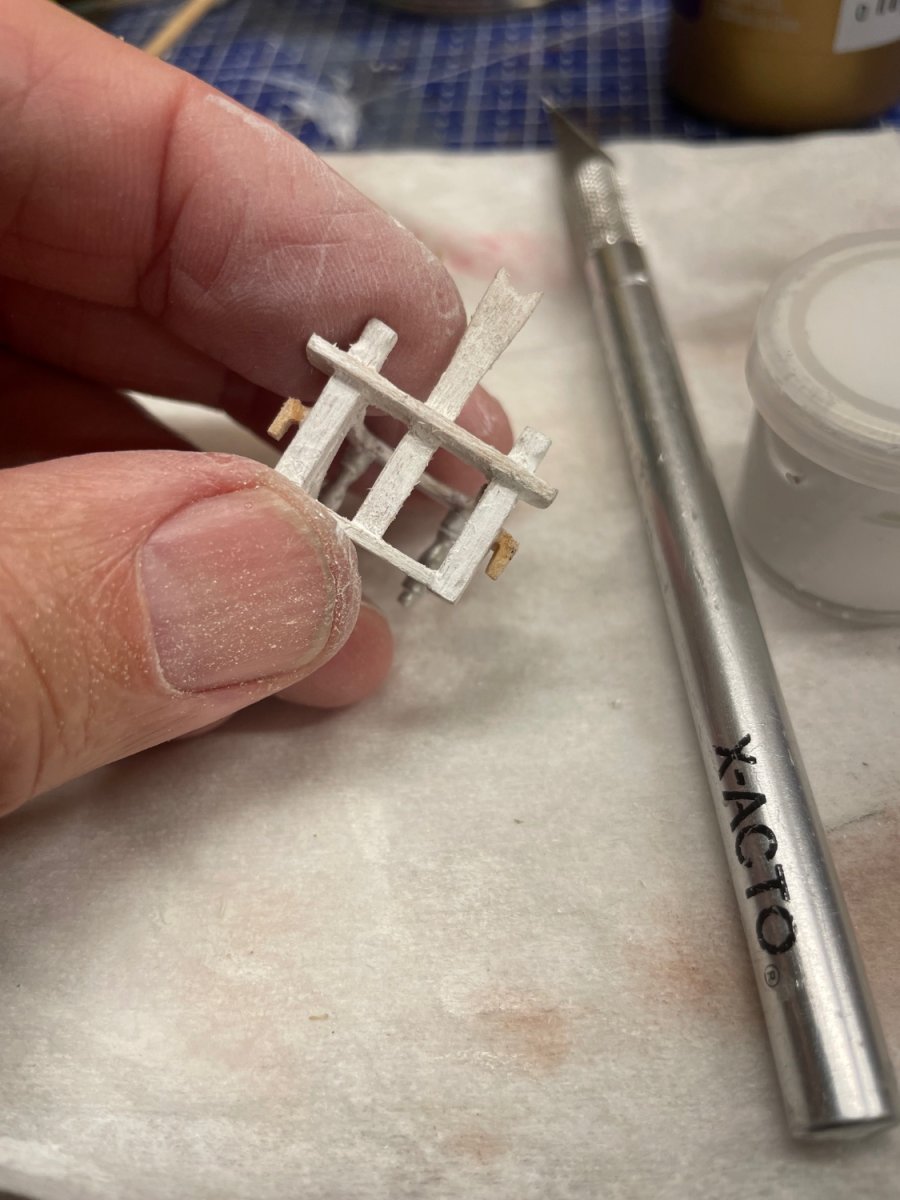
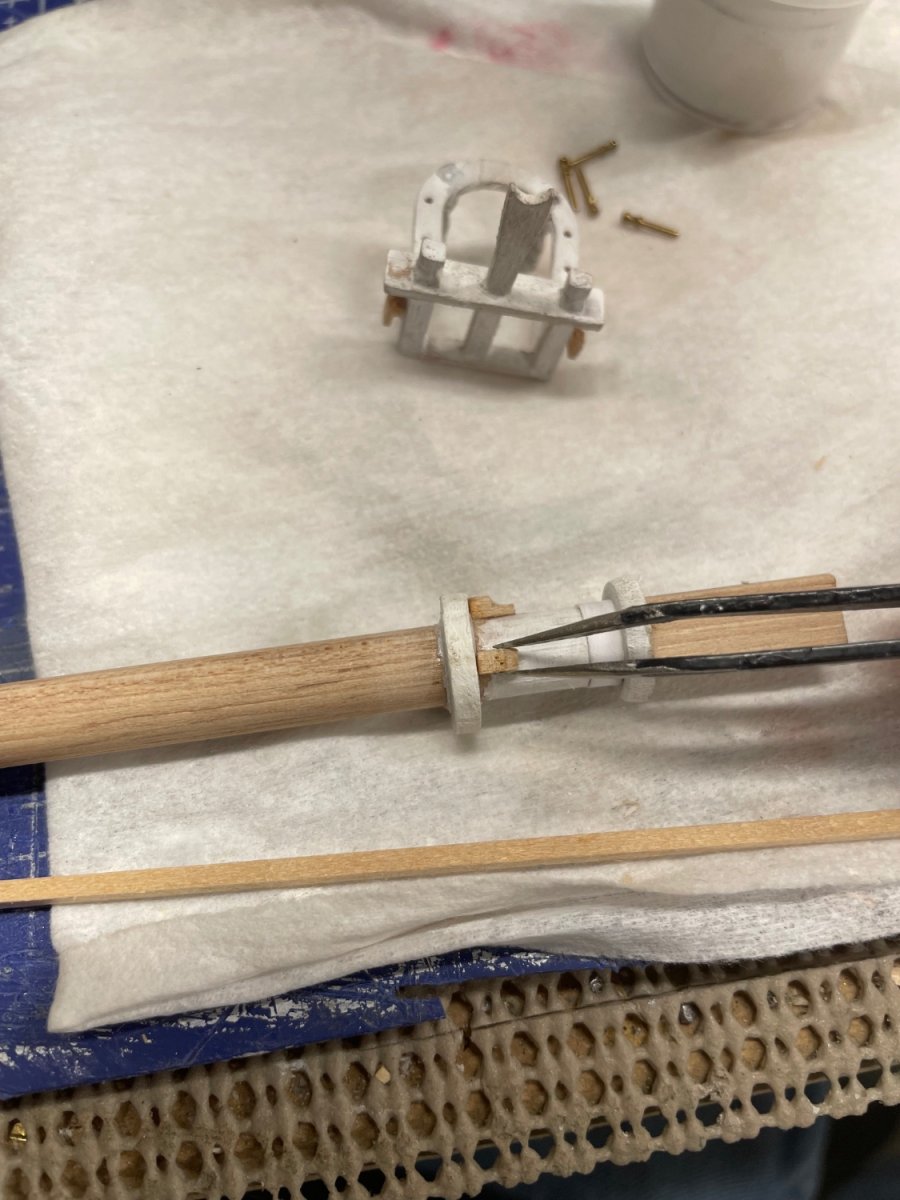
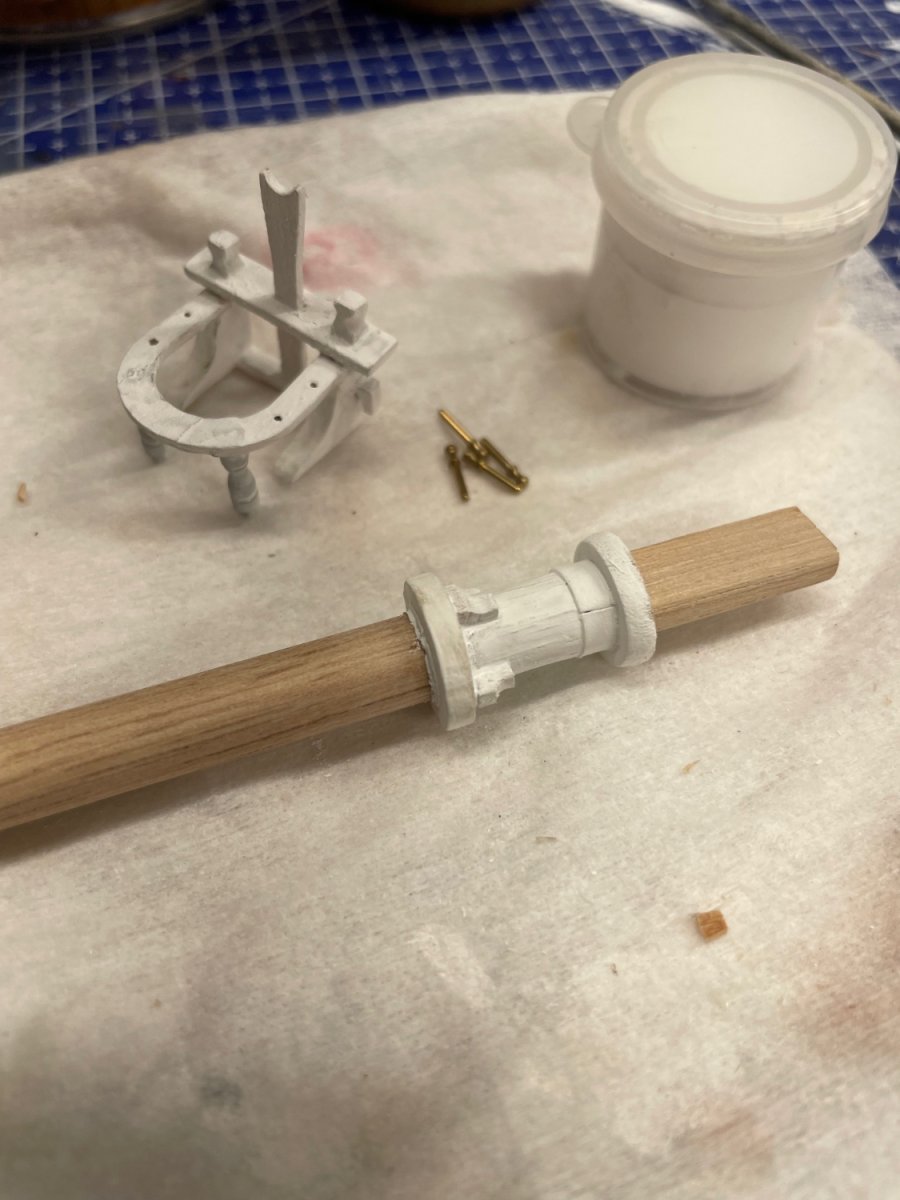
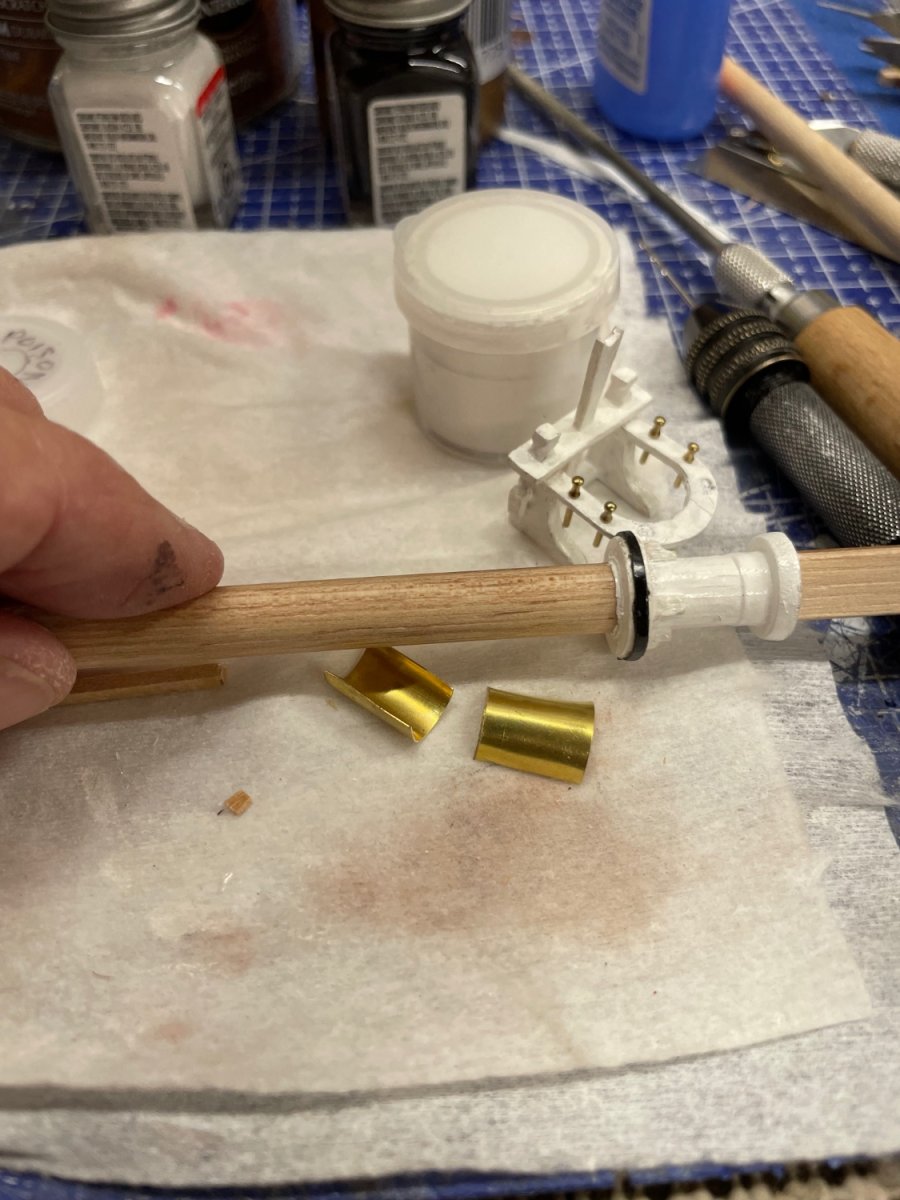
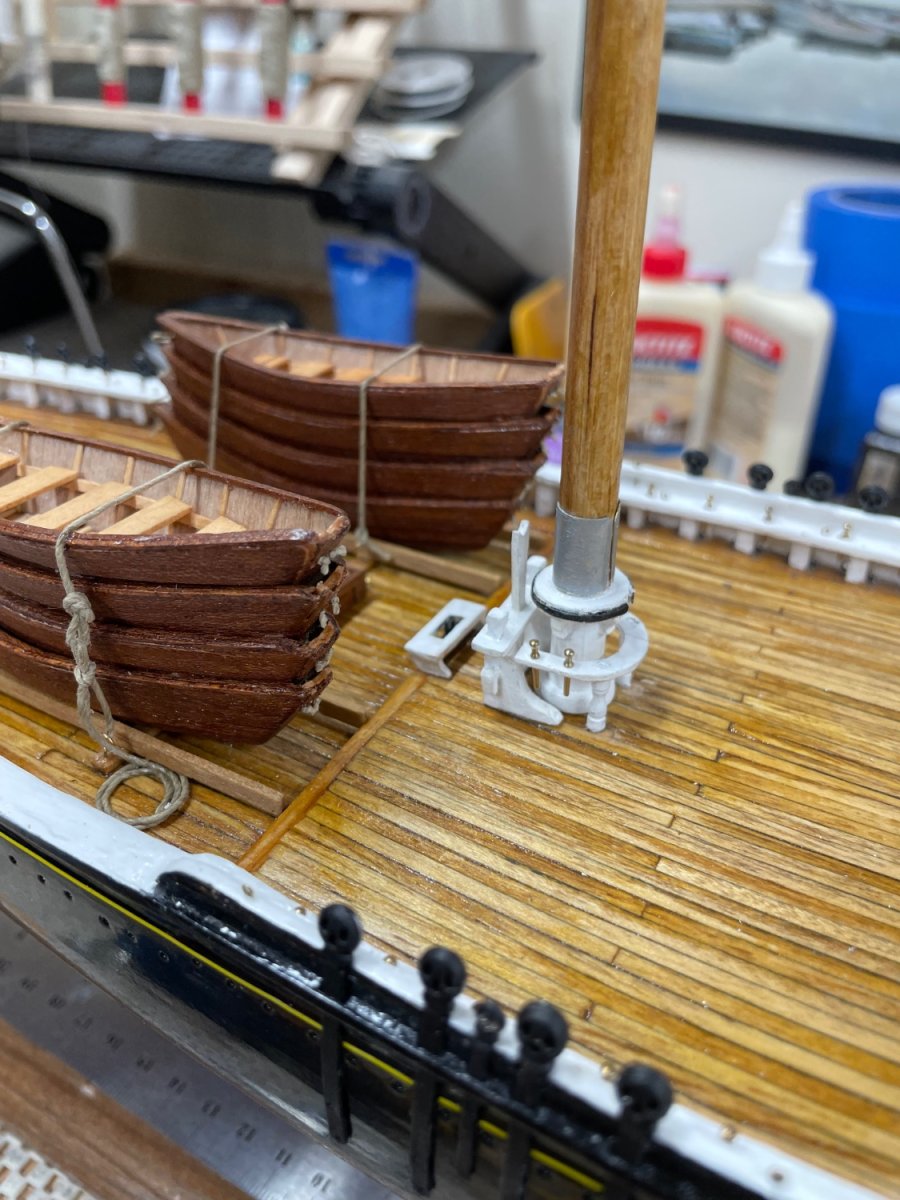
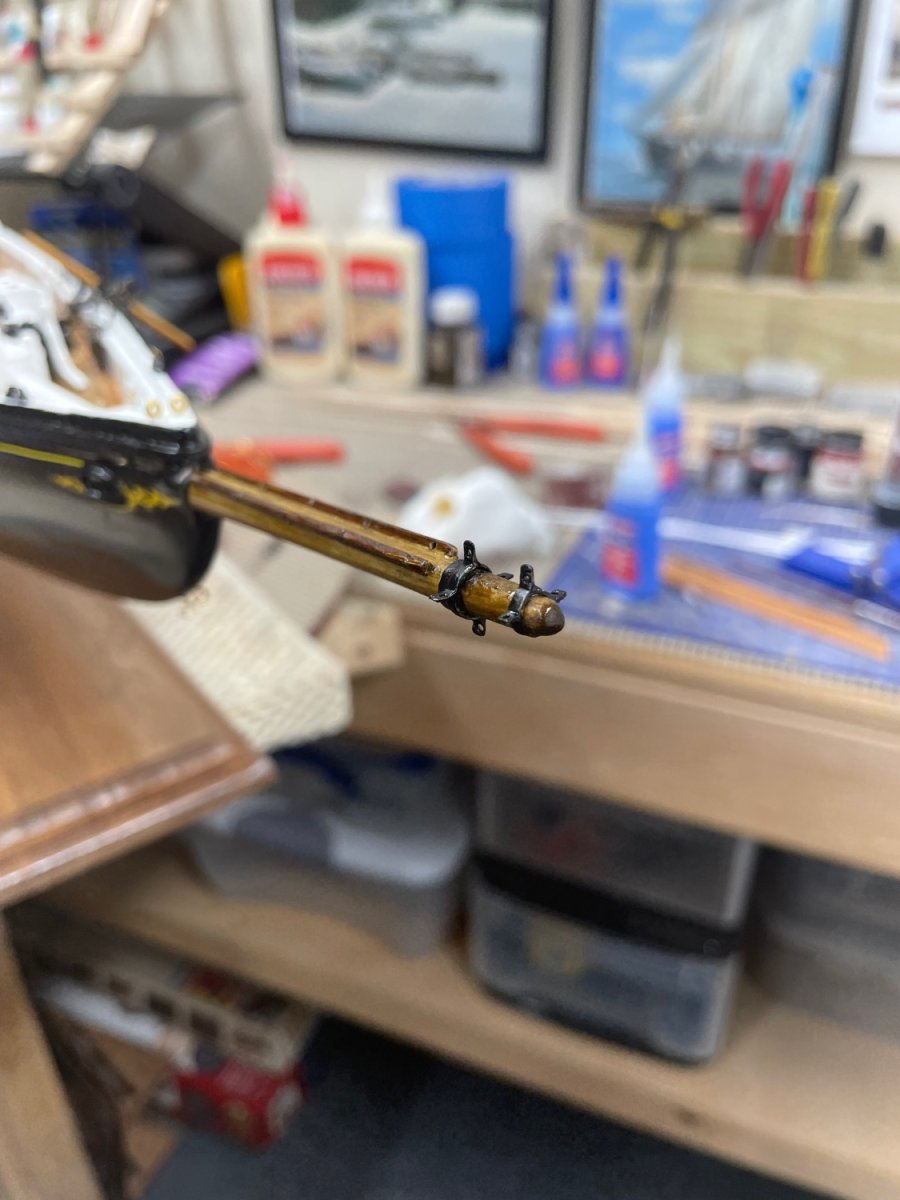
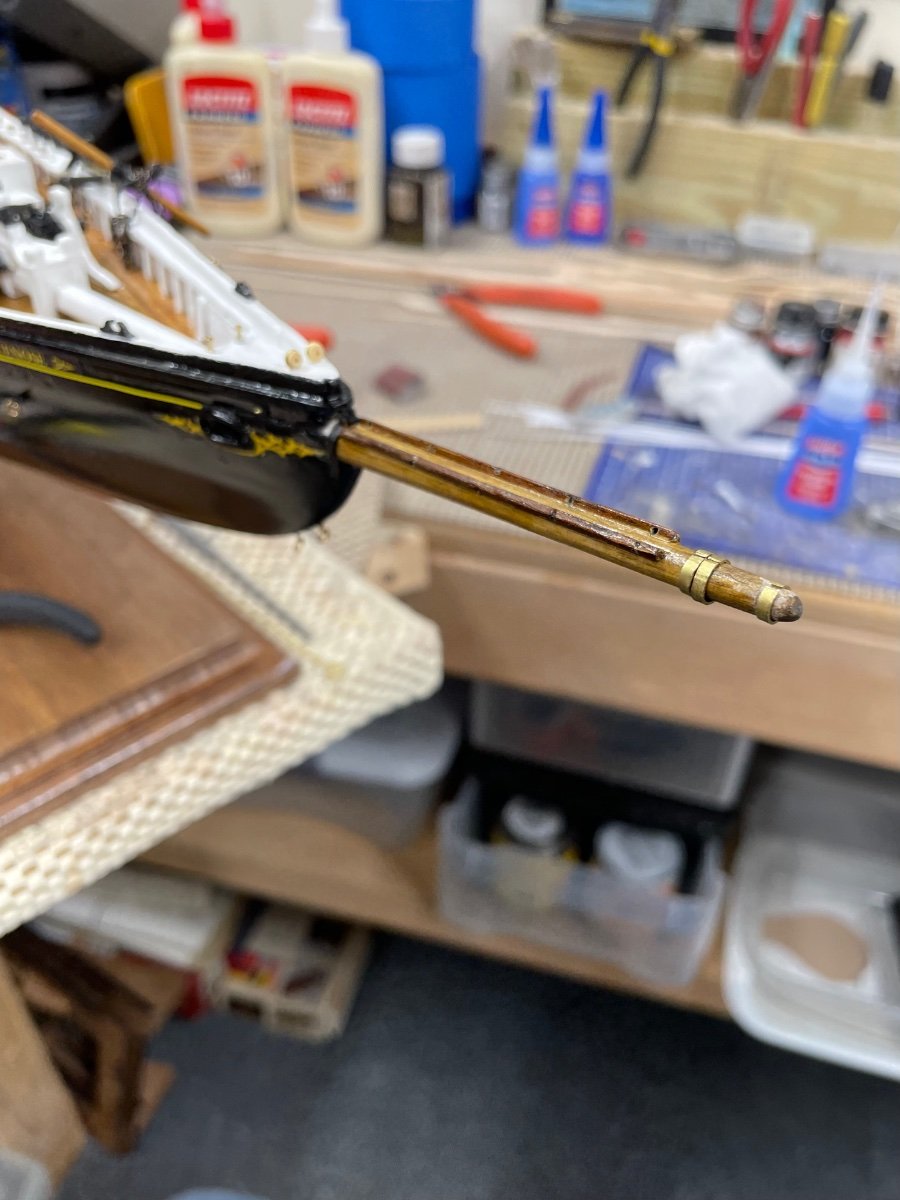
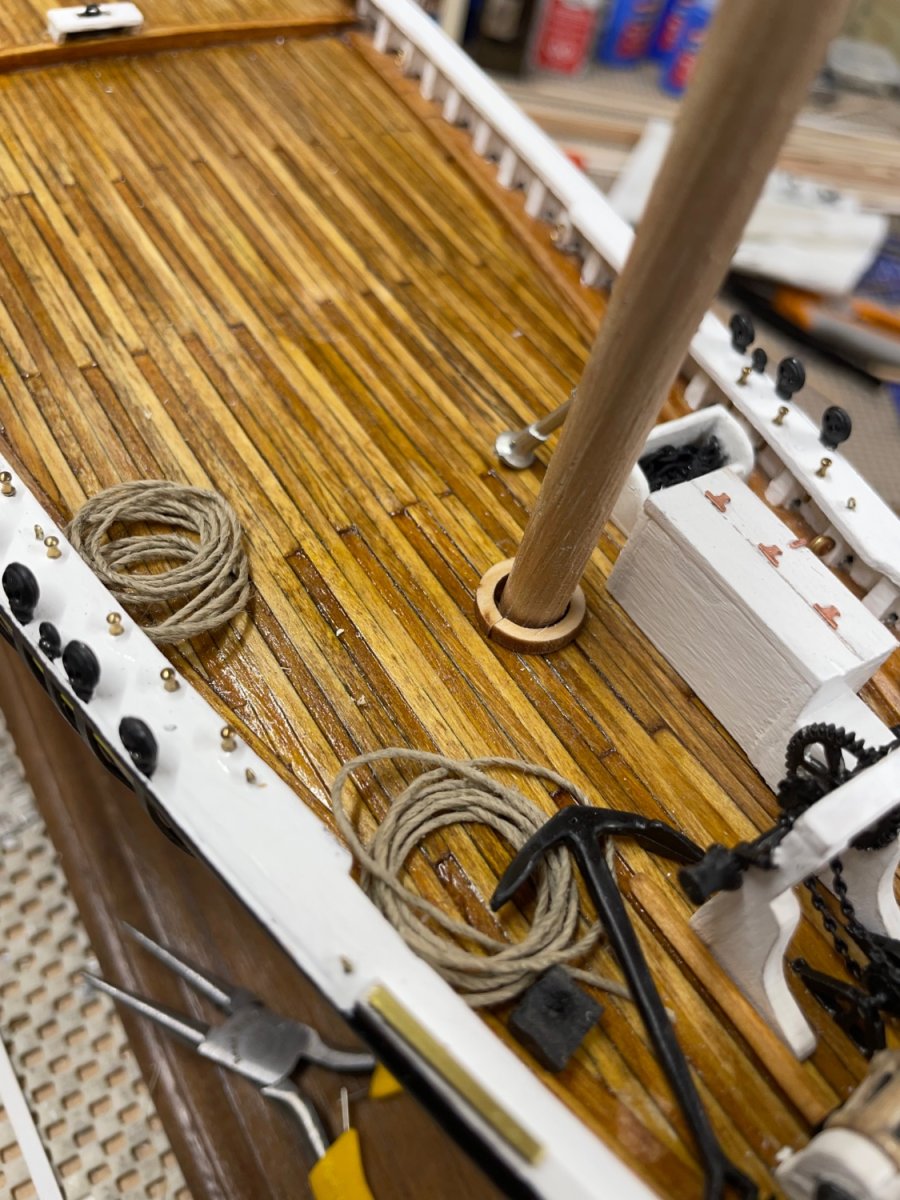
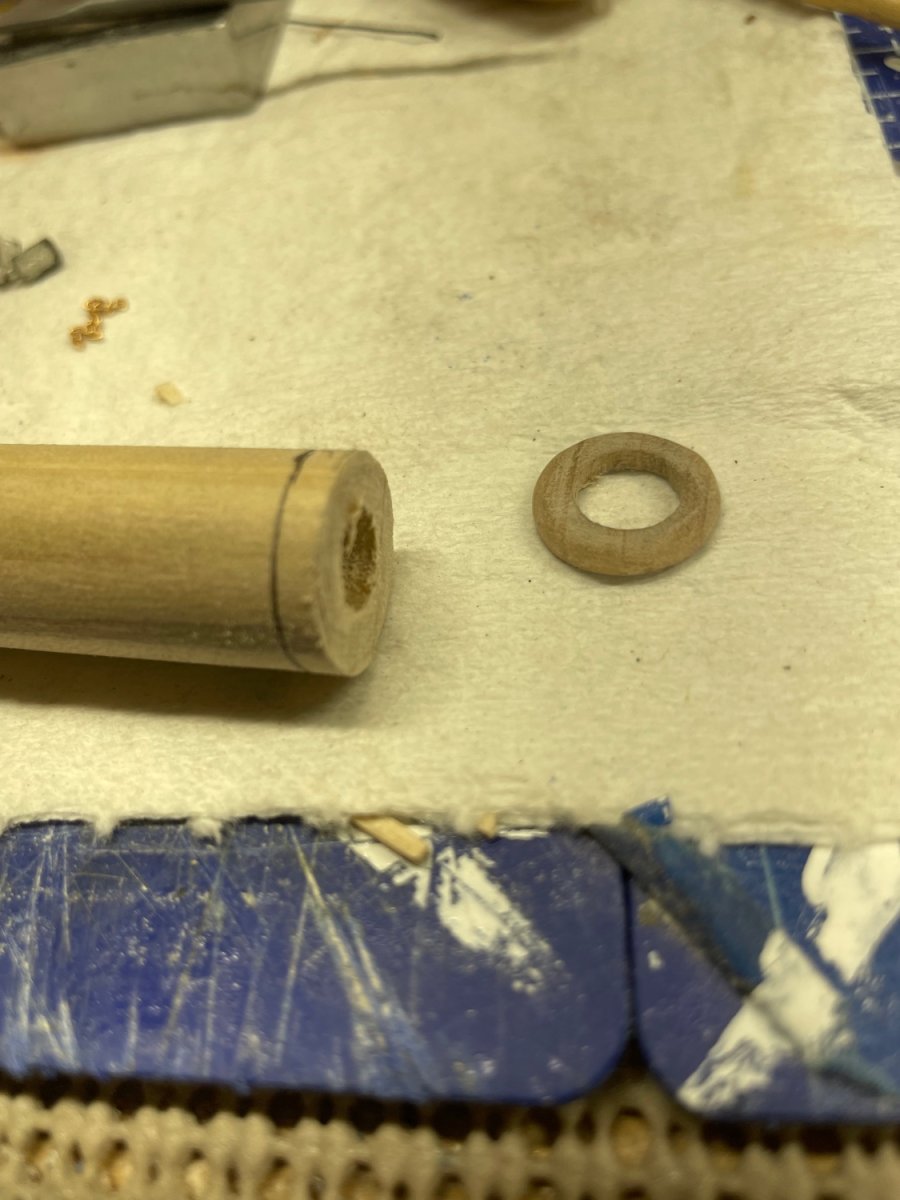
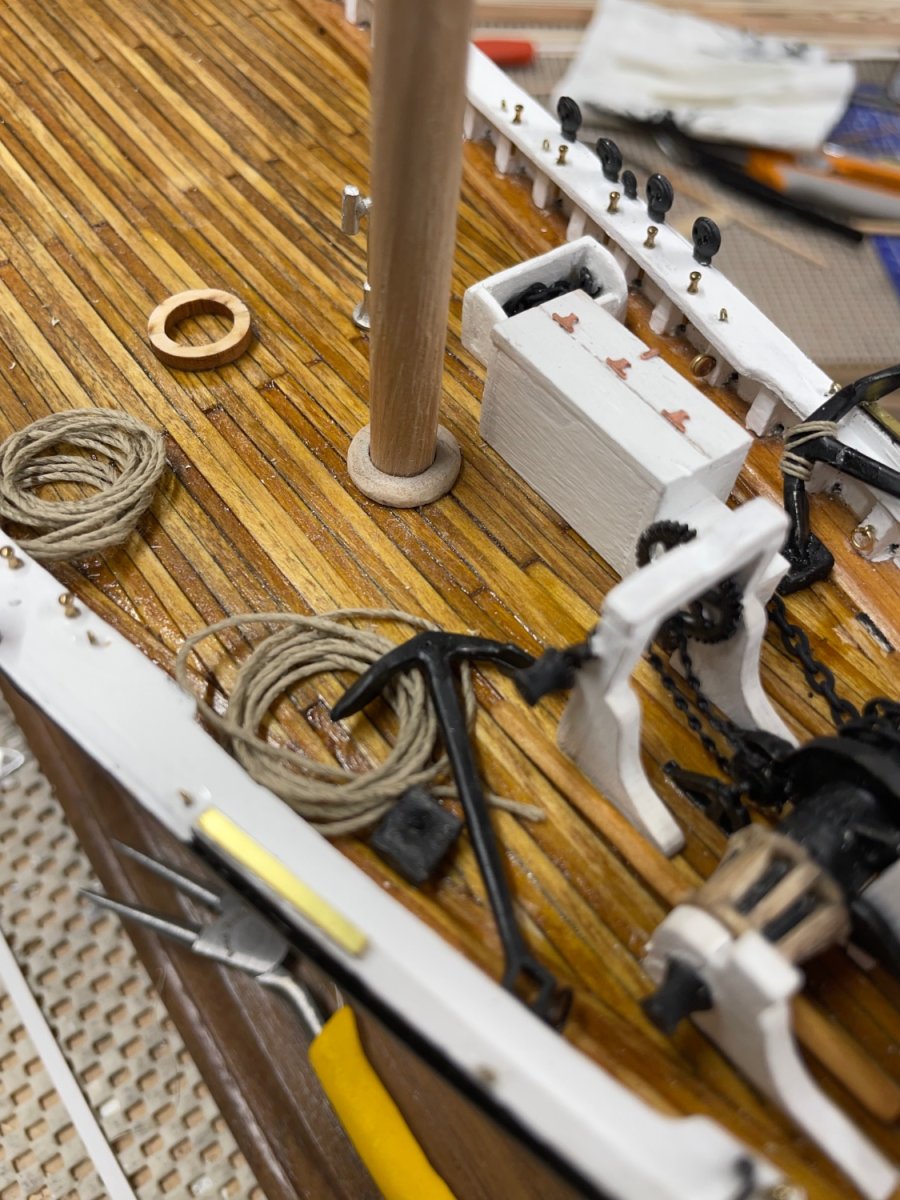
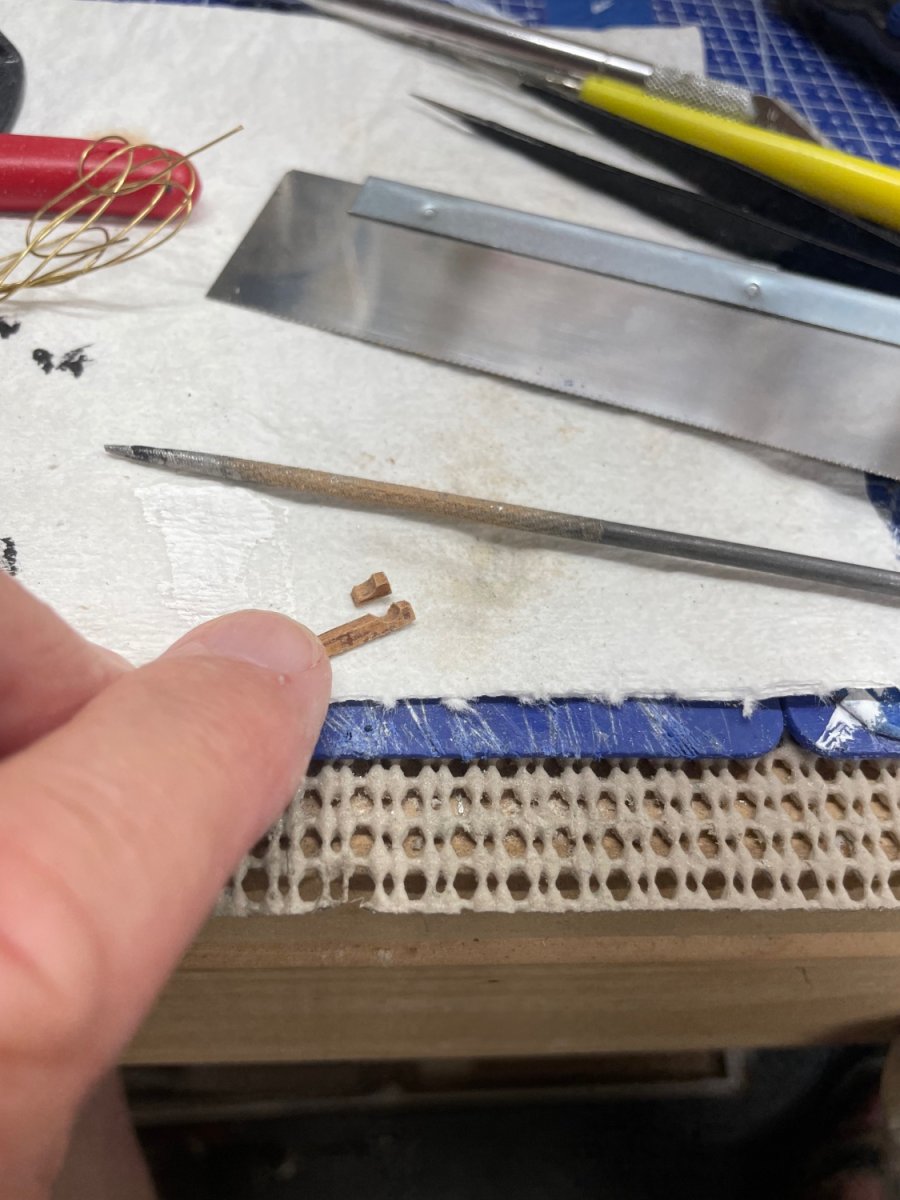
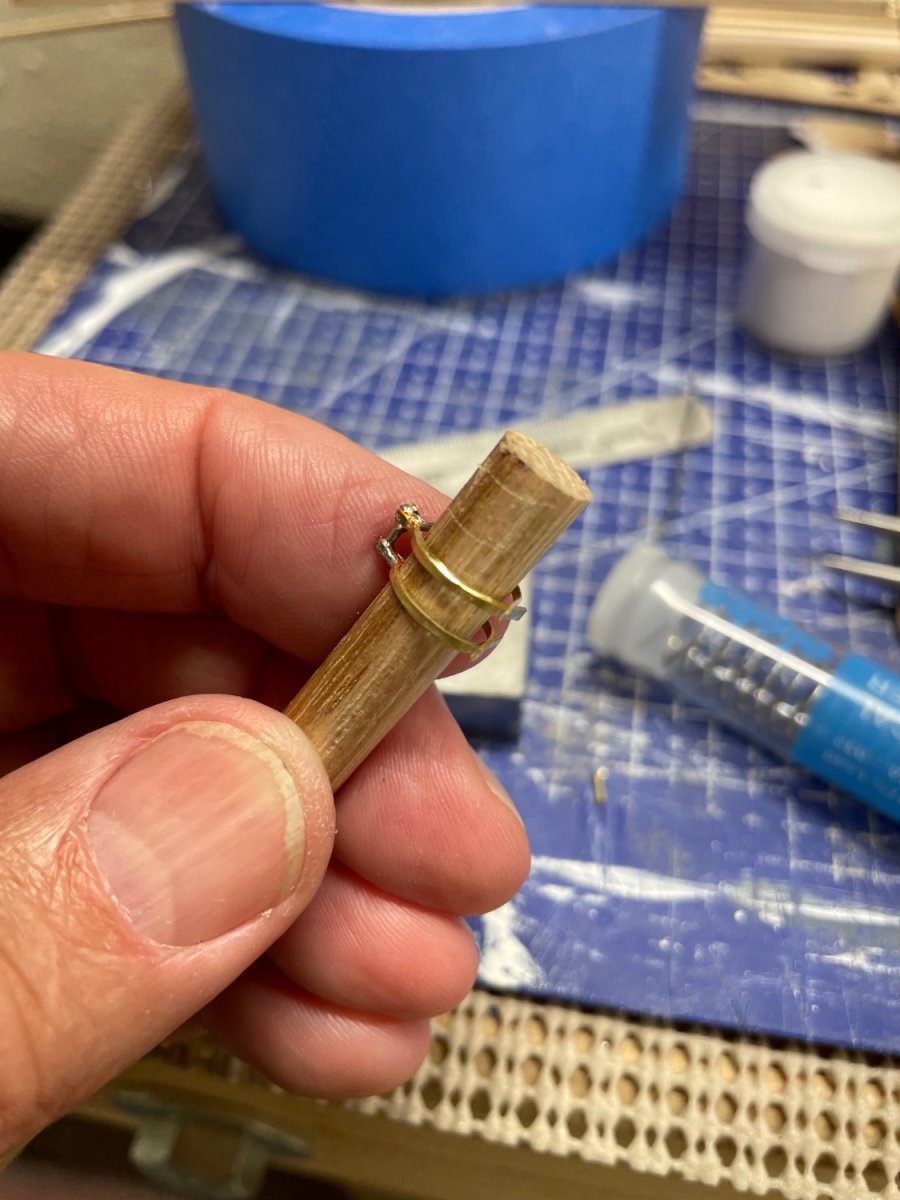
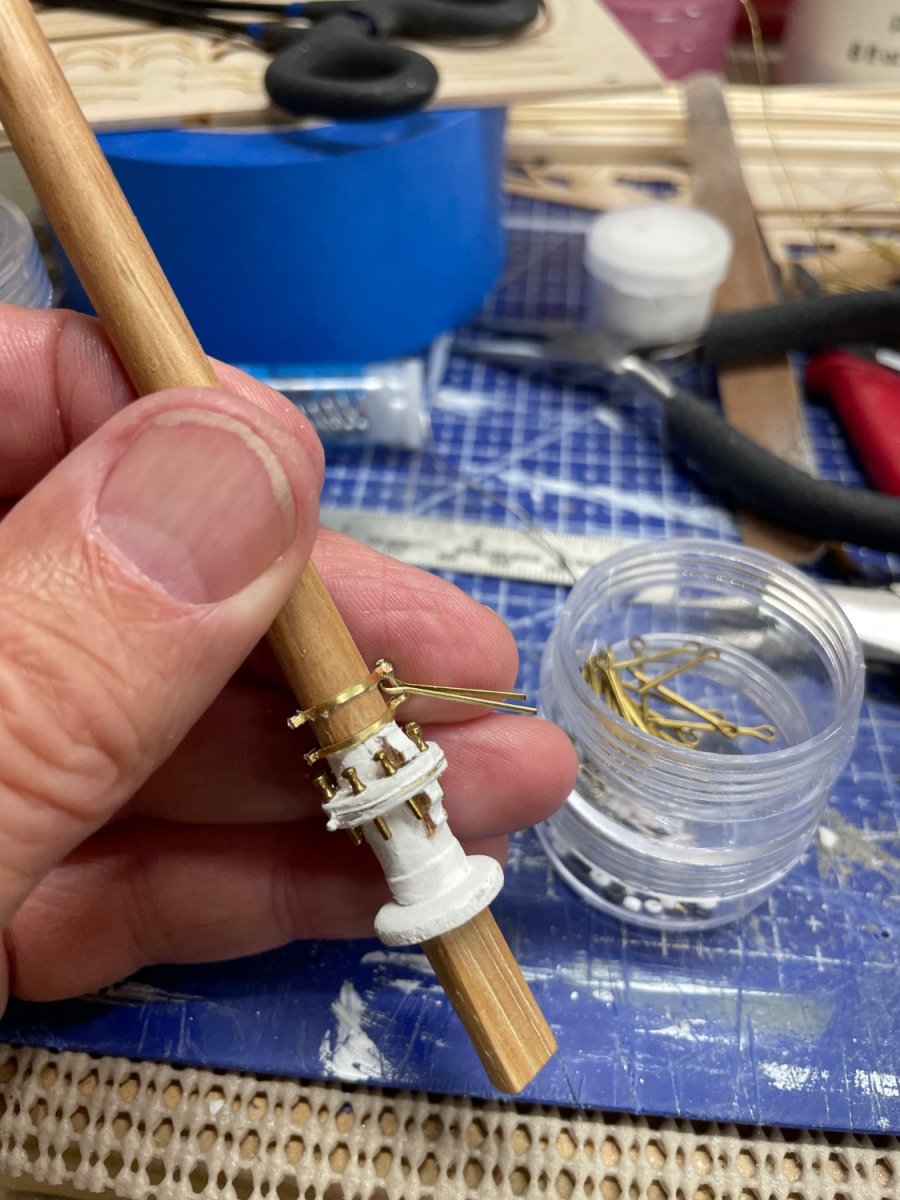
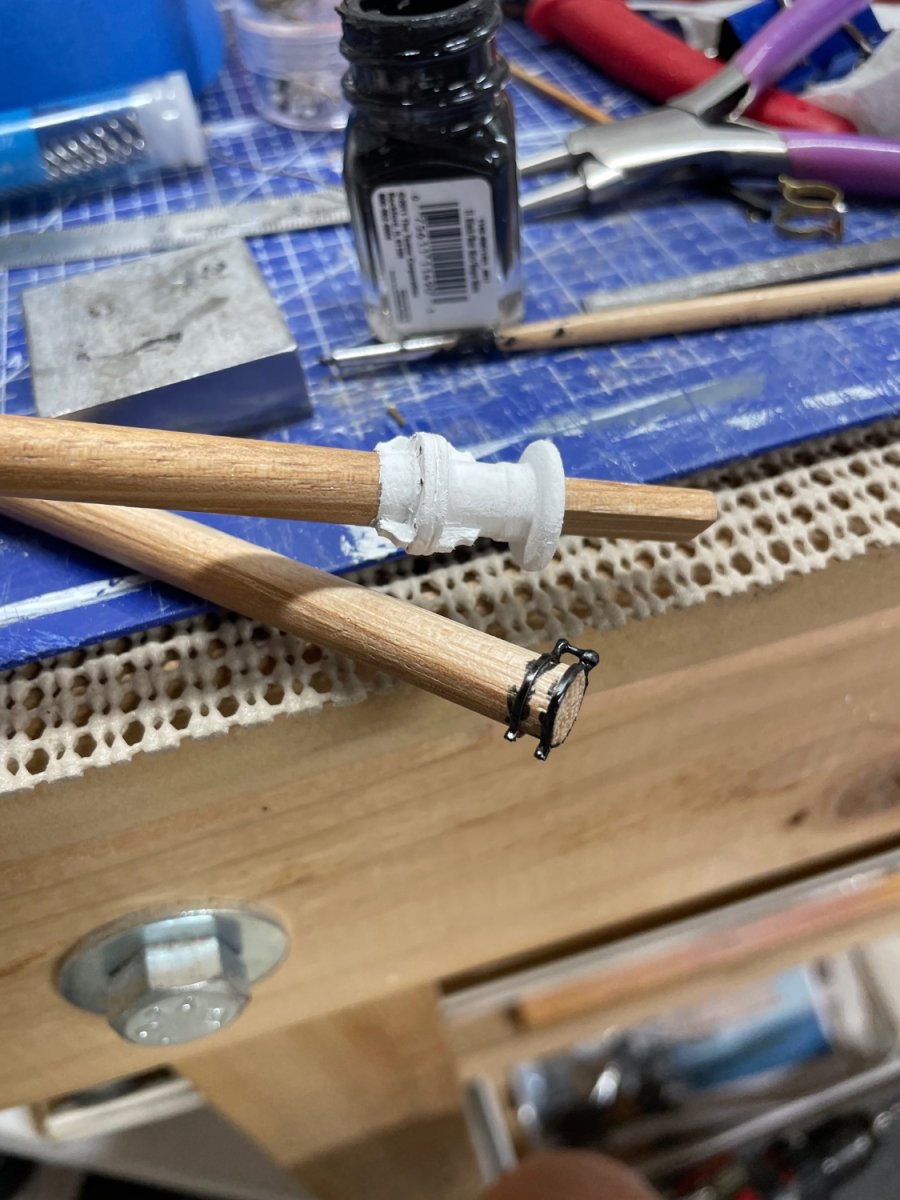
Foremast - Mast Coat, Pin Saddle, Gooseneck…

Kit provided laser cut rings have to large of an inside diameter. Solution: drill out a 1/2” dowel with a 5/16” bit and slice two mast coats.
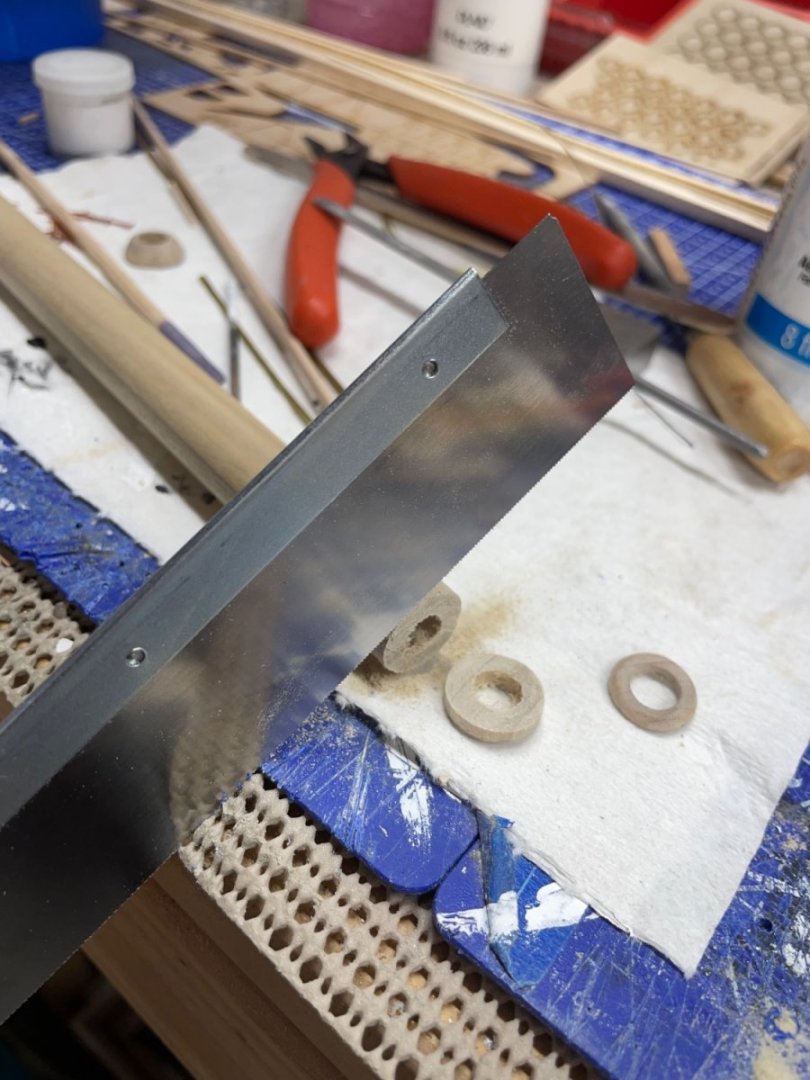
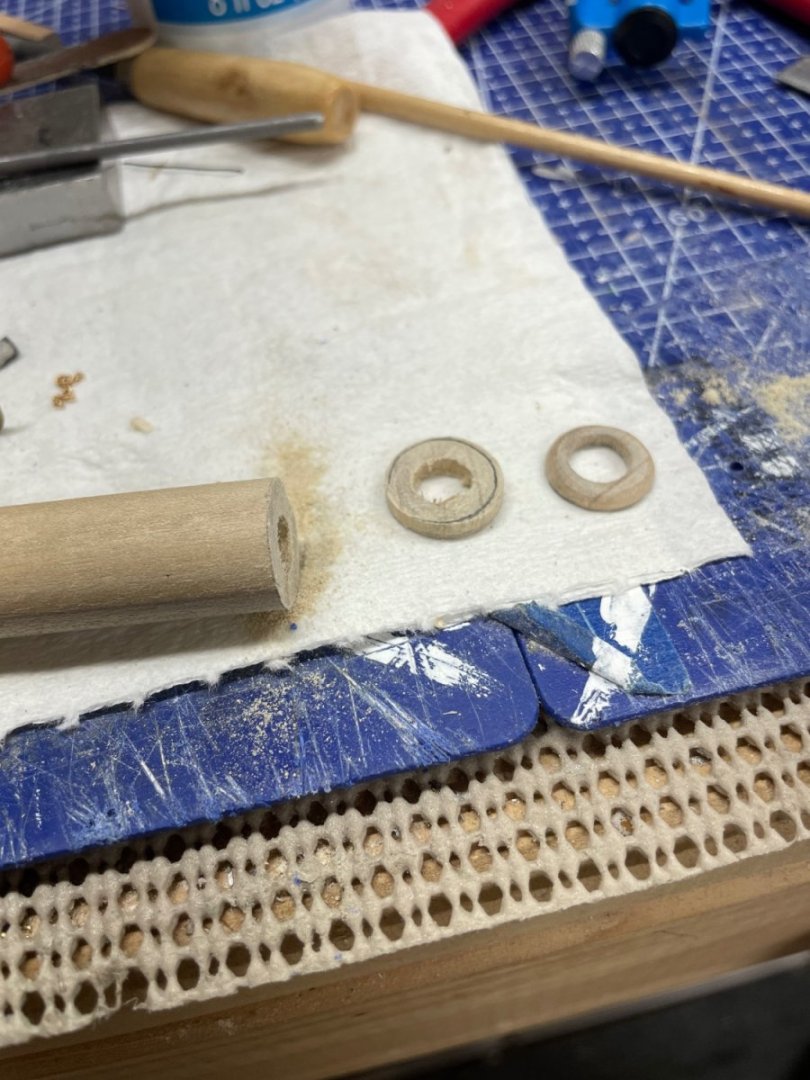

Utilized the laser cut rings for the pin saddle.

Carved chocks from a mahogany strip.

Here is a picture of the gooseneck on the Bluenose II. NOTE: Oringinal Pin Saddle no longer there on the replica.
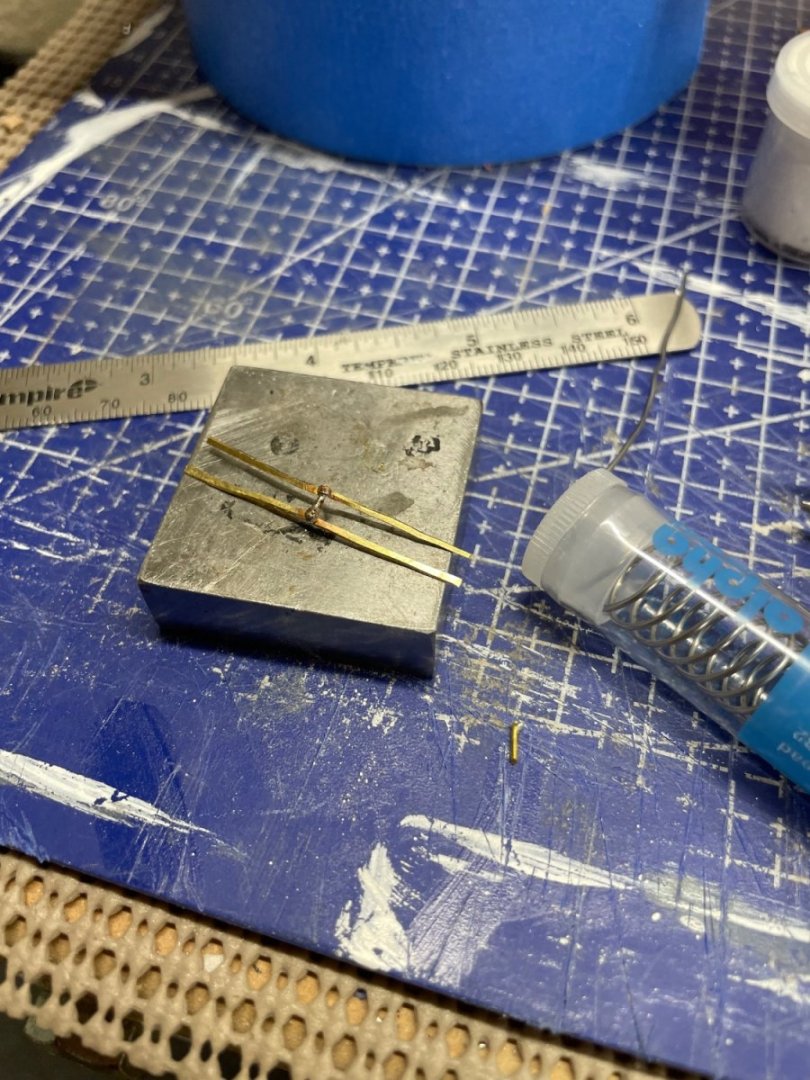
Created the gooseneck from provided brass stop and wire as follows.


- Cathead, Glen McGuire, Ferrus Manus and 5 others
-
6
-
 2
2
-
Very nicely done… Love the display🍻
- mtaylor and Glen McGuire
-
2
-
Looks like a great kit, I’ll pull up a chair and follow along. 🍻
- Keith Black, Glen McGuire, mtaylor and 4 others
-
6
-
 1
1
-


Albatros by Dr PR - Mantua - Scale 1:48 - Revenue Cutter kitbash about 1815
in - Kit build logs for subjects built from 1801 - 1850
Posted
Awesome work on those details…