


Papa
-
Posts
1,298 -
Joined
-
Last visited
Content Type
Profiles
Forums
Gallery
Events
Posts posted by Papa
-
-
13 hours ago, Landlubber Mike said:
Nice work! The metal finish looks fantastic.
Thanks. It was just a rattle can spray, Tamiya Bare Metal Silver
- mtaylor, popeye the sailor, lmagna and 4 others
-
 7
7
-
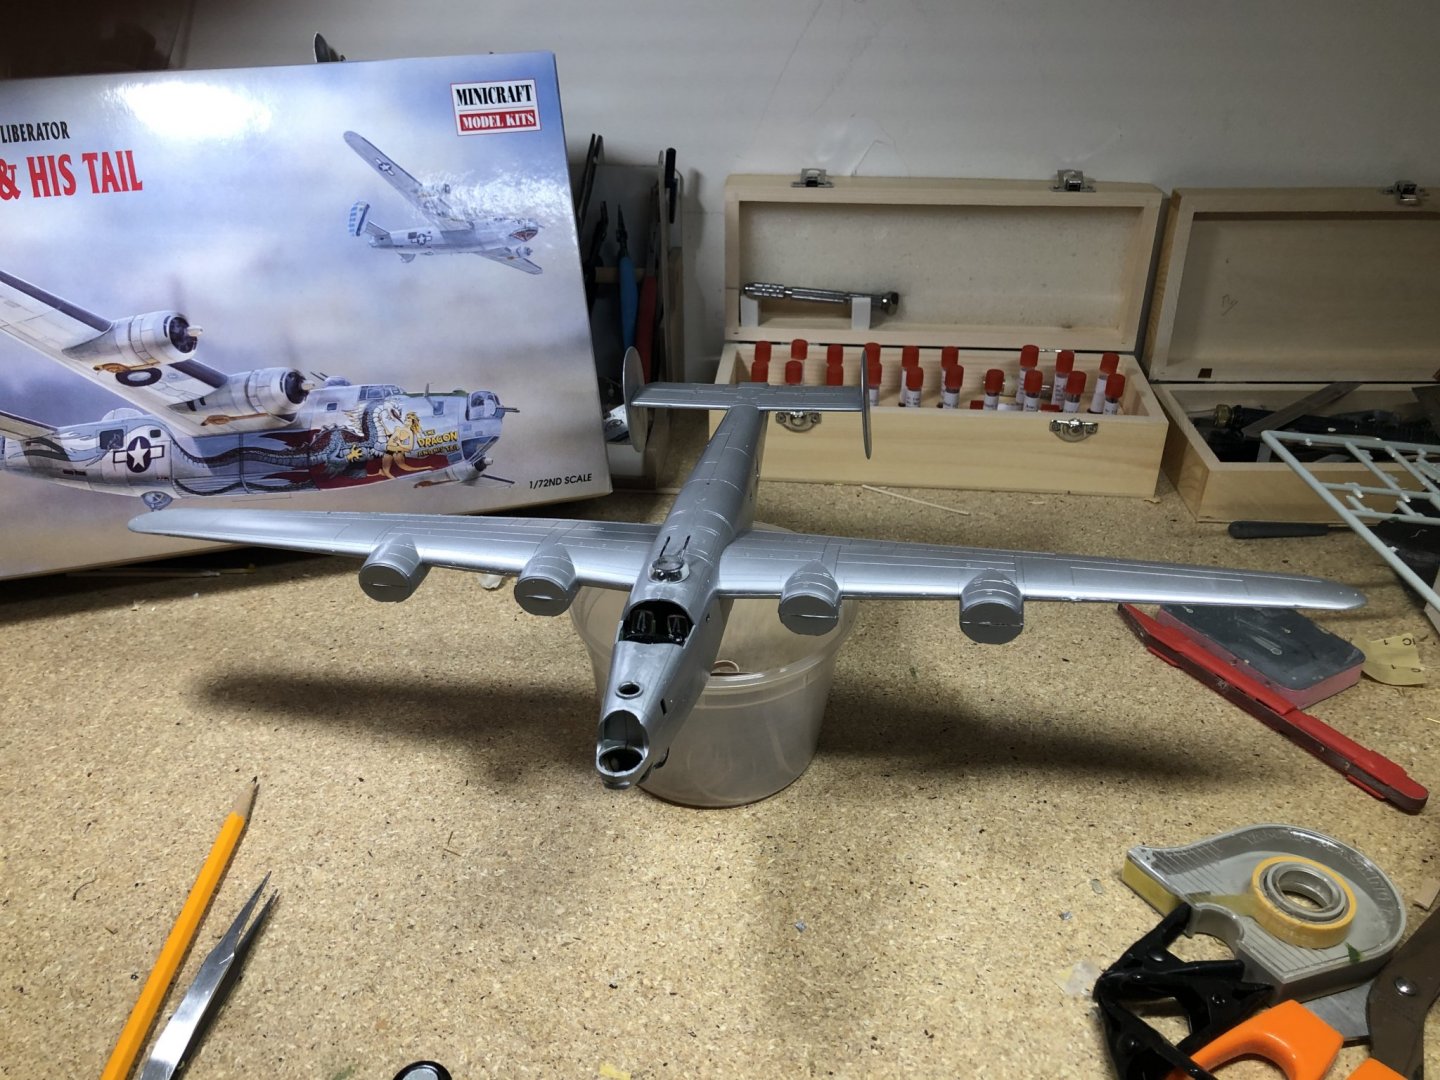
I’ve been working on this off and on for a while and finally decided to post some progress photos. It’s an older kit and has a lot of flash. I had a great deal of difficulty getting the bombs to stay on the rack and finally gave up and used the closed bomb bay doors option. I also decided not to obsess over the seams. I am just trying to keep this an enjoyable break from ships.

-
Nice build. Did the kit supply the crew figures? They really make the model jump out at you.
-
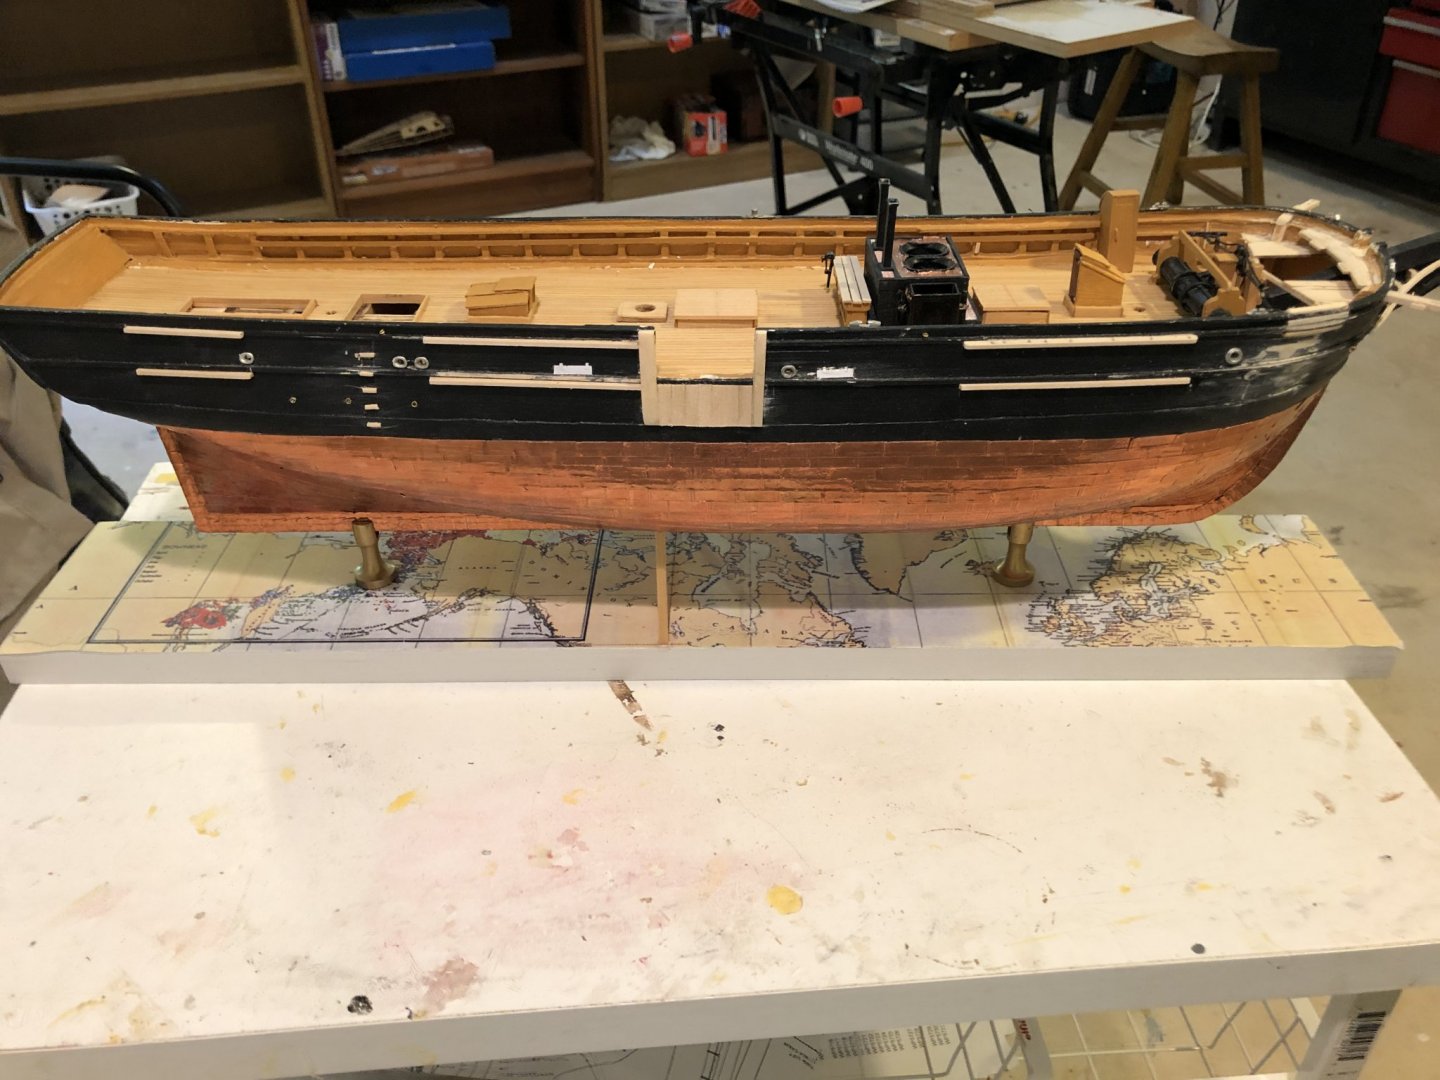
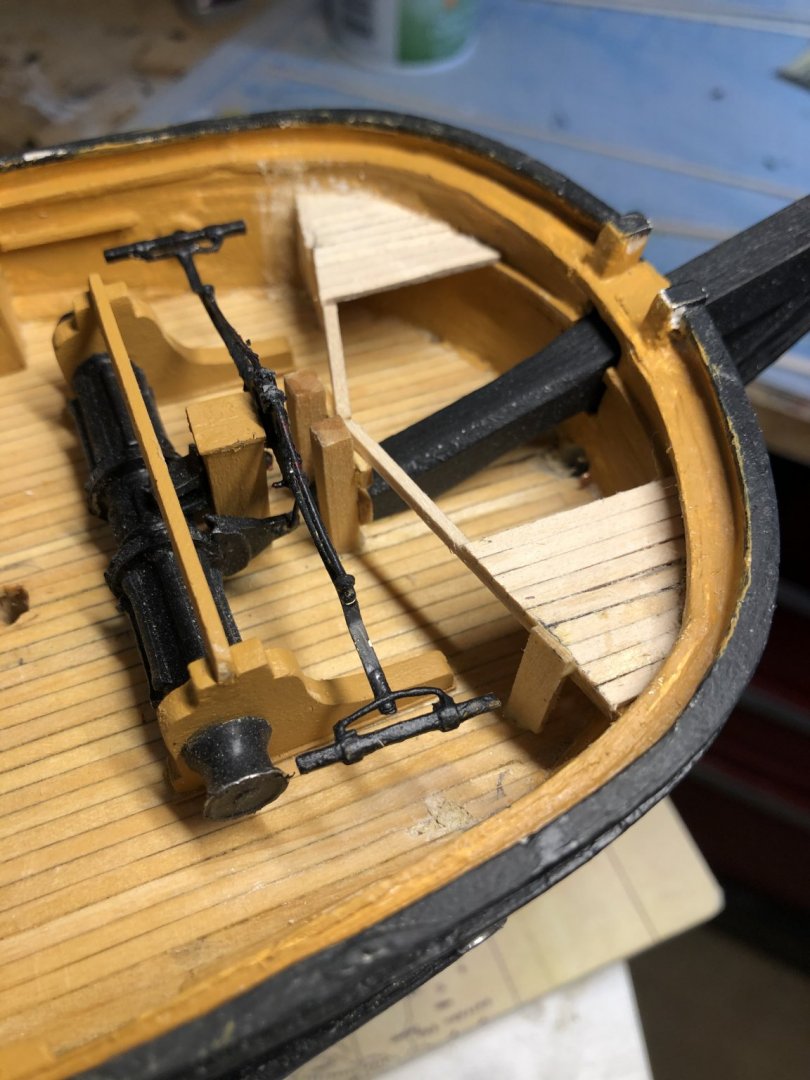
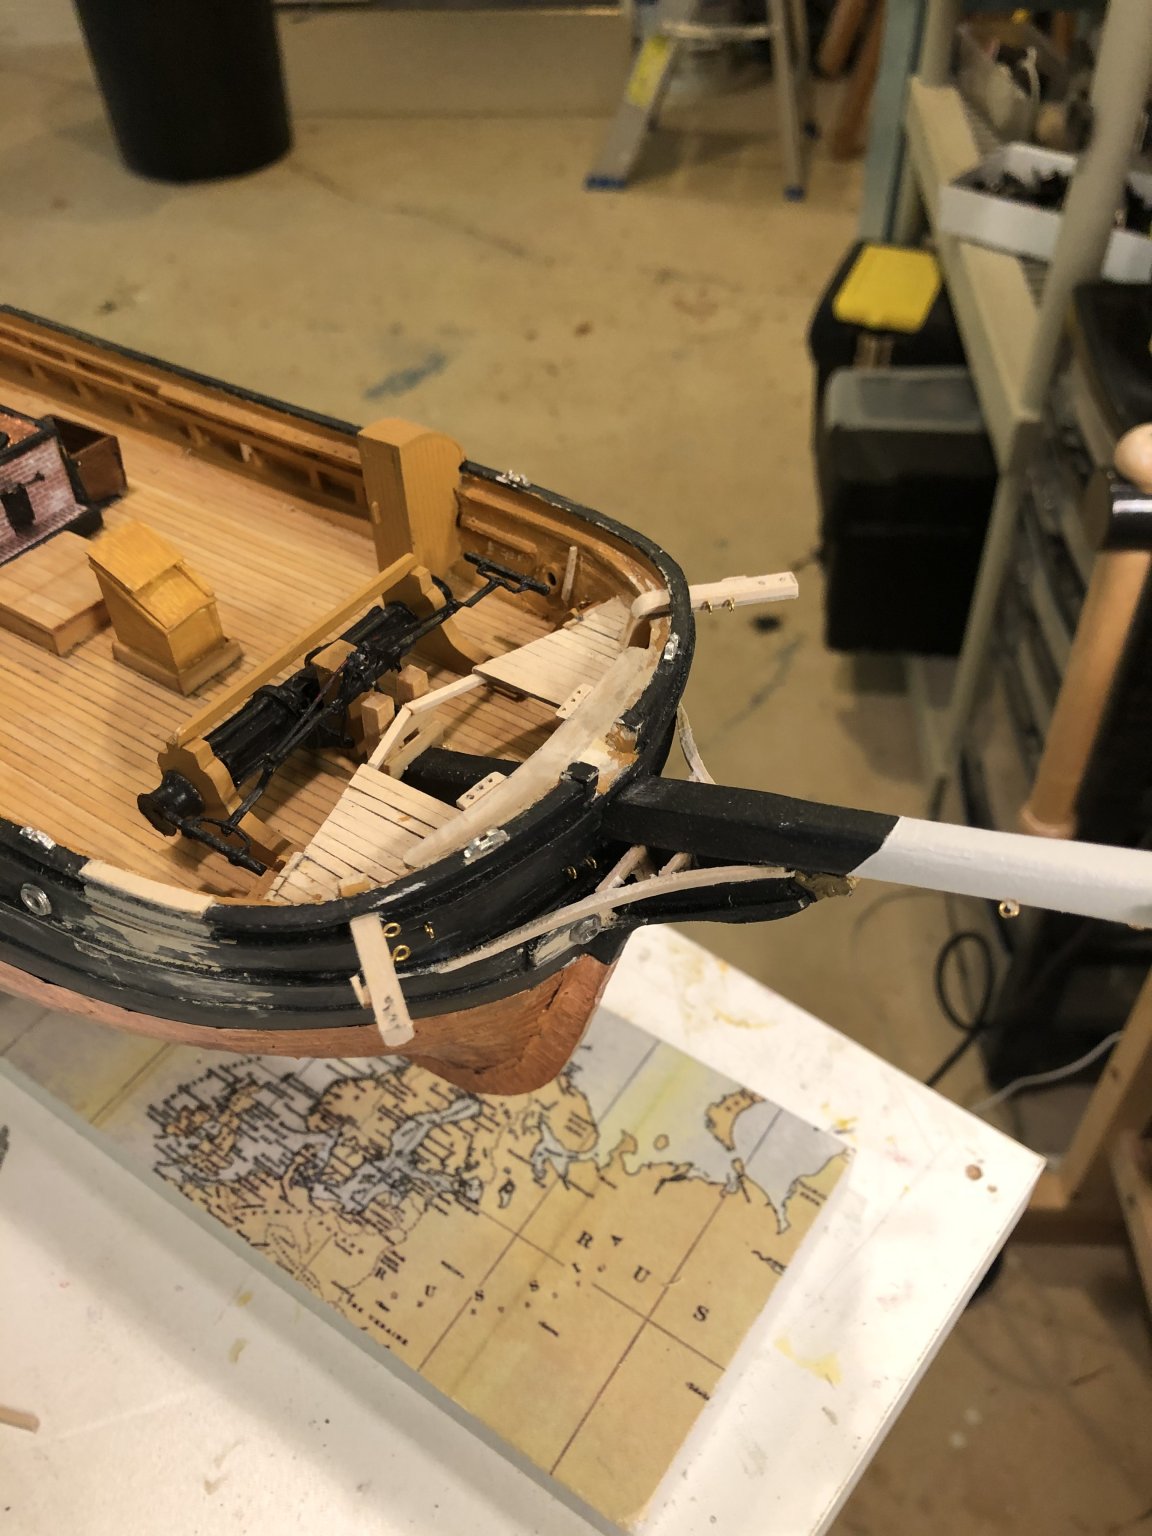
After drilling holes for the shrouds in the first channel I decided it would be better to wait until I was rigging to ensure the holes end up in the correct locations. All the davits and such will go in much later in the build or I will surely break them off. Starboard is in good shape, and the channels are installed on the port side also. I think I’ll go back to finishing the deck furnishings next.
-
I’m afraid if I do the boat davits too early I will break them off😬 I will probably wait until much later. Maybe after rigging the lower masts
-
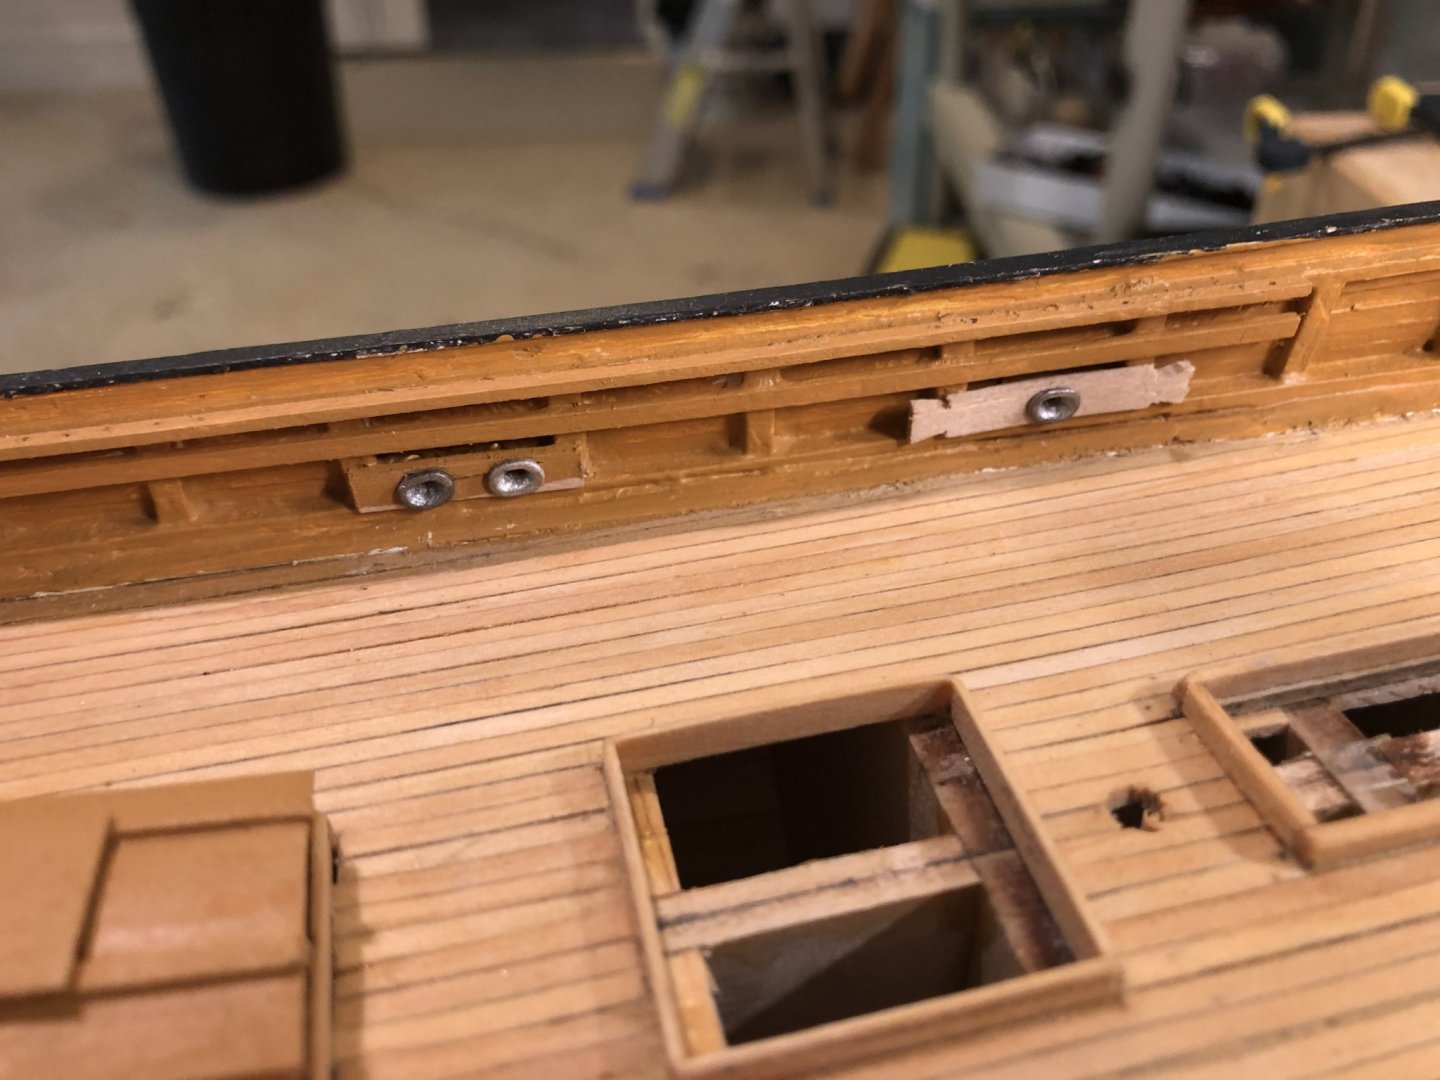
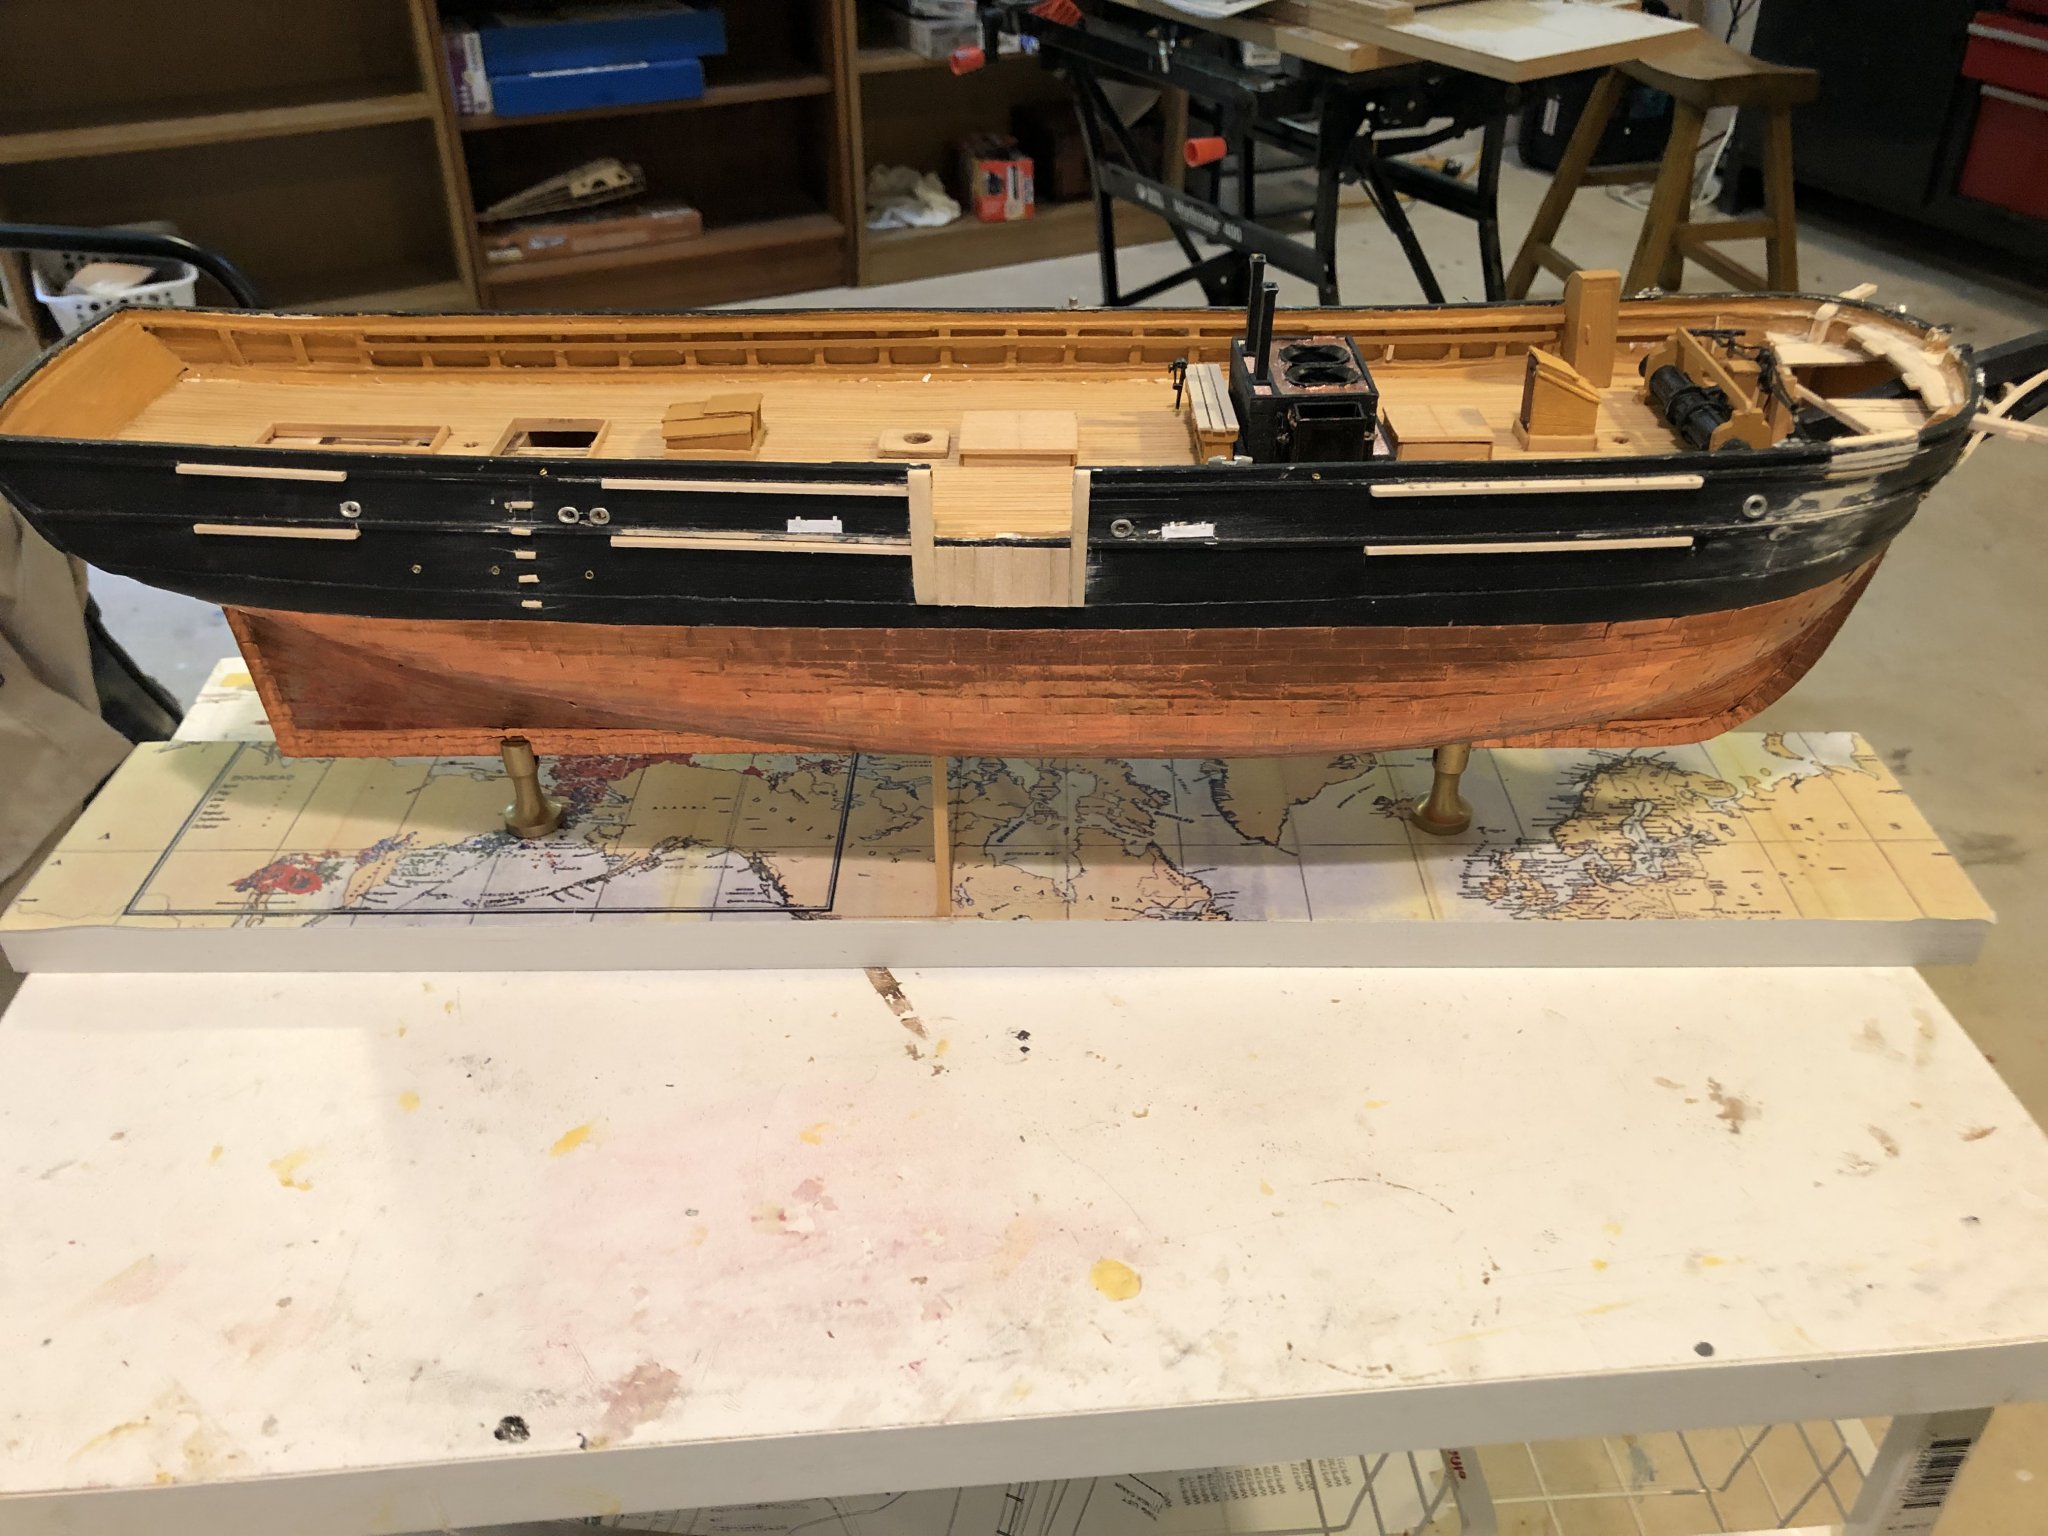
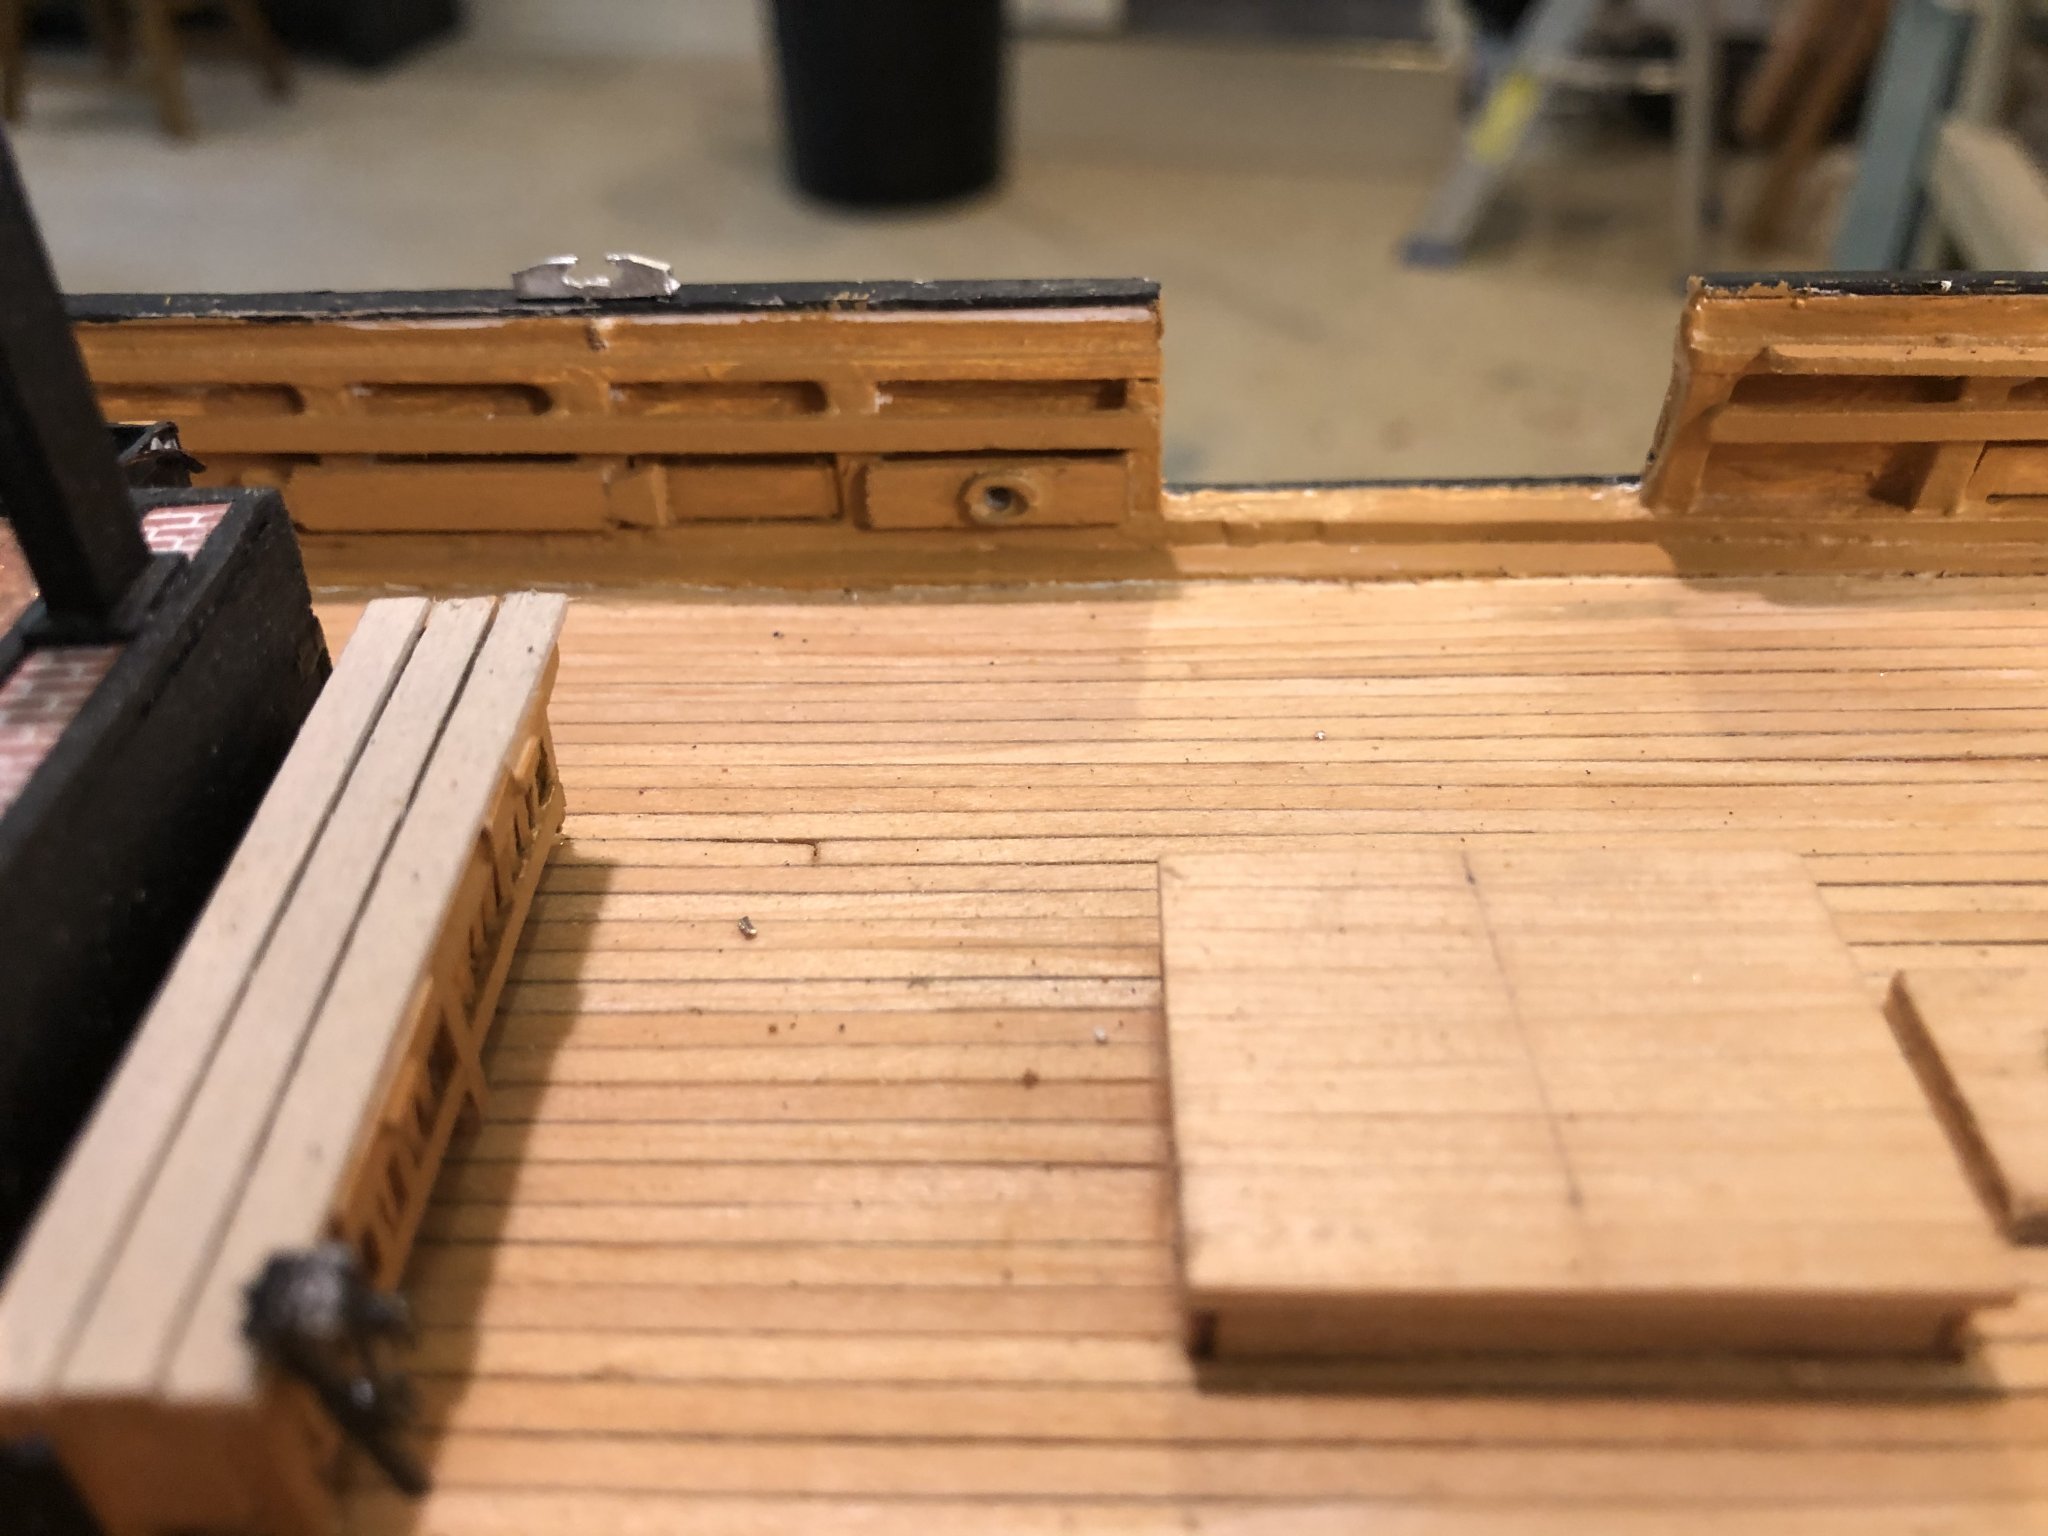
I am working on adding hull details, starting at the bow and moving aft trying to locate all the rails, cleats,chocks, sheaves, channels, etc


-
I got the catheads in place. Now I am going along each side of the ship to add all the cleats, sheaves, chocks, ports, etc. before finishing the deckhouses and the like. Hopefully I will find them all and not have to add something impossible to reach in the middle of rigging.

-
Looking at the splotchy paint. Why can’t chemists develop a yellow paint that covers well. Any kind of yellow shade from house paint to model paint needs 4-5 coats to cover tolerably well😬
-
“the lower end of the stays and coil them up for rigging later. Just be sure to accurately place the eyelets and leave more than enough rigging. Here is what I did on the anchor deck. “
I thought about doing that but in then end figured this would work best. Being a worrier I’d have left about a yard of extra line to get in the way.
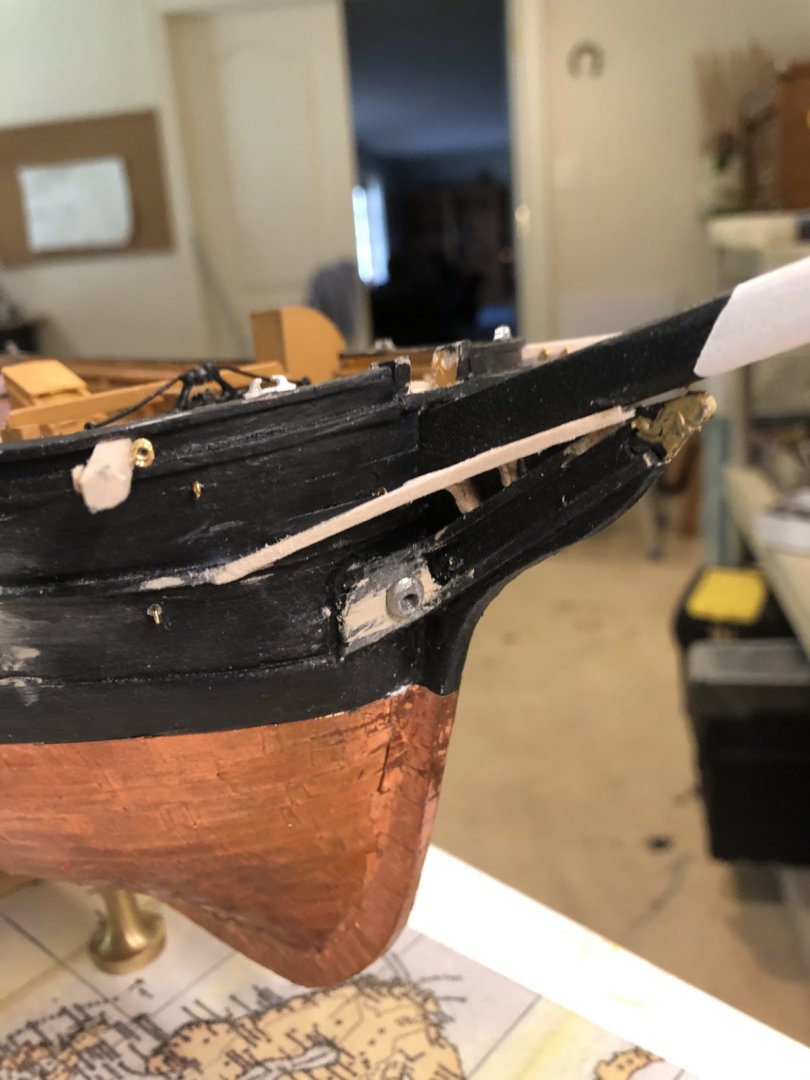
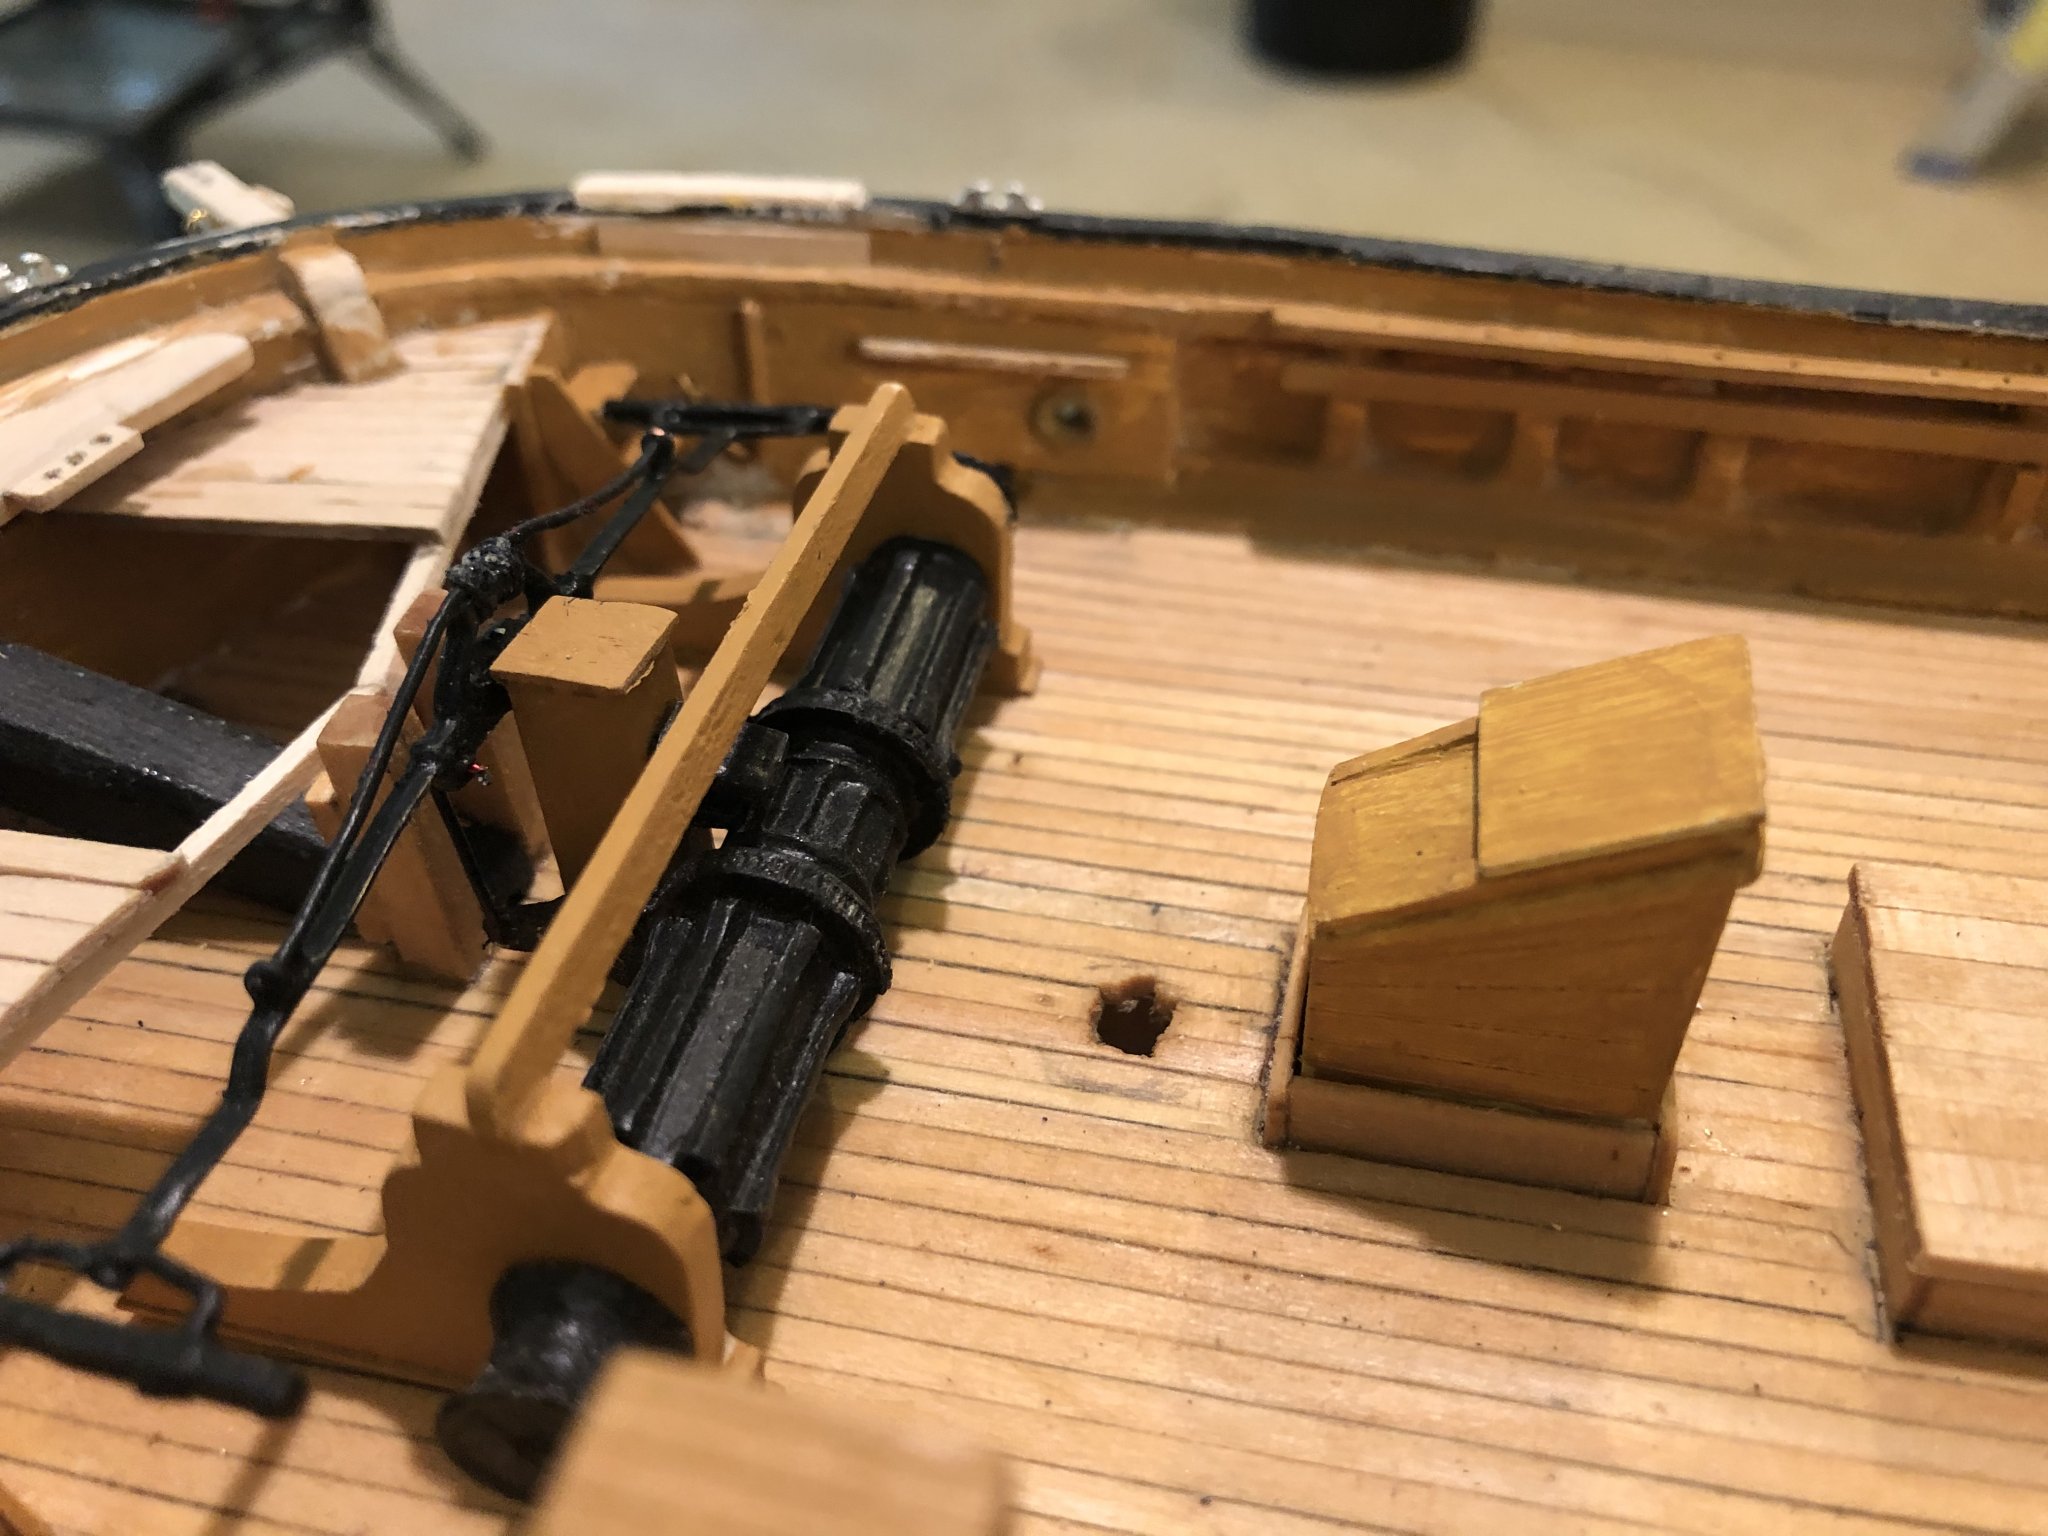
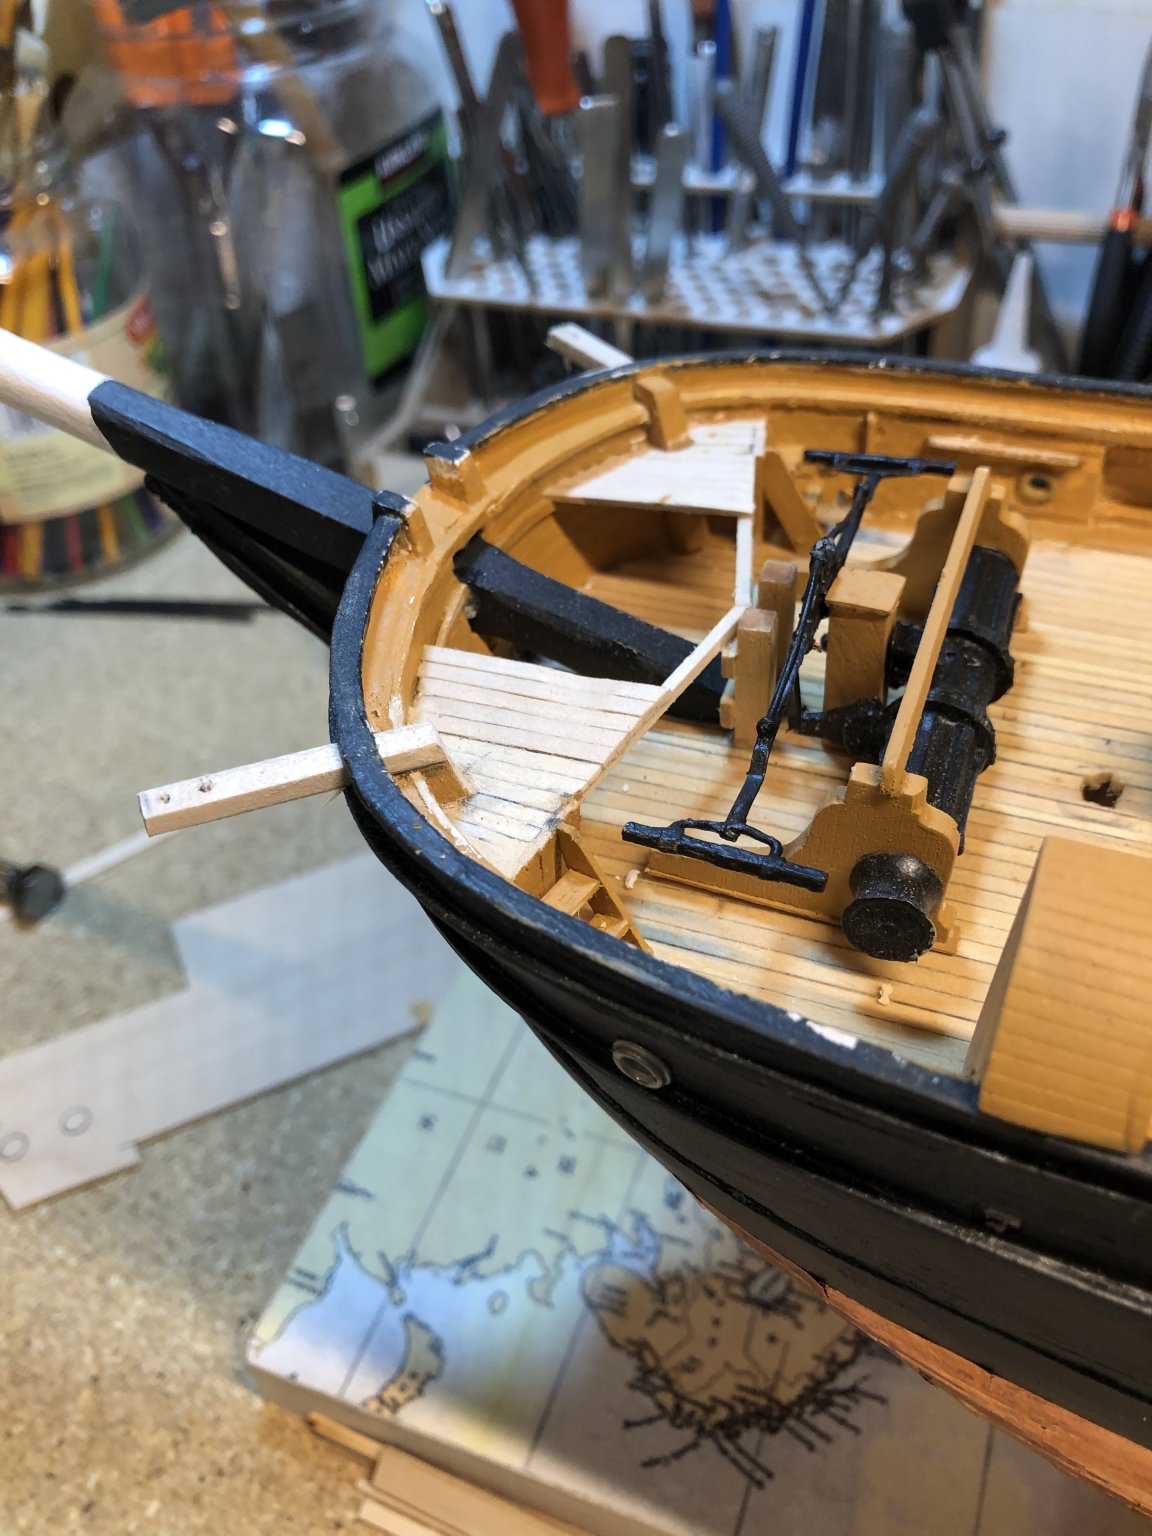
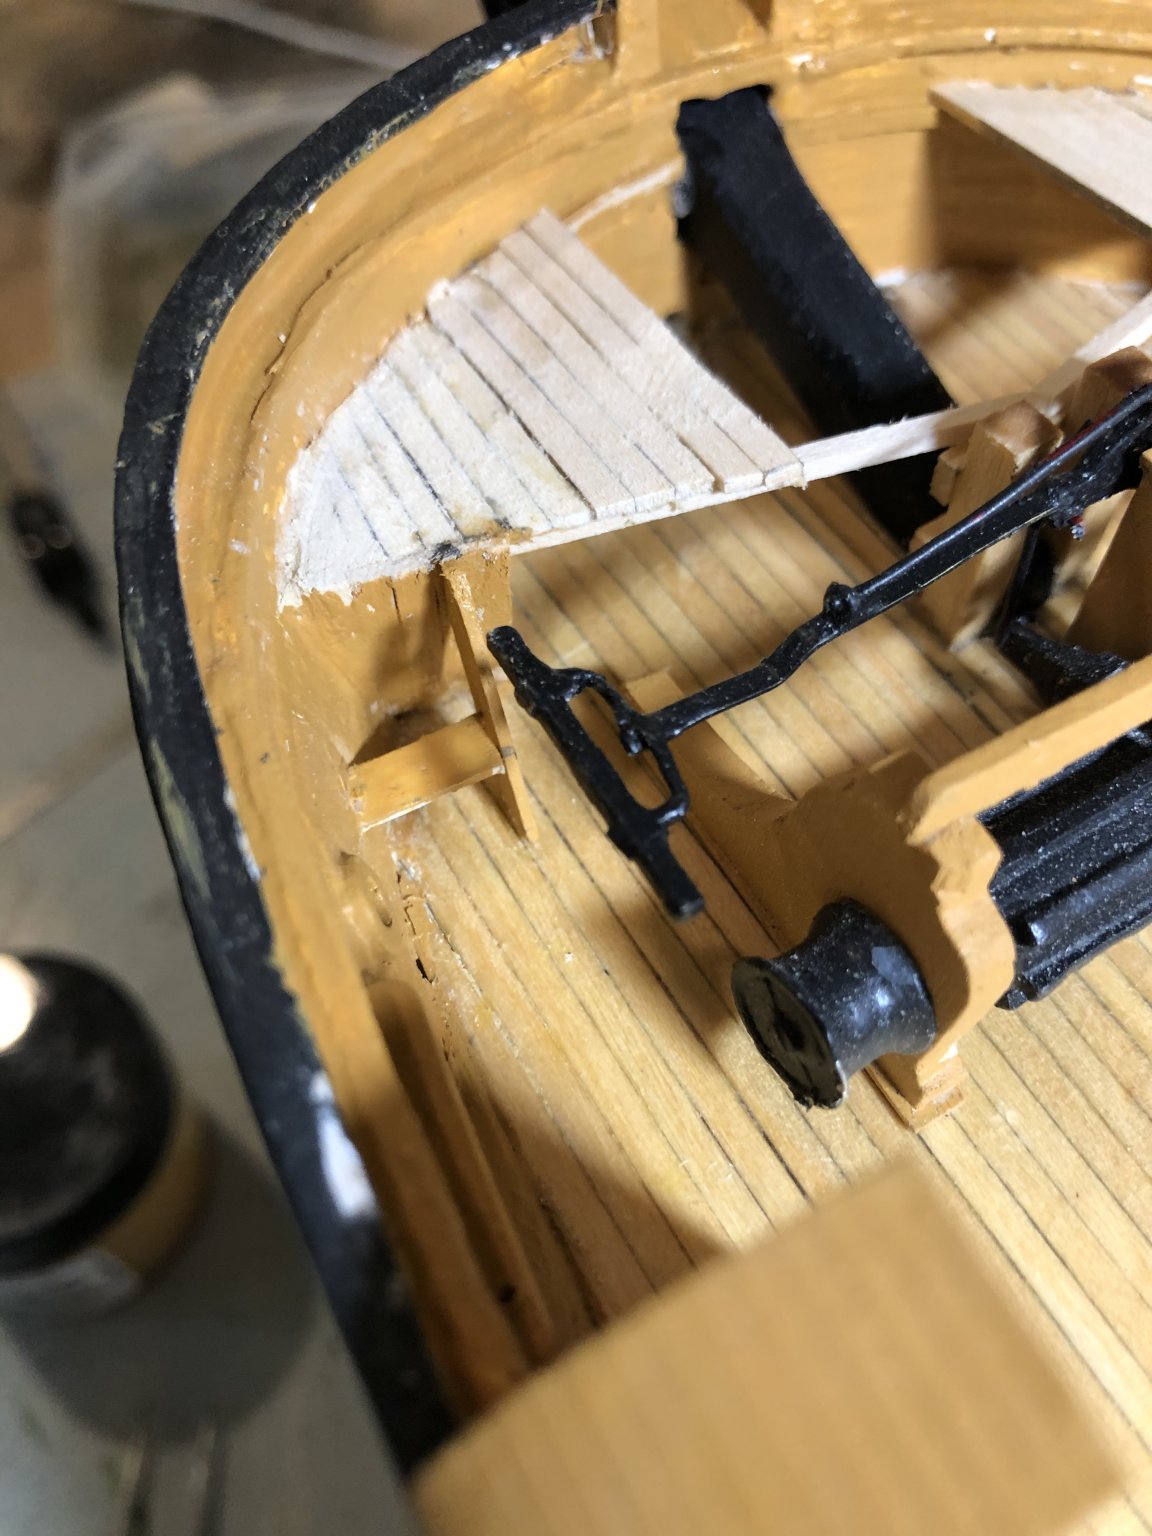
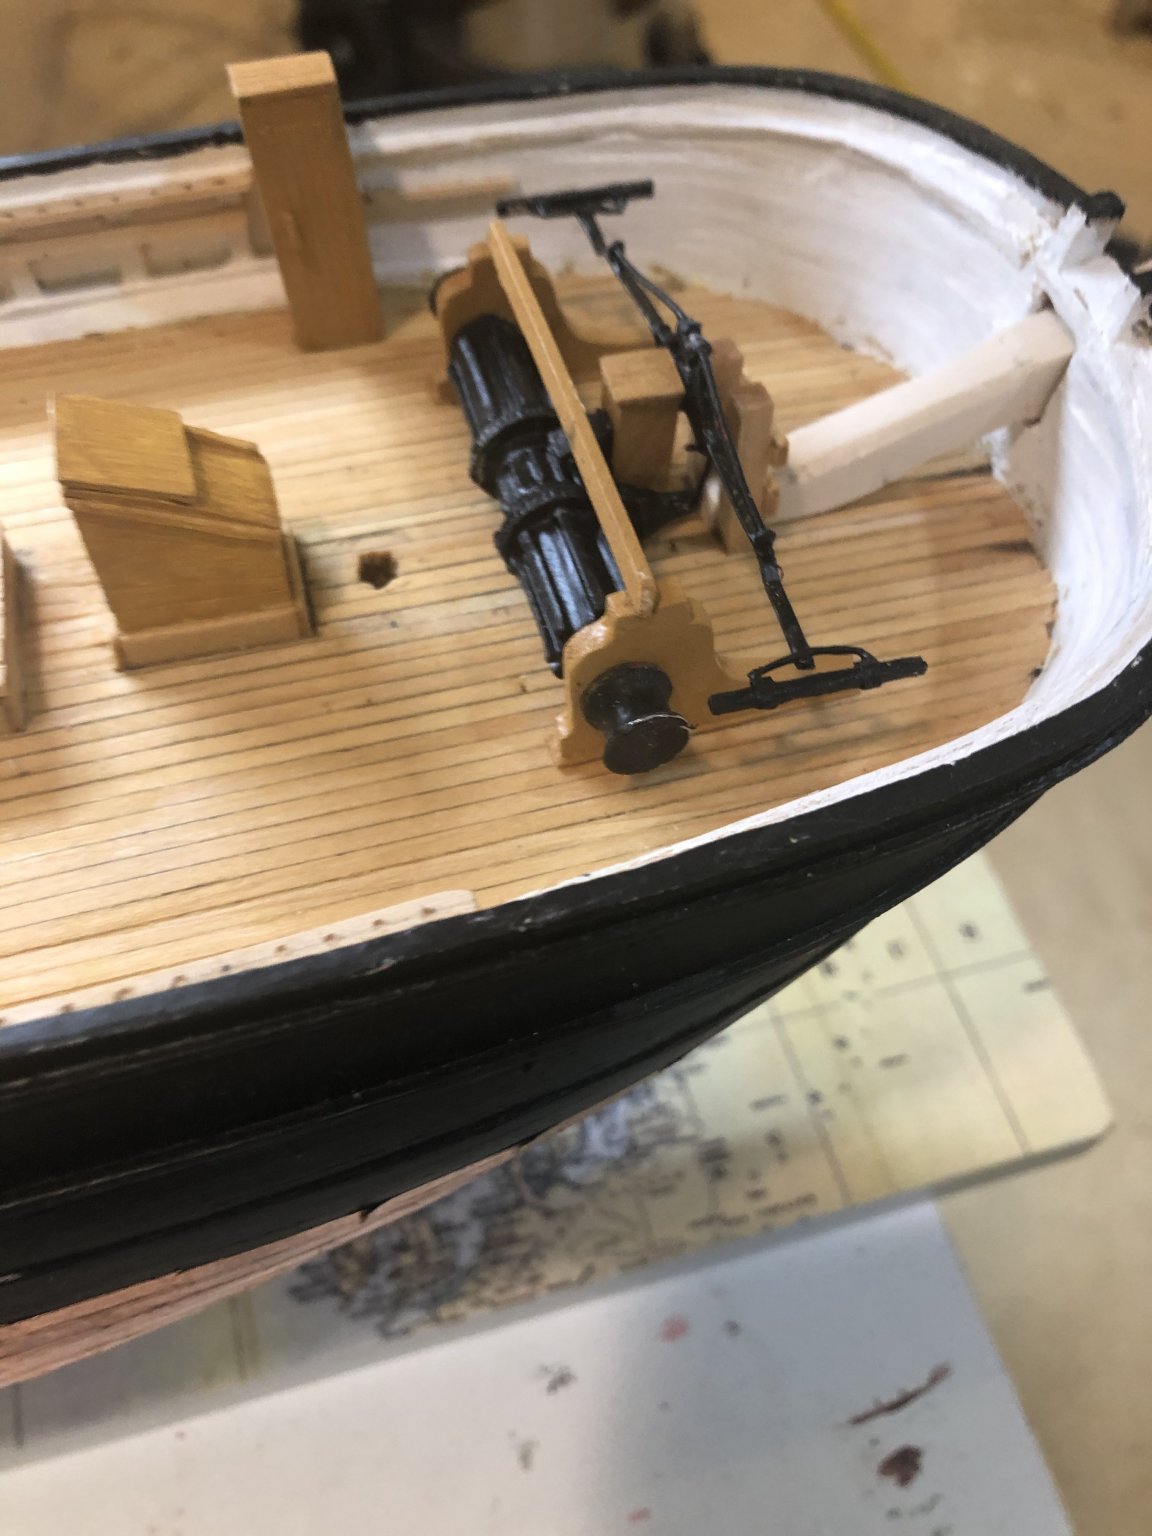
i started the steps to the anchor deck. And once again realized that I should have waited to install the windlass until after the bow work was completed. 😬

-
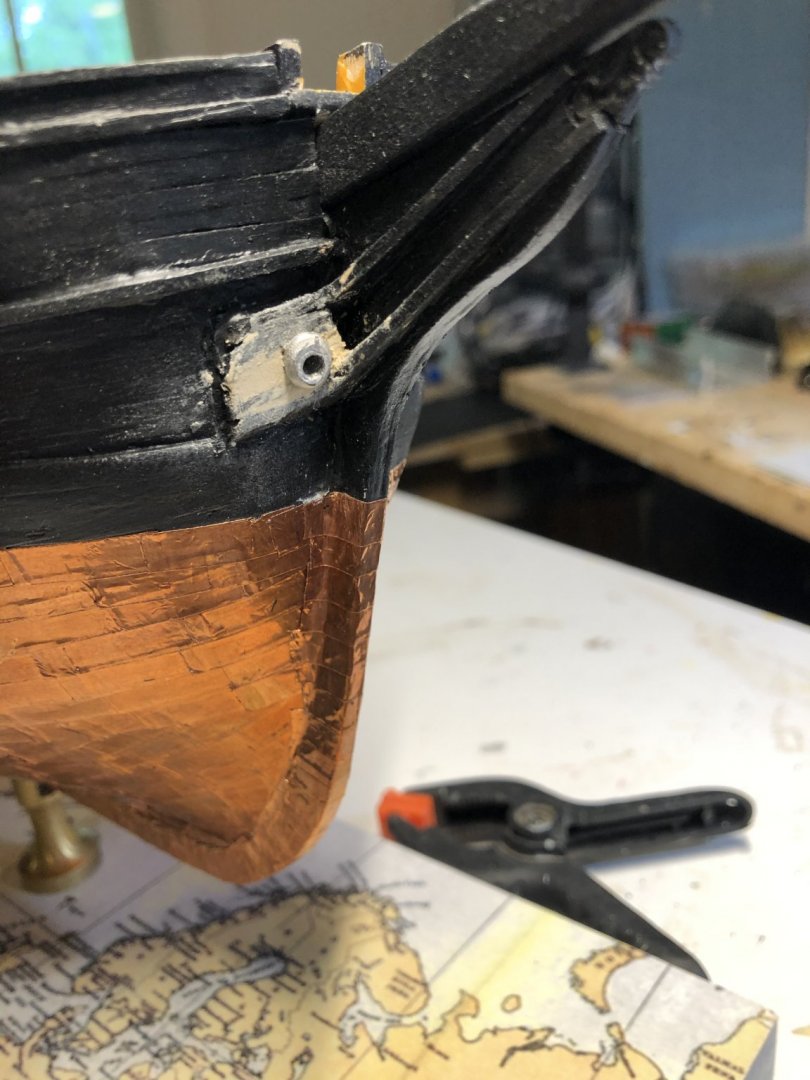
I am finally happy with the hawse pipes and started the anchor deck. Looks like one has to leave this deck part open in order to attach some stays at a later step.
-
It looks damn good to me. You are too critical of yourself.
- Edwardkenway, mtaylor, Canute and 2 others
-
5
-
On 4/25/2020 at 8:36 AM, vossy said:
Hi Ron,
how about getting some ultra thin strips and planking over it? You can get strips so thin they are almost like paper. If it was me, I would be trying to keep it unpainted. Strips will cost next to nothing, and if you muck it up, then paint it. If you do have to paint it however, I would go for a brownish base and try to weather it a bit. Be more realistic I reckon.
Cheers
Chris
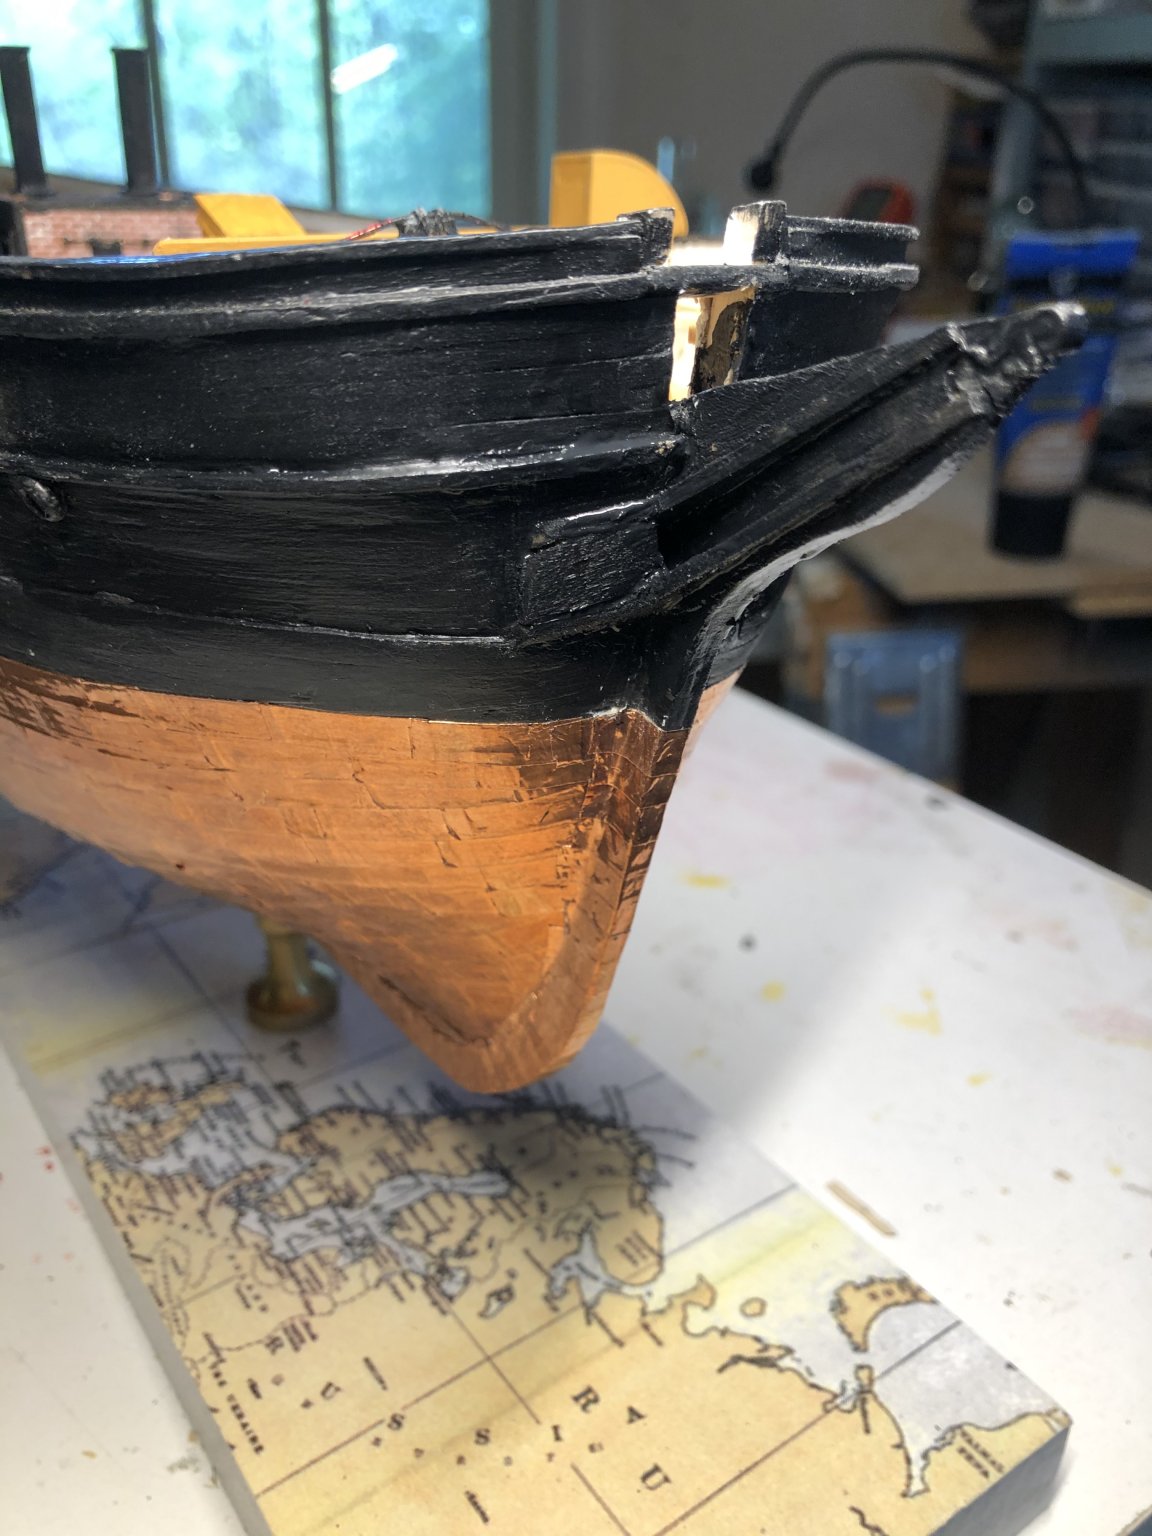
After much thought I decided to follow your advice. I ordered some .6 mm walnut strip wood from Model Expo and will replank the lower part of the hull. There is a thick wale that separates the bad part and will make a natural stopping point.
-
After at least 5 attempts I finally got the cheek timbers and bolster in place and looking like the photo of the Morgan in the instruction booklet. I the process I installed and then had to rip out and destroy the hawse castings. Now I am waiting for replacements from Model Expo. Love their parts replacement policy!

-
That’s what I thought. Wanted to make sure. I’ll check the fittings list again to see if MS provide some brass rings.
-
On the plans, there are several circles labeled “port lights”. Is that lights as in window panes? Or lights as in 💡
-
-
18 hours ago, Jaager said:
A shallow search indicates that Spain did not mine asphalt for another 200 years, so the pitch was probably "Pine" tar. Dark, but not 000,000,000 black. The proportions of dark brown and tallow are maybe lost forever or in the Spanish archives, but see what 50:50 dark brown to tan nets you.
thanks for that information. I'm not ready to paint it yet. I am working on the parts that made me give up years ago. The SM has timbers on the sides of the hull. The plans called for making them out of square strip wood, 5/32" maybe (not near the plans now). No matter what i did i could not get those pieces to conform to the hull. Recently i decided that i would make them by laminating thin layers. I think this is going to work.
-
Behr Tallow Candle

- Chuck Seiler and mtaylor
-
2
-
-
9 hours ago, acaron41120 said:
I am building a Billing Boats Santa Maria kit and they split the color of the hull into two sections. From the waterline down they call the hull to be painted tan and from the waterline up they say clear poly. Just adding some info from another kit.
that sounds like a plan
-
I have decided to finish my Santa Maria kit that I put aside more than 20 years ago out of frustration. My biggest issue now is that the wood on the lower part of the hull is very blotchy. I made several messes with the planking and did a poor job staining which I then tried to correct by bleaching and sanding it out. My question is: would it be appropriate to paint the lower hull an off-white. The Mini Mamoli kit of the Santa Maria shows the lower hull painted white. All the other models I’ve view are natural wood, but that just isn’t going to work.
I purchased the kit at the 500 anniversary of Columbus’s voyage in 1992!Ron Gove
-
On 4/23/2020 at 9:19 PM, Voyageur said:
Beautiful work!
Thanks. I should have said the “windlass”. A capstan is quite different😬
I will blame it on just turning 77!
-
A word of advice, learned the hard way😬. Drill out and install the hawse pipes and mooring ports BEFORE installing the windlass assembly. They are very much in the way.
Second lesson: Remember all those laser cut parts you looked at when starting the kit. I forgot the knees for the windlass were already made for me! I scratch built them. Good experience i guess Perhaps I should have made notes on the plans and instructions about all those parts.
- Landlubber Mike and John Ruy
-
2
-


B-24 Liberator by ragove - FINISHED - Minicraft - 1/72 - PLASTIC
in Non-ship/categorised builds
Posted
About ready to add decals. I could find anything small enough and heavy enough to hold the nose wheel down. I will have to put the dragon on a base and glue her down.