


Papa
-
Posts
1,298 -
Joined
-
Last visited
Content Type
Profiles
Forums
Gallery
Events
Posts posted by Papa
-
-
1 hour ago, David Lester said:
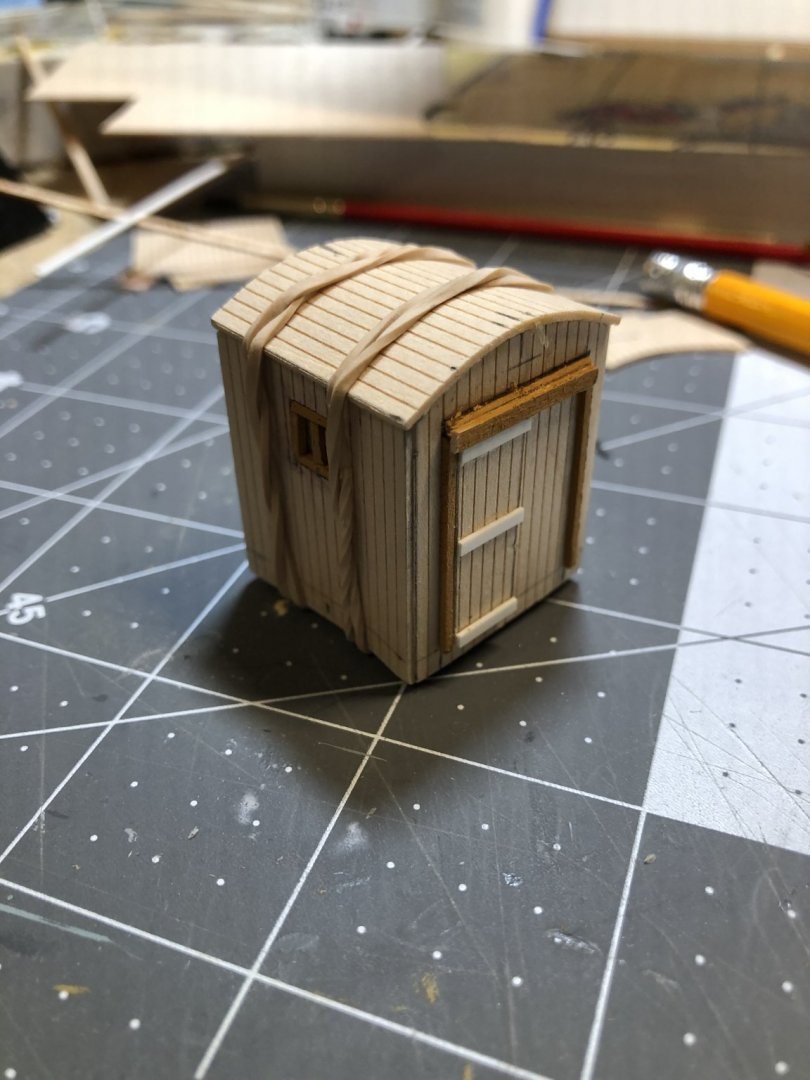
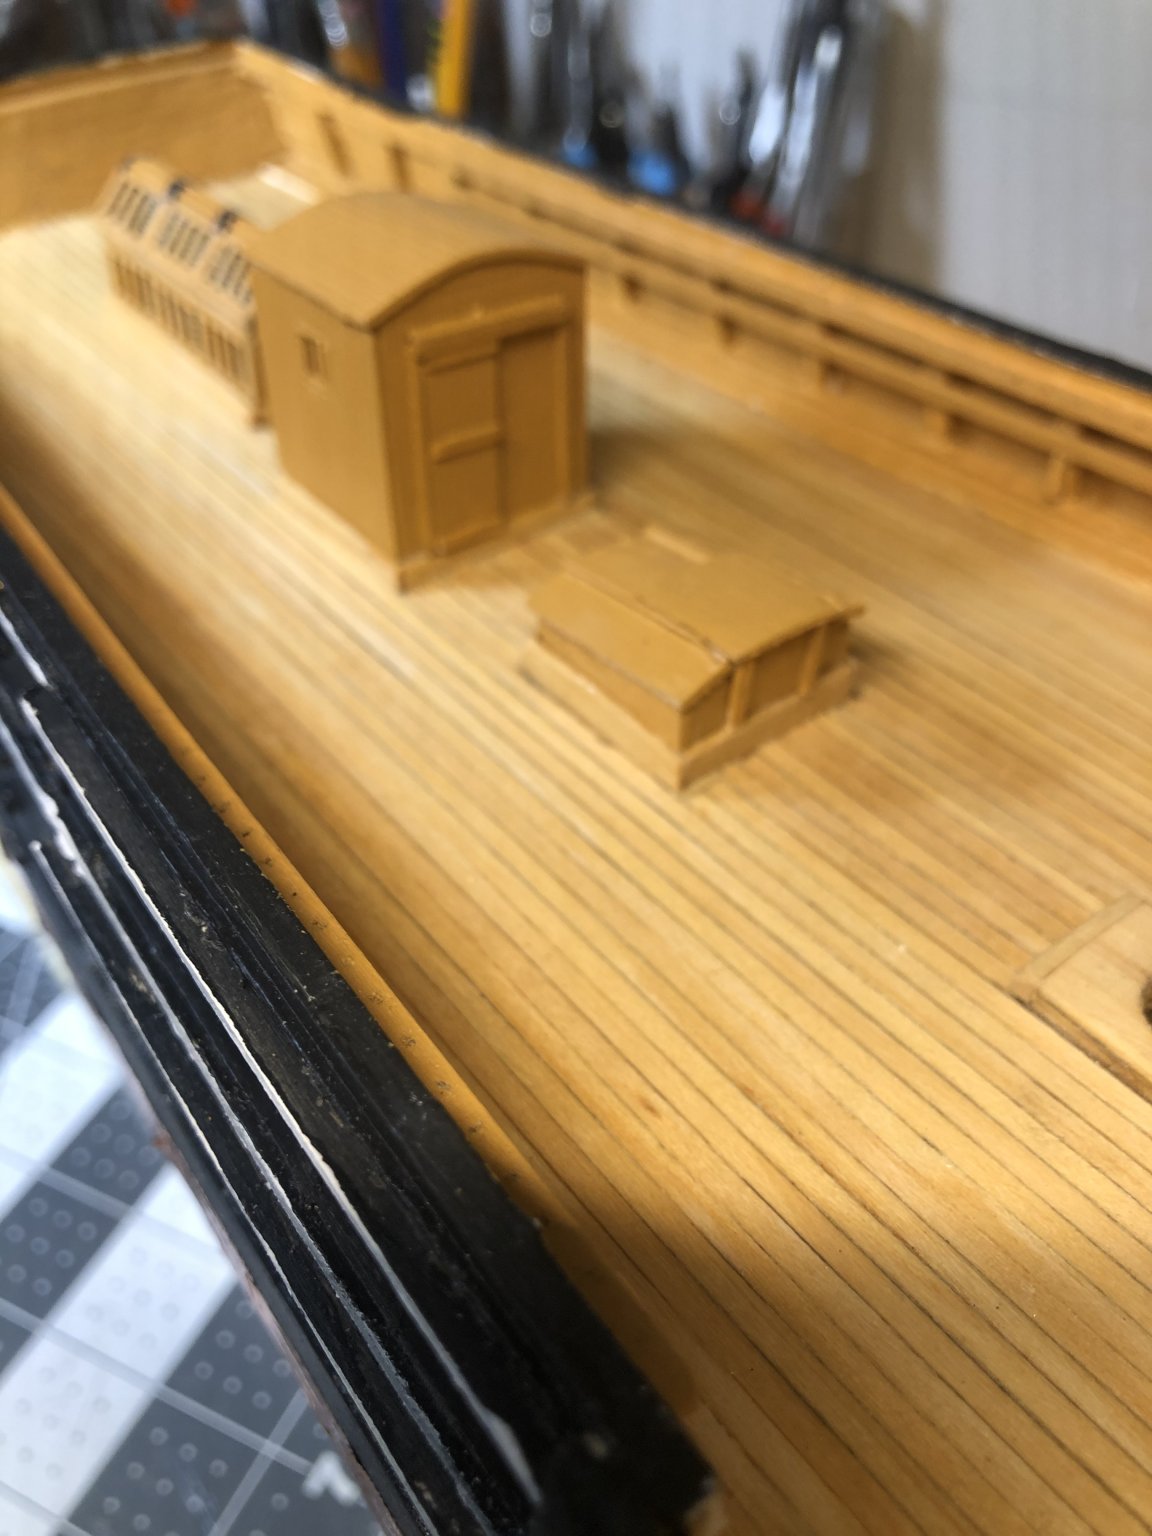
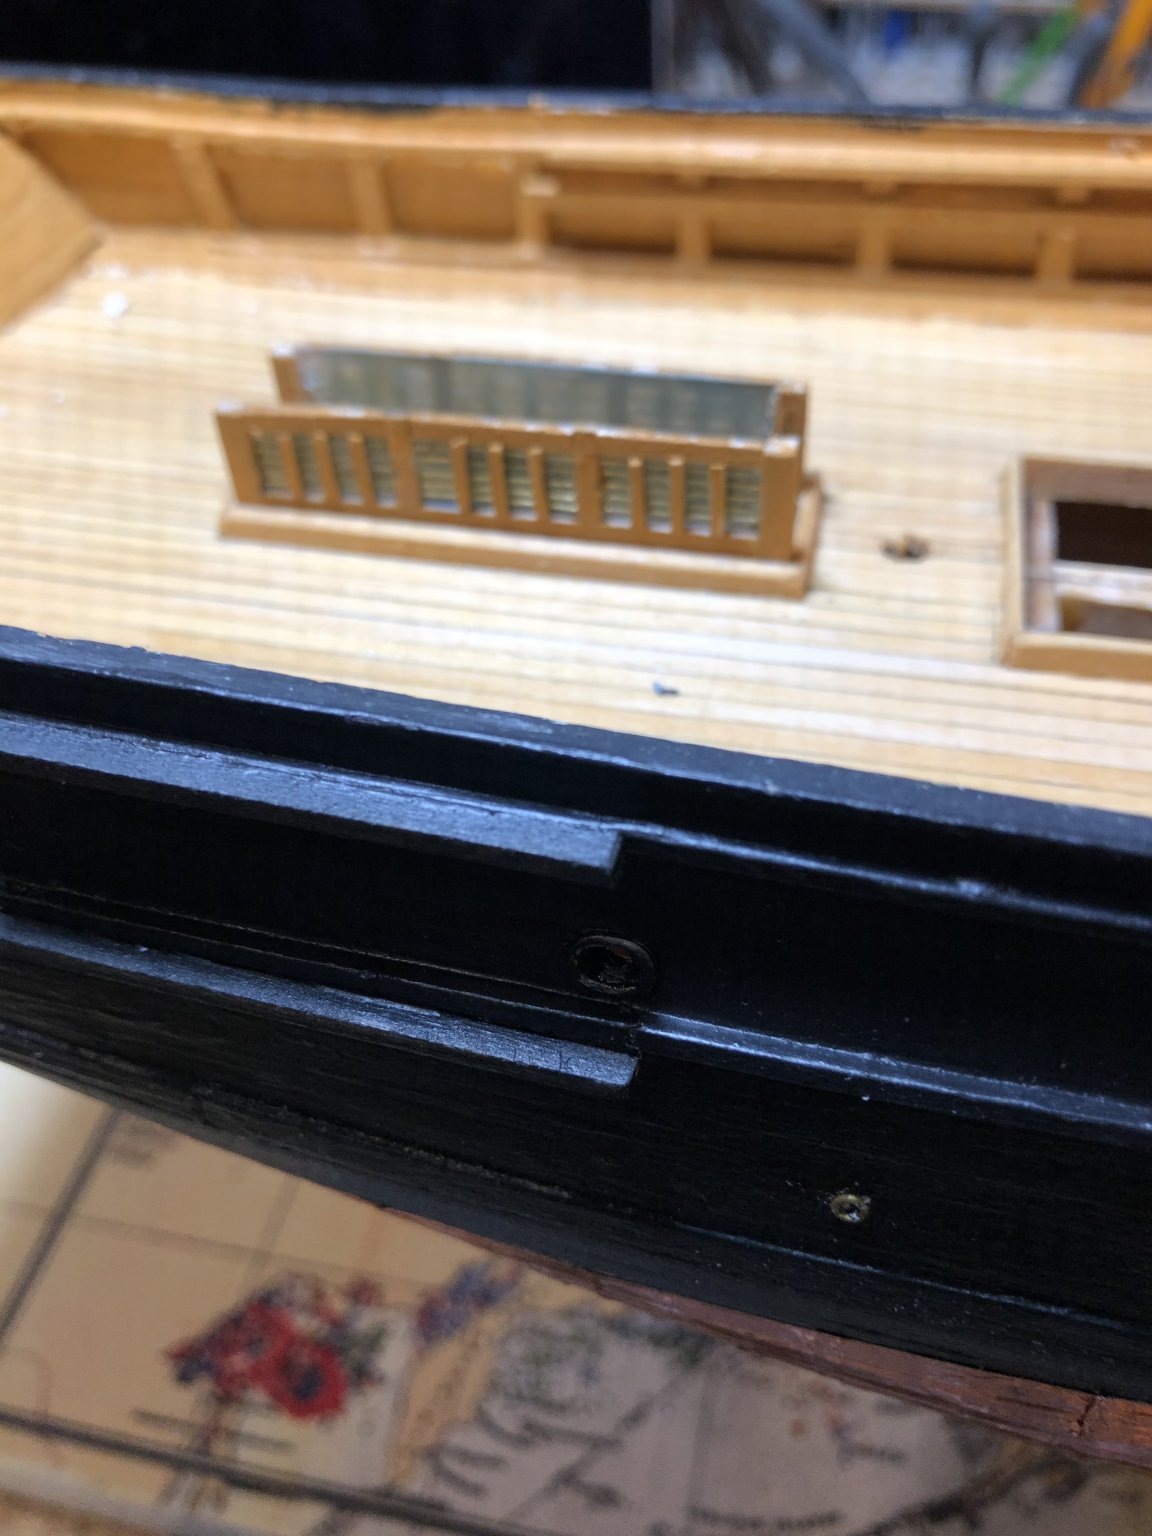
That forward wall fits nicely. I found that to be a particularly finicky thing to do on mine. Did you make a cardboard template? I must have gone through ream of cardboard until I had a template that fit.
Looks great!
David
Many pieces of cardboard and sheet wood. What finally worked was using multiple pieces pushed in to fit. Something like those contour finding tools with all the fine sliding pins, only much cruder. Even then the final piece needed lots of fiddling to get right
-
I’ve been building models for close to 70 years now. I must have been 8 when I started with some wooden airplane kit. Perhaps Strombecker. Not sure when I did my first plastic one. The quality of plastic kits has improved fantastically over the years. The prices seem relatively higher to me now, than as a kid. I recall buying kits for maybe 89 cents to a bit over $1. But a 1959 dollar is only worth about$10 today. And many kits are 3 to 4 times that. Some are even in the hundreds of dollars. Are there any young people making models or are we all old!
-
-
I will have to try modeling clay.
- popeye the sailor, mtaylor, Egilman and 2 others
-
 5
5
-
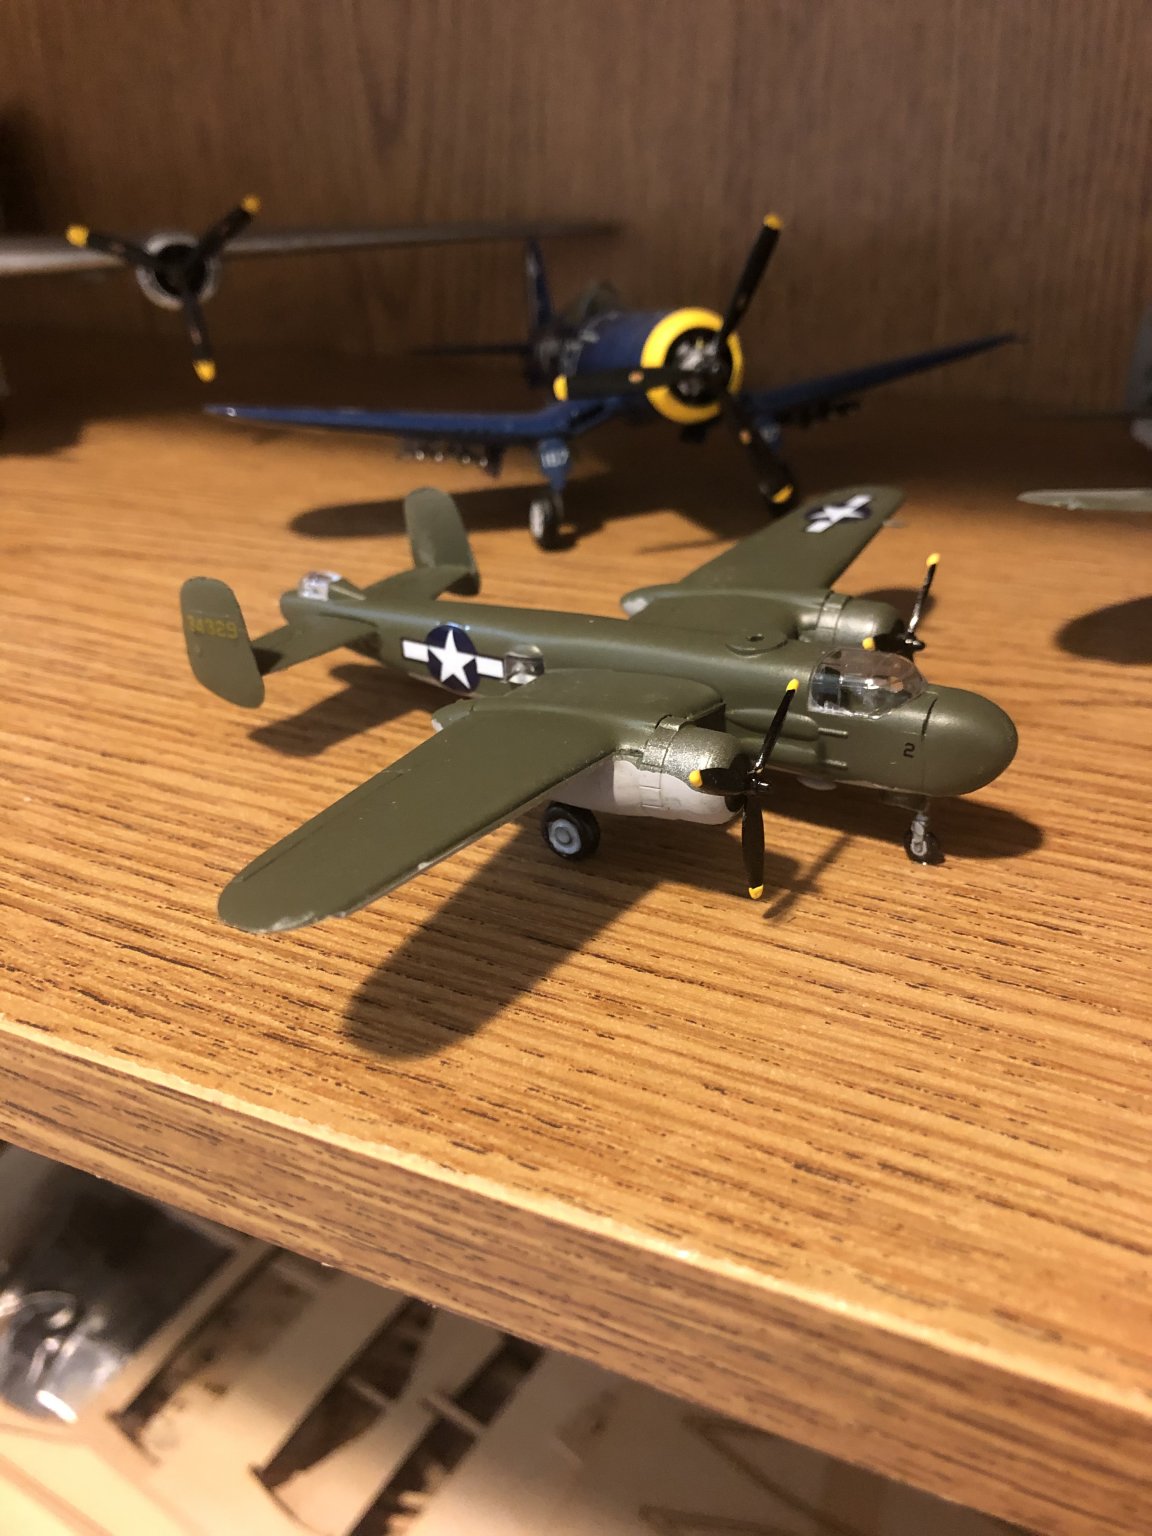
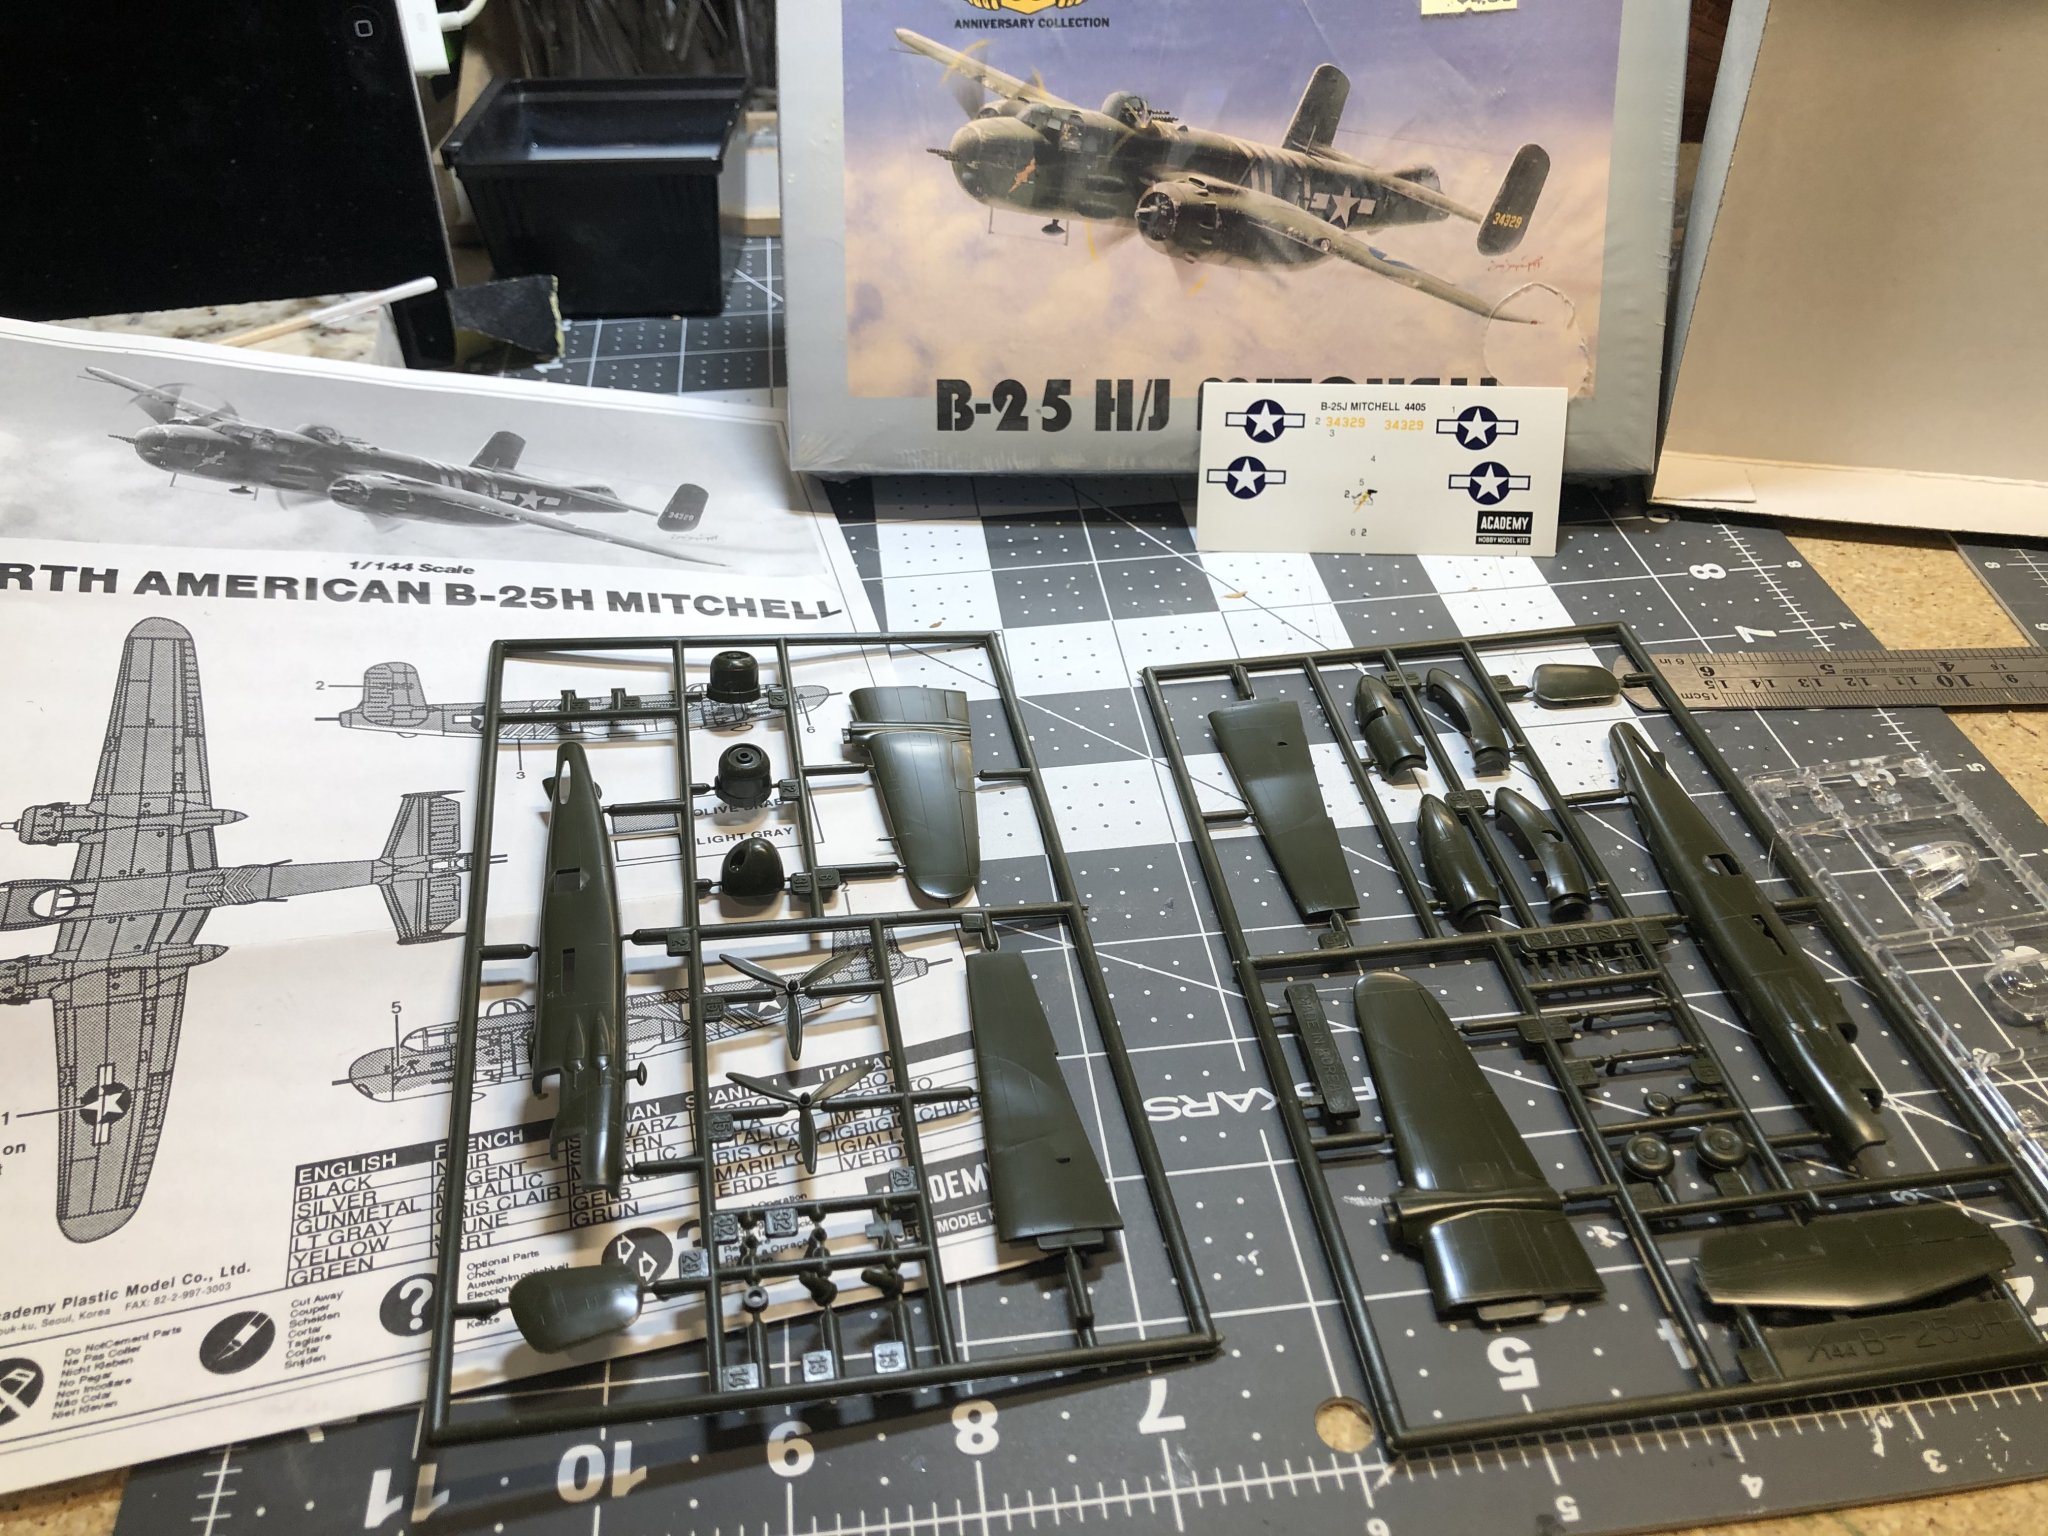
I have been holding on to this kit for at least 25 years and I think It’s about time to start it. I am also busy with the deck structures on the Charles W Morgan, so it will probably be slow going. Now if I can just not lose any parts during construction. 😁

-
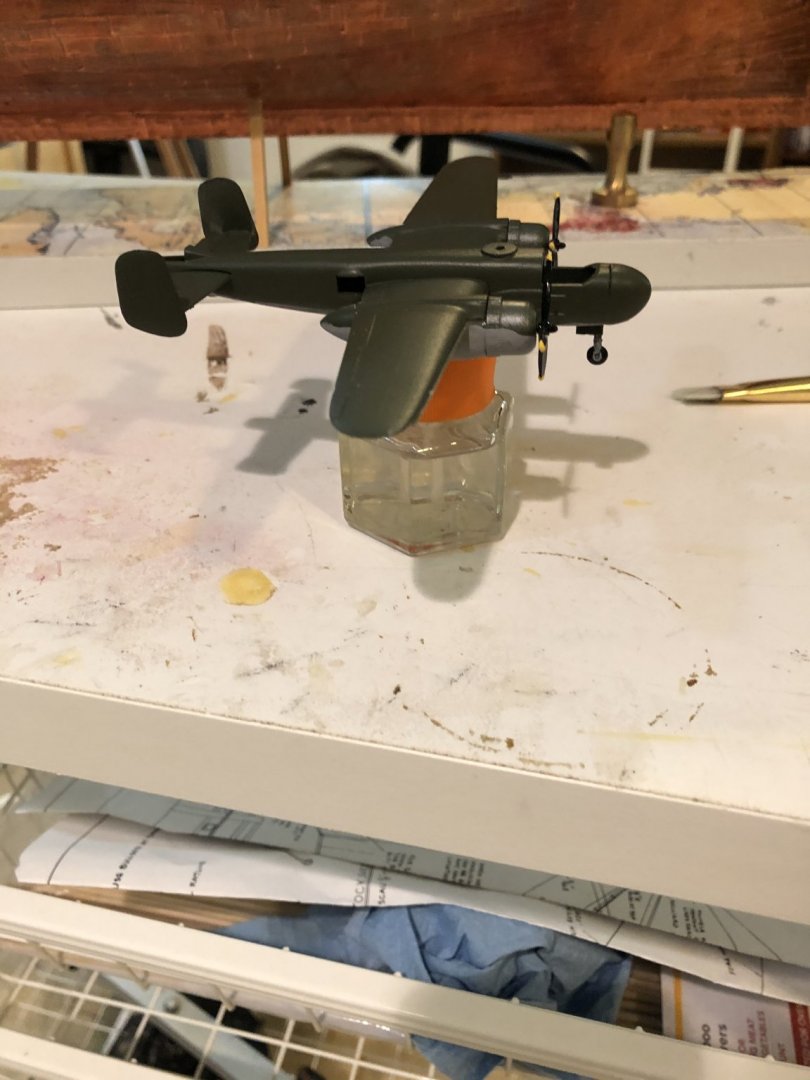
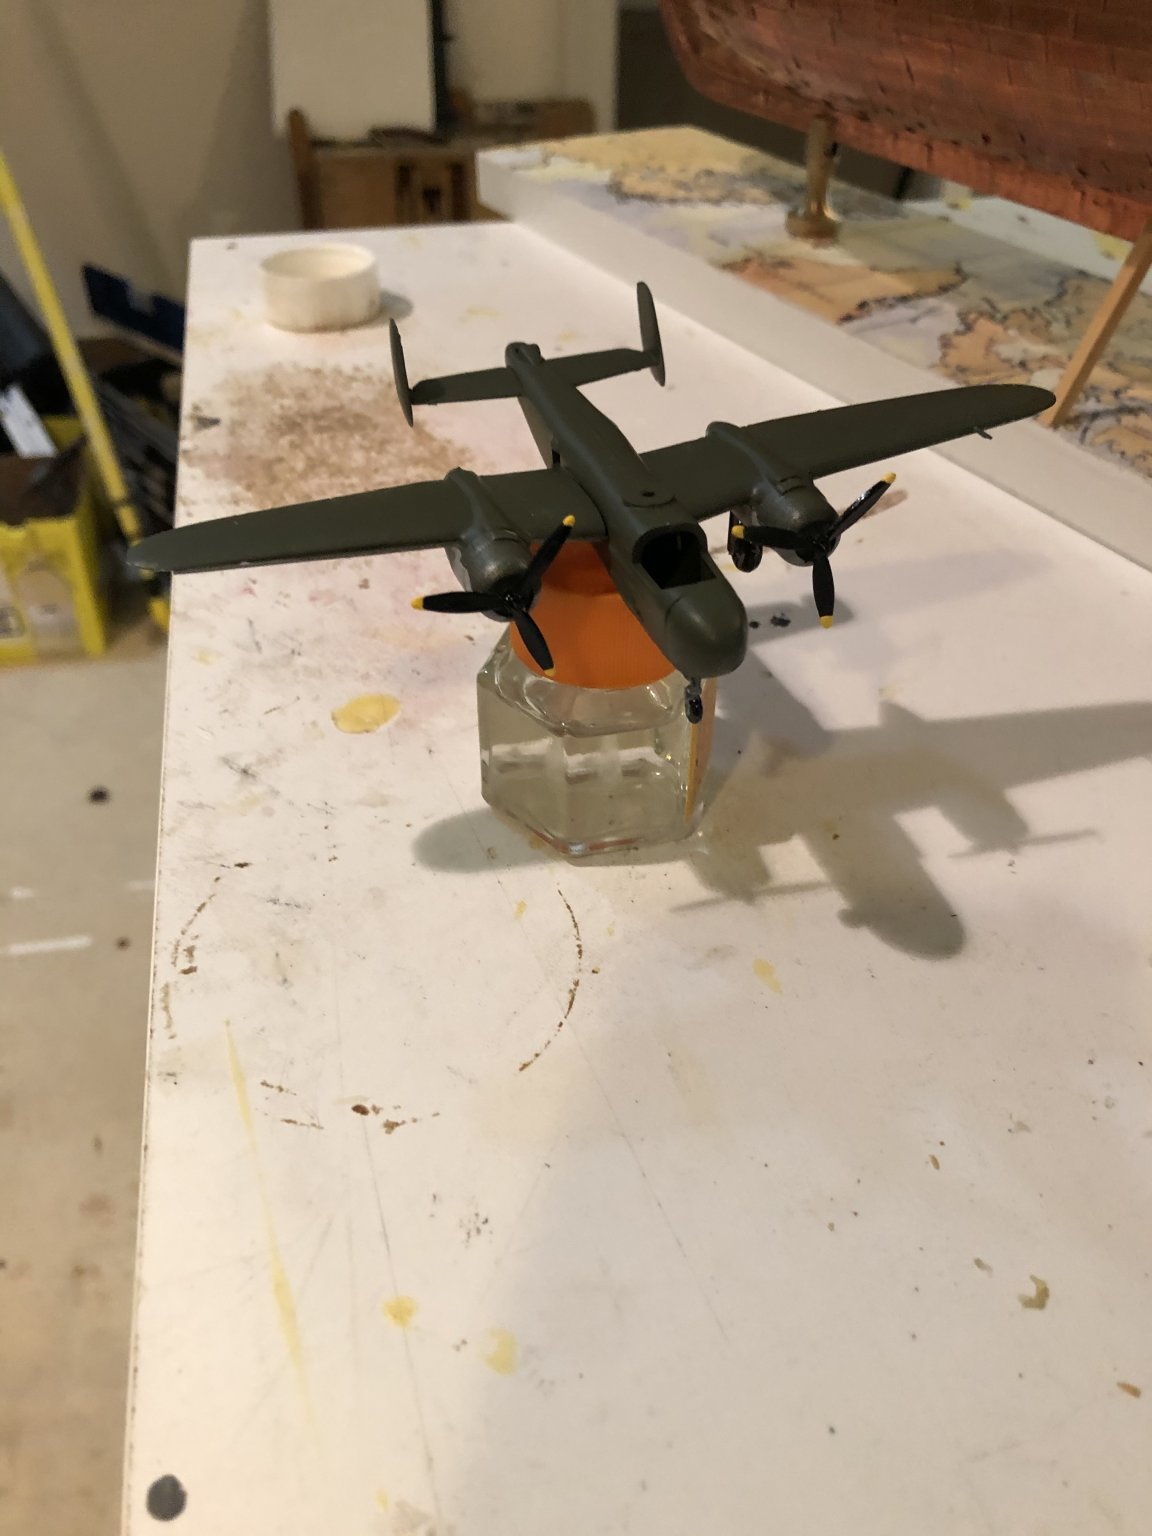
Well, it’s sort of finished. I lost the top turret. I can’t seem to learn from past mistakes. I will assemble and paint some part and leave it on my workbench to install later. It’s soon forgotten and then lost in a clean-up or something. I have done this so many times. Anyway, I found the identical kit on eBay and will have a replacement in a week or so. I also messed up some decals. The star on each side (Not sure of the correct term) had white stripes attached that went on both sides of the gun windows and up over the top. They just kept curling up on themselves until they were ruined. I will try again when I get the replacement. I also need to make a base for at. It is tail heavy and I needed a small dab of glue to keep the nose down for a photo. Can’t seem to get lead fishing sinkers and nothing else is small enough or heavy enough to hold the nose down. I have the same trouble with the B-24.

- popeye the sailor, Egilman, Canute and 6 others
-
9
-
-
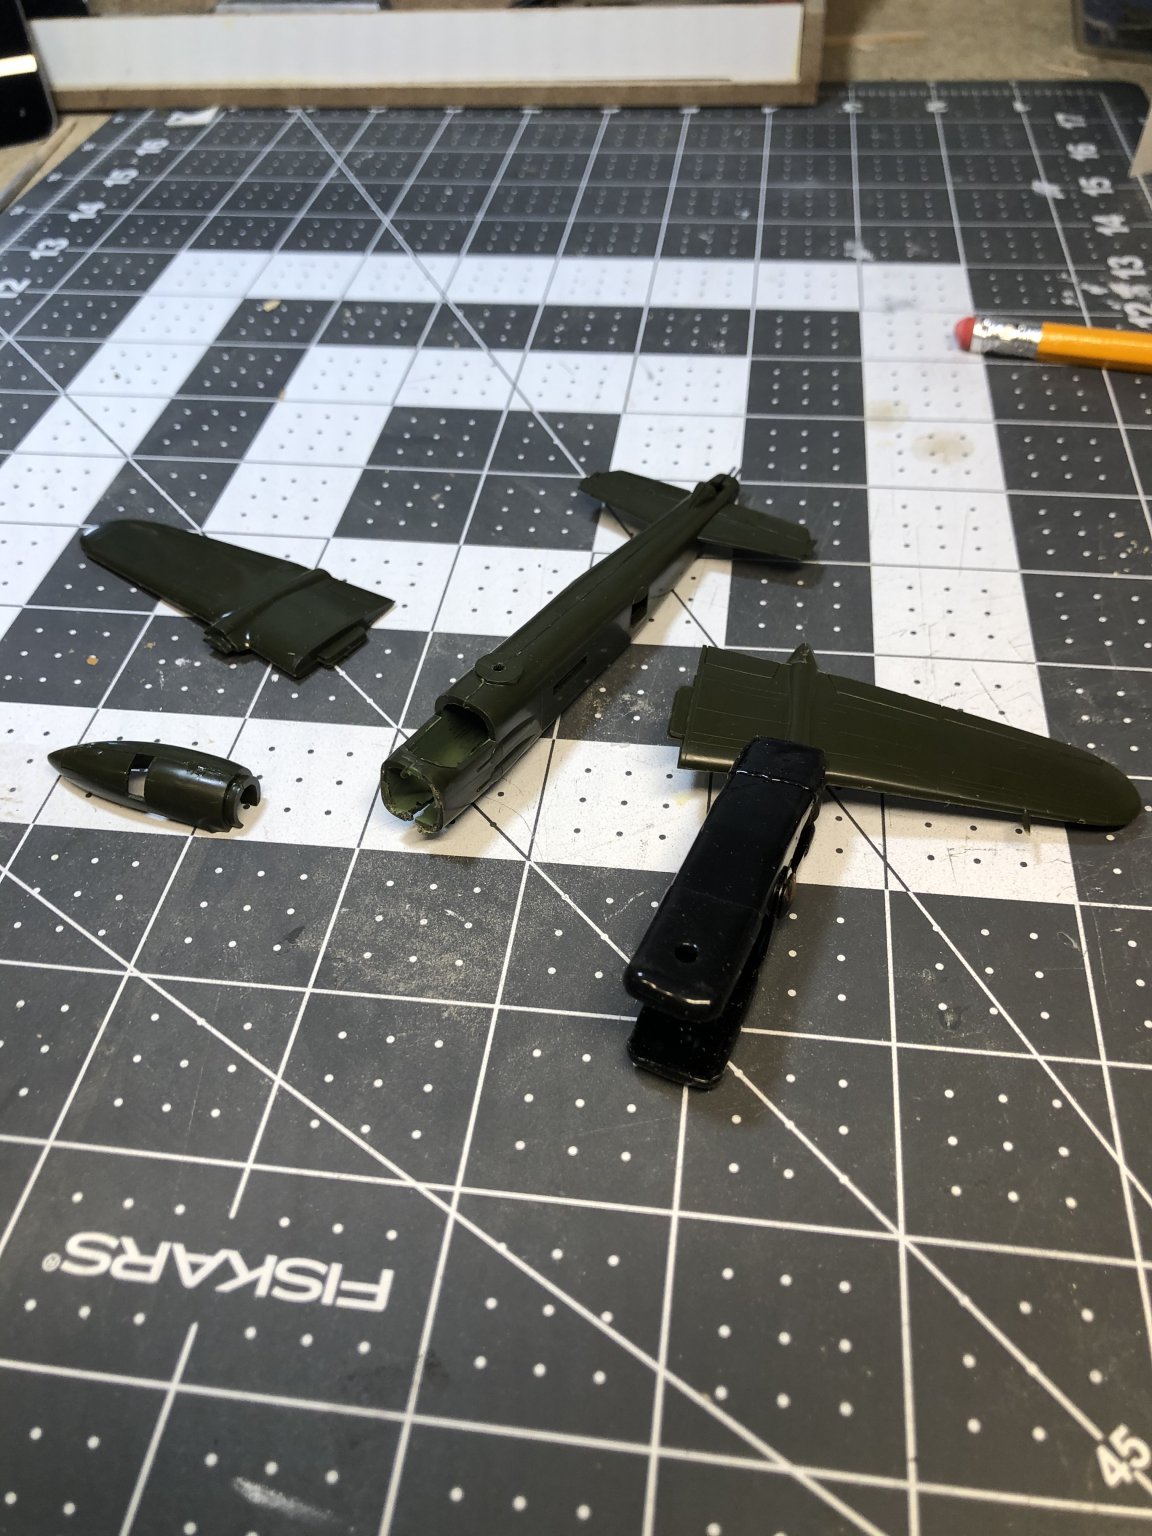
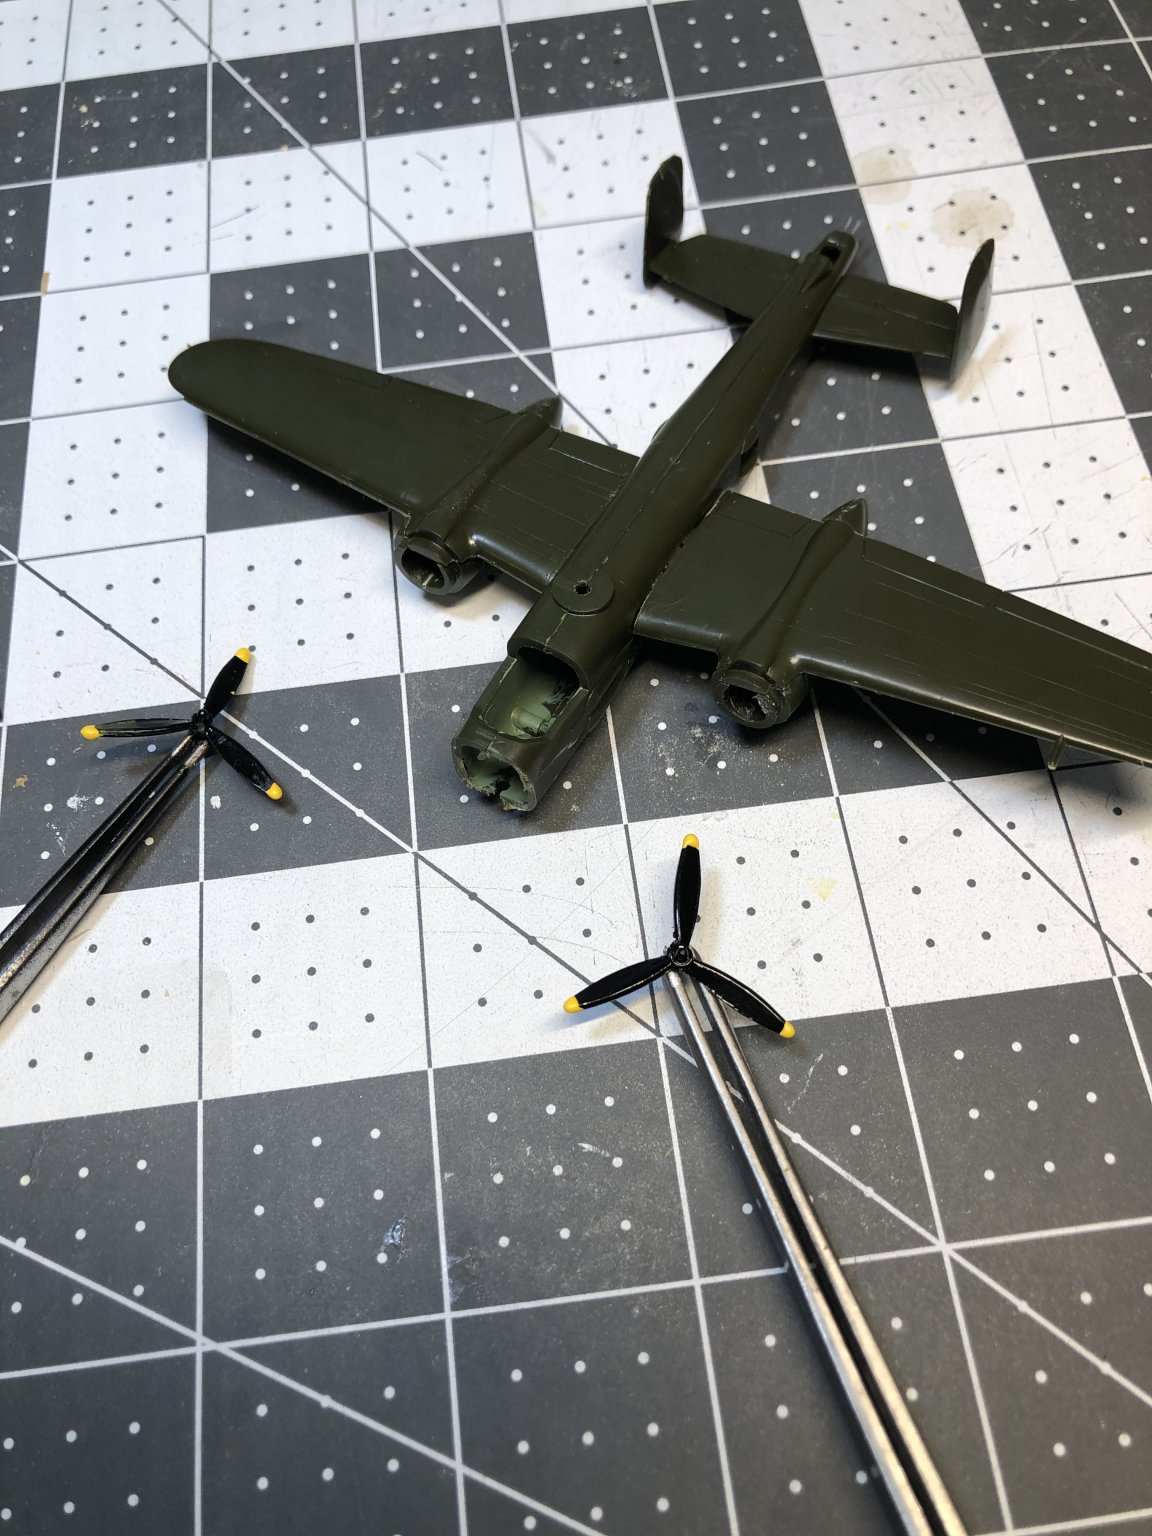
Progress photos

- Canute, lmagna, popeye the sailor and 8 others
-
11
-
8 hours ago, mtaylor said:
Ron,
Have another model on standby to break up the monotony. Ratlines are tedious and one needs breaks.
I always have several models on standby 😁. Right now I am painting a 1/144 scale B-25, and shaping the hull of an old “yellow box” Gjoa from Model Shipways. I am waiting on some scribed sheets from Model Expo to make the hurricane house etc. at the stern on the Morgan.
-
8 hours ago, wefalck said:
Personally, I can't see the advantage of putting the ratlines on off the ship. It is going to be messed up and pulled out of shape. Nicely install the shrouds and then with them securely and finally in place work your way up with the ratlines. Draw the pattern as it should be, shrouds and ratlines, on a piece of card that you hold/fix behind the shrouds for guidance. It shows you the correct distances and also, whether you are pulling the shrouds out of line.
I agree with you. Doing them off ship will probably lead to more problems than on ship. I was hoping there was an easier way than what I’ve done in the past. Wishful thinking I guess. When I get to rigging my Charles W Morgan I will just stick with the old fashioned way. 2000 clove hitches or not.
-
-
Has anyone used ModelExpo's ratline jig, MS7200CB. It is on sale today. I thought i saw a review here some time ago but the search function is coming up empty.
Ron Gove
-
I like this scale. A couple of steps and you have an aircraft.


- Egilman, mtaylor, king derelict and 7 others
-
10
-
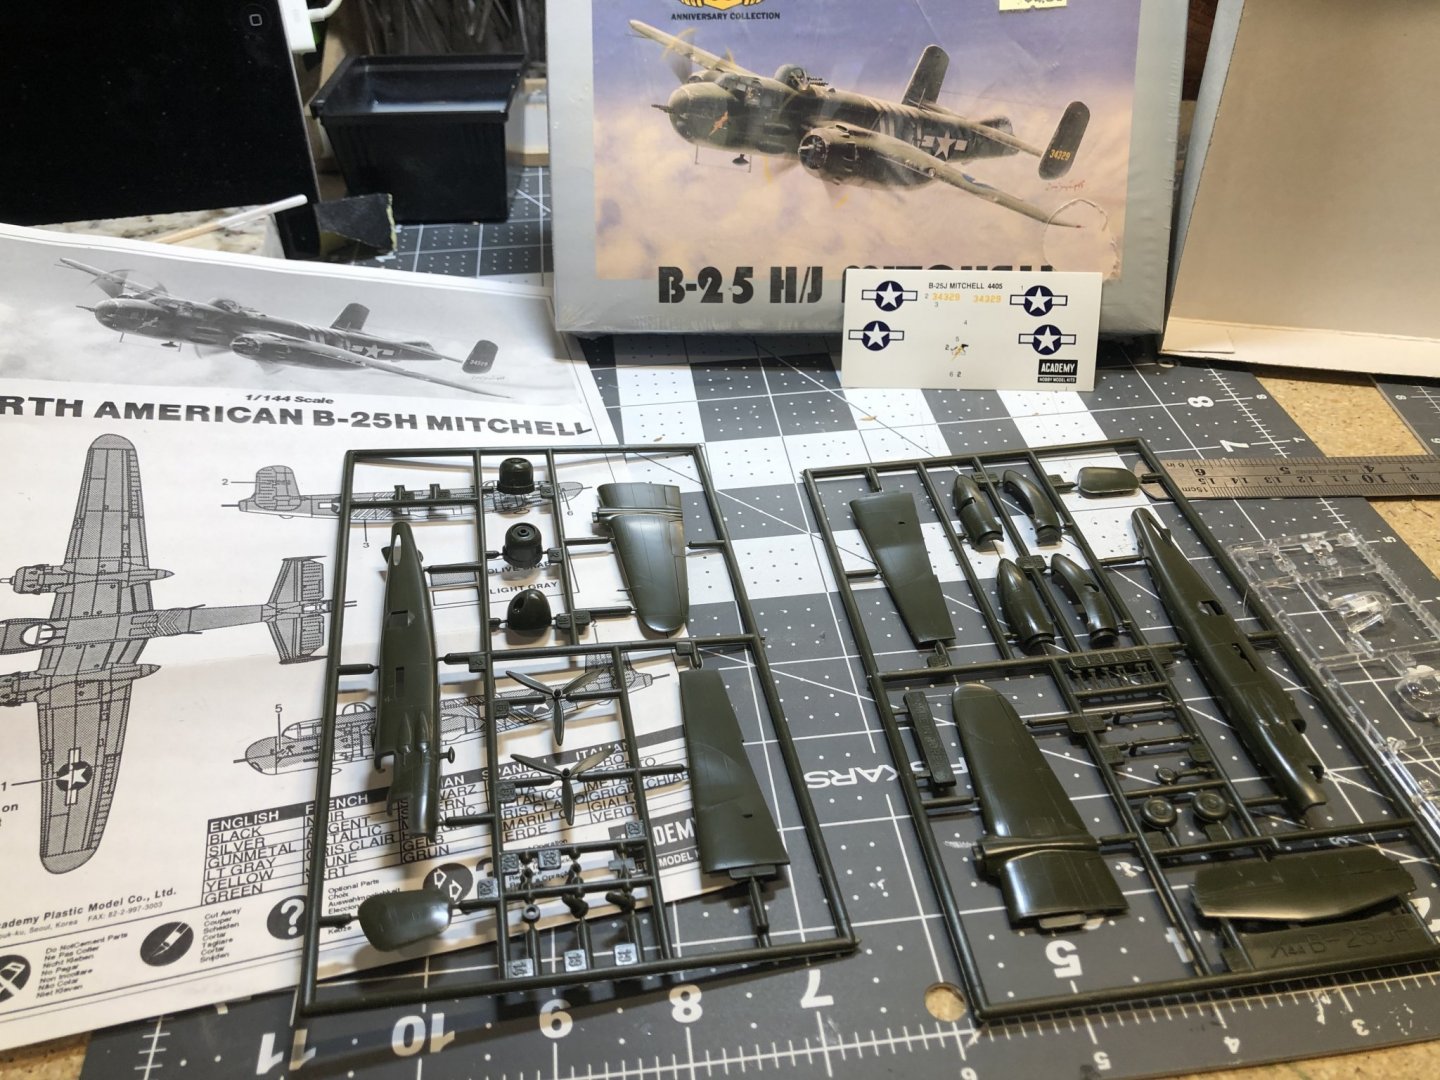
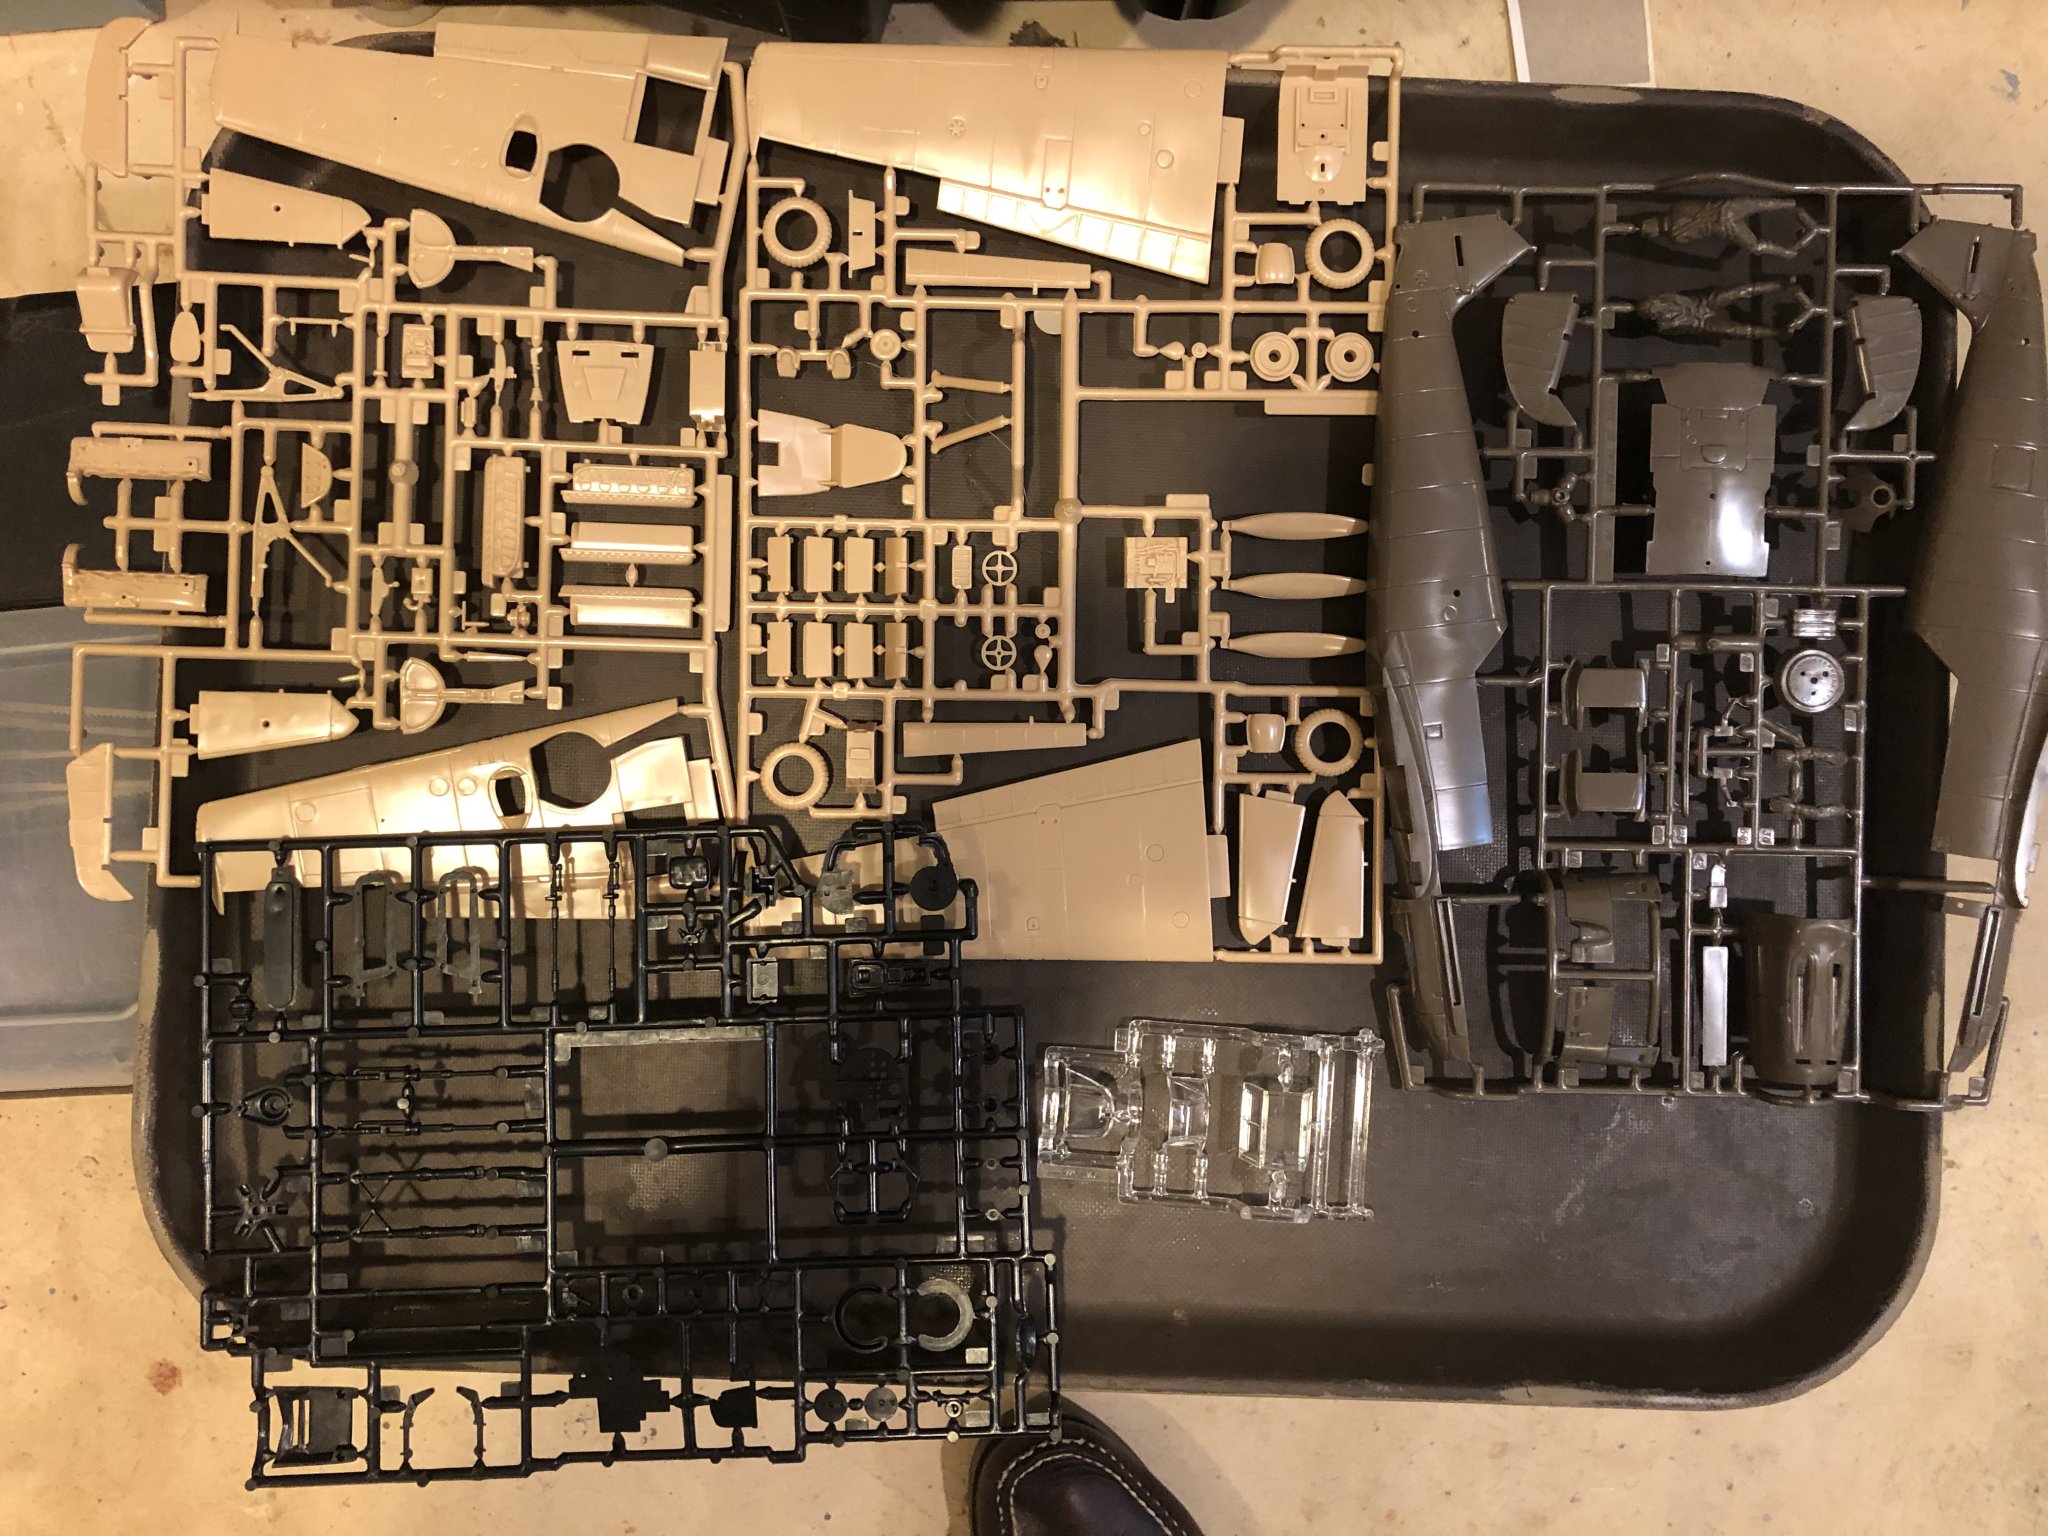
Since I am waiting for some wood form ModelExpo I thought I’d try this old kit that’s been in my stash for some 20 years I think. Not much detail and only 2 sprues plus a clear parts sprue. Should be a quick build.
-
-
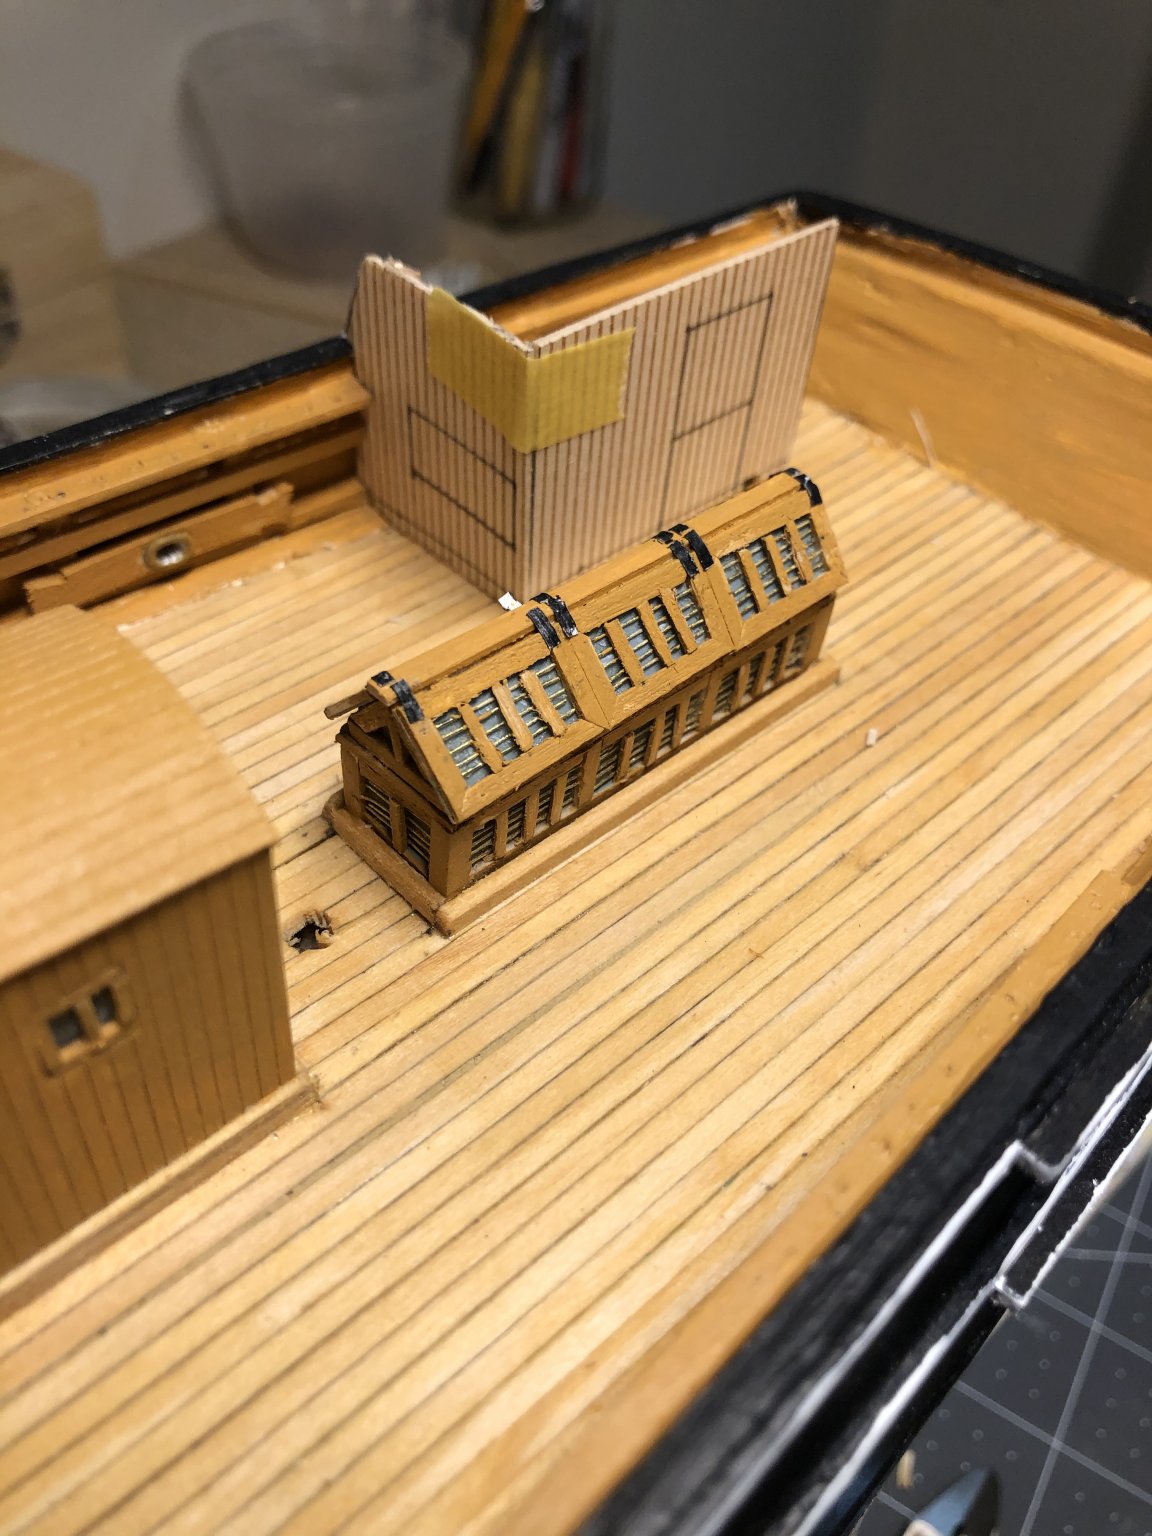
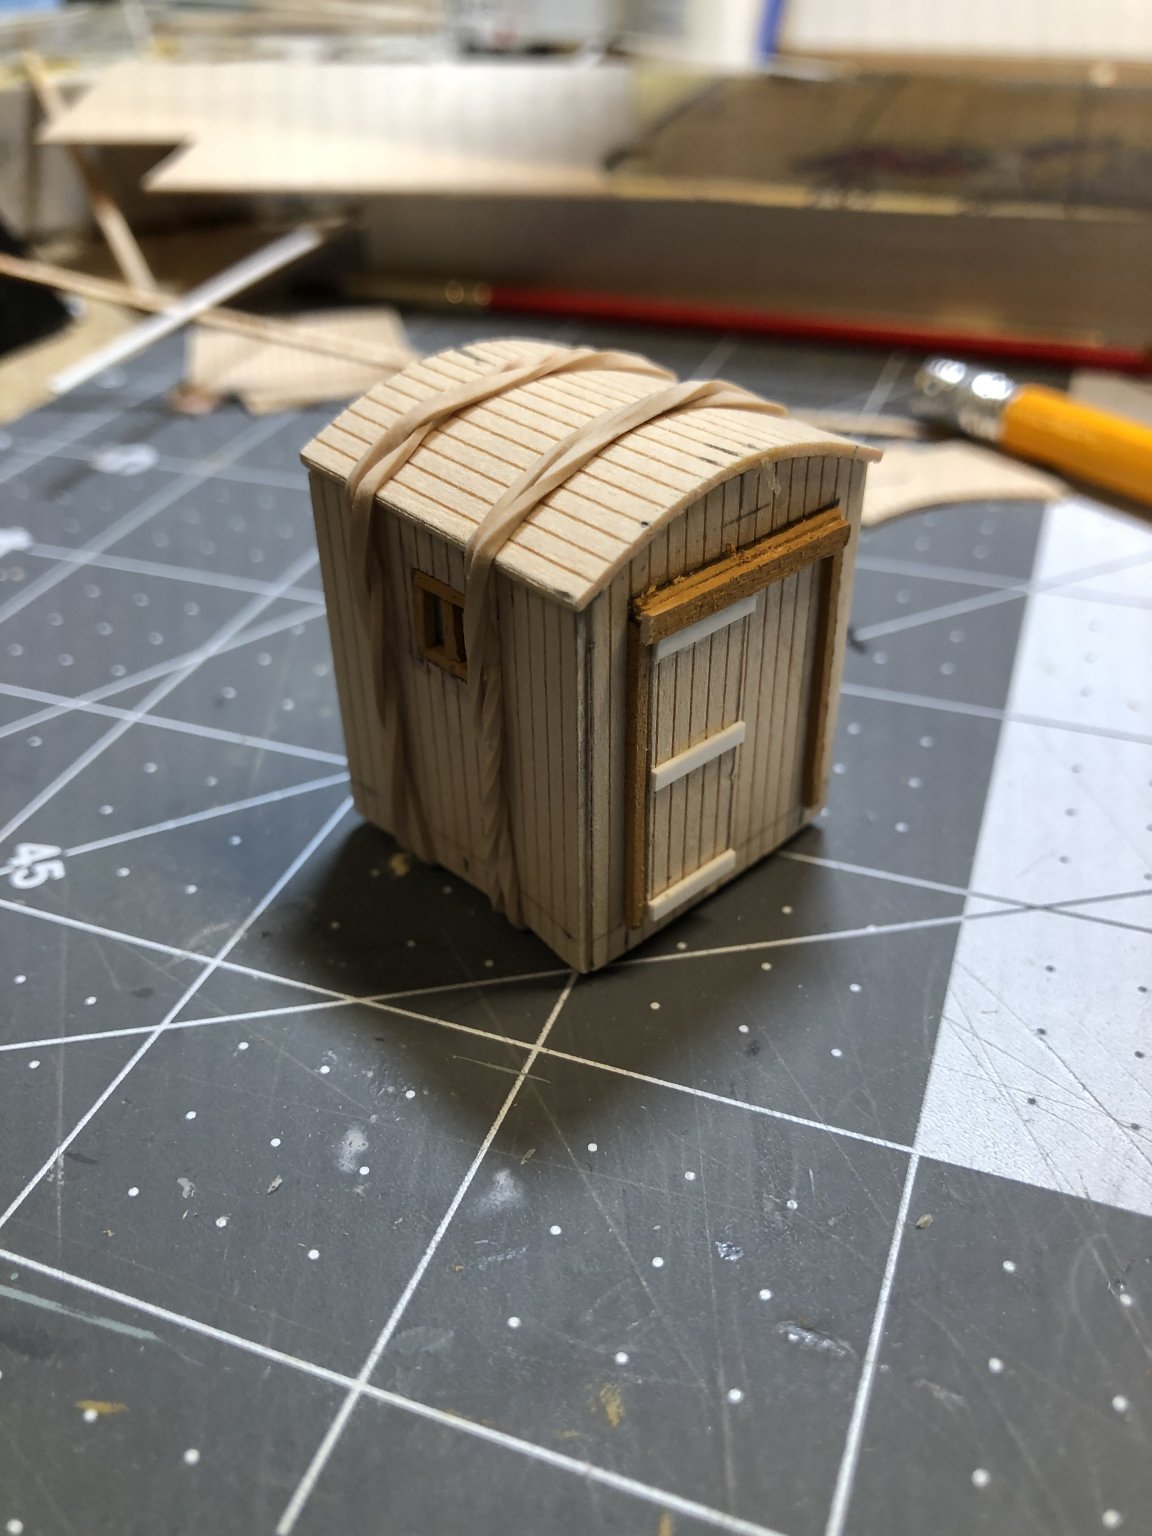
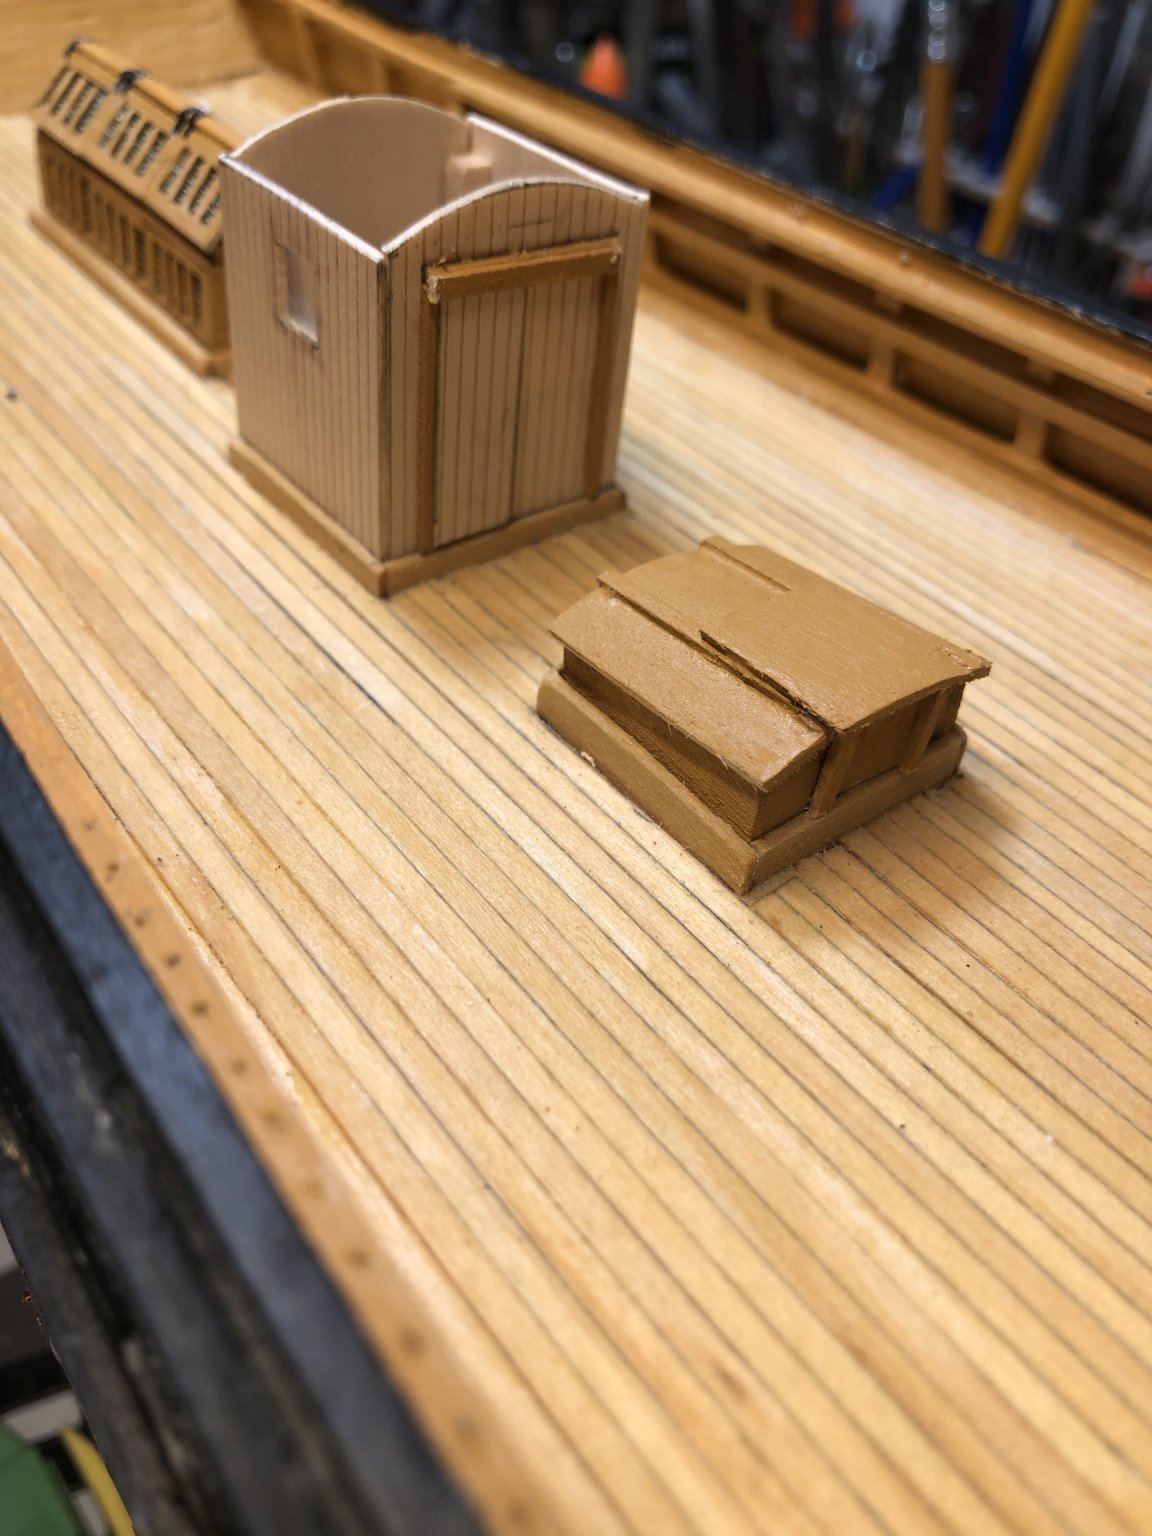
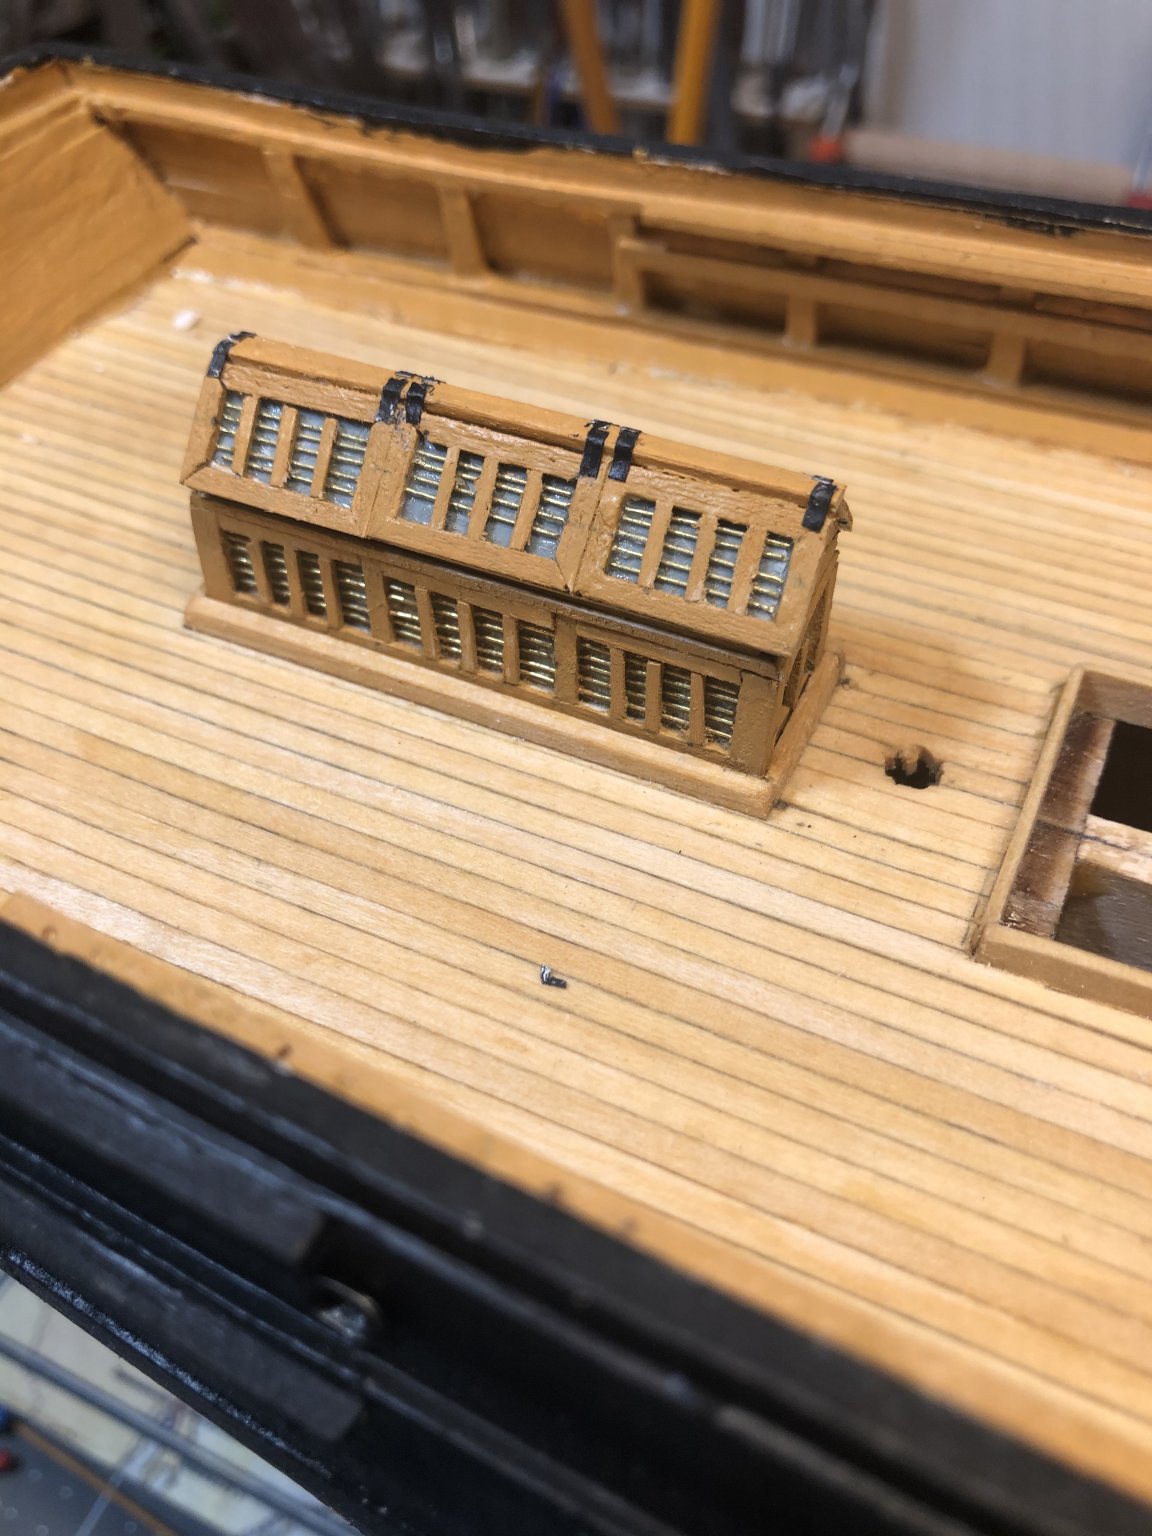
Gluing the roof on the deck house
- Landlubber Mike, John Ruy, gieb8688 and 3 others
-
6
-
23 hours ago, Voyageur said:
Looks good, nice work on the skylight!
Thank you!
-
9 hours ago, John Ruy said:
Excellant... great job 👍
Thanks John.
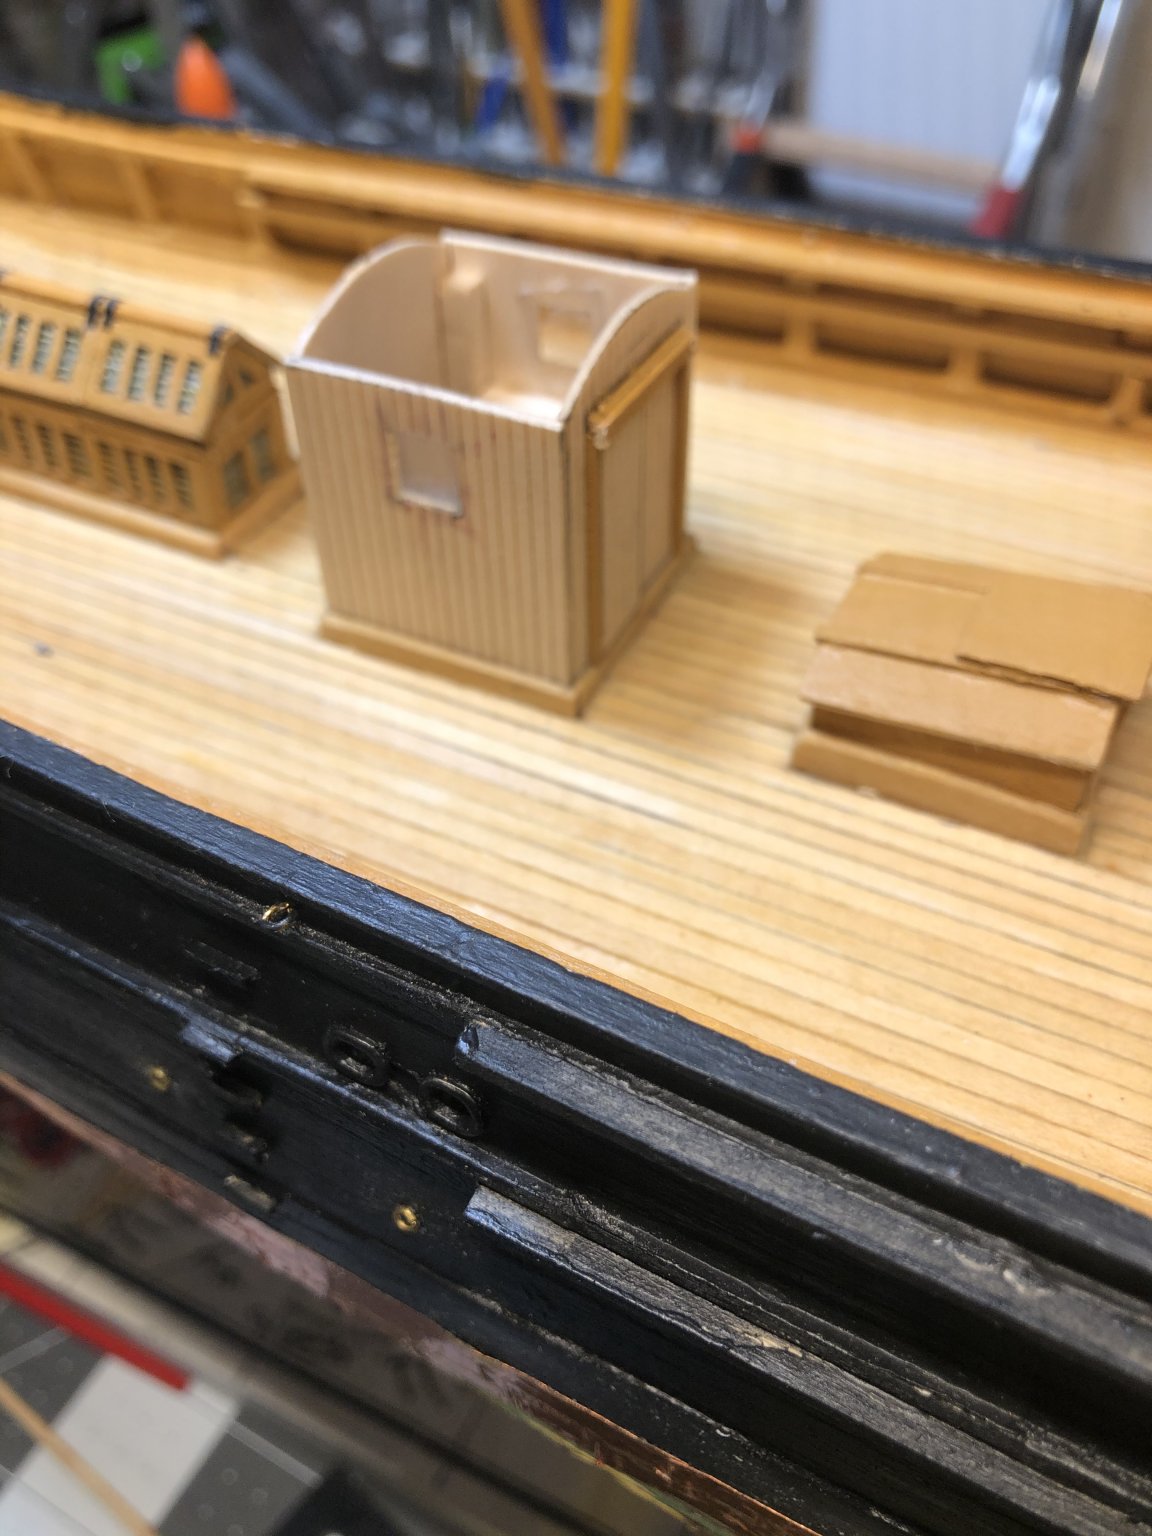
the deck house is next


-
-
Attempting the skylight. This is not easy. Test fitting the 2 sides

- gieb8688, Landlubber Mike, John Ruy and 2 others
-
5
-
I usually take the decal out of the water with fine tip tweezers. If it’s still on the backing i slide it off onto it’s appropriate location. Then move it as necessary with a soft paint brush. If the decal has come off the backing I still tweezer it out, gently, and put it where it belongs. Things don’t always go as planned. Some of the tiny decals get stuck to my finger or seem to become invisible.
Ron Gove
-
I noticed that if the decal soaked long enough it did float off the backing. I failed to take advantage of that until the very end.
it is contrary to the usual instructions about sliding the decal off, but I agree that it makes more sense and less likely to tear. Although several of the B24 decals just cracked into two or more pieces without being touched.
“let the decal float free” is my new mantra.- mtaylor, Edwardkenway, Egilman and 4 others
-
7
-
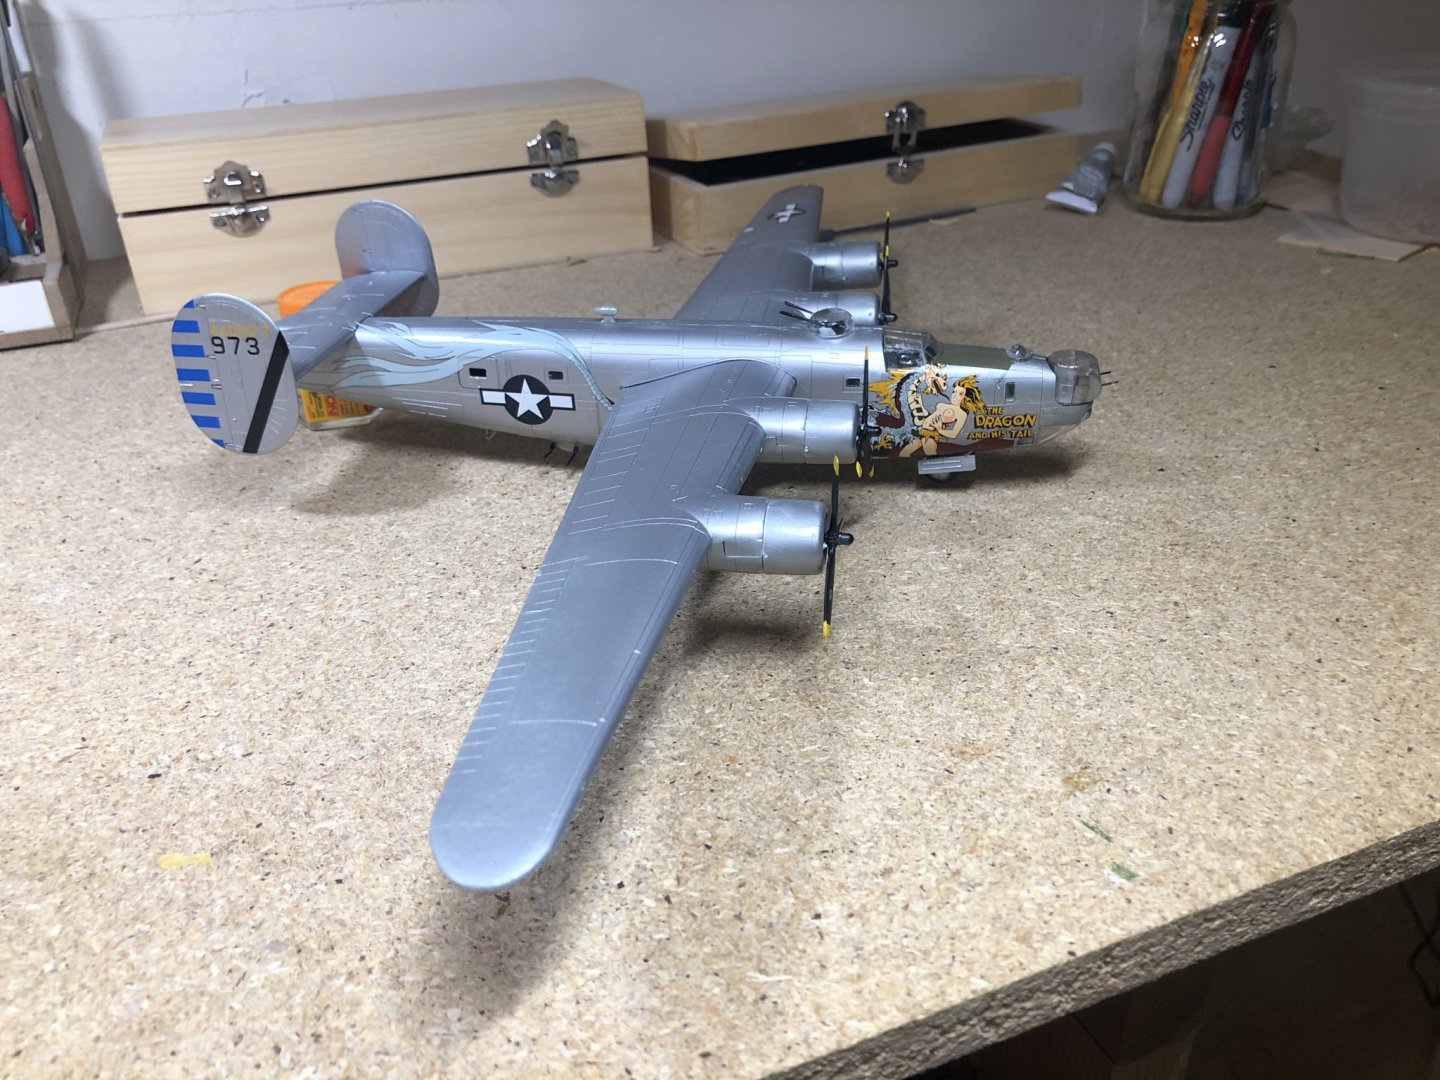
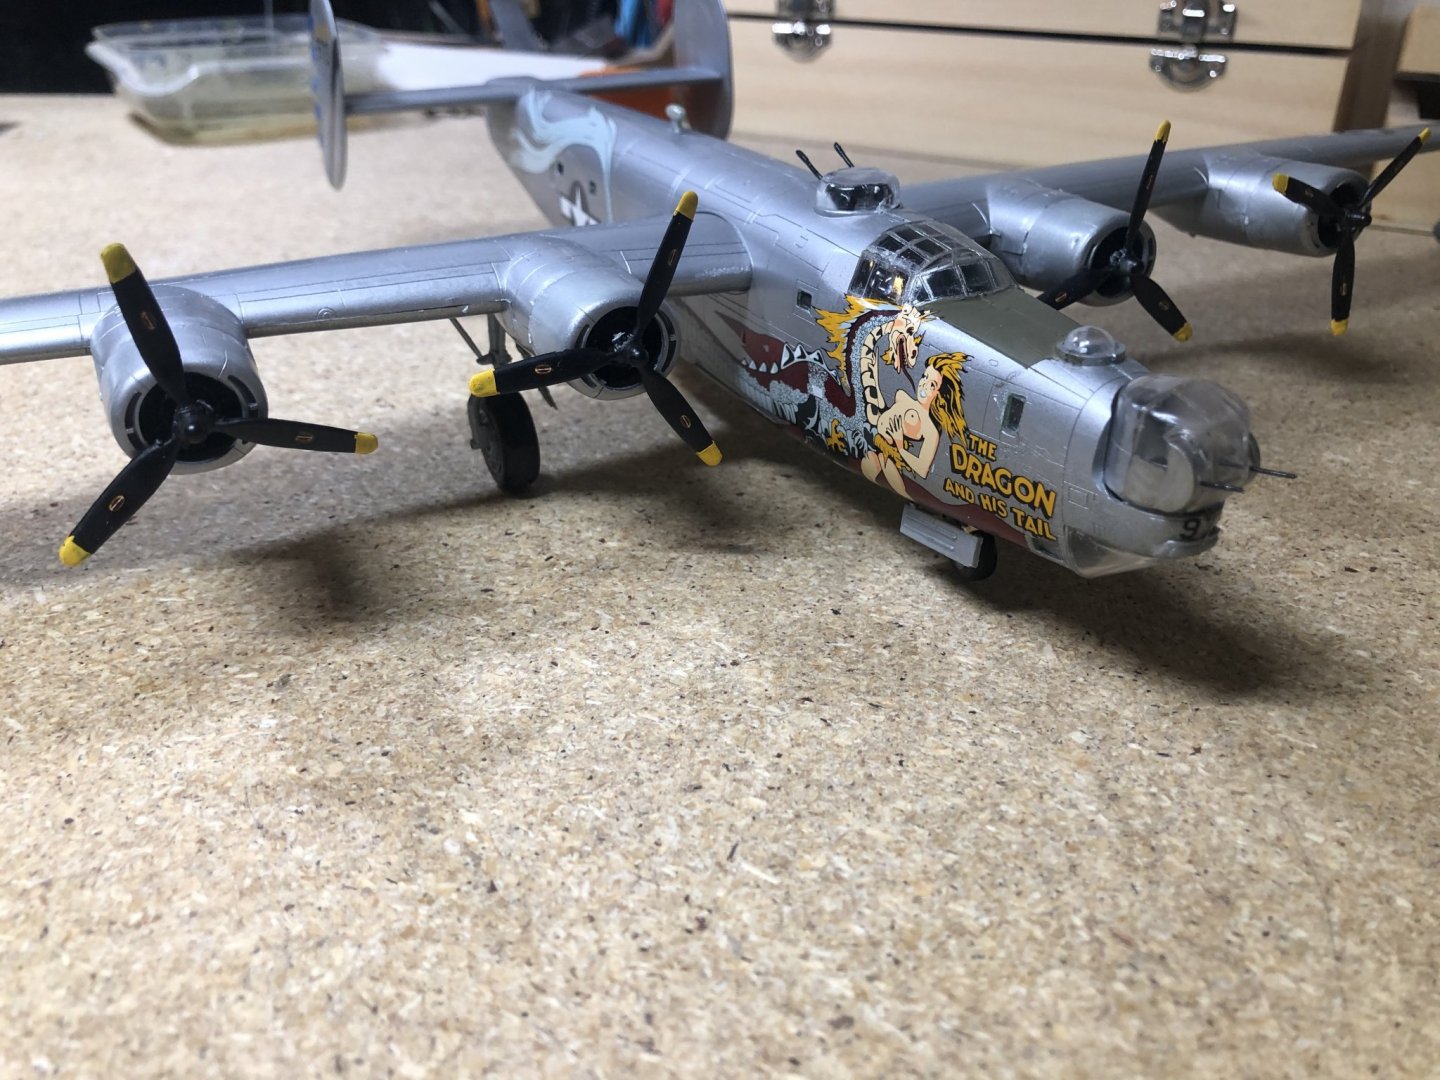
She’s finished and as I expected the decals gave me a lot of trouble. All of the larger decals split into 2 to 3 pieces before releasing from the backing. Also, the dragon decal came in several pieces that, once under the wing, didn’t match the cover art or the instructions. So a bit of license was taken here. All in all I think it’s not too bad. The left cockpit window went flying across the workshop and I have yet to find it. It initially fell into the cockpit and behind the seats. When I shook it out it went off to the lost world of bits and pieces to join its friends.
-
11 hours ago, marktiedens said:
Looks good - I have the Monogram kit of this bird in 1/48 scale - may dig it out of the closet at some time.
Mark
The bird must be huge at 1/48
- Old Collingwood, Canute, Egilman and 4 others
-
7


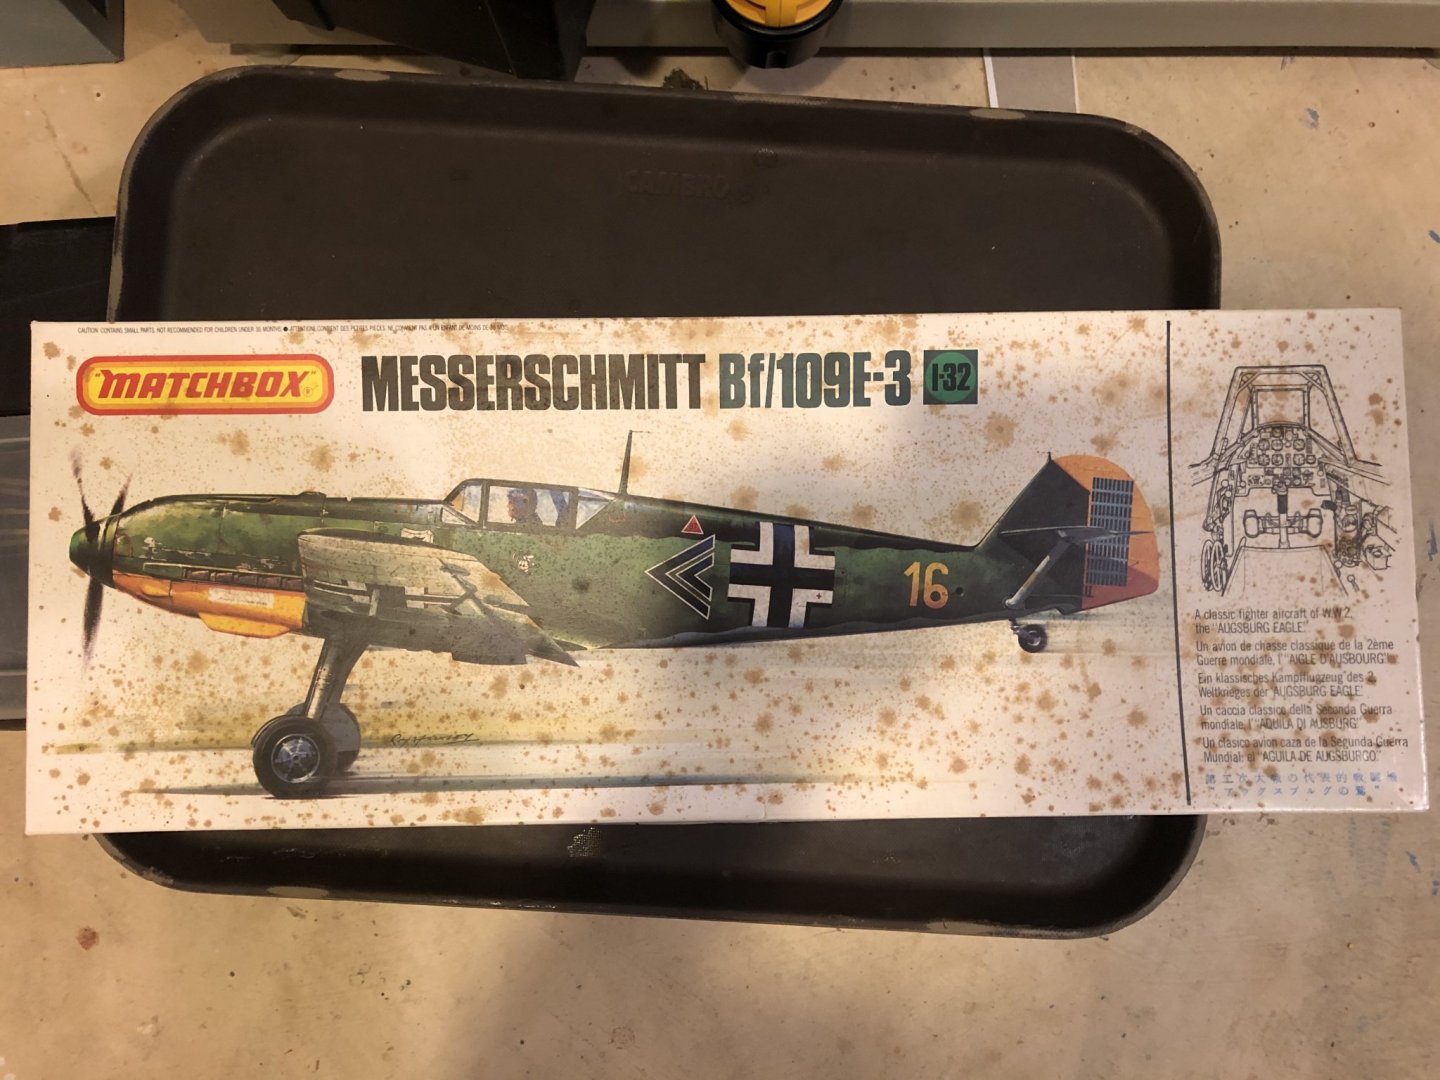
Messerschmitt Bf 109 E3 by ragove - Matchbox - 1/32 - PLASTIC
in Non-ship/categorised builds
Posted
I started studying the ME 109 plans and found that the color call-outs are all on a single page showing each part to be painted and the color. I’ve never seen this before.